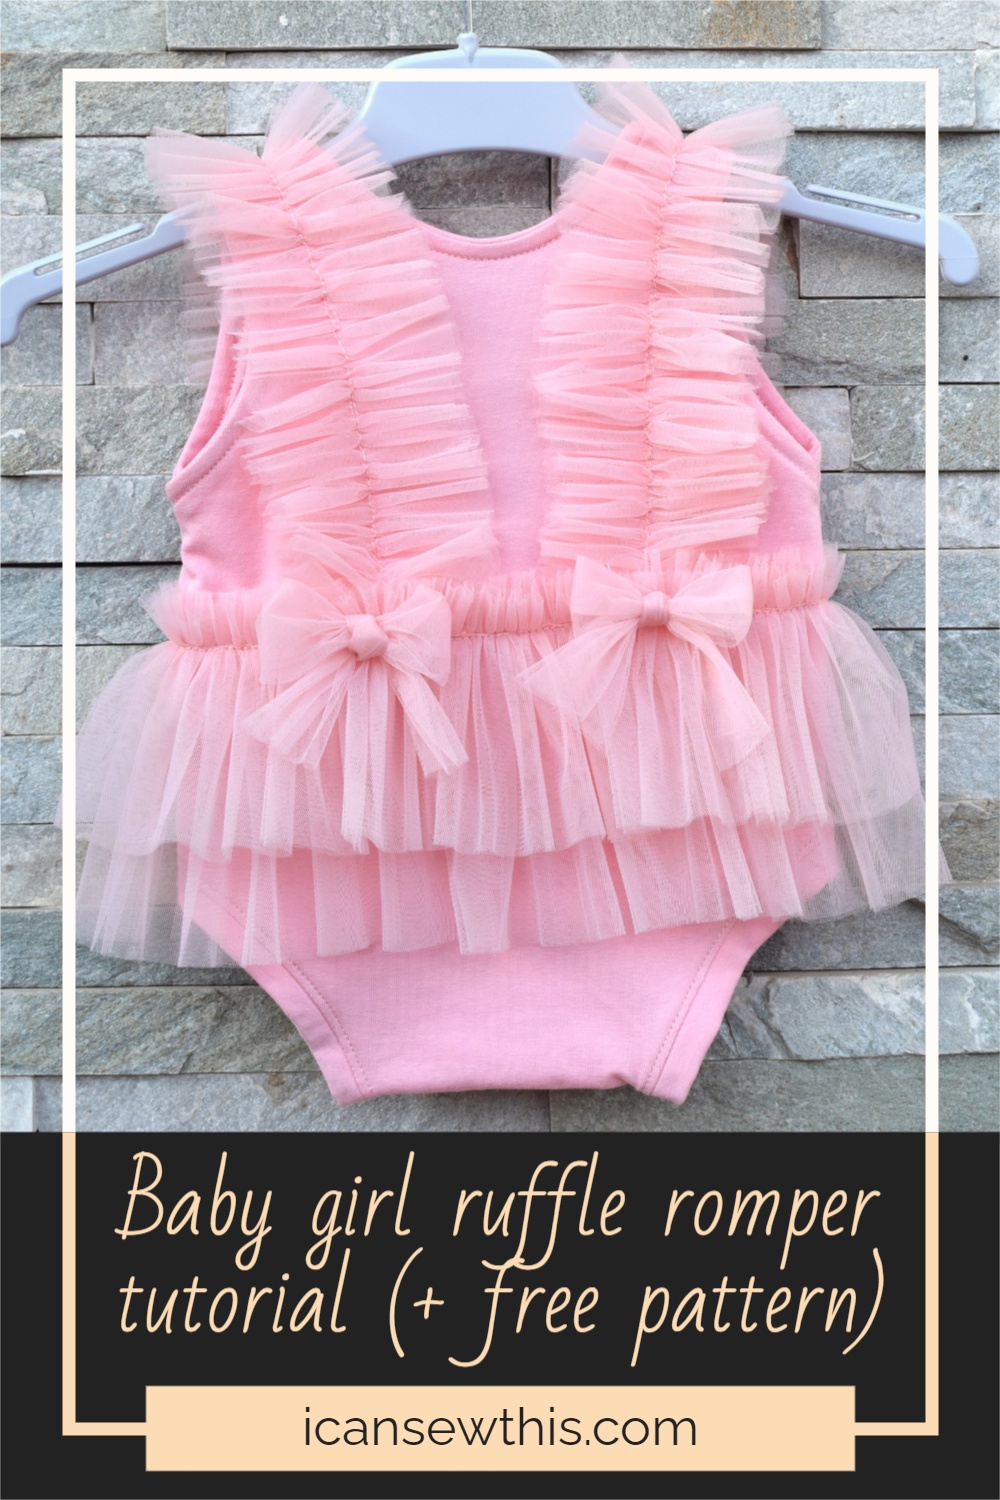
DIY baby girl ruffle romper with free pattern and tutorial. Learn how to make a cute sitter romper with this step-by-step tutorial and free sewing pattern.
This outfit is made for photo sessions, not for everyday use. The romper is easy to take on or off, but it does not have a snap crotch. It makes for a faster and easier sewing project.
I’ve always loved baby photo props – all these little things look so fun and creative and 100% adorable.
And now that my best friend is expecting her first child, a baby girl, I jumped at the chance to sew her something special.
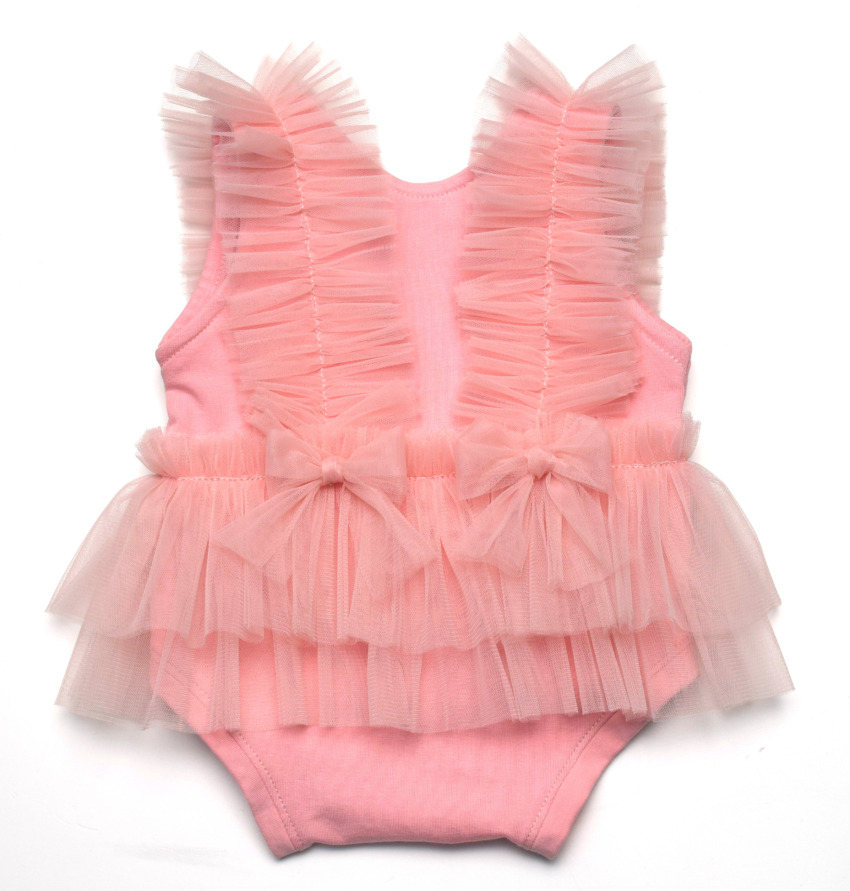
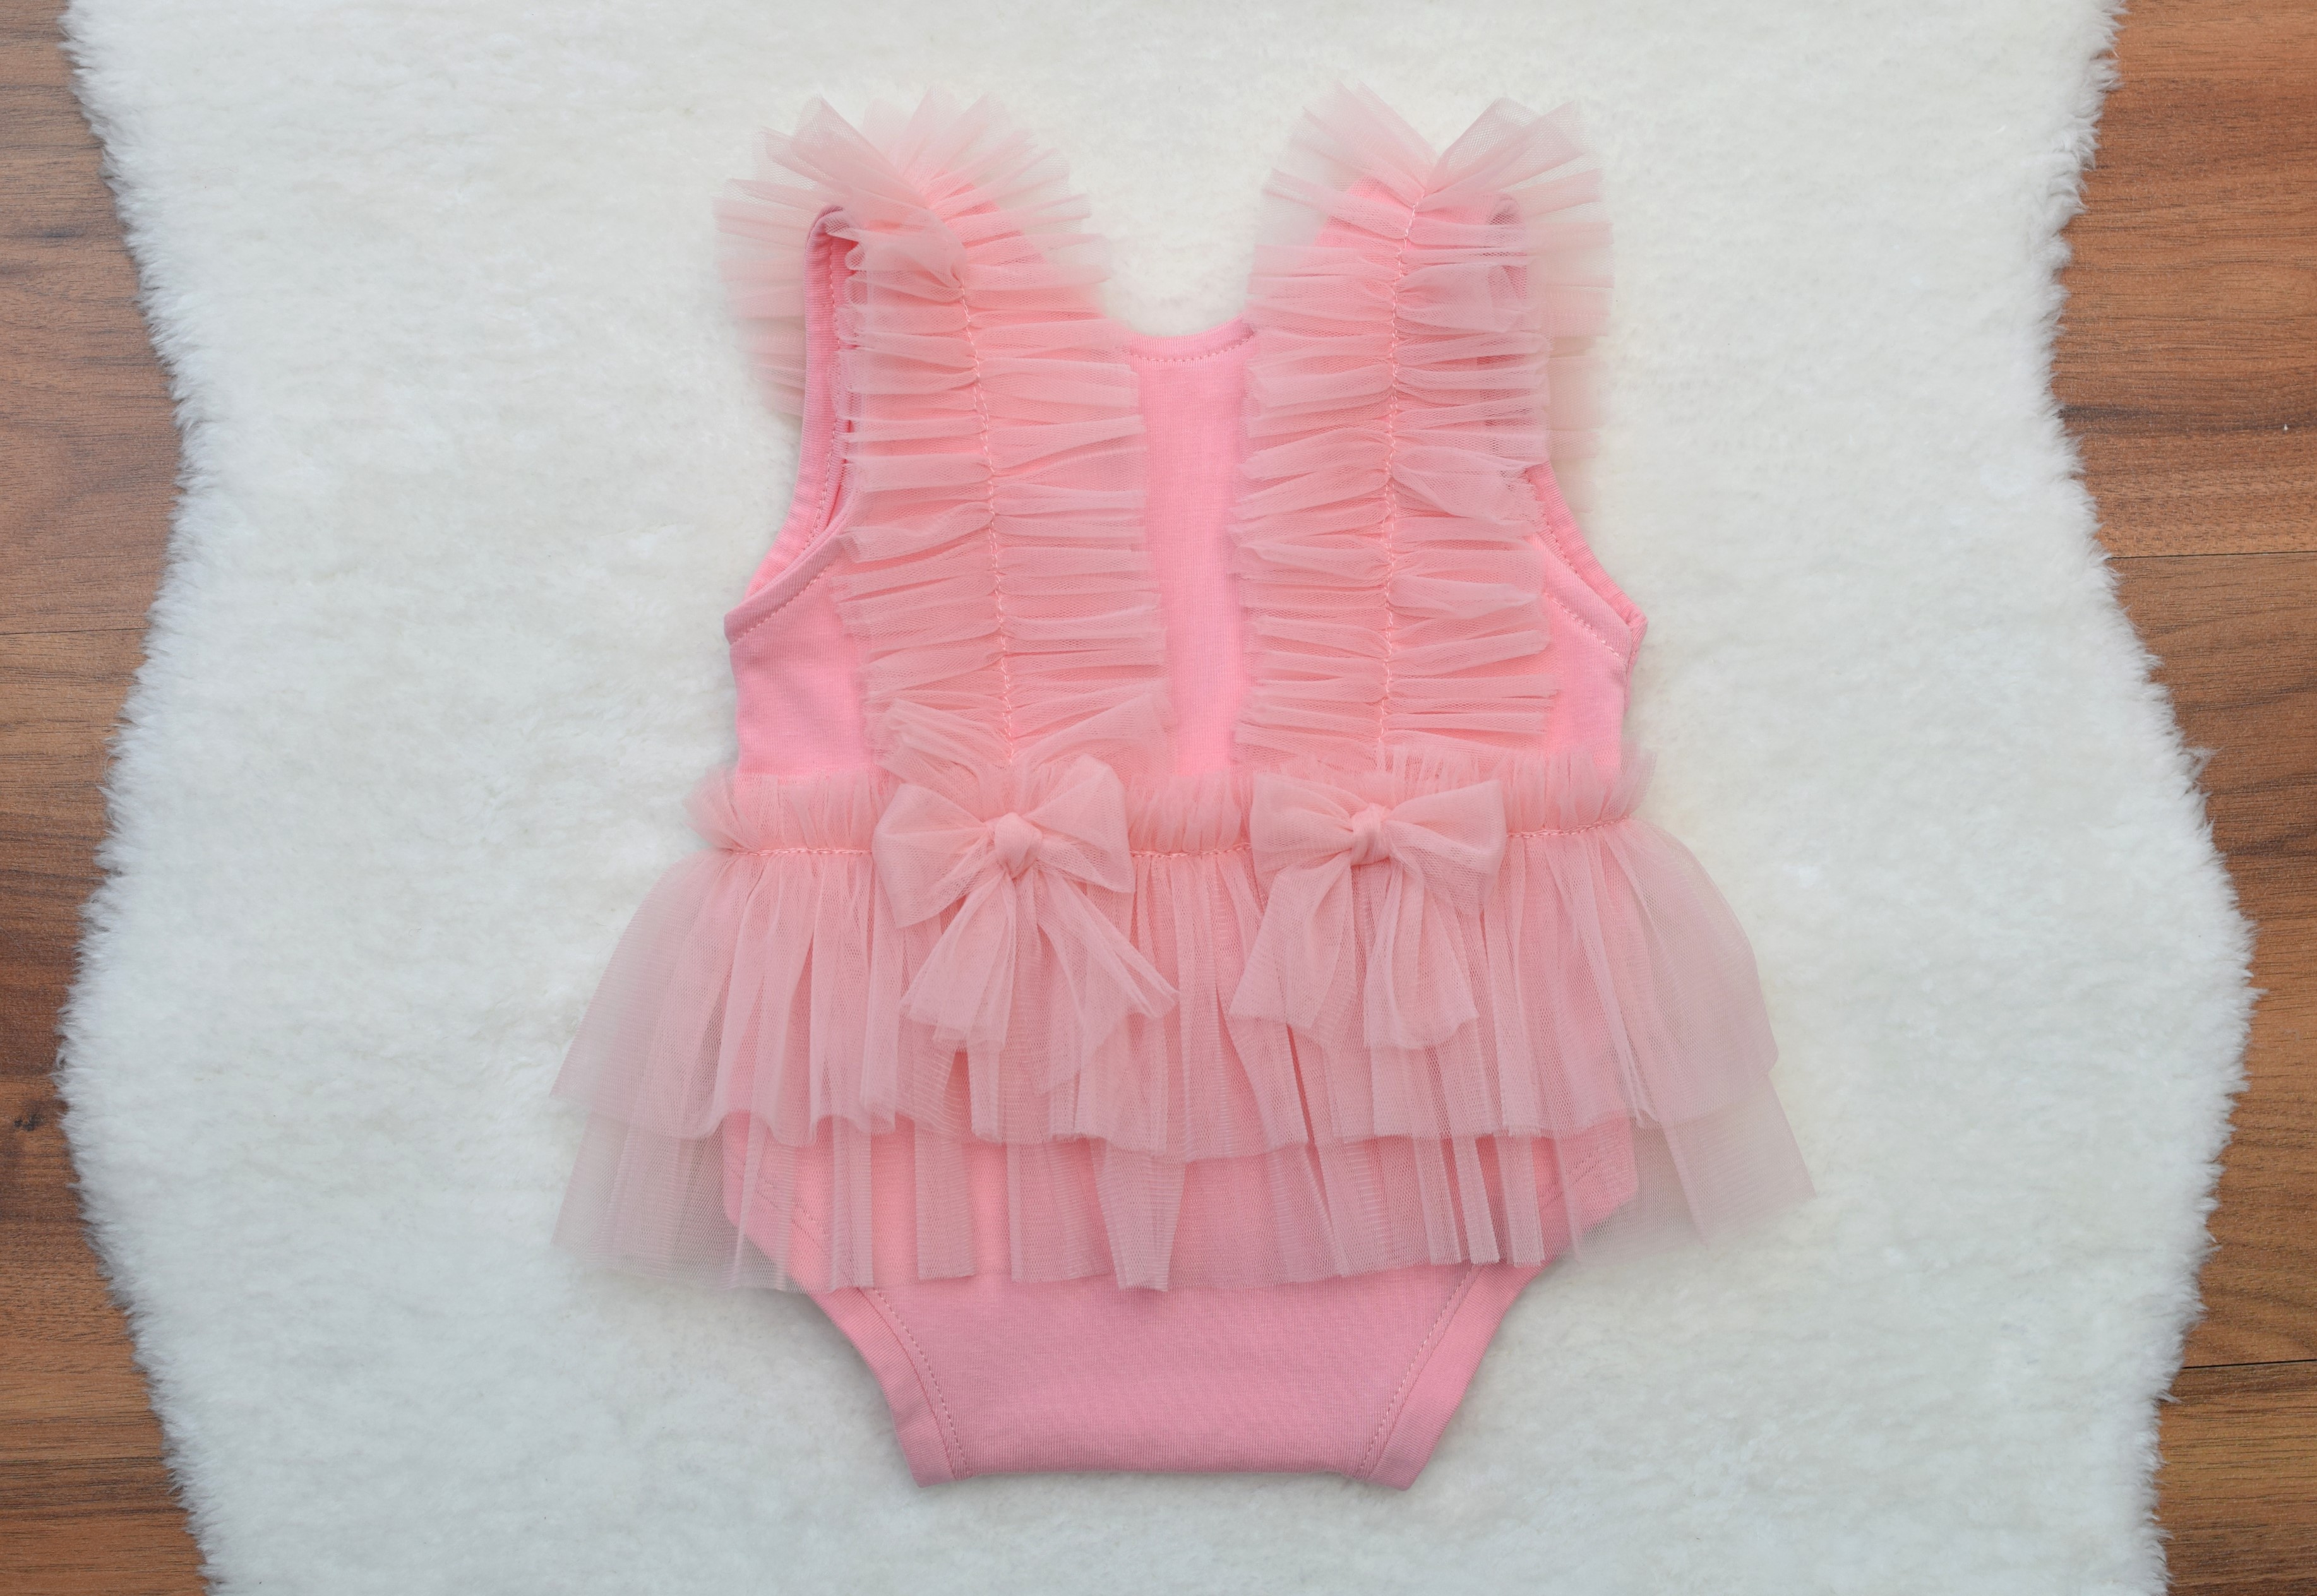
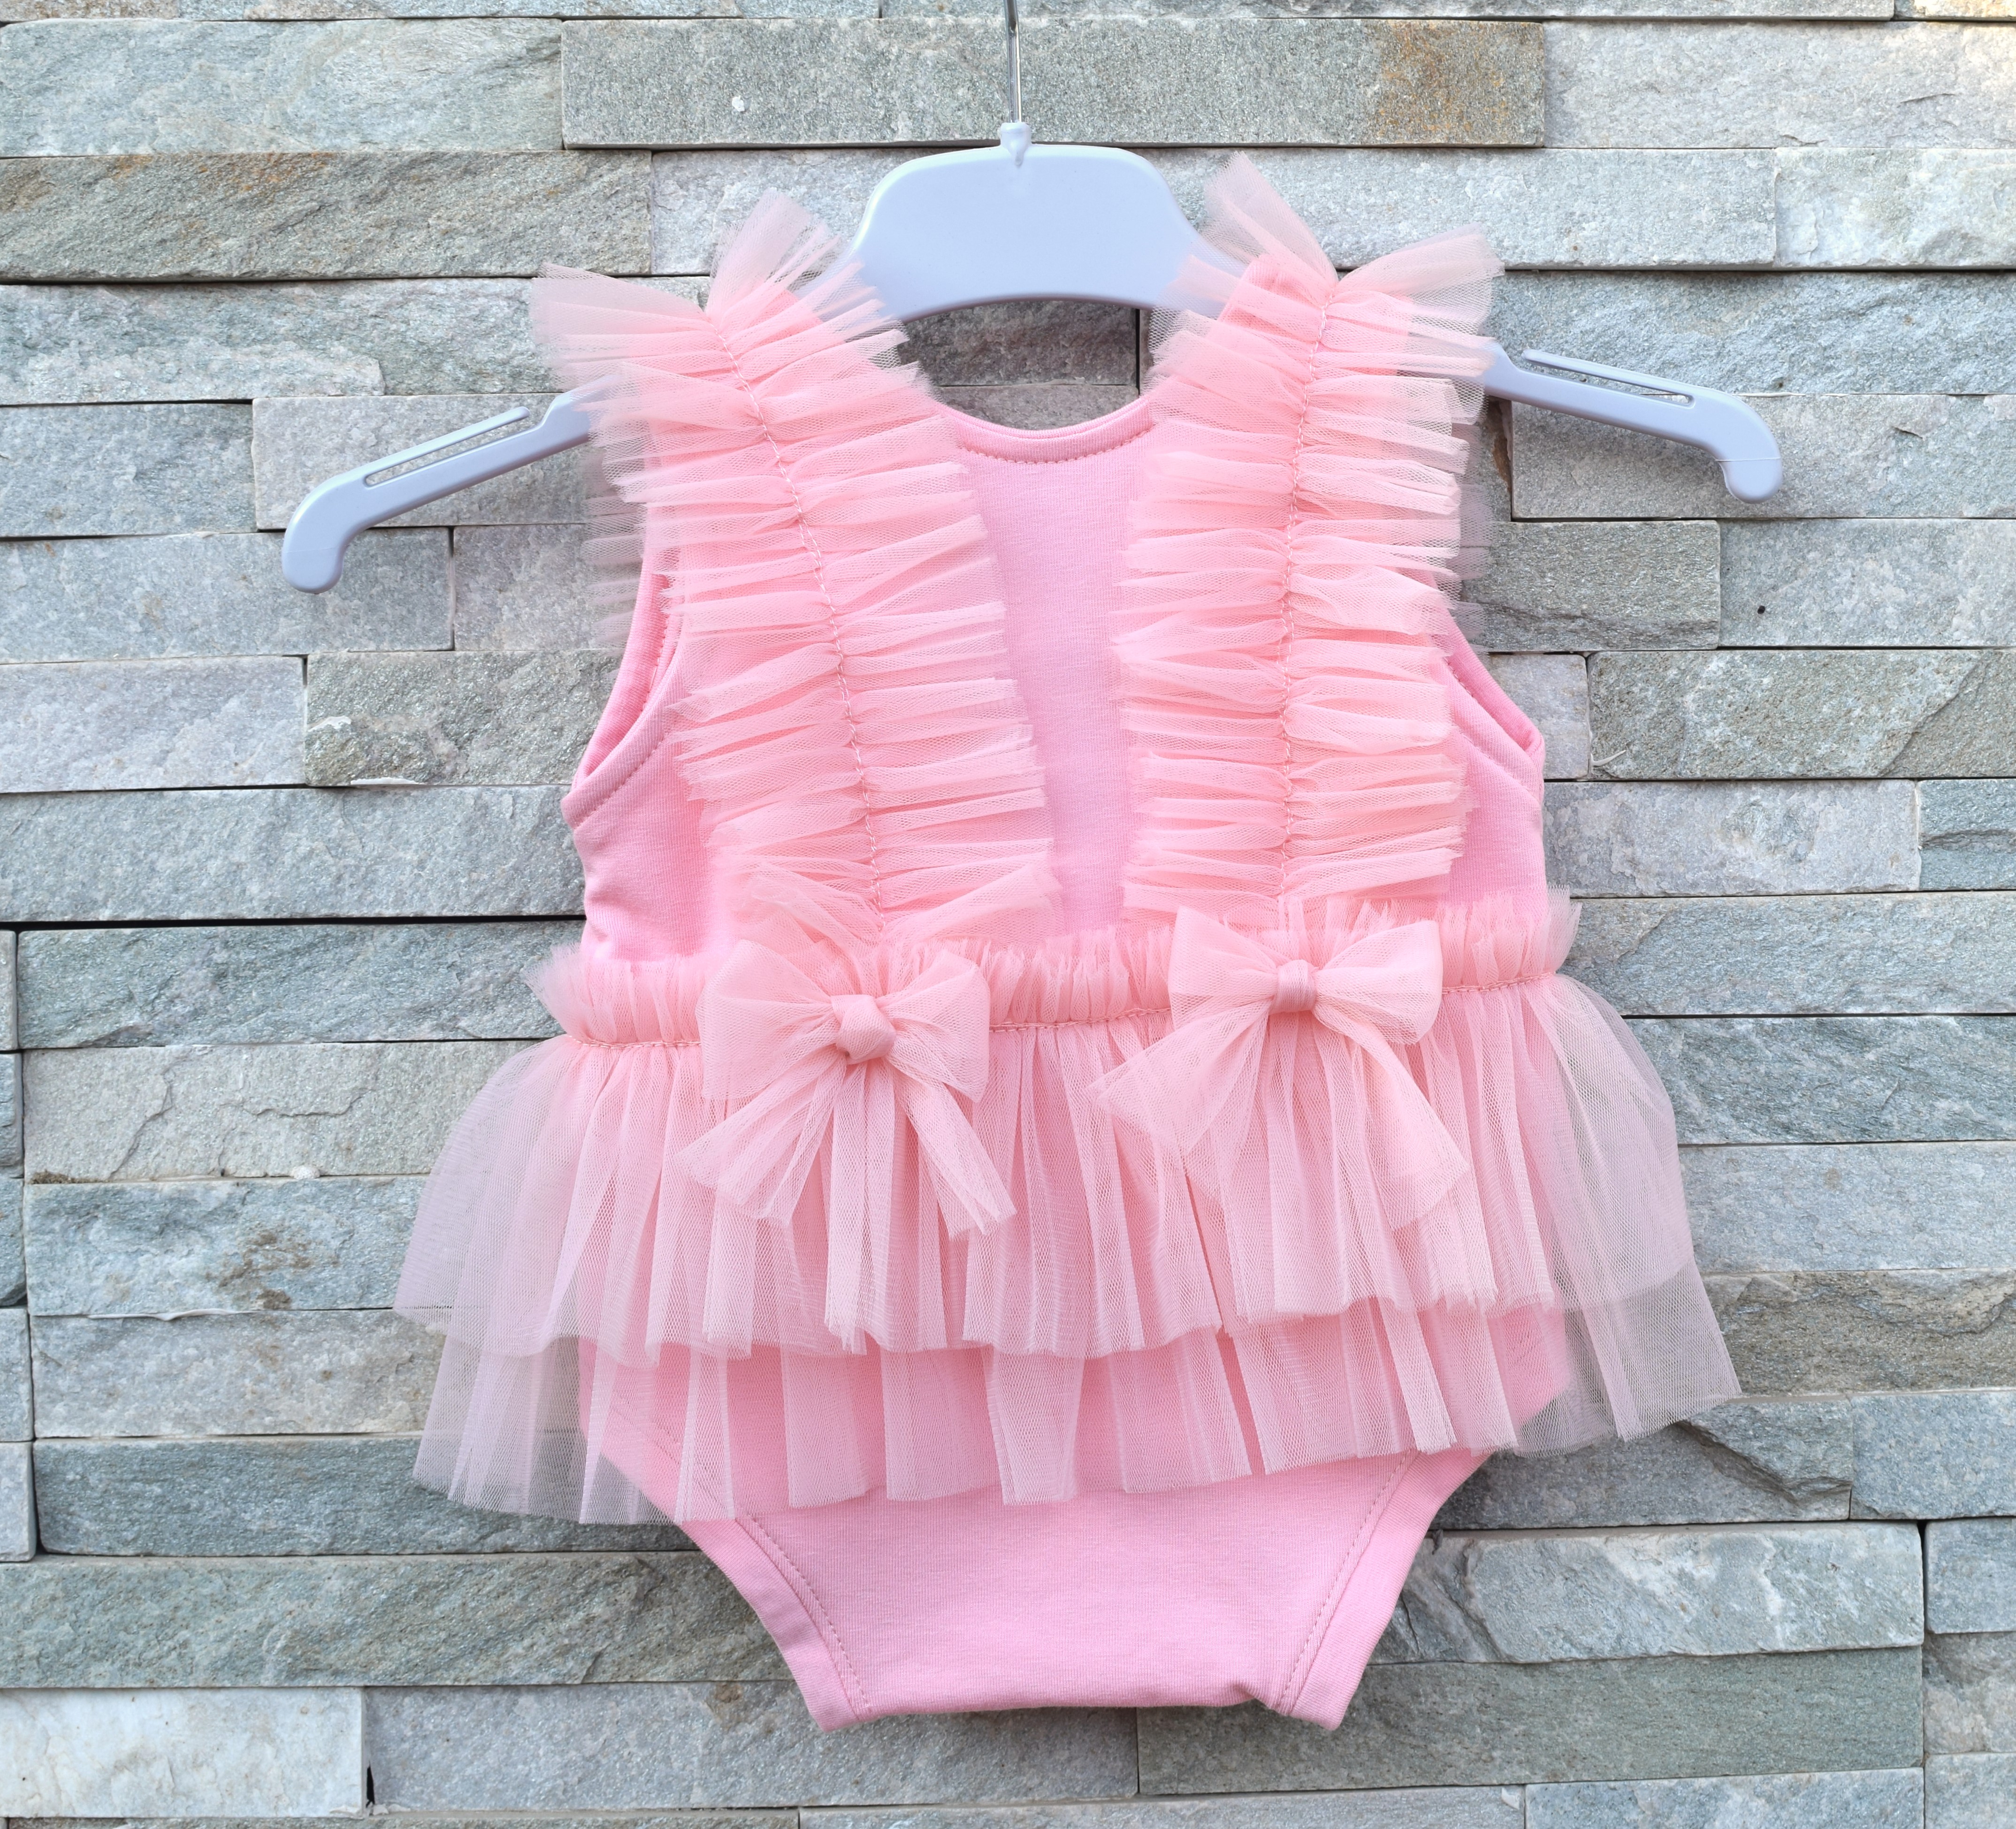
This sitter romper has a generous open back, with tulle ruffles and two small bows.
Baby sewing projects. Check out these tutorials for how to make a fitted crib sheet, knotted baby hats, baby bloomers, or knotted headband.
DIY baby girl ruffle romper – free pattern and tutorial
Doesn’t it look fancy?
However, it’s a rather simple sewing project that comes together really quickly. You can finish it all in 1-2 hours, depending on your skills. Besides, you can make this romper with fabric scraps – baby clothes are so tiny!
I used an old baby onesie to trace the pattern. My finished ruffled romper is in size 2-4 months (baby weight – 13 lb, baby length – 24”). Unfortunately, I don’t have a baby to model this romper (due date is in June).
The romper is made of soft jersey and soft tulle fabric. It features two double ruffles that go across the shoulders and extend all the way to the back, plus a skirt made of layered tulle ruffles.
I also added two small tulle bows to the bodice to jazz it up.
You can add ribbon, lace, appliques, or pearls to your photo prop romper if you want a variety of textures – anything is possible.
Sewing supplies – free baby girl ruffle romper pattern
- Baby girl ruffle romper pattern – free PDF download (size 2-4 months)
- Knit fabric – approx. 1/4 yard
- Soft tulle fabric, lace, chiffon etc.
- Sewing machine
- Ballpoint needle / stretch needle
- Measuring tape
- Scissors
- Sewing pins / sewing clips
- Matching thread
- Fabric marking pen / chalk
How to make a baby ruffle romper tutorial
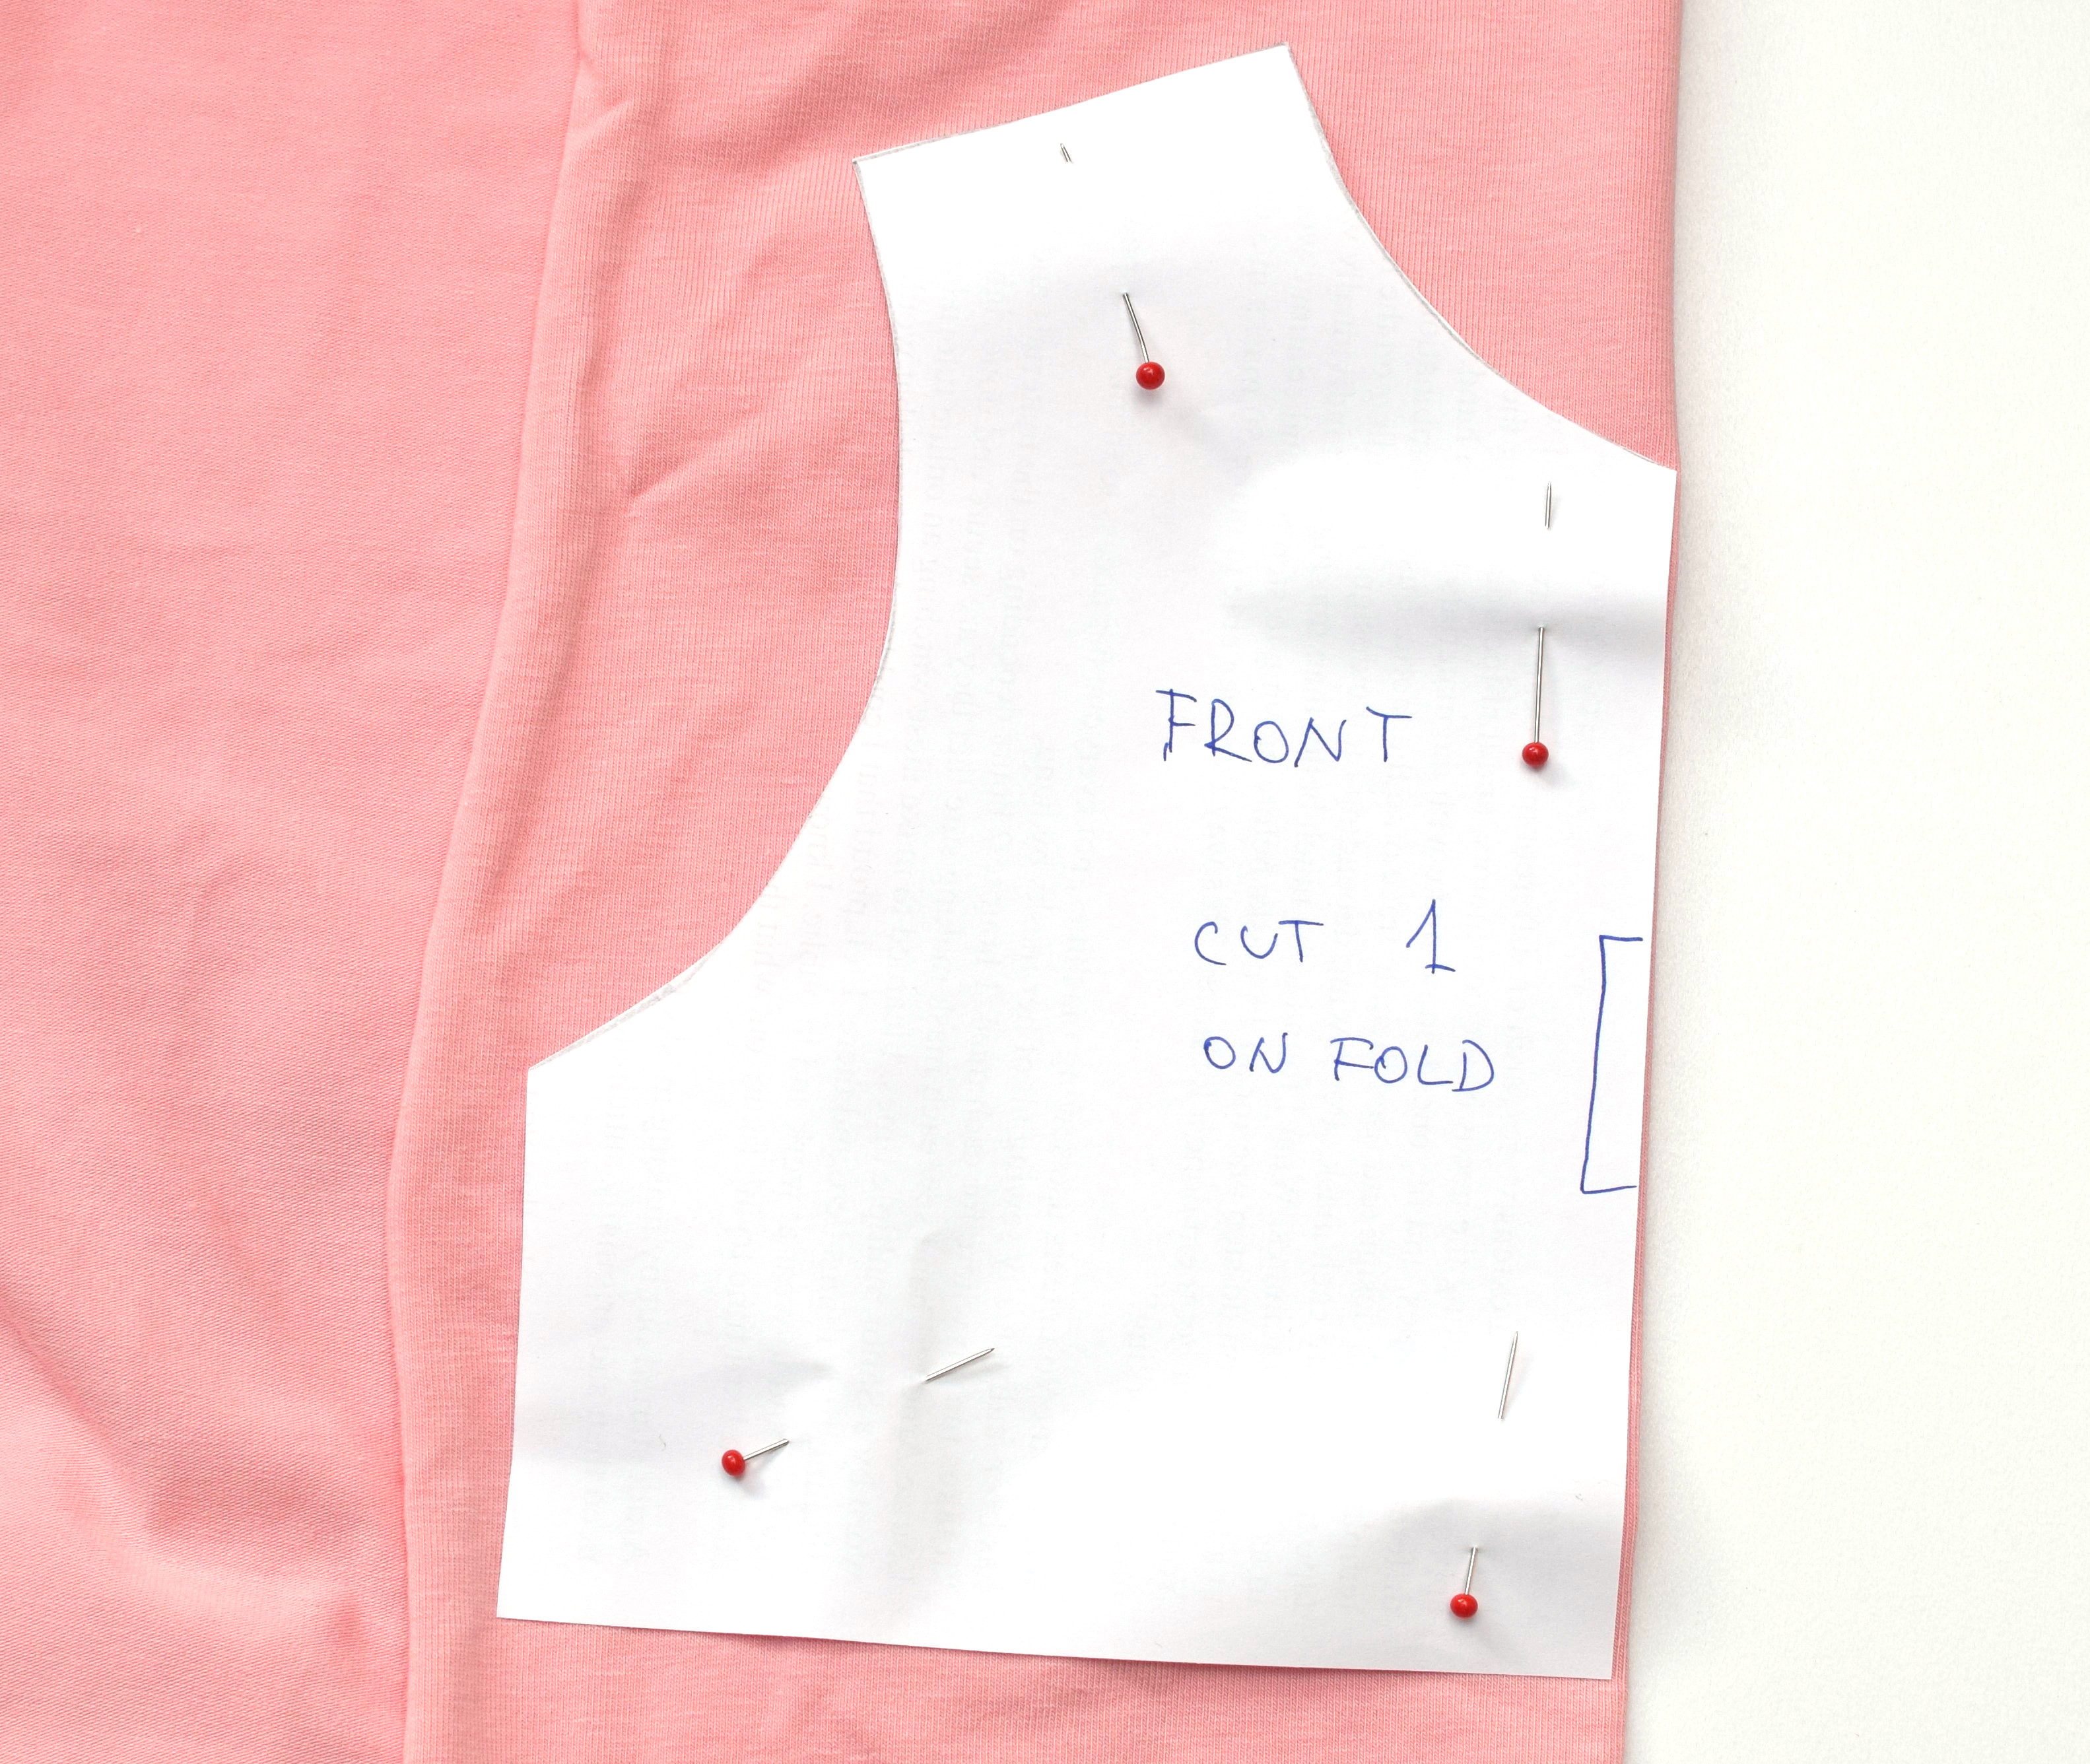
Step 1 – cut your fabric pieces
Print your PDF pattern and cut five fabric pieces – 1 bottom piece, 2 mirrored pieces for the back bodice, 1 front bodice piece, plus about 60 inches of jersey bias tape (you don’t actually have to cut your strip on the bias since it already has a lot of stretch).
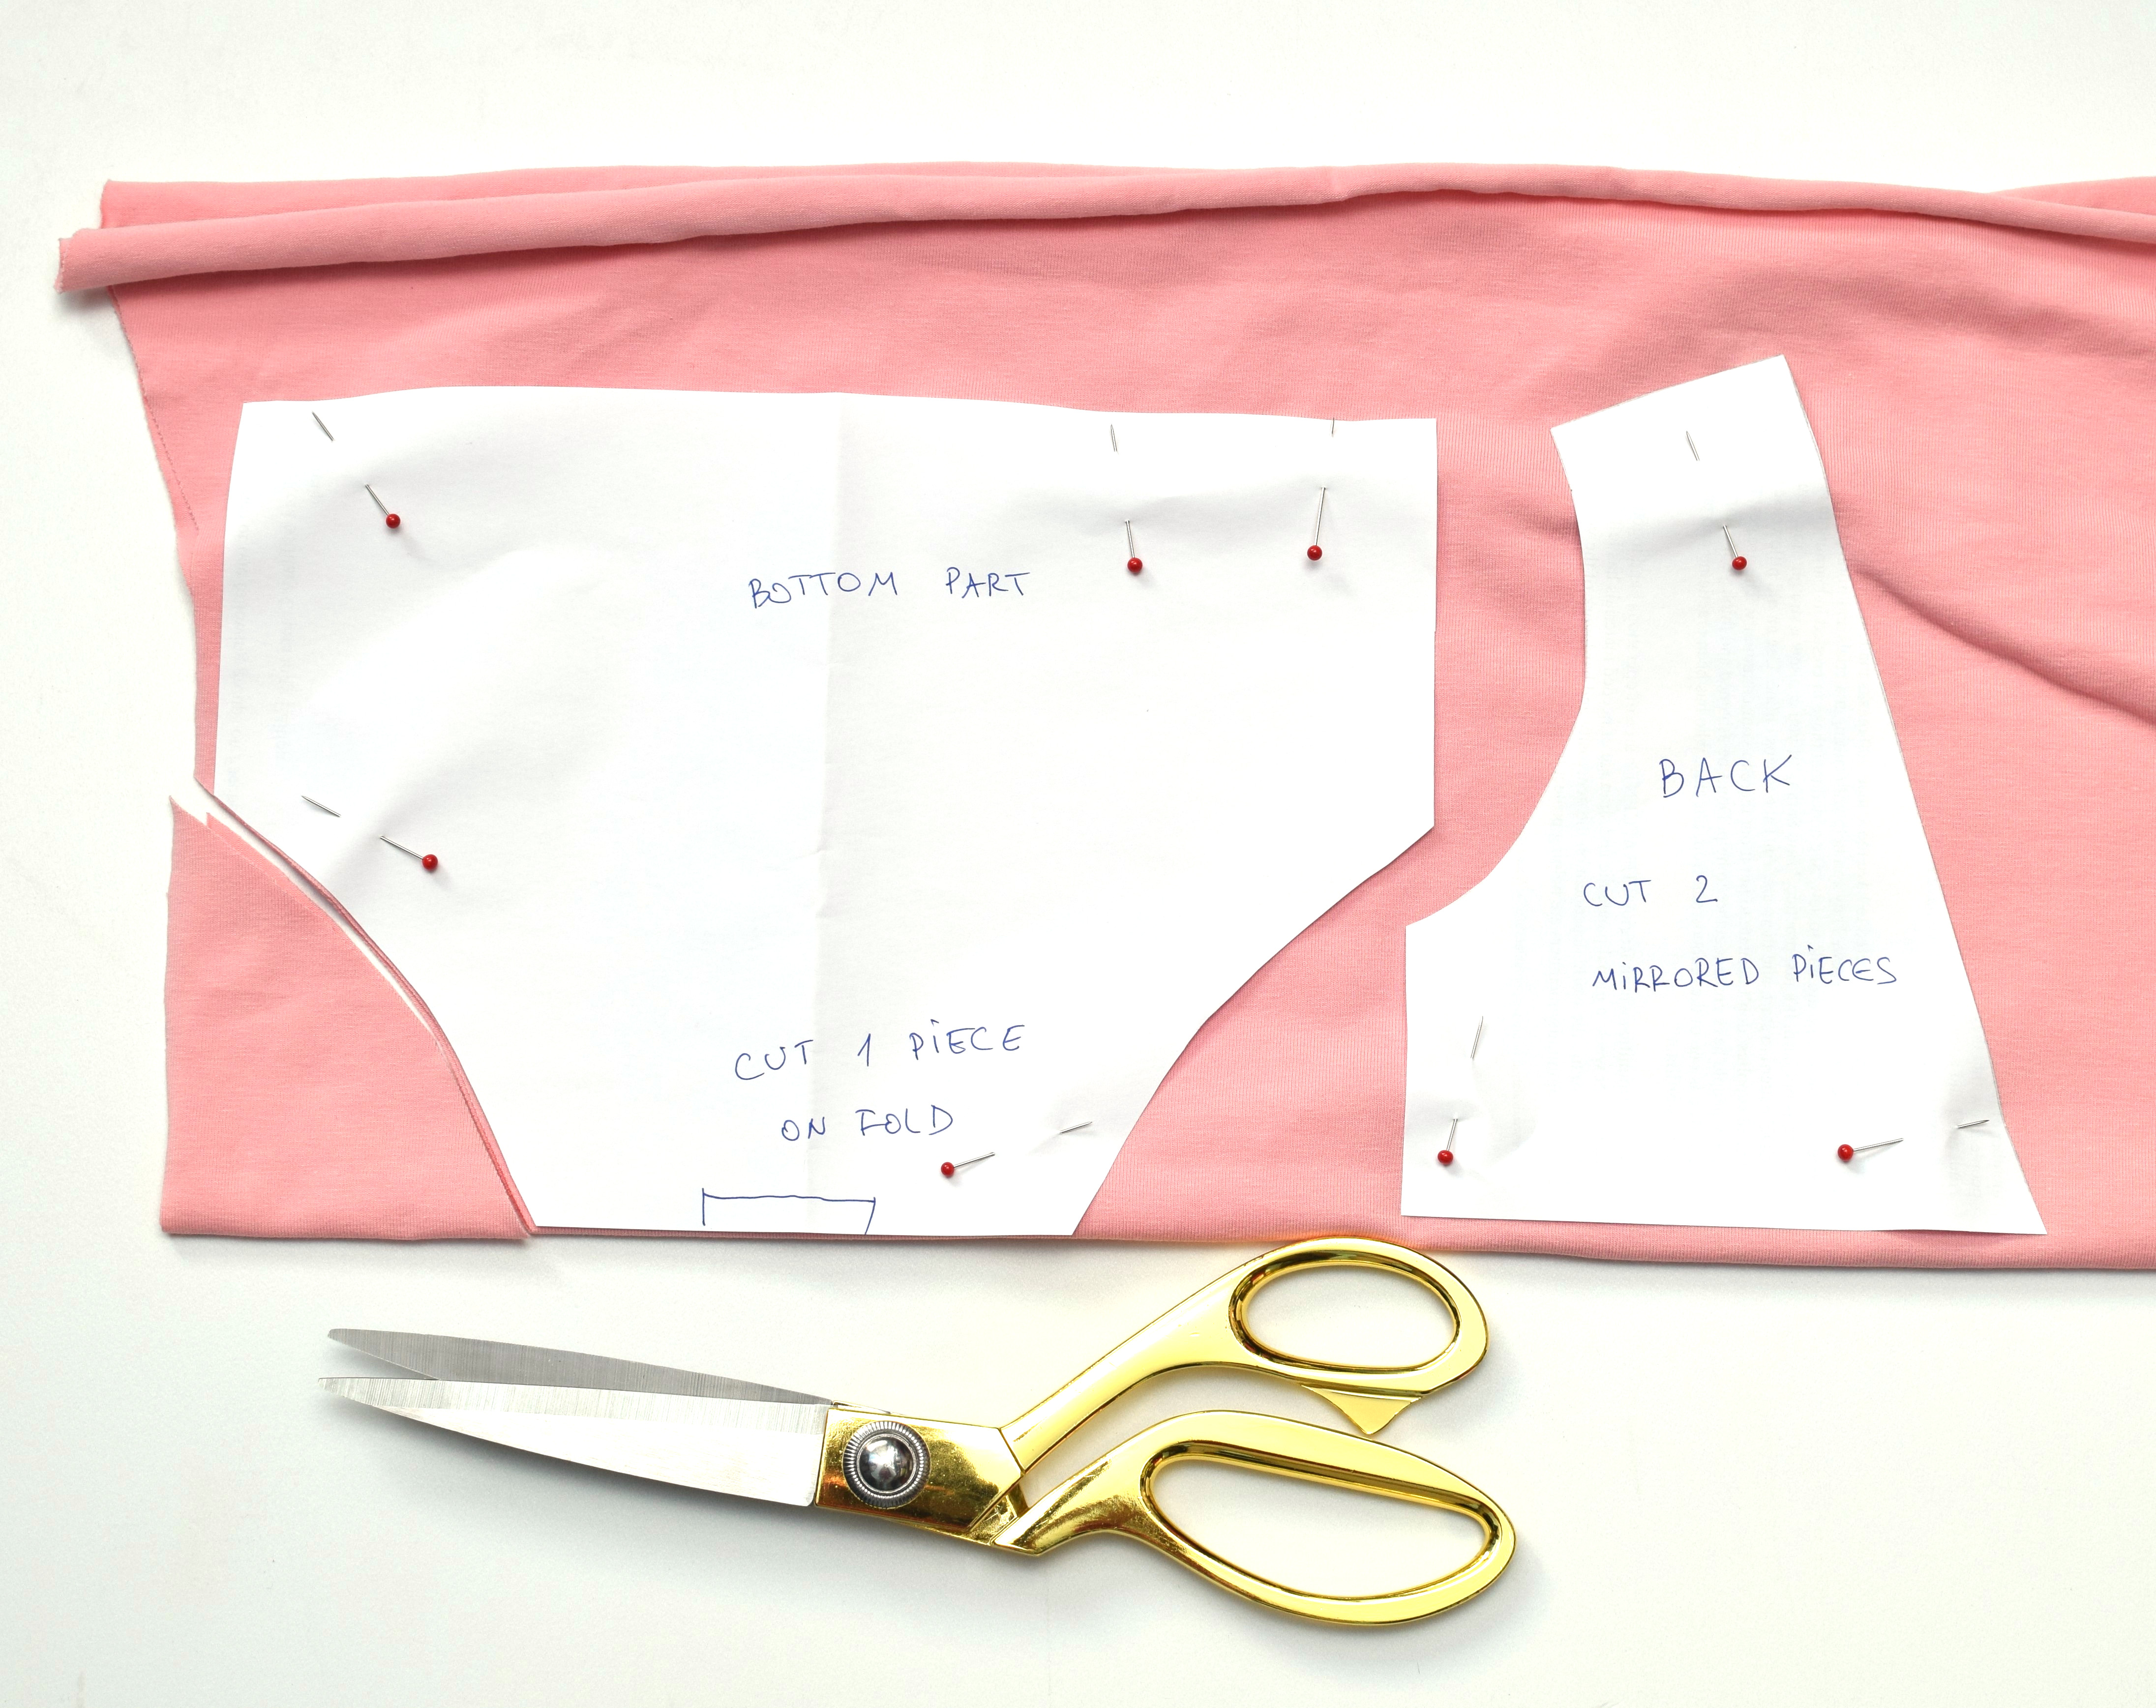
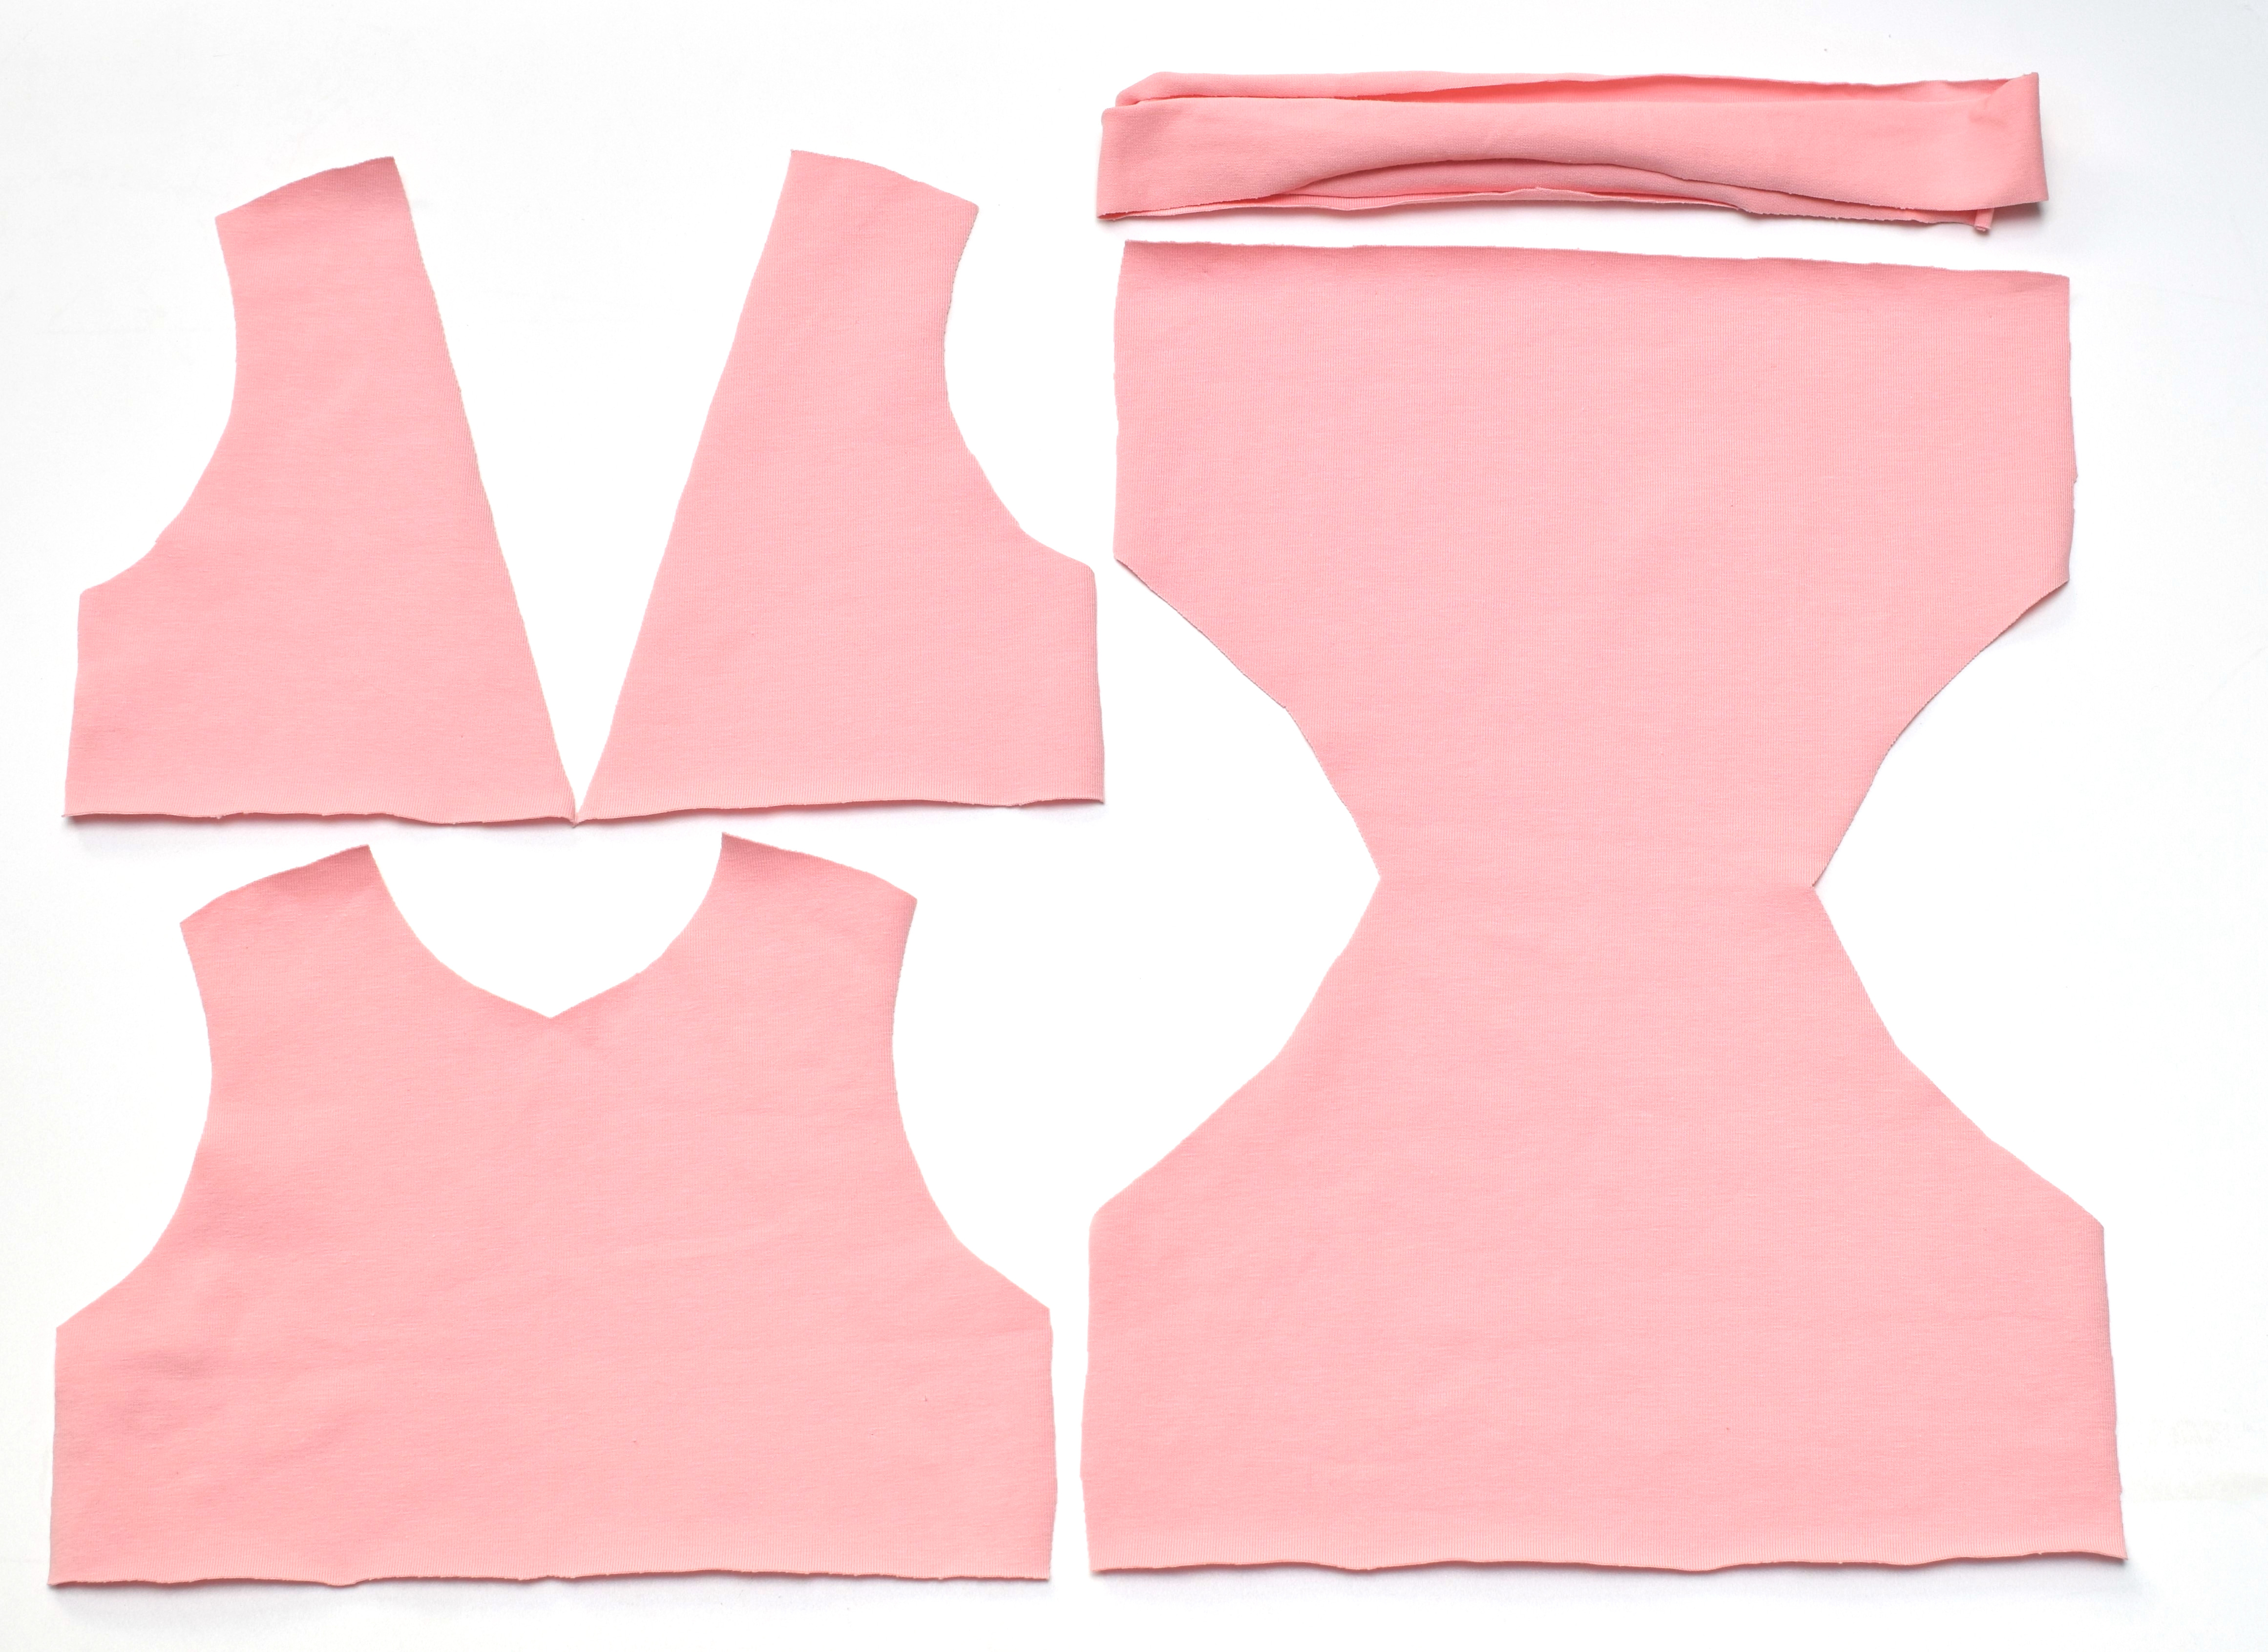
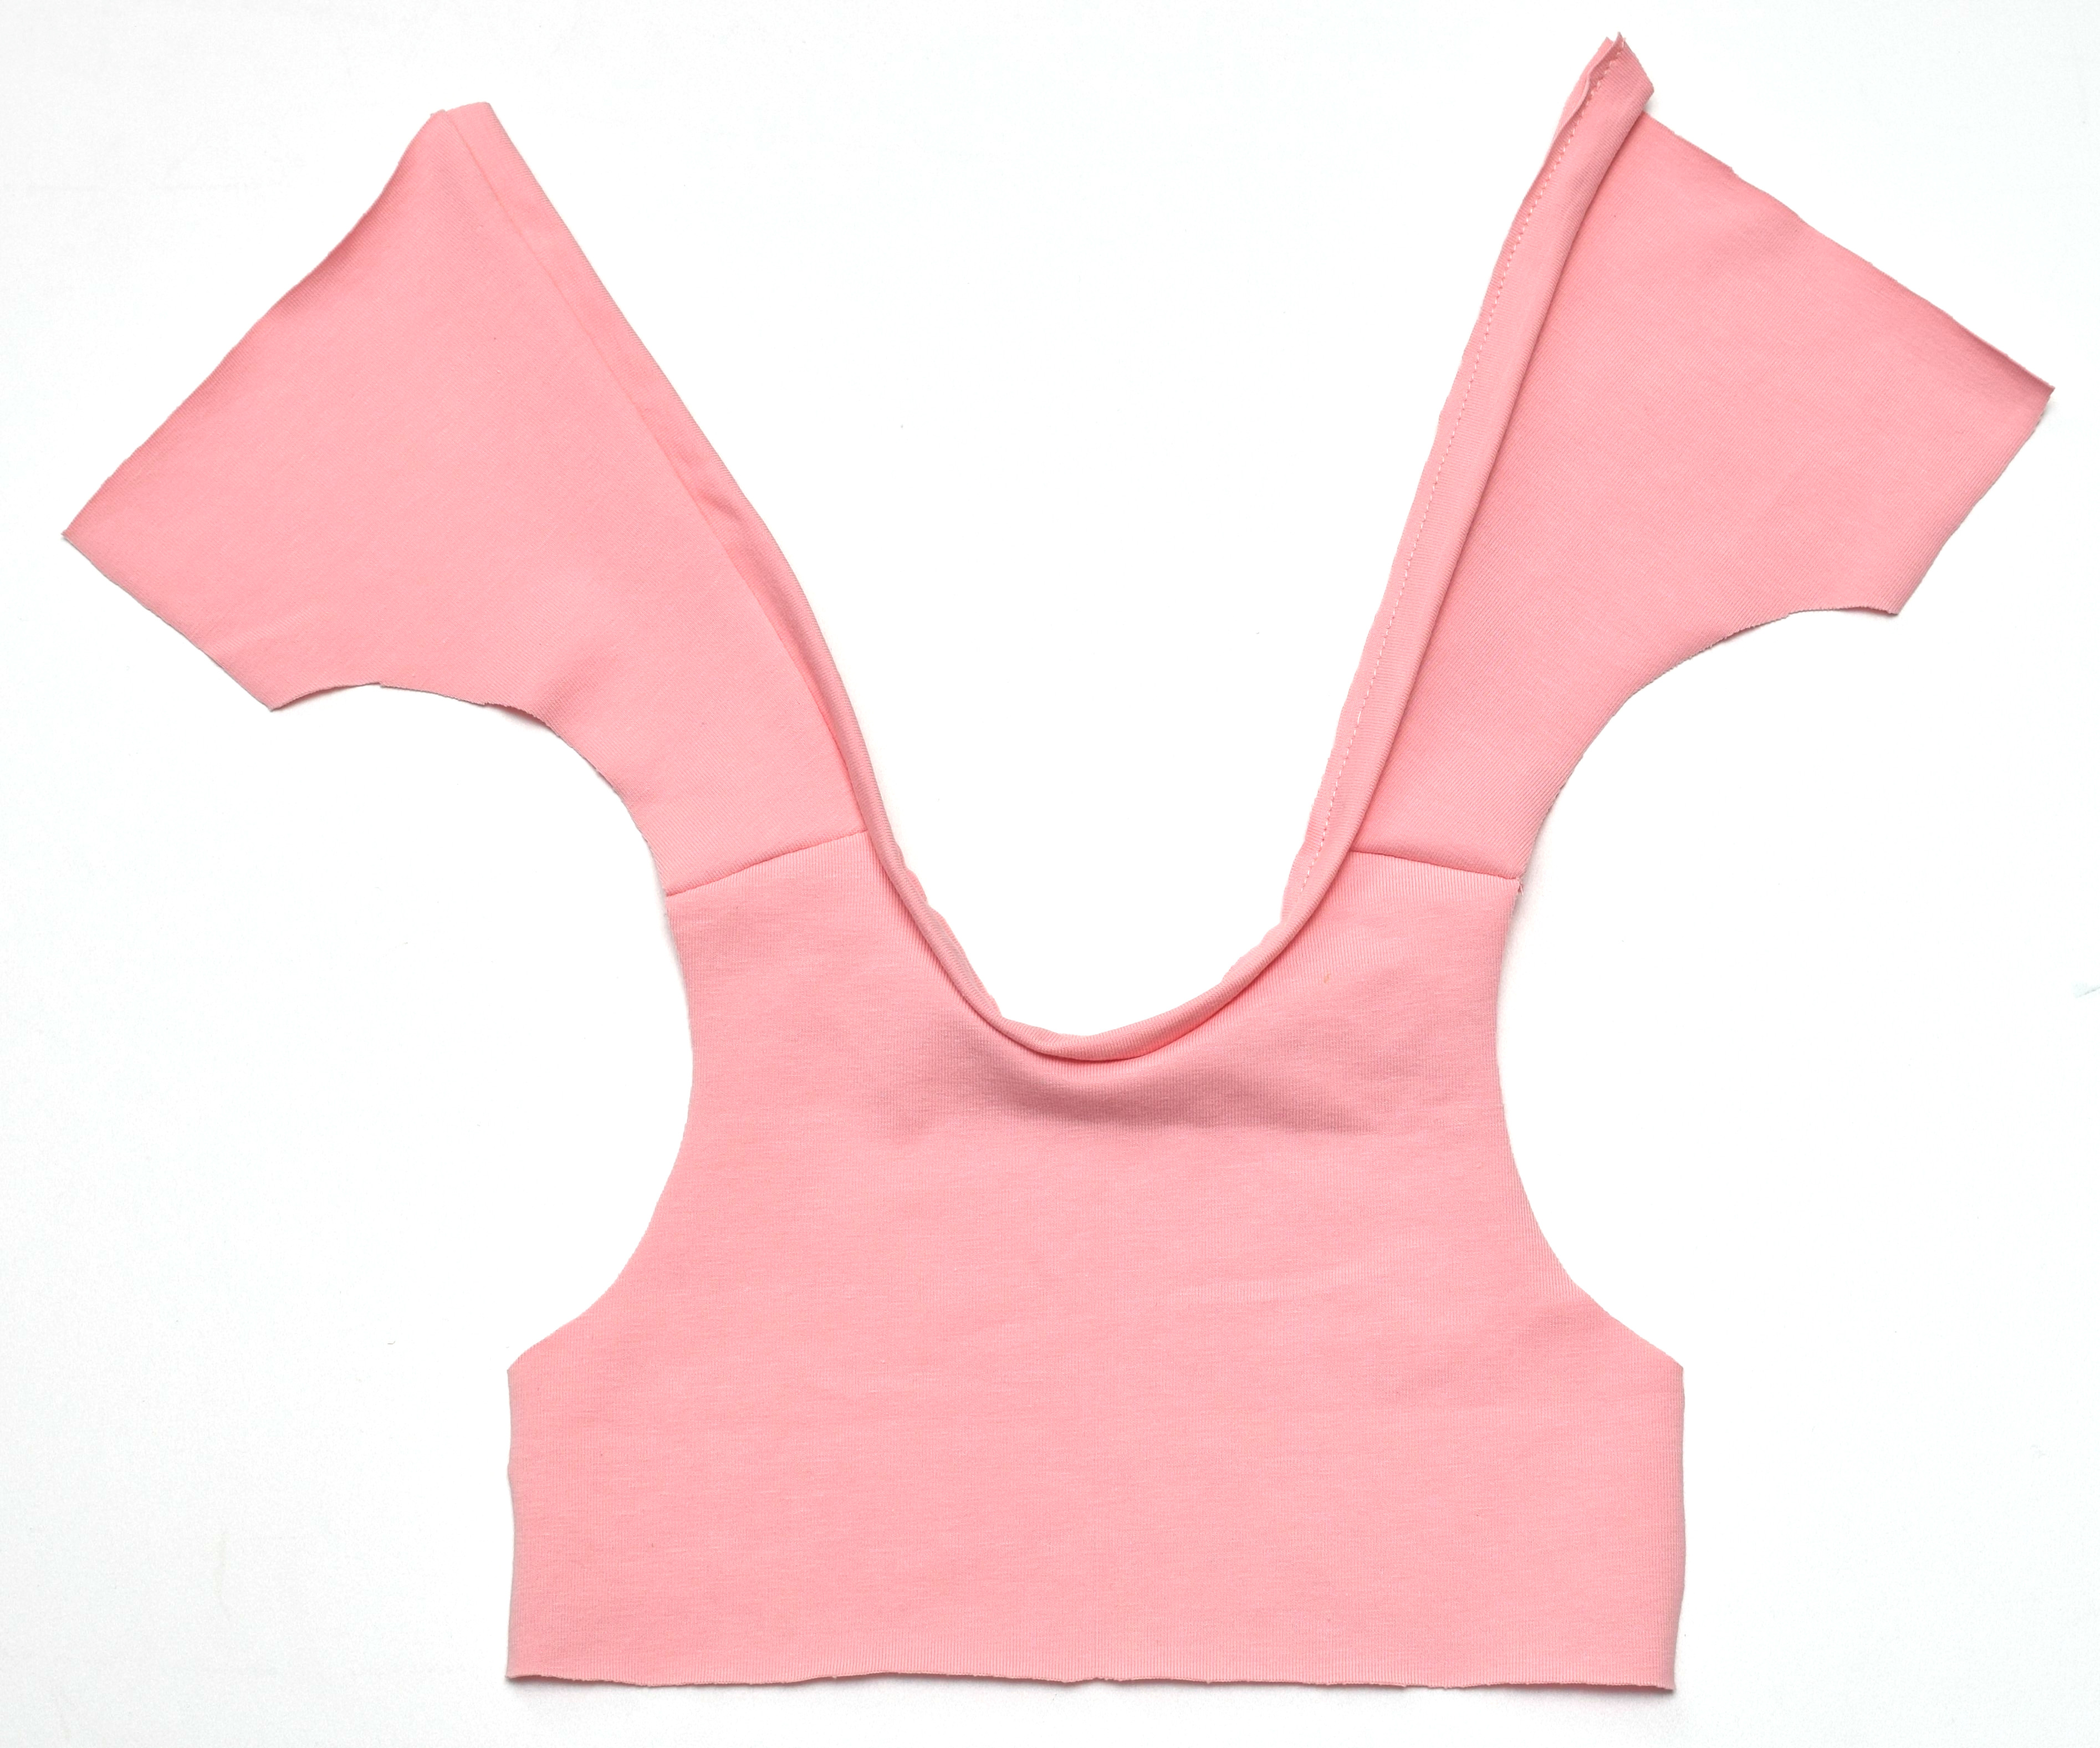
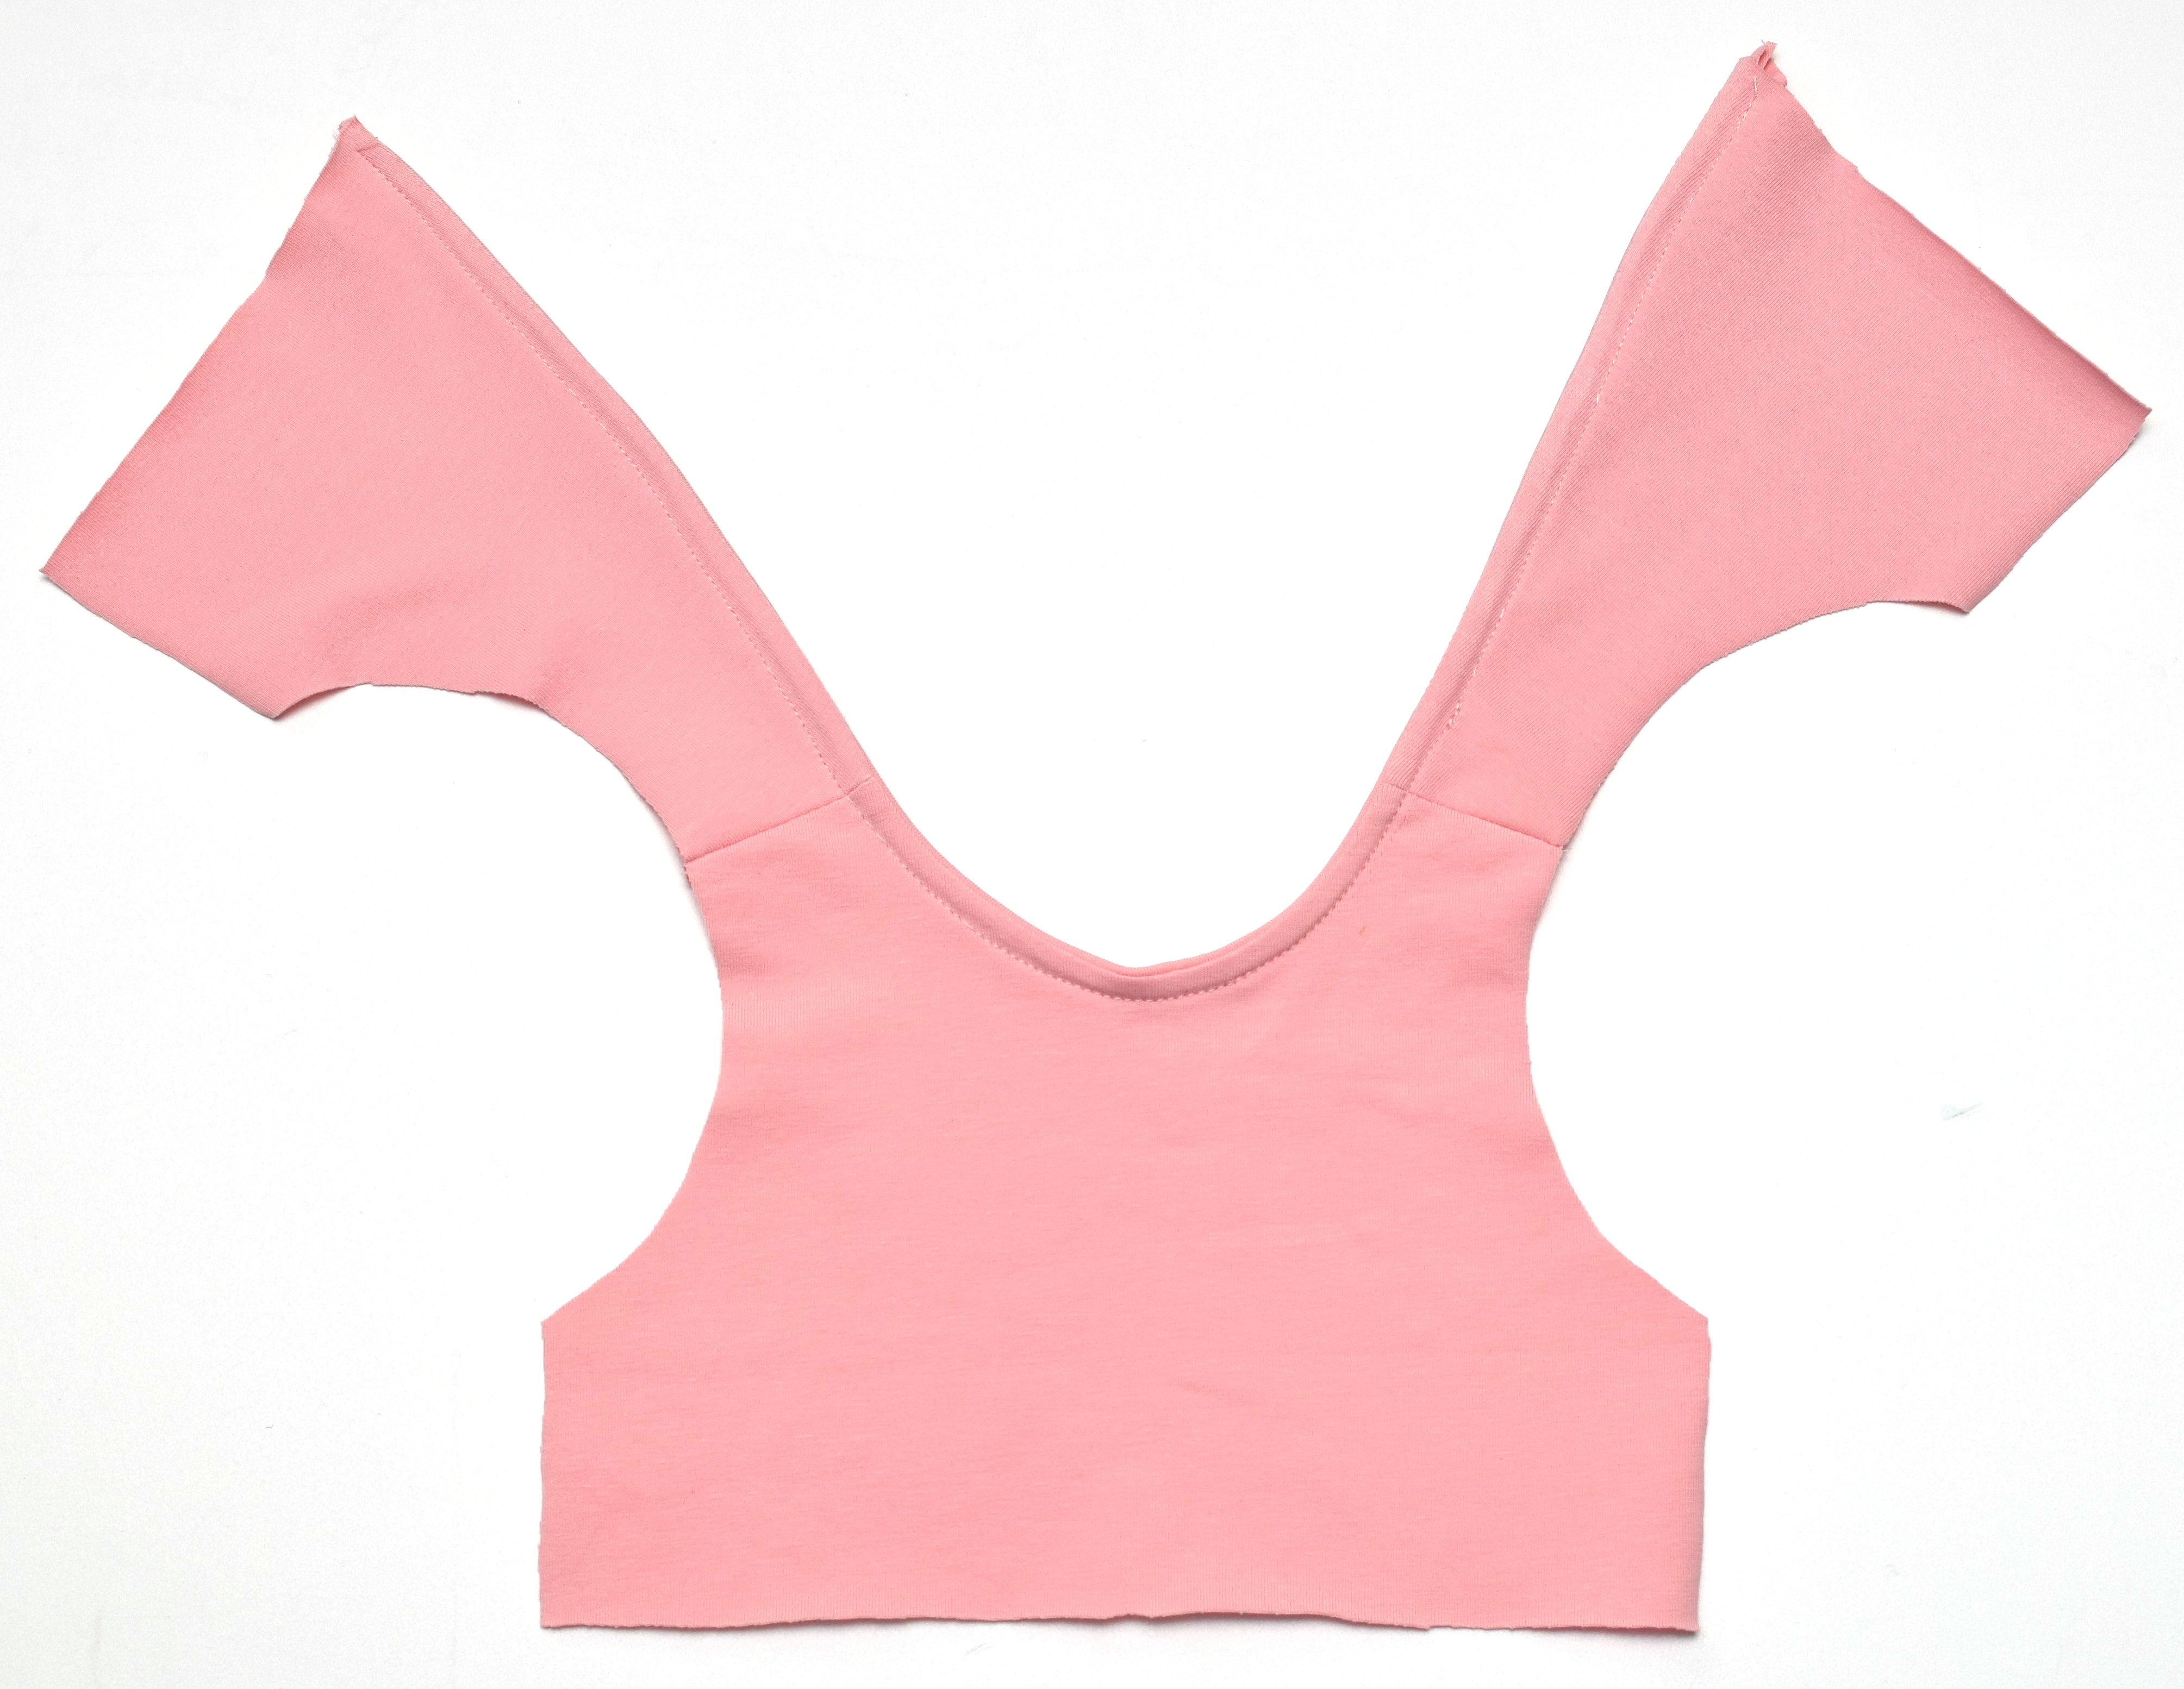
This is what your fabric pieces should look like:
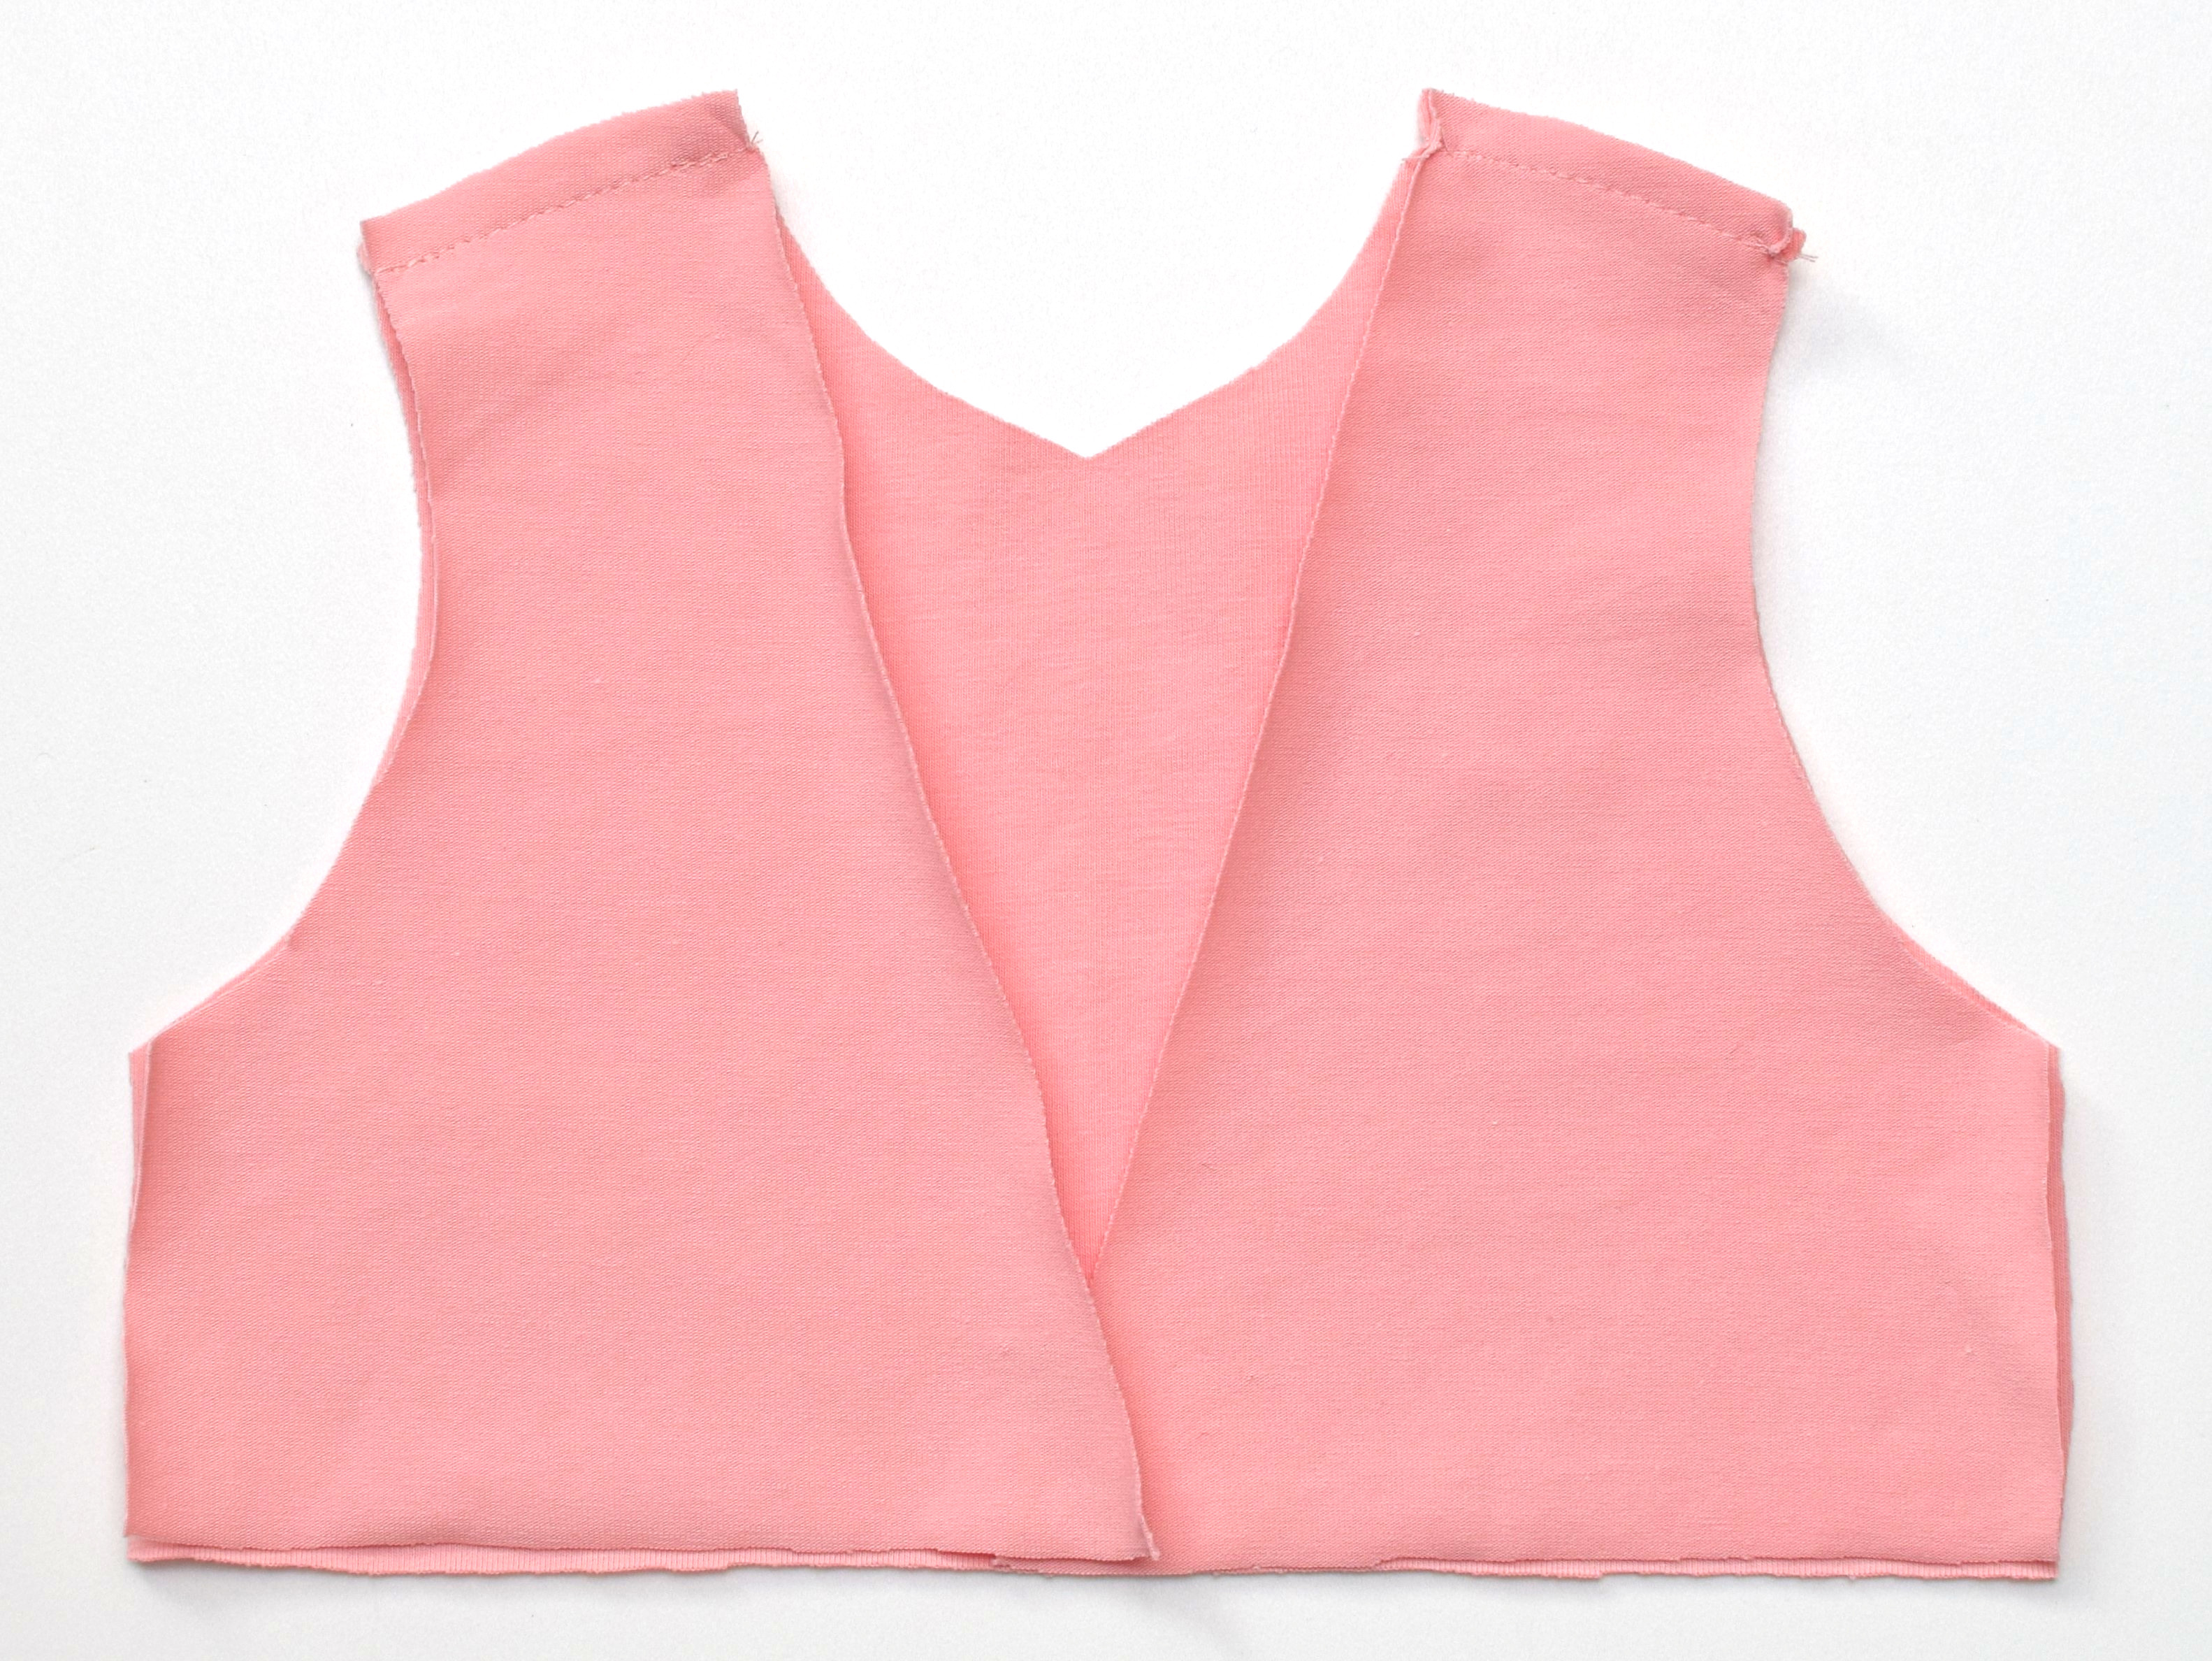
Step 2 – sew the shoulder seams
Place the front and back bodice pieces with the right sides together, and sew the shoulder seams. Finish the seams if you want (I didn’t) and press well.
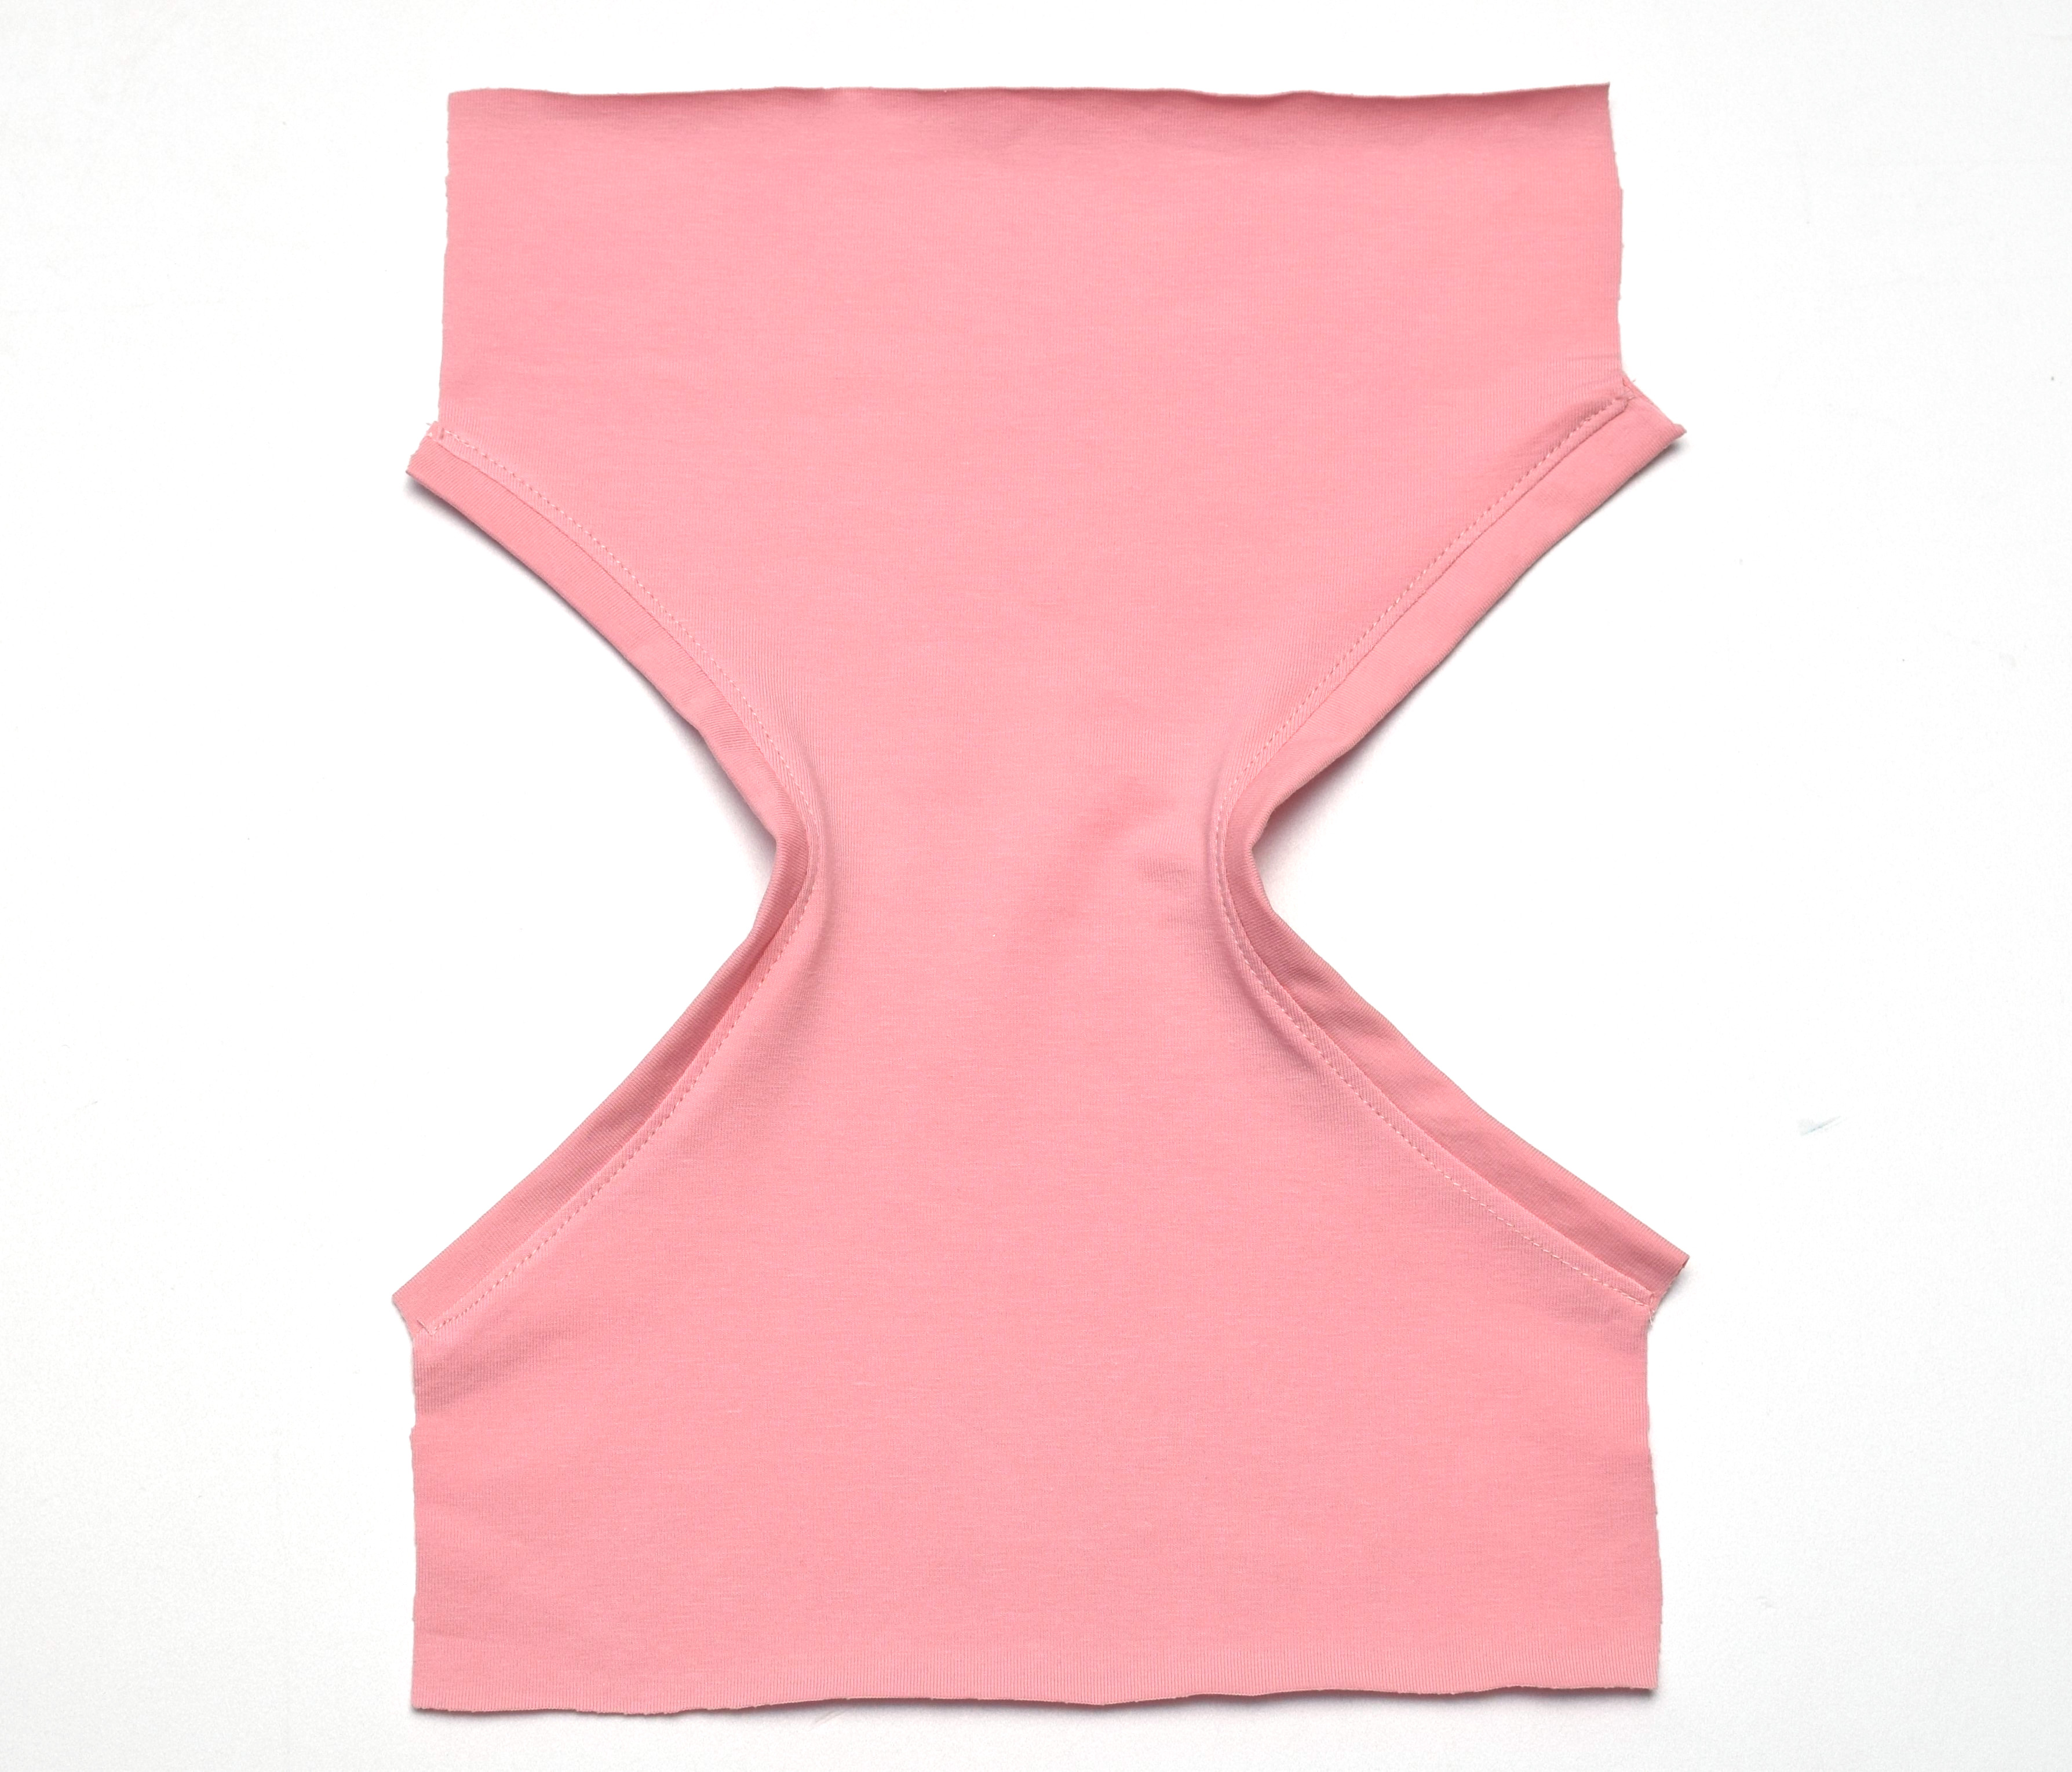
Step 3 – finish the neckline and armholes
I made my own jersey bias tape, 1 1/2″ wide. I just folded it in half, then placed it on the right side of the bodice, aligning its raw edges to the neckline edge.
Stitch the bias tape to the neckline, then trim the seam allowance to approx. 1/8 inch.
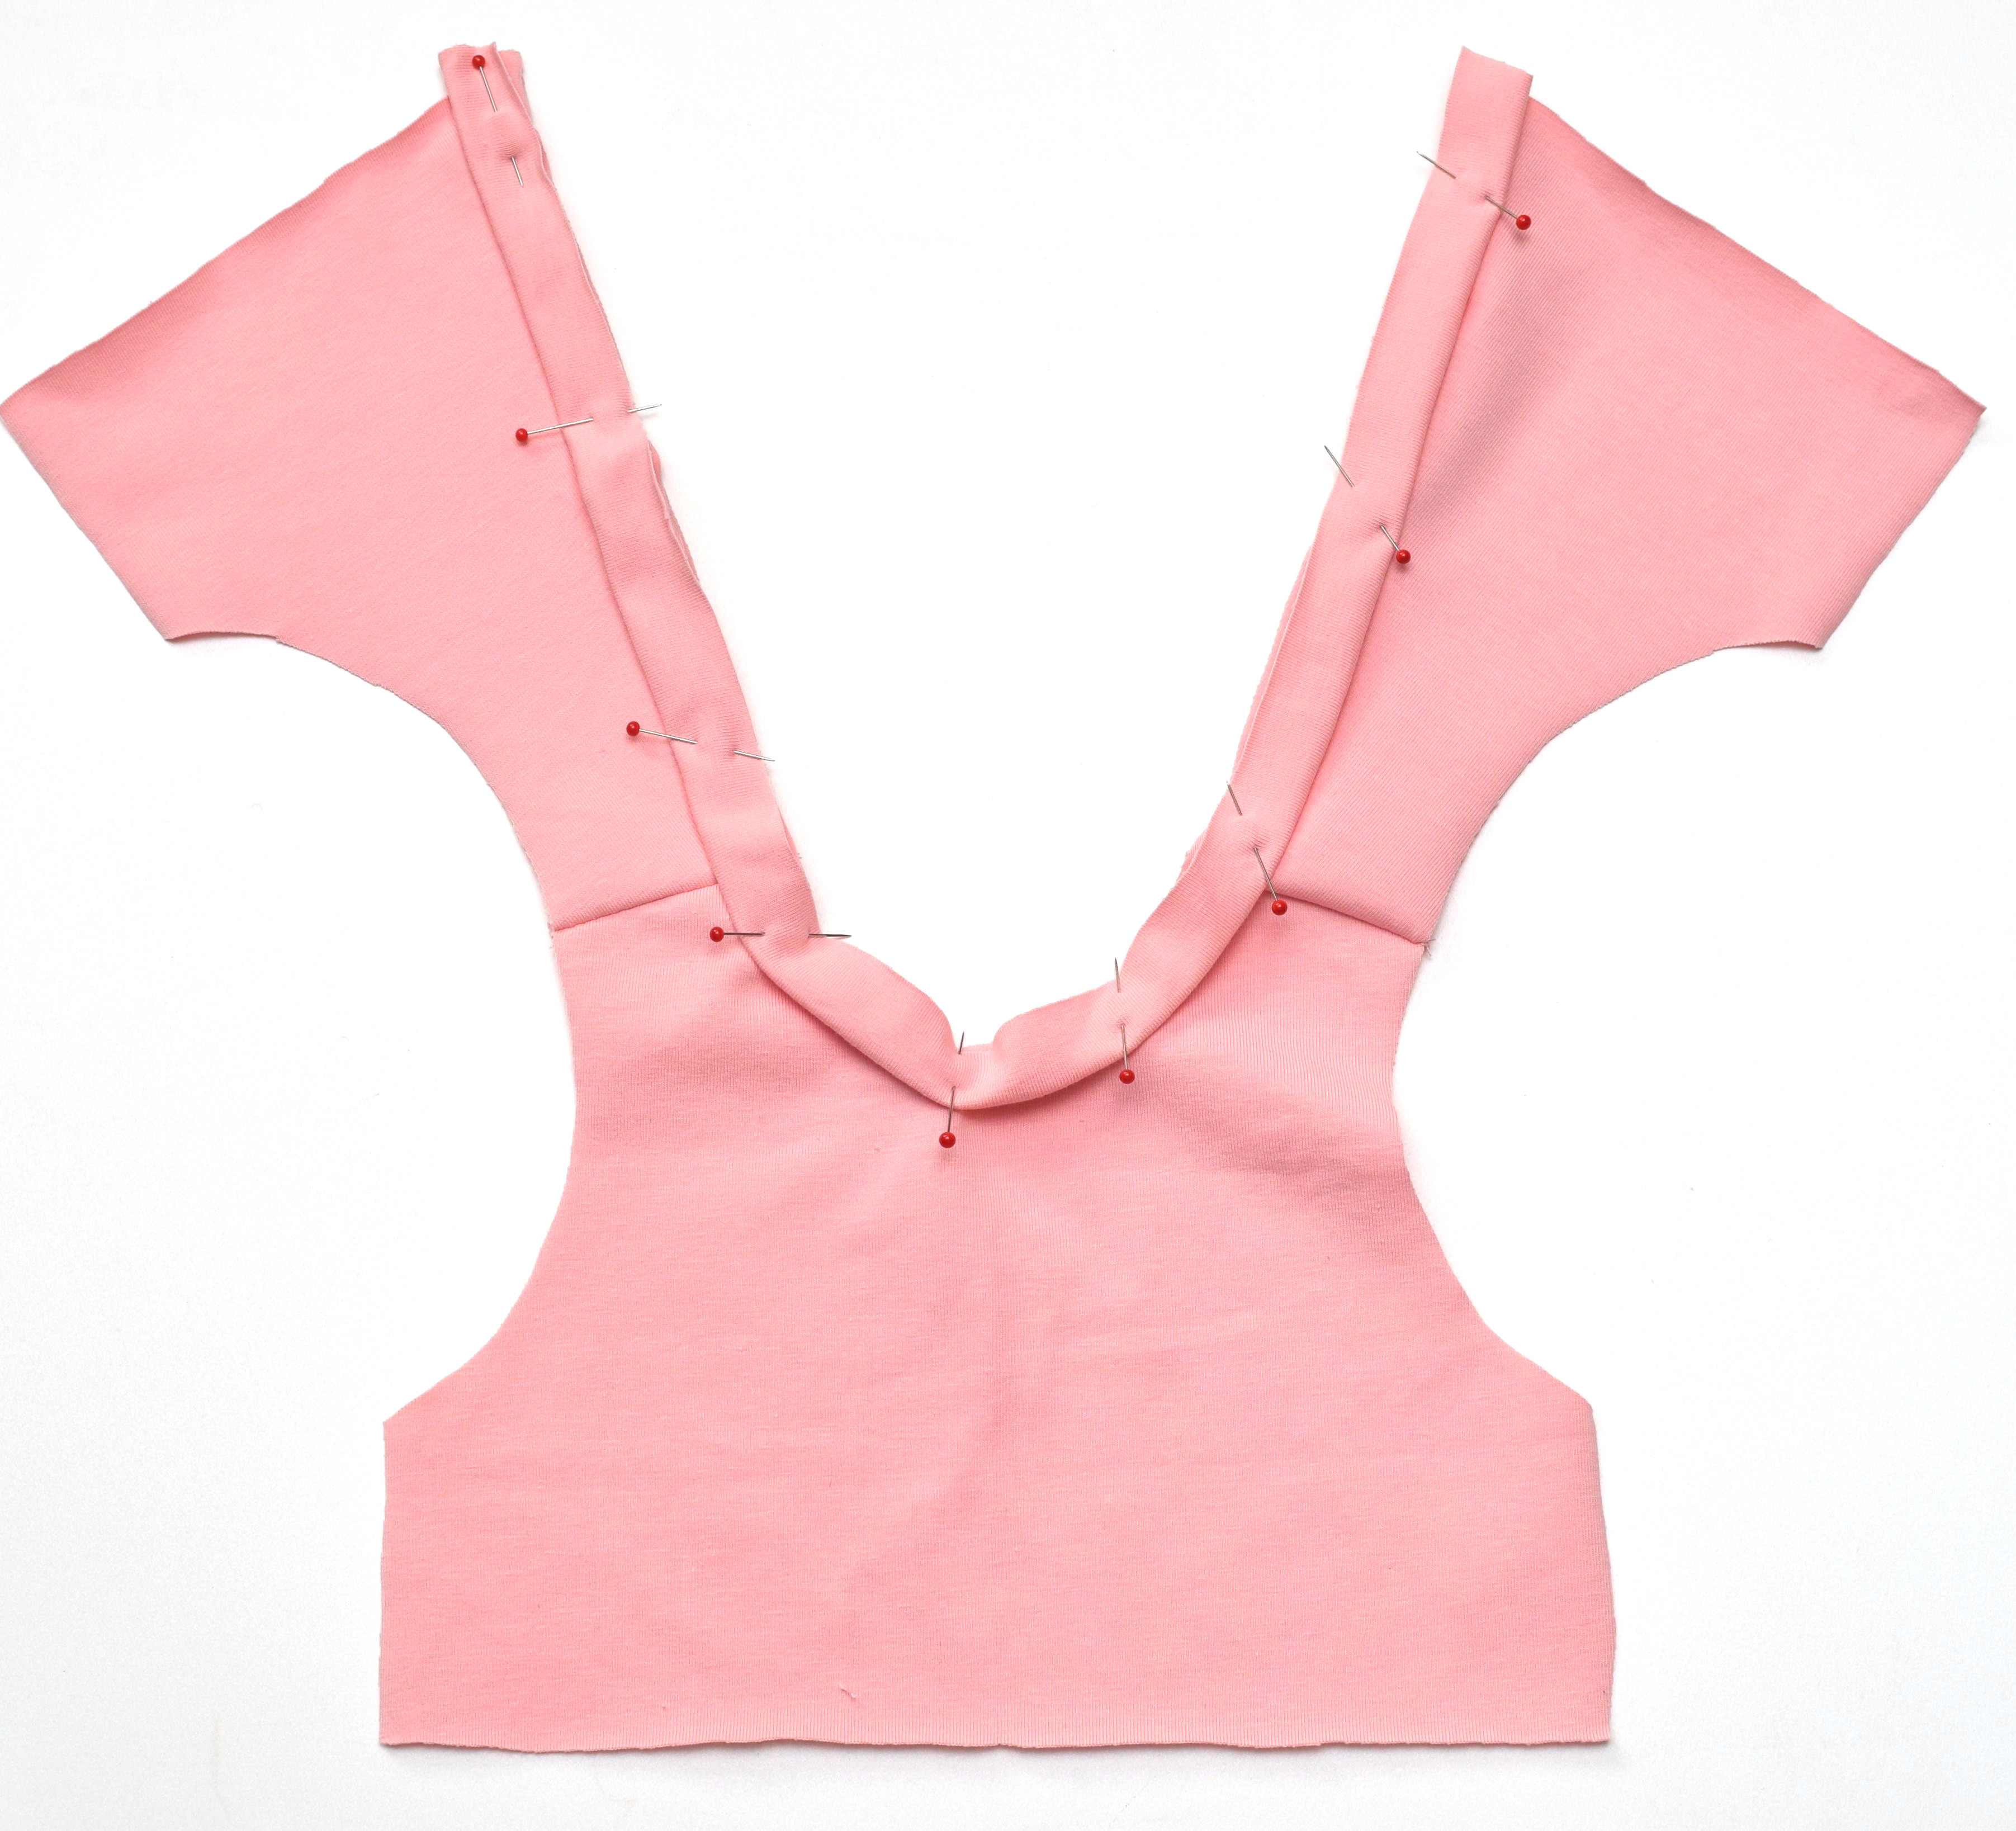
Then, turn the bias tape to the back of the neckline, then sew it in place – make sure to catch the folded bias tape in the back. Use the same method to finish the armhole edges.
Step 4 – finish leg openings
This time, I used a slightly different finishing method for the leg holes. I topstitched the knit band to keep the seam allowance in place.
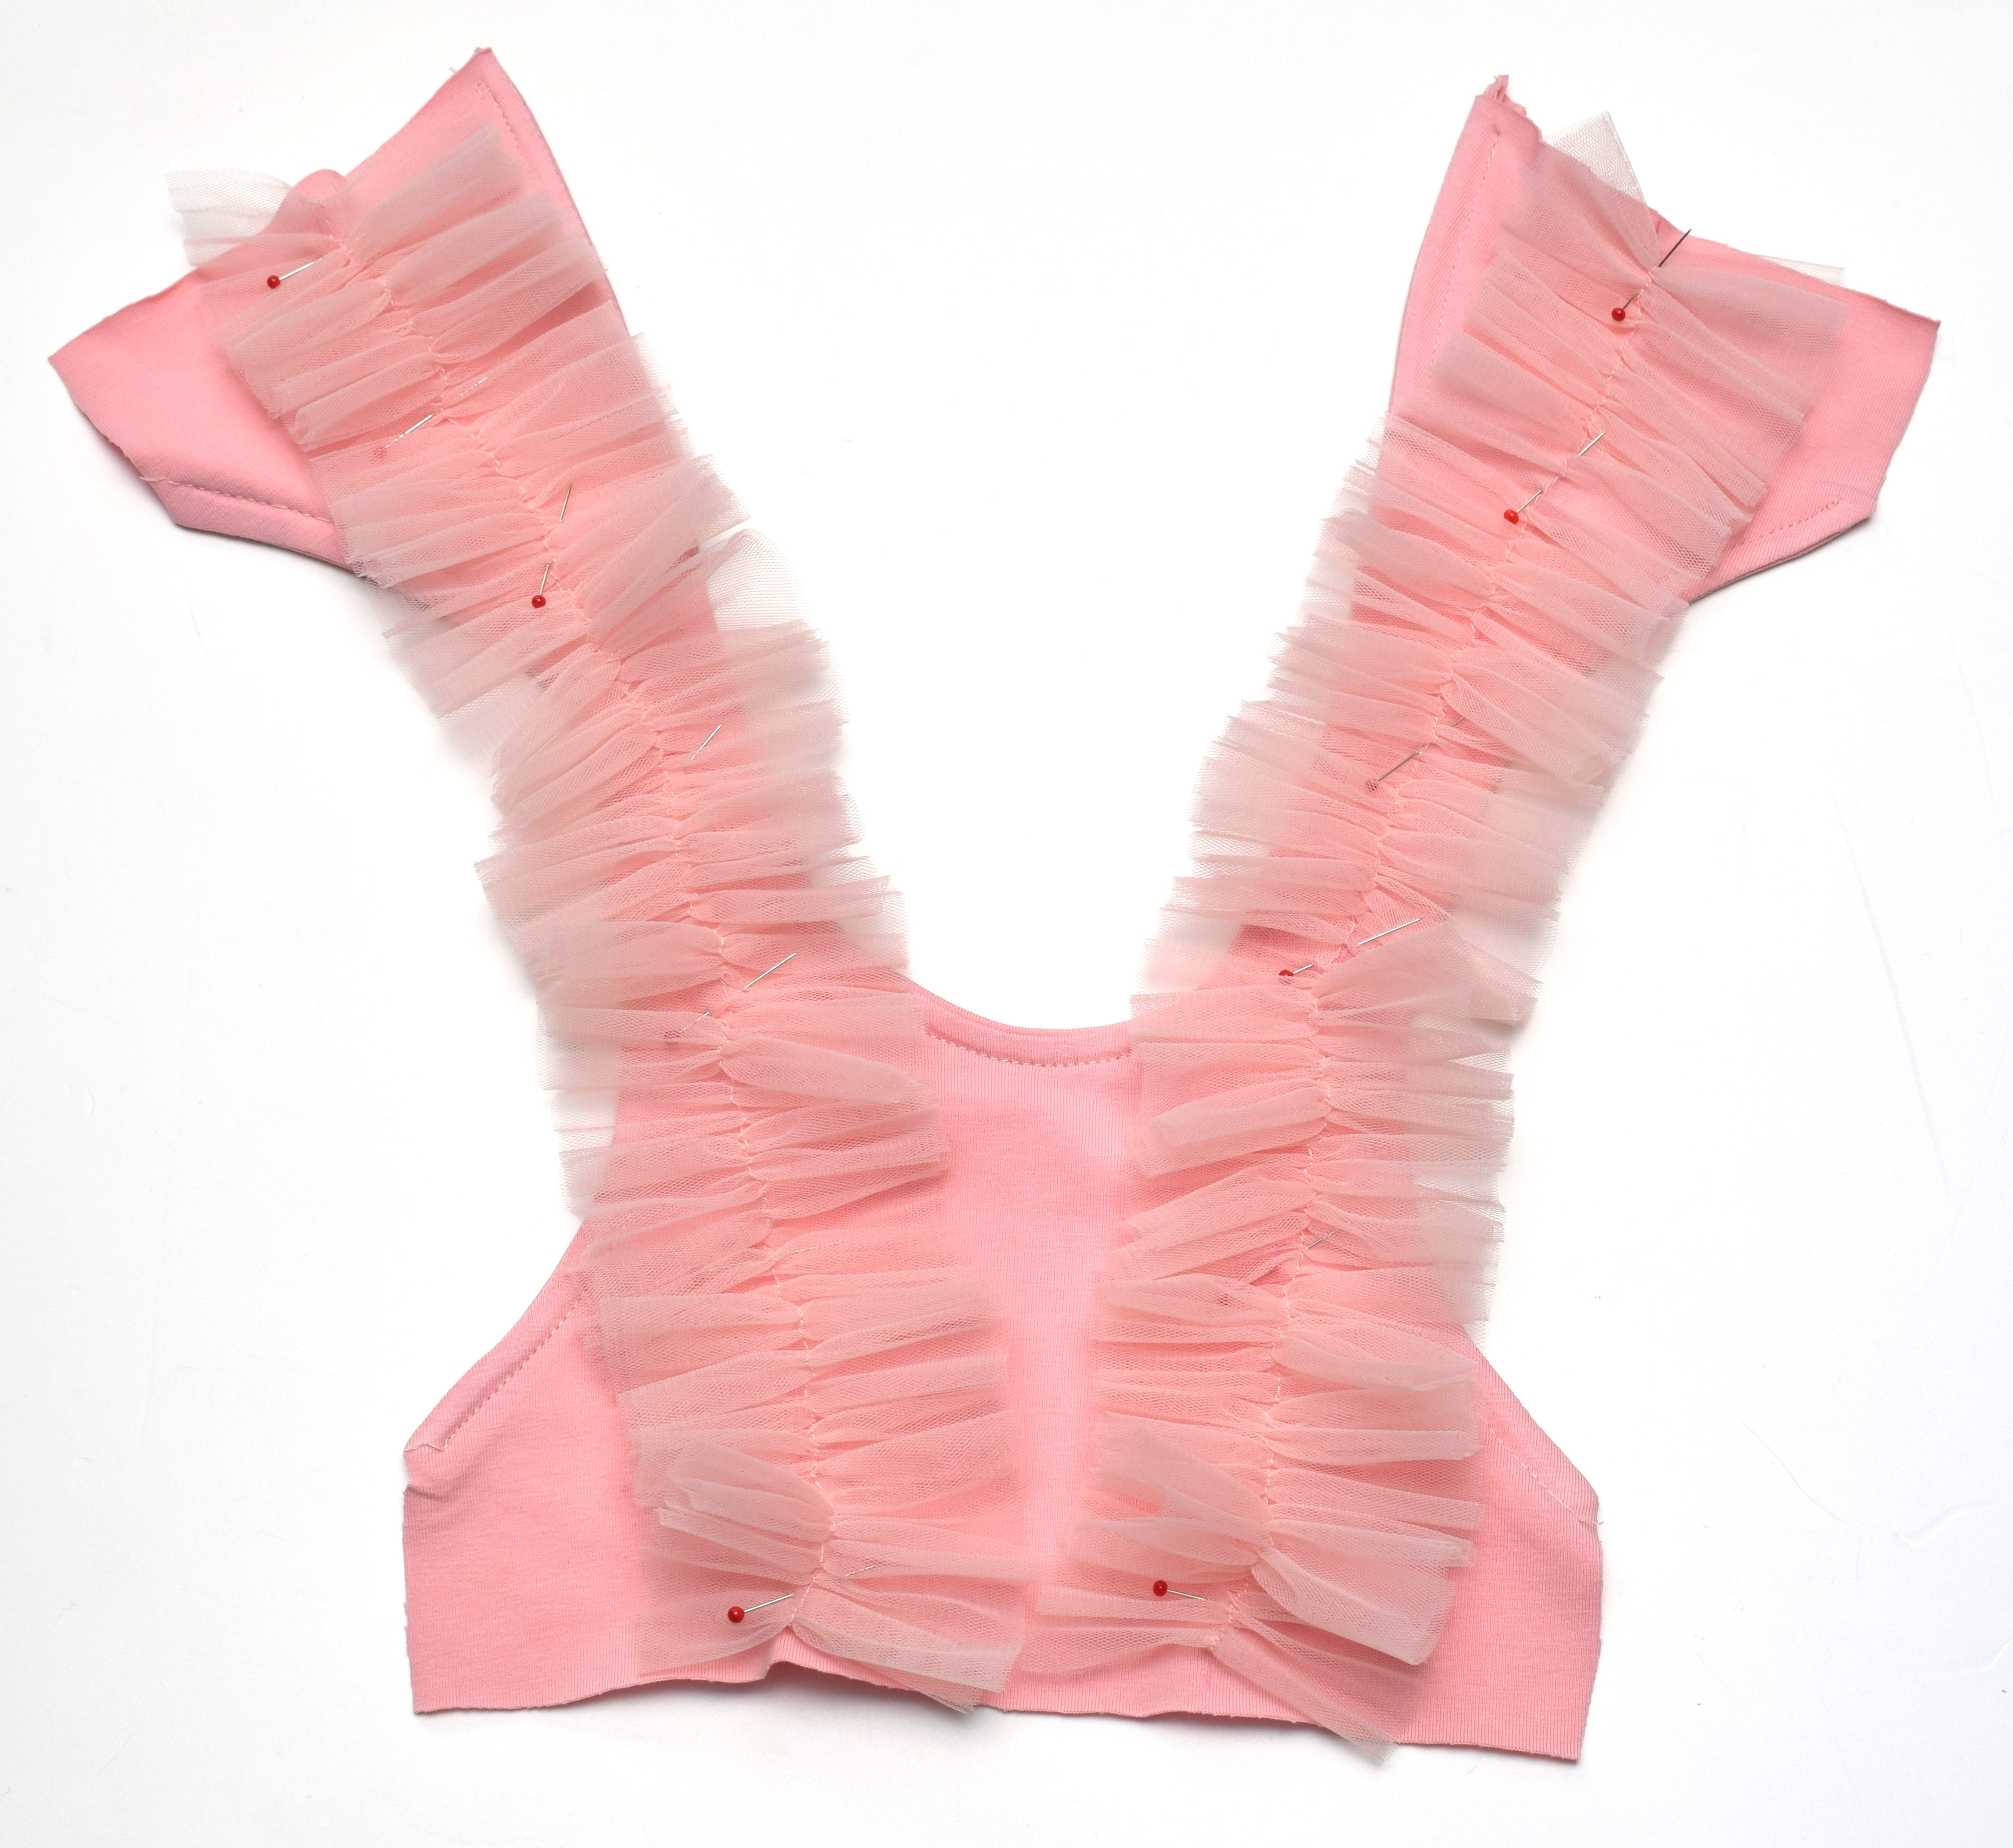
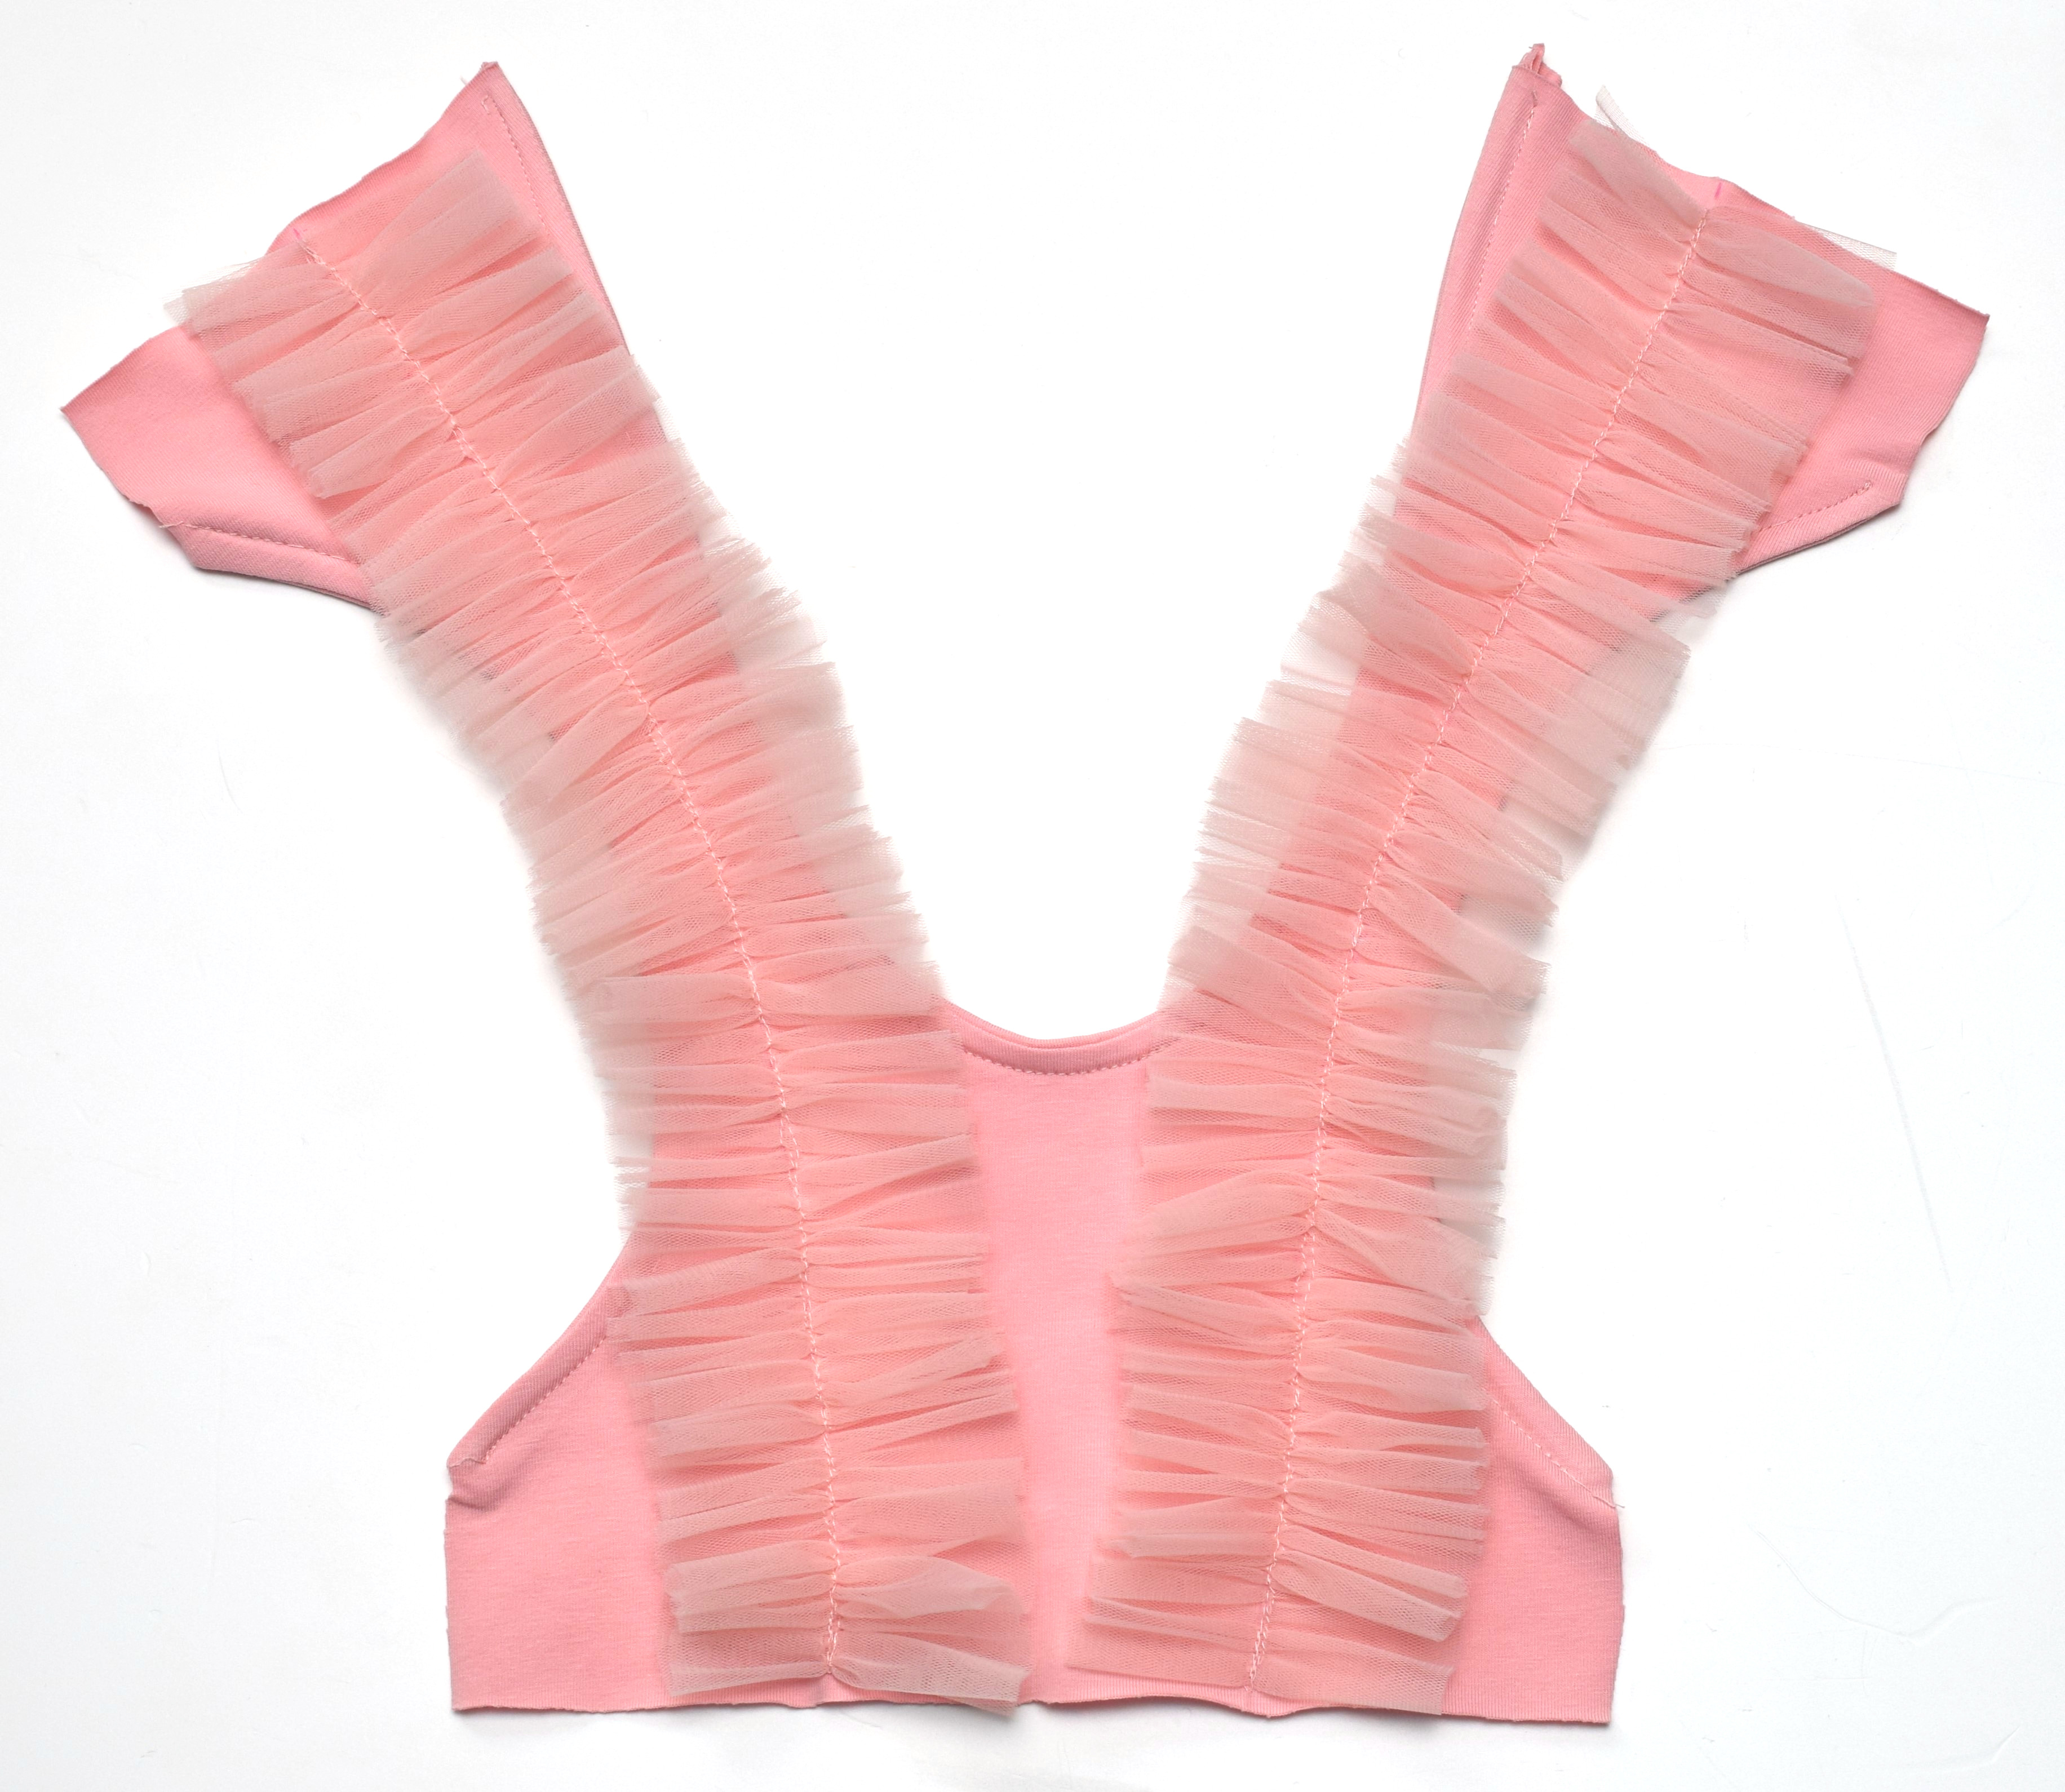
Step 5 – add ruffles to the bodice
I added ruffles that go from front bodice to back.
For each ruffle, I used 2 tulle strips measuring 118” by 3” (300 cm x 7.5cm).
Sew two pieces of tulle together, down the middle, to get one double tulle ruffle. Use the longest stitch length and do not backstitch. You’ll gather this tulle strip to fit the pink line that goes from the front to the back of the bodice.
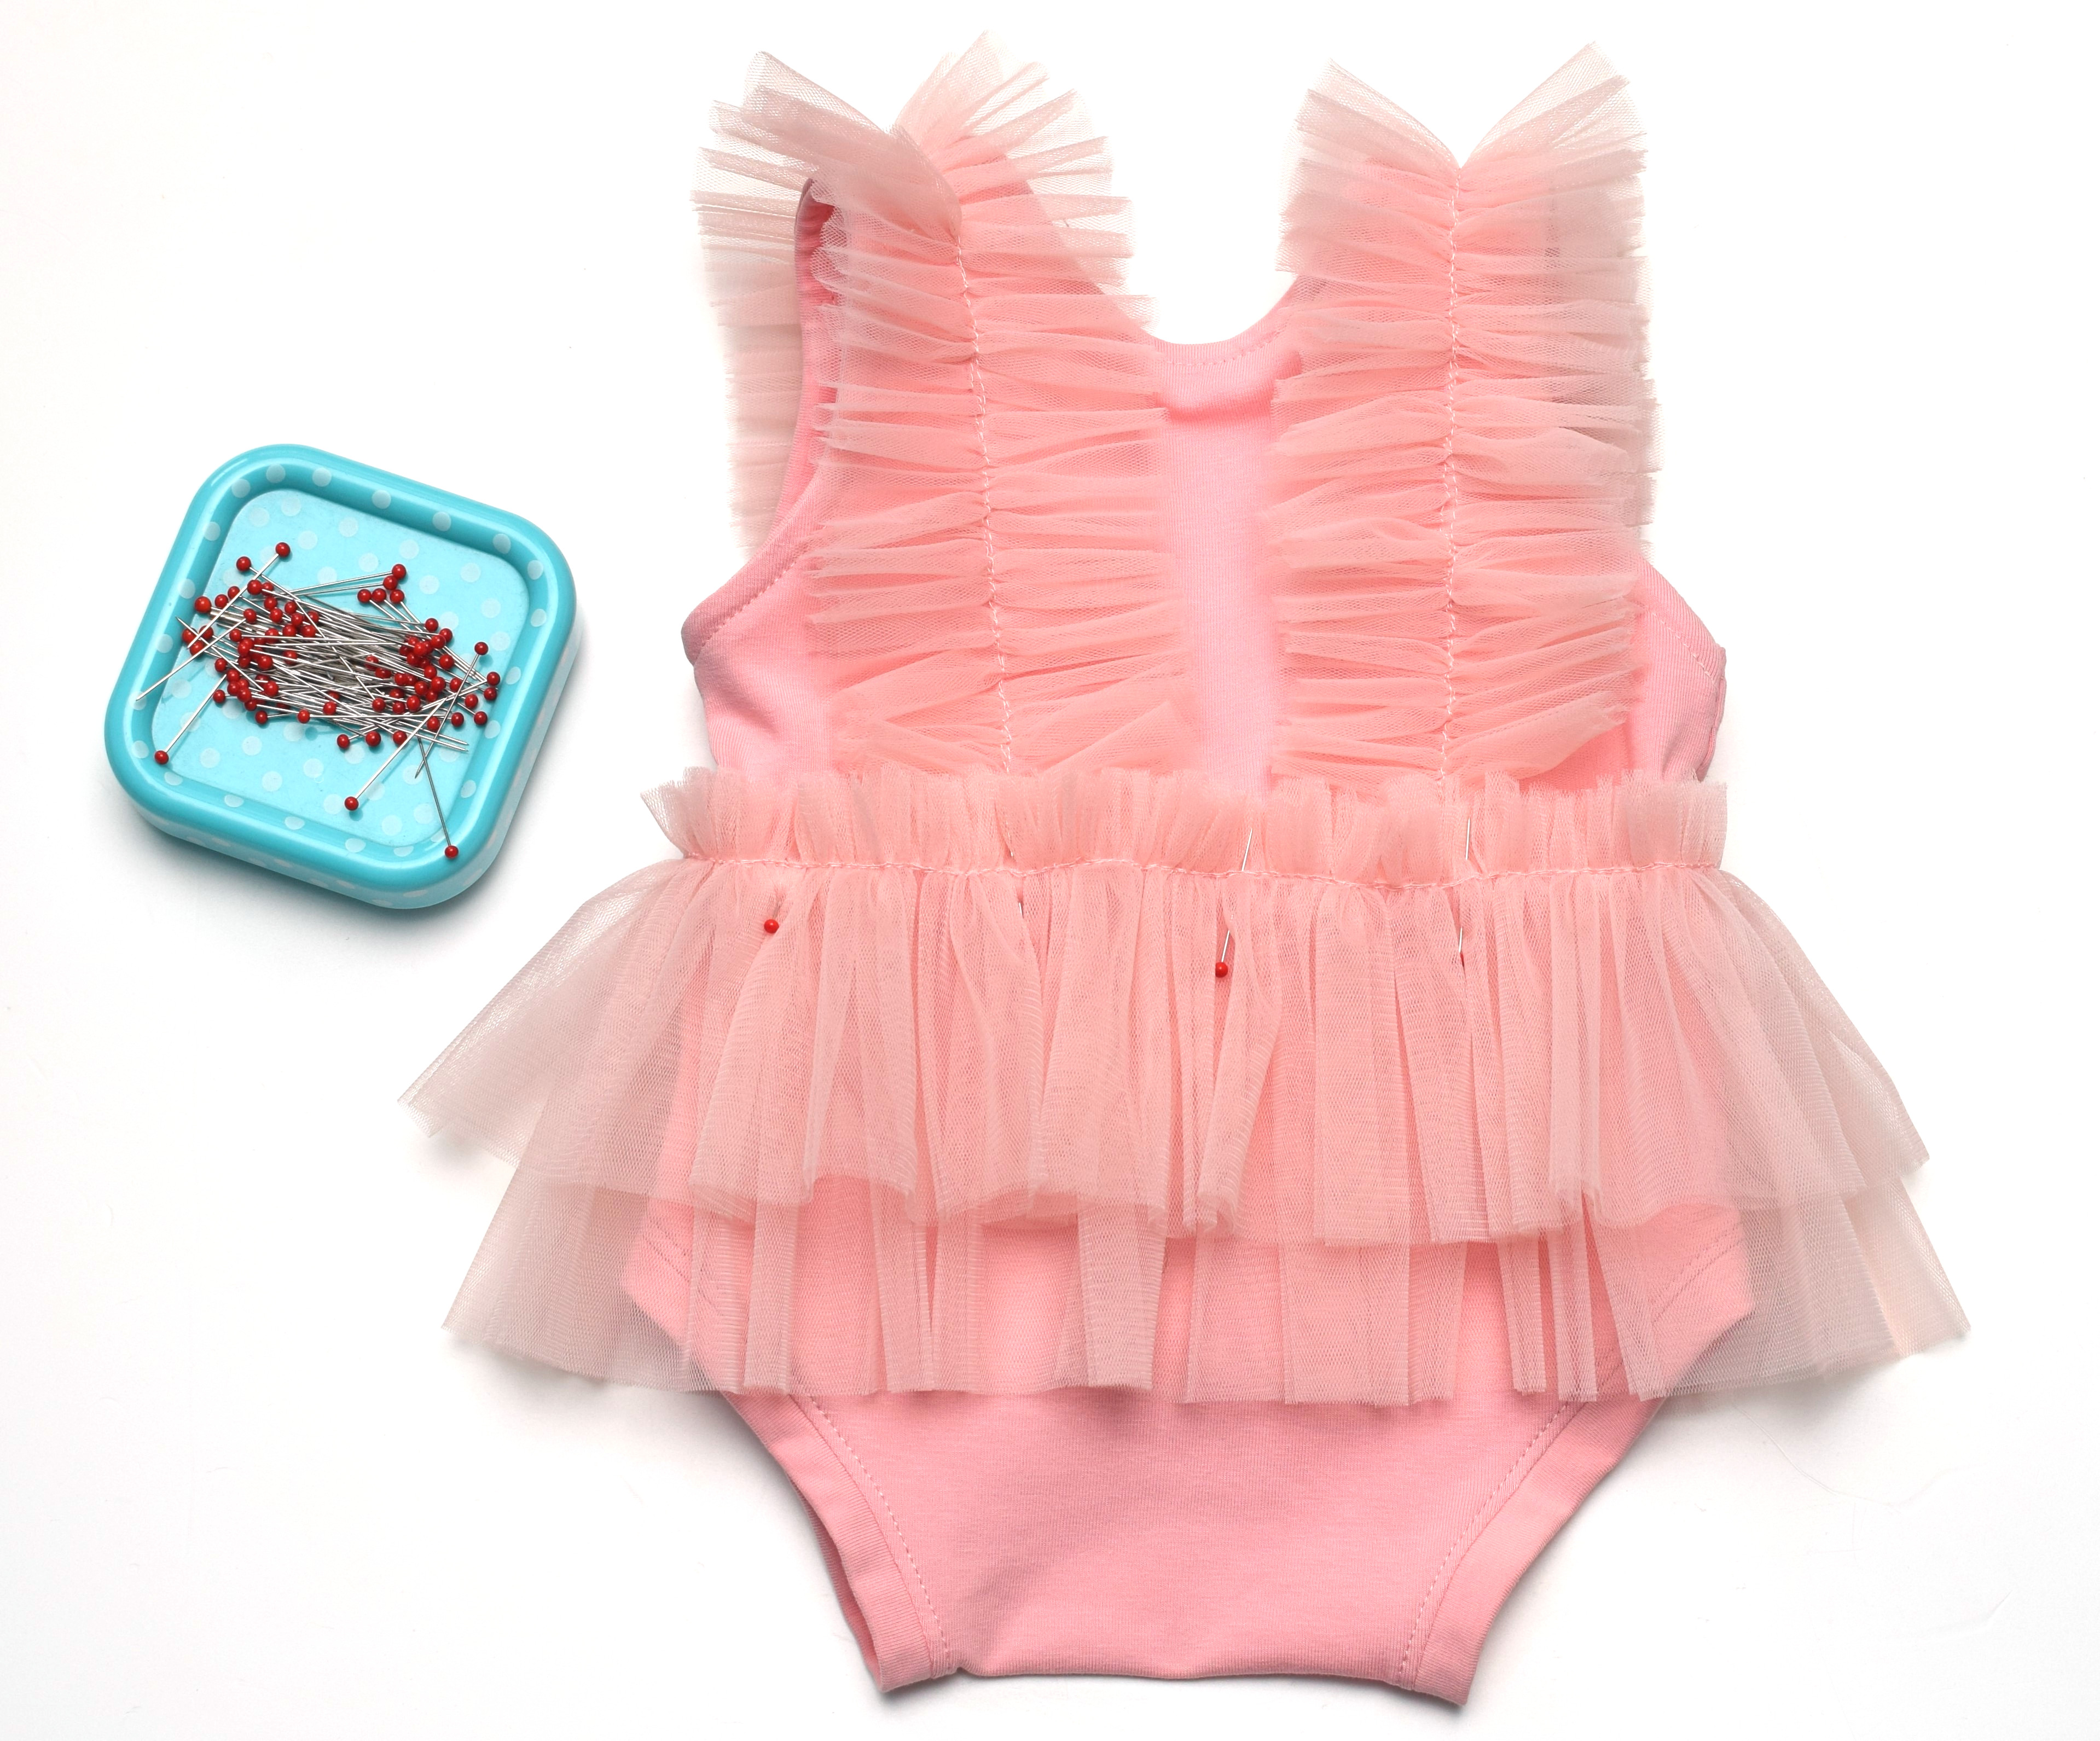
To place the ruffles at an equal distance, always measure the distance from the pink line’s starting point to the bottom corner of the bodice’s side seam.
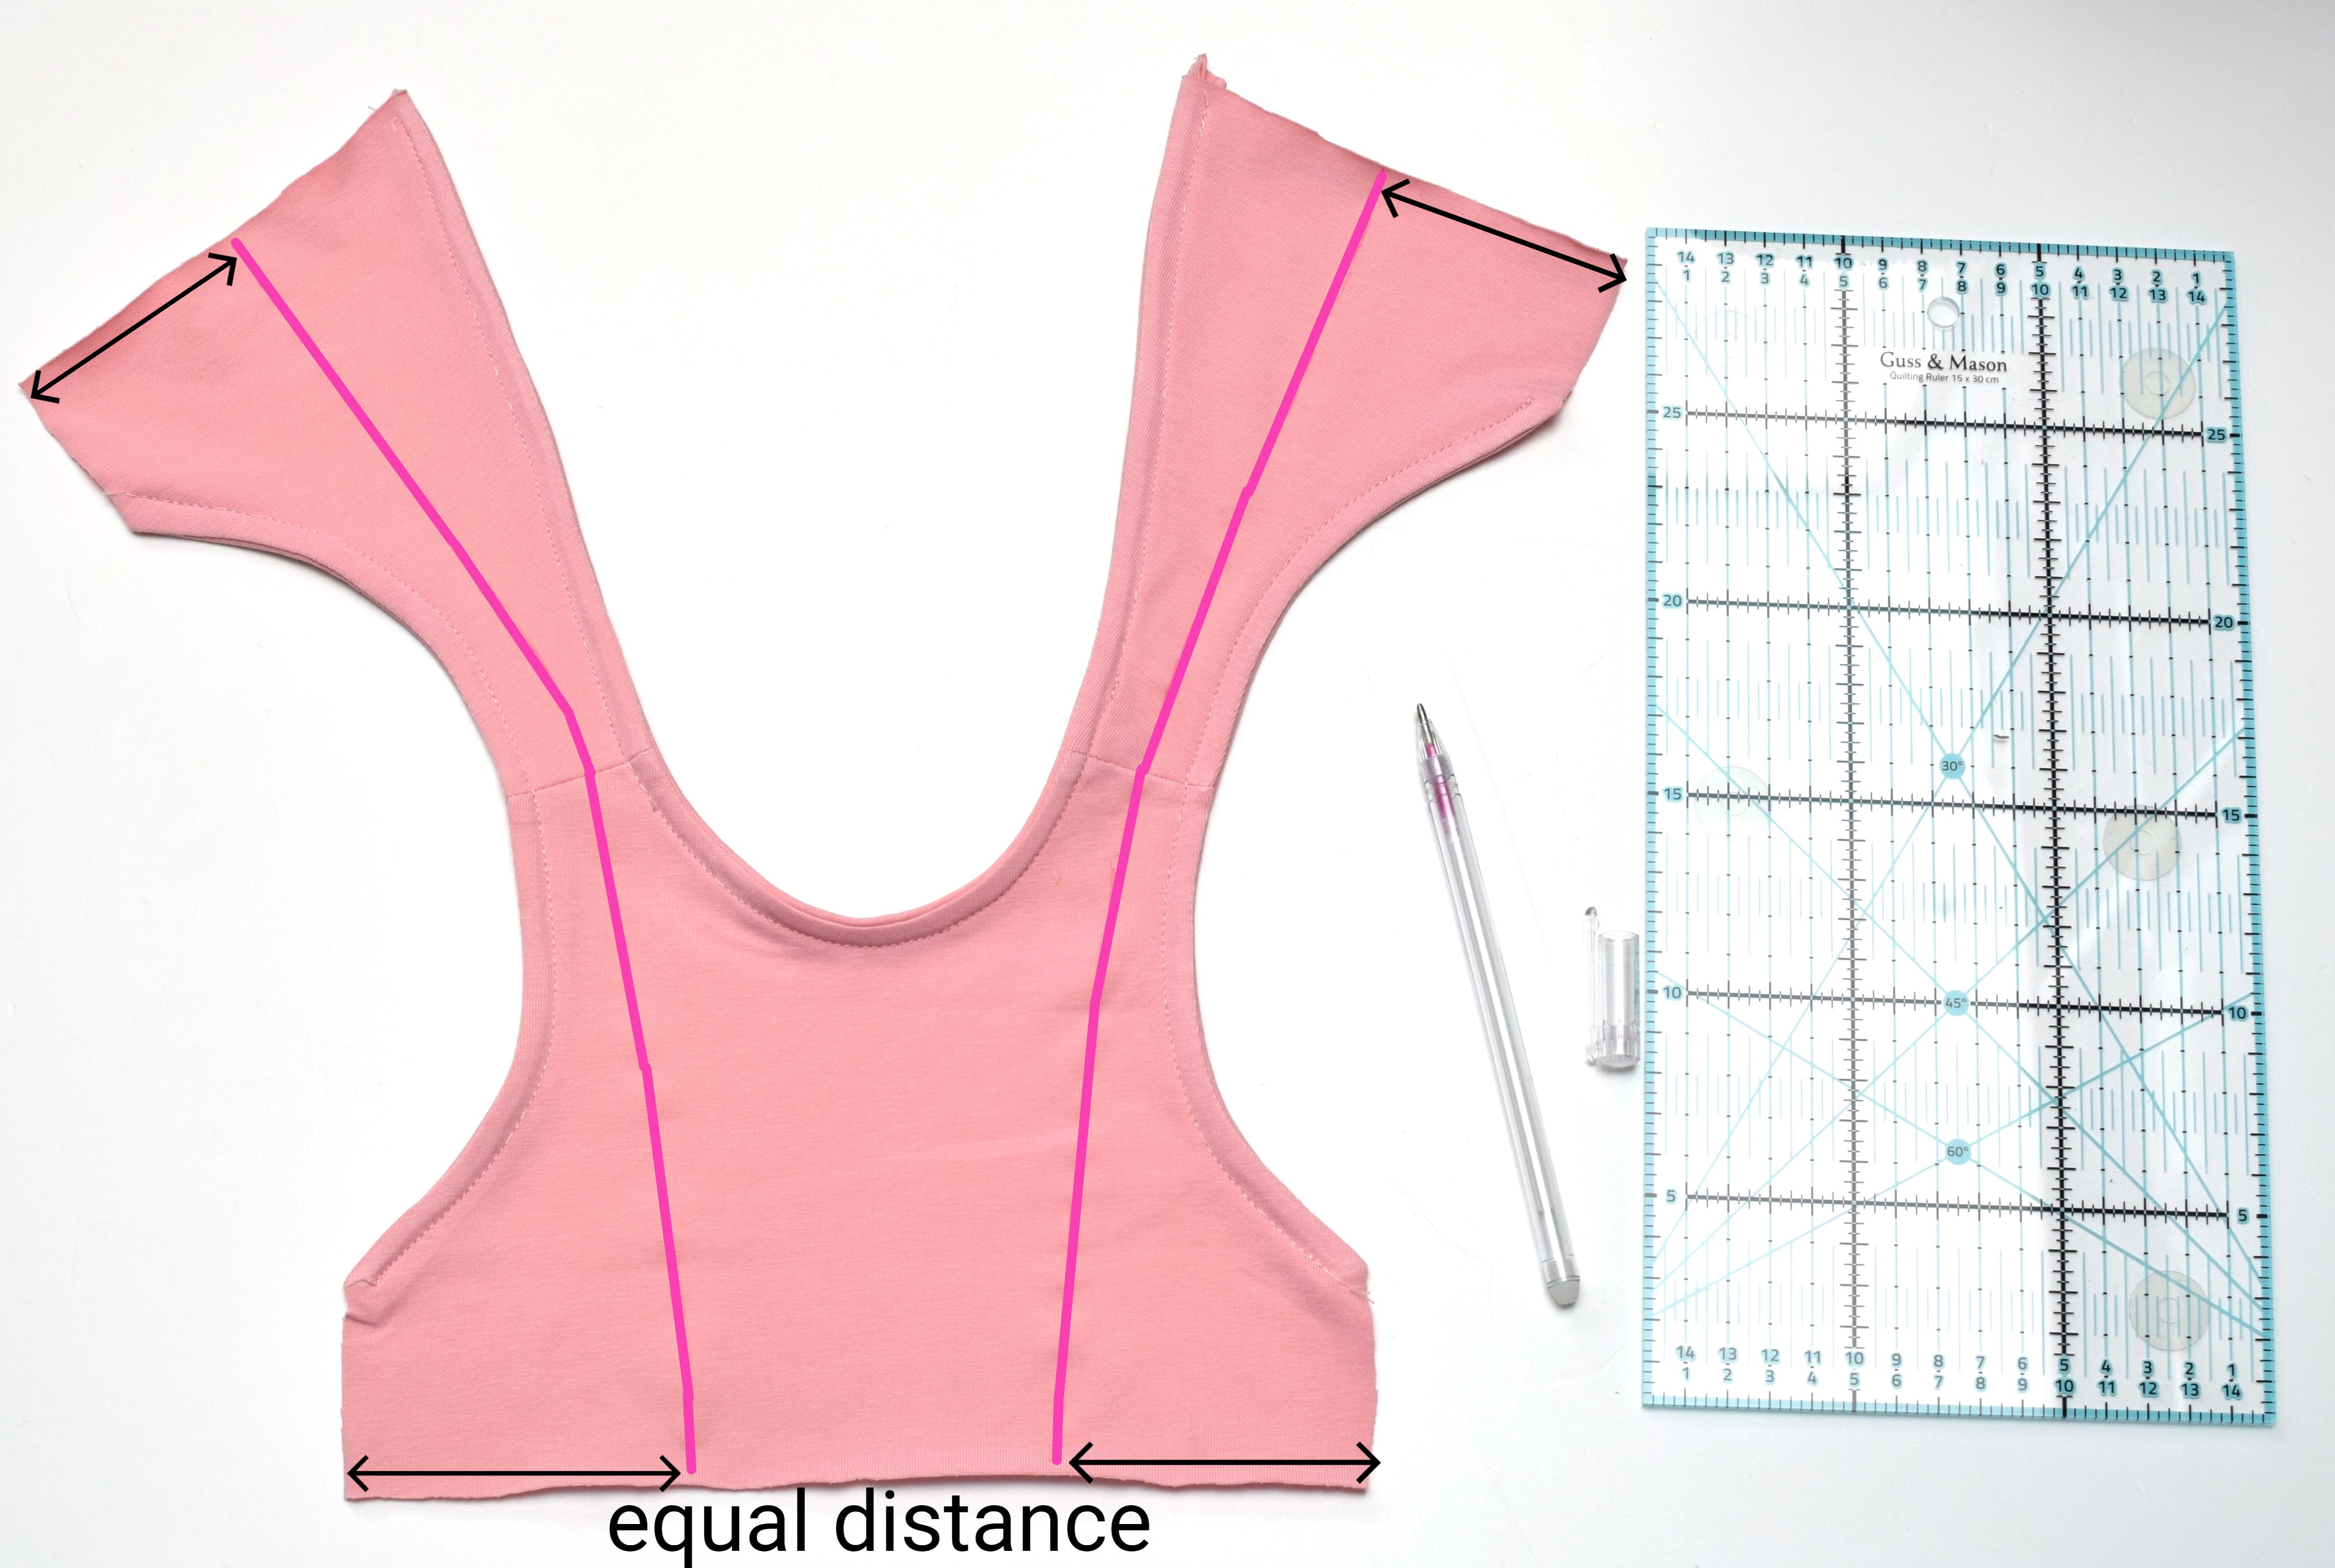
Use pins to secure the ruffles to the bodice, then stitch the ruffles onto the bodice.
Step 6 – join the bodice and the pants
Place the bottom part of the romper with the right side facing up towards you.
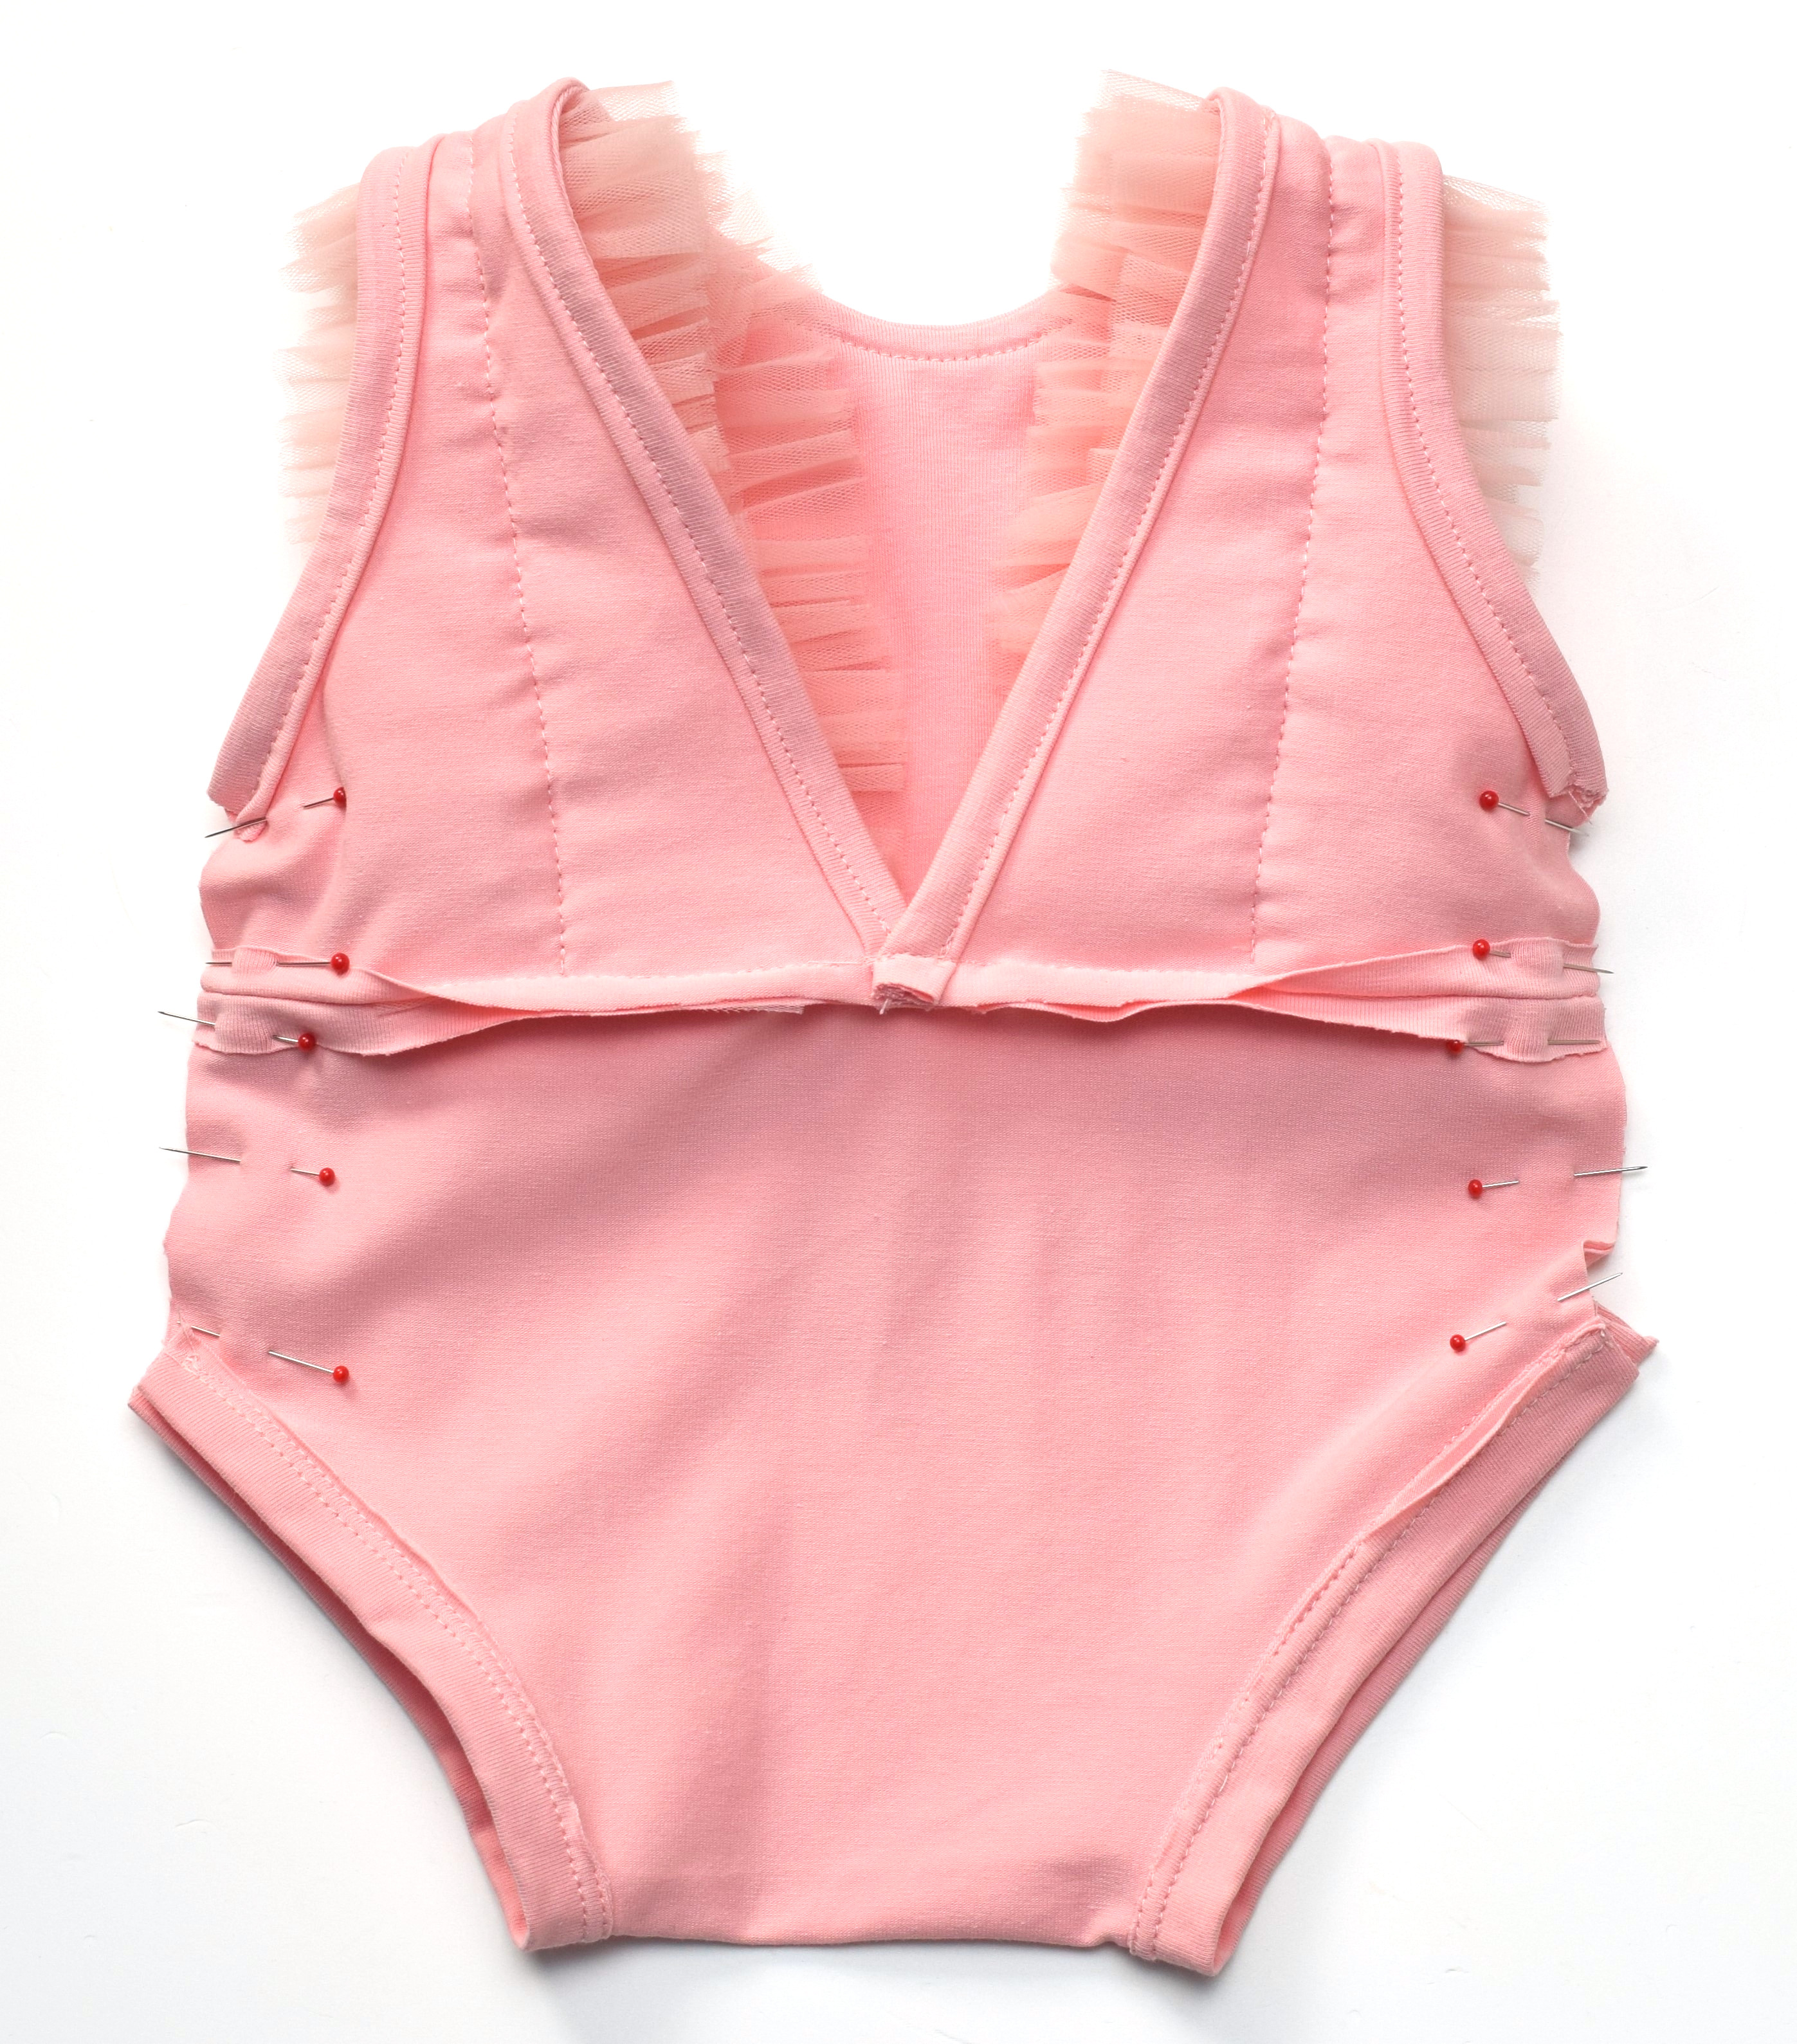
Then, place the bodice over the pants, right sides together. Overlap the back bodice a little bit. Pin around the waist seams (match the side seams), and sew.
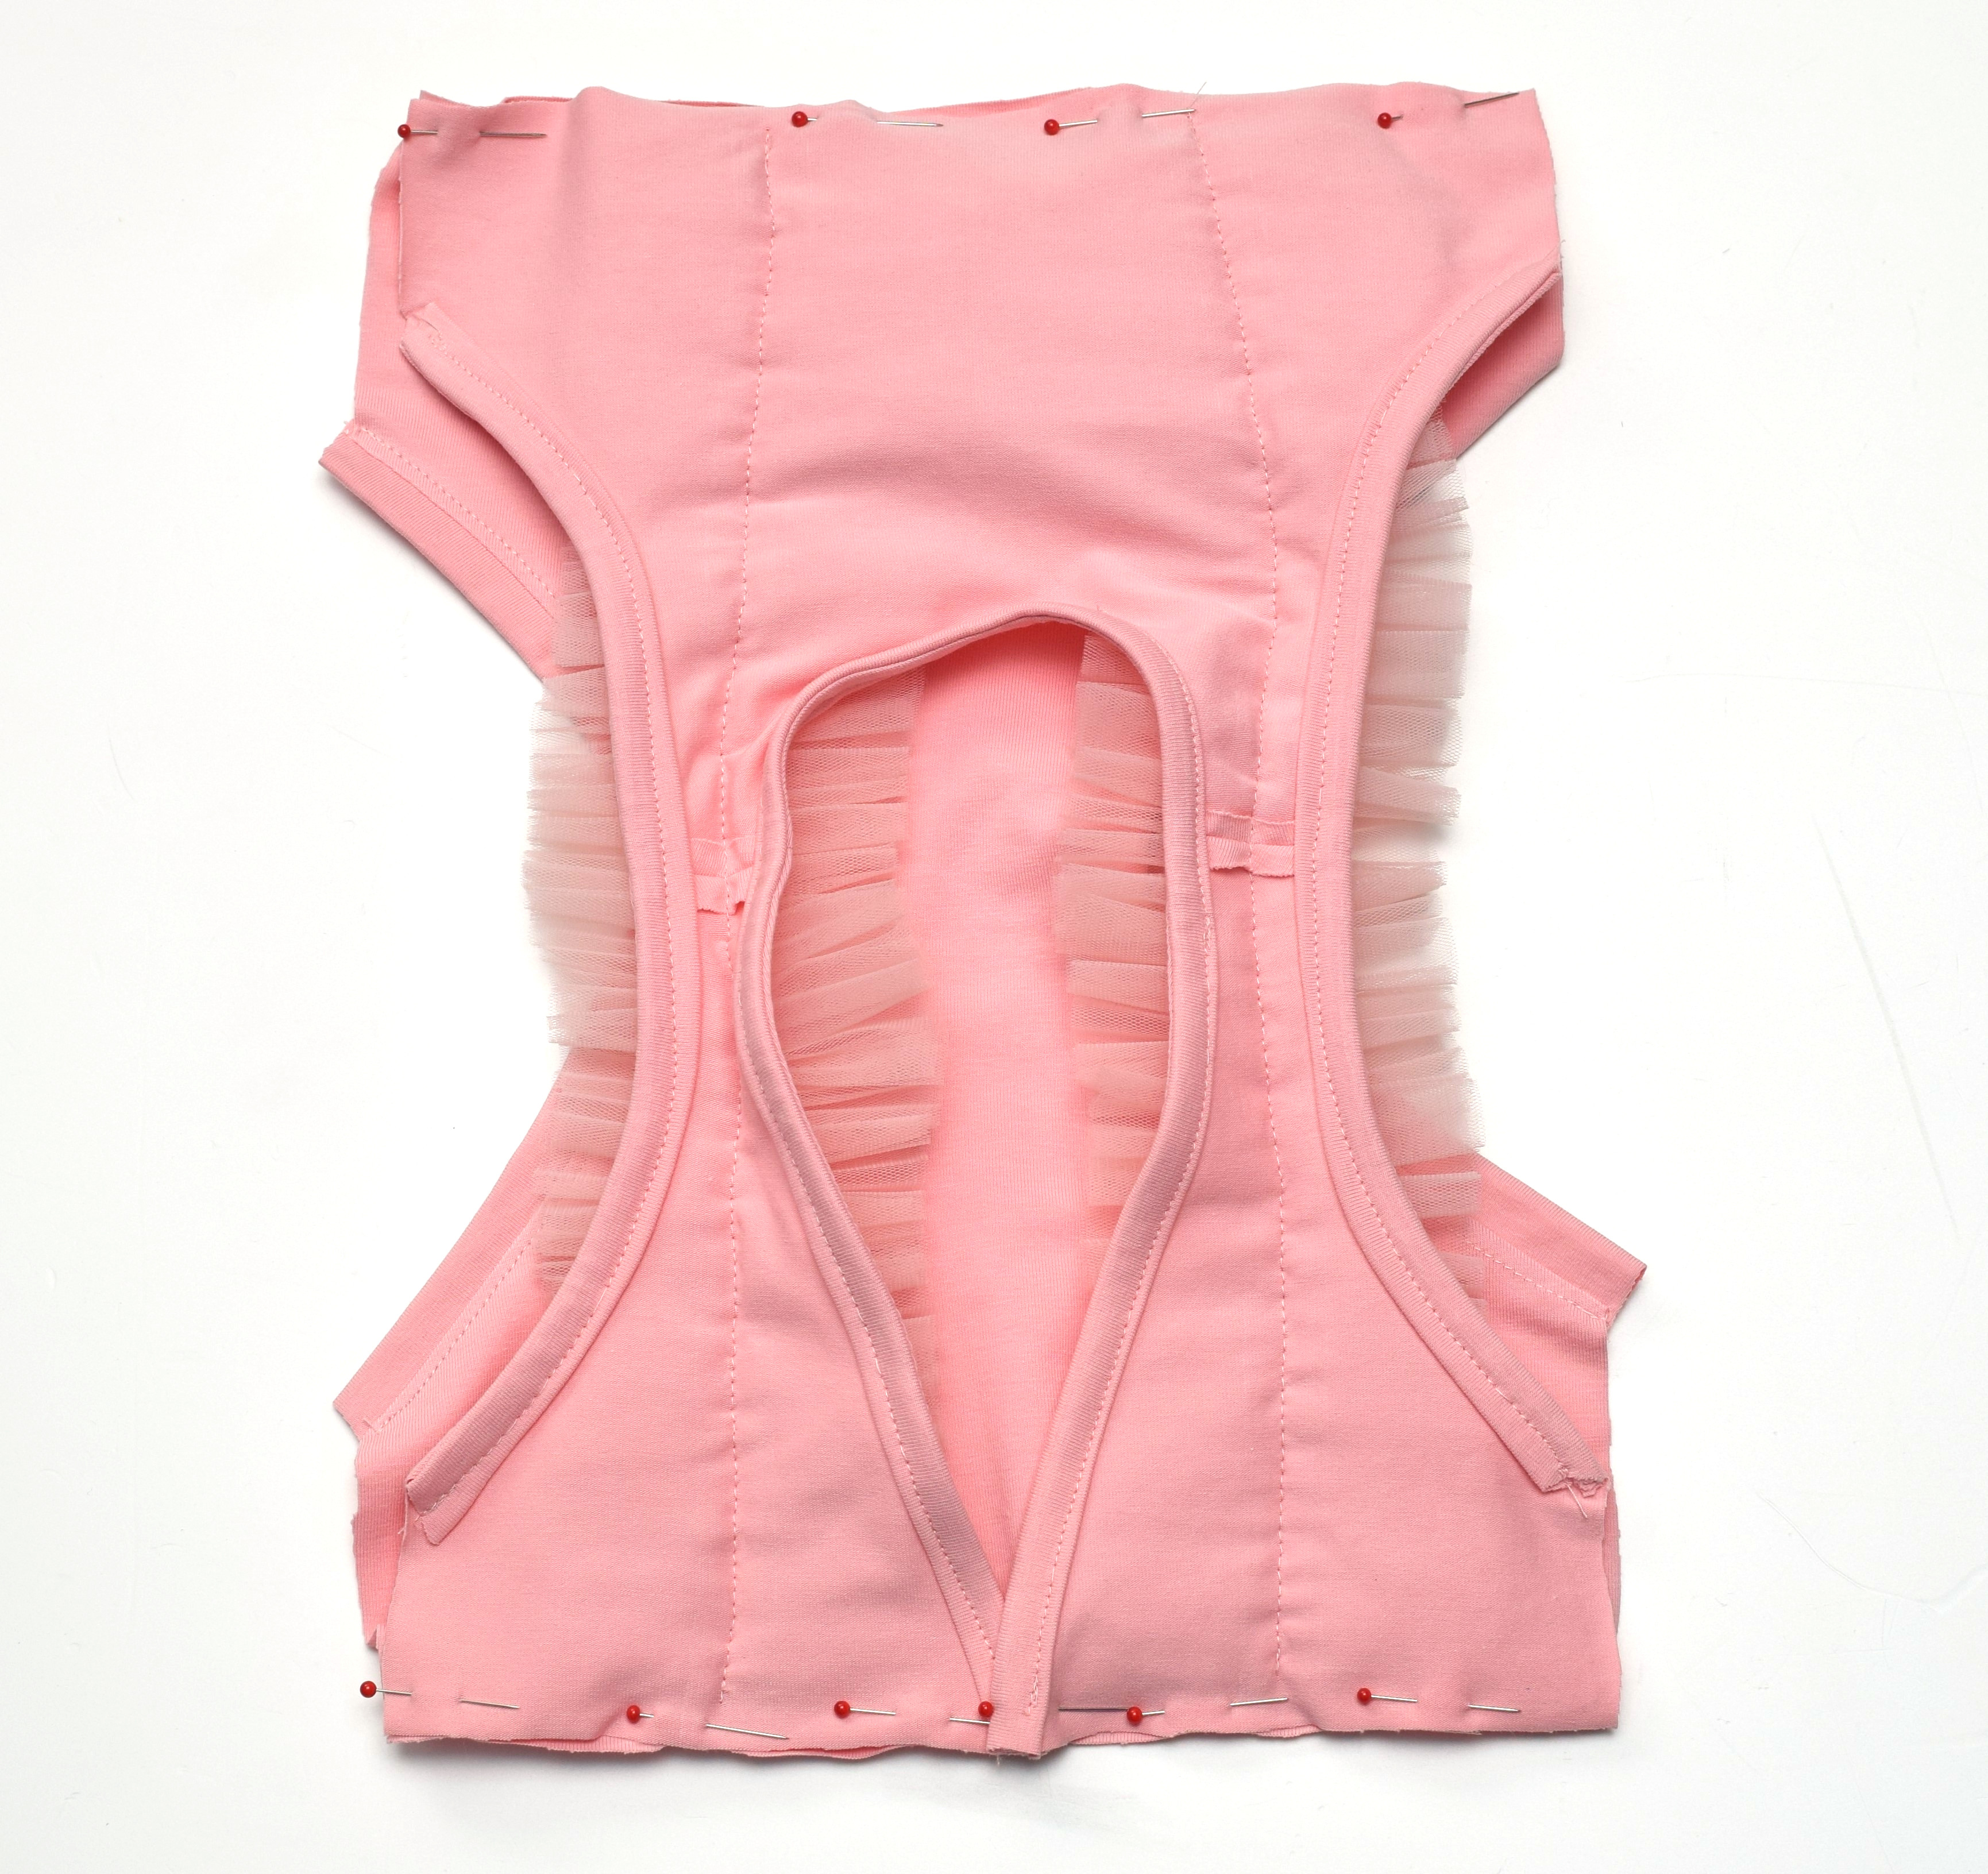
This is how your romper should look right now (the side seams are not stitched yet).

Step 7 – sew the side seams
Pin the side seams with the right sides together, and stitch.
Step 8 – attach the tulle skirt to the romper
You need two tulle strips – one measuring 118” by 3.5”, and the other 118” by 5”.
Use the longest stitch length and run a basting stitch for each of the two tulle strips. Gather them to fit the waist seam of the romper, and make sure that the gathers are evenly spaced.
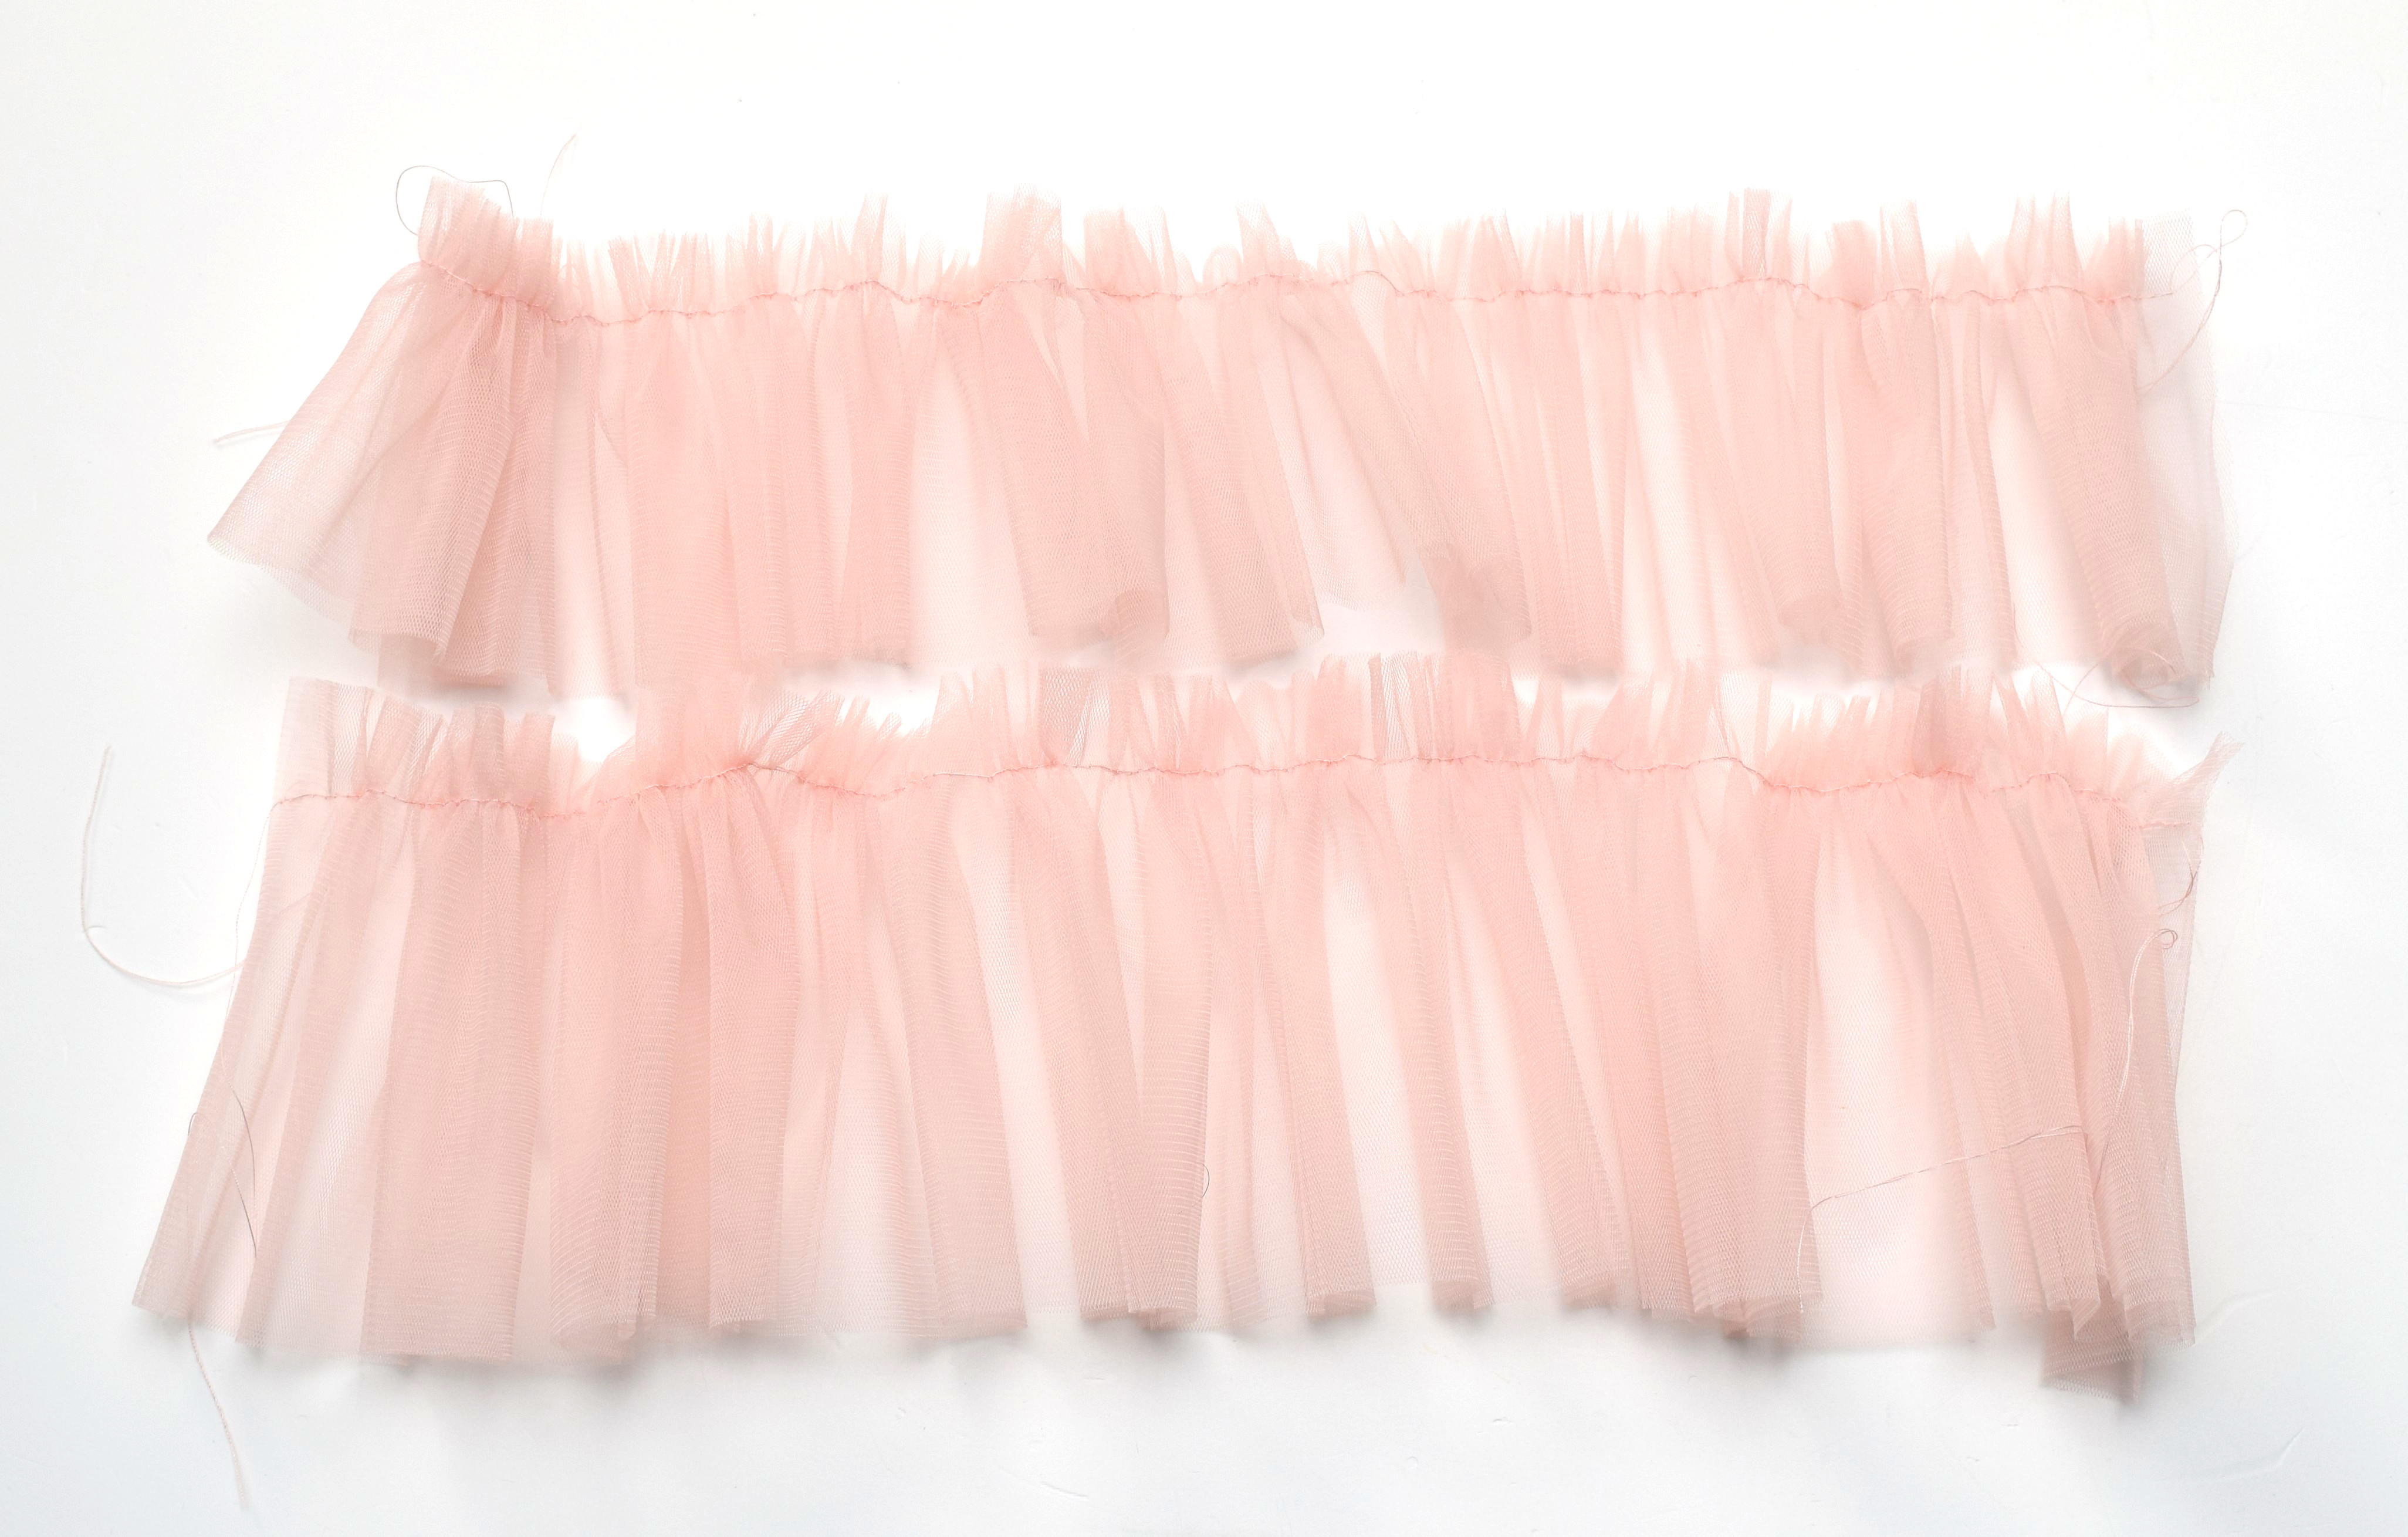
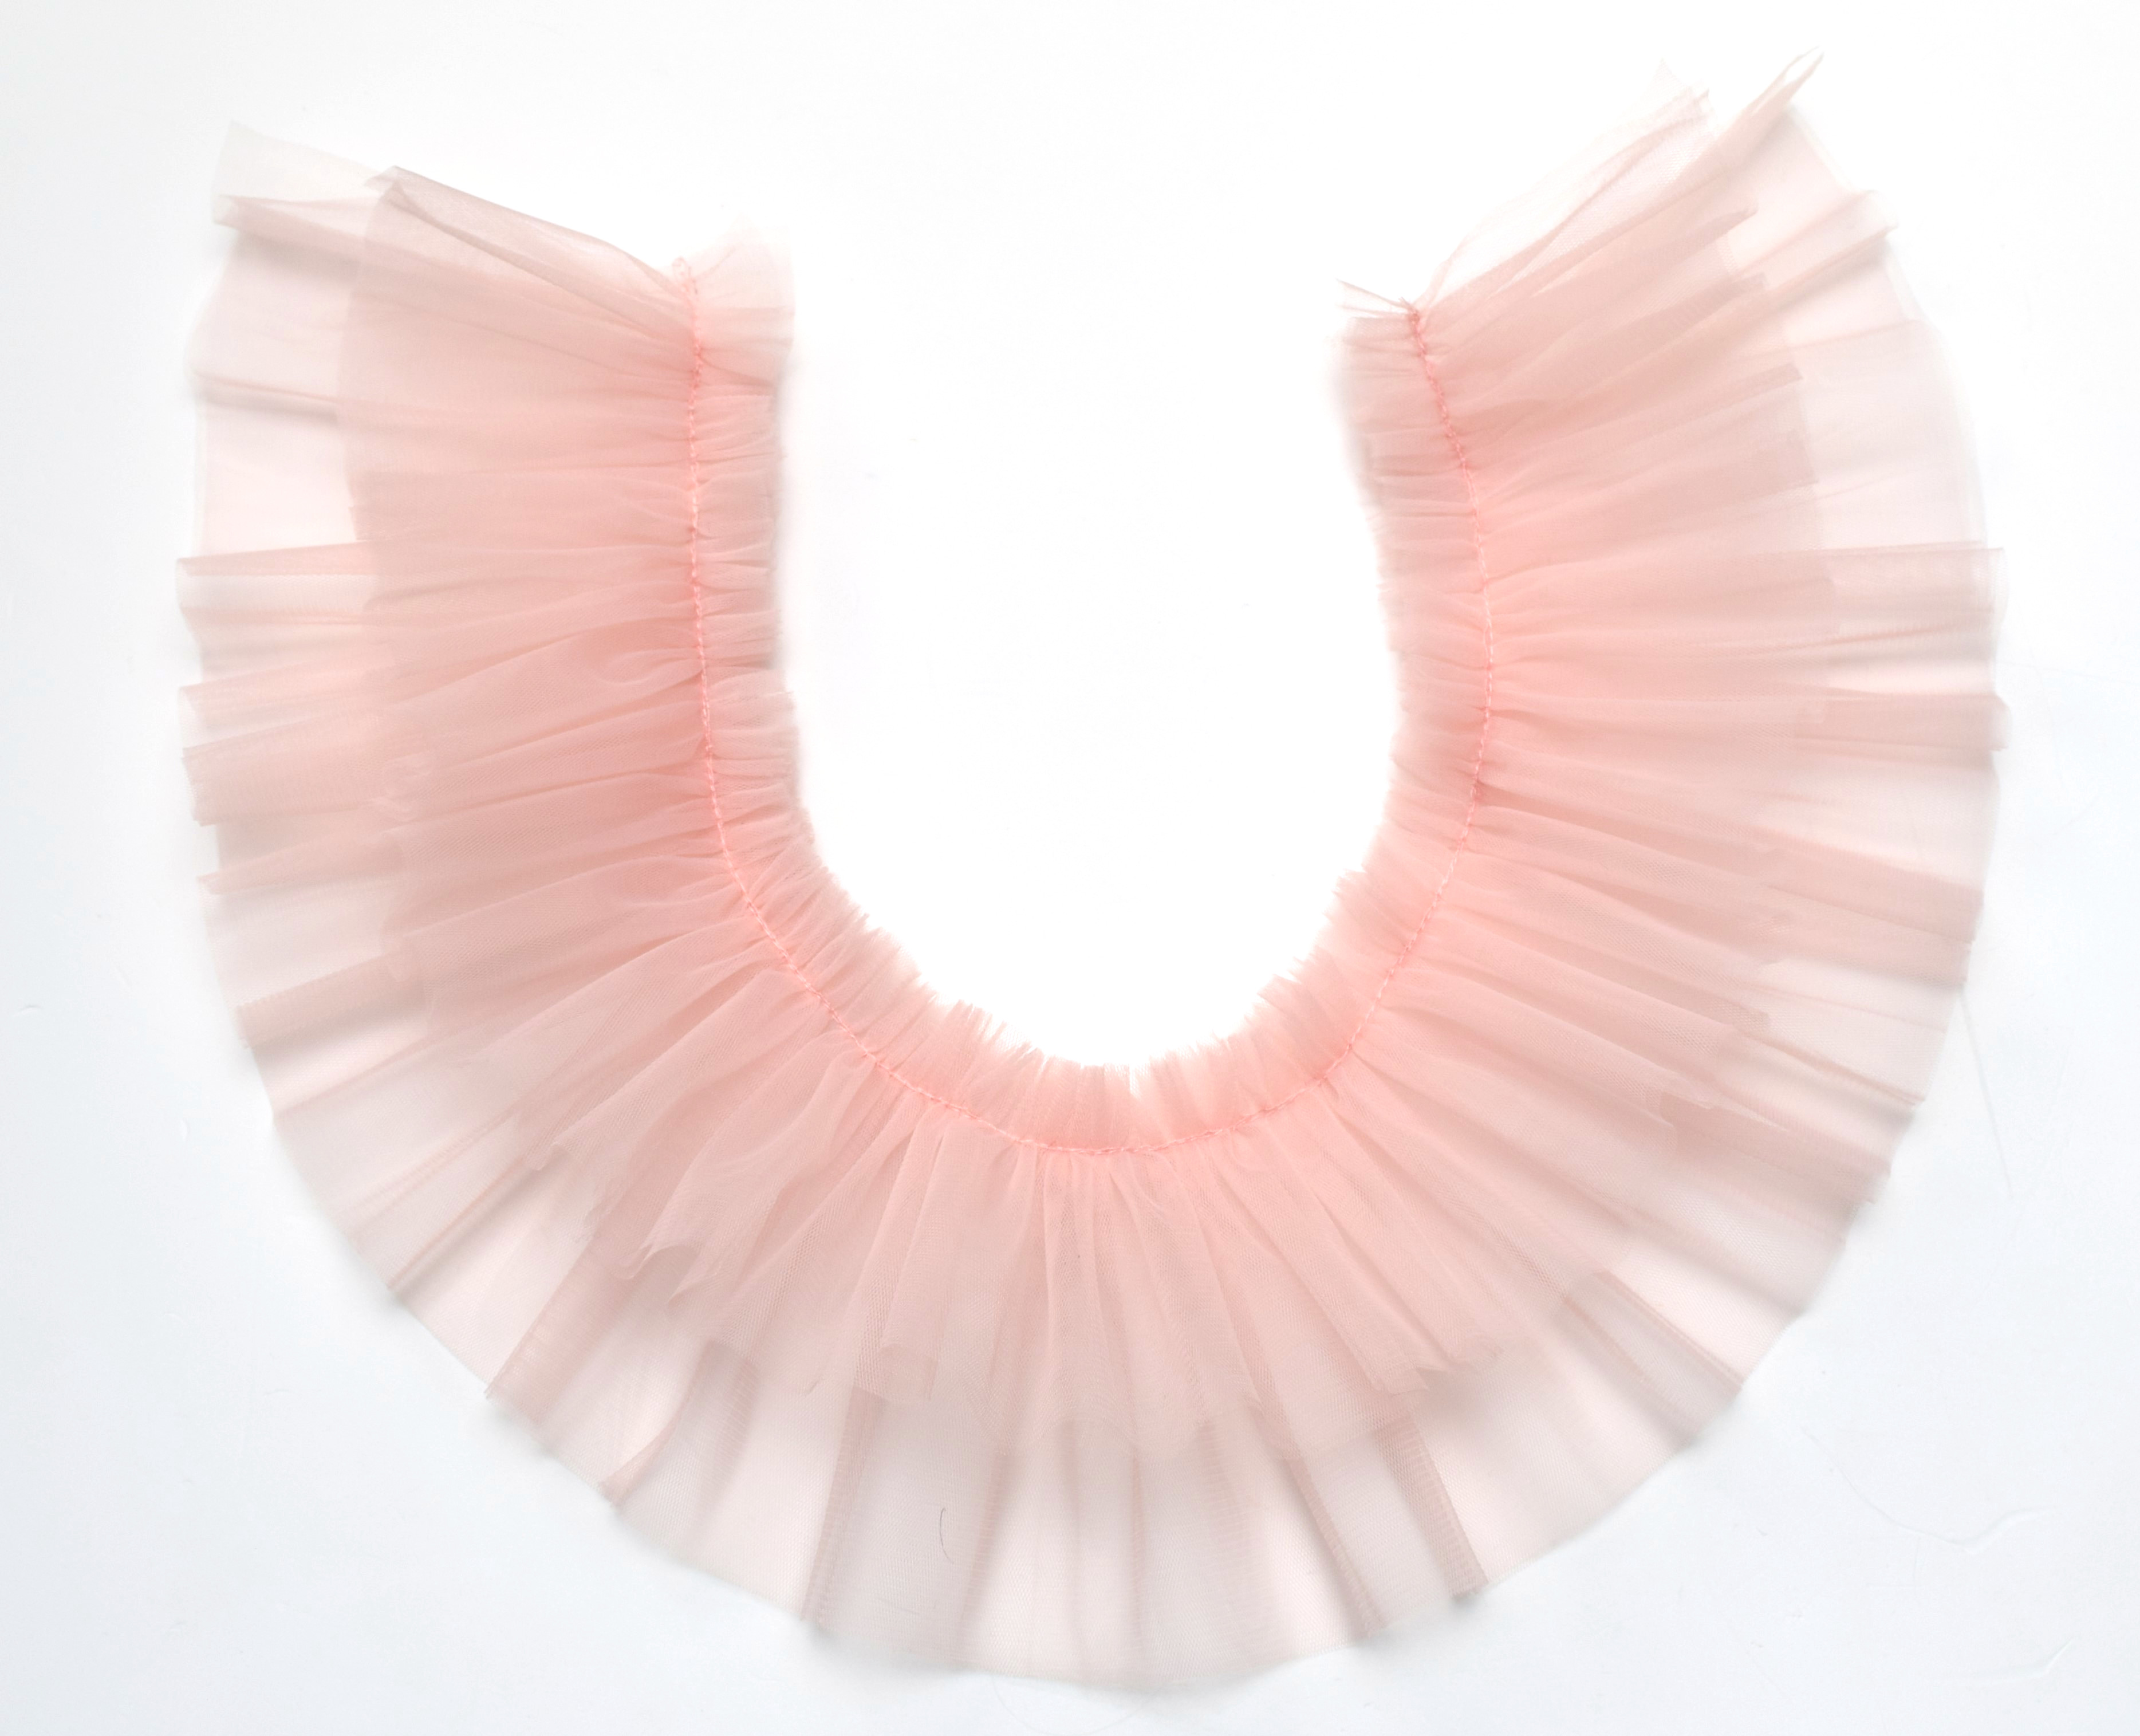
Sew the two tulle strips together. Wrap the tulle ruffle around the waist seam to check the width.
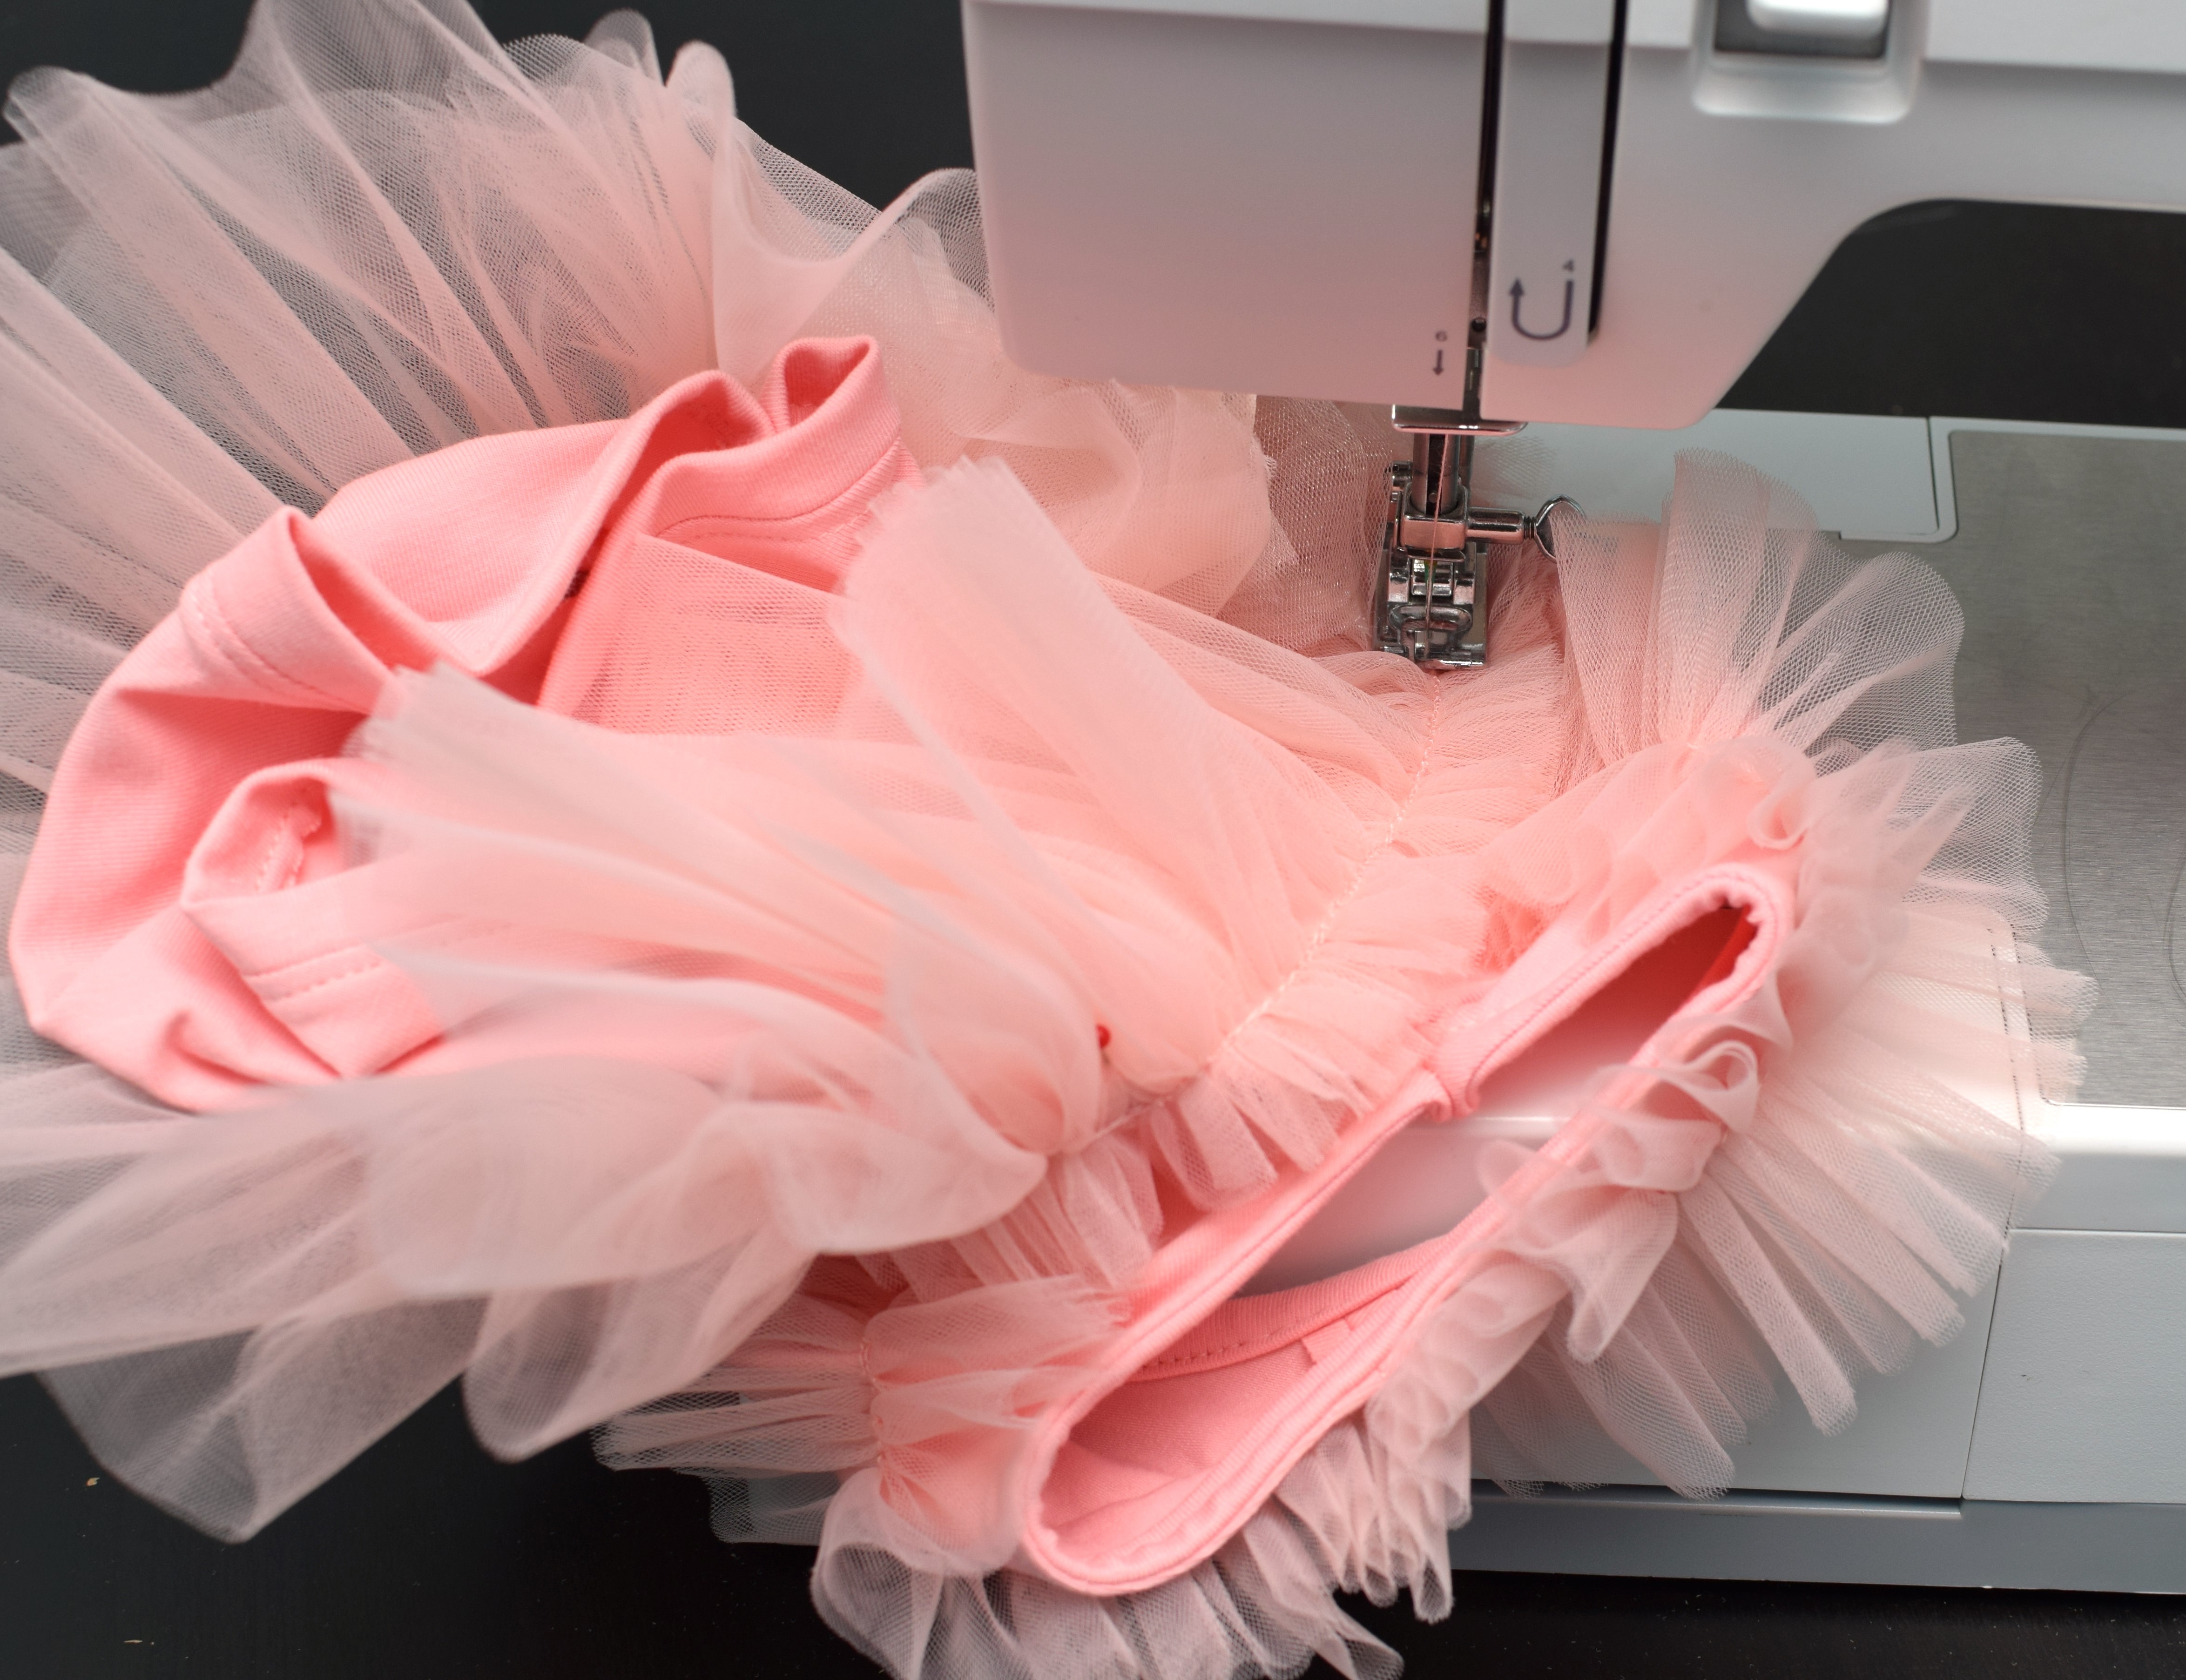
Now it’s time to attach the tulle skirt to the romper. Pay attention to the right side of the tulle skirt – the top layer is shorter than the layer underneath.
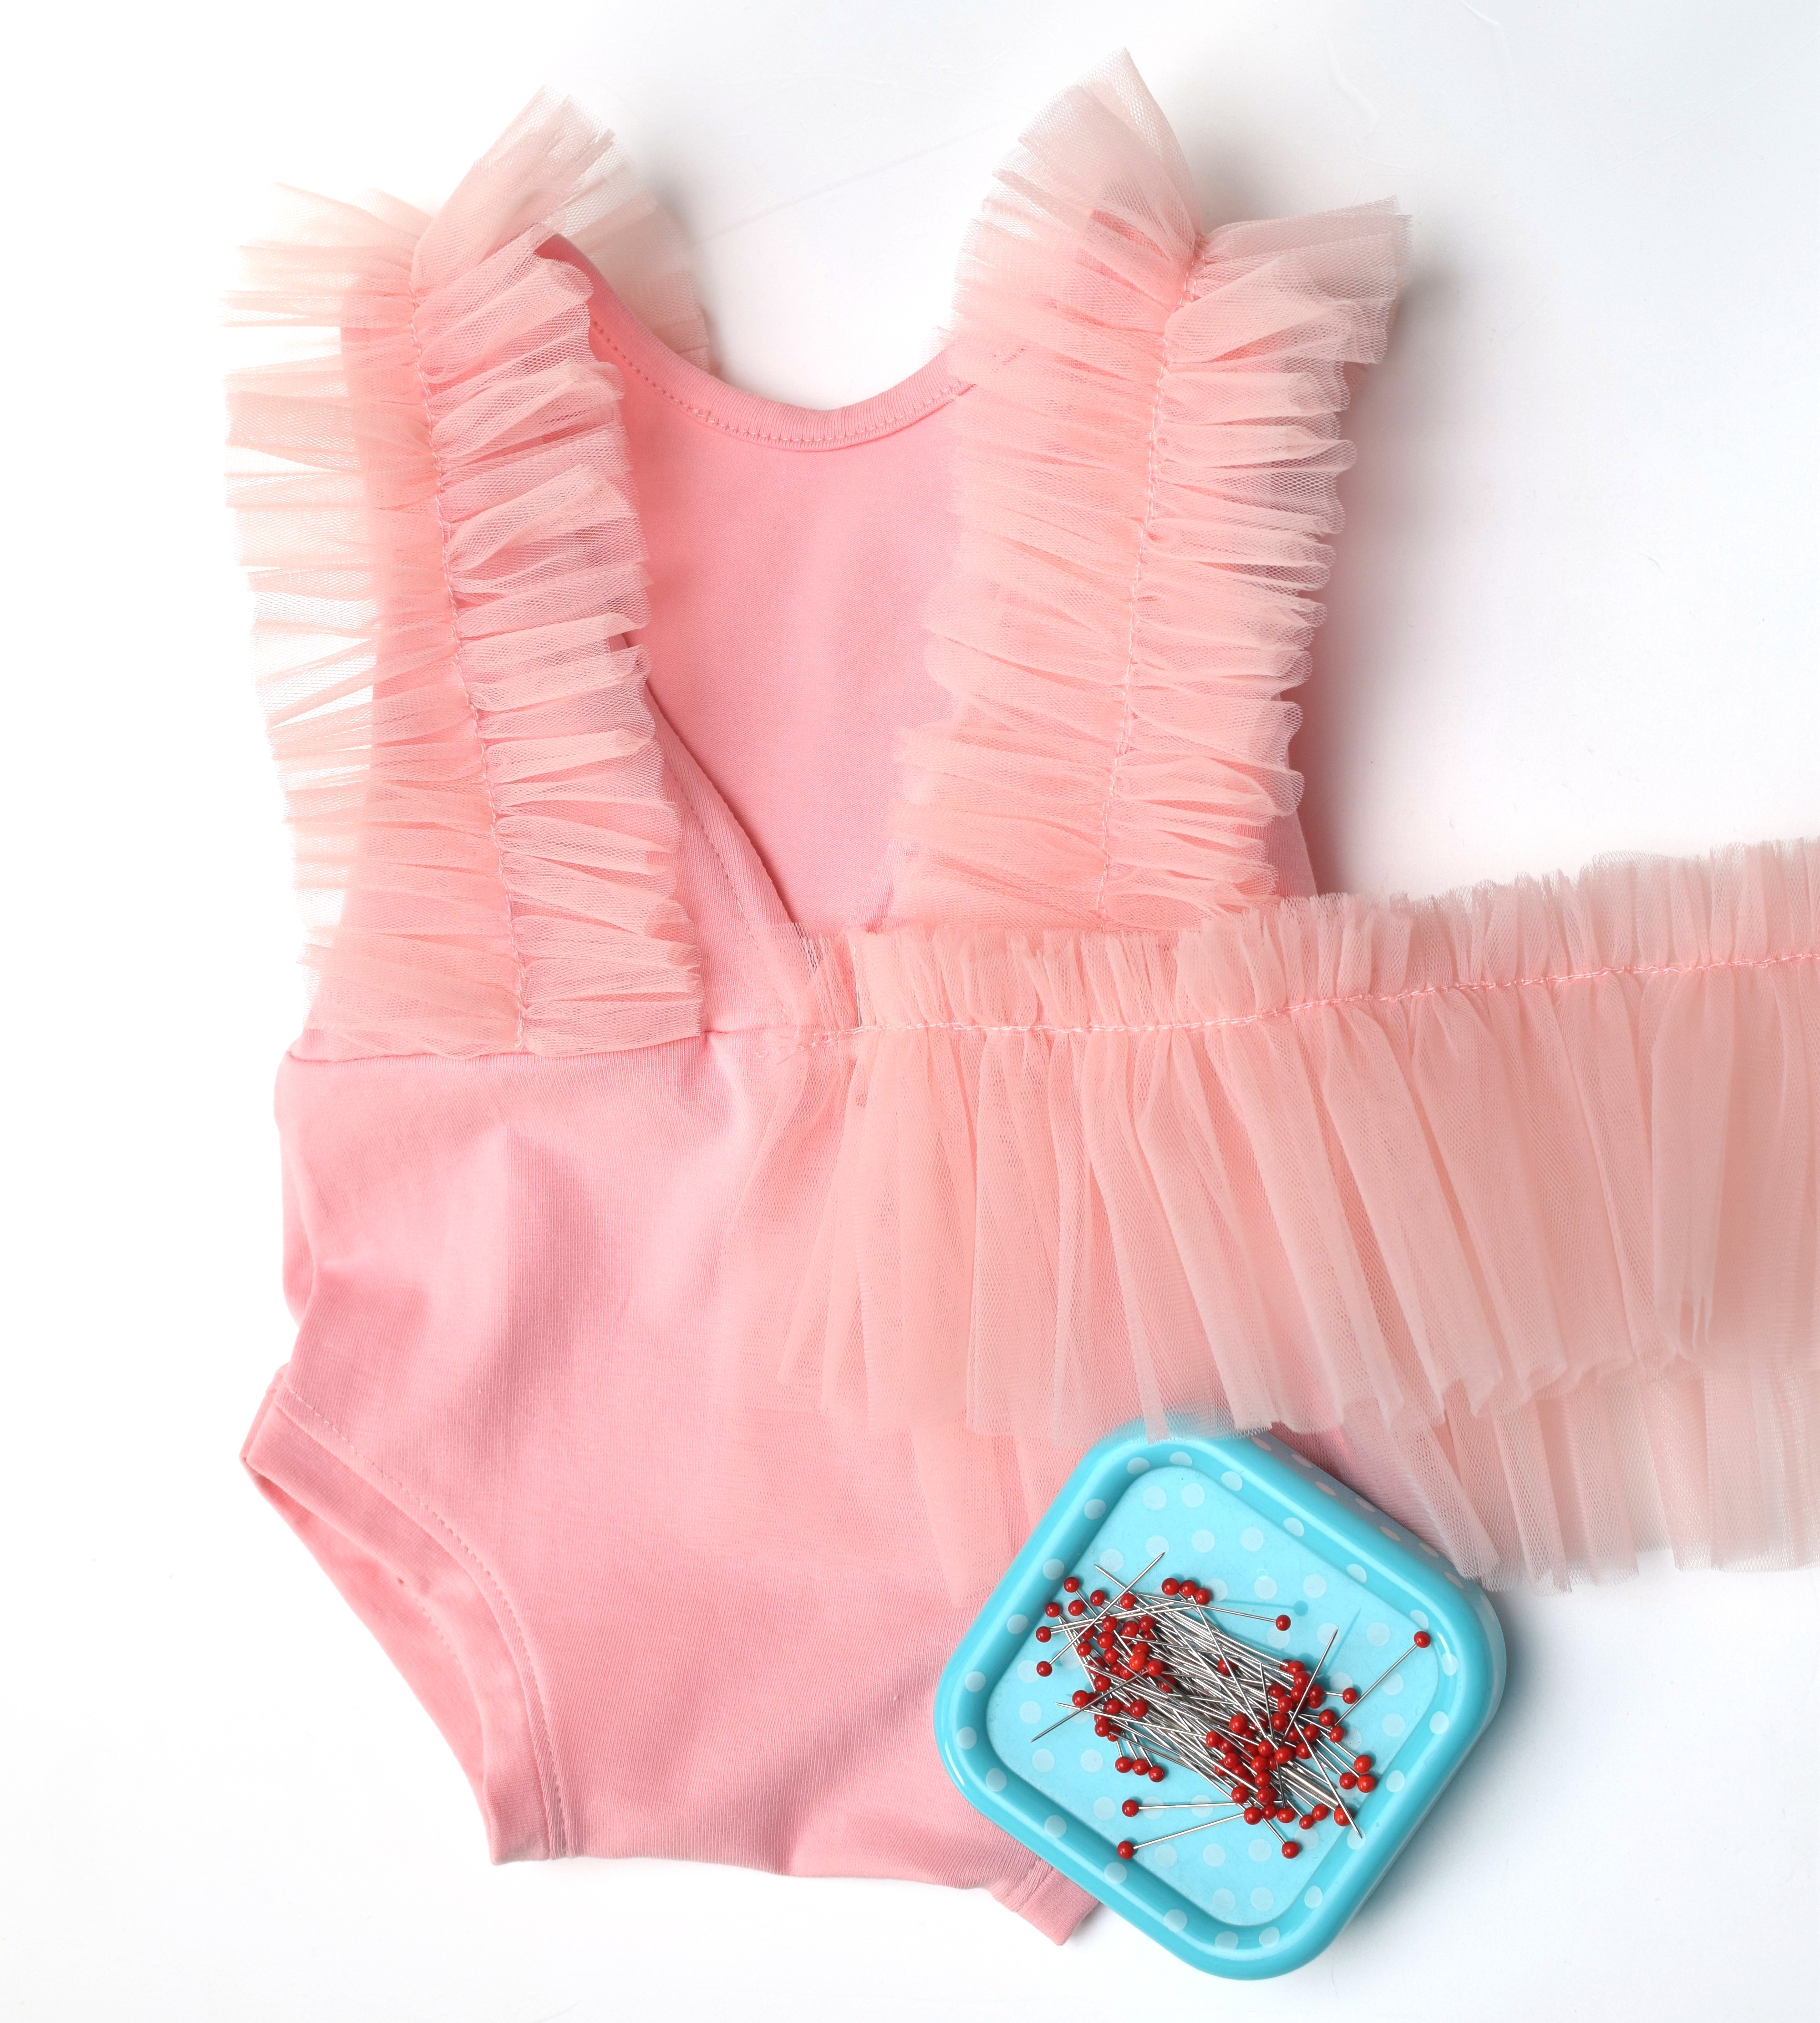
Start pinning from the middle of the back bodice. Sew the tulle loop to the waist seam.
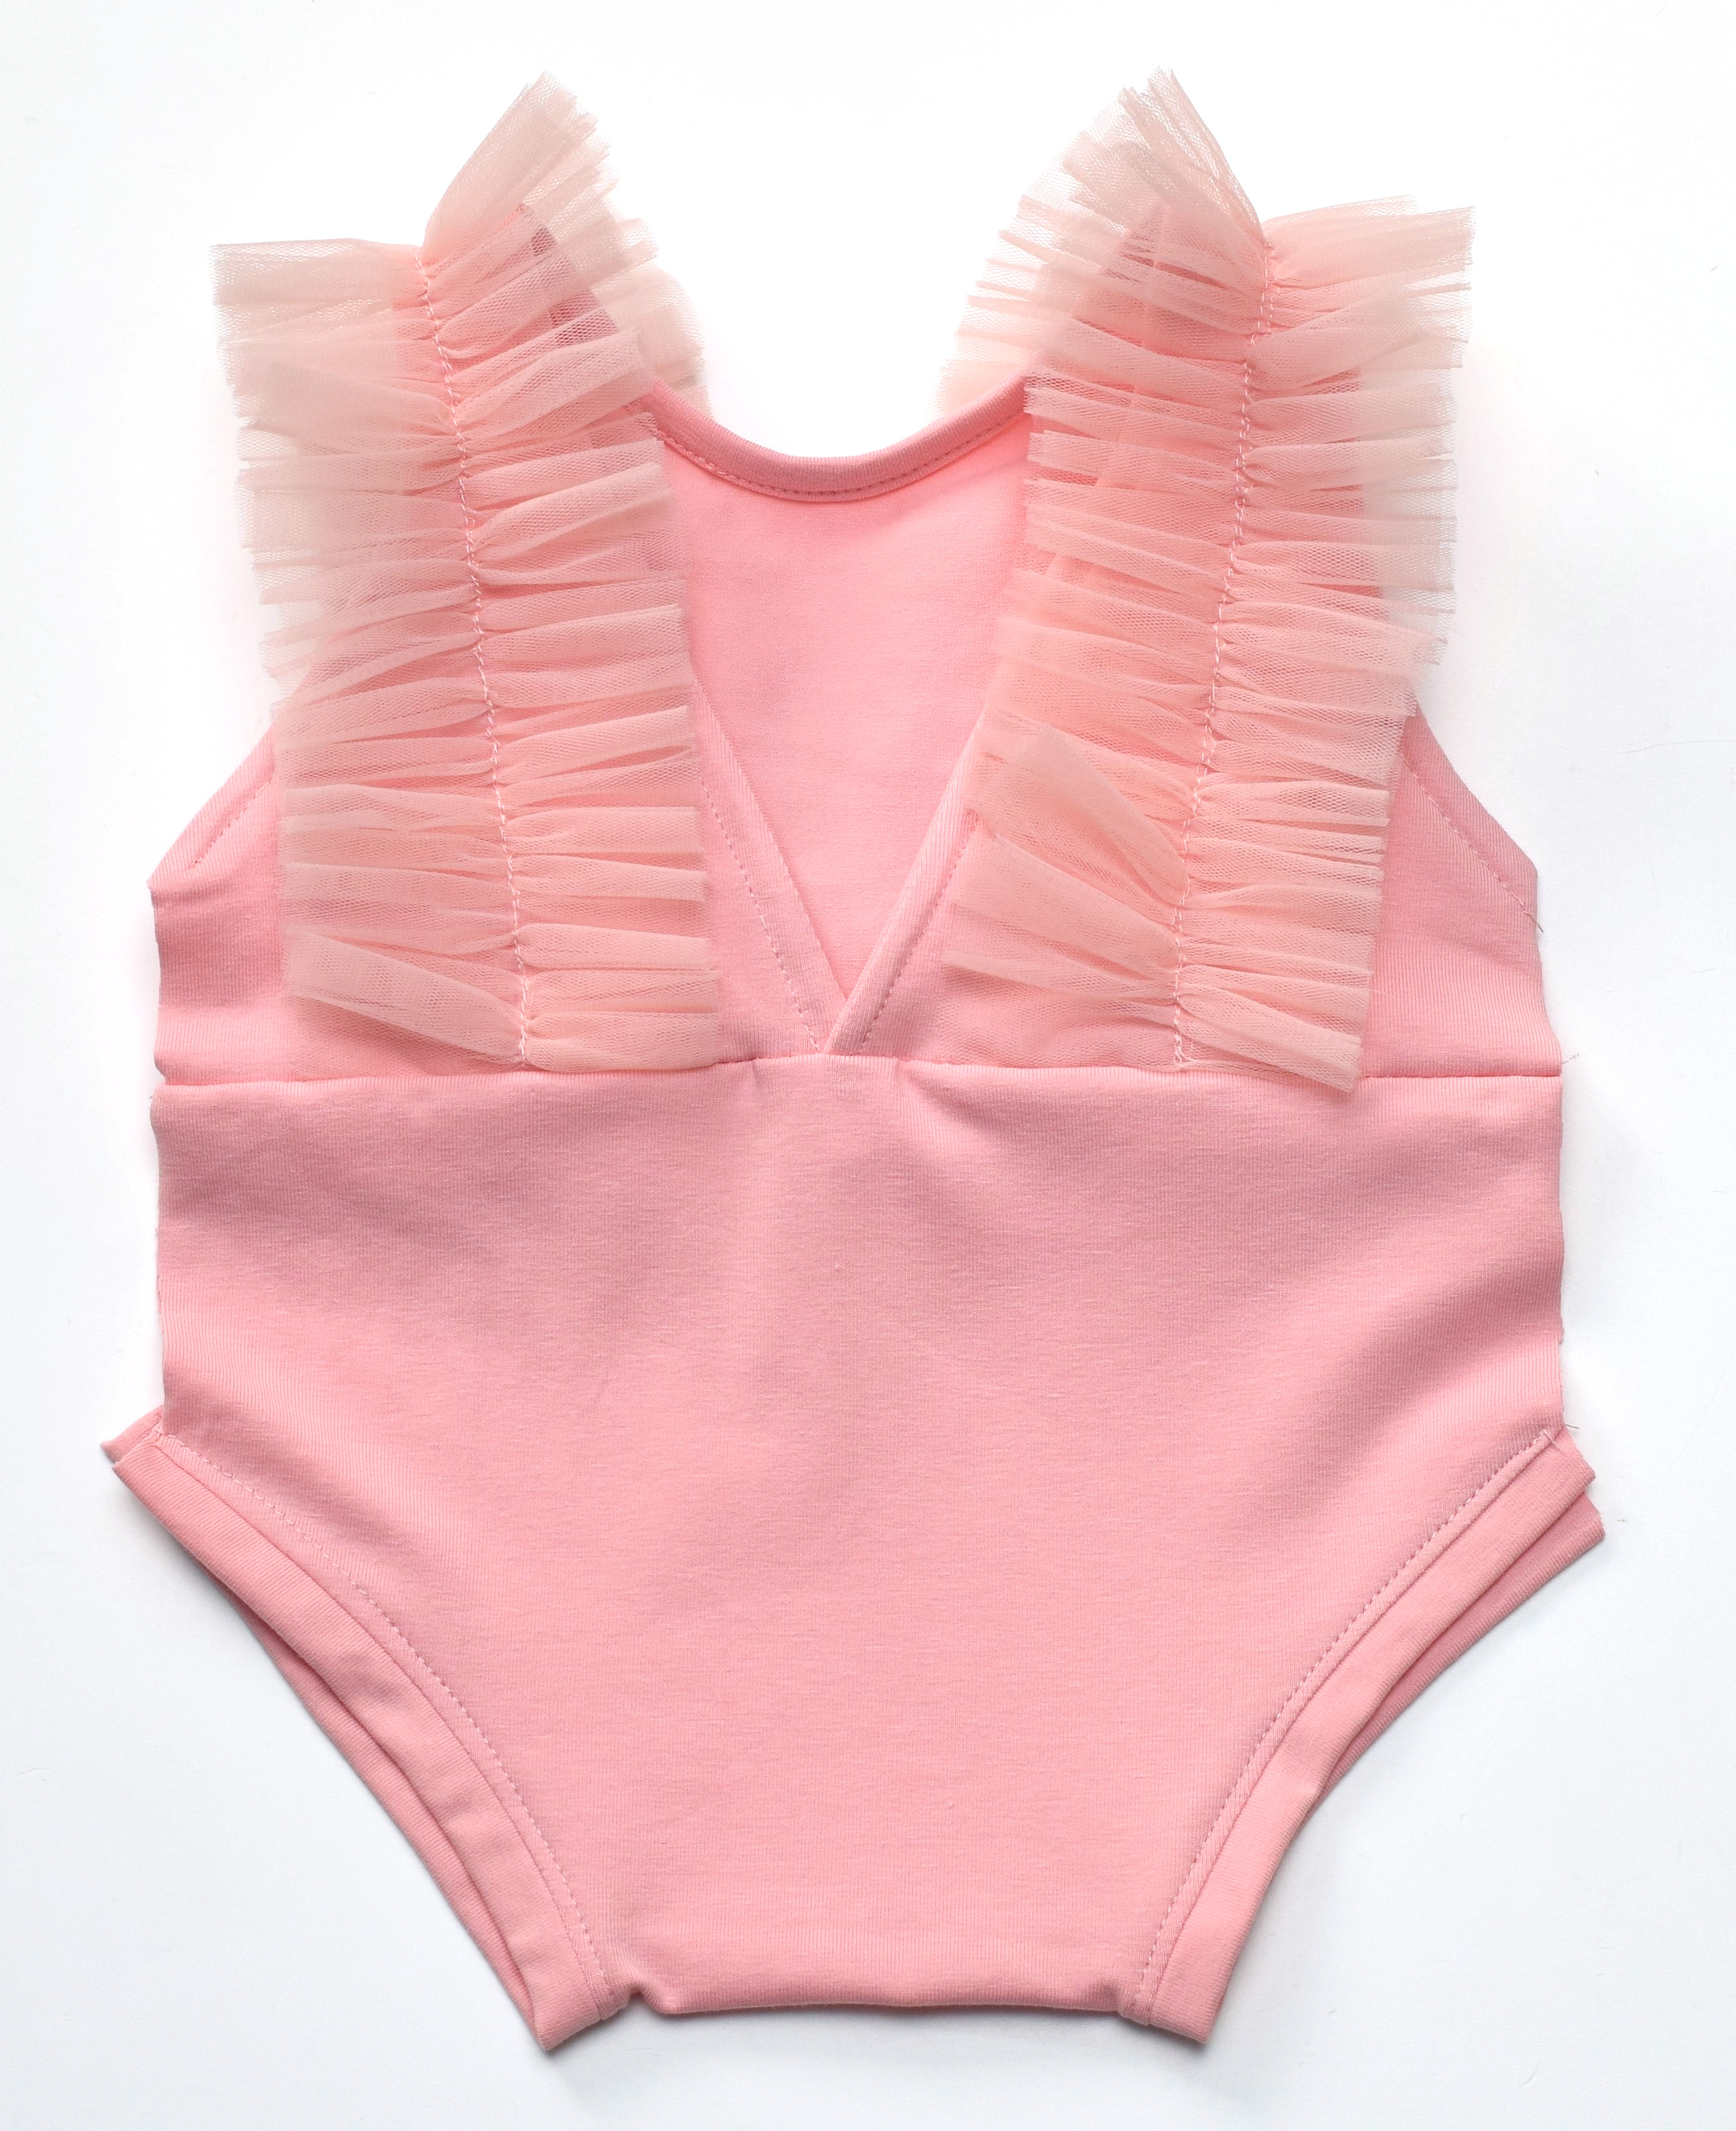
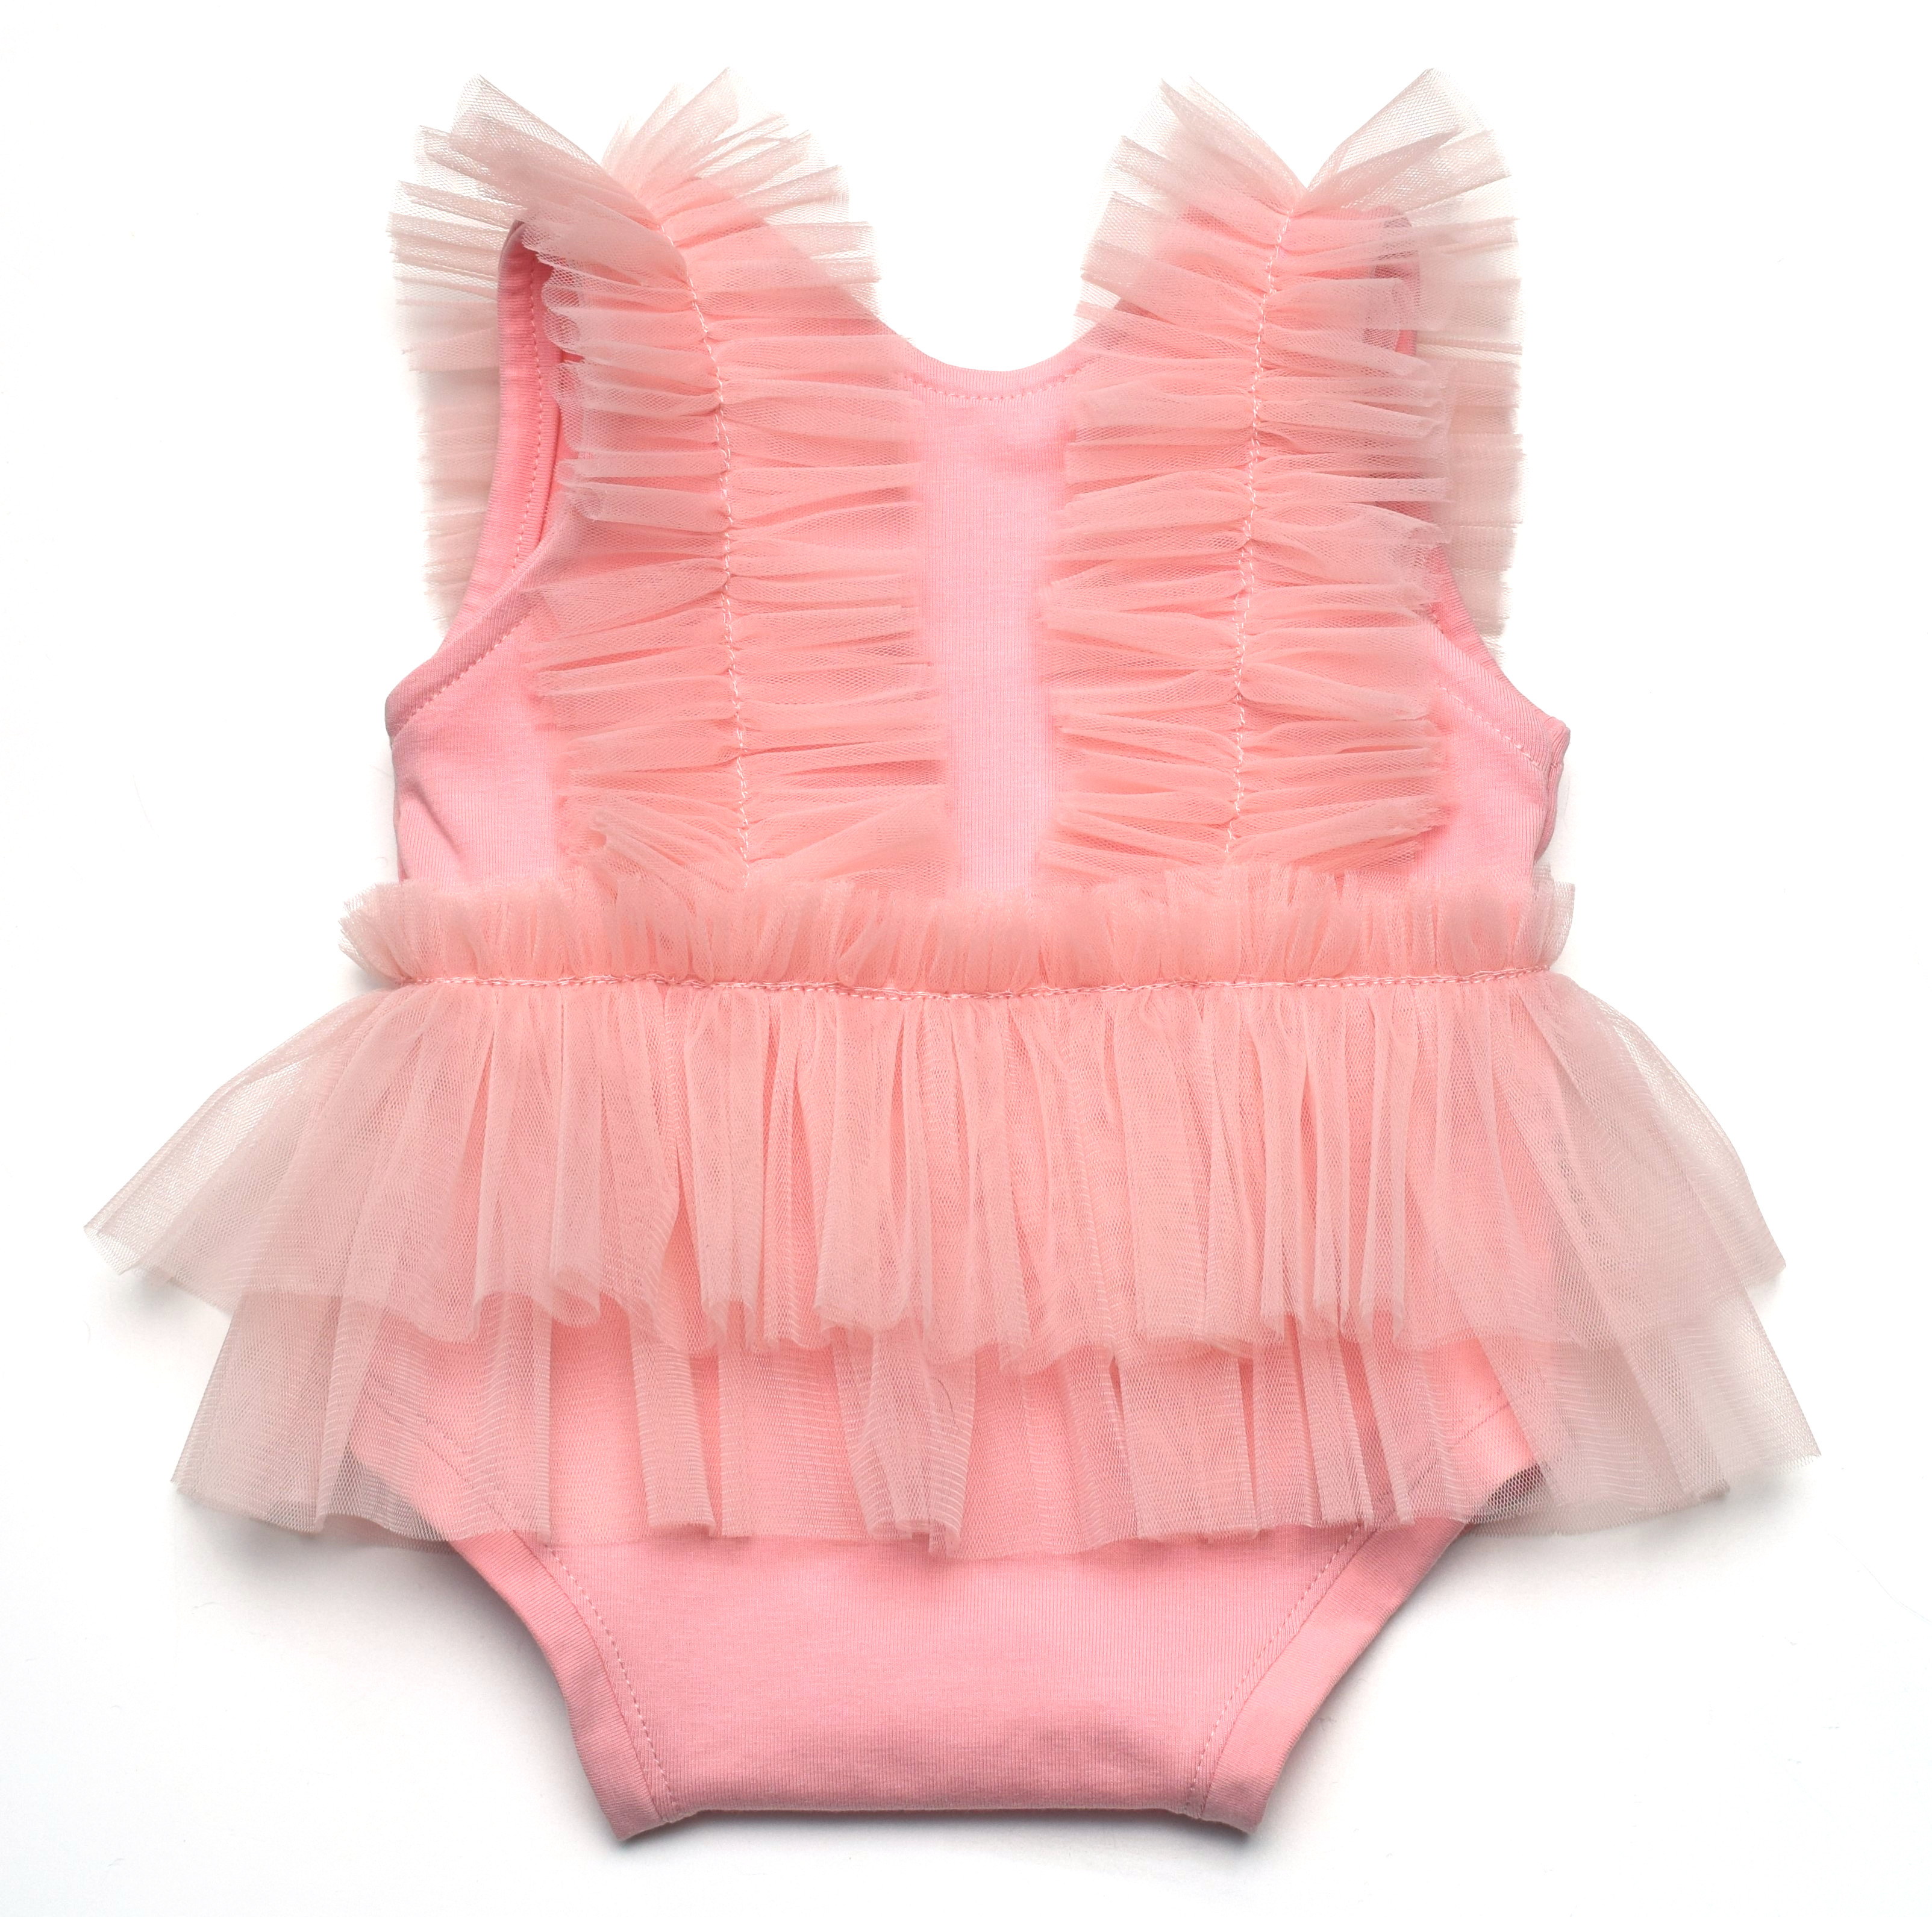
Baby ruffle romper – front view
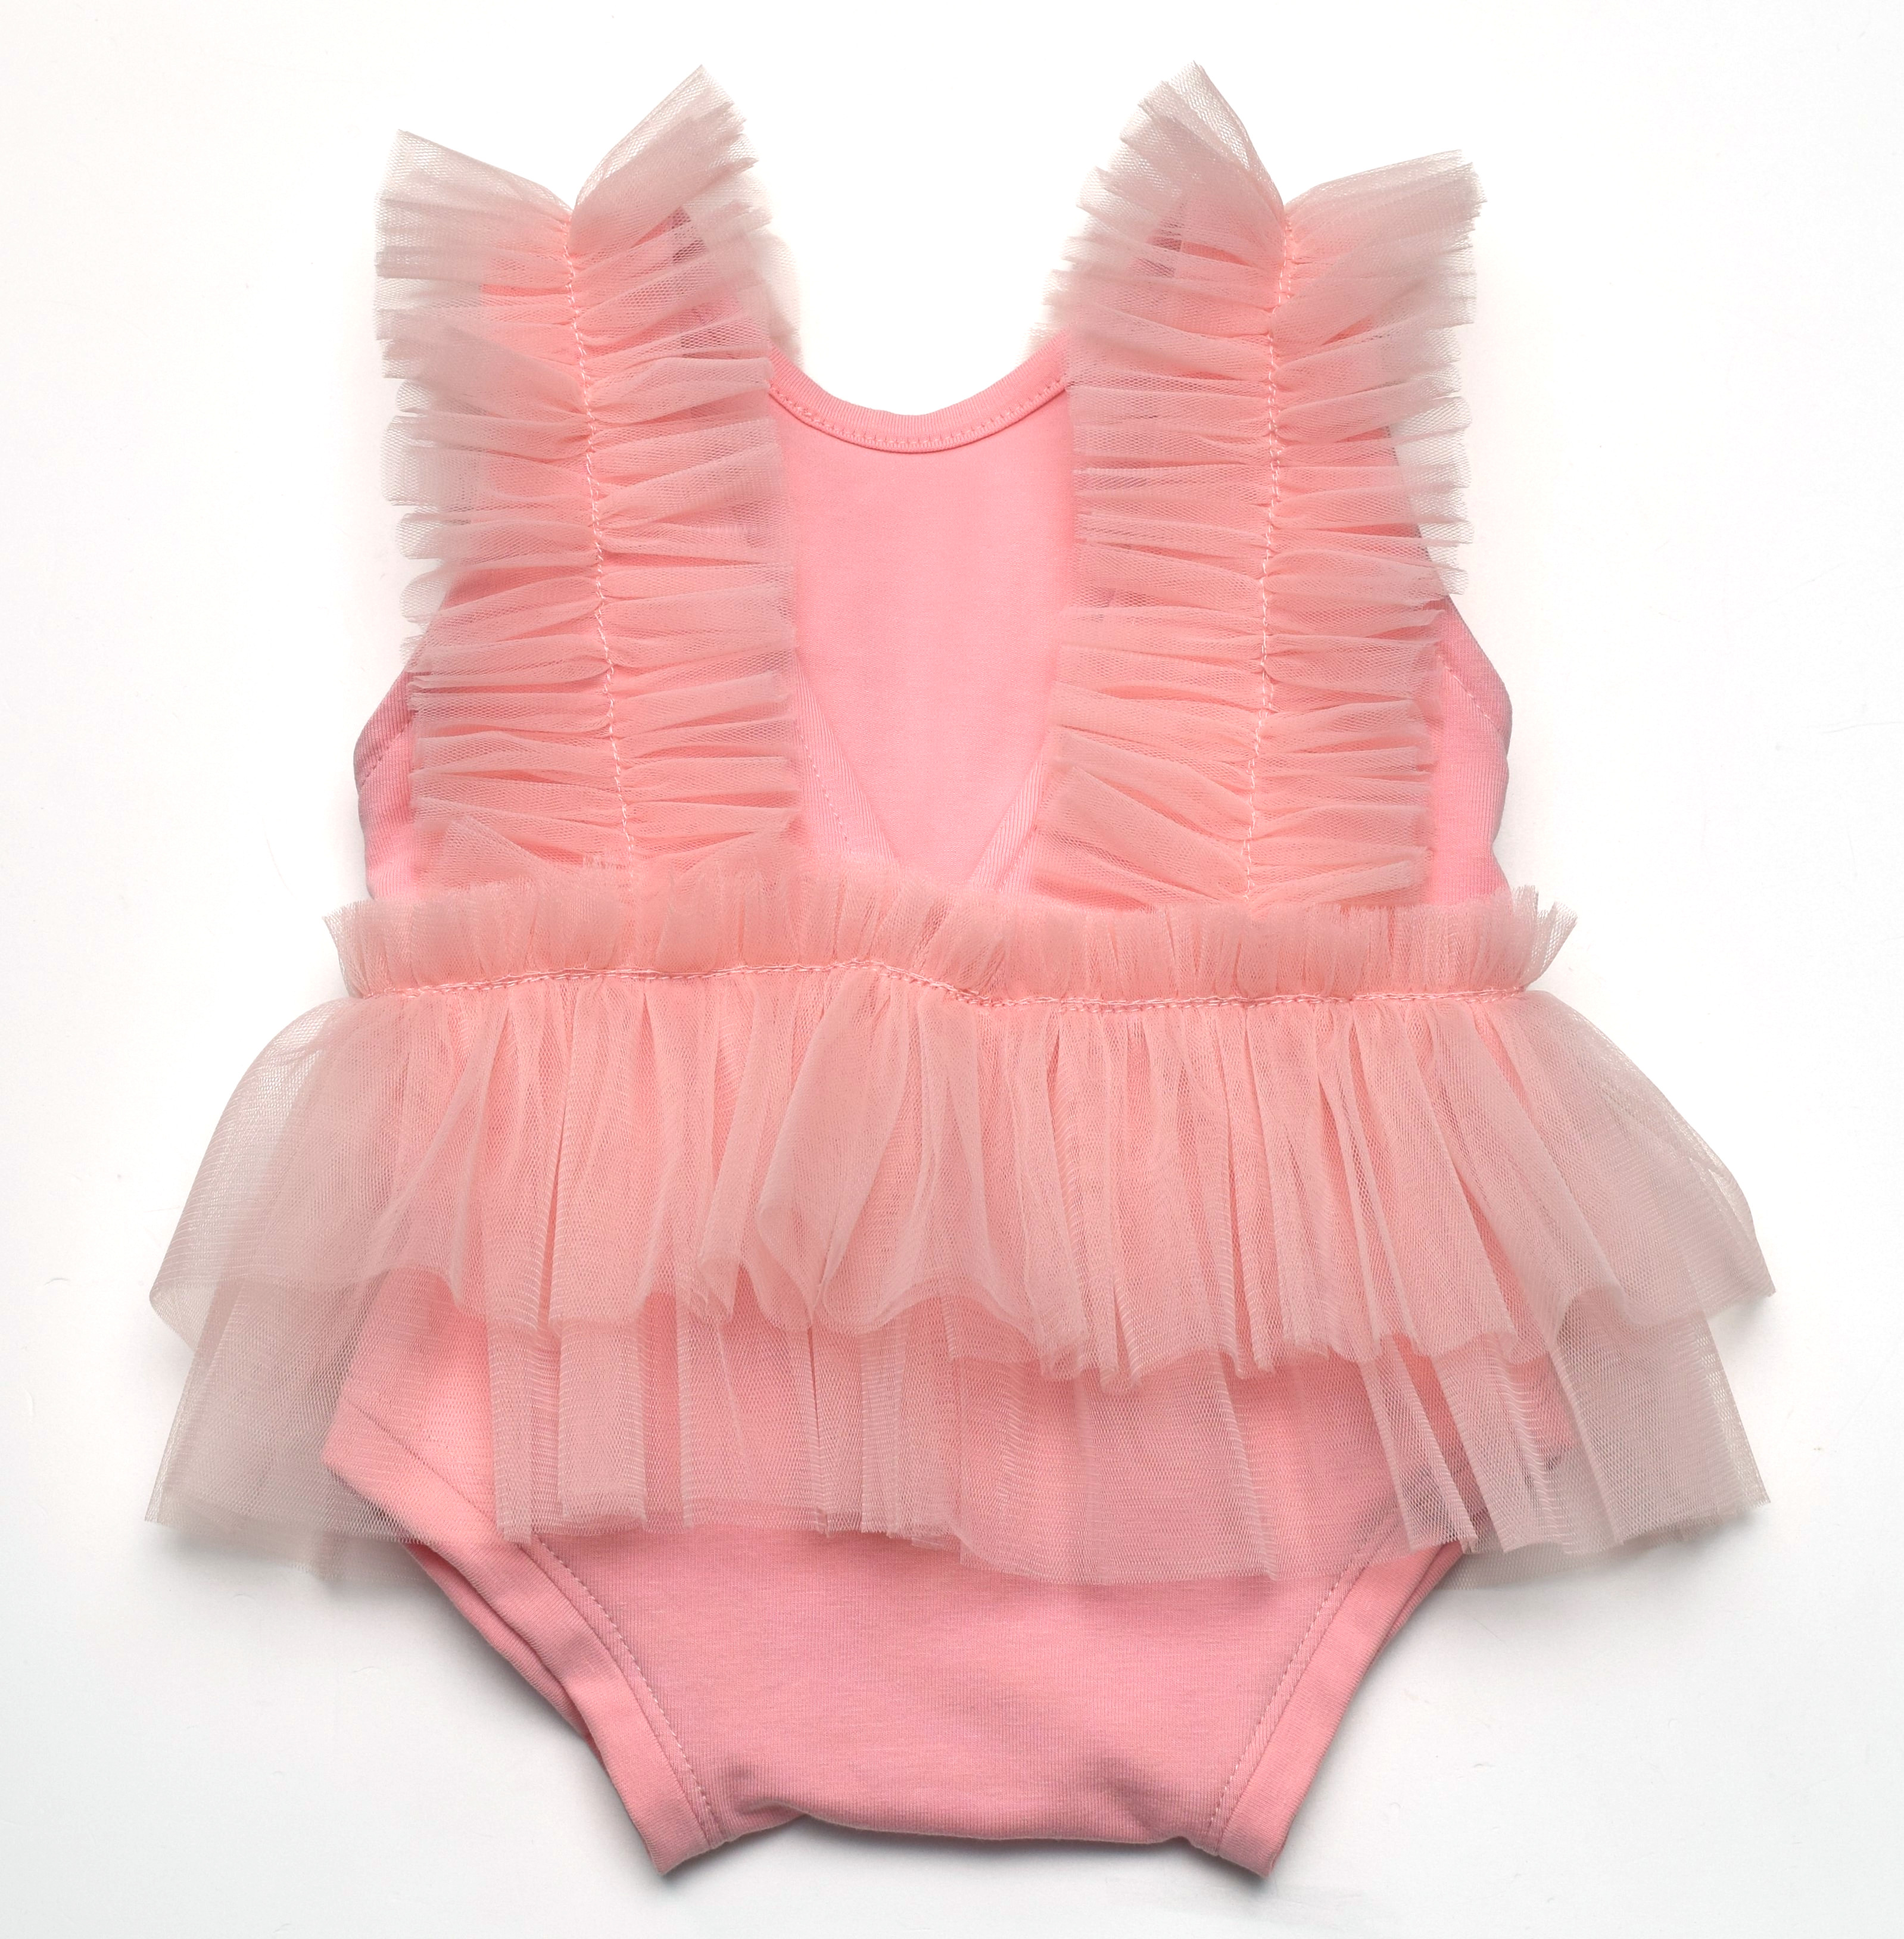
Baby ruffle romper – back view
And that’s all! I also added two cute tulle bows – I used this simple method to make them.
Did you find this baby ruffle romper tutorial helpful? I’d like to hear what you think of it!
And I would LOVE to see pictures if you give this pattern a try!
Let’s keep in touch! You can find me on Facebook, Instagram, and Pinterest.


Do you know what the measurements would be to make this in a 9-12 mo size?