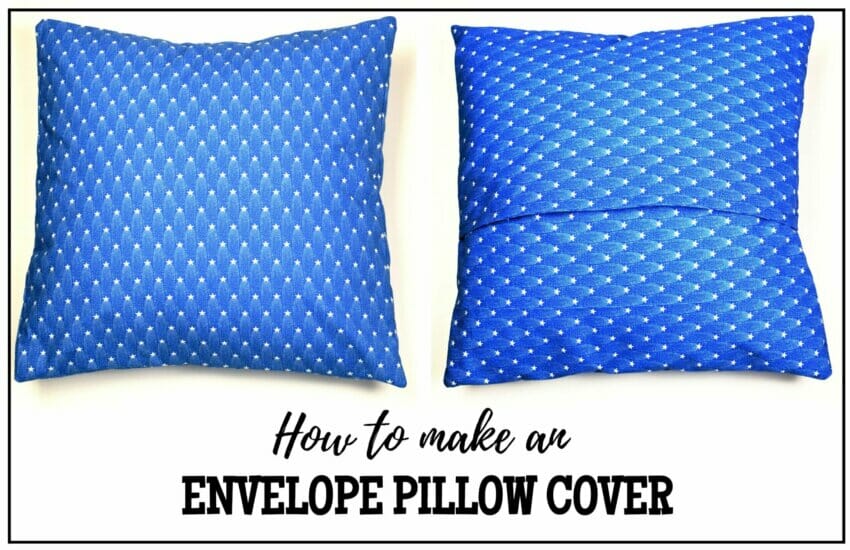
DIY envelope pillow cover is a perfect sewing project for beginners. Learn to make an easy envelope pillow cover in just minutes with this free sewing tutorial.
The envelope pillow cover is a quick and easy sew. There’s no need to insert a zipper or create buttonholes. Just sew a few straight lines and you’re done!
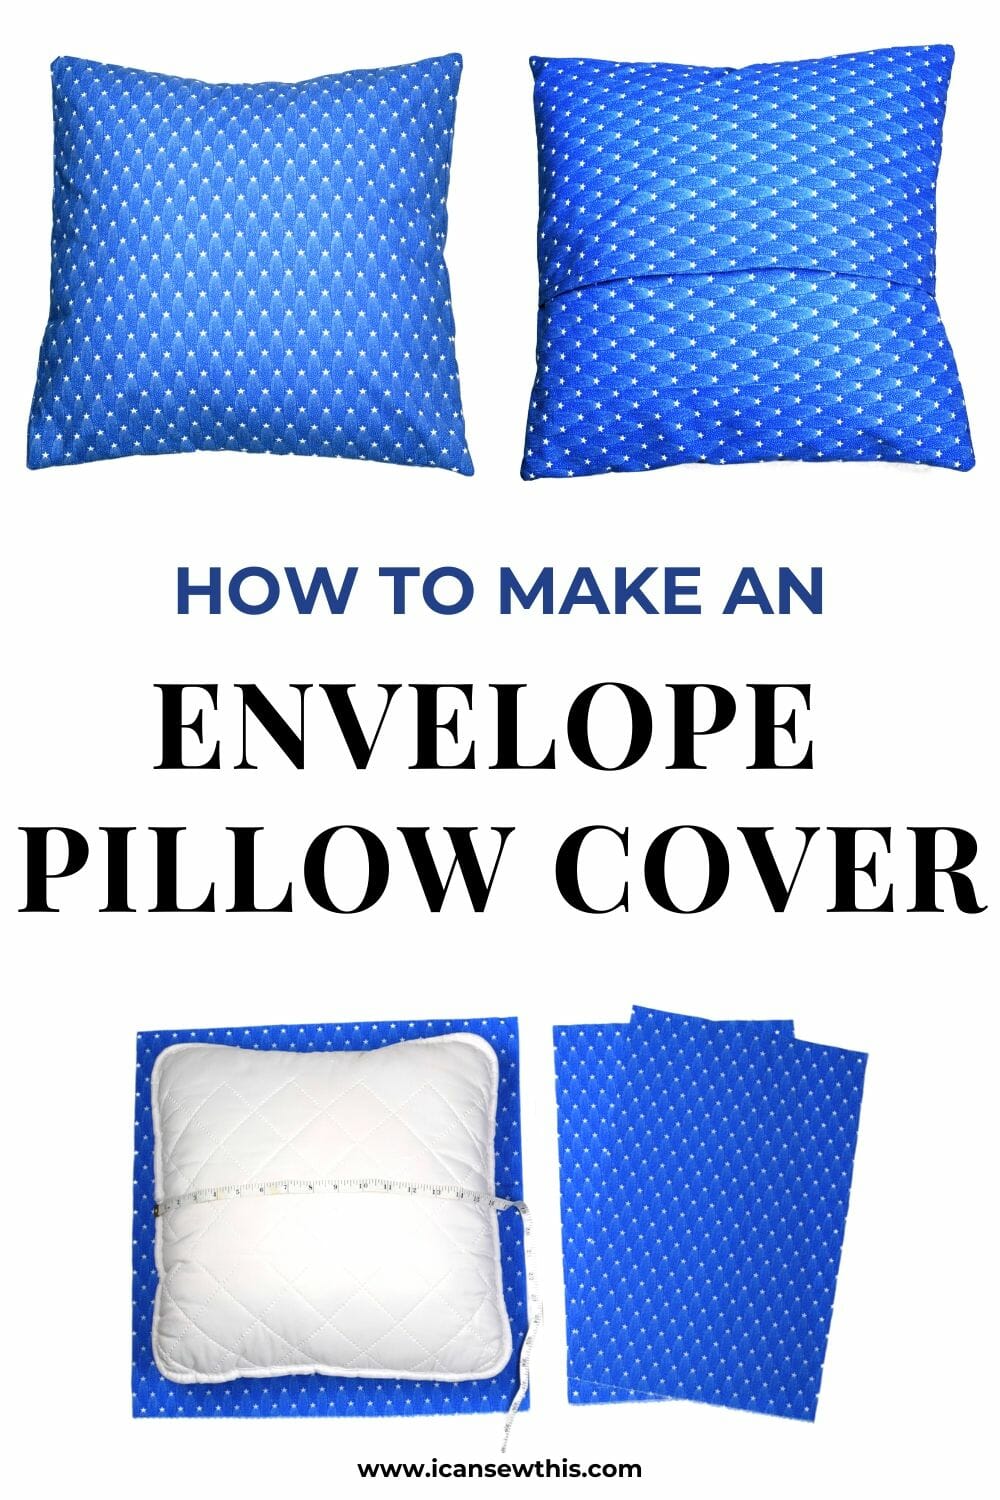
Here’s how to make your own envelope pillow cover in 10 minutes, even if you’re an absolute beginner who just got her first sewing machine out of the box.
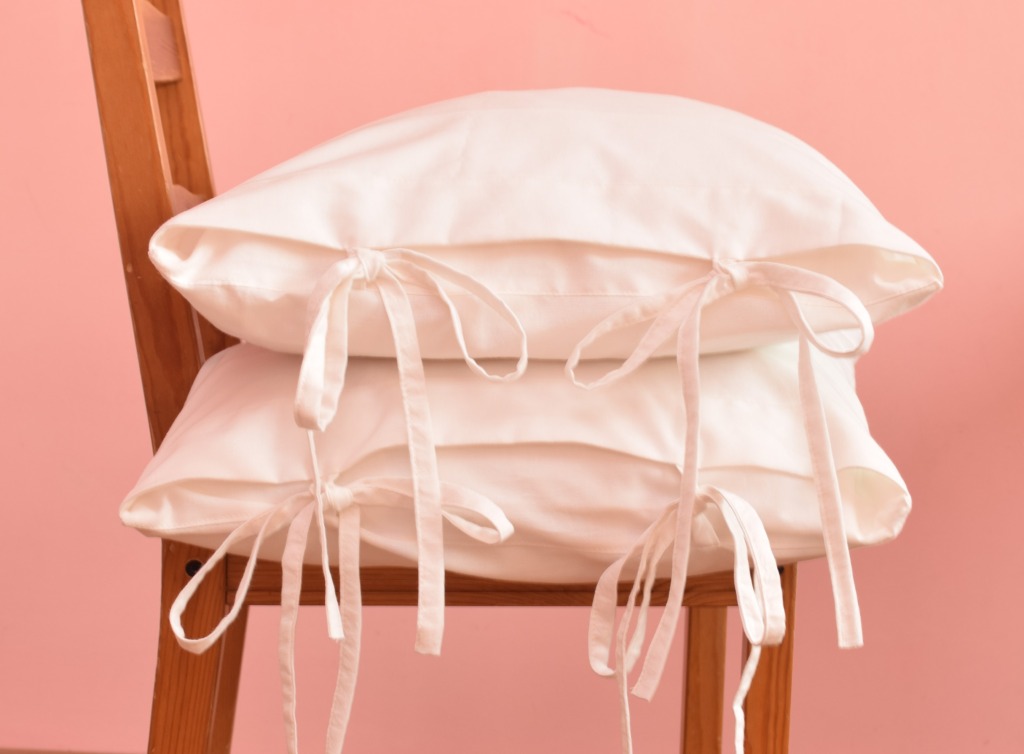
Related: How to make beautiful envelope pillowcases with ties – be sure to check out this easy tutorial for beginners (no serger needed!)
These instructions are for a 16-inch square pillow, but you can adjust the measurements for any size you want – it’s actually very simple.
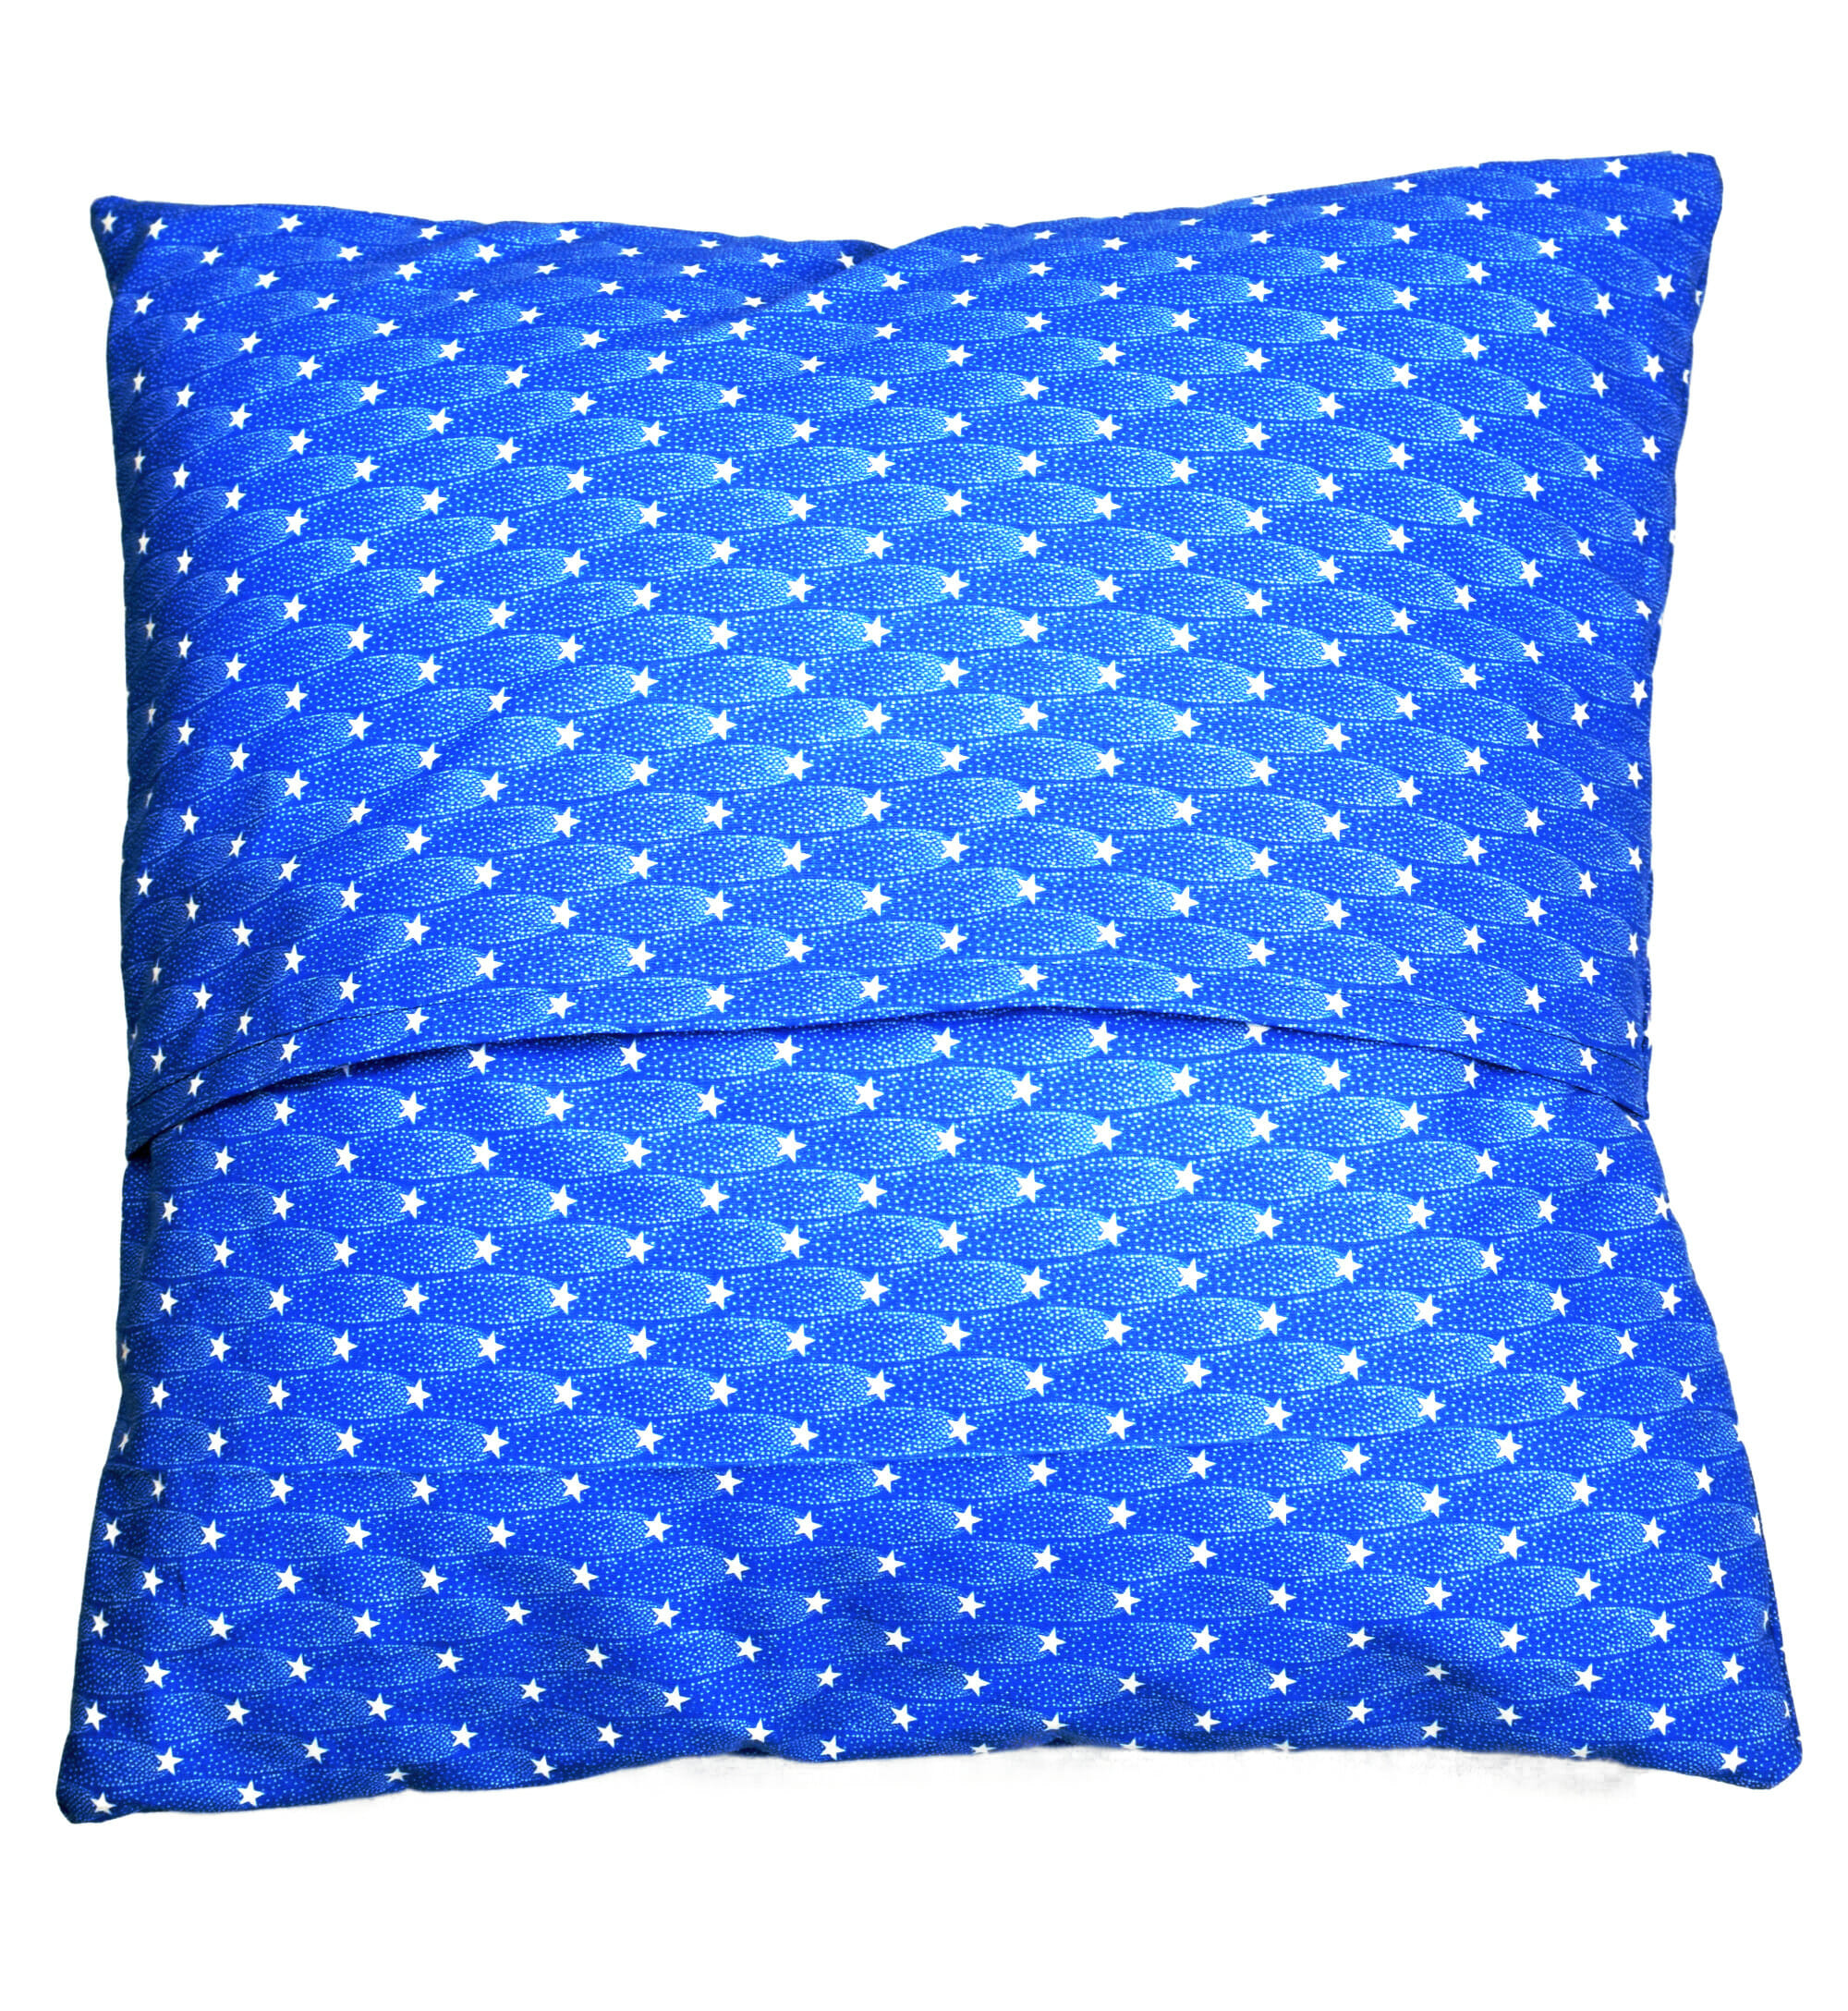
Disclosure: I chose a cotton fabric for my pillow cover, and I didn’t wash and dry it before sewing – guilty as charged! However, I removed the wrinkles with a steam iron before cutting my pieces. I don’t always pre-wash the fabric before sewing unless I really have to. This time, a little shrinking isn’t such a big deal.
My finished pillow cover has the same measurement as the pillow – 16 by 16 inches. It already has a good fit, but I wouldn’t mind if it shrank a bit.
I prefer a clean and snug look rather than a shapeless one for my pillow covers.
You might love these sewing project ideas as well: Mini zipper pouch (free pattern) / Free pillowcase pattern for beginners
DIY pillow cover – sewing supplies
- a pillow you want to cover-up
- fabric (how much you need will depend on the size of your pillow)
- sewing machine
- sewing machine needle
- fabric scissors
- matching thread
- sewing pins
- iron
Looking for some quick and easy sewing projects? Here are some other things you can sew in about 10 minutes: lined drawstring bag, reversible fabric coasters, scrunchies, infinity scarf.
How to make an envelope pillow cover
Step 1
Measure your pillow from seam to seam – my pillow measures 16 by 16 inches. Your fabric pieces need to be 1 inch larger than the pillow form.
Therefore, you need one front piece that measures 17 x 17 inches (add 1 inch to the pillow dimensions for seam allowances), and two back pieces 17 x 11.5 inches.

So how did I came up with a weird number such as 11.5?
Here’s the reason 11.5 makes perfect sense.
Each back piece has the same width as the front side (17 inches) and half of the length, plus 3 inches to accommodate the seams and the overlap (17/2 + 3= 11.5).
In other words, this is how we secure a 4 inches overlap for the envelope on the back of the pillow.
For me that’s just perfect, but if you want a more generous overlap, feel free to cut bigger rectangles for the back pieces, i.e. 17 x 12 inches or 17 x 13 inches.
That’s so very simple. Look carefully at these pictures.
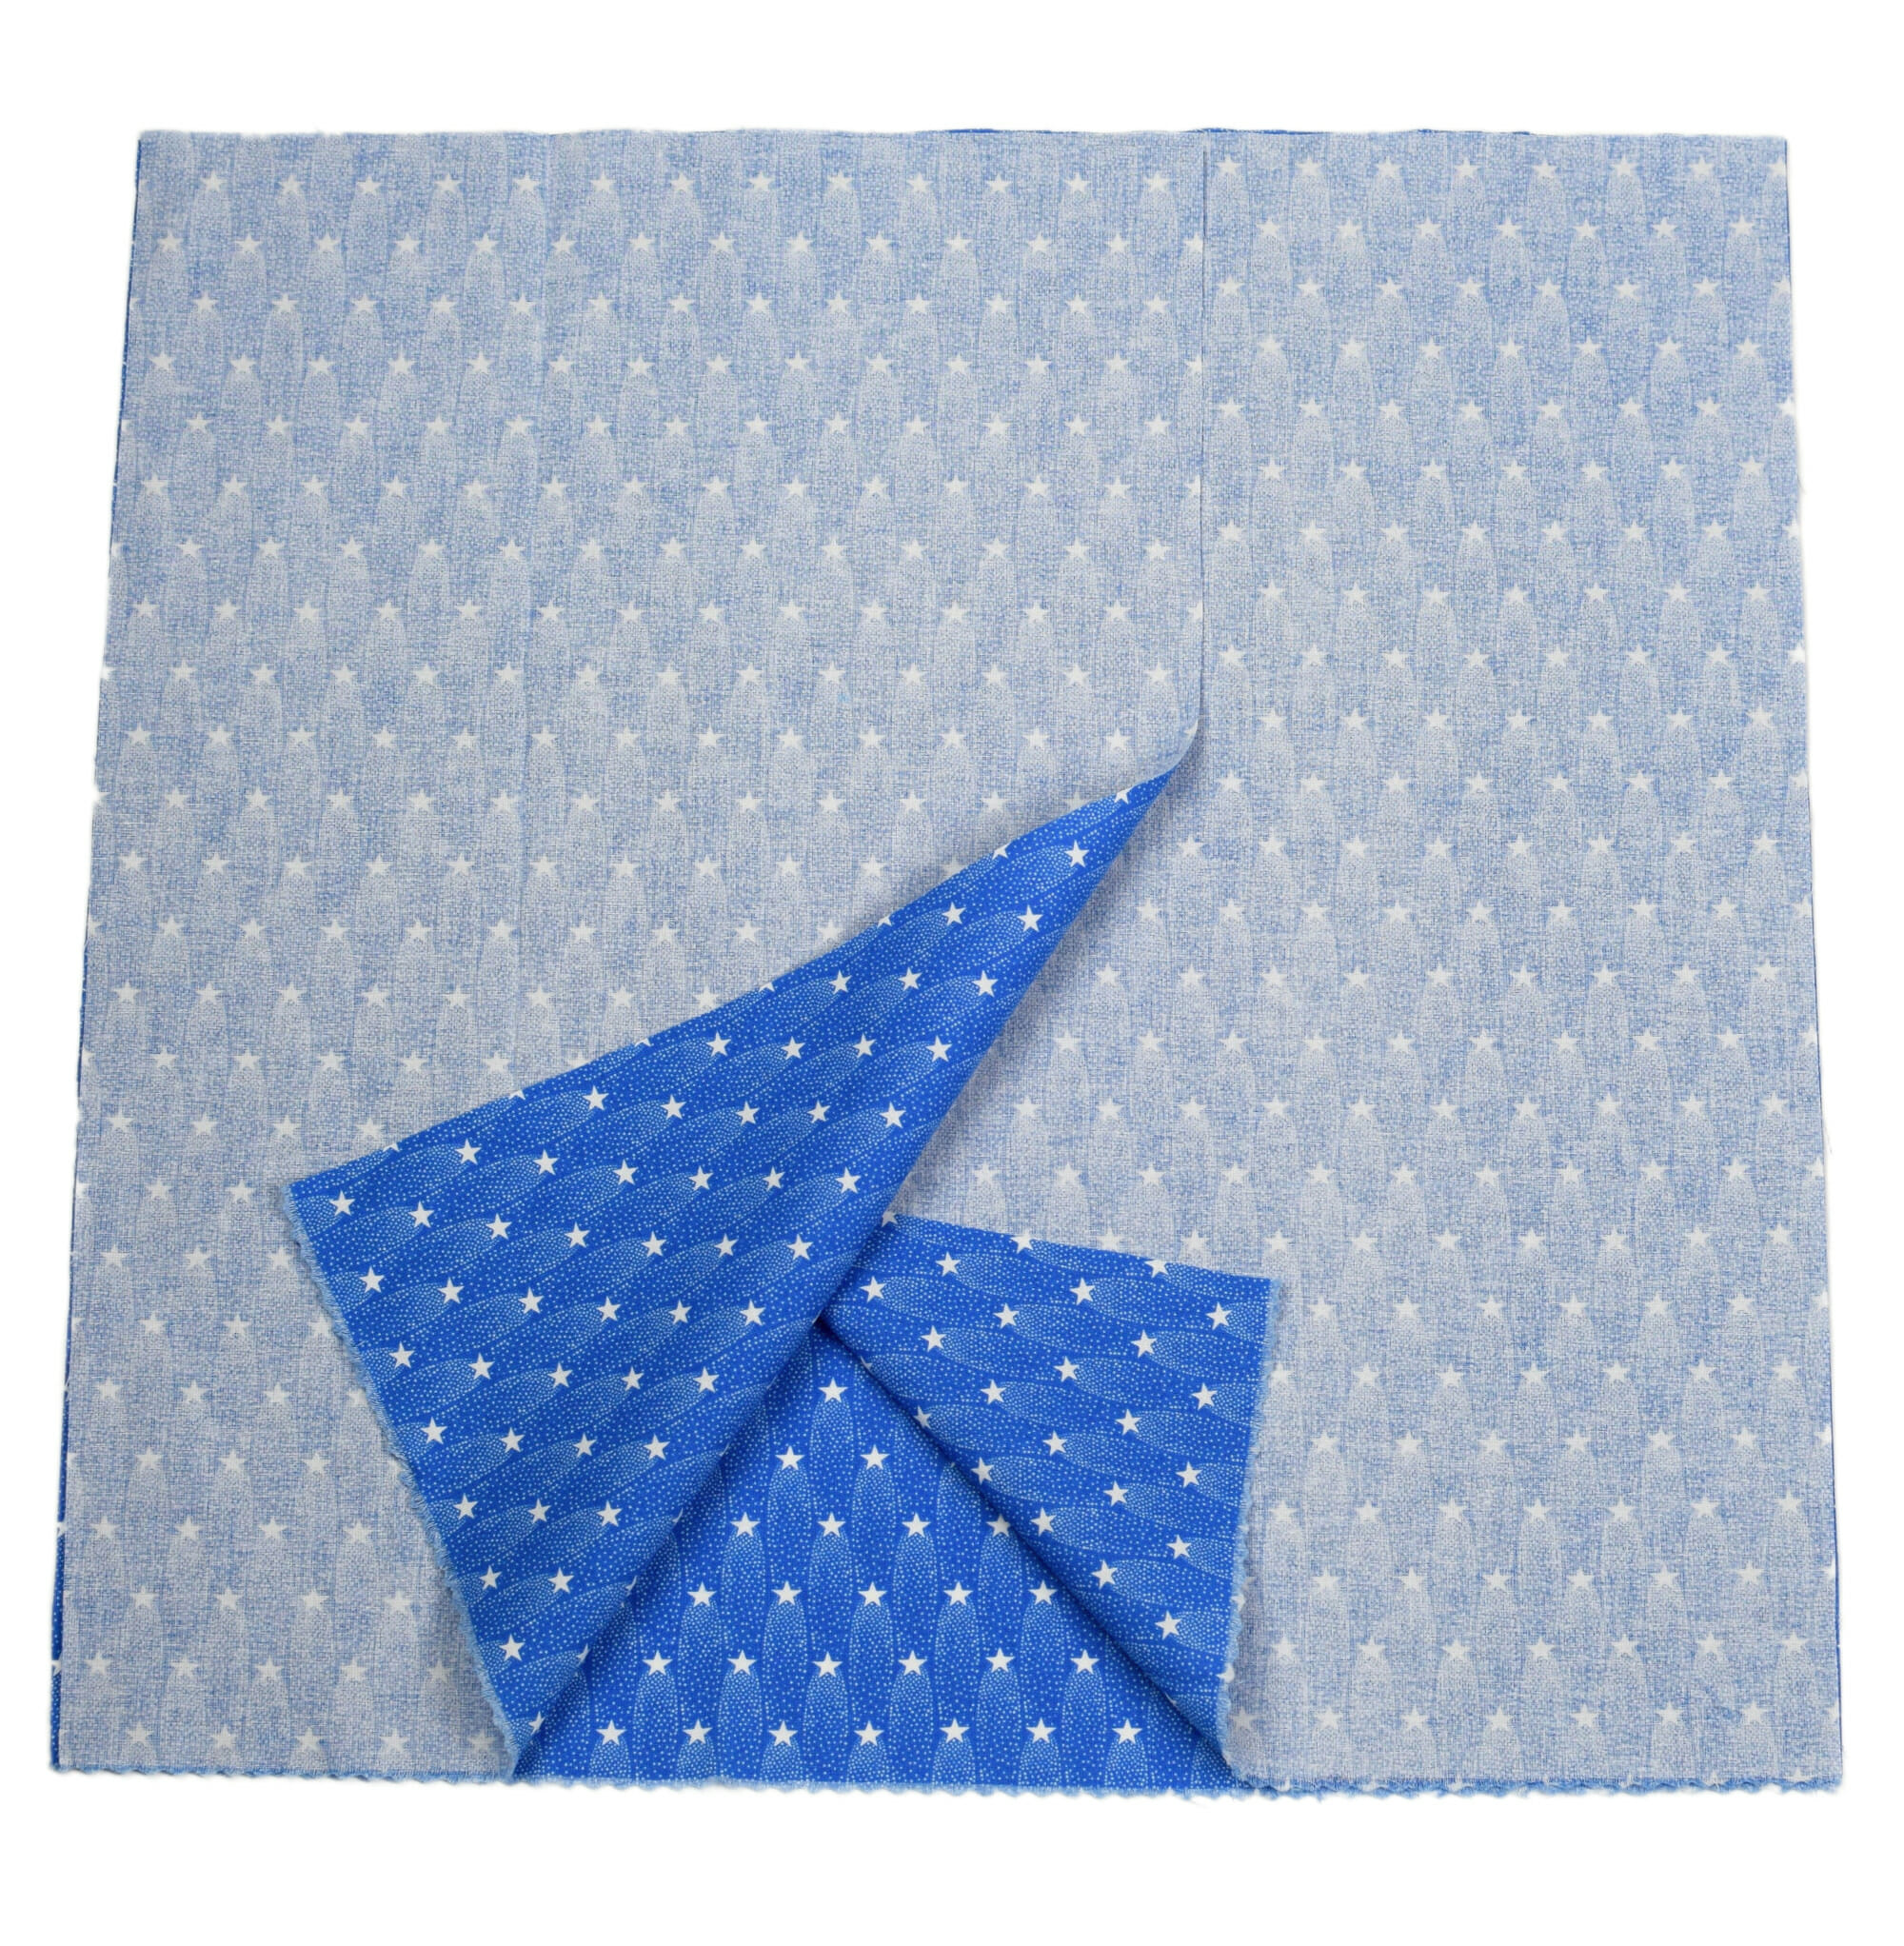
The back pieces have to overlap, so the pillow stays in.
The length of the back pieces:
11.5 x 2 = 23 inches
23 – 17 = 6 inches
Right now, there is a 6 inches difference between the front and the back pieces.
We’ll sew the envelope cover with a 3/8 seam allowance all around and we’ll lose approx. 1 inch from the initial 17 inches of fabric – we want the cover to have the same dimensions as the pillow itself.
That means we are left with a 6-1=5 inches difference. Remember, we need the back pieces to have a 4 inches overlap, and that means we have right now 5-4=1 inch extra.
What do we do with that extra inch?
We are going to use it to hem both edges of the back pieces (top and bottom).
Let’s sew!
Step 2
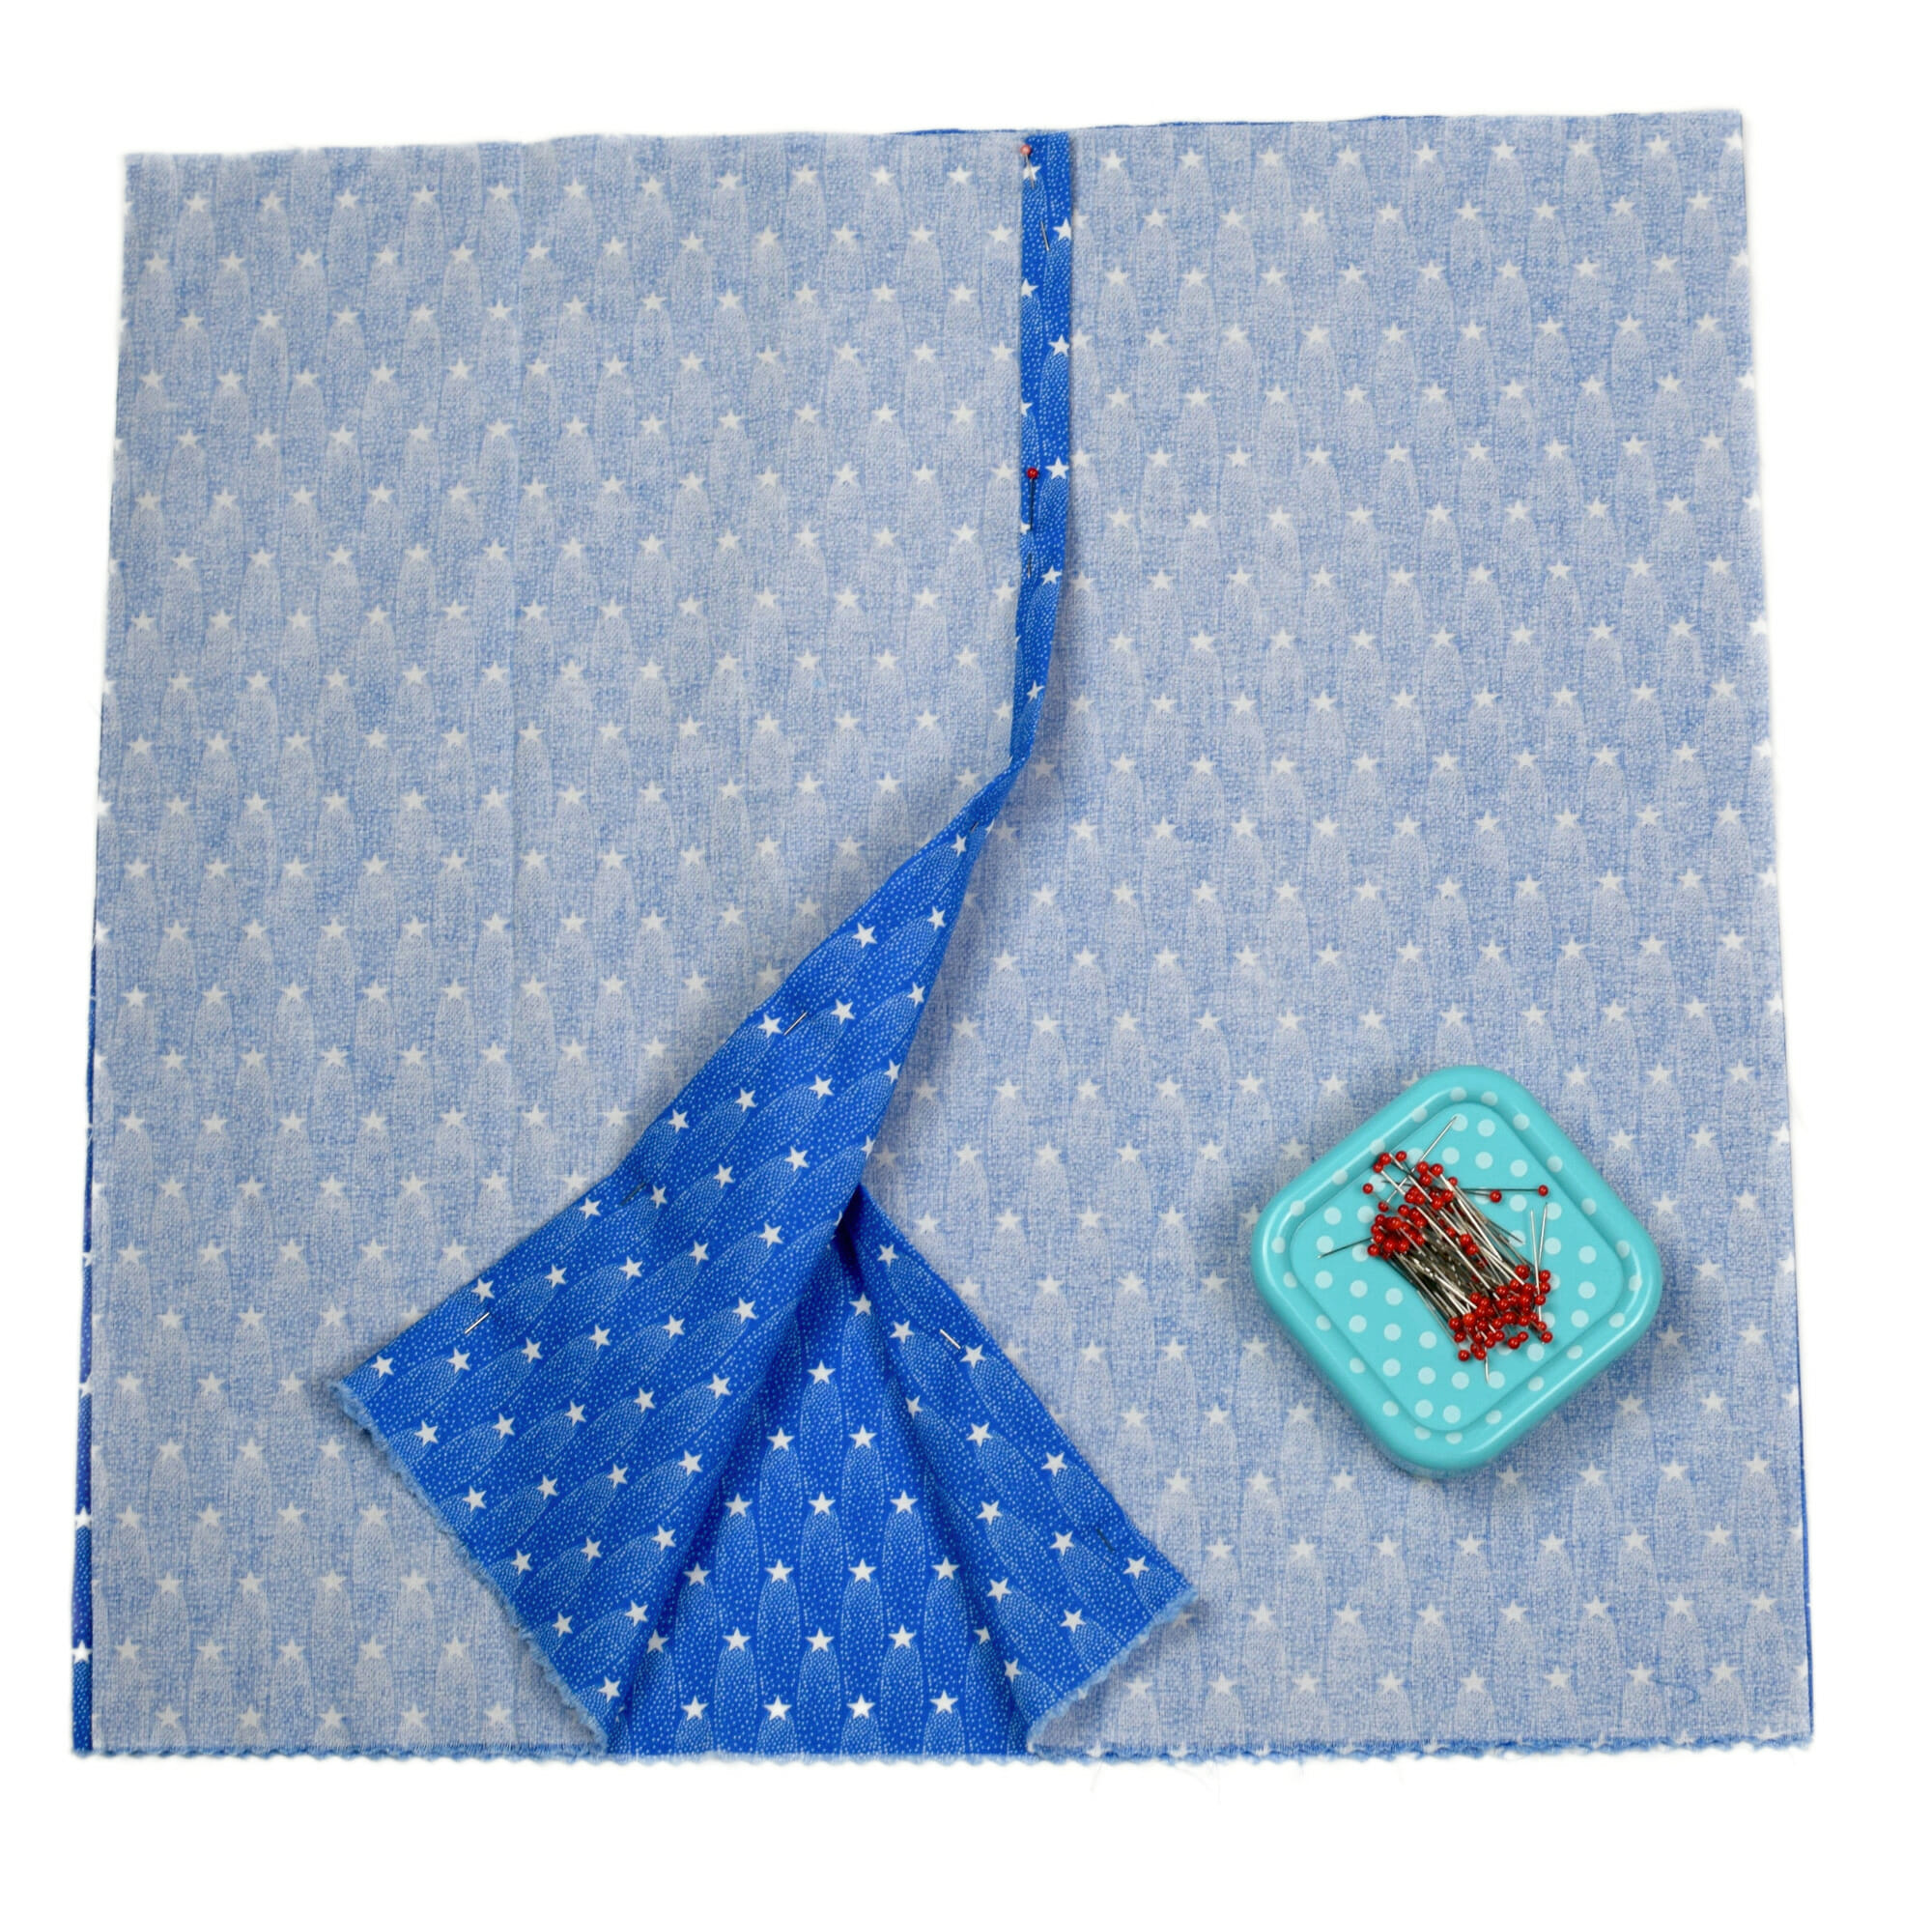
To hem the edges, fold over 1/4 inch and iron, then fold over 1/4 inch again and pin. Sew into place. Such a nice, clean looking finish for the back of this pillow cover!
Step 3
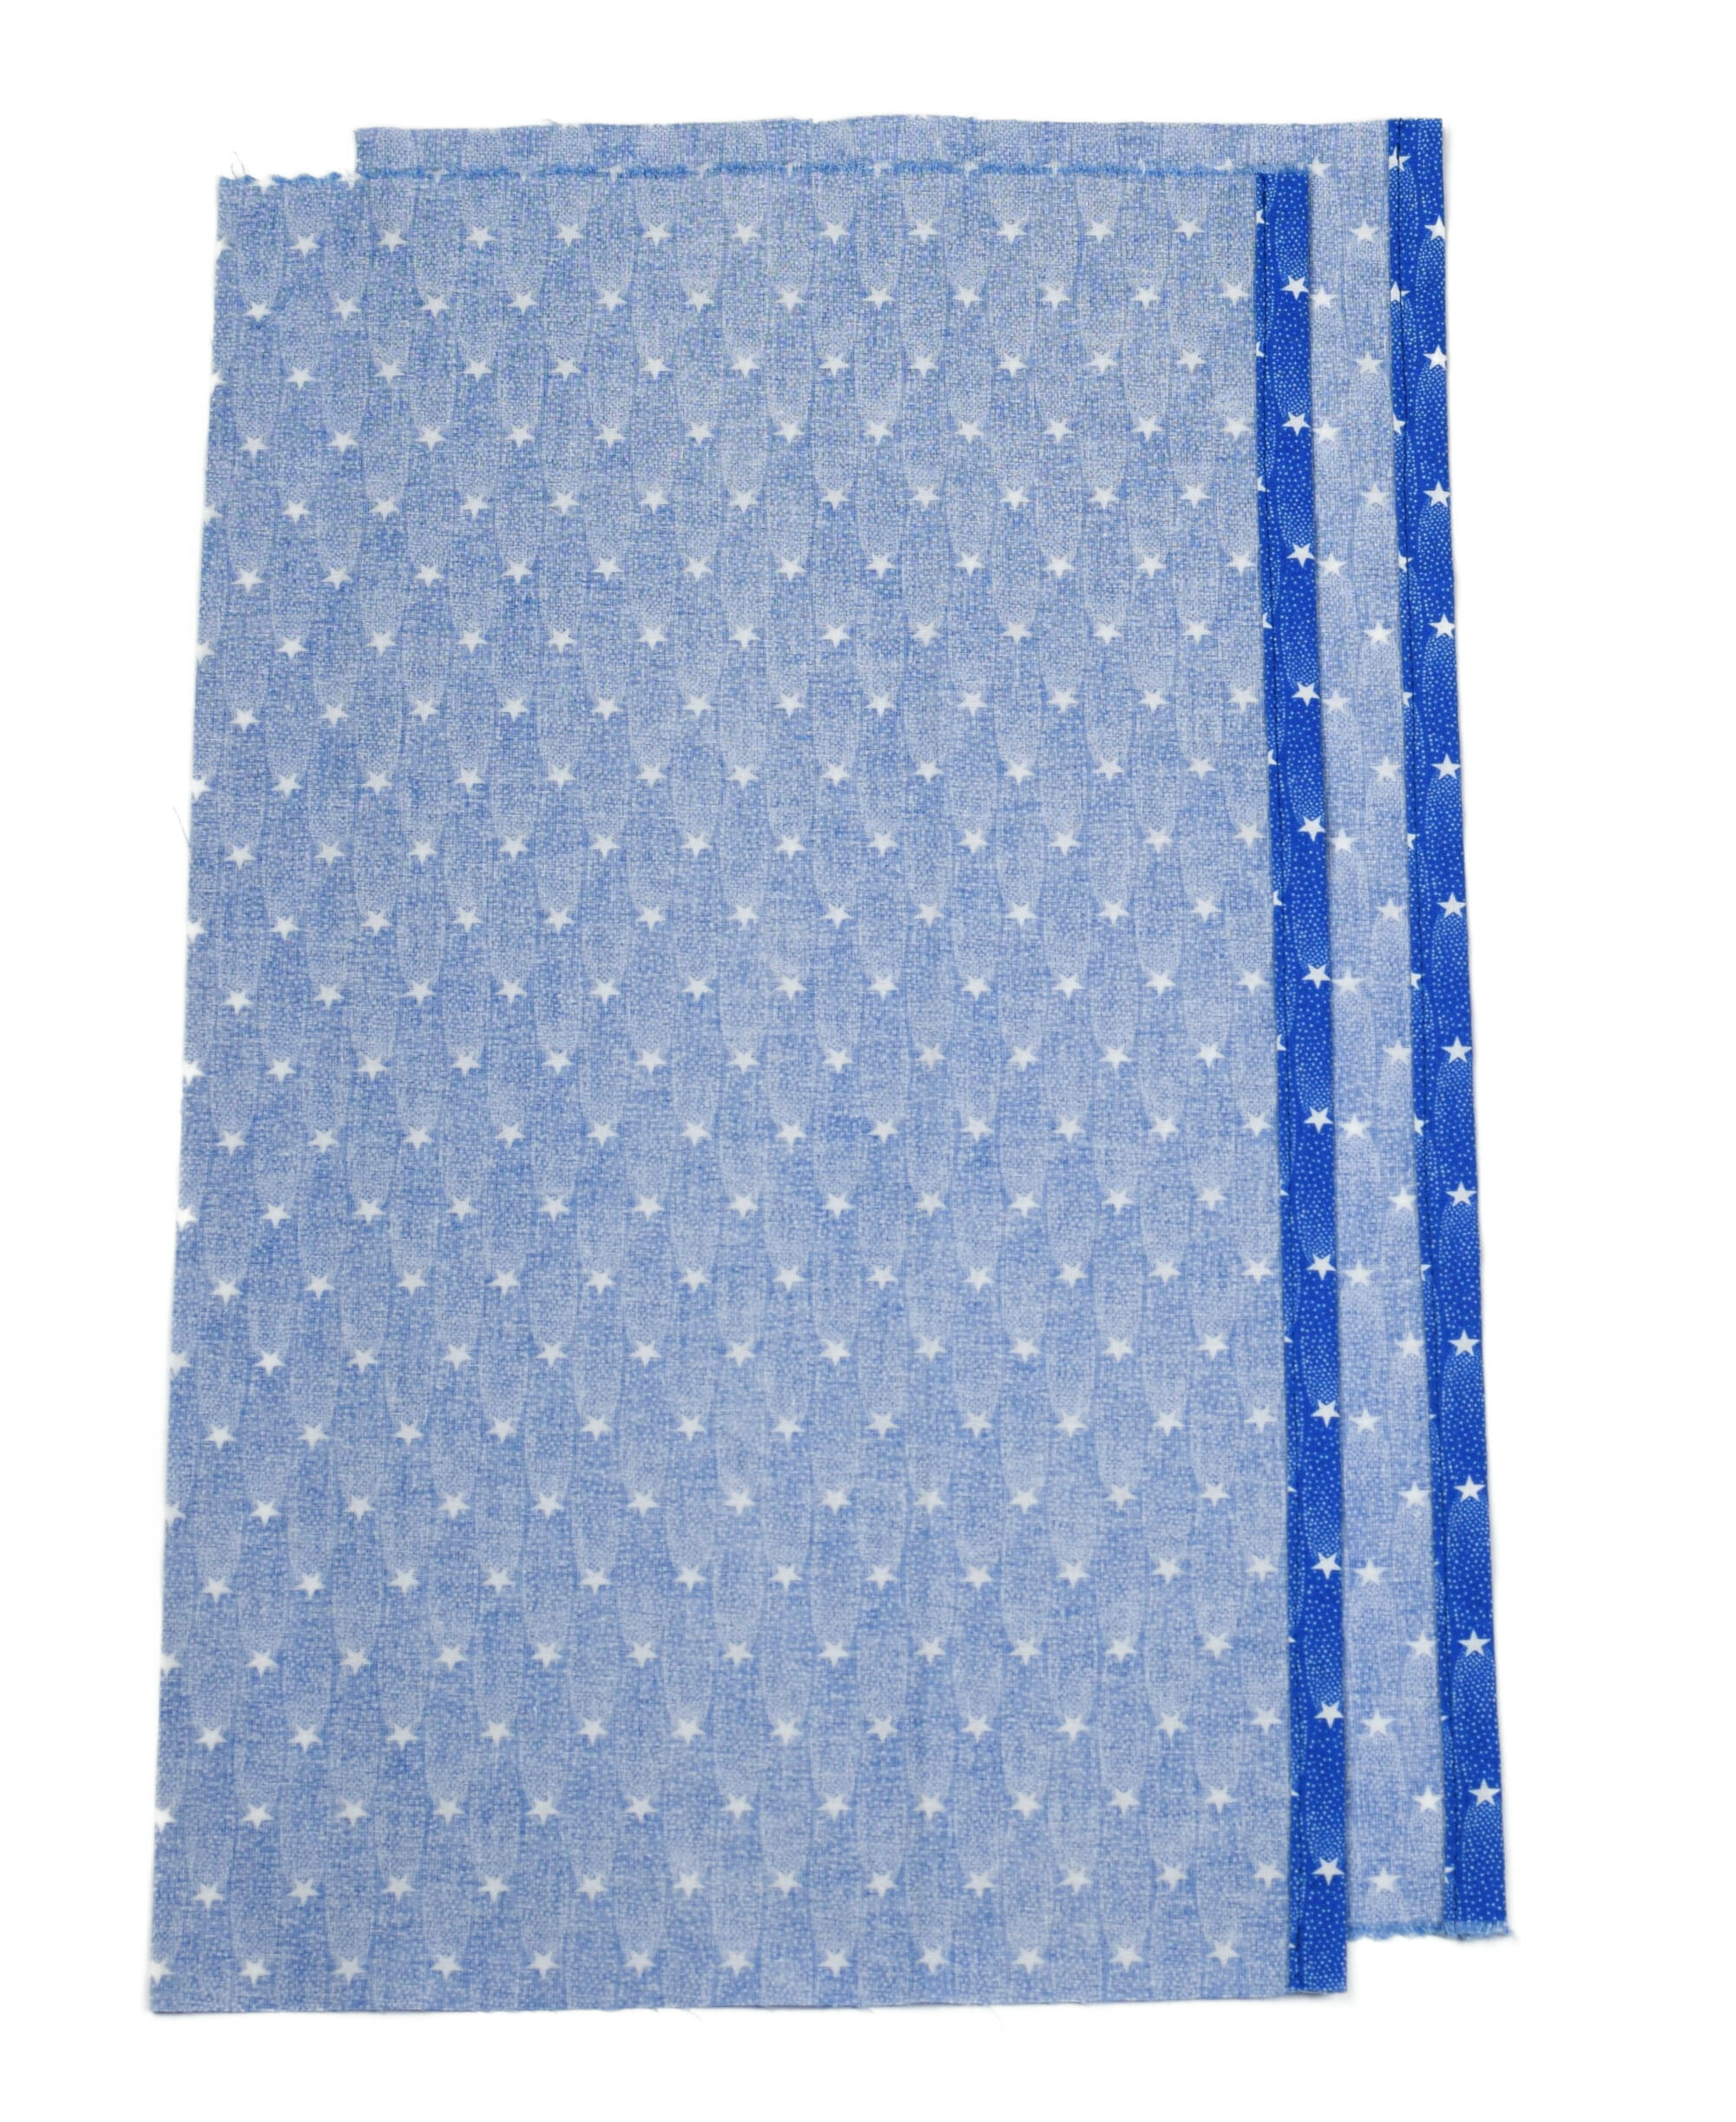
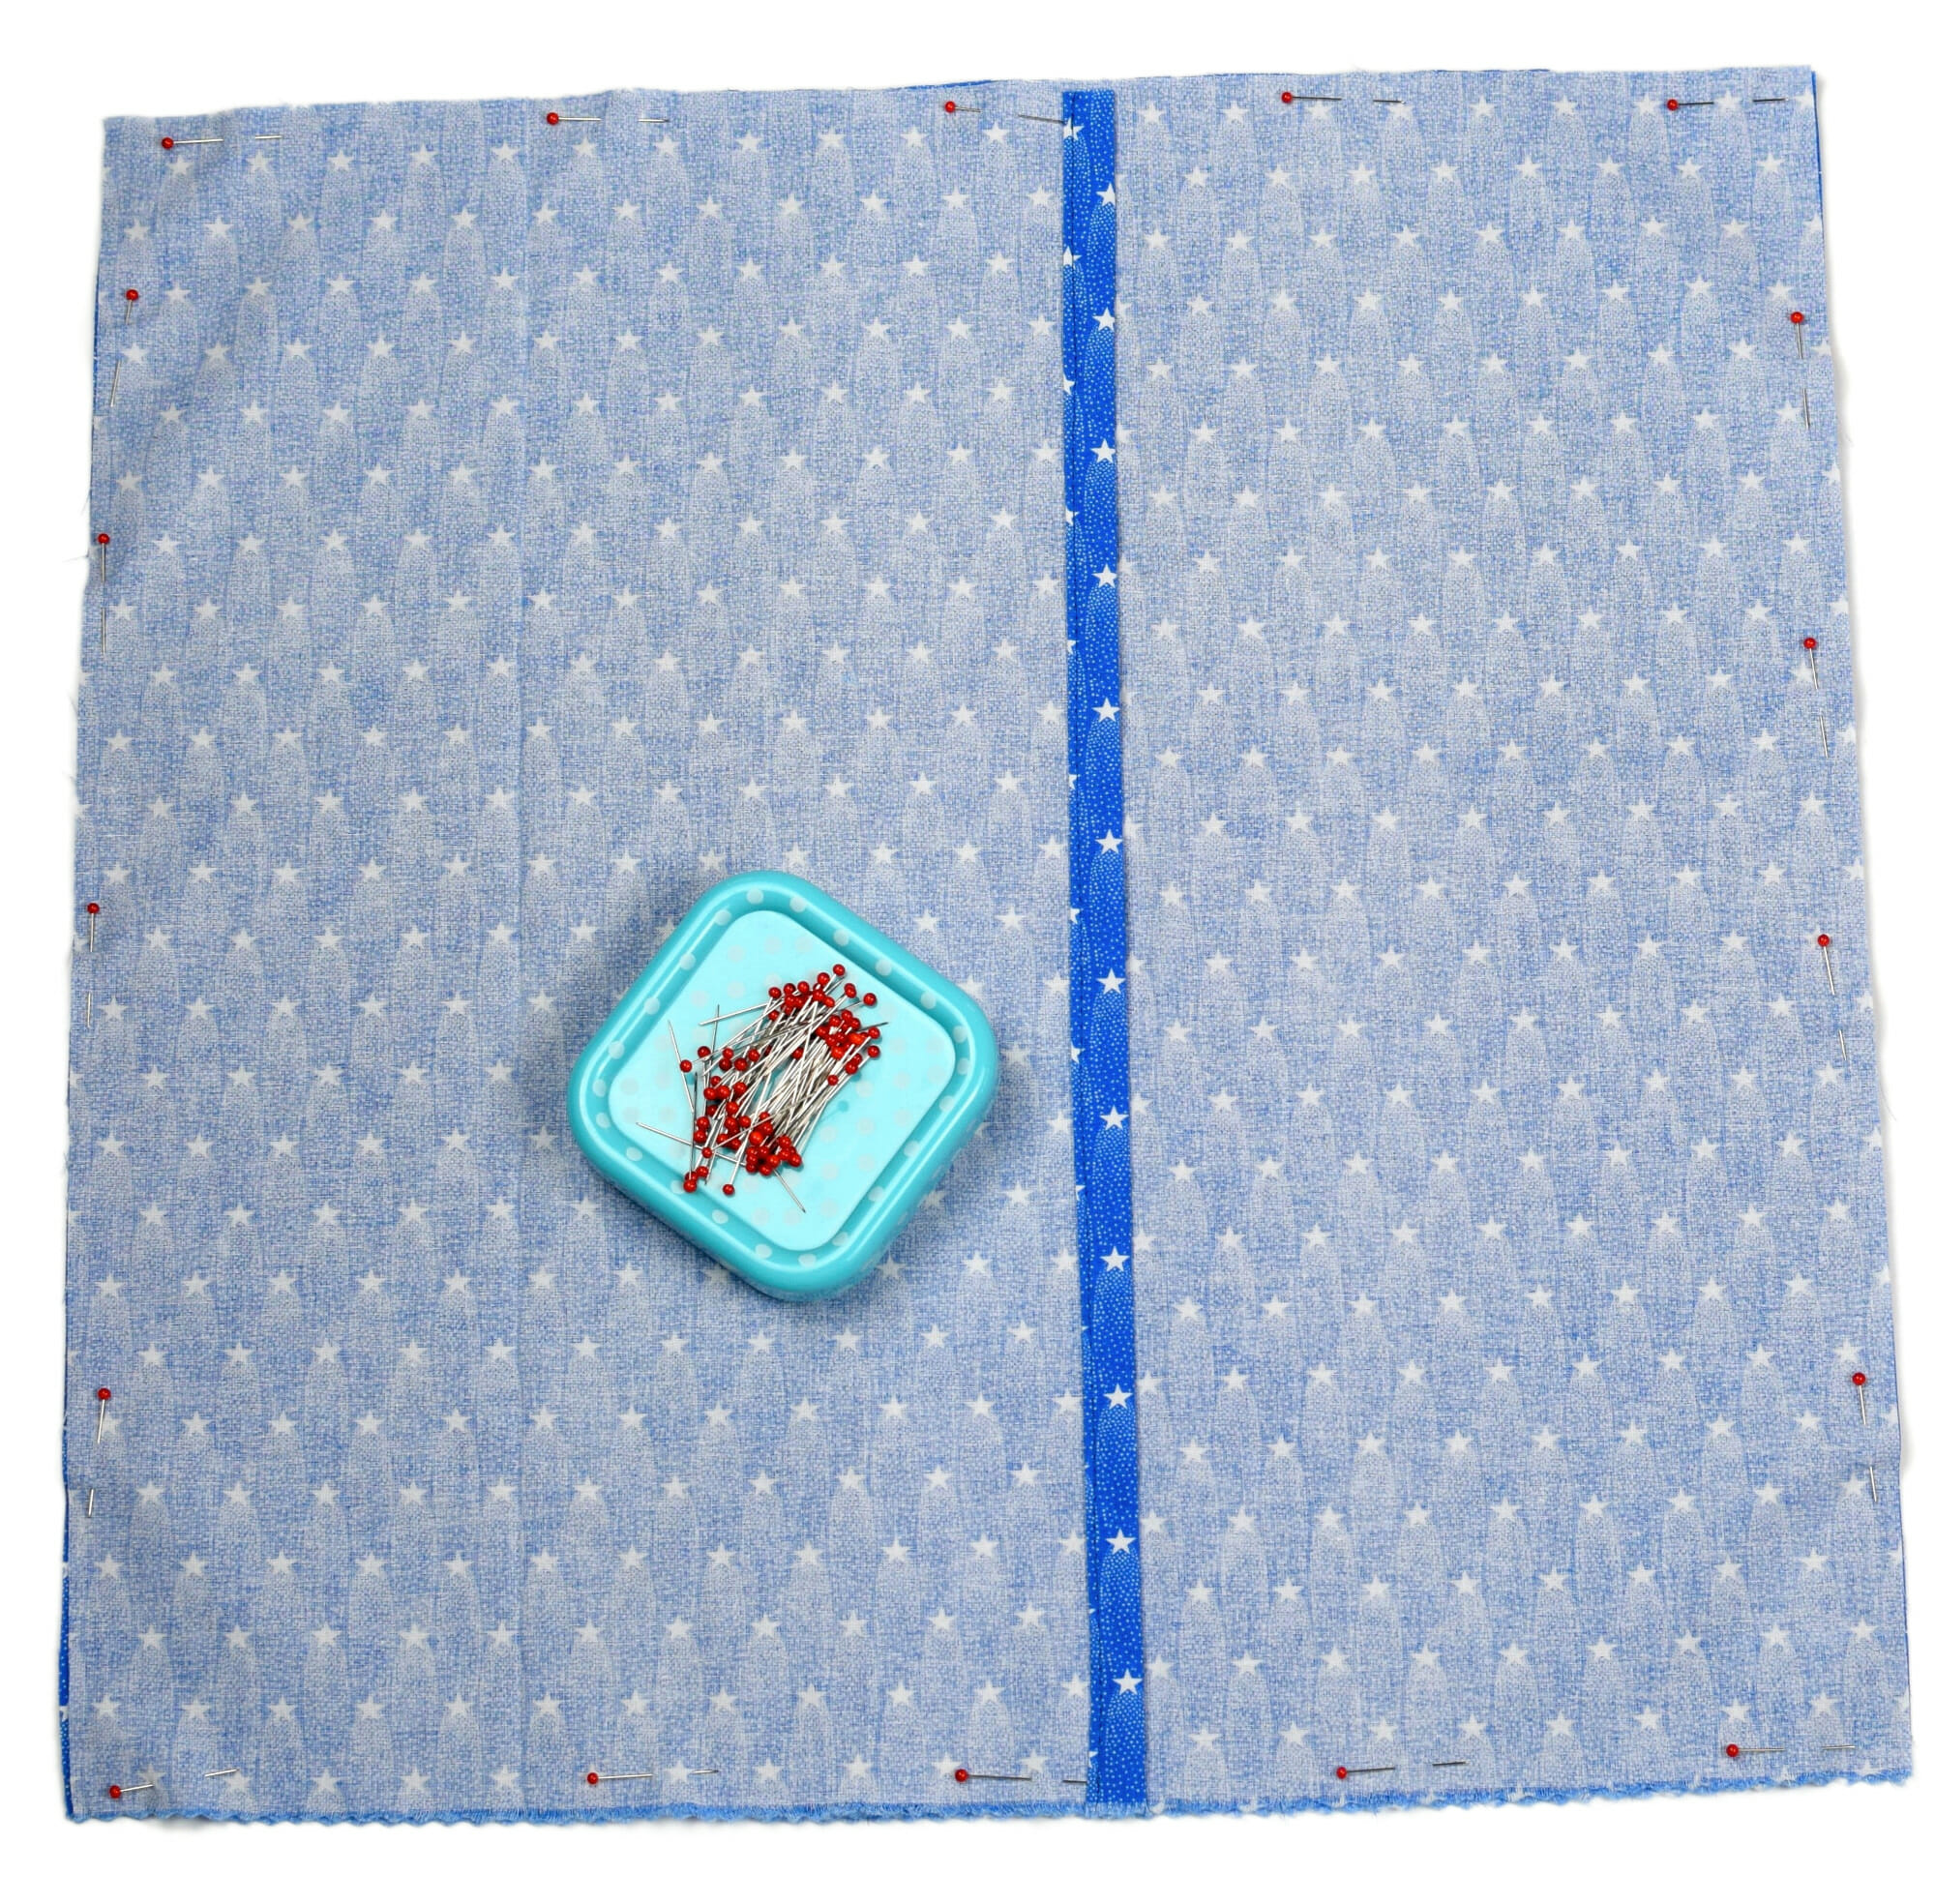
Now place the front piece and the back pieces right sides together.
Line up the corners, so the top back piece will overlap the bottom piece, as I showed you in the photos above.
Pin and sew around the pillow cover with a 3/8 inch allowance.
Step 4
Serge the seam to keep your fabric from fraying. If you don’t have a serger, you can sew a zig-zag stitch along the edge instead.
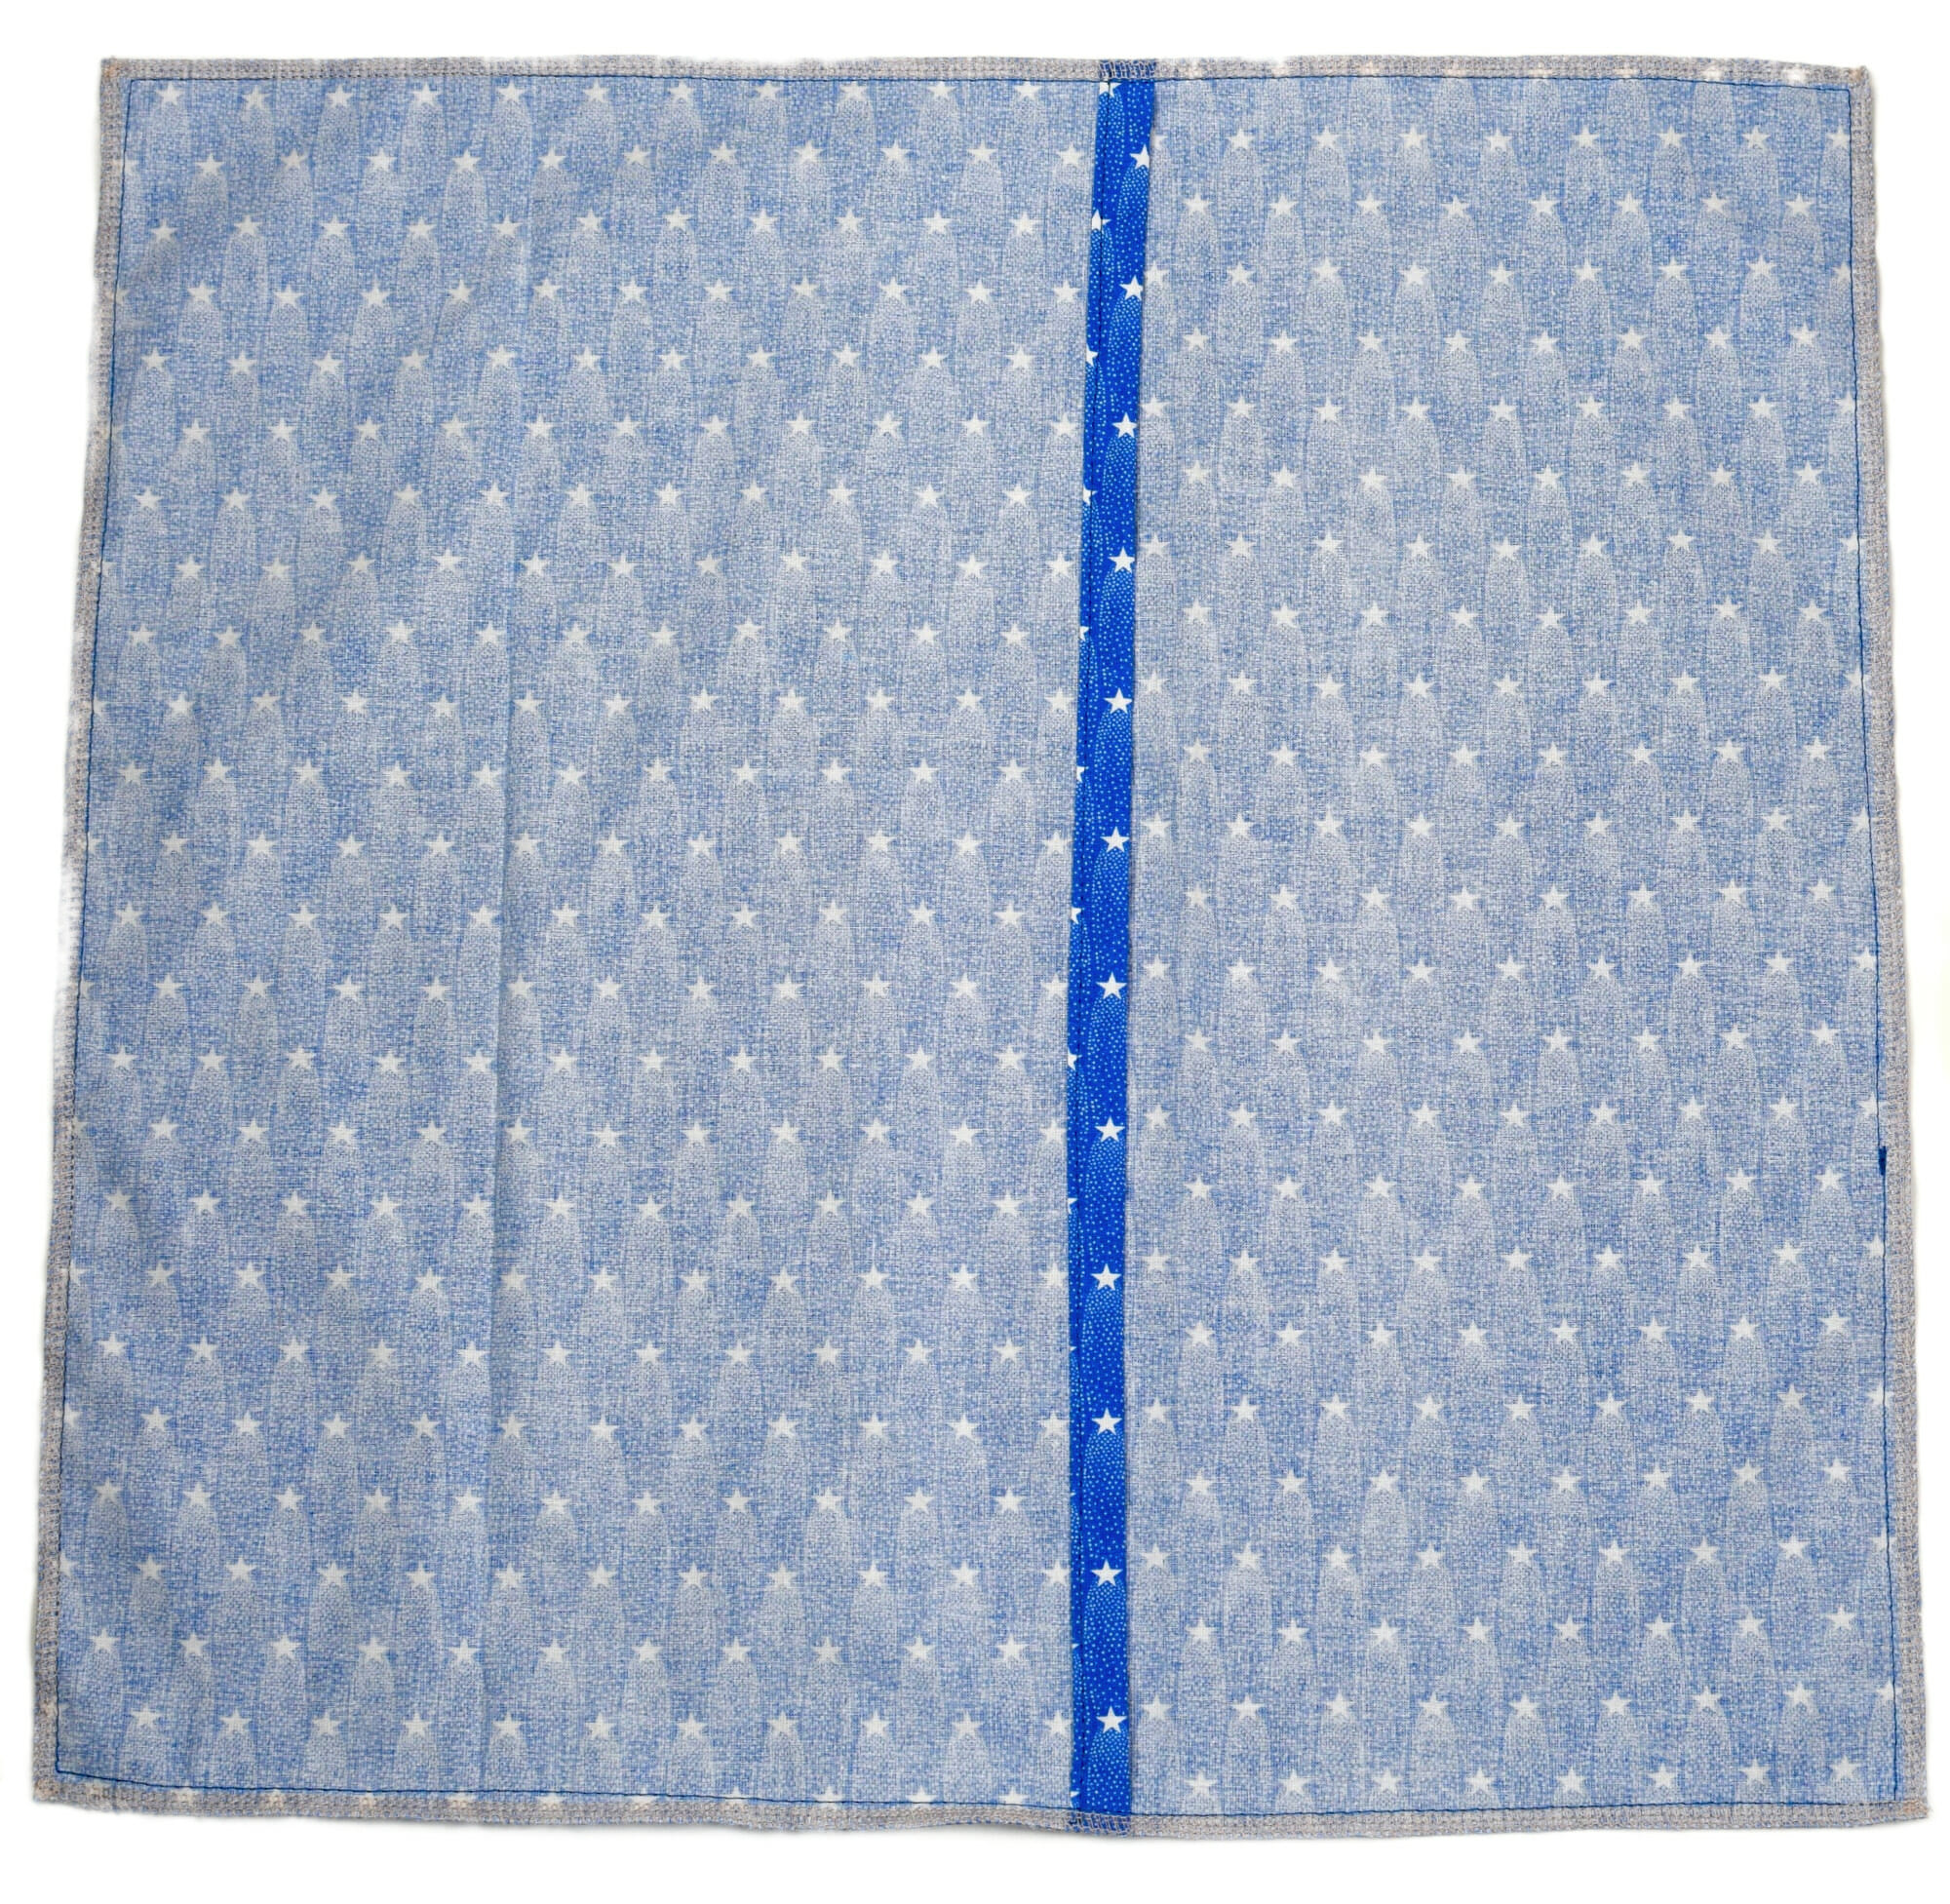
Now stuff your pillow inside the envelope cover and that’s all, sewing folks!
Let’s keep in touch! You can find me on Facebook, Instagram, and Pinterest.


How much fabric for a 16 x 16 inch pillow? thanks
Best instructions – I made two pillow covers today that were simple to make and look terrific. Thanks.
Brilliant, thank you! I used these instructions to recover all my outdoor pillows. I read someone was having a hard time with the measurements but I found that the overlap part on the back doesn’t need to be precise. In all of the pillows I made, I just cut straight across the width of my fabric and divided it based on pillow size. I had several sizes…similar but not exactly the same.
For example my fabric was 50” wide and I needed a 20”x20” square for the face of my 19” pillow. I measured 20” down and cut straight across all 50” of the width. I then measured and cut at 20” to create the 20×20 face, leaving me with a 20” x 30” piece. I took that 20×30 piece, folded it in half and cut up the middle to get 2 20×15 pieces. Then I followed the instructions above. I will be doing more of these….so easy, love it!
Very concise easy to follow instructions. You covered everything and your explanations left no questions. Thank you.
Hey there! All imagery on your site isn’t showing. I’d love to see the visuals on how to make this pillow cover!
I’m making a 14 inch pillow, how wide would each back piece be, my brain isn’t working today. Thanks
Hi Carole,
Your comment made me laugh so hard. My brain is not working today either. I’m sorry, but I feel so useless today. :)) Having a hard time with joie de vivre lately, online school and three kids always at home, toys scattered all around the place, constant noise, and all the days are the same, that’s what bothers me the most! I’ll try to come back with a reply later on.
I believe in the instructions you should add an inch so your back pieces would measure (2) 15 x 9.5 or 10
According to her instructions if you have a 14” pillow you add 1” so it would be 15”..
15 / 2 + 3 = 10 1/2” or 11”
Thanks for the tutorial. I’m going to do these with my 4h group.
I made beautiful pillows using your tutorial! I put the opening in the front with a contrasting upper half, and sewed a contrasting button for decoration. They came out beautifully and just the right size! Thank you!
Hi Judy,
You’re very welcome! I’m so glad to hear that and I bet your pillows look great. 🙂
Thank you for this easy and clear tutorial. I’ve been looking for an idea to convert scarves into a keepsake and this is perfect! My sister in law was an avid scarf wearer and I wanted to make a few of her friends something to remember her by. This is easy and perfect!
Hi Judith,
I was so touched by your message, thank you! I think it’s a great idea to make pillows out of your sister in law’s scarves. <3
Thank you for the great instruction on this pillow it made it easy for a starter to sew no problem.:)
brilliant instructions – well laid out with fab pictures for reassurance thank you
Thank you for the kind words!
Step 3 – should it read “right sides together”?
Yes! And thank you for taking the time to write me, I’ve corrected the mistake.