Learn to make a cute little girls’ dress with a circle skirt, flutter sleeves, and a comfortable elastic waistband with this free pattern and step-by-step tutorial.
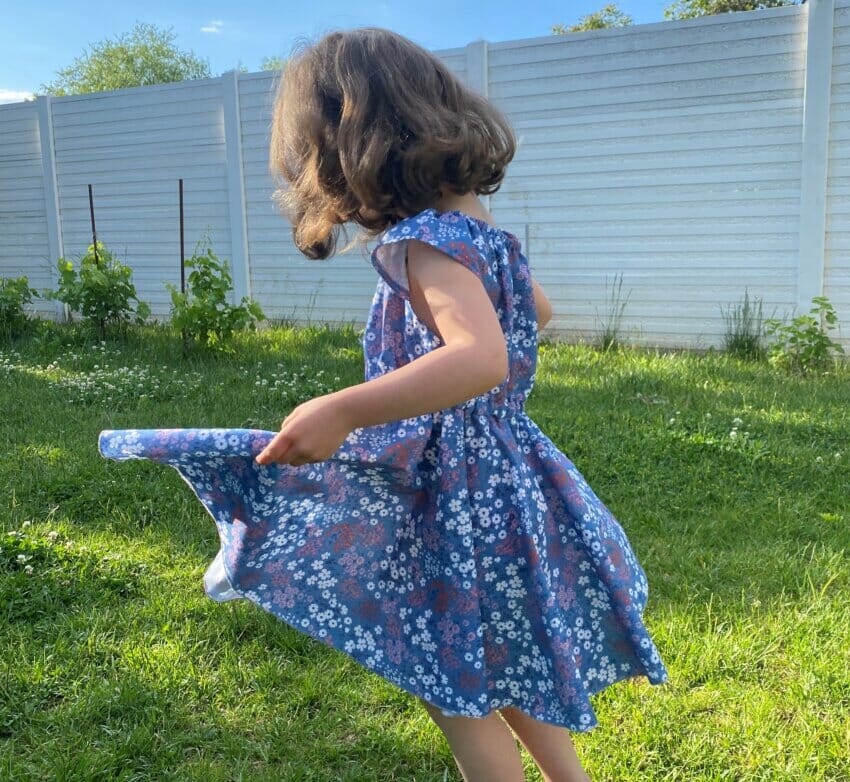
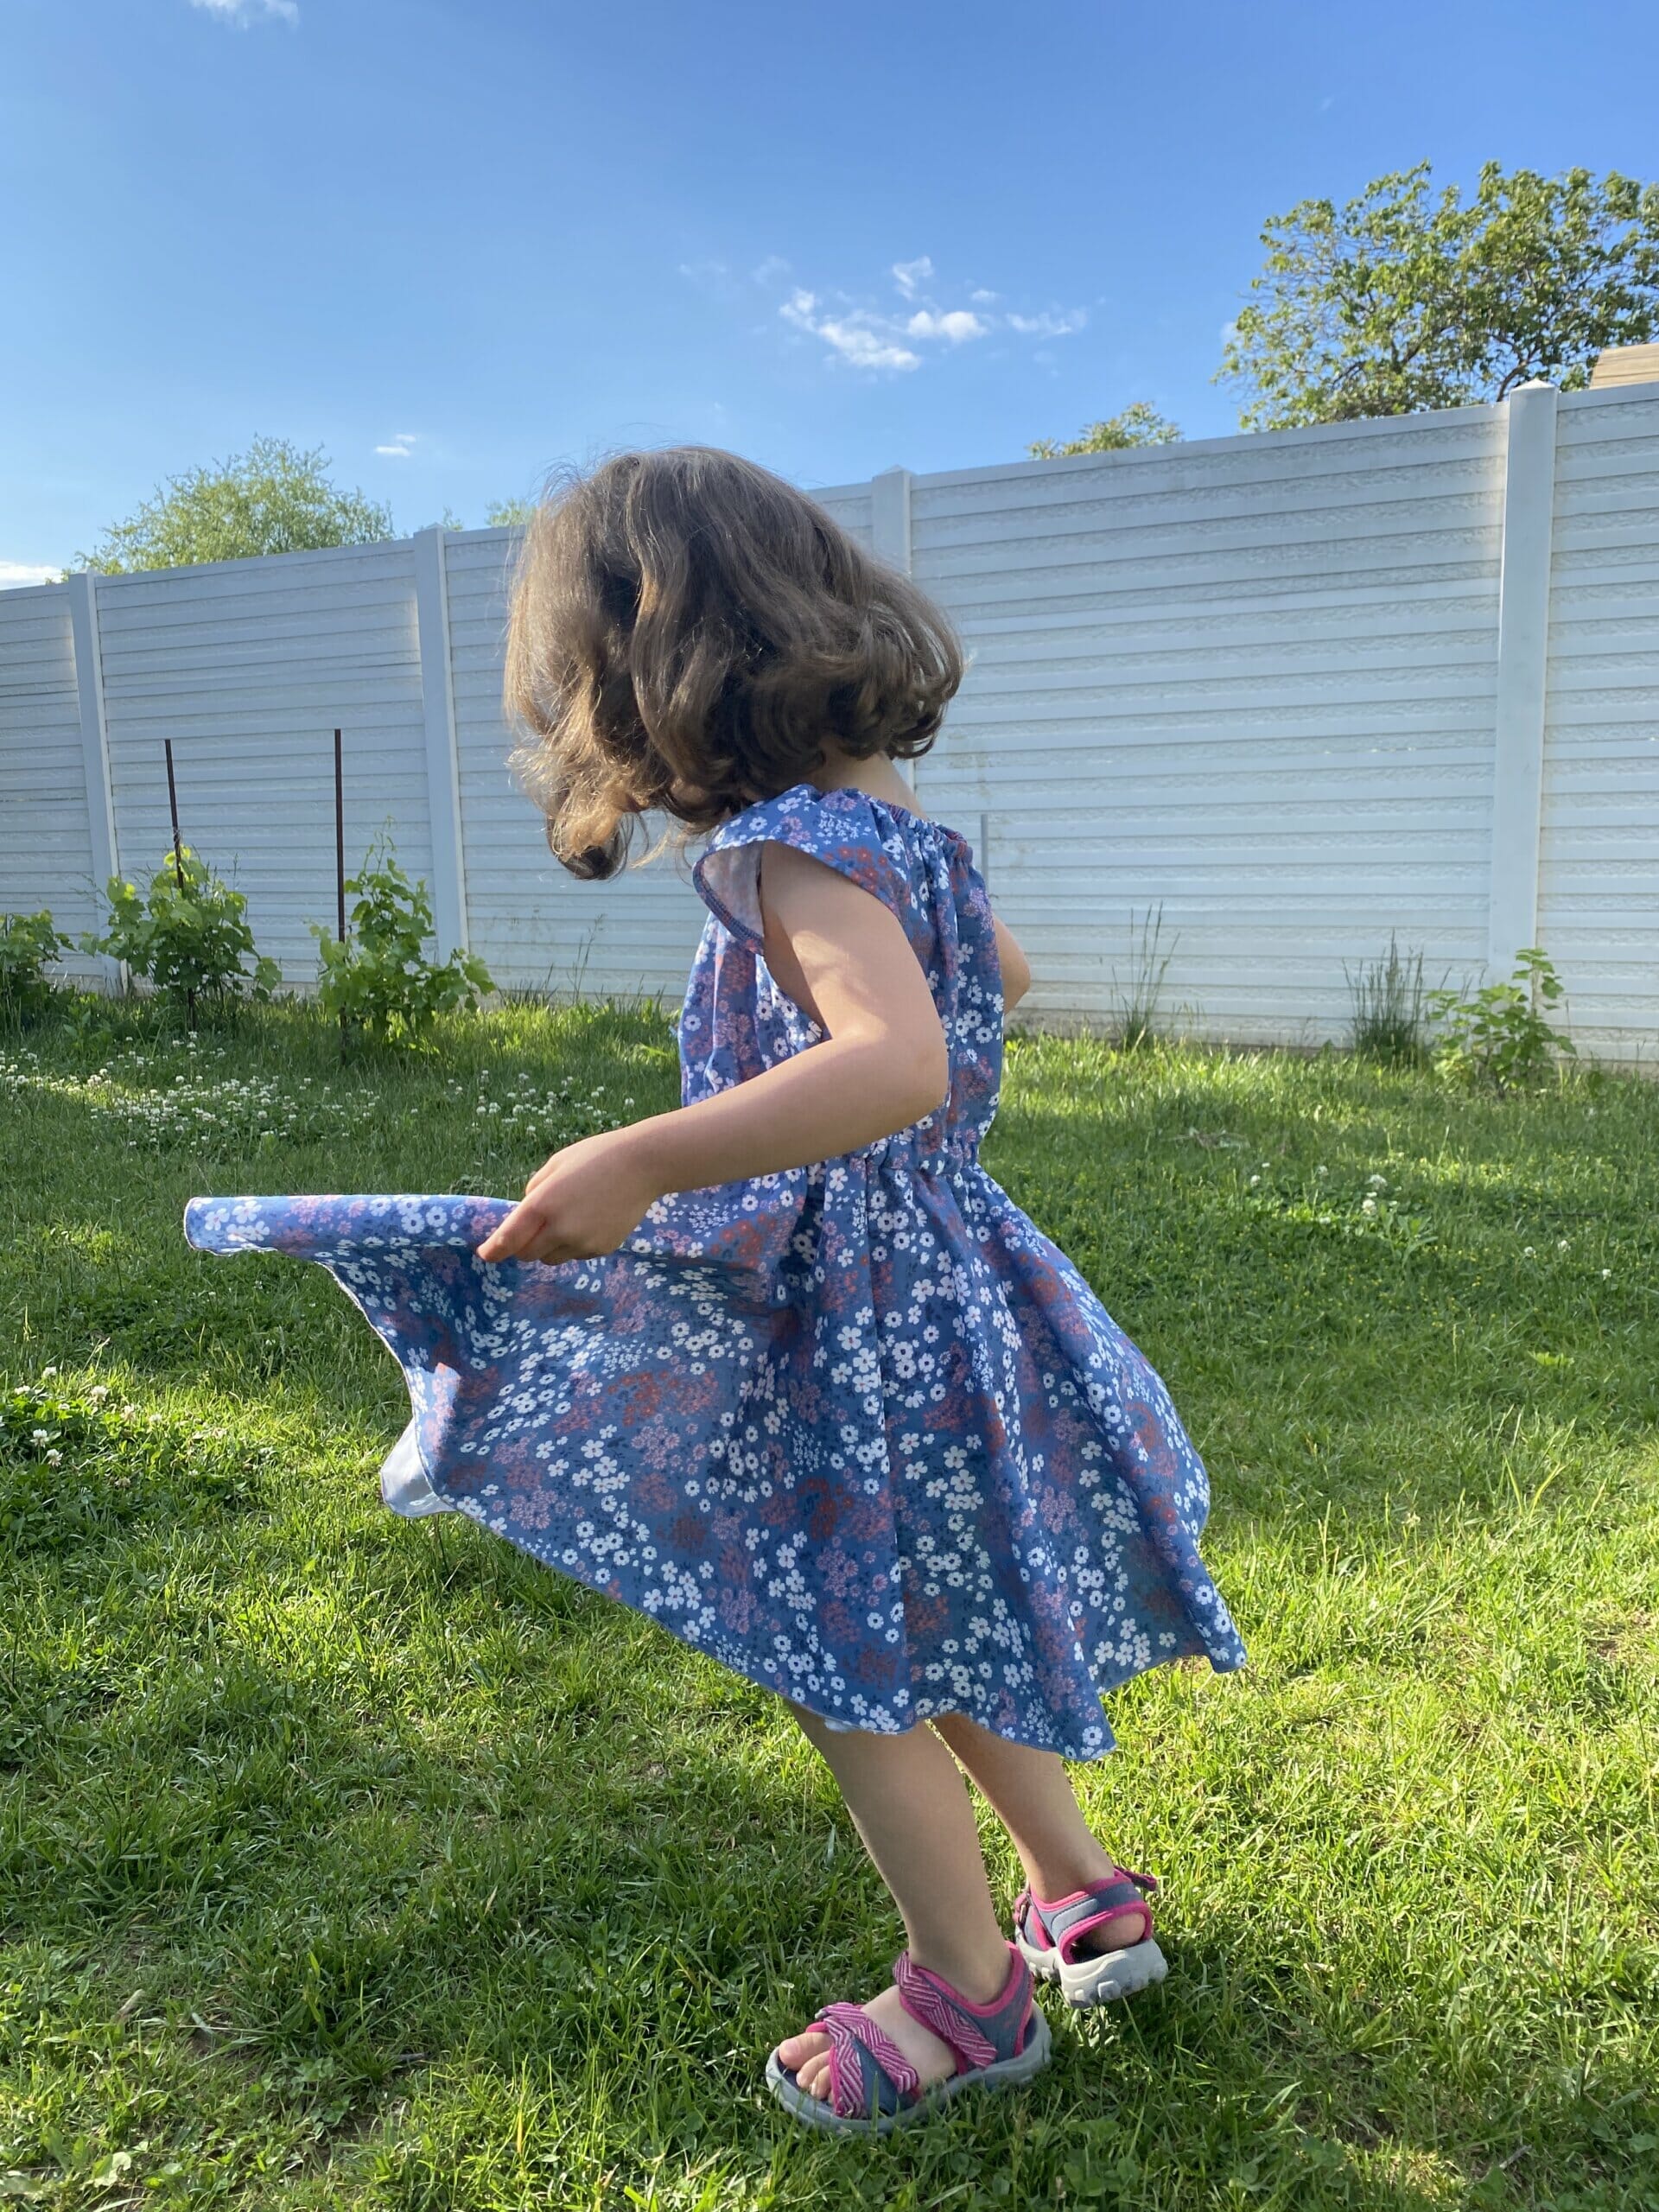
As soon as I snipped the last thread, hot off the sewing machine, this adorable circle skirt dress became my daughter’s favorite.
She loves twirly dresses, and this one is super comfortable and breezy. Also, dresses that are easy to put on and take off have a special place in her heart.
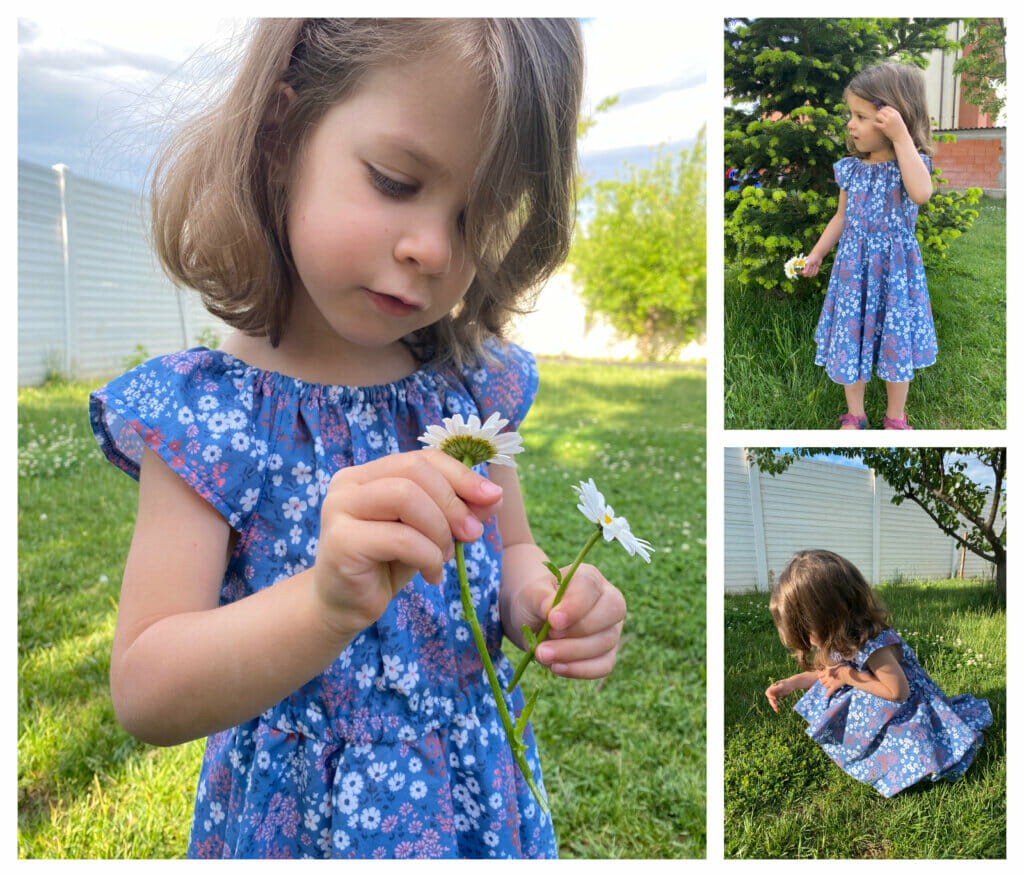
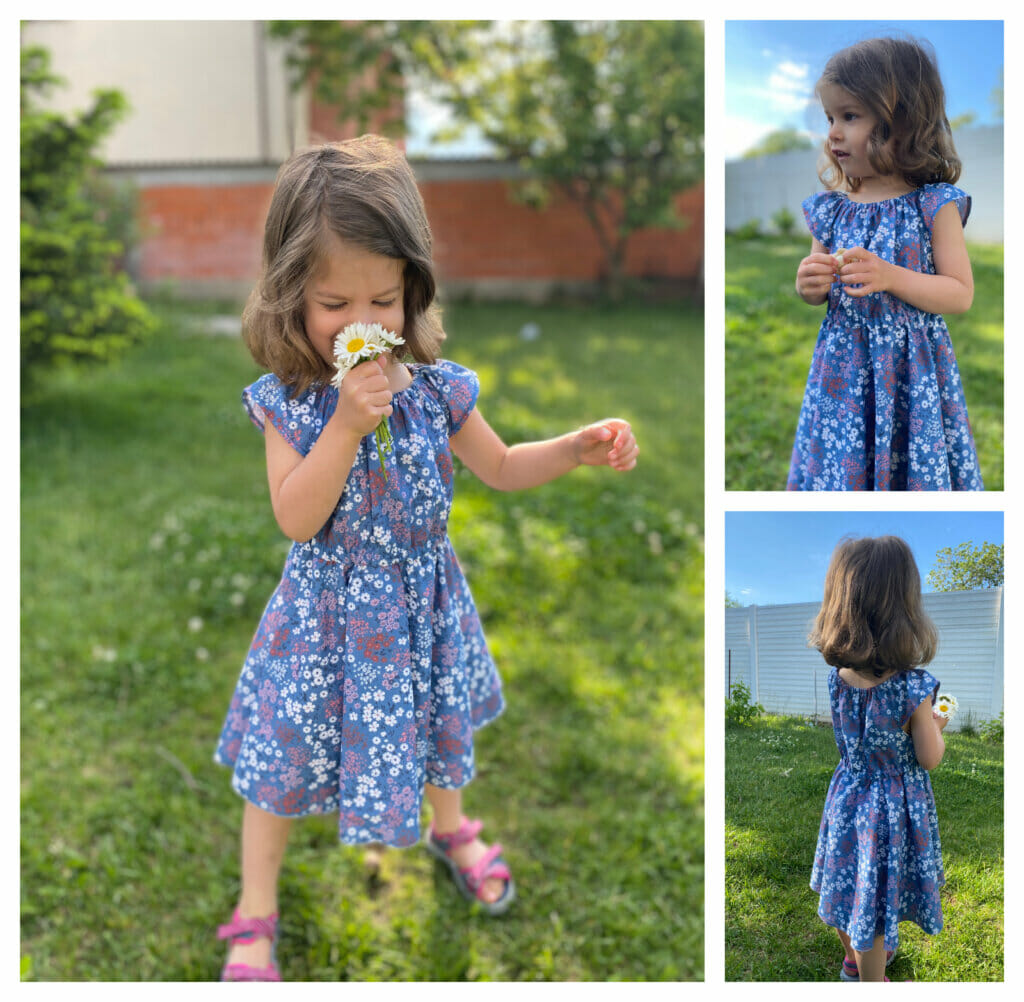
Not to mention the beautiful fabric! This is a soft cotton percale fabric made in Spain. To make this dress in size 3T/4T, I used 1.5 yards (fabric width 59 inches).
DIY circle skirt dress – free sewing pattern and tutorial
This circle skirt dress is a simple sewing project, suitable even for beginners since it doesn’t have a zipper or buttonholes.
Note – the free pattern is for personal use only. I think it’s obvious for everyone that this pattern is drafted by hand (and that I am not a professional pattern-maker), however, it fits my daughter perfectly. She is 3 1/2 years-old and about 38 inches tall right now.
Related: How to make a cute ruffle skirt for girls
So, here’s how to make this easy circle skirt dress for little girls.
Sewing supplies – free circle dress pattern
- The free PDF pattern for the flutter sleeve peasant top – size 3T/4T – download below
- Cotton/linen fabric of your choice
- sewing machine
- sewing machine needle
- matching thread
- sewing pins
- fabric scissors
- 1 inch wide elastic for the elastic casing along the waist (I used 22″ for a 3T/4T size)
- 1/4” elastic (I used 18-19″ for a 3T/4T size)
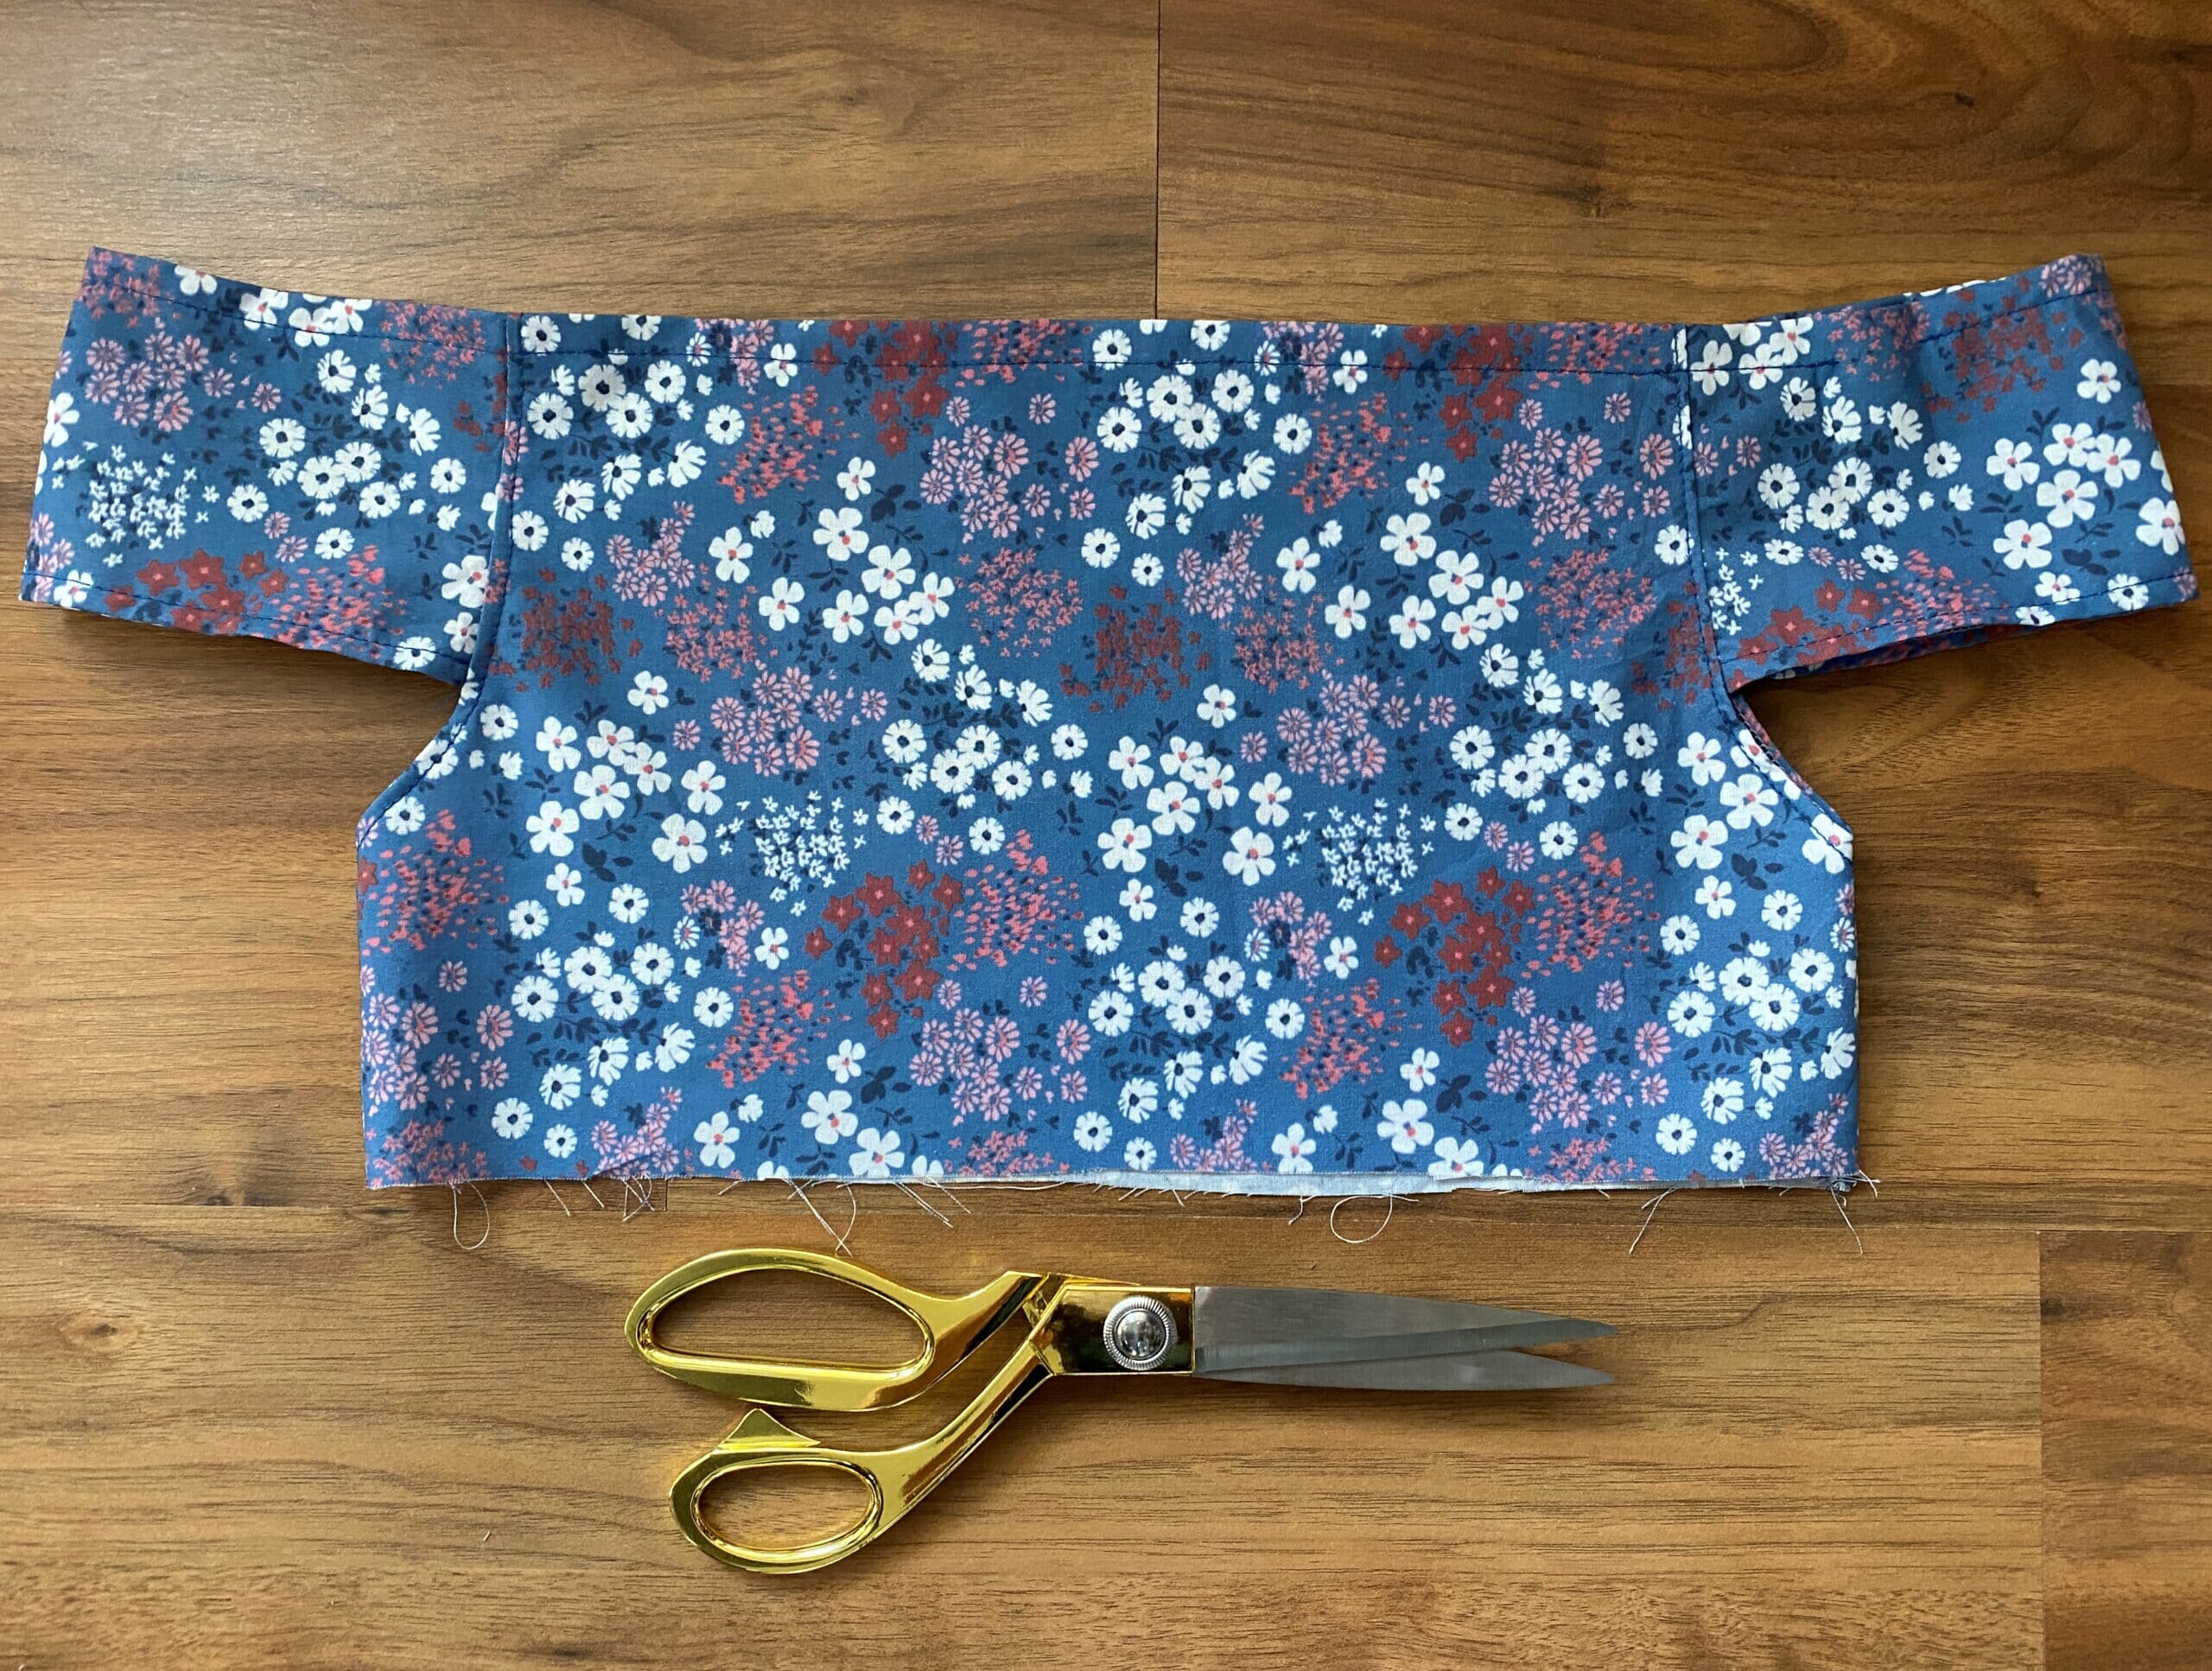
Step 1 – construct the bodice
Print your PDF pattern and cut four fabric pieces – two bodice pieces and two sleeve pieces.

Repeat Steps 2 – 6 from this flutter sleeve peasant top tutorial.
This is what your bodice should look like now:
Step 2 – cut the circle skirt
Before anything else, I measured around the bottom of my bodice – it was 30 inches.
That means that the opening of my circle skirt must be equal to or larger than 30 inches. I opted for a 31 inches waistline circumference – so my skirt radius is 4 3/4 inches.
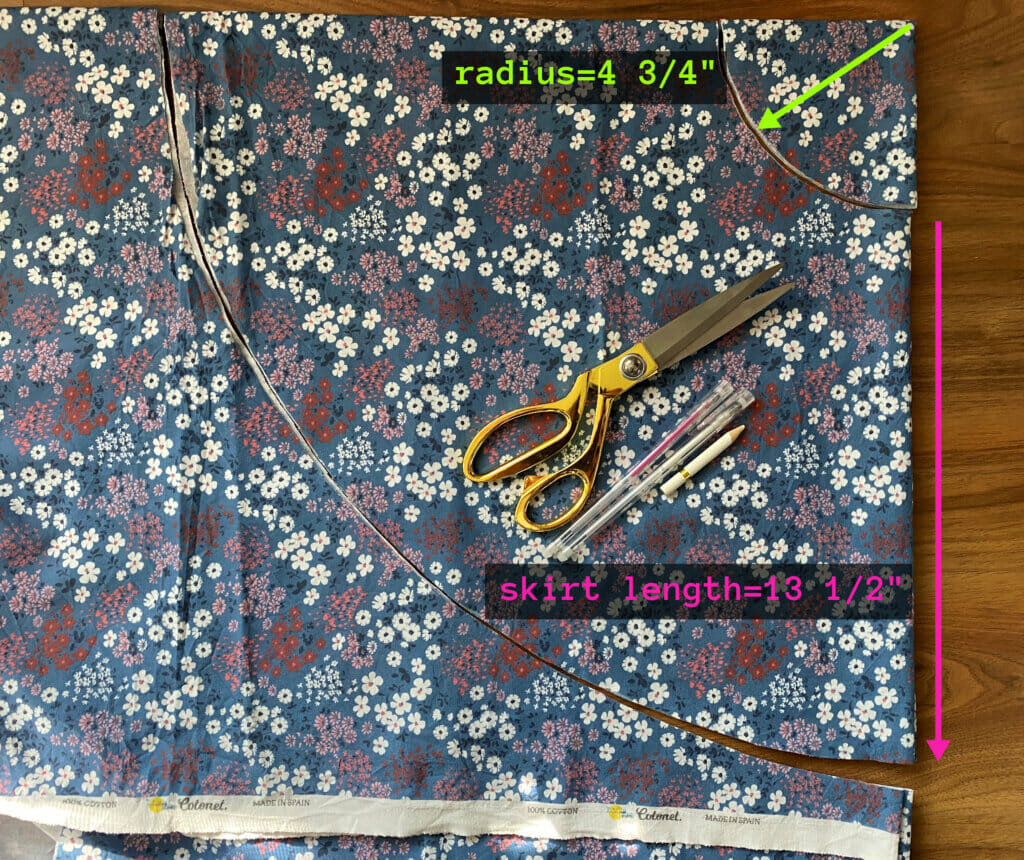
To make the full circle skirt, you need to fold the fabric twice – once along the width and again along the length, and then measure the radius from the folded corner.
Start at the folded corner- you’ll use a ruler to measure and mark the radius in various places, so you can draw up an arc. For a 31″ waistline circumference, the radius is 4 3/4 inches – check out this circle skirt calculator from byhandlondon.com to calculate the radius for various circle skirts.
Now use that small arc as a starting point to measure and mark the desired length of the skirt – that’s 13 1/2 inches for me. Draw up another arc, that will be the hem of the skirt. Cut the fabric.
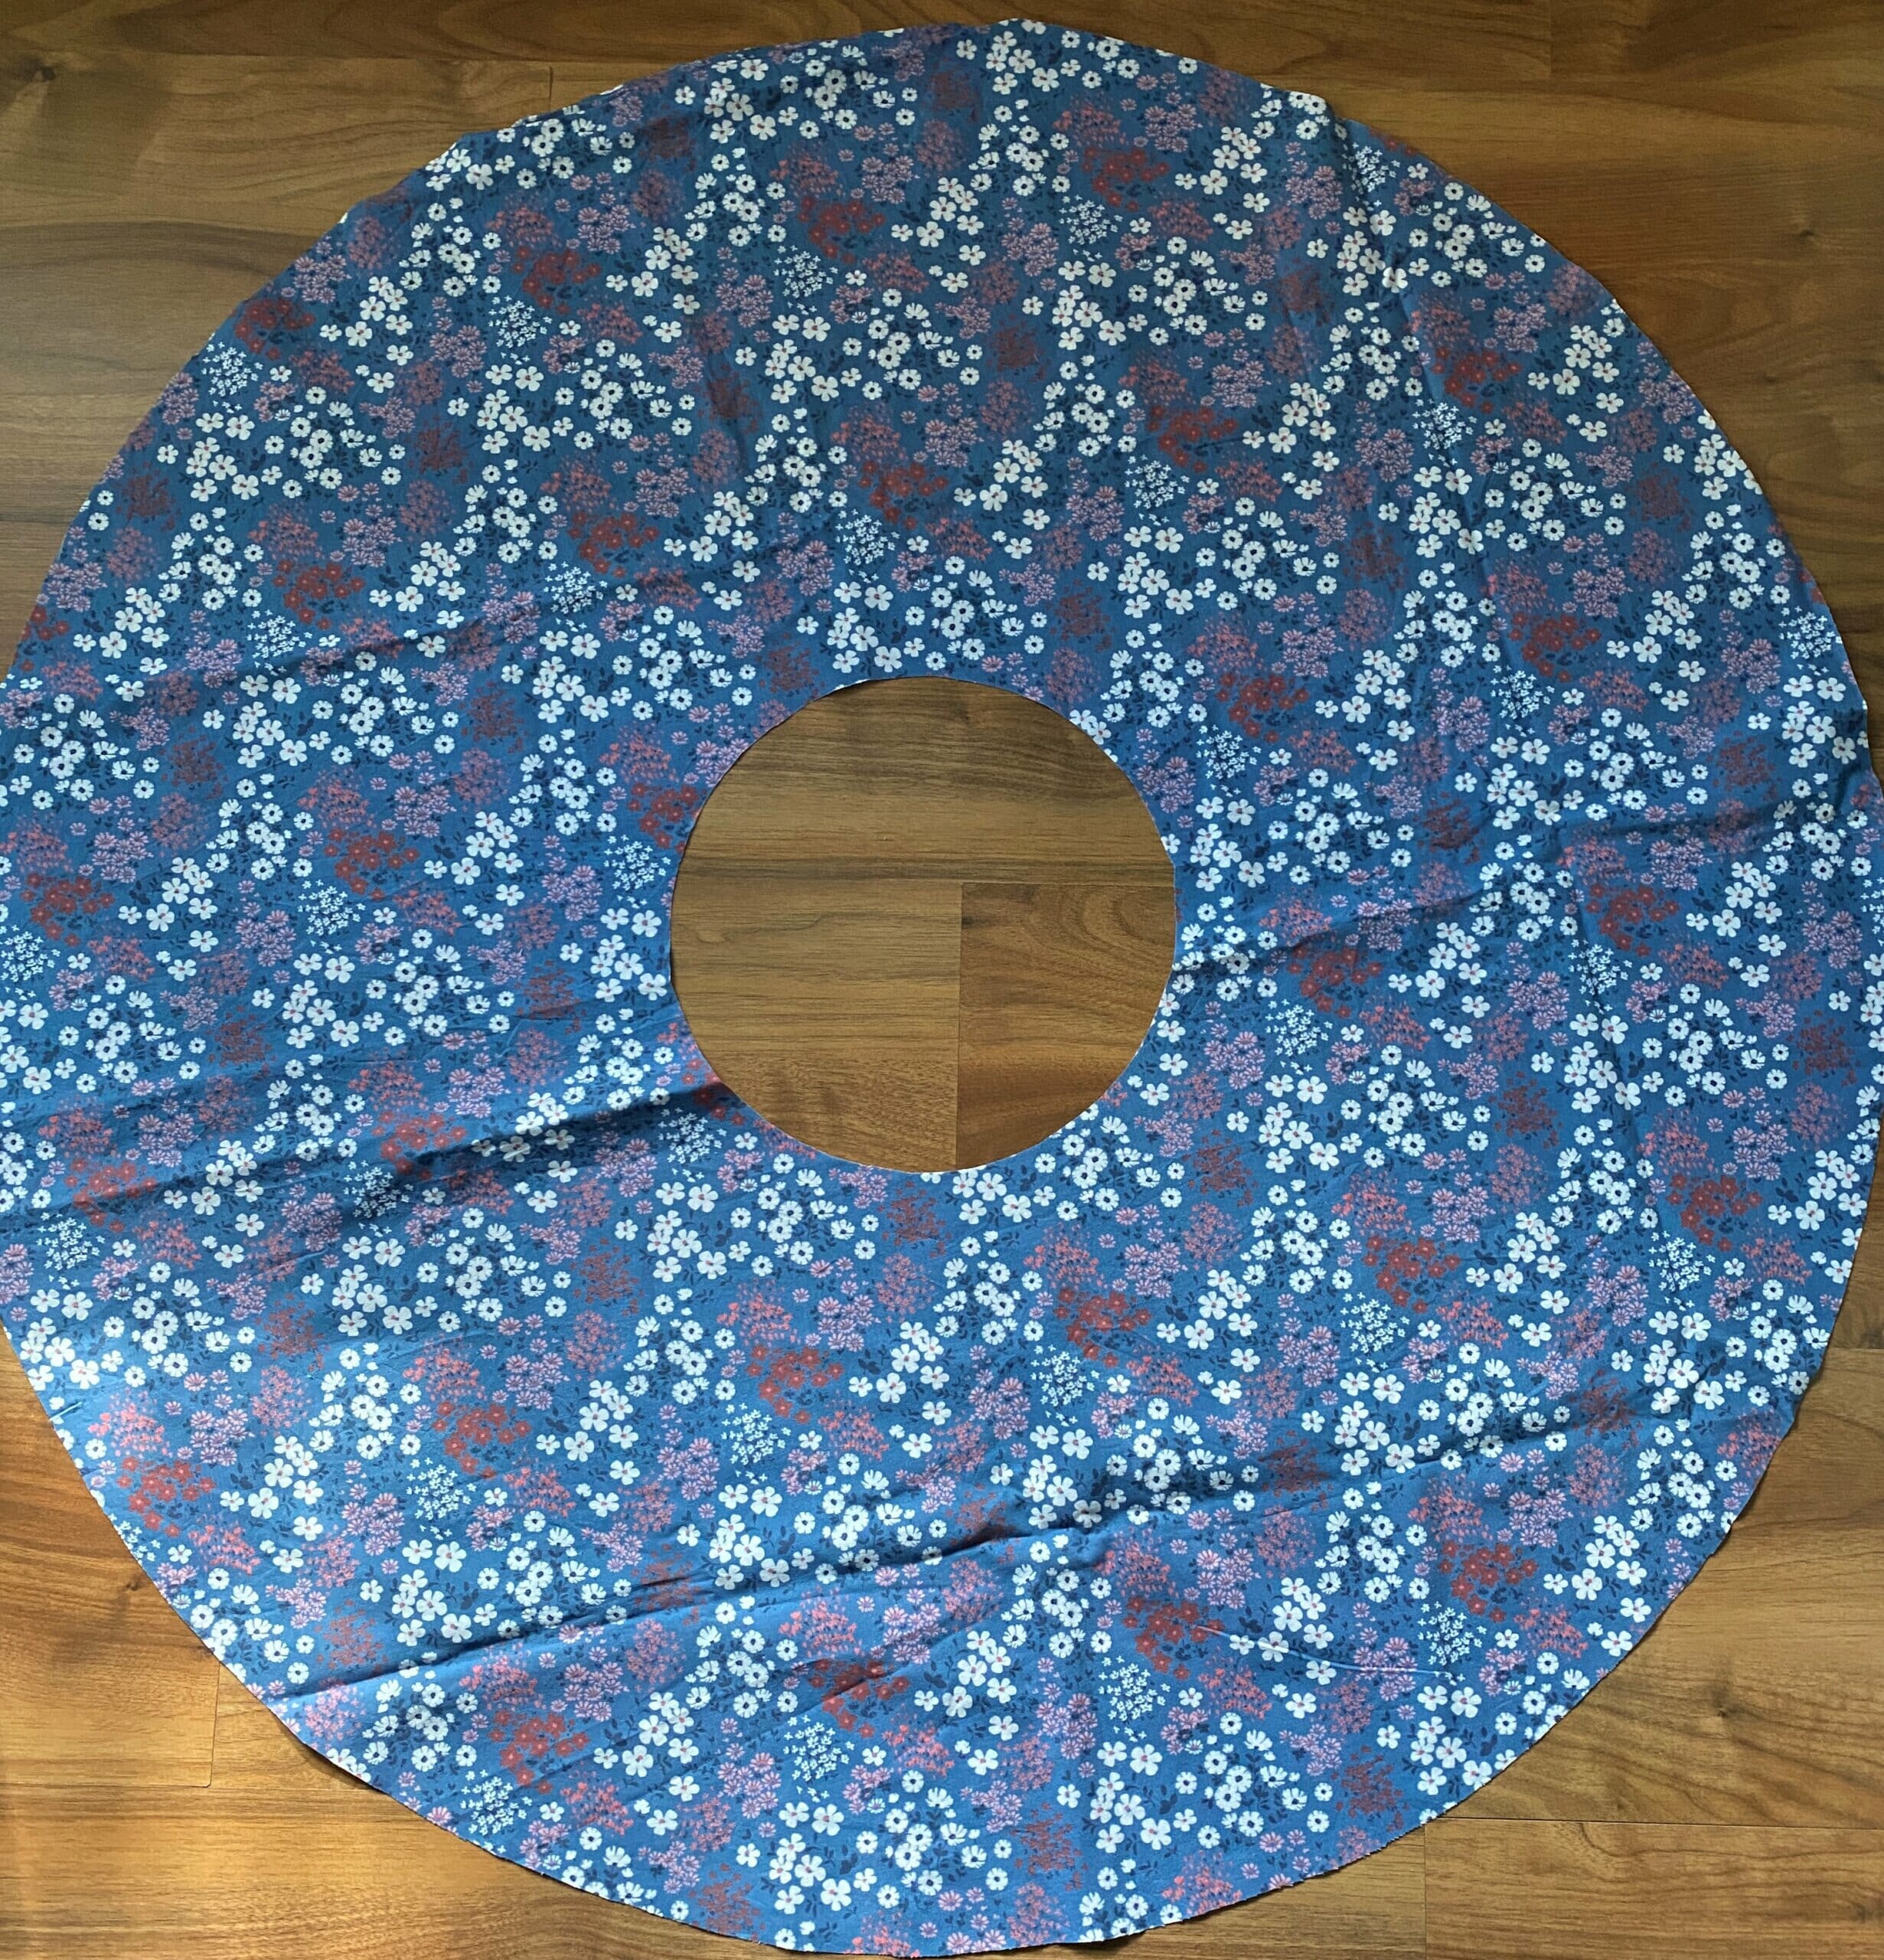
This is how your circle skirt should look right now.
Step 3 – attach the circle skirt to the flutter sleeve peasant top
Now change the stitch length to the longest possible and sew a basting stitch at the top of the skirt. Gather the circle skirt to fit the bottom of the bodice.
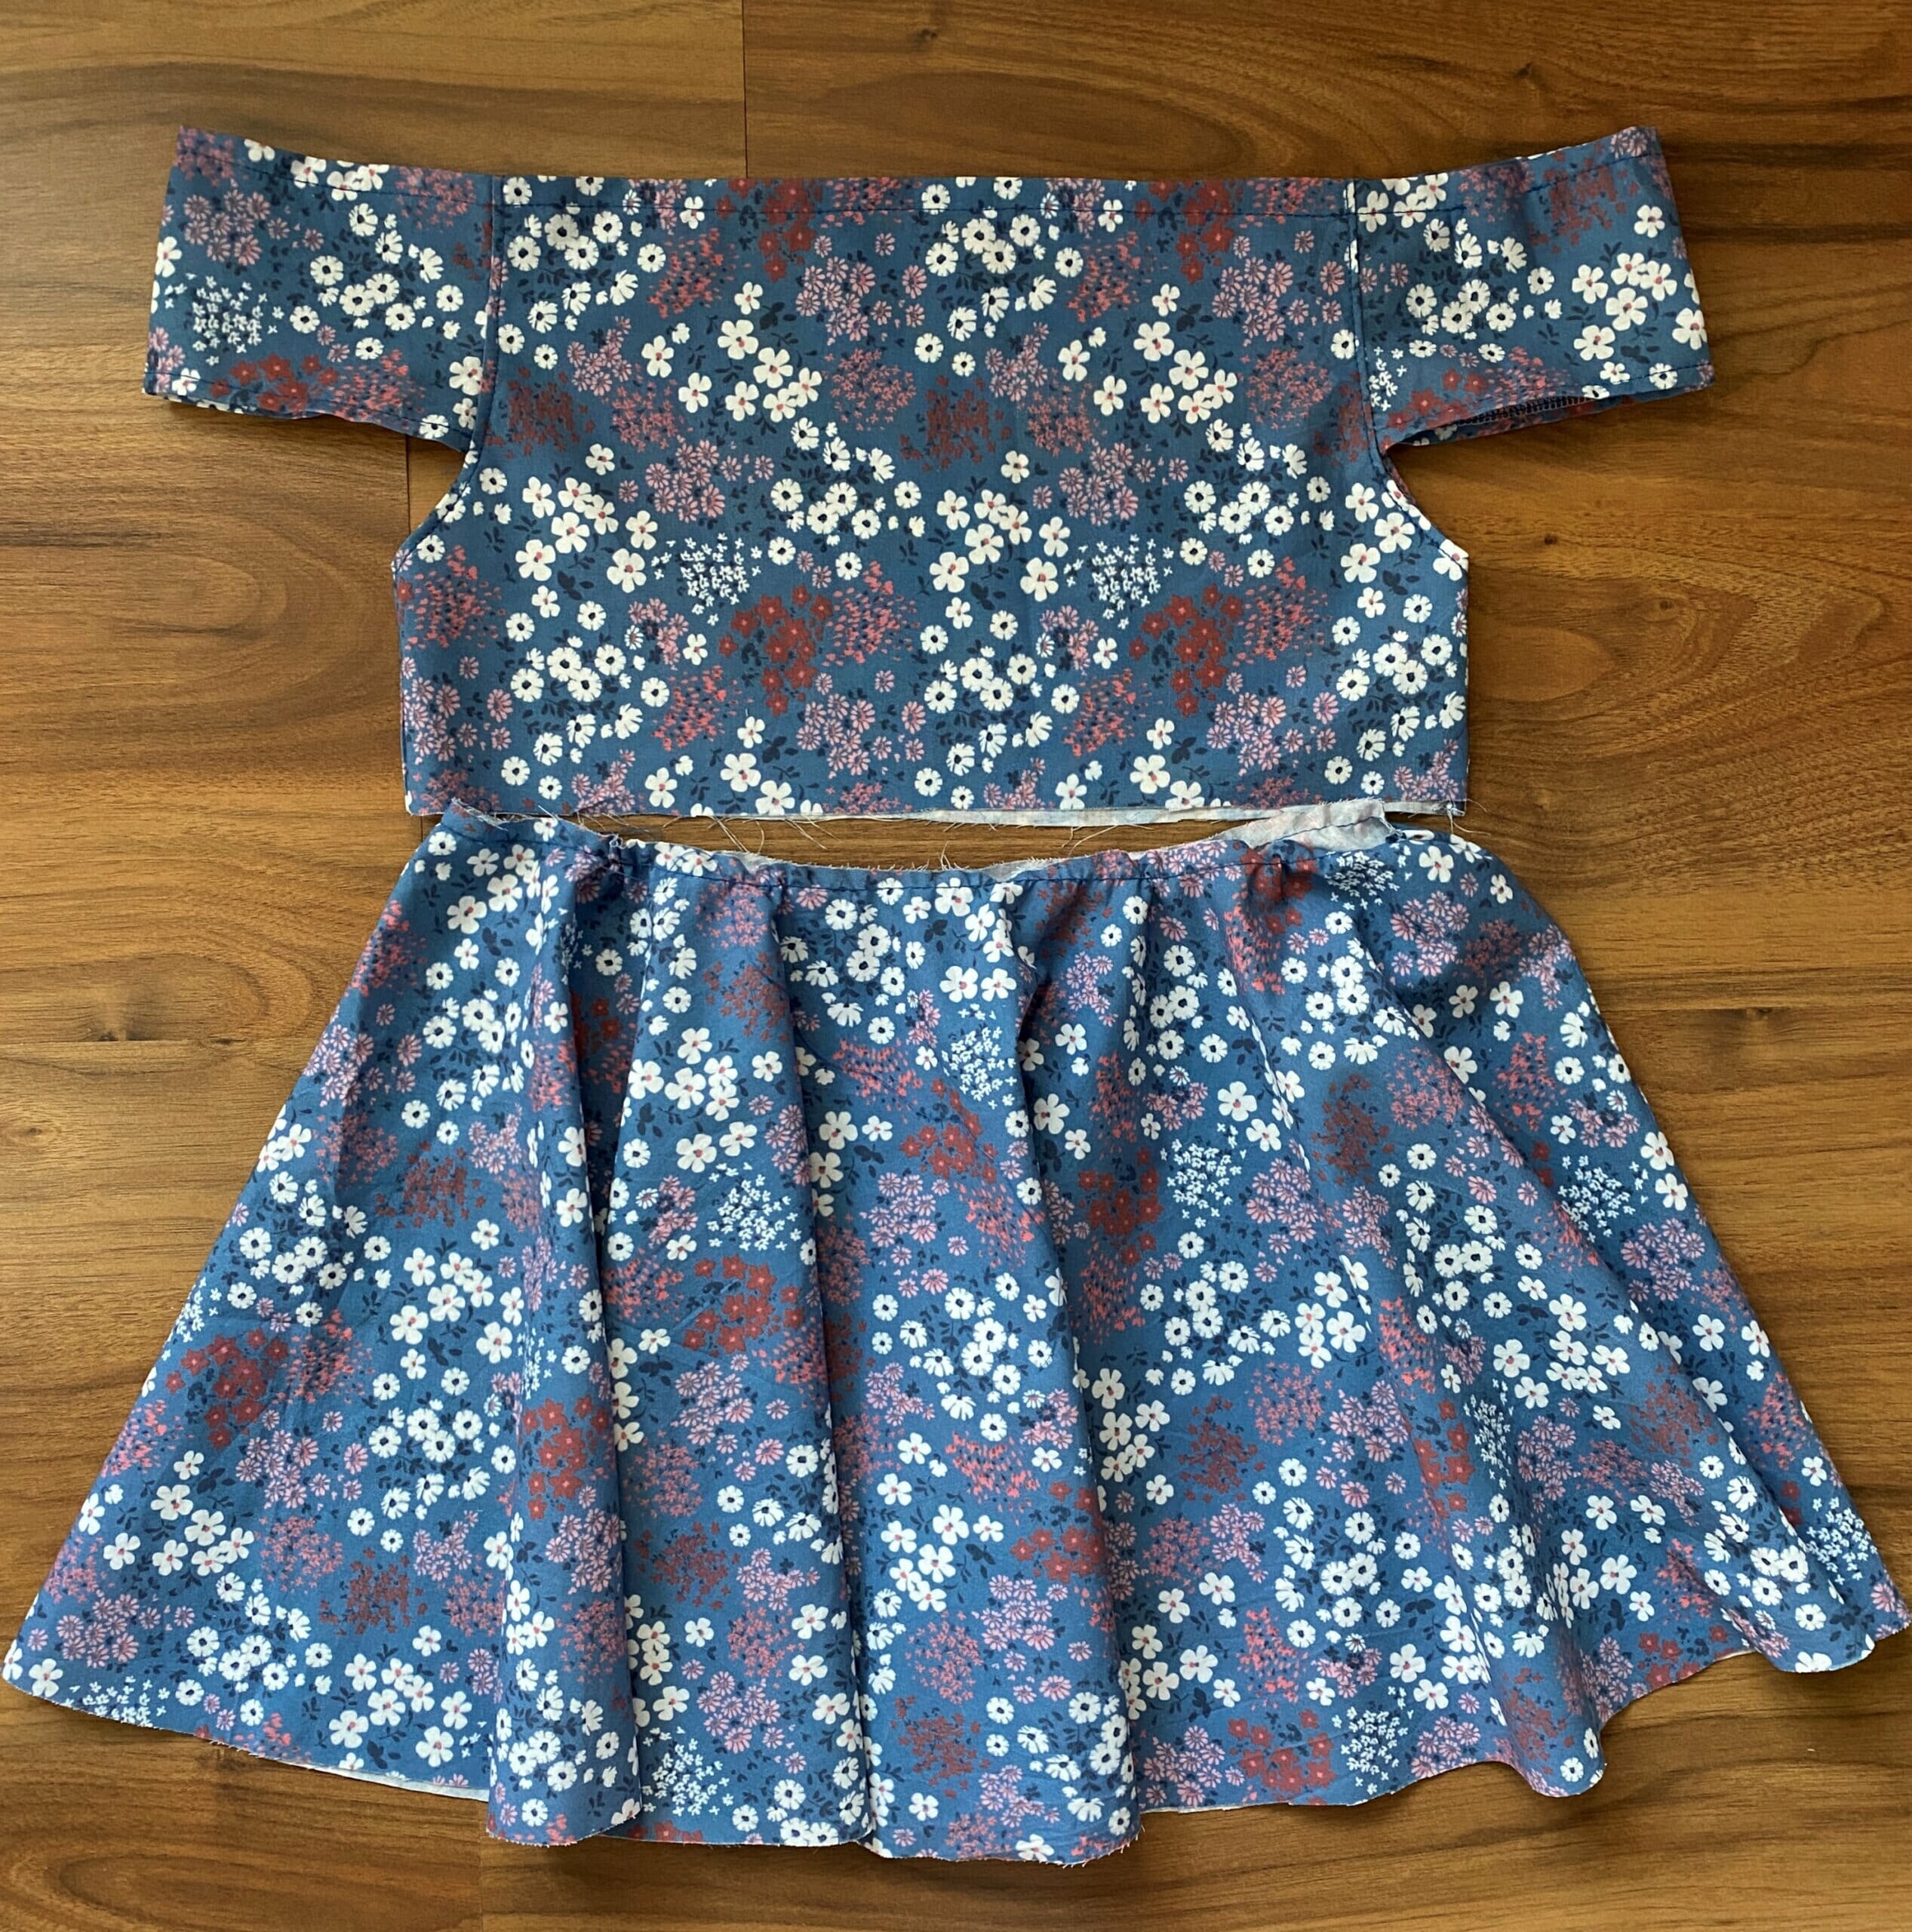
Place the bodice inside the skirt, right sides together, aligning the edges as shown in the picture below, and sew.

No need to finish the seam – but you may want to trim it a little bit.
Step 4 – make the elastic casing
Now, we need to add an elastic casing all the way around the waistline.
First, you have to measure the waist circumference – mine is 29 1/2 inches. Cut a 1 3/4” wide strip of fabric the length of the dress’s circumference, plus 1 inch.
This fabric strip will be used for the casing – you can also use bias tape for this step.
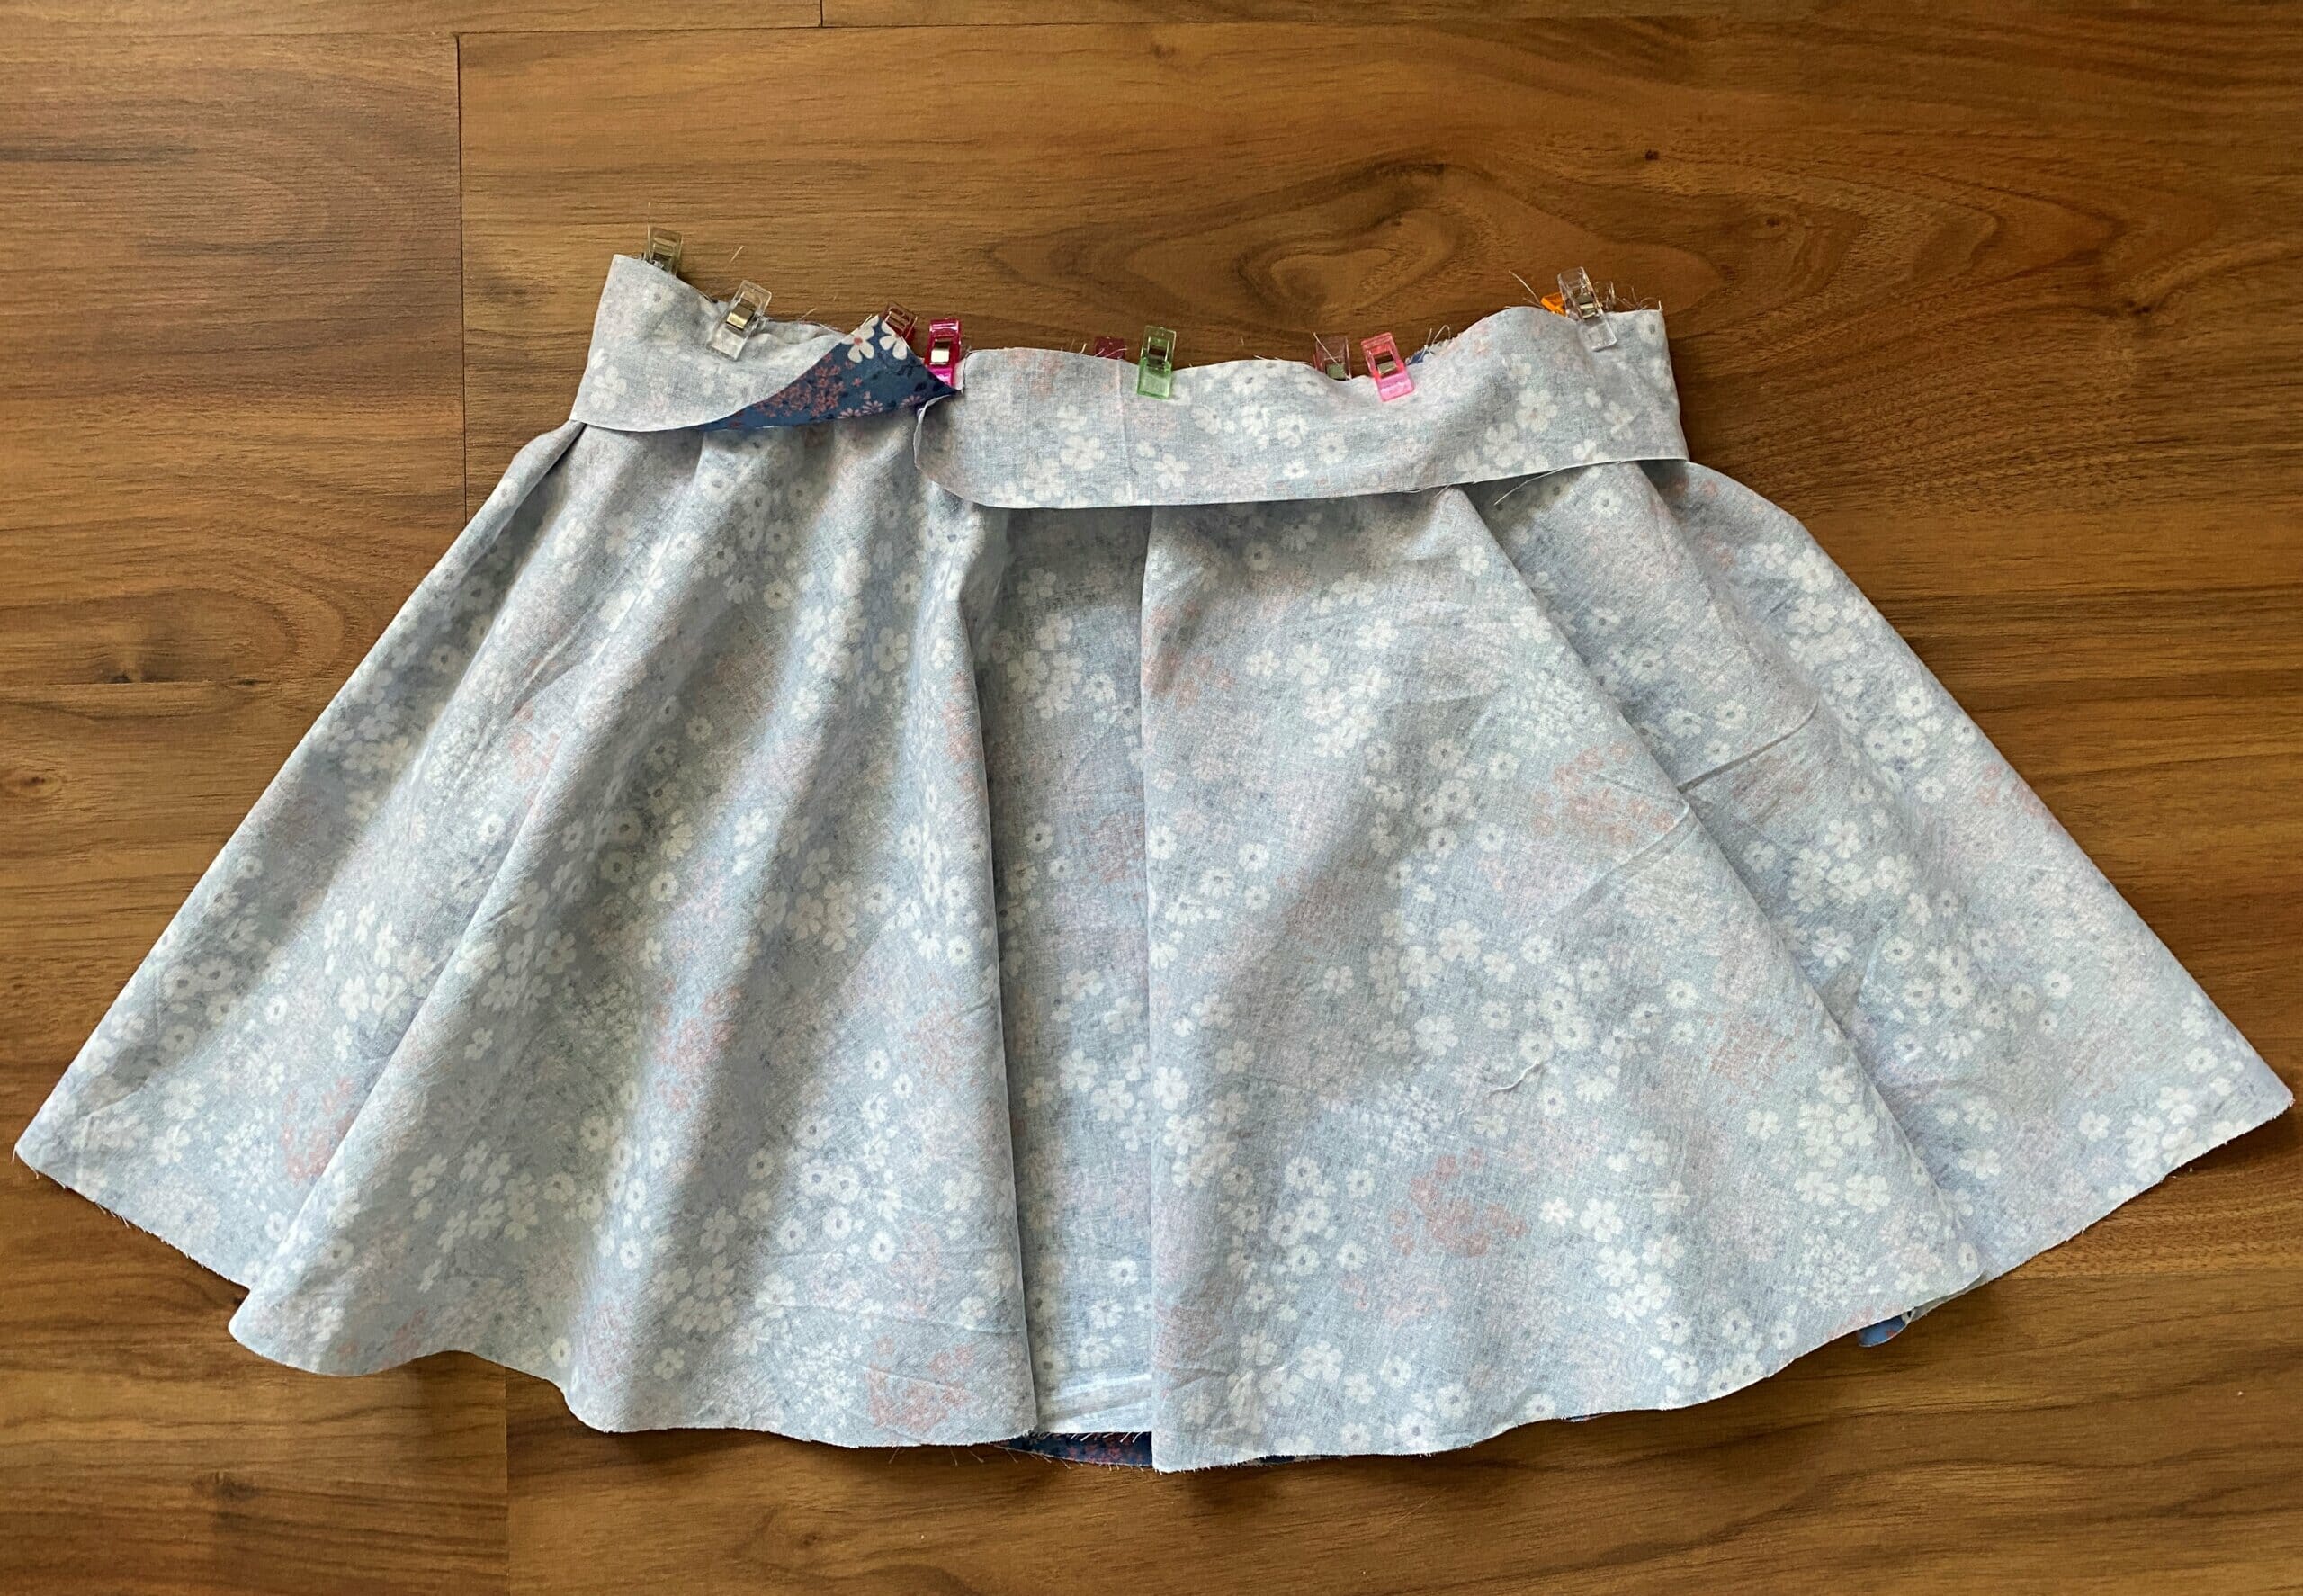
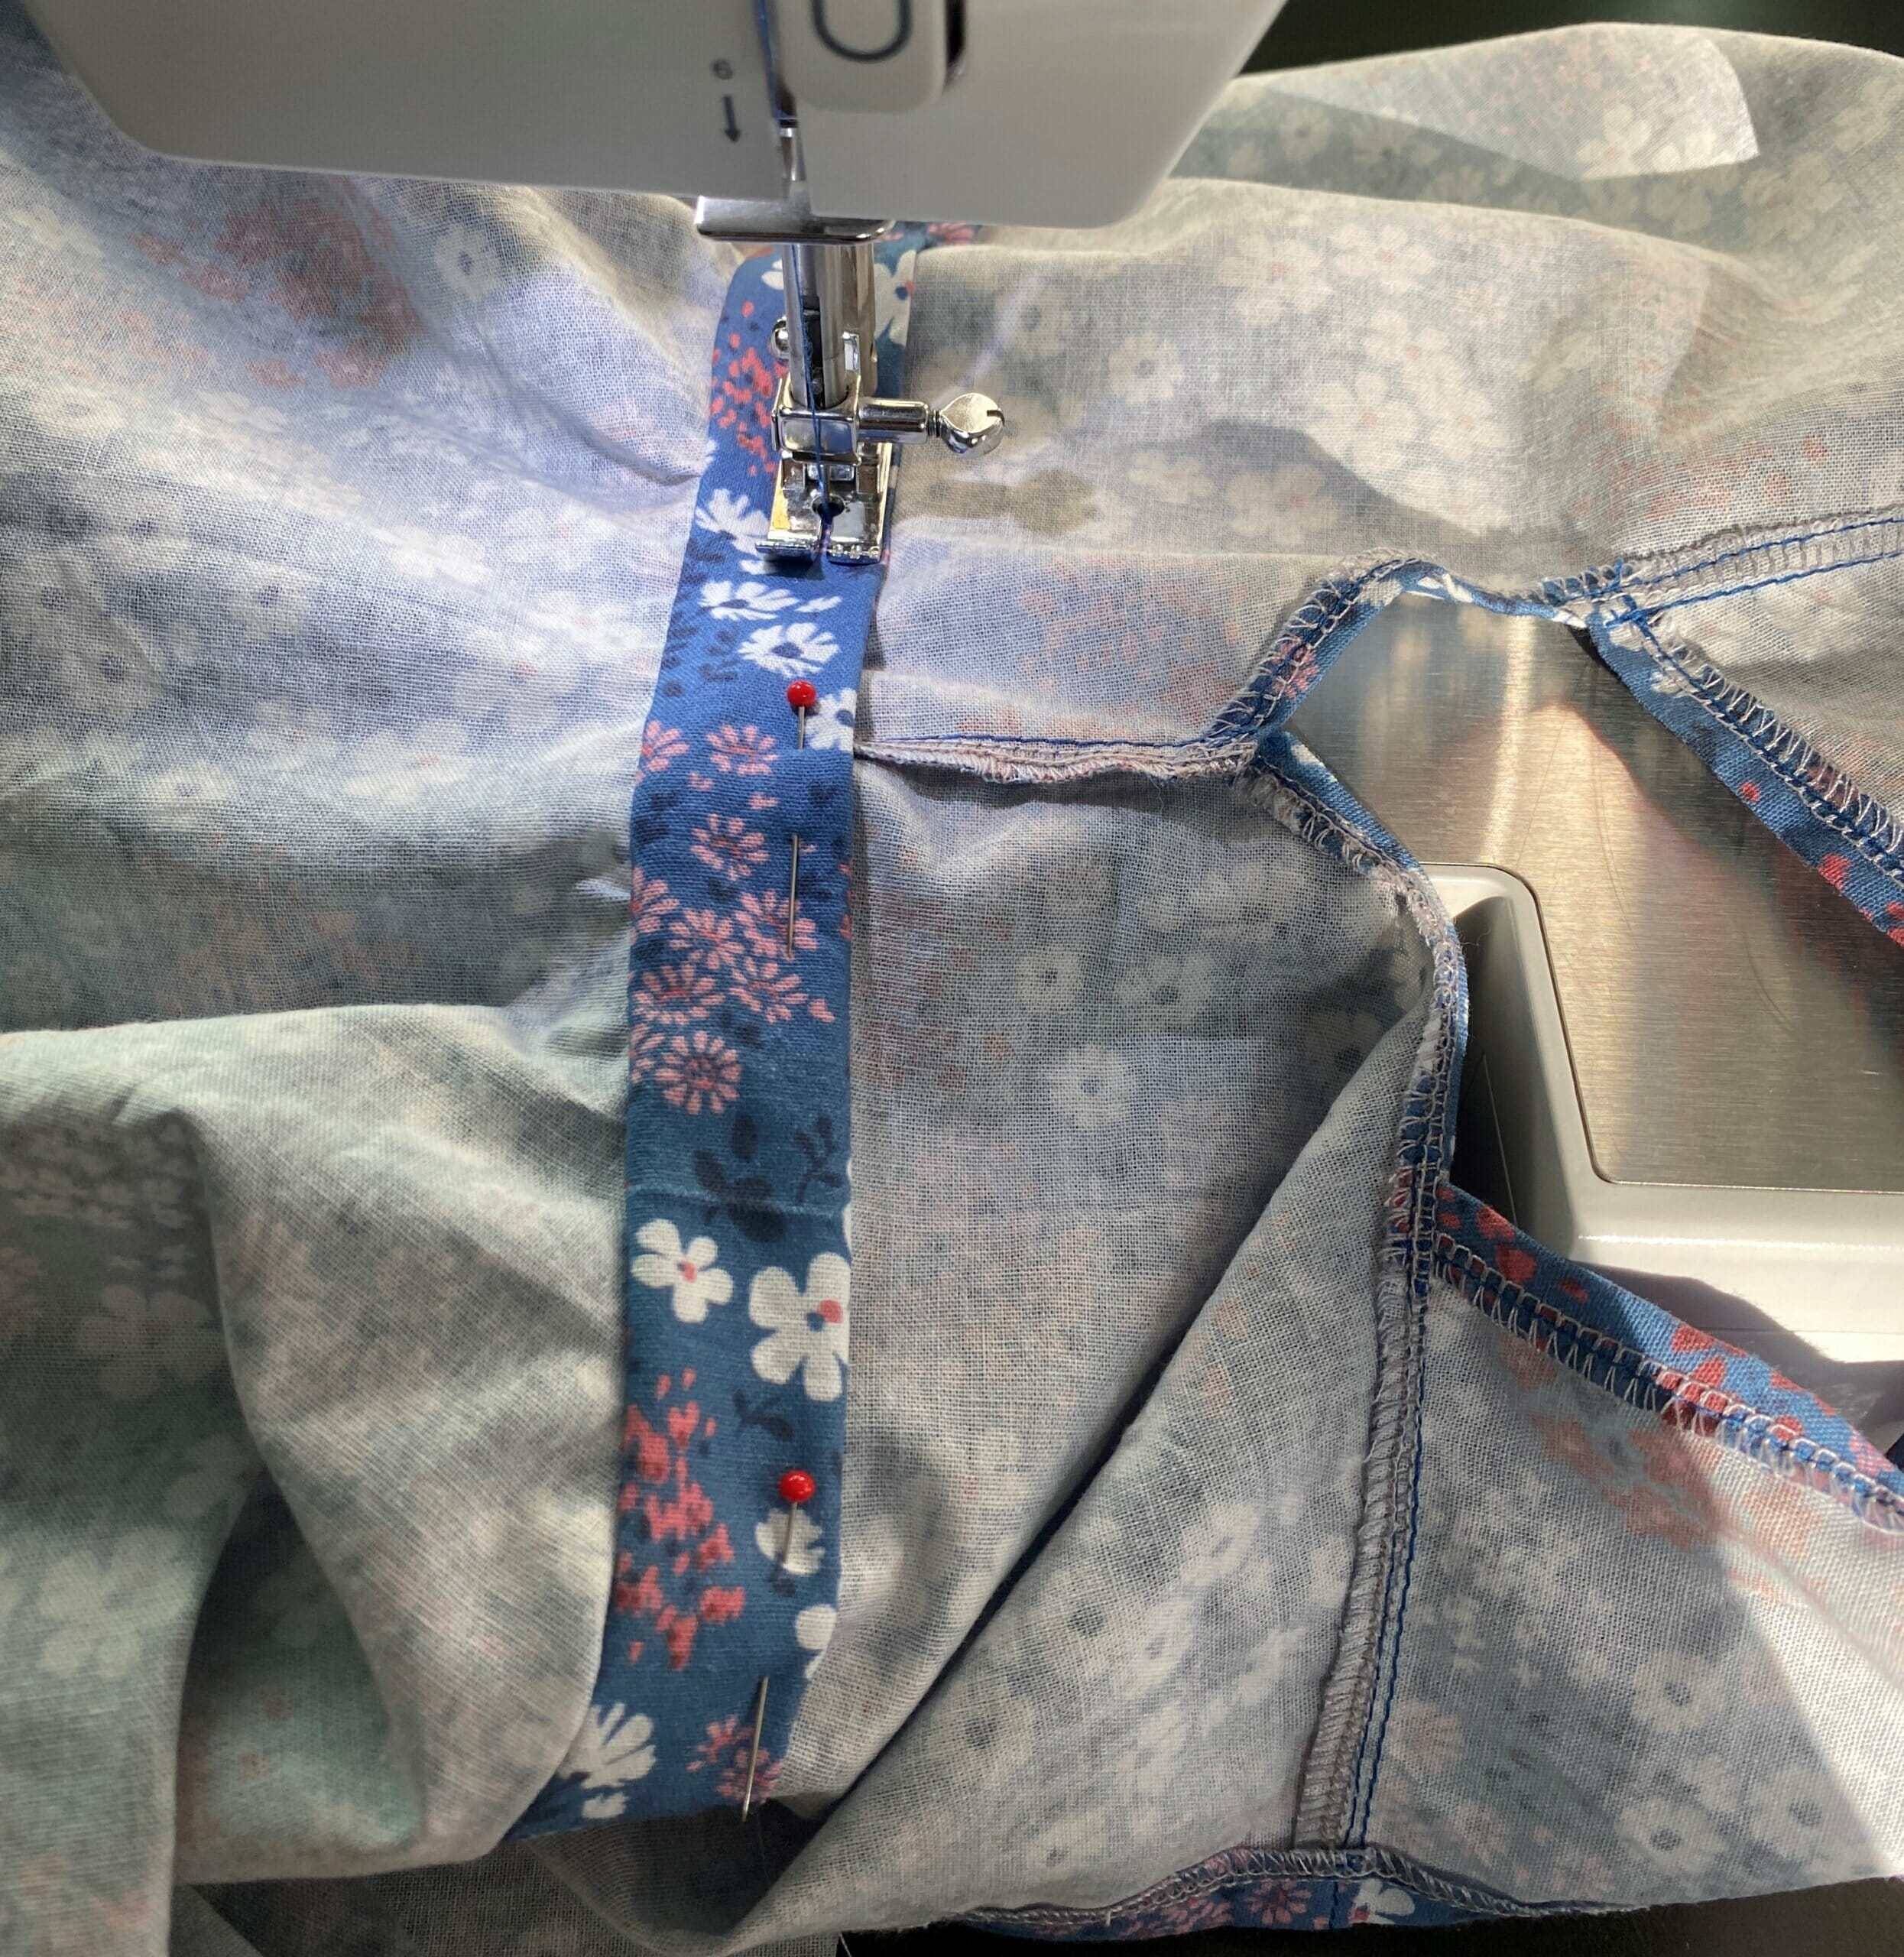
Pin the strip along the raw edge of the waistline as shown. Fold one short edge of the strip and make the other short edge overlap the former.
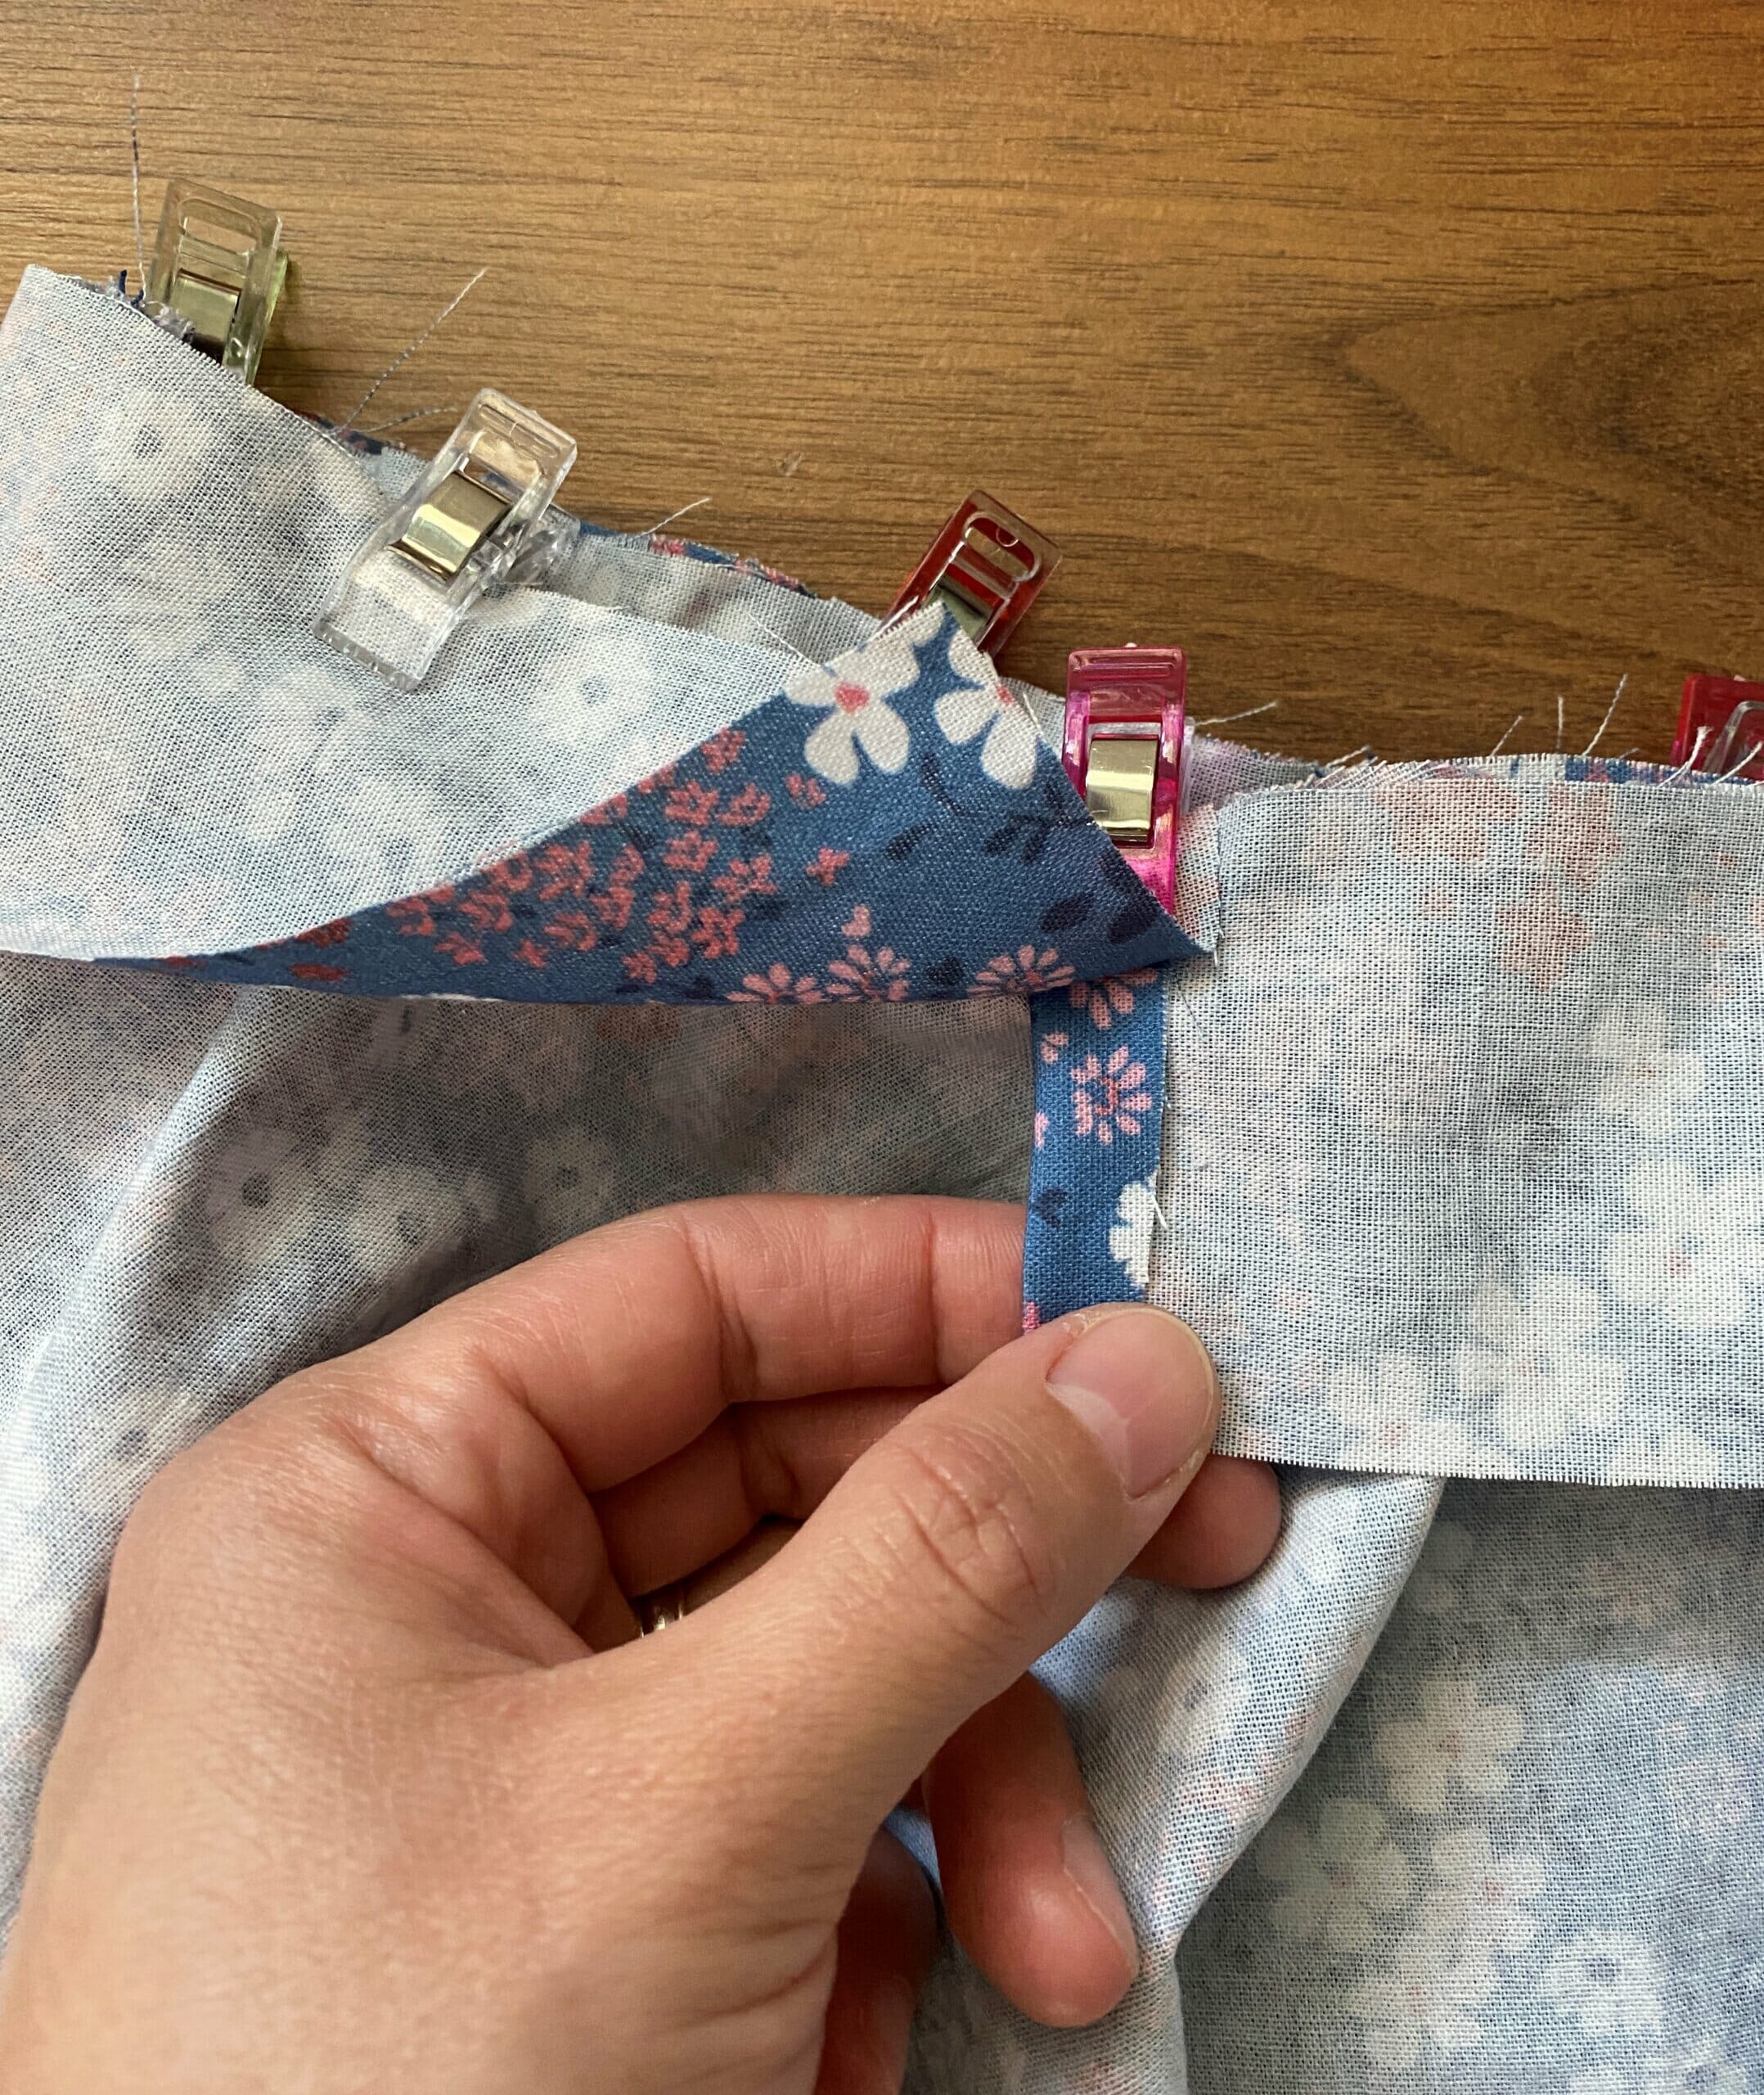
Trim any excess length from the casing. This method creates a small opening where you can insert the elastic afterward.
Important – Stitch along the existing stitching line (the one from Step 3) to attach the fabric strip to the dress.
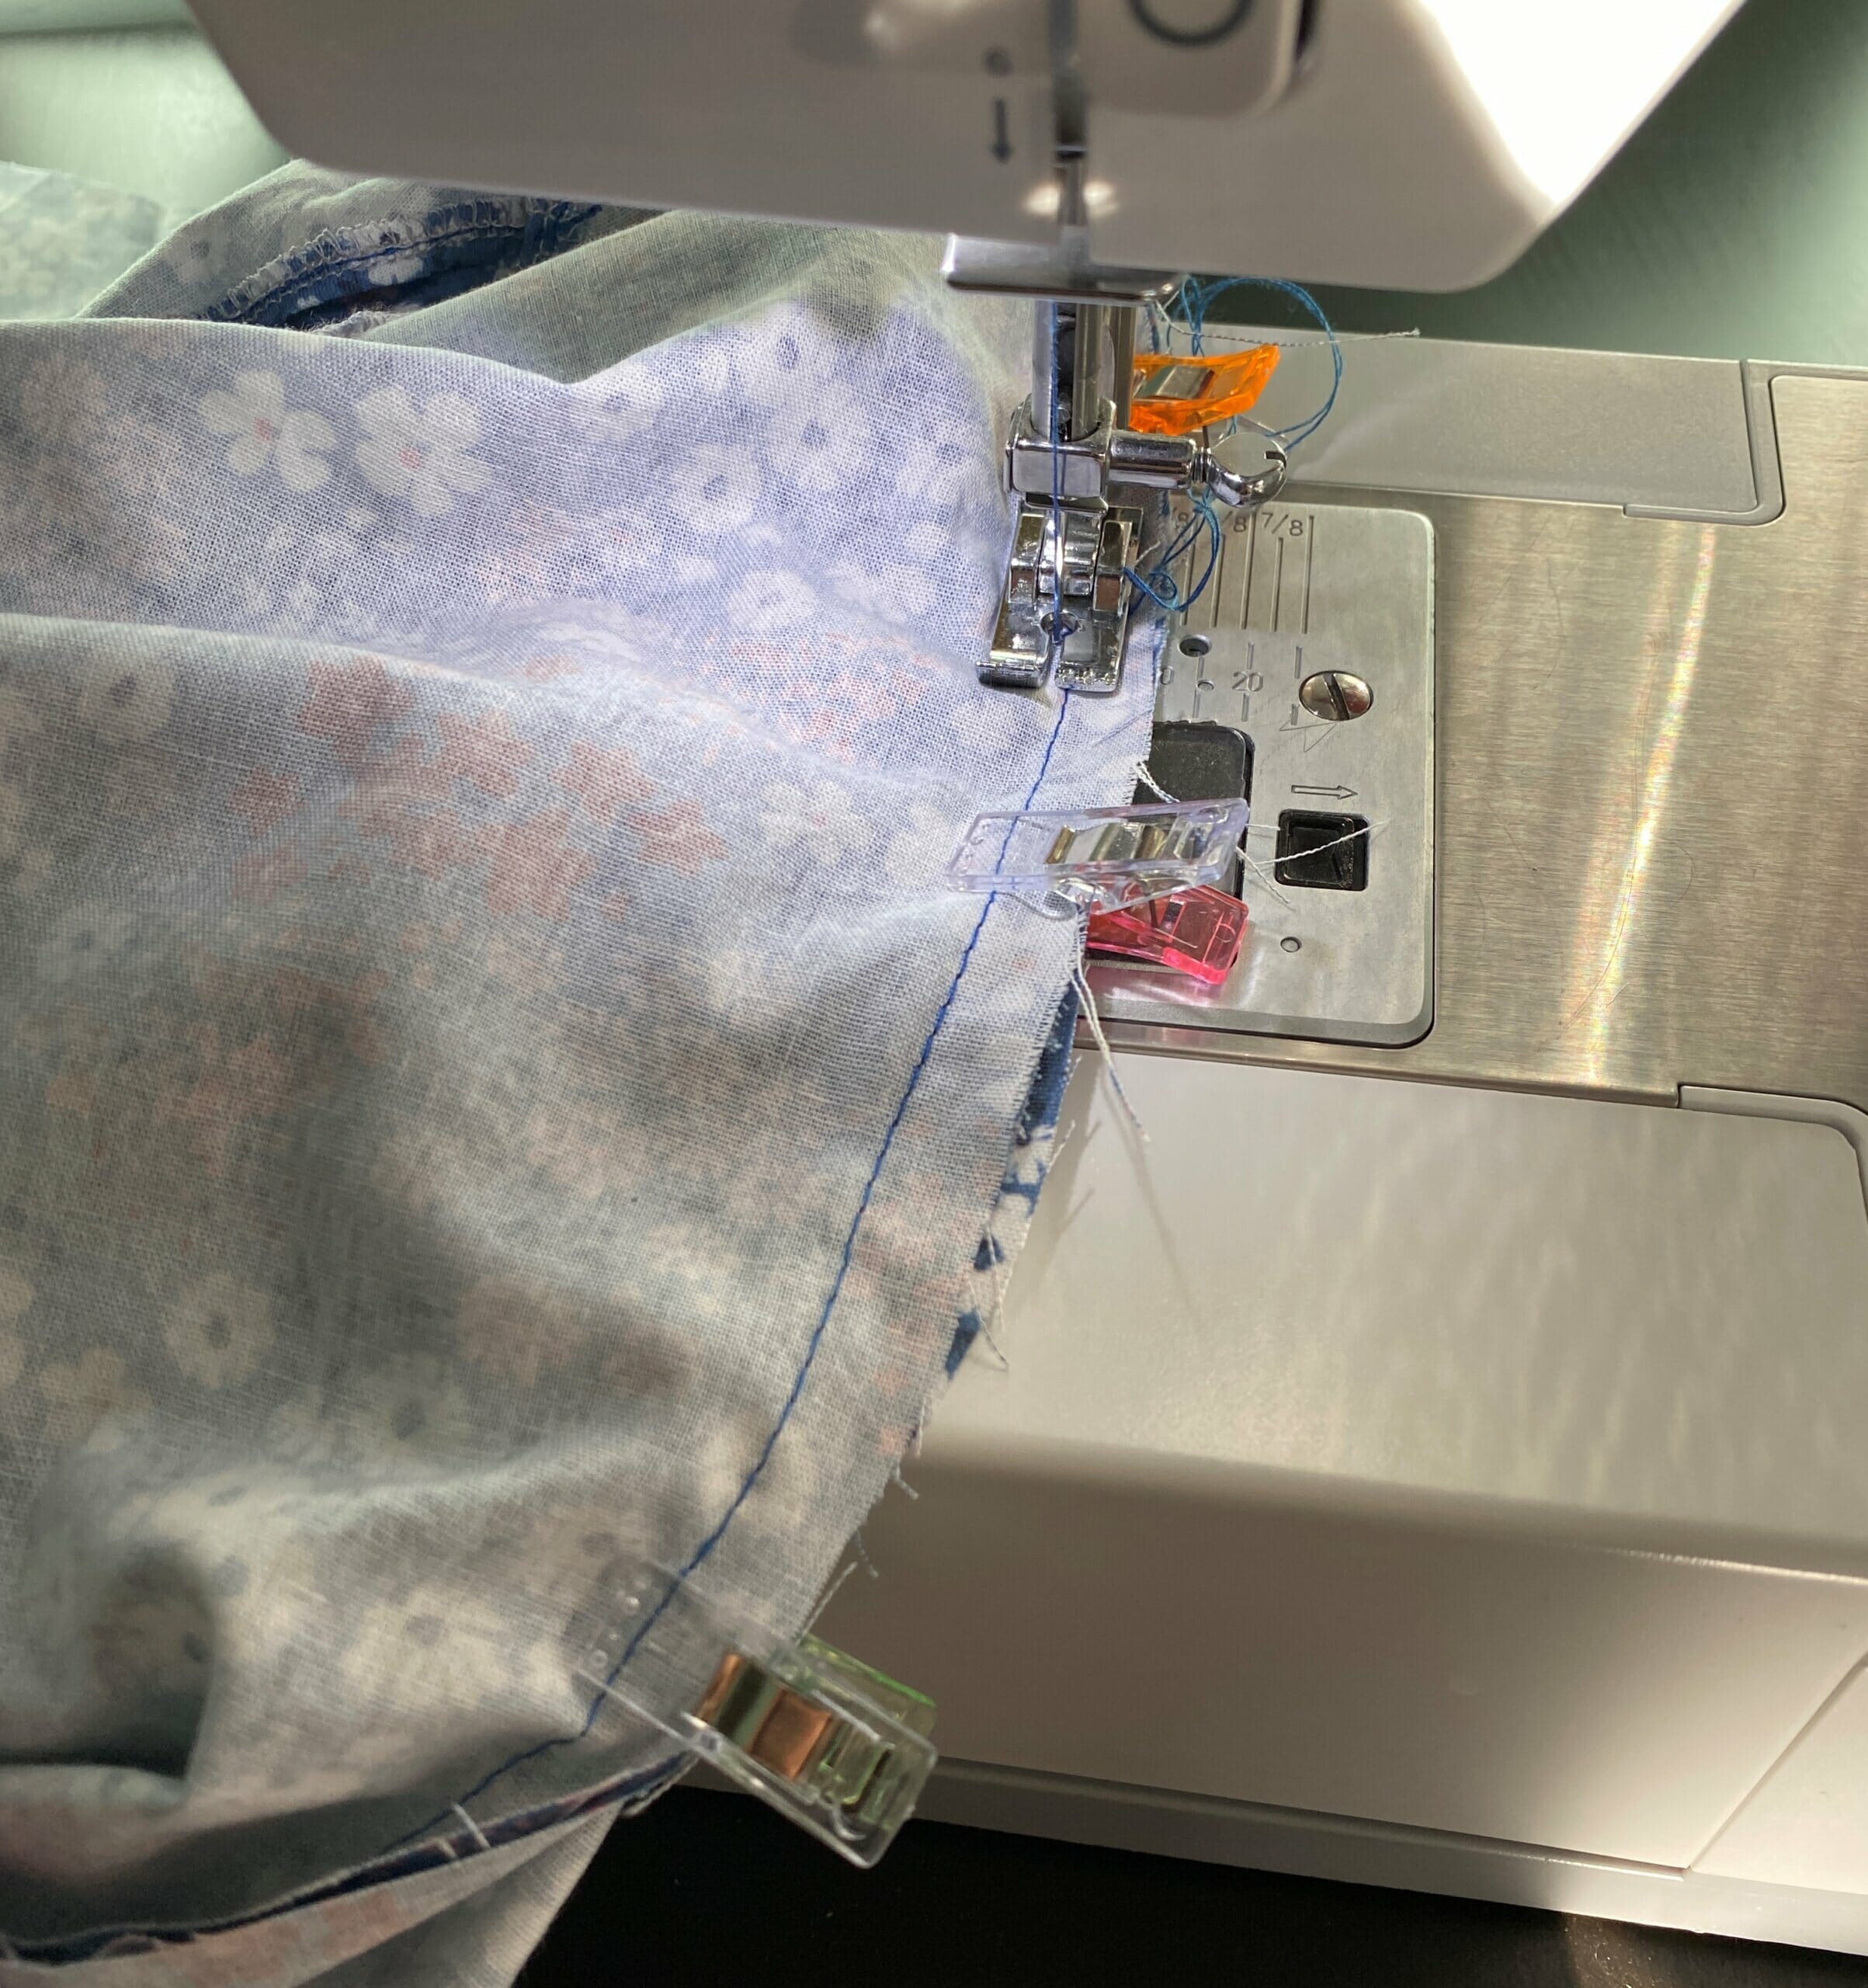
Then, flip the casing along the seam line, then fold the long edge and pin it.
Sew the top edge of the casing all the way around the dress.
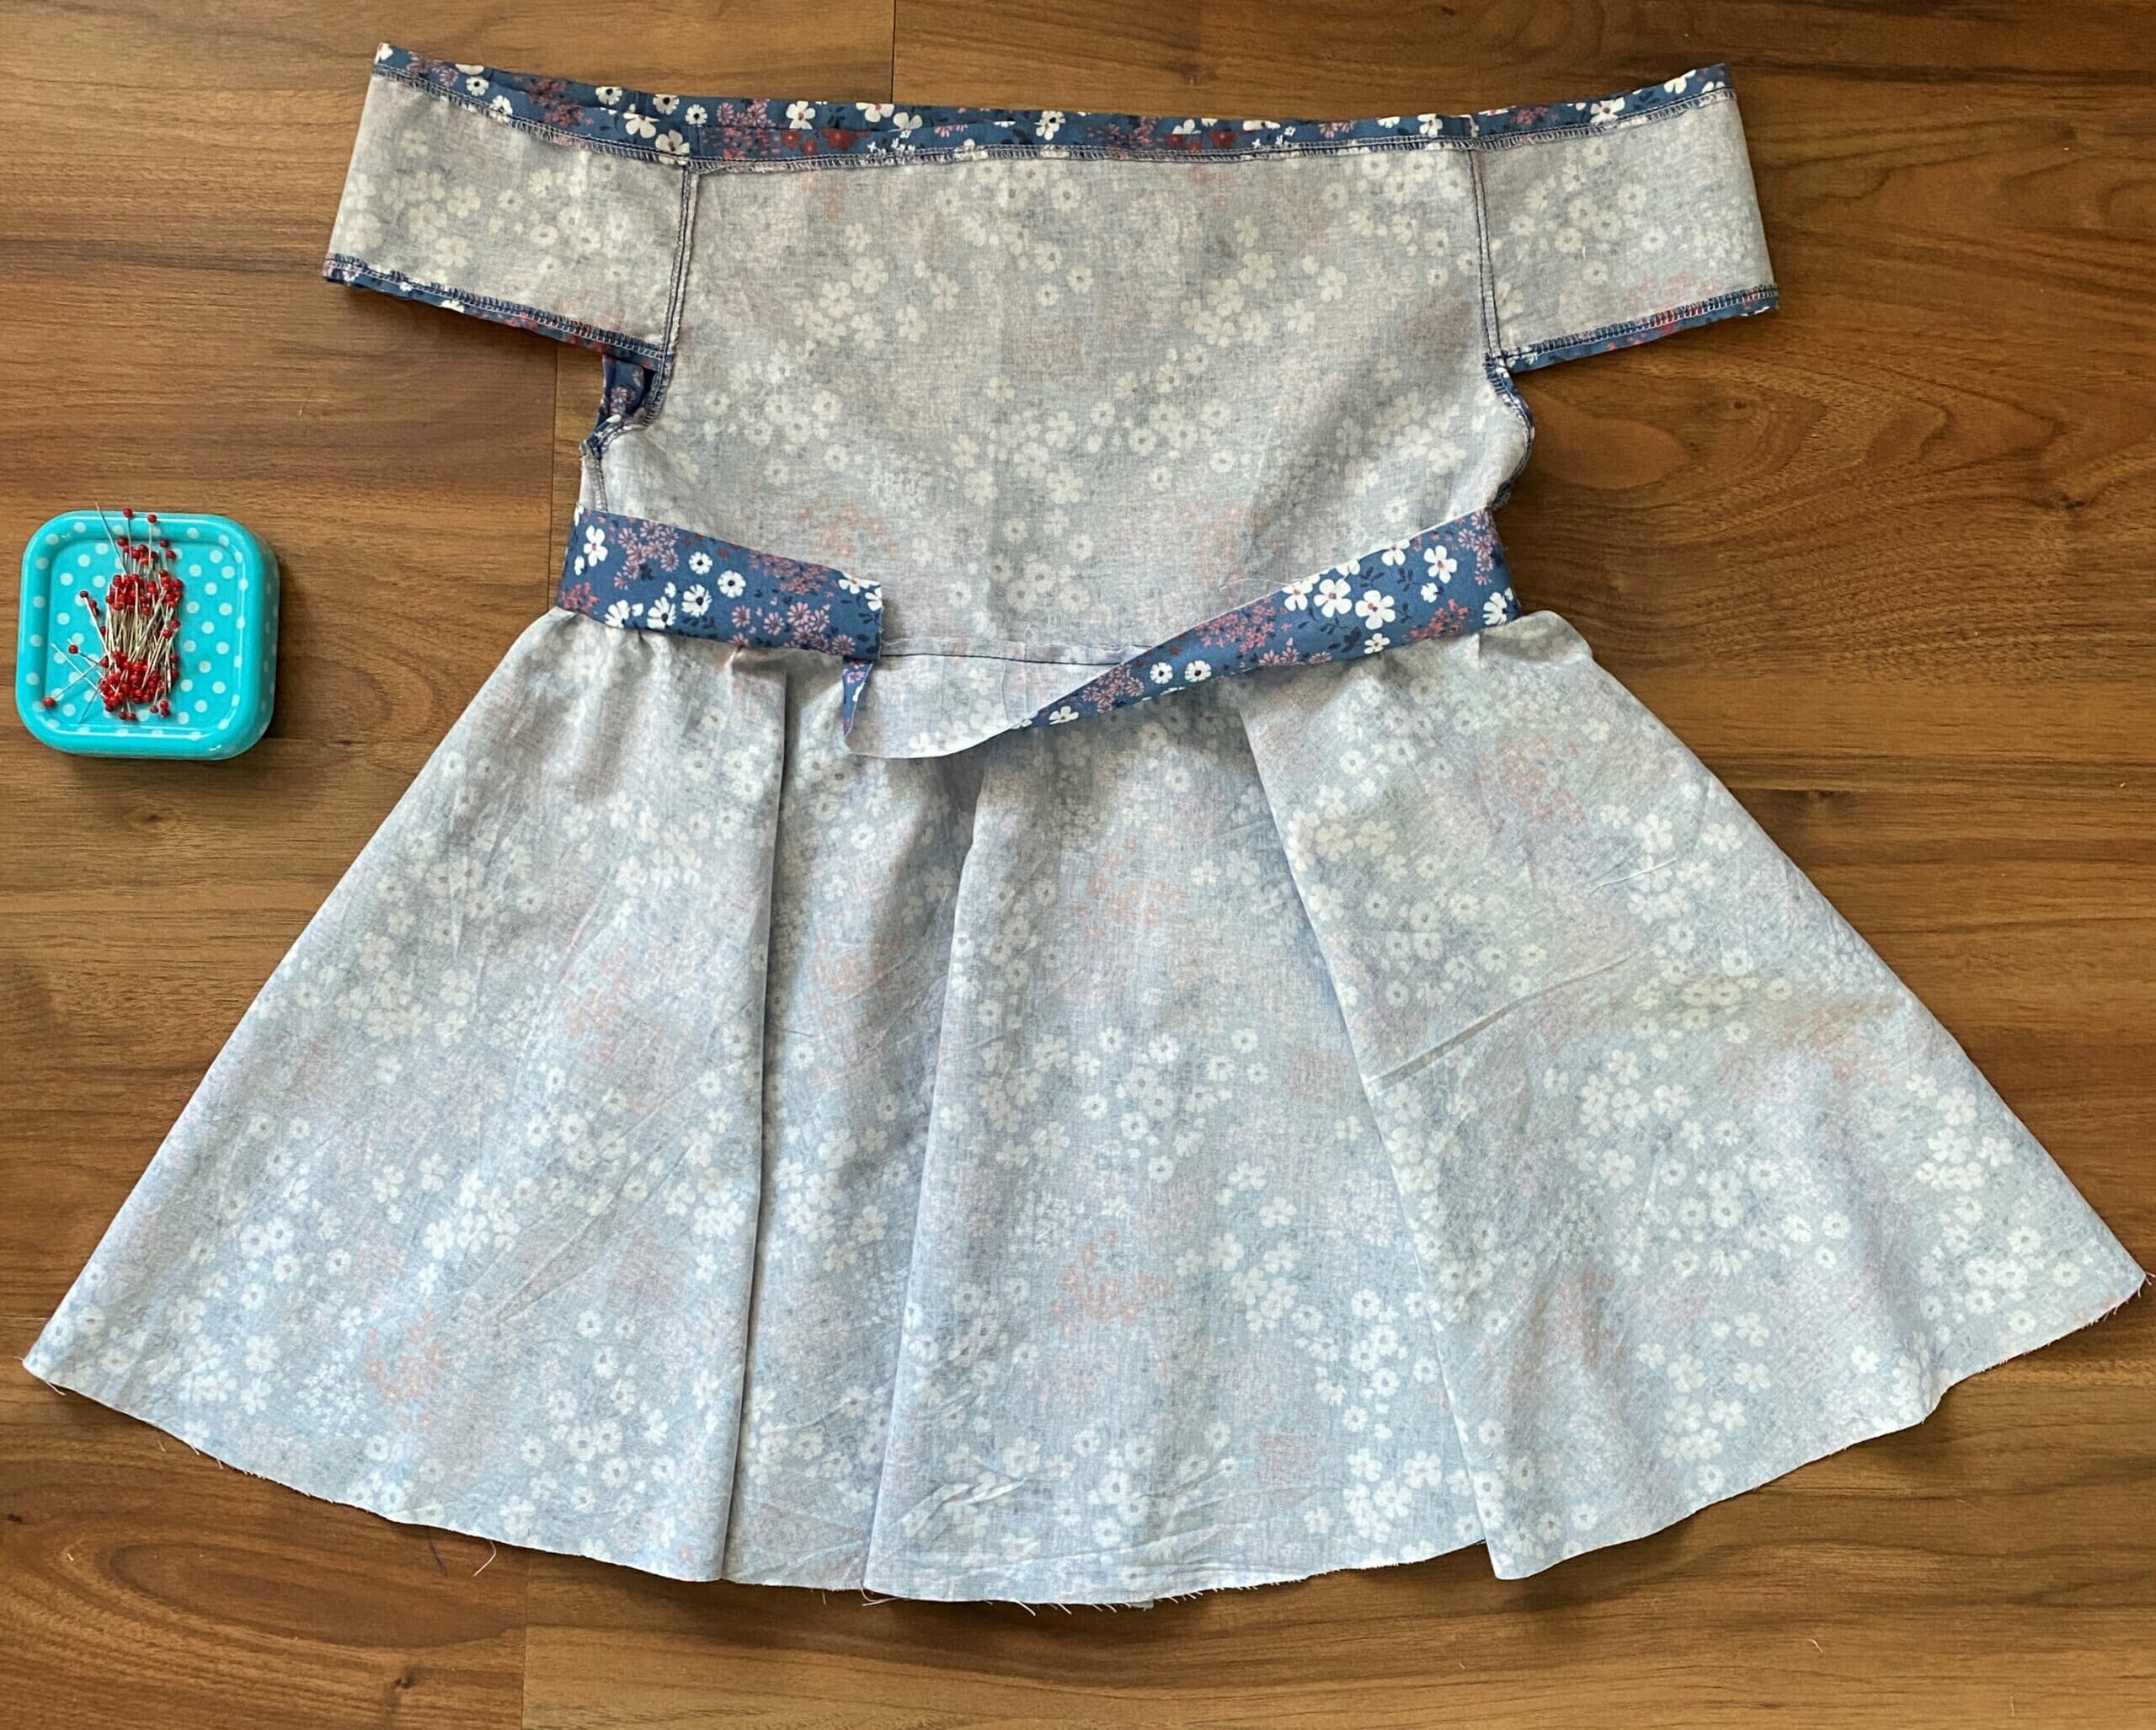
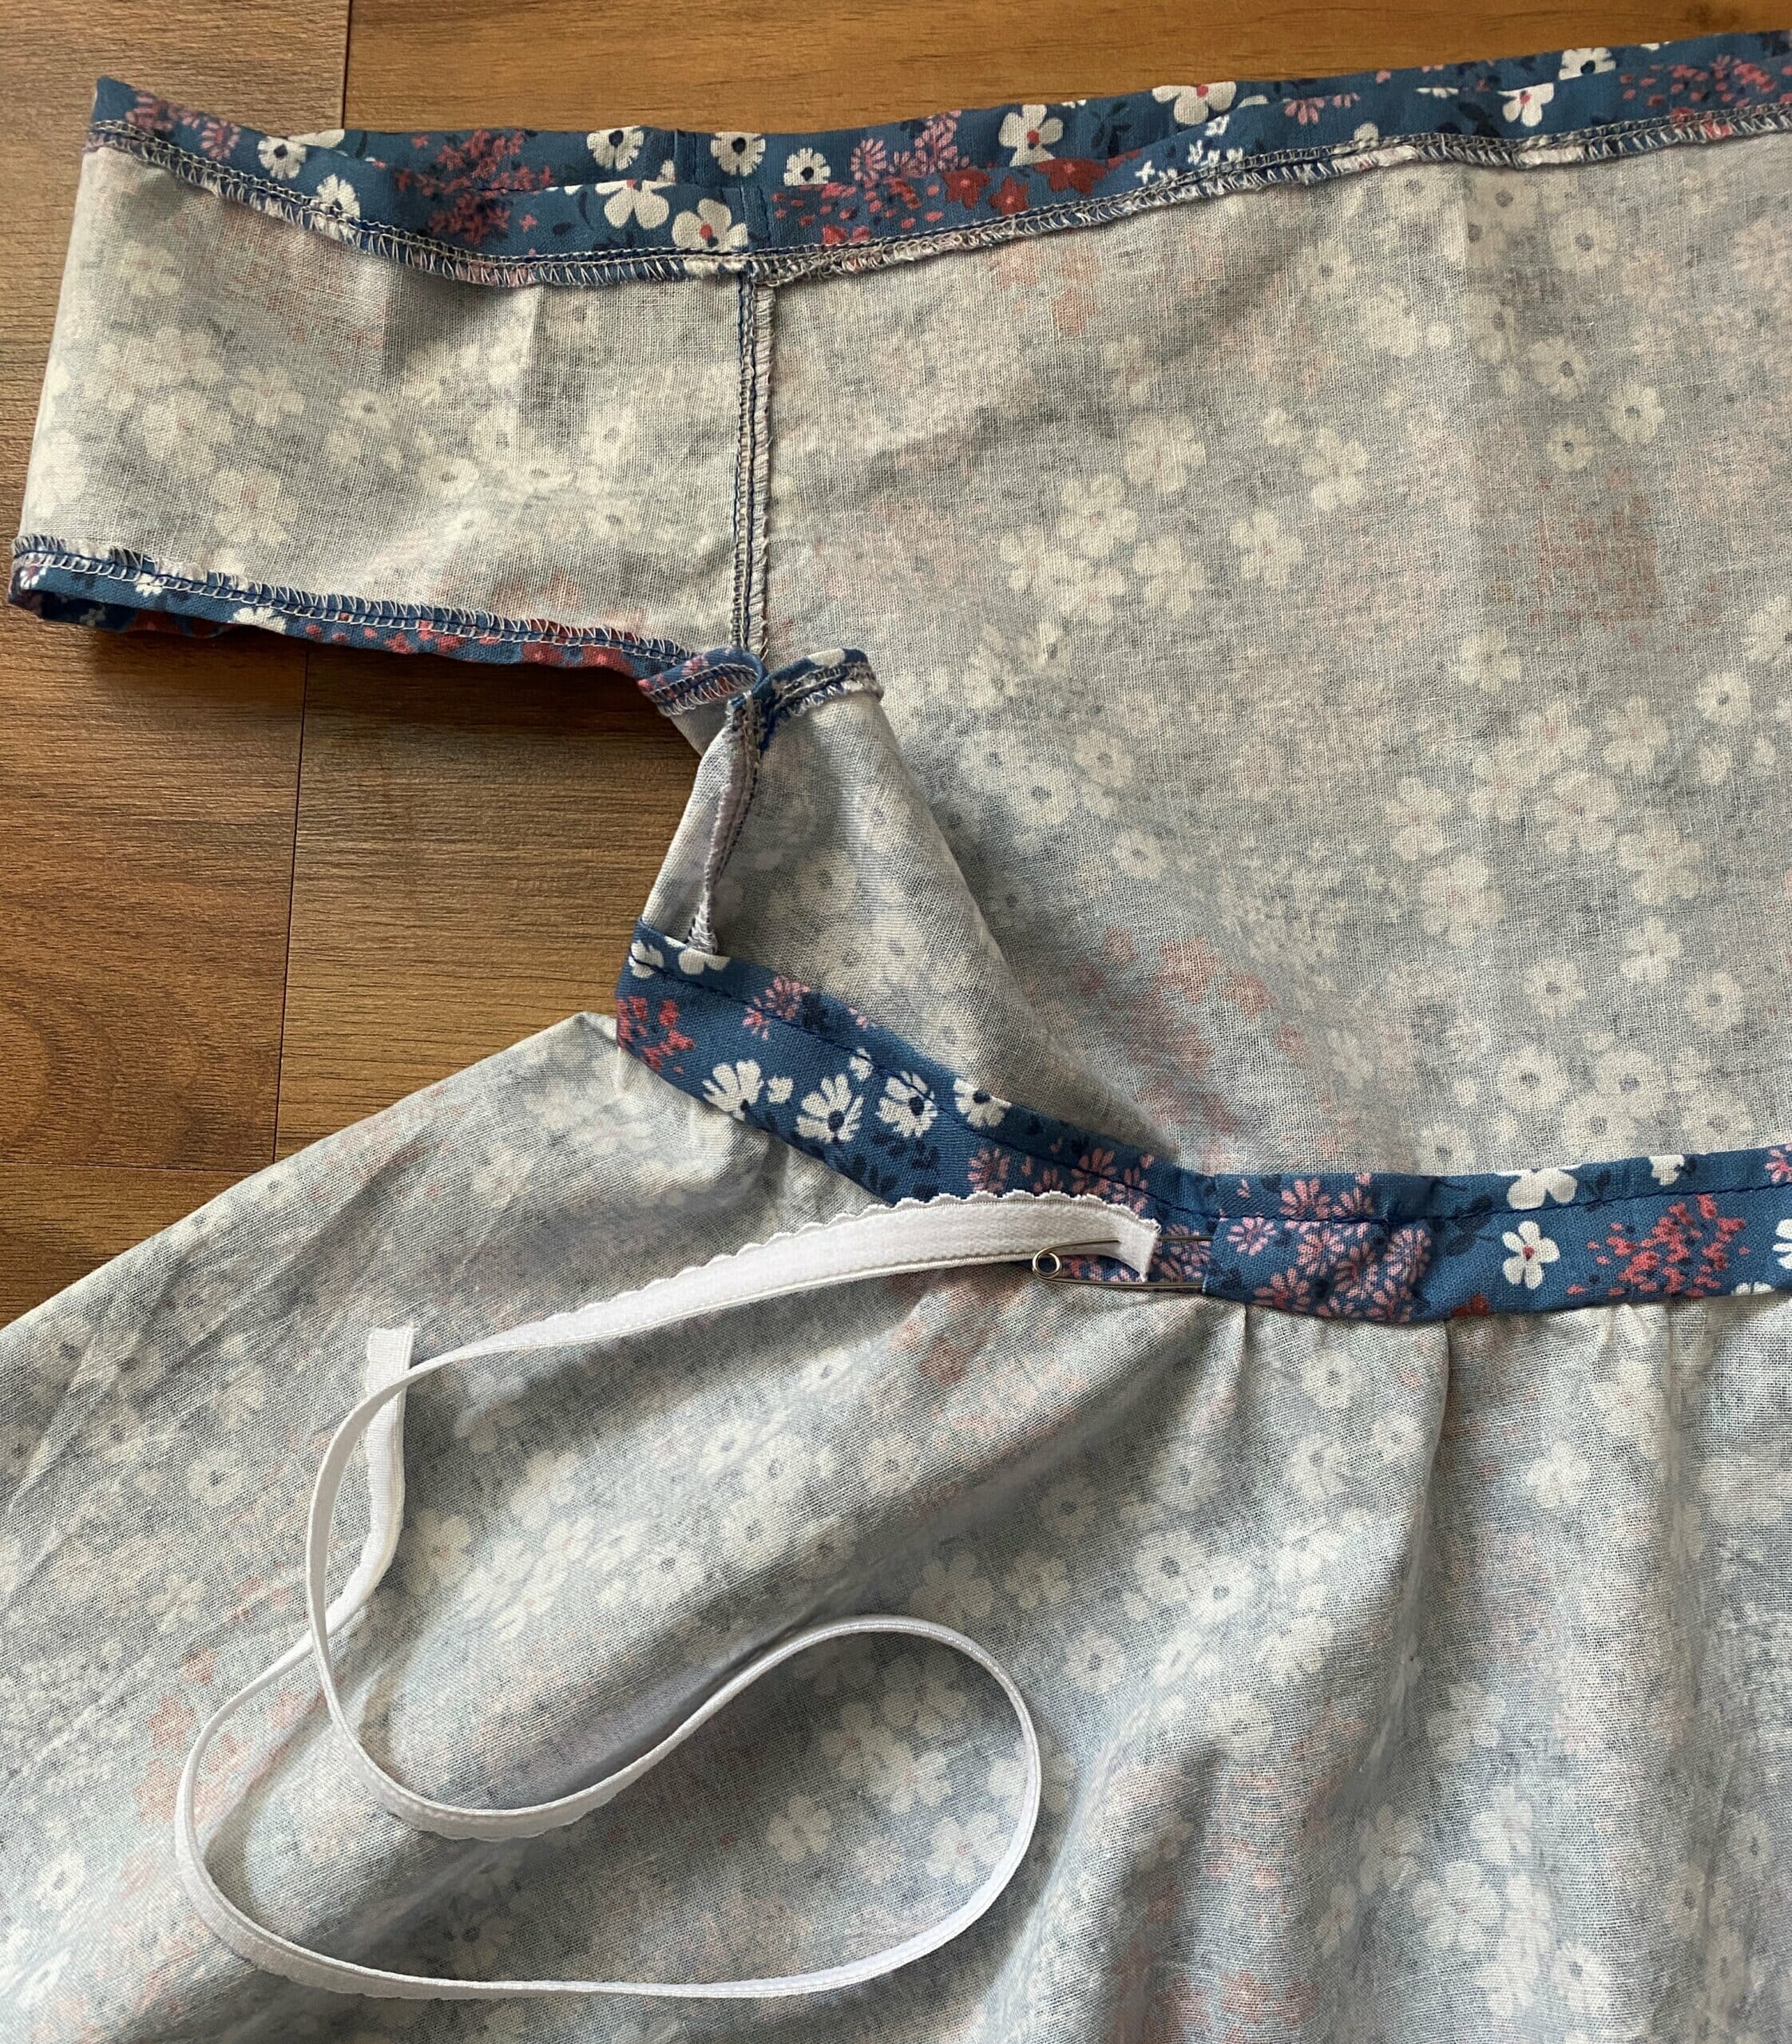
At this point, all the edges are neatly folded under, and the elastic casing looks nice and neat from the inside.
Now it’s time to insert the elastic. I used 22 inches of 1/2” wide elastic. You can also use a more narrow or a wider elastic for the waist casing – that depends on your preferences (but don’t forget to adjust the casing accordingly).
The most comfortable fit for the elastic would be to take the waist measurement and add 1 1/2 or 2 inches.
No need to close the waistband casing.
Step 5 – hem the dress
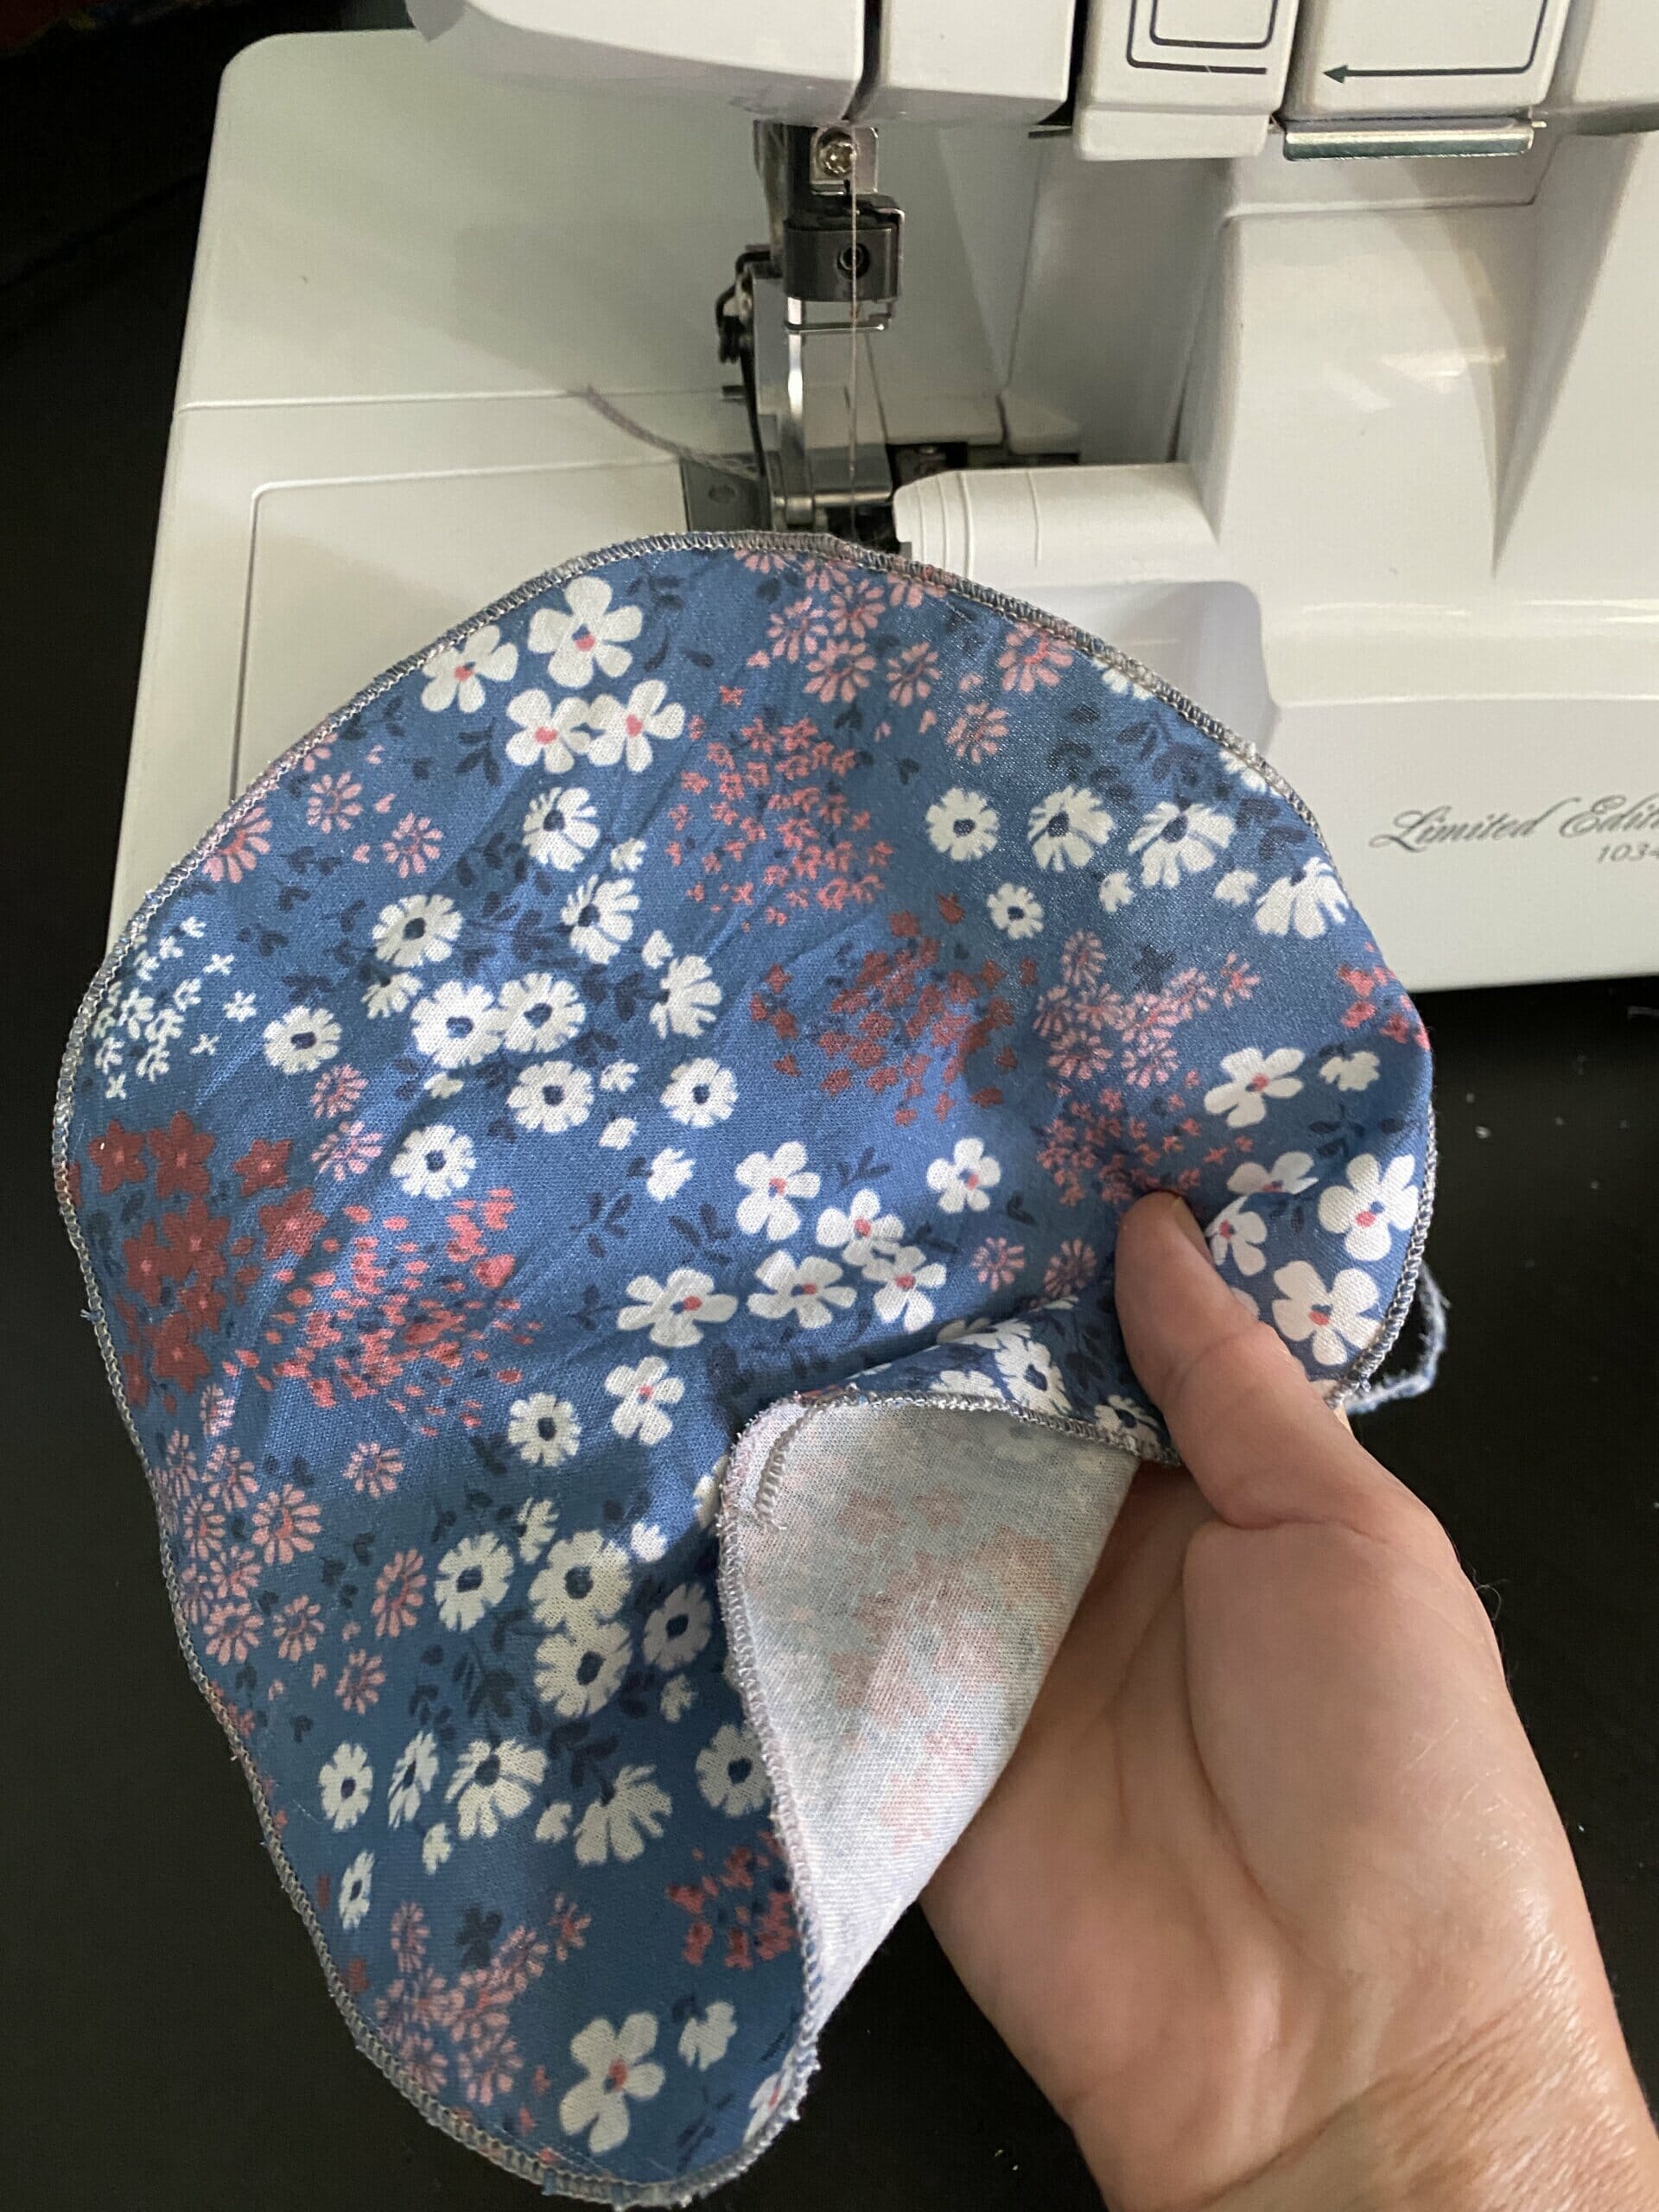
Hem your circle skirt with a narrow hem on your serger – that’s the easiest and fastest method.
Sewing tip – I always practice serger tension settings on the leftover circle of fabric.
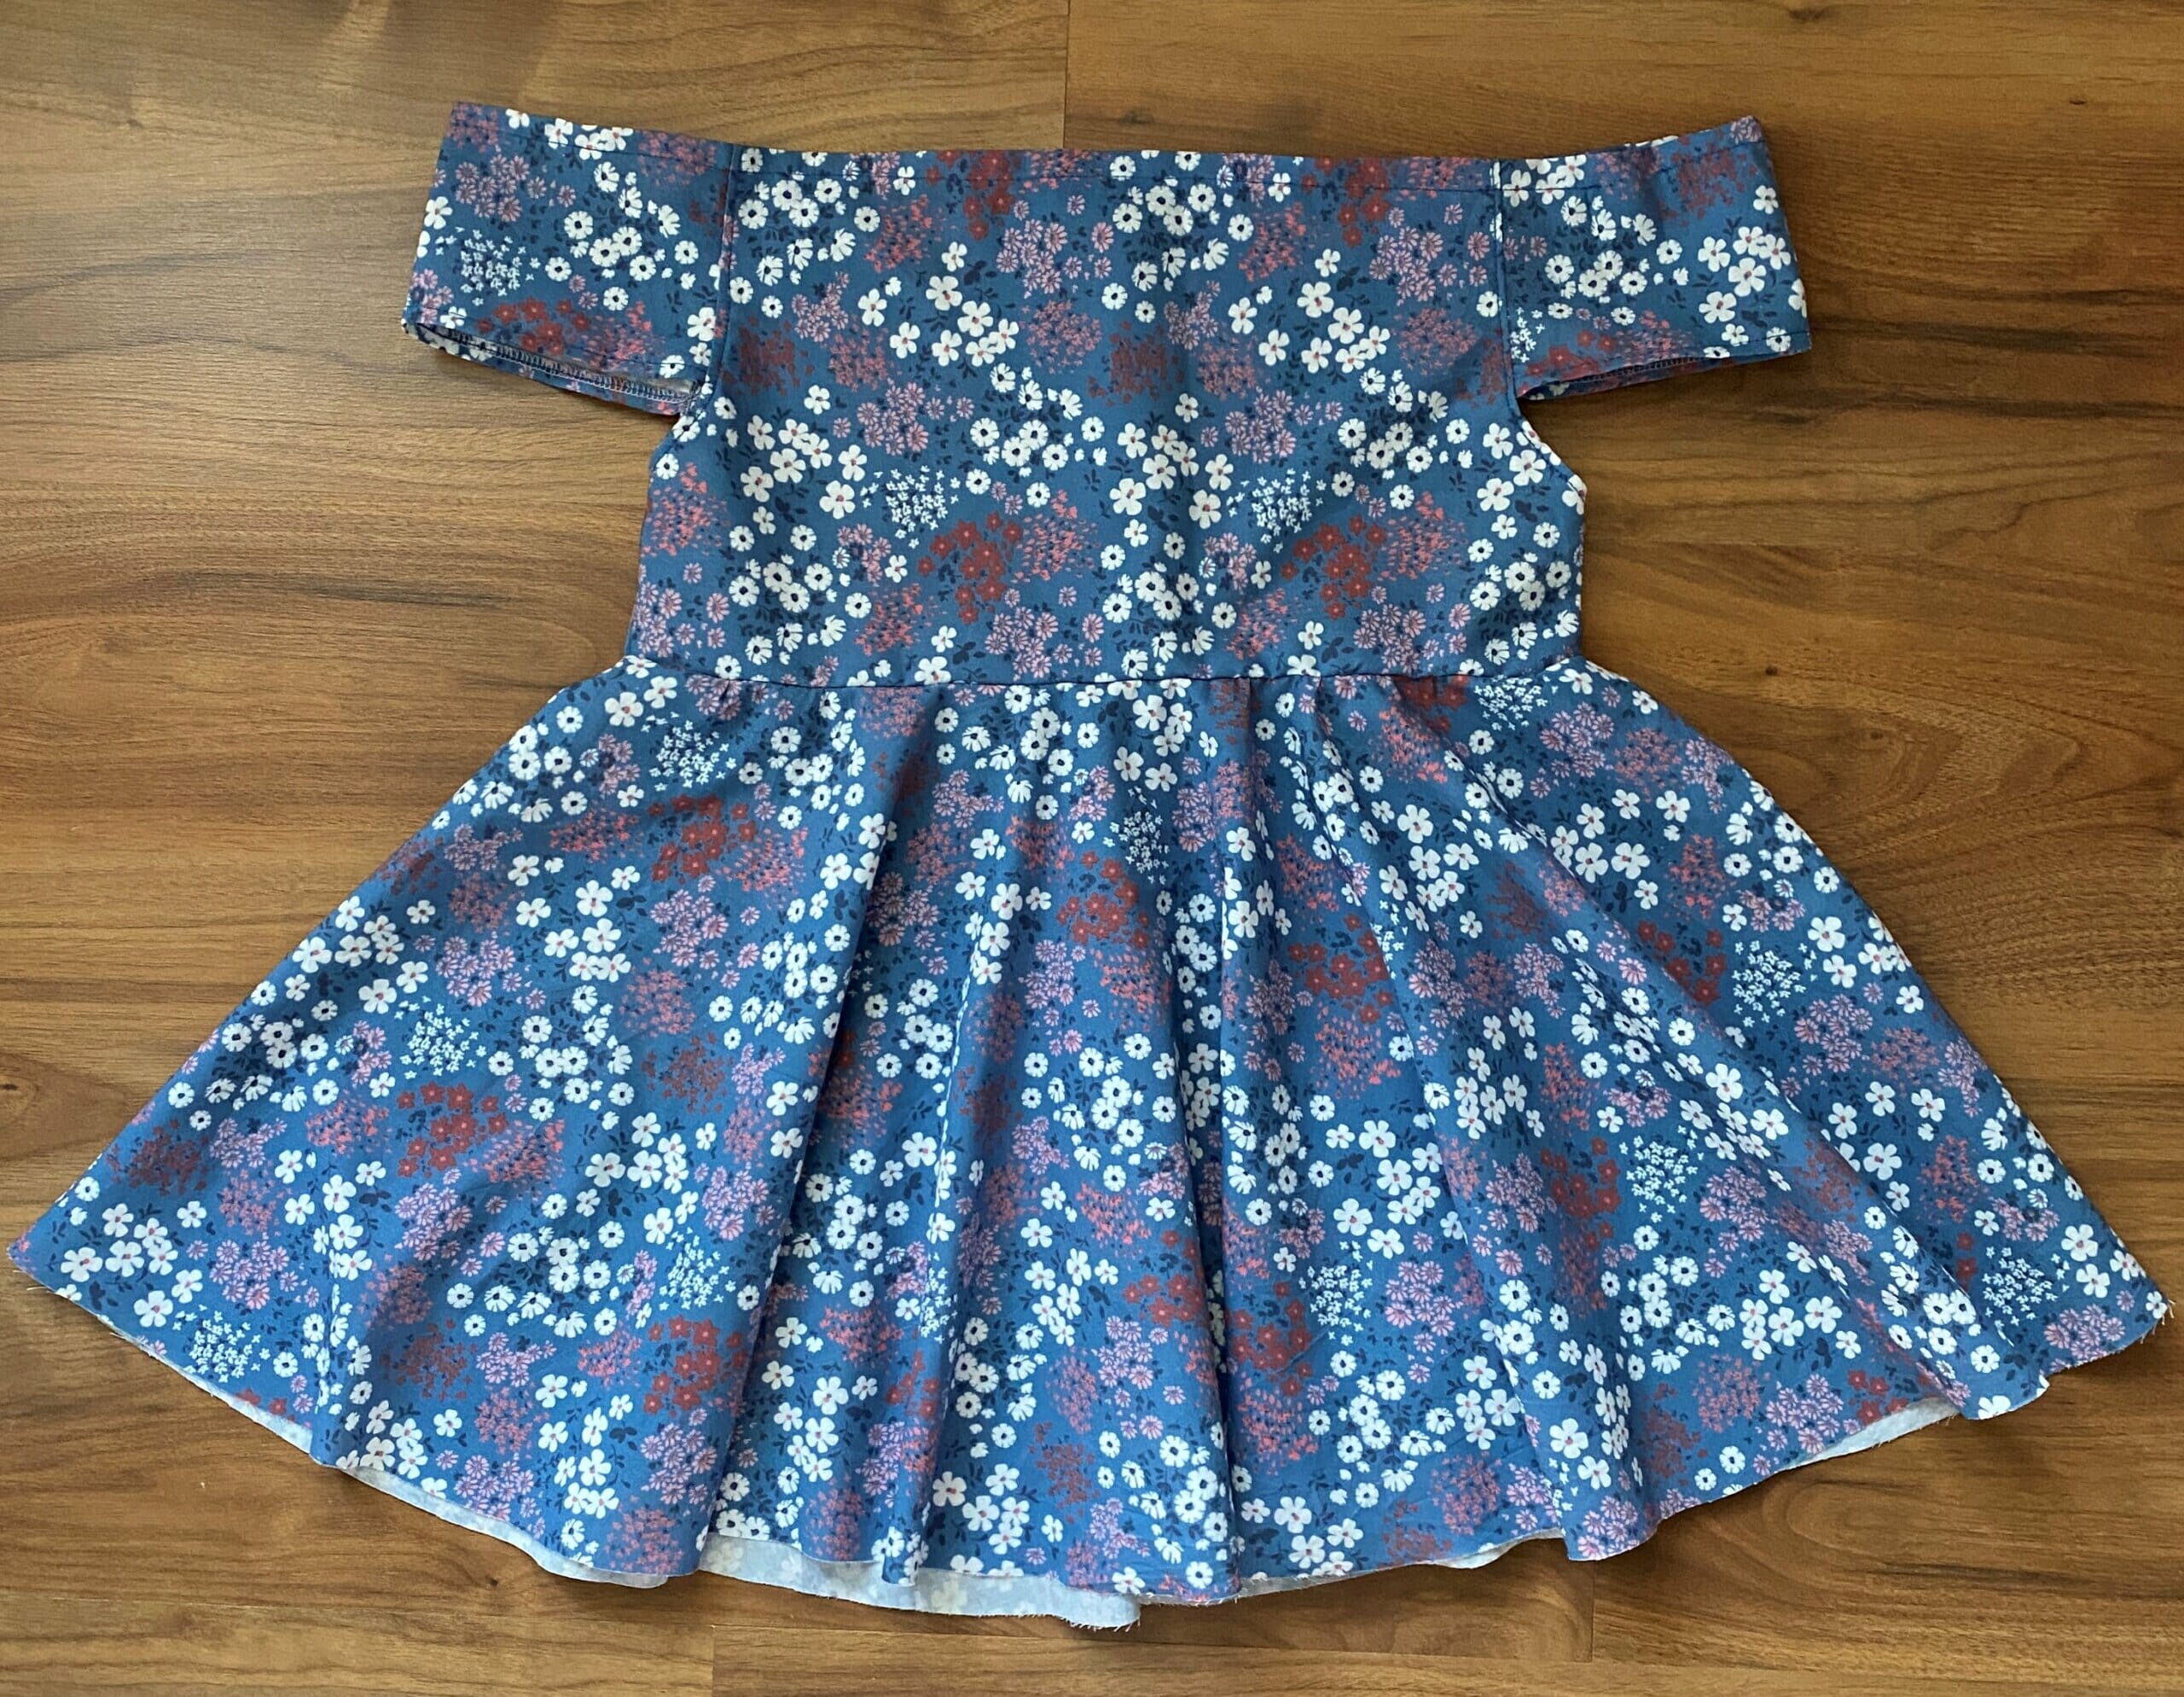
The dress is ready to wear!

Did you find this tutorial helpful? I’d like to hear what you think of it! And I would LOVE to see pictures if you give this free circle skirt dress pattern a try.
Let’s keep in touch! You can find me on Facebook, Instagram, and Pinterest.


How do I get the pattern pieces? I have entered my name a half dozen times or more and clicked on the box and hit download, but I never get to a page with pattern pieces..
Hi Carla,
I’m sorry it was a frustrating experience for you and thank you for reaching out! You first have to subscribe – start by entering your email address in the pink box. Next, check your email to confirm your subscription (it’s a double opt-in). Don’t forget to also check your spam folder, just in case. Once you’ve confirmed your subscription, the pattern will be sent to your inbox right away.
All the best,
I love this dress and would like to make it for my daughter, but I’m unable to download the pattern. Is there another way to get the pattern? Thank you!
Hi,
Thank you for reaching out and I’m sorry it didn’t work as expected. I think the email might have gotten into the spam folder, so it’s worth checking there. You should receive the free pattern immediately after confirming your subscription to the newsletter. I hope this helps!
What yardage is needed for this dress?
Hi Diane,
I made this dress in size 3T/4T, and I used 1.5 yards of cotton fabric (width 59 inches).
If you look at this picture https://static.icansewthis.com/2021/05/flutter-sleeve-circle-dress-1-1024×860.jpg you’ll see the measurements for the circle skirt (13.5+approx 5″)=18.5″. The fabric in that picture is folded twice – once along the width and again along the length, so to make a circle skirt in the same size you need a (18.5×2)=37″ fabric square. Making the bodice of the dress requires far less fabric.
I hope that helps! Thank you for stopping by!
Thank you. I make children’s dresses to donate to a local center that provides food and clothing to families in the community. I thought 1.5 yards would work but I wanted to make sure.
Super cute! I used a Waverly polka dot cotton (white on sky blue) and added rick rack on the edge of the skirt. I stitched it on the right side then flipped it on the stitch line and top stitched so only the points showed. Took more time but I really like the result. Next time I think I’ll use Minnie Mouse colors!
What is the function of the pattern piece that is a rectangle measuring 2.75″ by 8″?
Hi Ev,
You have to join the pattern pieces (match those tiny triangles – most likely, they will not fit perfectly, because they are hand drawn by me…). The first two pattern pages will become one pattern piece. That is the bodice of the dress – it was too big to fit on a single sheet. Happy sewing! 🙂
Thanks for the cute pattern! I’m trying to modify the pattern to size up to a 5/6. I saw you used 22″ elastic for the waistband. Did you cut the elastic larger than your daughter’s waist?
Hi Emma,
Thank you, I’m glad you like the dress! Yes, the elastic is about 2″ larger than the waist – for comfort reasons.