Sewing with minky fabric can feel like trying to herd cats – this stretchy fabric is all over the place! Even though this fabric seems to have a mind of its own, don’t let that deter you from creating cuddly, cozy projects that everyone will love. With these tips, you’ll be a minky master in no time!
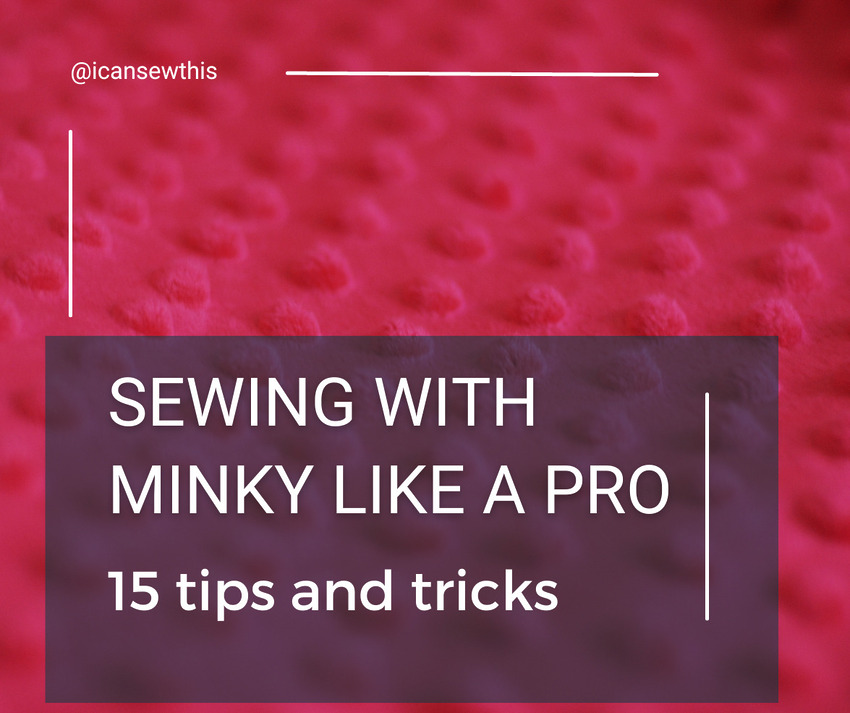
Minky fabric is soft and pleasant to the touch, making it a popular choice for blankets, stuffed animals, and baby items. However, it can also be a bit challenging to sew with because it is stretchy and has a lot of fuzz. Also, it tends to slip and move around under the feed dogs of the sewing machine.
I’ve recently made some baby bibs and these toy sleeping bags and pillows with minky, and I was reminded of how challenging it can be to sew with this luxurious and soft material.
Here are my best tips and tricks to help you get started with sewing minky fabric:
- No need to prewash. Minky fabric is made entirely of polyester, so it does not shrink or change shape after washing. As a result, there’s no need to pre-wash it before cutting out your pattern pieces.
- Cut your stable fabrics first. When working with minky fabric, it’s like a game of Jenga – you want to make sure everything stays in place! That’s why cutting your stable fabric like cotton or flannel (when sewing minky with another layer of fabric) to size first before tackling the minky is a smart move. Cut your stable fabric to the desired size and leave a little extra minky fabric around the edges. Then, after the seams are sewn and the fabric is secure, trim away the excess minky.
- Get a grip with a walking foot: A walking foot is like a personal bodyguard for your minky fabric. It keeps it from slipping and sliding around, so you can focus on the task at hand.
- Alternatively, use a Teflon presser foot: If you’re still having trouble with minky fabric sliding around, try using a teflon presser foot. It’s like non-stick cookware for your sewing machine! However, if you don’t feel like changing the presser foot on your sewing machine, don’t worry! Just try to follow as many of the following tips as you can. You’ll still achieve great results with your standard presser foot!
- Stretch it out with a stretch needle: Minky fabric is a synthetic fabric that has some stretch to it, so using a ballpoint or stretch needle will help to prevent skipped stitches and ensure a smooth seam.
- Stitch length: Make sure to lengthen your stitch length to 3.5 or 4mm. This will prevent your minky fabric from turning into a stretched-out mess.
- Pin sparingly: Pins can leave holes in minky fabric, so I’d advise you to be rather frugal, or to opt for fabric clips instead.
- Cut with caution: Minky fabric has a tendency to shed so much fuzz, so cut carefully and use a rotary cutter or very sharp scissors.
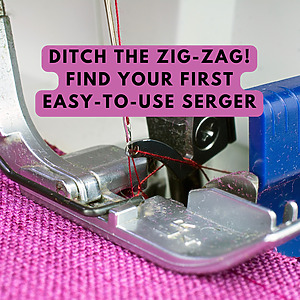
- Sergers are your friend: If you have one, a serger will be your new BFF when working with minky. It helps to prevent fraying and provides a clean, professional finish.
- Test, test, test: Always test your stitch on a scrap piece of fabric before starting your project. This will make sure your machine is set up correctly and that you’re happy with the look of your stitch.
- Slow and steady wins the race: When sewing with minky fabric, it’s best to take your time and sew slowly. This will give you more control over the fabric and help you avoid any mistakes.
- Baste first: Before sewing your pieces together, consider basting them first with a long stitch. This will help keep everything in place and ensure that your final seam has a smooth and neat finish.
- Use a fabric spray adhesive or a basting tape: To prevent the fabric from slipping and sliding as you sew, consider using a fabric spray adhesive or a wash away sewing tape. Just be sure to test it on a scrap piece of fabric first to make sure it doesn’t leave any residue. This is seriously a game changer when working with difficult fabrics.
- No backstitching: Backstitching can cause minky to pucker, so try to avoid it whenever possible. If you do need to secure a seam, use a knot. Or, you can use smaller stitches instead at the beginning and the end of your seam.
- Avoid pressing: Minky fabric is prone to flattening and losing its plush texture, so try to avoid pressing it with an iron. If you do need to press your fabric, use a press cloth and a low heat setting.
With these tips and techniques, sewing with minky fabric will be a breeze. Who knows, you may even end up loving the soft, plush texture so much that you’ll never want to sew with anything else. (just joking!)
Let’s keep in touch! You can find me on Facebook, Instagram, and Pinterest.


Factories producing miles of minky garments aren’t pinning or gluing or any of this futility. What do they do?
A serger does not create a “proffessional finish”. It’s a factory machine, time is money. A pro dressmaker doesn’t settle for that.