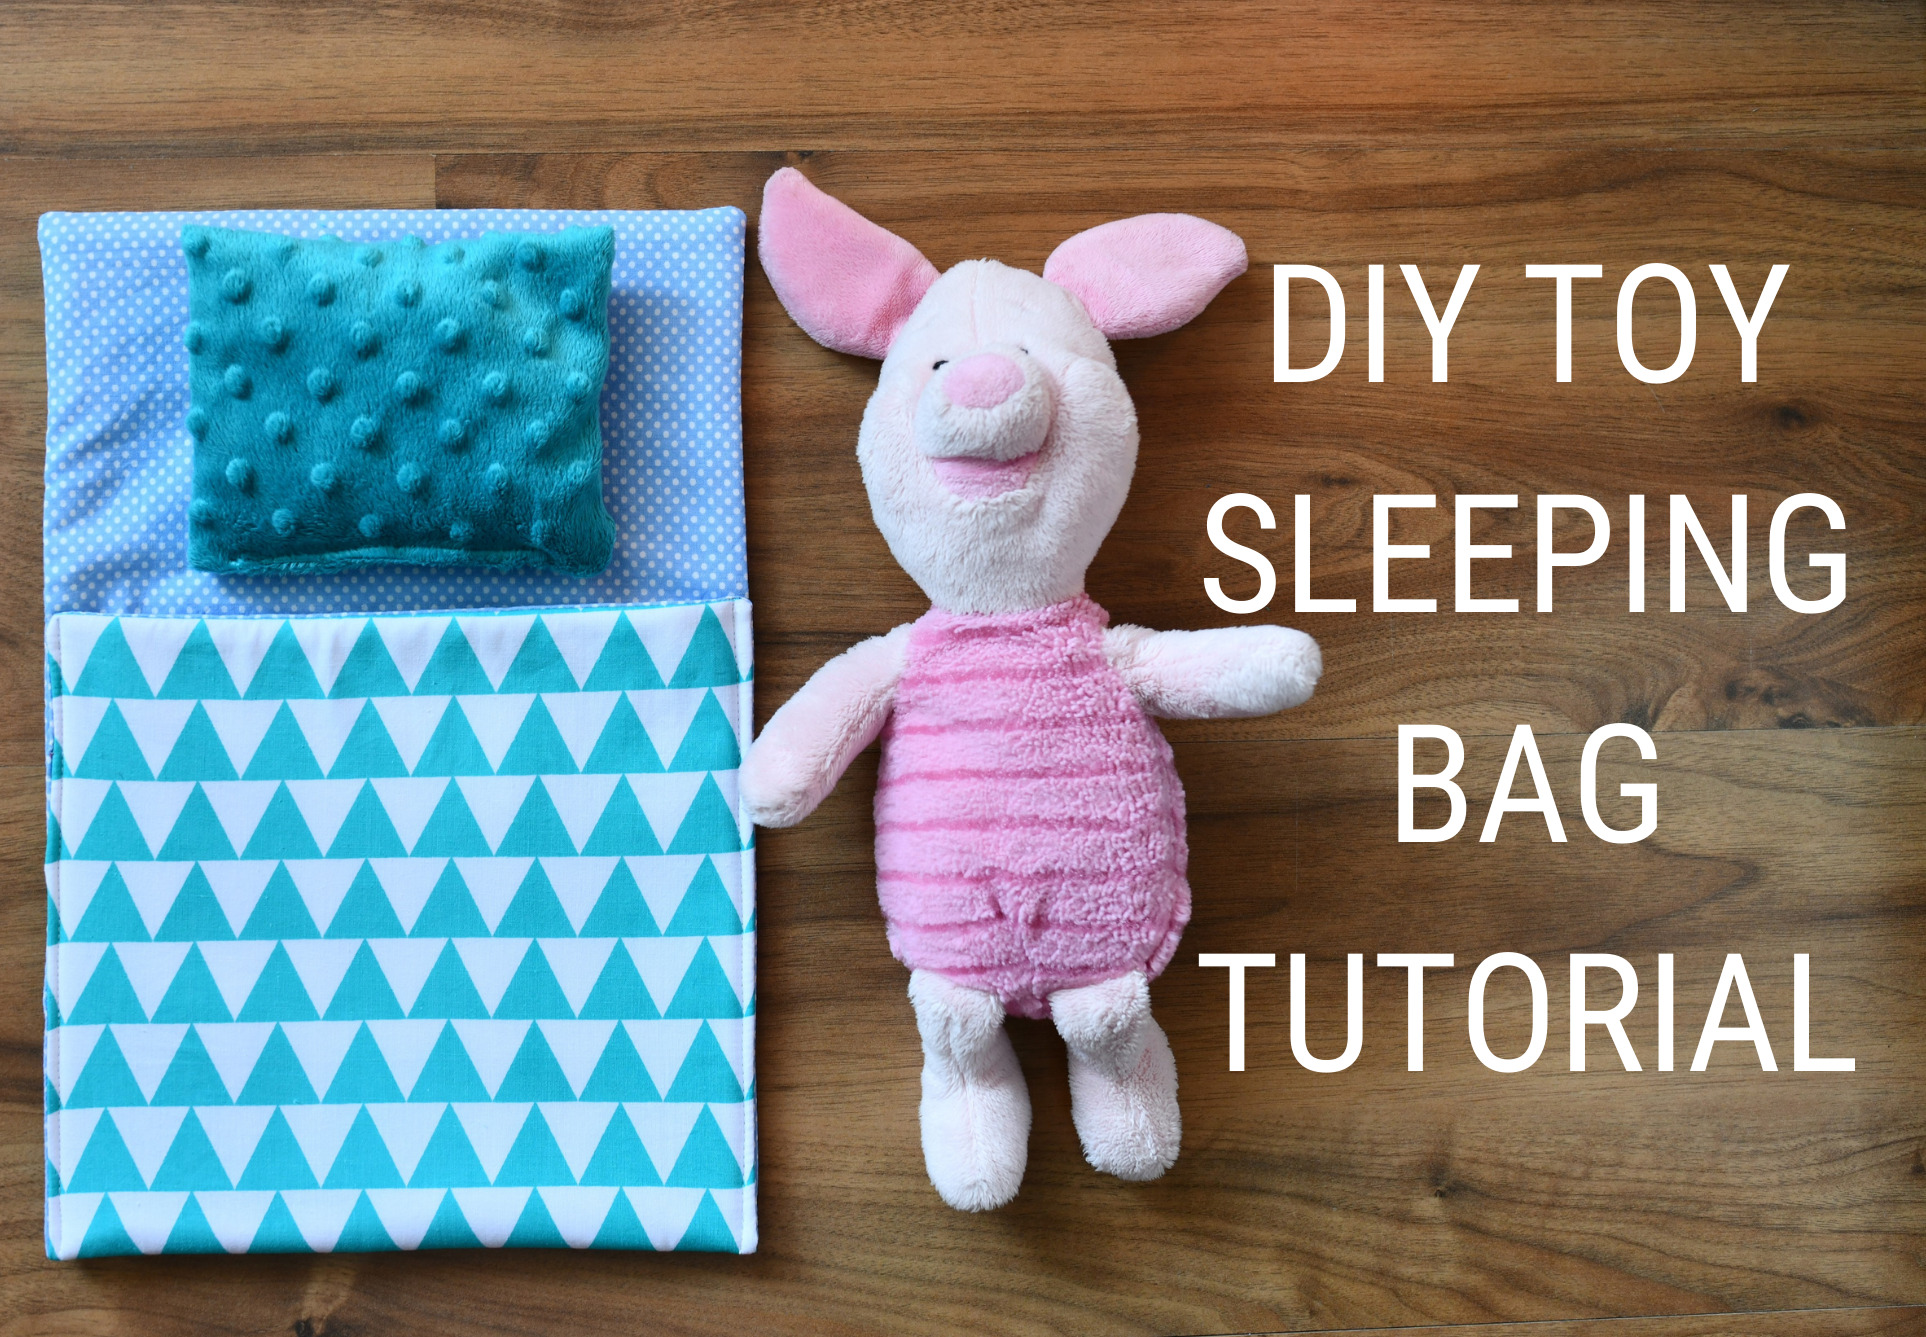
Learn how to make a sleeping bag for toys with this step-by-step sewing tutorial. This is an easy, quick, and immensely satisfying DIY project.
Each of these sleeping bags is 10 minutes well spent. This project not only provides a fun and easy activity, but also a chance for creating special memories and bonding with the precious little ones in your life.
I made each of them in almost no time, and my kids are thrilled!
They love playing with dolls, plushies, and sleeping bags, constantly changing the scenarios and stories they create. I love watching children build their own little imaginary worlds, and I’m so glad that my sewing skills can contribute to making new memories with my family.
Related: Sewing with minky like a pro: 15 tips and tricks
On top of that, I finally managed to use some of my fabric scraps – this always gives me a warm feeling inside!
As a matter of fact, you can make these sleeping bags entirely from scraps. You don’t need to buy batting or interfacing if you don’t have any at hand. Just use denim or canvas scraps for the middle layer – either work. The idea is to give some structure to your bag so it doesn’t end up floppy.

Given that these sleeping bags only require straight stitching, they are a great beginner sewing project that anyone can pull off with no trouble.
You won’t need a sewing pattern for the sleeping bag. All fabric pieces are mere rectangles.
Sewing supplies – DIY toy sleeping bag tutorial
- cotton fabric/ minky/ fleece + batting or denim/ canvas scraps
- fabric scissors / rotary cutter
- sewing pins
- sewing gauge
- needle
- matching thread
- sewing machine
- iron and ironing board
- measuring tape
Here’s how to make your own cute toy sleeping bag:
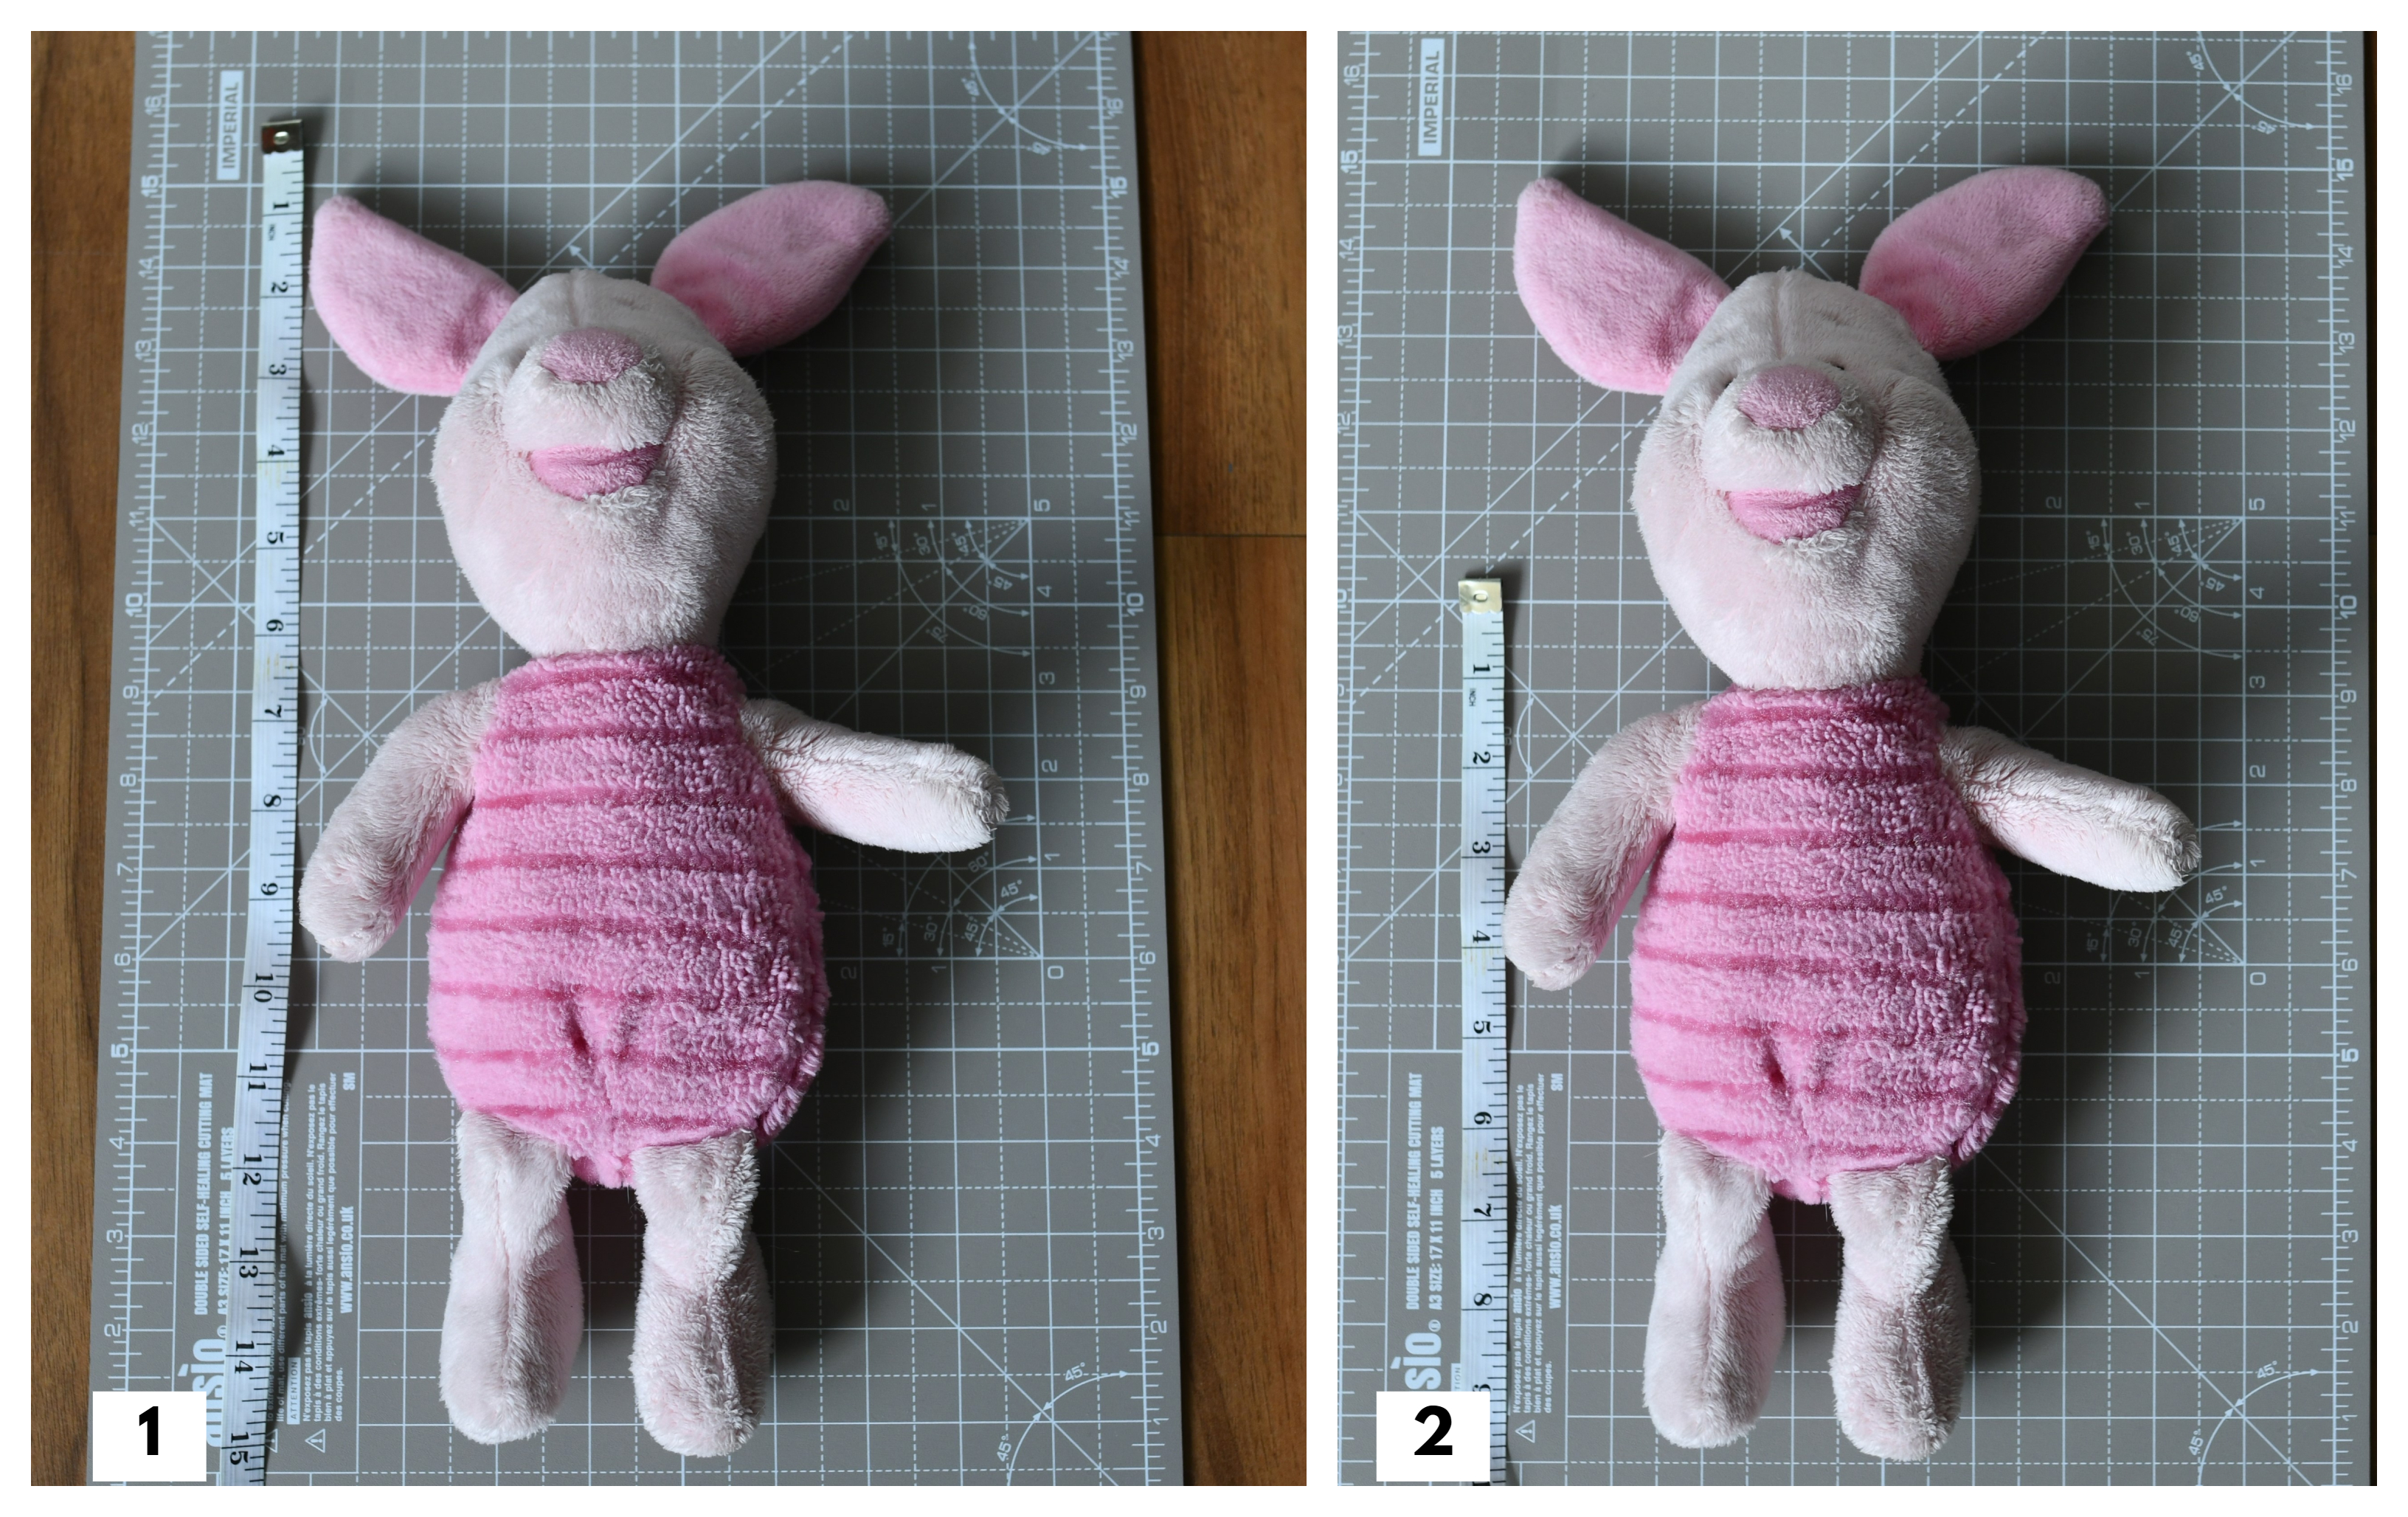
First, you need to consider the size of the toy that will be using the sleeping bag. Obviously, you have to measure the length and width of the toy.
Make sure to measure from the top of the head to the bottom of the feet for the length, and then measure again from the neck down to the bottom of the feet. Add these measurements to get the LENGTH of your fabric piece.
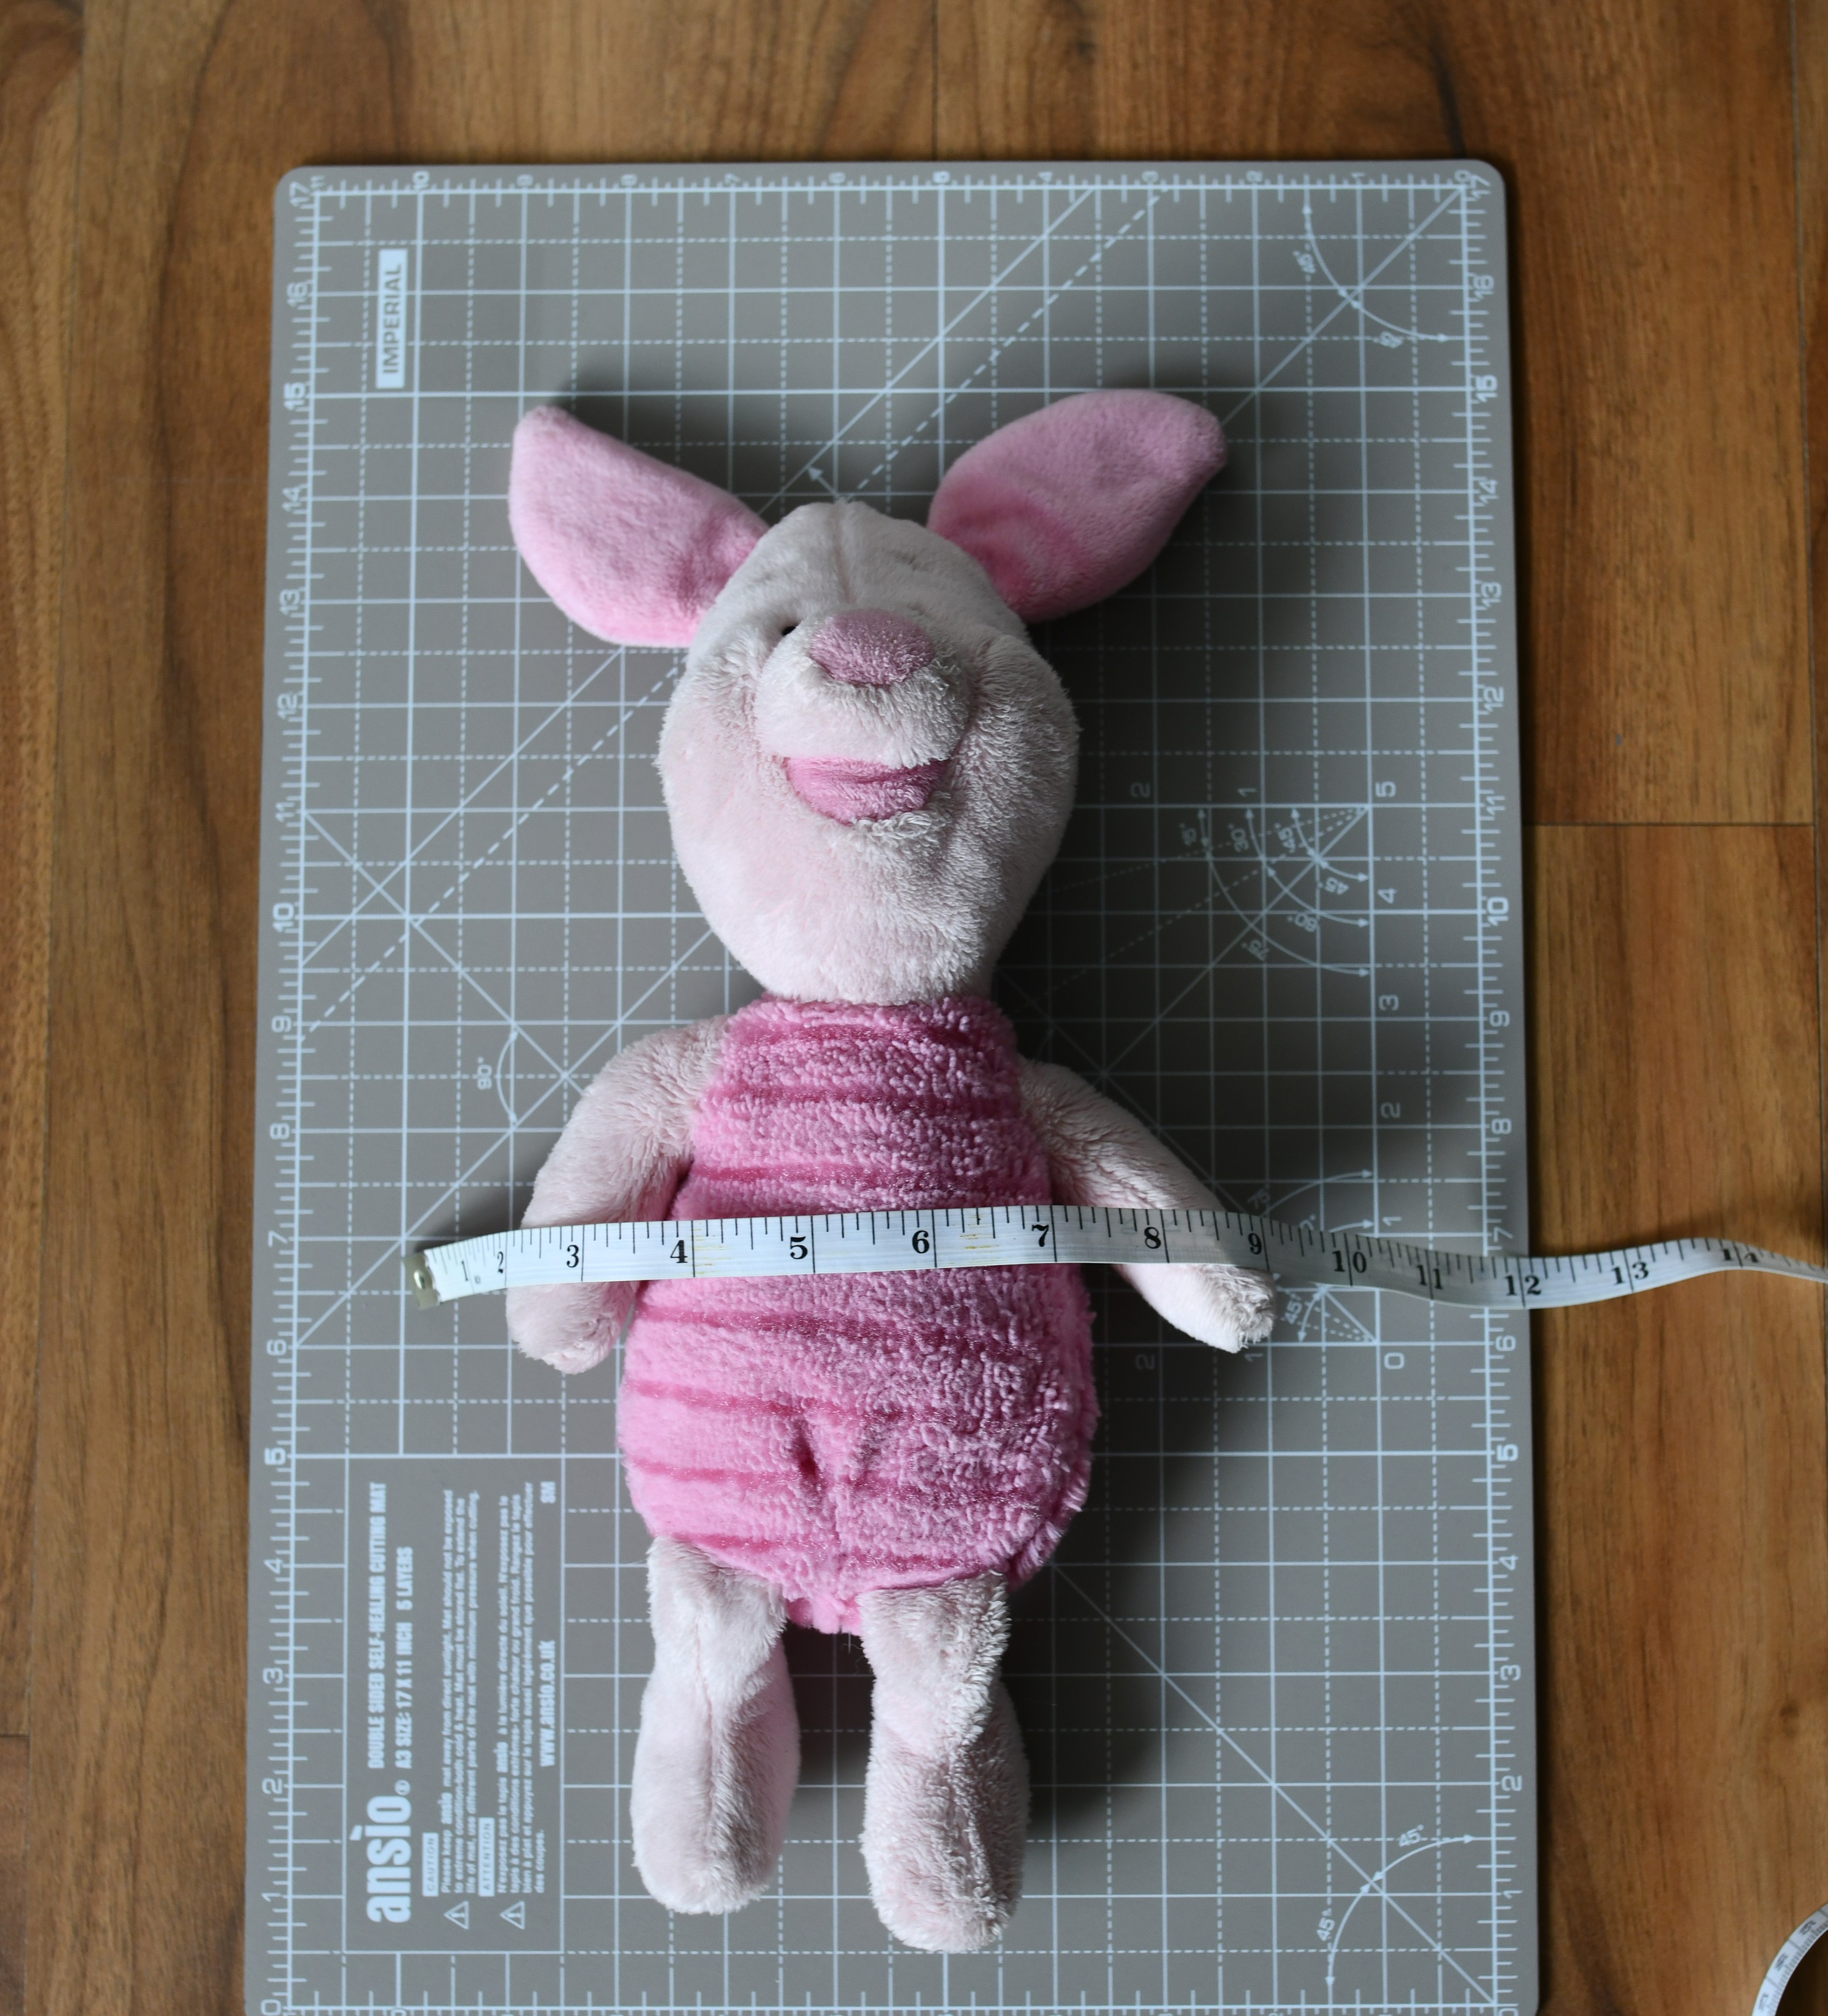
After that, measure the widest part of the toy for the width. Run the measuring tape across the fullest part of your toy, as shown in the photo below. This way you’ll make certain that the toy will fit in the sleeping bag. This will be the WIDTH of your fabric piece.
Add 1” for seam allowance to both measurements (LENGTH and WIDTH). Moreover, you can add 1 extra inch or 2 to both length and width, depending on how much room you want.
Once you have the final measurements for the sleeping bag, use them to cut out three pieces of fabric – 1 for the main fabric, 1 for the lining, and 1 for the middle layer.
There’s no point in sharing the measurements I used for my toys – measurements of the fabric pieces can vary a lot, depending on the toy that you are using.
Step 1 – Cut out the fabric pieces
Use your measurements to cut out three pieces of fabric for the sleeping bag. I used cotton scraps for both the lining and main fabric and batting for the middle layer.
Step 2 – Sew the sides
Lay the middle layer (batting) on your table (you can also use the floor, as I did), then place the main fabric on top of the middle layer, right side up.
After that, place the lining fabric on top of the main fabric, right sides together. Now sew along the sides of the sleeping bag, leaving a 2” opening on one side.
Be strategic about the opening. Place it at the bottom of your sleeping bag so that it can be easily concealed in the final step.
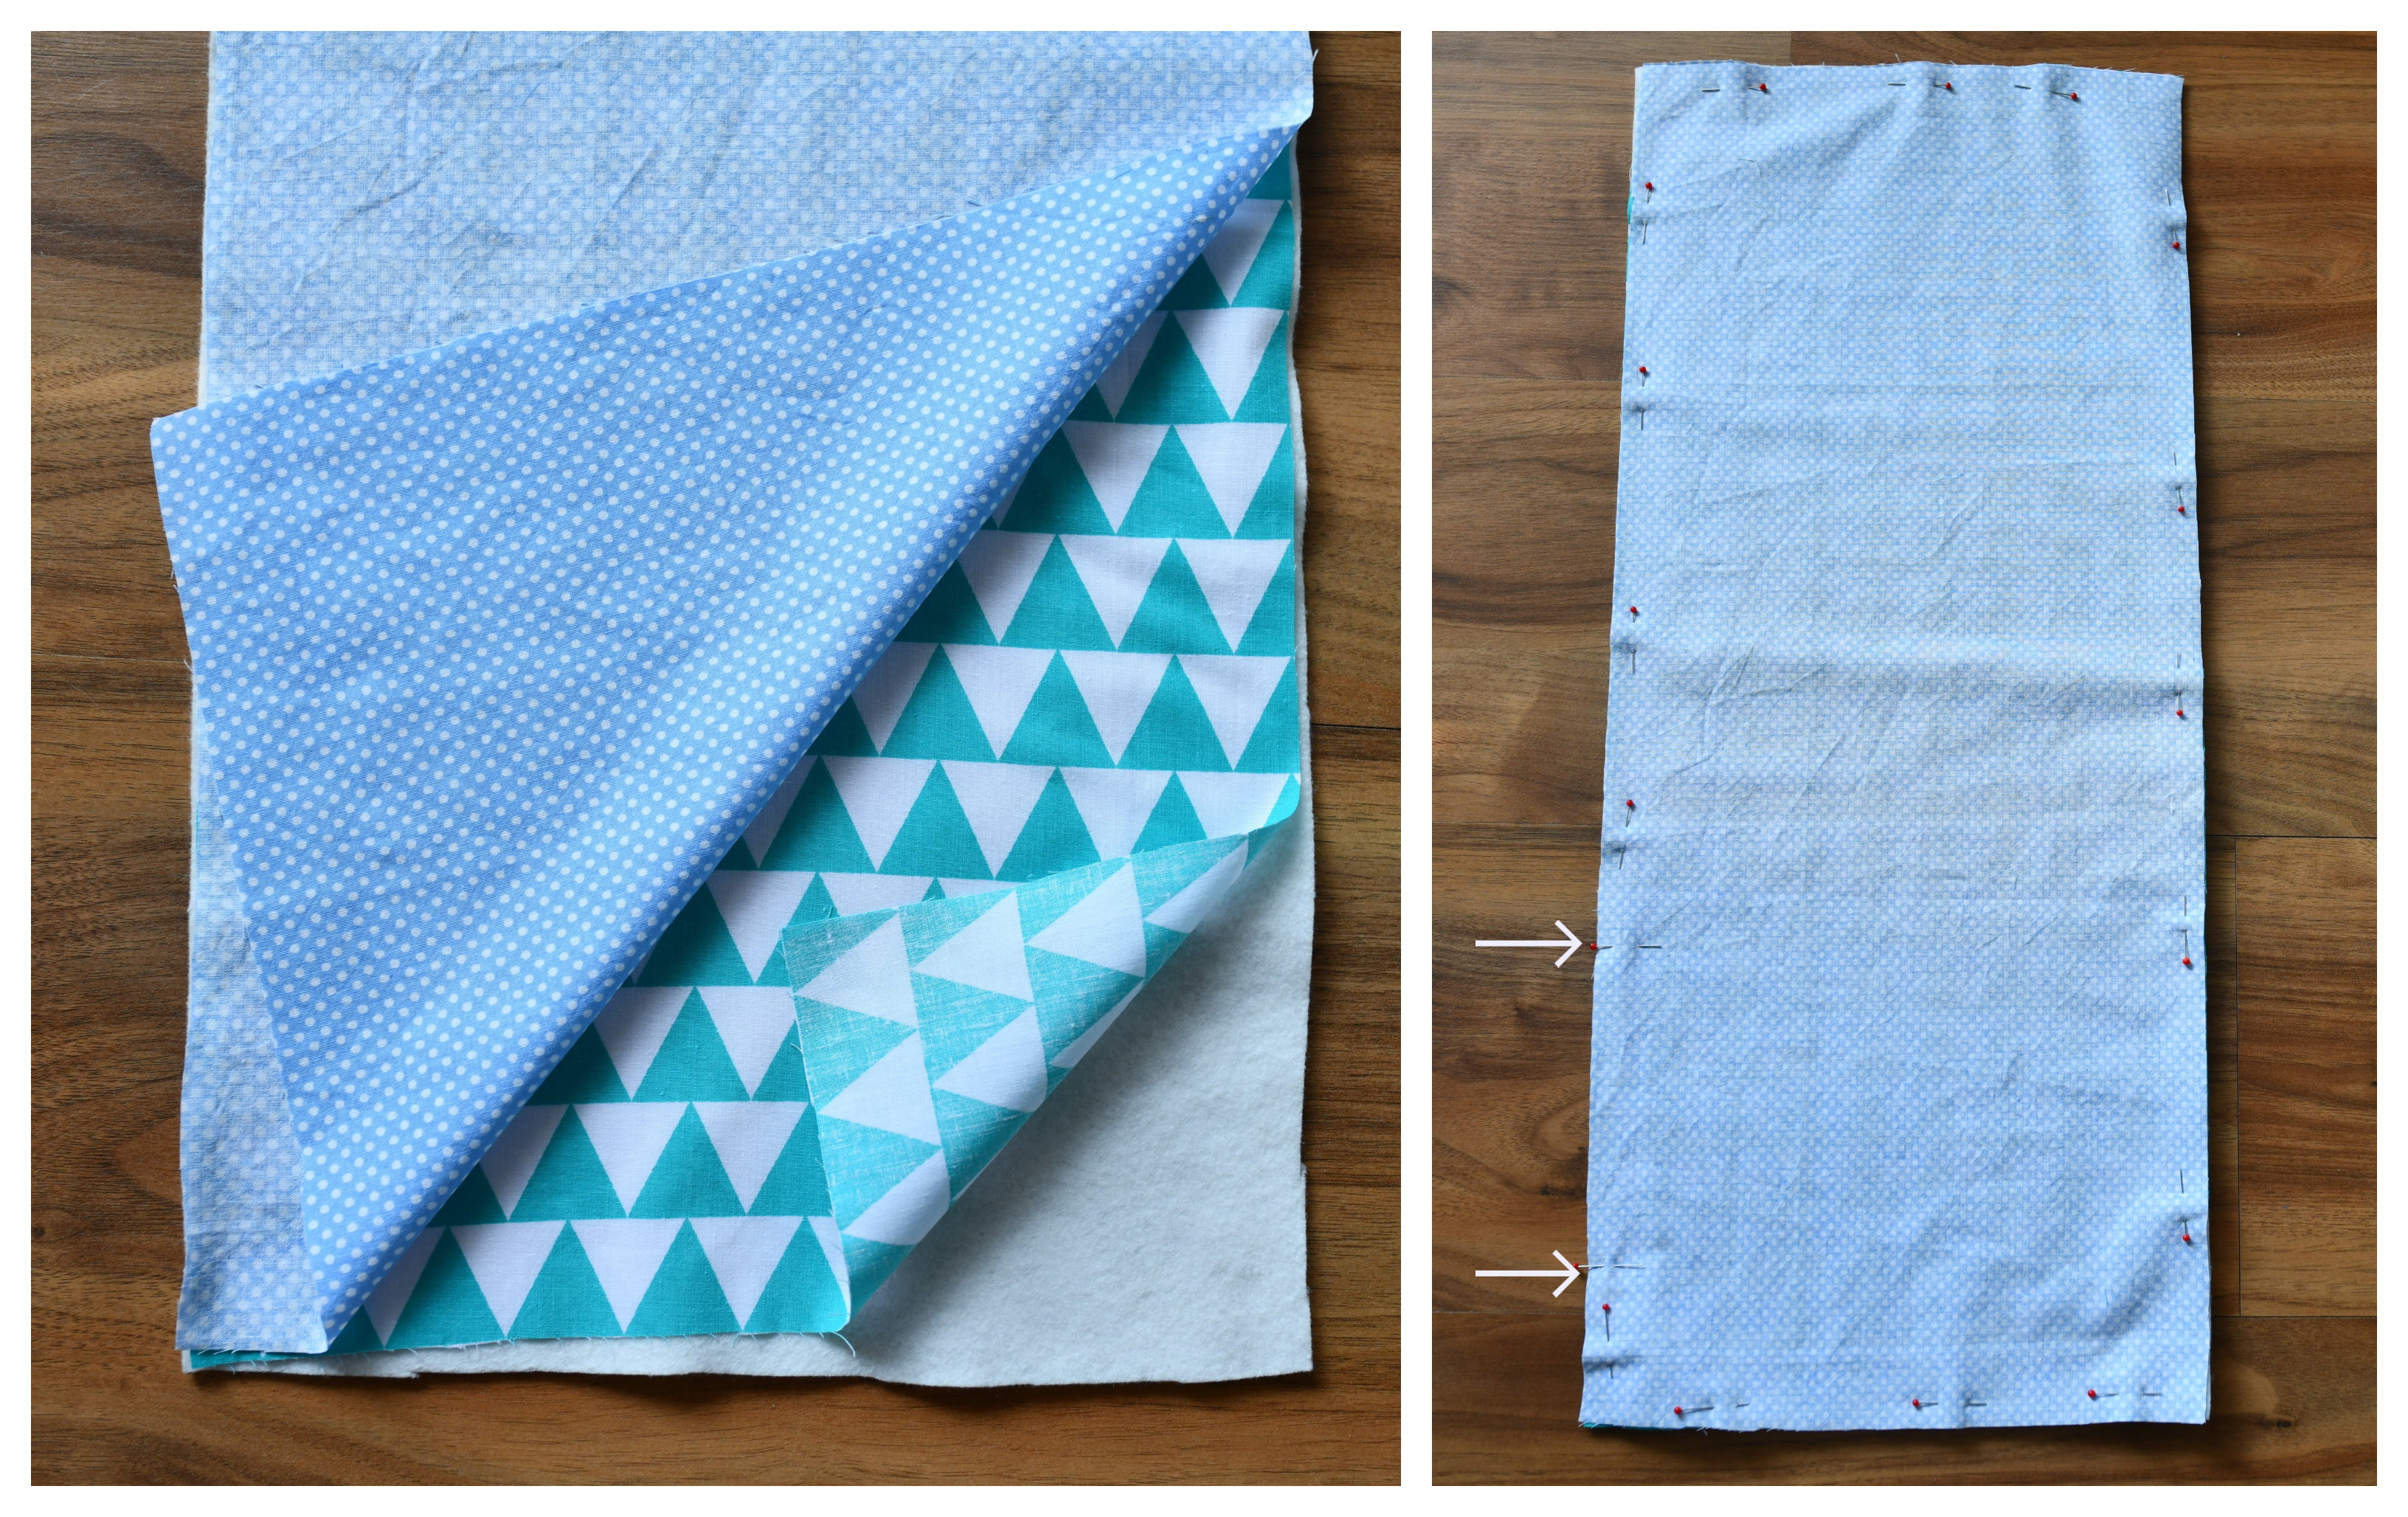
Clip all the corners.
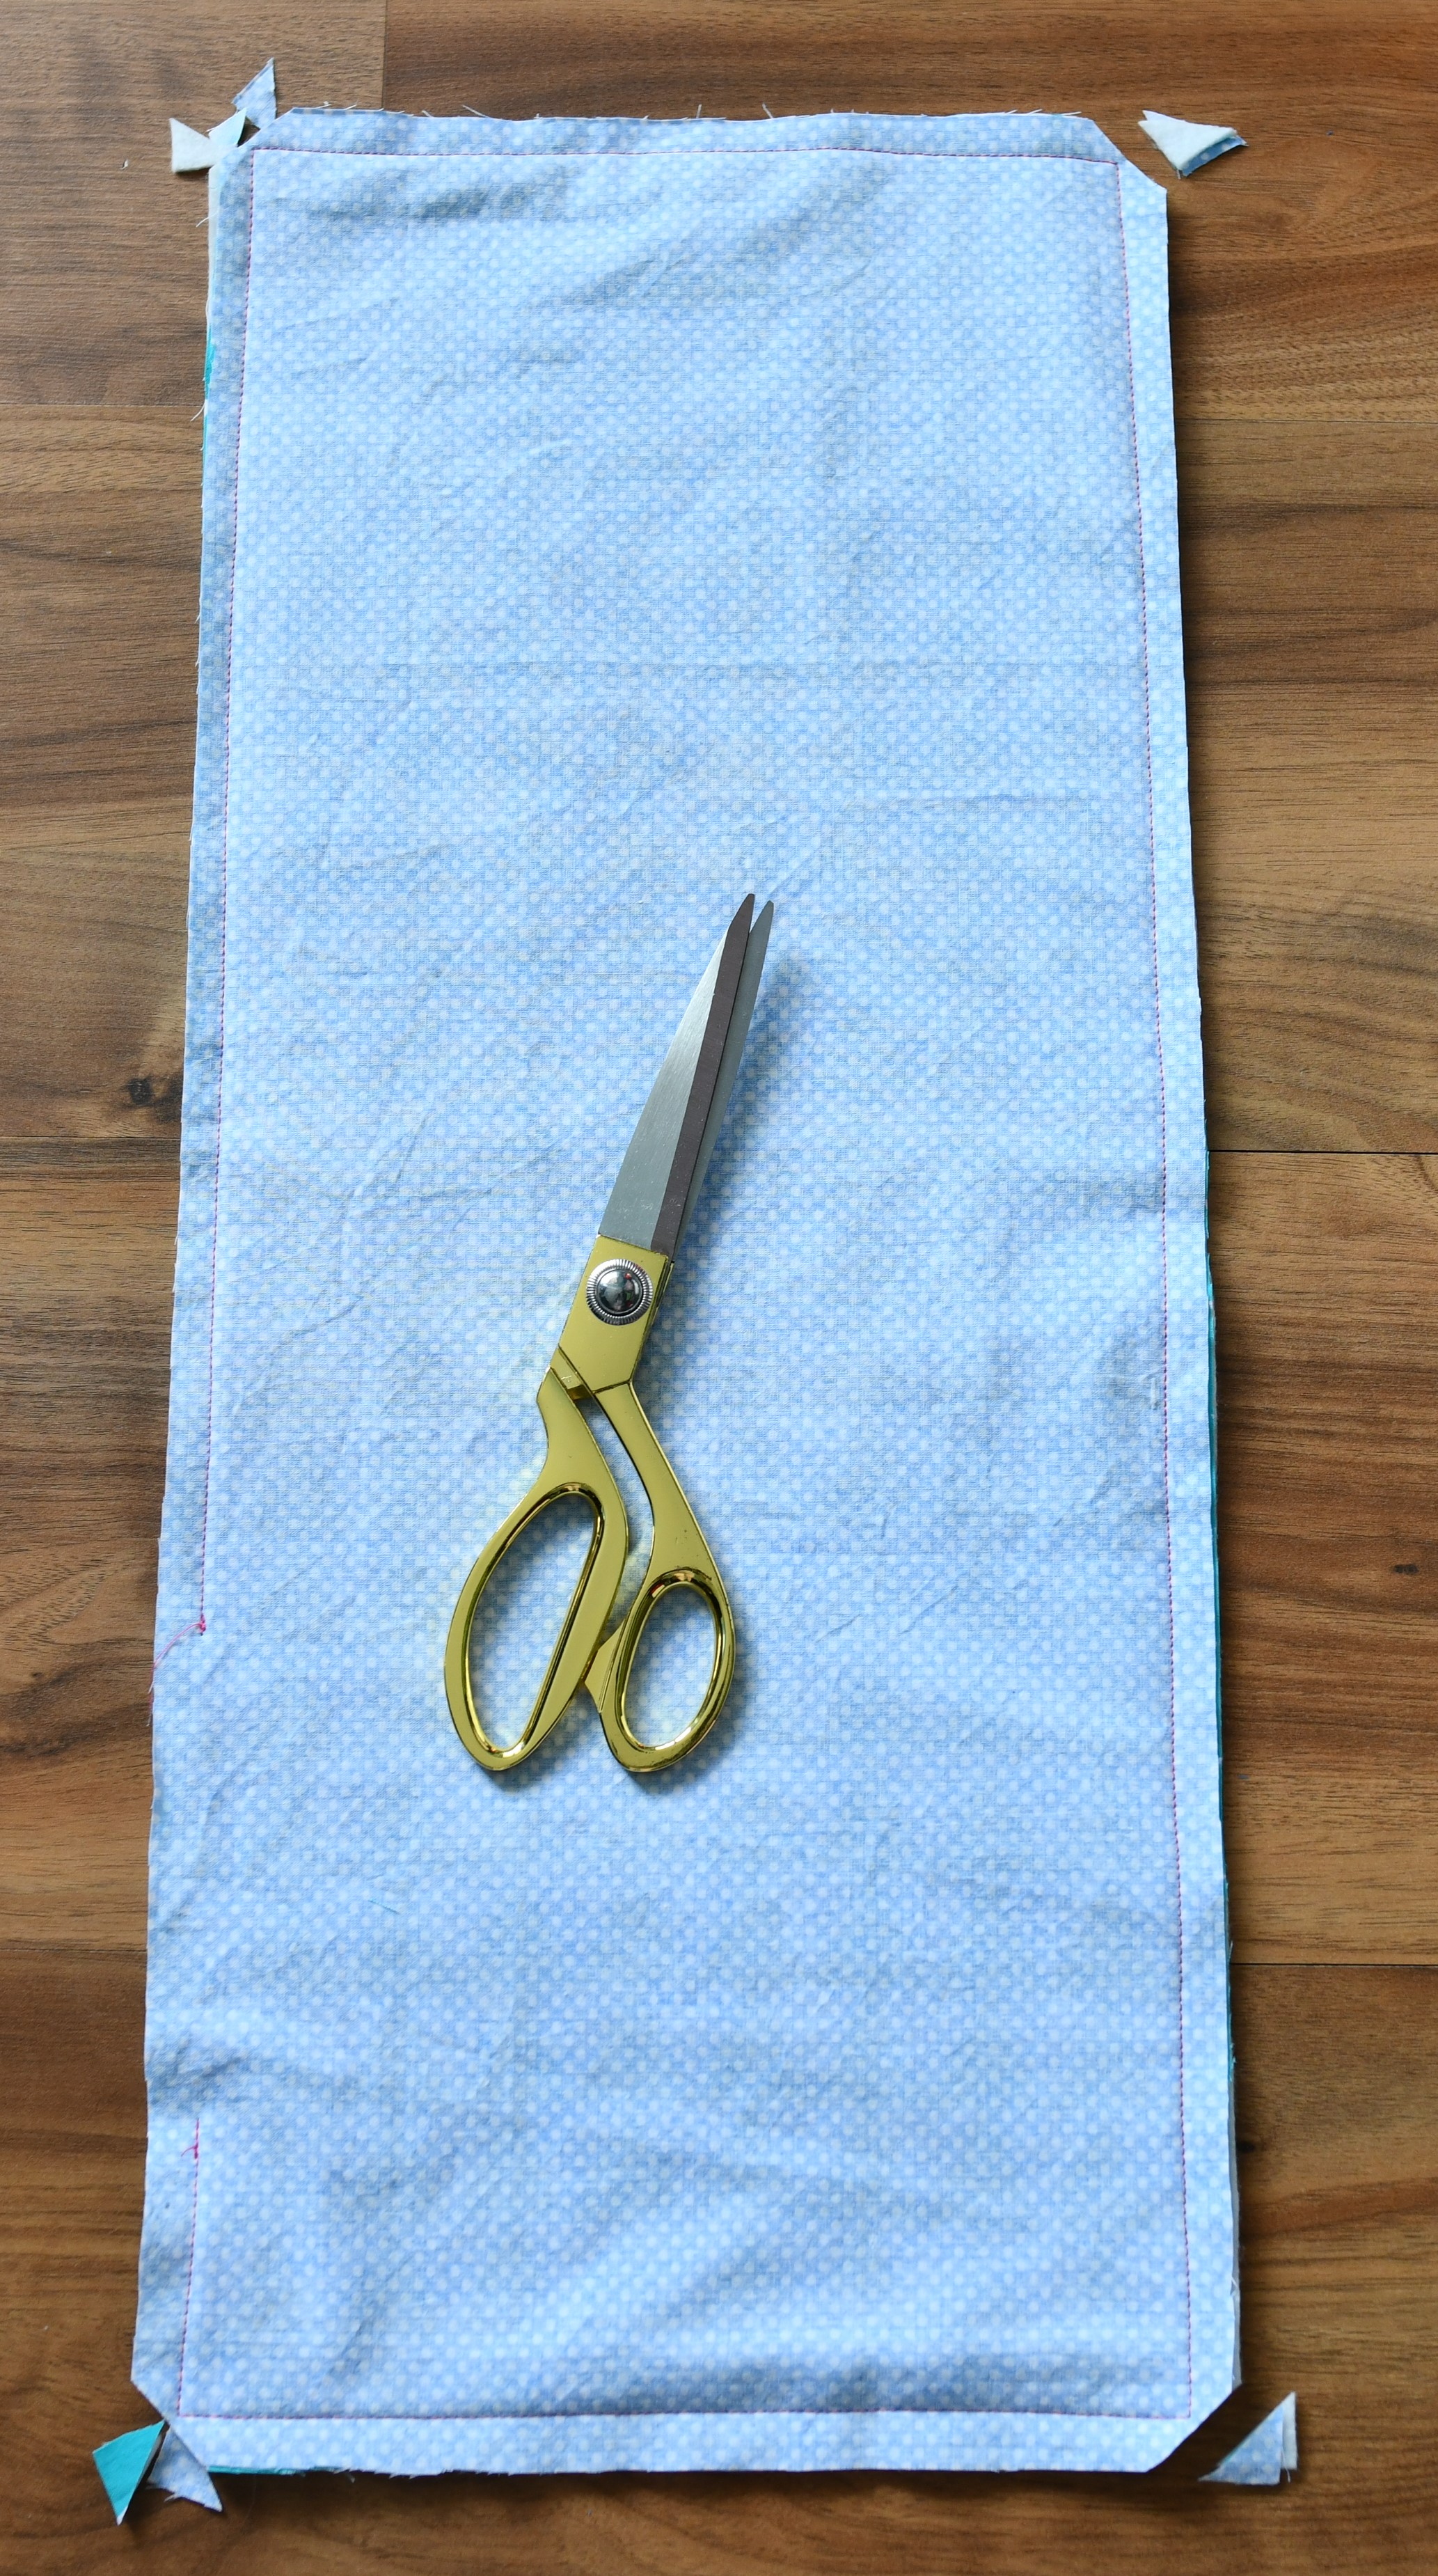
Step 3 – Turn the sleeping bag right side out
Carefully turn the sleeping bag right side out through the opening. Use a chopstick or a pencil to poke out the corners.
Now give it a good press. This is really important! Don’t skip it. Make sure that the 2” opening is pressed well and its raw edges are tucked inside.
Step 4 – Finish your sleeping bag
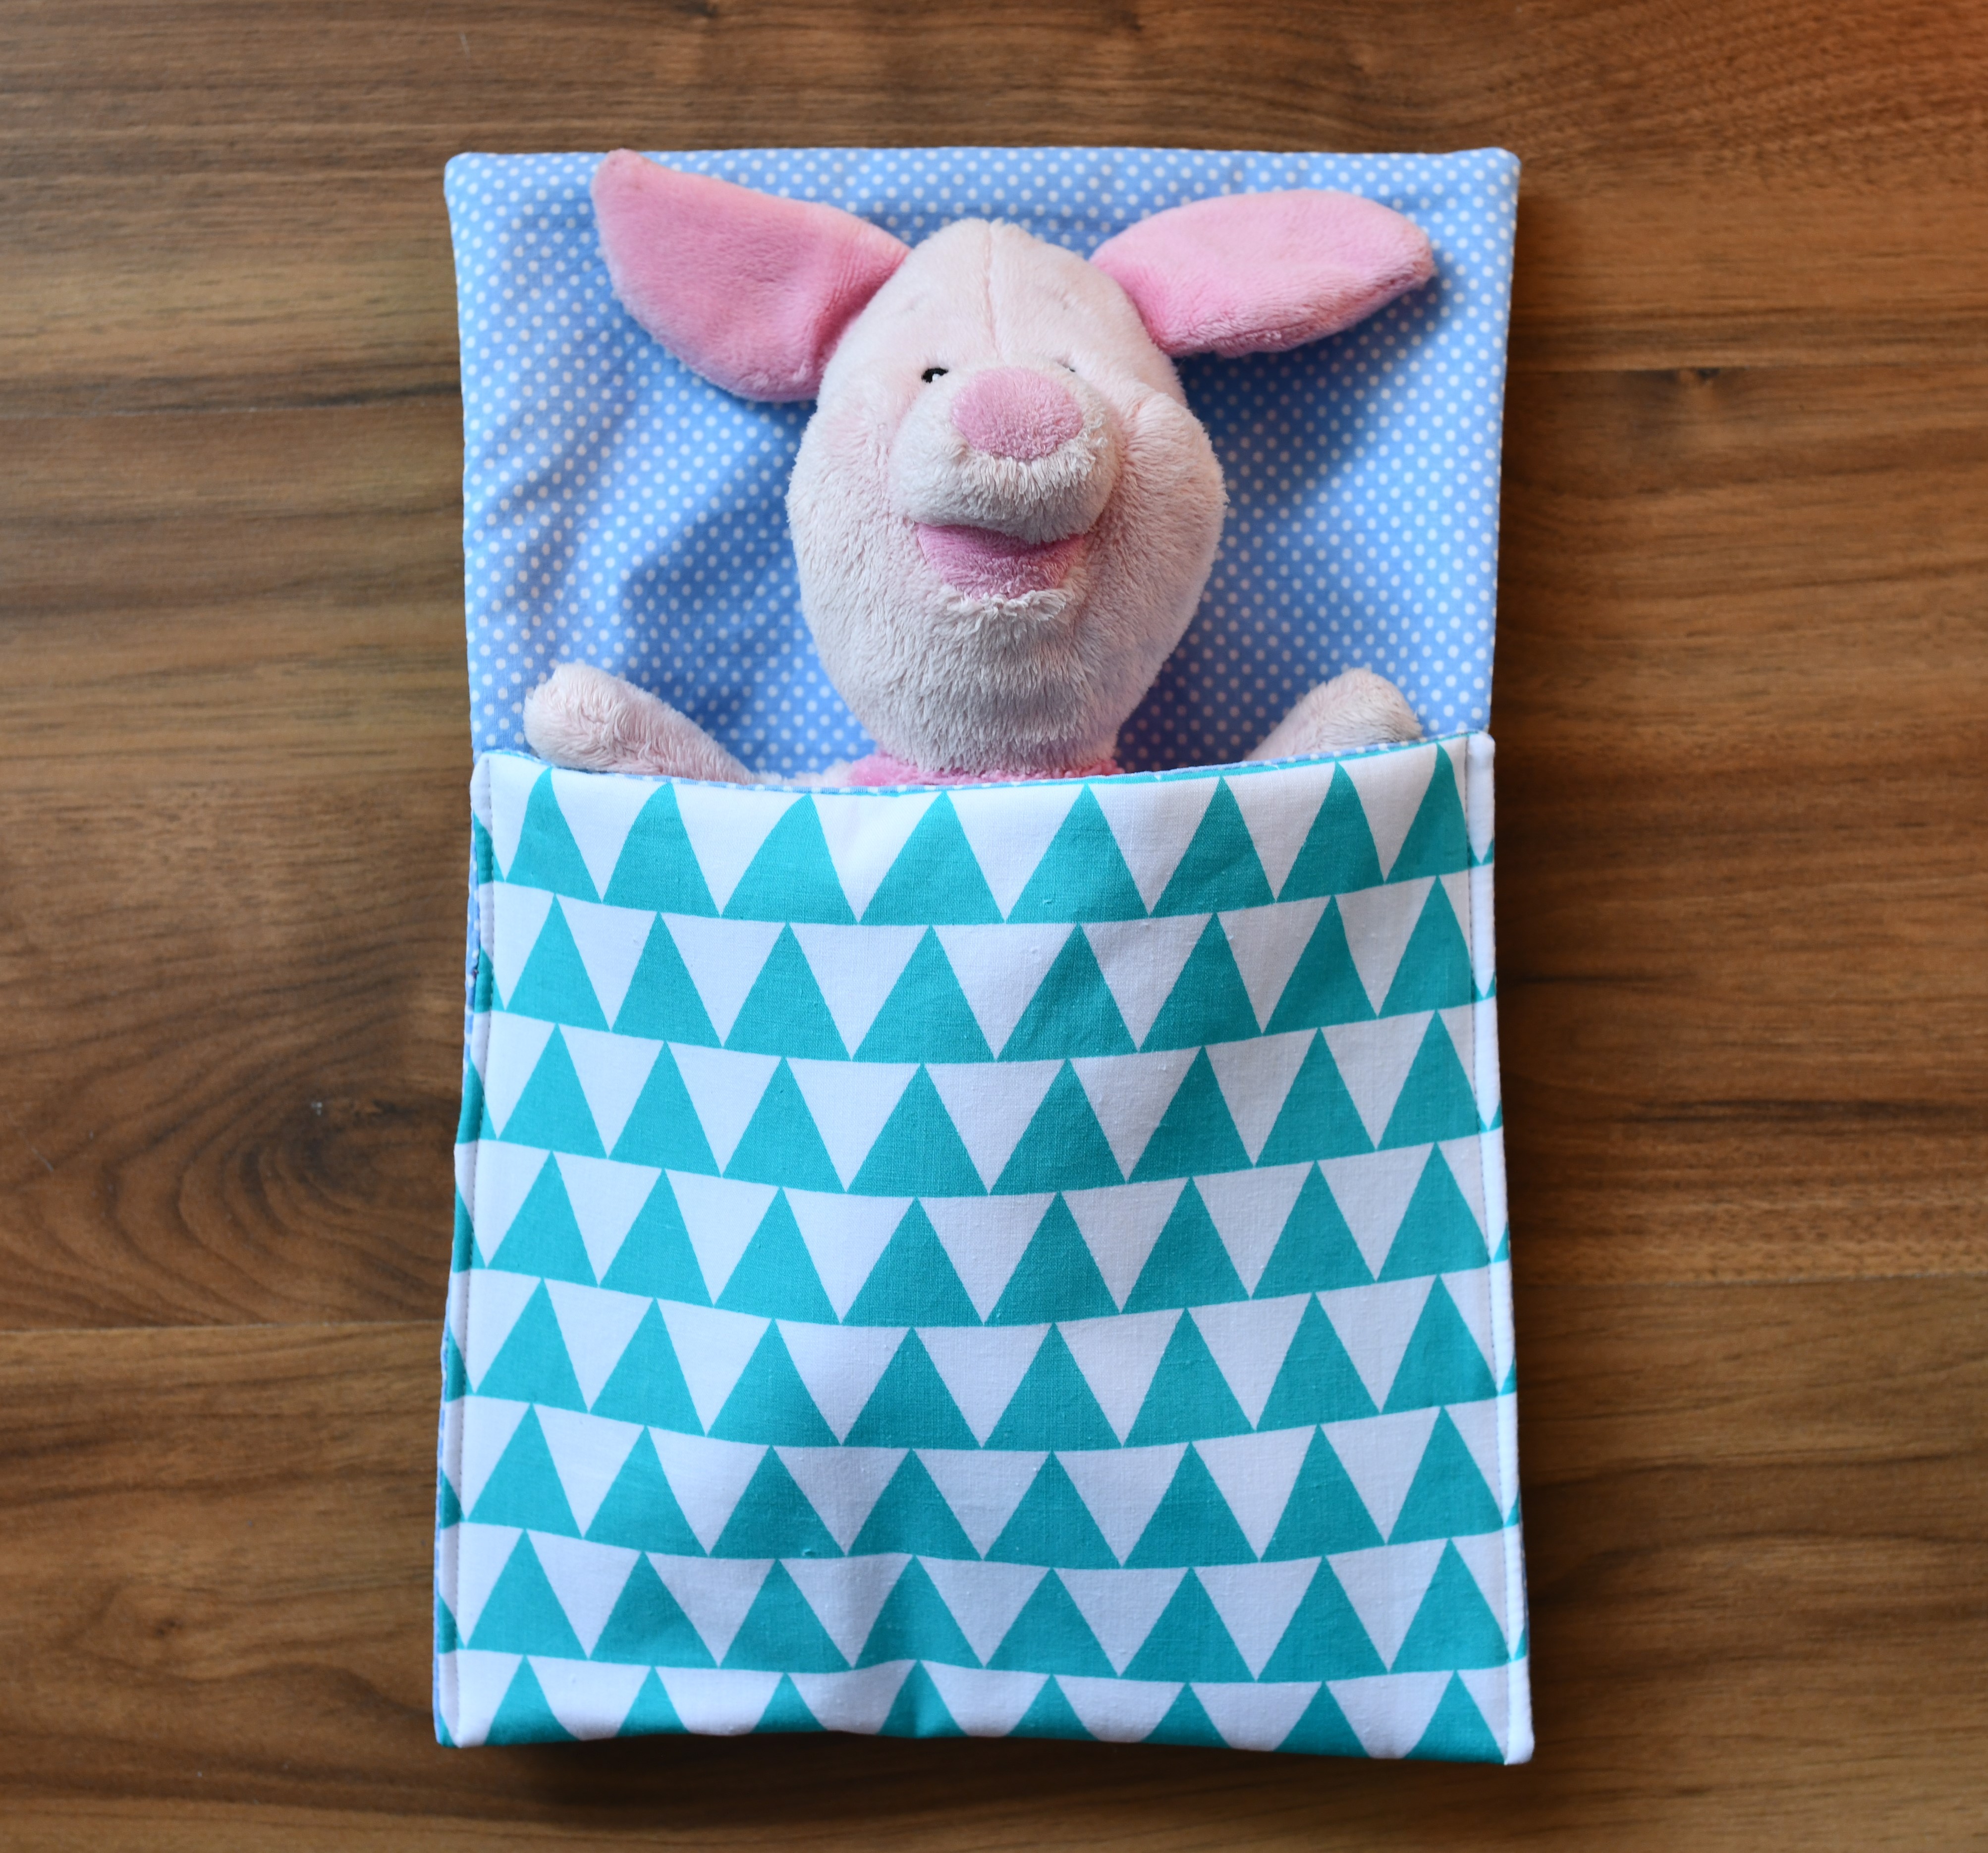
Fold the fabric up to create the sleeping bag shape; use pins to keep everything in place. Naturally, you have to leave room for the toy’s head.

Then sew the sides with a small seam allowance (1/4”), starting at the bottom. This will also close that small opening. Backstitch at the beginning and end.
Depending on the thickness of the fabrics you use, and your sewing machine, you might need to use a walking foot at this point. However, the standard presser foot worked fine for me, and everything went smoothly even though I’d been stitching through 6 layers of fabric.

And the toy sleeping bag is done. Hopefully, it will keep your kids busy playing for hours!

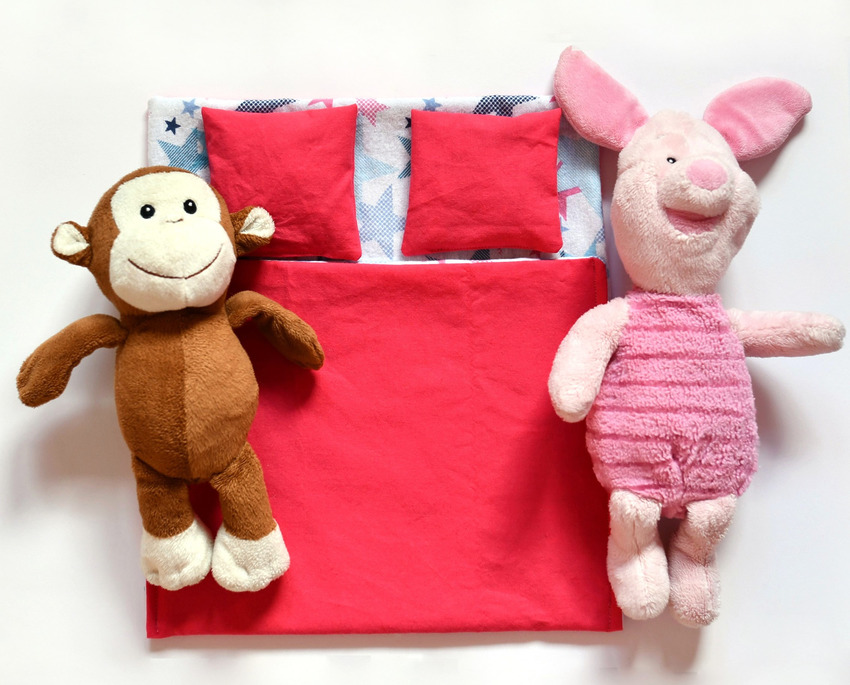
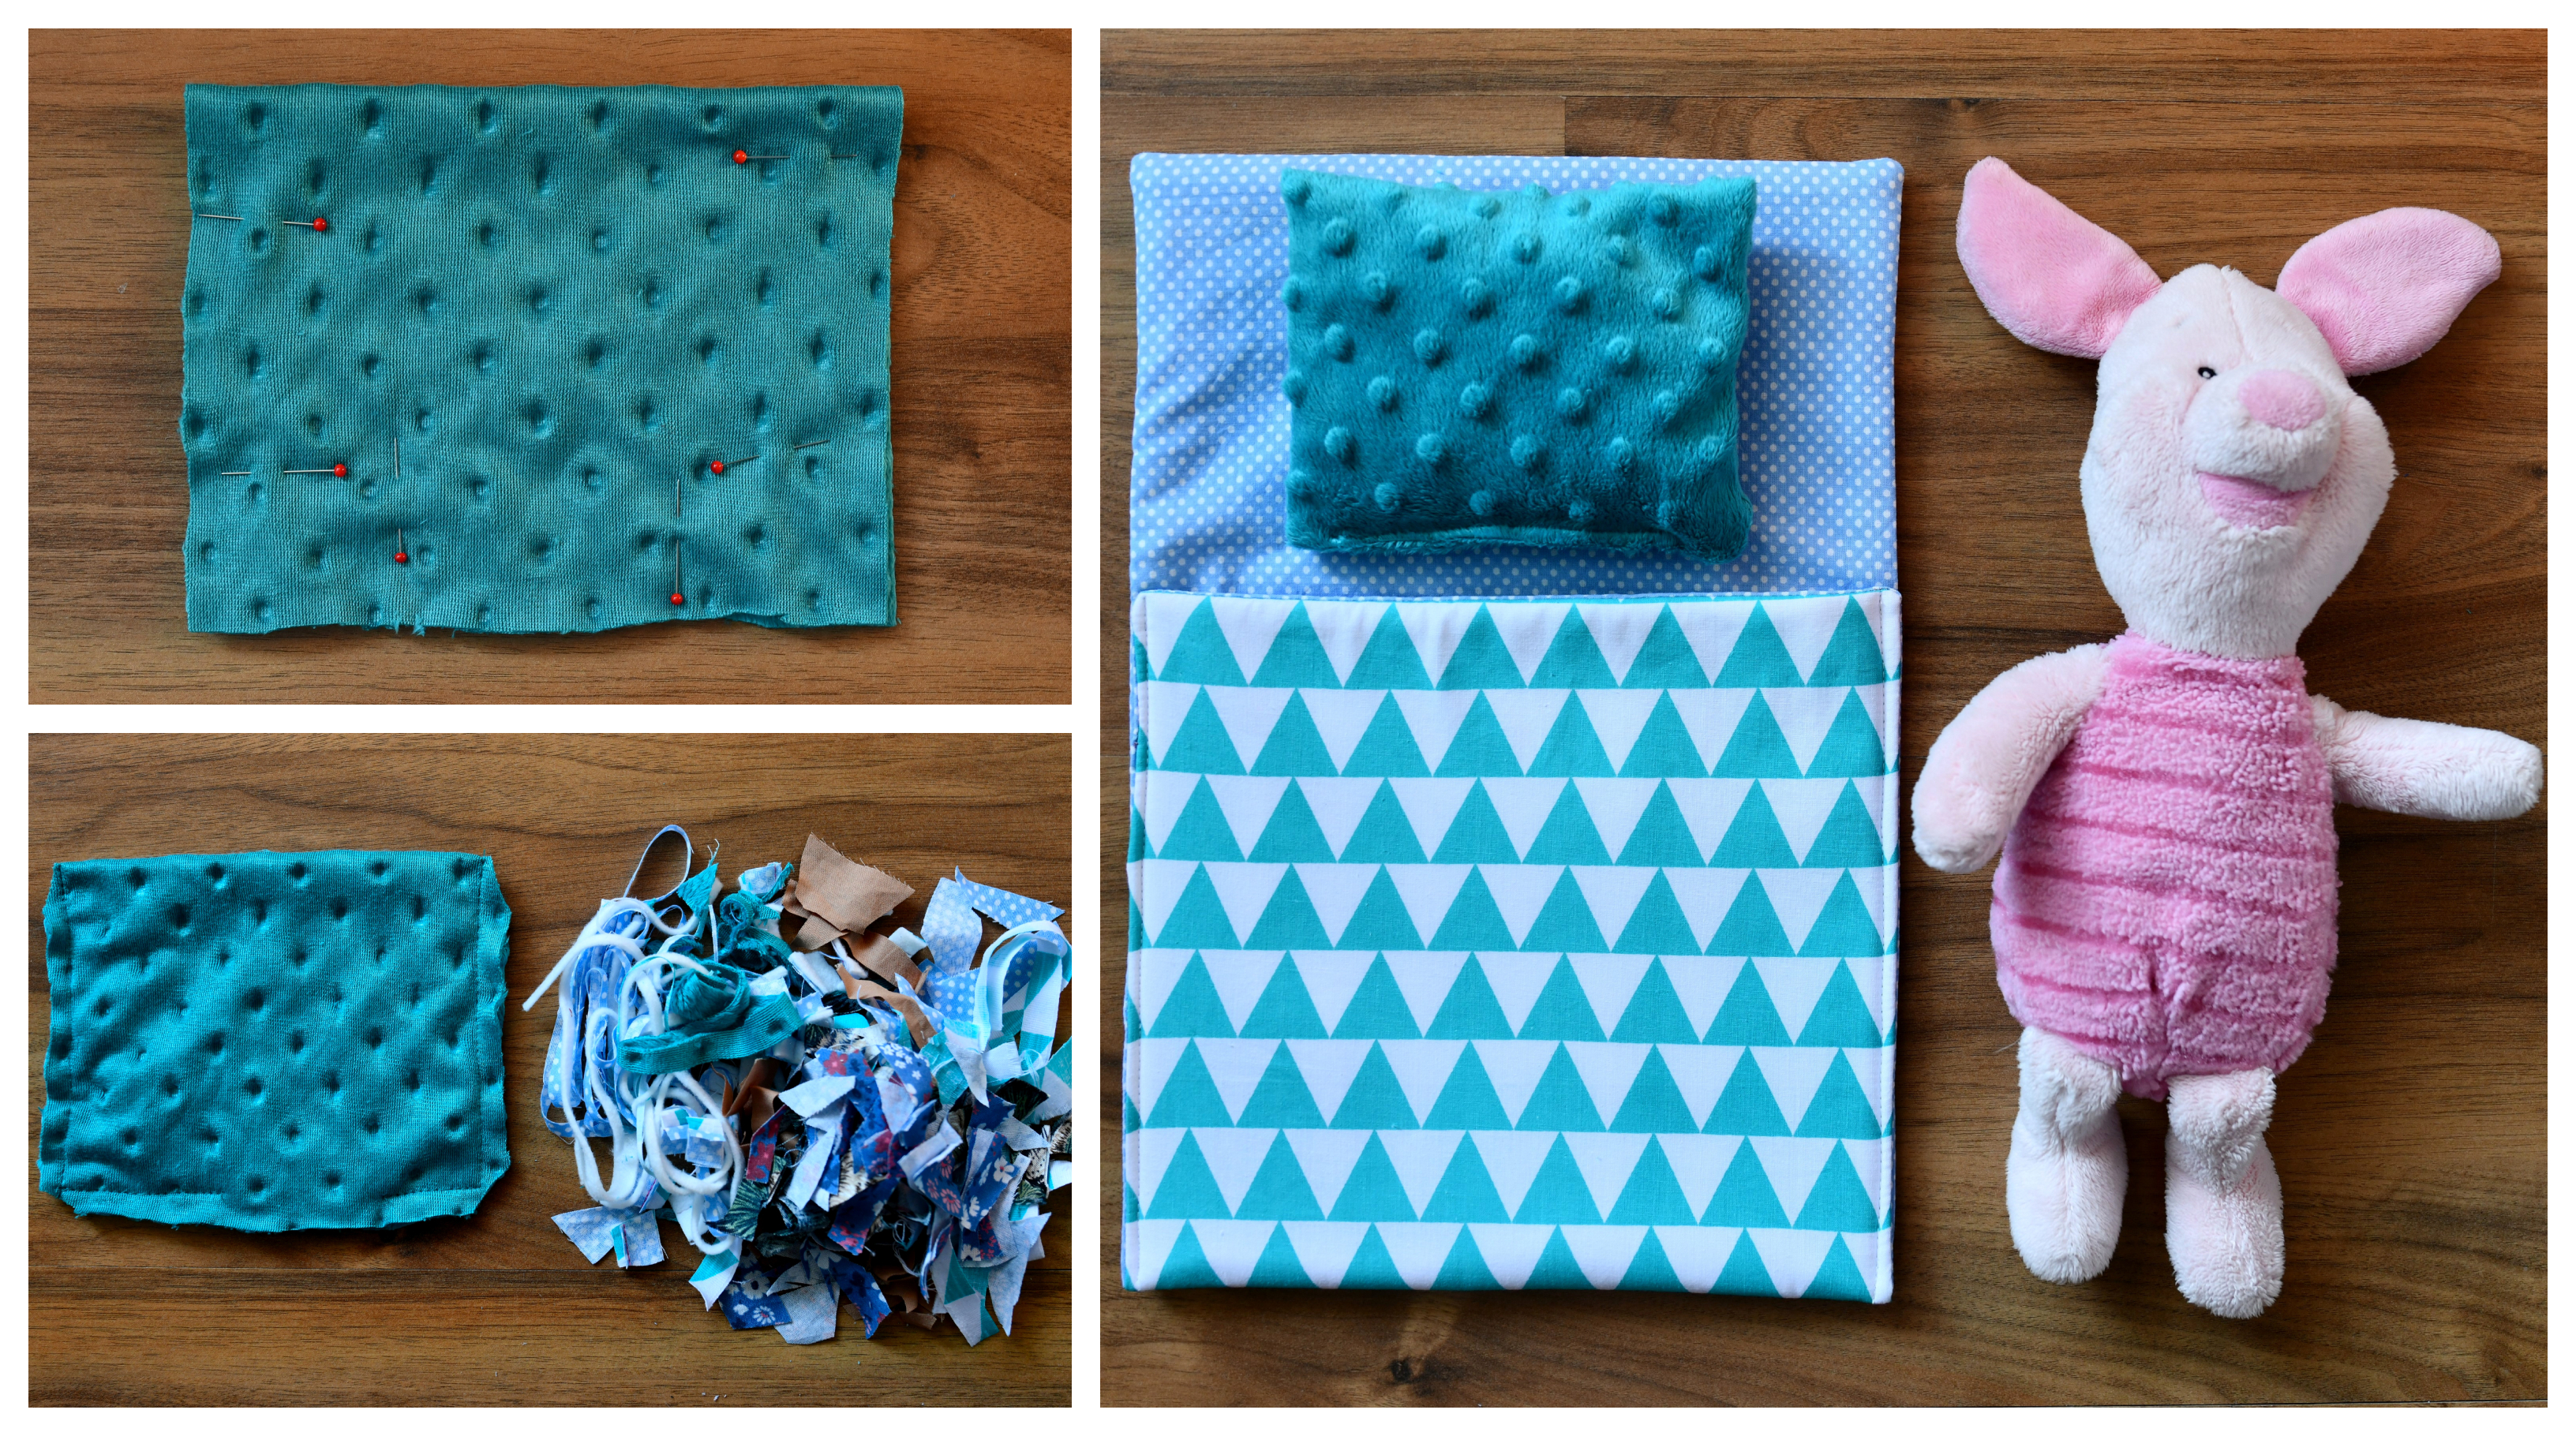
PS: I’ve also added some cute minky/cotton pillows to go with my sleeping bags. They are made from rectangles of fabric and filled with scraps that are cut out into tiny pieces.
If you like this DIY toy sleeping bag, you may enjoy some of these other doll tutorials: Free 12″ doll pants pattern / Easy 12″ doll dress / 10-minute Barbie dress tutorial
Related posts