Are you having trouble sewing straight lines on your sewing machine? You are definitely not alone. Wobbly, wandering stitches are the number one frustration for every sewing beginner.
When you first start out, watching experienced makers stitch perfectly parallel lines feels like watching a magic trick. You might wonder if their machines are better, if you need expensive classes, or if you simply lack natural talent.
The truth is simple: straight stitching is not about talent, it is about muscle memory and visual habits. Nobody is born knowing how to coordinate foot pedal speed with fabric feeding. With a few simple visual guides, proper hand positioning, and the right practice exercises, you can master straight lines much faster than you think.
Here are the best actionable tips and tricks to help you sew straight seams and level up your DIY sewing projects with confidence.
Visual guides and seam allowance accuracy
Focus on the needle plate guide lines instead of the needle
The biggest mistake beginners make is staring directly at the needle as it bounces up and down. If you watch the needle, your stitches will always wander off track.
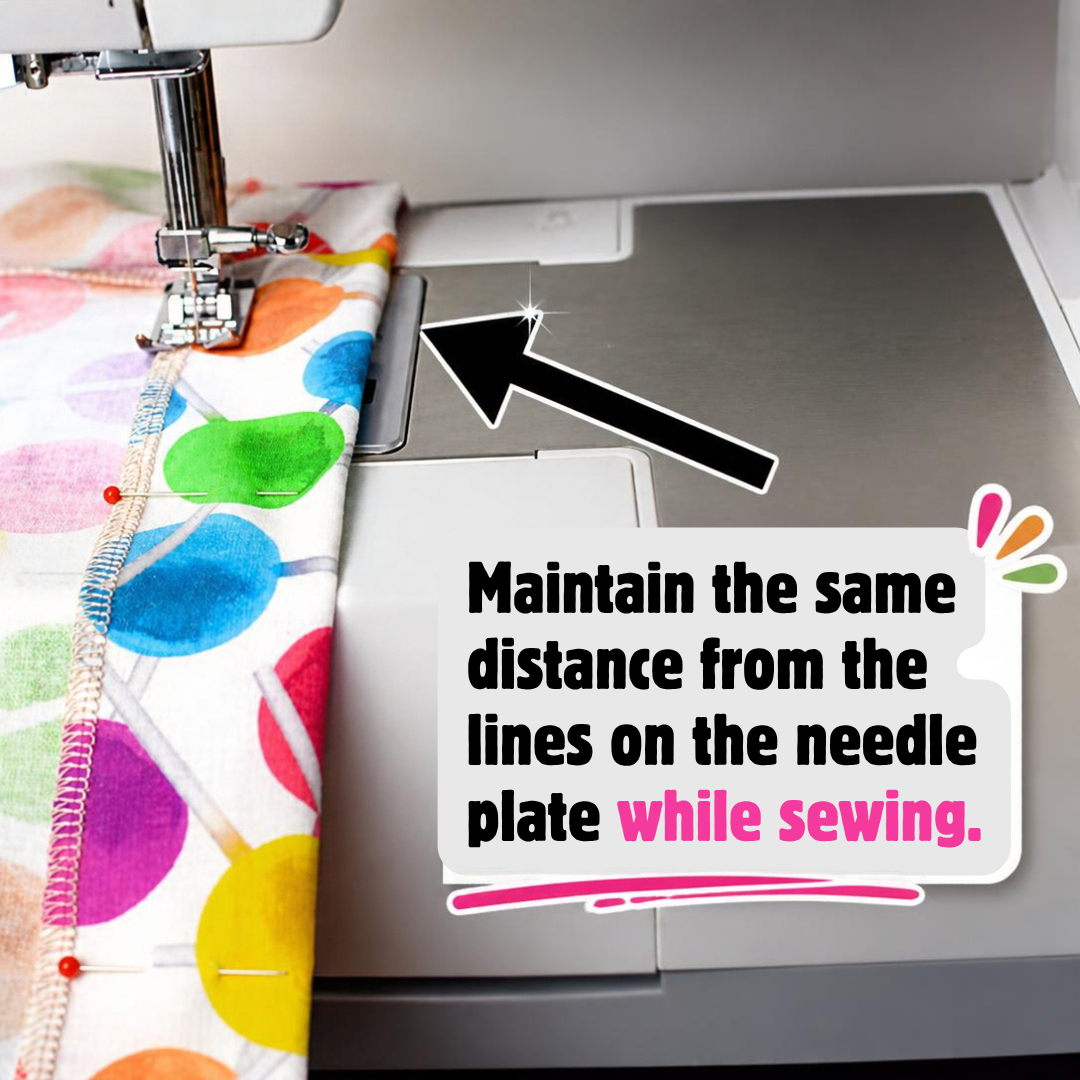
Instead, look slightly ahead and keep your eyes locked on the seam allowance markings etched into your metal needle plate. Line the raw edge of your fabric up with the appropriate measurement line (such as 5/8 inch or 1/2 inch) and focus exclusively on keeping that fabric edge touching the line. The needle will take care of the rest.
Use a strip of painter’s tape as a raised seam guide
If your needle plate markings are hard to see or your machine has a wide open bed, use low-tack painter’s tape or washi tape.
Measure the exact distance from your needle to your desired seam allowance, stick a long strip of tape down along the machine arm, and layer a few strips to create a subtle raised ridge. As you sew, gently align your fabric edge against this tape boundary. It gives you a clear visual track and a physical ledge that keeps the fabric running true.
Understanding the role of seam allowances
When making actual garments or home decor items, you rarely stitch across the random middle of a piece. You are joining two pieces together along the edges.
The seam allowance is the exact space between the raw fabric edge and the stitching line. Maintaining a consistent distance from that raw edge is what ensures your garment pieces fit together correctly. When your seam allowance stays even, your stitching lines are automatically straight.
Hand placement and fabric feeding habits
Where to place your hands while sewing
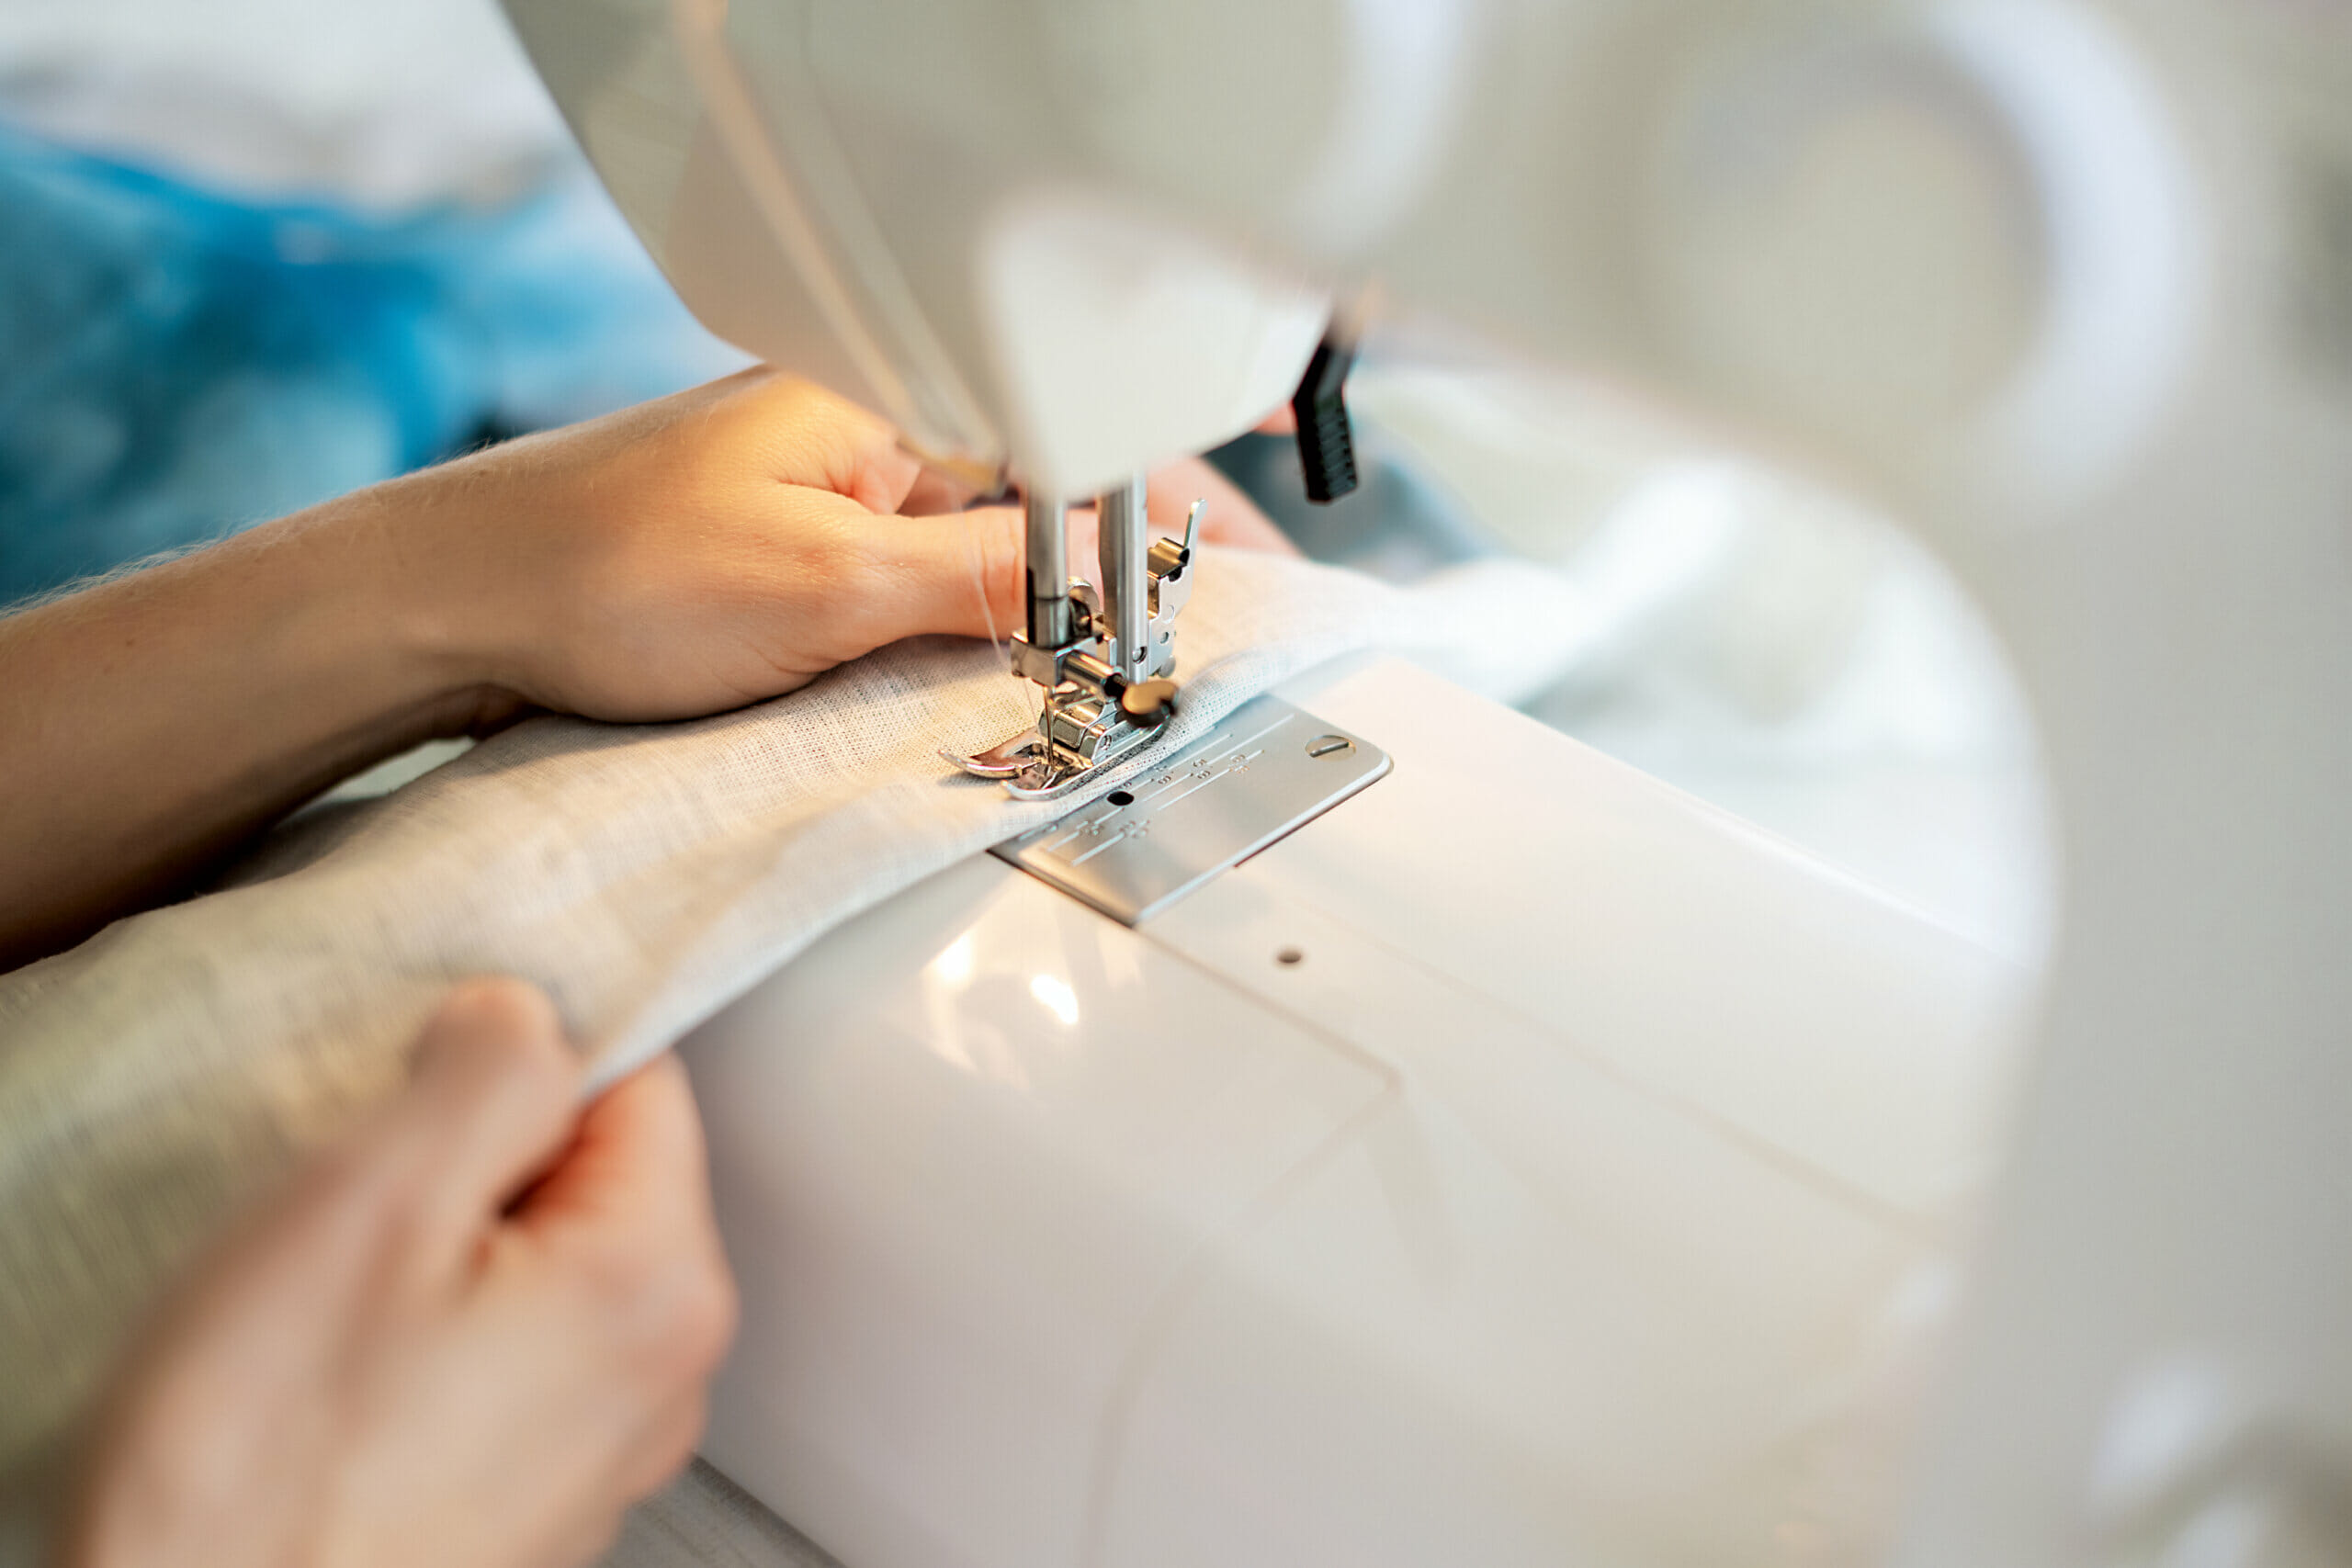
Your hands should guide the material without ever fighting the machine. The feed dogs beneath the presser foot are engineered to pull the fabric through on their own. Pushing or pulling will warp your stitches, bend your needle, and throw off your alignment.
- Your left hand: Place it gently on the fabric to the left and slightly behind the presser foot. It helps guide the already sewn portion away from the machine to prevent fabric drag.
- Your right hand: Keep it resting lightly on the fabric in front of the presser foot. Let the raw edge glide smoothly between your fingers, directing the material toward your seam guide without forcing it.
Specialty presser feet for straight stitching
An all-purpose presser foot works well for most tasks, but specialty feet can help train your eye. A straight stitch foot has a smaller opening that supports fabric flatly around the needle, while an adjustable seam guide foot features a built-in ruler and movable plastic edge that keeps seams consistent. Try them out if you need extra visual help while building confidence.
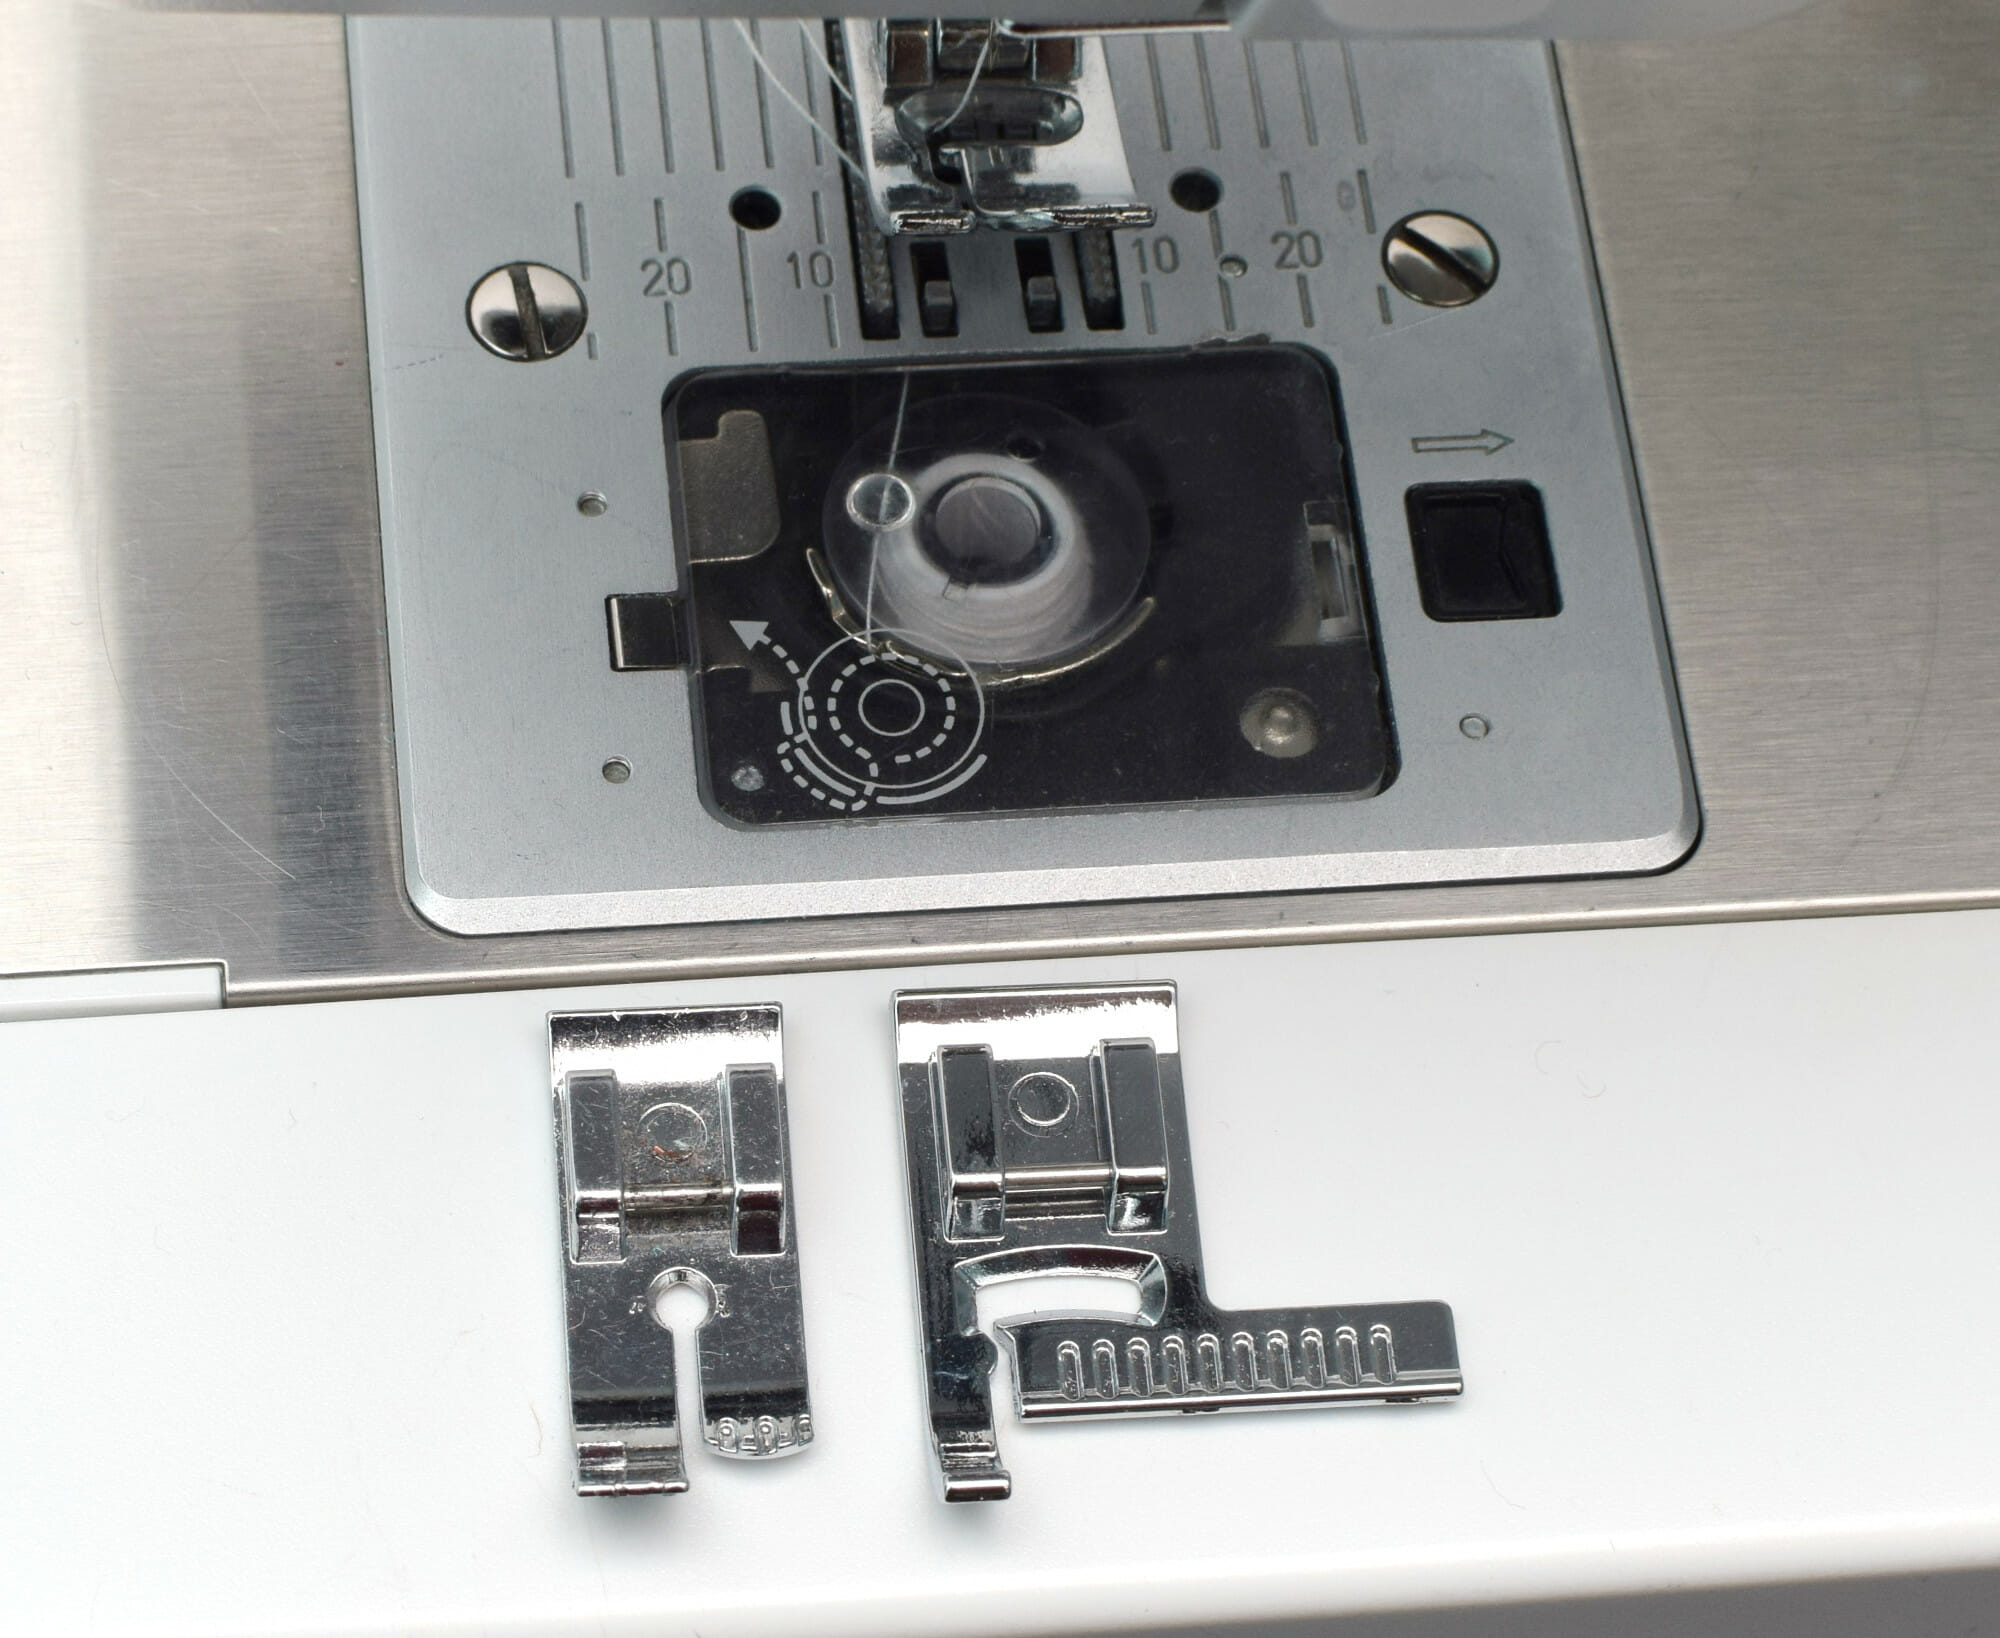
Control your foot pedal speed
Speed without control leads straight to crooked seams. When you sew too fast, you lose the ability to correct slight fabric shifts in real time.
Keep your machine at a slow, steady, and comfortable pace. Sewing at an even rhythm gives you full control over every inch of the seam and lets you observe how the fabric feeds under the foot.
Practice exercises and fabric selection
Practice sewing on lined paper sheets
Before using good fabric, practice stitching on paper. Take a piece of regular lined or graph paper and sew along the lines without any thread in your machine.
Start by aligning the edge of the paper with your needle plate guide on the right, stitch slowly across the sheet, and use the previous perforated line as a visual reference for your next pass. Note: sewing on paper dulls needle points fast, so keep a designated old needle for paper practice and swap in a fresh needle before moving to fabric. Want to practice sewing on paper? I’ve attached a printable DIY practice sheet PDF for you to try at home.
Choosing beginner-friendly fabrics for practice
Not all fabrics behave the same way under a presser foot. Slippery satins, rayons, and stretchy knits will shift under the presser foot and make straight stitching unnecessarily difficult for a beginner.
Stick to stable, medium-weight woven fabrics like plain cotton, linen, chambray, or cotton flannel. A great budget-friendly exercise is cutting up an old cotton pillowcase into rectangles, drawing lines across them with a pen, and practicing your seam guides on stable scraps first.
Why optimal stitch length matters
Using tiny stitches might seem like a good way to make seams stronger, but extra-short stitches pull the fabric tight, create puckering, and turn mistakes into an unpicking nightmare.
Stick to a standard stitch length between 2.5 mm and 3.0 mm for general construction, or 3.0 mm to 3.5 mm for topstitching. This produces neat, strong seams that feed easily and remain manageable if you need to make adjustments.
Sewing straight lines is a foundational skill that develops naturally with practice, patience, and muscle memory. By keeping your eyes on your seam guide, maintaining a relaxed hand position, and running your machine at a steady speed, straight seams will quickly become second nature. Grab some woven scraps, set up a tape guide, and enjoy building your skills one seam at a time on your next DIY project.
What tips and tricks on how to sew straight lines have worked for you? Please add your suggestions in the comments section!
You might also love:
- Sewing tips for beginners that will change your life
- Free cross-back apron patterns you can sew this weekend
- How to sew stretch fabrics on a regular sewing machine
- DIY milk box pouch sewing tutorial
- How to sew a quick fabric scrap basket
Let’s keep in touch! You can find me on Facebook, Instagram, and Pinterest.
Hi, lots of sound advice, however there is one anomaly; there is no such thing as muscle memory, muscles simply do not have any capacity, remembering how to sew straight lines is a brain process called ‘motor learning’.
When you repeat a physical action over and over (like typing, dancing, or riding a bike), the physical change happens entirely inside your central nervous system.
My mother was a seamstress. I decided to sew a dress for myself when she was out of town. I did not do it intentionally but the polka dots lined up sleeve to dress body to sleeve. I could hear her saying press out every seam. When It came to the zipper I thought how am I gonna make this seam look like Mom’s. I got a piece of scotch tape and laid it down the top of the zipper, after basting it in. I sewed up one side and down the other. I peeled the tape off and finished the dress. When I went to show my Mom, the first thing she did was turn it inside out. Then asked how I got my stitch so straight along the zipper. I said I took my time.
I have been sewing for many many years, and straight lines a re soo much easier now. Thank you
Interesting comment about smaller stitches being stronger. Here’s another point: you should always aim to make your stitches a little weaker than the fabric, so that if there is a tear, it will occur along the seam.
Been sewing 4 days now and I find sewing straight the part I find the most frustrating. Ohh and my tip for beginners…dont make your first project anything with fleece!
Straight line is a challenge, thank you for assistance.
Hey, I’m glad you’ve found this post useful. Thank you for the comment!
I am learning to sew leather with a machine from hand sewing. It is not easy keeping a straight line. I think with constant practice I will get there. Thanks for your tips especially the use of hands.
Hi Martha,
Sewing with leather is a bit more difficult than sewing with quilting cotton. Are you sewing exclusively with leather? Because let me tell you this – when I started, I wanted specifically to get better at sewing with satin and tulle, since these are the fabrics you need for making tulle skirts. I only sewed with satin and tulle, and it was pure torture at times. I wasn’t interested in learning much else besides this, I had my goals set and I was slowly moving towards them. And looking back, I think it was a mistake. It would have been easier for me if I learned first to machine sew using woven cotton fabrics. It would have made me trust my sewing machine and my skills much earlier. The learning process overall would have been smoother and quicker, but I chose the hard way. Maybe my perspective helps a bit. Anyway, you’ll get there eventually, I’m sure of it. Practice is everything.
Best of luck!
Thanks a lot for your advice, i am sewing since a few years and never was able to sew straight lines , now I am practising and the results are already noticable
Thank you. that is a huge challenge for me also keeping my foot at a slow constant speed.
I am iinterested.