
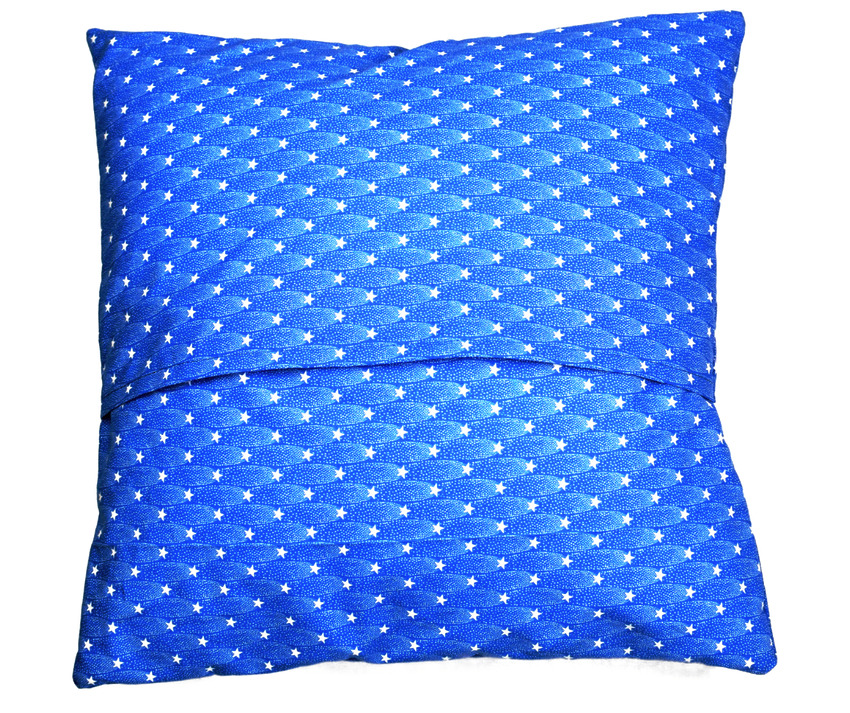
Want to give your living room or bedroom a little refresh? Making your own envelope pillow cover is one of the easiest sewing projects ever—and it takes just 10 minutes from start to finish! No zippers, no buttons, no fuss. Just straight lines and a bit of fabric. If you’re new to sewing and looking for a super beginner-friendly tutorial, this easy envelope pillow cover sewing project is the perfect place to start.
This DIY envelope pillow case tutorial is great because you don’t need any fancy tools or sewing skills. You’ll only be sewing in straight lines, so if you’ve just pulled your sewing machine out of the box and want a quick win, this is it.
Simple DIY Envelope Pillow Cover – Fast, Easy & Beginner-Friendly
For this tutorial, I made a 16×16 inch envelope-style pillow cover, but you can adjust the measurements to fit any throw pillow you have lying around. That’s the beauty of sewing your own pillow covers—total customization! You can pick the fabric, the size, and the vibe. Want to switch out covers for every season? This method makes it so easy to do that without breaking the bank.
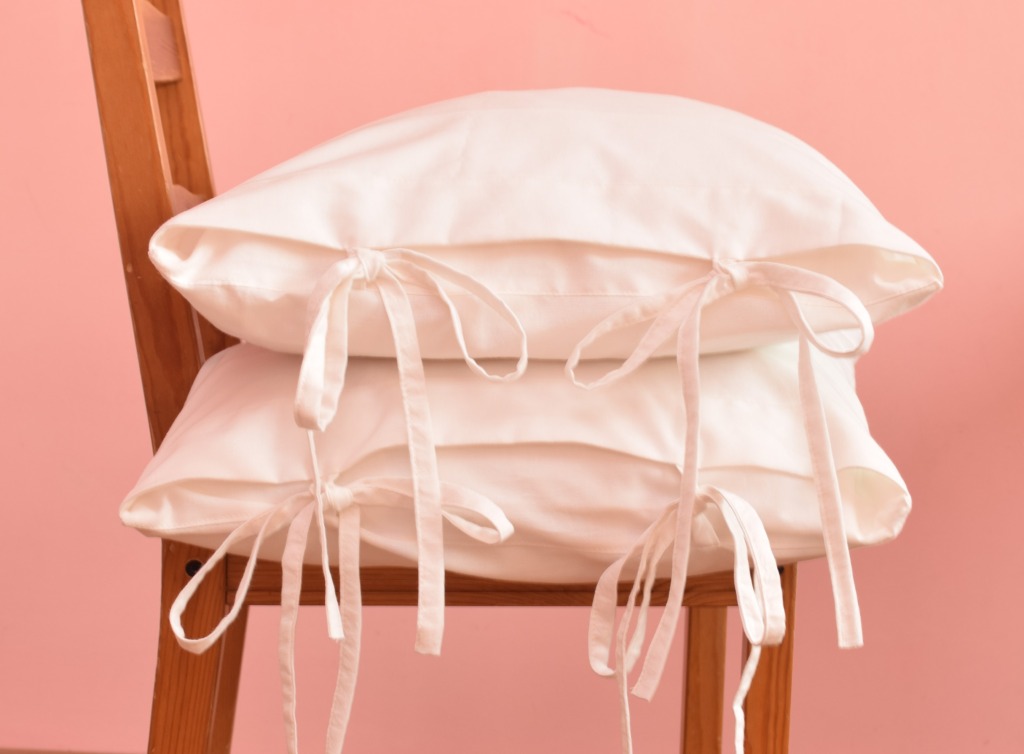
Related: How to make beautiful envelope pillowcases with ties – be sure to check out this easy tutorial for beginners (no serger needed!)
A few notes before we get started:
I used 100% cotton fabric for my cover. I didn’t pre-wash it but I gave it a good steam press before cutting, which works fine for projects like this. Sometimes I skip pre-washing when I know a little shrinkage won’t be a big deal. In fact, a slightly snugger fit can make your pillow look even better!
My finished pillow cover ended up exactly the same size as my pillow insert—16 by 16 inches—which gives it a nice, tight fit. I personally prefer my pillow covers to look clean and crisp instead of baggy or loose.
Why you’ll love this easy DIY pillow cover project:
- It’s perfect for beginners who want to practice basic sewing skills.
- You can sew a custom envelope pillow cover in under 15 minutes.
- No zipper, no buttonholes, just simple straight stitching.
- It’s a great way to use up leftover fabric or fat quarters.
- The envelope-style back makes it easy to remove and wash your cover.
So if you’ve been searching for how to make an envelope pillow cover without a zipper, easy throw pillow cover tutorial, or sewing a pillow case for beginners, you’re in the right place. Let’s make some cozy magic with your sewing machine!
DIY pillow cover – sewing supplies
- a pillow you want to cover-up
- fabric (how much you need will depend on the size of your pillow)
- sewing machine
- universal sewing machine needles
- fabric scissors
- matching thread
- sewing pins or sewing clips
- steam iron
How to Make an Envelope Pillow Cover – Step-by-Step
Ready to sew? Let’s dive right in and make a cute, custom pillow cover you’ll be proud of—even if you’ve never sewn anything before.
Step 1: Measure Your Pillow Insert
First things first—grab your pillow insert and measure it from seam to seam. Mine is 16 inches by 16 inches. We’re going to cut our fabric just a little bigger to account for seam allowances.
For a 16×16 pillow, you’ll need:
- One front piece: cut it at 17 x 17 inches (that’s 1 inch extra for seam allowance—easy!)
- Two back pieces: each should be 17 inches wide and 11.5 inches tall
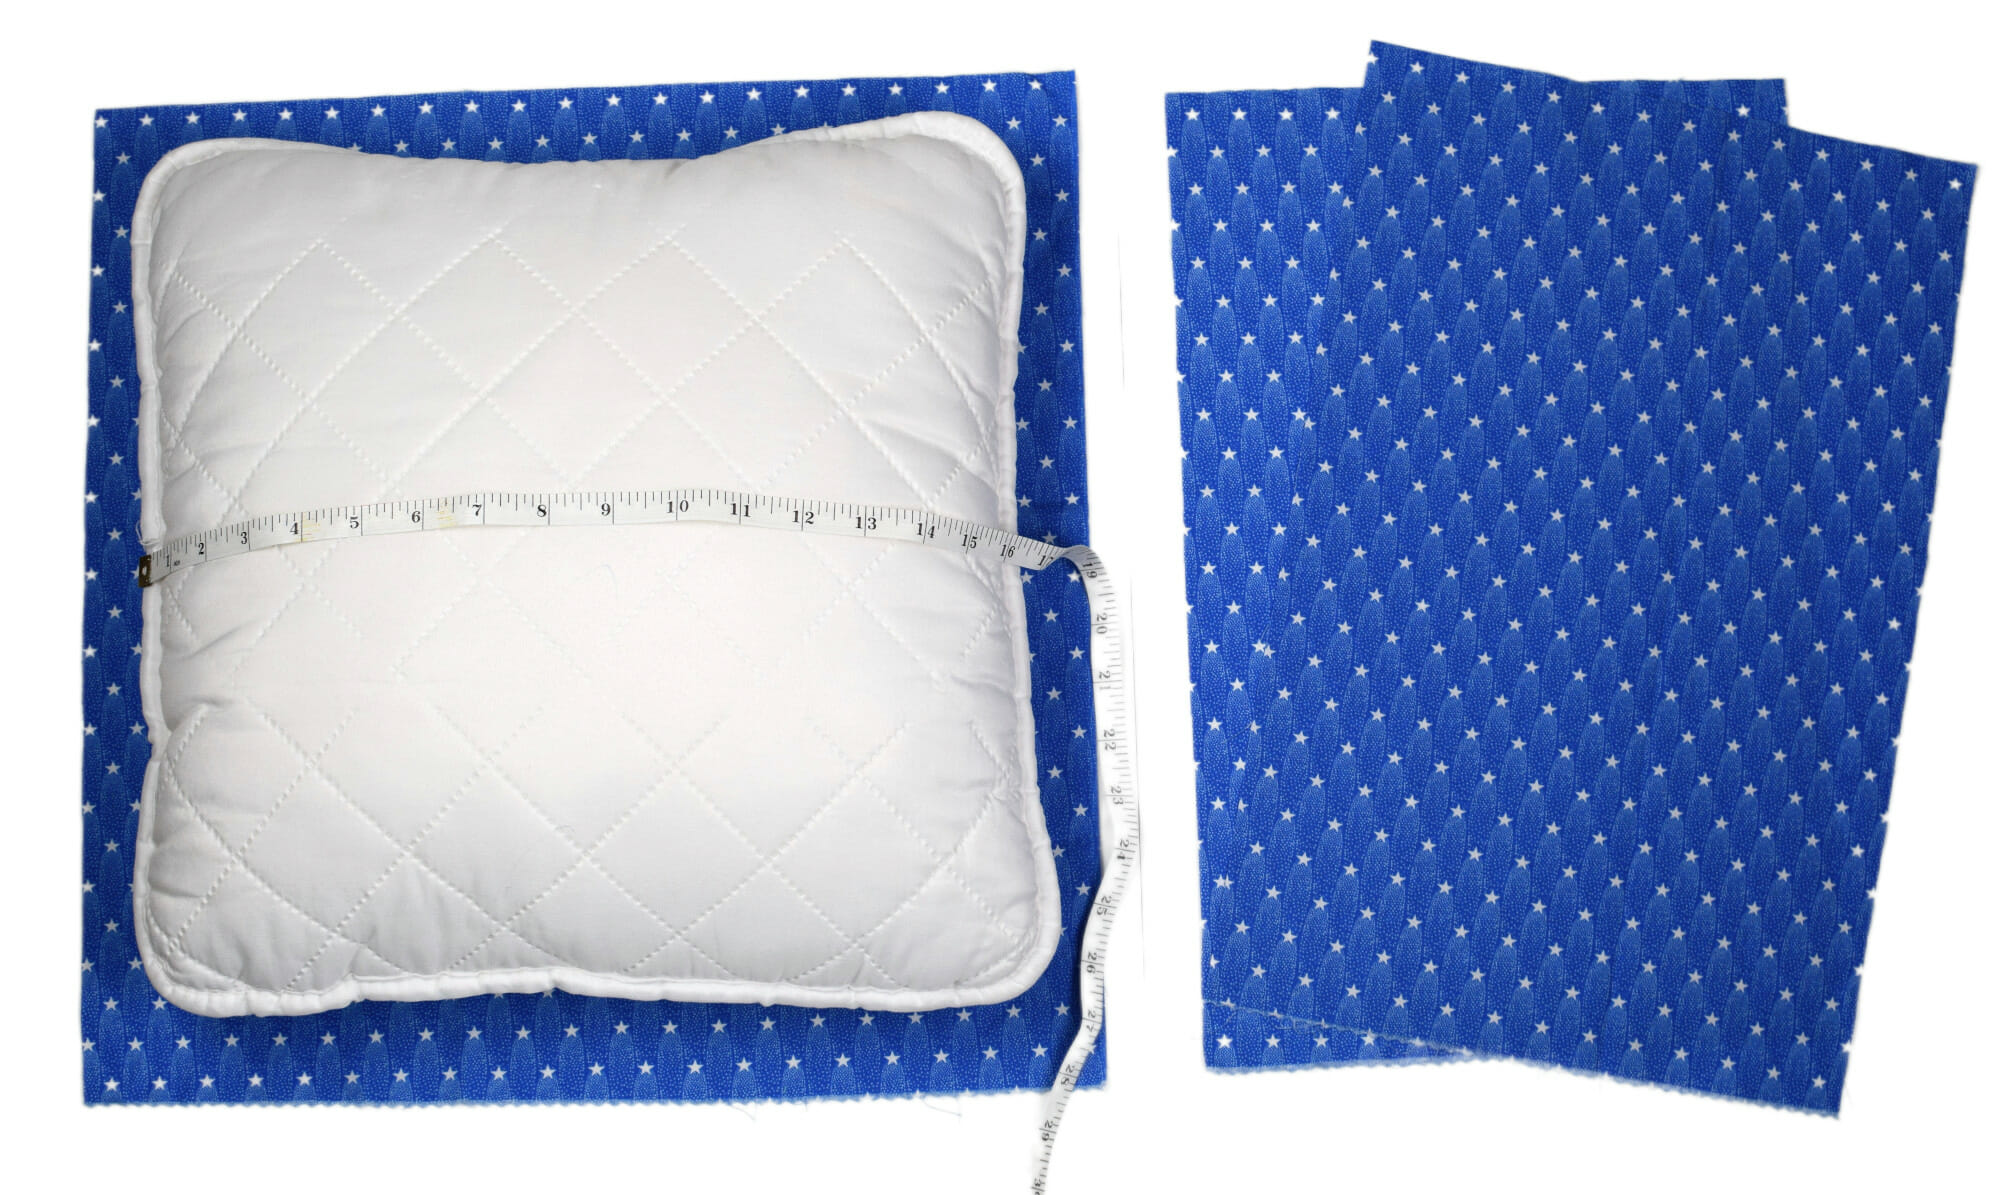
Now you’re probably thinking… “Why 11.5 inches? That’s such a random number!”
If you want a little extra overlap (maybe your pillow’s extra fluffy or you like a more hidden back), go ahead and cut your back pieces a bit taller—like 17 x 12 inches or even 17 x 13 inches.
Check the Math (Don’t Worry, It’s Easy!)
Let’s quickly break it down:
- You’ve got two back pieces, each 11.5 inches tall
- Together, that gives you 23 inches of fabric for the back
- The front is 17 inches tall
- 23 – 17 = 6 inches extra on the back side
When we sew the pillow together with a 3/8-inch seam allowance all around, we’ll lose about 1 inch total in height. So that leaves 5 inches difference. We want about a 4-inch overlap to keep the pillow snugly inside, which means we have 1 inch extra to work with. Perfect—we’ll use that inch to hem the raw edges of the back pieces.
It’s really simple. Just take a good look at the pictures below—the back pieces need to overlap so the pillow stays in place!
Have a different cushion size? Use my easy guide on how to calculate fabric for any size envelope pillow to get exact cut measurements for lumbar, throw, or bed inserts.
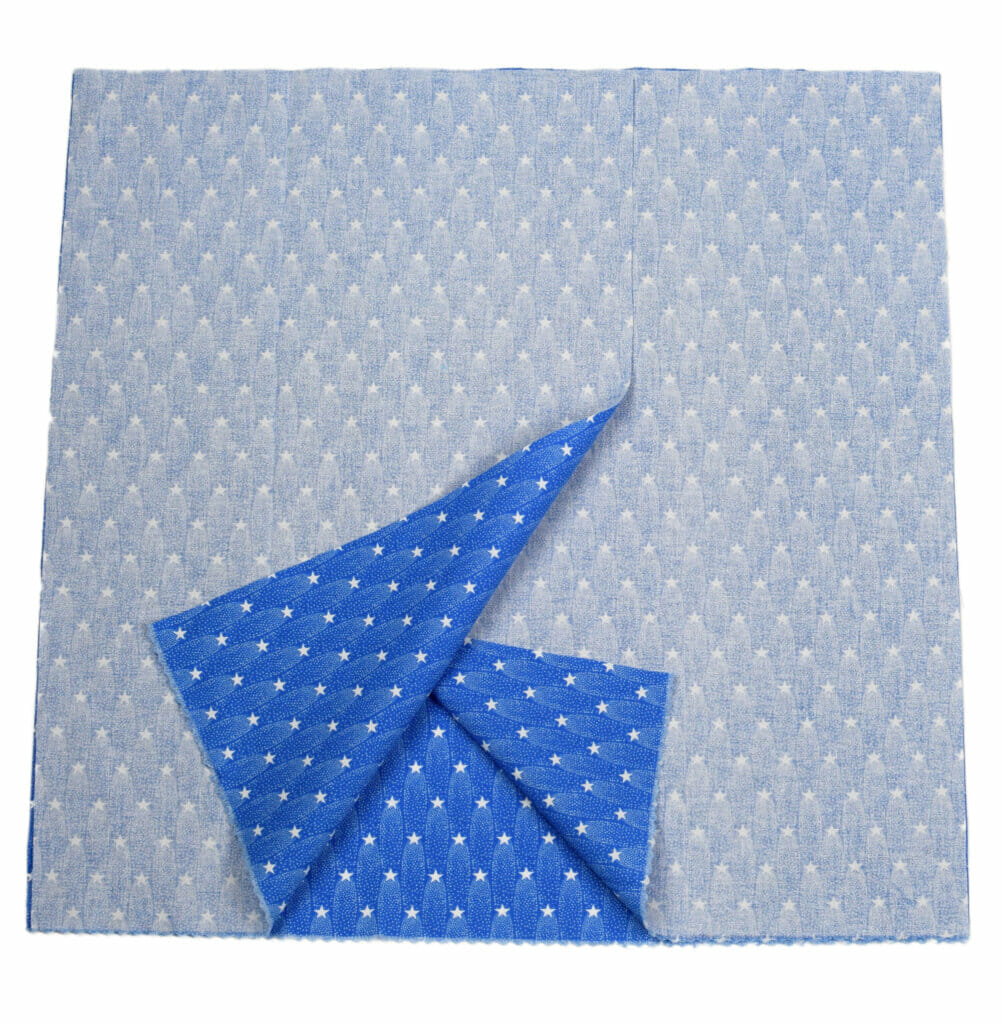
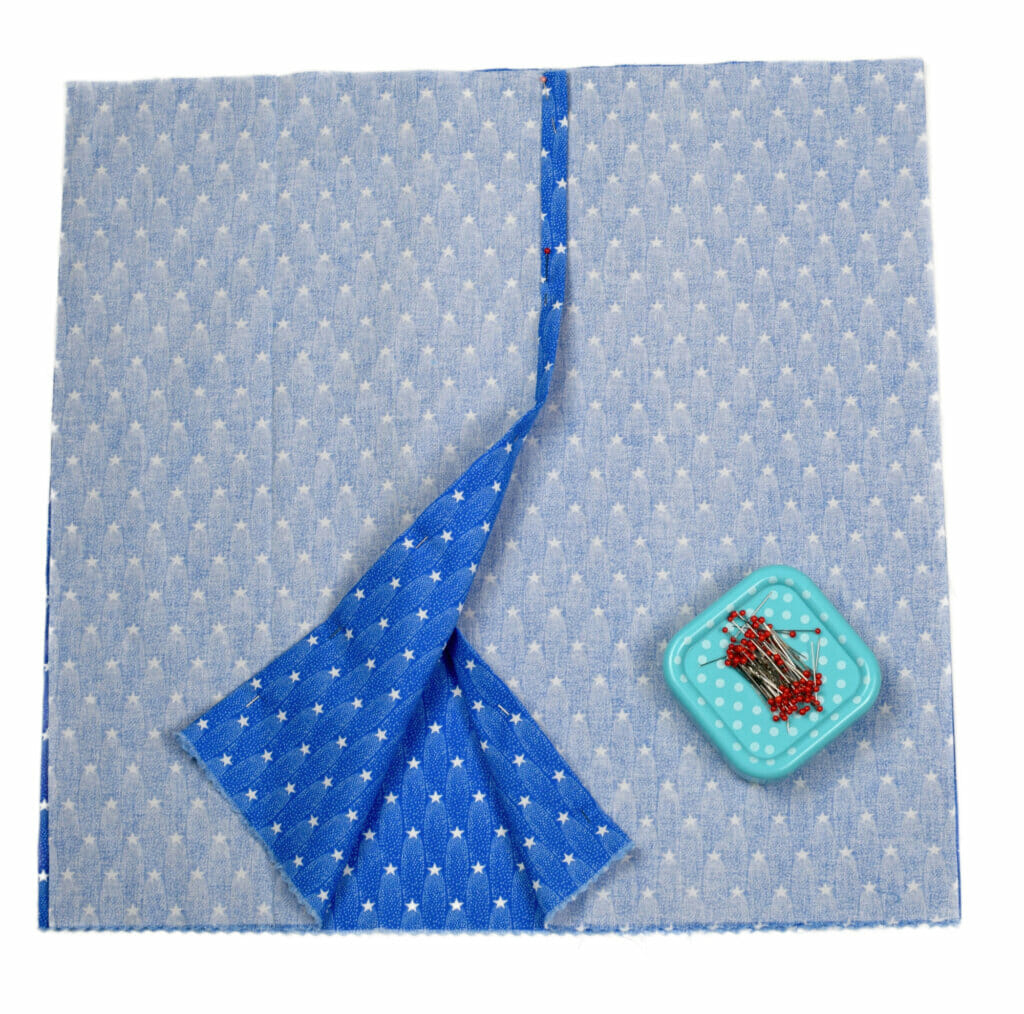
Step 2: Hem the Back Edges
Let’s get those raw edges on the back panels looking nice and tidy. Take one of your back pieces and fold one long edge over by 1/4 inch. Press it with your iron to hold it in place. Then fold it over again by another 1/4 inch and pin it down. This double fold hides the raw edge and gives it a clean finish.
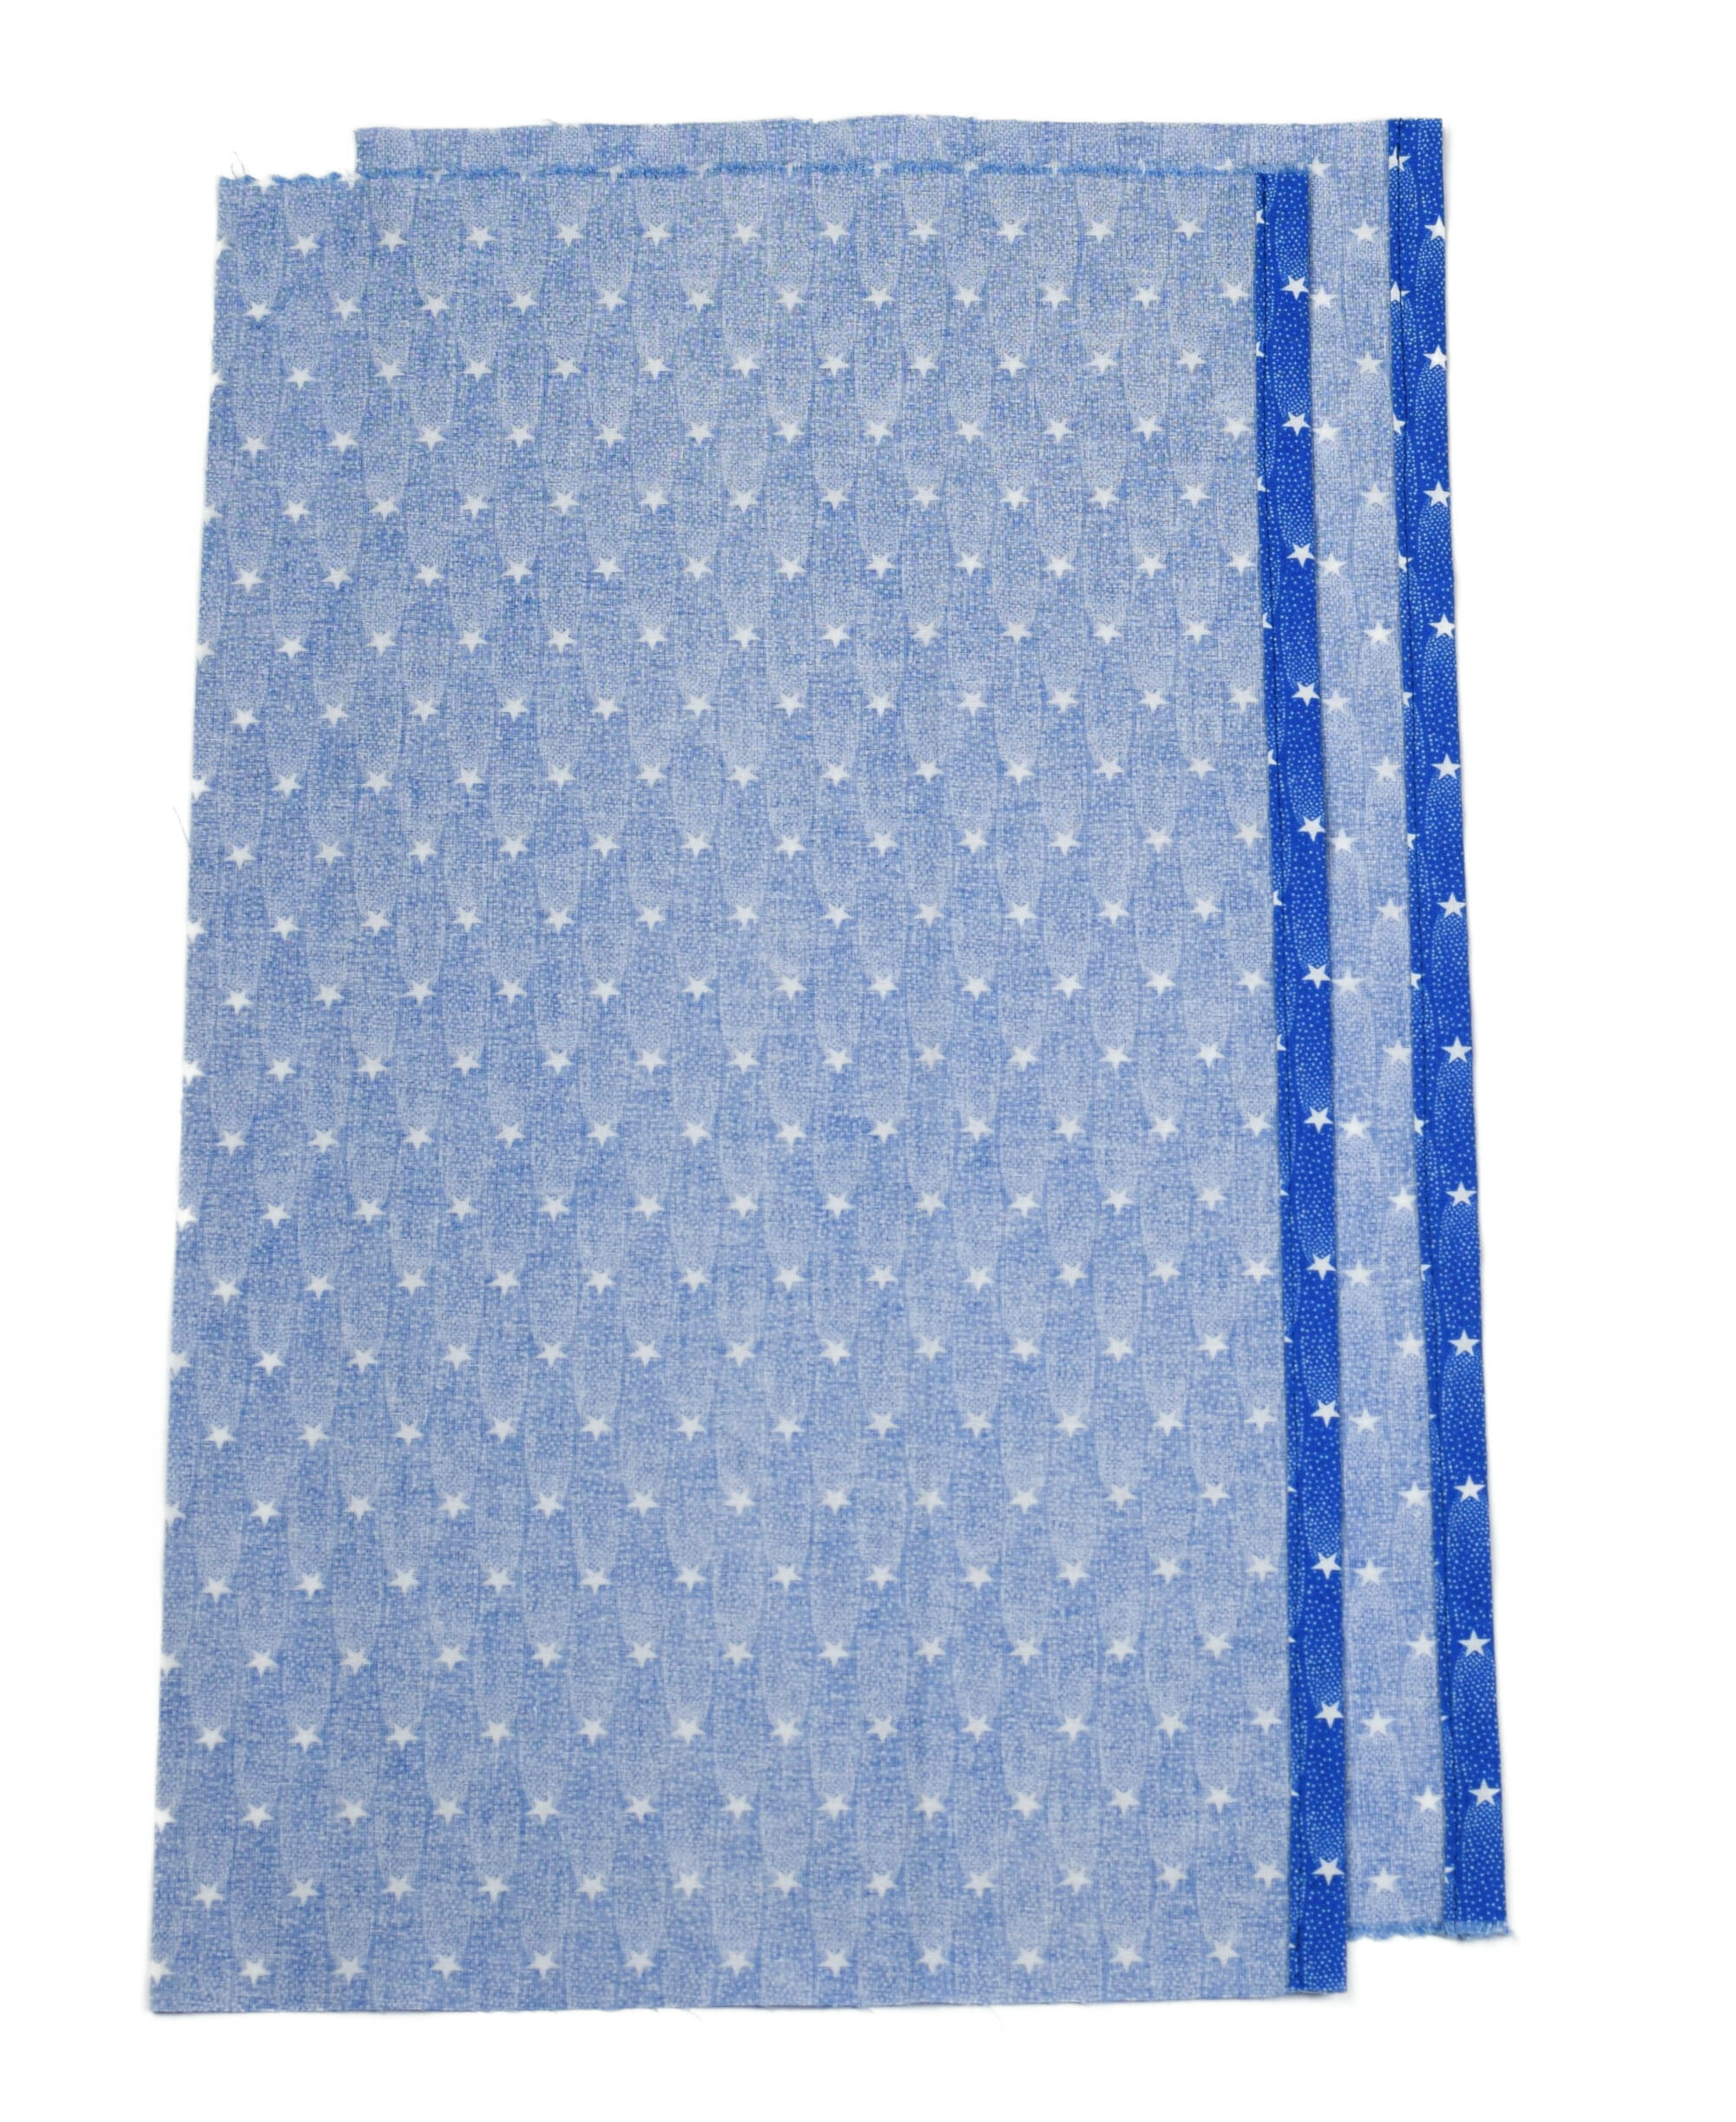
Do the same with the other back panel, then sew straight down each folded edge. Easy peasy—and it makes the back of your envelope pillow cover look polished and neat, just like the store-bought kind (but better, because you made it!).
Step 3: Assemble the Pillow Cover
Now for the fun part—putting everything together!
Lay your front fabric piece on a flat surface, right side facing up. Then place your two back pieces right side down, lining up all the edges. The back pieces will overlap in the middle—that’s what creates the envelope closure that holds your pillow in place.
Double-check that your corners line up nicely, and that the back pieces are overlapping like they should. Pin everything all the way around the edges to keep it secure.
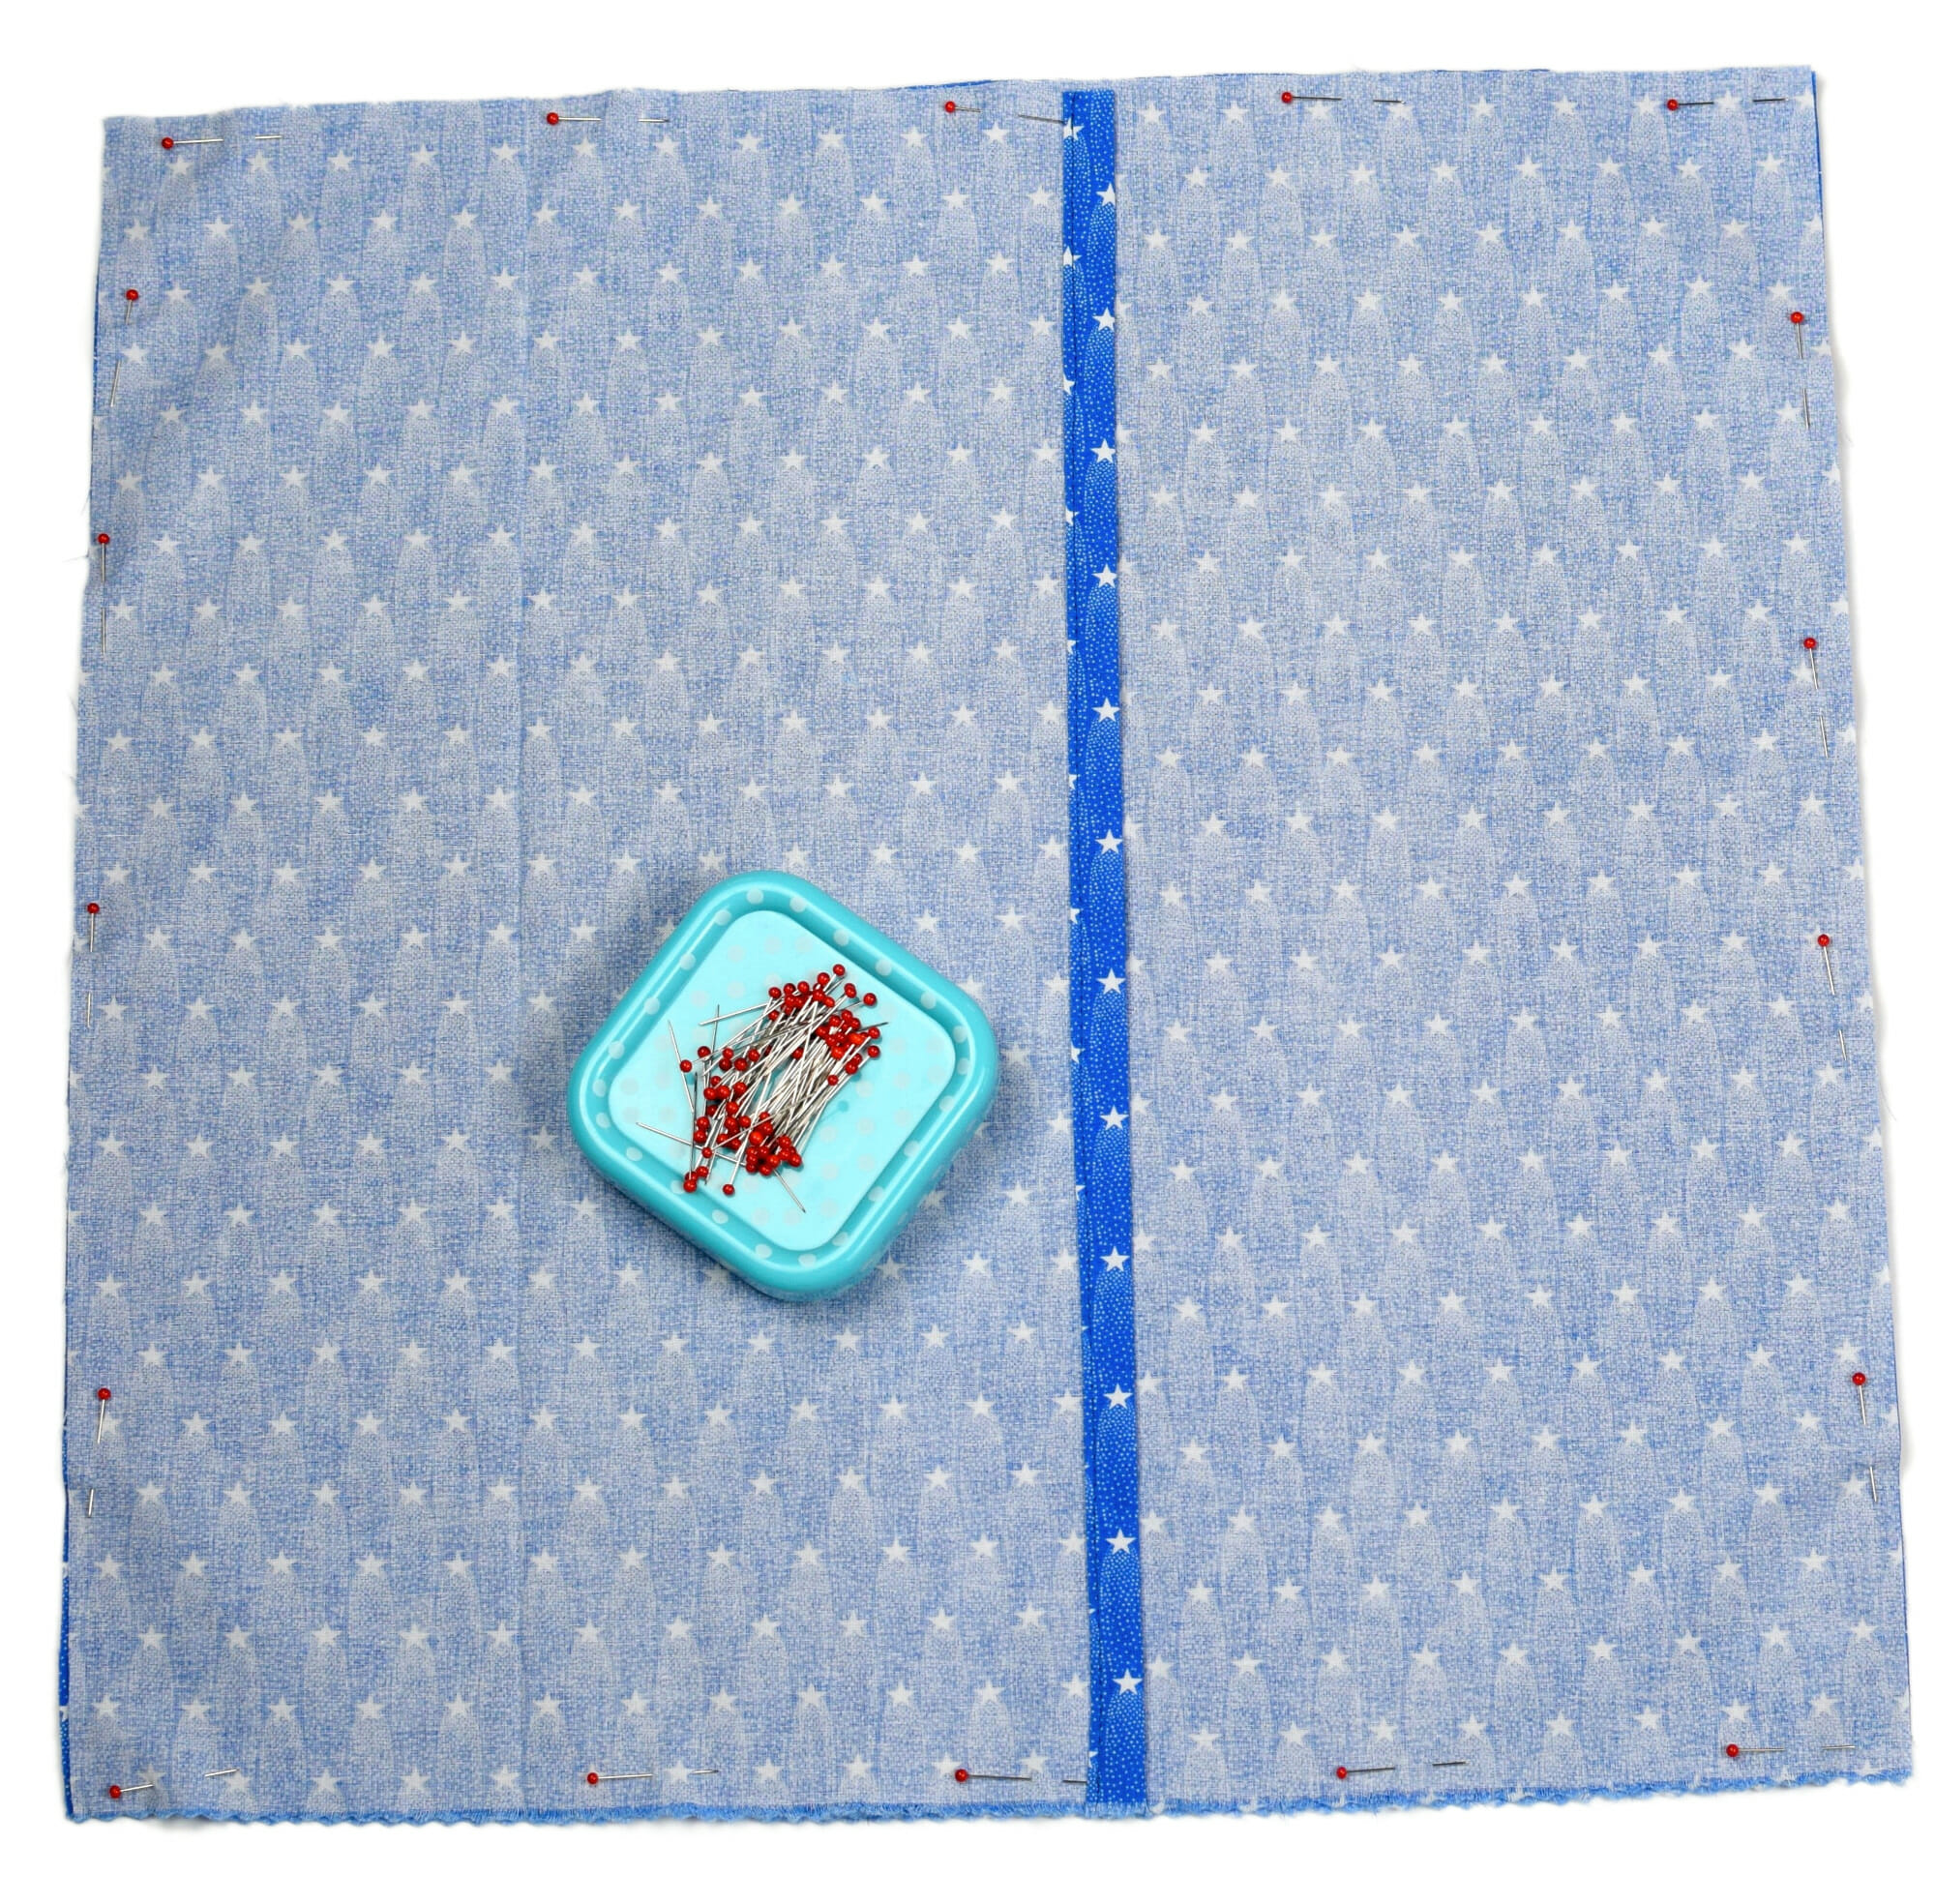
Then sew all the way around with a 3/8-inch seam allowance. You’re almost there!
Step 4: Finish the Edges
To keep your pillow cover looking good wash after wash, it’s a good idea to finish the raw edges inside. If you have a serger, now’s the time to use it—just serge all the way around the seam.
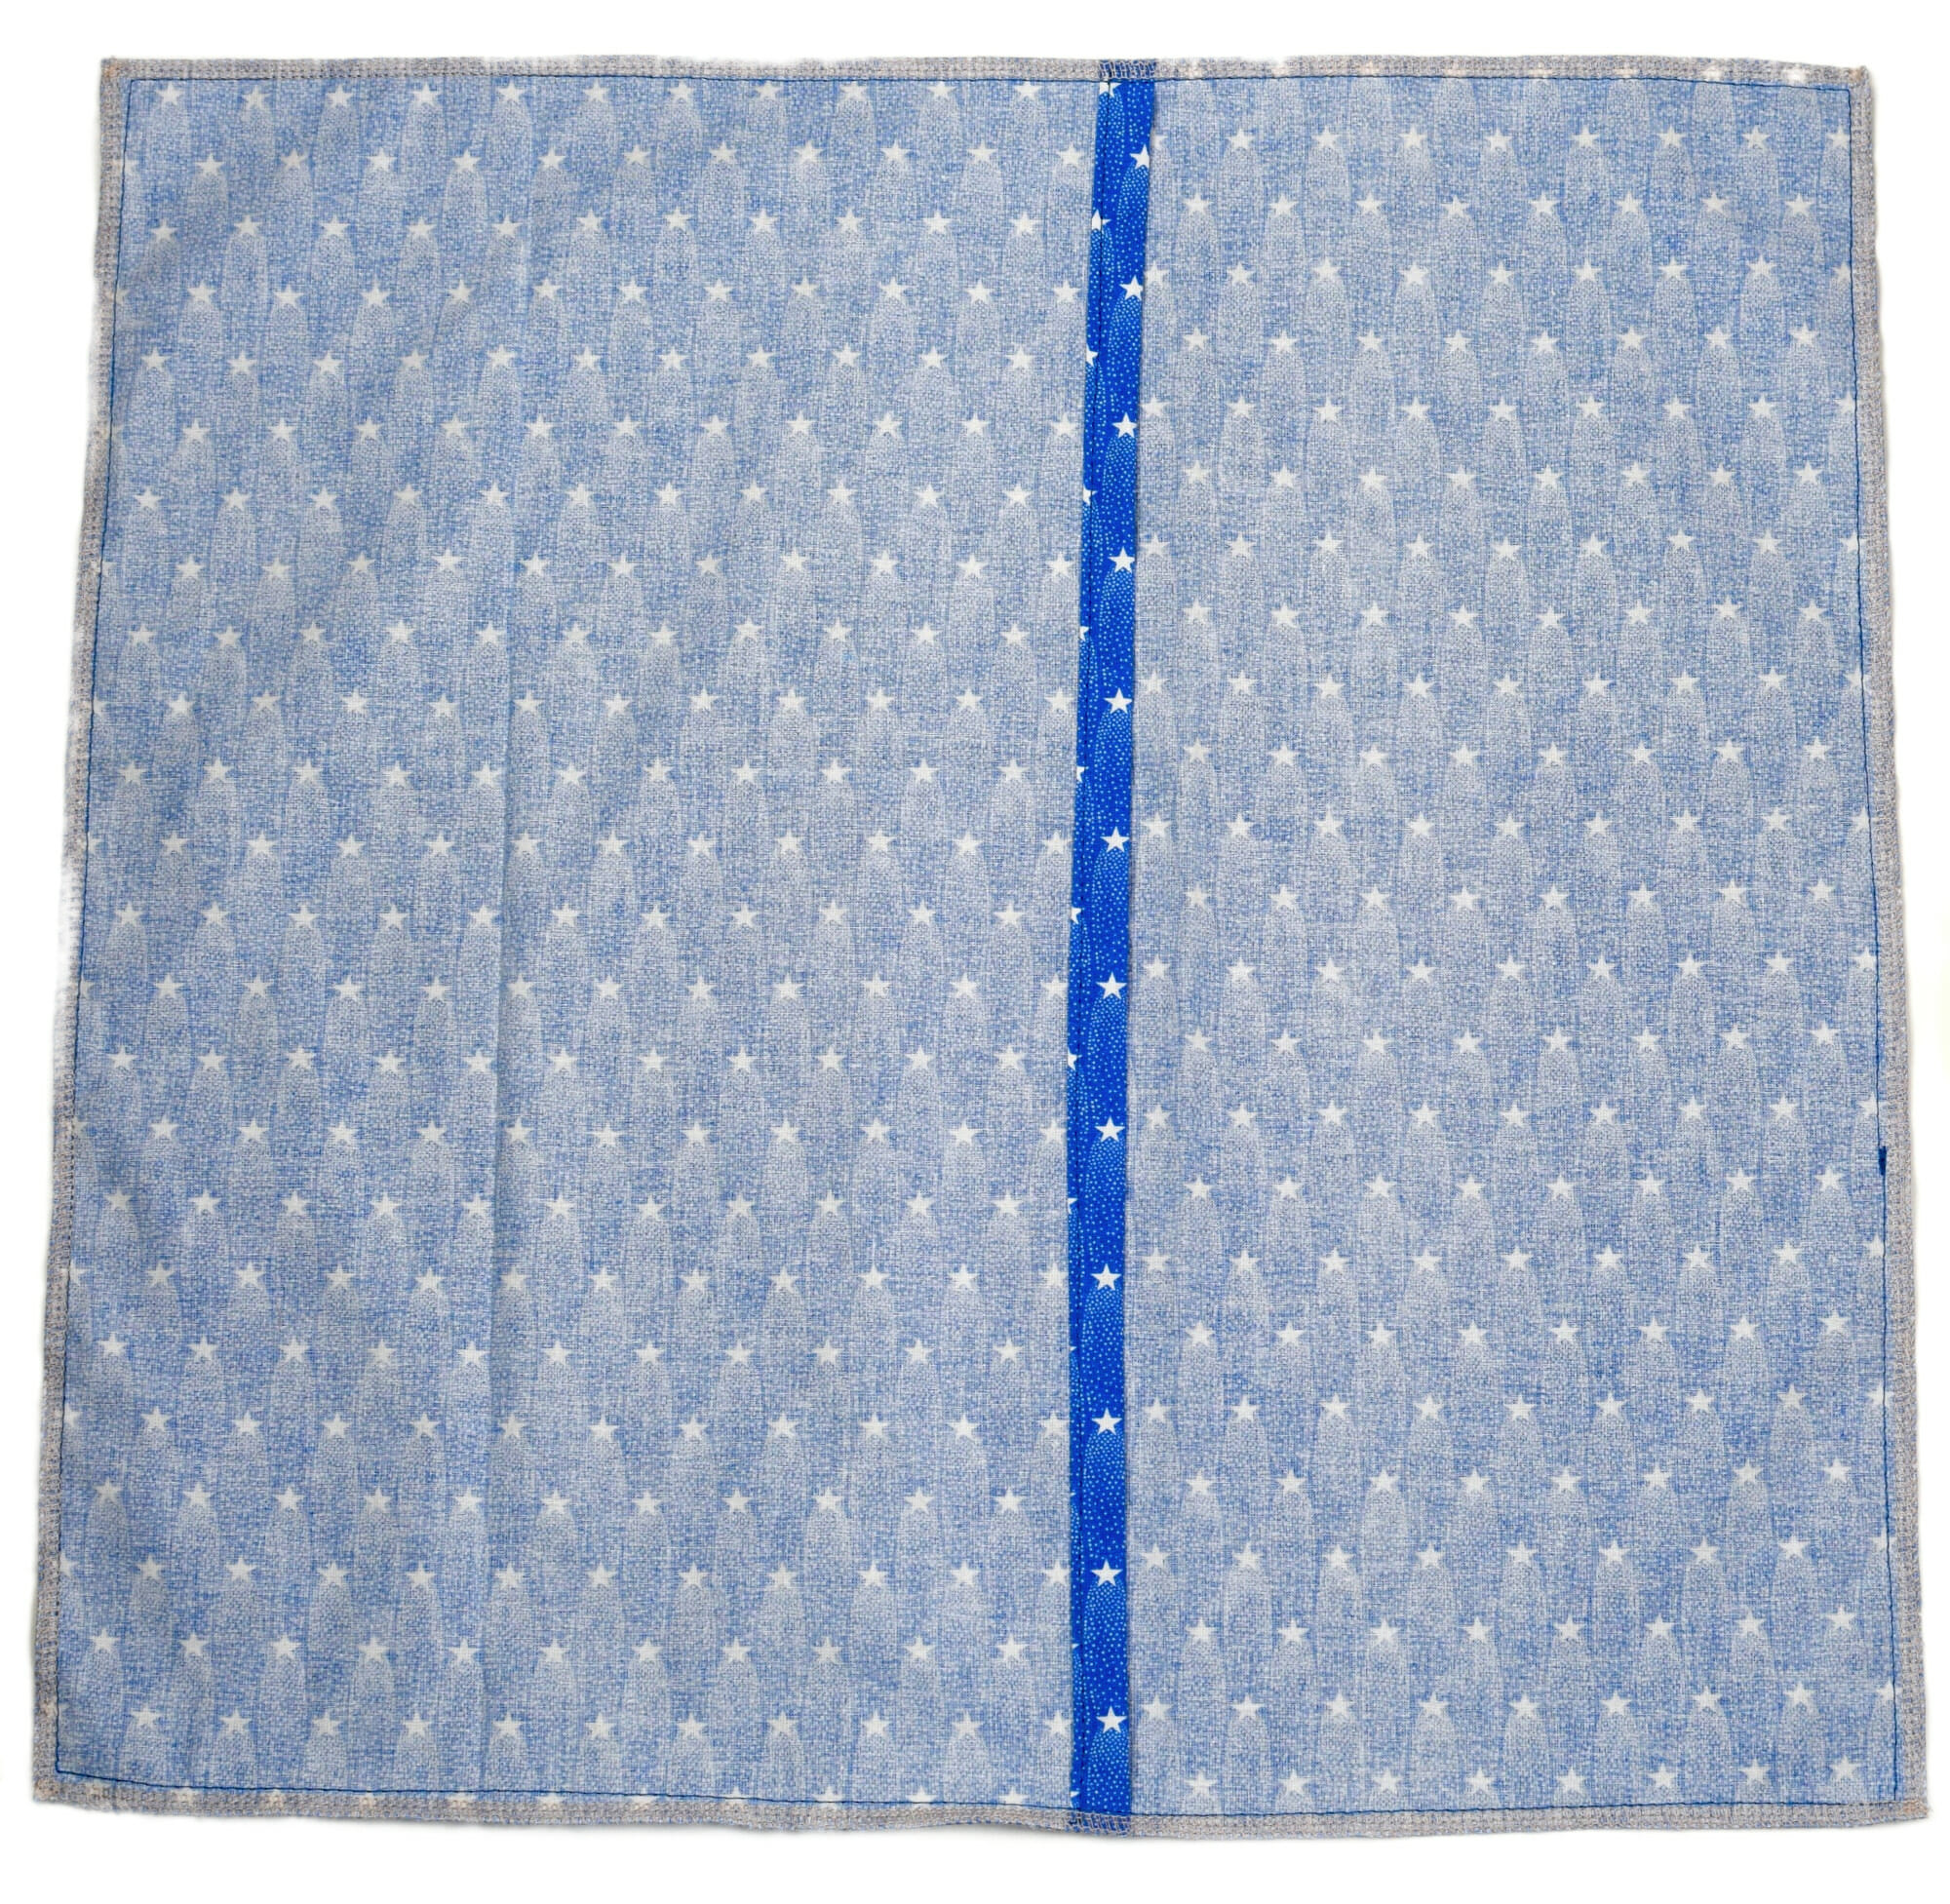
No serger? No problem. Just switch your machine to a zig-zag stitch and sew along the edges. This will help prevent fraying and keep your cover looking great over time.
Step 5: Turn & Stuff!
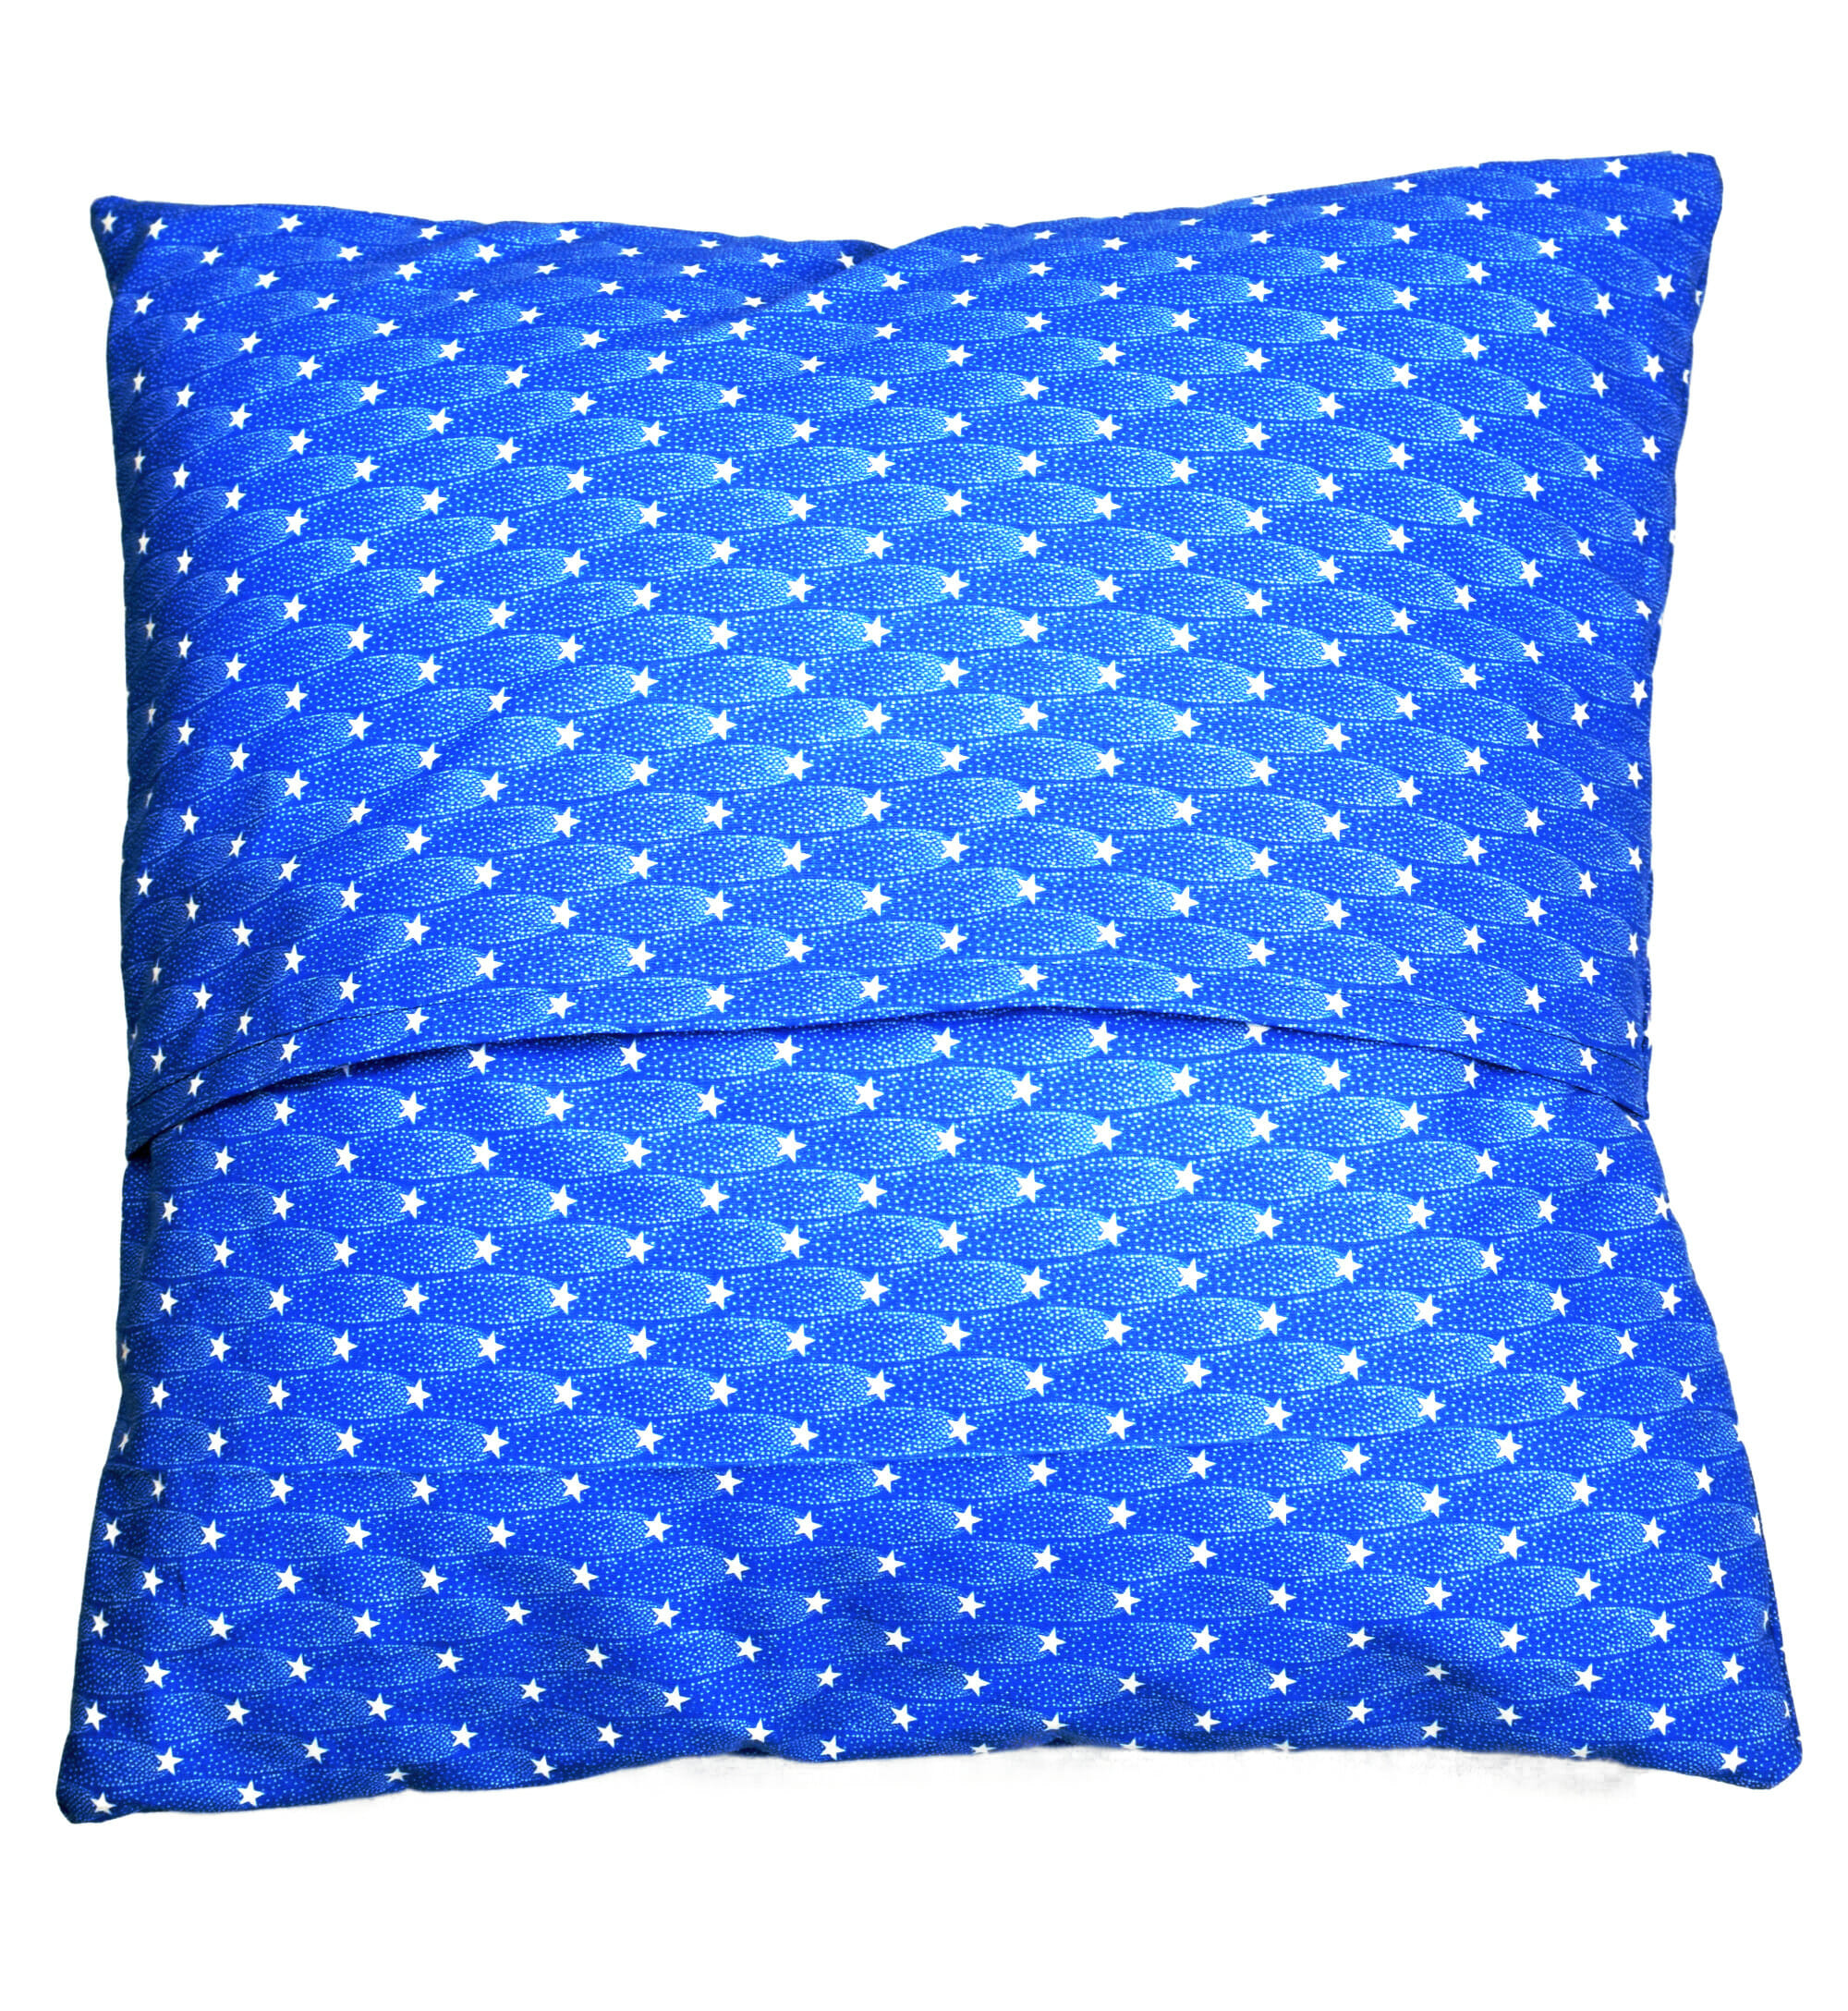
Now flip your pillow cover right side out through the envelope opening. Use your fingers (or a blunt tool like a chopstick) to poke out the corners so they’re nice and crisp.
Stuff your pillow insert inside, fluff it up a bit, and admire your work—you just made a gorgeous DIY envelope pillow cover without a zipper in under 15 minutes!
You might love these sewing ideas too:
Looking for your next quick win at the sewing machine? Try one of these fun, beginner-friendly projects—each comes with a free pattern and super easy instructions!
- Mini zipper pouch – Perfect for stashing coins, earbuds, or little treasures. Grab the free pattern and learn how to sew a pouch with zipper tabs.
- Pillow cover with French seams – This pretty cover looks fancy, but it’s simple to sew—no serger needed! The free pattern walks you through every step.
- Lined drawstring bag – A great little project for gifts or organizing small items. You’ll learn how to make a fully lined version that looks neat inside and out.
Let’s keep in touch! You can find me on Facebook, Instagram, and Pinterest.

Great tutorial, thank you! Made memory pillows (t shirts).
How much fabric for a 16 x 16 inch pillow? thanks
Best instructions – I made two pillow covers today that were simple to make and look terrific. Thanks.
Brilliant, thank you! I used these instructions to recover all my outdoor pillows. I read someone was having a hard time with the measurements but I found that the overlap part on the back doesn’t need to be precise. In all of the pillows I made, I just cut straight across the width of my fabric and divided it based on pillow size. I had several sizes…similar but not exactly the same.
For example my fabric was 50” wide and I needed a 20”x20” square for the face of my 19” pillow. I measured 20” down and cut straight across all 50” of the width. I then measured and cut at 20” to create the 20×20 face, leaving me with a 20” x 30” piece. I took that 20×30 piece, folded it in half and cut up the middle to get 2 20×15 pieces. Then I followed the instructions above. I will be doing more of these….so easy, love it!
Very concise easy to follow instructions. You covered everything and your explanations left no questions. Thank you.
Hey there! All imagery on your site isn’t showing. I’d love to see the visuals on how to make this pillow cover!
I’m making a 14 inch pillow, how wide would each back piece be, my brain isn’t working today. Thanks
Hi Carole,
Your comment made me laugh so hard. My brain is not working today either. I’m sorry, but I feel so useless today. :)) Having a hard time with joie de vivre lately, online school and three kids always at home, toys scattered all around the place, constant noise, and all the days are the same, that’s what bothers me the most! I’ll try to come back with a reply later on.
I believe in the instructions you should add an inch so your back pieces would measure (2) 15 x 9.5 or 10
According to her instructions if you have a 14” pillow you add 1” so it would be 15”..
15 / 2 + 3 = 10 1/2” or 11”
Thanks for the tutorial. I’m going to do these with my 4h group.
I made beautiful pillows using your tutorial! I put the opening in the front with a contrasting upper half, and sewed a contrasting button for decoration. They came out beautifully and just the right size! Thank you!
Hi Judy,
You’re very welcome! I’m so glad to hear that and I bet your pillows look great. 🙂
Thank you for this easy and clear tutorial. I’ve been looking for an idea to convert scarves into a keepsake and this is perfect! My sister in law was an avid scarf wearer and I wanted to make a few of her friends something to remember her by. This is easy and perfect!
Hi Judith,
I was so touched by your message, thank you! I think it’s a great idea to make pillows out of your sister in law’s scarves. <3
Thank you for the great instruction on this pillow it made it easy for a starter to sew no problem.:)
brilliant instructions – well laid out with fab pictures for reassurance thank you
Thank you for the kind words!
Step 3 – should it read “right sides together”?
Yes! And thank you for taking the time to write me, I’ve corrected the mistake.