I was both excited and concerned about this christening gown for a long time, ever since my best friend asked me to make the dress for the upcoming christening of her daughter.
Of course, I said yes, it was a great new challenge and a once-in-a-lifetime opportunity I couldn’t pass up!
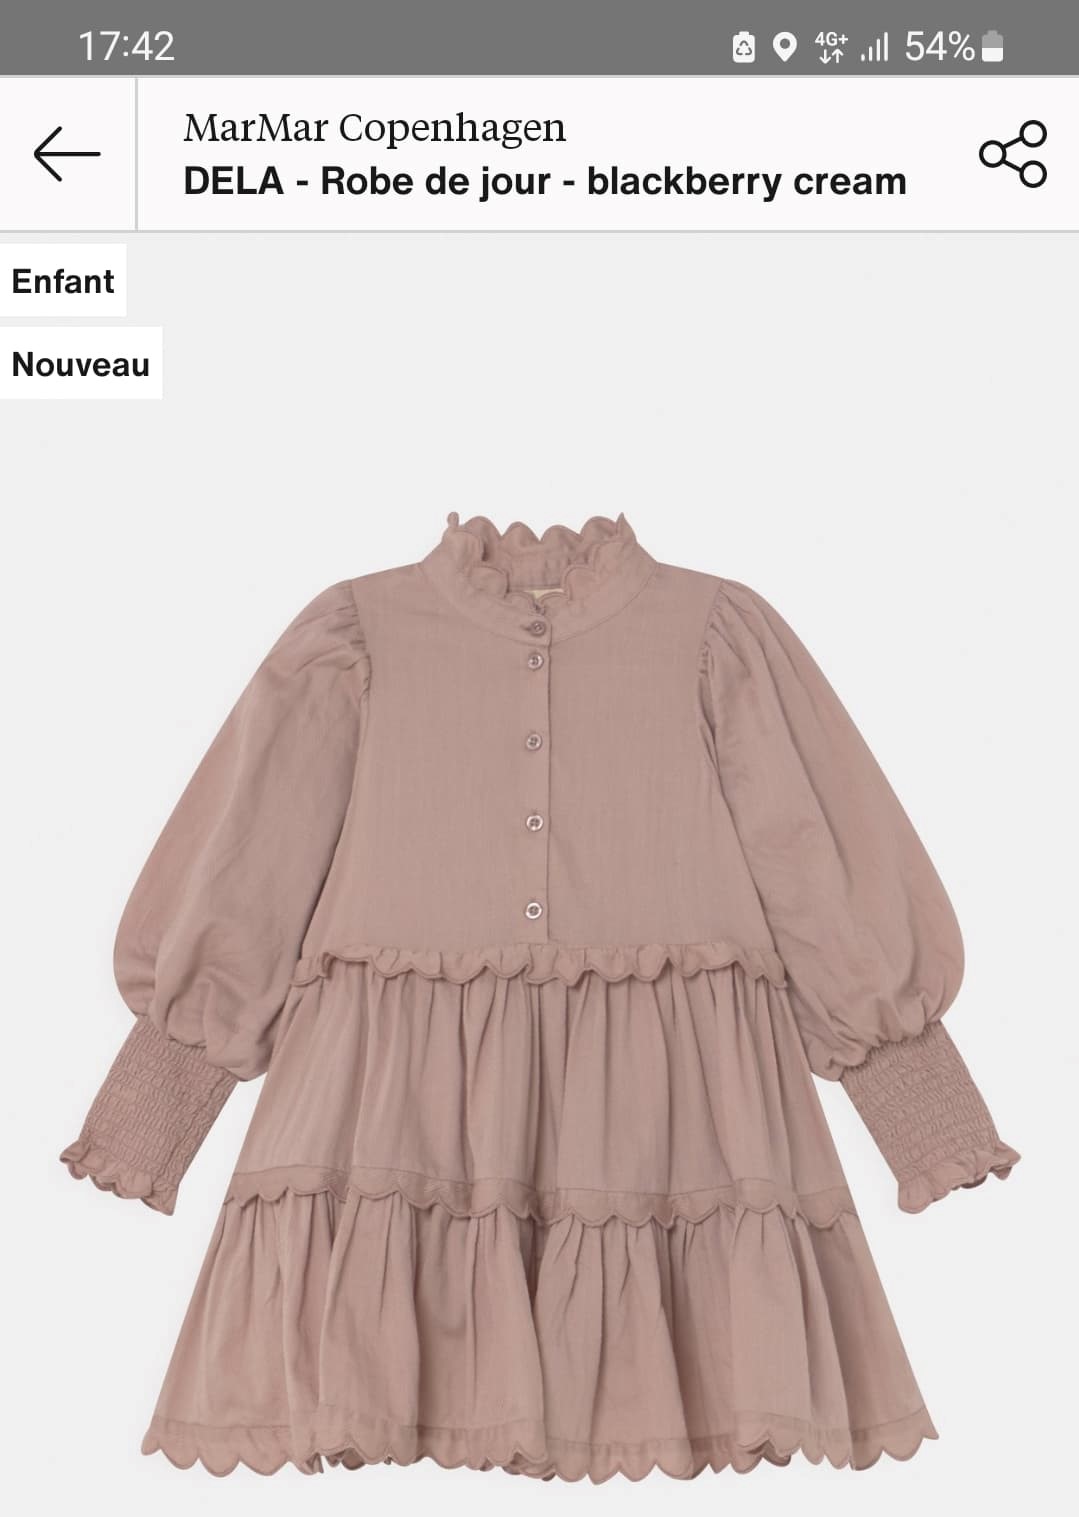
I had a screenshot pic of a dress my best friend liked. All in all, I think I spent about three weeks fretting about the finished dress, haha. I didn’t have the same fabric type and there was no way I could make the scalloped hem with my machines.
Sewing supplies needed to make this dress:
- small buttons
- elastic thread
- lightweight fusible interfacing (for the buttonholes & collar stand)
- serger
- sewing machine
- cotton / linen fabric
- sewing pins
- fabric marking pencil
Also, even though I had all the skills needed to make the dress (shirring, buttonholes, gathering, etc.) I was anxious about the fit. How long should I make the neck ruffles or the skirt ruffles for that matter? I tried to find a ready-made pattern but to no avail.
I started working on the dress in the last week, a mere few days before the ceremony. Making and adjusting the pattern, and sewing a muslin took me about three days. To gauge the size of the dress, I used two old baby clothes that I had kept.
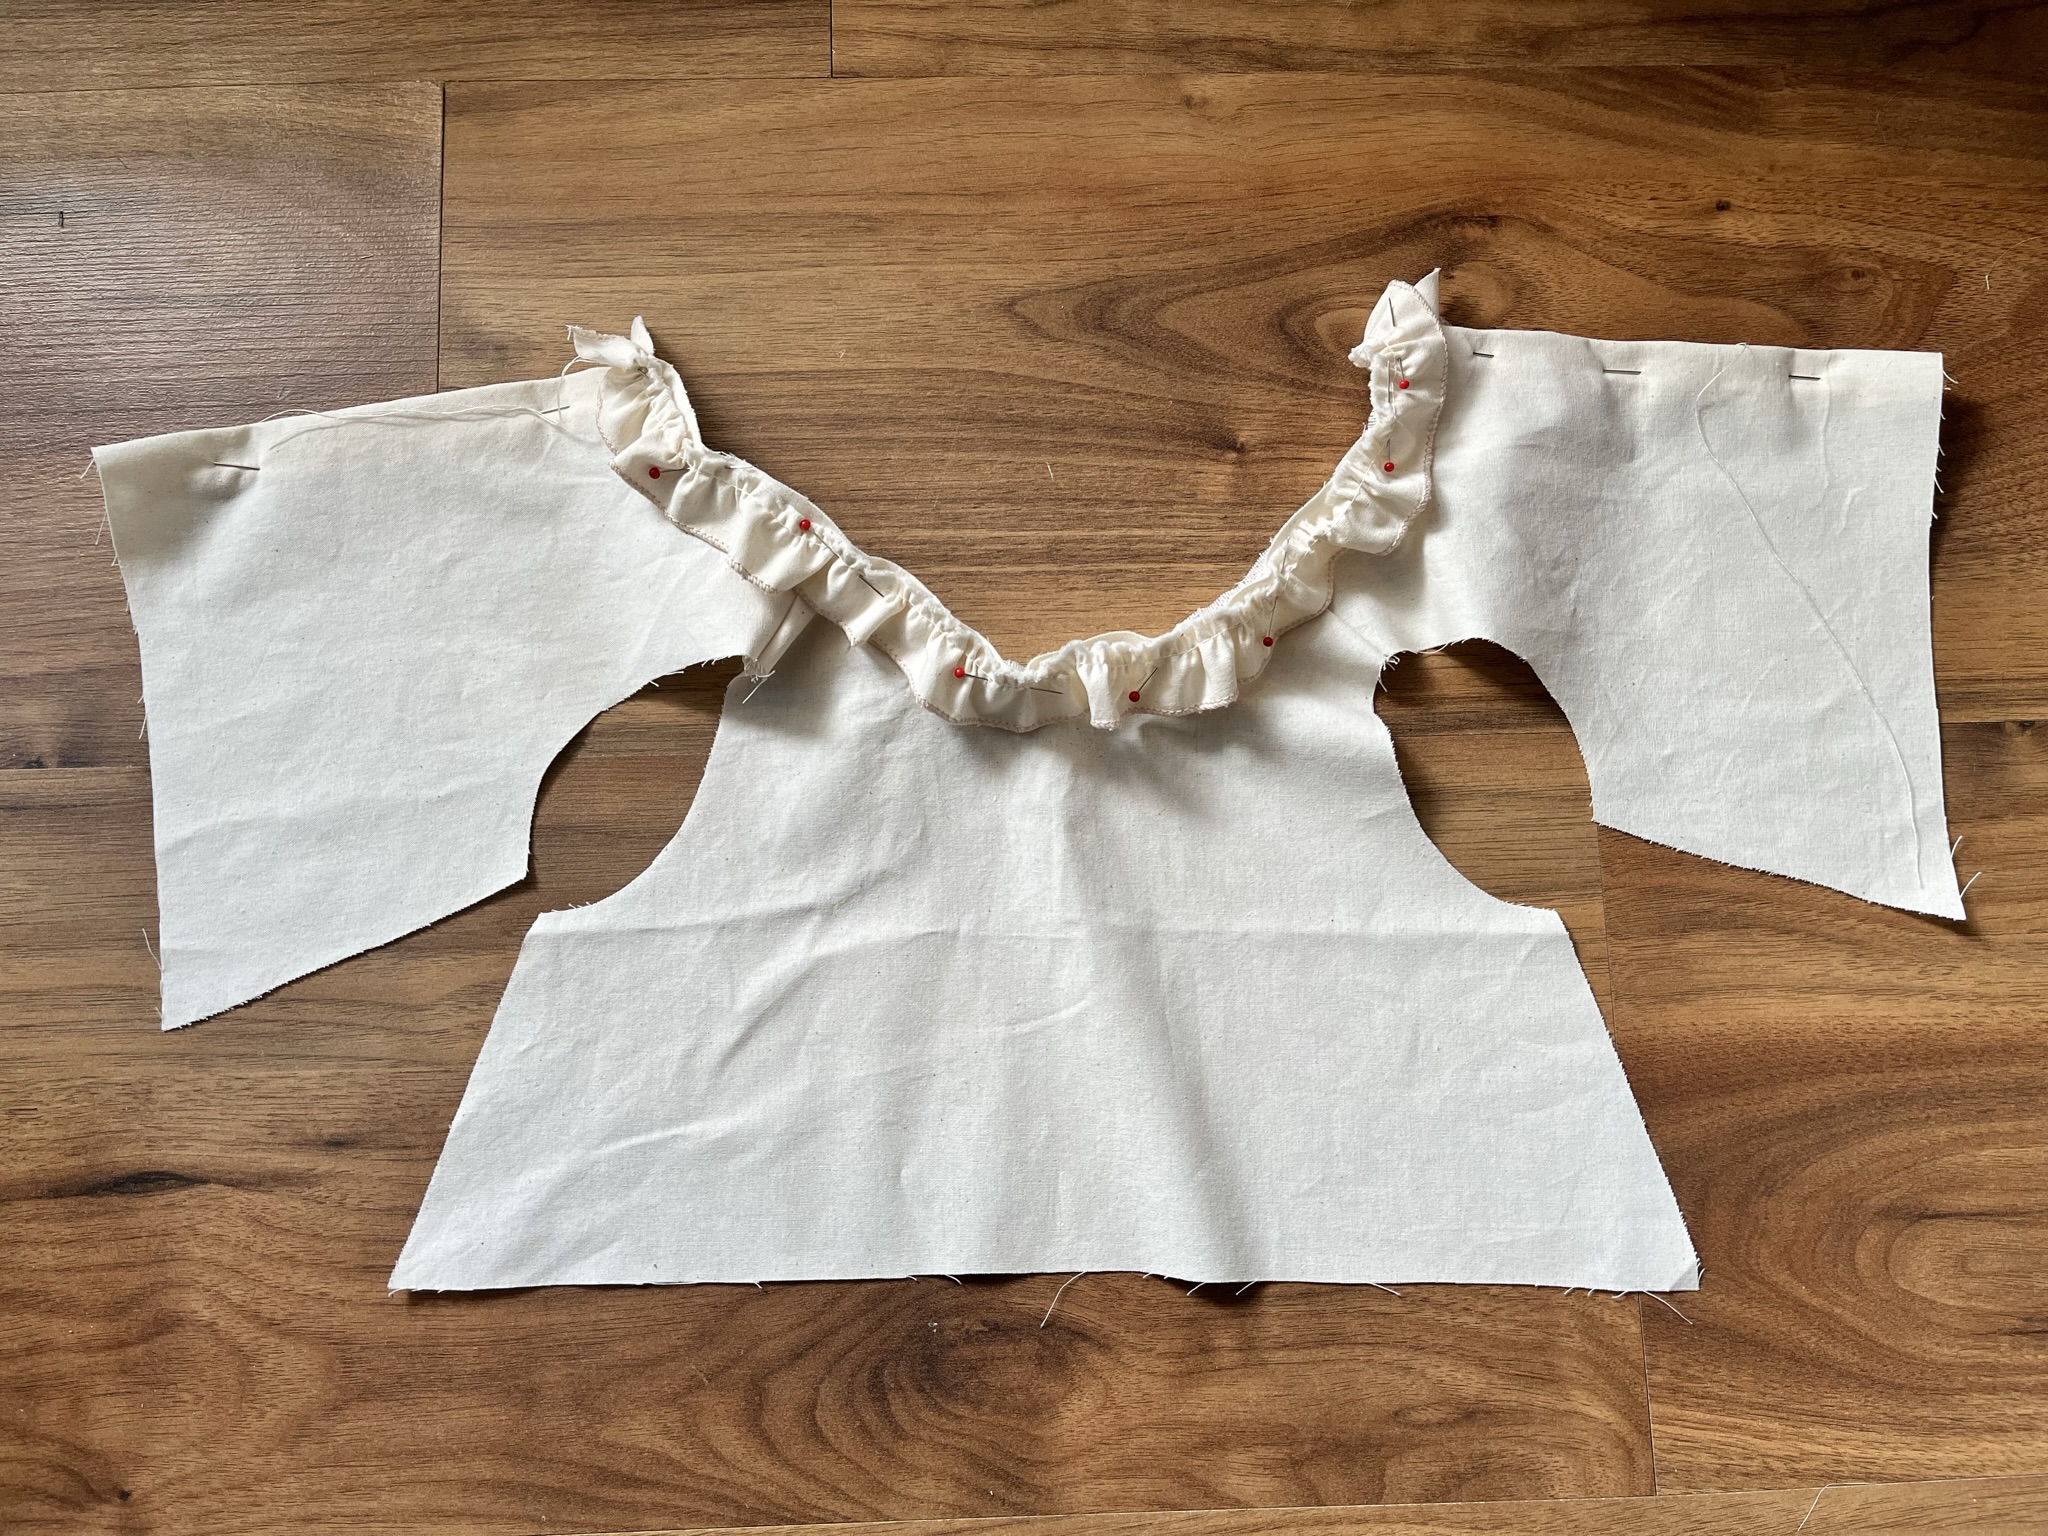
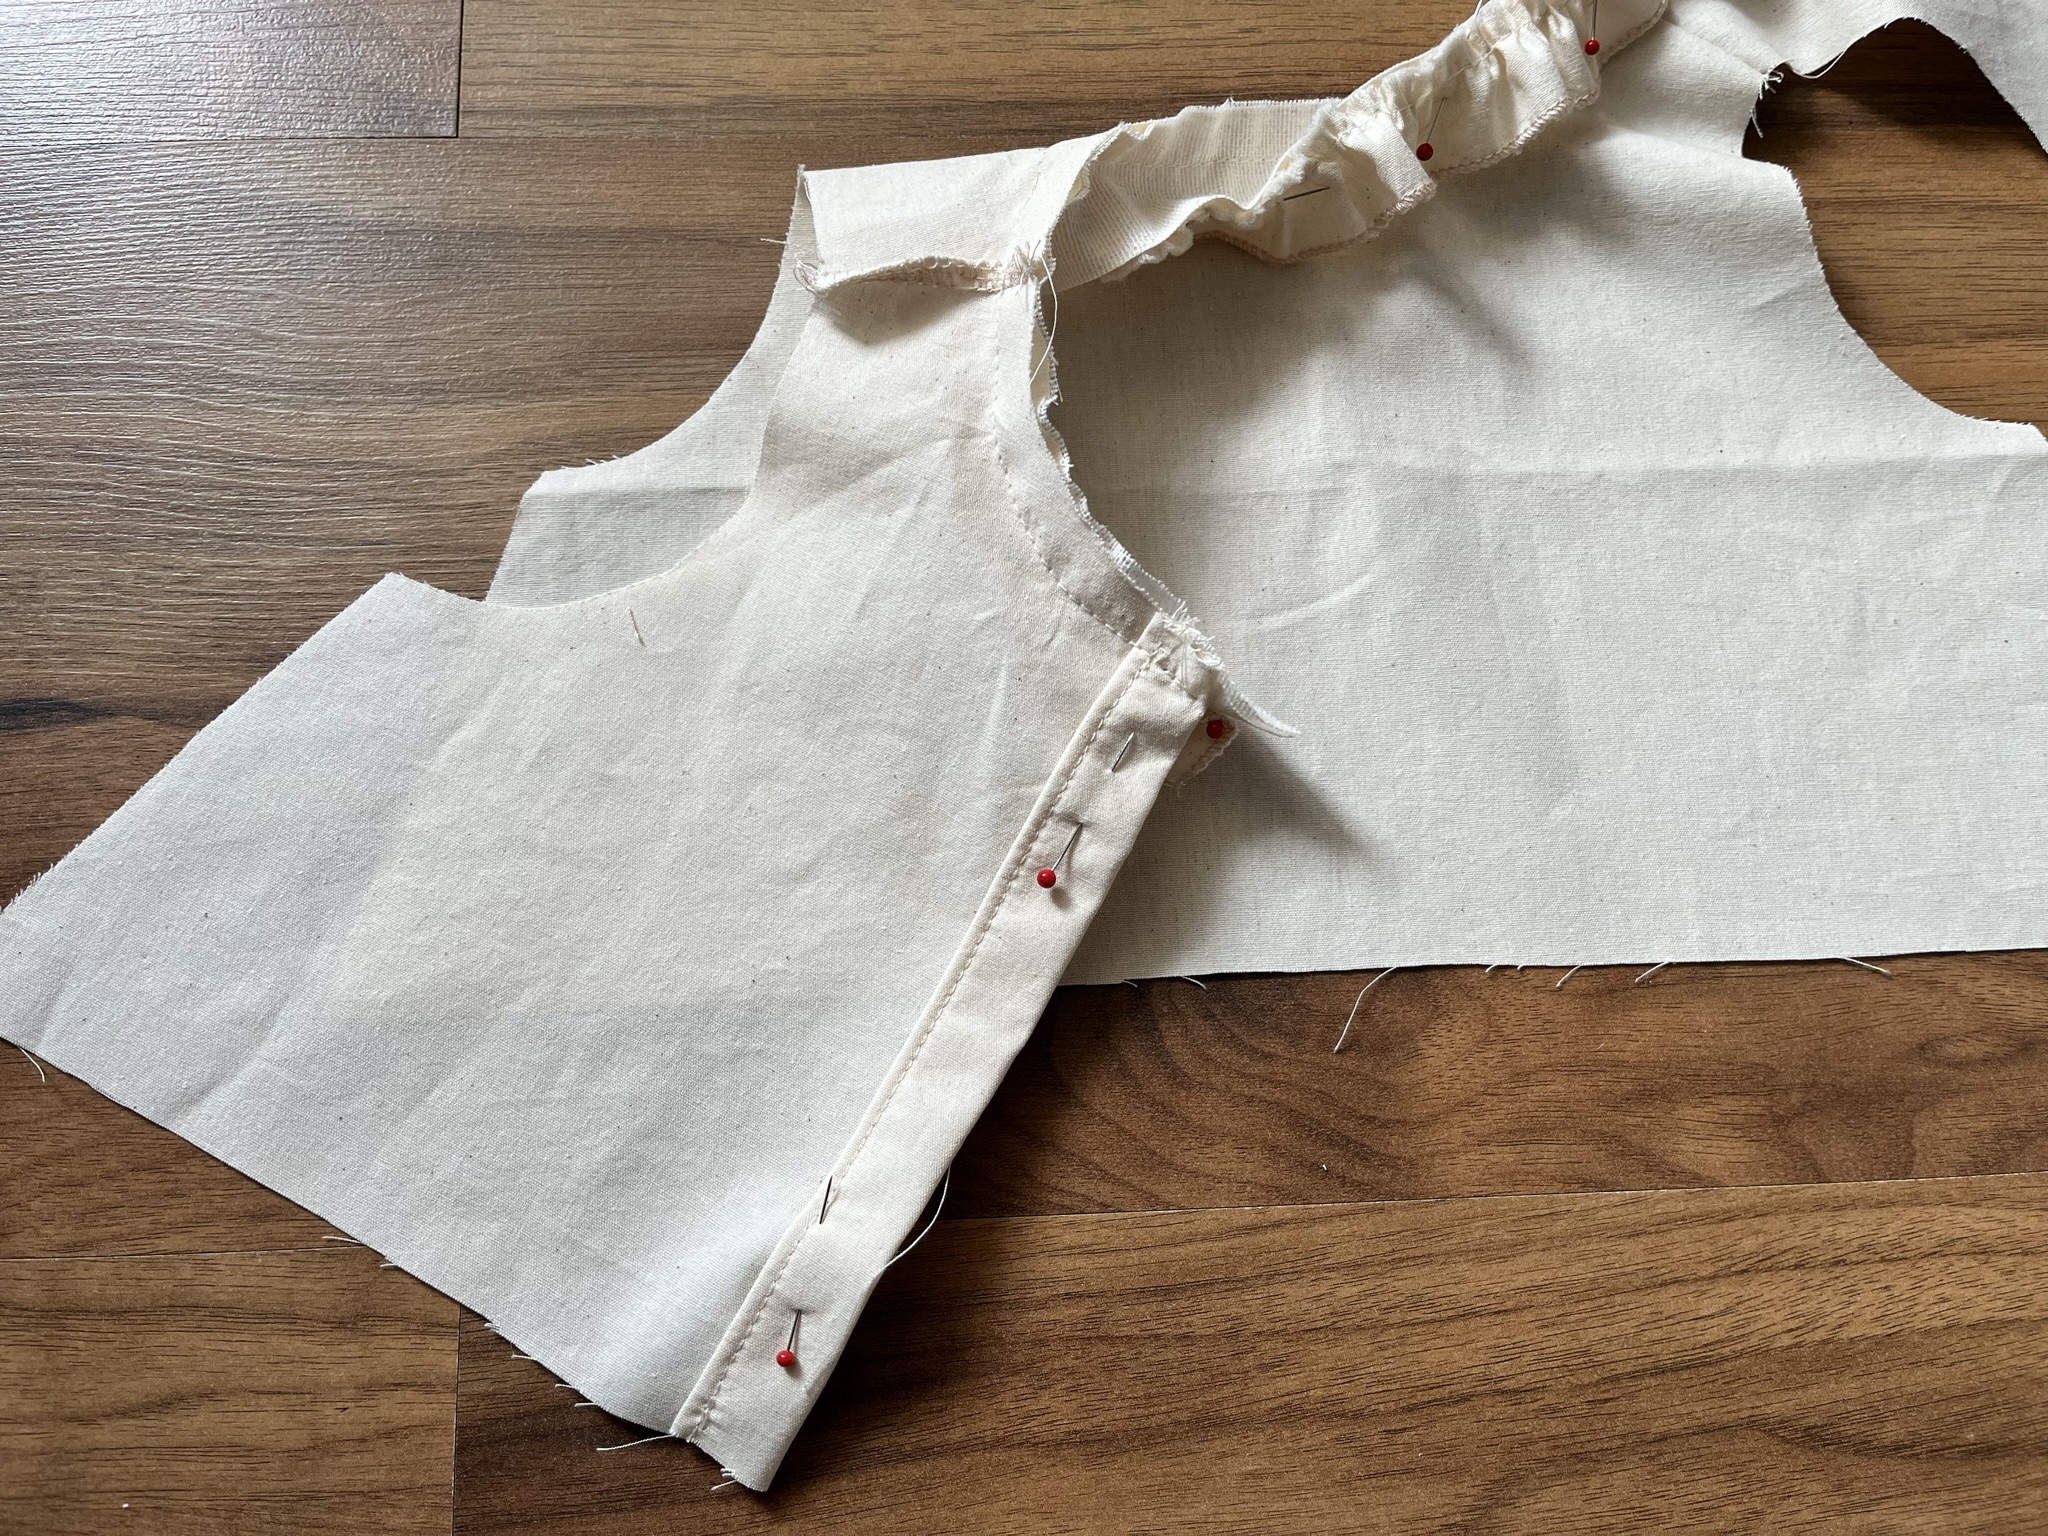
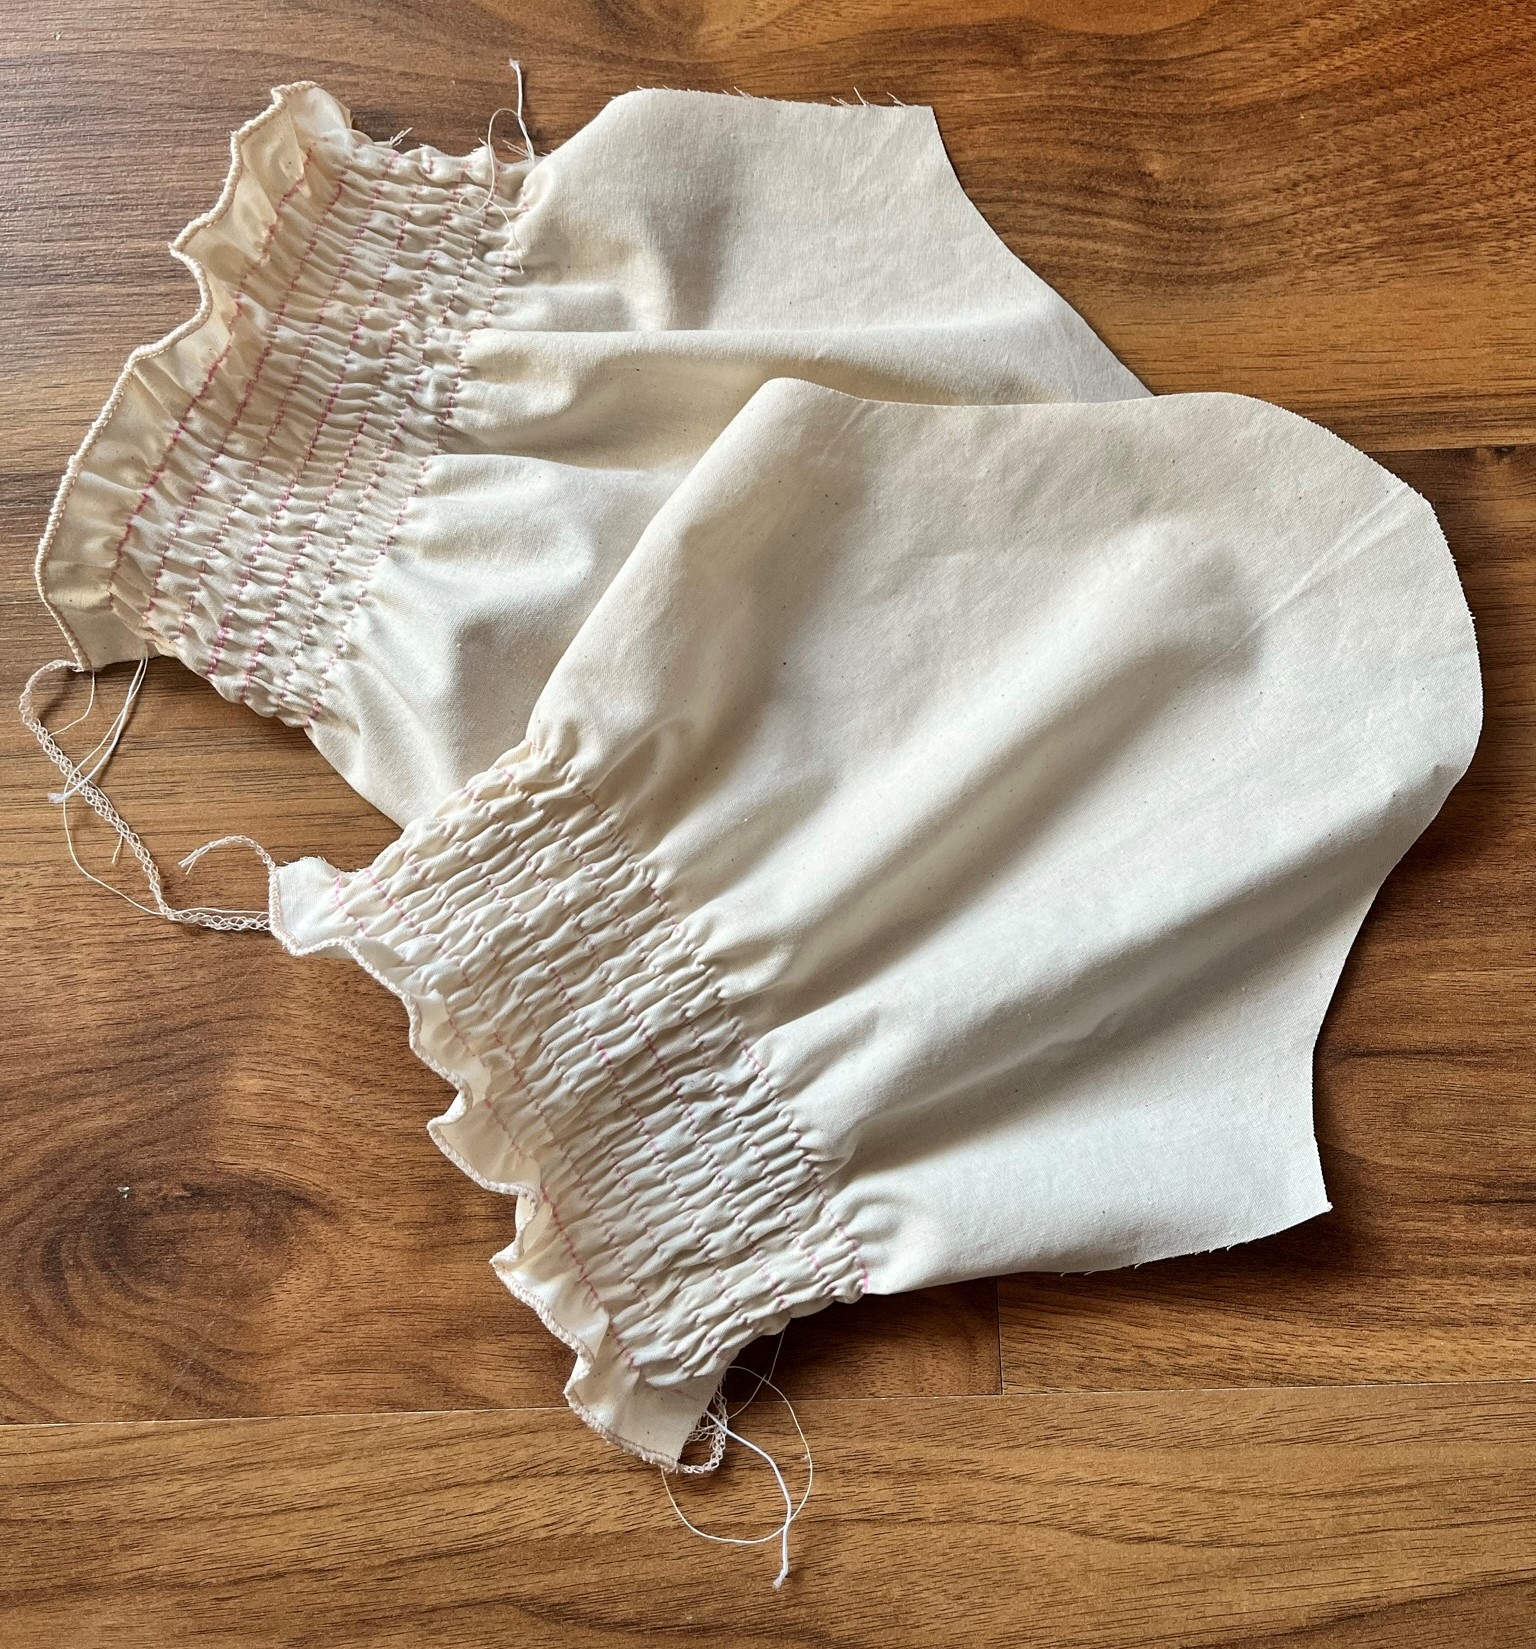
Anyway, it was super helpful that I recently made button-down shirts with the awesome pattern by Frocks and Frolics, because I already had an idea of how to make a decent collar stand.
The fabric I used is a cotton poplin in a natural, off-white color.
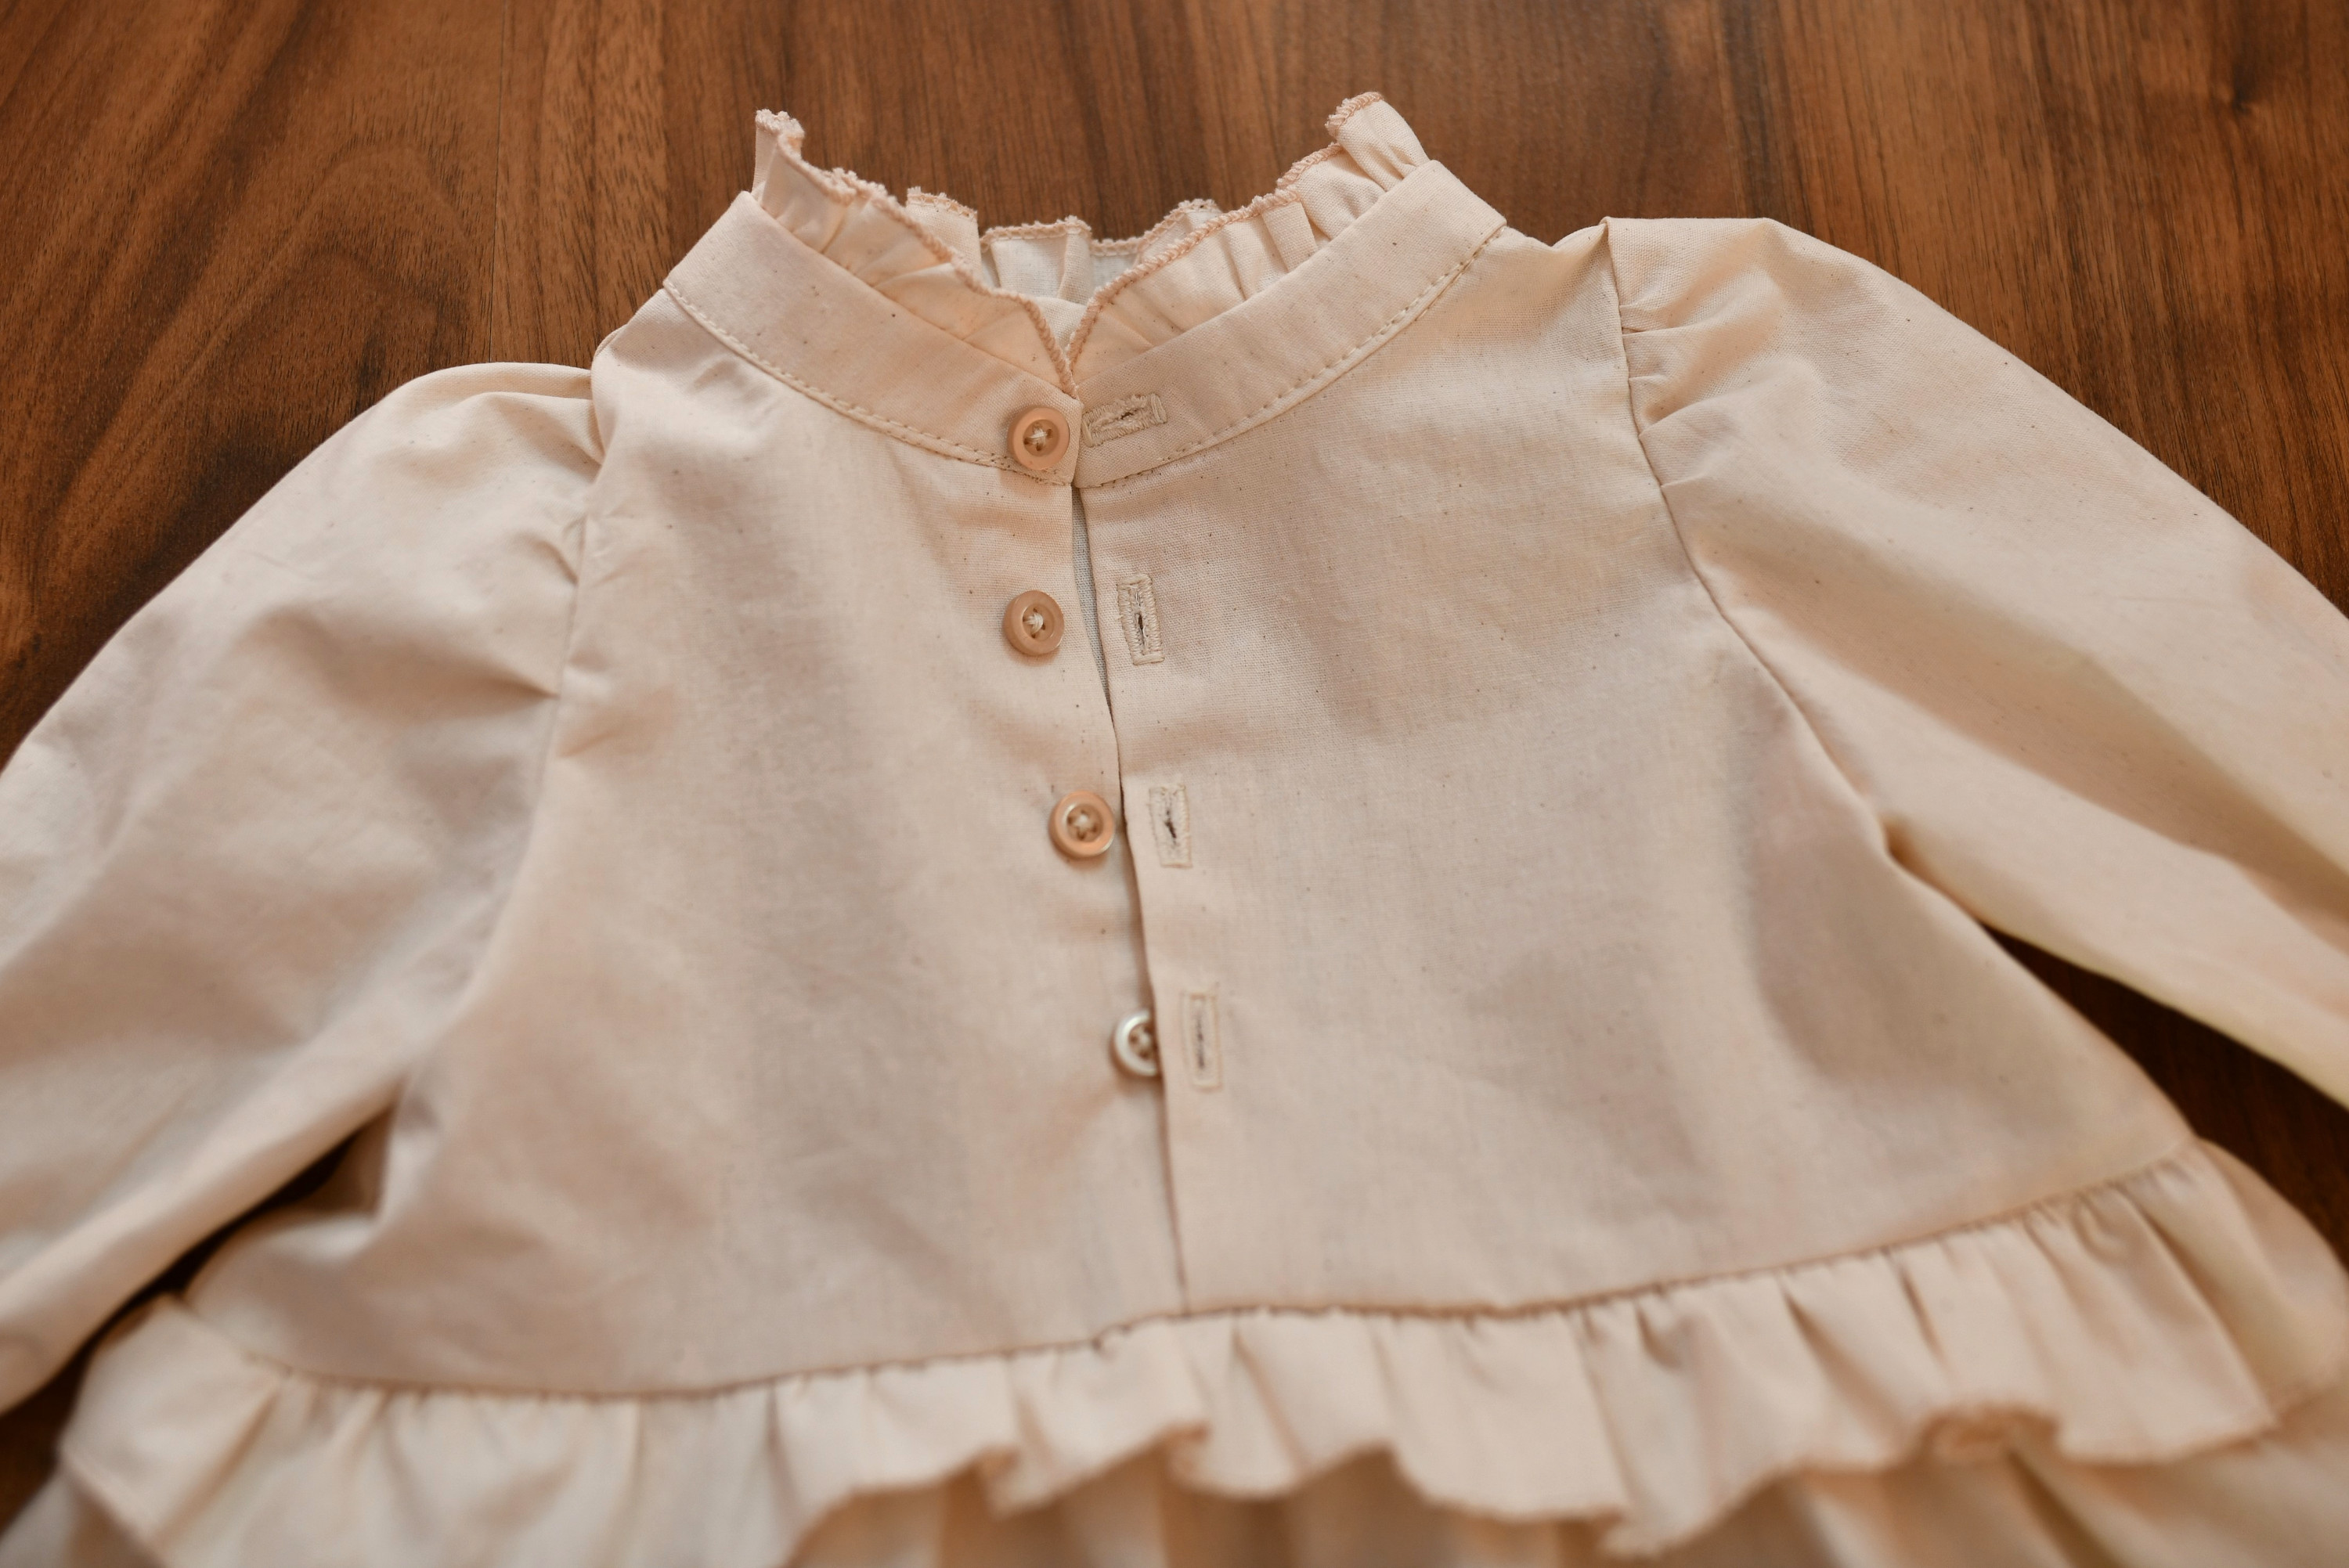
DIY baby christening dress with long sleeves, buttons, collar stand and ruffles
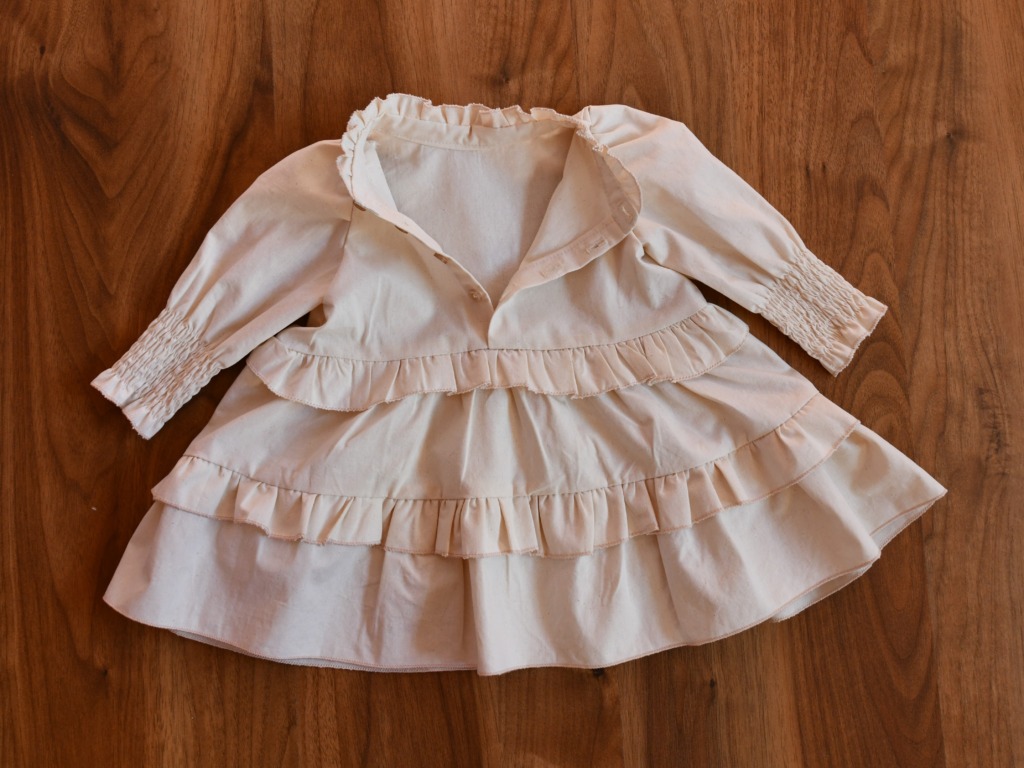
The orthodox baptism gown is usually shorter in length than a catholic one, so the dress I made is 15” long from shoulder to hem for a 4-month-old baby.
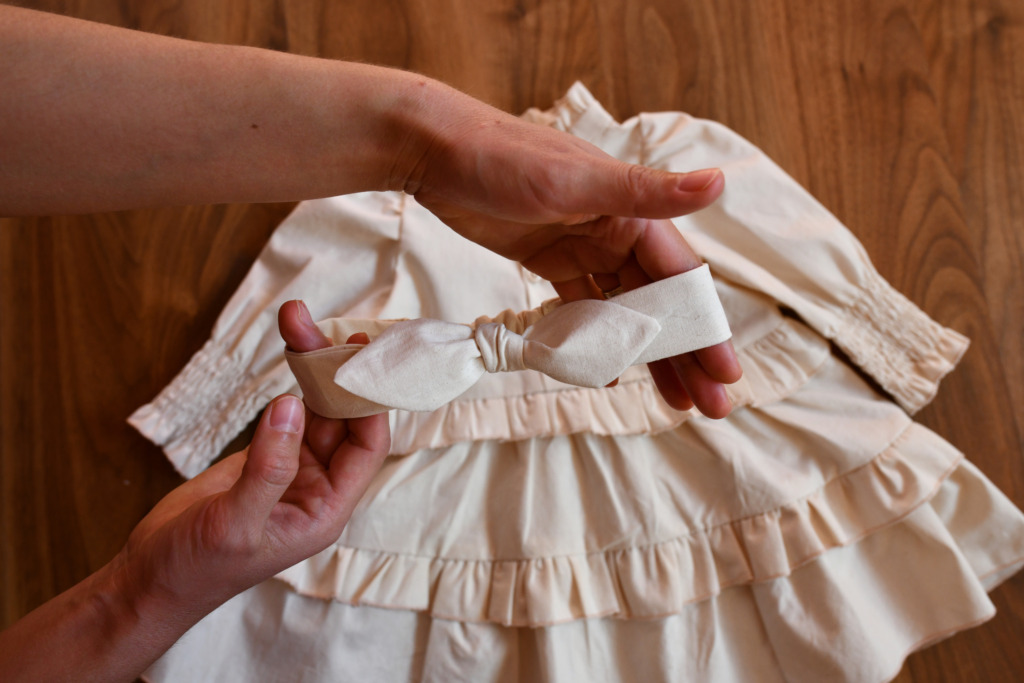
I made a matching headband for which I used this free pattern of mine. Now I’m thinking that I should share another PDF pattern because I made all the pieces smaller (both the length and width) for this baby headband.
We traveled by plane from Romania to Belgium and we barely made it to the church on time, arriving at 14:15 when the ceremony was scheduled to start at 14:00. Had we arrived later than that, the sweetest baby would’ve had to wear another dress for her special day.
You can imagine my surprise when I saw that the dress fit perfectly! The collar, the sleeves, the length… I smiled so hard the whole ceremony that my jaw hurt for a while afterward.
What a cutie!
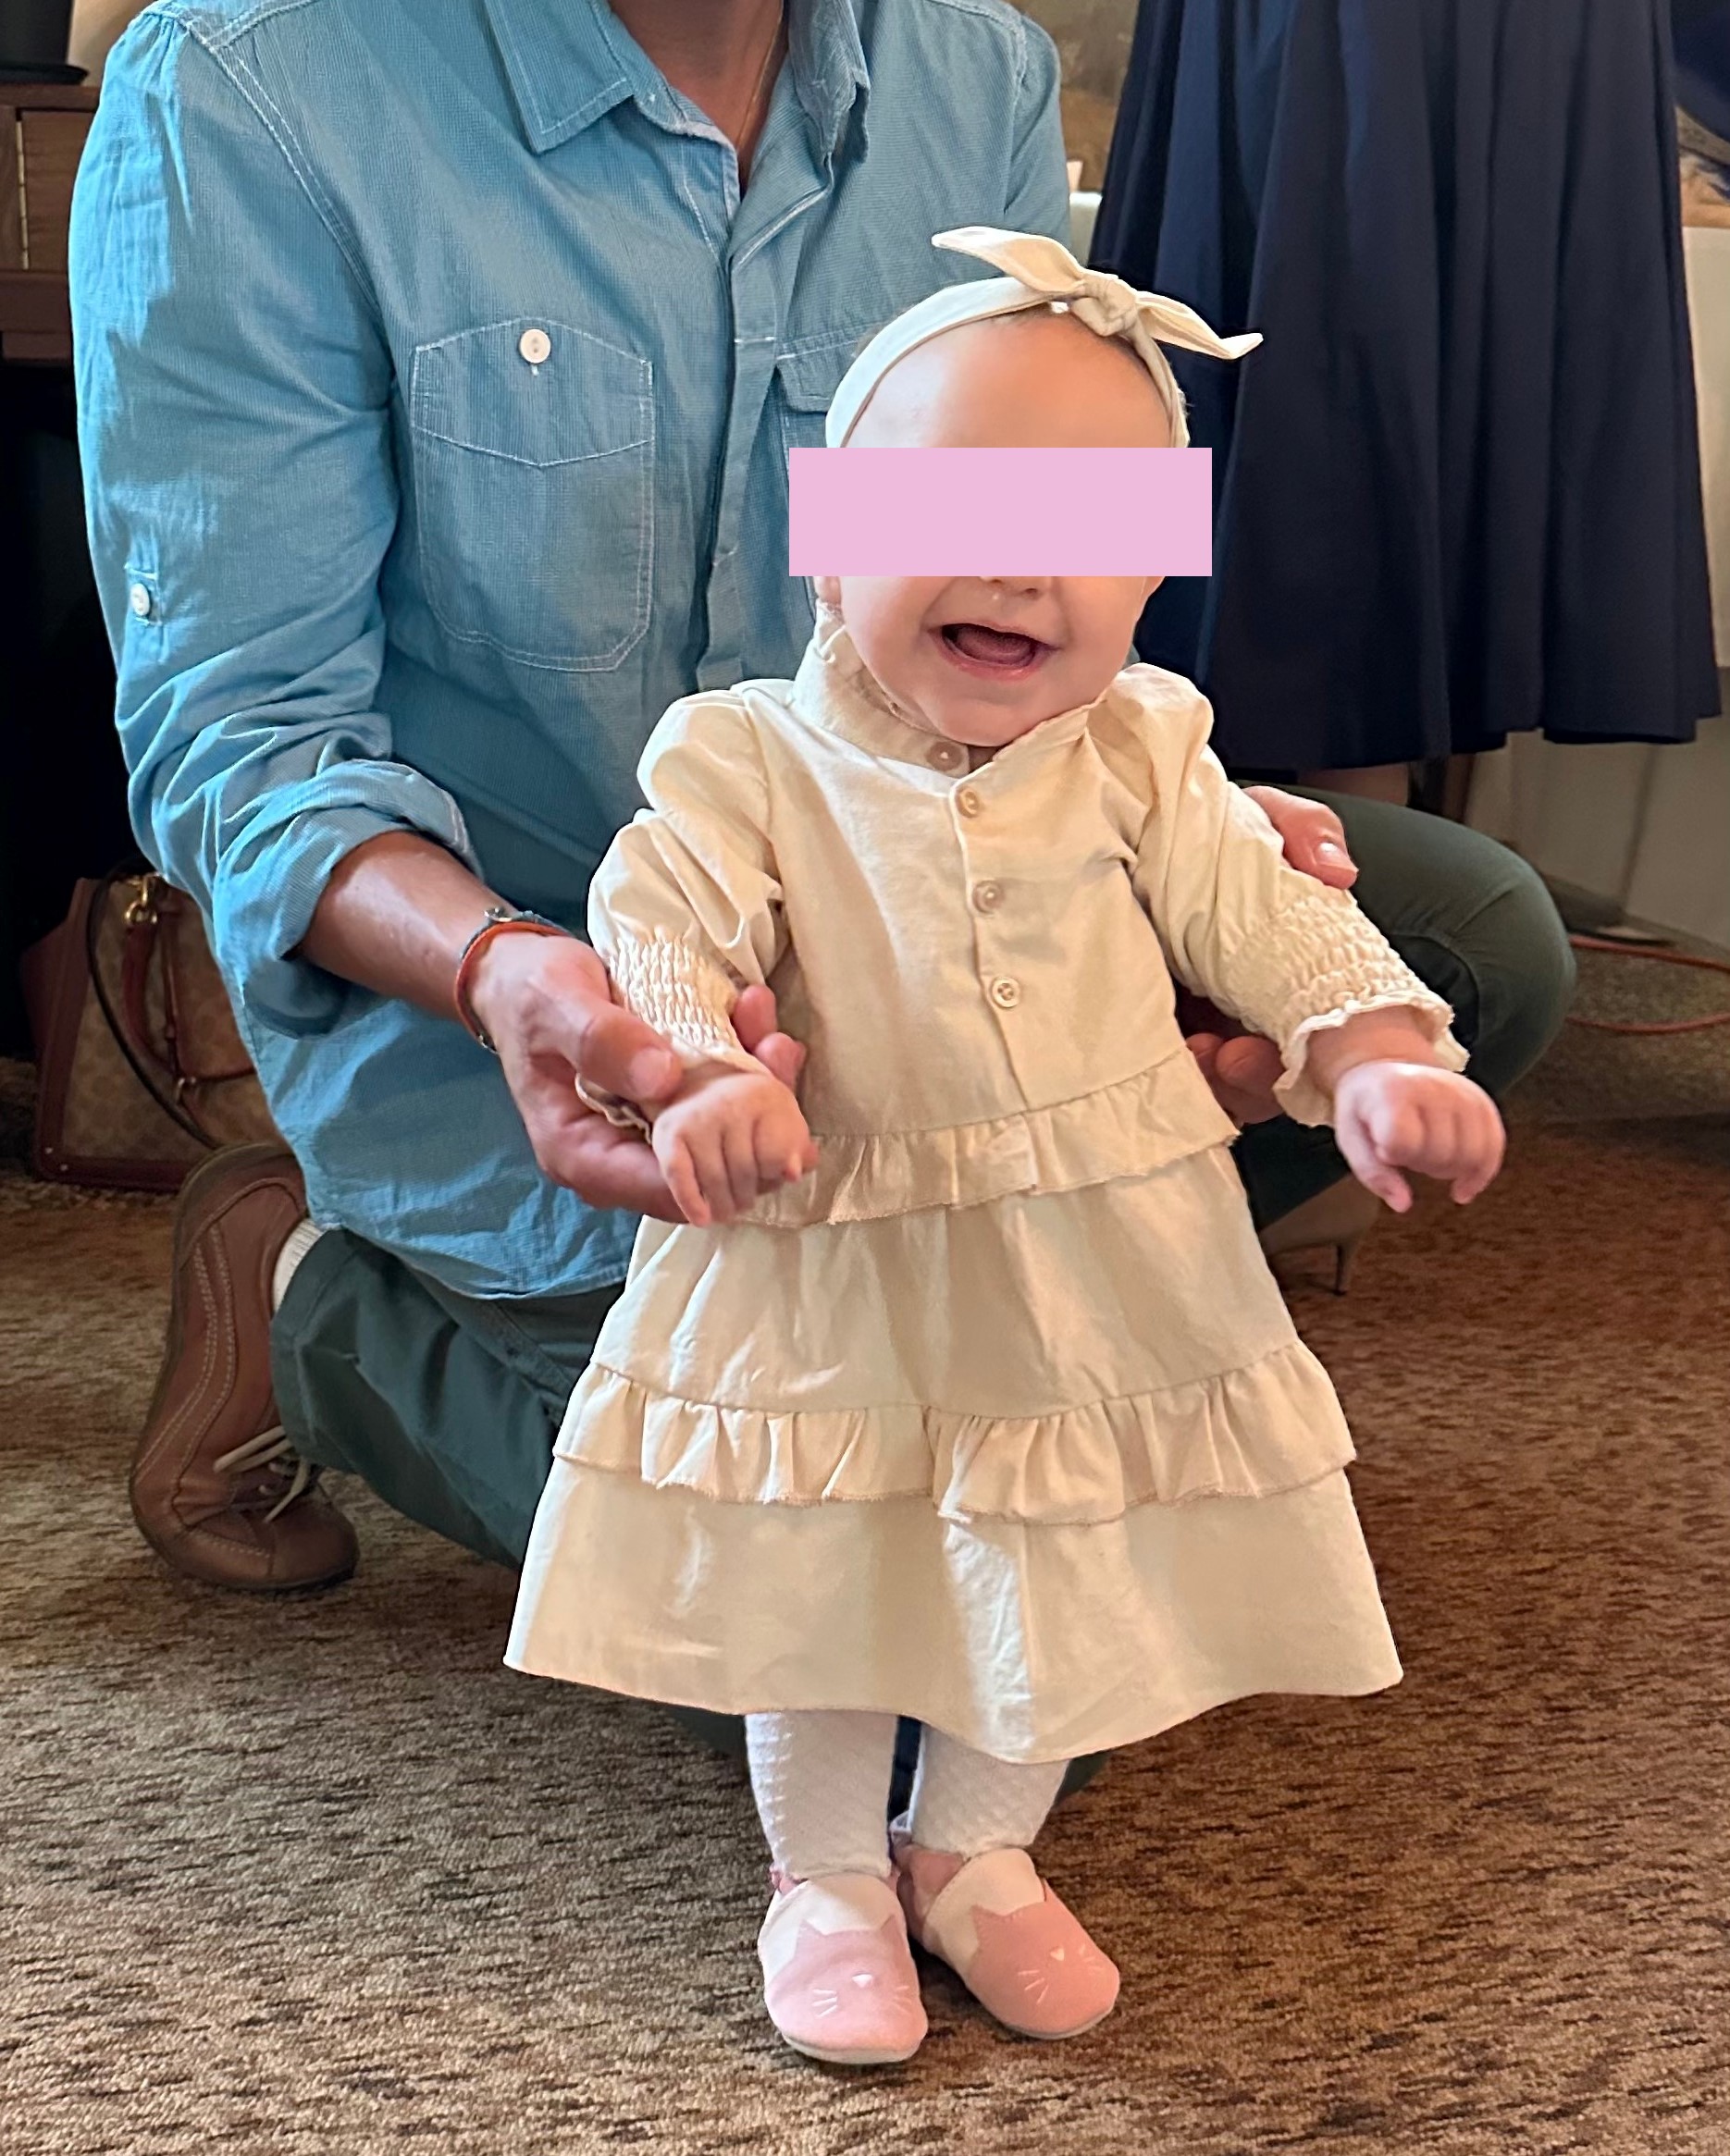
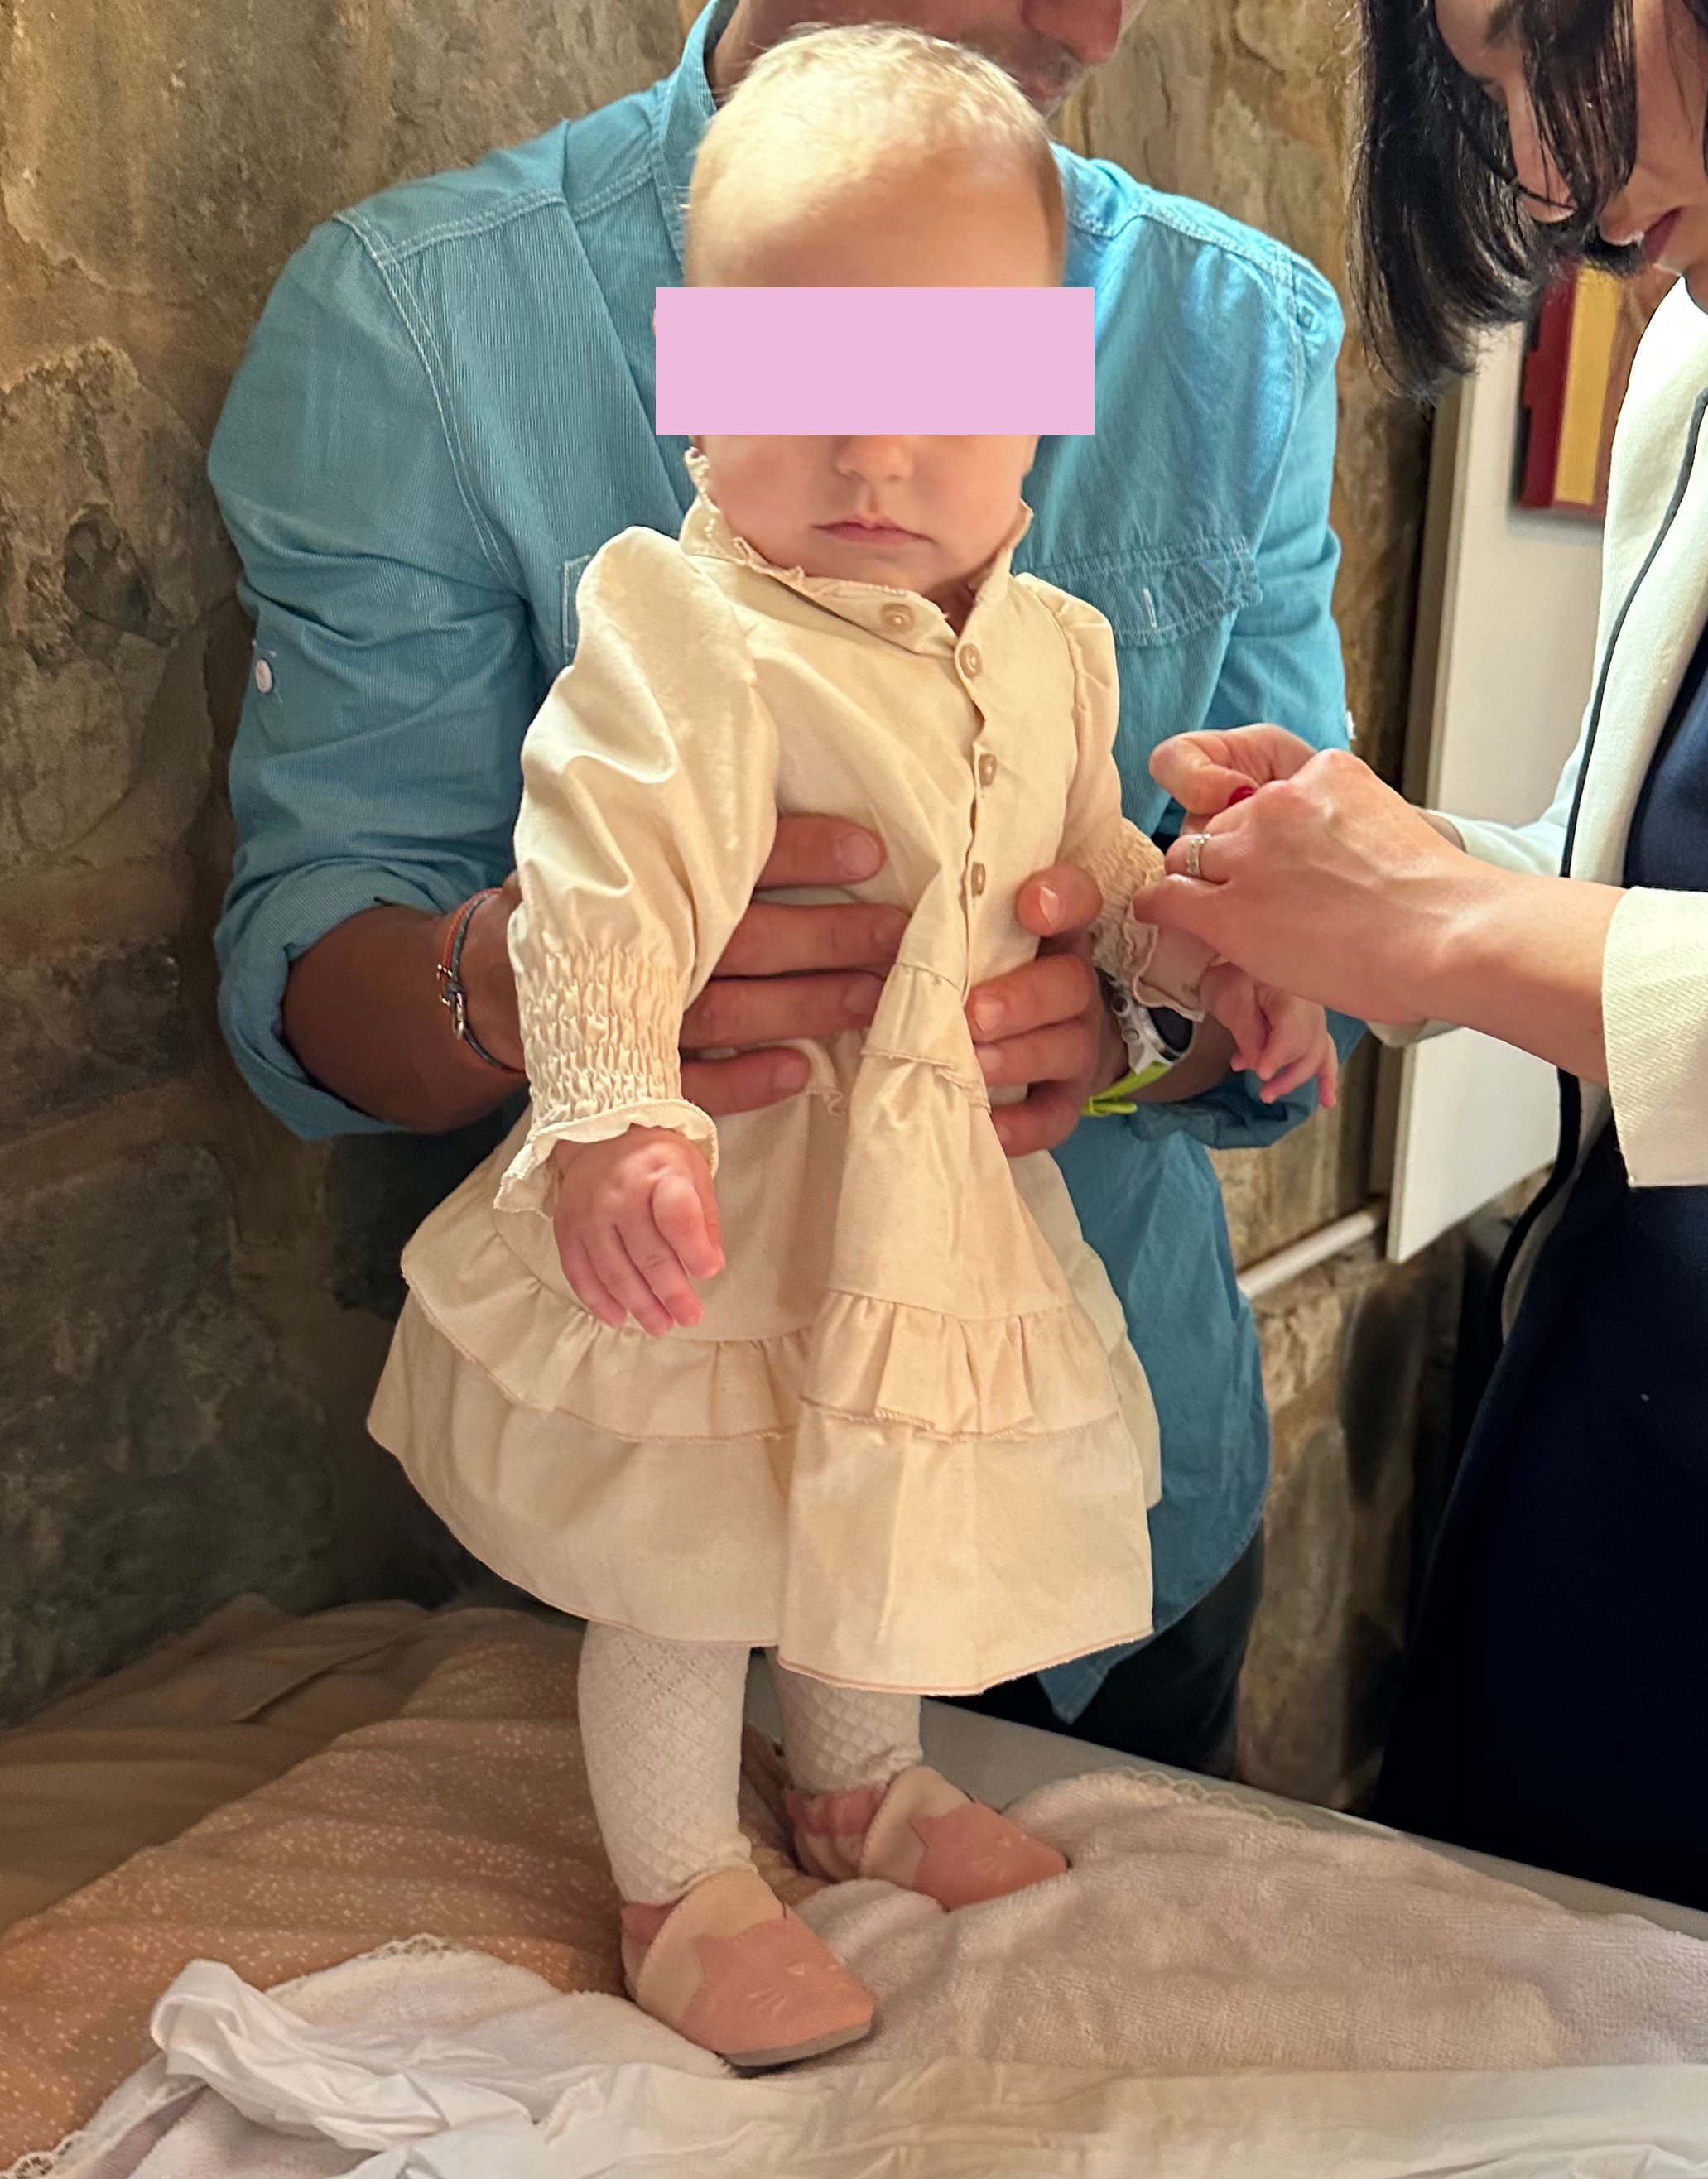
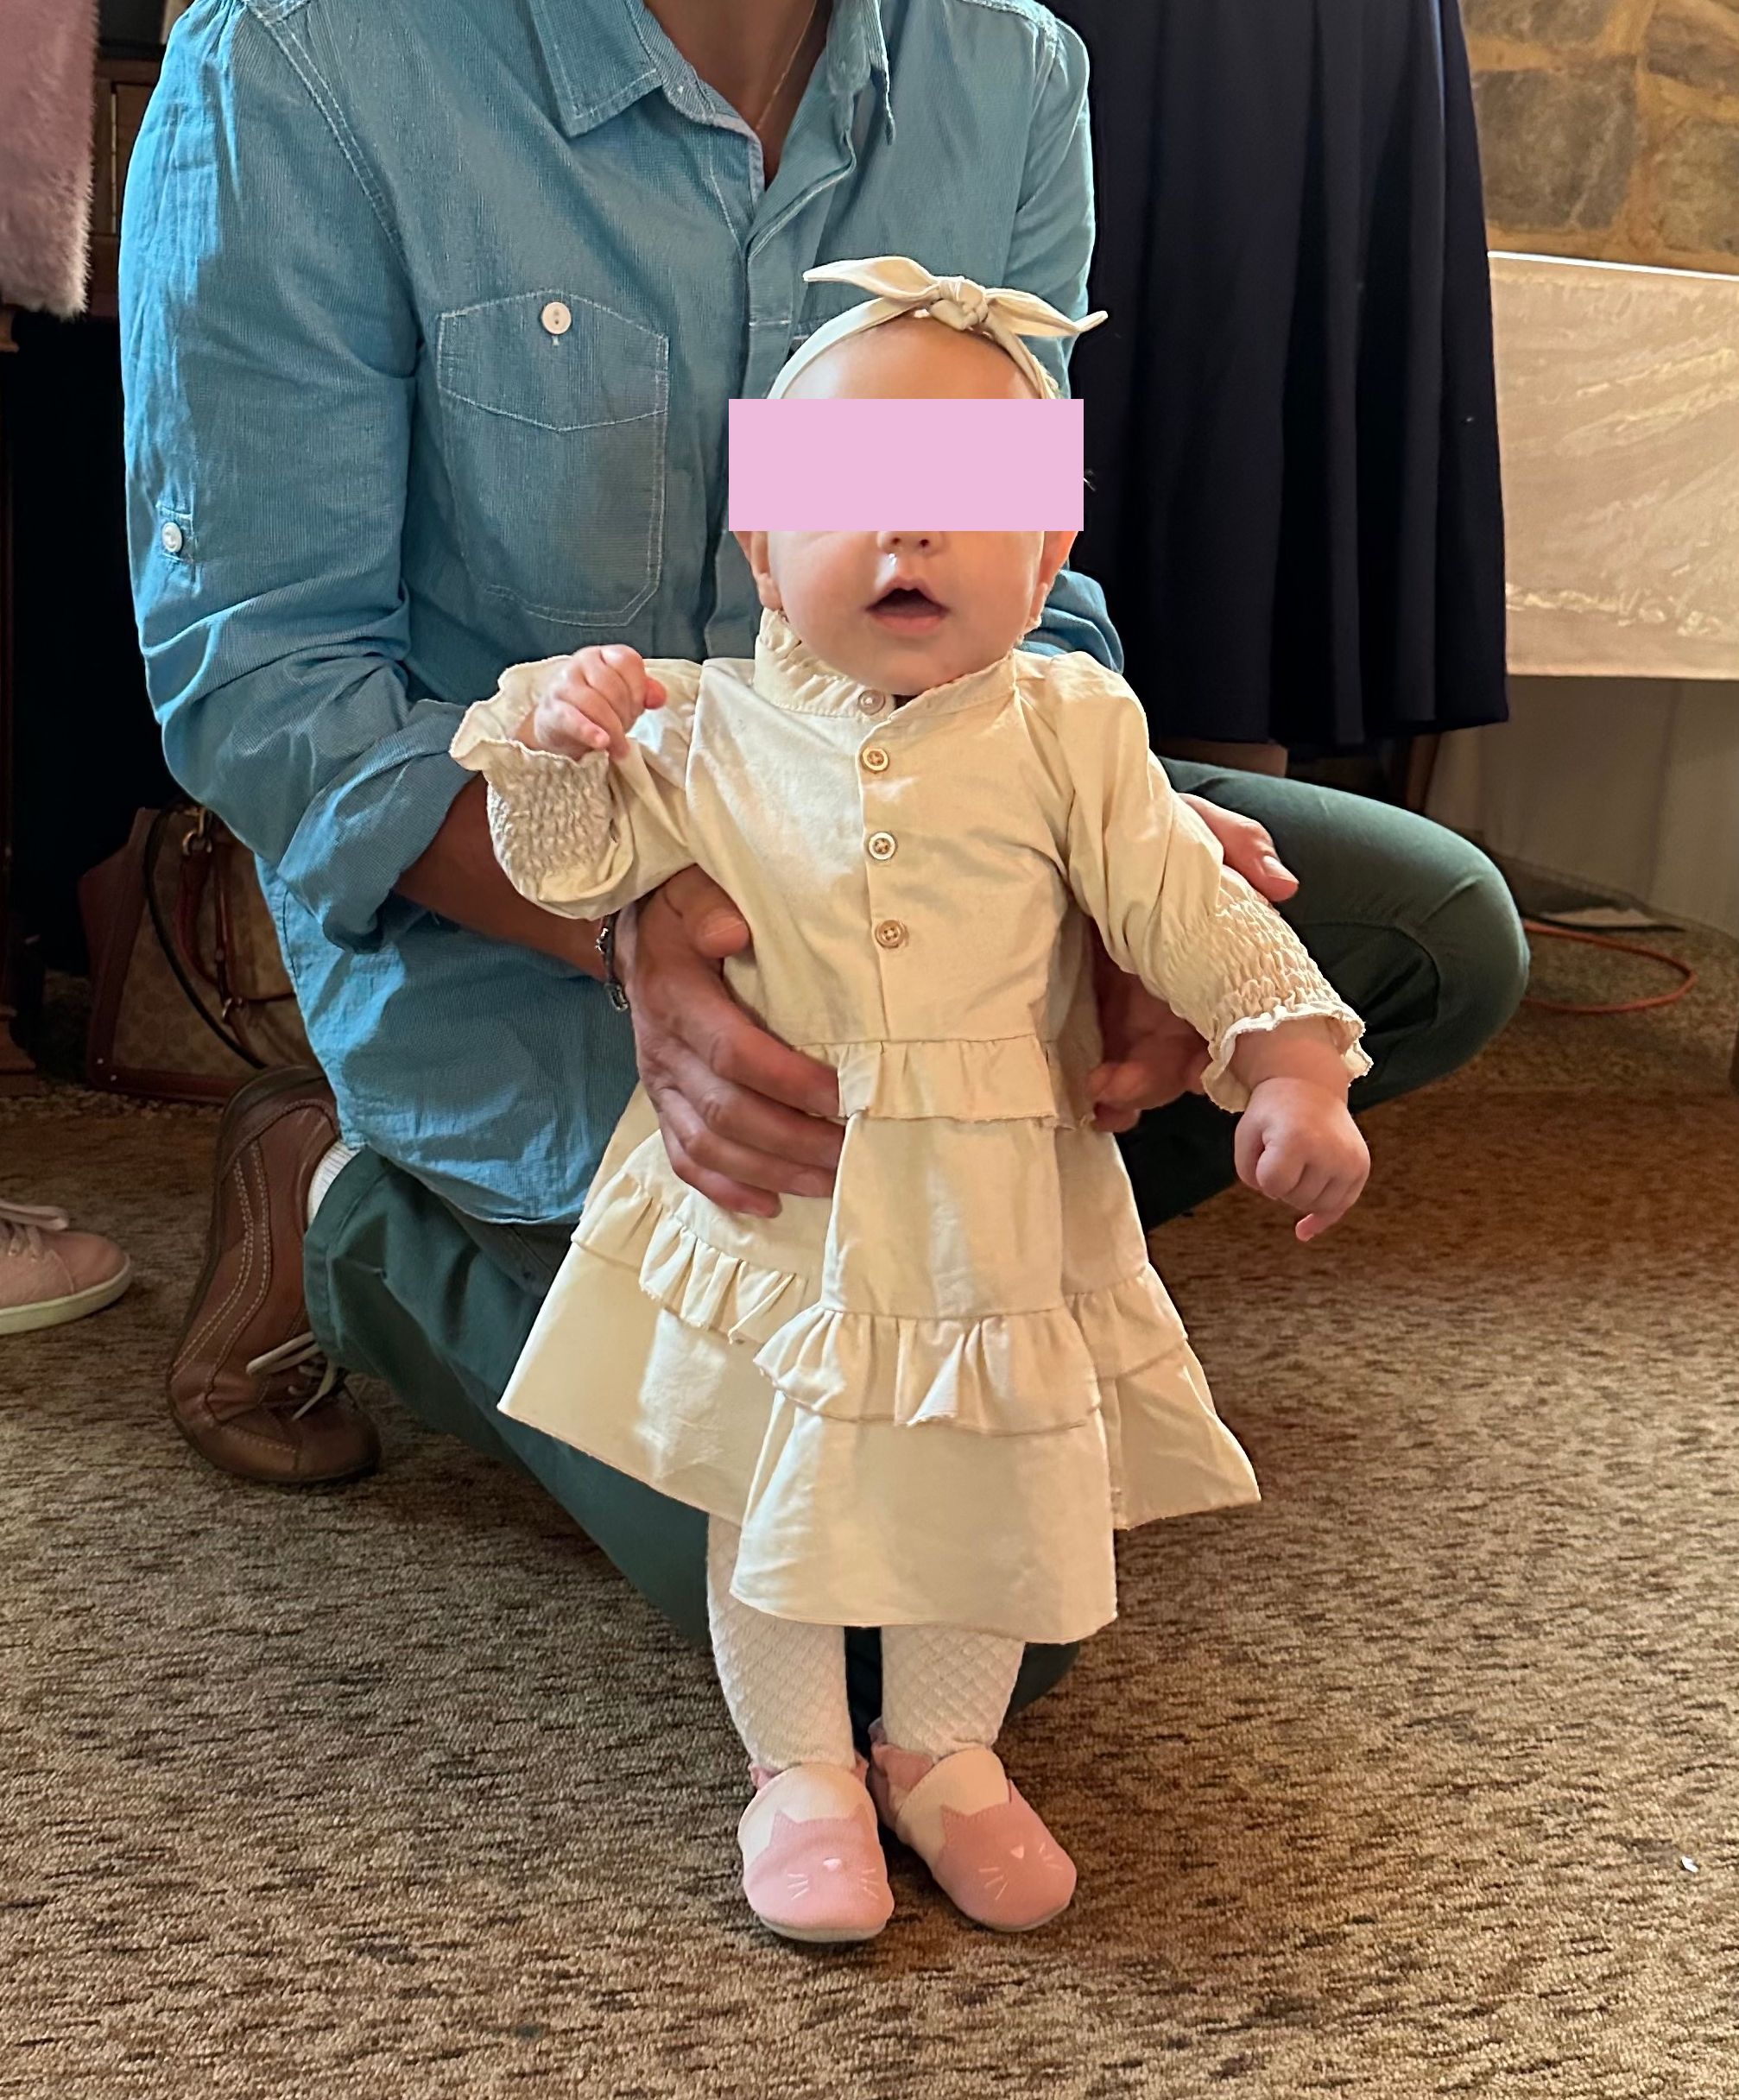
Even though I worked hard to make this dress happen, I am by no means a patternmaker or an advanced sewist so when all was said and done I had to rely on luck.
The biggest imperfection that is visible is the collar stand with those stitches. I accepted them as such and moved on.
I learned a fair bit from this project.
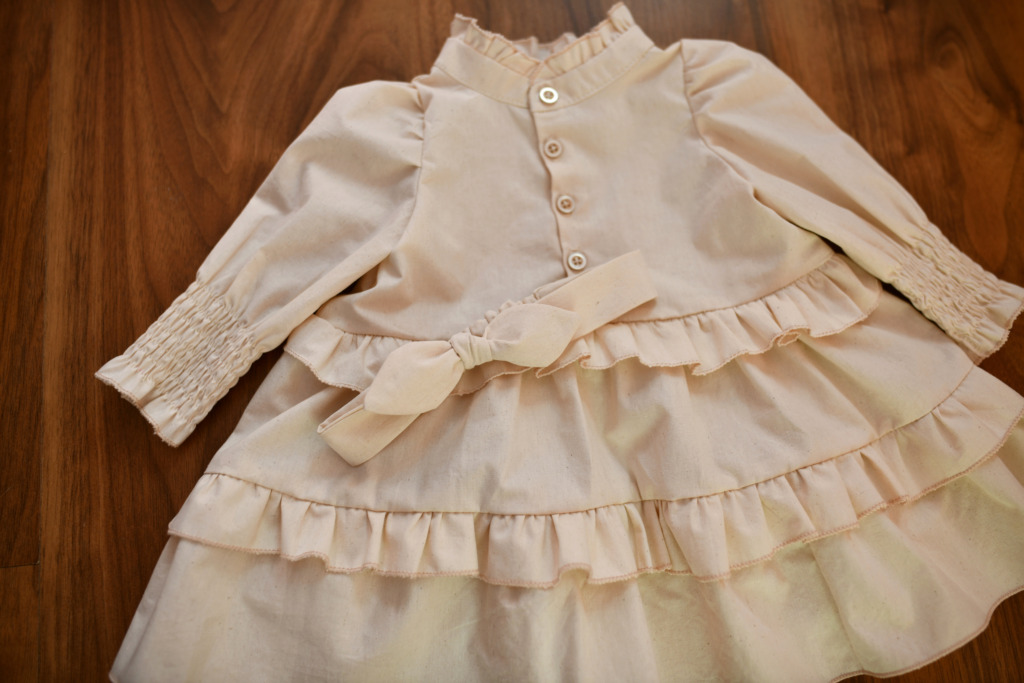
The first thing that comes to mind is that now I’m more confident with the sleeves. Well, I still don’t know what I’m doing, but I drafted different slopes for the sleeve pattern and saw first-hand what difference that little detail can make.
Let’s keep in touch! You can find me on Facebook, Instagram, and Pinterest.

Related posts