Learn how to sew your own cloth napkins with this easy tutorial. This simple sewing project is perfect for beginners and allows you to create beautiful linen/cotton blend napkins that are soft, absorbent, and eco-friendly. Reduce waste, save money, and add a charming touch to your dining table with these reusable cloth napkins. The project requires just fabric squares and a few straight stitches to finish.
Paper napkins may be cheap, but cloth napkins surely do have their charm. They will look great on your dining table on any occasion. It’s the small details that make the difference.
Making cloth napkins is a simple way to reduce waste at home, make your lifestyle more environmentally conscious, and eventually save money, since the cloth napkins usually last for many years before they wear out.
And they look so much prettier than paper napkins!
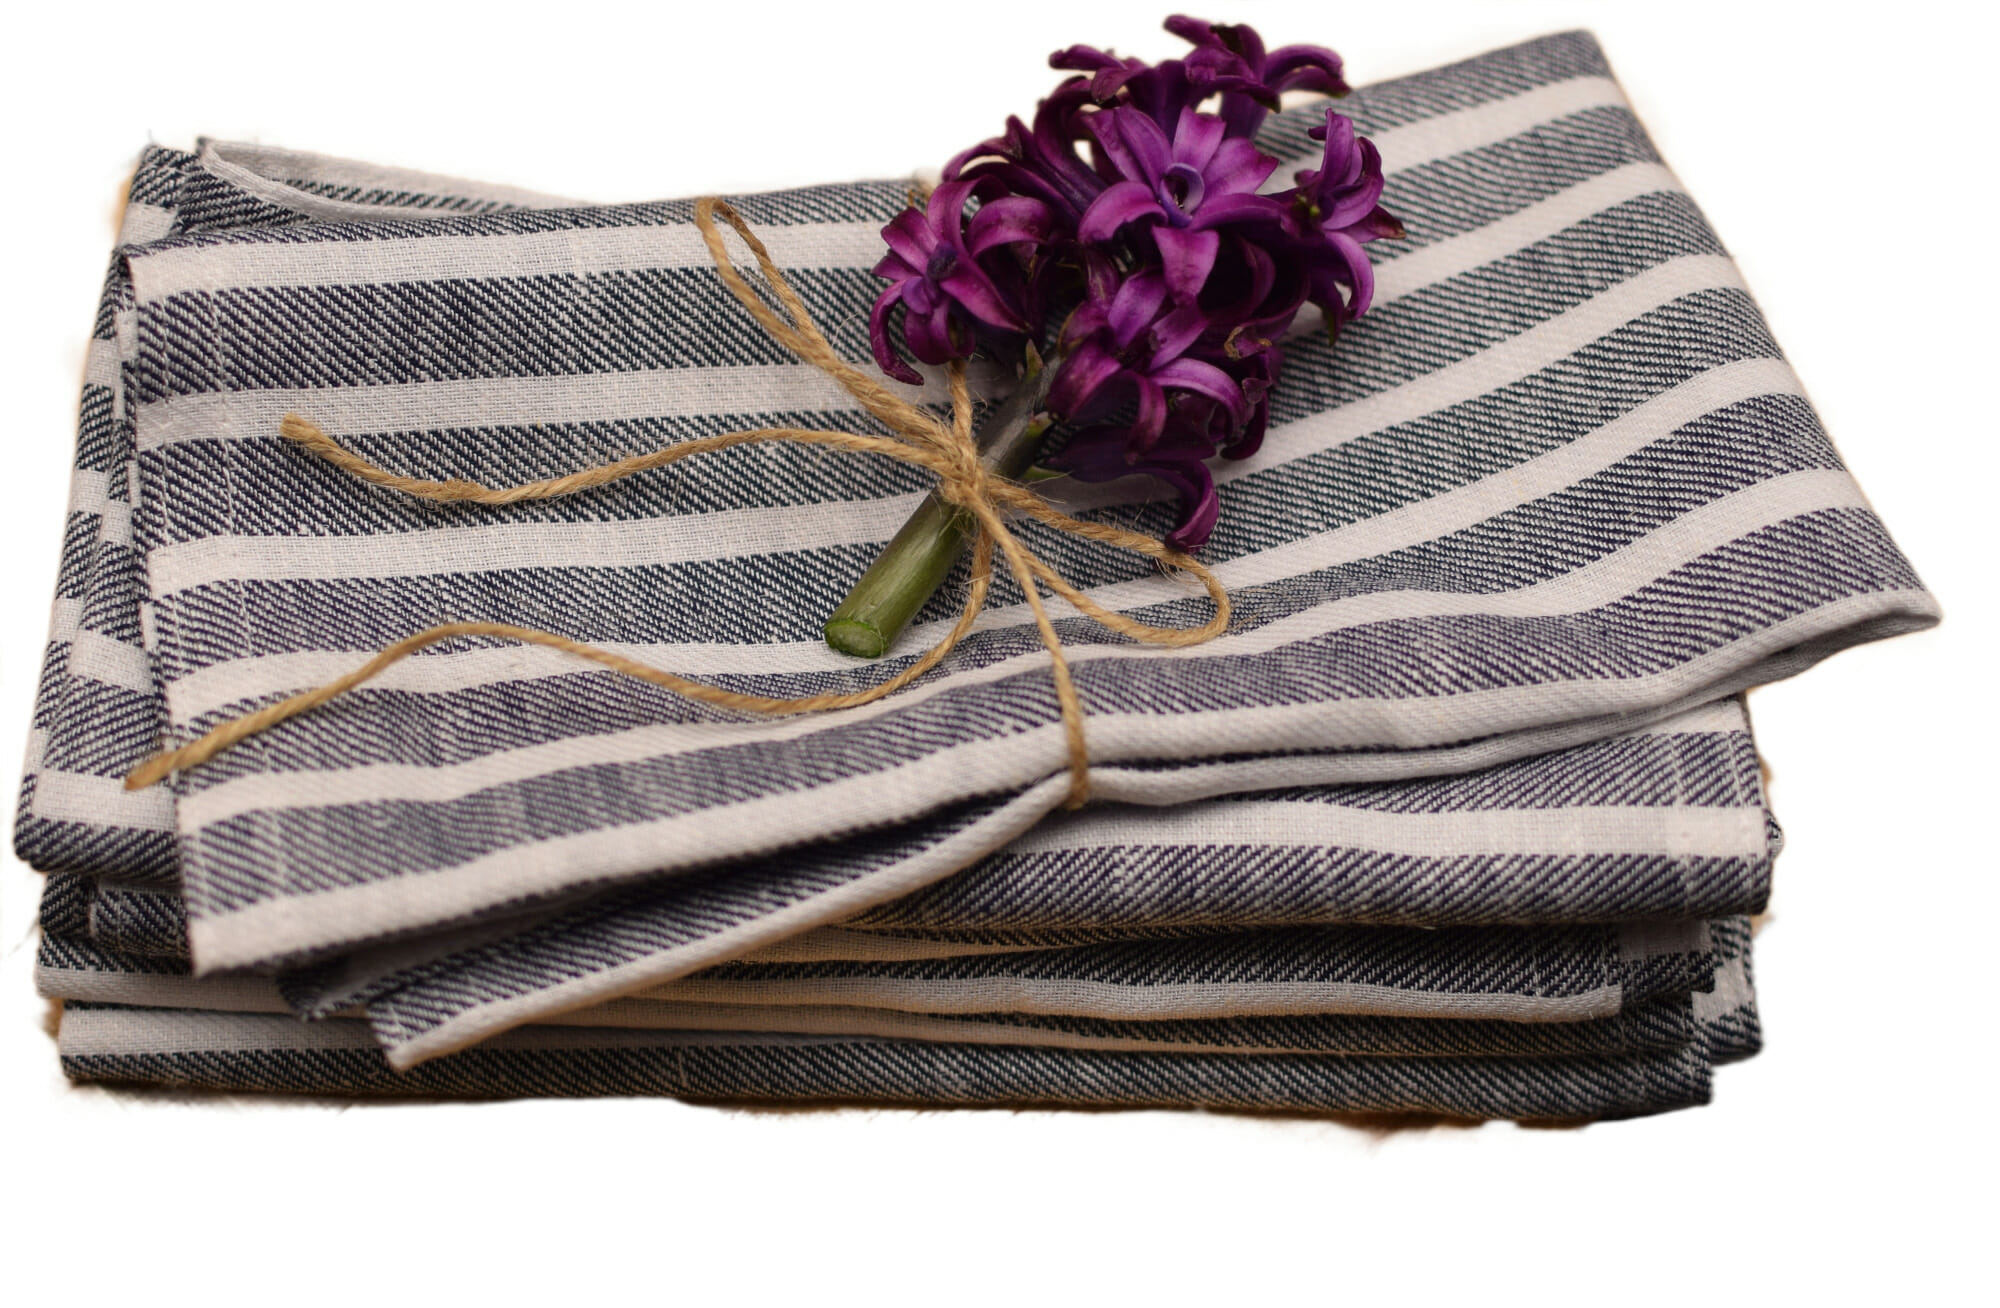
My linen/cotton blend napkins are soft and absorbent and great for everyday use.
Here’s how to make linen napkins with mitered corners, the easy way.
So, is it better to use paper napkins or cloth napkins?
There are pros and cons to each choice. In truth, both can be harmful to the environment.
Disposable paper napkins are environmentally unfriendly because they can never be recyclable. You use them only once and then add trash to crowded landfills.
Cloth napkins can also have a significant environmental impact because producing cotton is not a very eco-friendly process. Besides, you have to use water, detergent, and energy to wash them. However, the extra washing costs for the cloth napkins are rather insignificant, since they take up almost no space in the washing machine – you can just toss them in with other loads of laundry.
Therefore, I’d go with cloth napkins as a way to help save the environment, since they are reusable and long-lasting.
Related: How to make reversible fabric coasters / DIY 10-minute placemats
Do cloth napkins save money?
I think reusable cloth napkins are better than the paper ones if you are trying to save money long term. In spite of the larger initial expense, cloth napkins are certainly cheaper over time, as they last for many years.
What is the best material for making cloth napkins?
Cotton, linen and blended fabrics are very good choices for this sewing project. Linen and cotton fabrics are as beautiful as they are functional, soft and absorbent.
That being said, a blend with at least 80% natural fiber will give you the best features of both polyester and cotton/linen fabrics. This type of napkins will need less ironing to remove wrinkles, will retain their shape well and they’ll be easier to care for, in general.
What size should cloth napkins be?
Cloth napkins can be made in various sizes, ranging from a small 10-inch square napkin to a large 22-inch square dinner napkin.
Although their sizes may vary, depending on their use, all cloth napkins are square.
The most common sizes for table napkins are 12 inches by 12 inches, 14 inches by 14 inches, 18 inches by 18 inches, and 22 inches by 22 inches.
How much fabric do you need for cloth napkins?
From 1 yard of a 44- or 45-inches wide fabric, you can make:
- 12 small napkins (10 x 10 inches)
- or 6 luncheon napkins (14 x 14 inches)
- or 4 napkins (approx. 18 x 18 inches)
- or 2 large dinner napkins (22 x 22 inches)
Keep in mind that the finished size may vary slightly. For example, you can certainly squeeze four 18” squares in 1 yard of fabric (36 x 45 inches), but the finished size of the napkins will be approx. 17 x 17 inches.
How to make cloth napkins
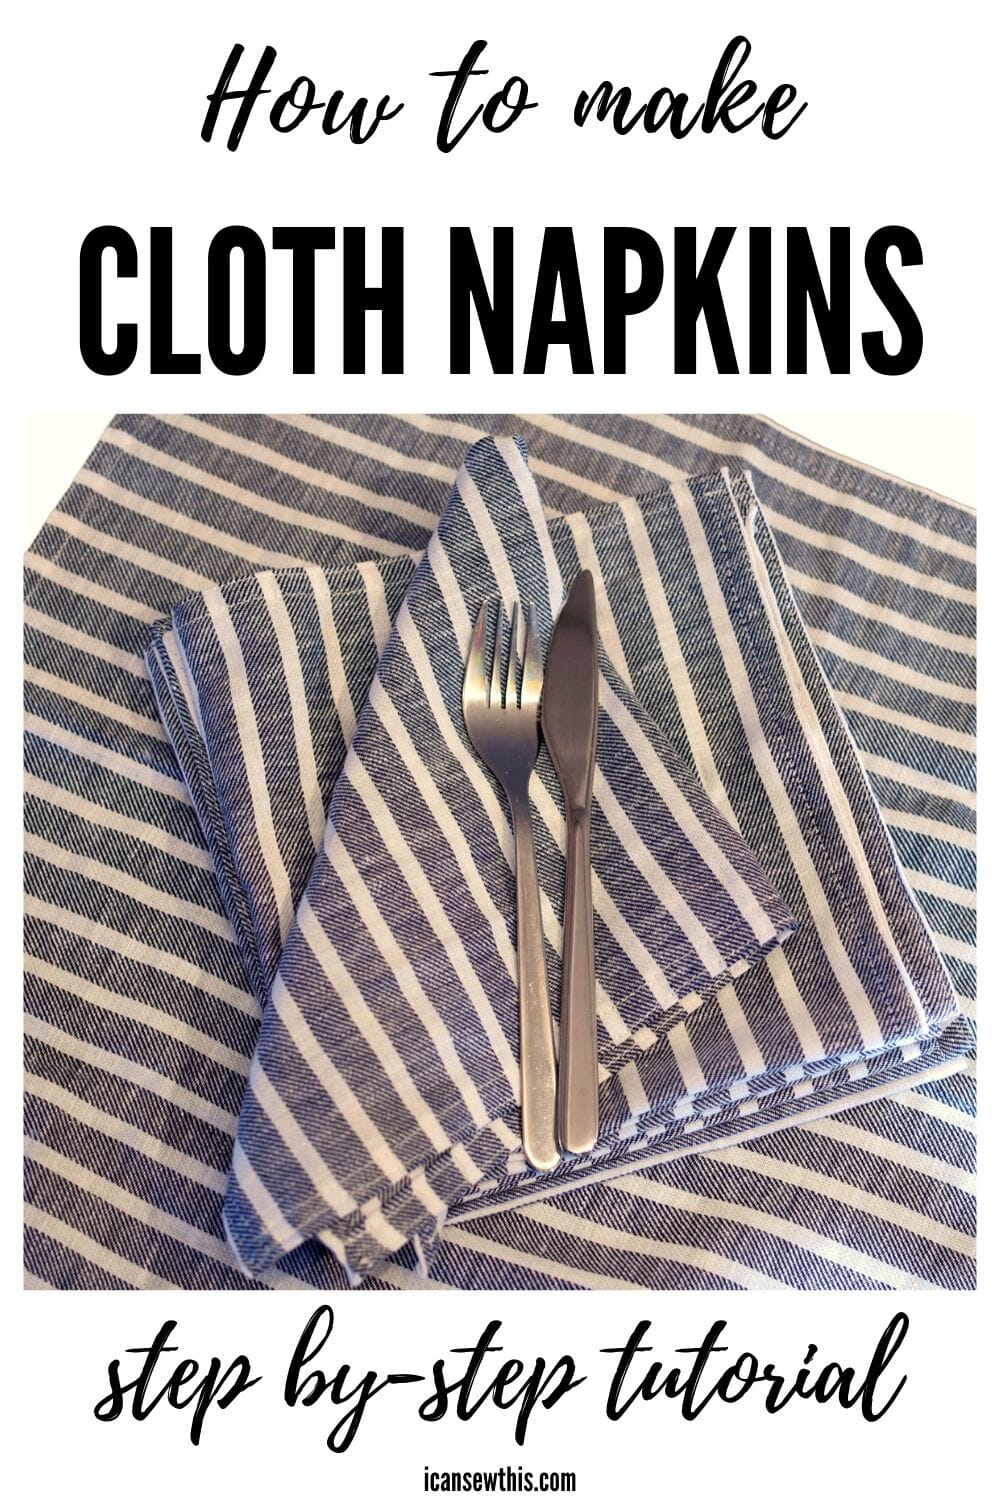
I chose a striped linen/cotton blend fabric to make my cloth napkins, and I just love them! I think they’re simple yet elegant, and they surely bring a nice accent to my table setting. Above all, these simple napkins are so easy to make!
This is an easy sewing project for beginners, as it requires only cutting fabric into squares and sewing in a straight line. Simply turn under the edges of the square pieces and stitch in place, and you’re finished!
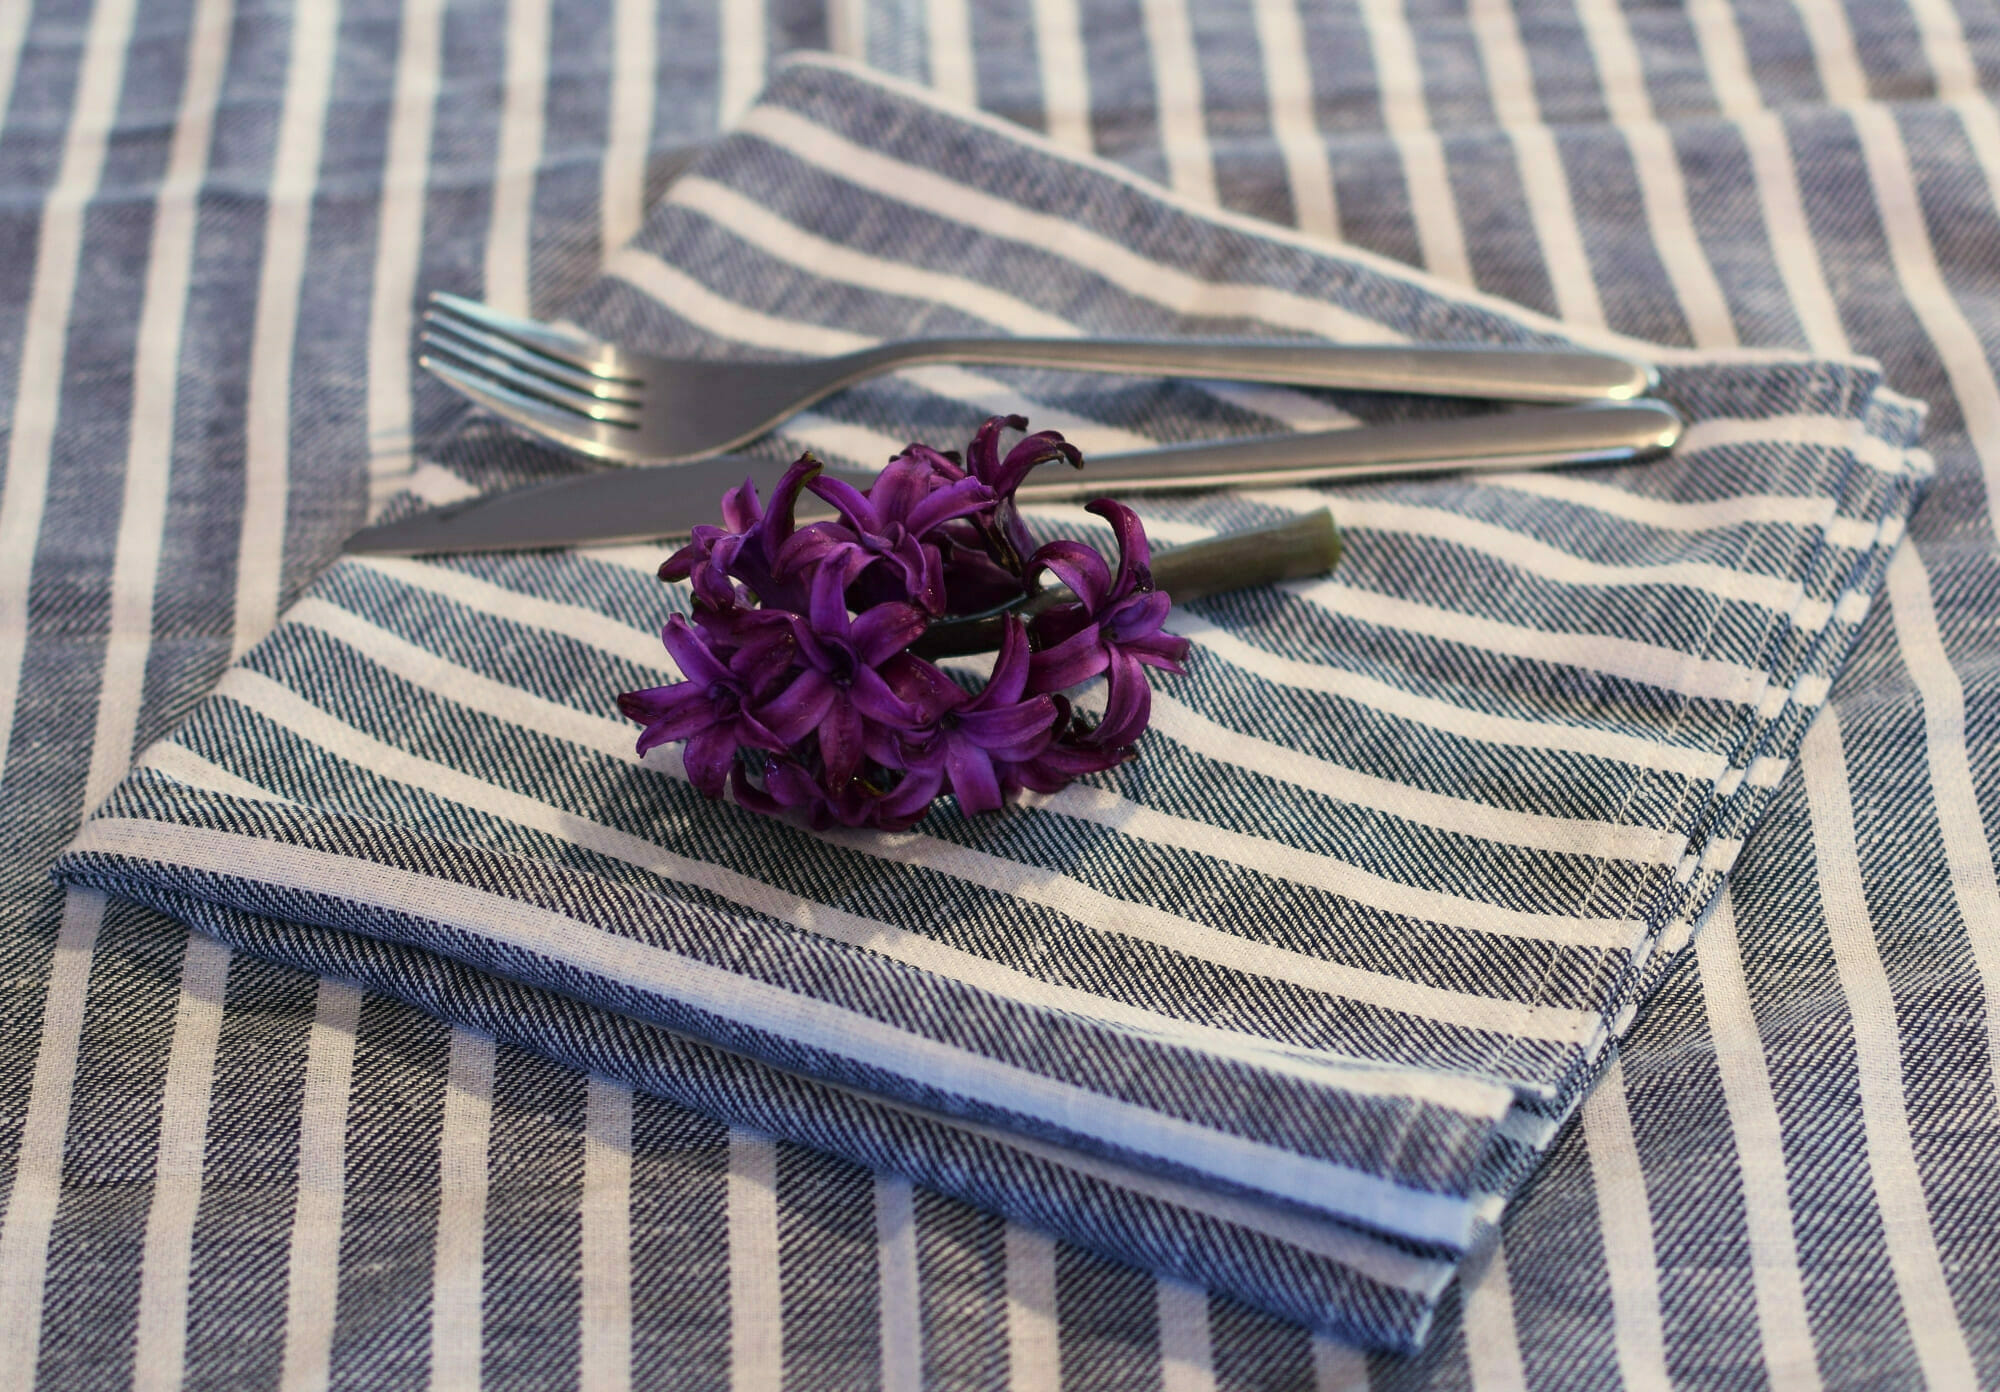
Sewing supplies
Step 1
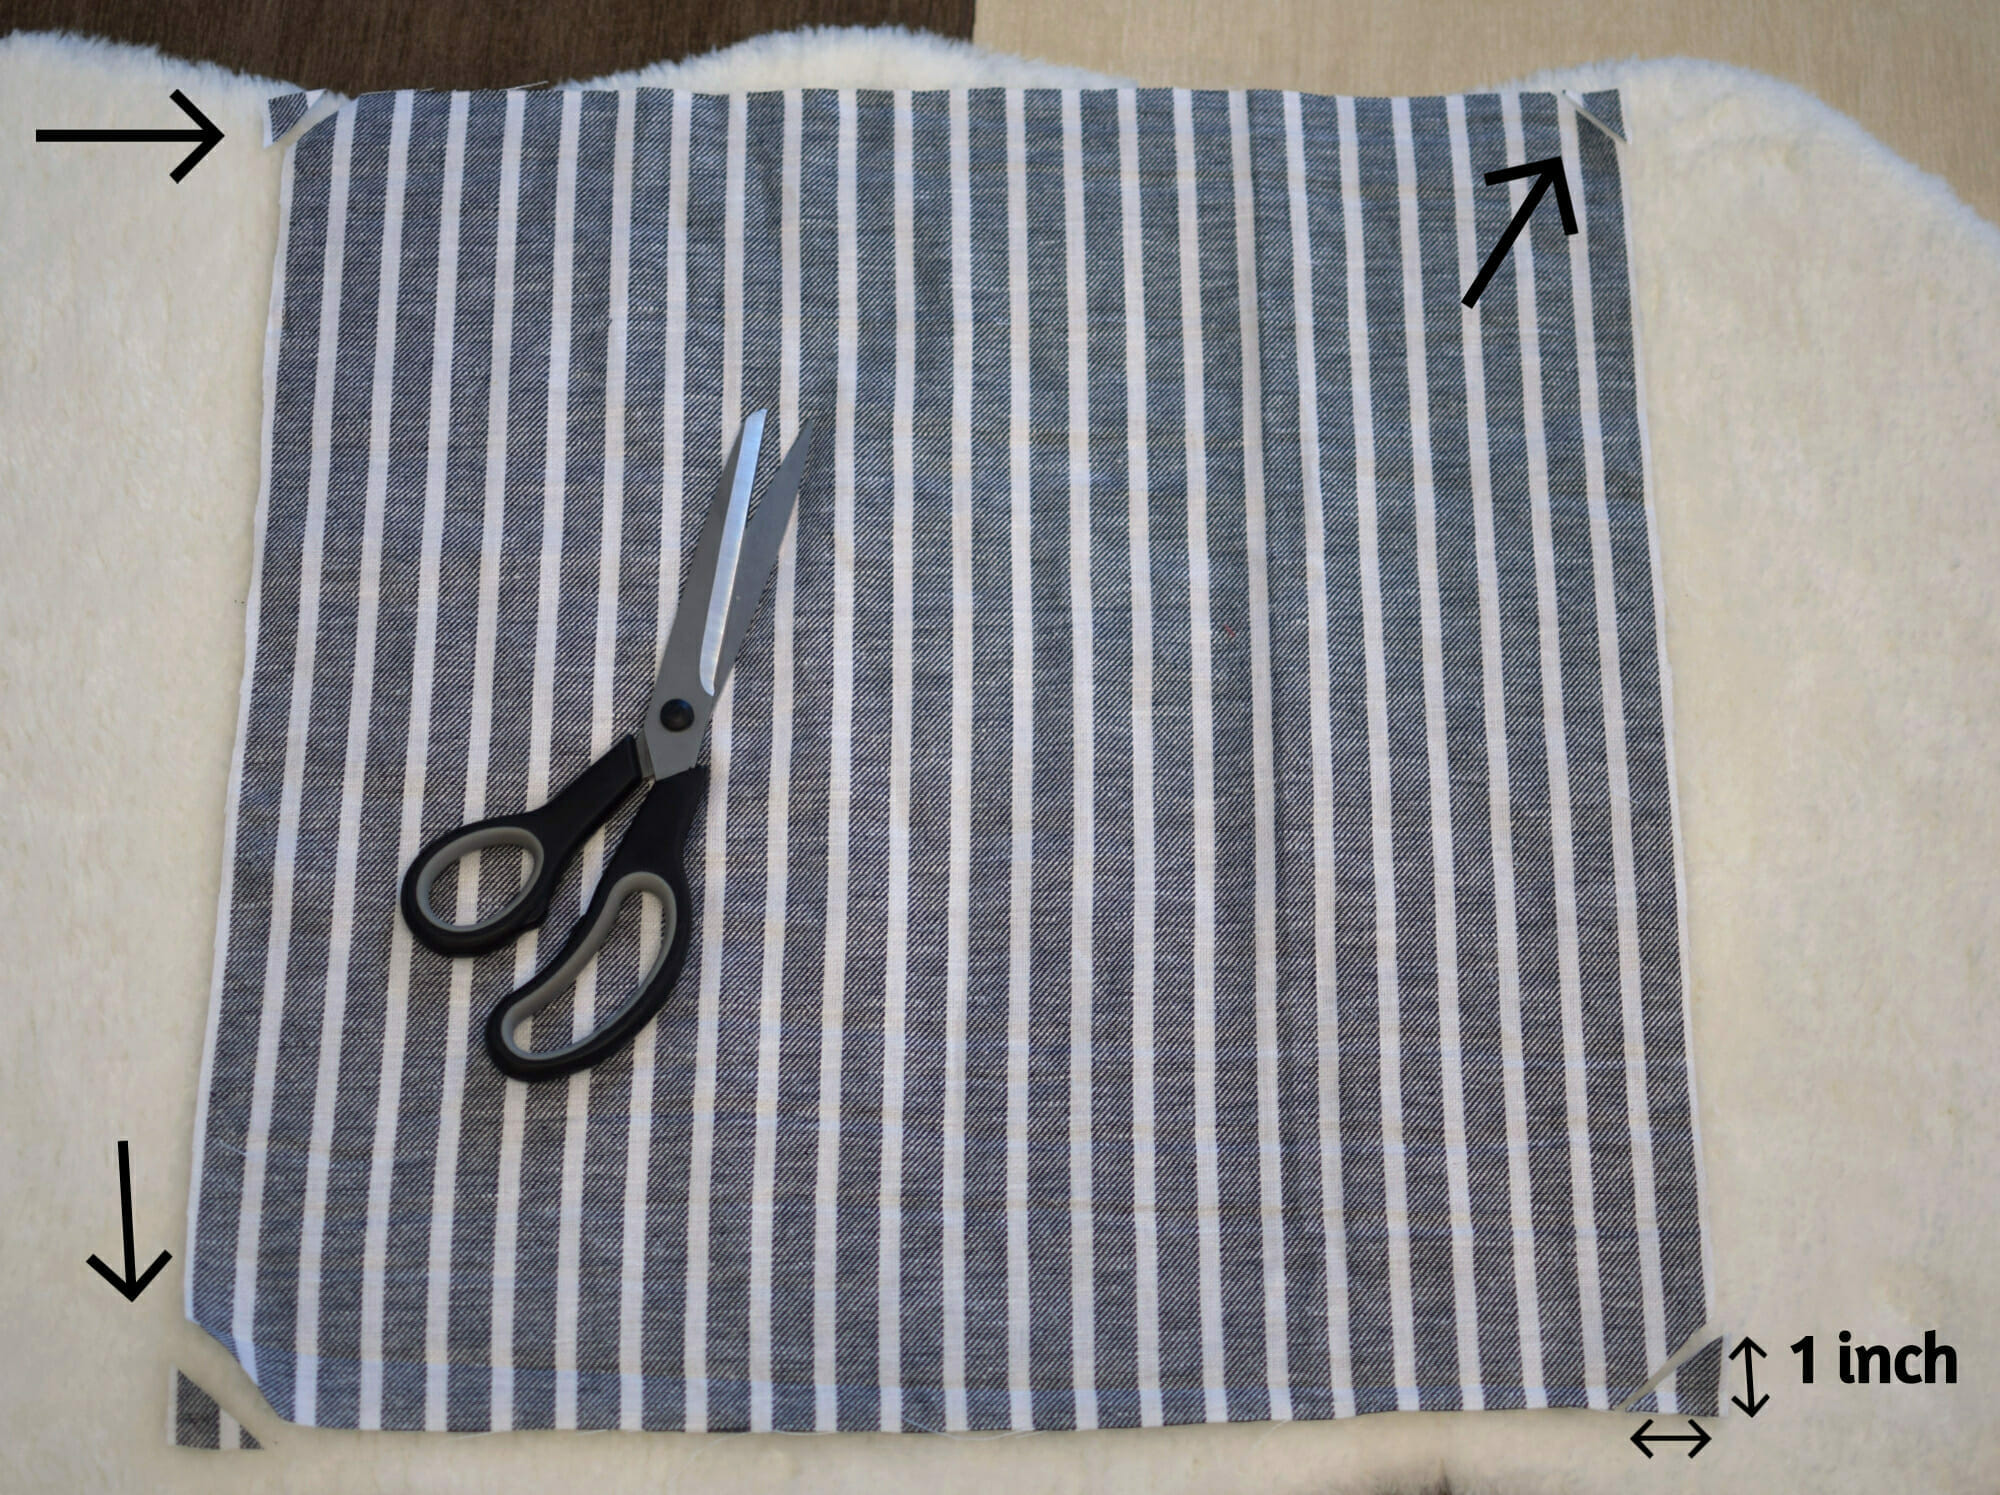
Cut your fabric squares 1 inch larger than your desired finished size. Then, mark 1 inch from each corner and cut off the corner. Repeat for all the other corners.
Step 2
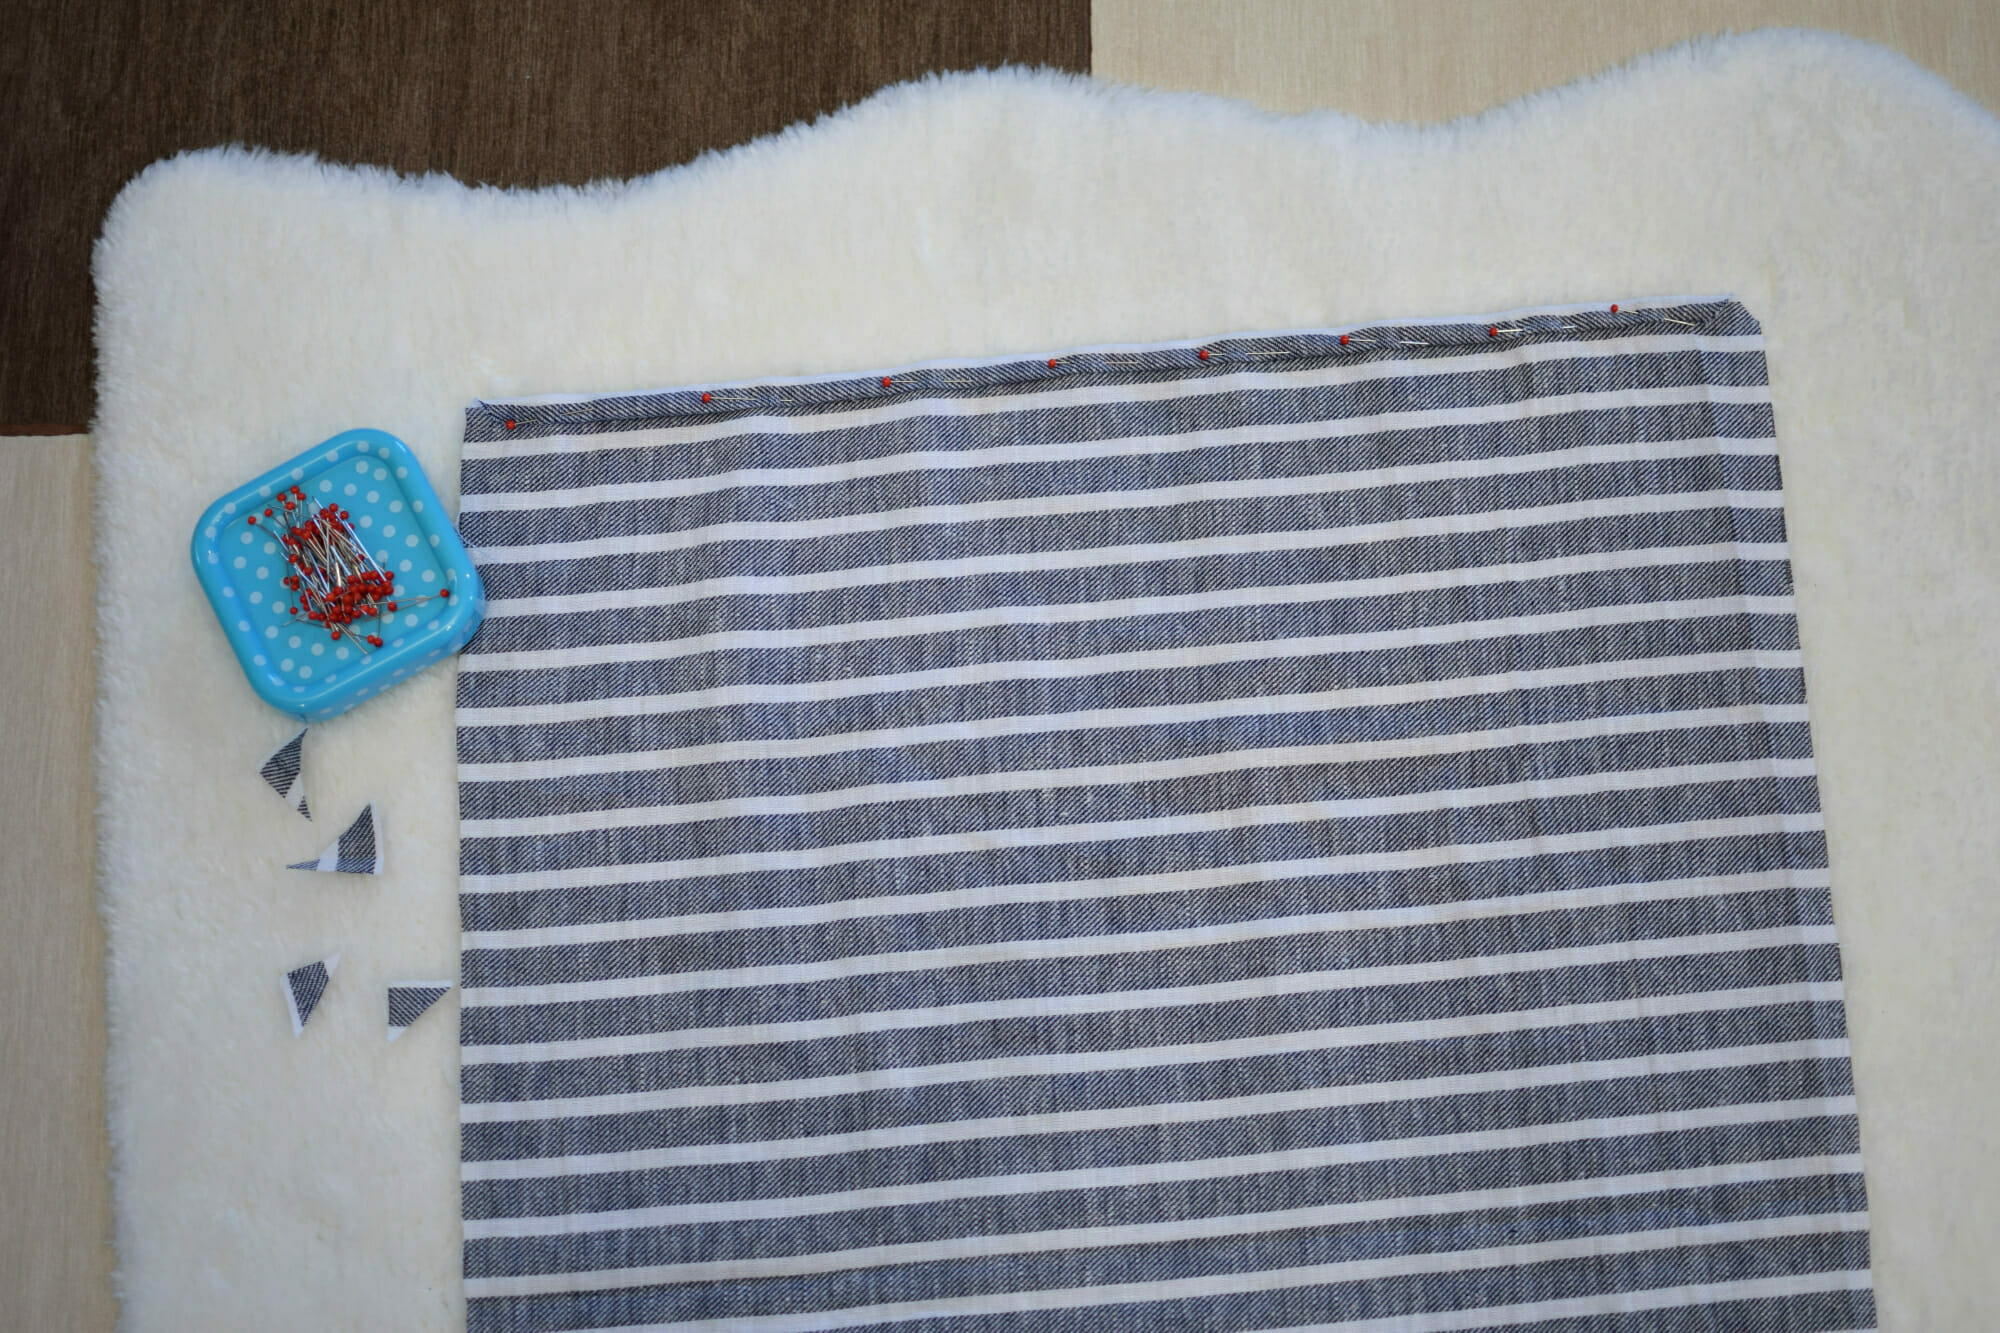
Now, you simply have to turn under 1/4 inches of the fabric edges twice and stitch in place, from one end to the other. Work with opposite sides on all napkins.
Step 3
For the remaining two sides, you should fold the clipped corner up, and then turn under the fabric edge twice, so you can enclose the raw edge.
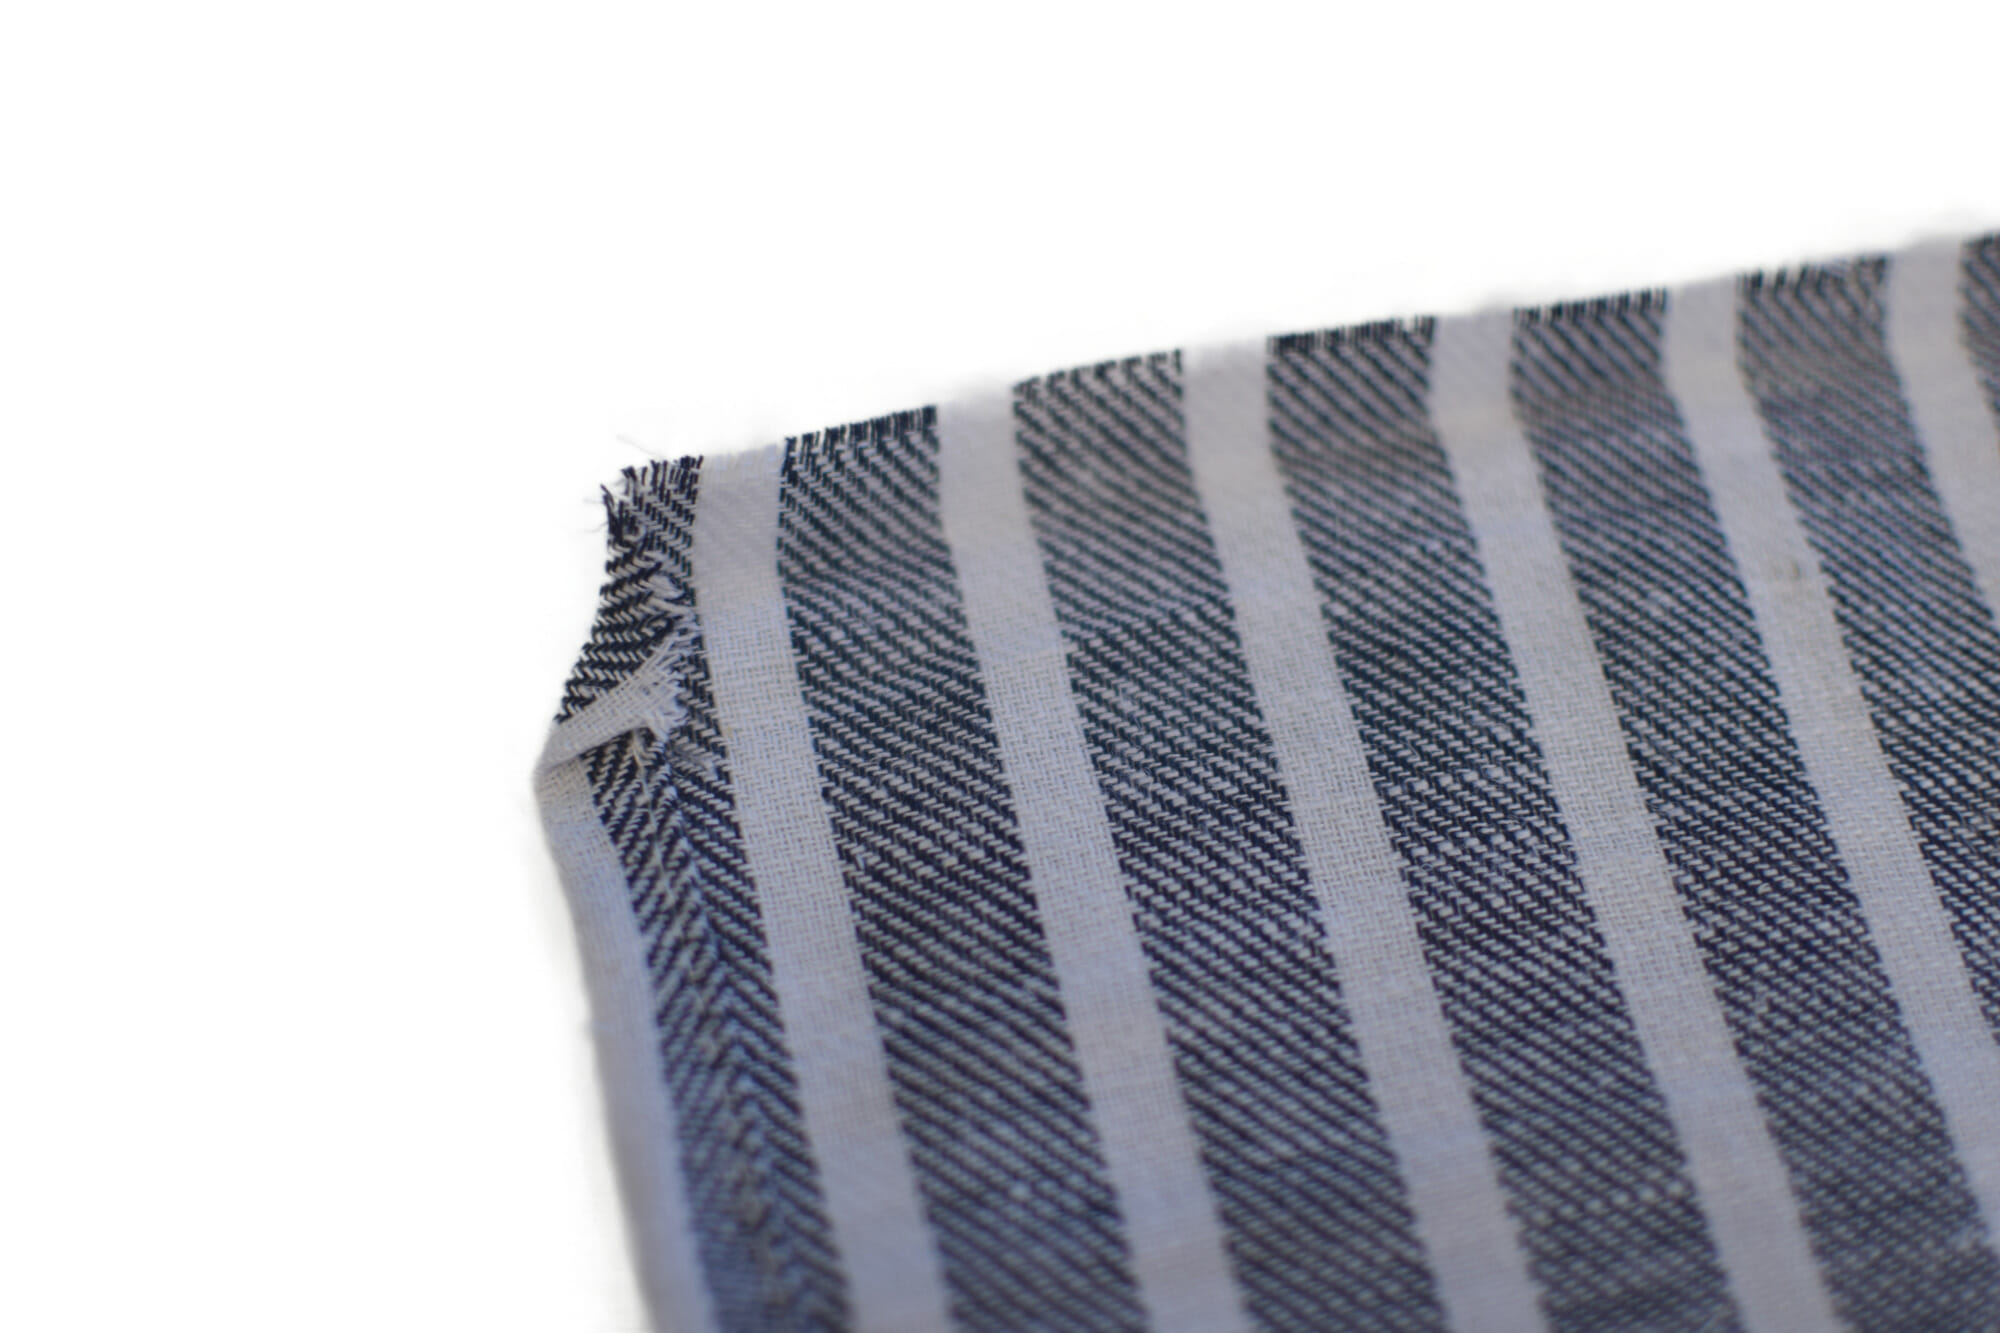
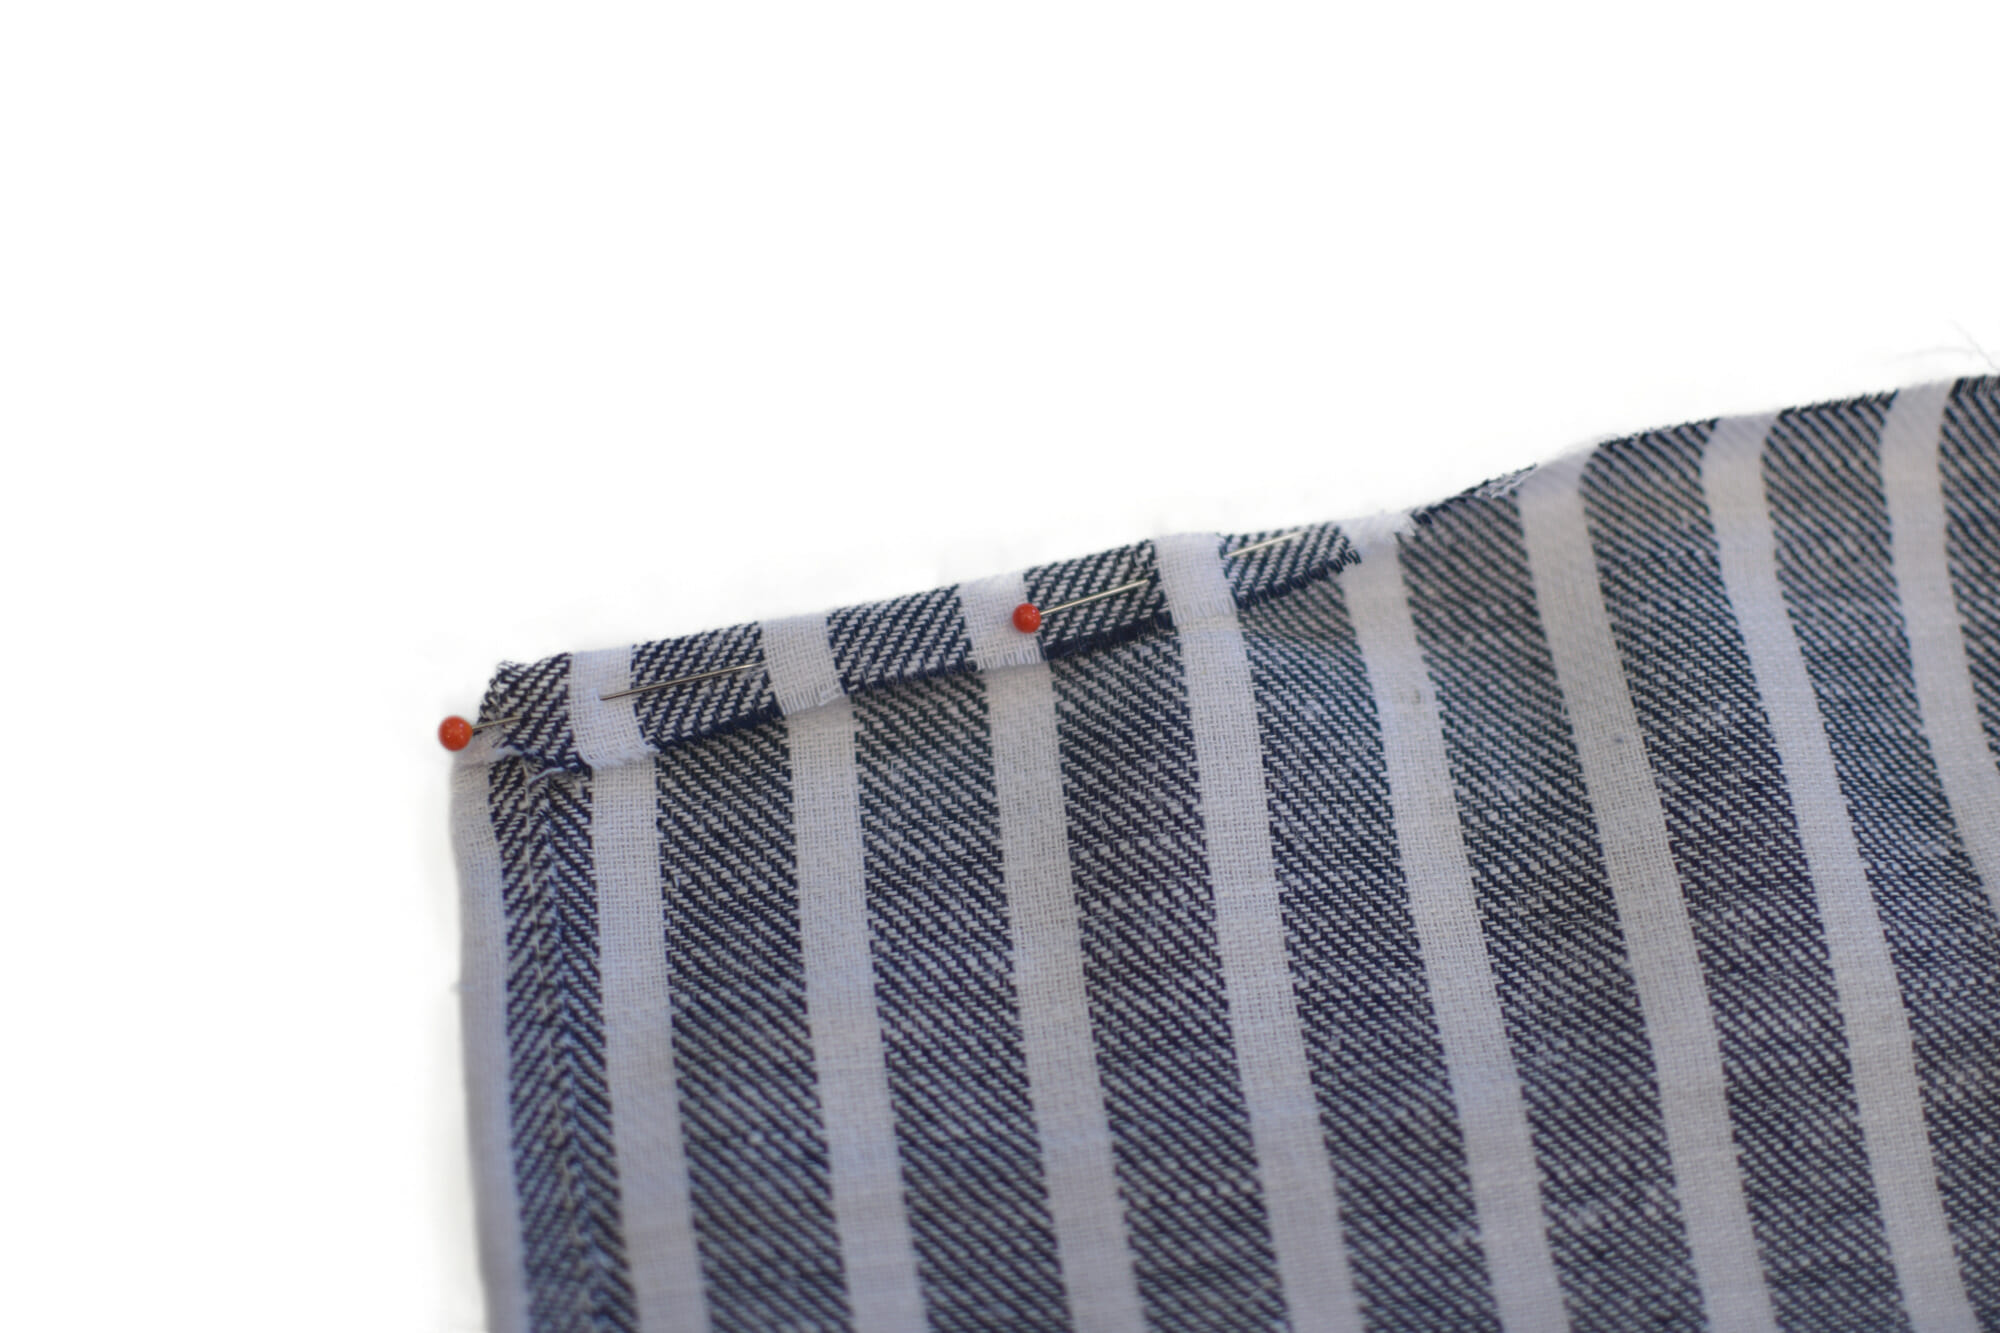
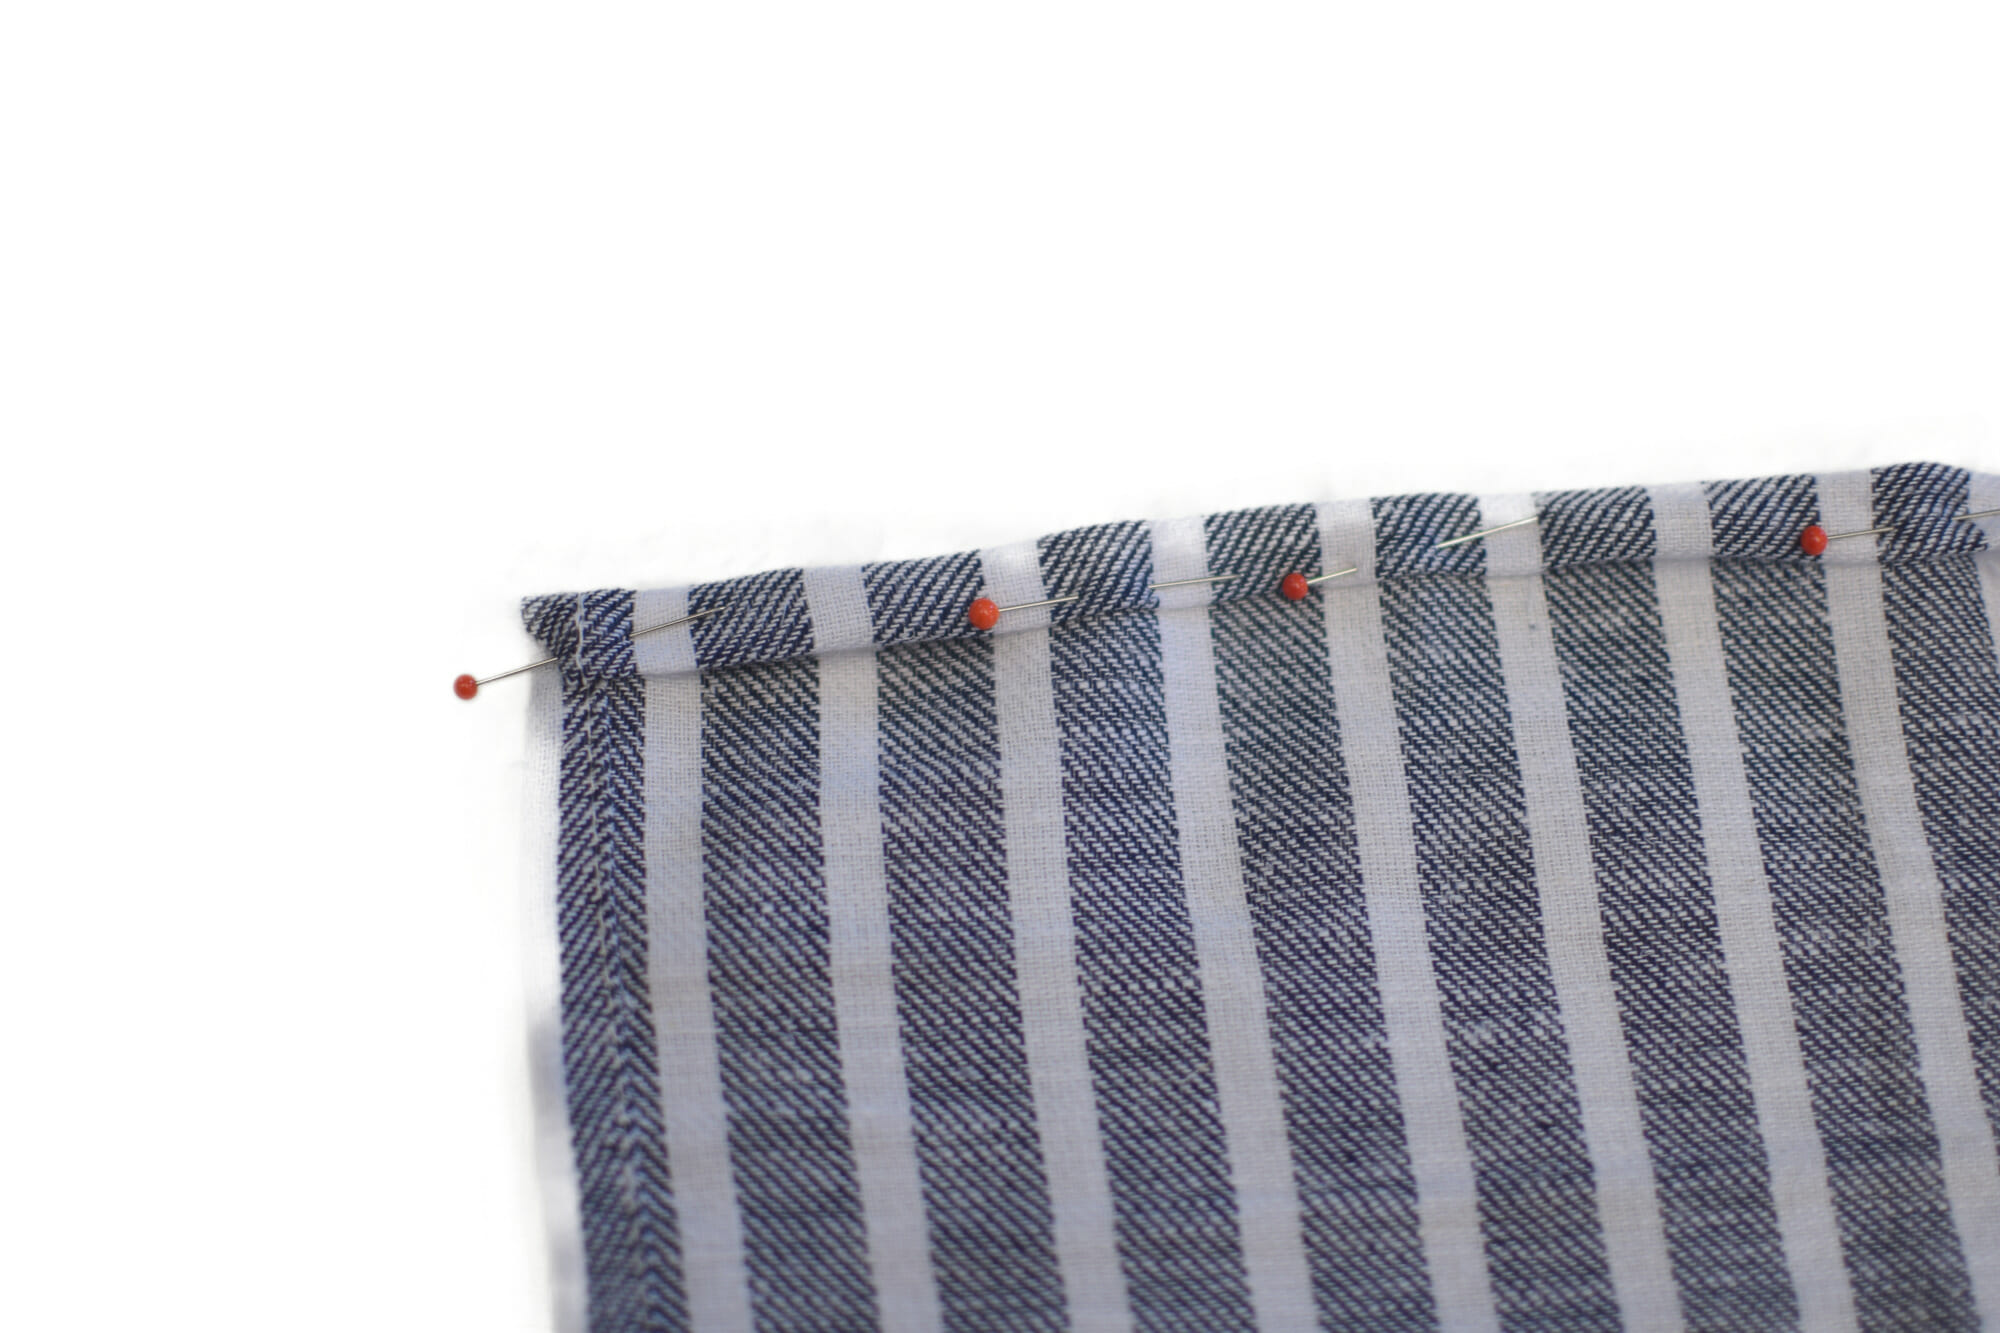
This will create mitered corners.
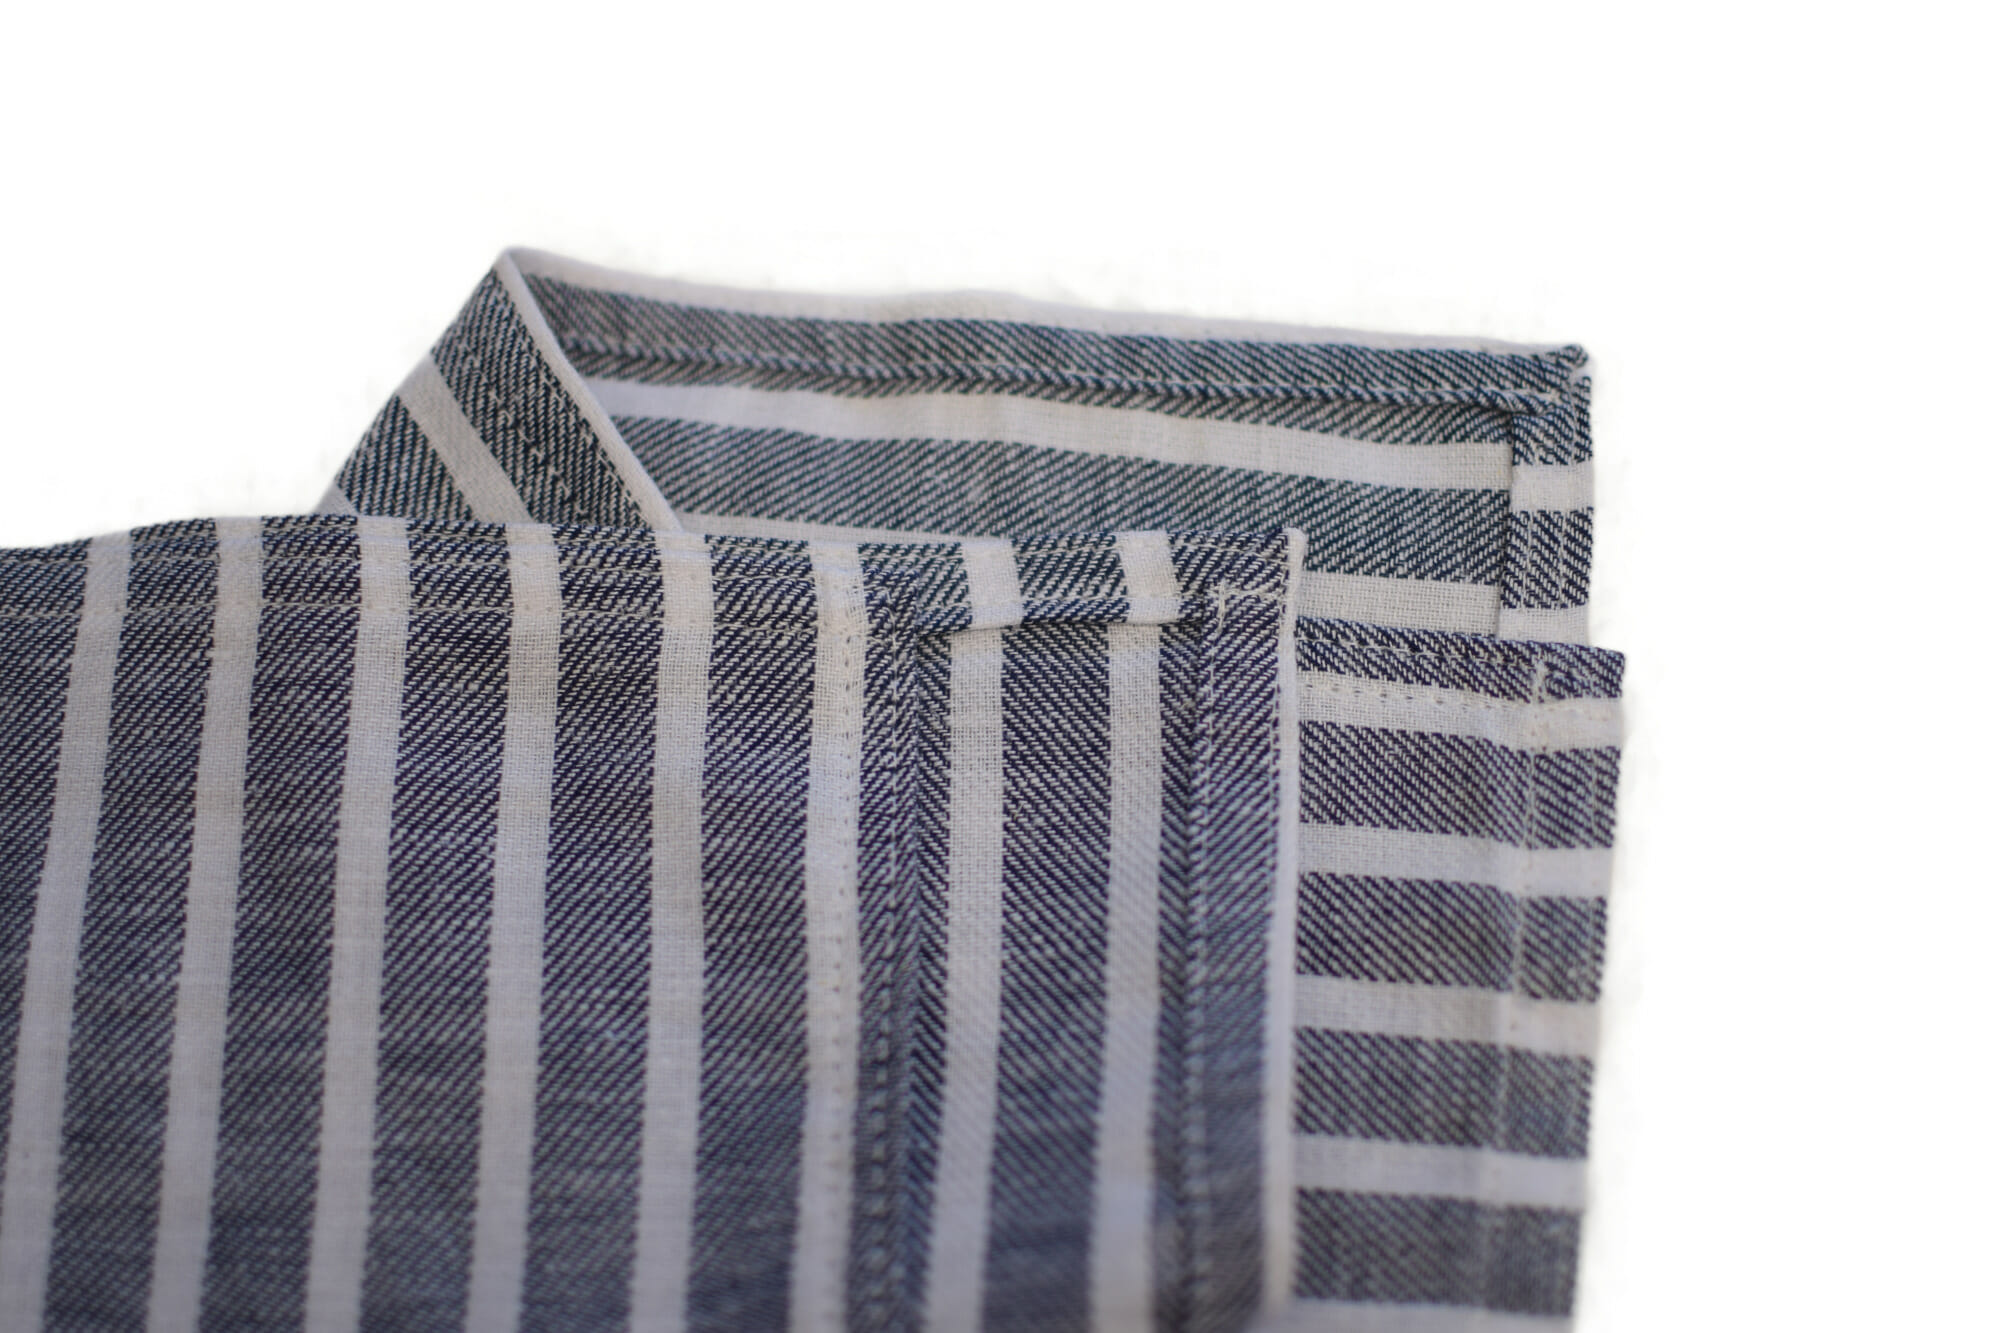
Step 4
Finally, I edge-stitched around all four sides of the cloth napkin, to reinforce the seams as well as to decorate it.
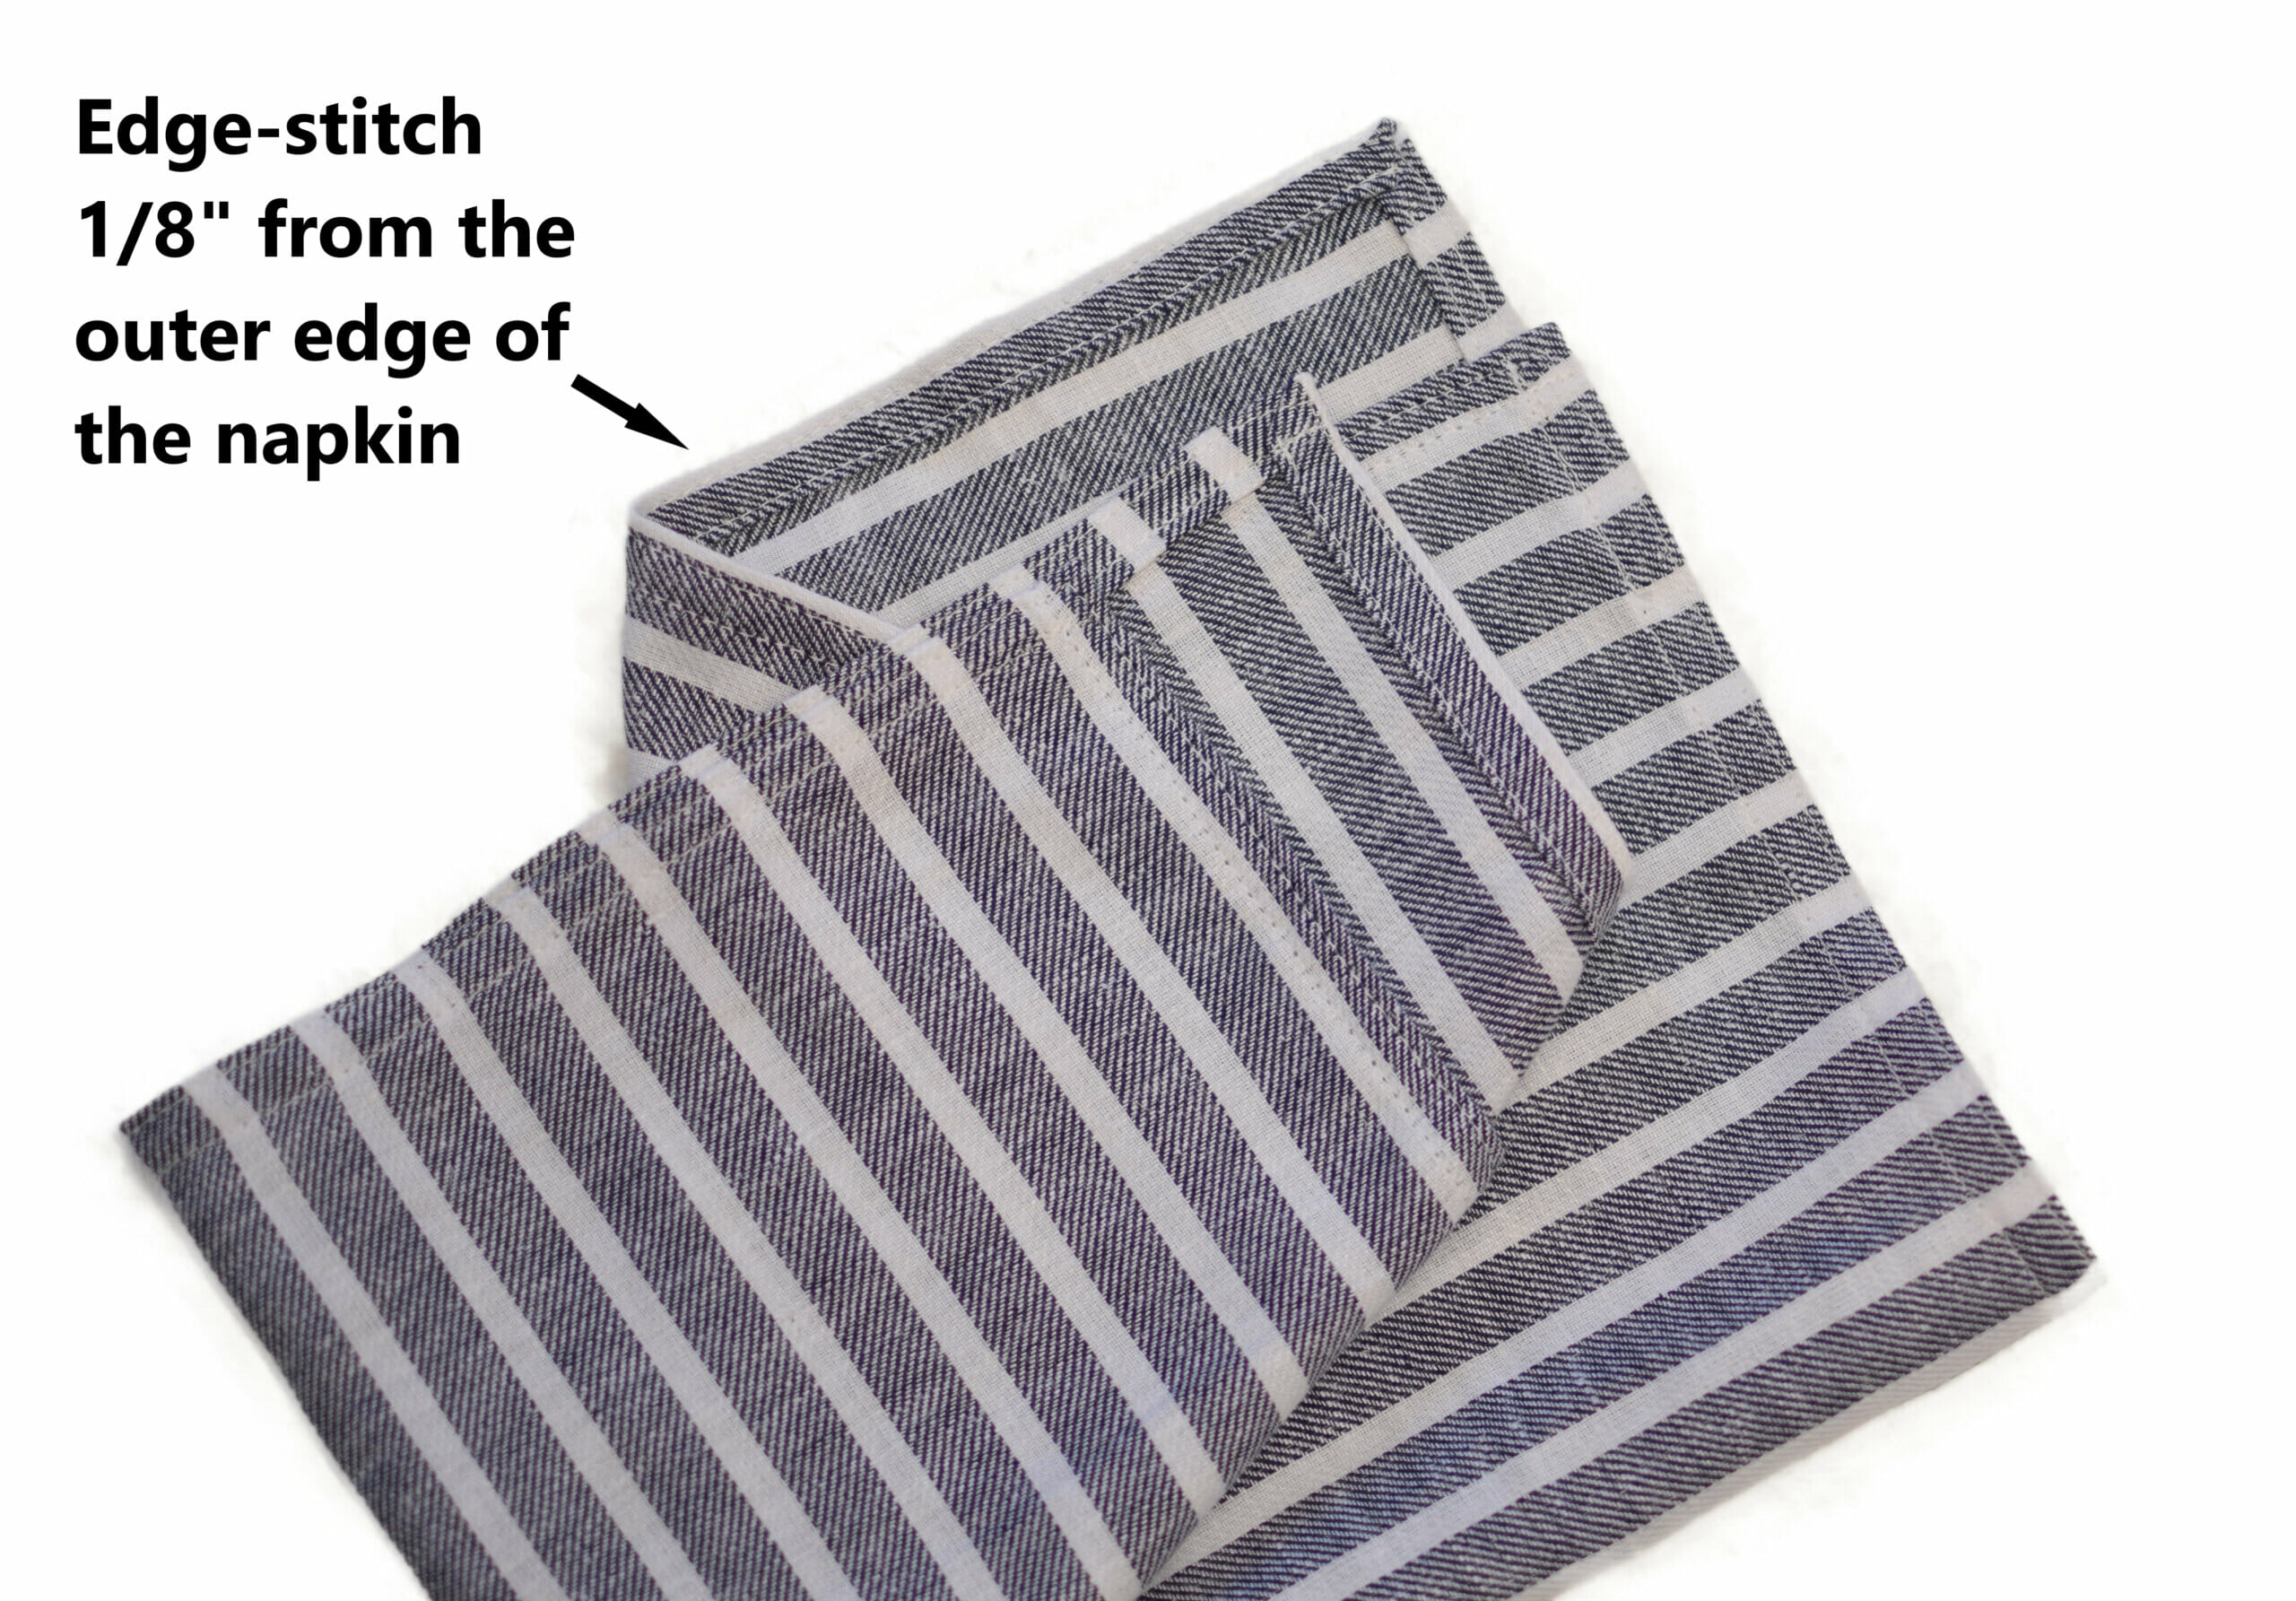
That was easy, right?
I’d love to hear if you give these linen napkins a try. Follow me on Pinterest for more sewing inspiration!

I love this tutorial! It’s so easy to follow and the end result is beautiful linen napkins. Thanks for sharing!
These are great and something I’ve been wanting to encorporate for the same reasons. How are they holding up with daily use? Mostly, did you get your fabric online or at Joann’s?
Hi Rajona, and thank you!
The napkins are holding up great, and I still use them daily. Should I ever make an effort to iron them, they would be as new, I guess.
And second, I’m from Romania, and buy almost all my fabric from here.