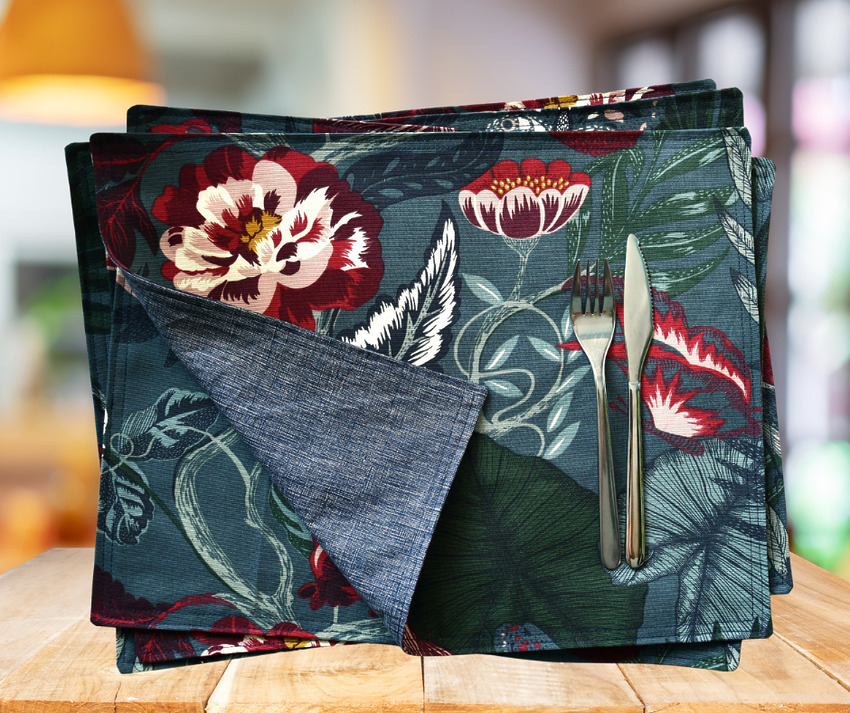
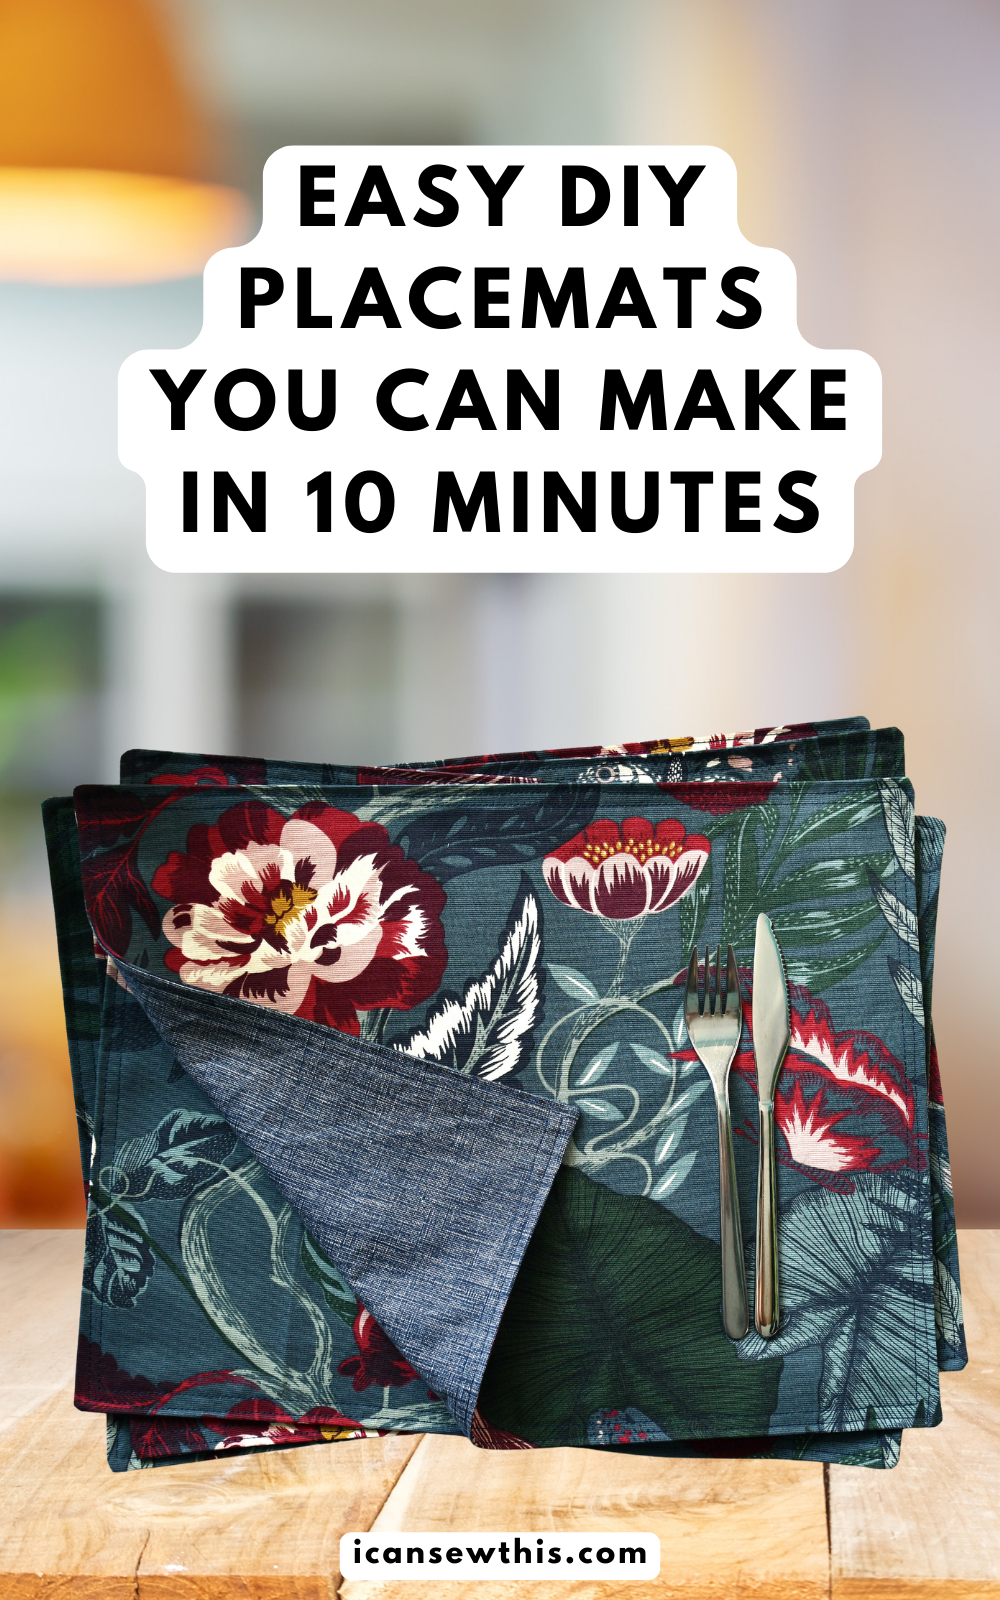
Learn how to make easy, reversible placemats with this free tutorial. If you have a sewing machine, one yard of fabric, and matching thread, you can easily make your own pretty placemats in 10 minutes.
It’s a quick project, perfect for beginners. These placemats are made up of rectangles and only require sewing a few straight lines.
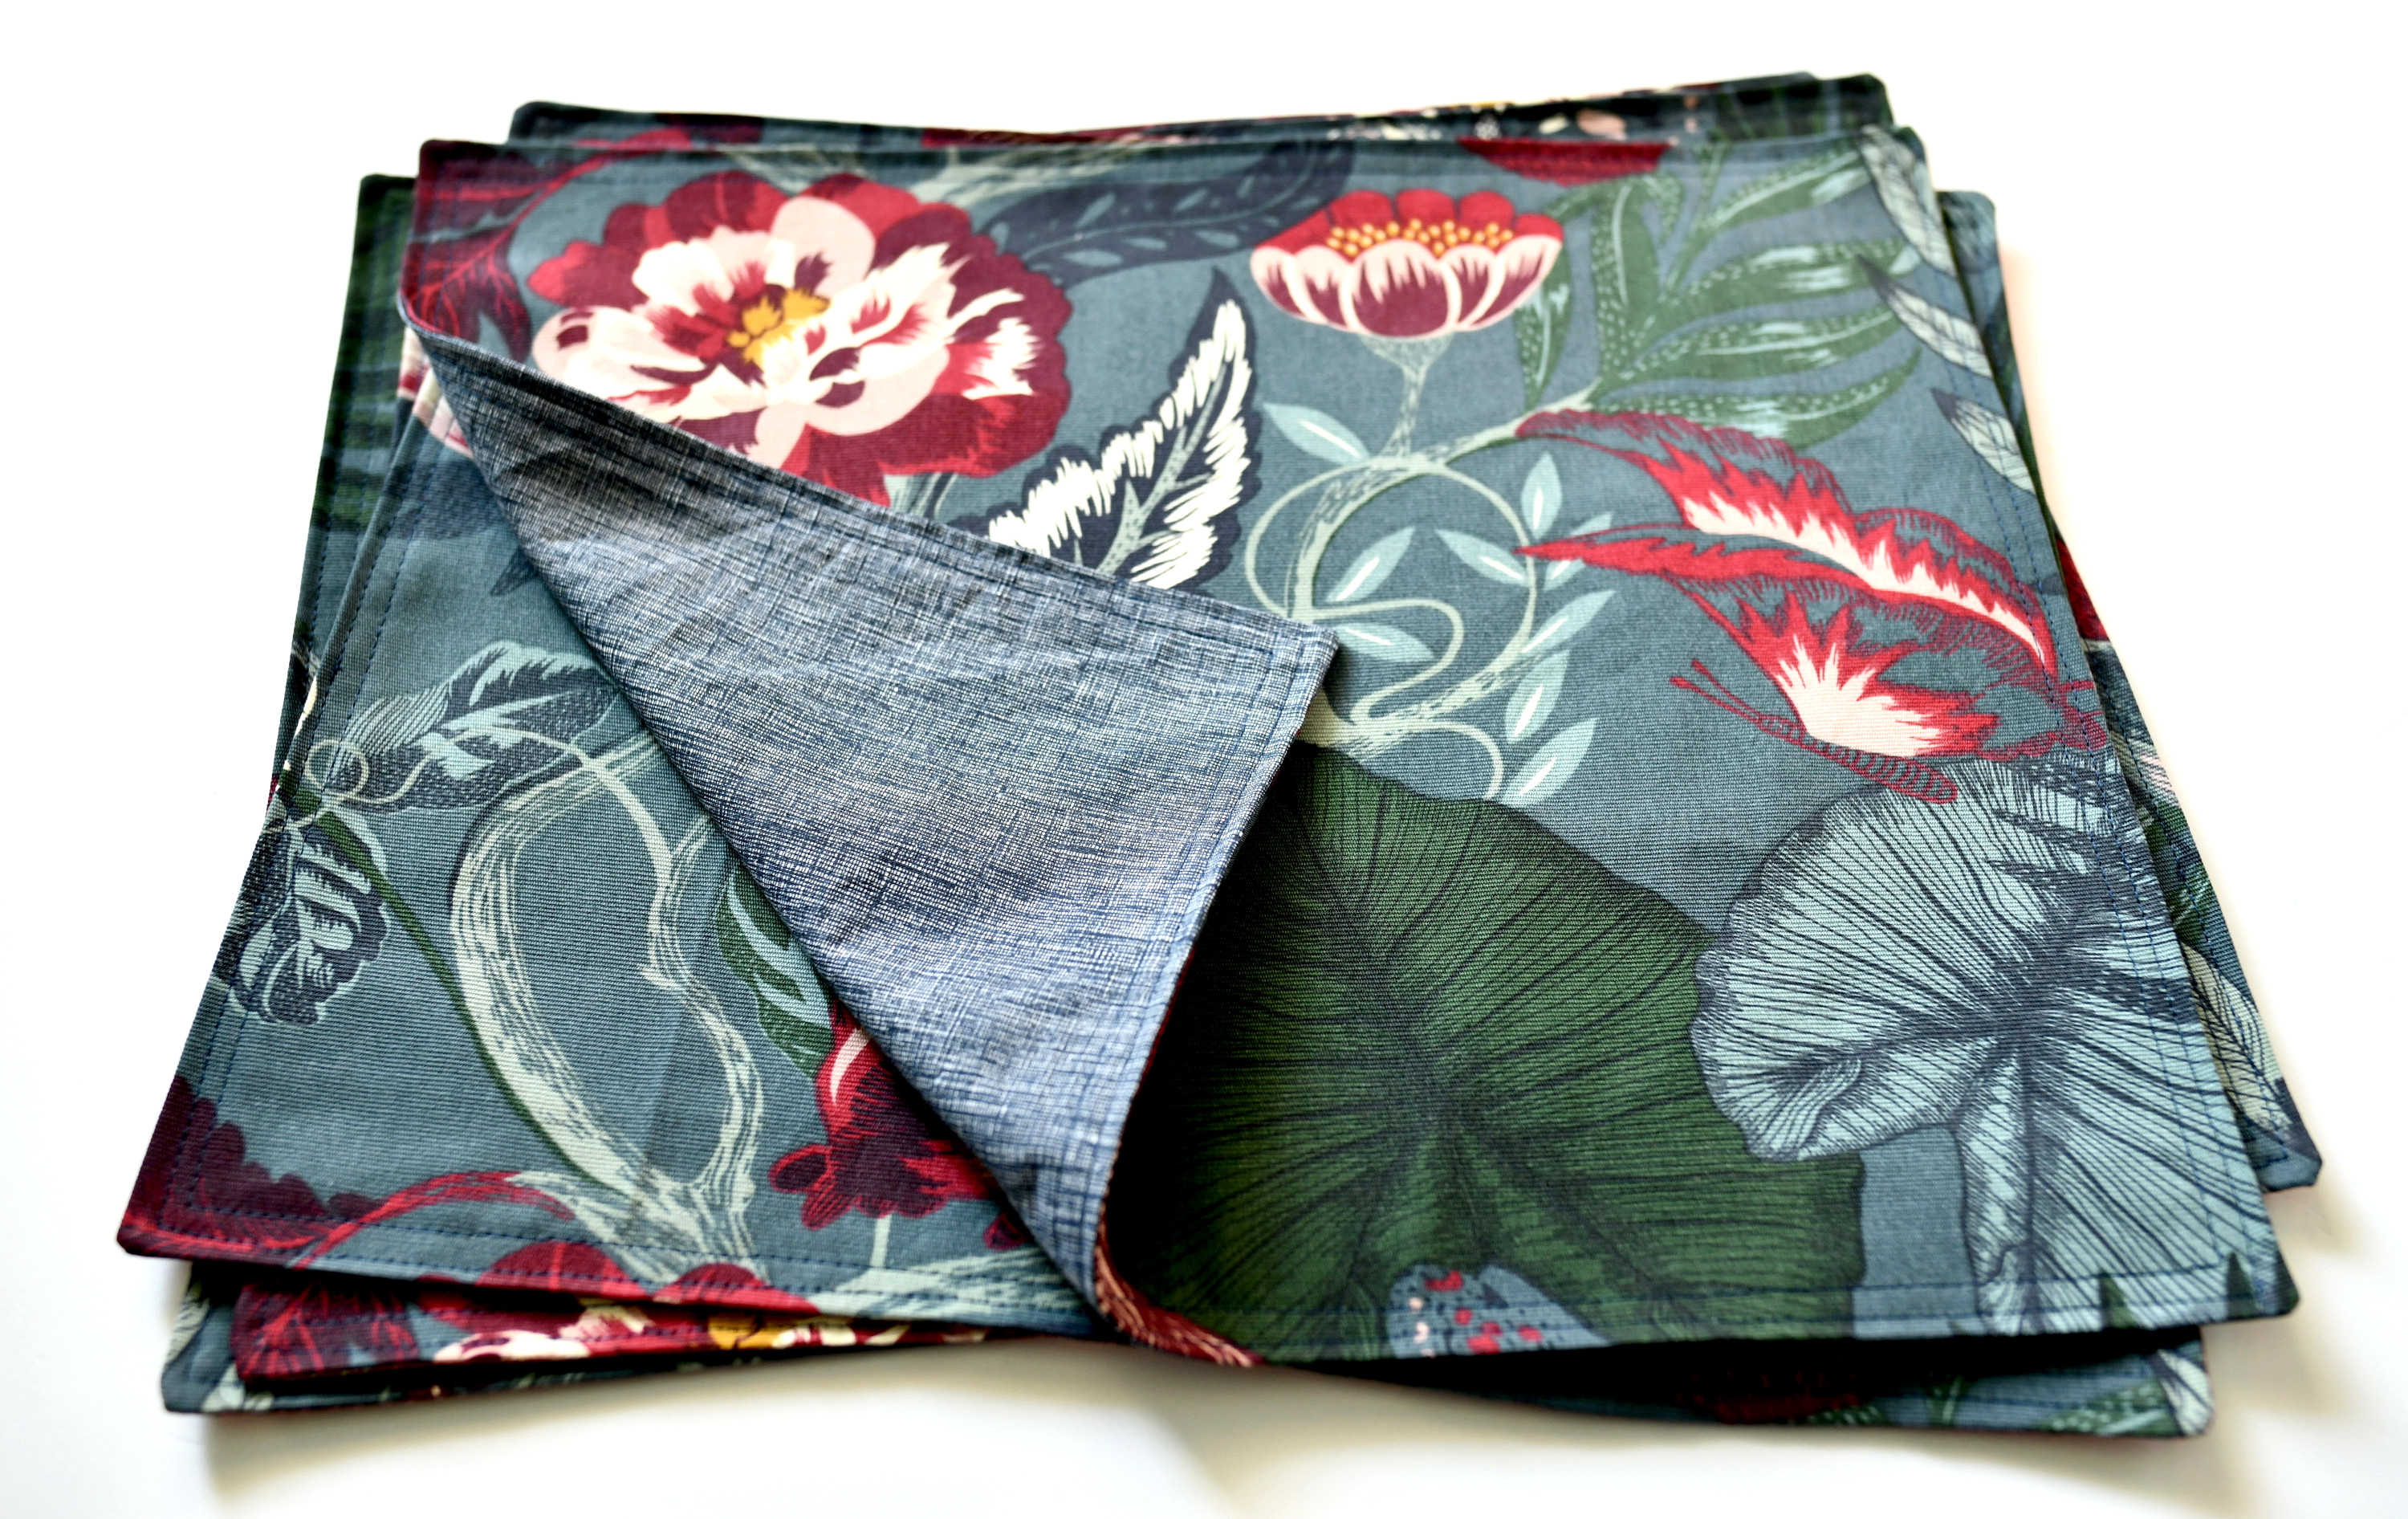
What fabric to use for DIY placemats
Anything from quilting cotton to linen, oilcloth, canvas, and jute / faux burlap.
A placemat can have one, two, or three fabric layers.
A layer of batting, fleece, or interfacing is nice to have but not mandatory. Using three layers will make your placemats sturdier and more stain and heat-resistant.
I have seen beautiful linen placemats on Etsy that are made with a single layer of fabric. They look great, and wash well, but are more on the thin side. If you want single-layer placemats, check out this linen napkin tutorial – the steps are all the same.
If you like your placemats to be stiff, use three layers. For three-layer placemats, go over this reversible coasters tutorial – the steps are identical, the only difference is the size of the fabric rectangles.
Related: Top 15 best sewing tips for beginners
Why use a placemat / Do you need placemats?
Placemats have both decorative and functional purposes. They create a dedicated area for each person dining at the table and add a fun detail to your dining room. Last but not least, they protect the table from scratches, stains, and inevitable spills.
Using them makes your table setting feel special – food tastes even better when it’s served on a beautifully styled table.
Even if you already have a tablecloth, placemats are still a great idea. You won’t have to wash the whole tablecloth after each meal. Placemats are much easier to clean, you can simply shake off the crumbs, wipe them down with a dampened cloth, or throw them in the washing machine.
How to choose the size of your placemats
A popular size for placemats is 12” x 18”. Placemats can be larger or smaller than that, too. Other common sizes are 14” x 20”, 14” x 18”, 12” x 16”, and everything in between.
The ideal size of placemats mainly depends on the table size. A placemat should offer a good amount of space for each person to eat comfortably. Make sure there’s enough room for knives, forks, and dishes on your placemats.

DIY reversible fabric placemats tutorial
These instructions are for making a single reversible fabric placemat.
Step 1
Cut two fabric rectangles 1 inch longer and 1 inch wider than the finished placemat size you desire.
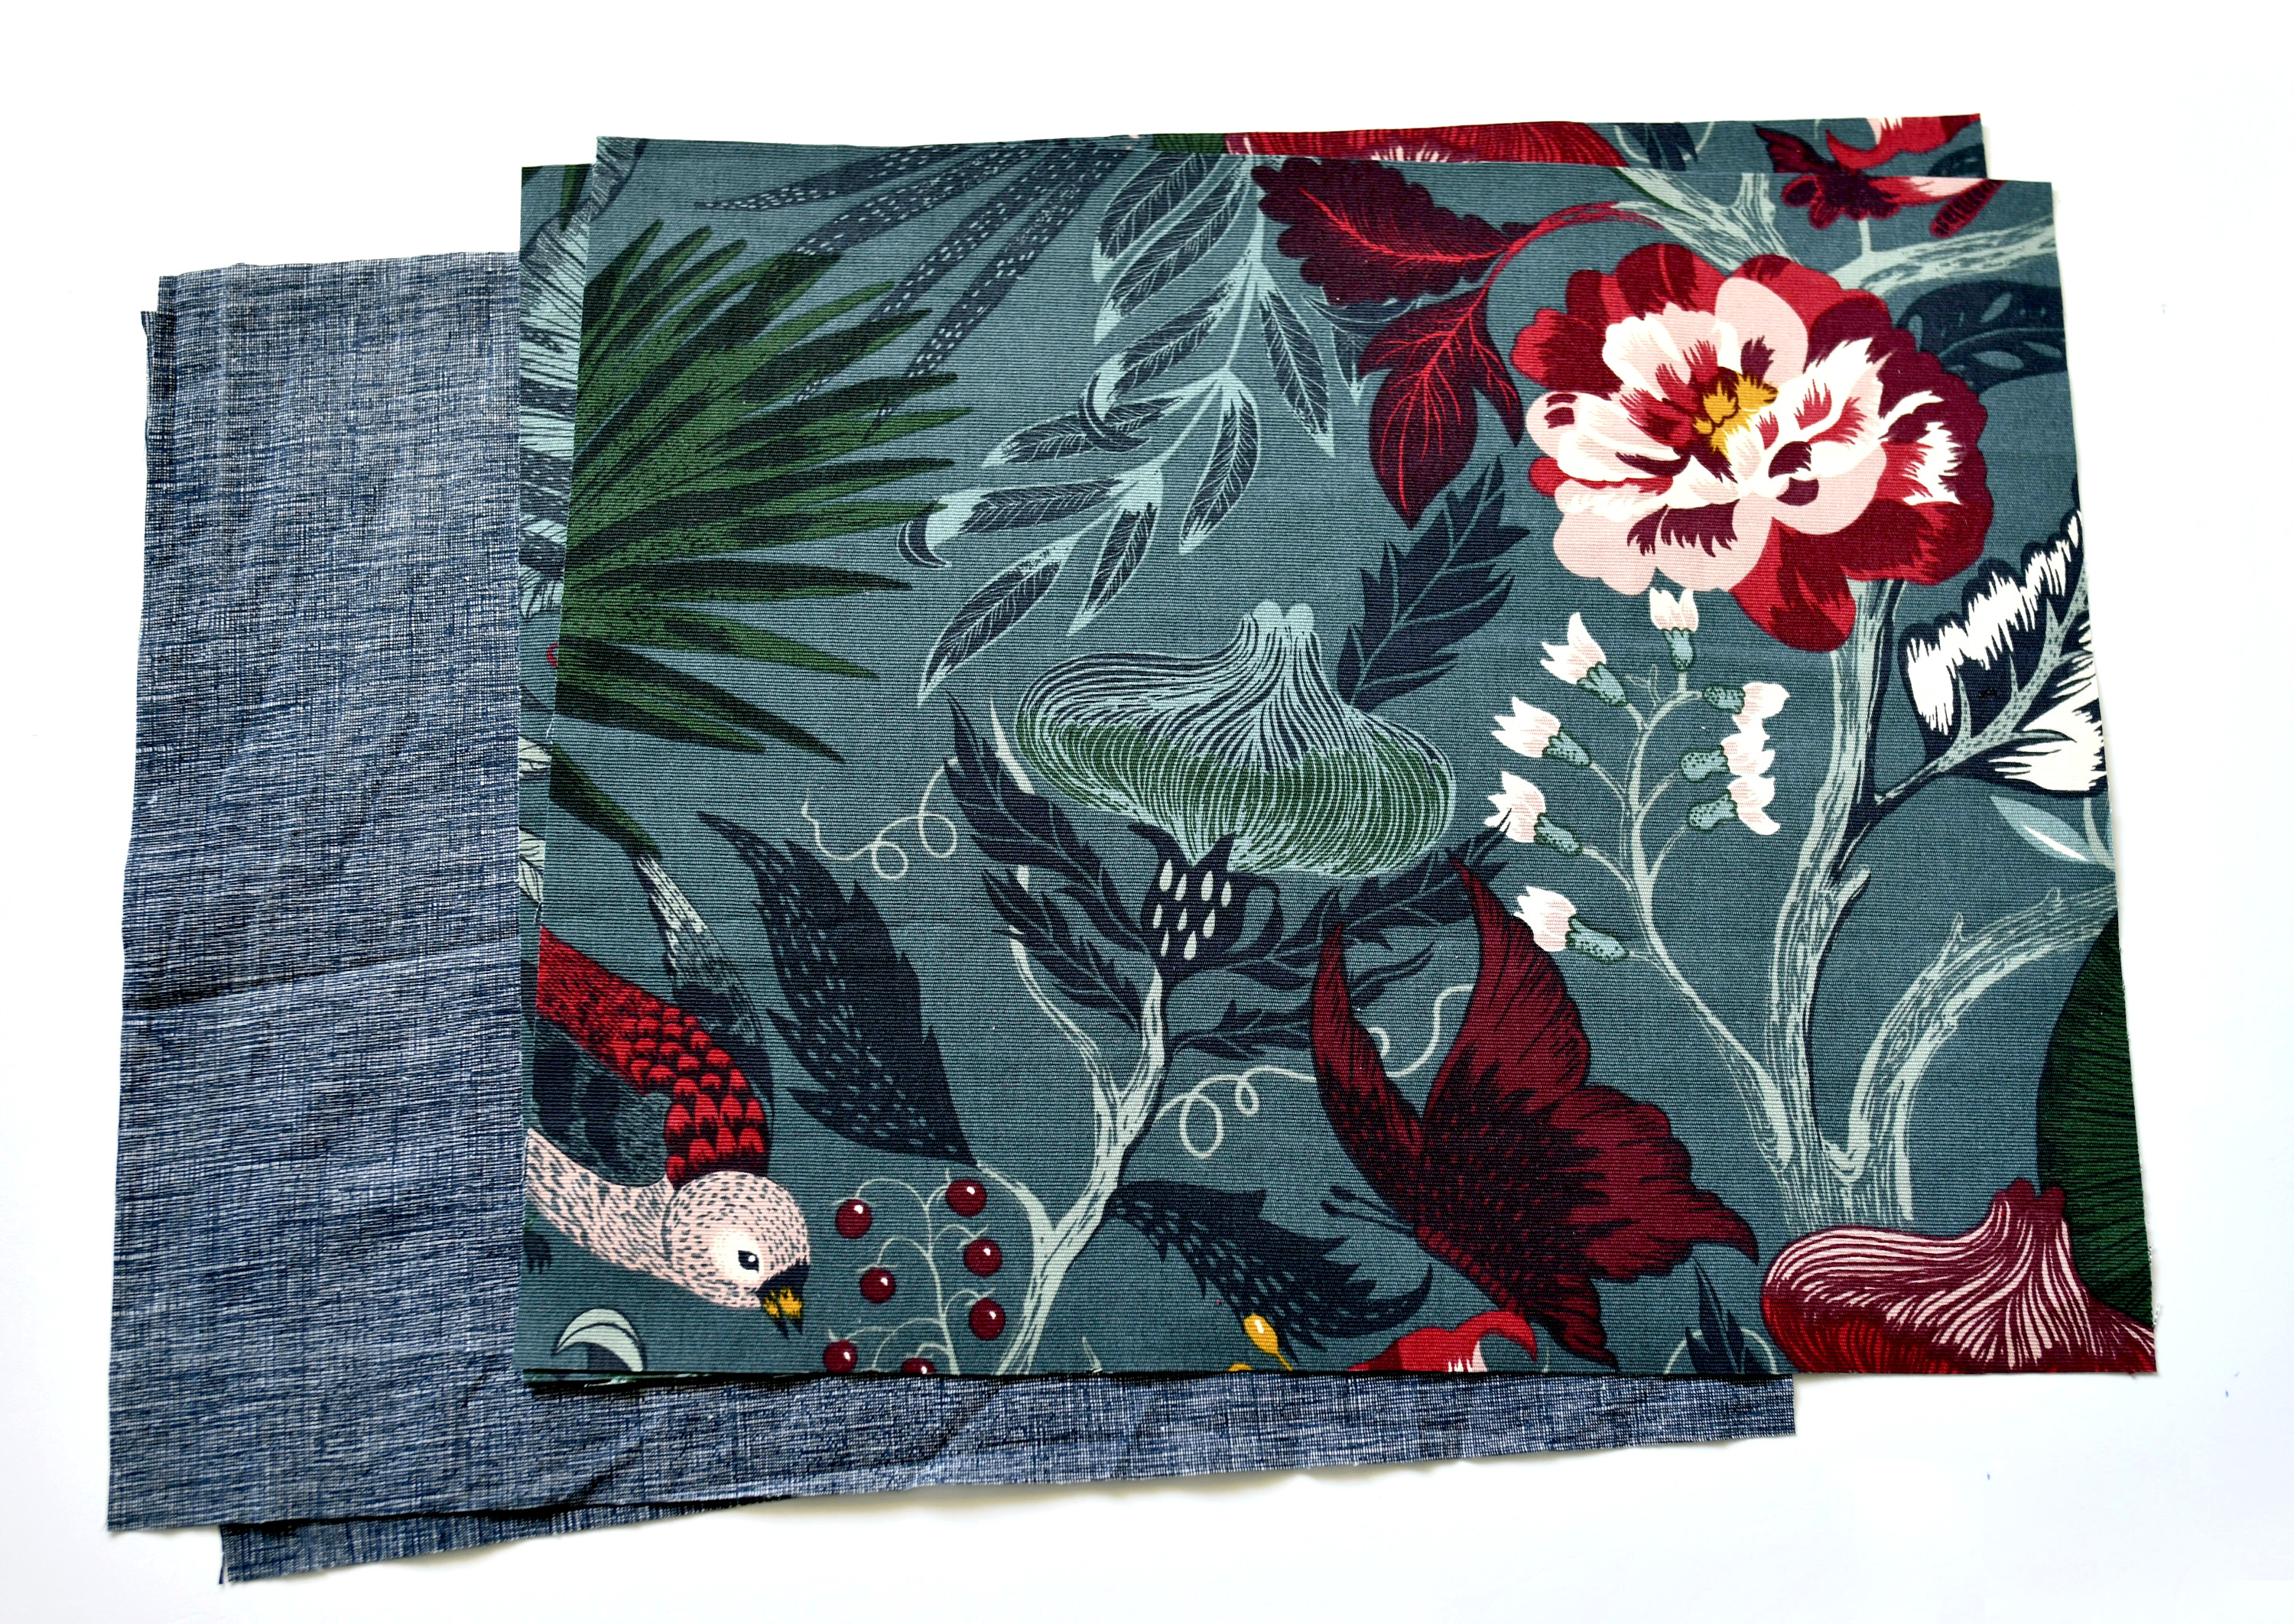
The easiest and most accurate way to cut your fabric is to use a rotary cutter and a cutting mat.
You can choose quilting cotton for both sides, or a canvas and quilting cotton fabric combo, as I did.
Step 2
Place two different rectangles right sides together and pin. Sew around the perimeter of your placemat with a 1/2” seam allowance. Backstitch at the beginning and end.
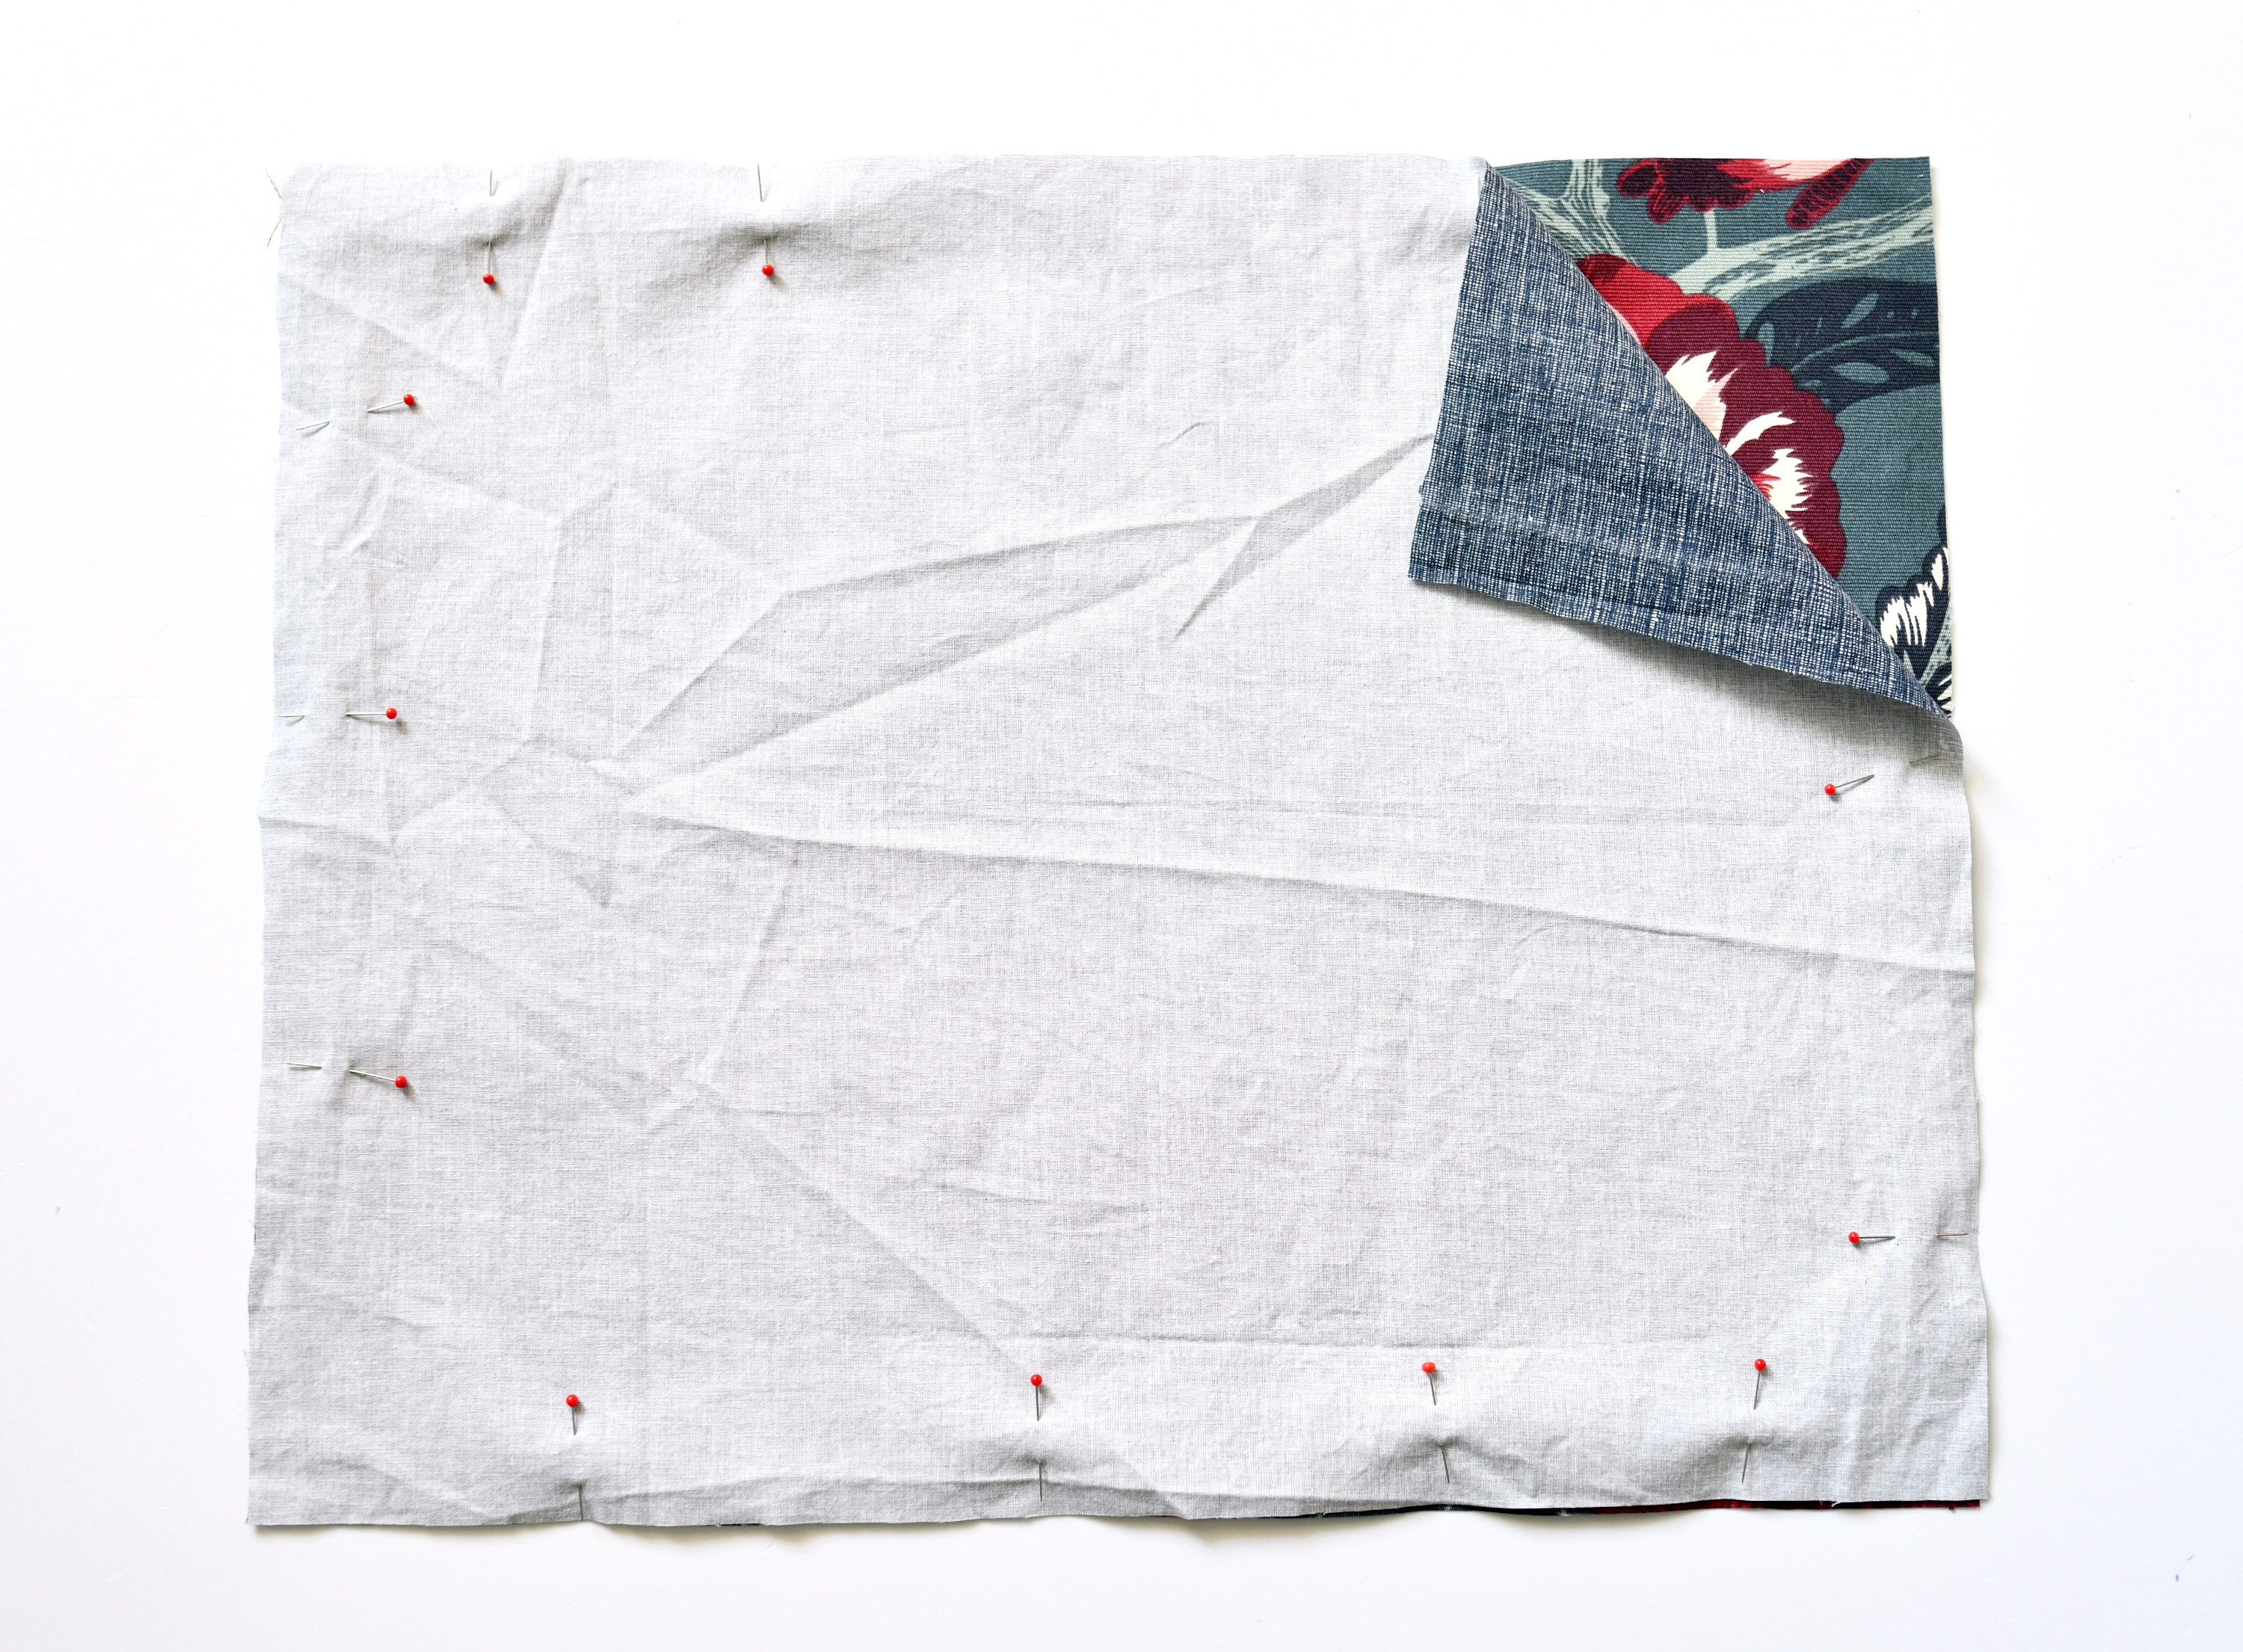
As you approach a corner, get ready to stop with the needle in the down position and lift the presser foot. You have to pivot to make a 90-degree angle – turn your fabric placemat to line up the new seam, lower the presser foot back into position, and start sewing again.
Leave a 2-inch opening for turning.
Trim the corners – no one likes bulky corners! You just have to cut the excess fabric from the seam allowance on the diagonal, making sure you don’t snip into the stitching line.
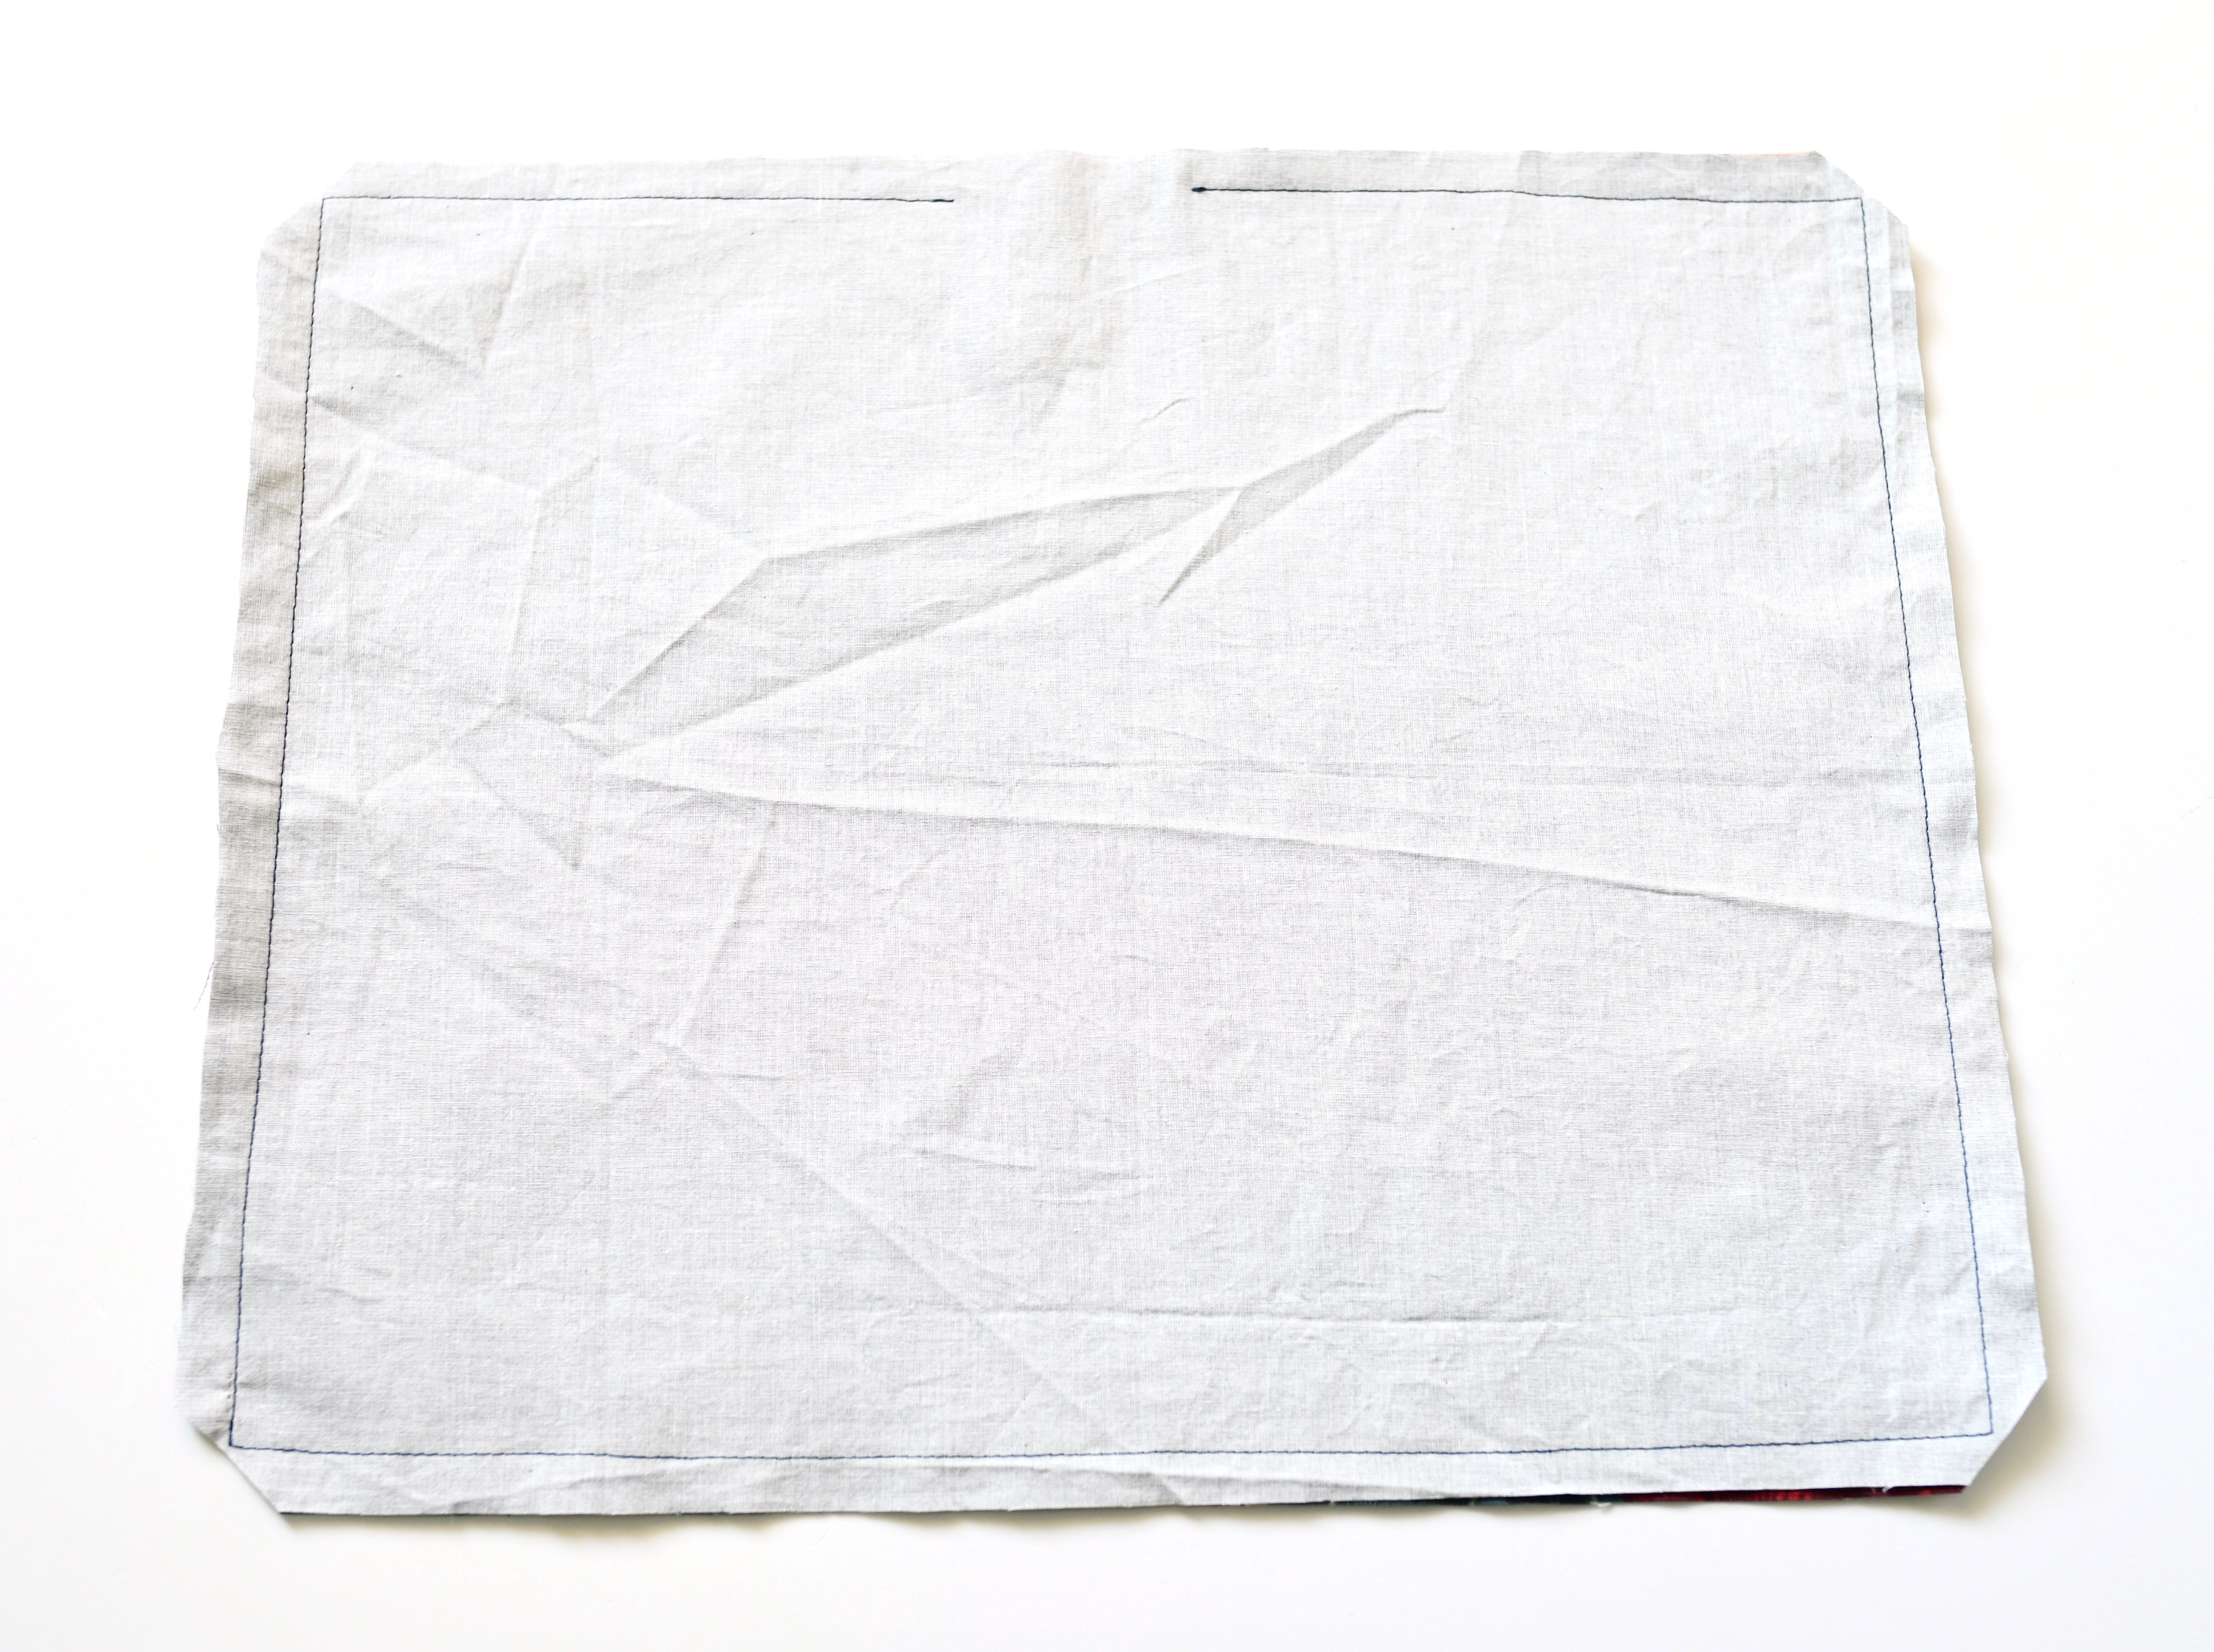
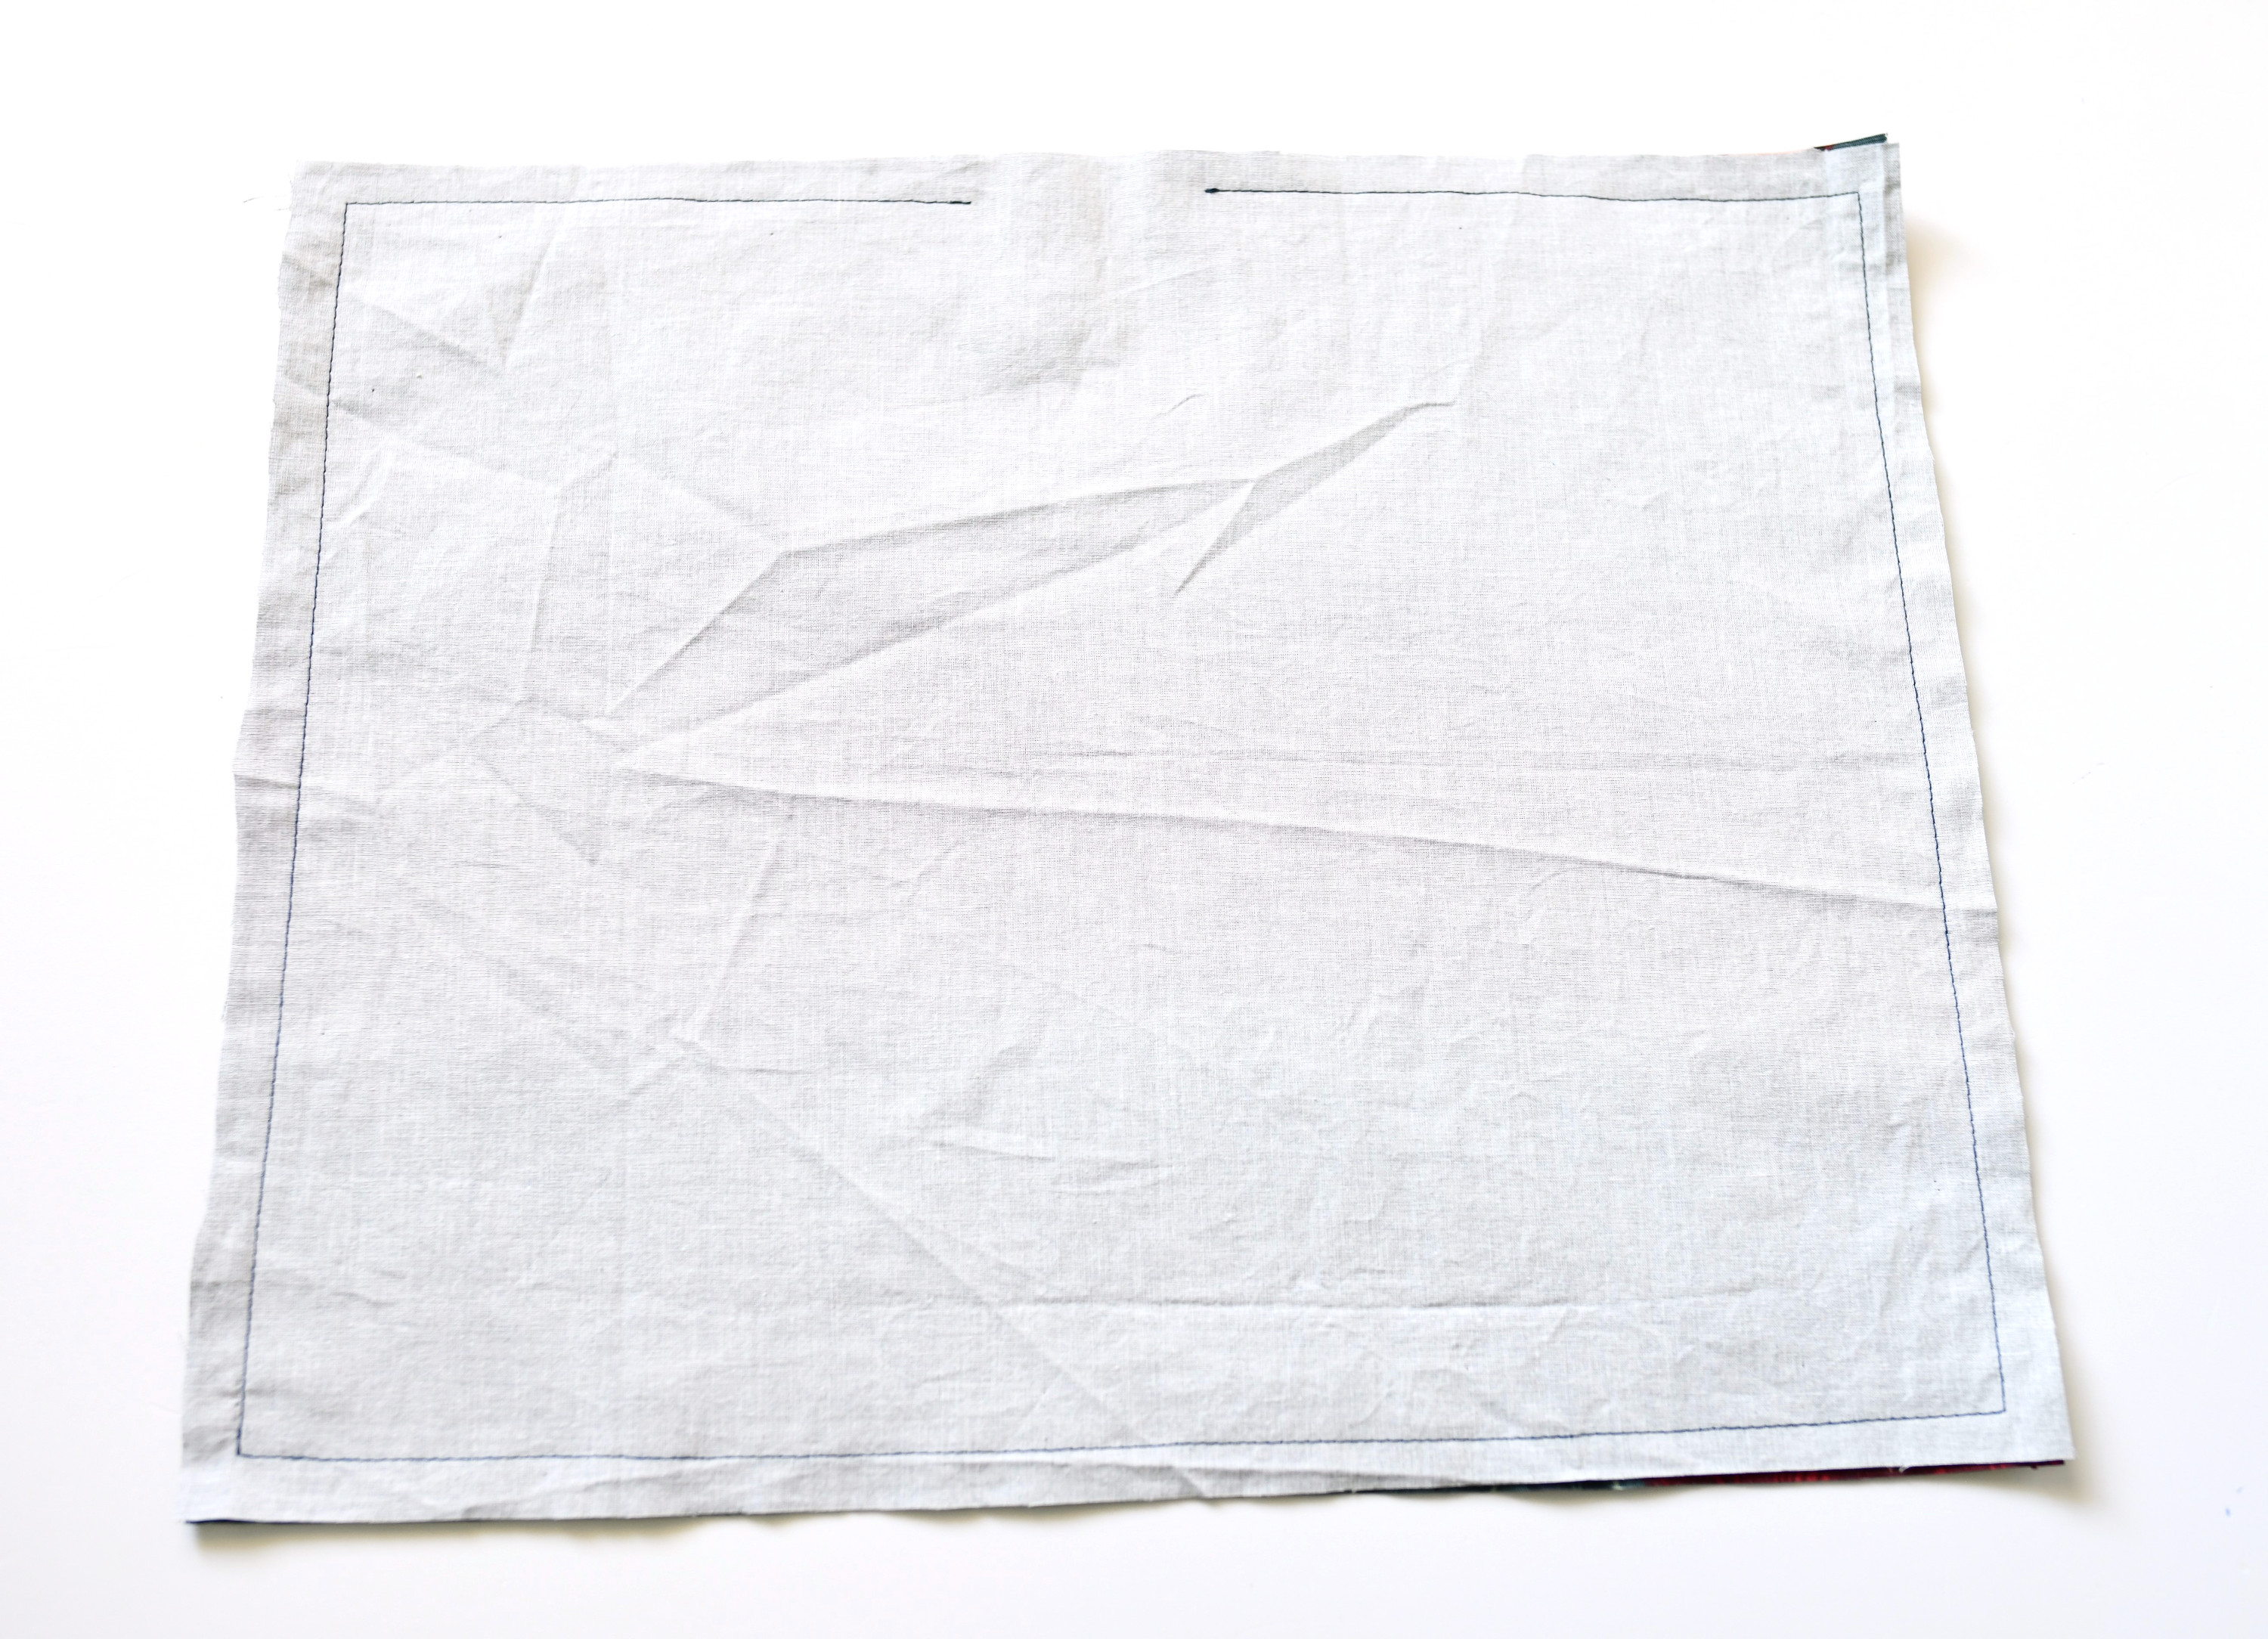
Step 3
Turn your placemat right side out and then use a chopstick (or a pencil) to poke the corners out.
Tuck the unsewn part under and press with an iron – don’t skip this step, see the difference below!

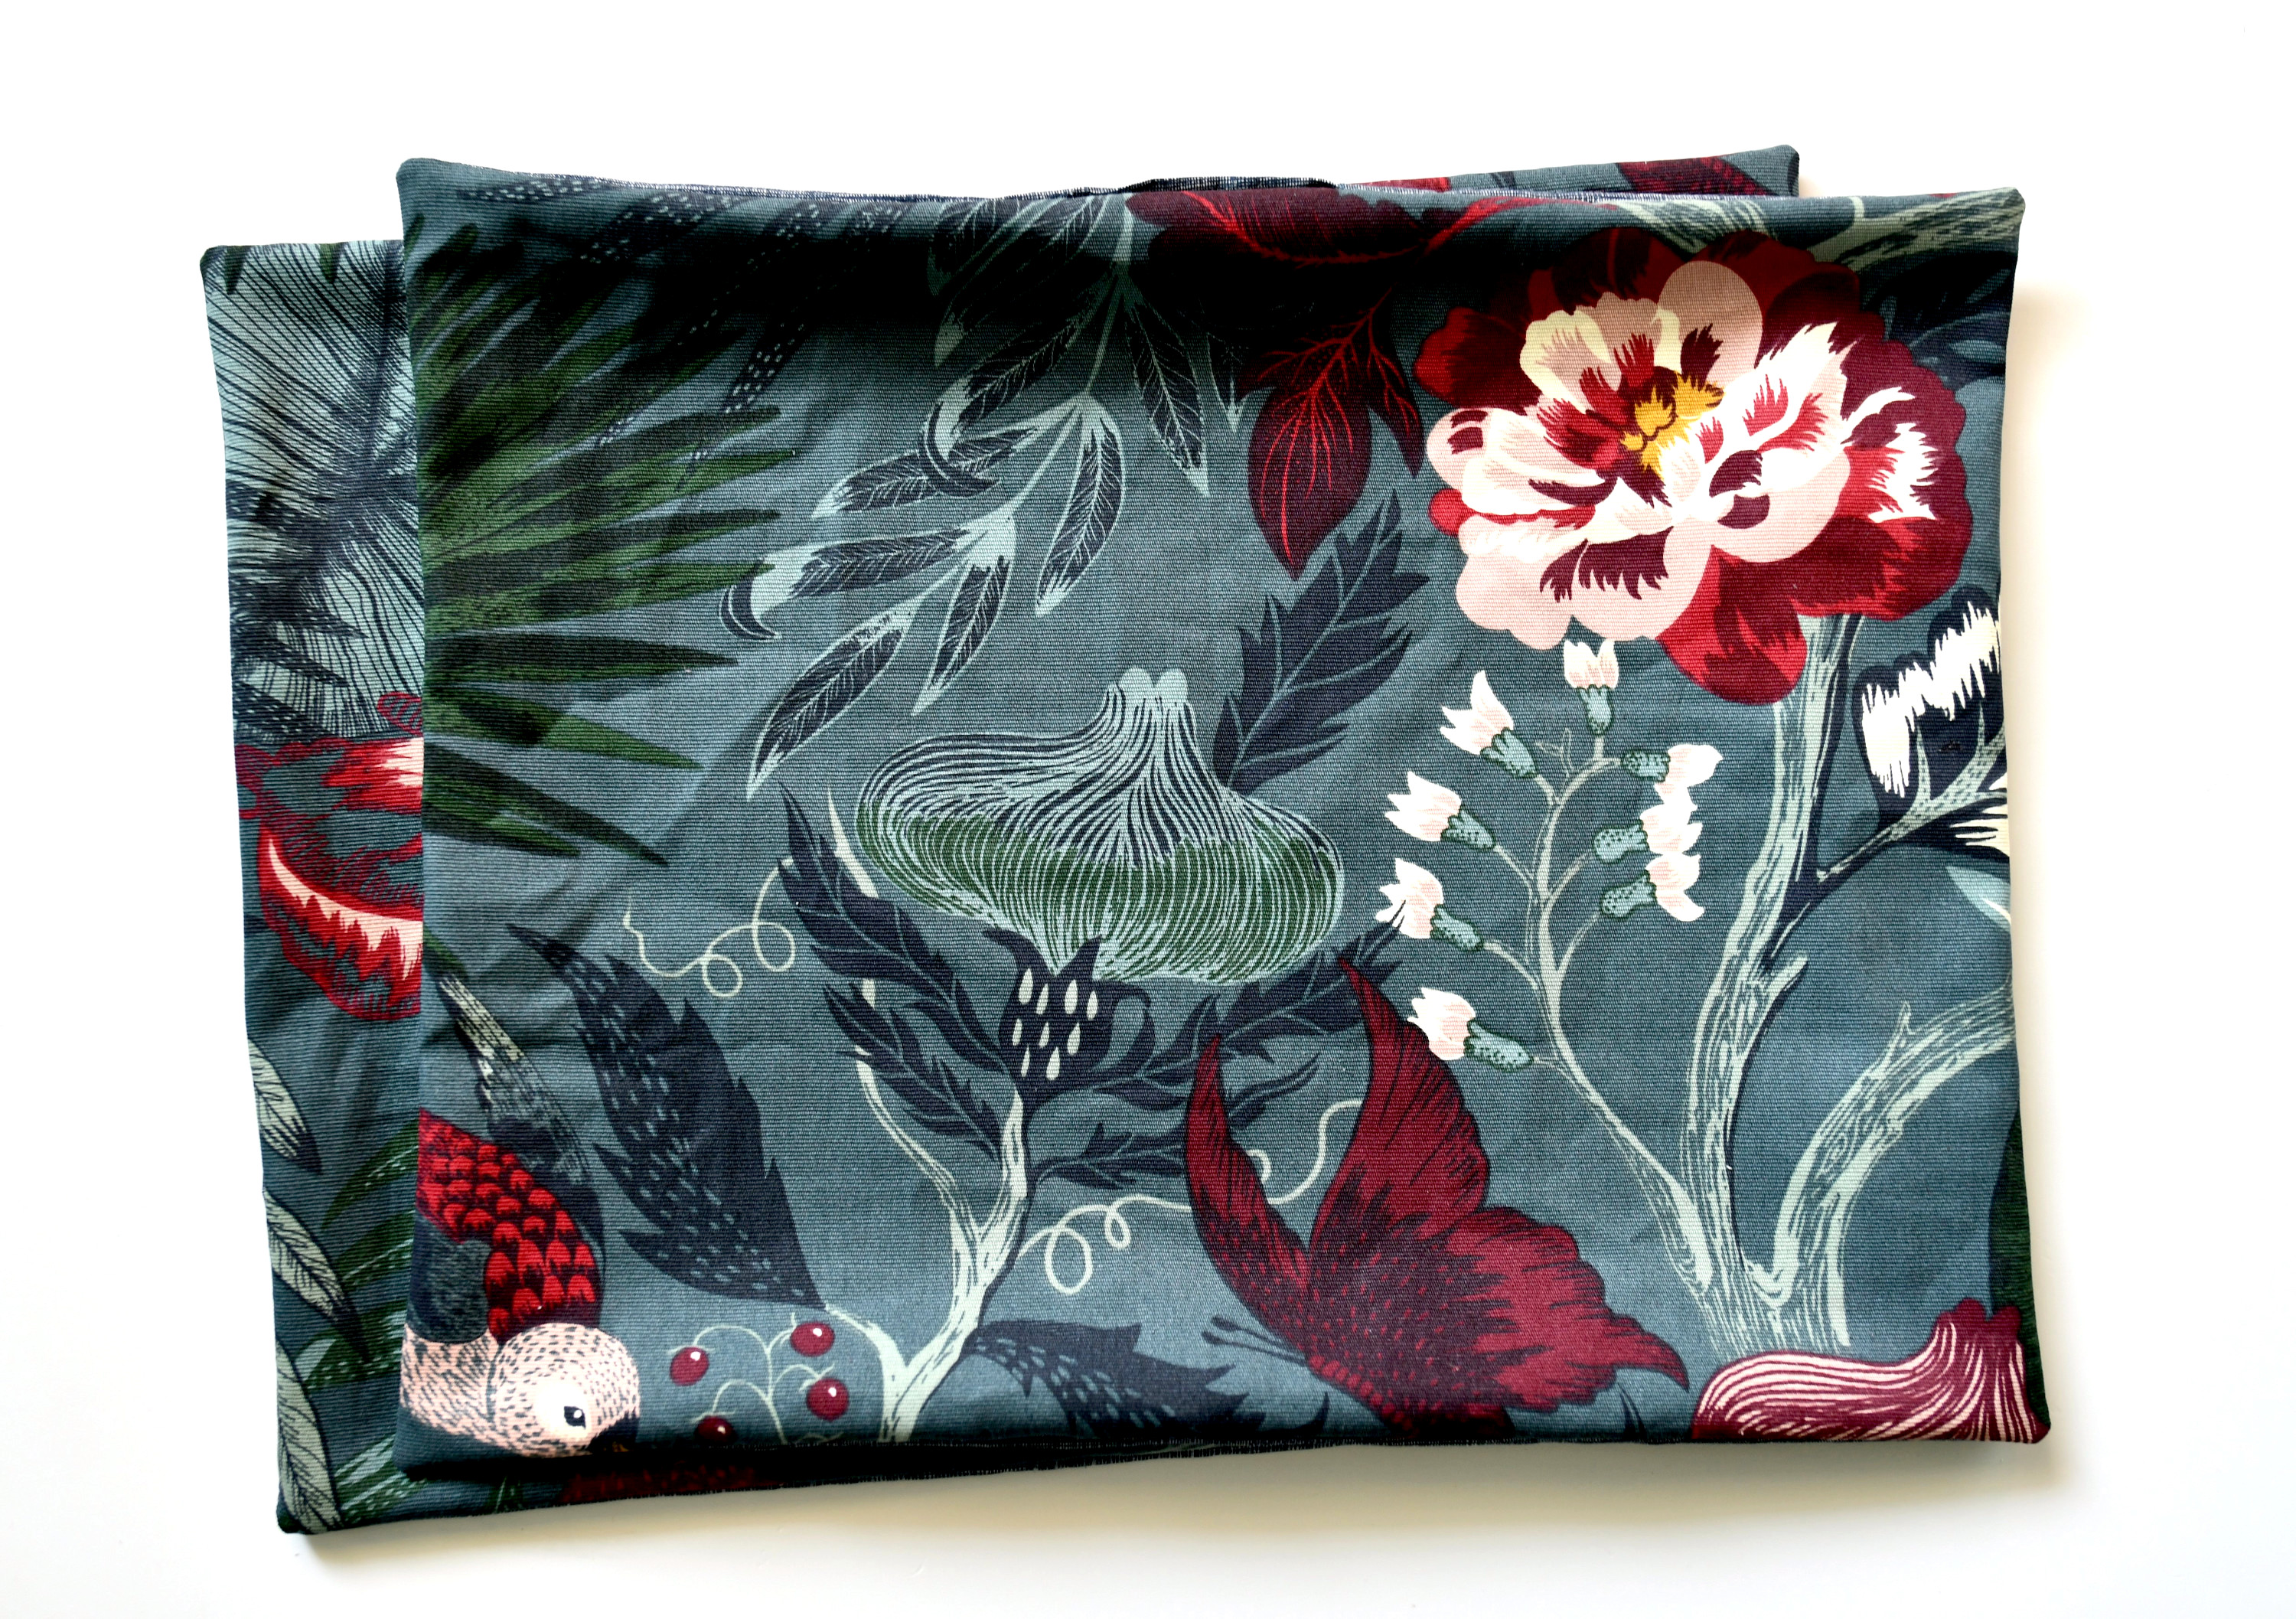
Step 4
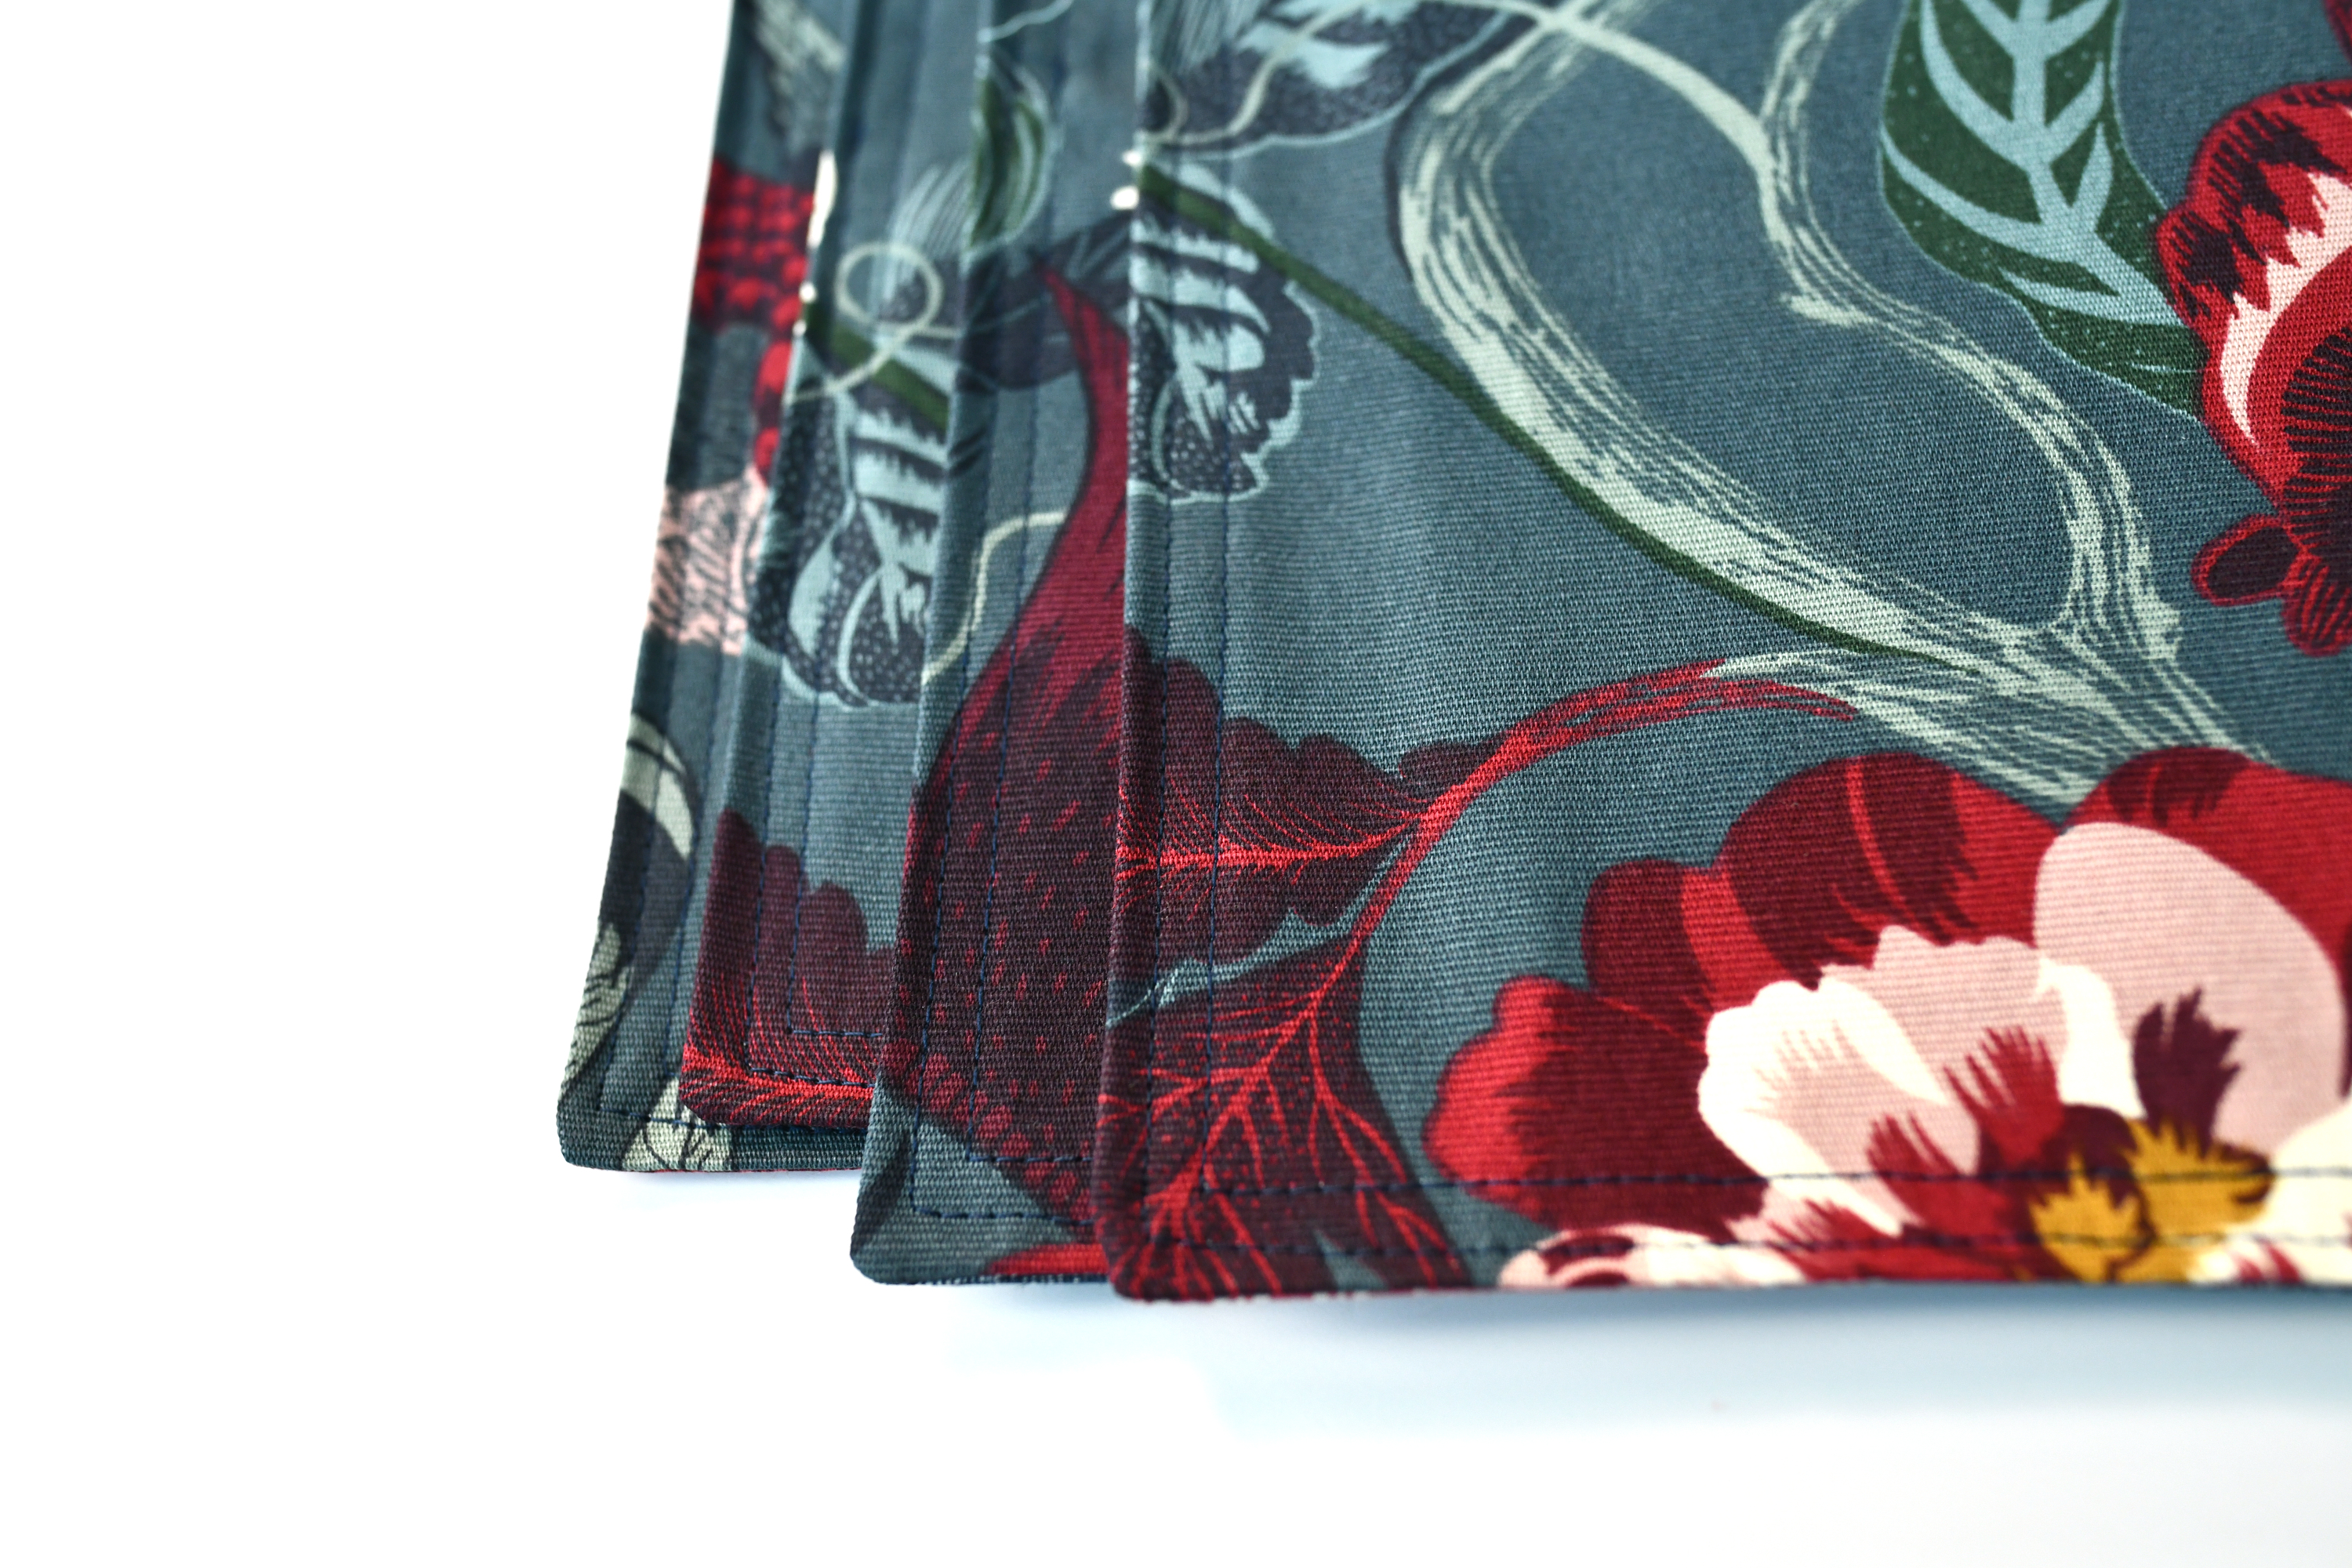
Now topstitch around your DIY fabric placemat, using a small 1/4” seam allowance. The plan is to close that 2” opening, but sewing around the entire perimeter helps conceal that there ever was a gap in the first place.
I usually sew another straight line about 1/2” from the edge to add interest to this simple sewing project.
Tip: if you go for double rows of stitching, you can use a twin needle to get it done faster.
And done! These nice, everyday placemats are finished, and I love how they brighten up the table.
How to care for your fabric placemats
You can clean them in your washing machine. After washing, it’s a good idea to let them air dry. If you toss them in the dryer, they might get damaged by the high heat, and the colors will likely fade / bleed.
Hope you find this reversible placemat tutorial helpful!
Let’s keep in touch! You can find me on Facebook, Instagram, and Pinterest.
Related posts