Learn how to make cute knot bow hair ties in under 15 minutes with this easy DIY tutorial. This beginner-friendly project includes 3 different knot bow styles and is perfect for using up fabric scraps.
Whether you sew by machine or by hand, you’ll create professional-looking hair ties quickly and easily with step-by-step instructions!
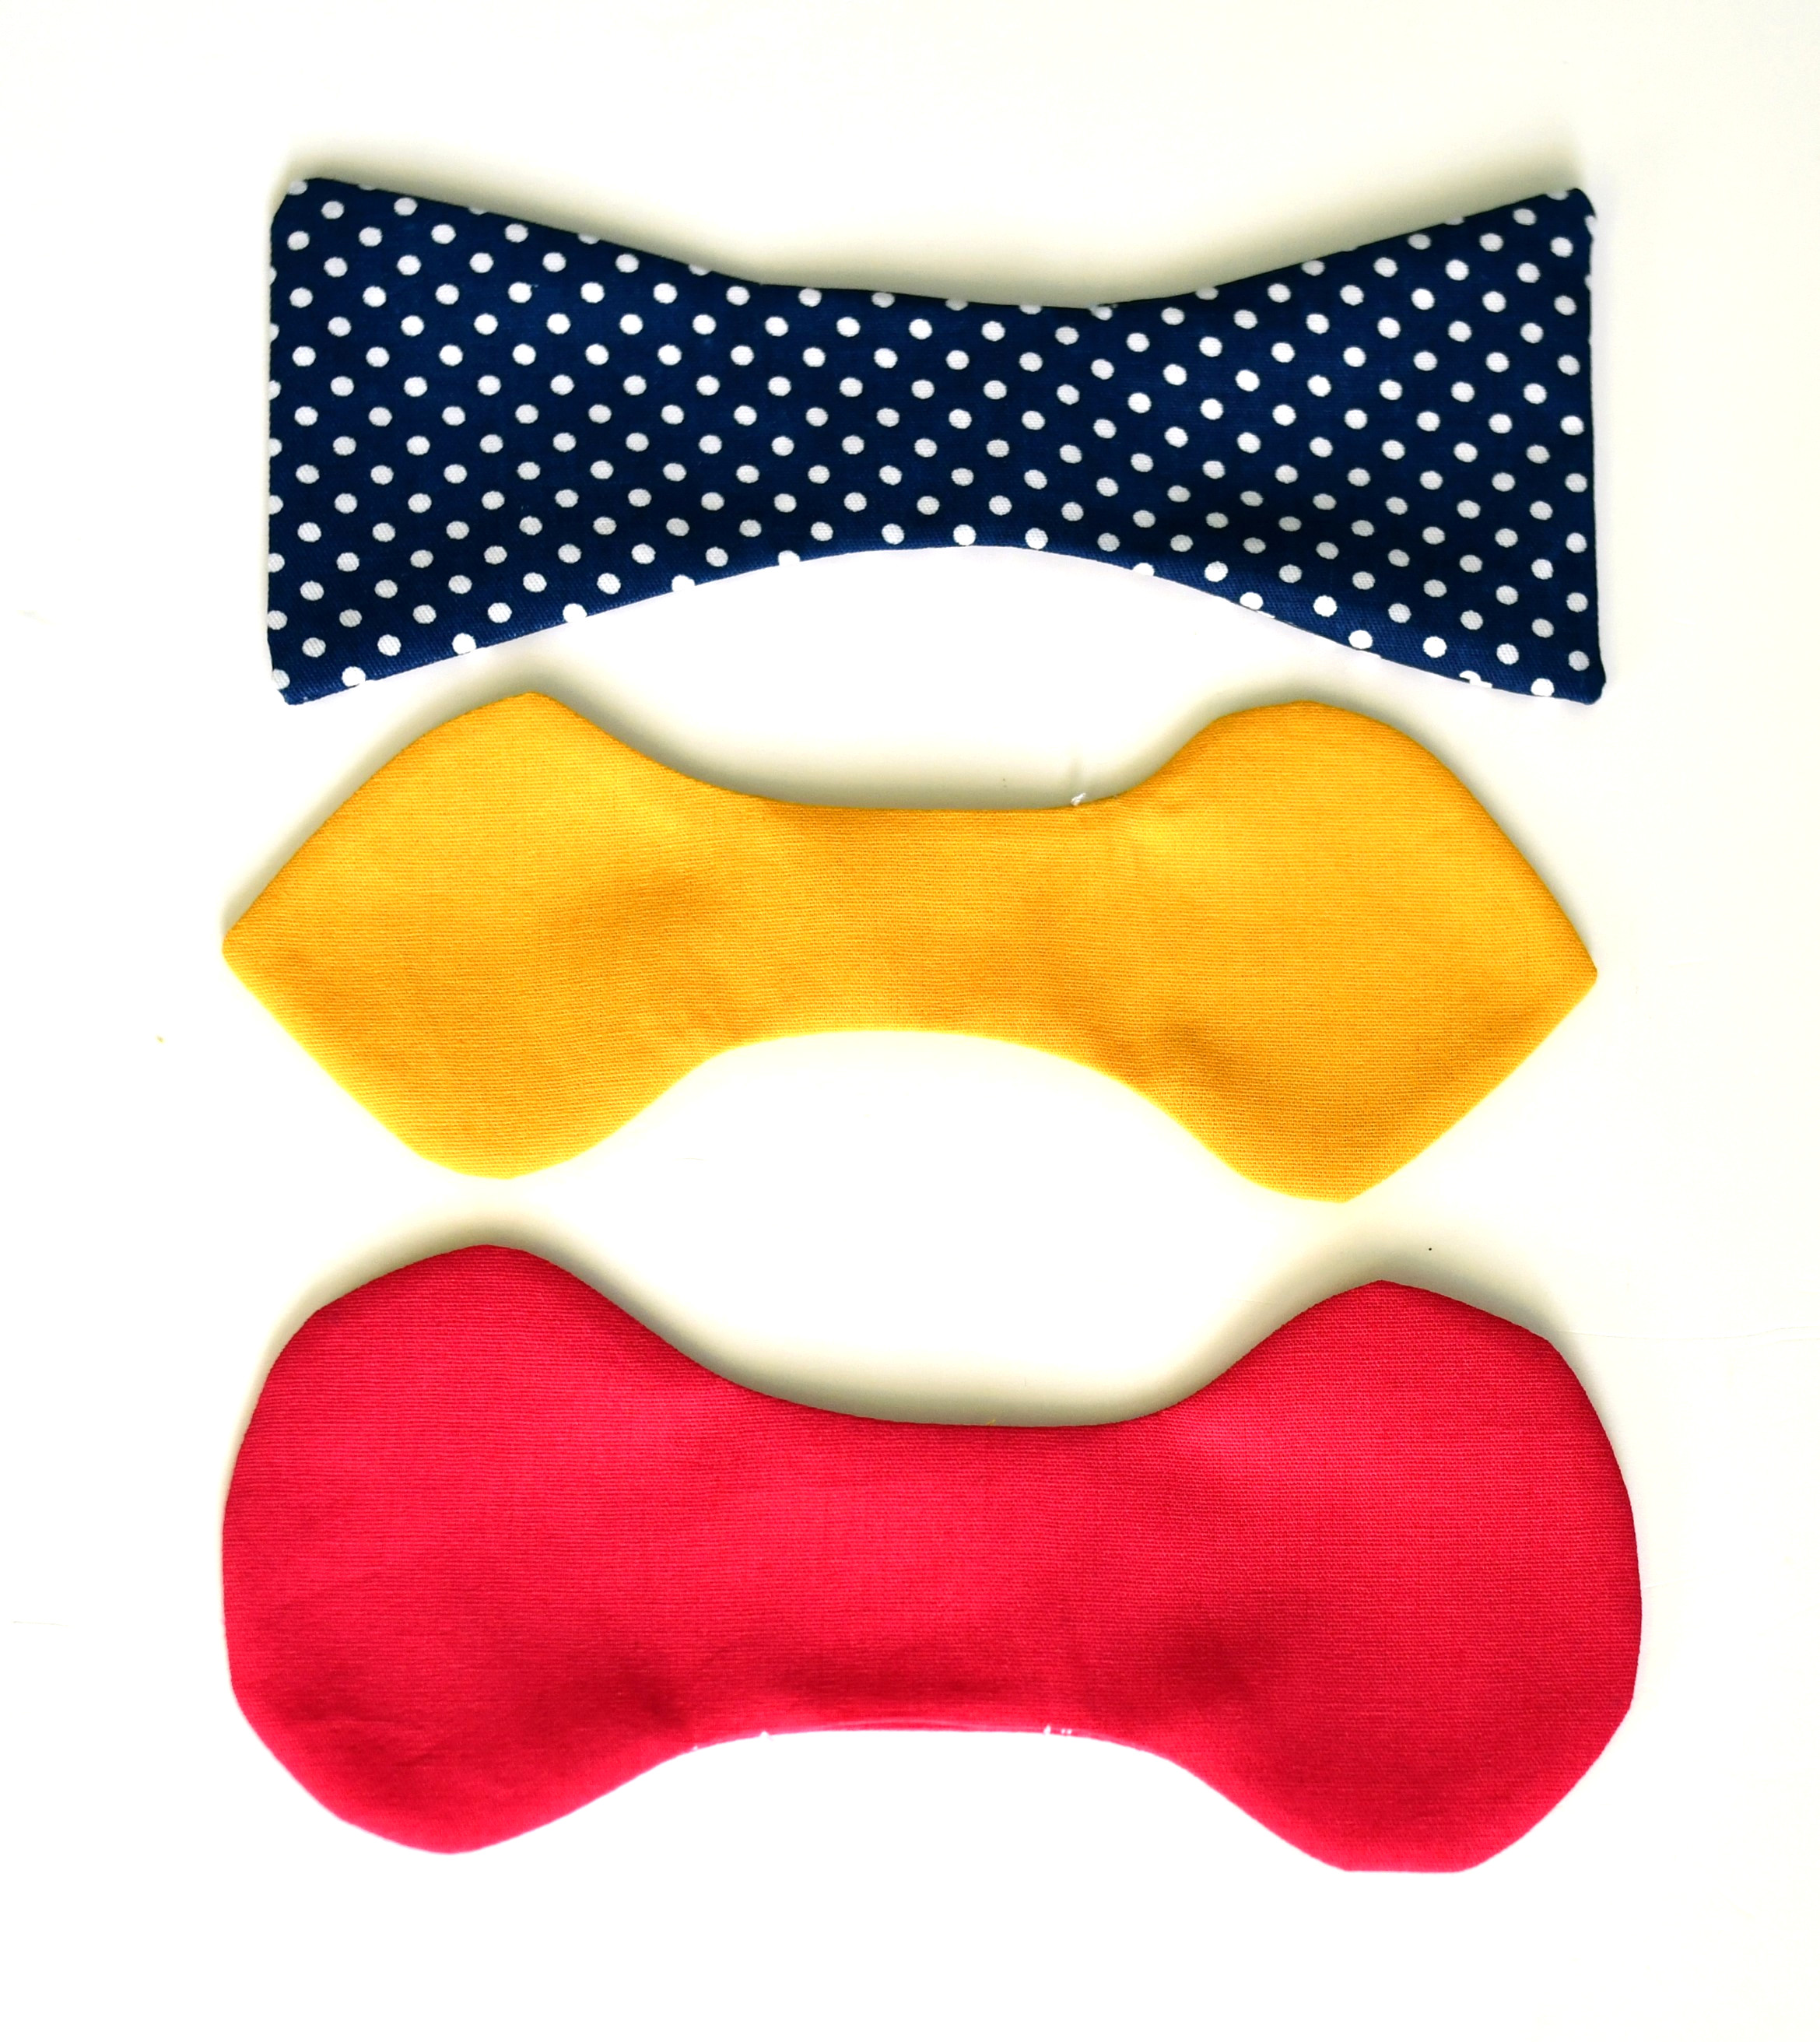
Finished size of the knot bows – approximately 3.5” wide x 2” tall
Sewing supplies – DIY knot bow hair ties
- free PDF pattern – DOWNLOAD BELOW (1/4″ seam allowance is included)
- scraps of fabric (cotton, double gauze, linen, chambray, satin, silk)
- sewing machine, needle, thread, pins
- fabric scissors
- iron
- chopstick or pencil for turning
- elastic hair ties
You can make your own cute professional-looking knot bow hair ties with a sewing machine or by hand.
This DIY project is great for beginners. Granted, there are some curves to sew around, but it’s so quick and simple and I’ll walk you through all the steps. You’ll be done in less than no time.
Related: 50+ easy beginner sewing projects / DIY knotted headband (free pattern)
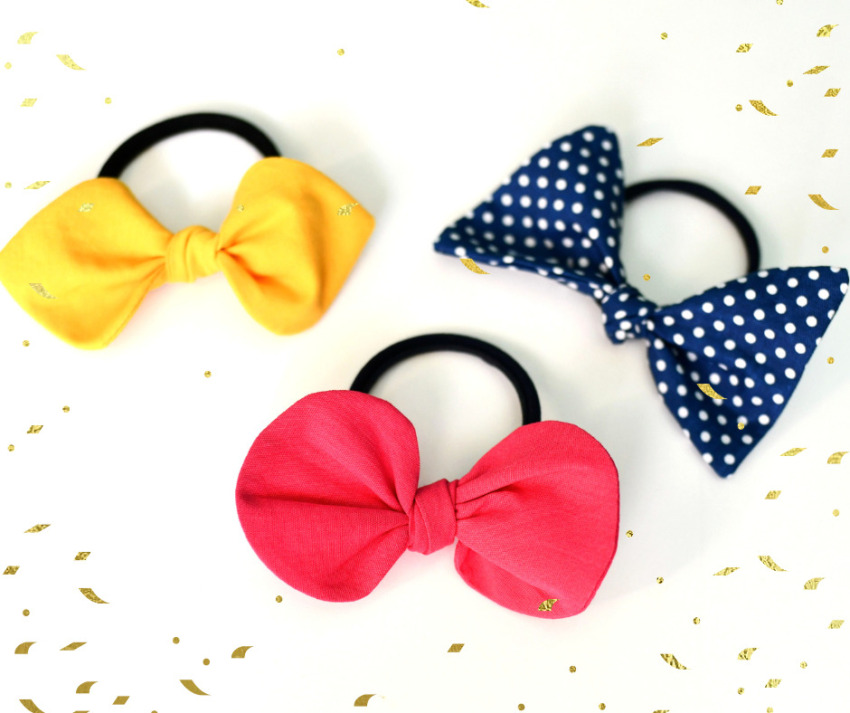
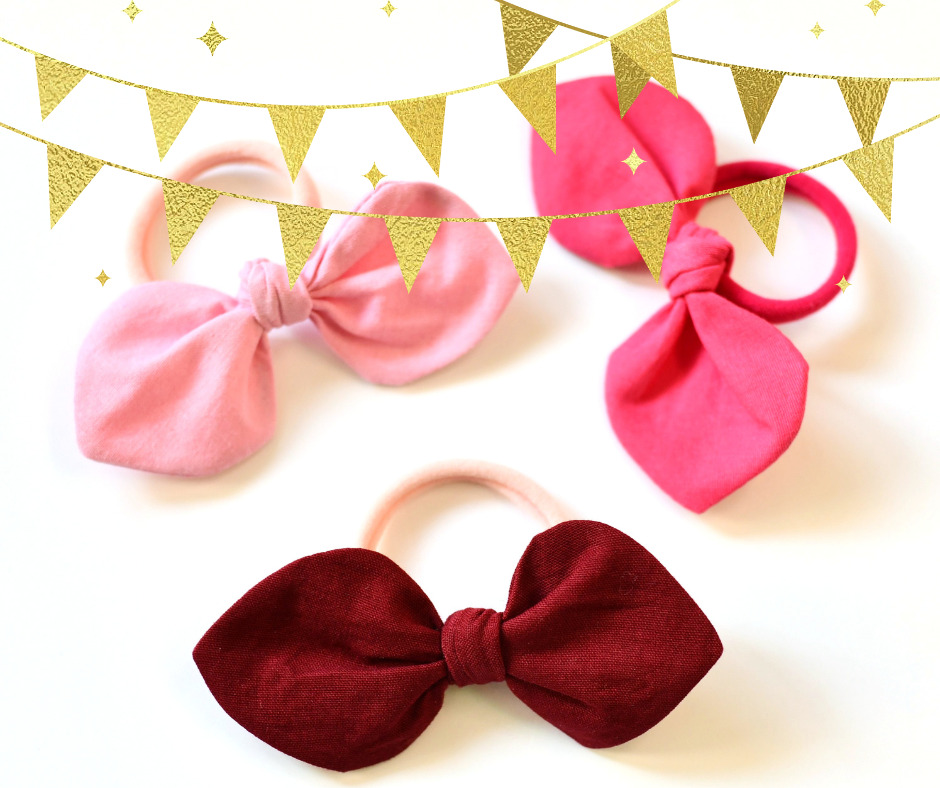
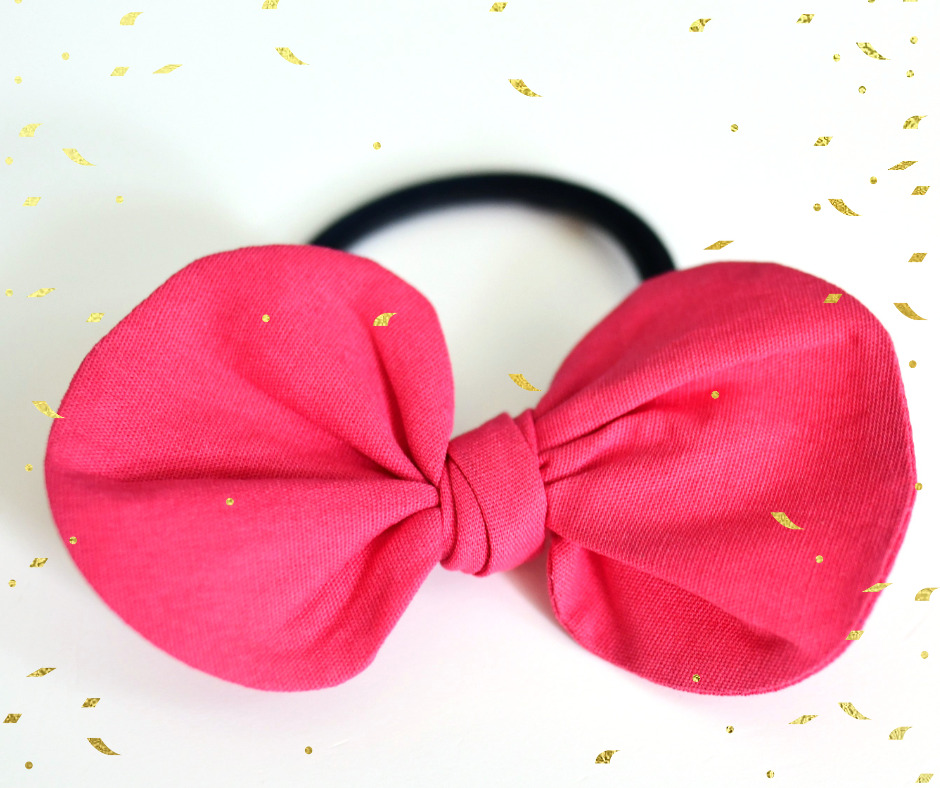
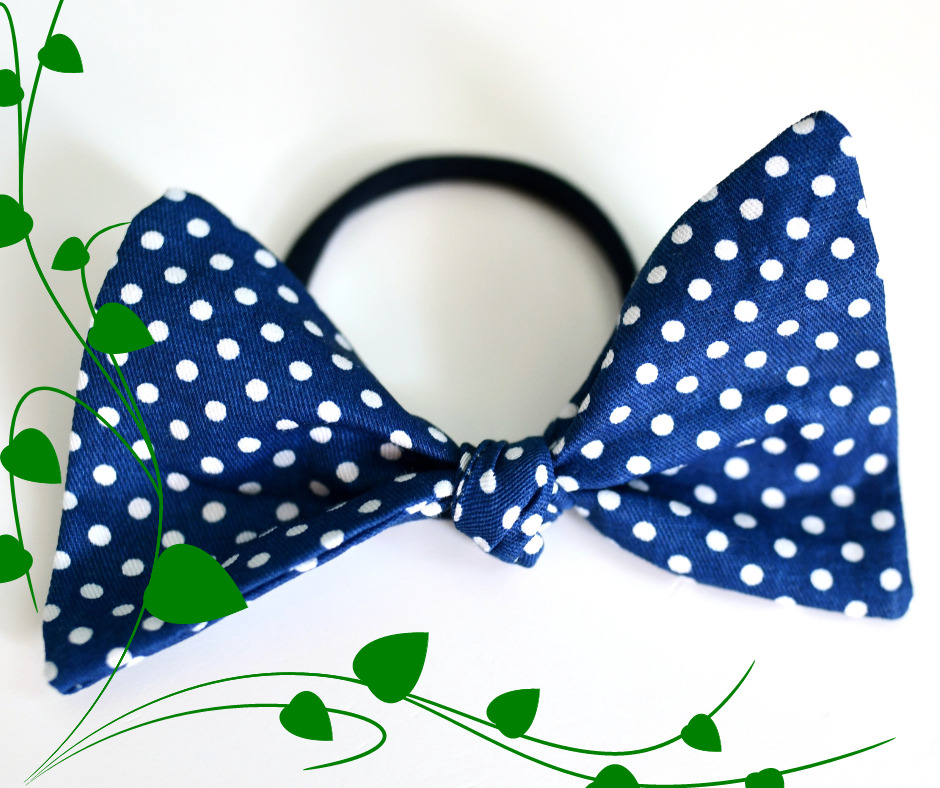
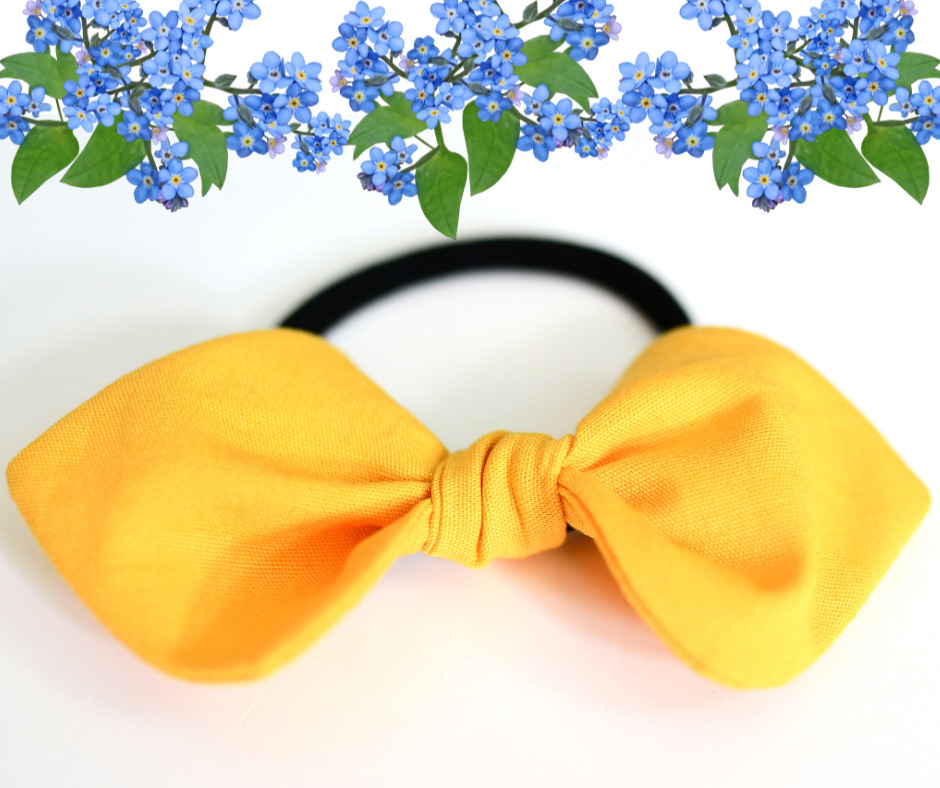
Making hair accessories is so easy and fun! With my free pattern, you can create 3 different variations of these knot bows – I just can’t decide which one is the cutest!
These hair bows are perfect for your little girl or to give as a handmade gift.
Besides, this is a great sewing project for using small scraps of fabric from your stash.

How to make DIY knot bow hair ties tutorial
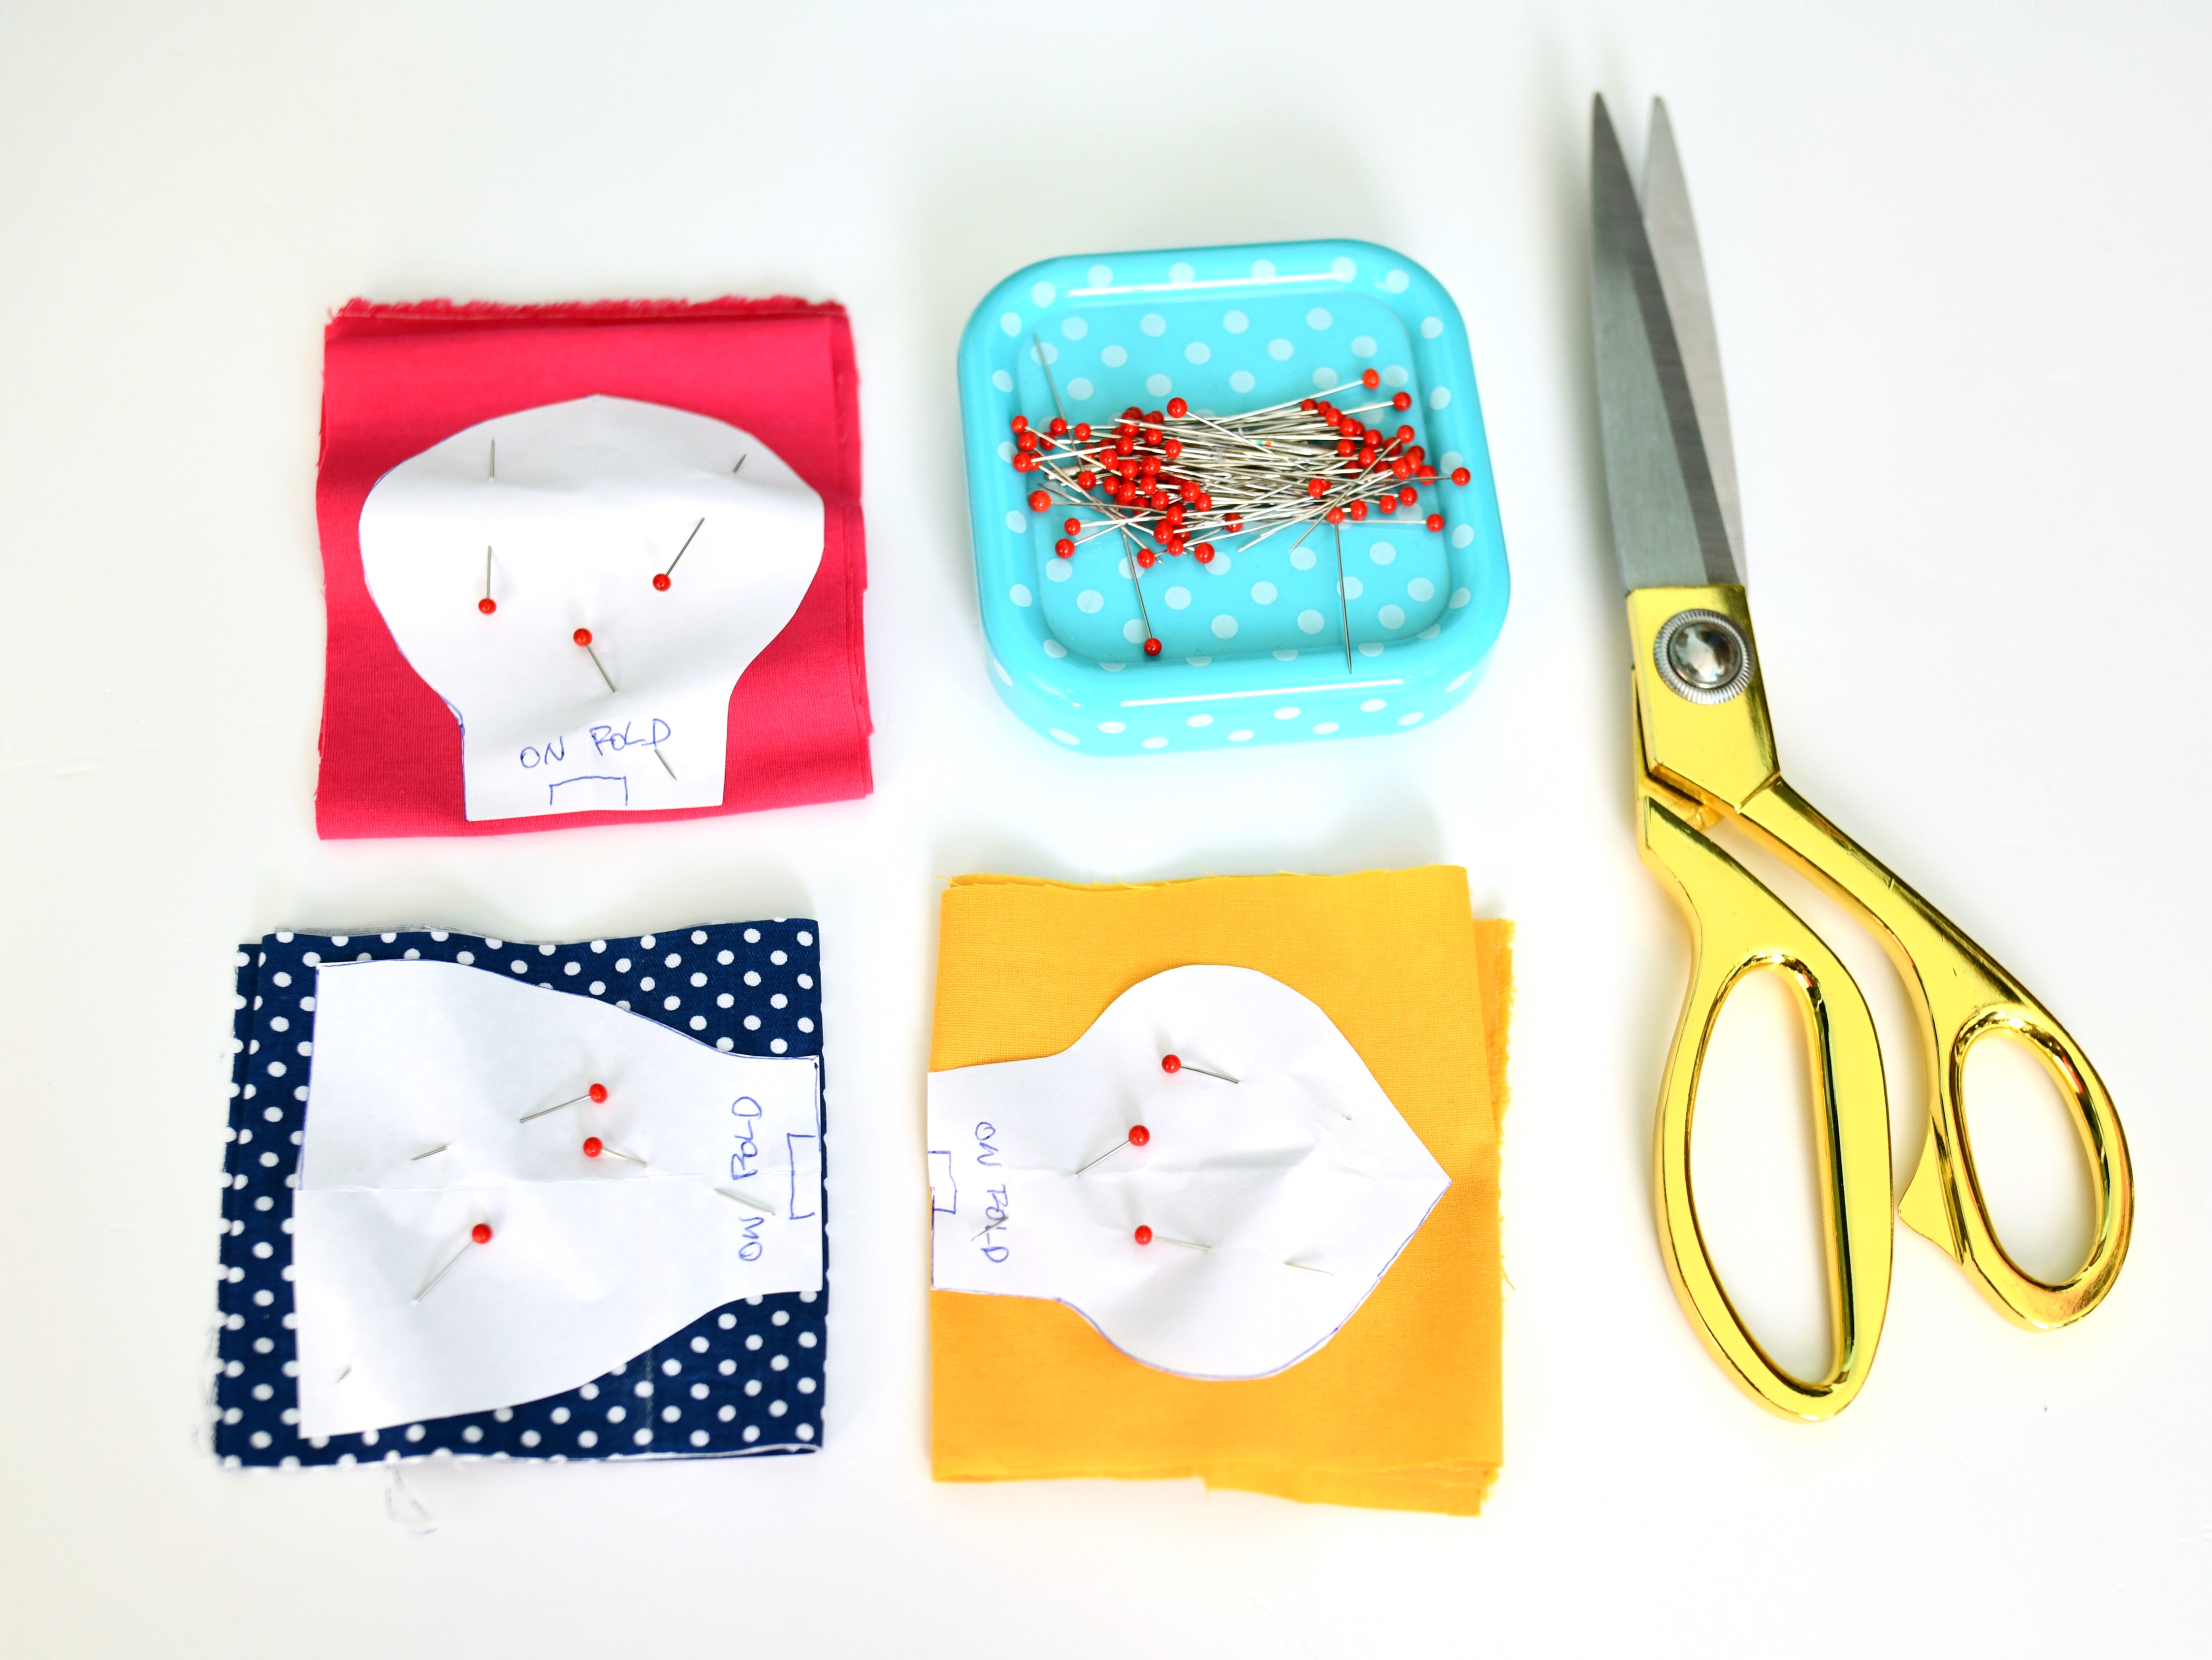
Step 1 – cut your fabric pieces
To make one bow hairband you’ll need a fabric piece that measures about 13” by 3” (or 2 pieces measuring 6.5” x 3”).
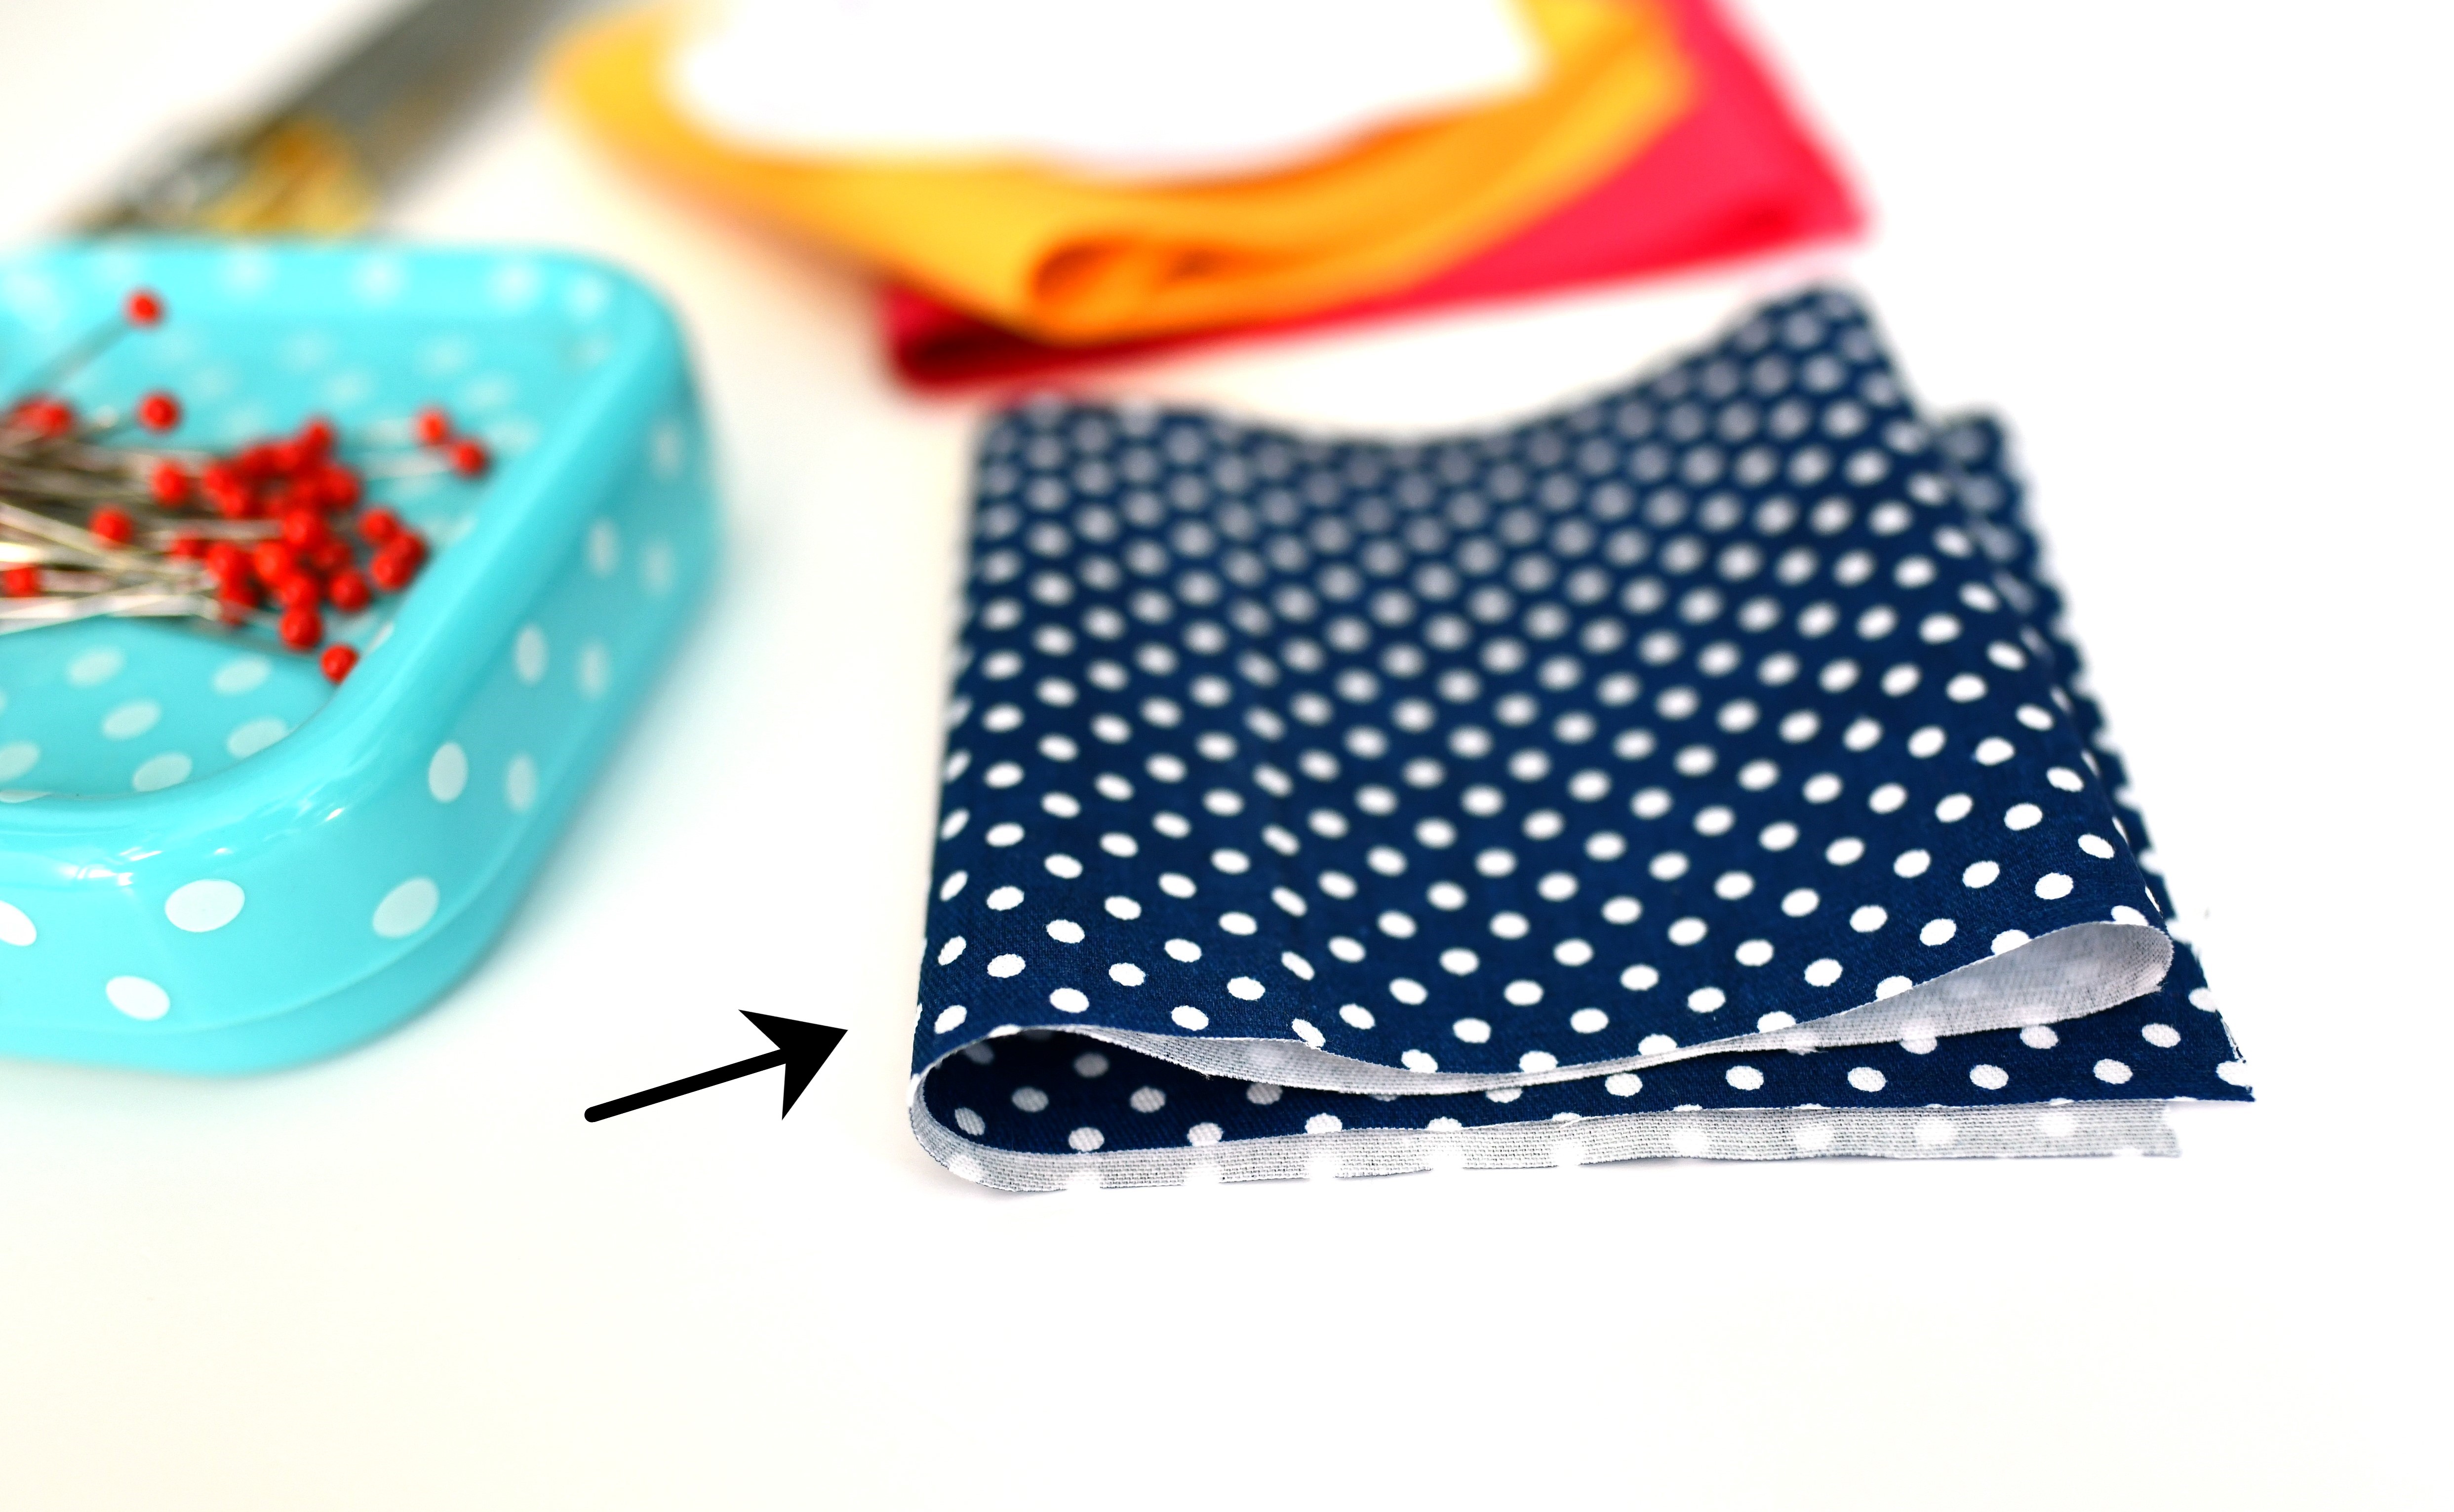
I folded my 13″ x 3″ fabric piece twice to cut both pattern pieces in one sitting. As you may see in the photo above, there are four layers in that fabric sandwich.
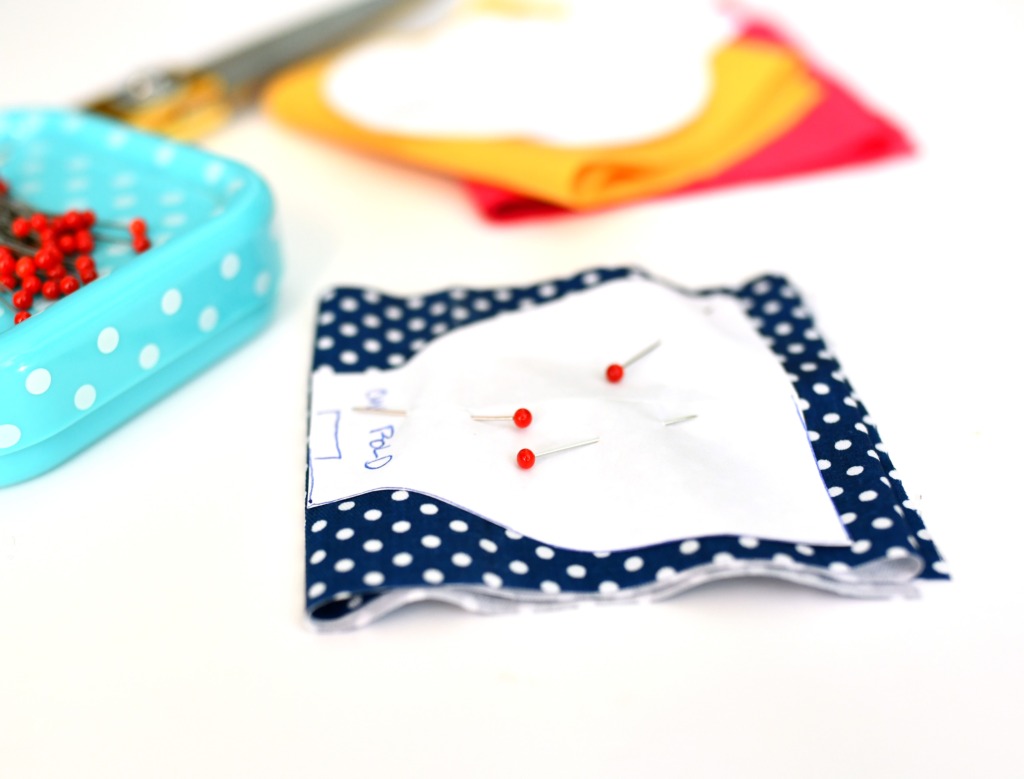
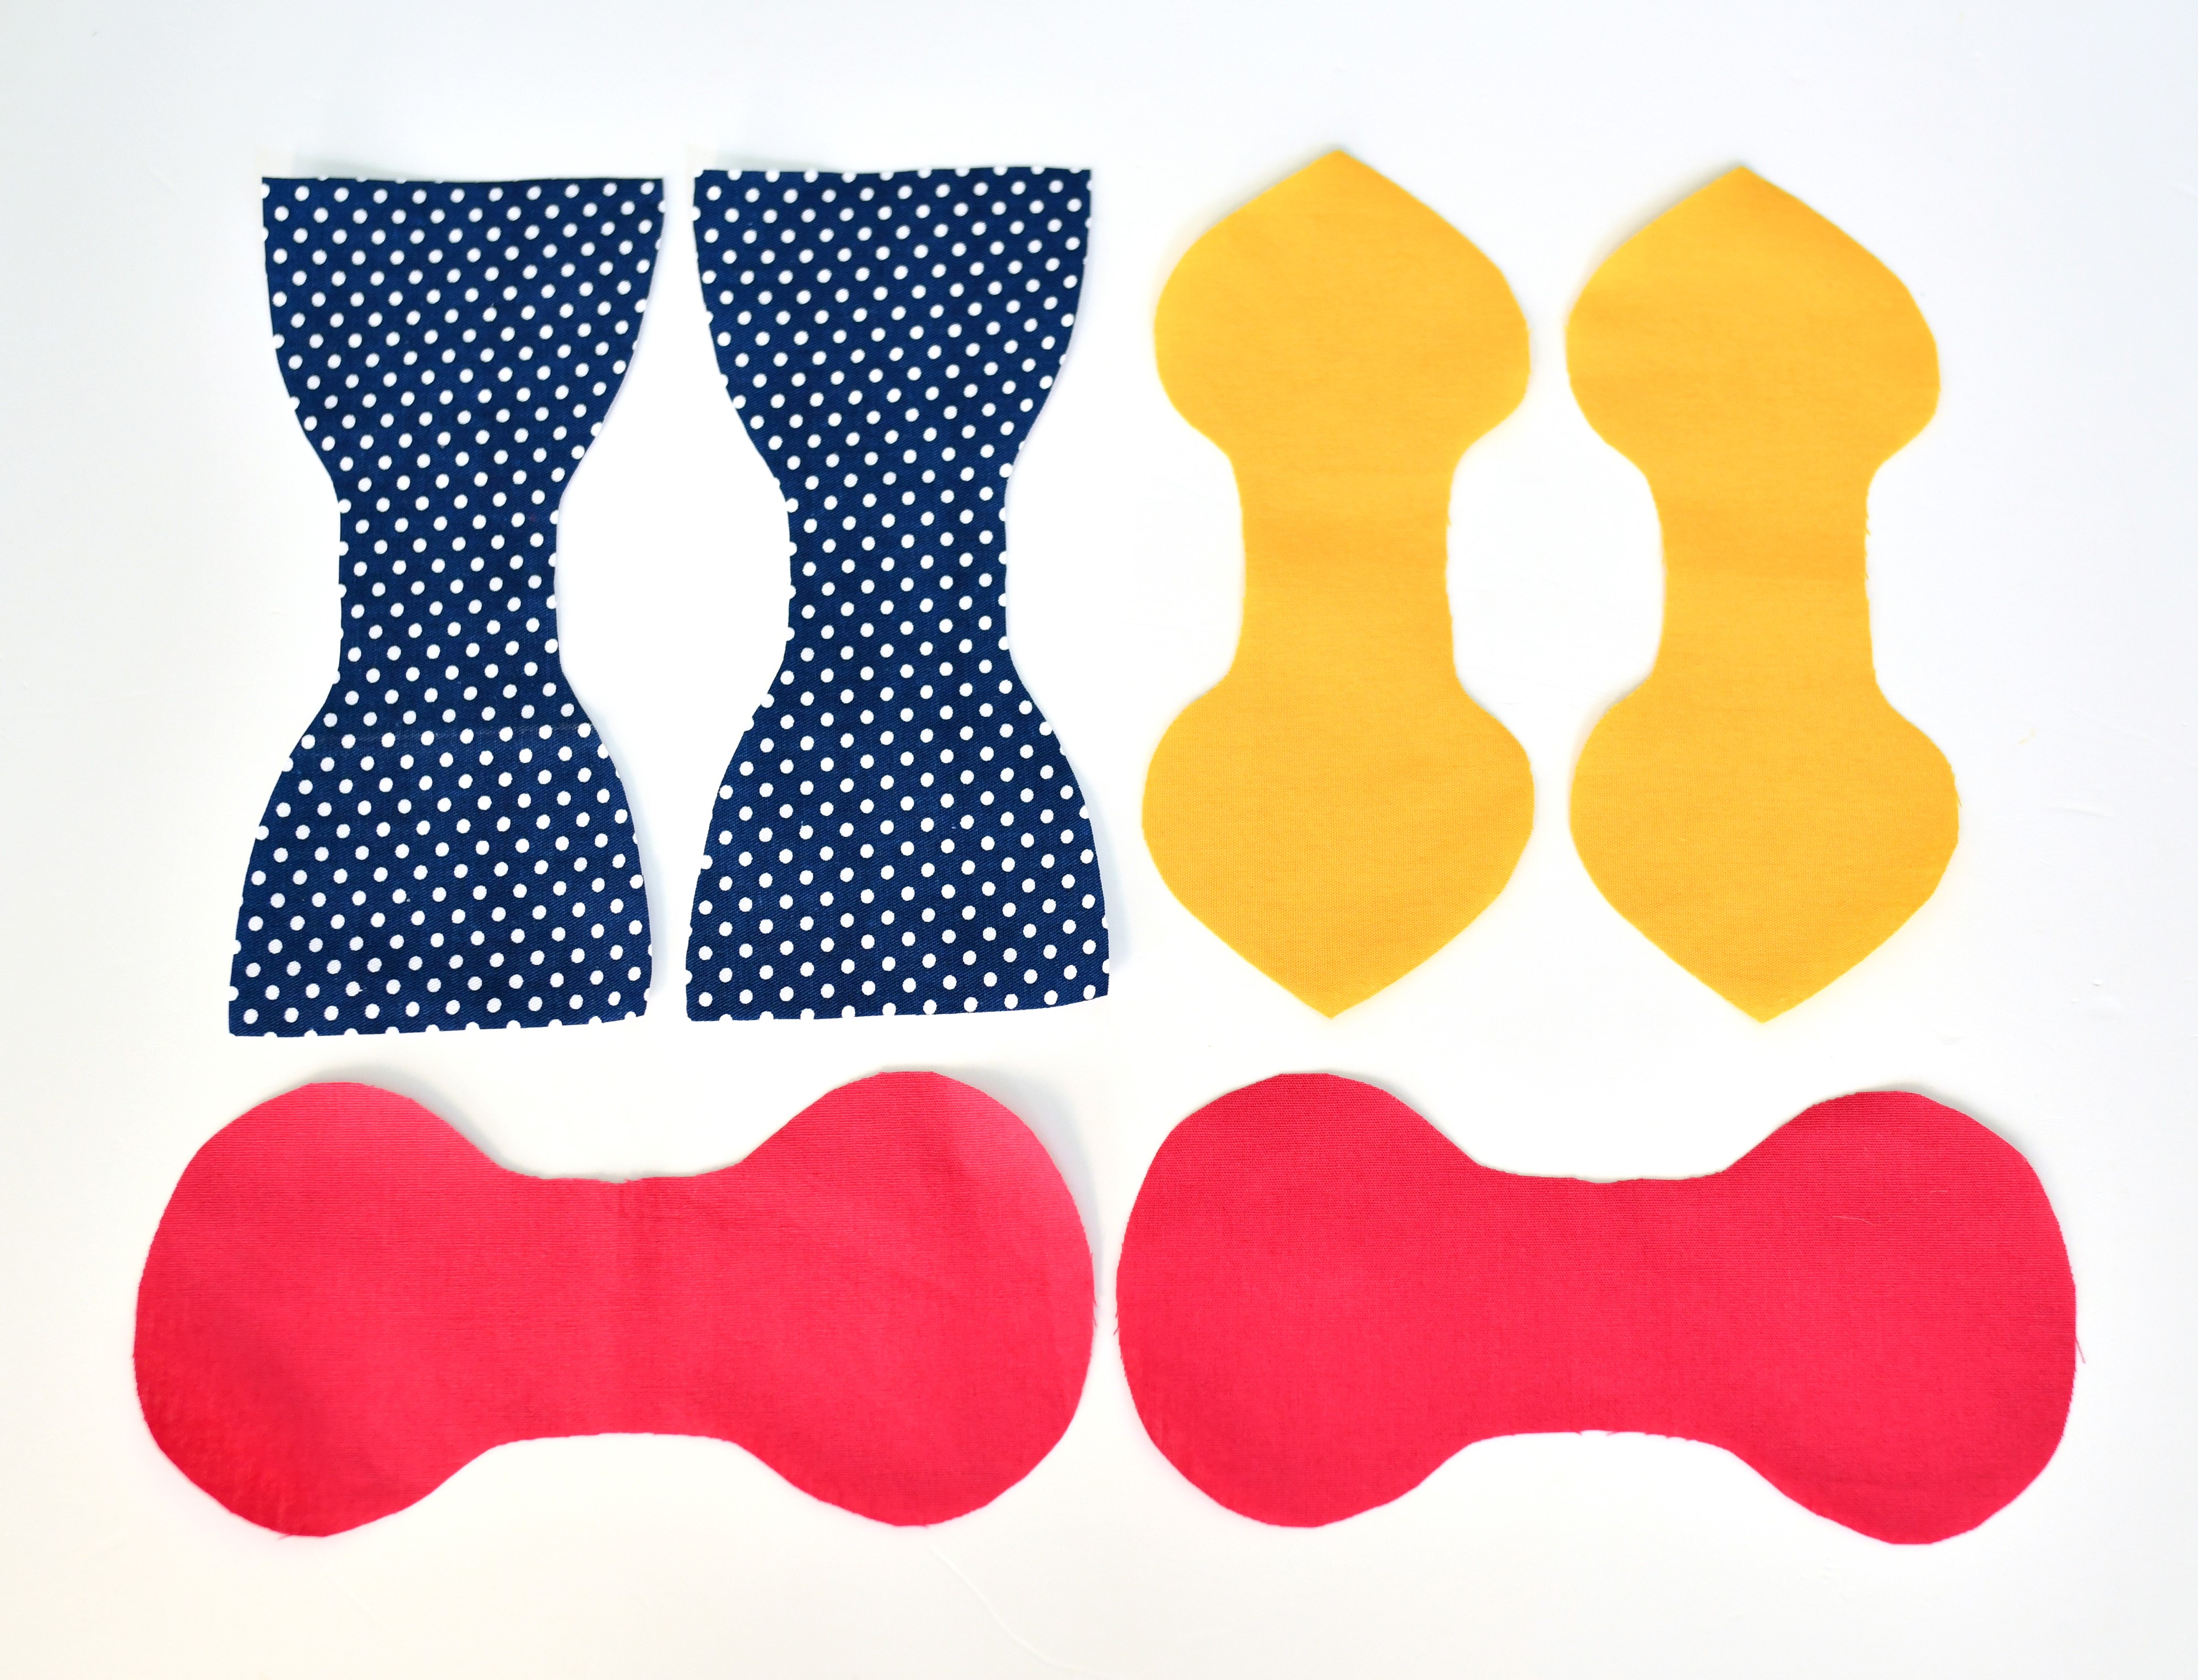
You should end up with two pattern pieces for each bow style.
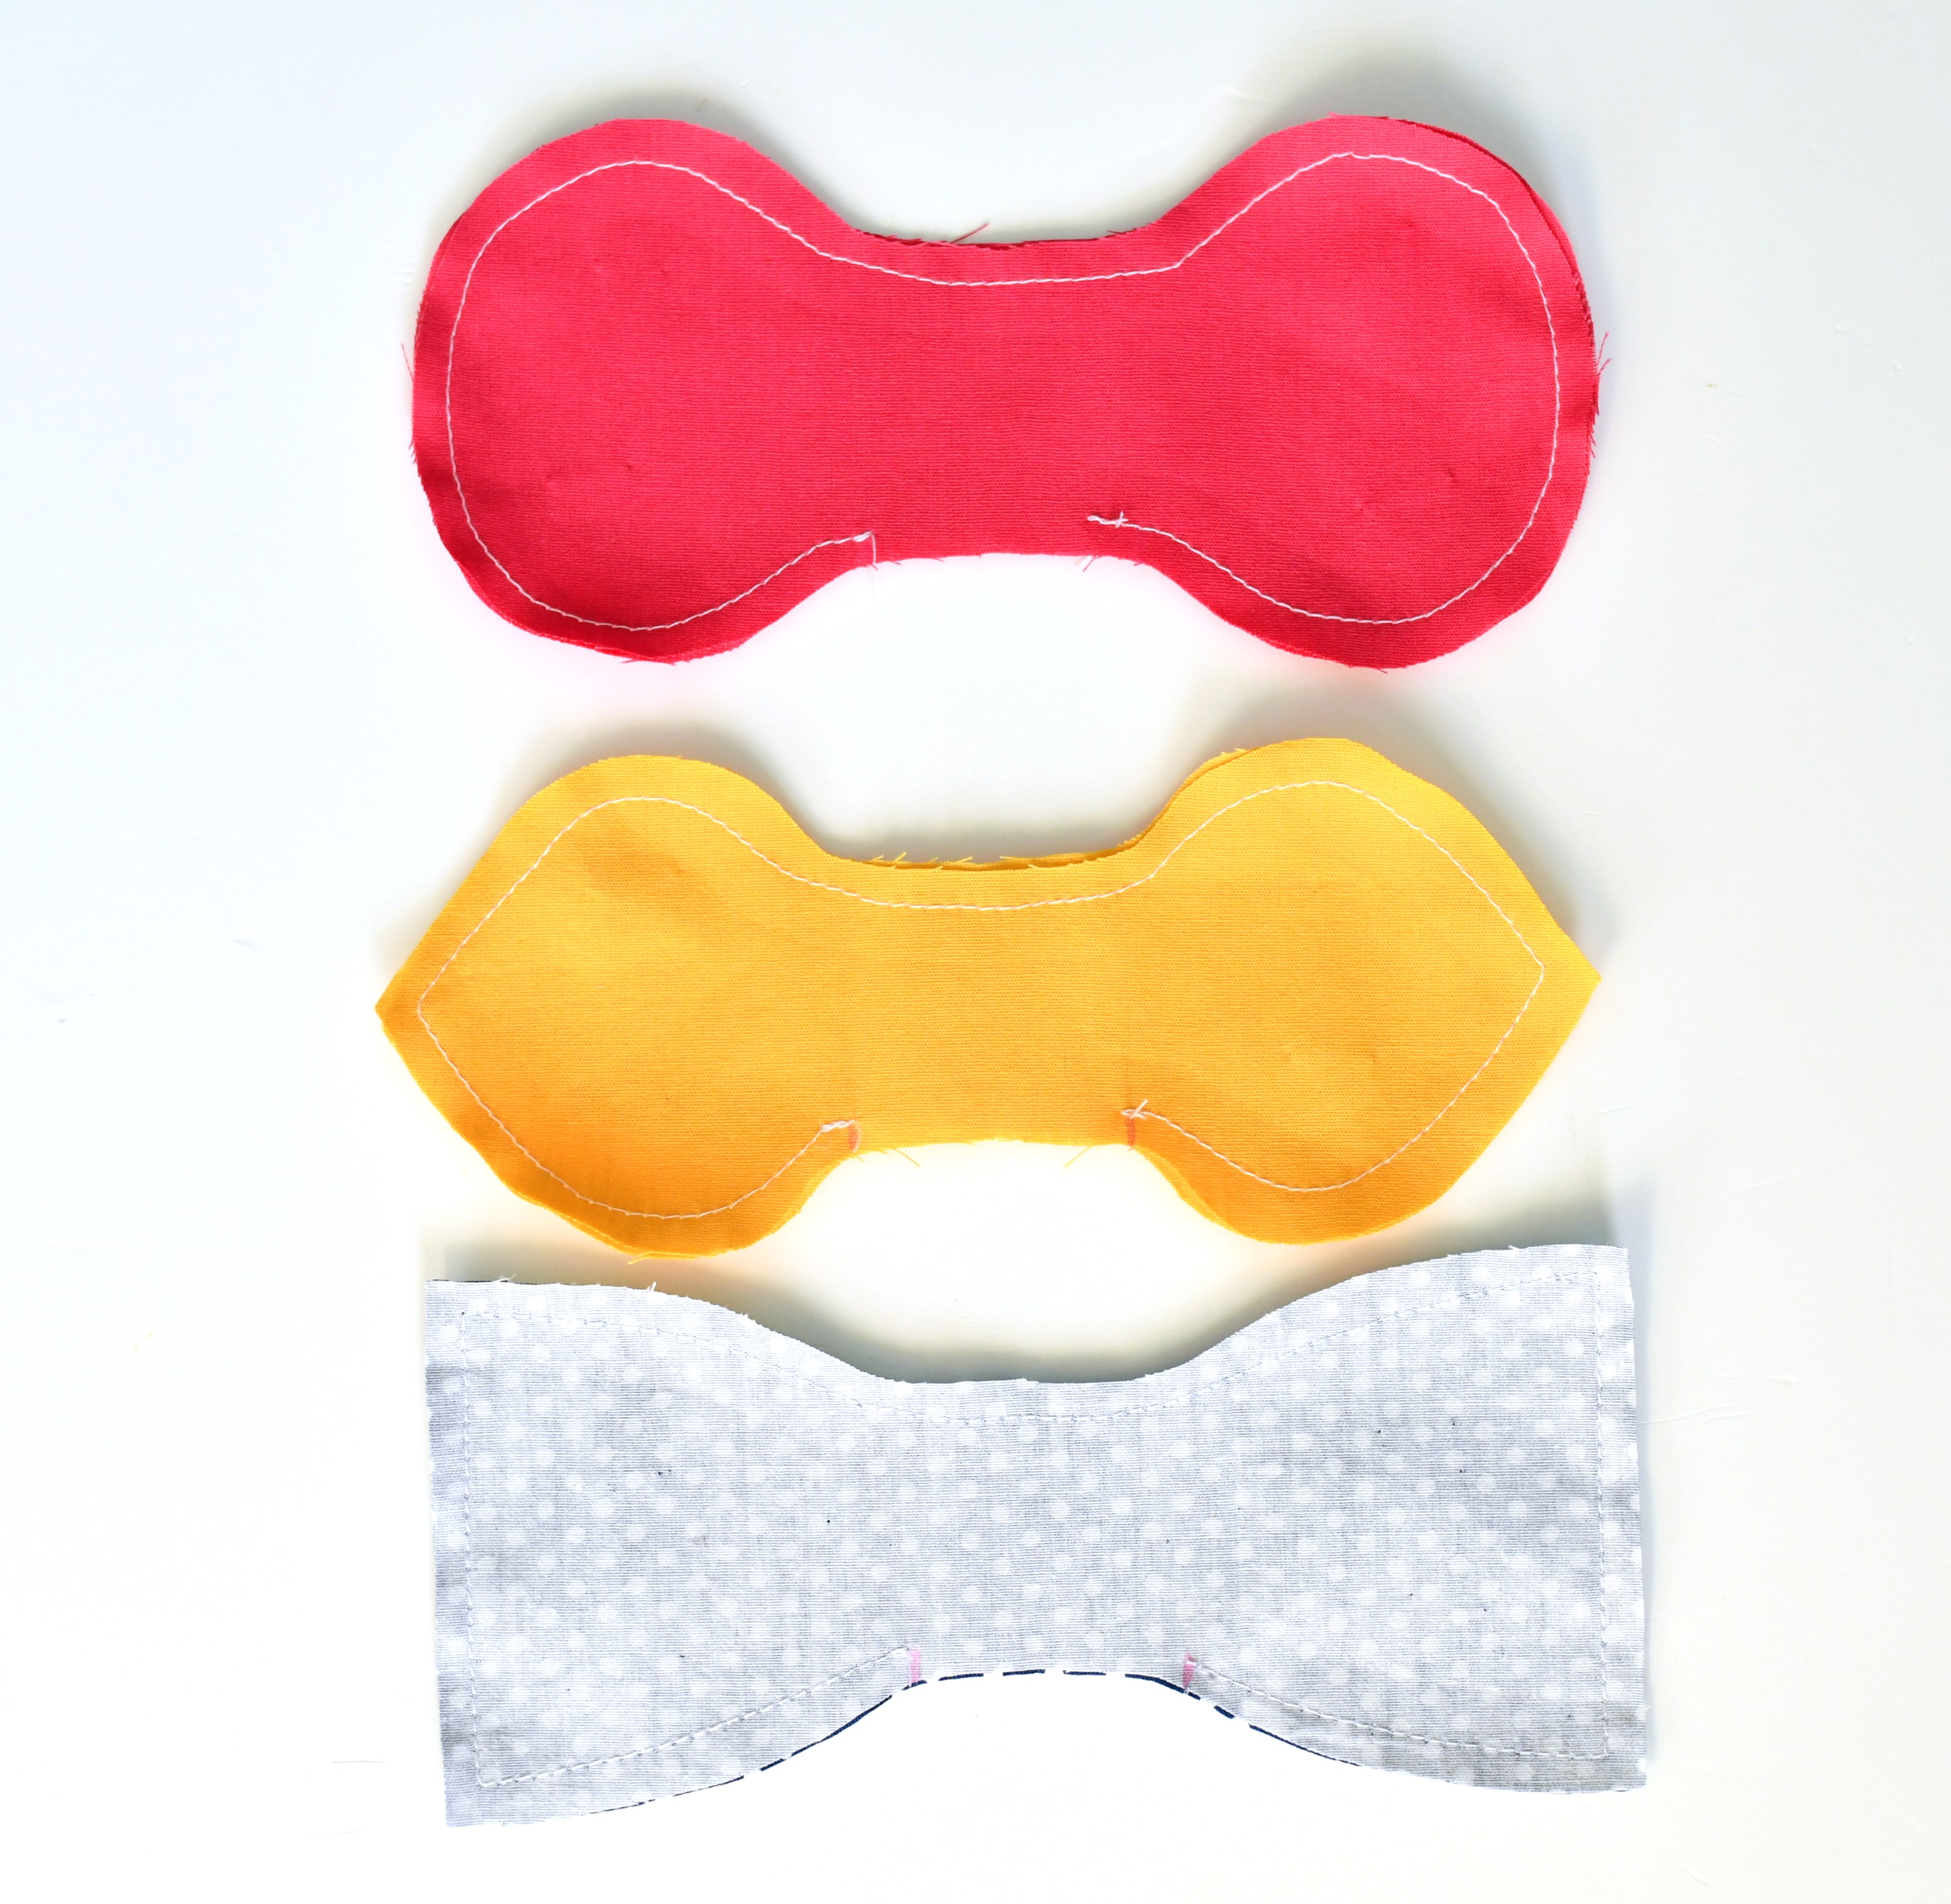
Step 2 – sew the pieces together
Place two identical pieces right sides together. Stitch around the edges with a small seam allowance (1/4”) and make sure to leave a 1.5” opening on one side, in the middle. Backstitch at the beginning and end of that small opening.

For the best results, sew slowly and think of the curve as a collection of small straight stitches. Make sure to look ahead and pivot the fabric every 3 or 4 stitches.
Step 3 – trim the seam allowance
Trim the seam allowance to 1/8” to reduce bulk. Be careful not to cut into the stitching line. This way, your bows will look nice and smooth.

Do not trim the seam allowance in the opening area.
Step 4 – turn your bows right side out
Turn your bows right side out by pulling them gently through the opening. I used a chopstick to push out the outer edges.
Now it’s time to iron and get out all the wrinkles. The seam allowance should be folded on the opening towards the inside.
Step 5 – tie the bows around the elastic
Stitch the opening shut, preferably with a matching thread.
For a seamless finish, you can stitch the opening by hand using an invisible ladder stitch. Another option is to use the sewing machine and stitch very close to the edge of the fabric to close the gap.
However, should you ever be in a hurry or just super lazy (yes, it happens!), know that the small opening will be hidden in the finished knot, so you can also leave it as-is.
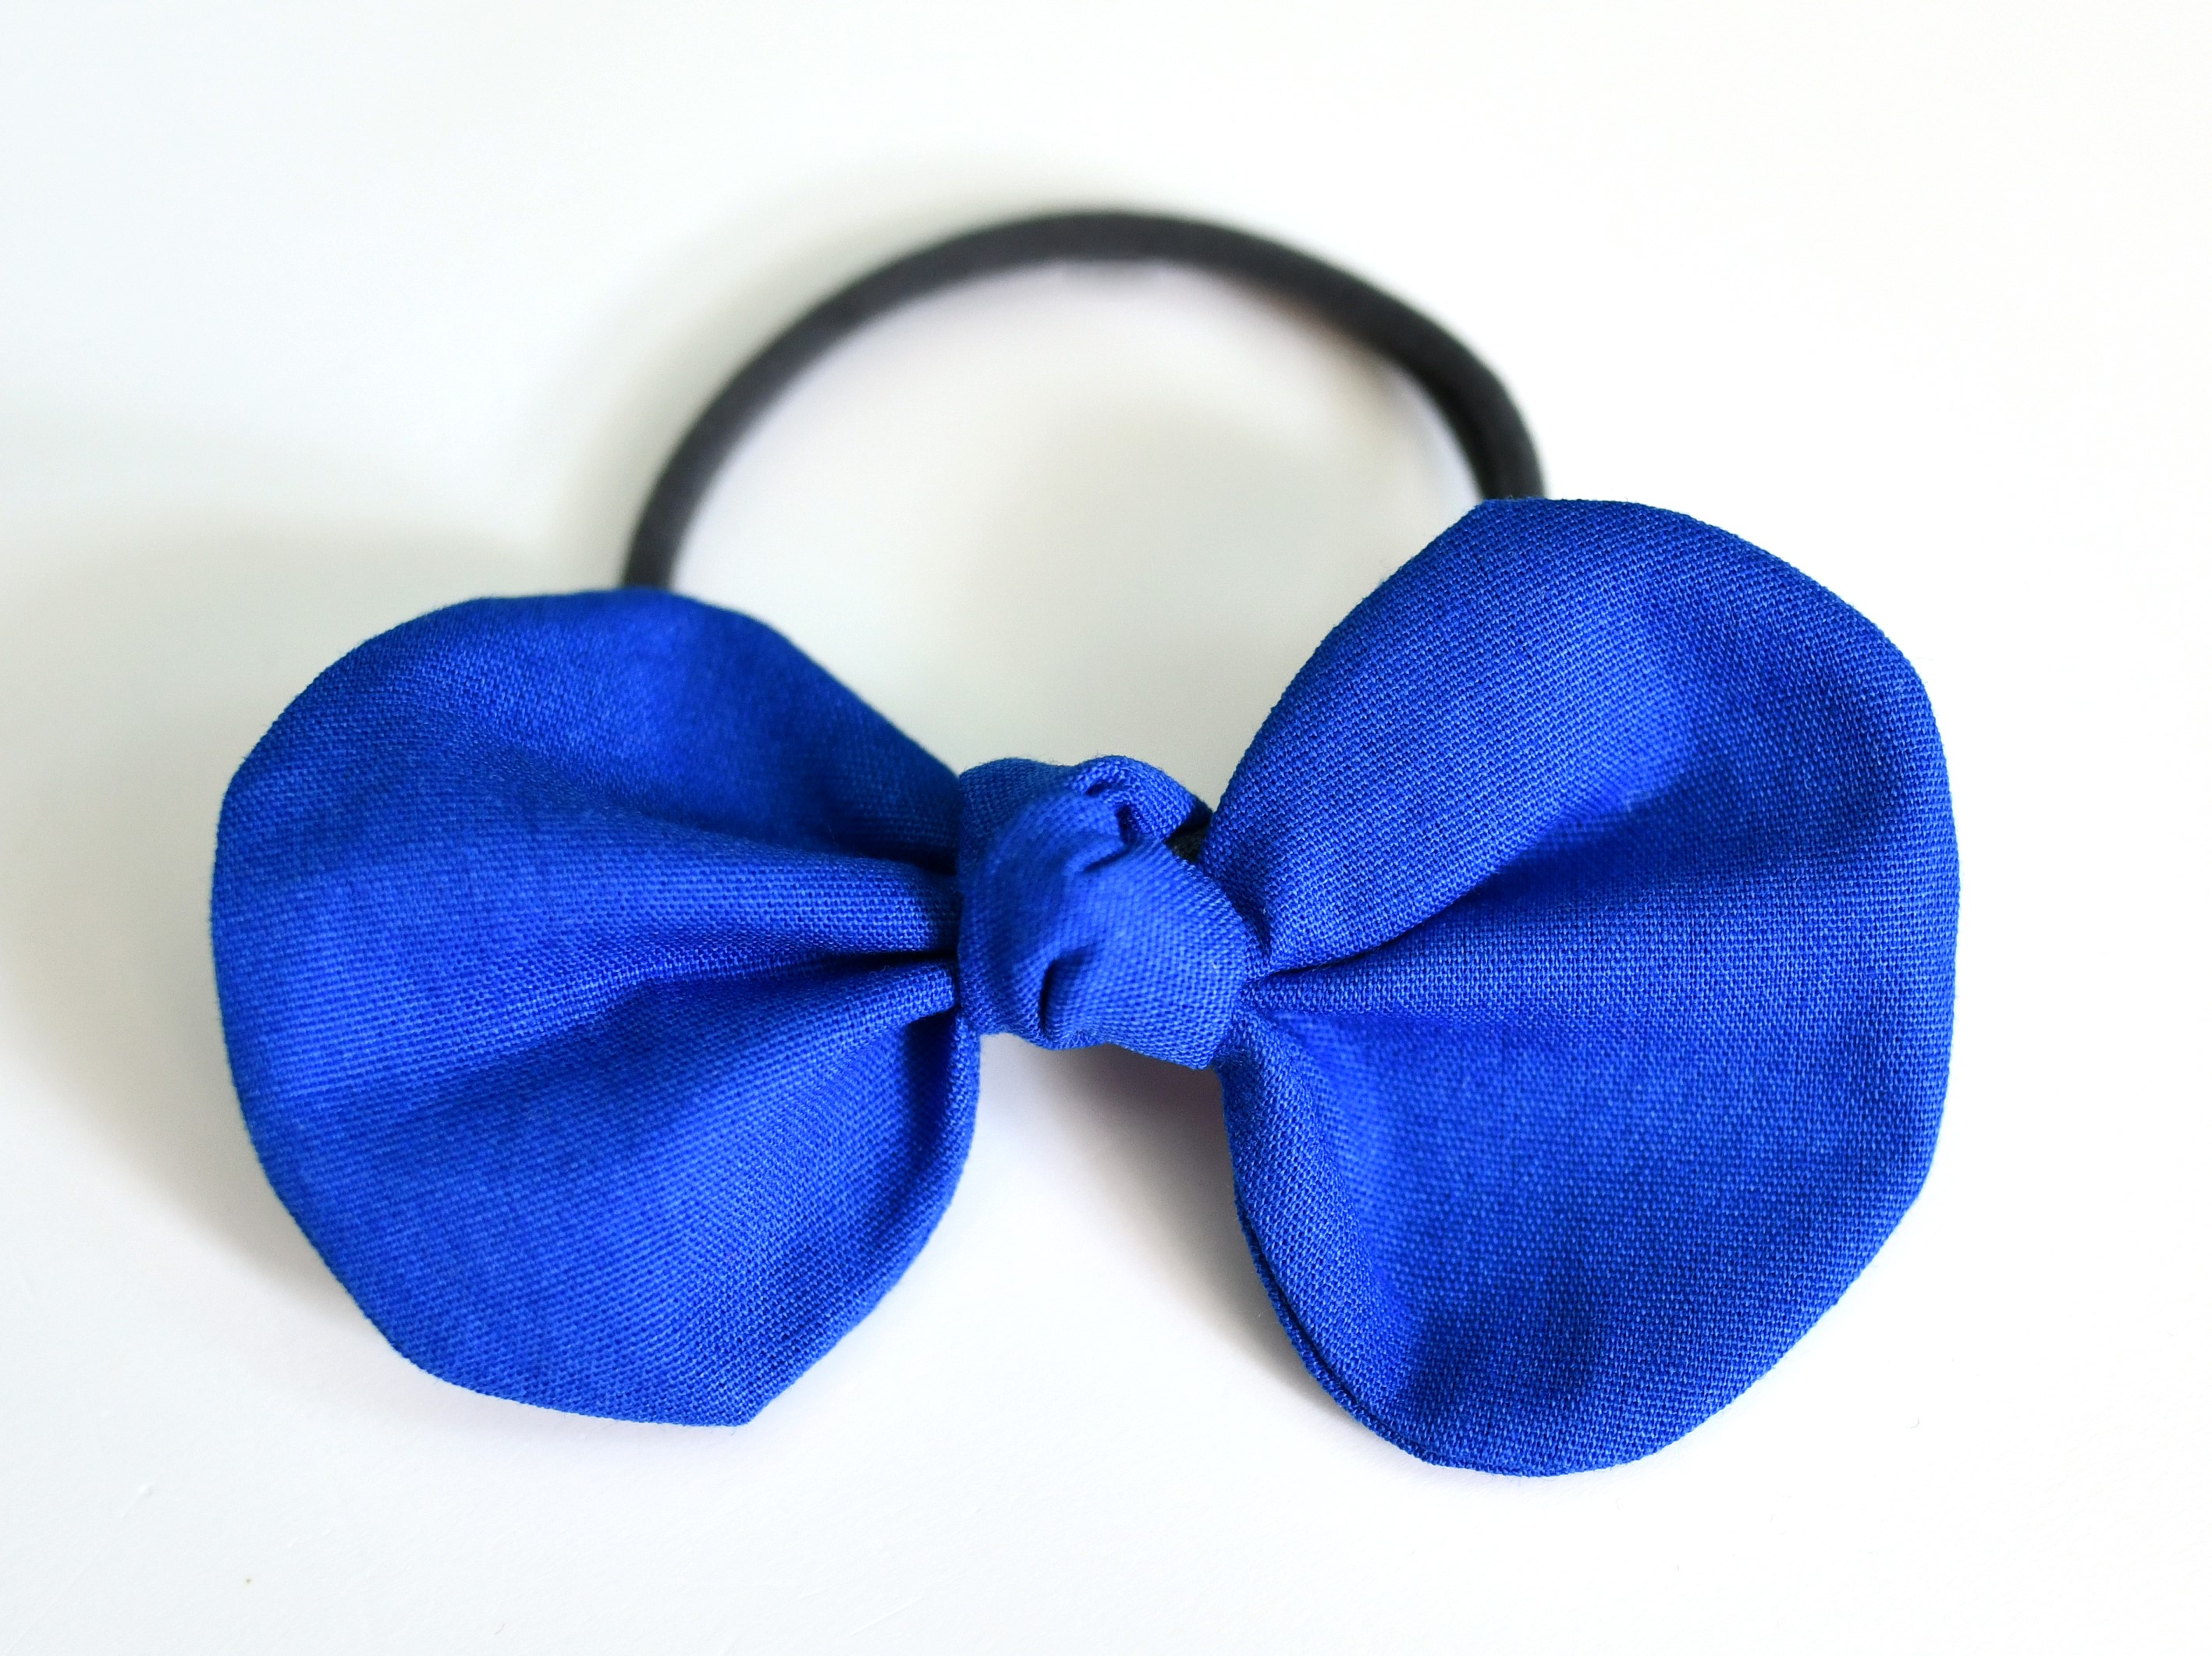
Tie the bow around the elastic band, and make a simple knot. Also, you can tie the bow around a scrunchie or a nylon headband. You can even glue these bows to alligator clips.
From my experience, you’ll have quite a time should you ever try to undo the knot. If you want to take off the bow, use a tweezers and that purple thang combination to get the job done faster.
These DIY knot bow hair ties are so darling! Now go to make a bunch of these for your little one. Happy sewing!
Did you find my knot bow hair ties tutorial helpful? I’d like to hear what you think of it! And I would LOVE to see pictures if you give this cute DIY project a try.
Let’s keep in touch! You can find me on Facebook, Instagram, and Pinterest.

Link doesn’t work to get the pattern. I enter my email but it comes up with a message saying to click the recaptcha box, which doesn’t exist. Annoying as wanted to try and make these.
Don’t bother. The pattern is NOT available to download. Simply clickbait to get your email address.
Hi Martine,
It’s the same setup you’ll find on most blogs that offer free patterns. You always have the option to pay for a pattern if you prefer.
To get this pattern (or any other on this site), you’ll need to subscribe. Start by popping your email address into the pink box. Then, check your email to confirm your subscription (it’s a two-step process). Don’t forget to also check your spam folder, just in case. Once you’ve confirmed your subscription, the pattern will be sent to your inbox right away. And if you’re not into receiving newsletters, you can easily unsubscribe after you’ve got your pattern.
These are very cute but I can’t seem to find the button to download the pattern. Thank you!