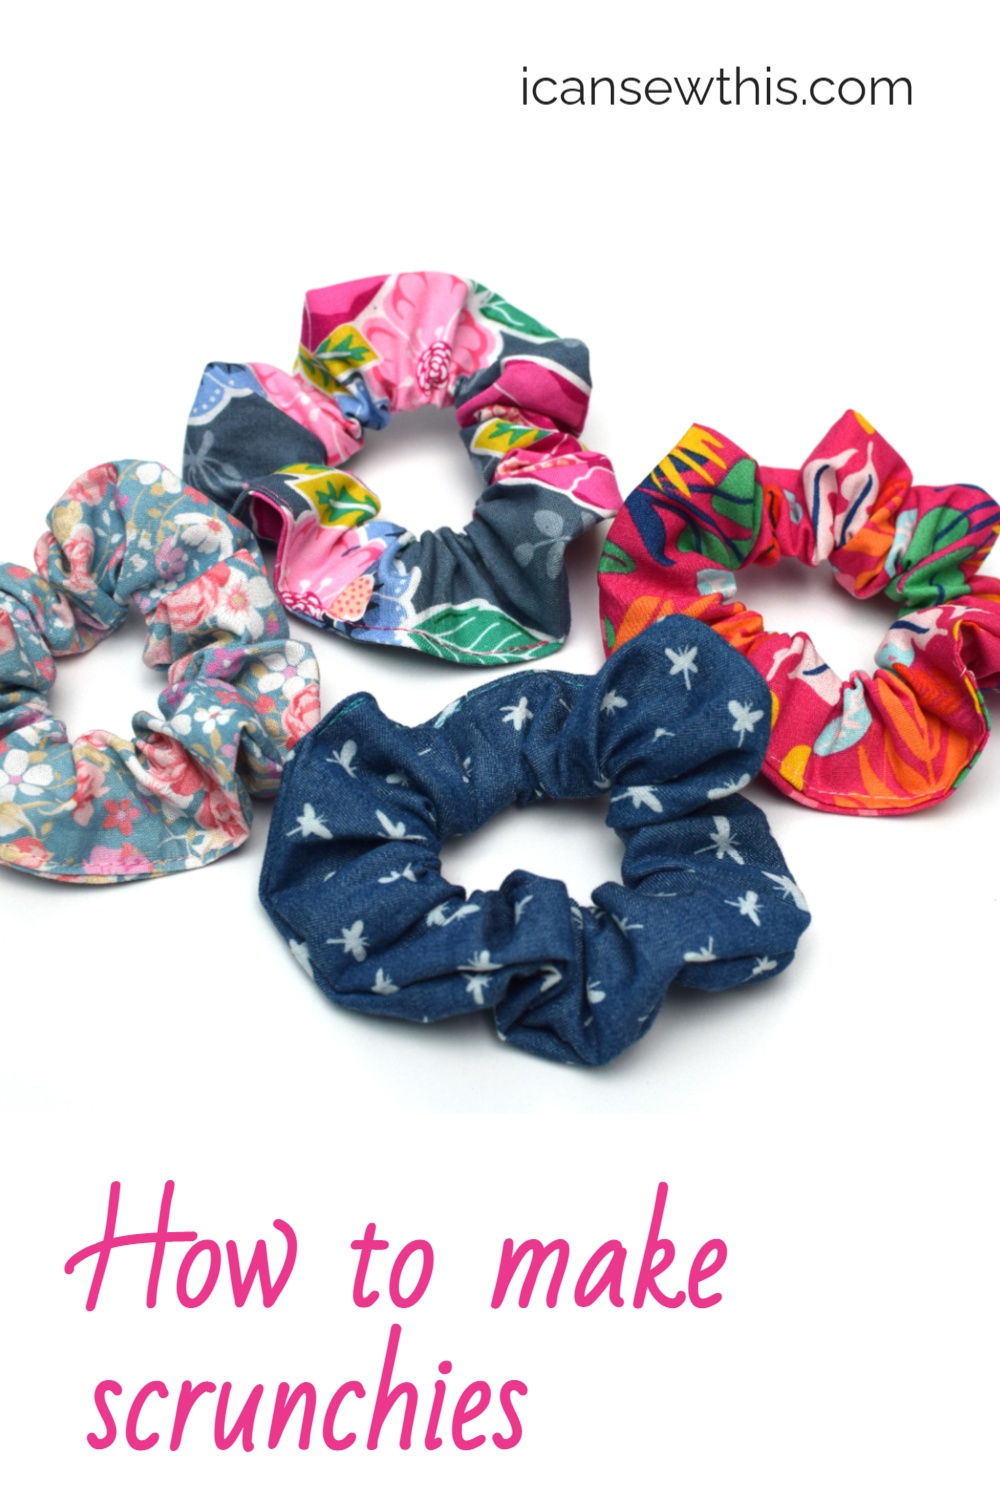
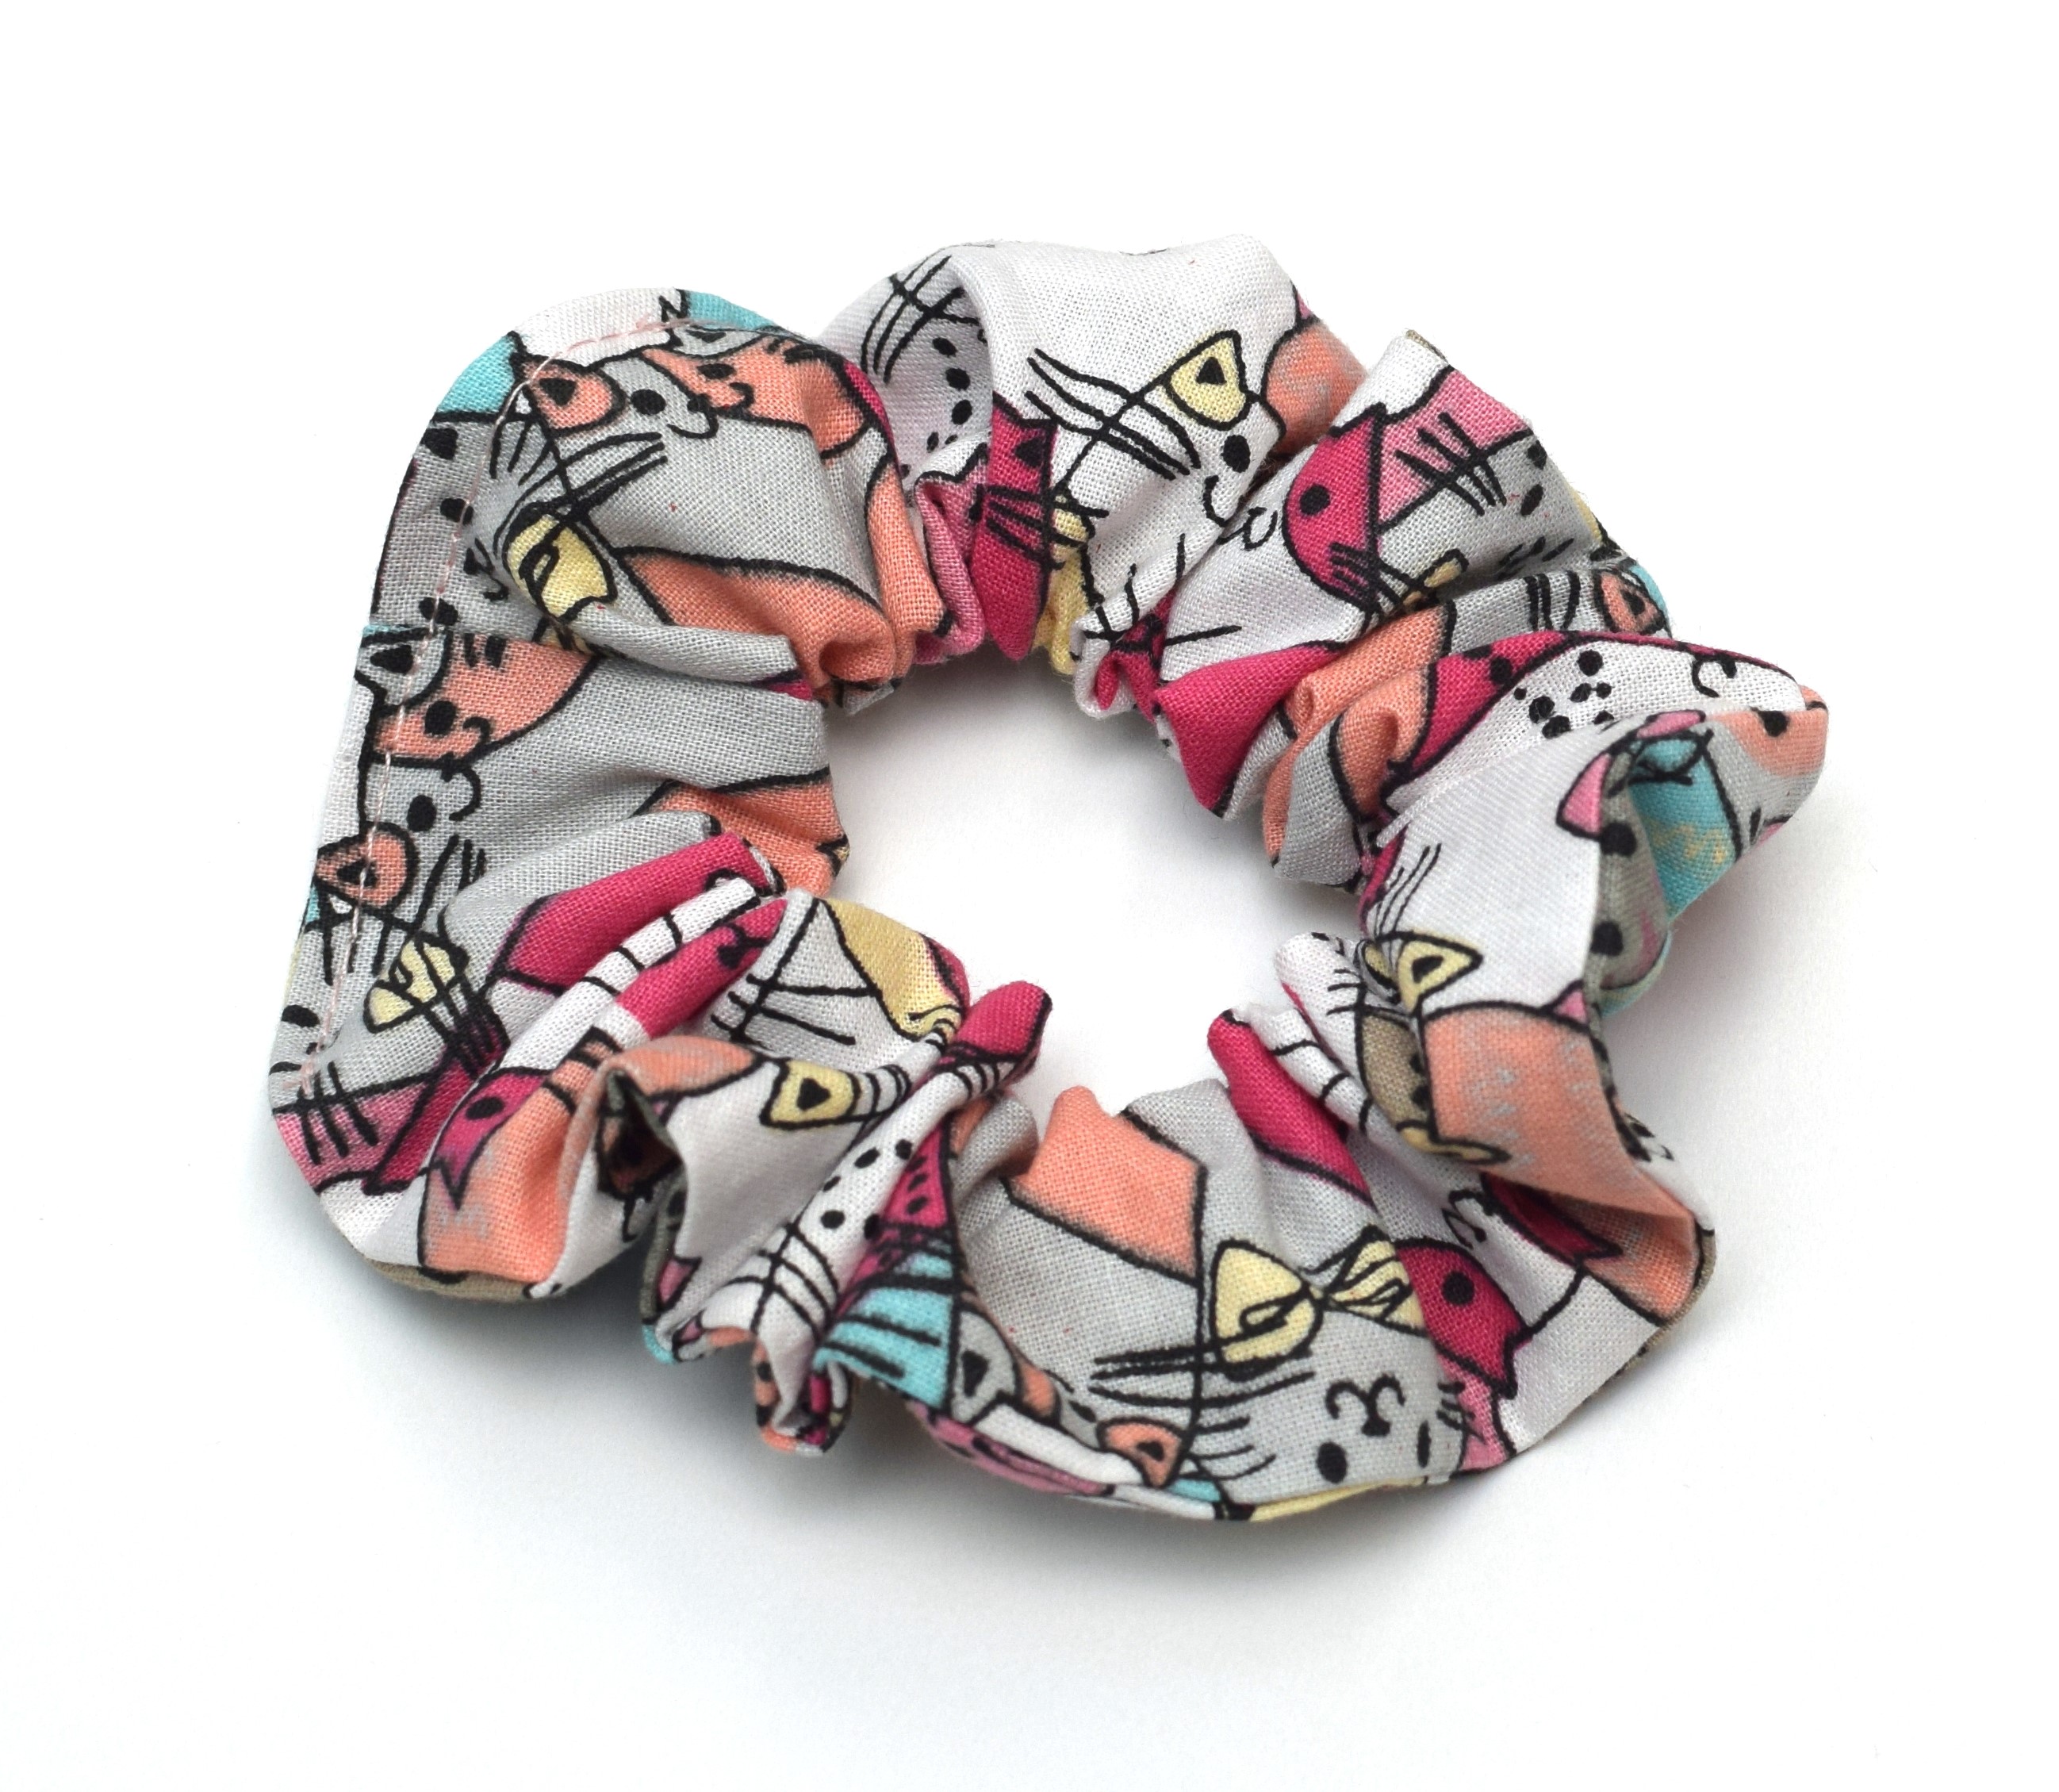
Learn how to make cute cotton scrunchies in five super simple steps with this sewing tutorial. Making scrunchies is one of the easiest and most fun introductions to sewing for beginners.
You can have your own DIY scrunchie in 10 minutes, tops, from the moment you set foot in your sewing room. It’s a quick and straightforward project.
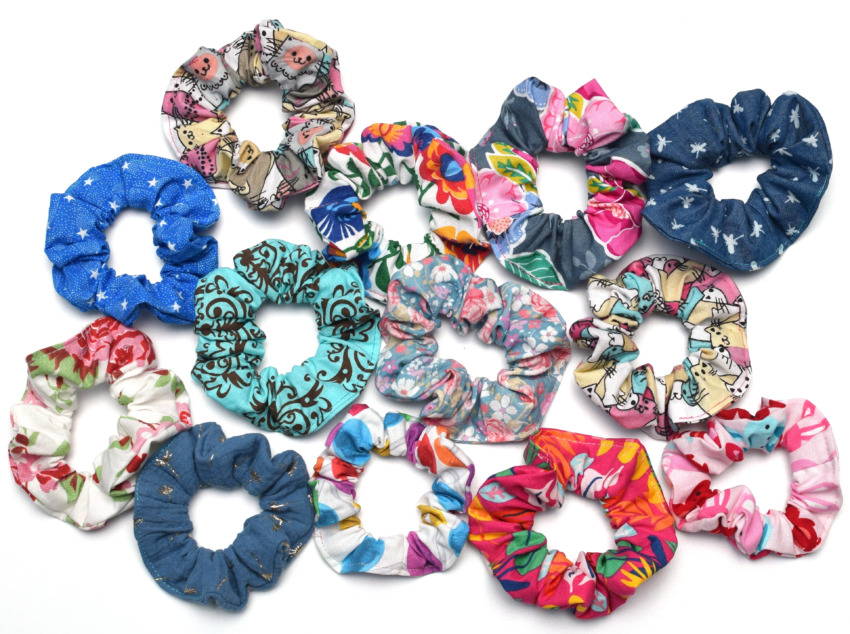
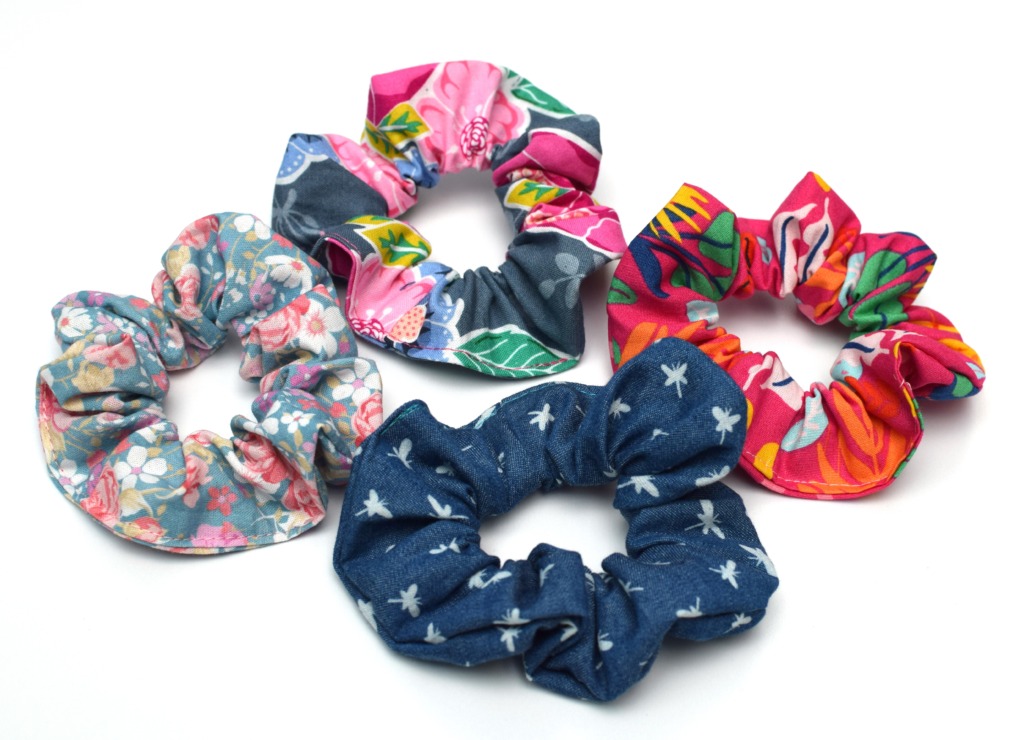
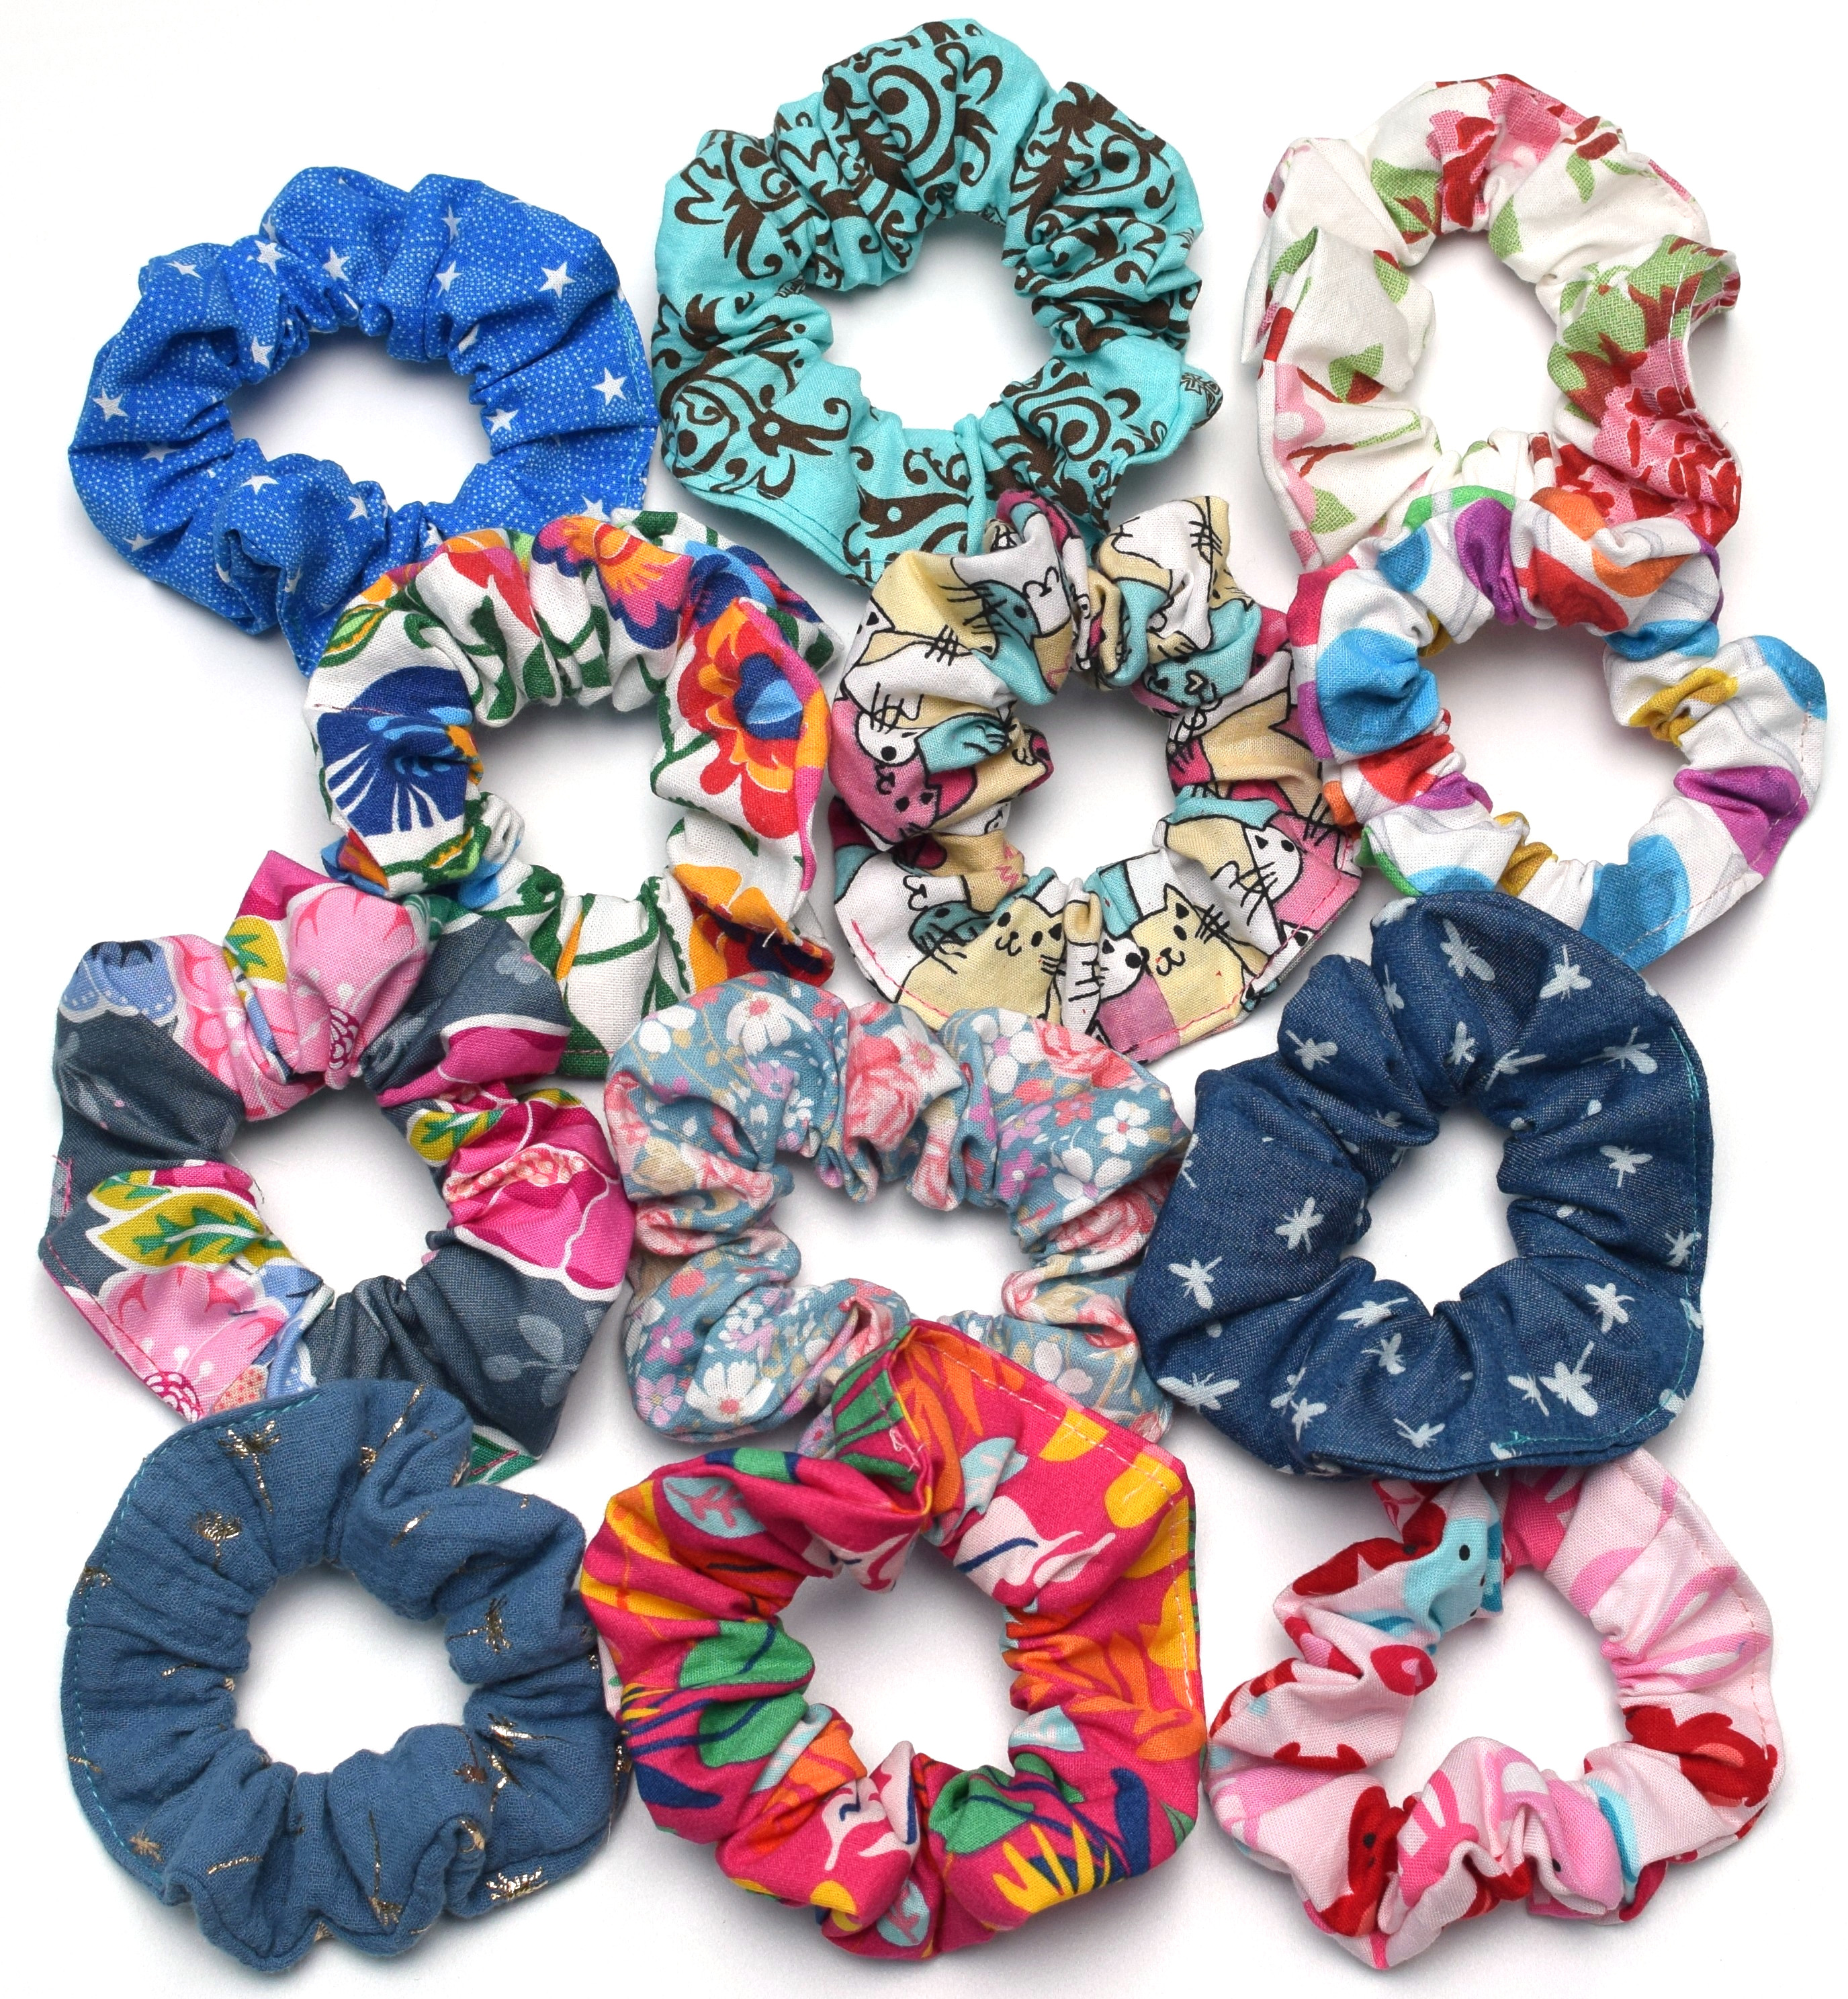
Scrunchies are cute and versatile, and a great way to use fabric scraps. I made all these scrunchies in one sitting in the afternoon, using only cotton fabric scraps.
You might even recognize some of these fabrics if you’re familiar with my blog. These scrunchies are made with fabric remnants from various projects for which I’ve shared step-by-step tutorials: flutter sleeve top, long sleeve top, simple skirt, cotton & tulle dress, pillow cover, kids face masks, simple woven top.
I used the prettiest and most colorful fabric scraps I had in my stash because these scrunchies are gifts for 7-year-old girls – my son’s classmates.
On the first day of March kids usually bring small gifts for their school colleagues, all tied by white and red strings („martisoare”).
It’s a lovely Romanian tradition celebrating the arrival of spring. This year I decided to whip up some scrunchies, as a welcome distraction from constantly checking for news updates.
Batch sewing scrunchies
If you’re making lots of these scrunchies, it’s a great idea to try batch sewing to be more efficient. You’ll do Step 1 for all scrunchies before moving to Step 2. It’s a lot faster than sewing each scrunchie individually.
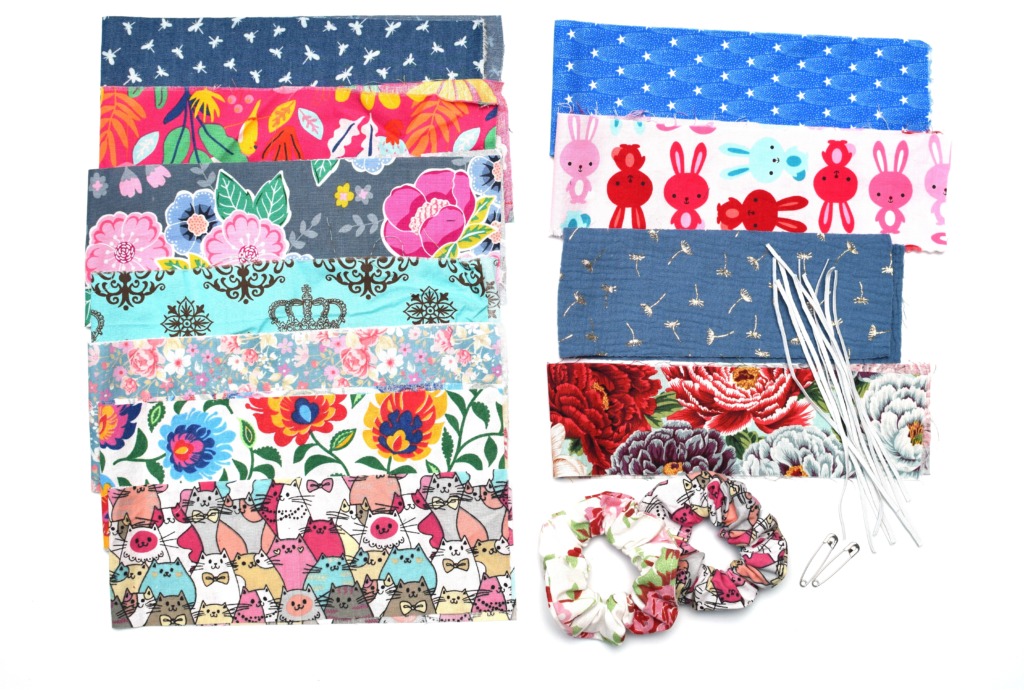
DIY cotton scrunchies – sewing supplies
- cotton fabric
- sewing machine
- sewing machine needle
- scissors
- sewing pins / sewing clips
- 1/4″ elastic
- safety pin
- matching thread
The best fabric to make scrunchies
- cotton, crushed velvet, jersey knit, linen, muslin, chambray, batiste, satin, silk.
Related: How to make ruffled scrunchies / satin scrunchies / tulle scrunchies
How much fabric do you need for a scrunchie?
To make a scrunchie, you need a long strip of fabric – if you want a fuller scrunchie (with more gathers), make the rectangle longer. For a larger scrunchie, make the fabric rectangle wider.
Length – 15 to 25 inches
Width – 3 to 6 inches
Here’s how to make your own cotton scrunchies:
Step 1
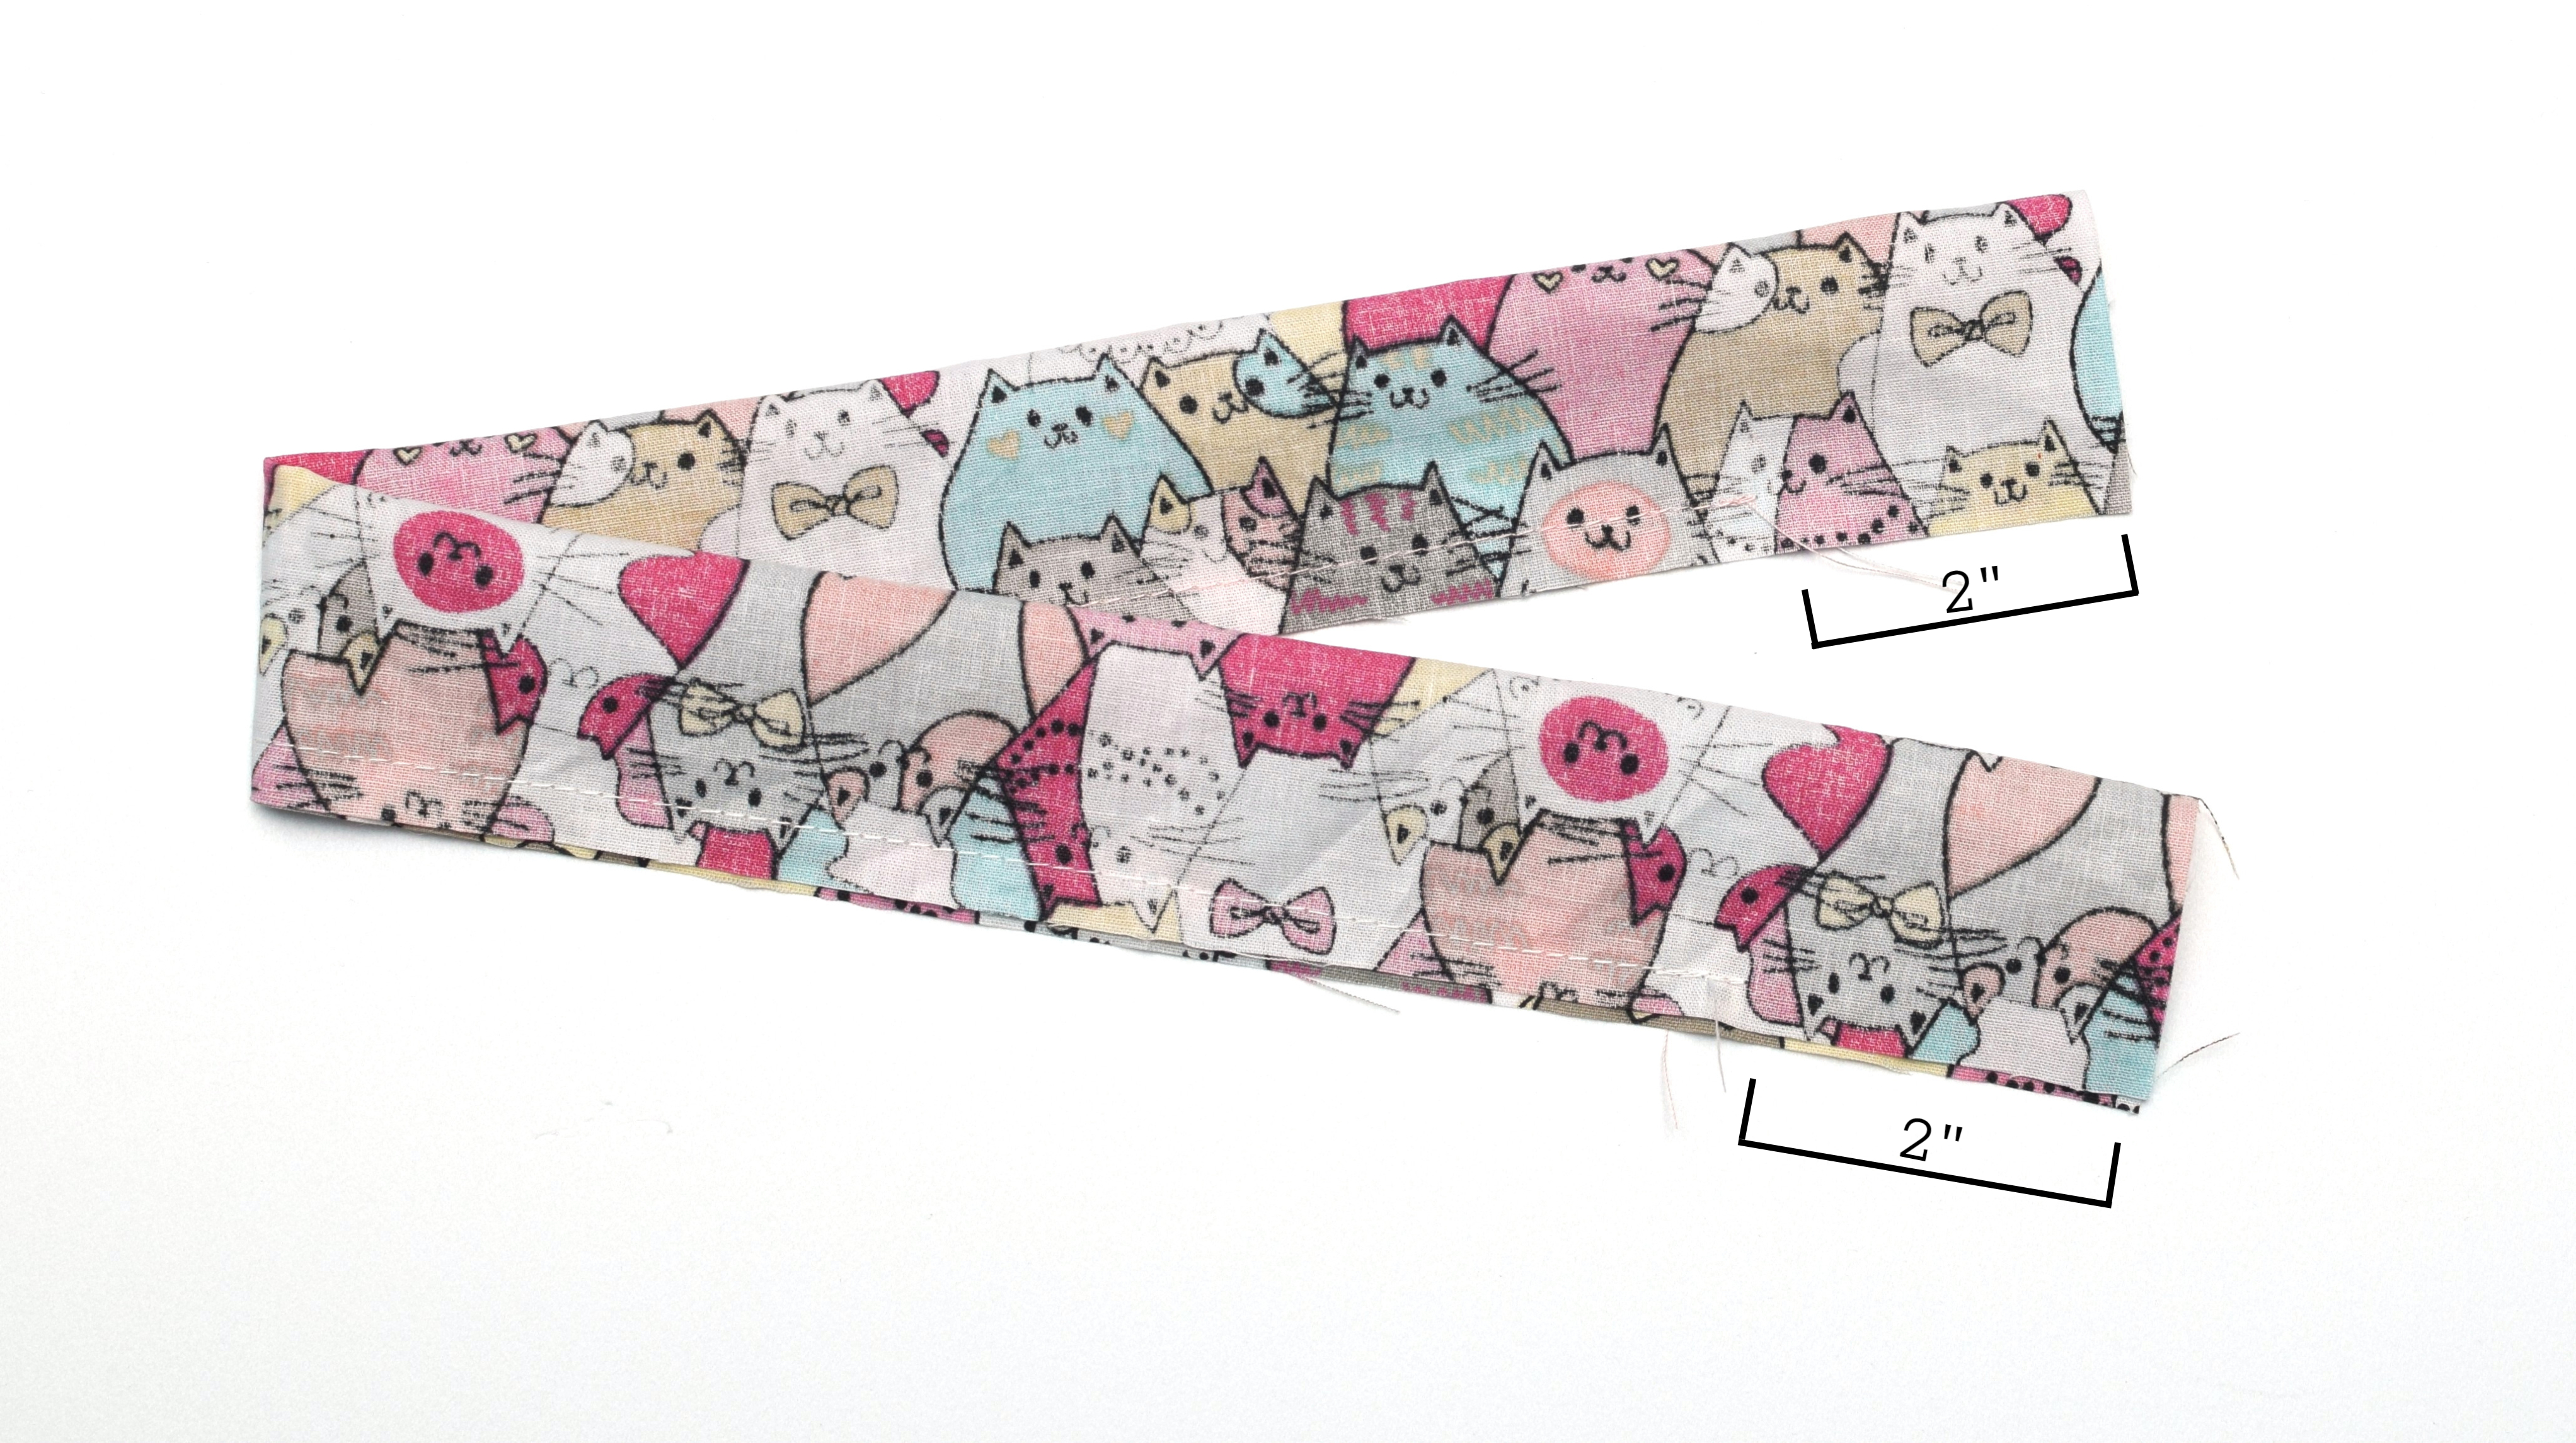
Cut a long strip of fabric, fold it lengthwise, right sides together, and pin.
I made these cotton scrunchies with fabric strips measuring 20 inches by 3.5 inches and one 1/4″ elastic piece measuring 7.5 inches. I stitched each scrunchie with a 1/4″ seam allowance.
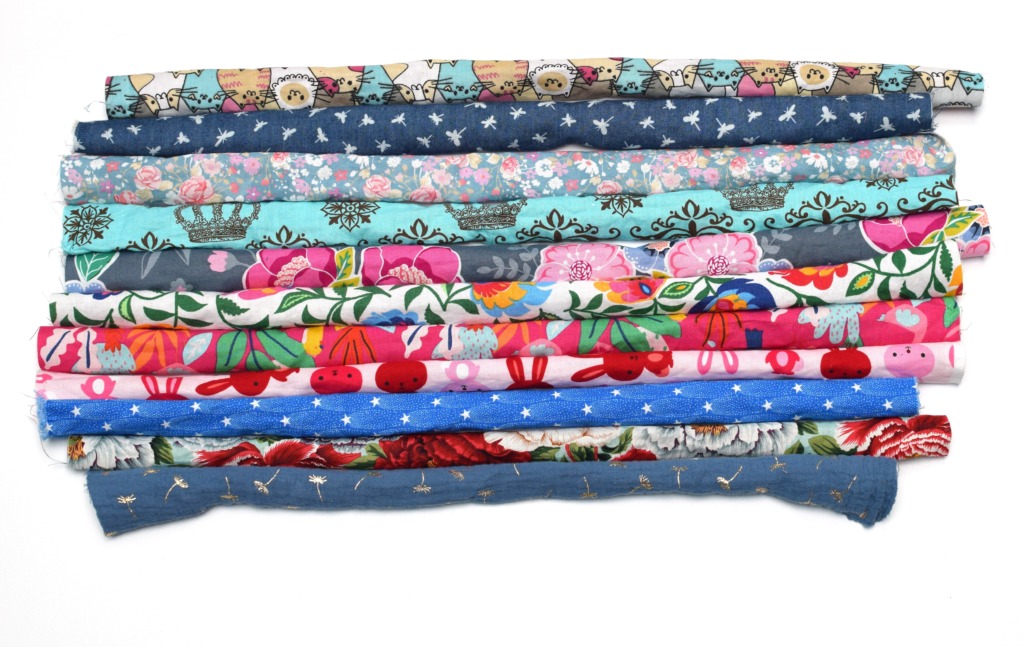
The fabric strips on the left side are 20″ by 3.5″. The four fabric strips on the right side are a bit smaller (all of them are scraps).
Sew the long edge to create a tube, and leave a 2″ gap near both ends. Backstitch at the beginning and end.
Give the tube a good press.
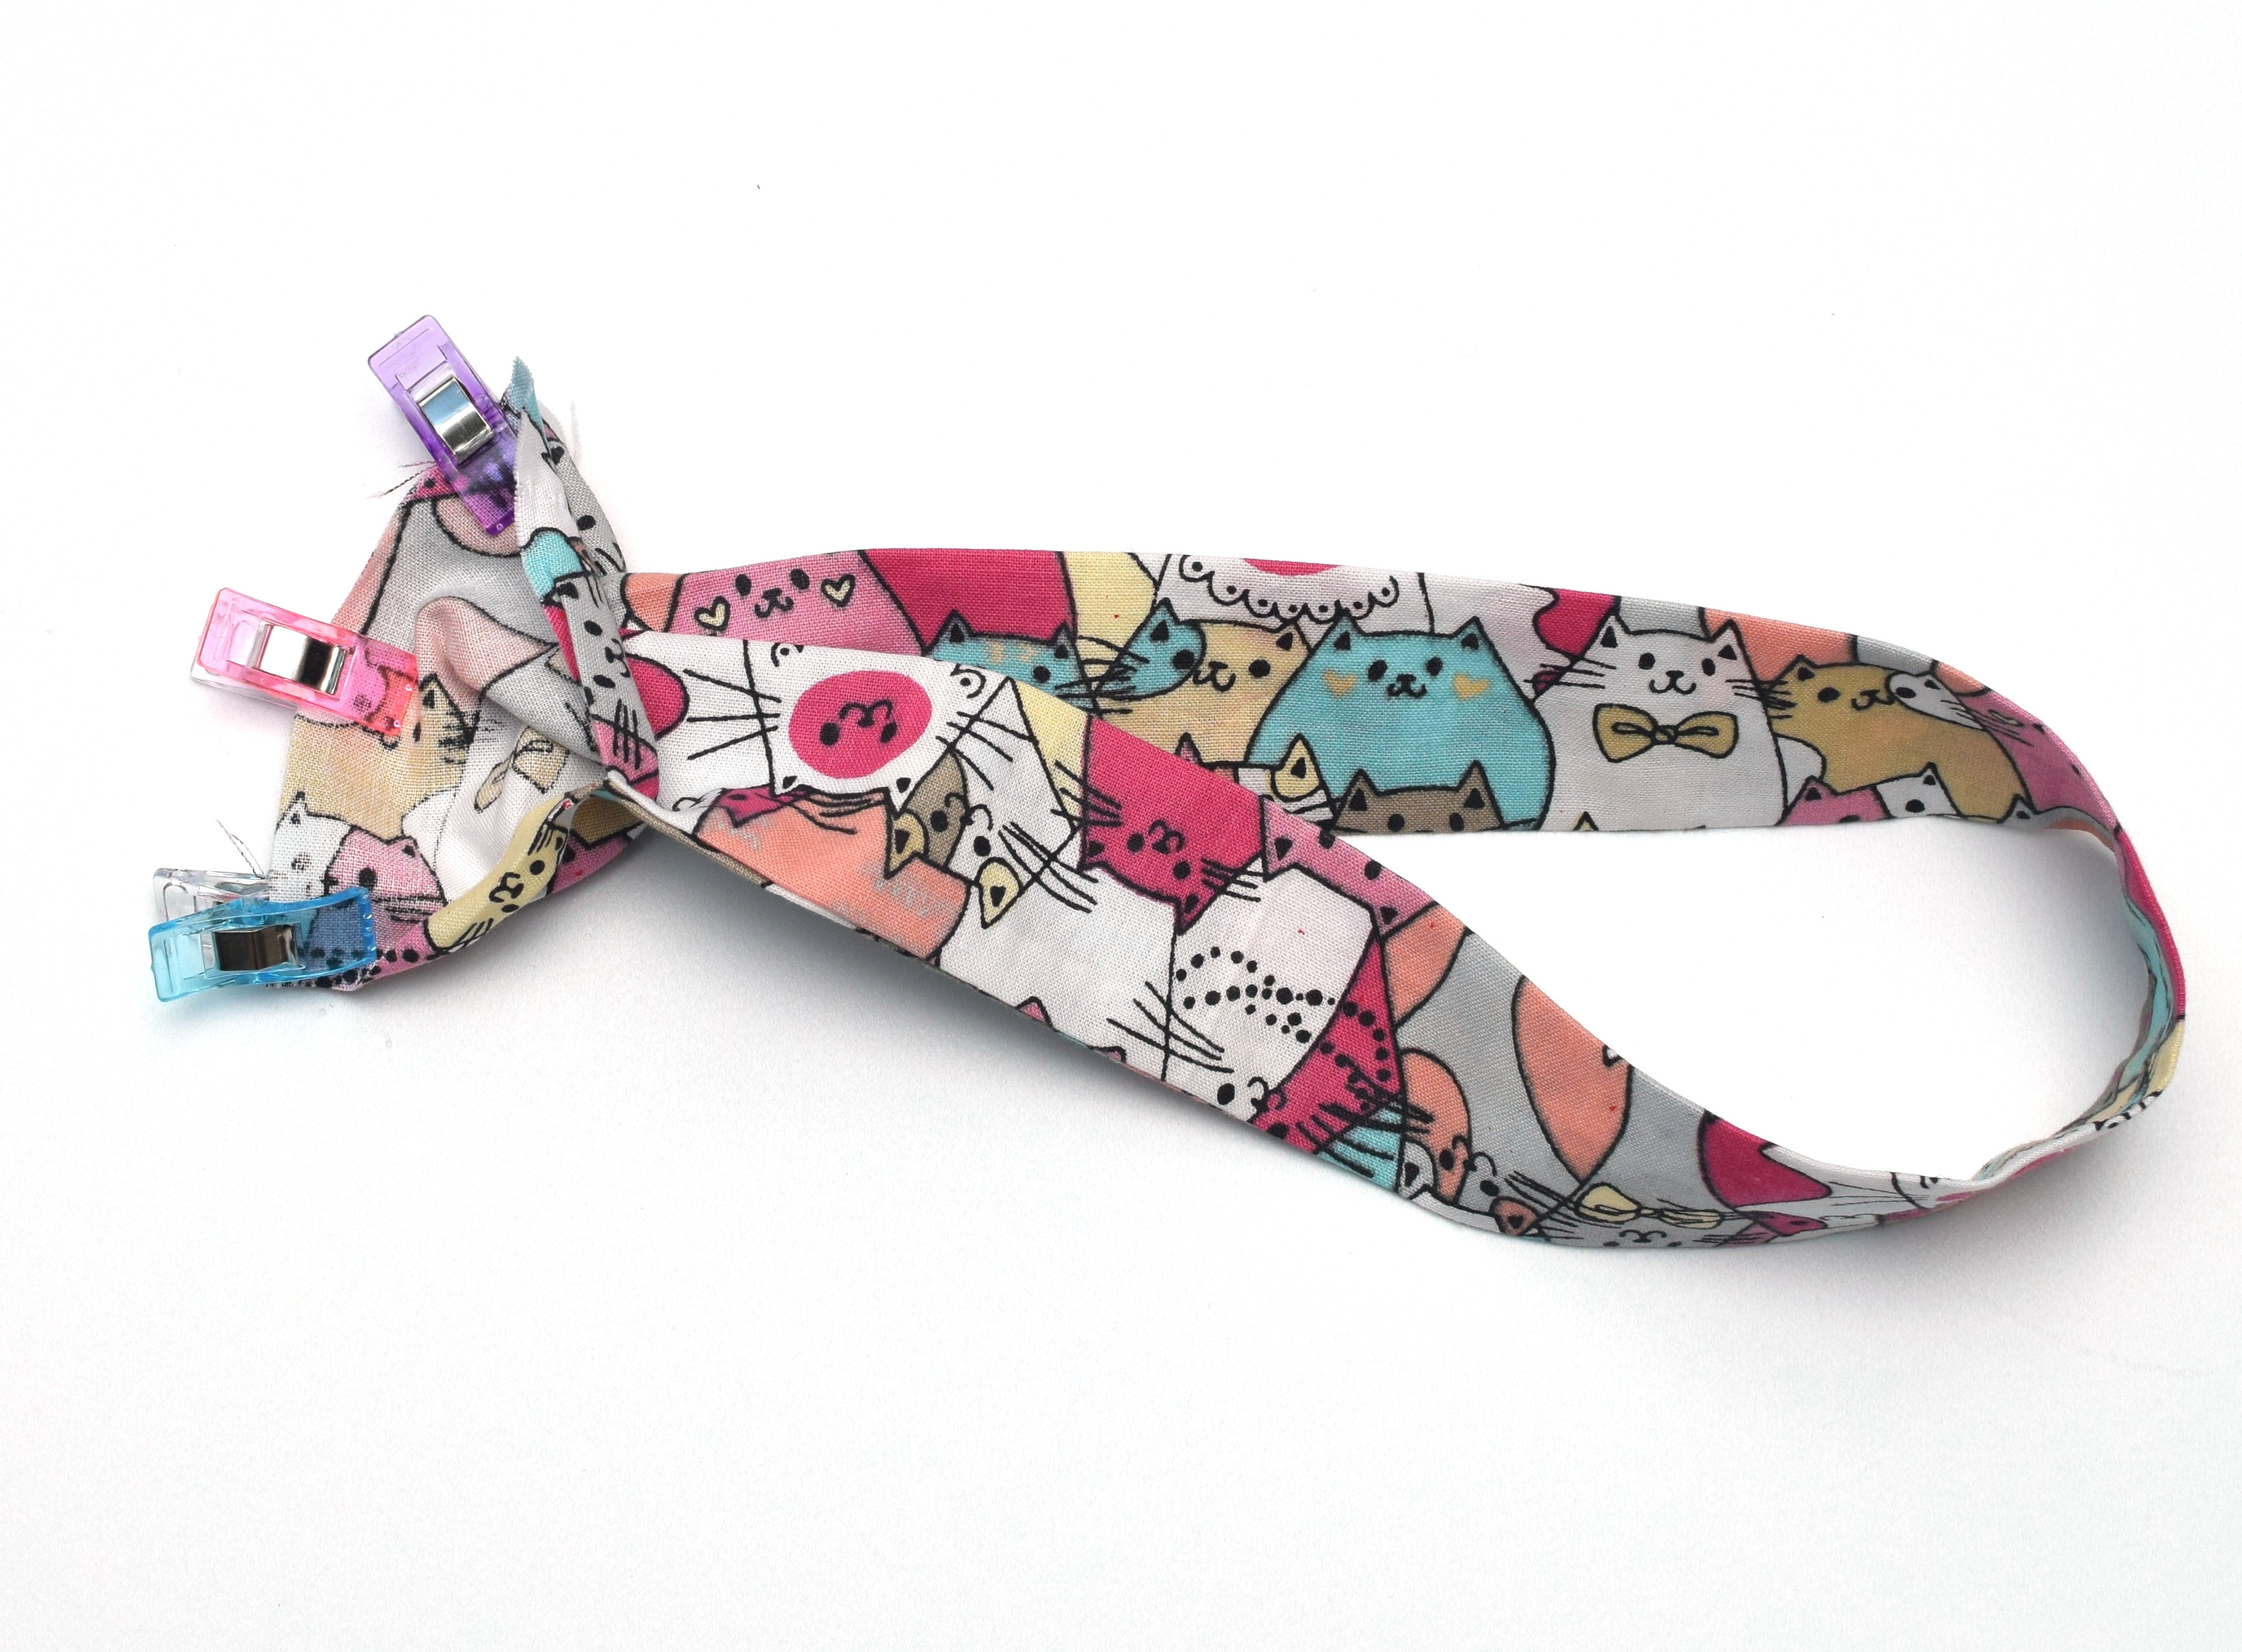
Step 2
Turn the tube right side out using a safety pin. Match the short raw edges, right sides together, pin and sew them.
Step 3
Use two safety pins to thread the elastic through the tube. Make sure to secure one end of the elastic to the fabric so you won’t lose the elastic inside.
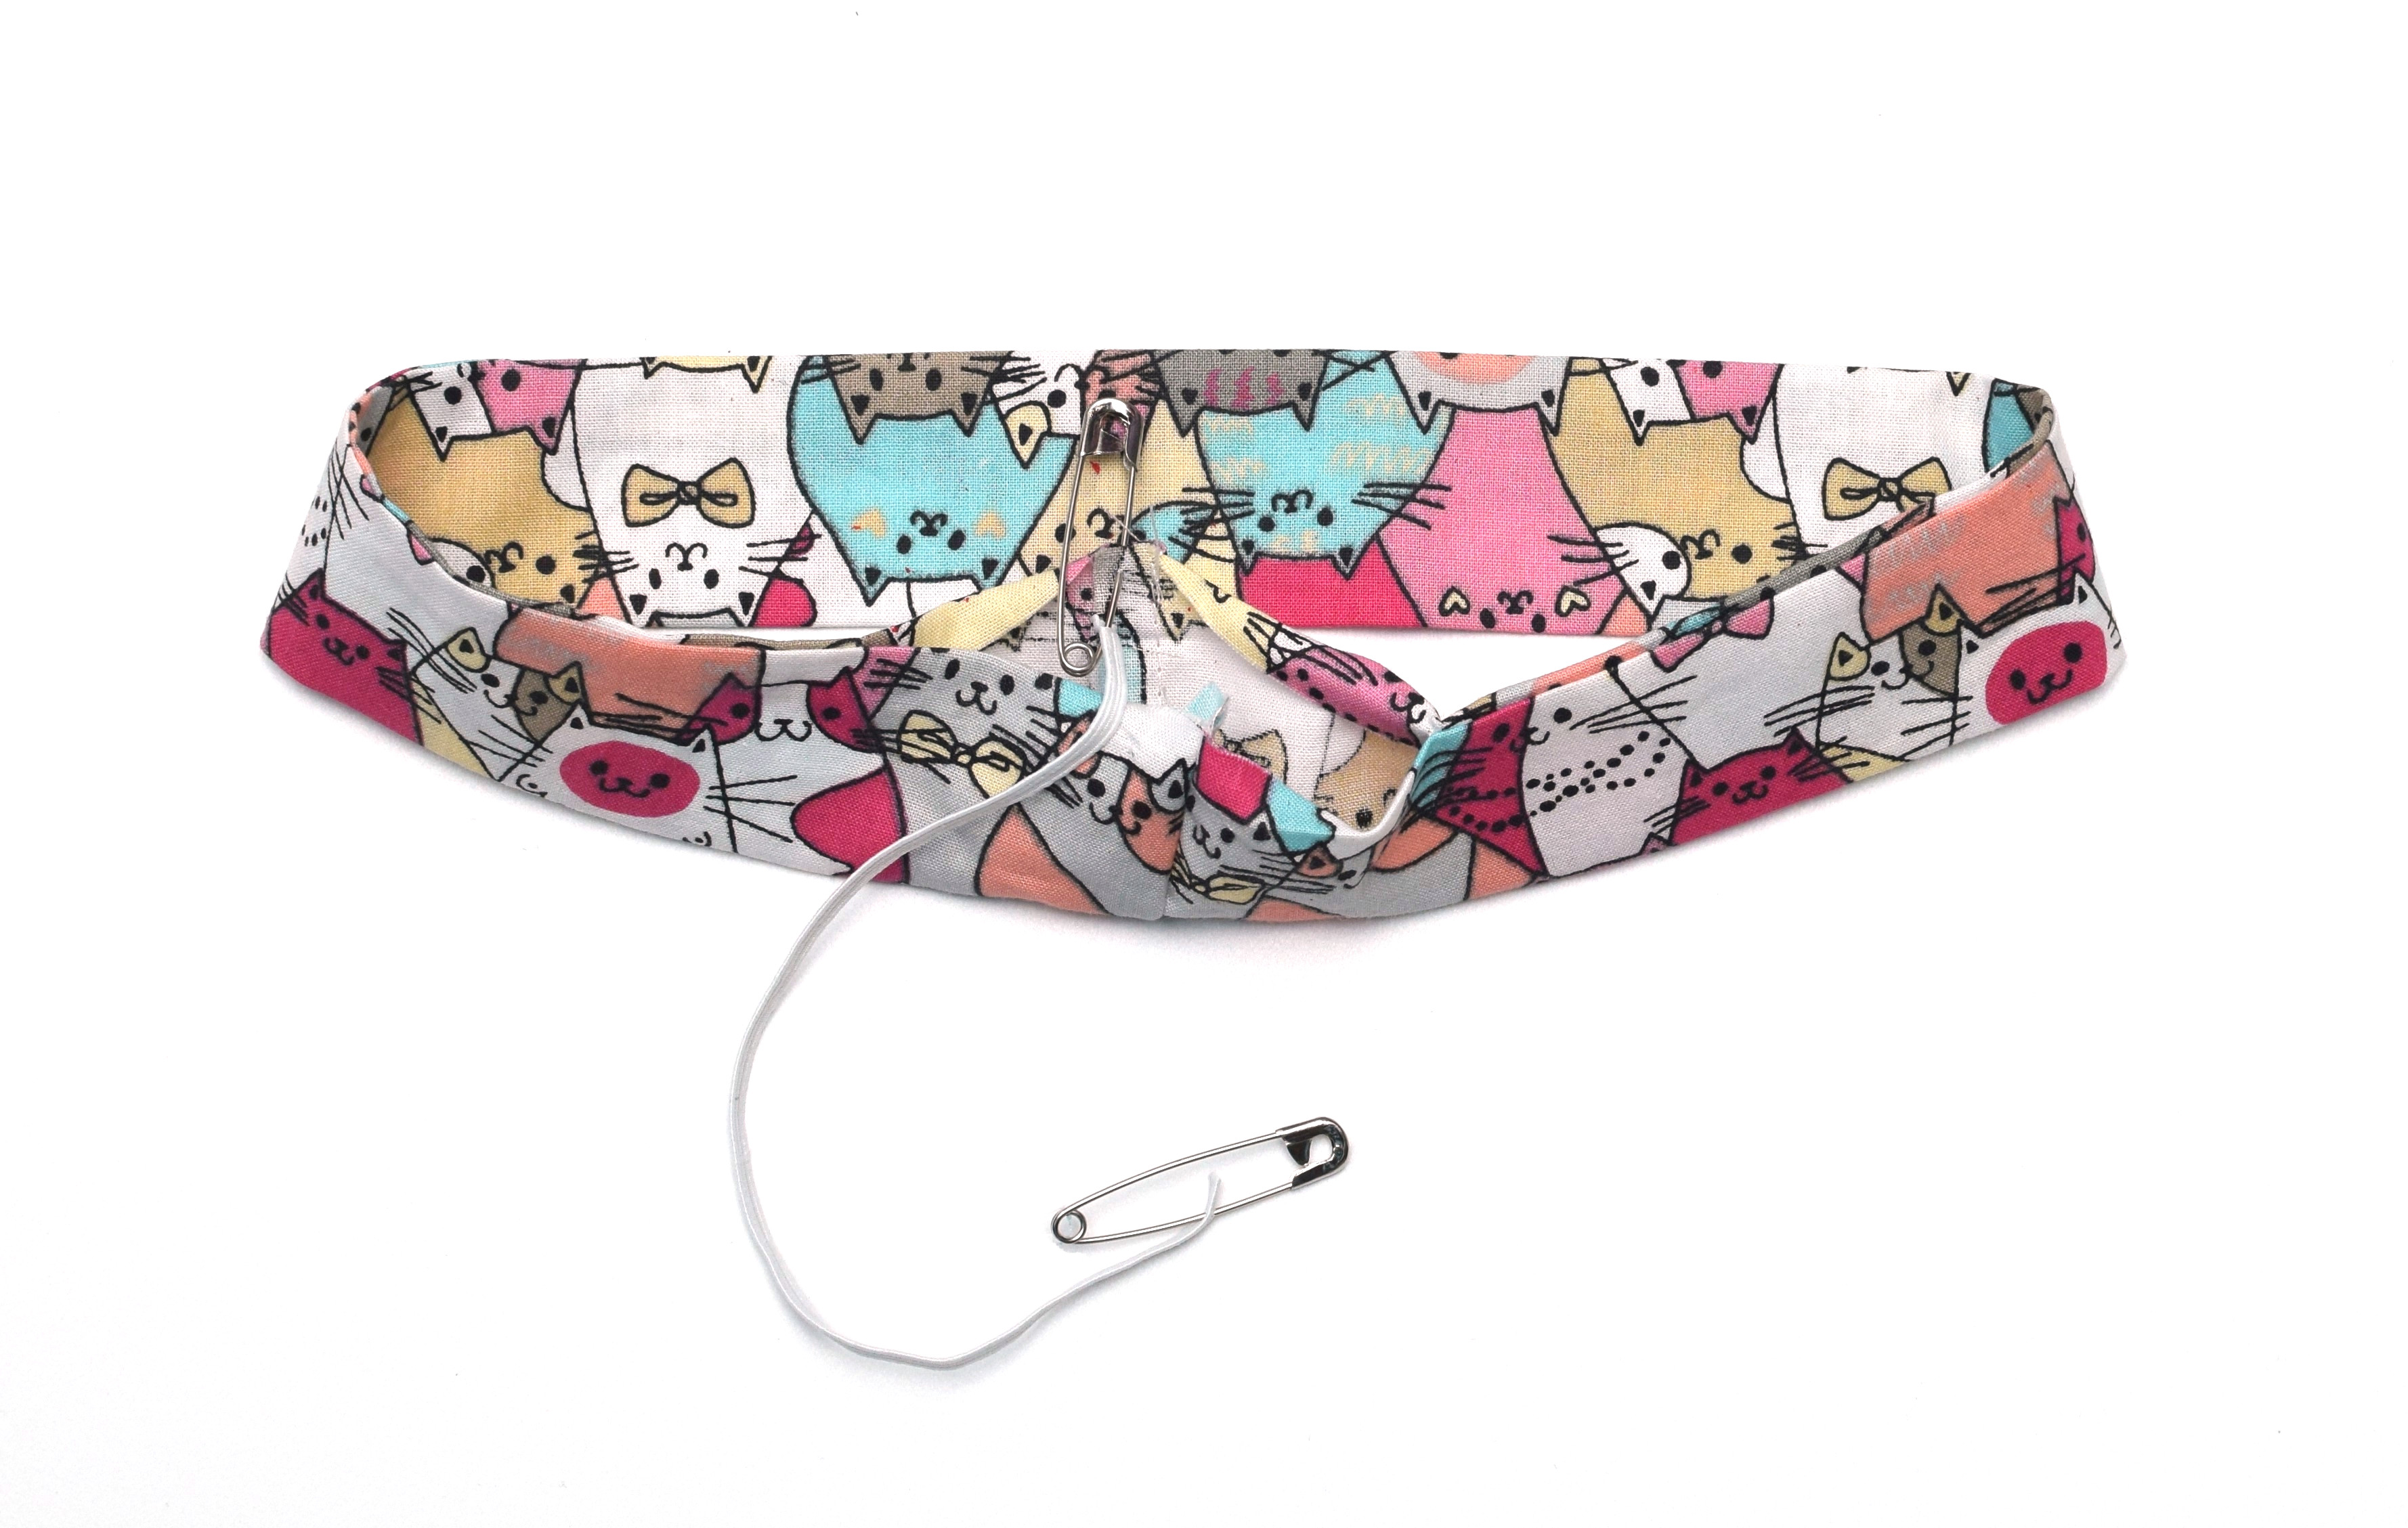
Step 4
Next, knot together the ends of the elastic. I never bother with stitching, since the knot is small – there’s no bulk and basically no risk of it coming undone.
Sewing the elastic ends is rather tricky, given that the elastic is so narrow, you could easily release the ends, so in my opinion, it’s not worth trying (ok, maybe do it just once, so you can see for yourself).
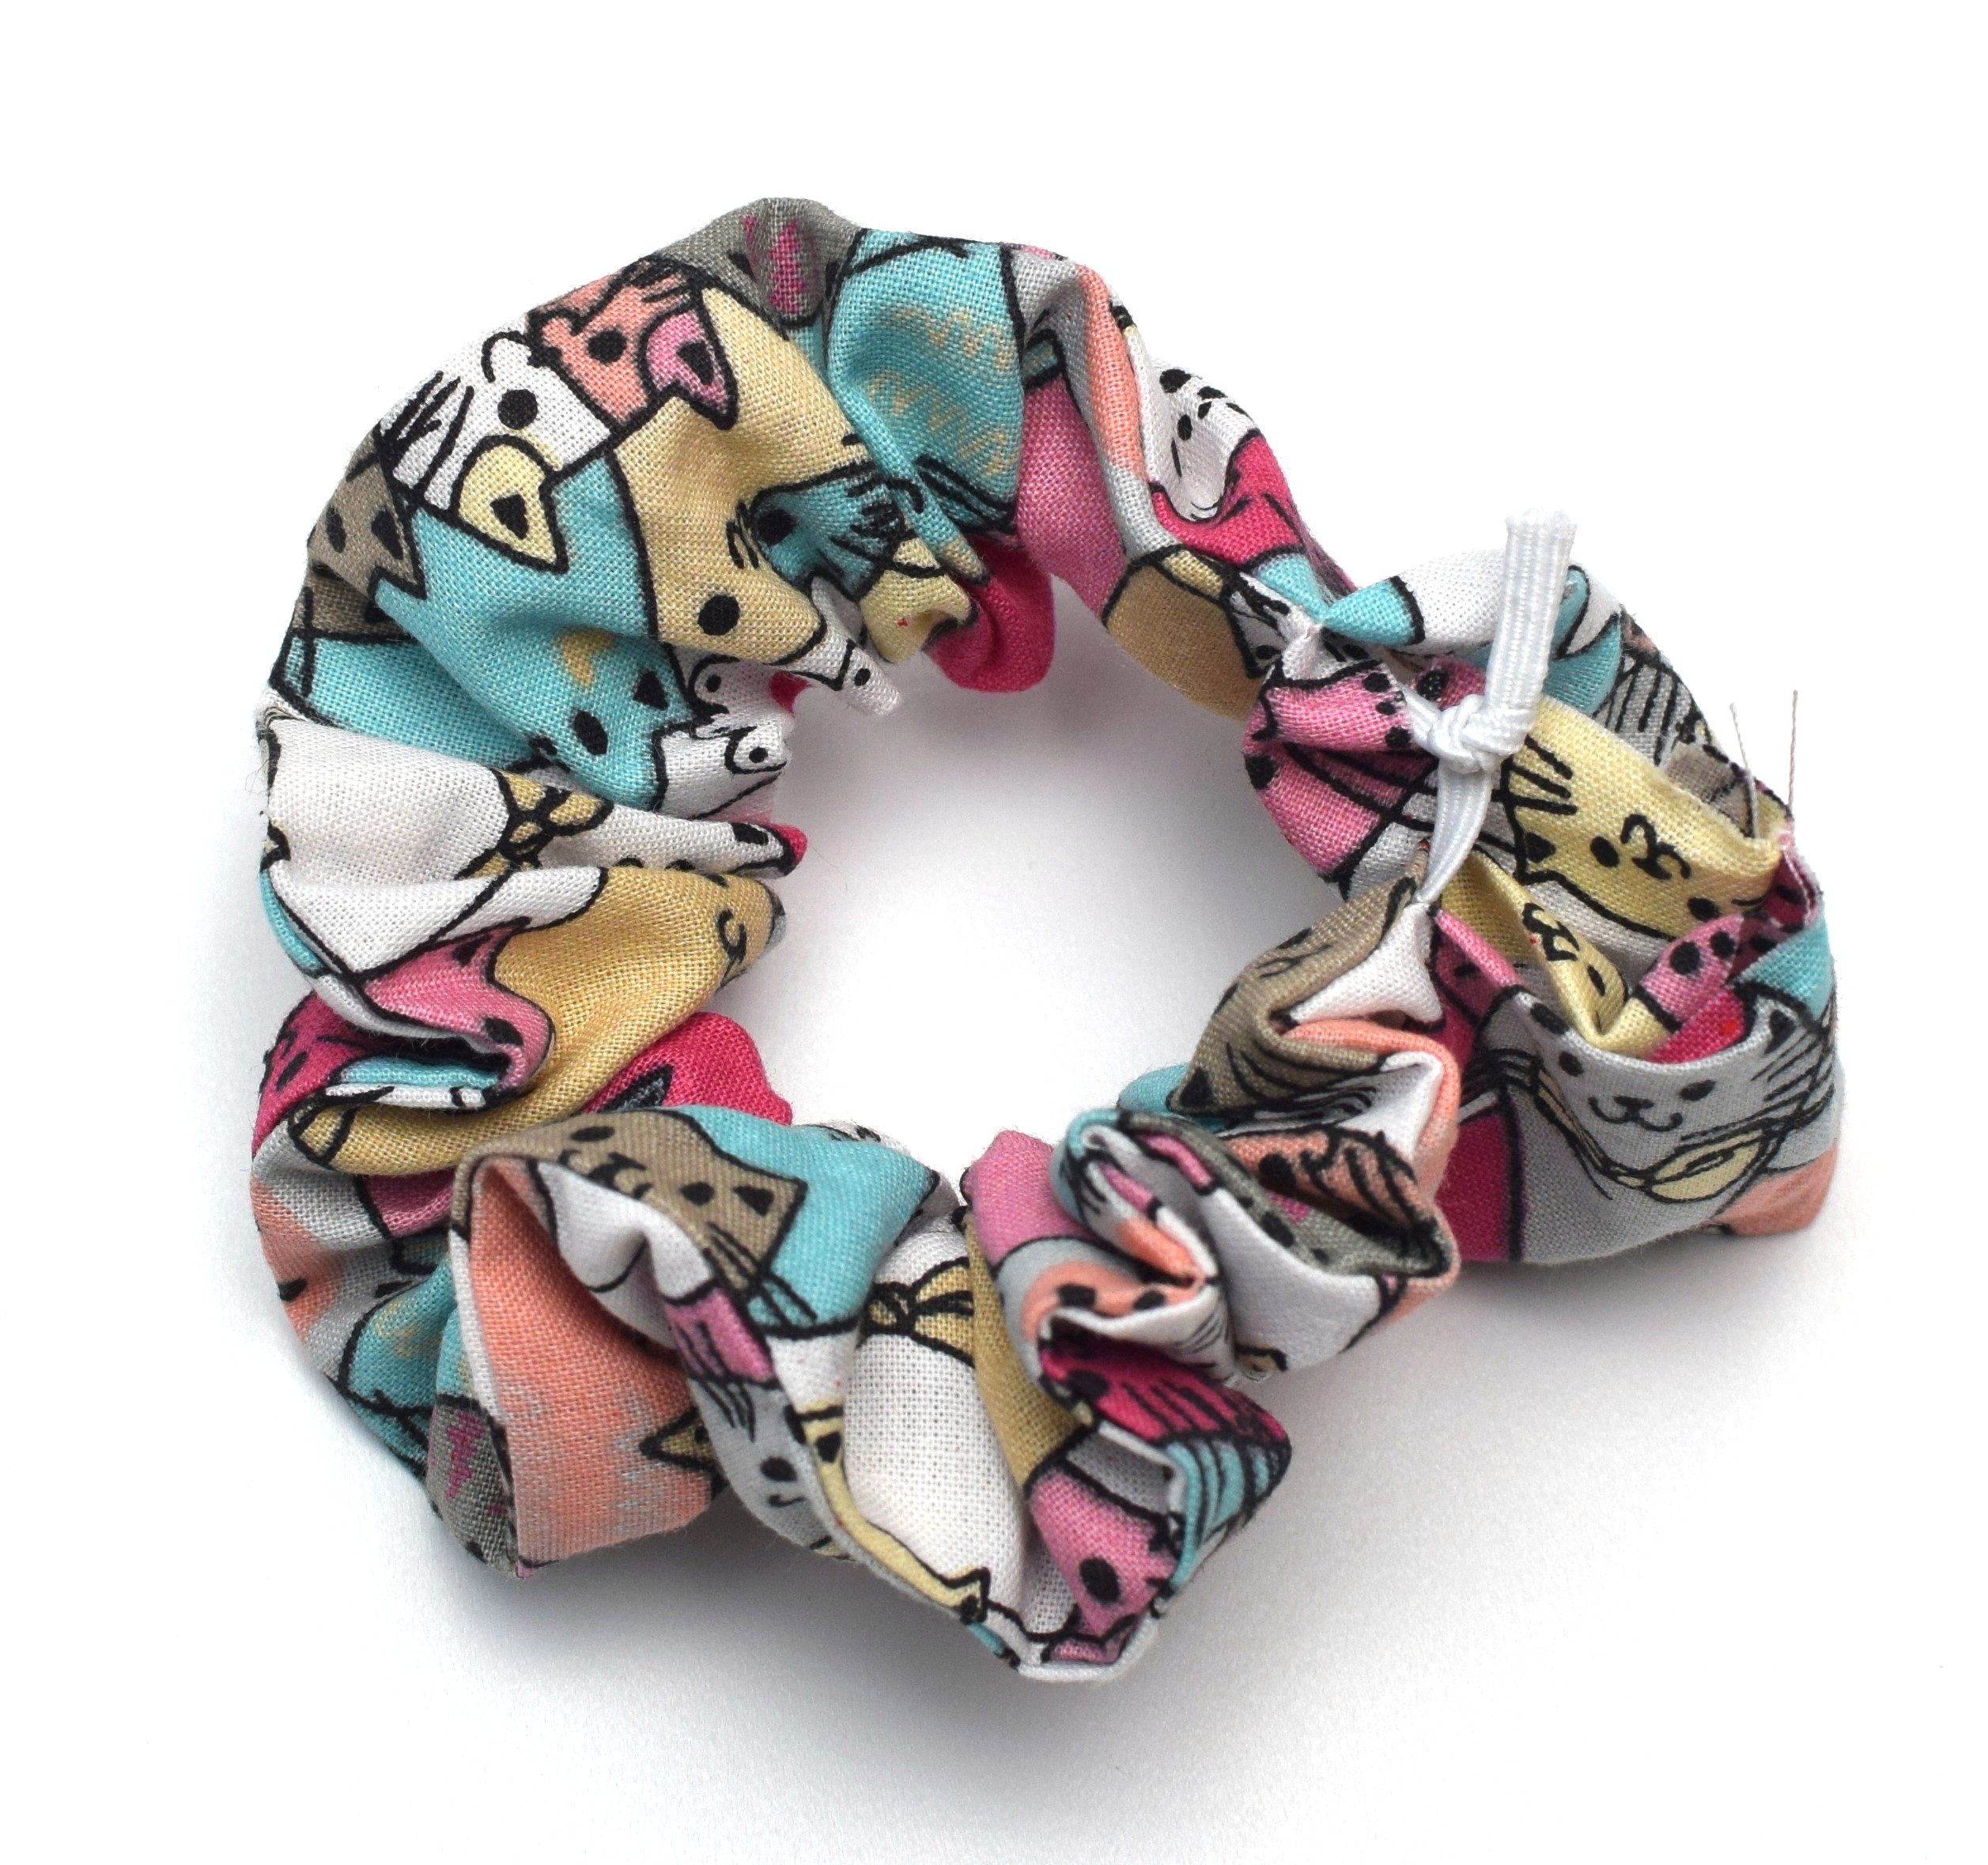
Step 5
Fold the unfinished edges under and stitch the opening to close up your scrunchie. It’s a good idea to use a matching thread if you use the sewing machine for this step (make sure to backstitch), or you could stitch by hand using a ladder stitch.

Your DIY scrunchie is done! Wasn’t that easy? Now you have a super cute fabric-covered elastic hair tie to wear with pride!
Let’s keep in touch! You can find me on Facebook, Instagram, and Pinterest.
Related: Easy knot bow hair ties (free pattern)
Related posts