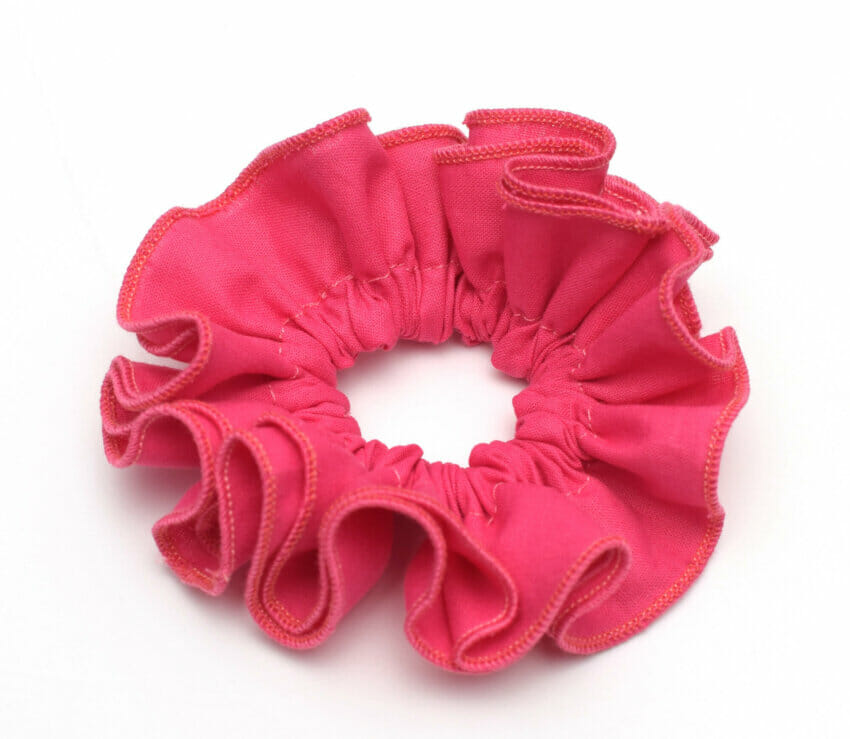
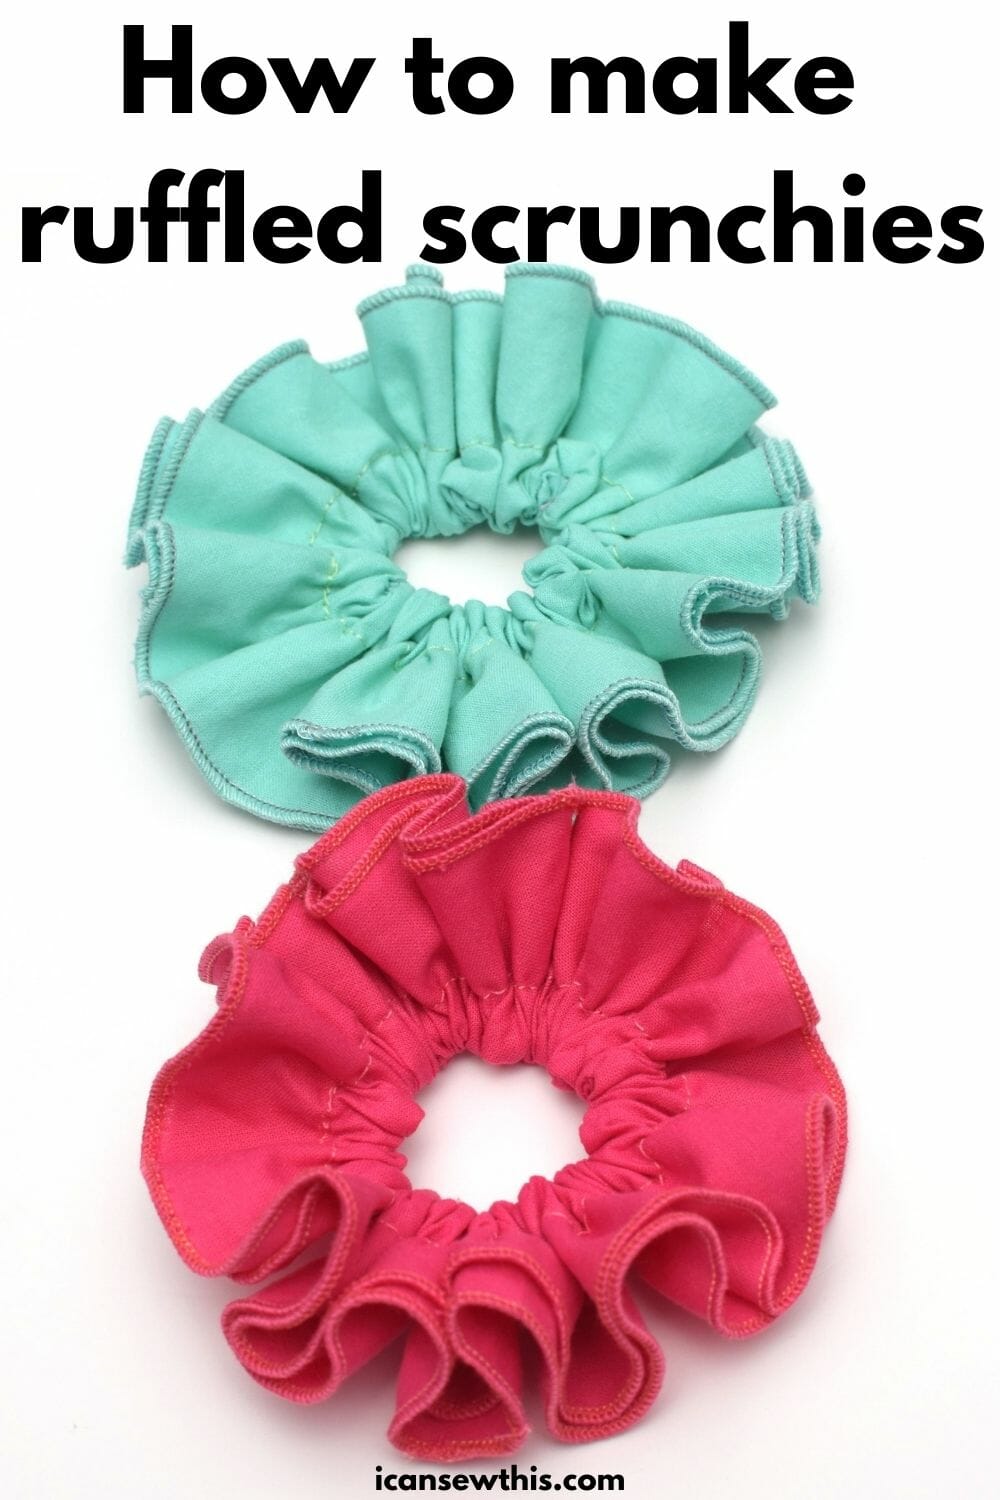
Learn how to make beautiful ruffled scrunchies with this free sewing tutorial. These cute scrunchies are the perfect accessory to go around your bun or ponytail.
Hair scrunchies are a huge trend right now, after decades of being ignored. What is a scrunchie? To cite the Wikipedia page, a scrunchie is a fabric-covered elastic hair tie used to fasten long or medium hair.
We have a lot of scrunchies around the house, but never enough. So today I decided to make a fresh batch.
Related: How to make cotton scrunchies / satin scrunchies / tulle scrunchies

This time I came up with a different pattern, inspired by some amazing scrunchies I’ve seen on Etsy. Basically, what you see here is a double layered scrunchie with circular ruffles.
I have tested this pattern on my 3 and 10-year-olds and both girls adore their scrunchies.
You can make these scrunchies as a thoughtful and useful gift for your friends and colleagues.
Related: 30 cool things for kids you can sew
Best fabric to make ruffled scrunchies
To make these scrunchies it’s best to use lightweight fabrics, such as cotton voile, batiste, chiffon, organza, silk, or satin.
How much fabric is needed for a ruffled scrunchie?
Making ruffled scrunchies requires more yardage than simple scrunchies. For each of these ruffled scrunchies, I used a piece of fabric measuring approximately 12 inches long by 23 inches wide, to fit two circles with a 12” diameter.
Related: Tiered ruffle skirt tutorial
Ruffled scrunchies – sewing supplies
Ready to make your own ruffled scrunchie? Let’s begin!
Step 1
You begin with a fabric rectangle that measures 23” by 12”. Fold your fabric piece in half, then in half again, then in half again. You’ll get a 5.5″ fabric square – in the picture below there are 8 fabric layers.
Measure a 3” radius, and 2” for the length of the scrunchie.
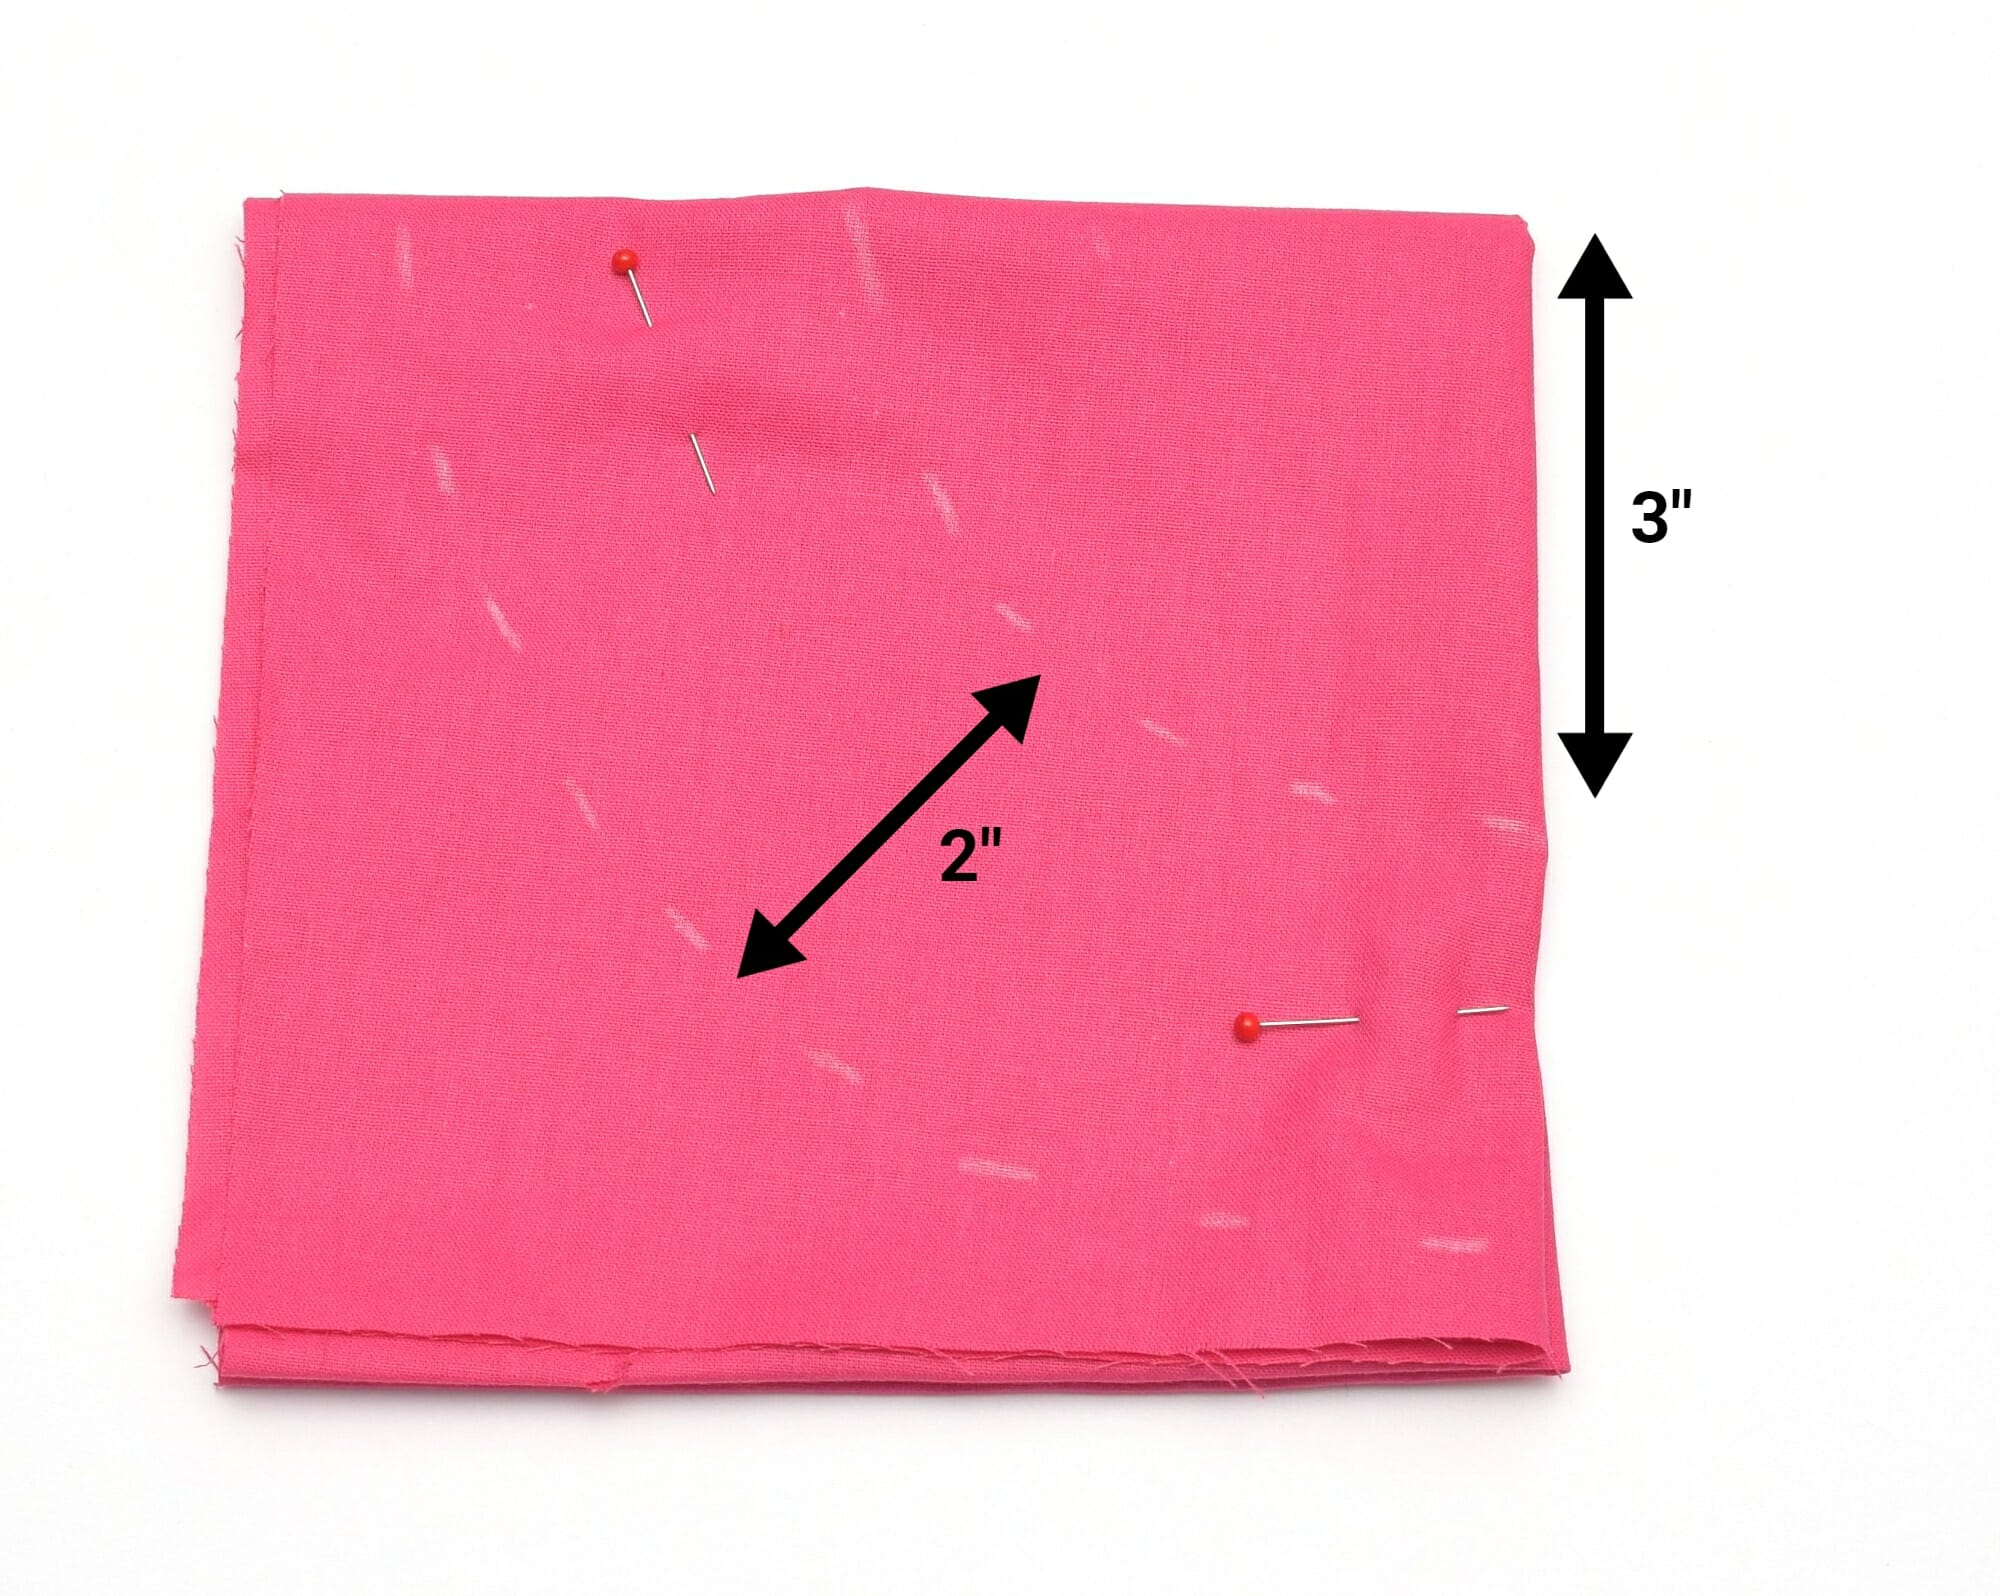
Cut along both the dotted circular lines, as shown in the picture below.
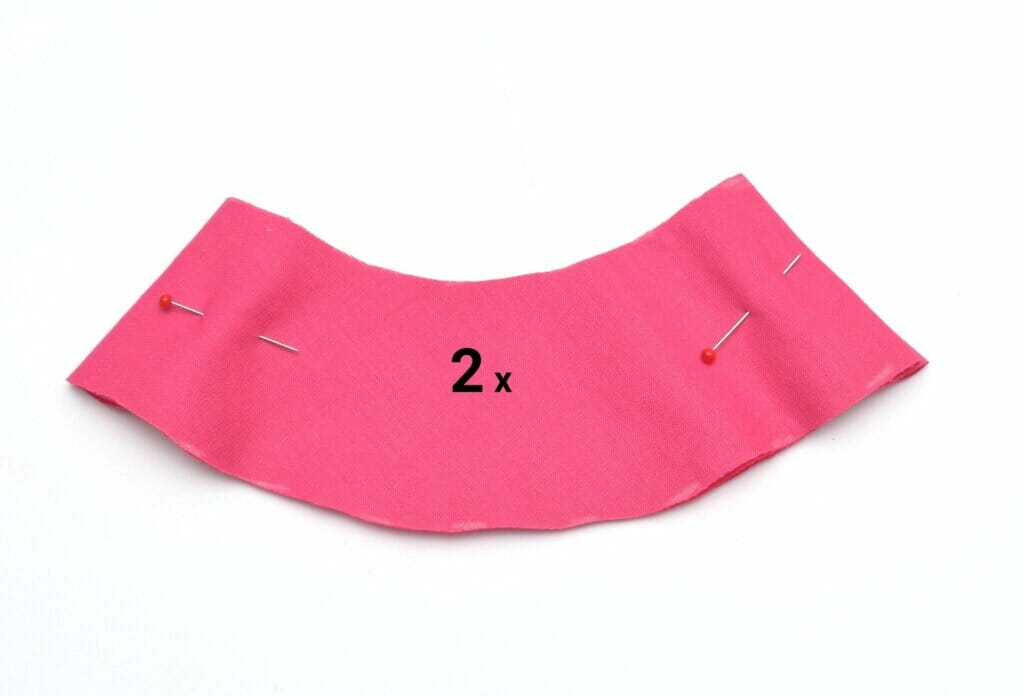
You should end up with two such circles, in one move.
This pattern is for a small kids-sized scrunchie that you can wrap twice around the ponytail.
If you want a bigger scrunchie for yourself, cut a larger fabric piece – approximately 30″ by 14″. Measure a 4” radius, and 2.5” for the length of the scrunchie. Once you fold it in half three times, you’ll get a 7″ fabric square (8 layers). The rest of the instructions stay the same.
Reminder: If you make a larger ruffled scrunchie, it’s important to use lightweight fabrics (chiffon, batiste, voile etc.).
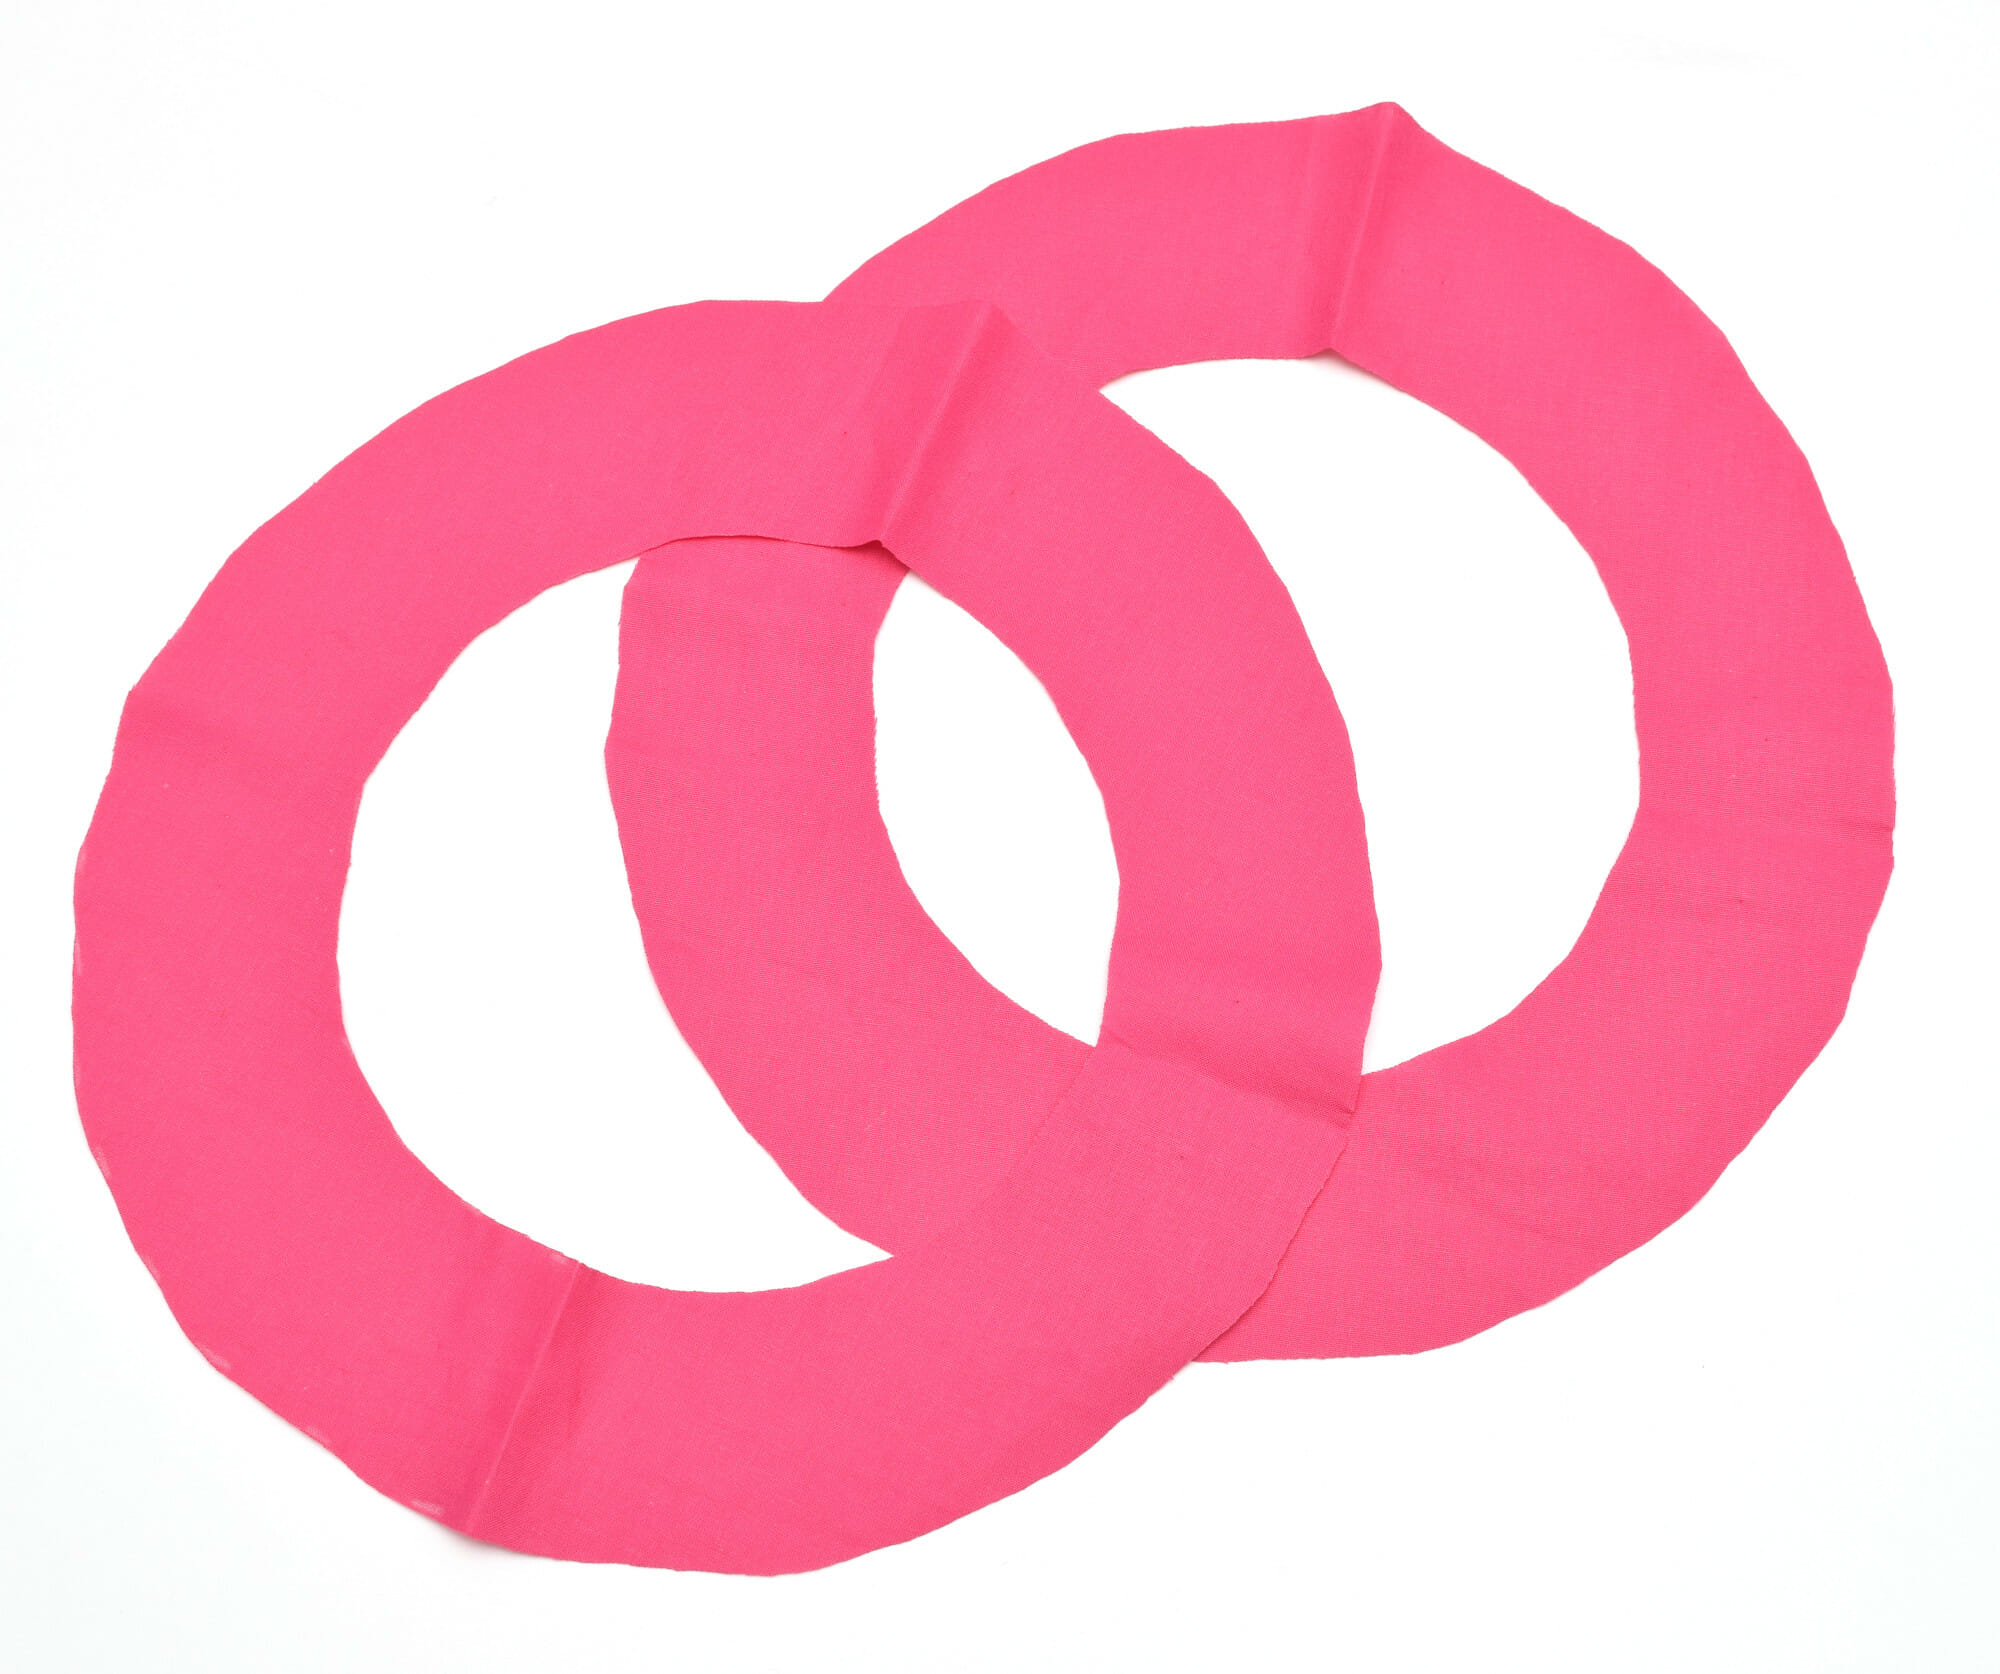
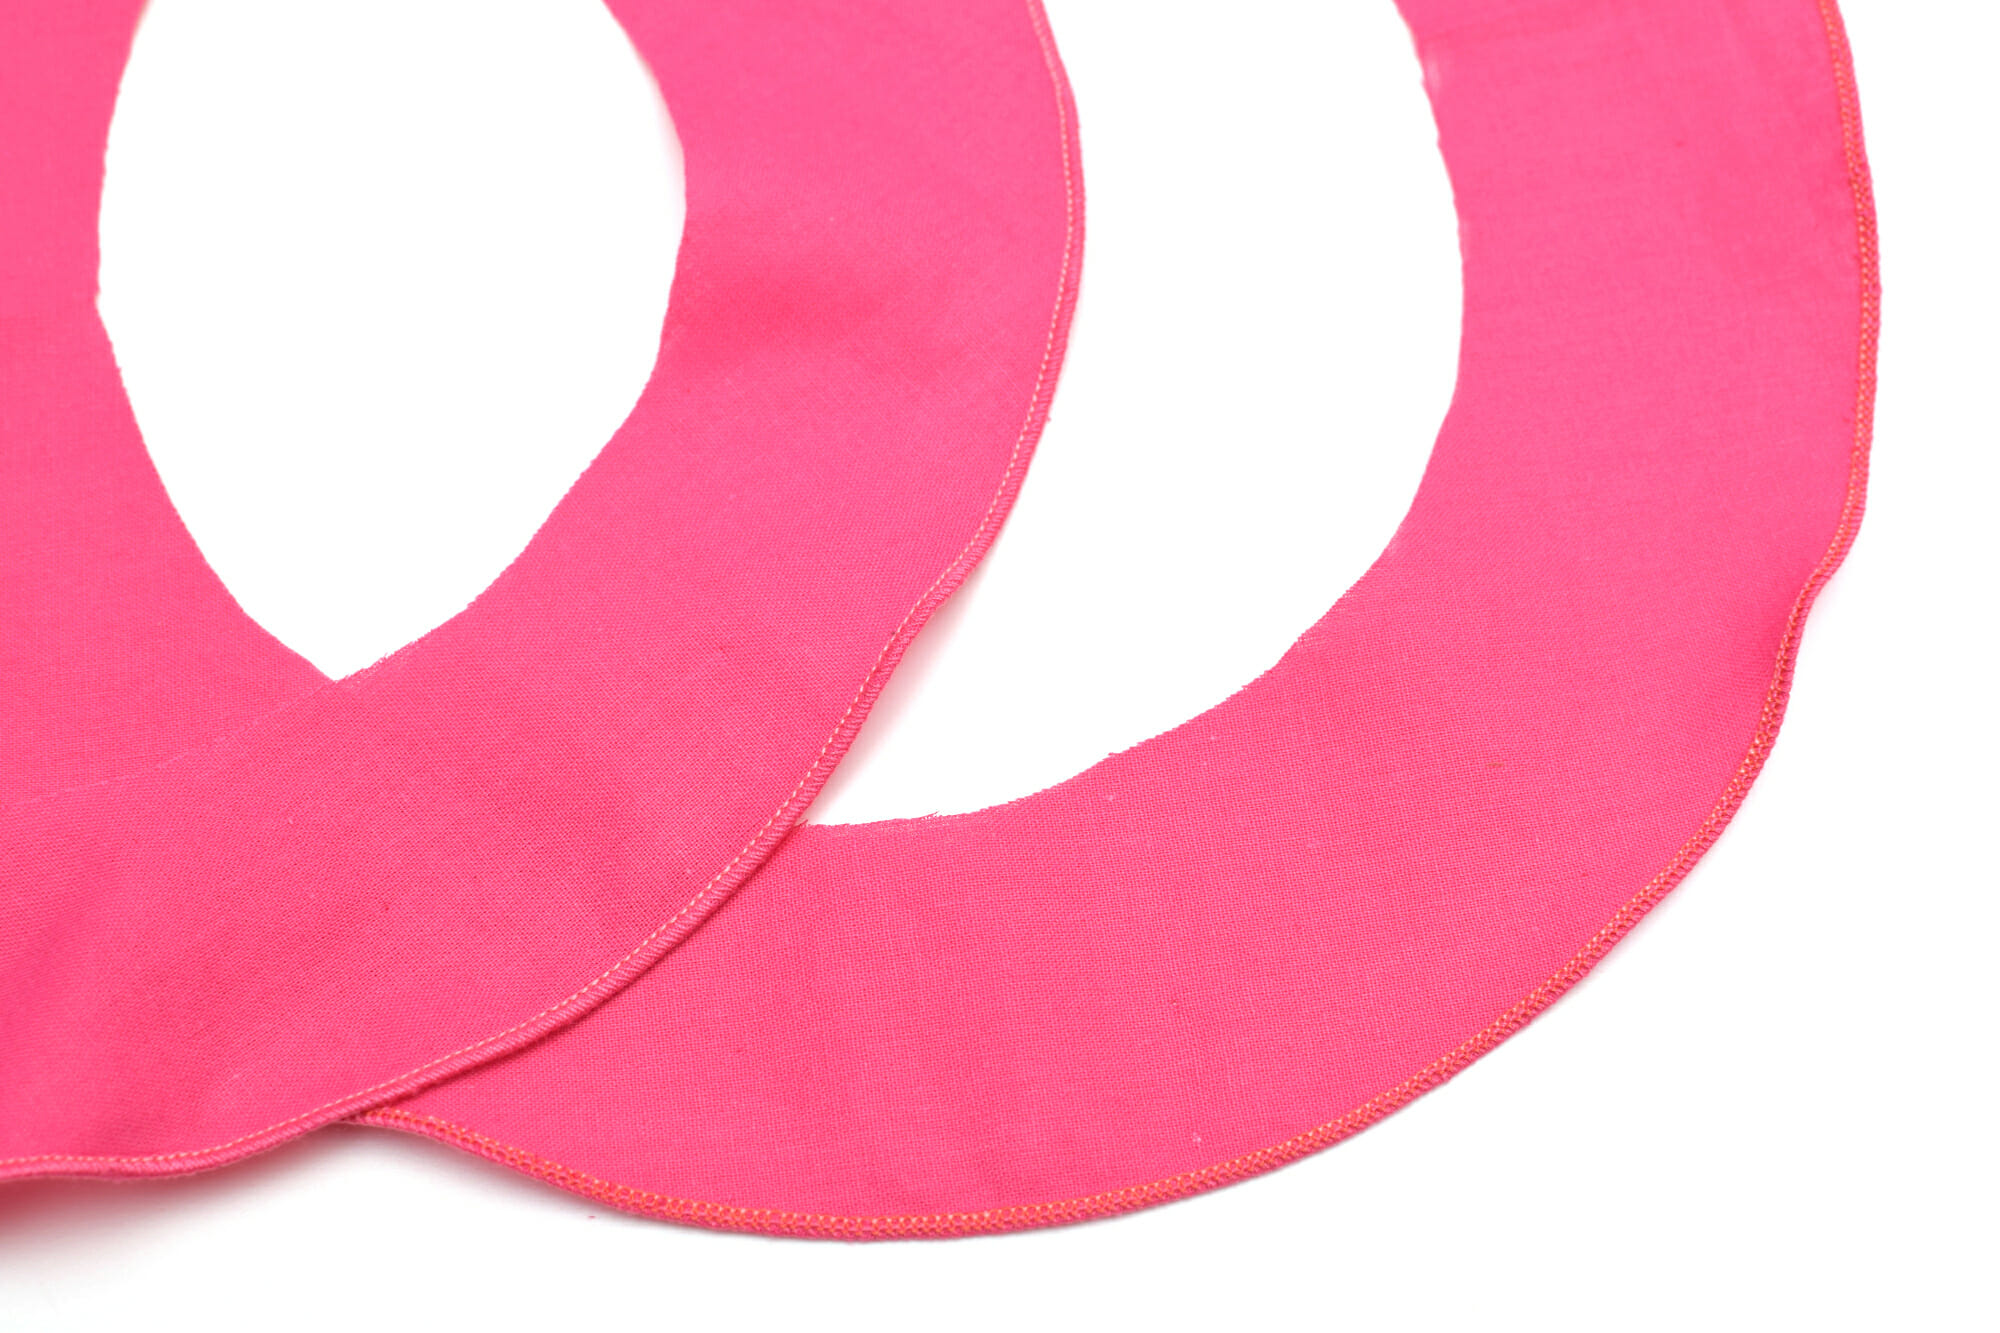
Step 2
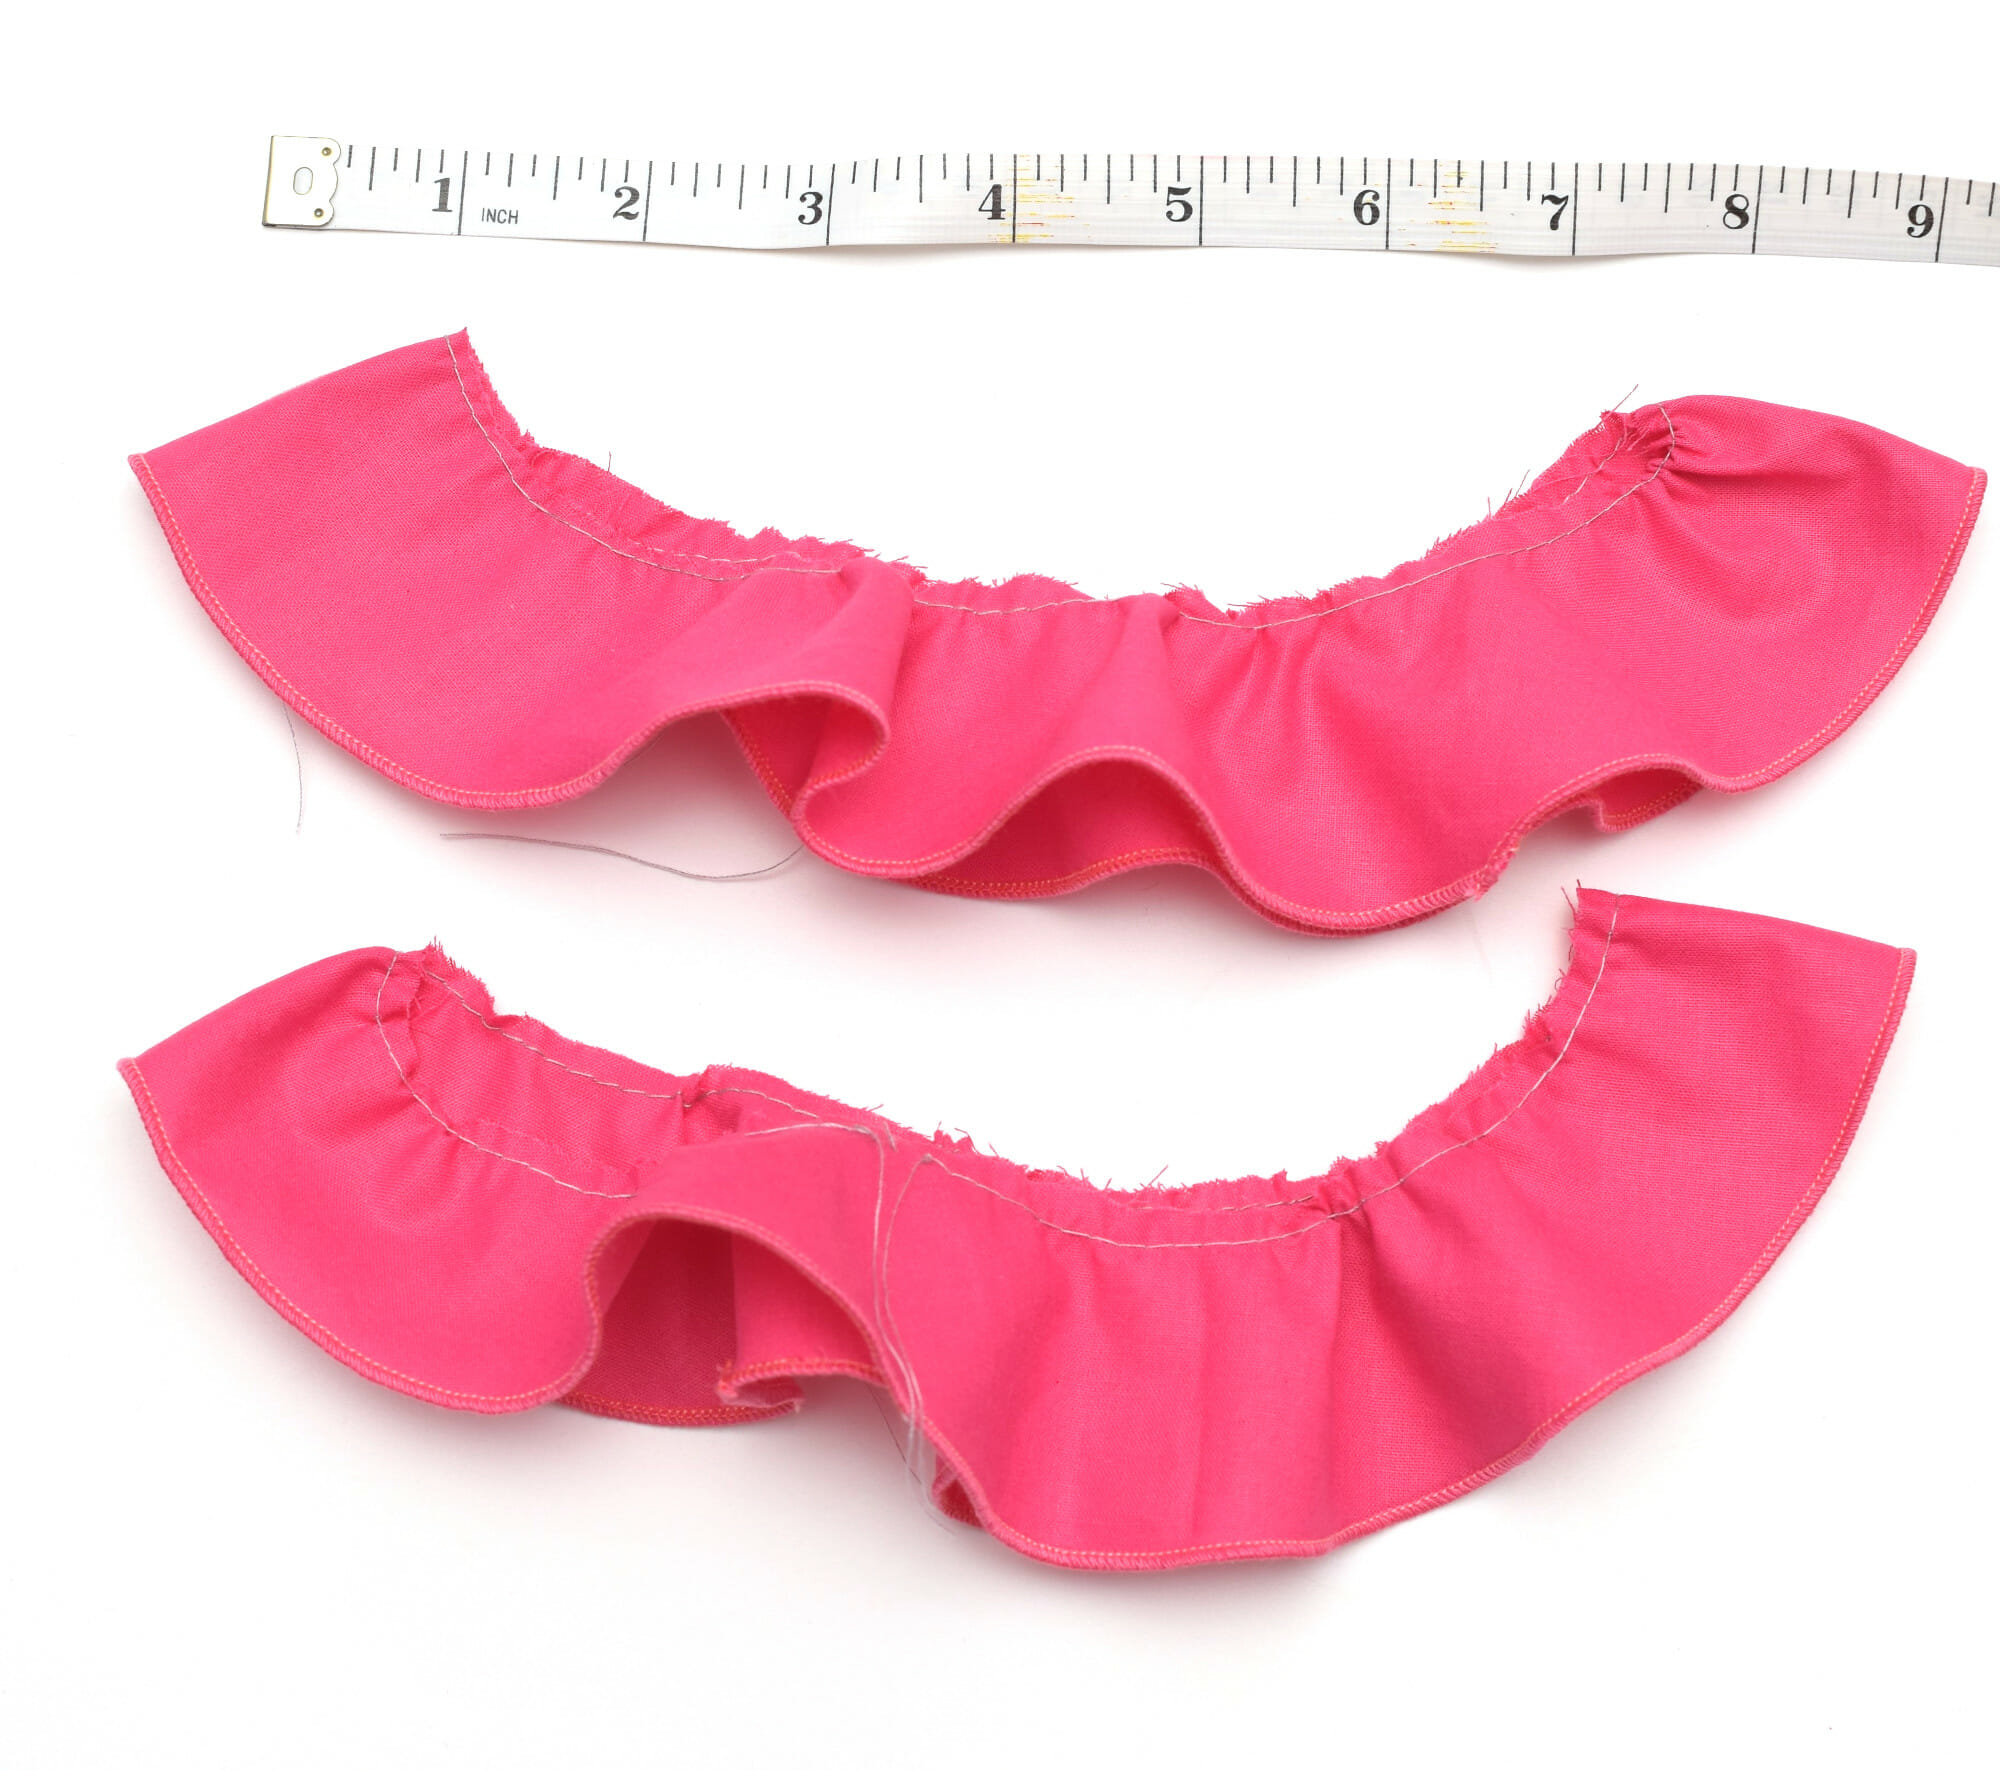
User a serger to make a narow hem on the outer edge of both circles.
Step 3
Run a basting stitch on the inner edge of the circles.
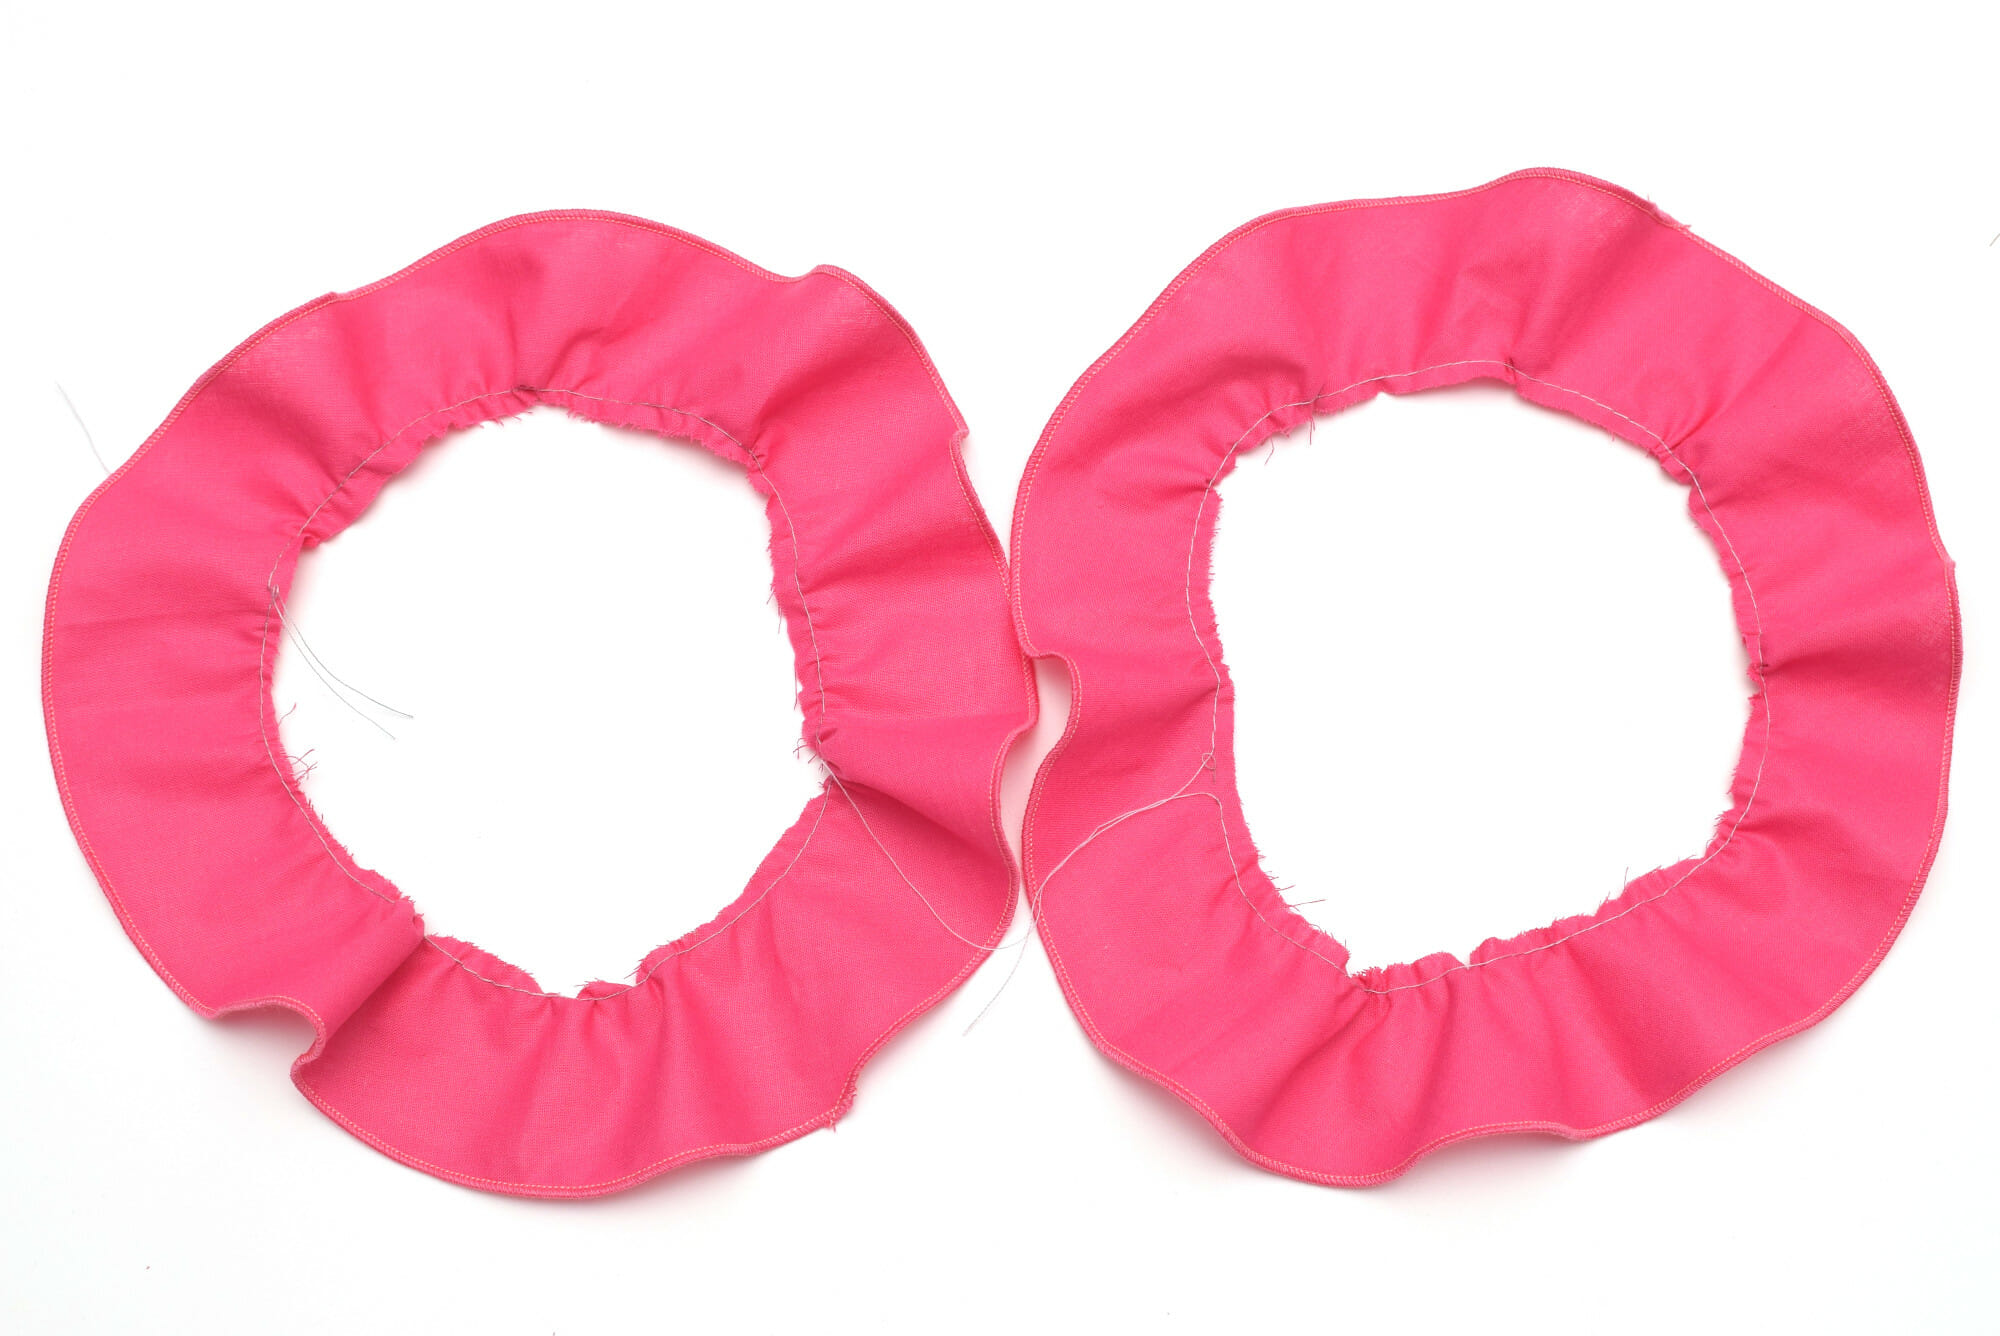
Step 4
Pull the bobbin thread to gather the fabric pieces, until both inner circles reach 8” in diameter.
Step 5
Place the two circles on top of the other, the right side of the former to the wrong side of the latter. Stitch with a 1/4” seam allowance, close to the basting stitch.
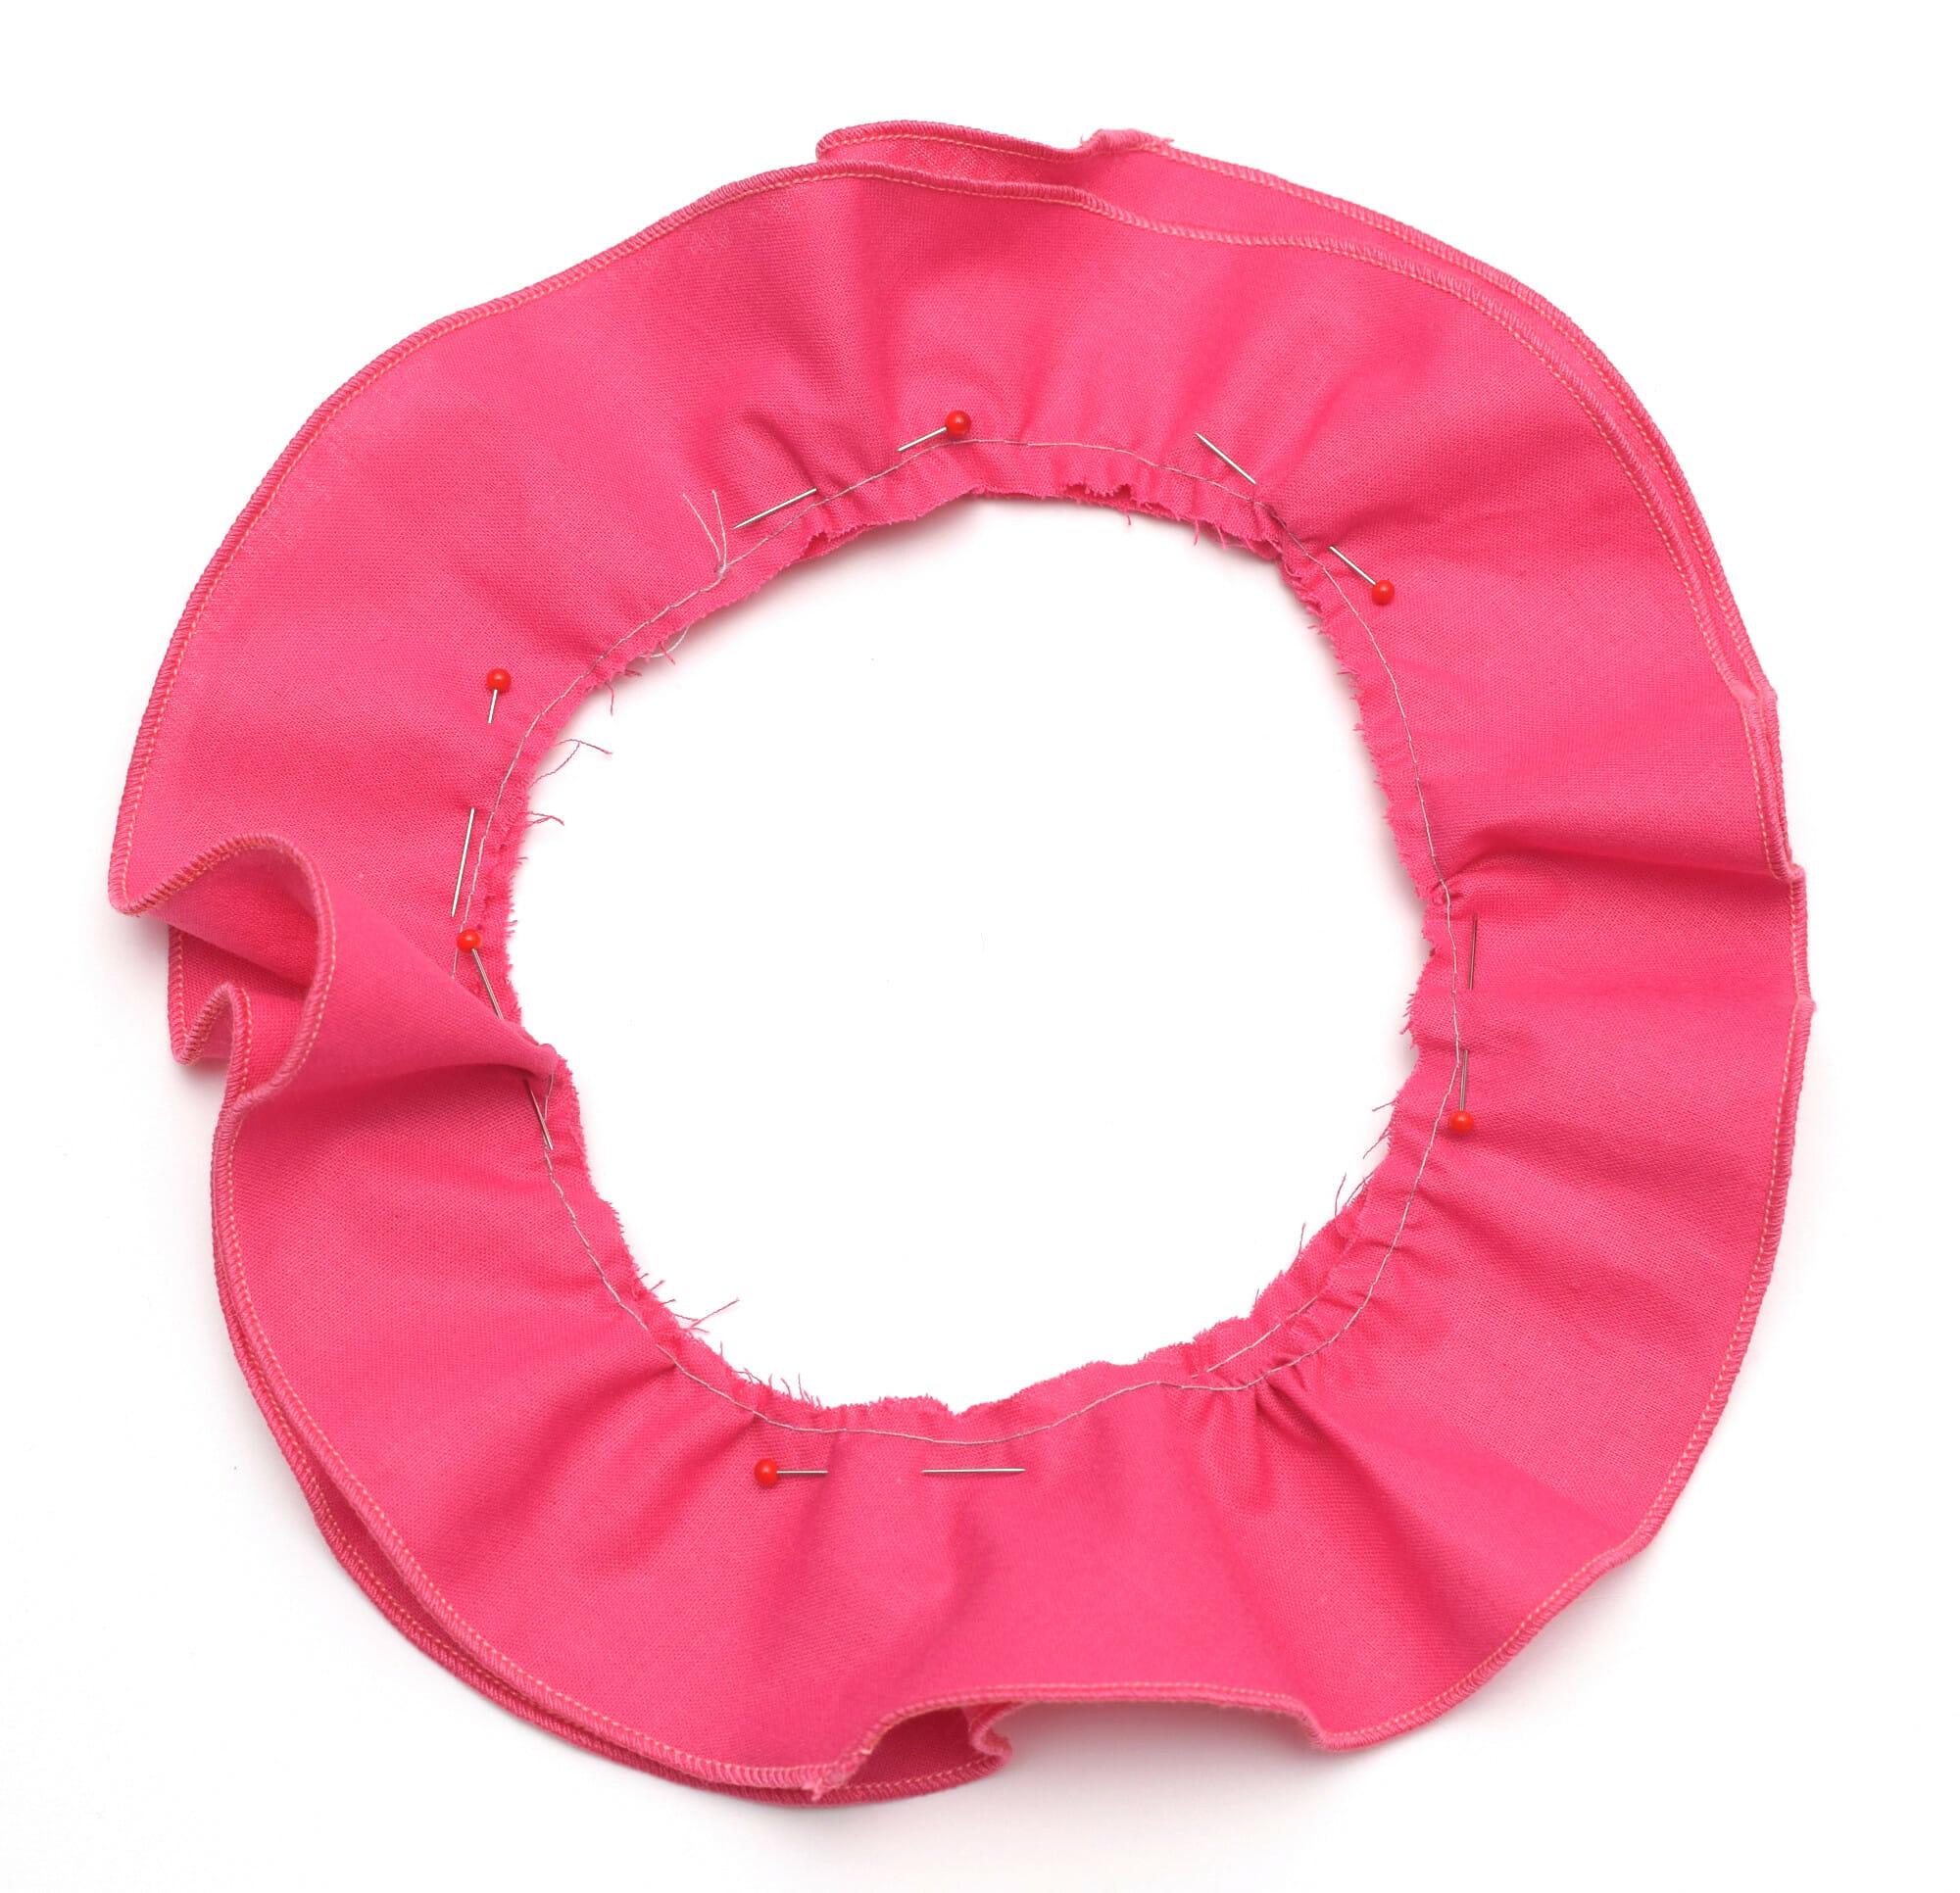
Trim the seam allowance.

Step 6
Press the seam, then fold the circles with the seam on the edge, so the right sides of the fabric are now together.
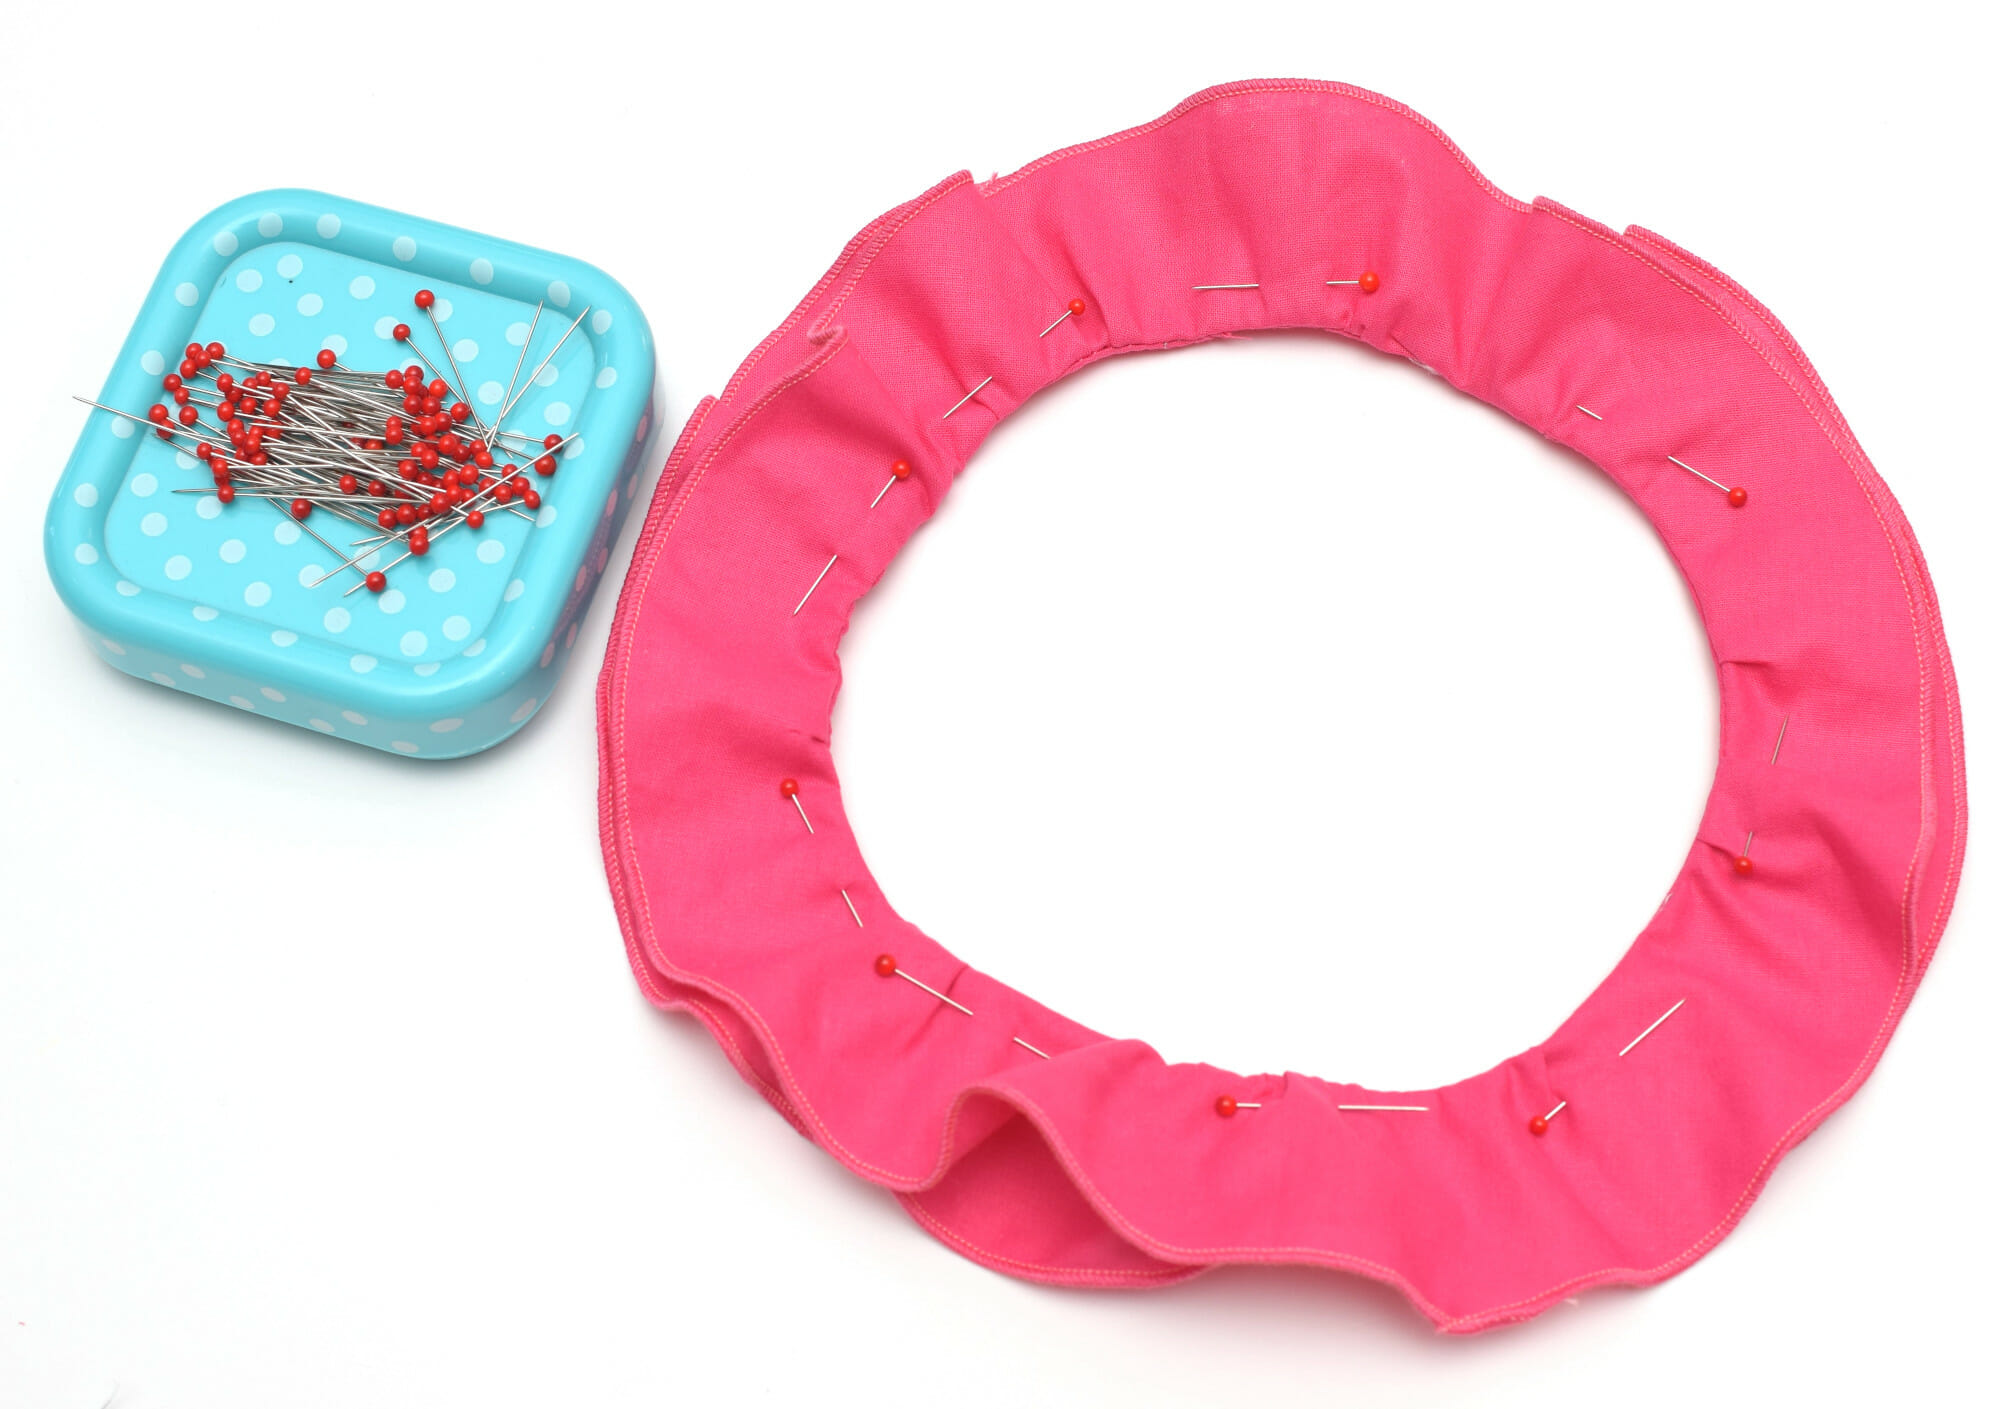
Pin the circles together to enclose the first seam, and stitch with a ½” seam allowance.
For the best results, make sure the seam is on the very edge – and don’t worry about occasionally sewing over the gathers, that’s fine. Leave a small 1/2” opening for the elastic.
Step 7
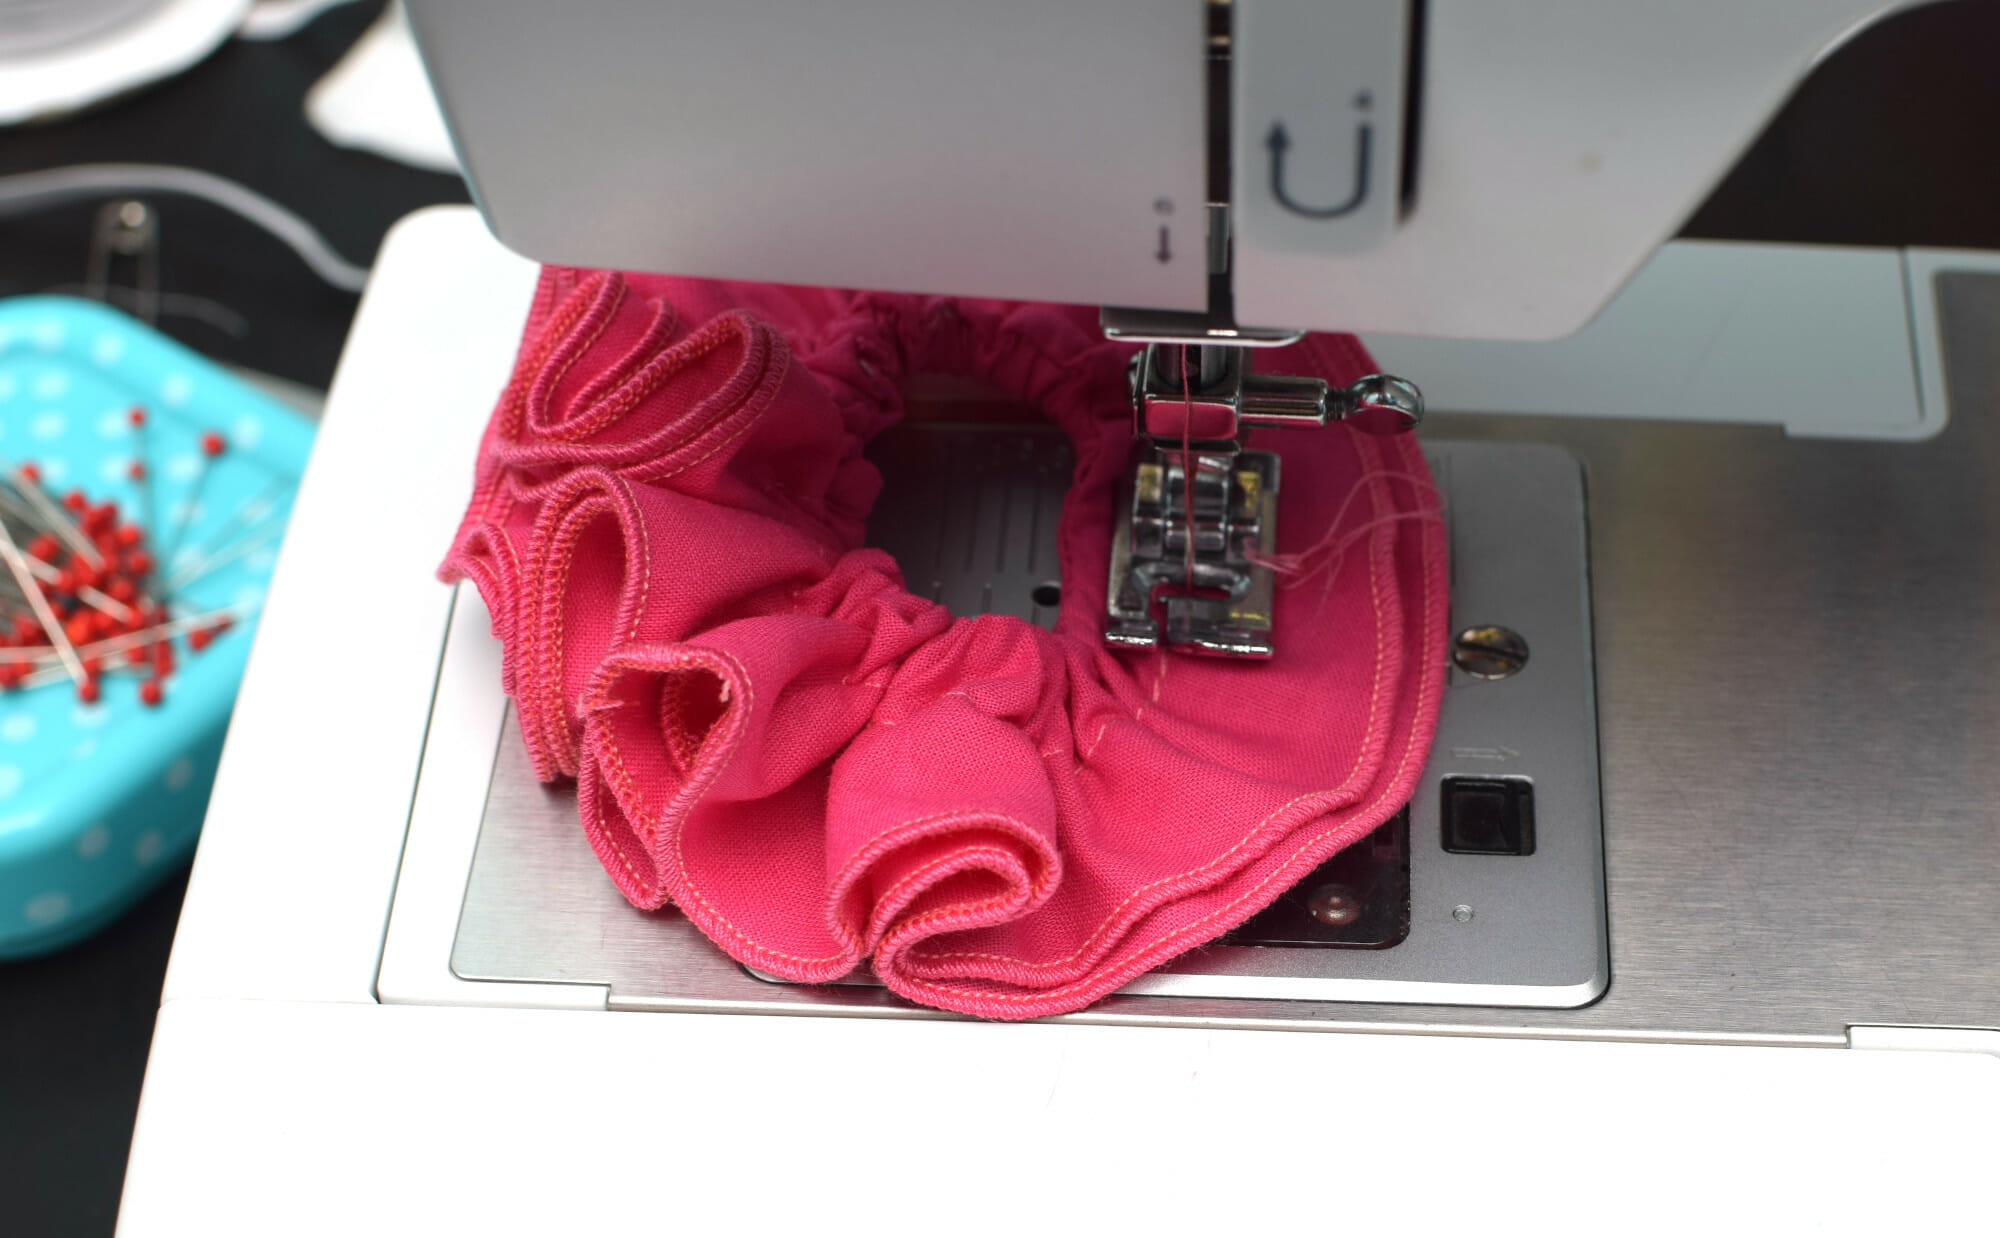
Cut a piece of 1/4” wide elastic – I used 4 1/2” for a kid-sized scrunchie. Attach safety pins to both ends of the elastic, to make sure you don’t lose it in the casing.
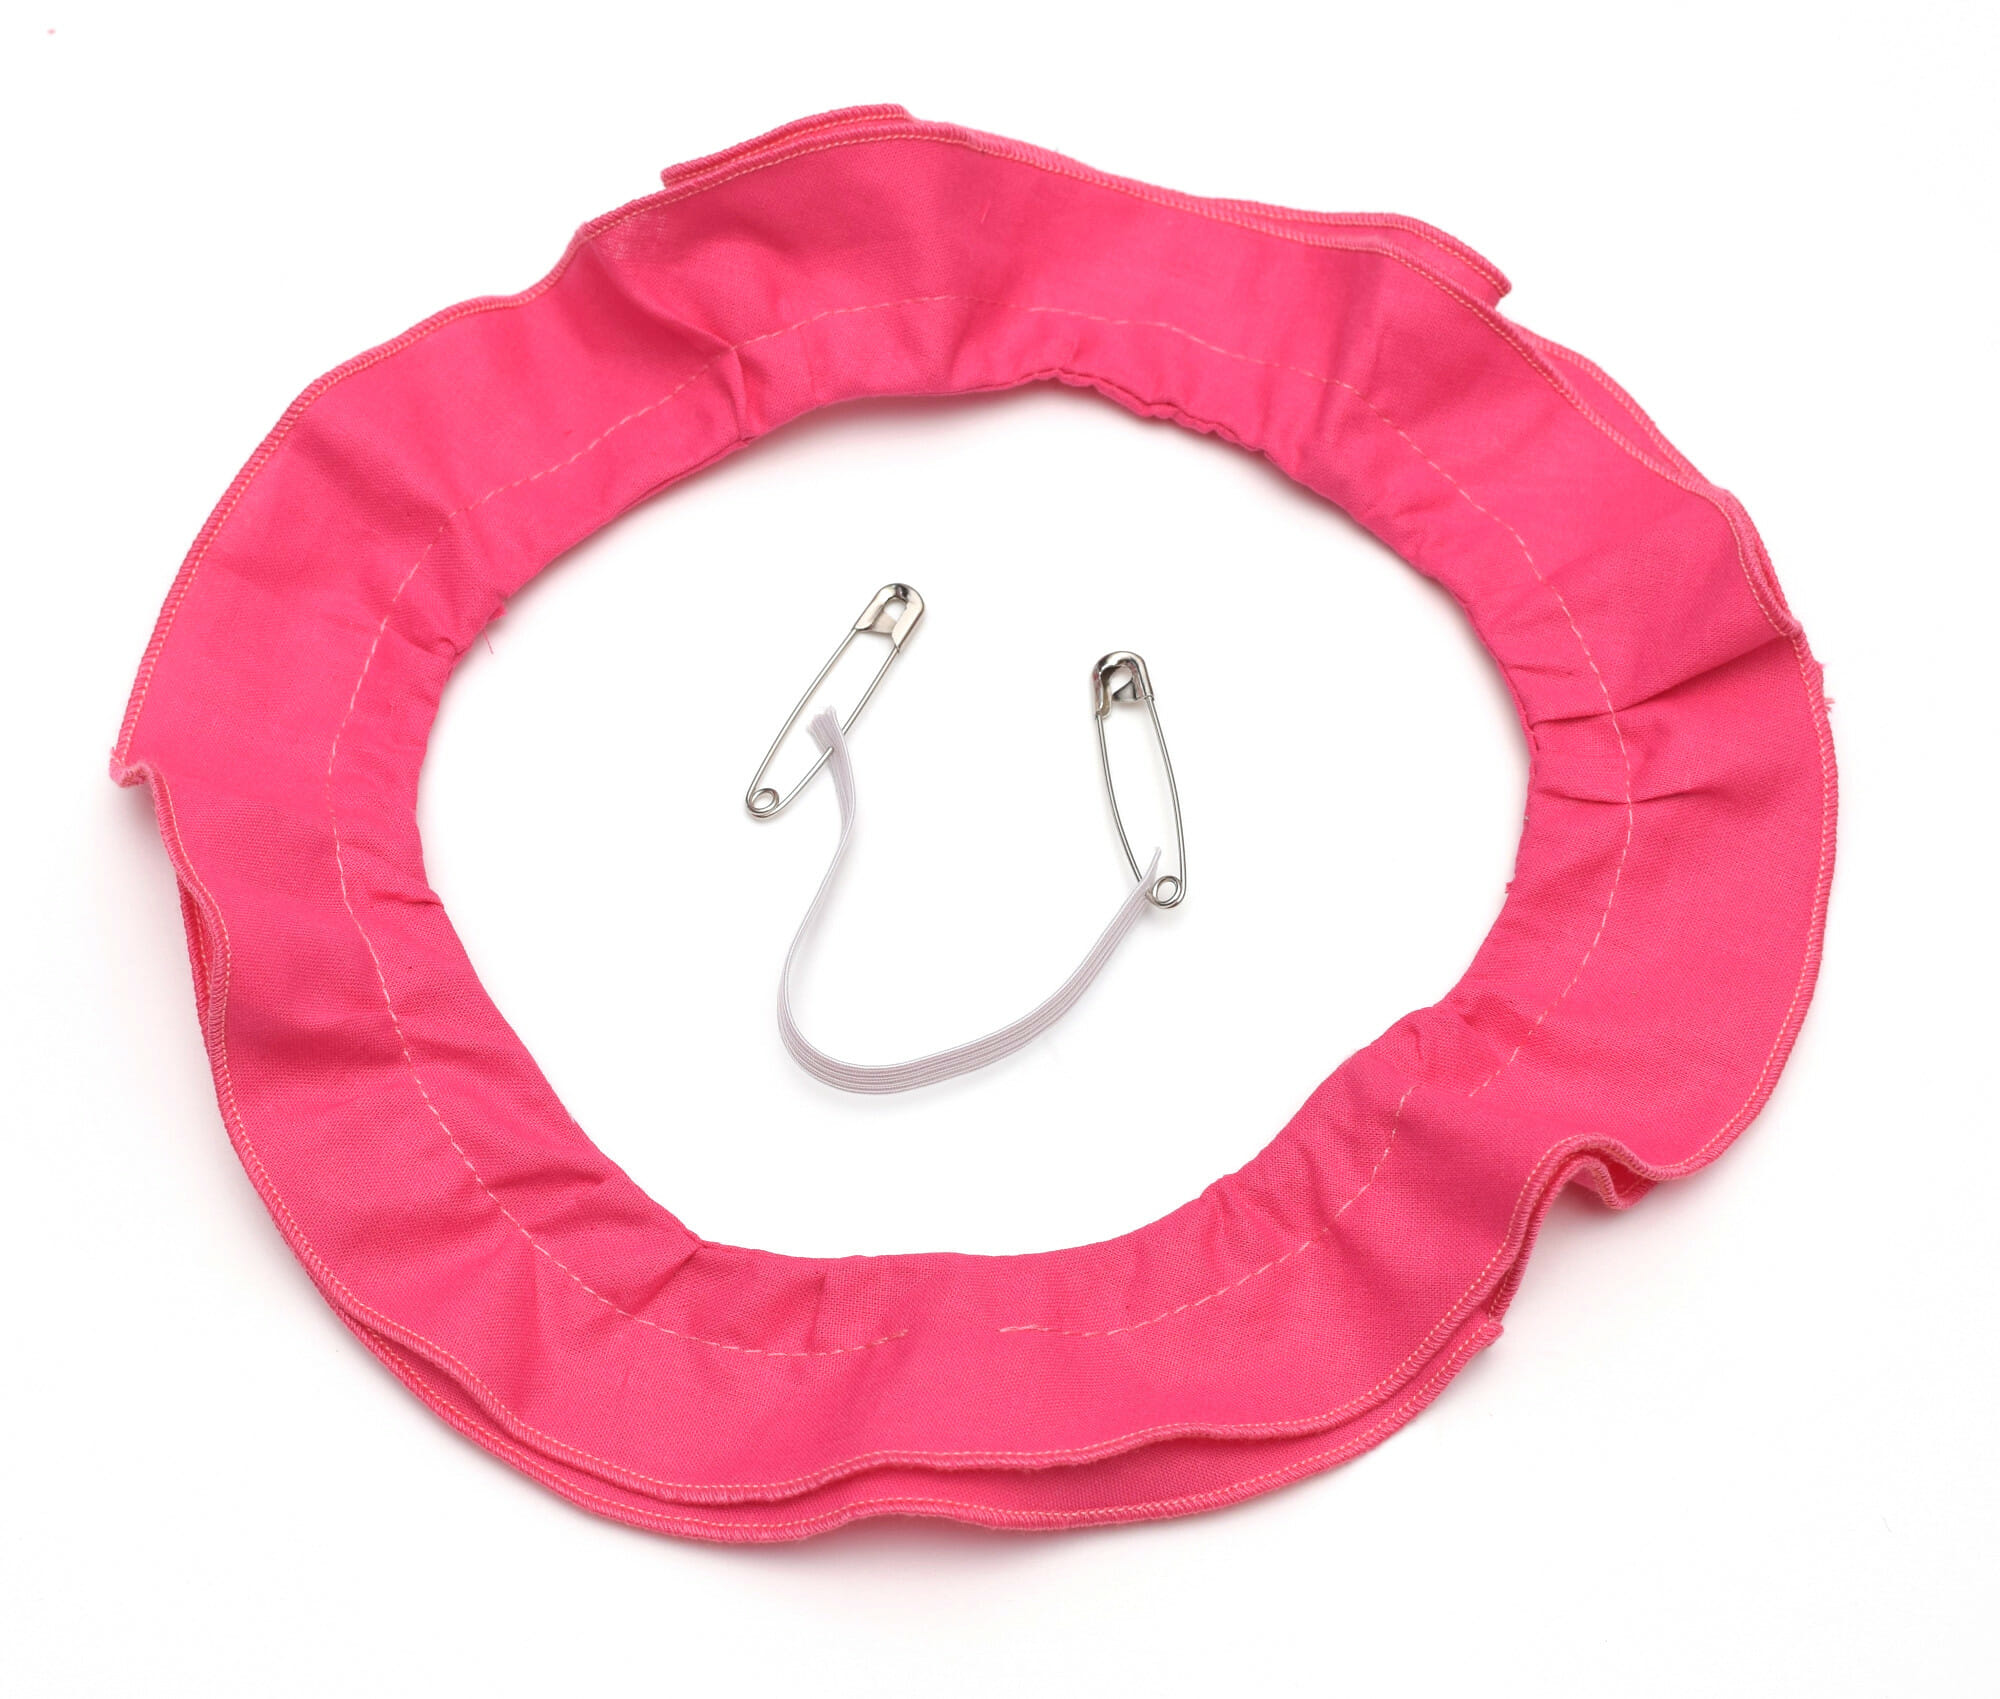
Then just insert the elastic, overlap its ends, and stitch them together. Sew the opening shut.
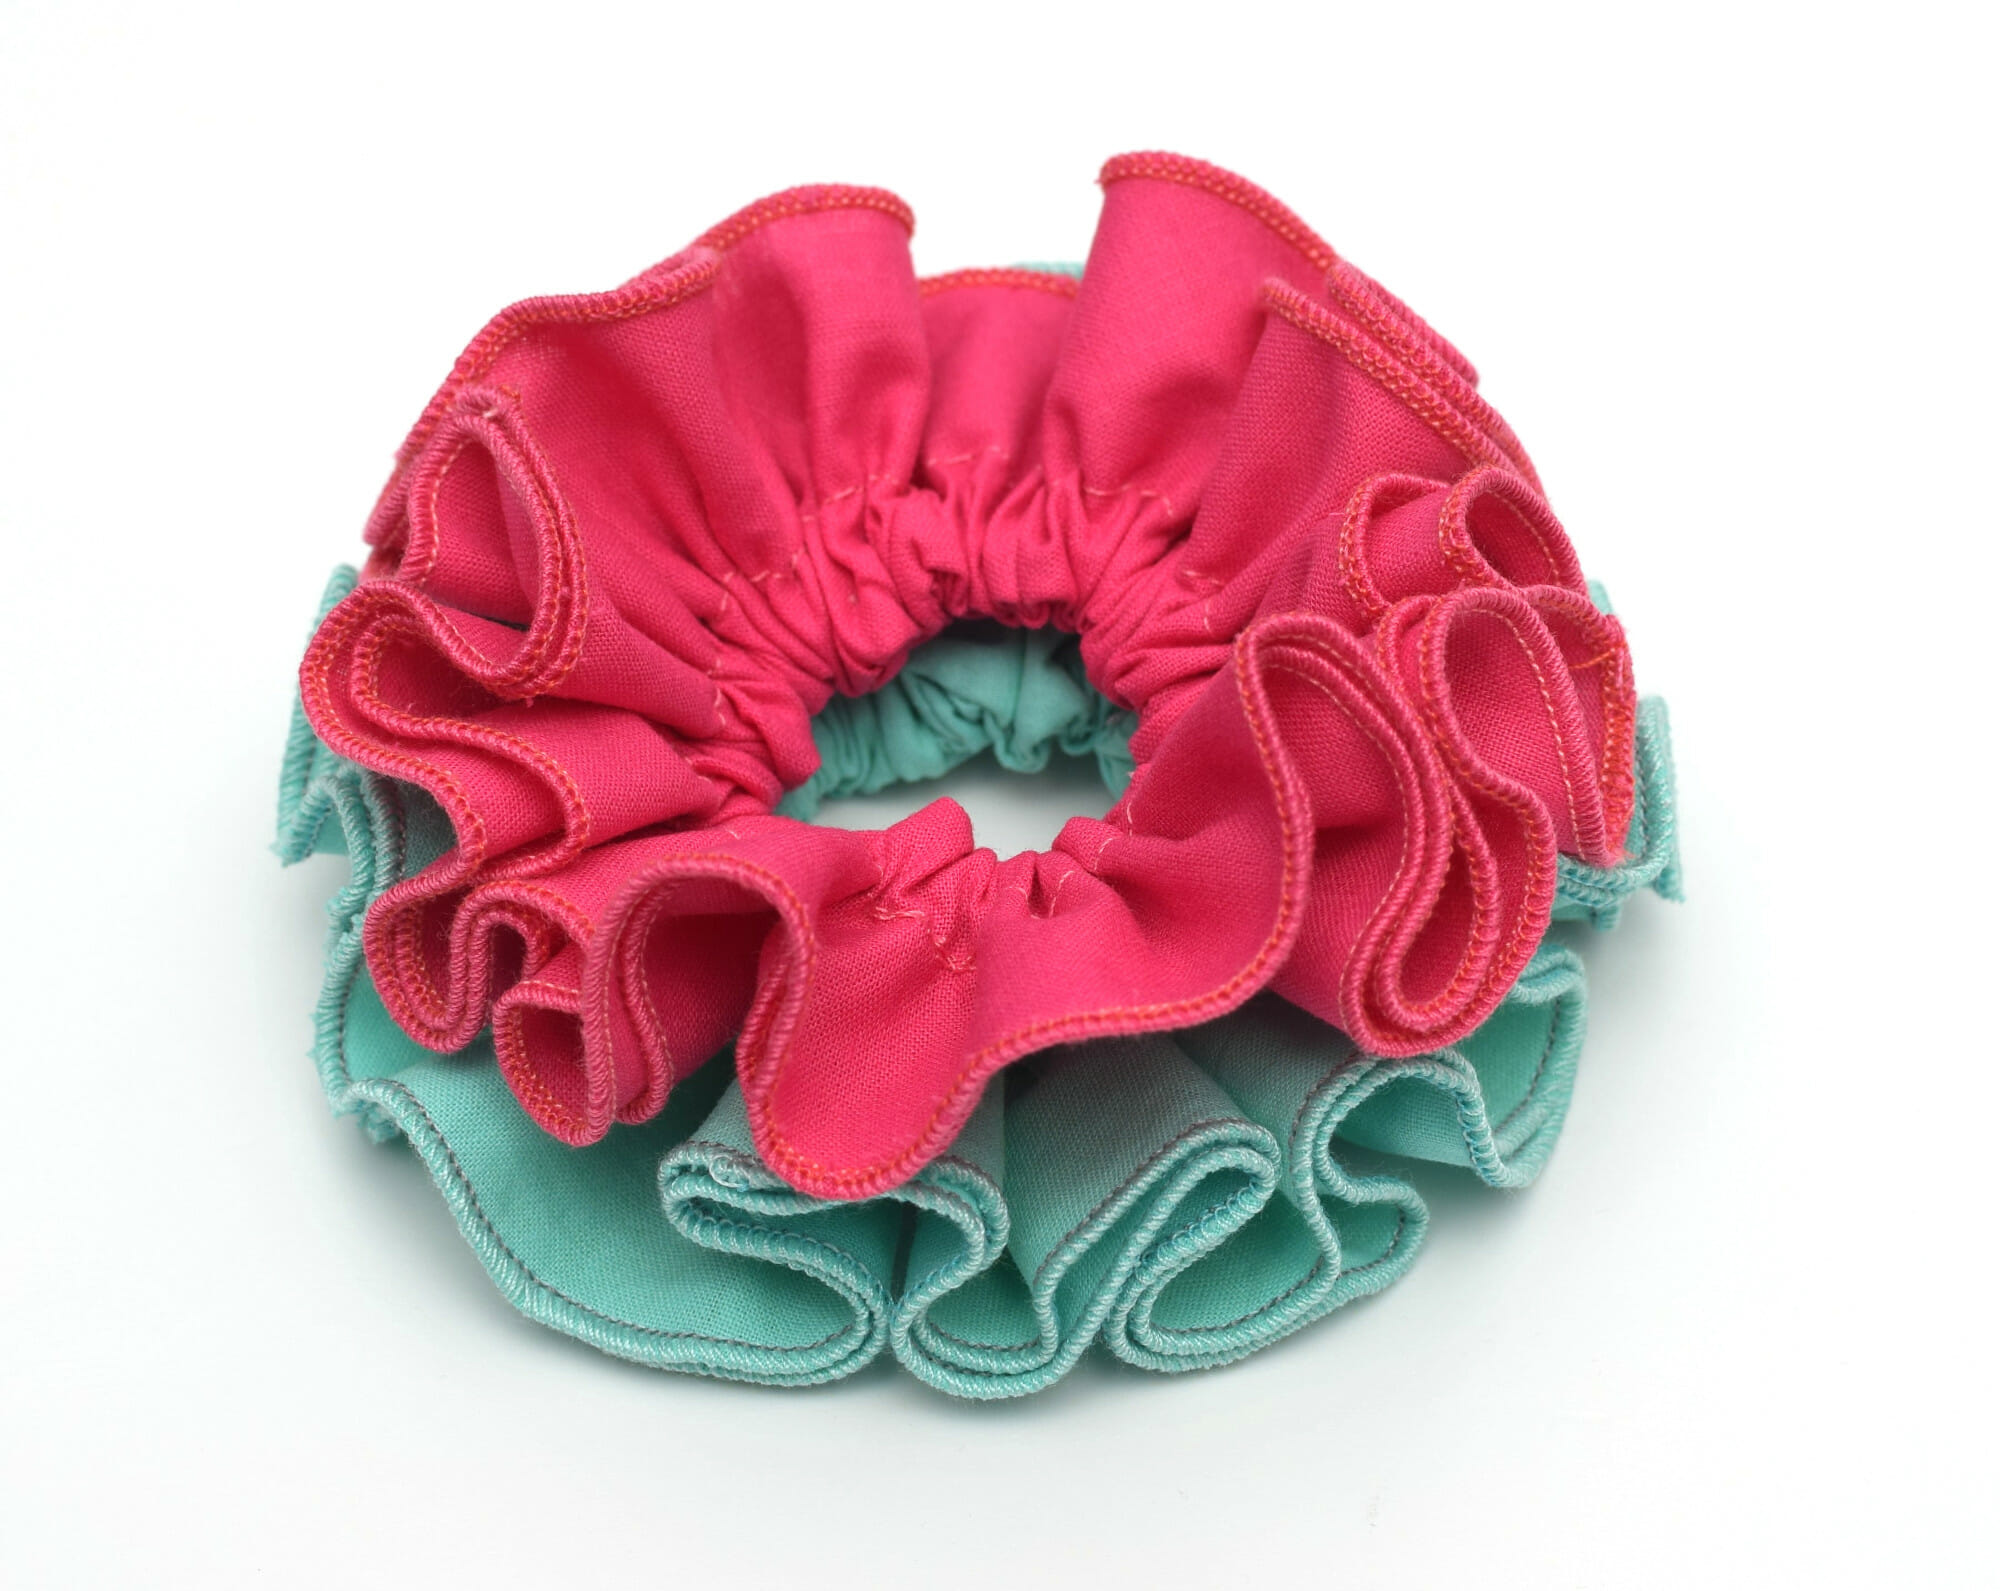
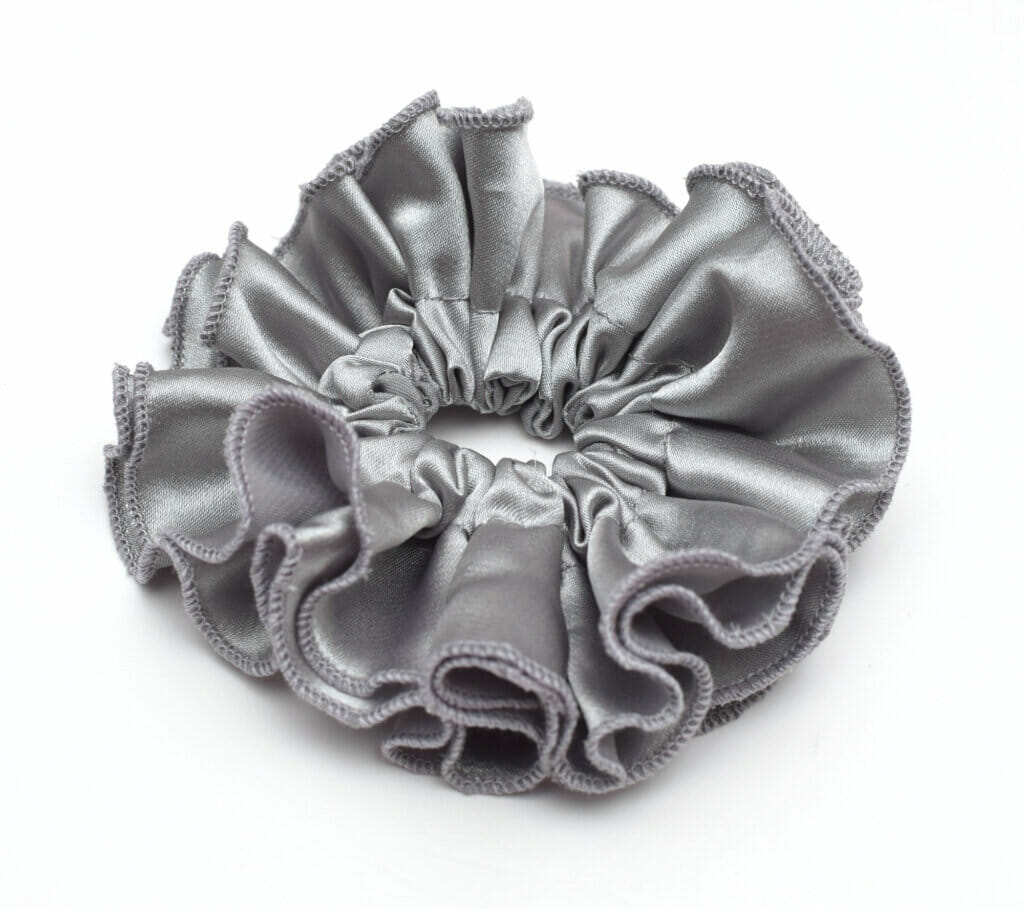
Your scrunchie is now finished!
I couldn’t resist the temptation and I made a satin scrunchie for me, too. So cute, right?
That’s all! I hope you enjoy making these ruffled scrunchies as much as I do!
Let’s keep in touch! You can find me on Facebook, Instagram, and Pinterest.
EXCELENTE LA EXPLOCACION ME ENCANTO LO VOY HACER . ME GUSTARIA SABER SI PUEDES EXPLICARME COMO HACER EL MISMO COLETERO PERO EL COLETERO DE UN COLOR Y LOS VUELOS DE OTRO COLOR SERIA POSIBLE’?
GRACIAS
Love this easy sewing project, and your scrunchies turned out so cute! I’ve featured your project on Crafts on Display – hope you like it! https://craftsondisplay.com/sewing/cute-unique-ruffled-scrunchies-152297/
Is there a way you could add another layer of fabric to create even more ruffles?
Hey Anna, great question! You can totally throw in an extra layer of fabric in Step 5, right before you flip the scrunchie and close the seam. Just remember to go for lightweight fabrics.
The beginning is a little con fusing. Do you cut the large fabric in half before folding to cut?
Hi Karen,
So, at Step 1, you begin with a fabric rectangle that measures 23” by 12”. You should fold it in half, then in half again, then in half again so that you get a 5.5″ fabric square (approximately). In this picture https://static.icansewthis.com/2020/09/ruffle-scrunchie-2.jpg there are 8 fabric layers. My previous explanation was not that good, I must admit. Thank you for the comment and the opportunity to improve the tutorial. I updated the article. Happy sewing!
Very good tutorial. Don’t have a serger, but I’m gonna try adding a narrow trim to the edge for my granddaughter. Thank you.
I love those, going to trie it today.
Thank you for sharing this tutorial.
I didn’t get the folding part of it.
Do you have a tutorial video?
Thank you
Las instrucciones kon imajenes que 7no pueda ver a traves d3 videos como las acen para aprender mejor gracias muy lindas
Wow, it’s actually easier than I thought it’d be. Thank you, your explanation was easy to follow