
Ready to make a cute 3-tiered ruffle skirt? This easy DIY skirt tutorial will guide you through each step, and you can adapt it to any size – baby, toddler, child, teen, or adult!
Plus, if you want more or less ruffle fullness, you can easily adjust that, too.
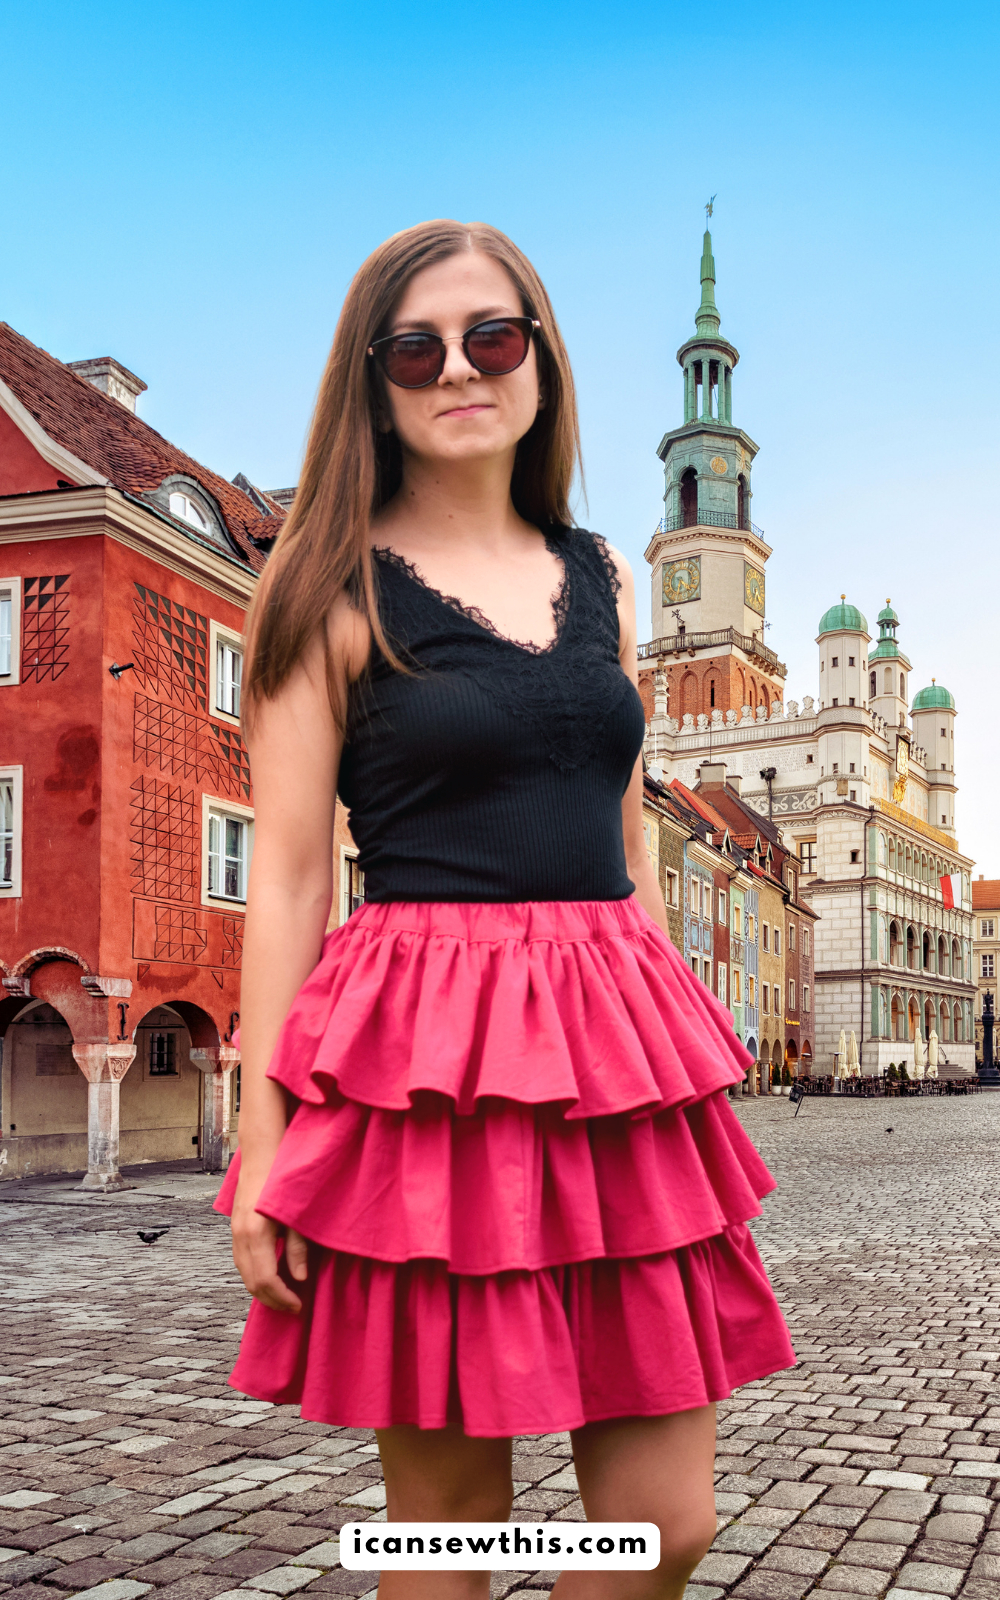
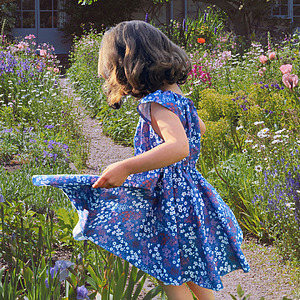
P.S. These were actually taken in my back garden, but shoutout to Canva for the background glow-up!
Why you’ll love this ruffle skirt tutorial
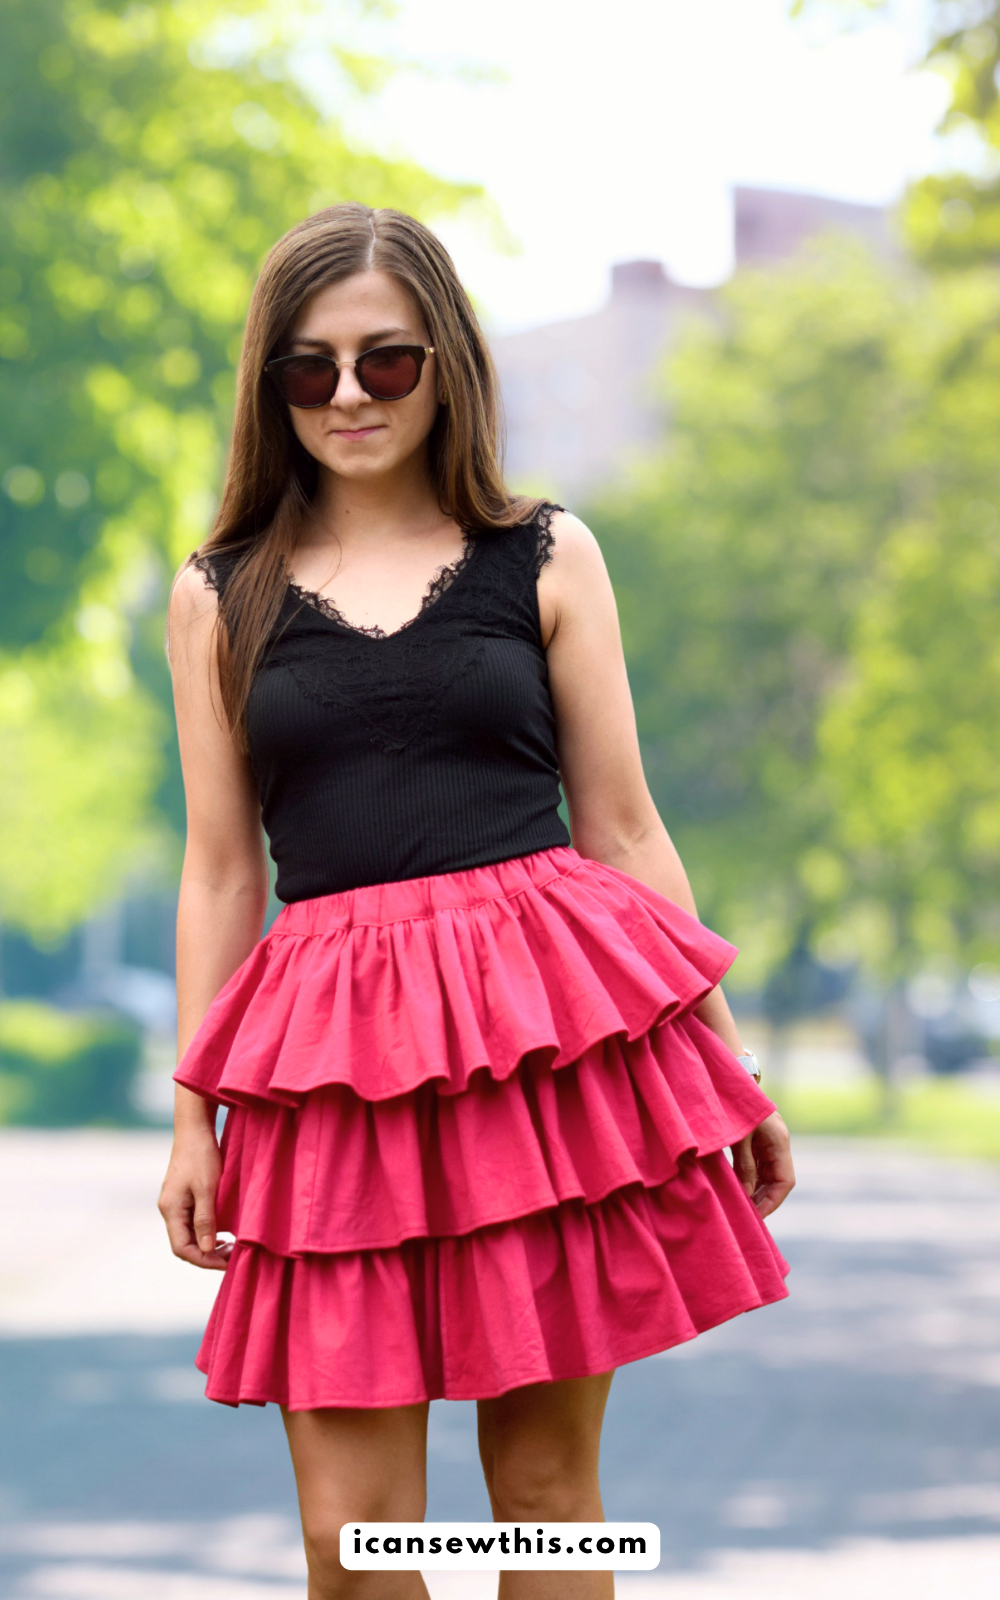
This tiered skirt with an elastic waistband is quick to make and looks stunning from every angle! It’s perfect for summer with a tank top or pair it with boots and a jacket for a stylish fall look.

The skirt is designed to sit above the knee, becoming a favorite in any wardrobe!
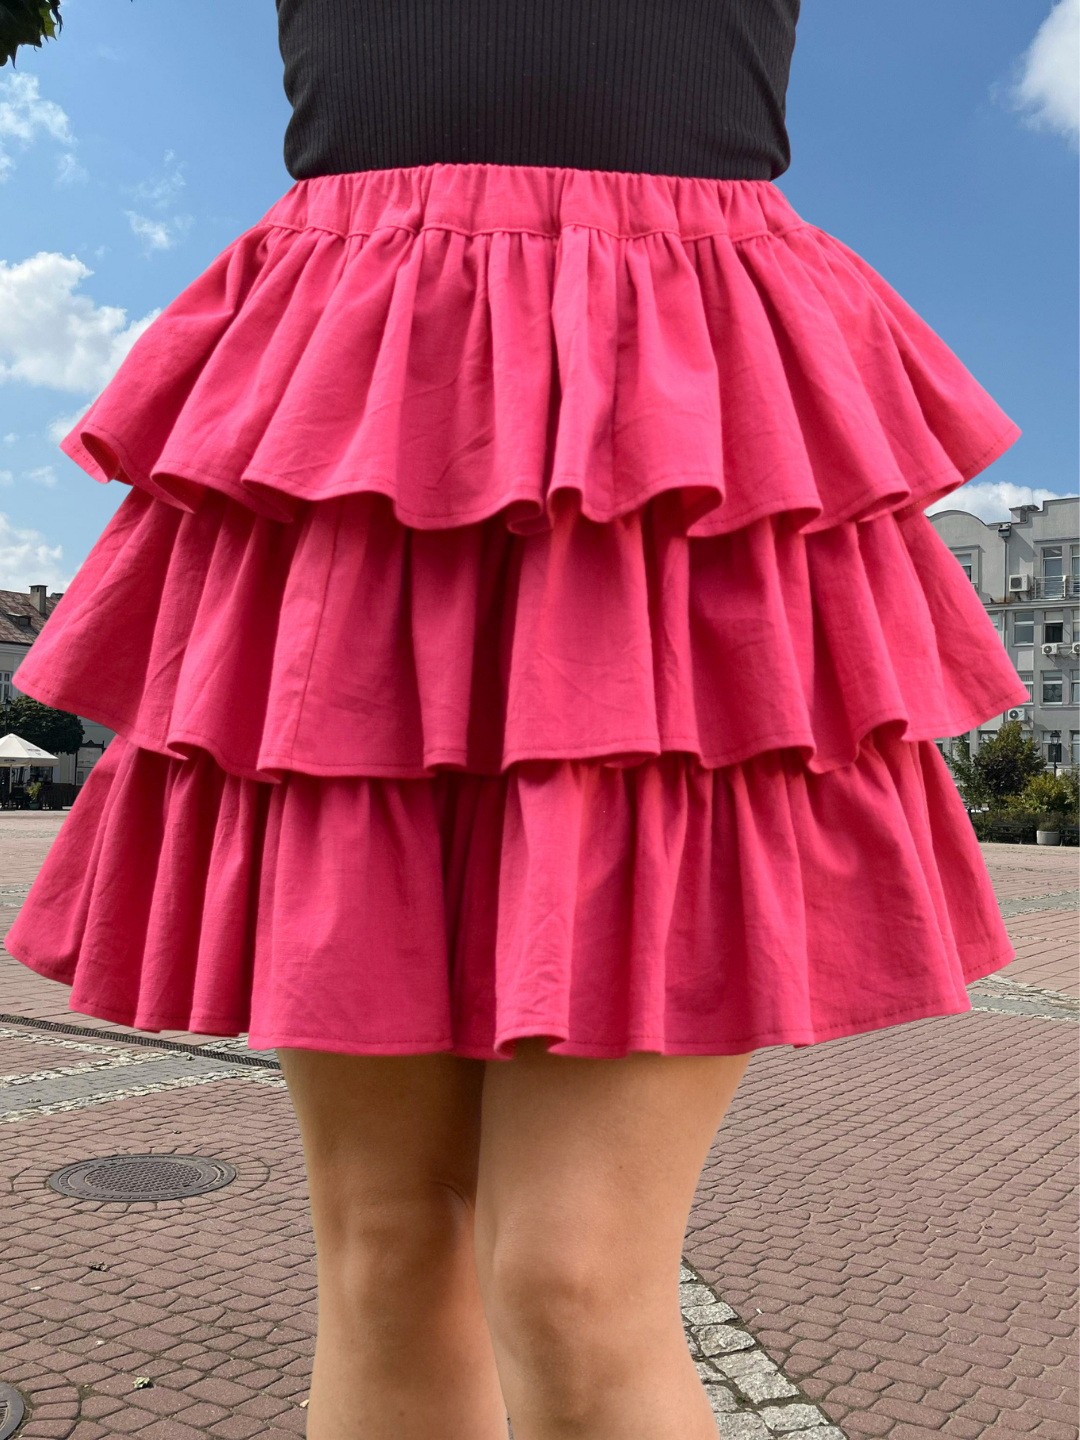
Thanks to the comfy elastic waistband, it’s easy to slip on and off, and all the ruffles attach to a single base layer for a simple, smooth finish.
No complicated patterns needed!
One of the best things about this skirt is its simplicity. You don’t need to print or trace any pattern pieces. Just work directly on your fabric – no PDF pattern necessary. And if you’re like me, you’ll love a sewing project you can dive into right away!
This tutorial includes step-by-step instructions with clear photos to make it even easier to follow along.
- Skill Level: Confident Beginner
- Time Investment: 2-3 hours
What you’ll need
For this project, I used about two yards of a midweight linen blend fabric. It gives the ruffles the perfect balance of structure and breezy movement.
Here are my measurements for reference, but feel free to make your DIY skirt longer or shorter to perfectly suit your style:
- Waist: 27 inches
- Hips: 36 inches
- Total skirt length: 16 inches
Besides your fabric, you will also need 1-inch wide elastic for the waistband, matching thread, a safety pin to thread the elastic, and your basic sewing tools.
Best Fabric Choices
While a beautiful dark floral cotton looks stunning, you can make this skirt in so many different materials! Here are a few fabric alternatives that drape beautifully for this tiered style:
- Lightweight cotton or quilting cotton: Perfect for beginners because it doesn’t slip around while sewing.
- Forest forage daisies woven cotton – This woven cotton features a playful daisy design woven right into the fabric.
- Linen: Gives the skirt a relaxed, breezy, and effortless summer vibe.
- Rayon or tencel blends: Offers a gorgeous, fluid drape that makes the ruffles extra swishy.
Tiered ruffle skirt tutorial – no pattern needed
Step 1 – draft and sew the connector piece
Since I wanted my skirt length to be 16 inches, I planned for 15 inches of ruffles and 1 inch for the waistband.
How to make the connector piece:
To get the right length, make your connector piece 1 inch shorter than the full skirt length you want. (You could also make it 2 inches shorter for more ruffle effect if you prefer!)
For the width, take your hip measurement and add 4 inches for a bit of extra comfort.
My hip measurement is 36 inches, so my connector piece’s top width is 40 inches. I wanted a slight flare in my skirt, so I added an extra 8 inches to the bottom width, making it 48 inches.
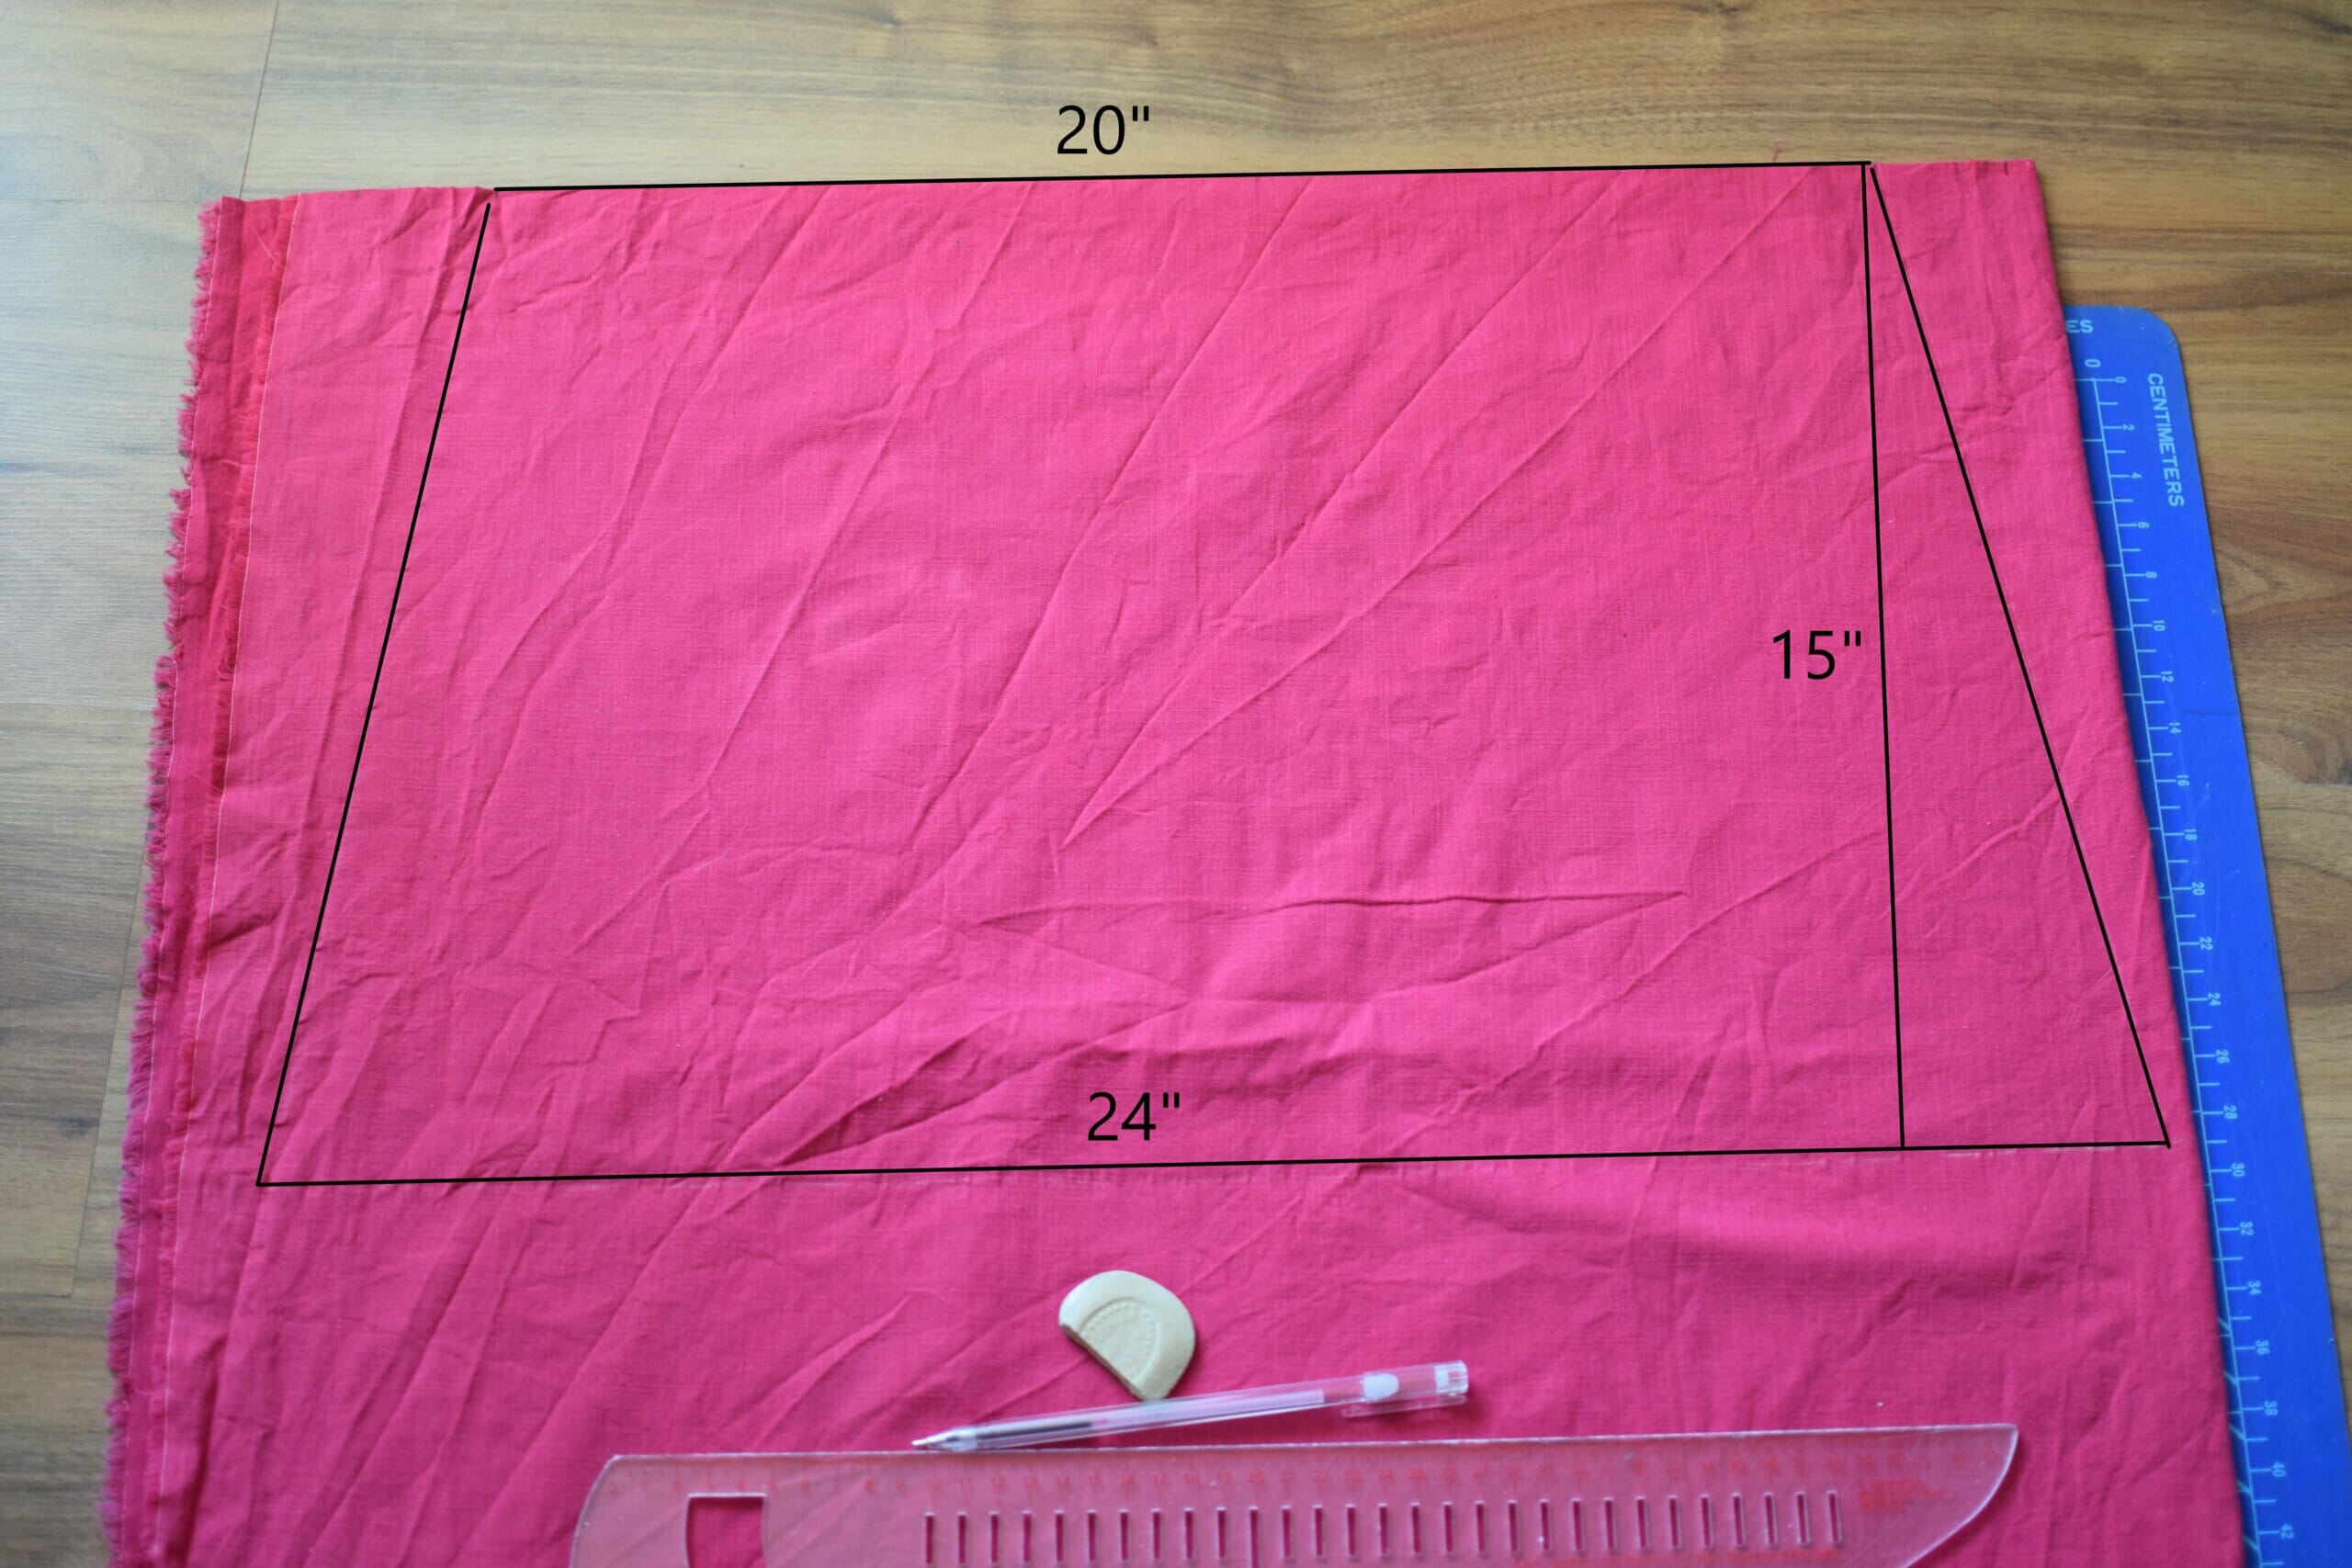
Drafting the shape
Create an isosceles trapezoid: Draw an isosceles trapezoid shape on your fabric (see the photo below for reference).
- Top edge: Take your hip measurement + 4 inches, then divide by 2 (mine came to 20 inches since the fabric is folded).
- Bottom edge: Take your top edge + 8 inches, then divide by 2 (24 inches for mine).
- Height: This should match your skirt length minus 1 inch (so mine was 15 inches).
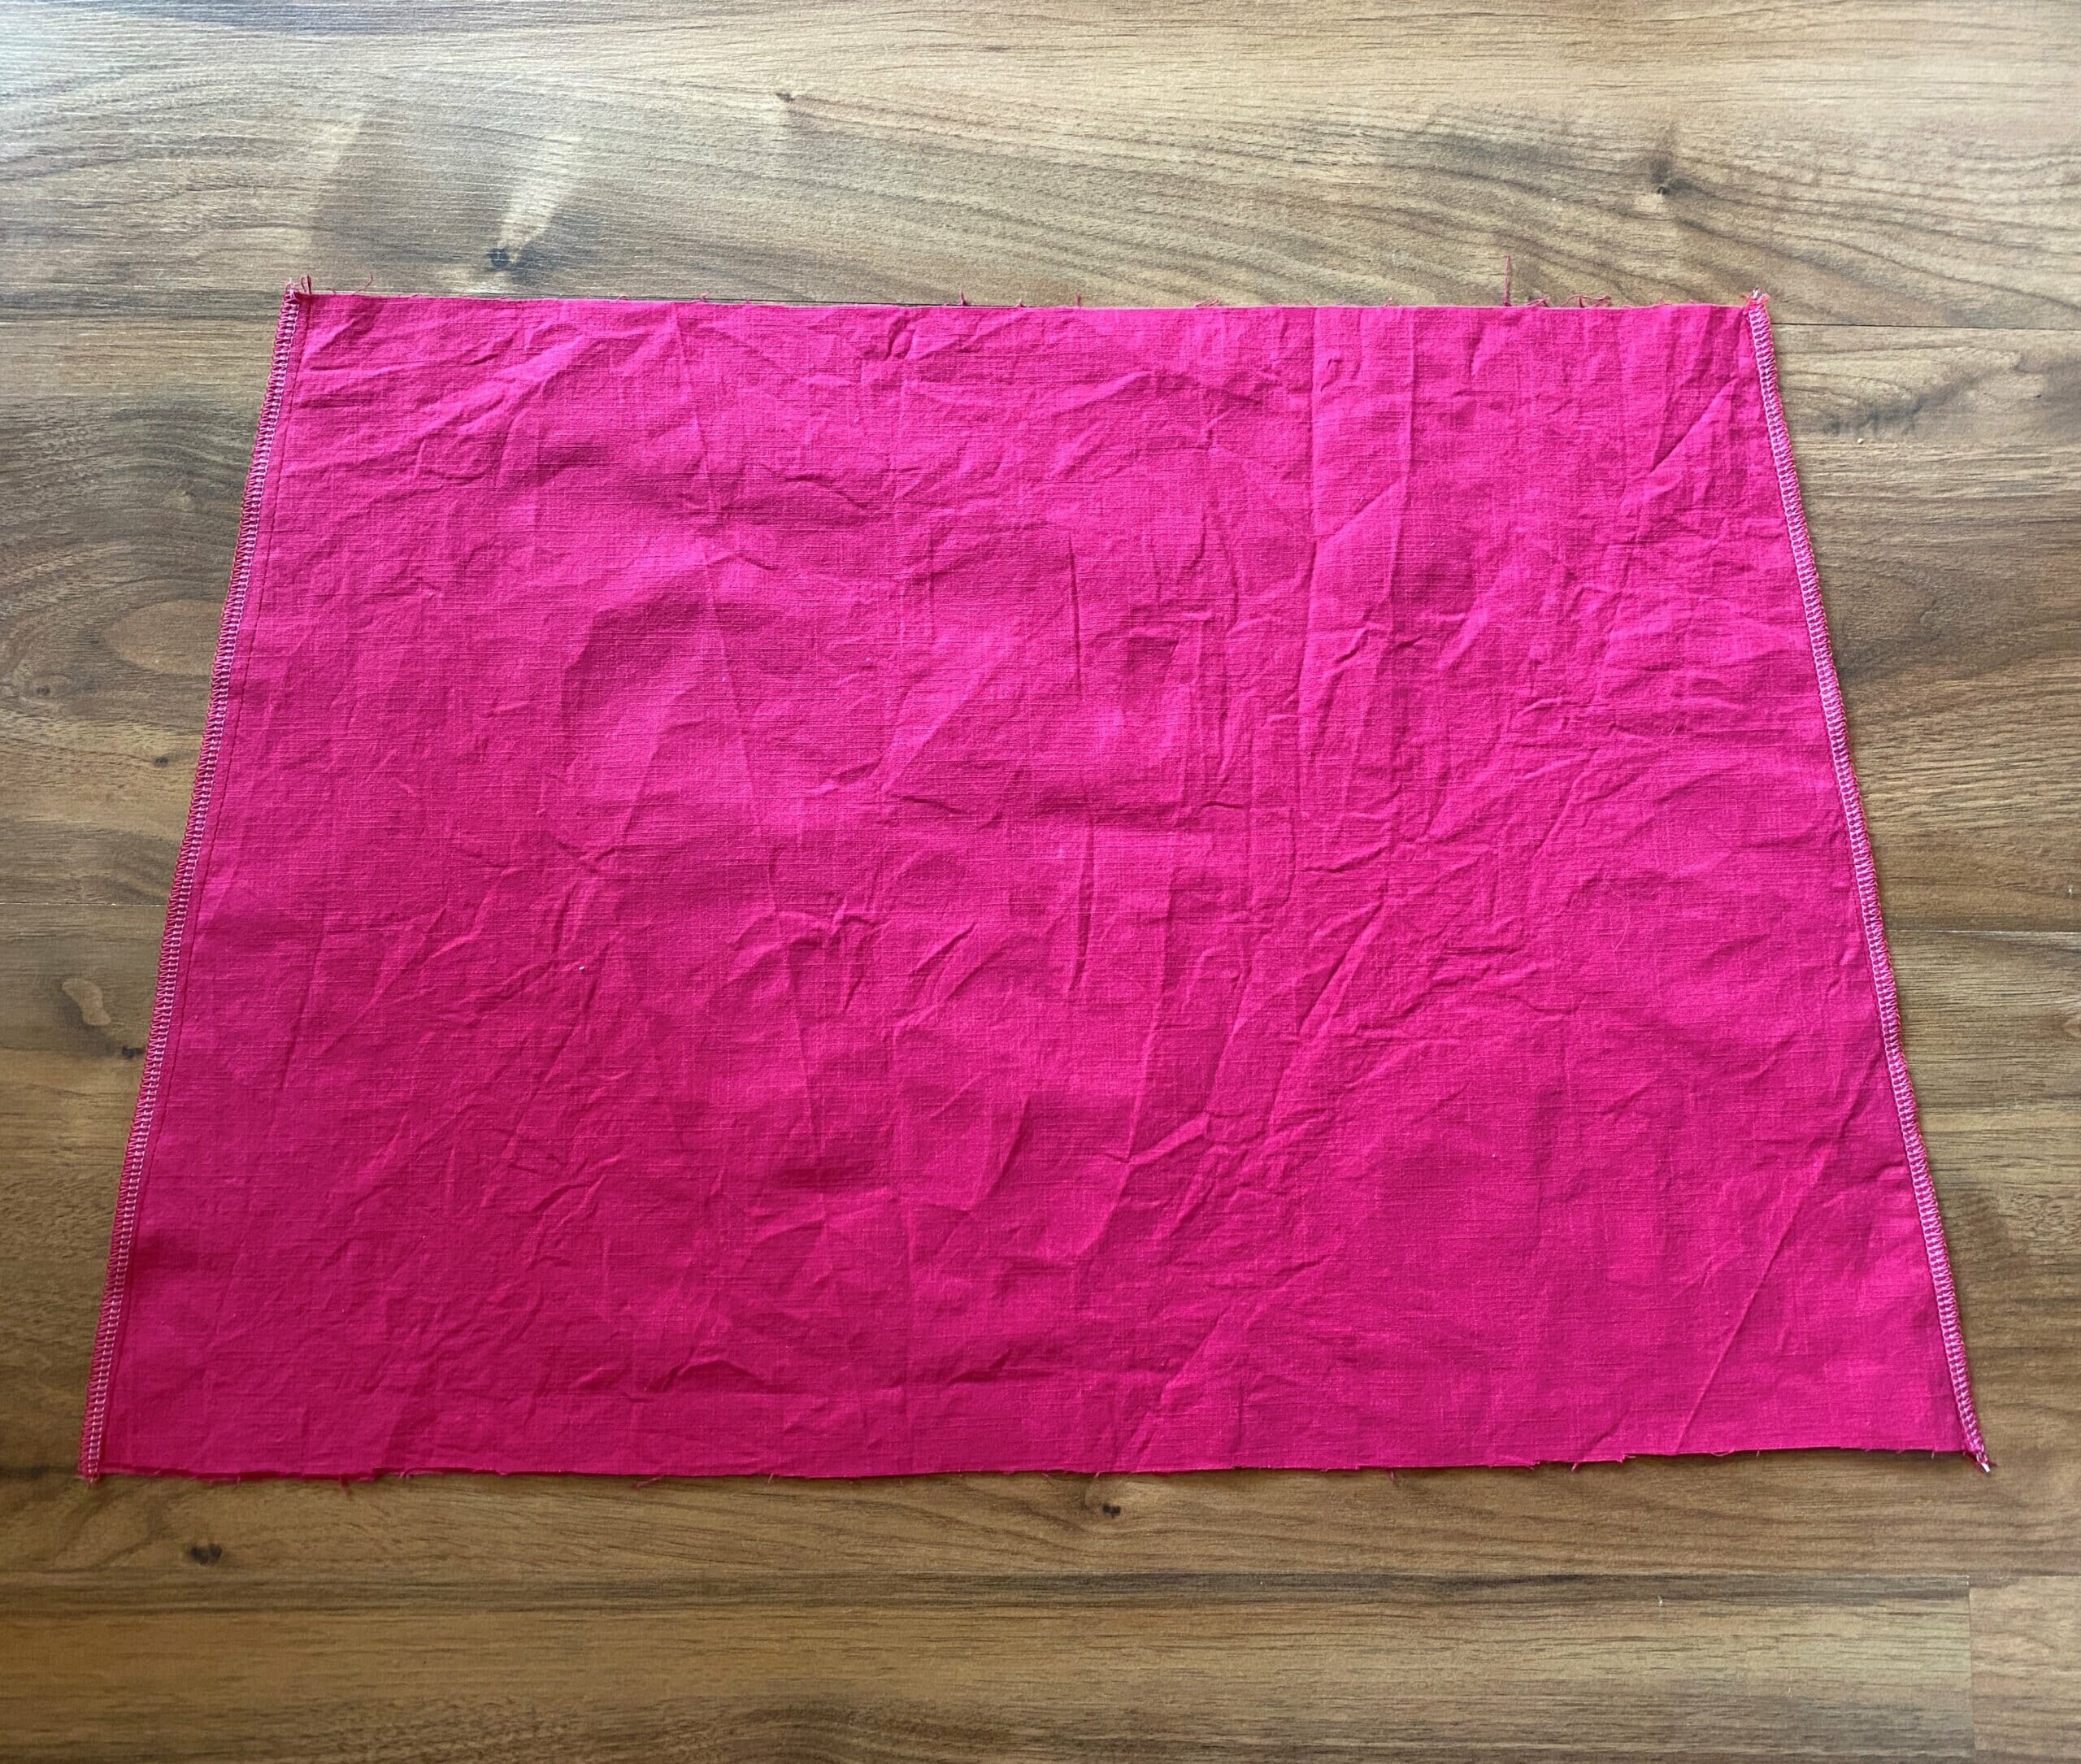
- Cut out your fabric on the fold: Since your fabric is folded, cutting once will give you two mirrored pieces of the trapezoid shape.
- Sew the side seams: Place the two pieces with the right sides facing each other, pin them, and sew the side seams.
- Finish the edges: Use a serger or zigzag stitch along the raw edges to prevent fraying.
And that’s it for the connector piece! This gives your skirt a solid base and a bit of shape for the ruffles to attach to.
Step 2 – cut your ruffle pieces
Now, let’s get started on the ruffles! Don’t worry – we just need a bit of simple math to figure out the size of each ruffle piece.
Divide the connector into sections
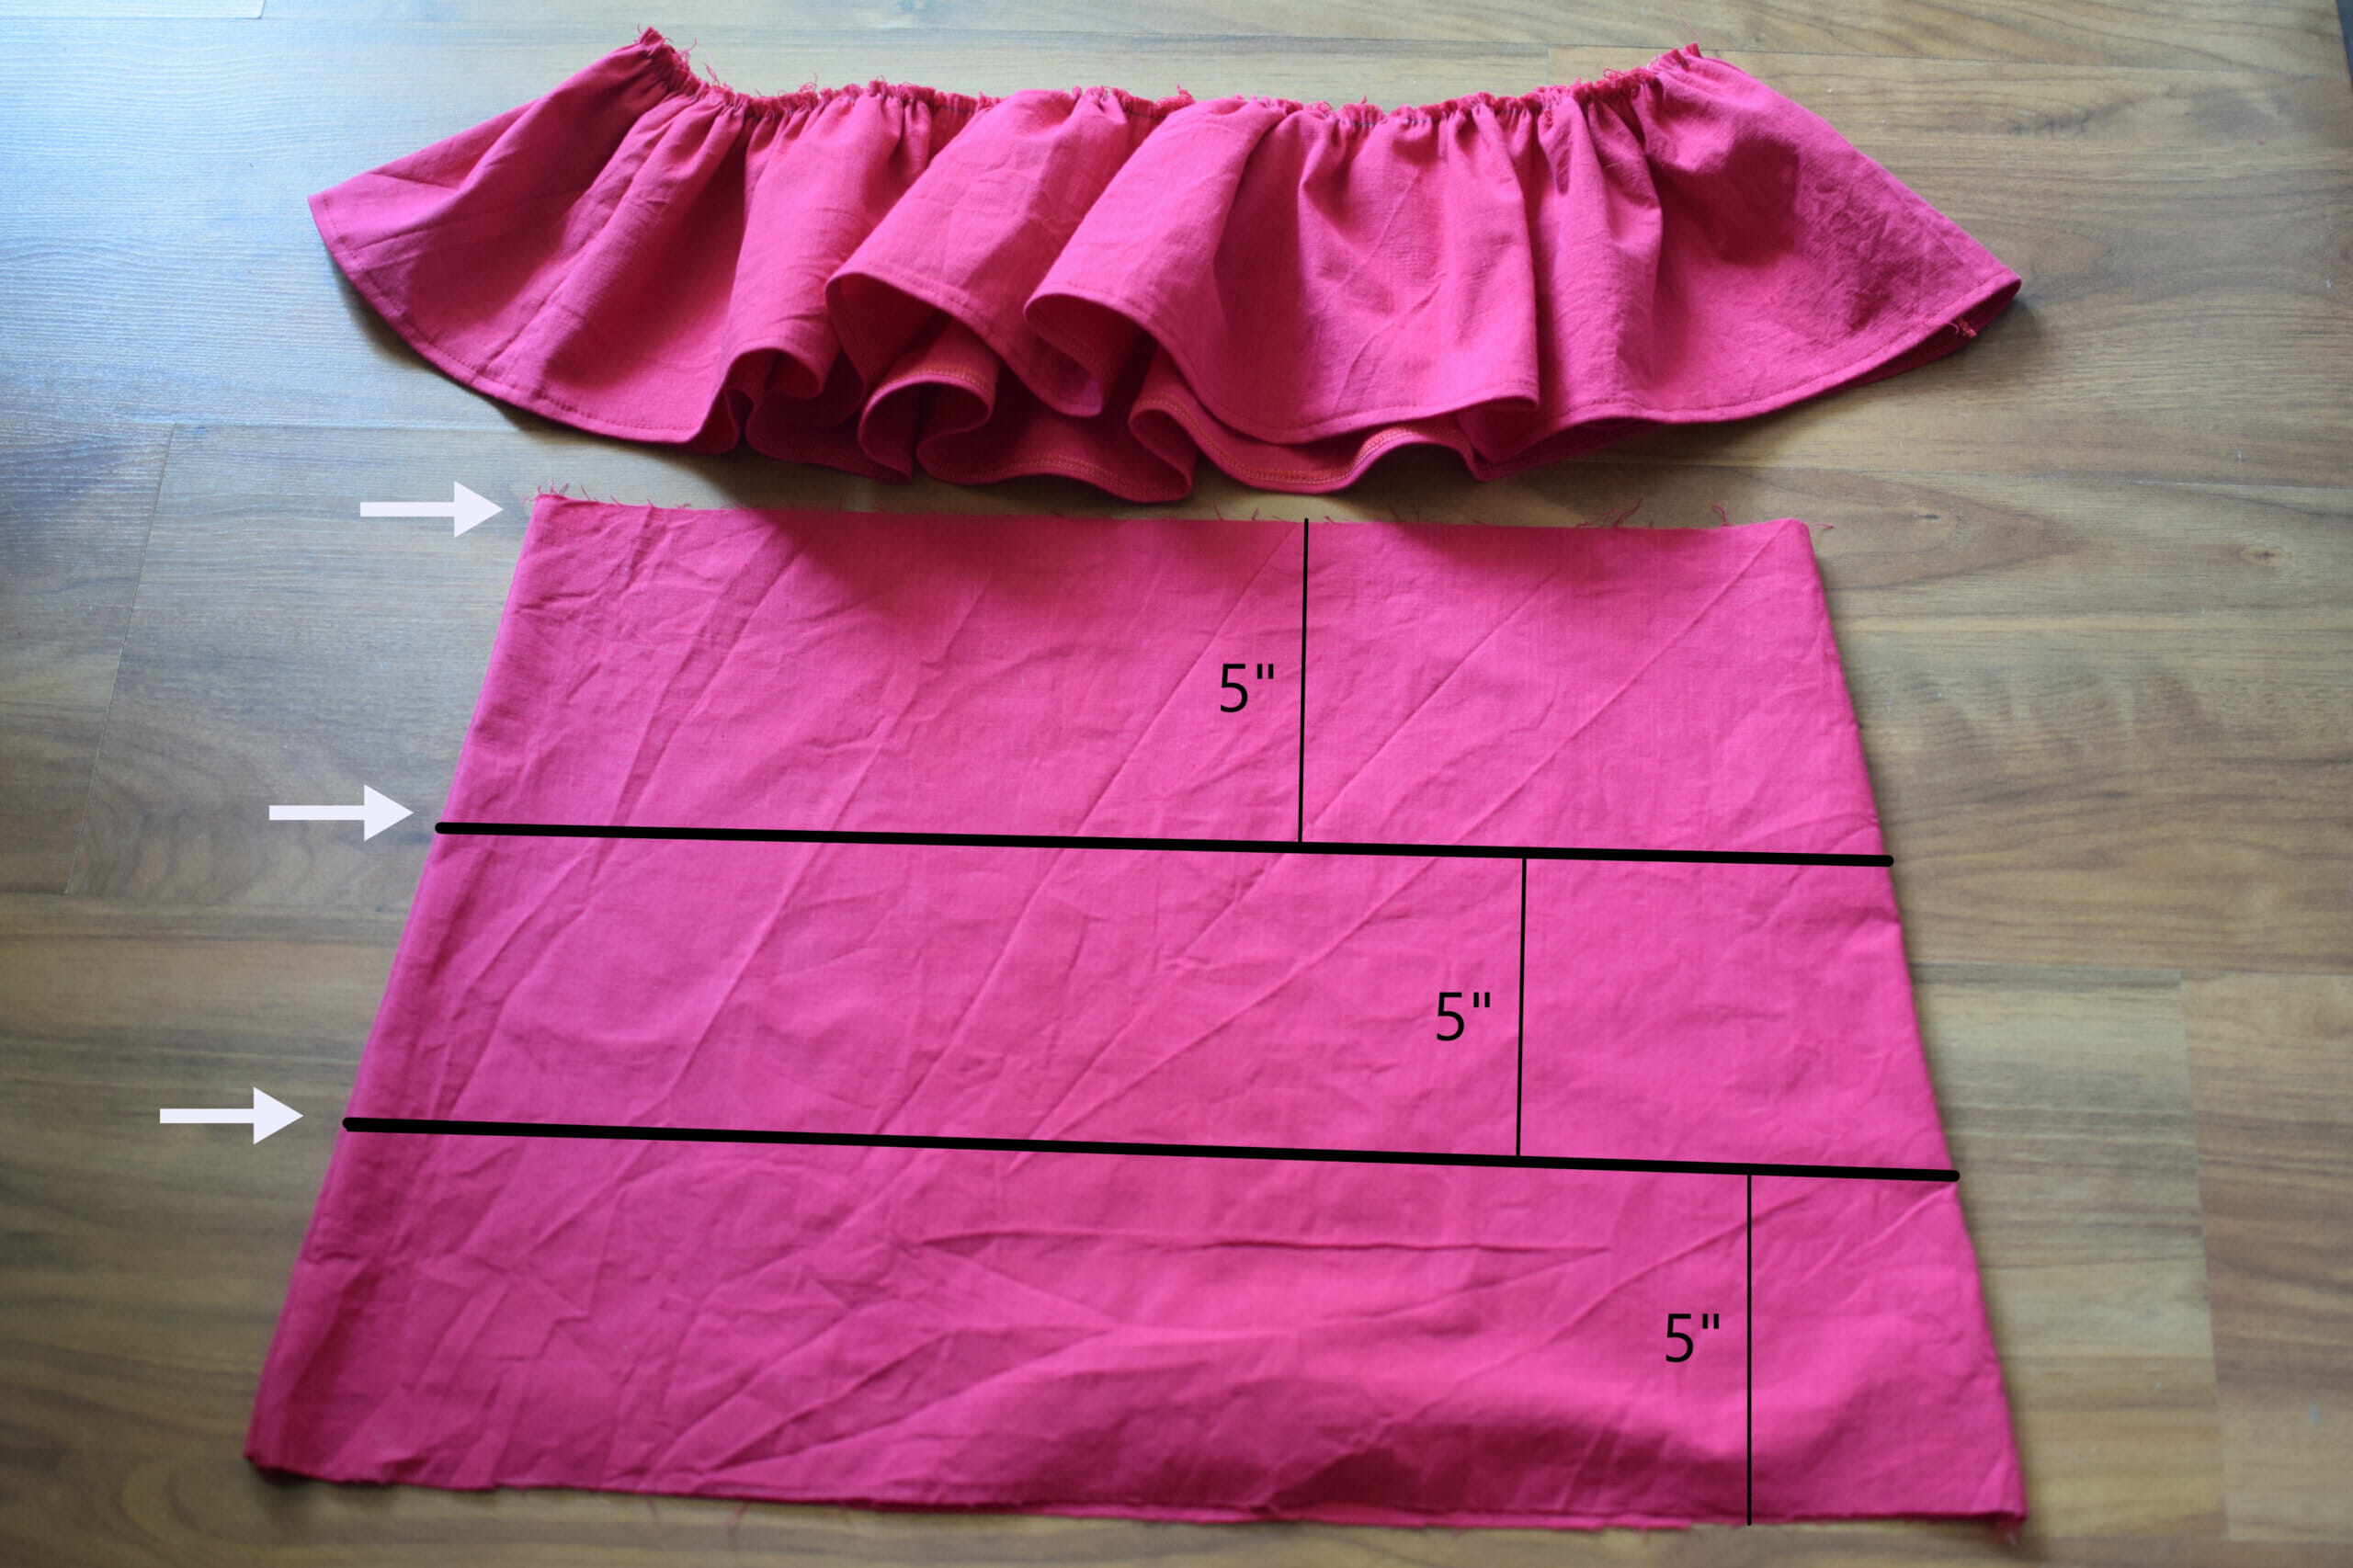
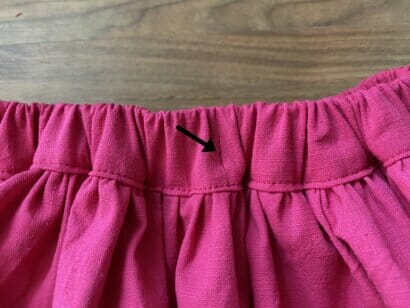
First, turn your connector piece right side out and divide its length into three equal parts.
For my skirt, each section is 5 inches tall, which will be the base for each ruffle layer.
Use chalk or an erasable fabric pencil to mark these lines on the fabric.
These lines show where each ruffle will attach (see the white arrows in the photo).
Cut the ruffle strips
To keep the ruffles neat and full, I cut each strip 7 inches tall – this gives me 5 inches for the ruffle height, plus 2 extra inches for hemming and a bit of overlap.
How to calculate the width of each ruffle
To get the right width for each ruffle strip, multiply the connector’s width by 2.5. This creates a nice, full ruffle.
If you want a different look, you can adjust the fullness by multiplying the width by 1.5, 2, or 3.
Here’s what I did for each ruffle layer:
- 1st ruffle: (20 inches x 2) x 2.5 = 100 inches wide
- 2nd ruffle: (21.5 inches x 2) x 2.5 = 107.5 inches wide
- 3rd ruffle: (23 inches x 2) x 2.5 = 115 inches wide
Once you have the widths for each ruffle, add them together to figure out how much fabric you’ll need for the ruffles.
Now we’re ready to start attaching these ruffle strips and bringing the skirt to life!
Step 3 – attach the ruffles to the skirt
Now it’s time to bring those ruffles onto the skirt! For each ruffle, you’ll start by sewing a couple of strips together to make a full loop.
Prep the ruffles
- Form the ruffle loops: Take each ruffle strip and sew the short ends together, with the right sides facing each other, to form a loop.
- Hem the bottom edge: Hemming is easiest before you create the ruffles. To do this, serge (or zigzag) the top and bottom edges of each ruffle strip, then fold a small hem along the bottom edge and sew it in place.
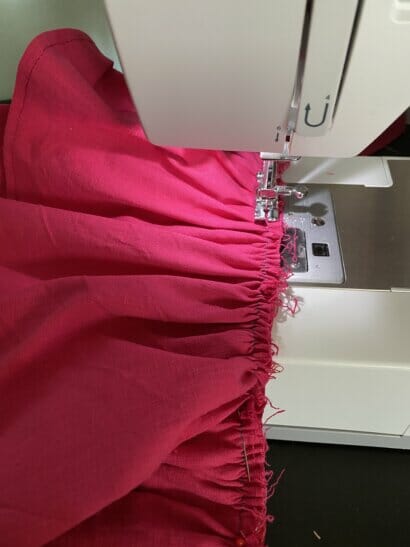
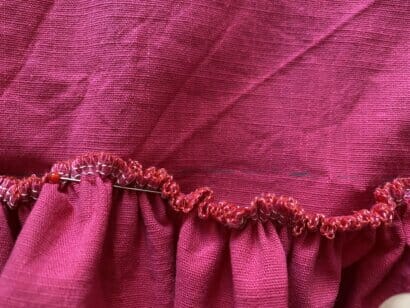
Gather the ruffles
Now let’s create those ruffles! Set your machine to the longest stitch, then stitch along the top edge of each strip. Pull the bobbin thread to gather the fabric. (Using two rows of stitching makes this step more secure and reduces the chance of threads snapping as you gather. One row works if you’re really confident in your thread.)
Tip: Spread the gathers evenly along the strip. The gathered ruffle should be the same length as the area on the connector piece where you’ll attach it.
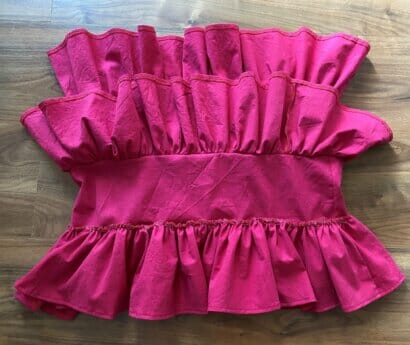
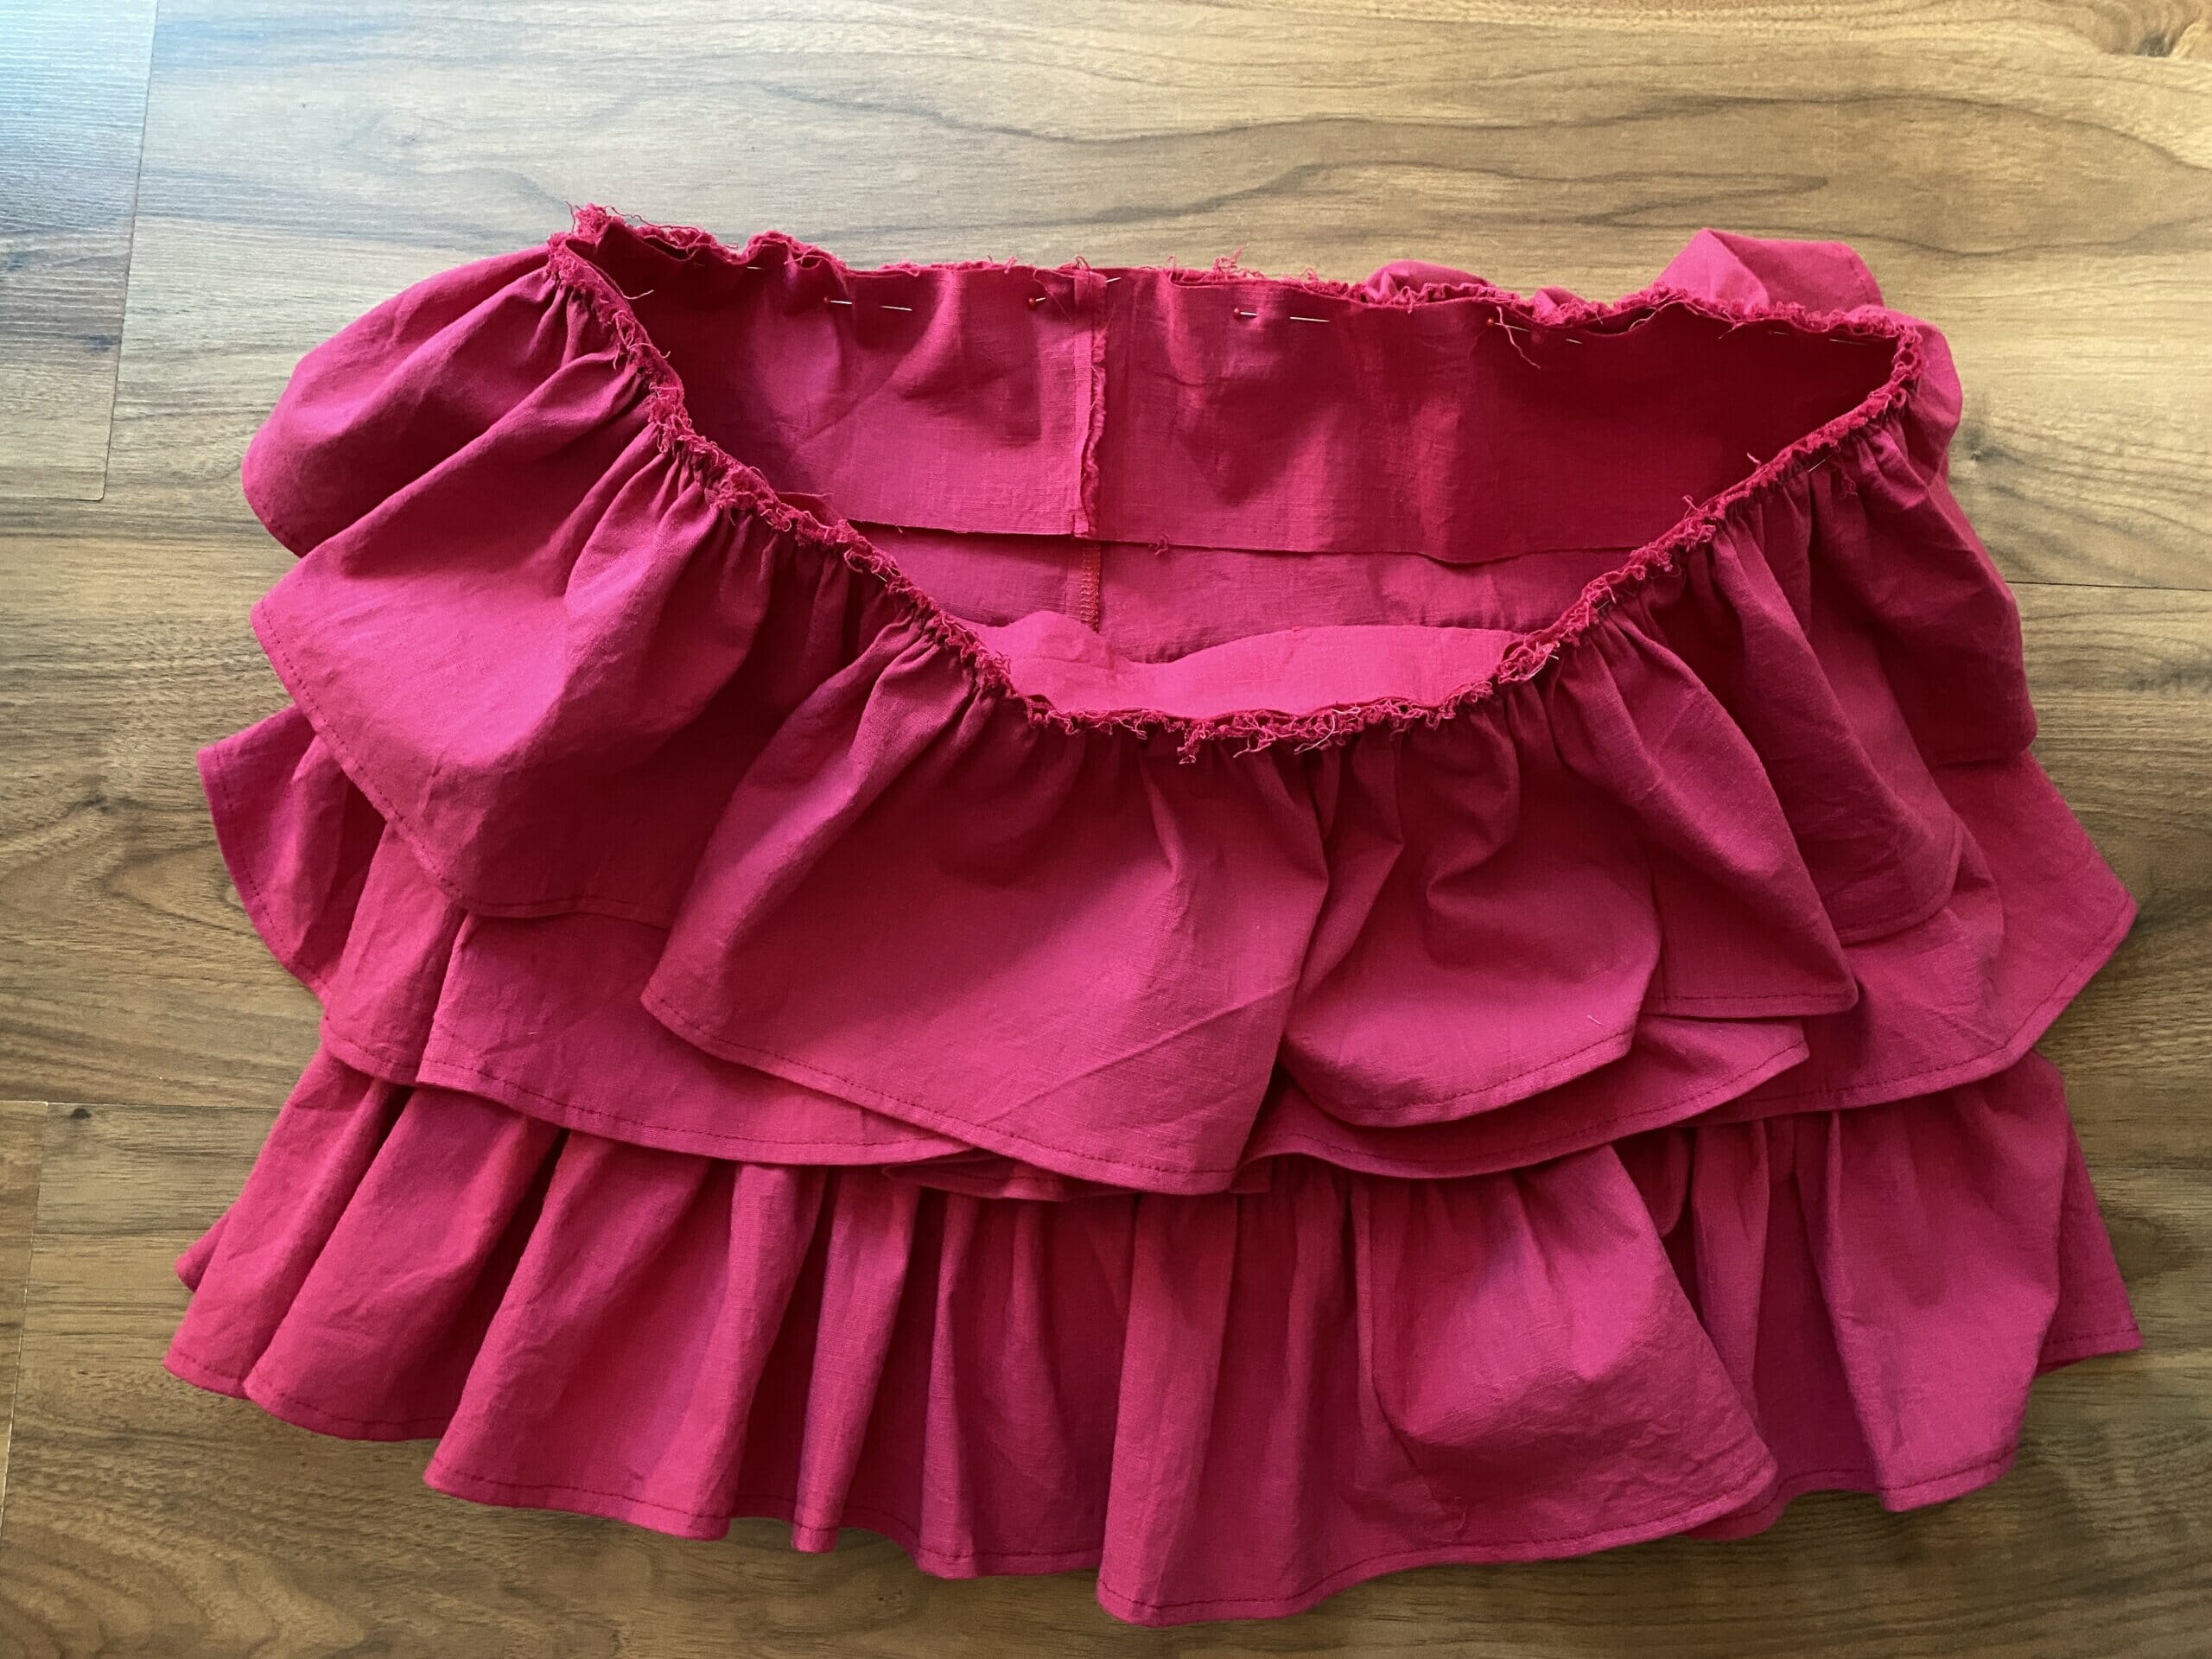
Attach the ruffles
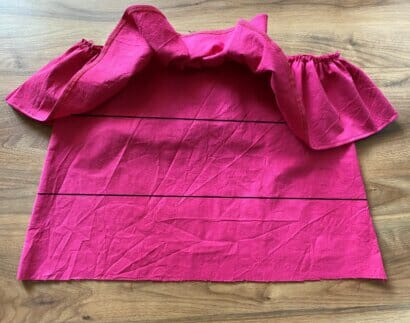
- Start with the top ruffle: Align the top ruffle with the top section of the connector piece. Pin it securely (don’t hold back on pins here!) and sew the ruffle to the connector with a 1/2-inch seam allowance.
- Add the middle and bottom ruffles: Repeat the same process for the middle and bottom ruffle sections, pinning each one to the marked lines on your connector piece and sewing them in place.
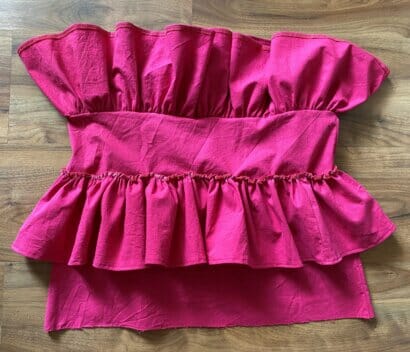
- Hem the connector piece: Finish off by hemming the bottom of the connector piece. A serged and turned hem works great here for a clean, professional finish.
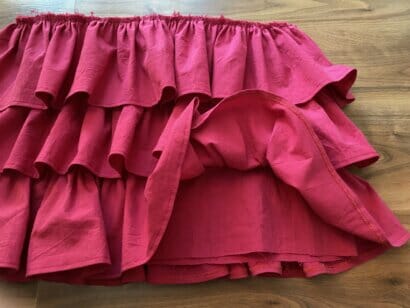
Now, your skirt is really coming together! We’re nearly done!
Step 4 – attach the waistband to the tiered ruffle skirt
Let’s finish up by adding the waistband! This step will make your skirt comfortable to wear and give it a nice, snug fit.
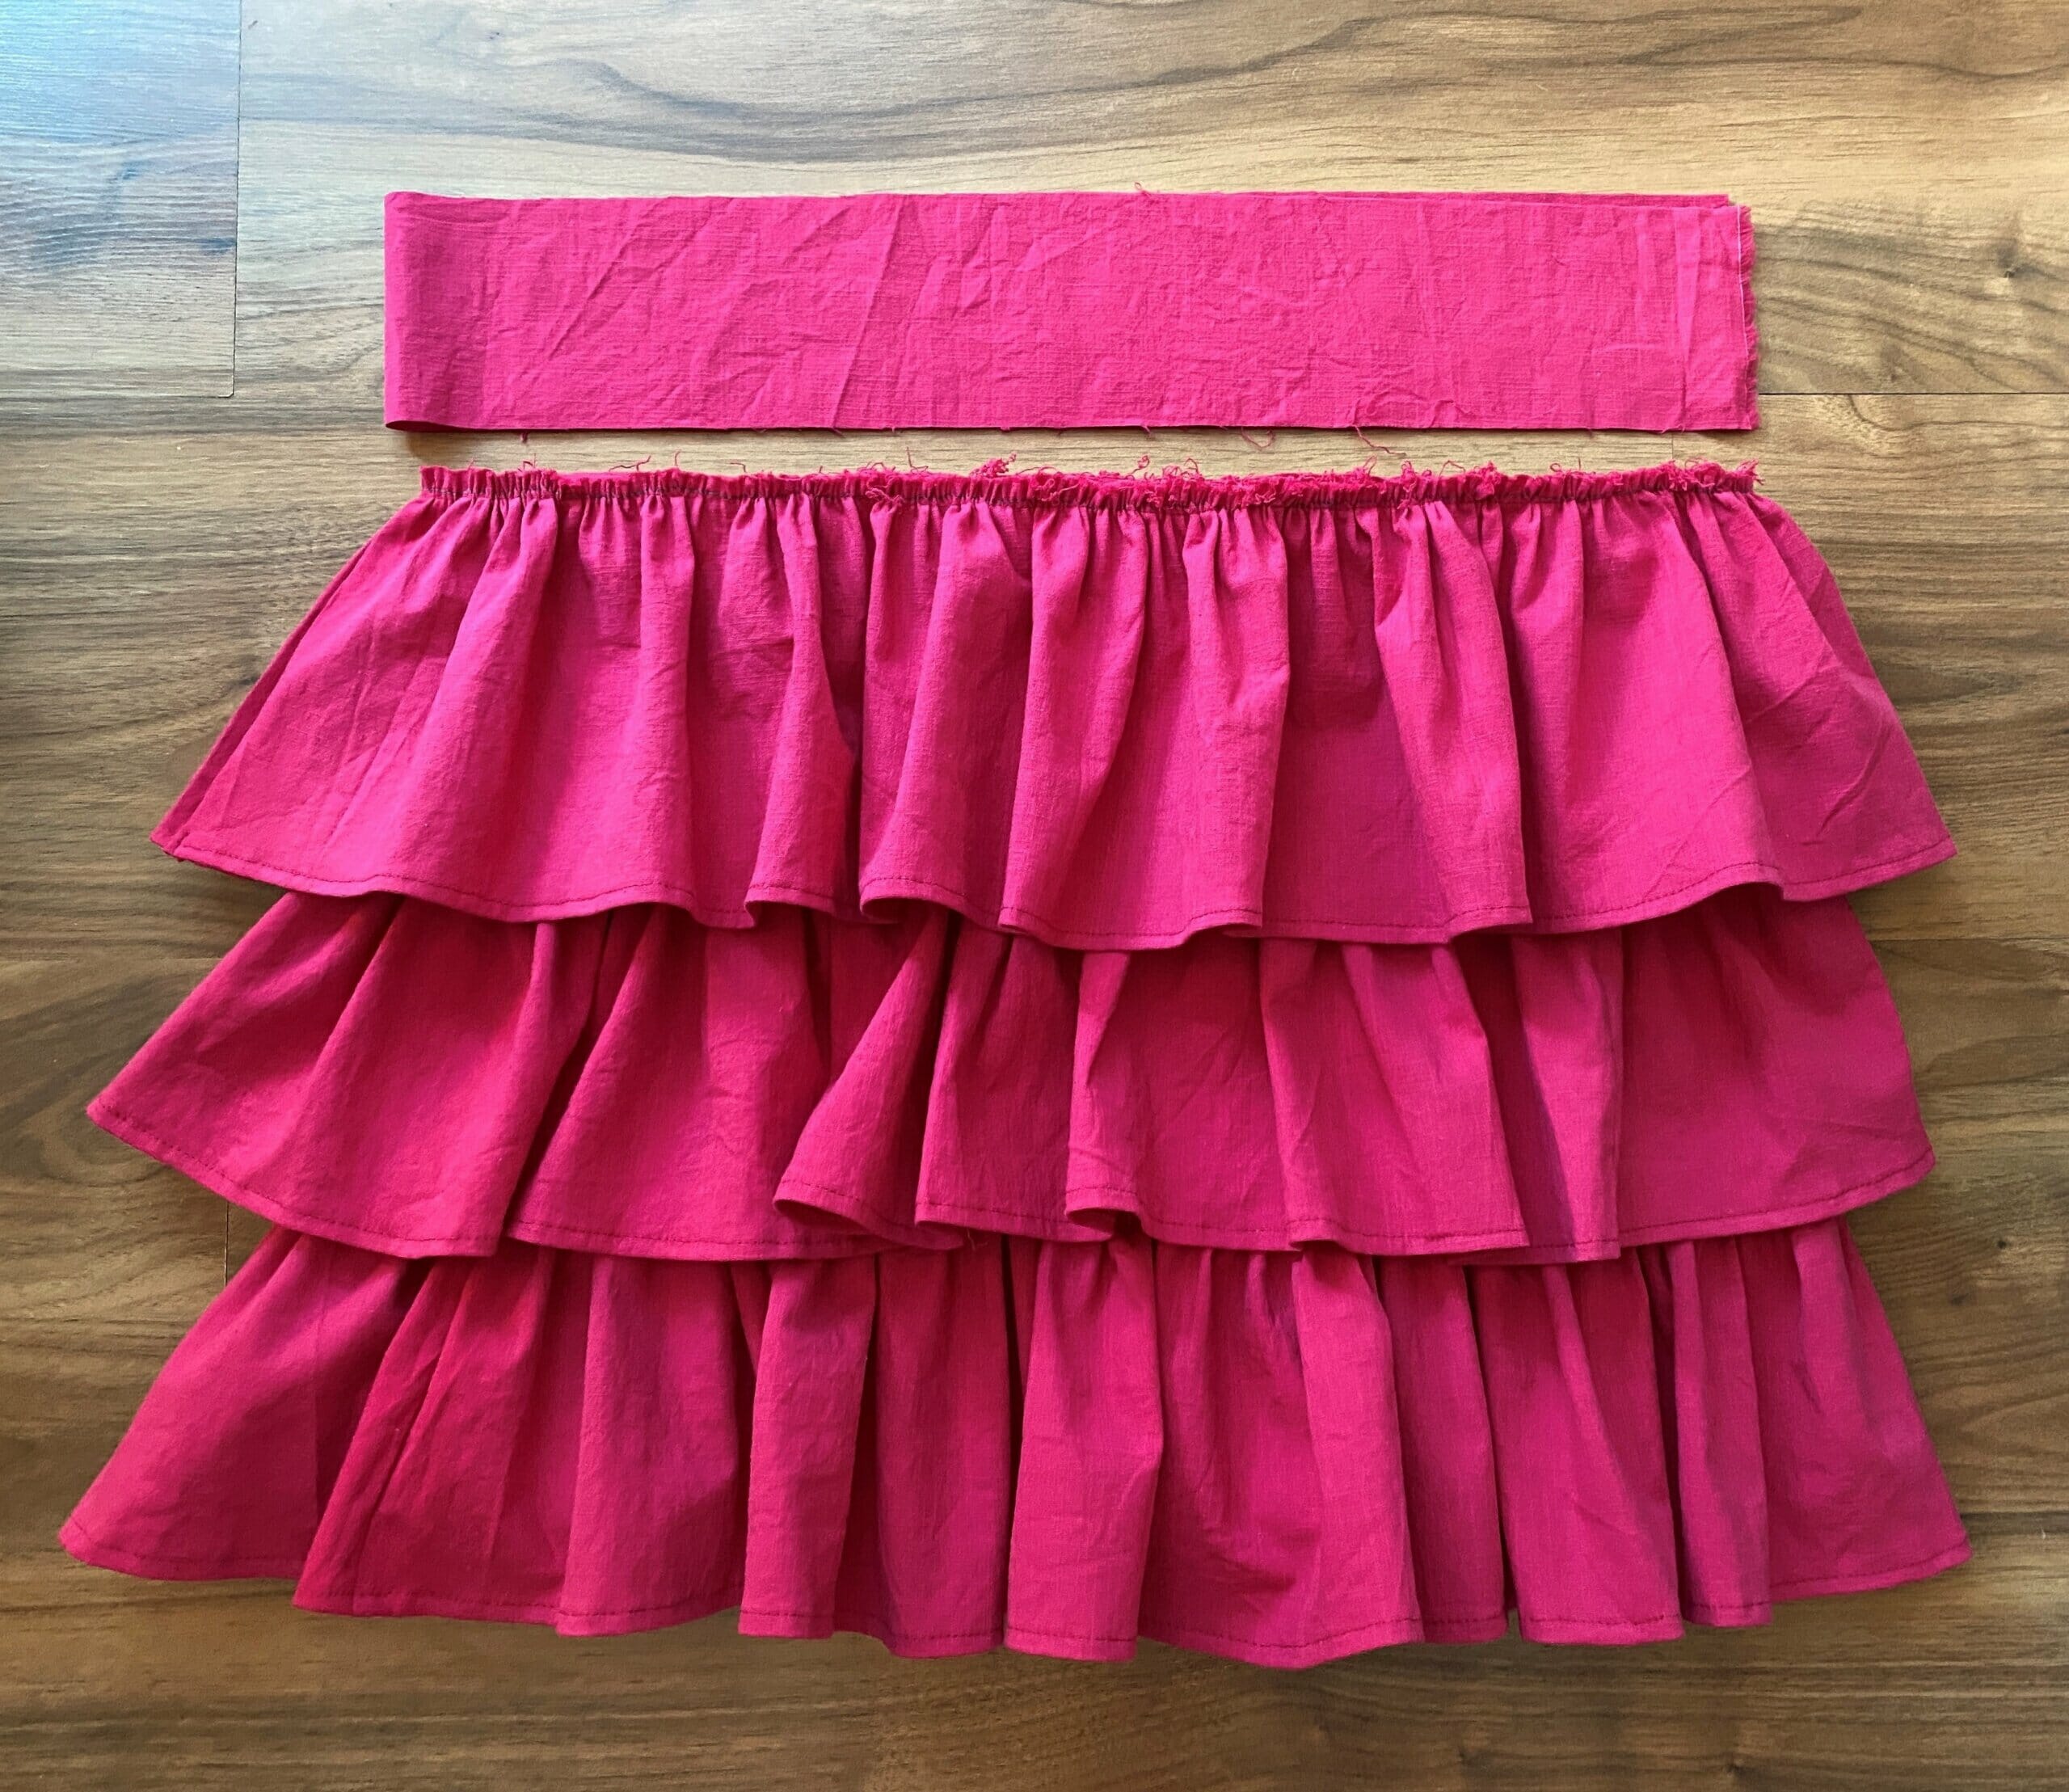
Make the waistband
- Cut the waistband strip: Cut a strip of fabric that’s 3 1/2 inches tall (perfect for inserting 1-inch wide elastic) and as wide as the opening of the skirt, with an extra 1 inch for seam allowance.
- Sew the waistband loop: Take the waistband piece and sew the short ends together with a 1/2-inch seam allowance to form a loop.
Attach the waistband to the skirt
- Pin the waistband in place: Pin the waistband to the top of the skirt, placing the right side of the waistband against the wrong side of the skirt. Sew around with a 1/2-inch seam allowance.
- Trim the seam allowance: Trim the seam allowance down to about 1/4 inch to keep the waistband smooth and reduce bulk.
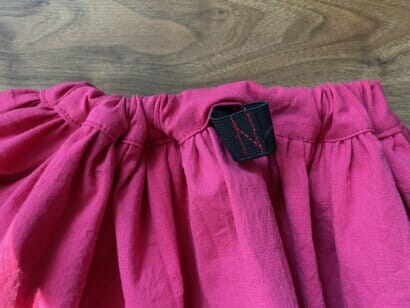
- Fold and pin the waistband: Turn the raw edge of the waistband under by 1/2 inch, then fold the waistband down so it’s about 1 1/2 inches tall (just enough room for the elastic). Pin in place, using a sewing gauge if you have one.

Create the elastic casing
- Sew around the waistband: Stitch around the lower edge of the waistband, about 1/8 inch from the edge. Leave a small opening to insert the elastic, and don’t forget to backstitch at both ends.
- Insert the elastic: Cut a piece of elastic about 2 inches smaller than your waist measurement. Test it to make sure it’s comfortable. Using a safety pin, thread the elastic through the casing, keeping it flat and untwisted.
- Join the elastic ends: Overlap the ends of the elastic and sew them securely, then close the opening in the waistband.
- Secure the elastic (optional): To prevent the elastic from twisting in the casing, add a few vertical stitches through the waistband and elastic.
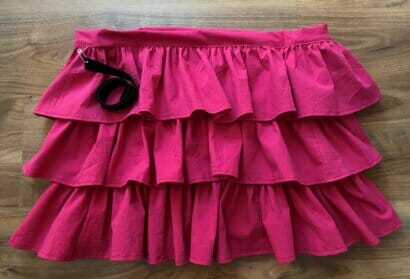
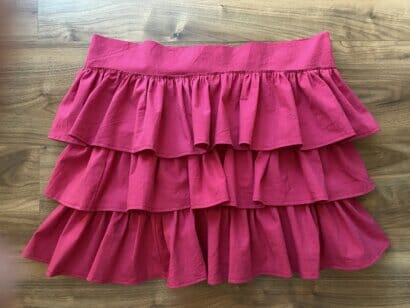
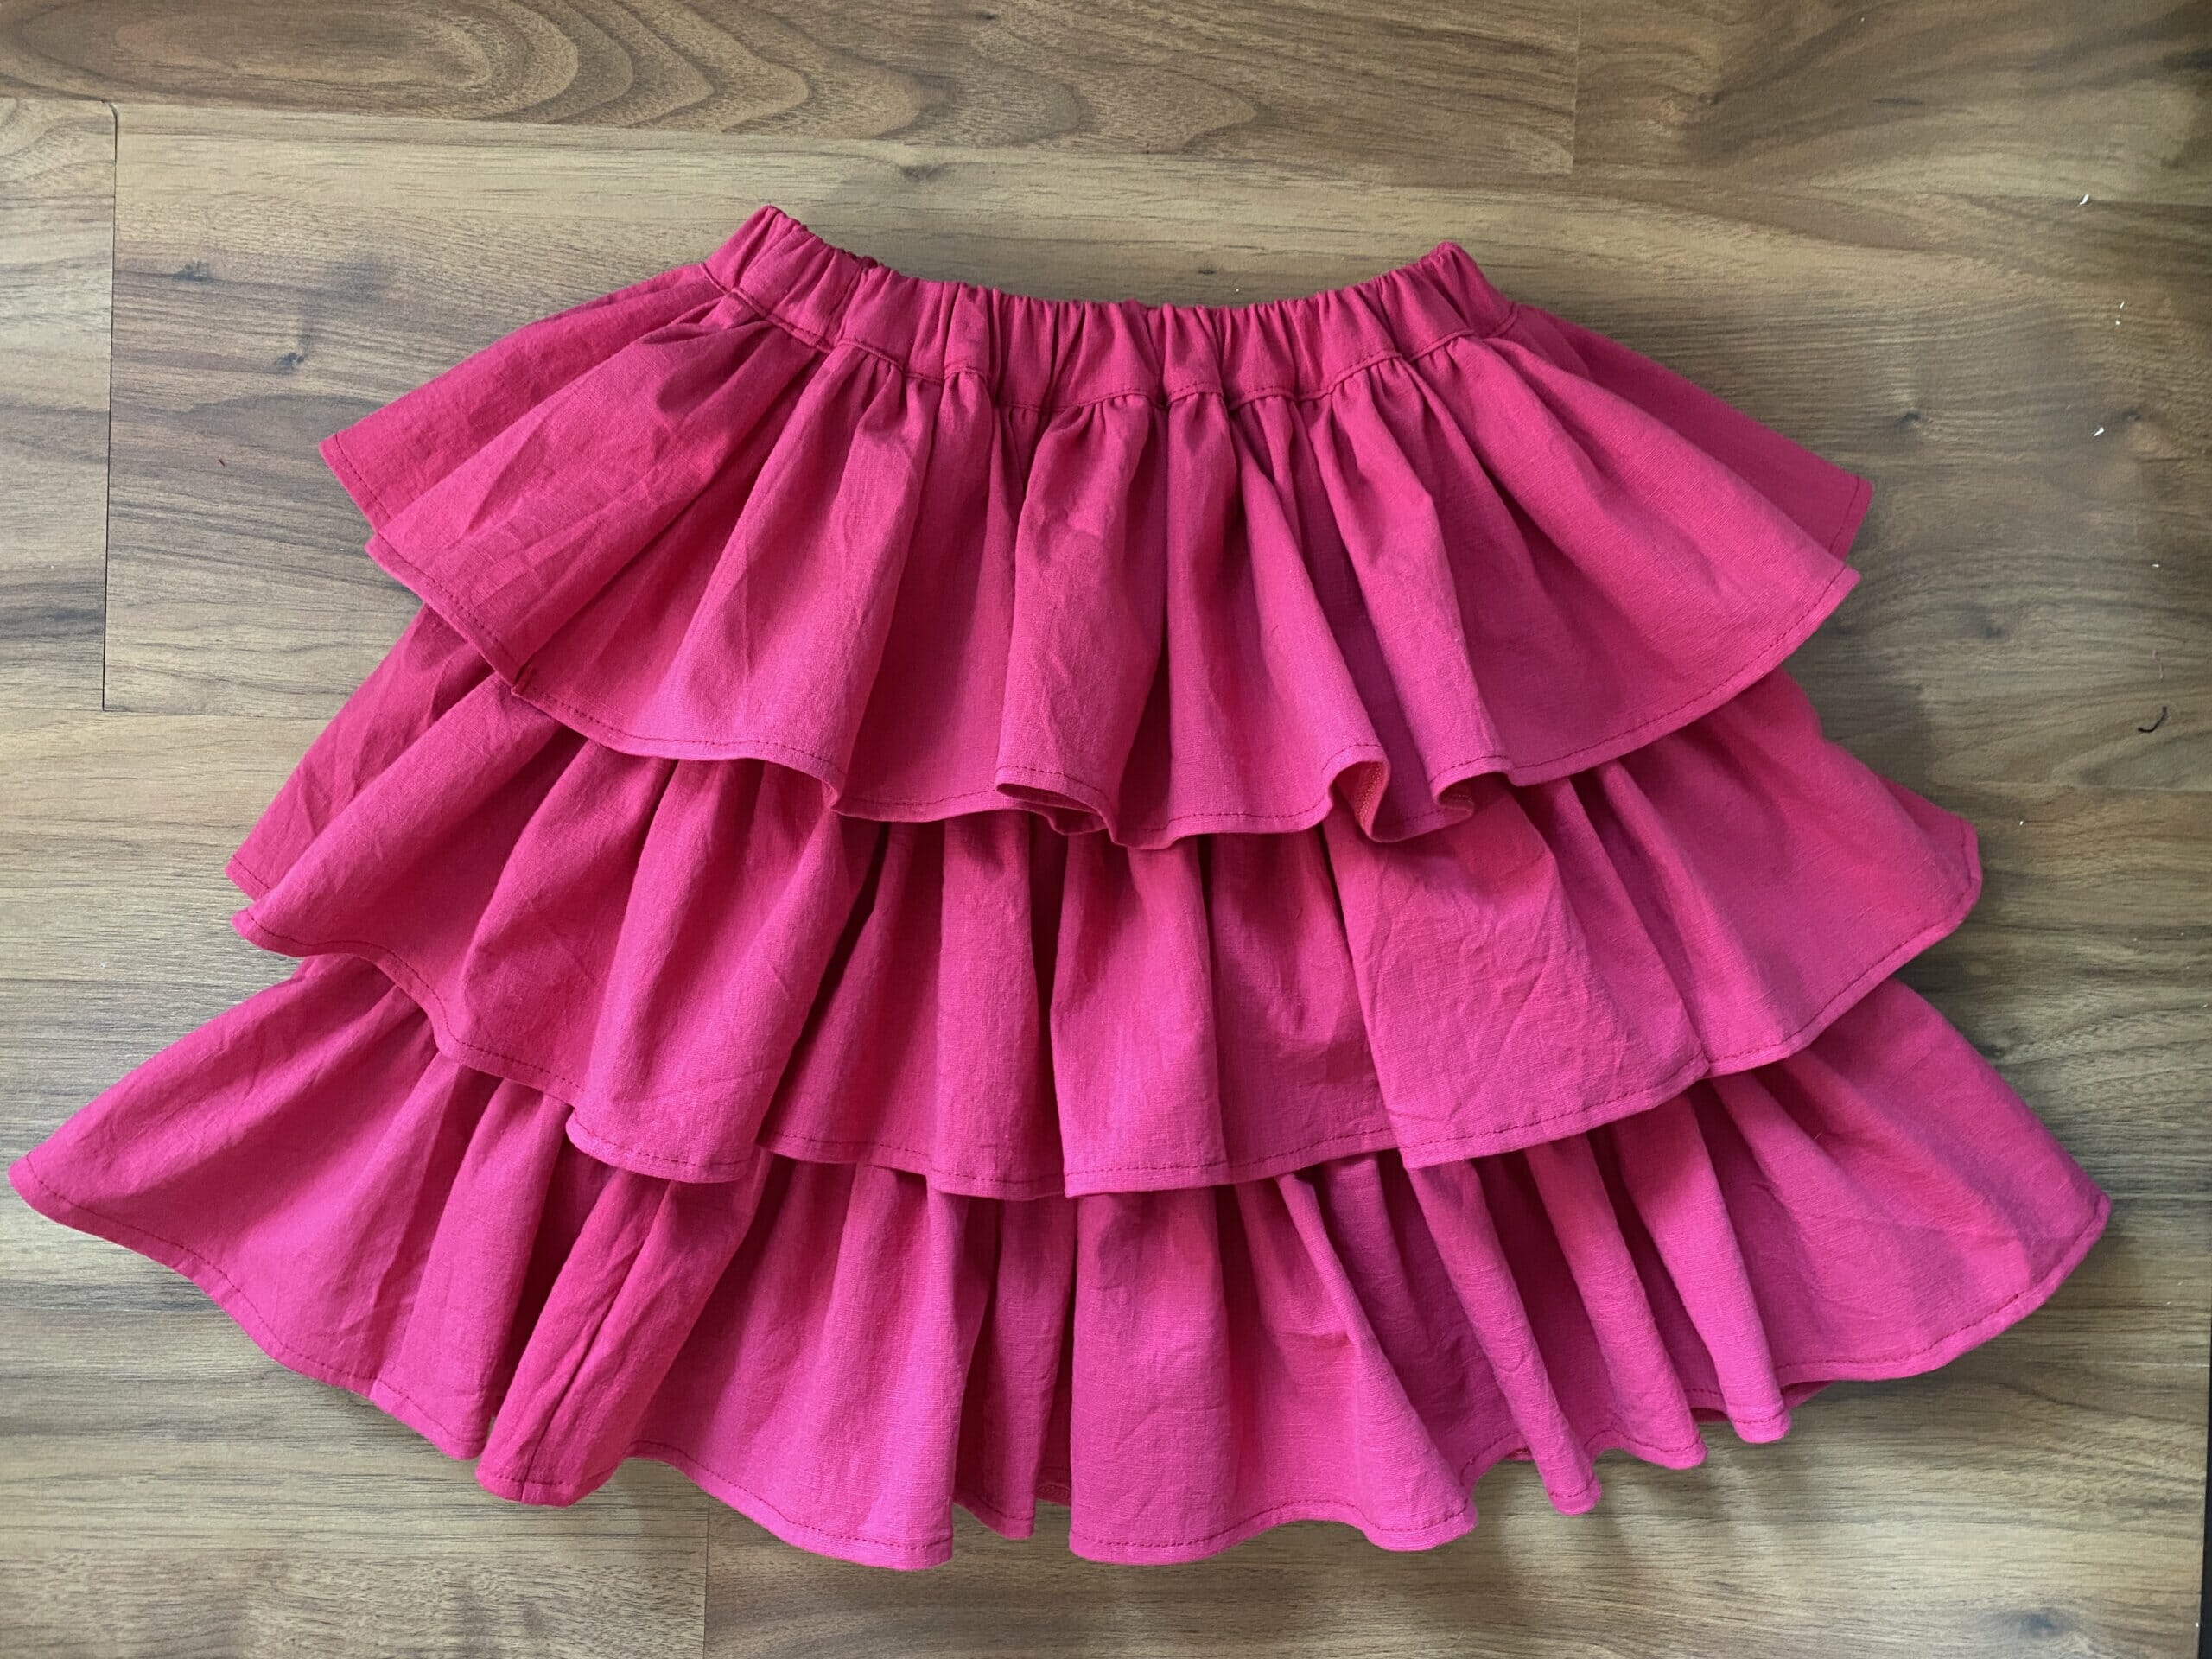
And that’s it! Your DIY tiered ruffle skirt is ready to wear! Give it a try and see how it feels – it’s comfy, cute, and all handmade by you!
How to Style Your Tiered Ruffle Skirt
Want to know the best part about this DIY tiered ruffle skirt? It is incredibly easy to style! For a casual, everyday look, pair it with a simple white tee and a denim jacket. It also looks amazing with a cozy oversized sweater or a tank top in the summer.
Did you enjoy this ruffle skirt tutorial? I’d love to hear your feedback!
You might also like:
- Best mini dress sewing patterns to make for hot weather
- Top summer sewing patterns for men to try this year
- How to sew summer shorts from four bandanas
- DIY tutorial: No pattern, simple summer skirt with pockets
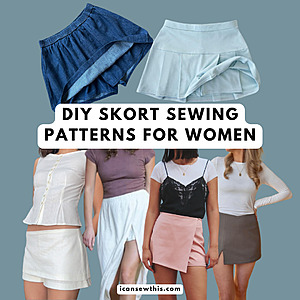
- Best skort sewing patterns for women
Let’s keep in touch! You can find me on Facebook, Instagram, and Pinterest.
Is there a supply list for this project?
Hey Joy,
It should have been there, but I forgot to add it. I’ll update the post as soon as possible, thank you for the heads up!
I zig zag over dental floss for my gathers, Learned it from a costumer from theatre. Best because your thread does not break.
Hello, my name is Tilly Naidoo and I live in South Africa. the ruffled skirt tutorial is excellent, the detailed draft
is explained so well. Best wishes in all your endeavours
Kind Regards
Tilly Naidoo
Hi Tilly,
Thank you so much, I’m glad you like it!
Hello thanks for illustrations but had failed to understand how you get the width of the ruffle.