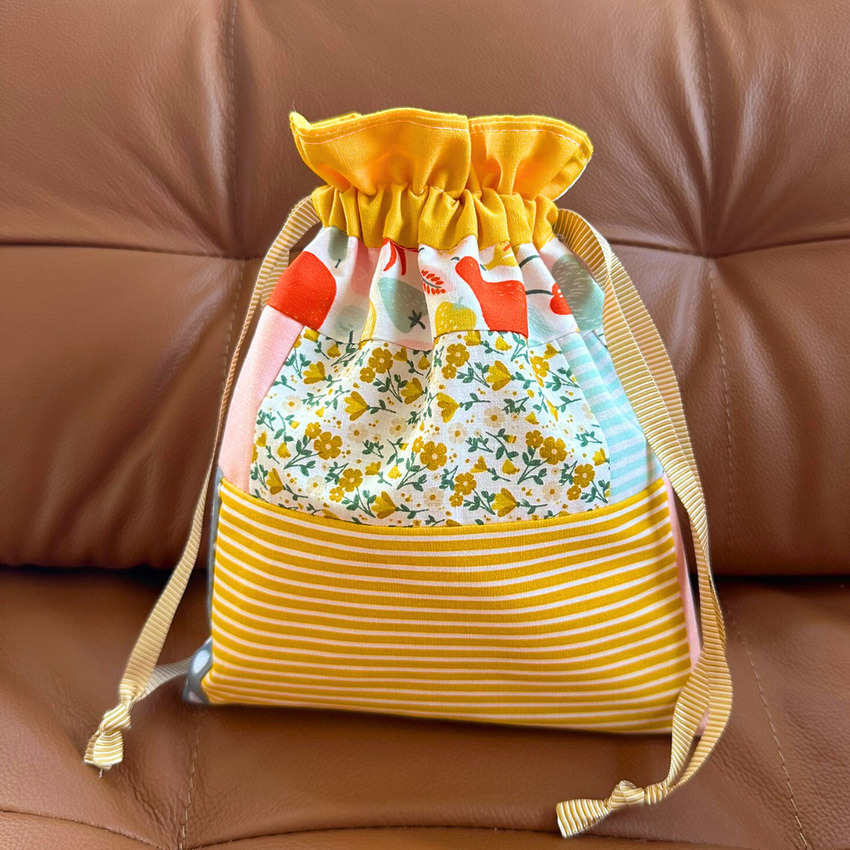
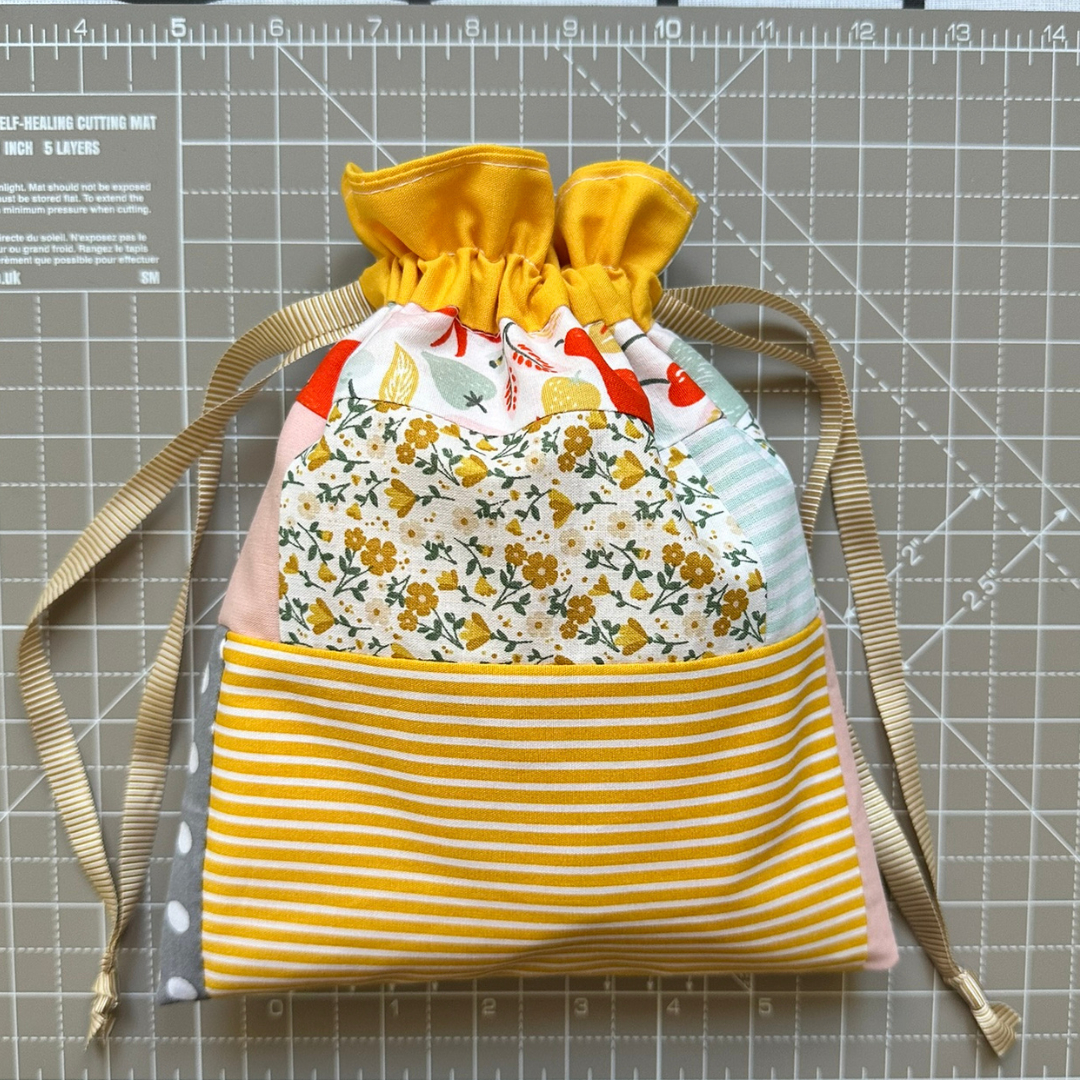
Are you ready for a project that’s quick, satisfying, and tackles that growing pile of fabric scraps? I know I always am! Forget wasteful paper – today we’re making a gorgeous, sturdy, reusable lined drawstring gift bag that is a true gift in itself. It’s perfect for stashing under the Christmas tree, wrapping birthday presents, or just creating cute storage around the house.
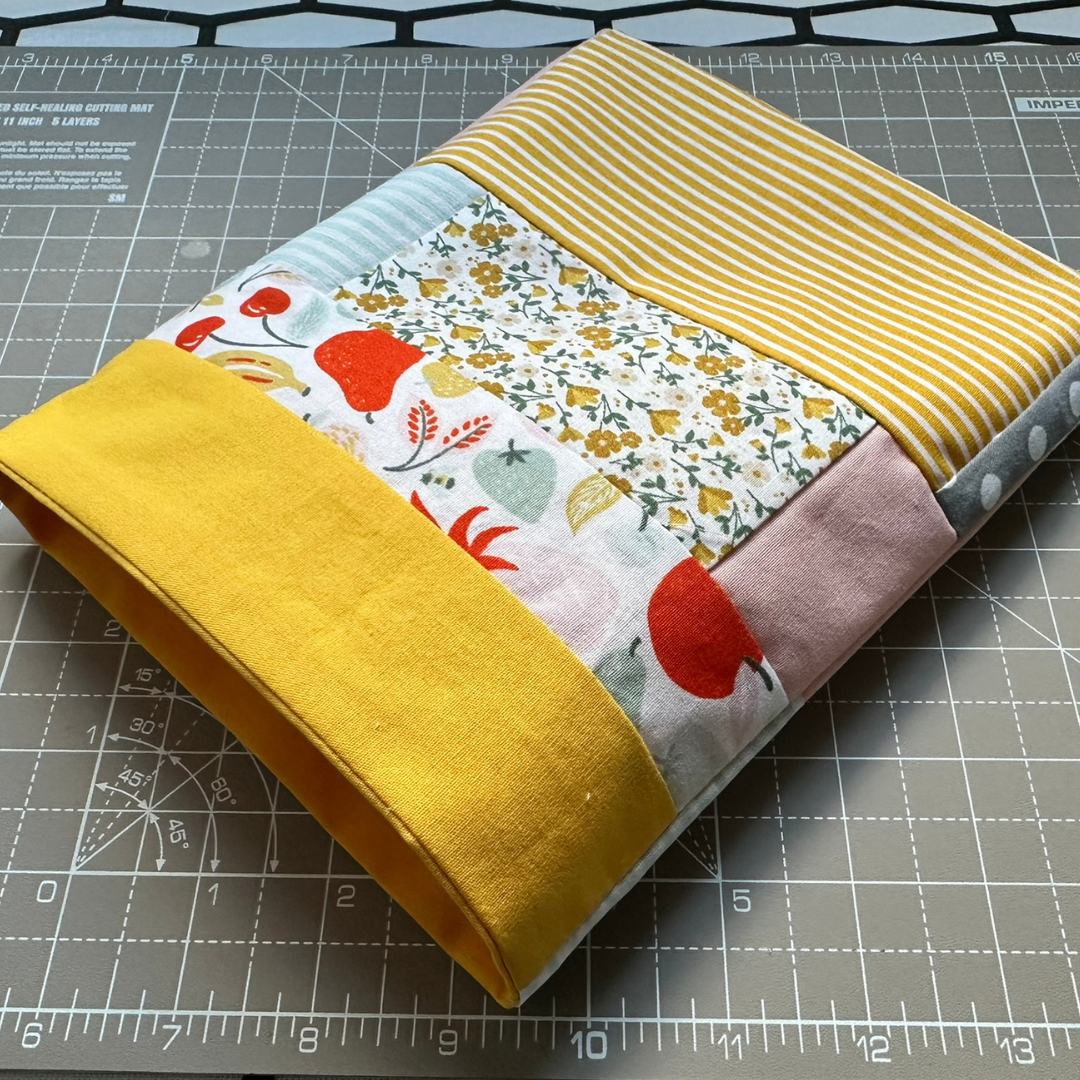
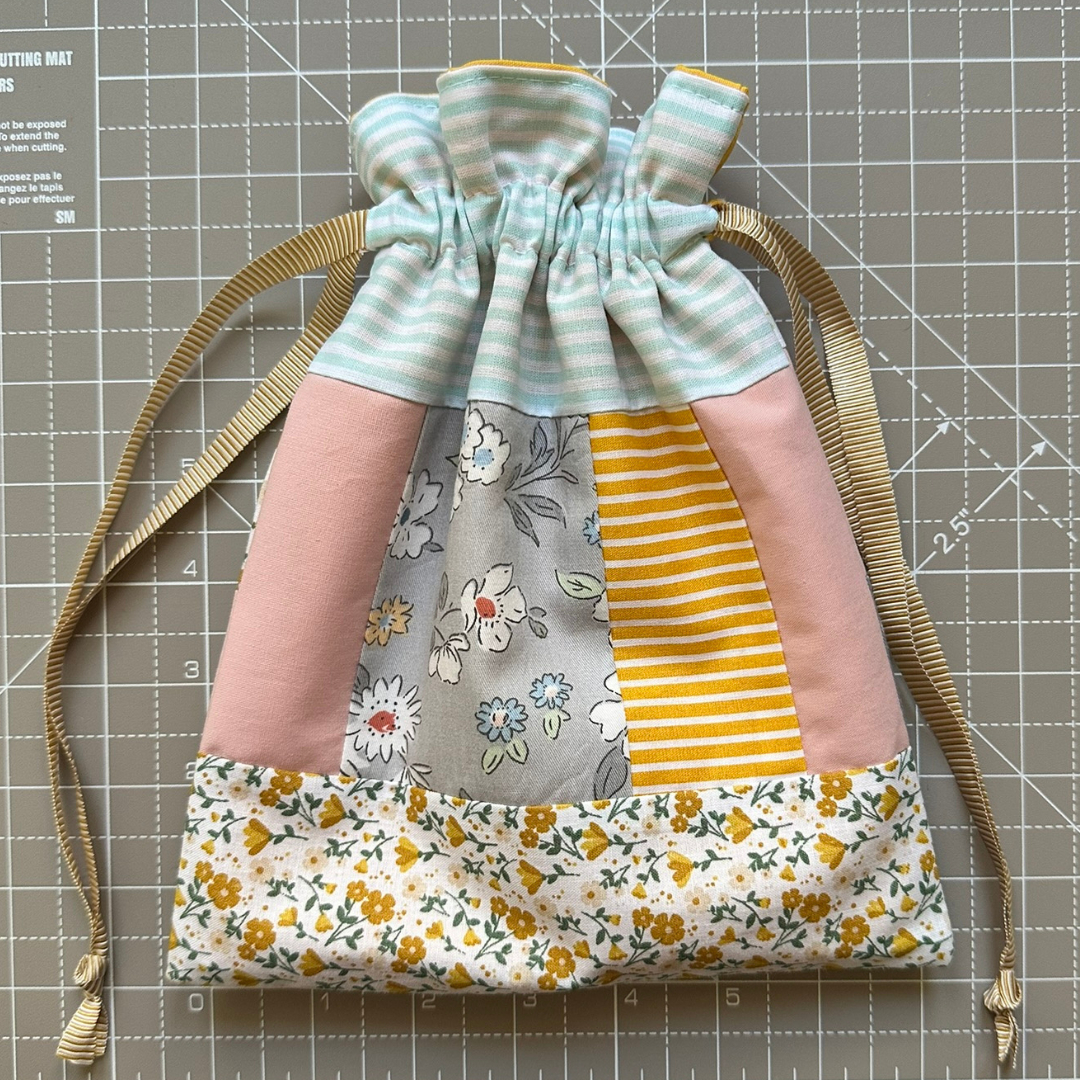
By using contrasting scraps, like this cheerful mix of yellow, pink, and red florals and stripes I used from a recent skirt project, you get a unique, personalized bag every time. It just makes me happy looking at it!
Honestly, you can sew a bunch of these just to relax and get your sew-jo back. It’s a simple process, and the result is a beautiful, professional-looking finish. All you need is fabric, your sewing machine, some cord, and, most importantly, your iron. Let’s transform those leftovers into something truly useful and beautiful!
What You’ll Need and Why Pressing is Crucial
Gathering your supplies is the easiest part!
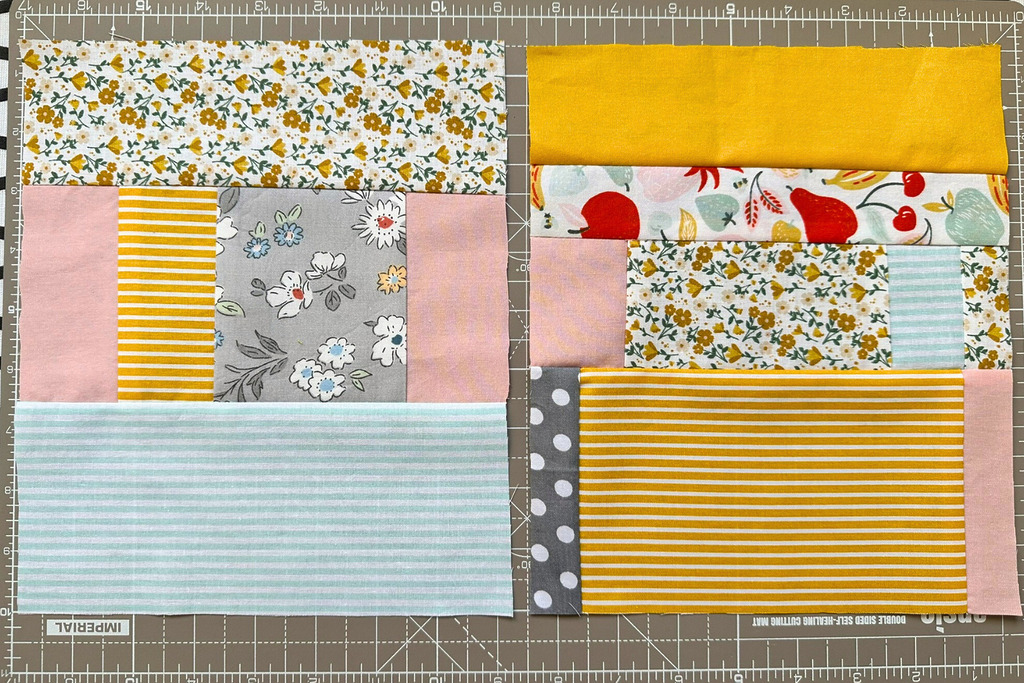
- Fabric: You’ll need four equal-sized rectangles – two for the outer bag and two for the lining. My finished pieces are 8 inches wide and 9.5 inches tall, which makes a great medium-sized bag. Feel free to adjust these dimensions for any size gift you need to wrap!
- Scrap Tip: Since this bag is fully lined, there’s no need to finish the raw edges of your scraps. Just make sure to press your patchwork seams flat as you piece them together!
- Drawstring: Ribbon, cord, twine, or even strips of matching fabric.
- Tools: Sewing machine, thread, needle, scissors/rotary cutter, seam ripper, and a safety pin for threading.
- The MVP: Your iron. I can’t stress this enough! Pressing after every seam is the secret to a neat, non-crumpled, professional finish. It ensures flat seams and crisp, sharp corners. Don’t skip the pressing!
Step 1: Prep Your Fabric Pieces and Construct the Shells
We’re going to treat the main bag and the lining identically in this step.
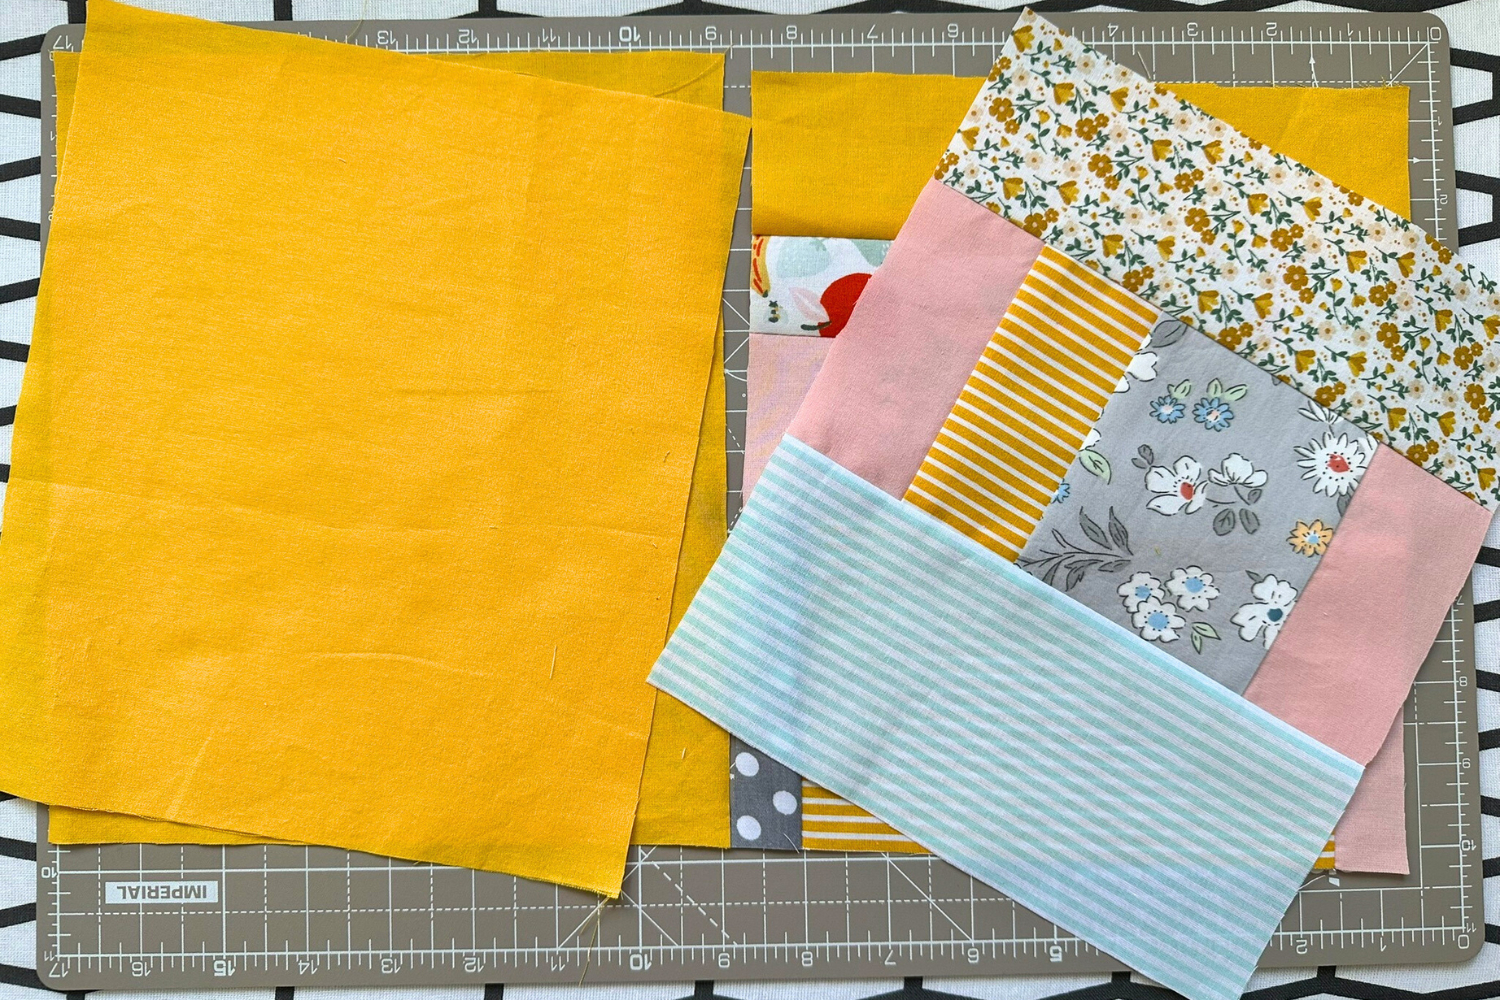
Cut Your Rectangles
Decide on your size and cut the four rectangles. Remember, the bag has two sides, so you can make them different if you like!
Sew the Outer Bag
Take your two main fabric pieces. Place them right sides together. Sew along both long sides and the bottom edge using a 3/8-inch seam allowance.
Sew the Lining
Repeat the exact same process for your two lining pieces.

Trim the Corners
This is a small but mighty detail! Trim a little triangle off the bottom corners of both the main bag and the lining. Just make sure you don’t snip into your stitches! This removes bulk and helps those corners look nice and sharp once you turn the bag right-side out.
Step 2: Preparing the Top for an Easy Drawstring
Here’s a little trick I love for eliminating bulk at the top opening:
On the outer fabric bag only, use your scissors to trim the seam allowance down to about 1/4 inch along the top edge, just for the first 2 inches or so down from the top. Doing this where the seam joins the top opening will make it so much easier to insert your drawstring later and will help the channel lie flat.
Step 3: Joining the Bag and Lining Together
Time to turn this into a lined drawstring gift bag!
Nest the Pieces
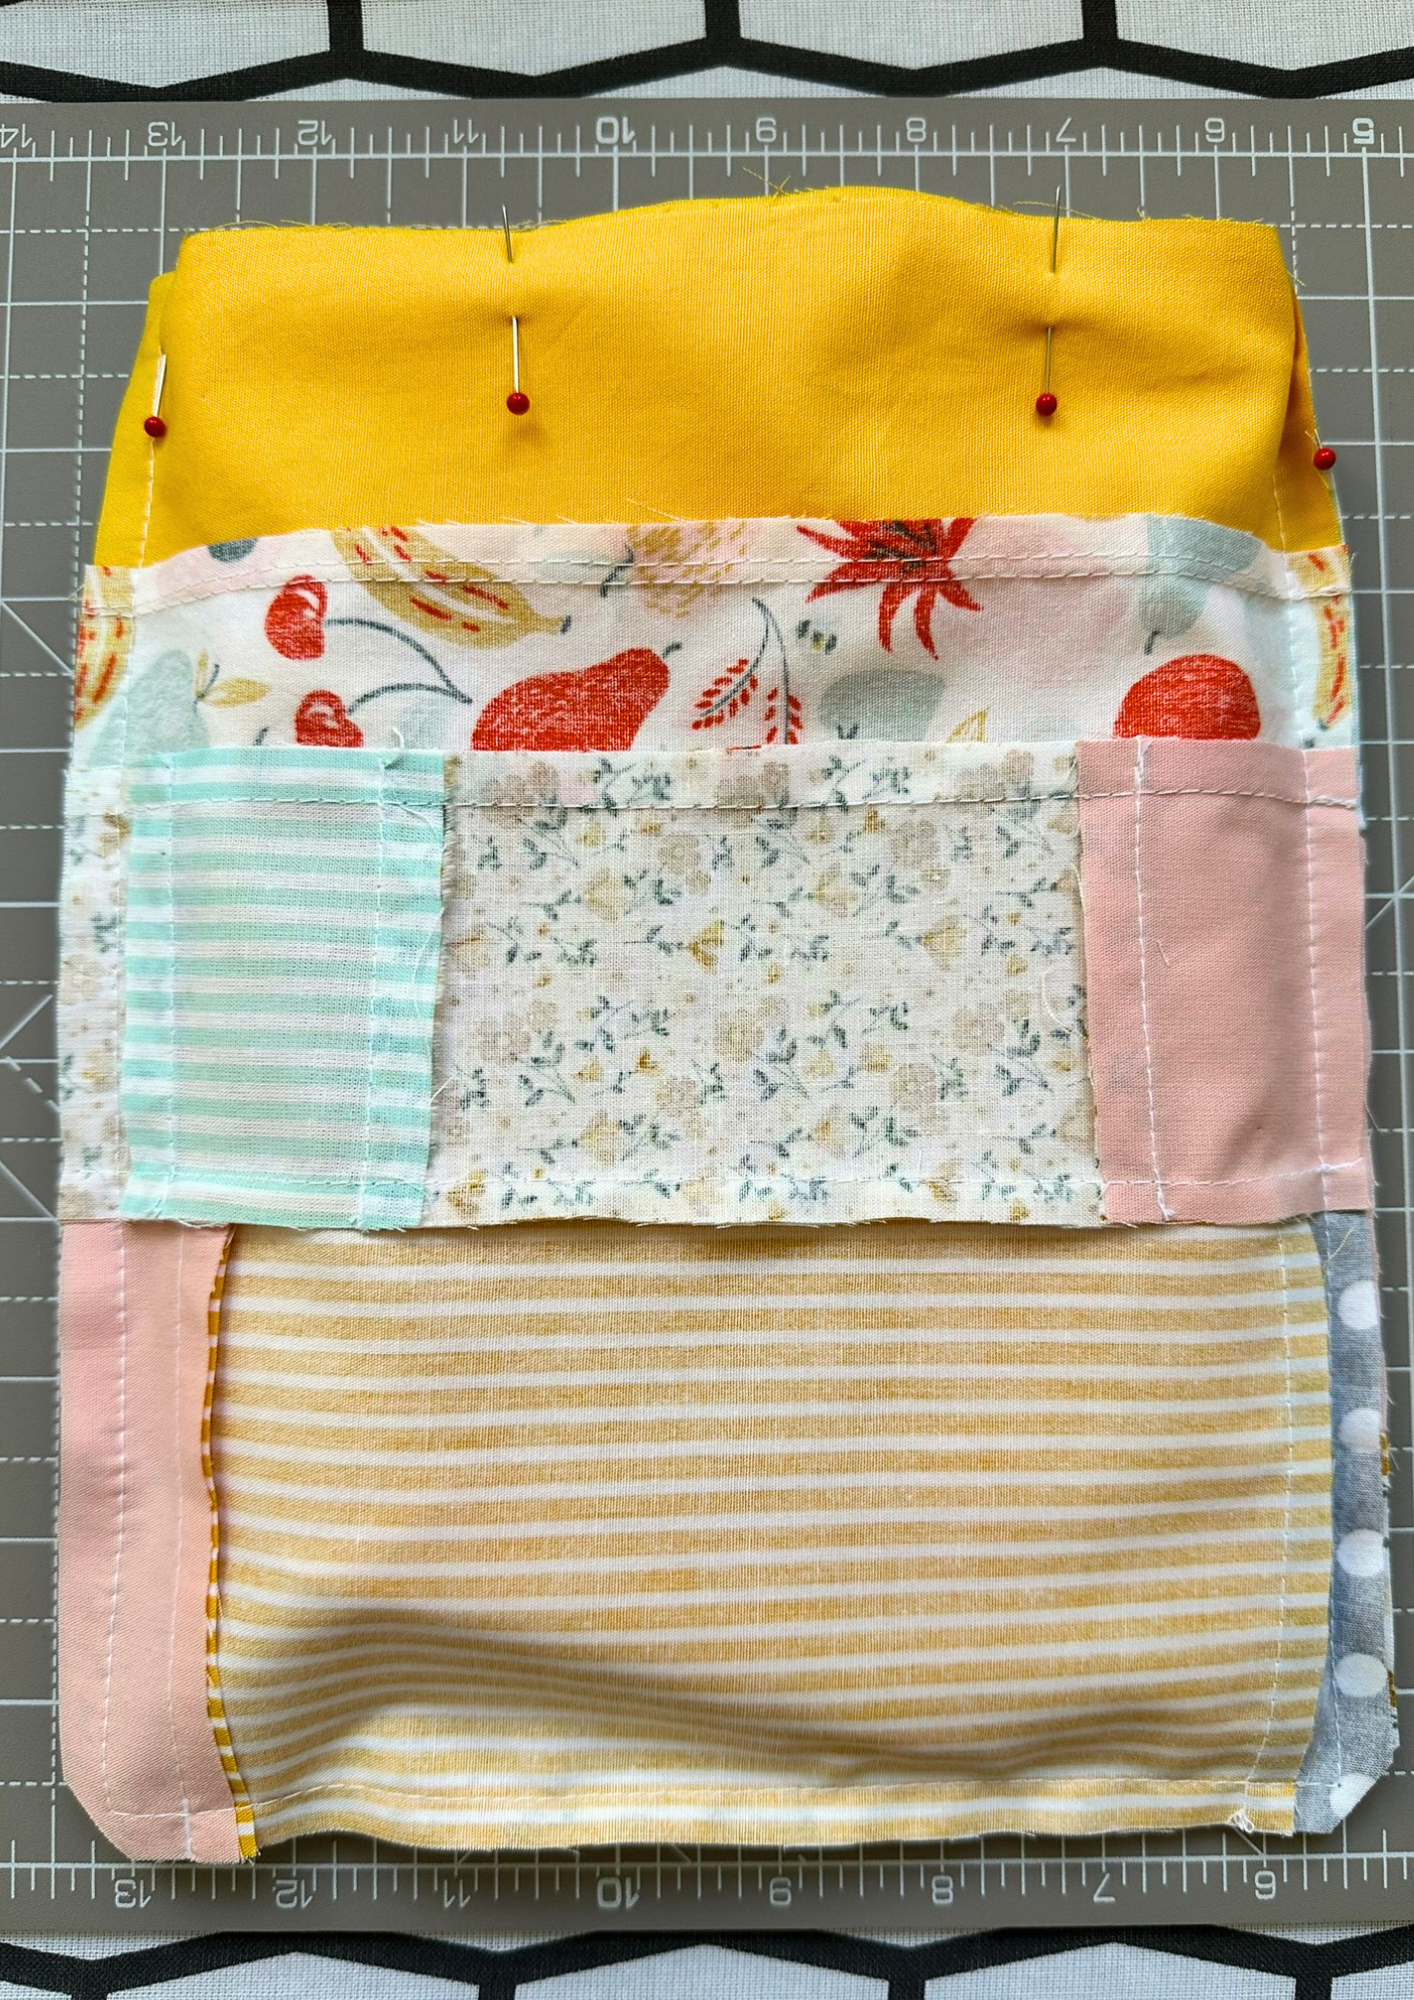
Turn the outer bag right-side out. Leave the lining inside out. Place the lining inside the outer bag, so their right sides are facing each other.
Match and Pin
Carefully match up the side seams of the outer fabric with the side seams of the lining. Pin everything securely in place around the entire top opening.
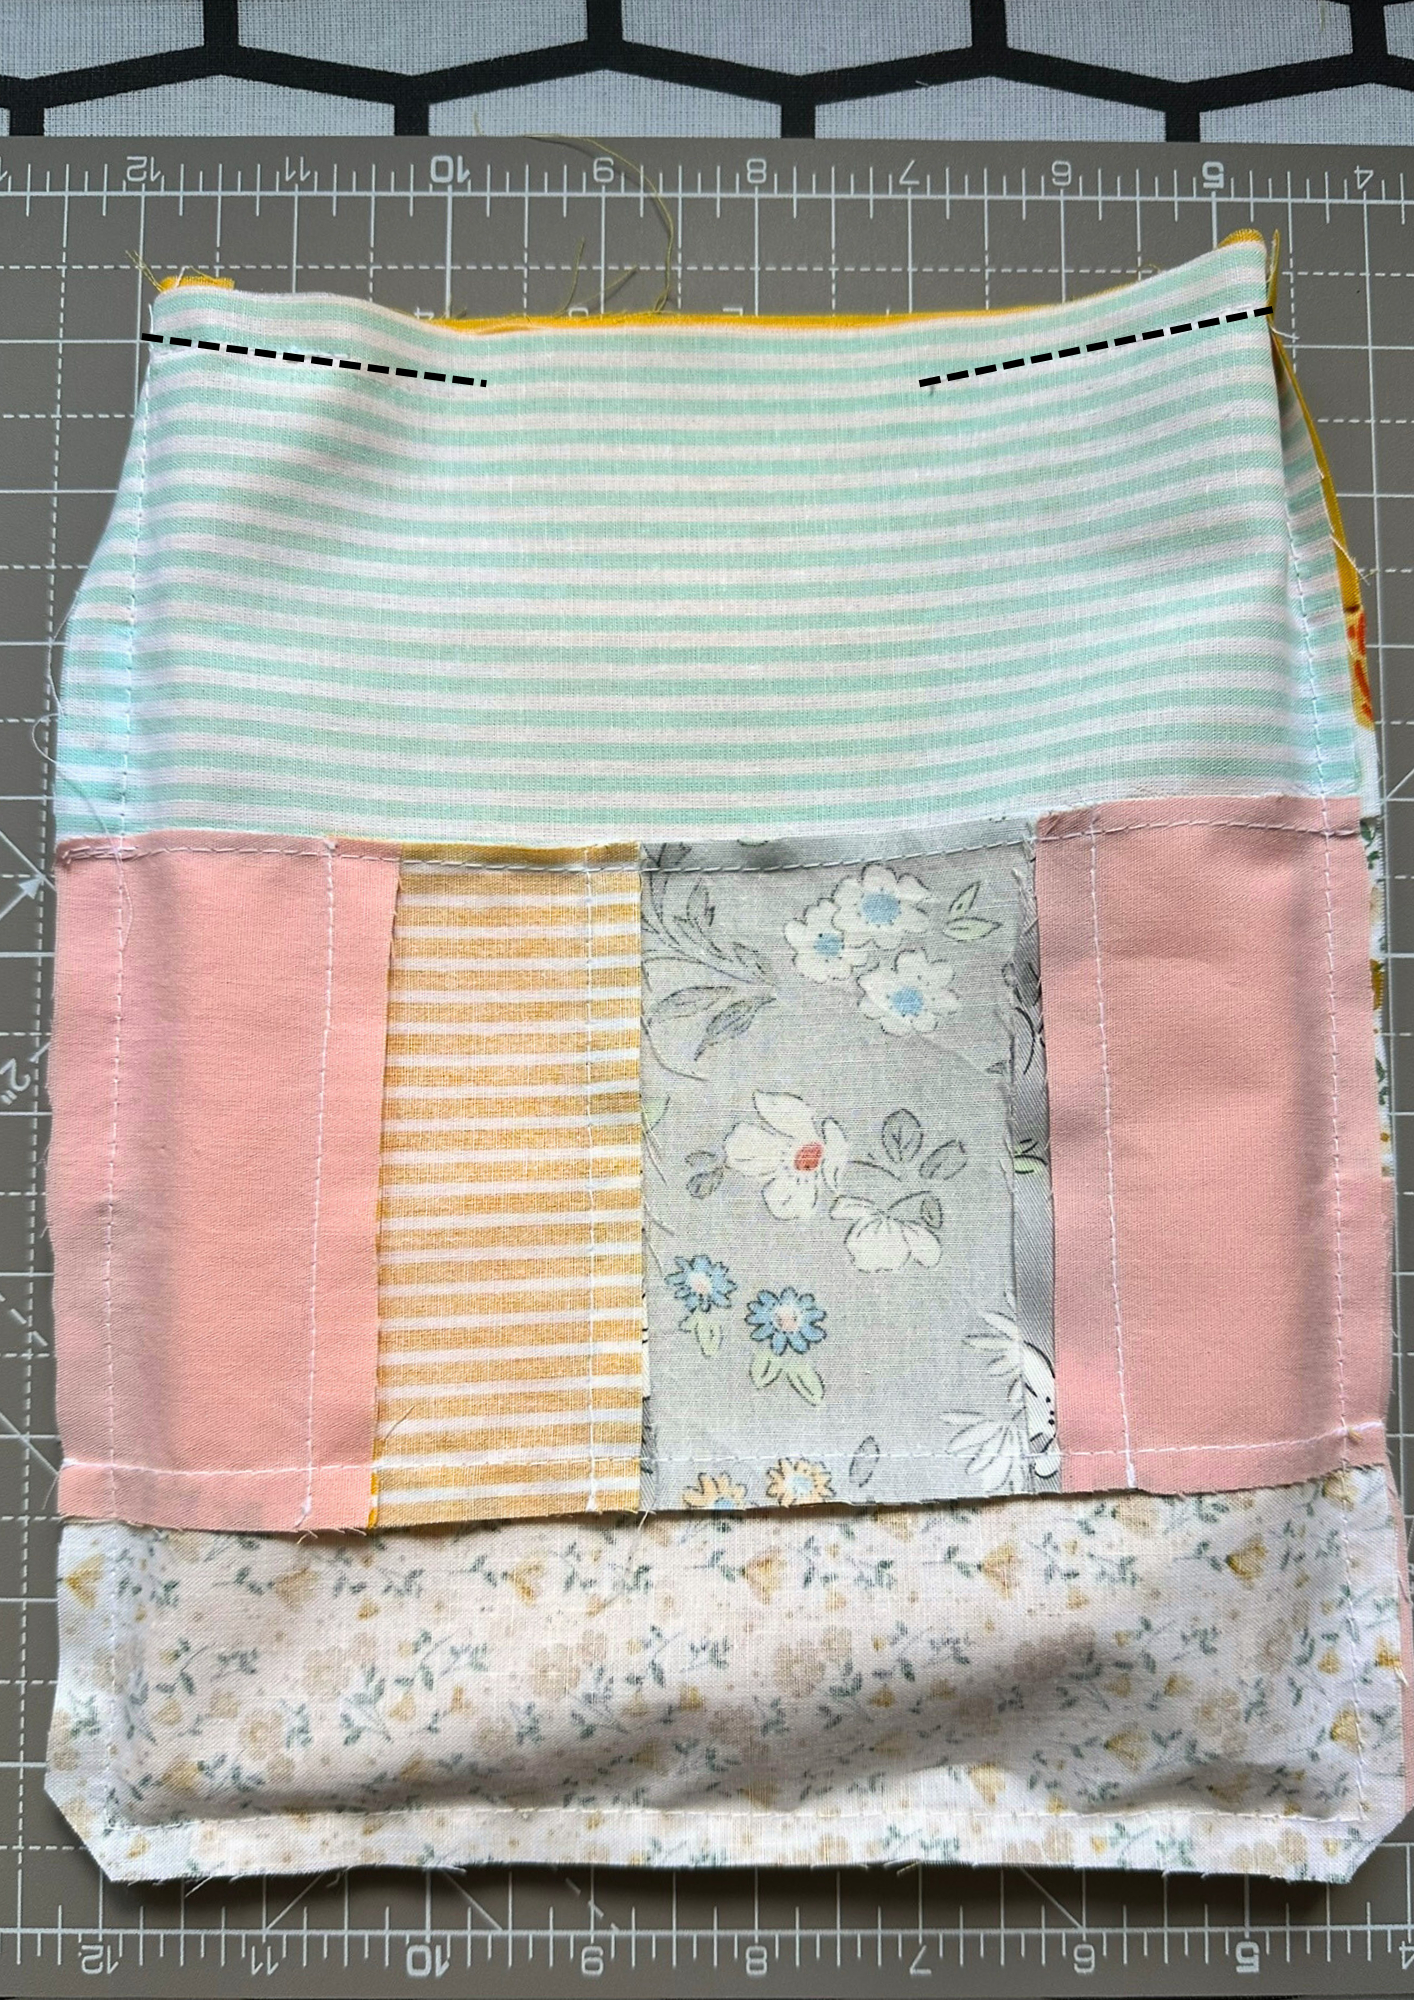
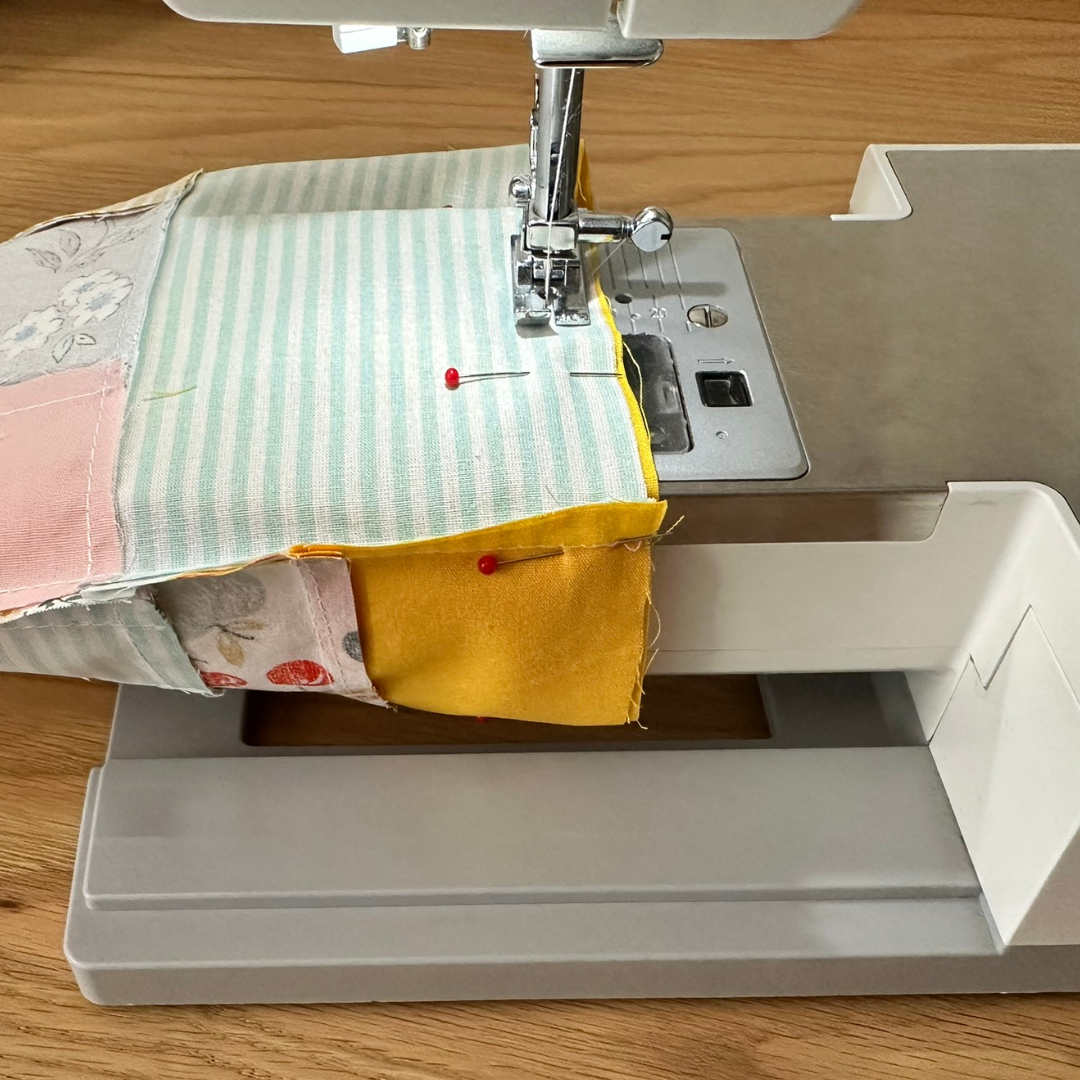
Sew the Top Edge
Sew all the way around the top edge using a 3/8-inch seam allowance. Crucially, leave a 4-inch gap unstitched in the center of one side. This is your turning hole!
If your sewing machine has a free arm, use it here – it makes this circle seam much easier!
Step 4: Turning, Pressing, and Topstitching
This is the step where your bag really takes shape!
Turn it Out
Reach through the 4-inch opening and gently pull all the fabric through until the bag is right-side out.
Press, Press, Press
Use your iron to press the entire top edge of the bag well. Pay extra attention to that turning gap. Tuck in the raw edges of the opening so they are neat and flush with the rest of the seam.
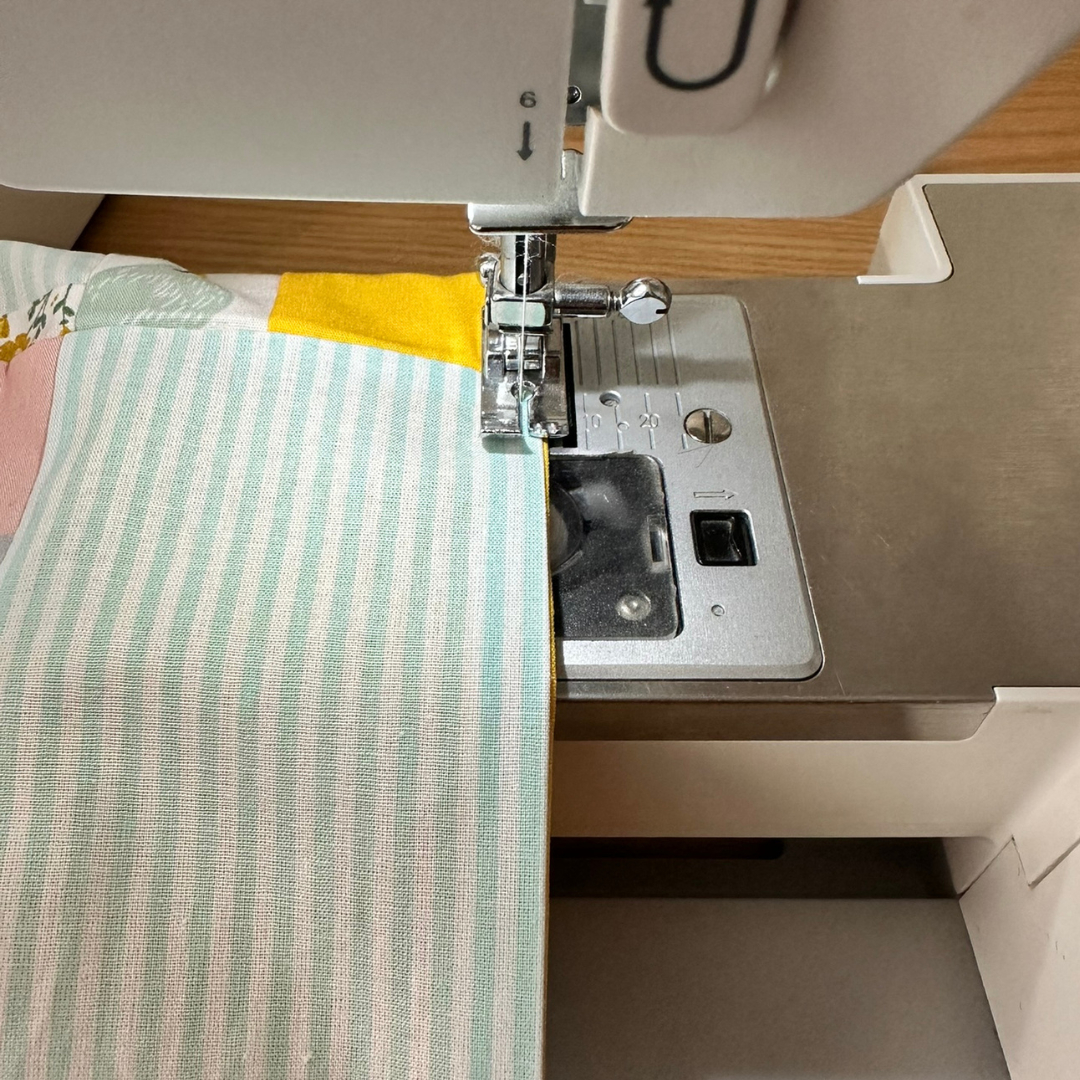
Topstitch
Topstitch all the way around the top edge of the bag, about 1/4 inch from the fold. This stitch serves two important functions: it securely closes the turning gap and gives the top of your bag a lovely, clean, finished edge.
Step 5: Creating the Drawstring Channel
I deliberately didn’t leave openings in the side seams during construction. This allows me to decide exactly where to place the channel based on the final look of my patchwork. You have control over the final design!
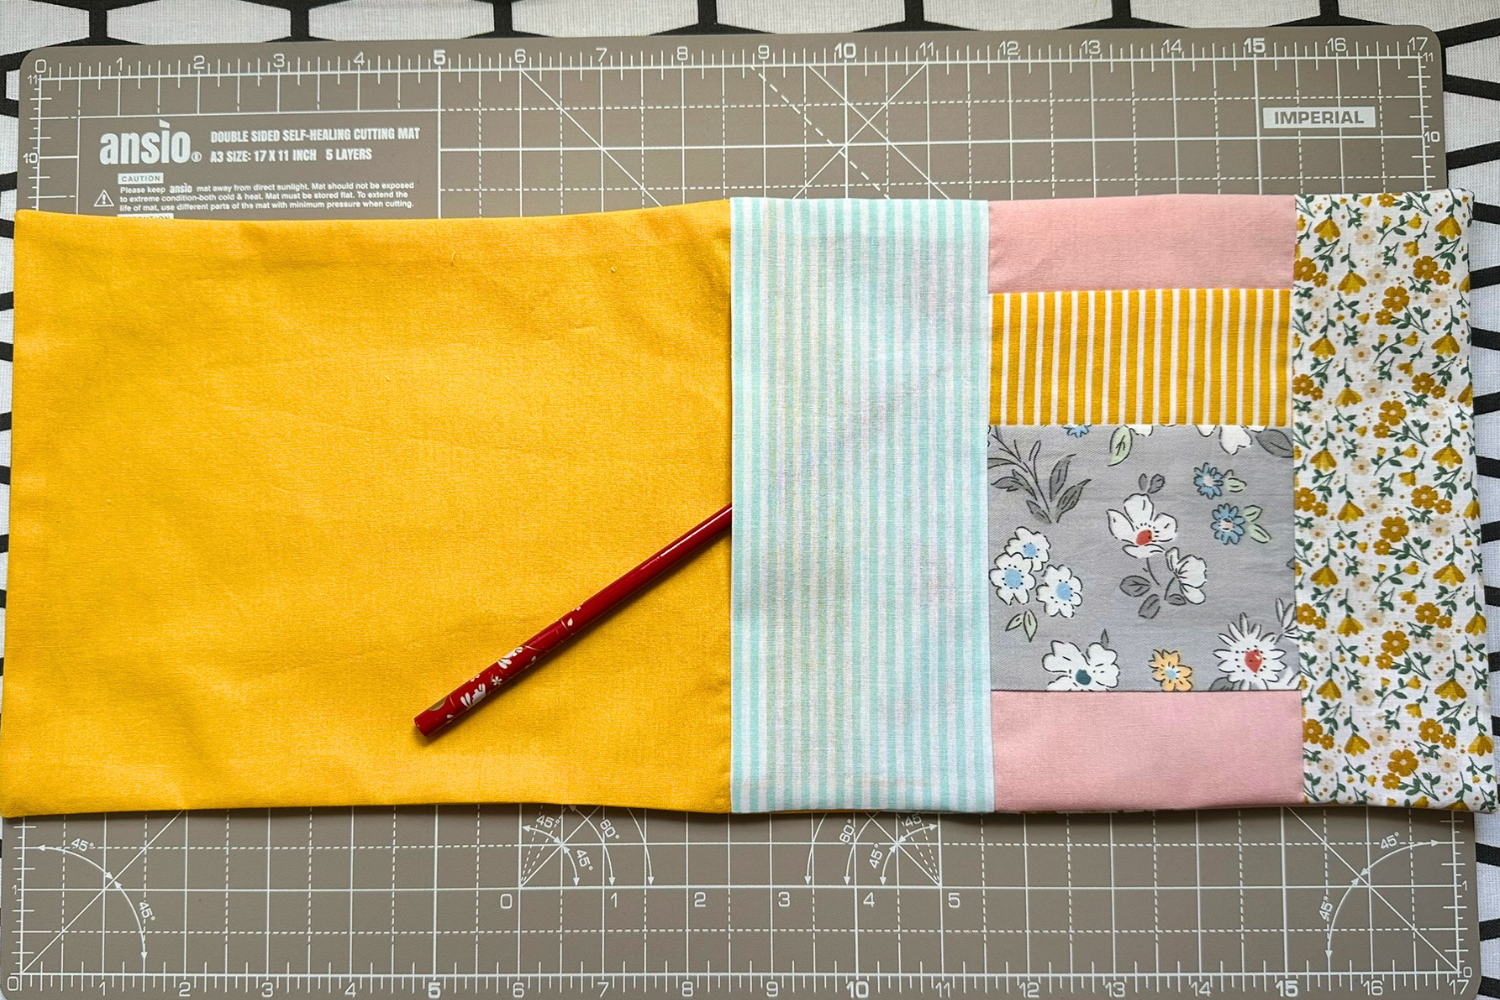
Mark Your Placement: You can put the channel right near the topstitching, or lower down to create a ruffled top. This time, I took advantage of my patchwork design and stitched one of the lines right where my fruity fabric meets the yellow solid fabric.
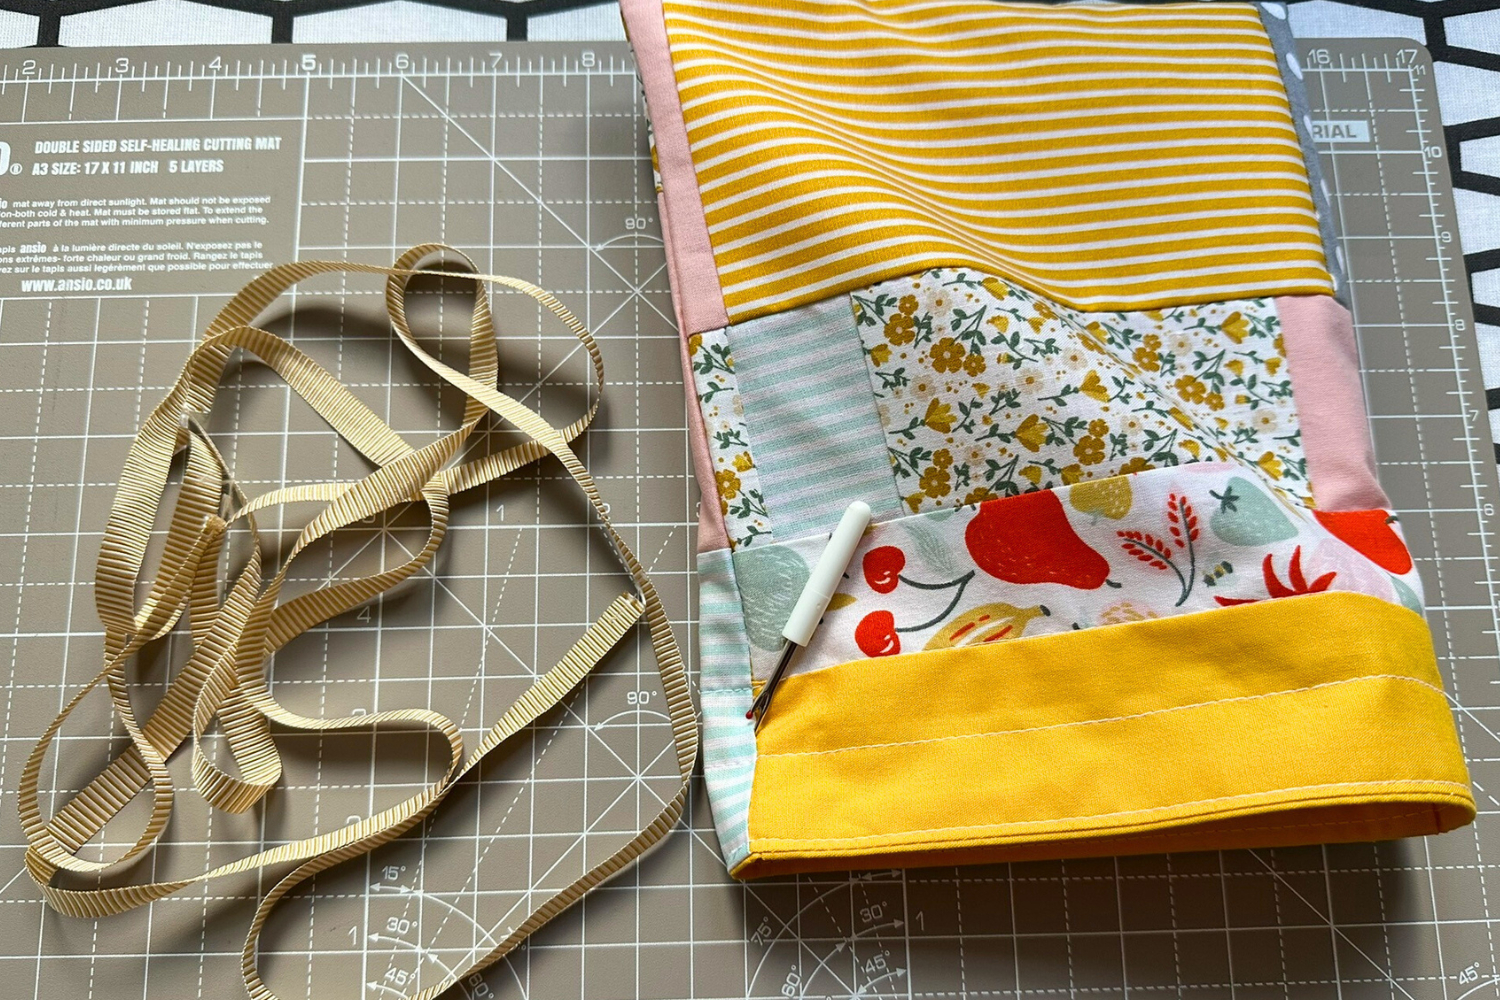
First Channel Line: Sew a straight line all the way around the bag. I placed mine about 1 1/4 inches from the top edge.
Second Channel Line: Sew a second line parallel to the first, about 1/2 inch below it. The space between these two lines is your channel! Sew both lines all the way around the bag, with no gaps in the stitching.
Open the Channel: Use your trusty seam ripper to carefully snip open two to three stitches on the side seam, between the two lines of stitching. Repeat this on the opposite side of the bag. And just like that, you have two perfect openings for your ties!
Step 6: Threading the Ties Through the Channels
Almost done! Time to grab your ties.
Cord Length: You need two ties. Each one should be approximately twice the width of your bag, plus 3 to 4 inches for knotting and a little slack.
First Cord Loop: Attach a safety pin to one end of your drawstring cord. Feed it into one opening, all the way around the channel, and bring it back out the same opening. Tie the two ends of this cord together firmly.
Second Cord Loop: Start at the opposite opening with your second cord. Feed it all the way around, and bring it back out the opening you started at. Tie these two ends together.
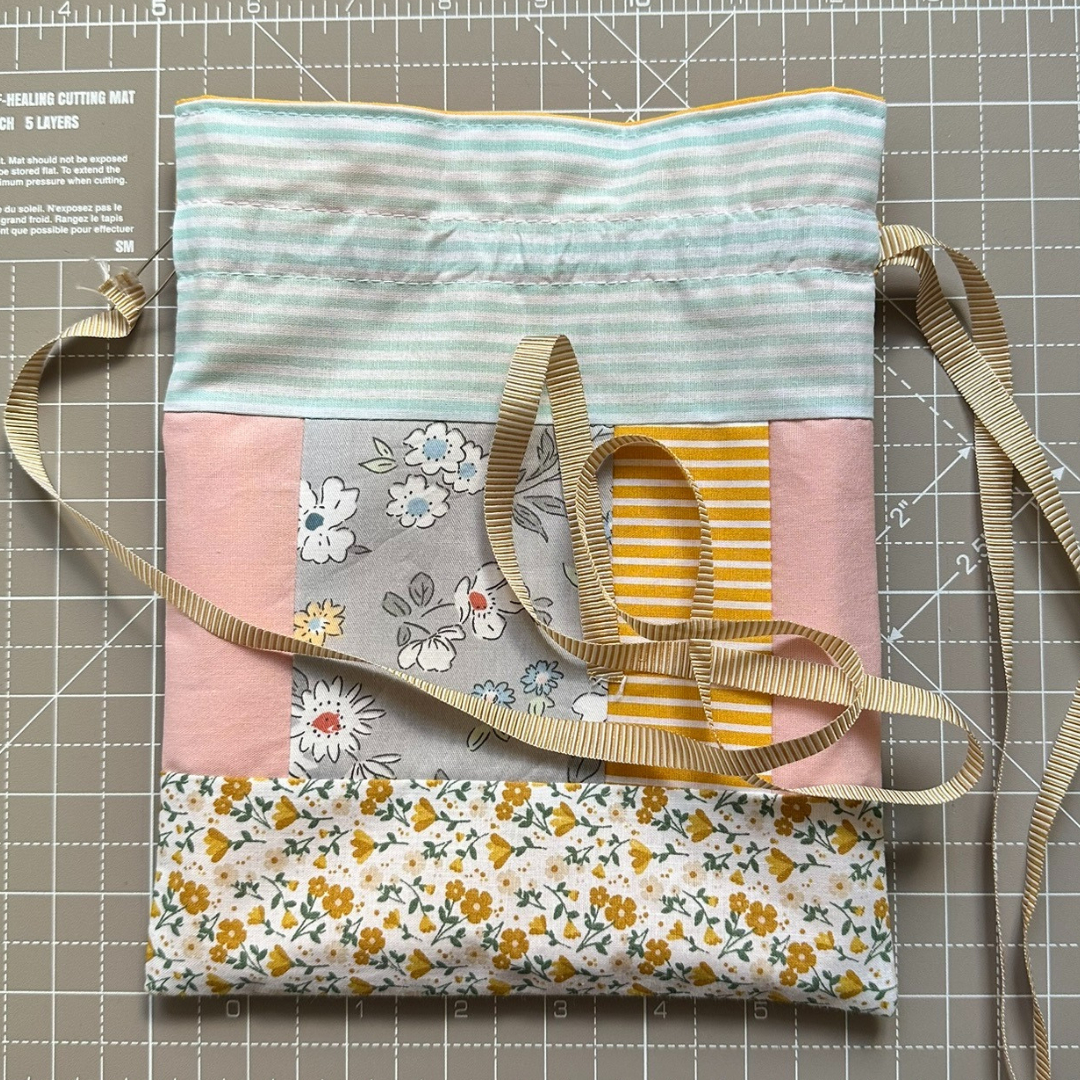
The result is a double-sided drawstring. When you pull both cords on each side simultaneously, your beautiful lined drawstring gift bag will close with a perfect gather!
The finished size of my drawstring bag is 7″ wide x 9″ tall.
Happy Gifting!
That’s it! You’ve just finished a beautiful, fully lined drawstring gift bag that is not only a lovely piece of reusable gift wrap but also a sustainable way to use up your fabric stash. These bags are so fast to sew – I bet you can make a dozen in an afternoon!
Now you always have a gorgeous, handmade bag ready for any gift-giving emergency. What fabrics are you going to mix and match for your next one? Let me know in the comments below! Happy sewing!
You might also like:
- DIY Christmas gift bags: 10 easy patterns for beginners
- Versatile drawstring dice bag with a round bottom – free pattern
- 17 adorable fabric goose sewing patterns
- Check out this huge collection of free sewing patterns, perfect for all skill levels!
Related posts