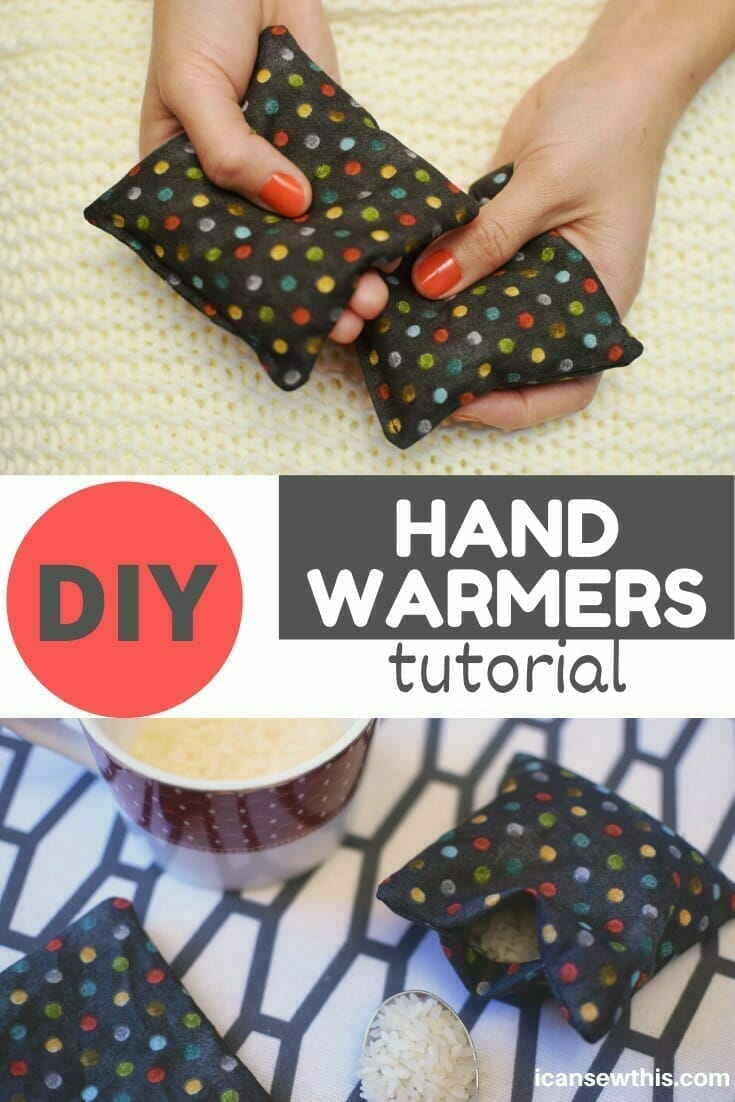
This DIY rice hand warmers tutorial is so simple – it’s just sewing in straight lines! In less than 5 minutes, you can make these microwaveable hand warmers. A few weeks ago, I spotted rice hand warmers on Pinterest, and I was hooked. They looked so easy and fun, but I had a few questions:
- What fabrics can go in the microwave?
- What type of rice is best for hand warmers?
- How long do rice hand warmers stay hot?
How to make reusable rice hand warmers
These little warmers are made with 100% cotton fabric and thread, filled with rice, flax seeds, or even popcorn kernels. They’re safe for the microwave, warm up nicely, and stay cozy for around 20 minutes.
My kids absolutely loved their hand warmers! They kept warming them up and playing with them, turning this project into a quick family favorite.
Related: How to make linen napkins, the easy way
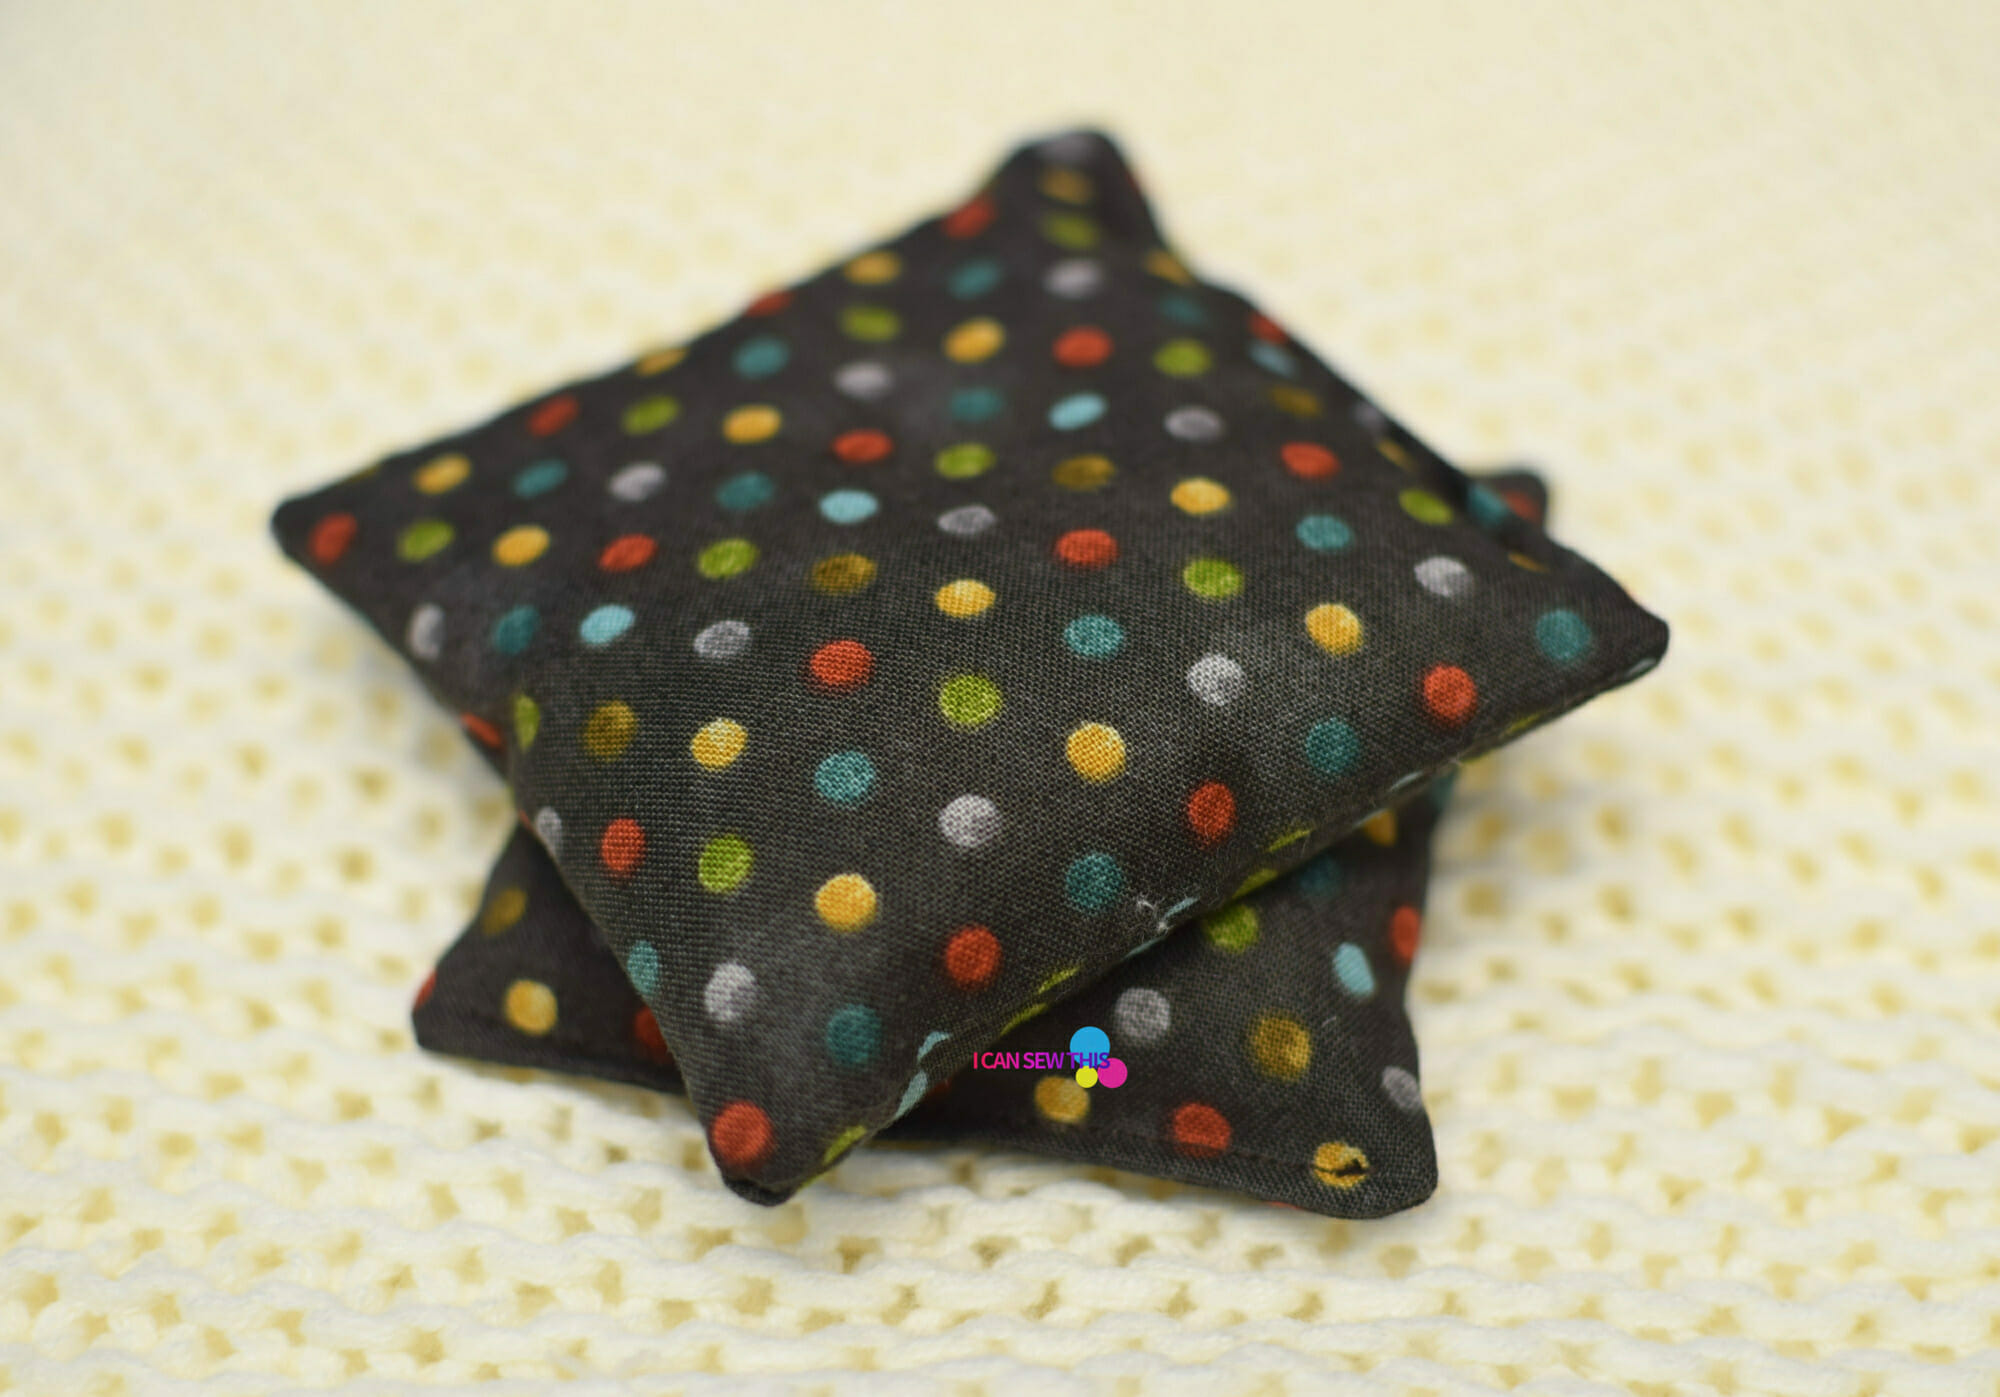
So, what fabrics can go in the microwave?
For safe, microwaveable hand warmers, stick with natural fibers like 100% cotton or linen. Avoid synthetic fabrics, like polyester, which can melt in the microwave. And never use any fabric with metallic threads – they’re extremely dangerous to heat in the microwave and could cause sparks.
Best fillings for reusable hand warmers
When it comes to filling, you’ve got some great options! Try uncooked rice, flaxseeds, whole kernel corn, or even cherry pits. Each one works well and adds a different feel and warmth level.
Want to see what others have tried?
There’s a fun experiment out there where someone tested all sorts of fillings to see how long each stayed warm. Check it out to find the perfect match for your hand warmers!
Sewing supplies
- Filling (uncooked rice, flaxseeds, whole kernel corn, cherry pits)
- Fabric: linen, cotton or cotton flannel (no blends)
- Matching thread
- Sewing machine
- Sewing machine needle
- Scissors
- Pins
Rice hand warmers – tutorial
Step 1 – cut your fabric
First, cut your fabric into squares. I went with 4-inch squares for my small hands, but if you’d like a bit more room, go for 5-inch squares. This size is great for cozy, portable hand warmers!
Step 2 – pin and sew your squares
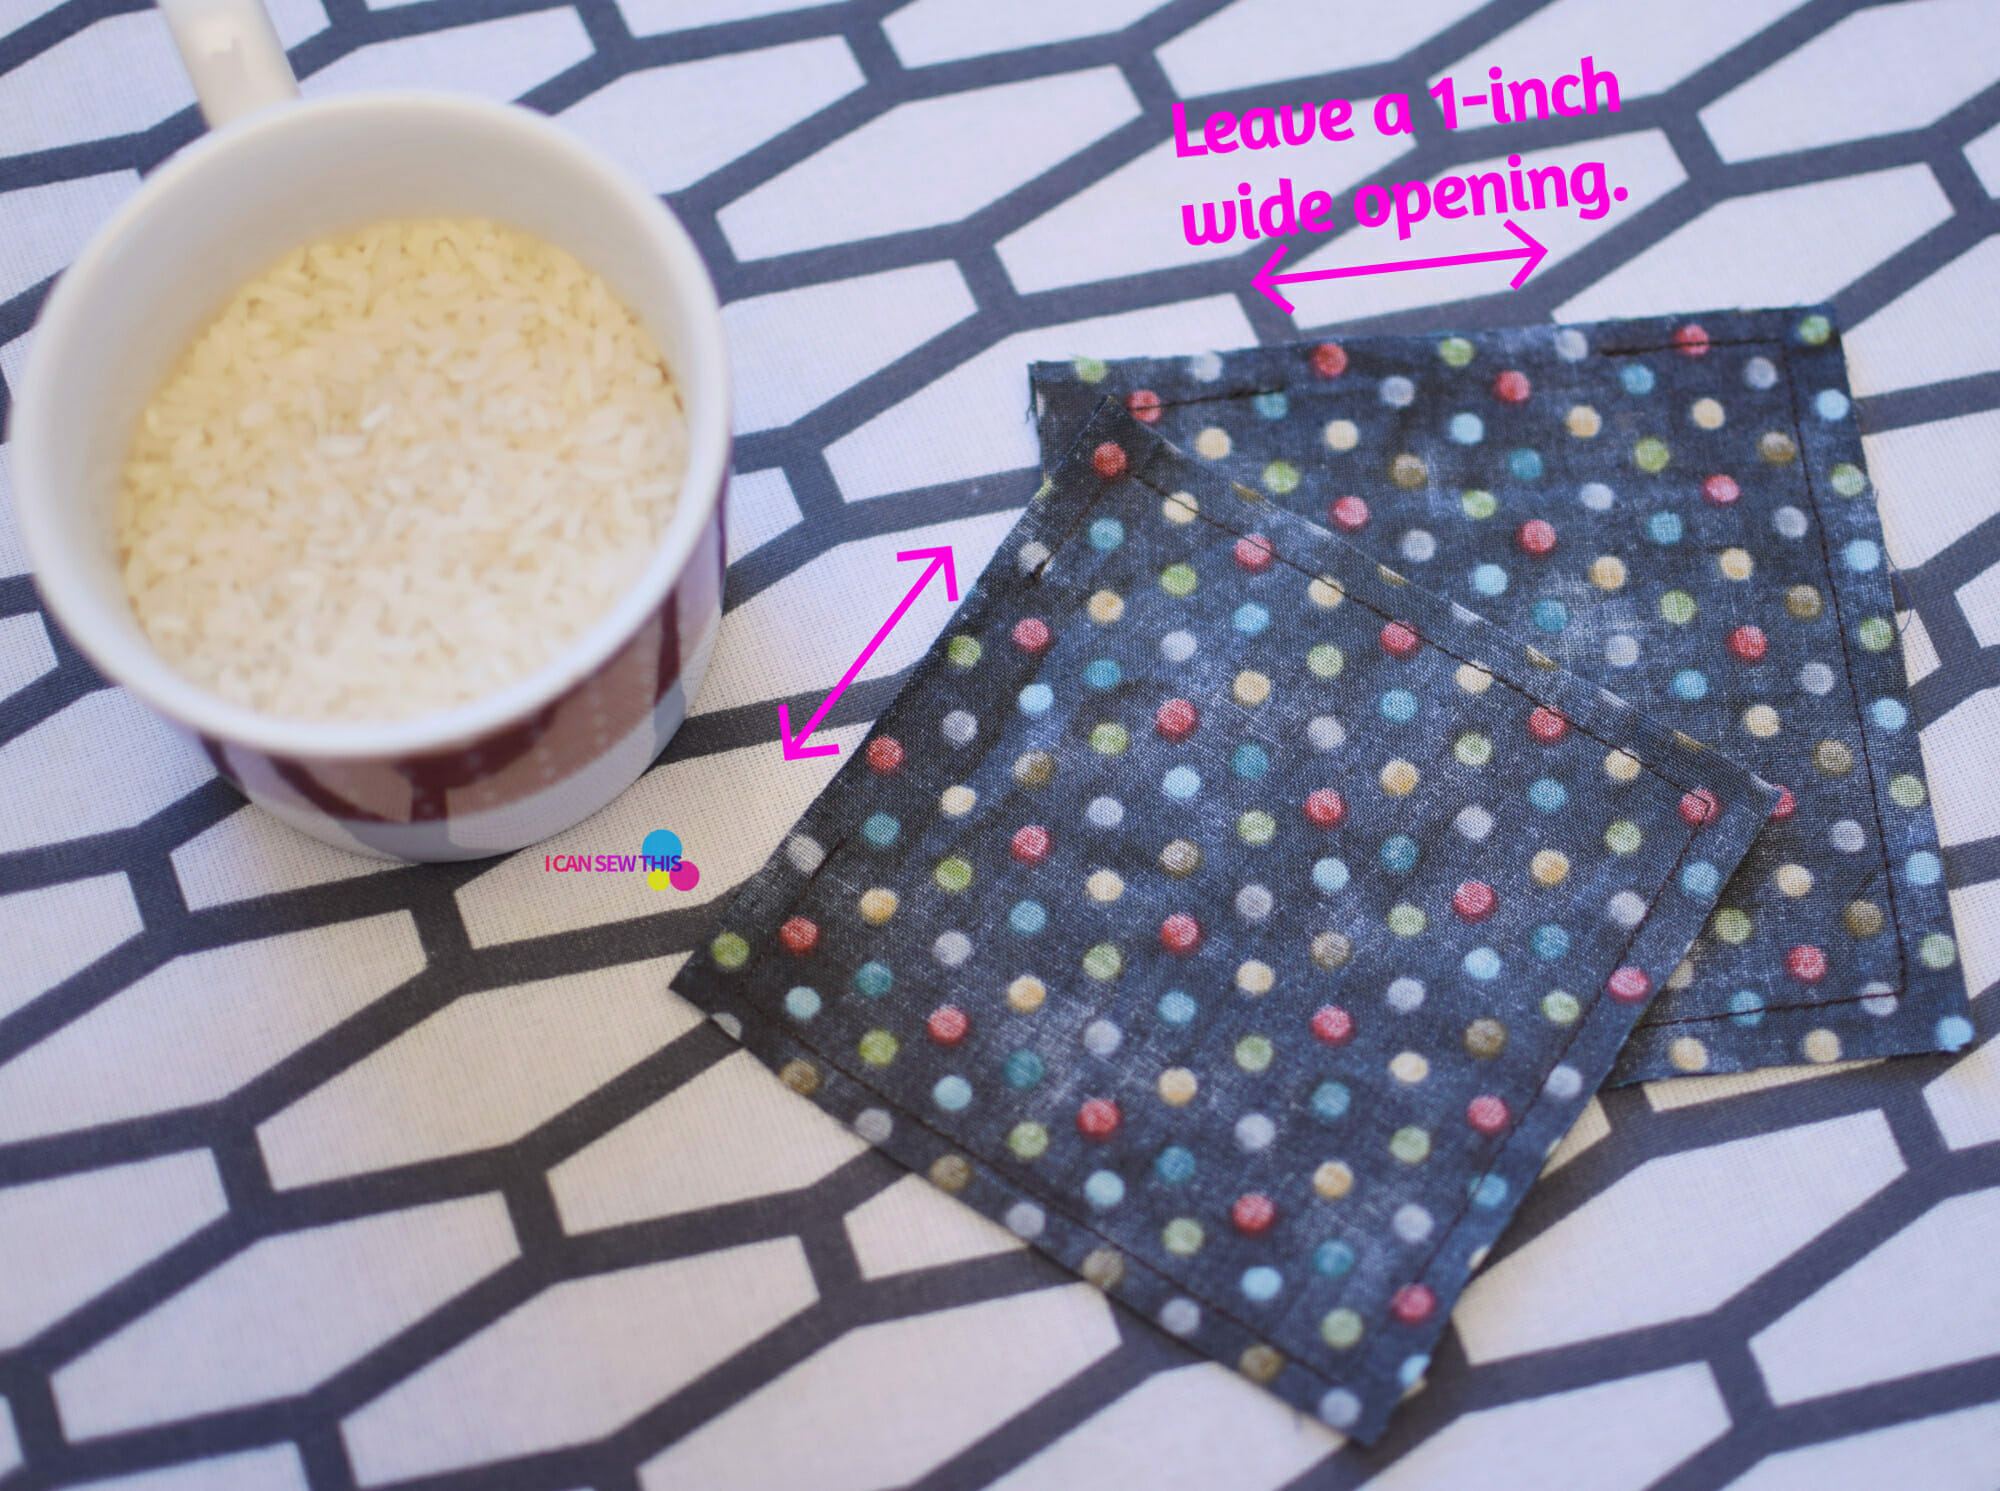
Take two fabric squares and place them right sides together. Pin them in place, then sew around the edges on three sides, leaving a 1-inch gap on the fourth side. Don’t forget to backstitch to keep everything secure!
Step 3 – turn it right side out
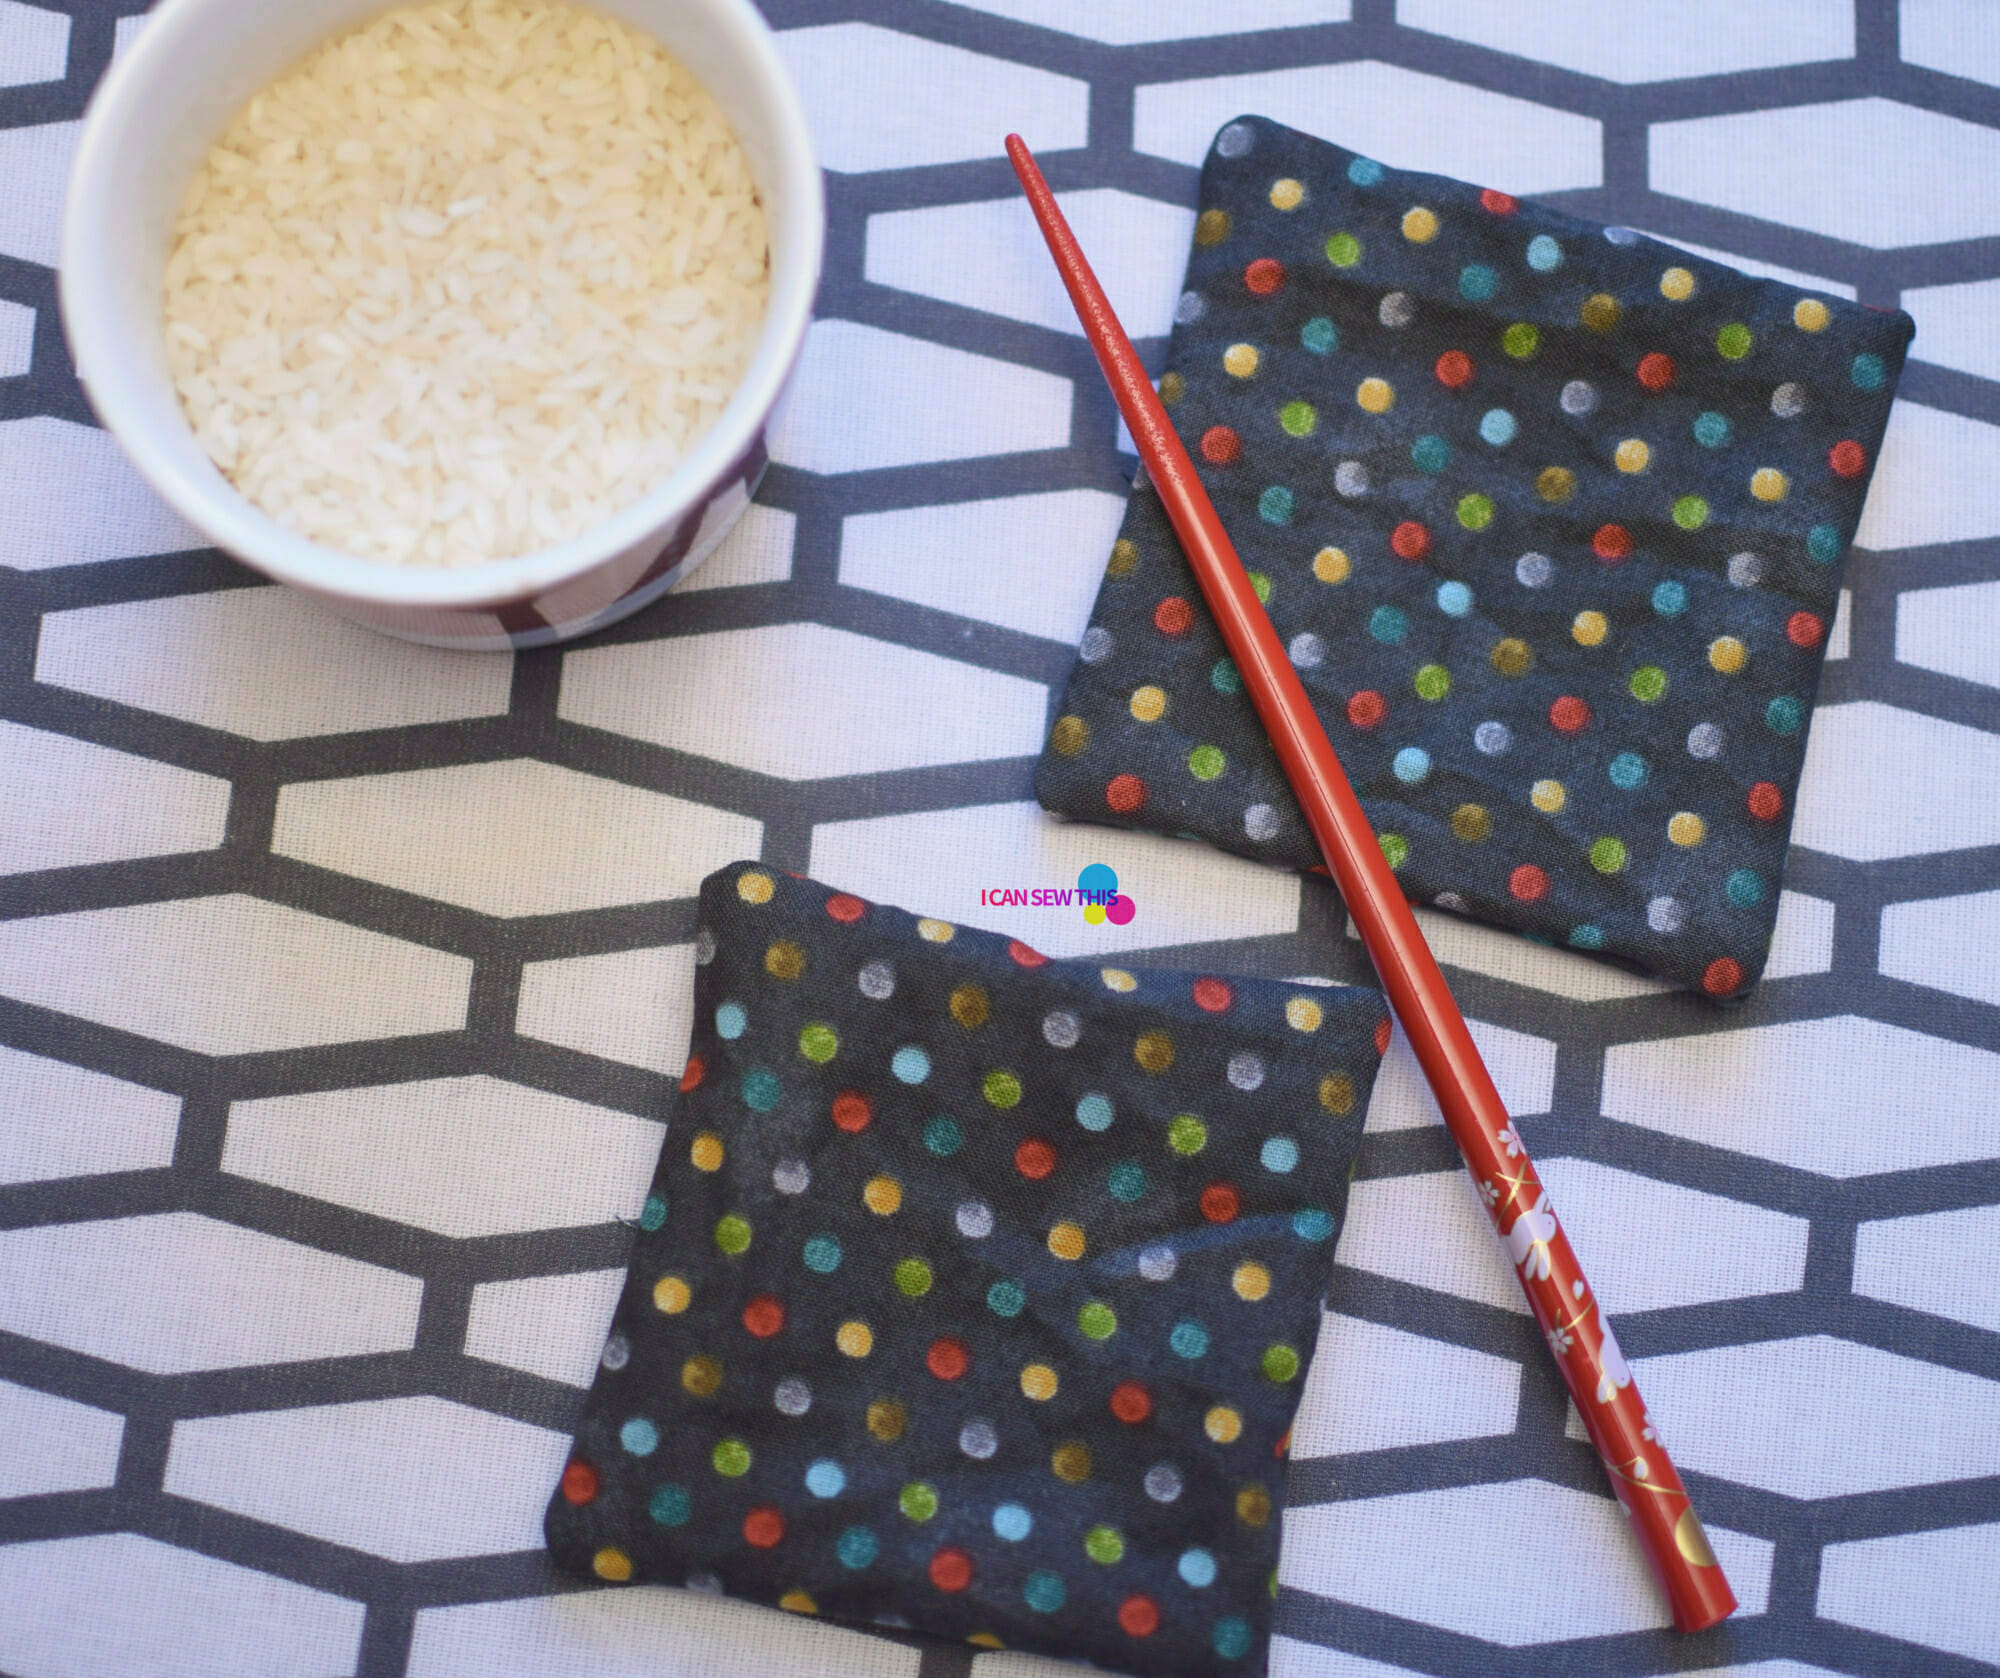
Flip the square right side out. Use a pencil or chopstick to gently push out the corners so they’re nice and neat.
Step 4 – fill with rice
Fill your bag about 3/4 full with rice. A small funnel can help, or just use a teaspoon like I did – I used exactly 13 teaspoons for each pad.
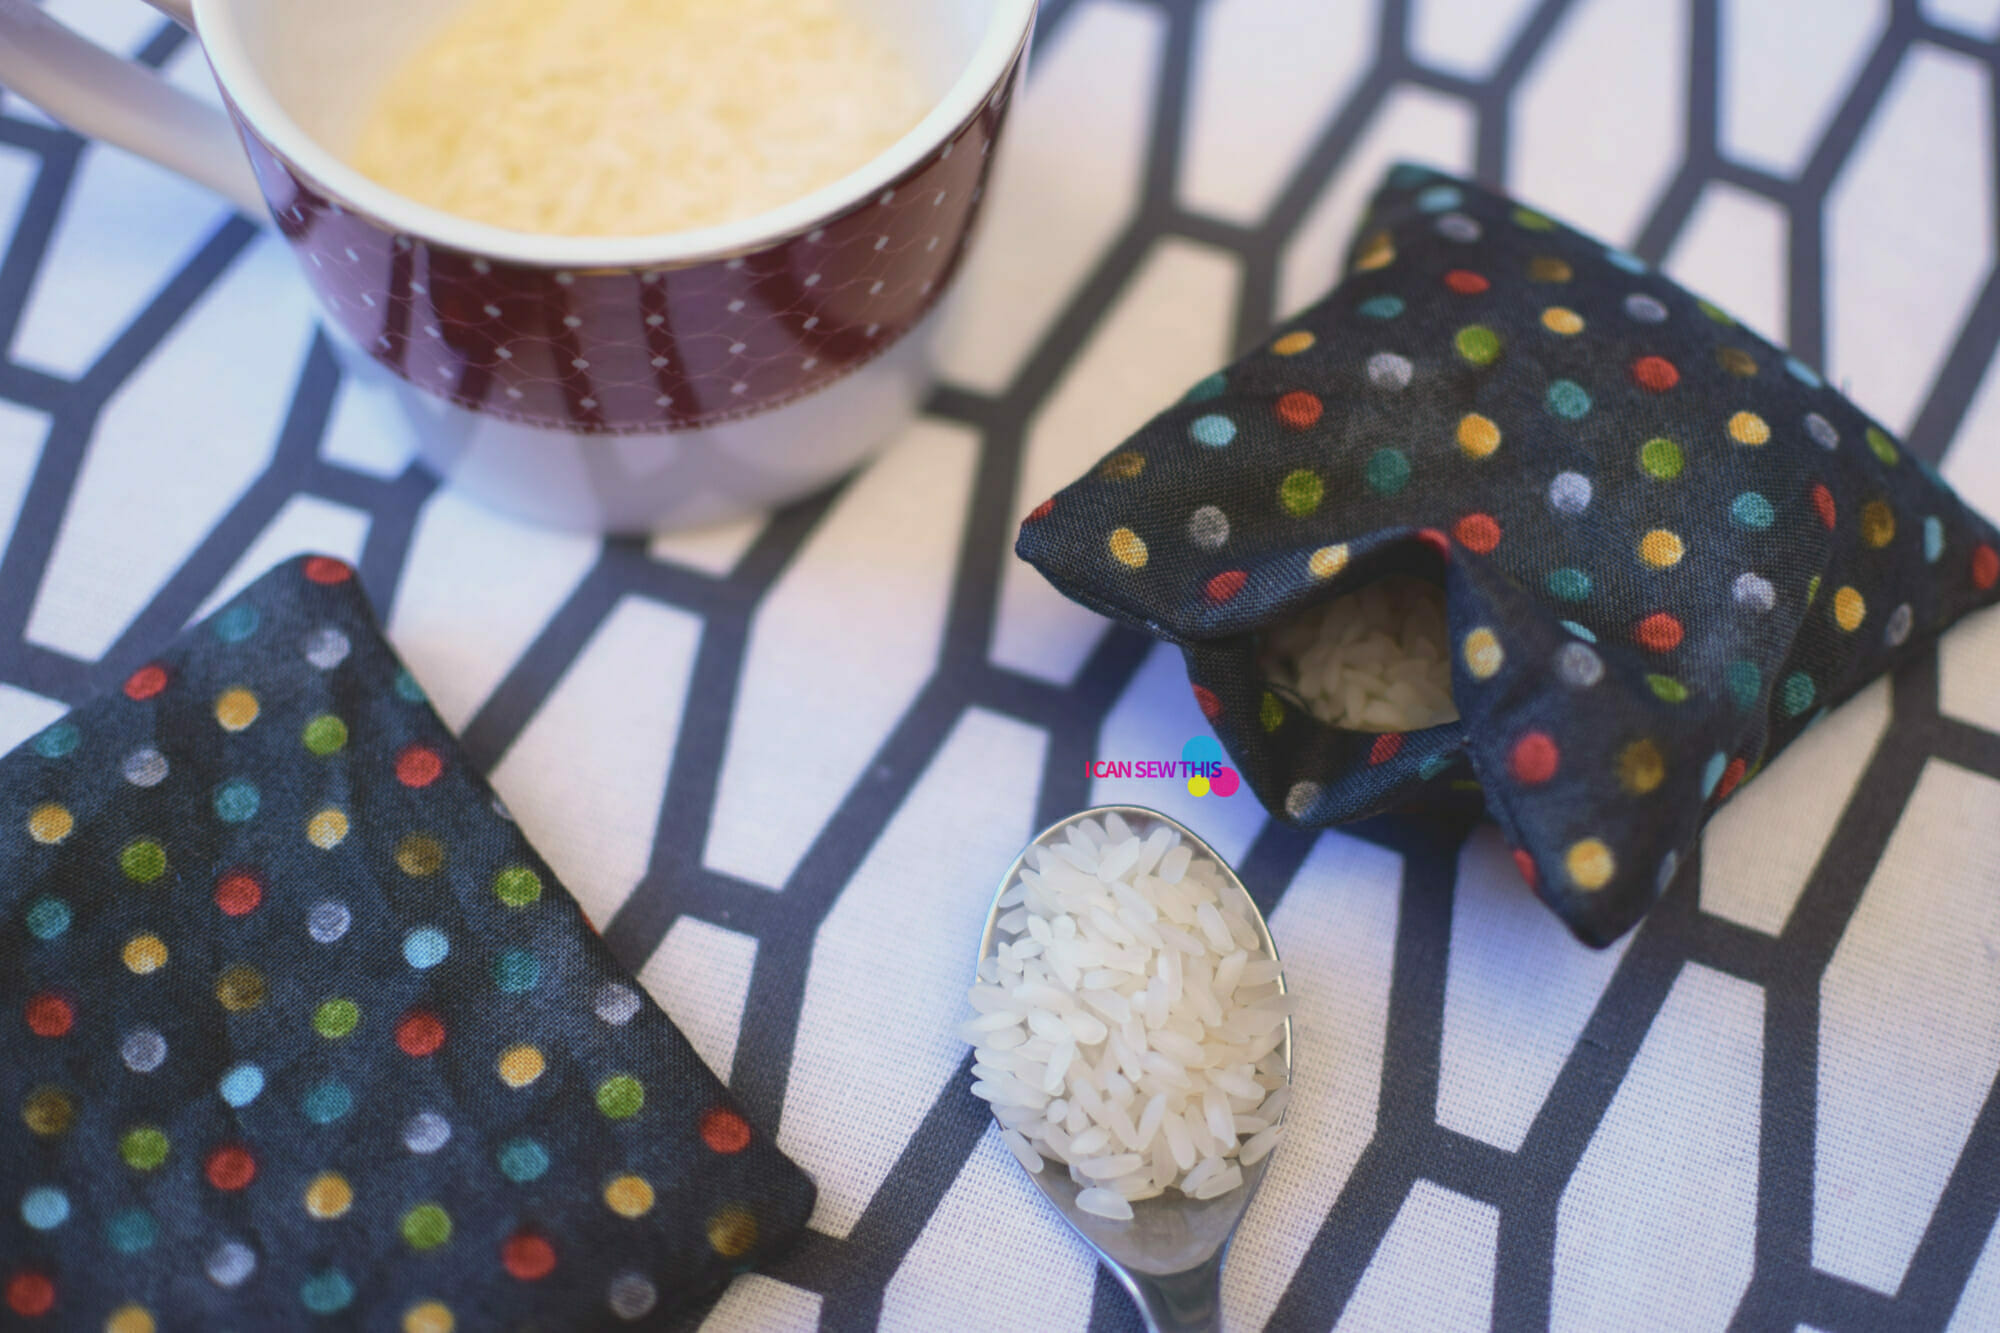
Remember, don’t fill it all the way to the top – you’ll need some room to close up the opening!
Step 5 – close it up
Now, sew the 1-inch opening closed. You can do this by hand or with a sewing machine. And that’s it – your reusable rice hand warmers are ready!
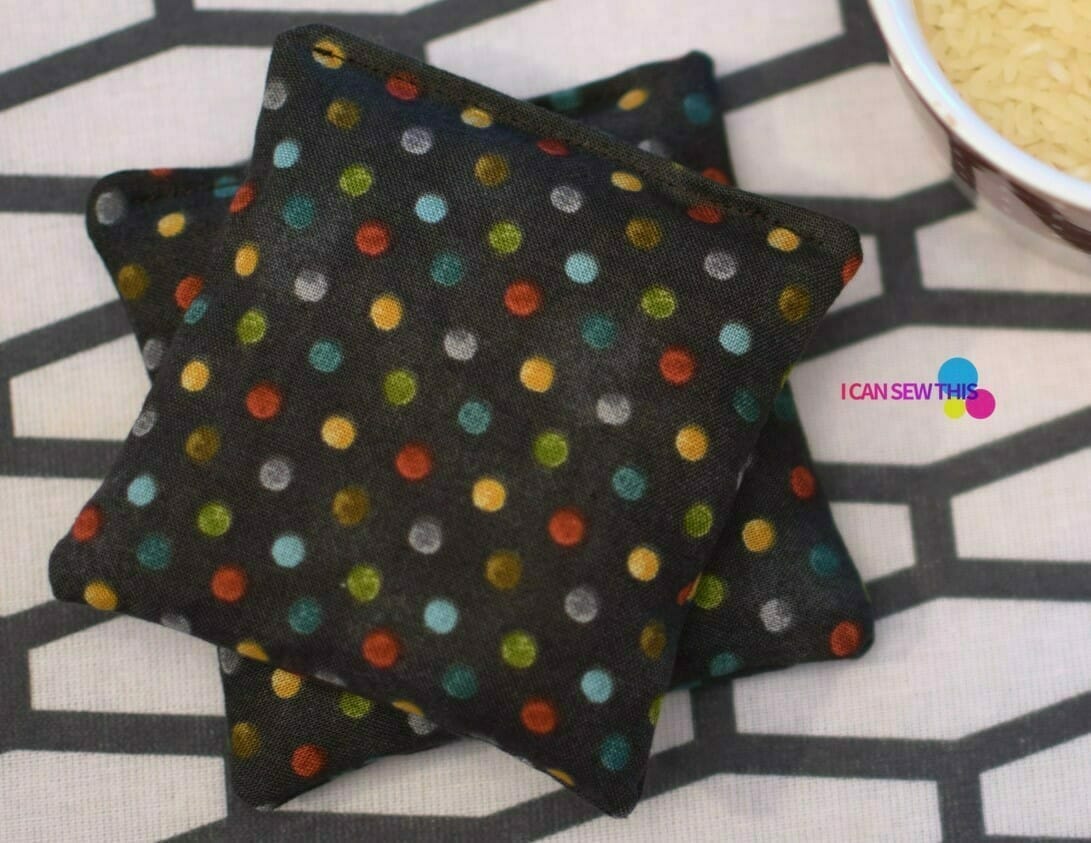
How to use your rice hand warmers
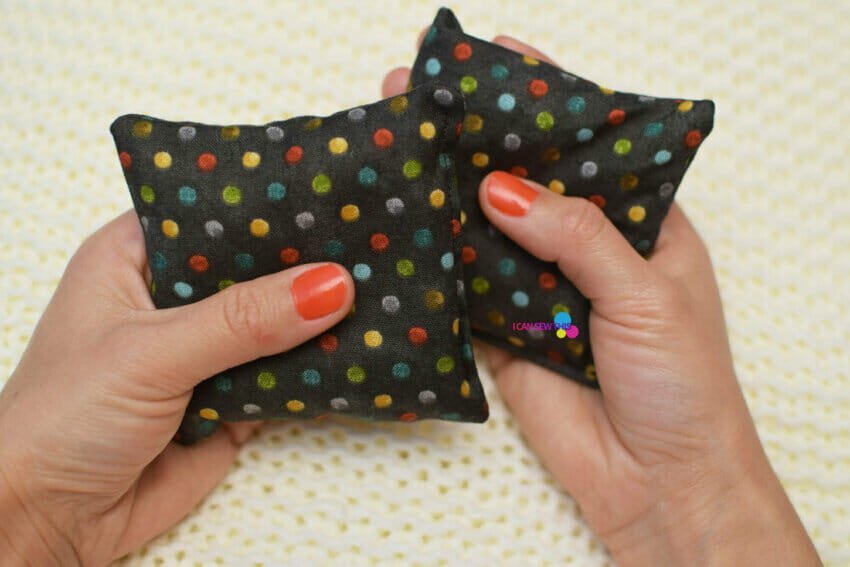
For a quick warm-up, place your rice hand warmers in the microwave for 20-30 seconds – but don’t exceed 60 seconds. After heating, give them a gentle shake to spread the heat evenly. These reusable rice hand warmers will keep you cozy for about 15-20 minutes.
Just a heads-up: rice has a mild scent when heated. If you’d like a nice aroma, try adding dried lavender or a few drops of essential oil to the rice before you sew it up.
You can reheat these DIY hand warmers in the microwave and enjoy them over and over again!
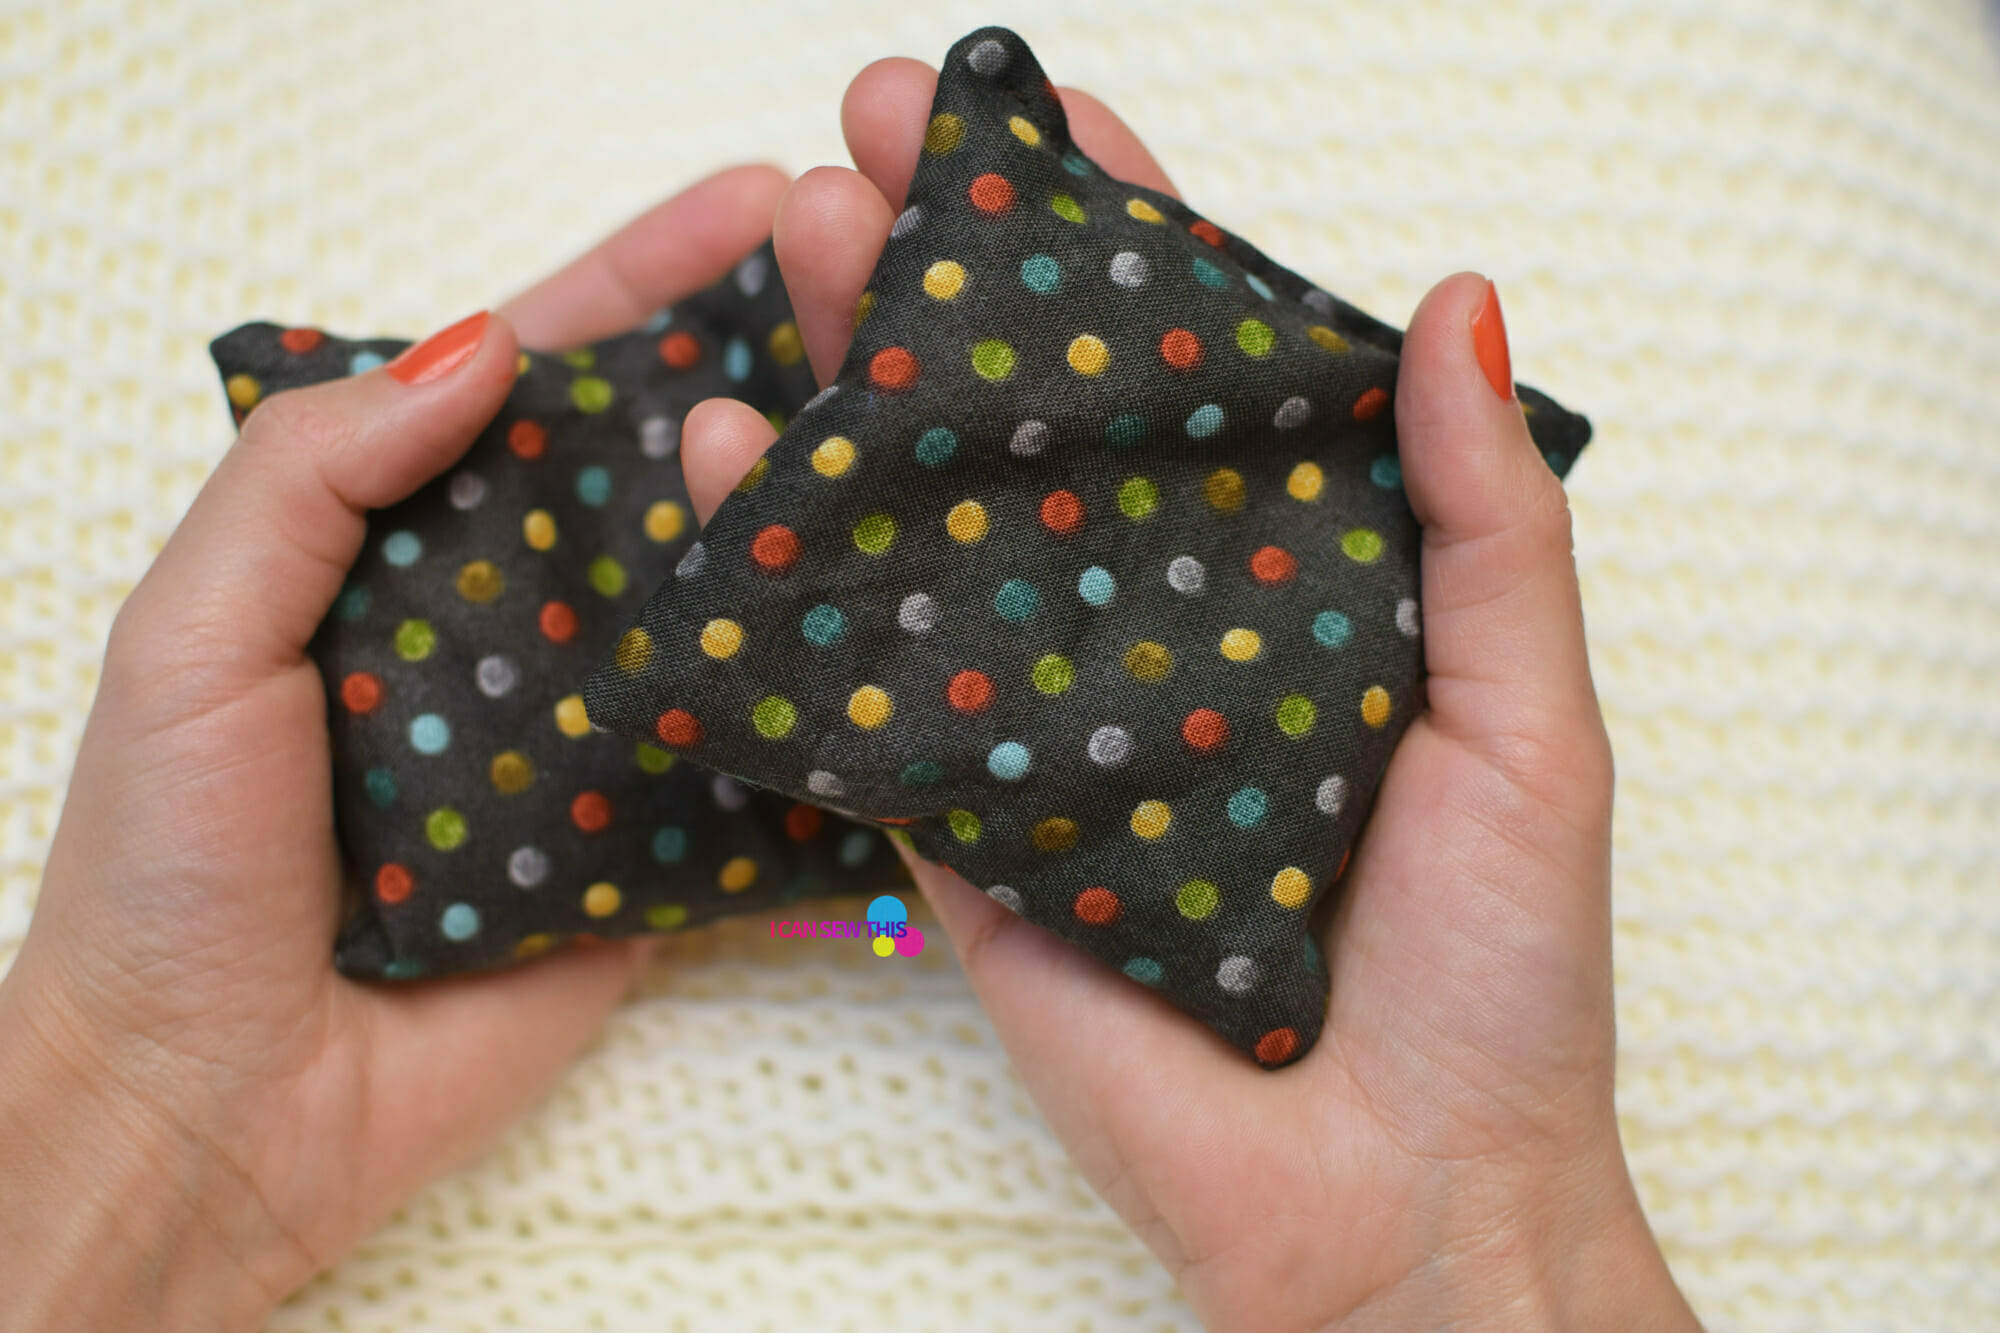
Important safety tips
- Never leave rice hand warmers unattended in the microwave.
- Do not heat them longer than recommended to avoid overheating.
I hope you loved making these as much as I did!
Let’s keep in touch! You can find me on Facebook, Instagram, and Pinterest.




I love the idea of making a cover for the hand warmers. You could make the rice bags with a plain fabric and make all kinds of covers. Just have to wash the covers, and not have to worry about ripping out a seam, emptying out the rice, washing the bag, refilling with new rice and sewing the bags up. You could make theme bags to fit the winter holidays.
Hey Linda,
Thank you for the lovely comment! I agree with you, making envelope-closure theme bags as gifts would be pretty awesome! Also, making covers for these hand warmers, in general, is definitely not a bad idea! I’d decided against, though, with my rice warmers, since that rice doesn’t have a super long lifespan to begin with – you can only reheat it a certain number of times. The microwave also does his fair share of killing some of the germs, so I was able to reuse them without finding them gross.
Did you have a hard time doing the closure stitching on the sewing machine?
Hey Sherry,
No, I didn’t! It’s easy, because prior to taking the rice warmer to the sewing machine and closing the gap, you’ll hold it so that all grains go to the bottom of the bag. That gives some leeway, so don’t worry about this step. All the best!
Did you have a hard time doing the closure stitching on the sewing machine?
How do you wash them?
Hi Chloe,
I haven’t washed mine. But I don’t think it’s a good idea to wash it as-is, the damp rice will get moldy. You can however remove some stitches, empty the old rice, wash and dry the fabric cover, then fill it again with new rice and close the opening. I hope that helps!
What do you think about making covers for the hand warmers? So you can just pop it off and wash it without issue.
Do you use padding to the inside of bag ?
Hi Lisbeth,
No, there’s no padding. I used a single layer of fabric. Just try making one from scraps, it’s super easy and quick, and so fun! If you’re worried about the microwave, try heating it first for no more than 5-10 seconds, then let it cool down – then try 20 seconds and so on.