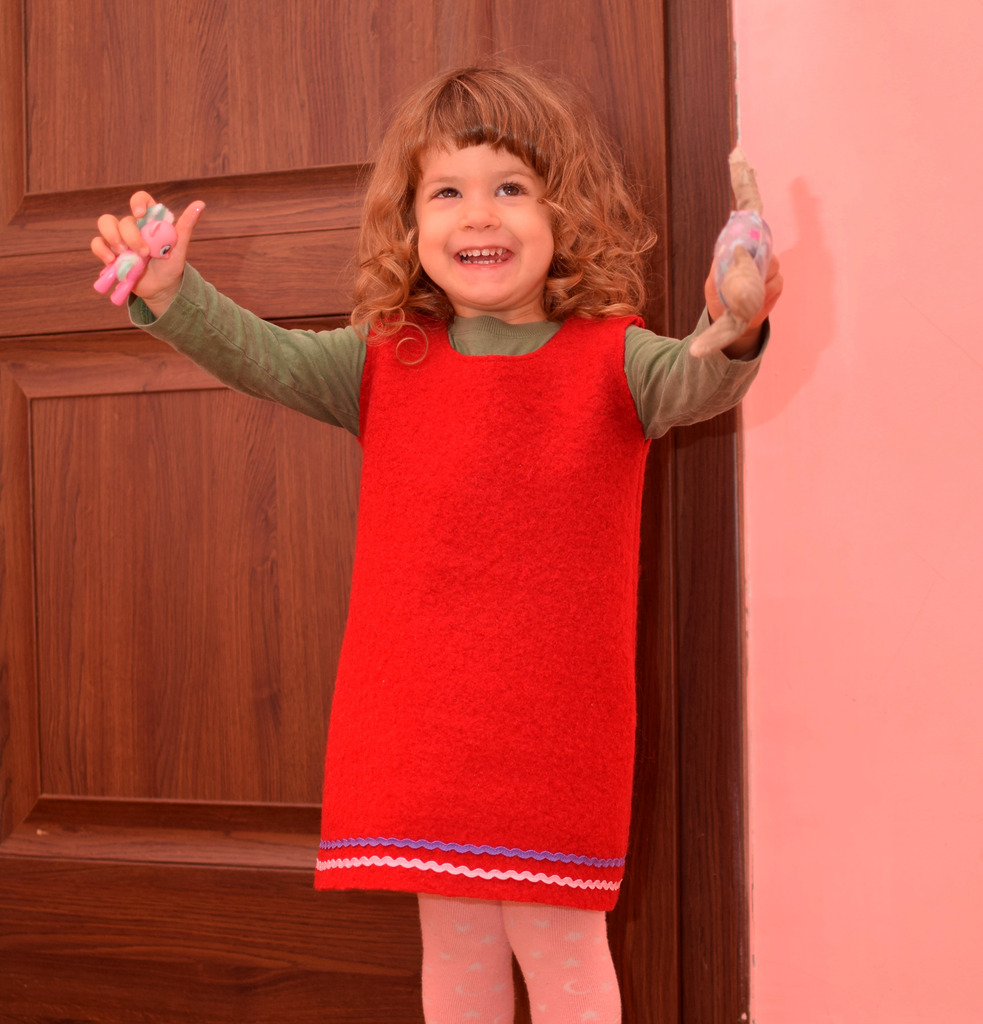
I’m happy to share with you this easy DIY wool dress I recently made for my 2 year-old daughter. Boiled wool is a natural fabric with amazing properties. It retains the body warmth and keeps you comfortable when the temperature drops, it’s windproof and waterproof.
This simple dress is super easy and quick to make and it’s great for the cold season, as it keeps the core warm and also covers the bottom. This is my first self-drafted pattern and, while not perfect, it’s undoubtedly functional.
Dressing kids for cold weather
My kids love to play outside, no matter how cold it may be. I’m very happy about it, but I must ensure they stay warm and comfortable in the winter.
Related: How to make reusable rice hand warmers / Cool things to sew for kids. 30 gift ideas / DIY crib sheet tutorial
Usually, kids don’t even notice they’re cold because they’re too busy playing and running around. Since I’m the one taking care of them when they get sick, it’s in my best interest to dress them properly.
We are preparing for a long, cold winter here. Some experts have announced that this winter will be the coldest in the last 100 years. I know, they keep saying that every year, but it’s not unusual around here for the temperature to drop below 0 Fahrenheit during winter. Under these circumstances, I think boiled wool clothes are not a caprice but a necessity.
It’s been a while since I’ve first wanted to sew with boiled wool. This year I decided to finally give it a try – how bad can it get? I have been sewing now for more than 5 years, I guess I feel ready to take on new challenges. Boiled wool is quite pricey, so I’d prefer not to ruin the fabric.
I know it’s a good idea to make a muslin before cutting into a “good” fabric, but I never did one – guilty as charged!
Boiled wool benefits
I bought this gorgeous red wine boiled wool blend fabric online and I initially planned to make a midi wool circle skirt for me. I didn’t know exactly what 355 GSM means and the product description on the website was “boiled wool blend, 40% wool and 60% viscose, lightweight, boucle texture with a slight stretch”.
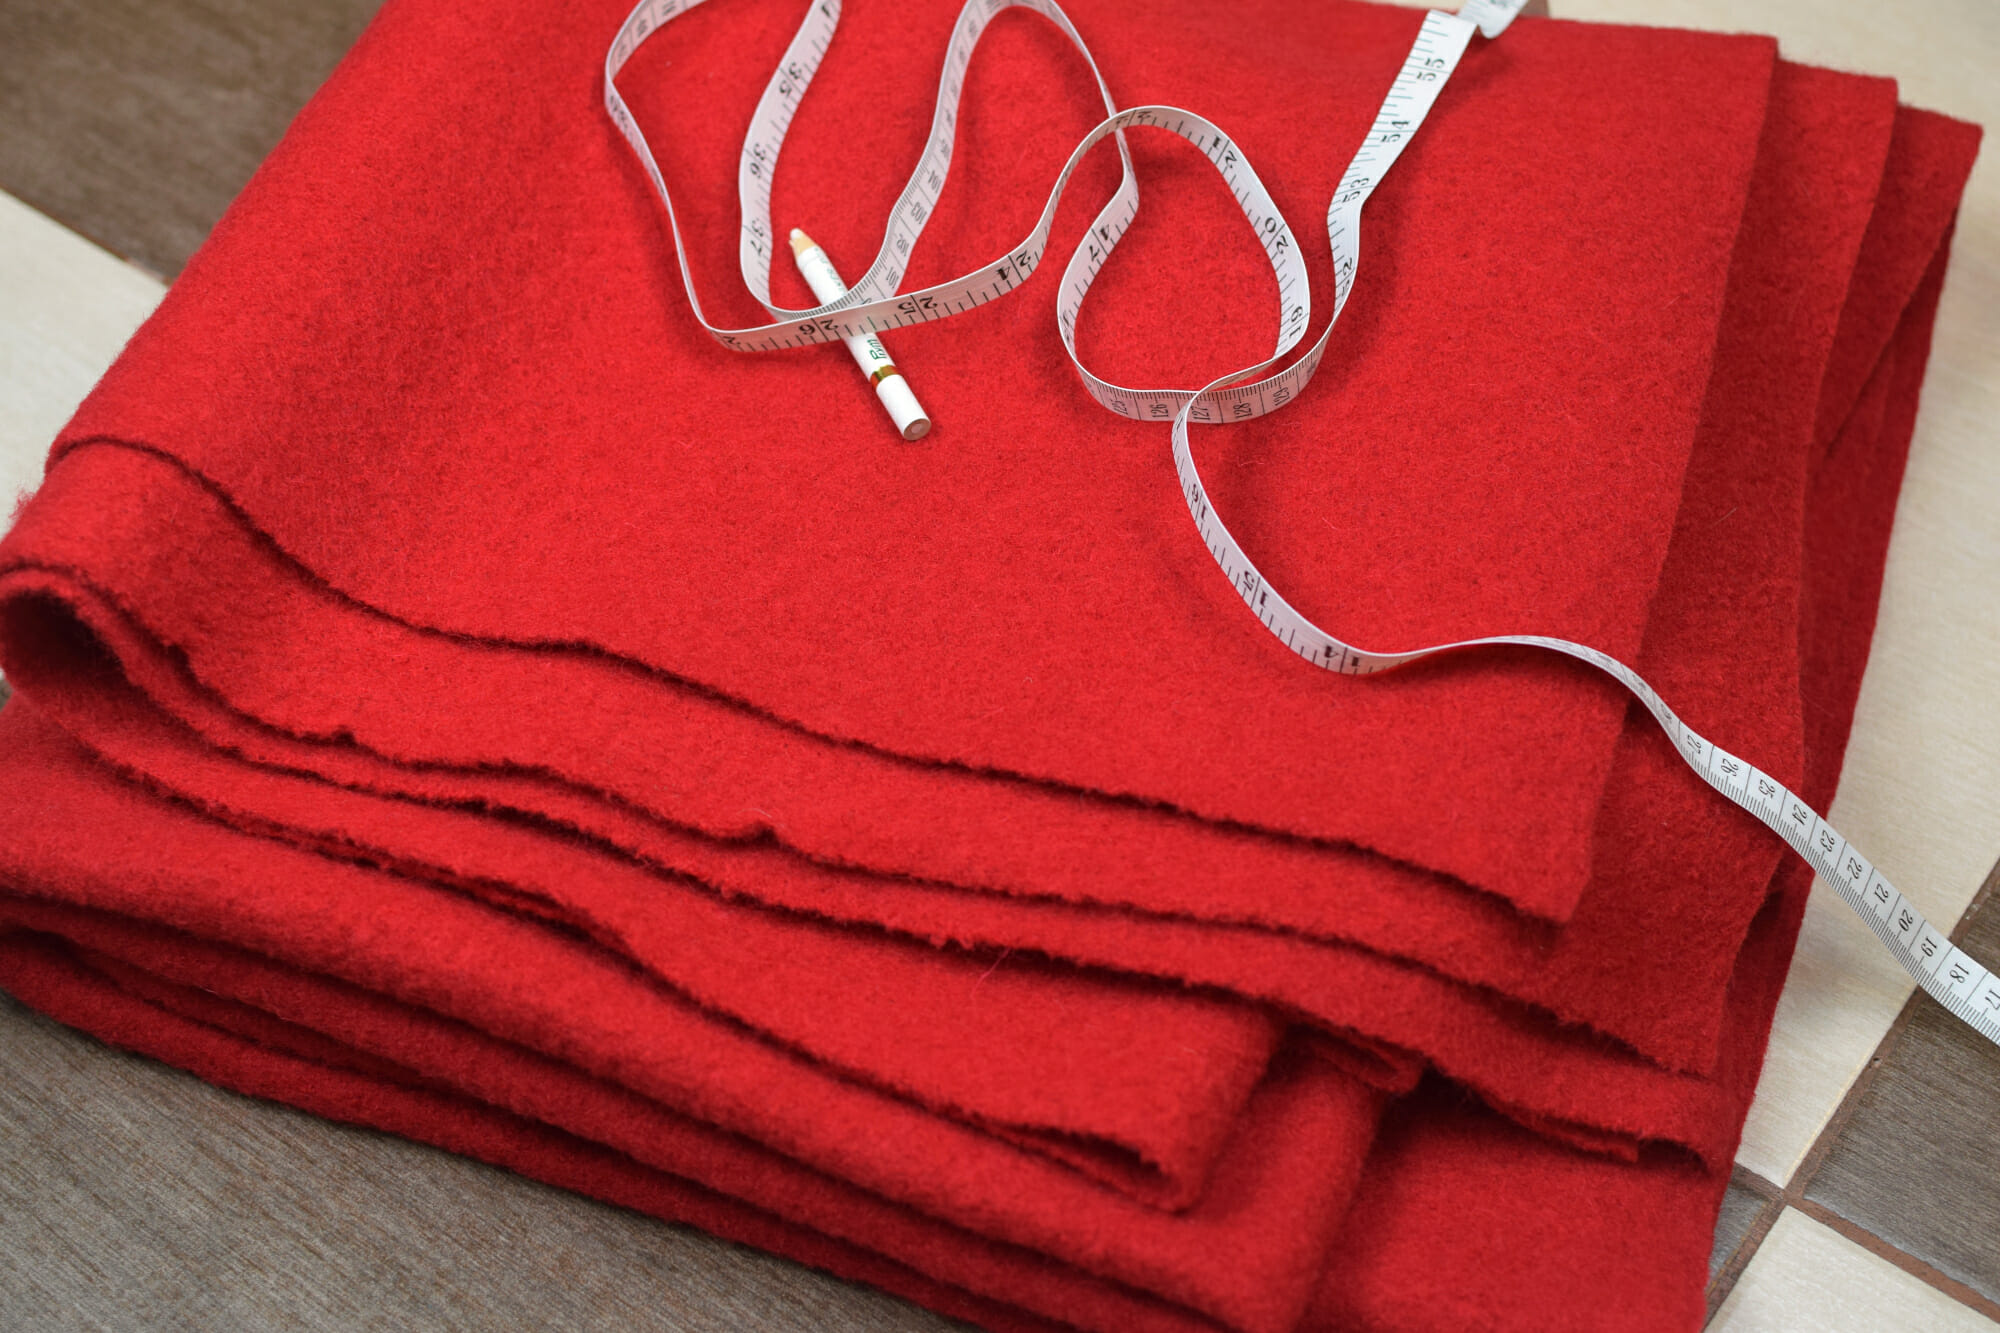
However, 355 GSM means that the fabric is rather medium to heavy, and I had to rule out a circle skirt.
Boiled wool is a natural fabric, insulating and breathable, which provides excellent protection against bad weather. It is very warm, durable, windproof, and water-resistant to a certain degree. The fat content – natural lanolin – repels water and inhibits the growth of mold and bacteria. Lanolin is what makes the wool “waterproof”, antibacterial and antimicrobial.
Related: First time sewing a girls wool coat. Here’s what I learned
As the name suggests, the wool is boiled to loosen its natural fibers, and then it’s „fulled” – a step which requires cleaning the fabric and making it thicker. In general, boiled wool is used in making vests, cardigans, coats, jackets, and berets.
However, I was not sure I had the skills to sew a jacket or a winter coat. I decided to make the simplest yet practical possible item.
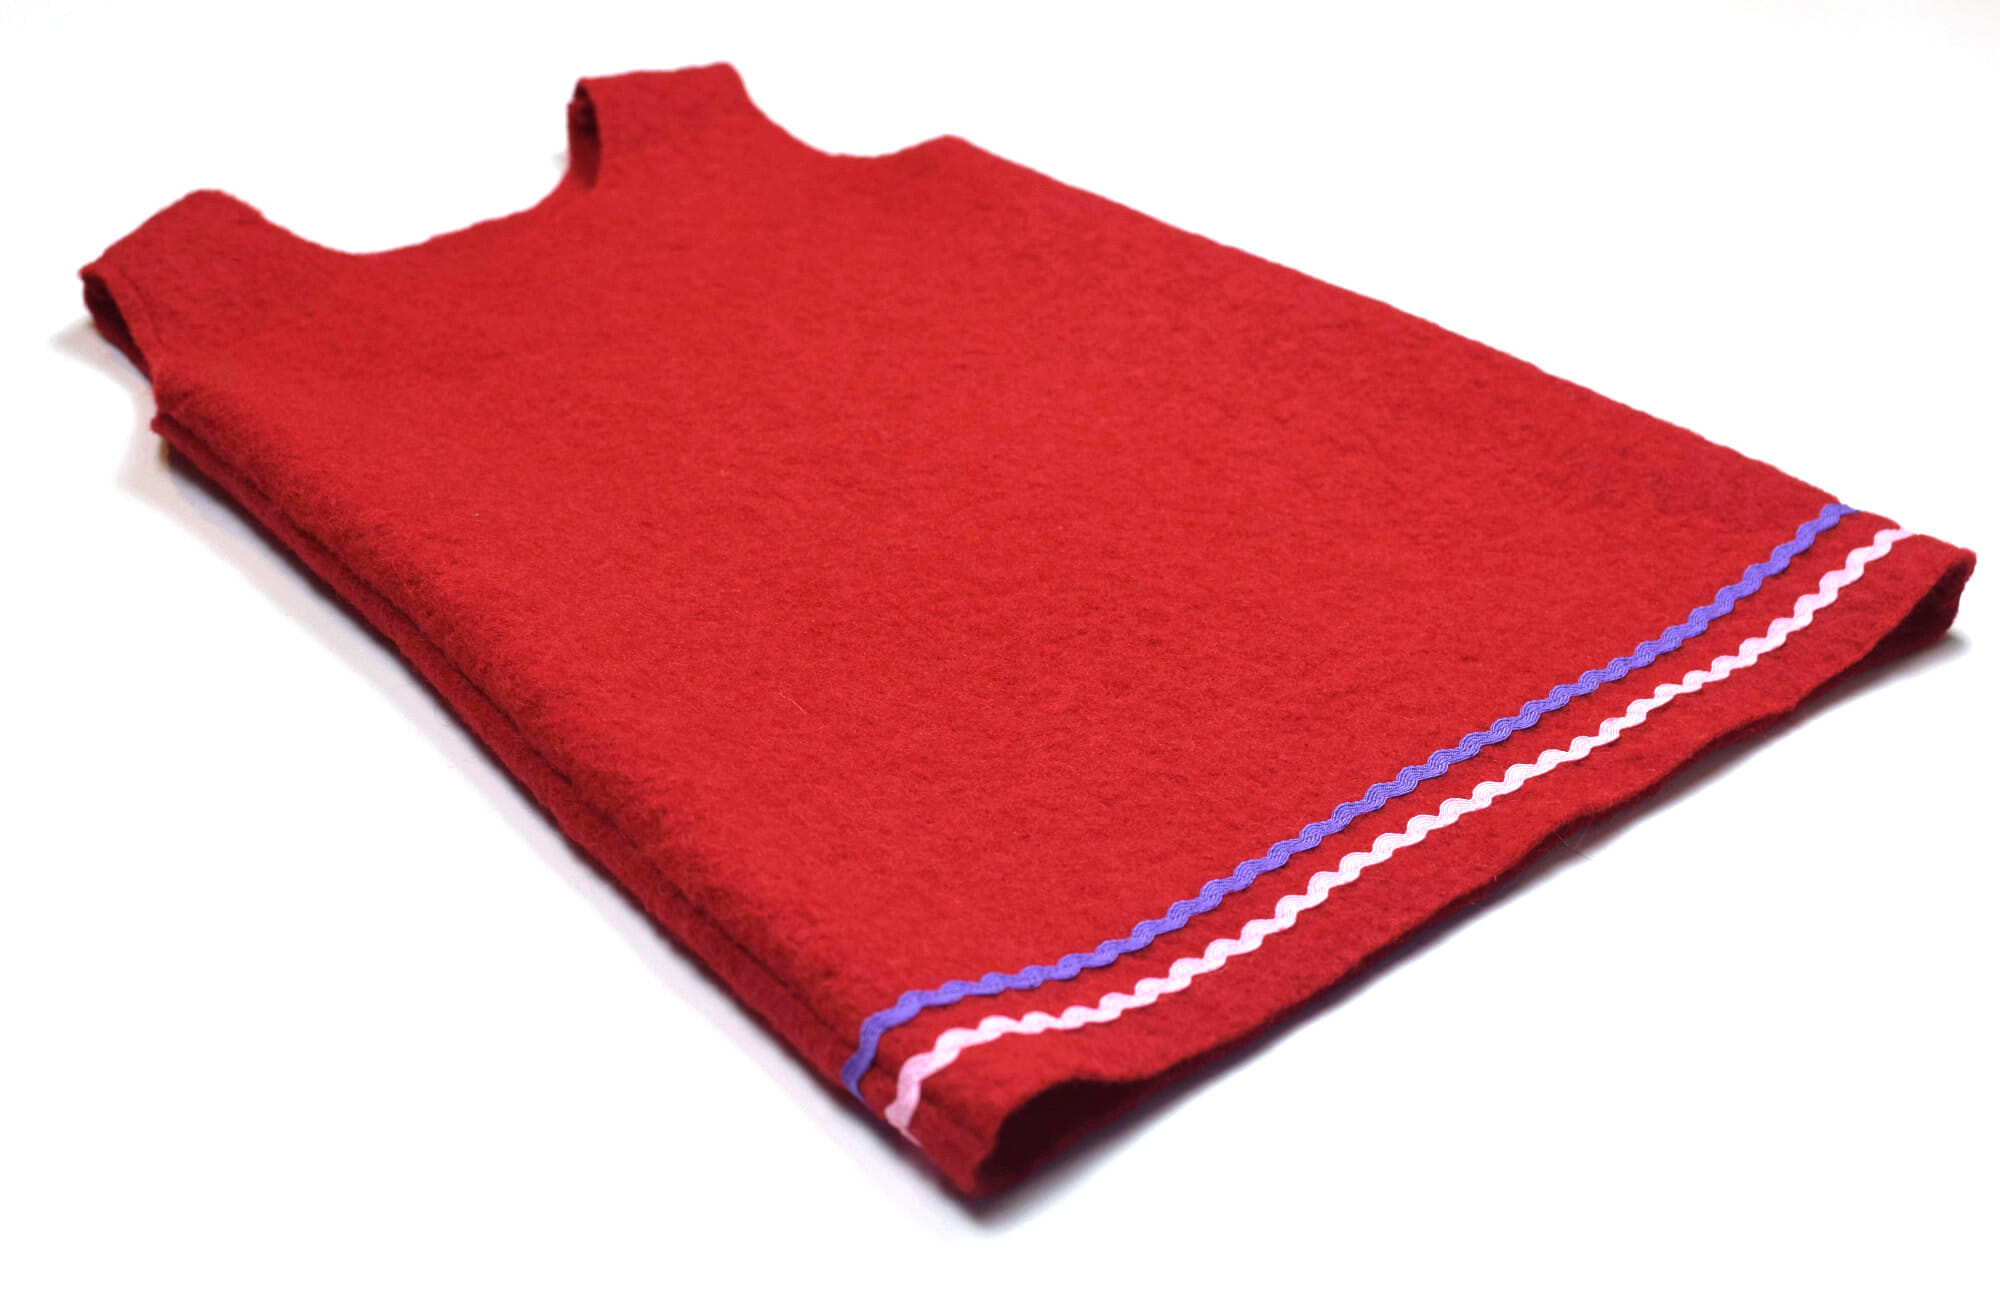
Here’s how I made this super simple boiled wool dress for my little one.
Sewing with boiled wool – tips and tricks
Firstly, it’s recommended that you handwash boiled wool fabric before sewing, because it could shrink significantly in both width and length.
Boiled wool fabric is an easy fabric to cut and sew and the edges do not fray, so my job was super easy.
To sew with boiled wool, I used a ballpoint needle and the regular 3/8” seam allowance.
Easy DIY wool dress – my first self-drafted pattern!
I used a t-shirt to trace a pattern on paper. I was not comfortable cutting the pattern on the fold – boiled wool is quite heavyweight, so I decided to draft the bodice block in full.
At this point, I must confess that I never had the patience to read a whole article on how to draft a bodice pattern. You can find some really good posts on this subject, like this or this. Speaking for myself, I still find all those measurements pretty intimidating for a lazy beginner like me. 🙂
What you see in these pictures is pure improvisation.
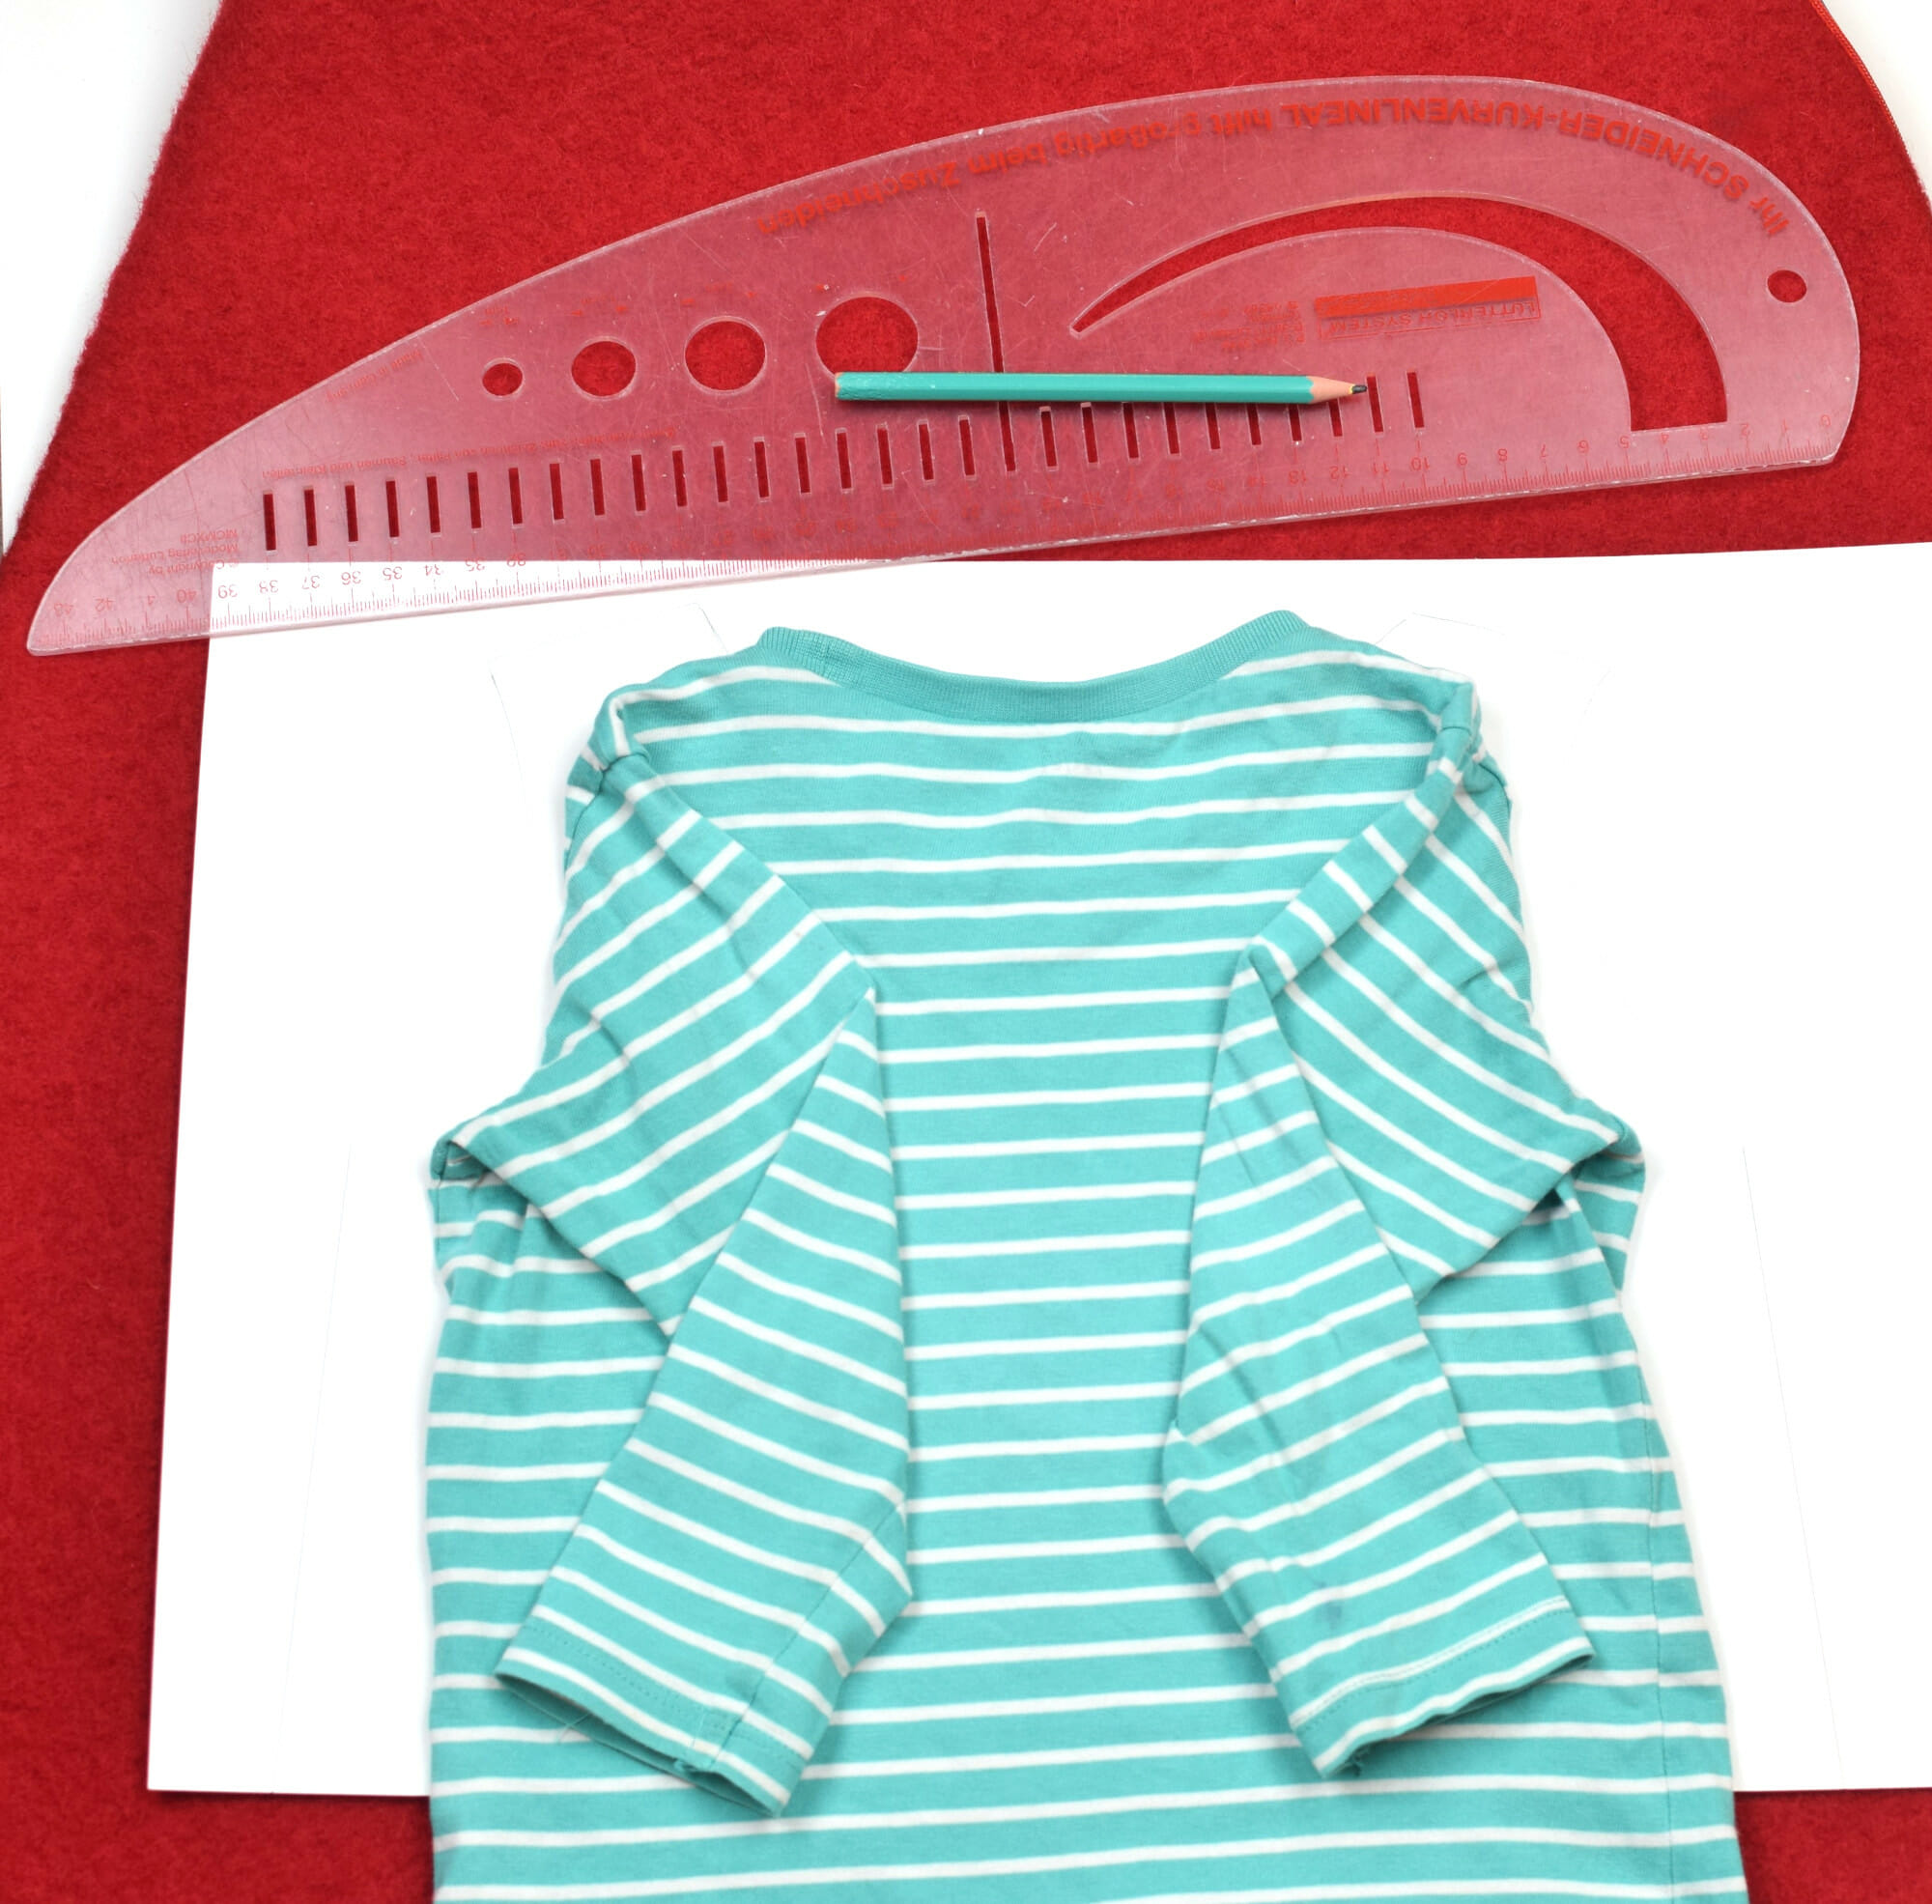
I extended the armhole line so I could join the bodice front and back at the shoulder seams; then I added 1 inch or so around the t-shirt for seam allowance and ease.
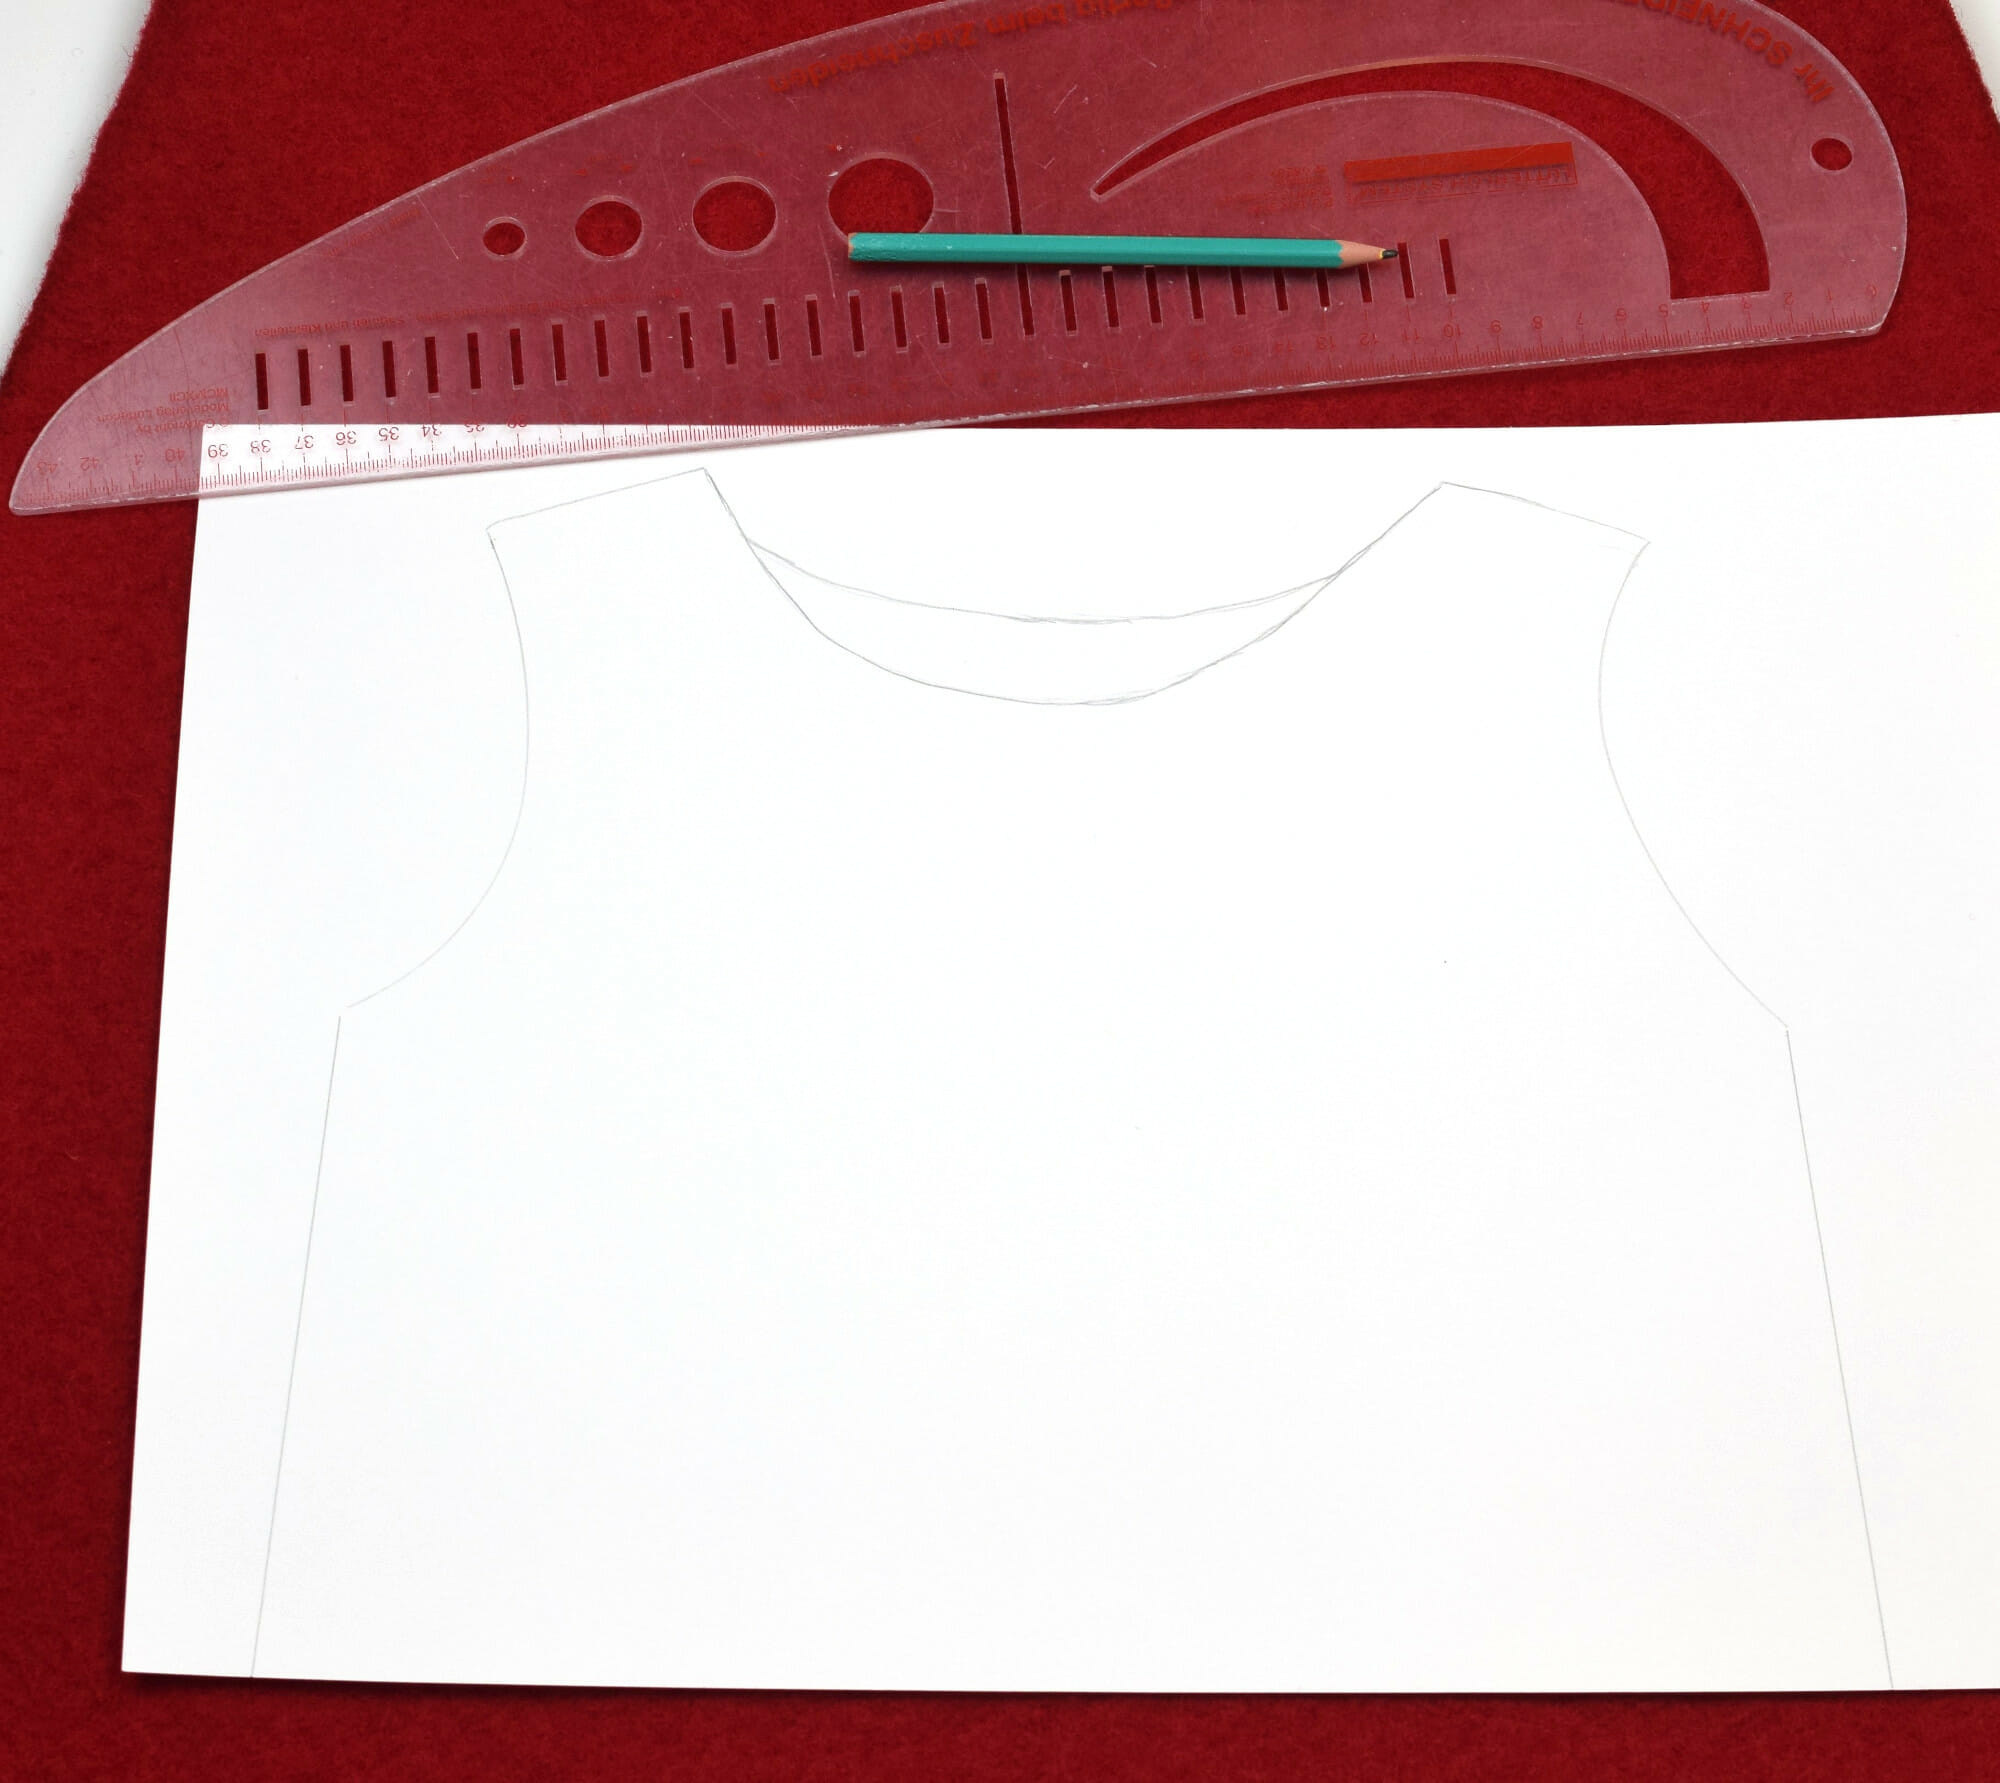
I traced the bodice pattern and then I checked the fit by placing the pattern over the t-shirt. Boiled wool is a bit itchy, so I don’t want the dress to be in direct contact with the skin at any place.
Now is a good time to make any adjustments if needed.
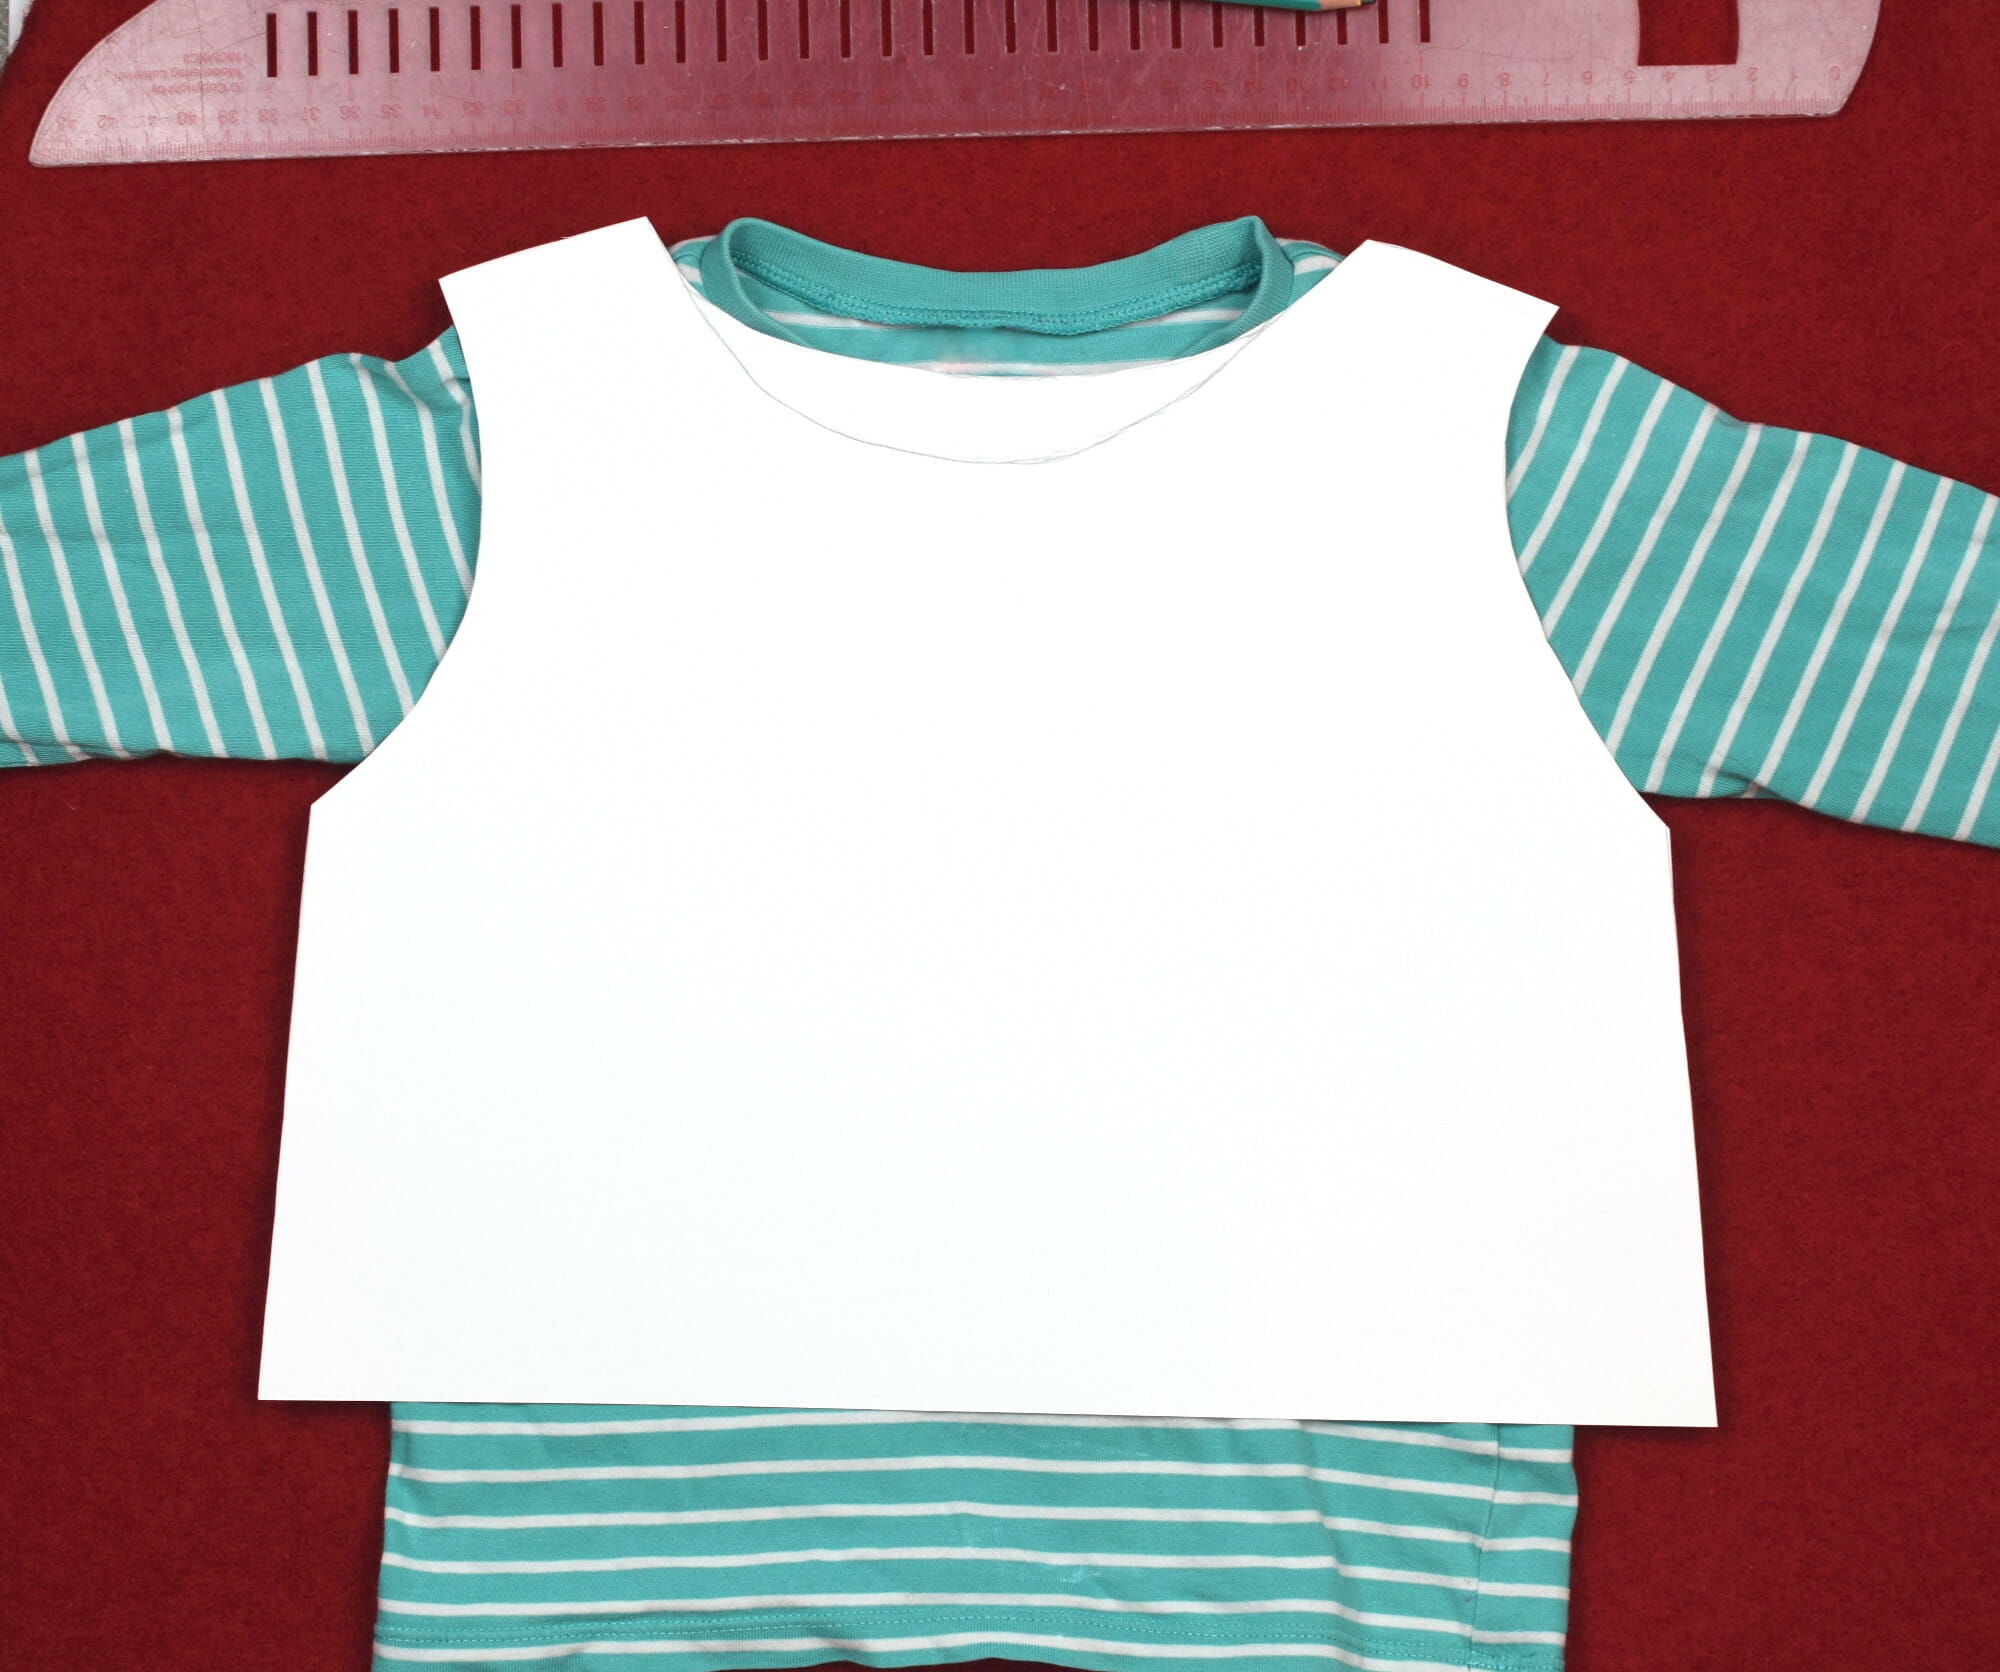
How to make an easy DIY wool dress
Step 1
For a 2T size, I cut two pattern pieces, one for the back, one for the front – each with an 18-inches measurement from shoulder to hem.
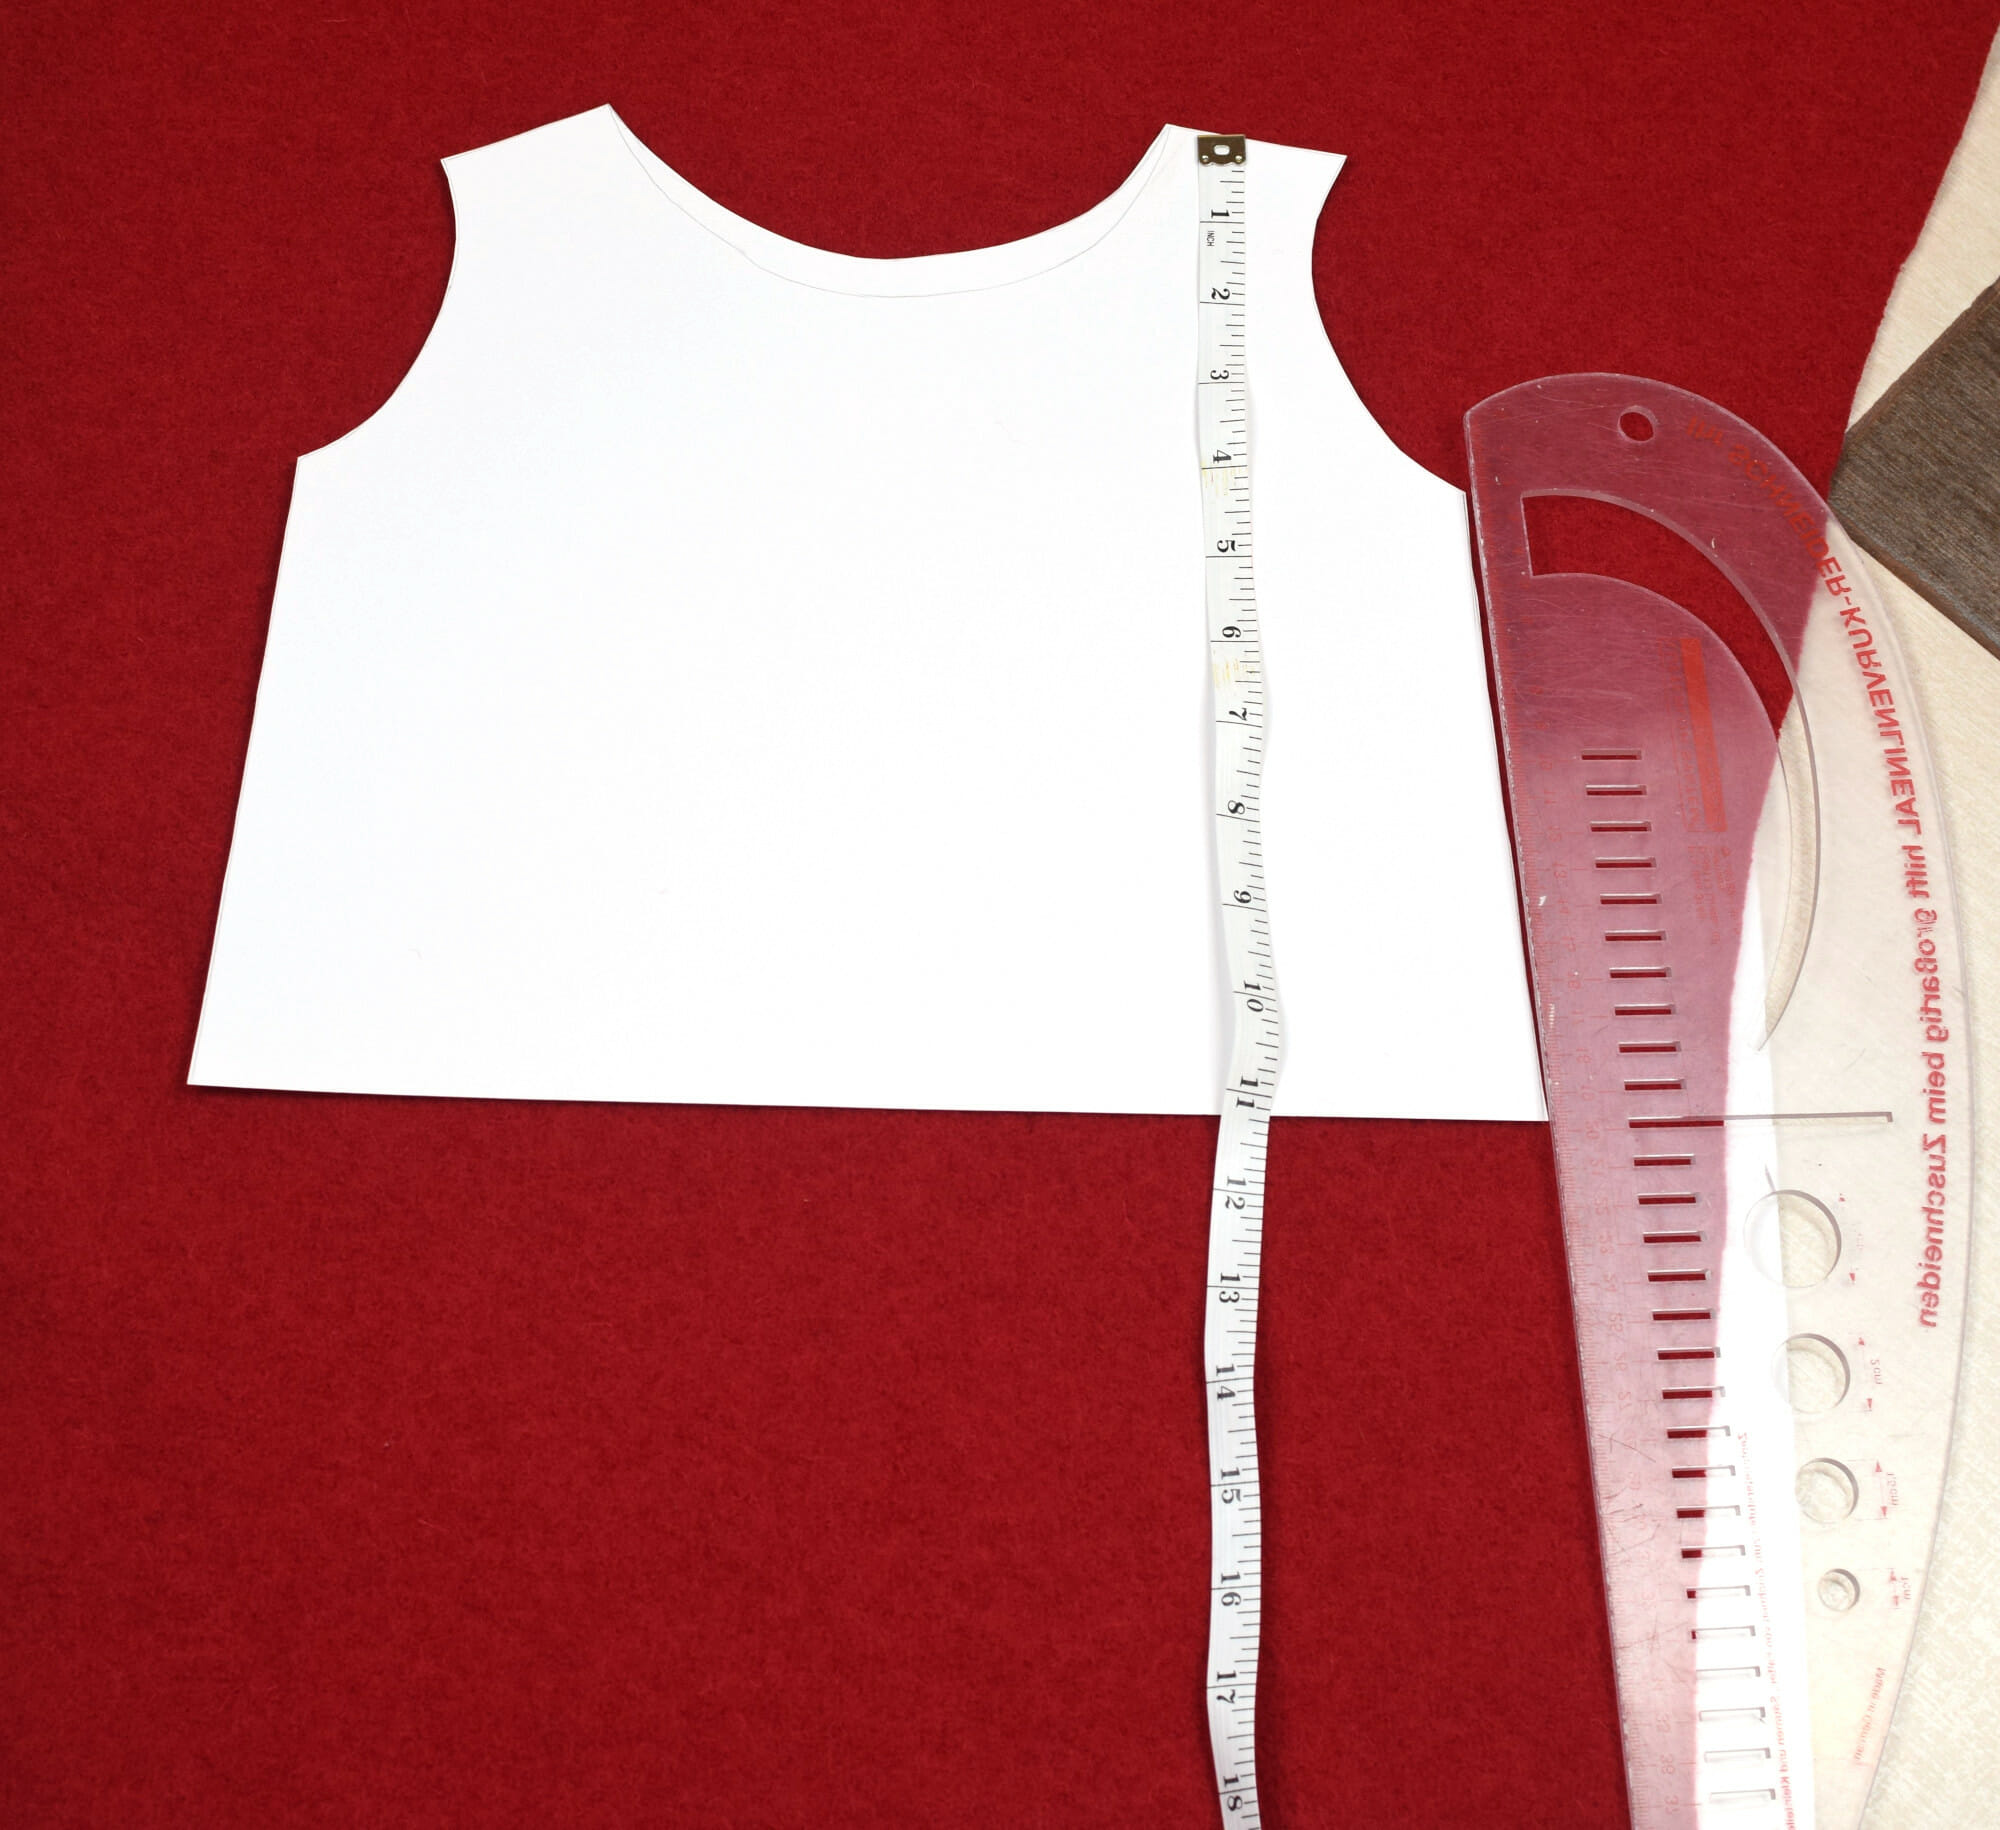
This was supposed to be an A-line dress, but I did not have enough fabric to make the flare towards the hem.
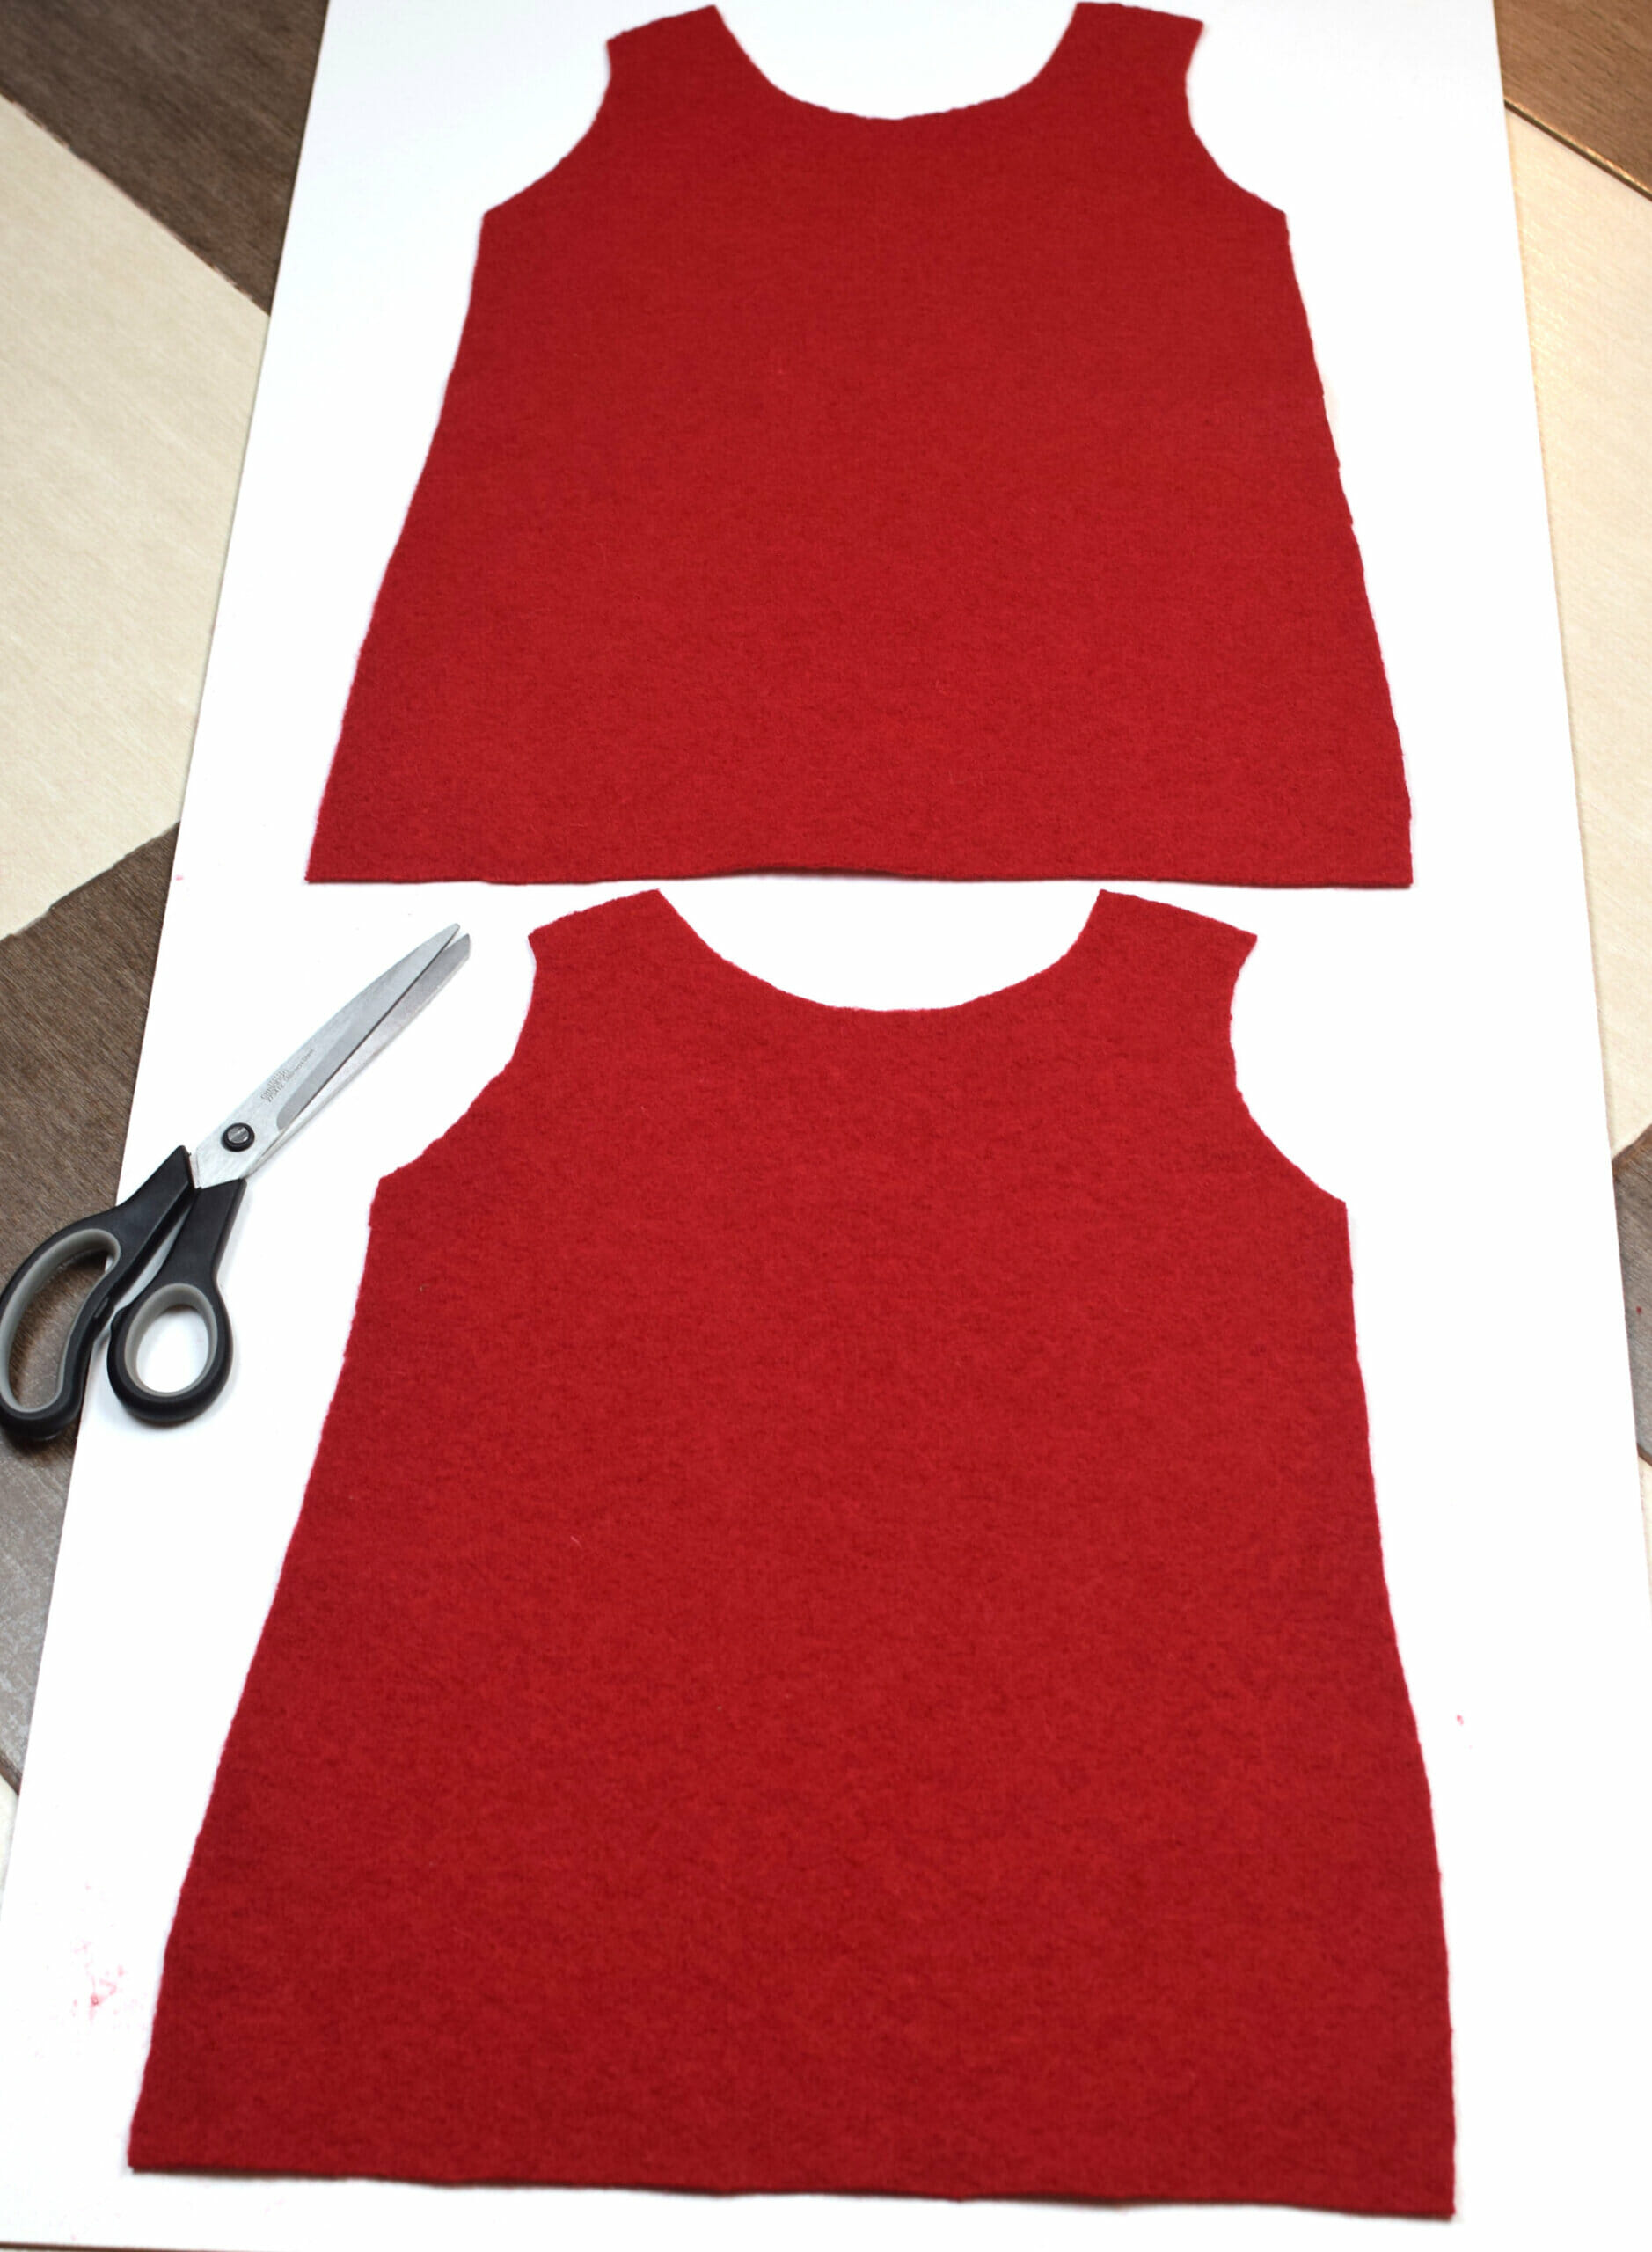
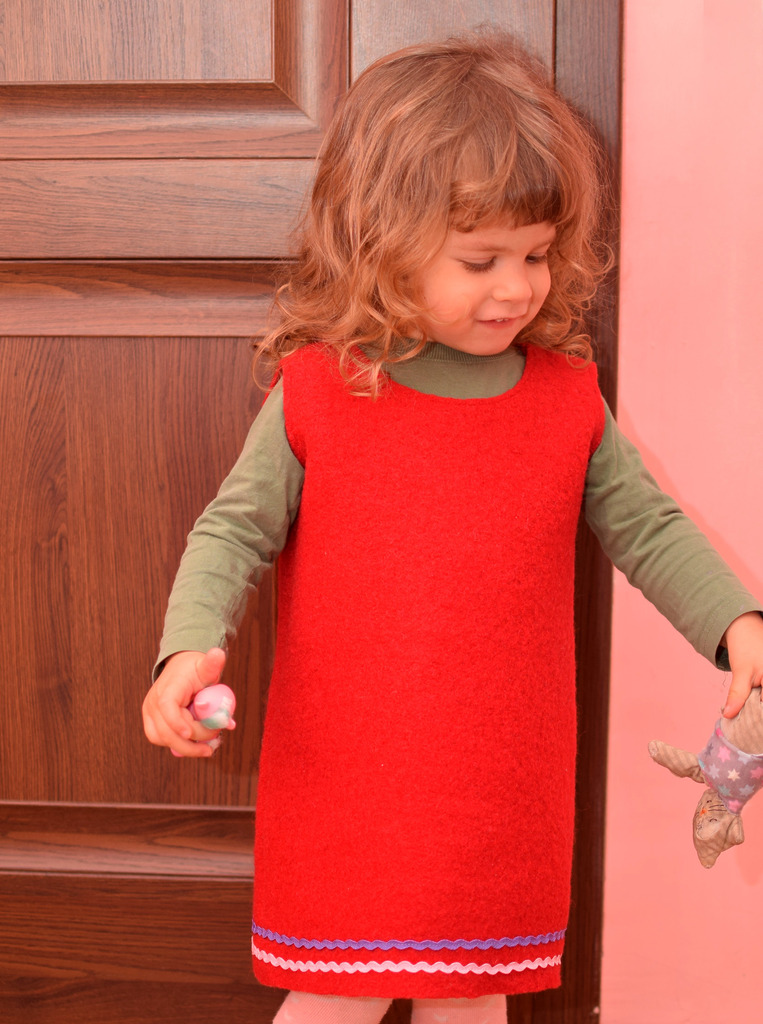
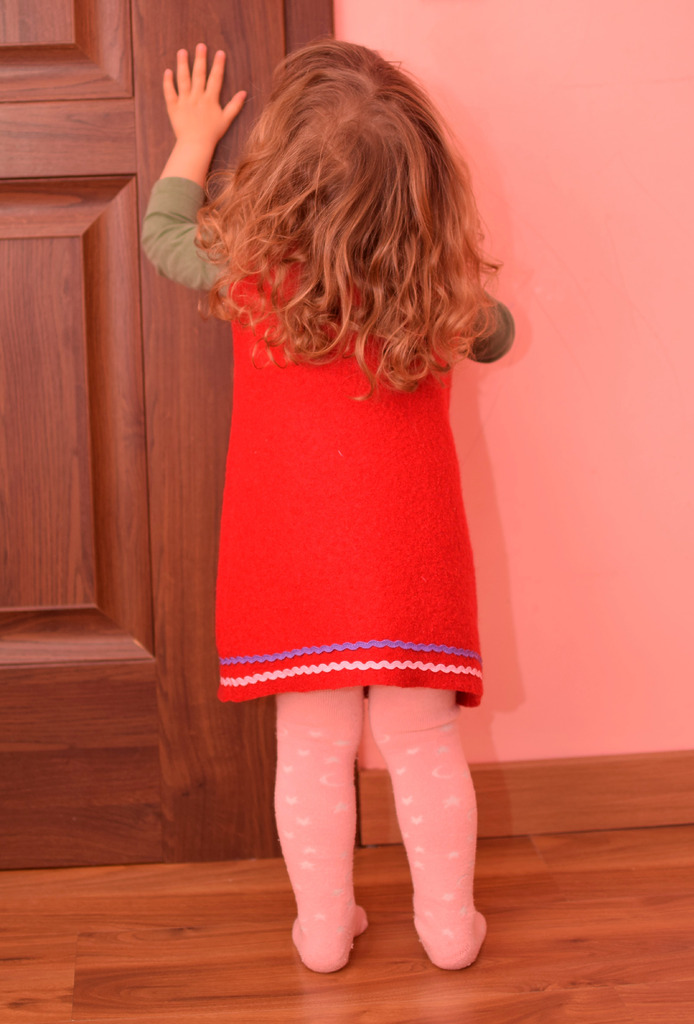
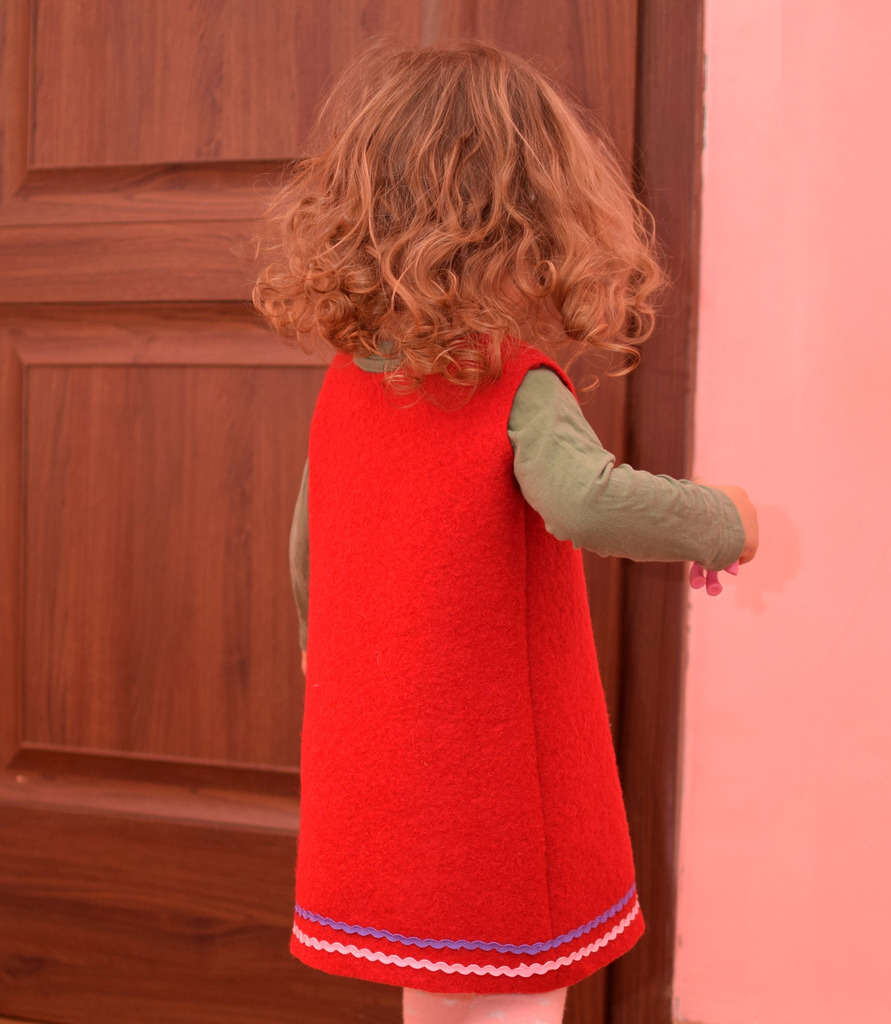
My dress is rather straight than A-line shaped, but still fits well and allows freedom of movement, even when she wears it over pants.
Anyway, I highly recommend you do add more flare at the hem, in this way the dress will have room to grow.
Step 2
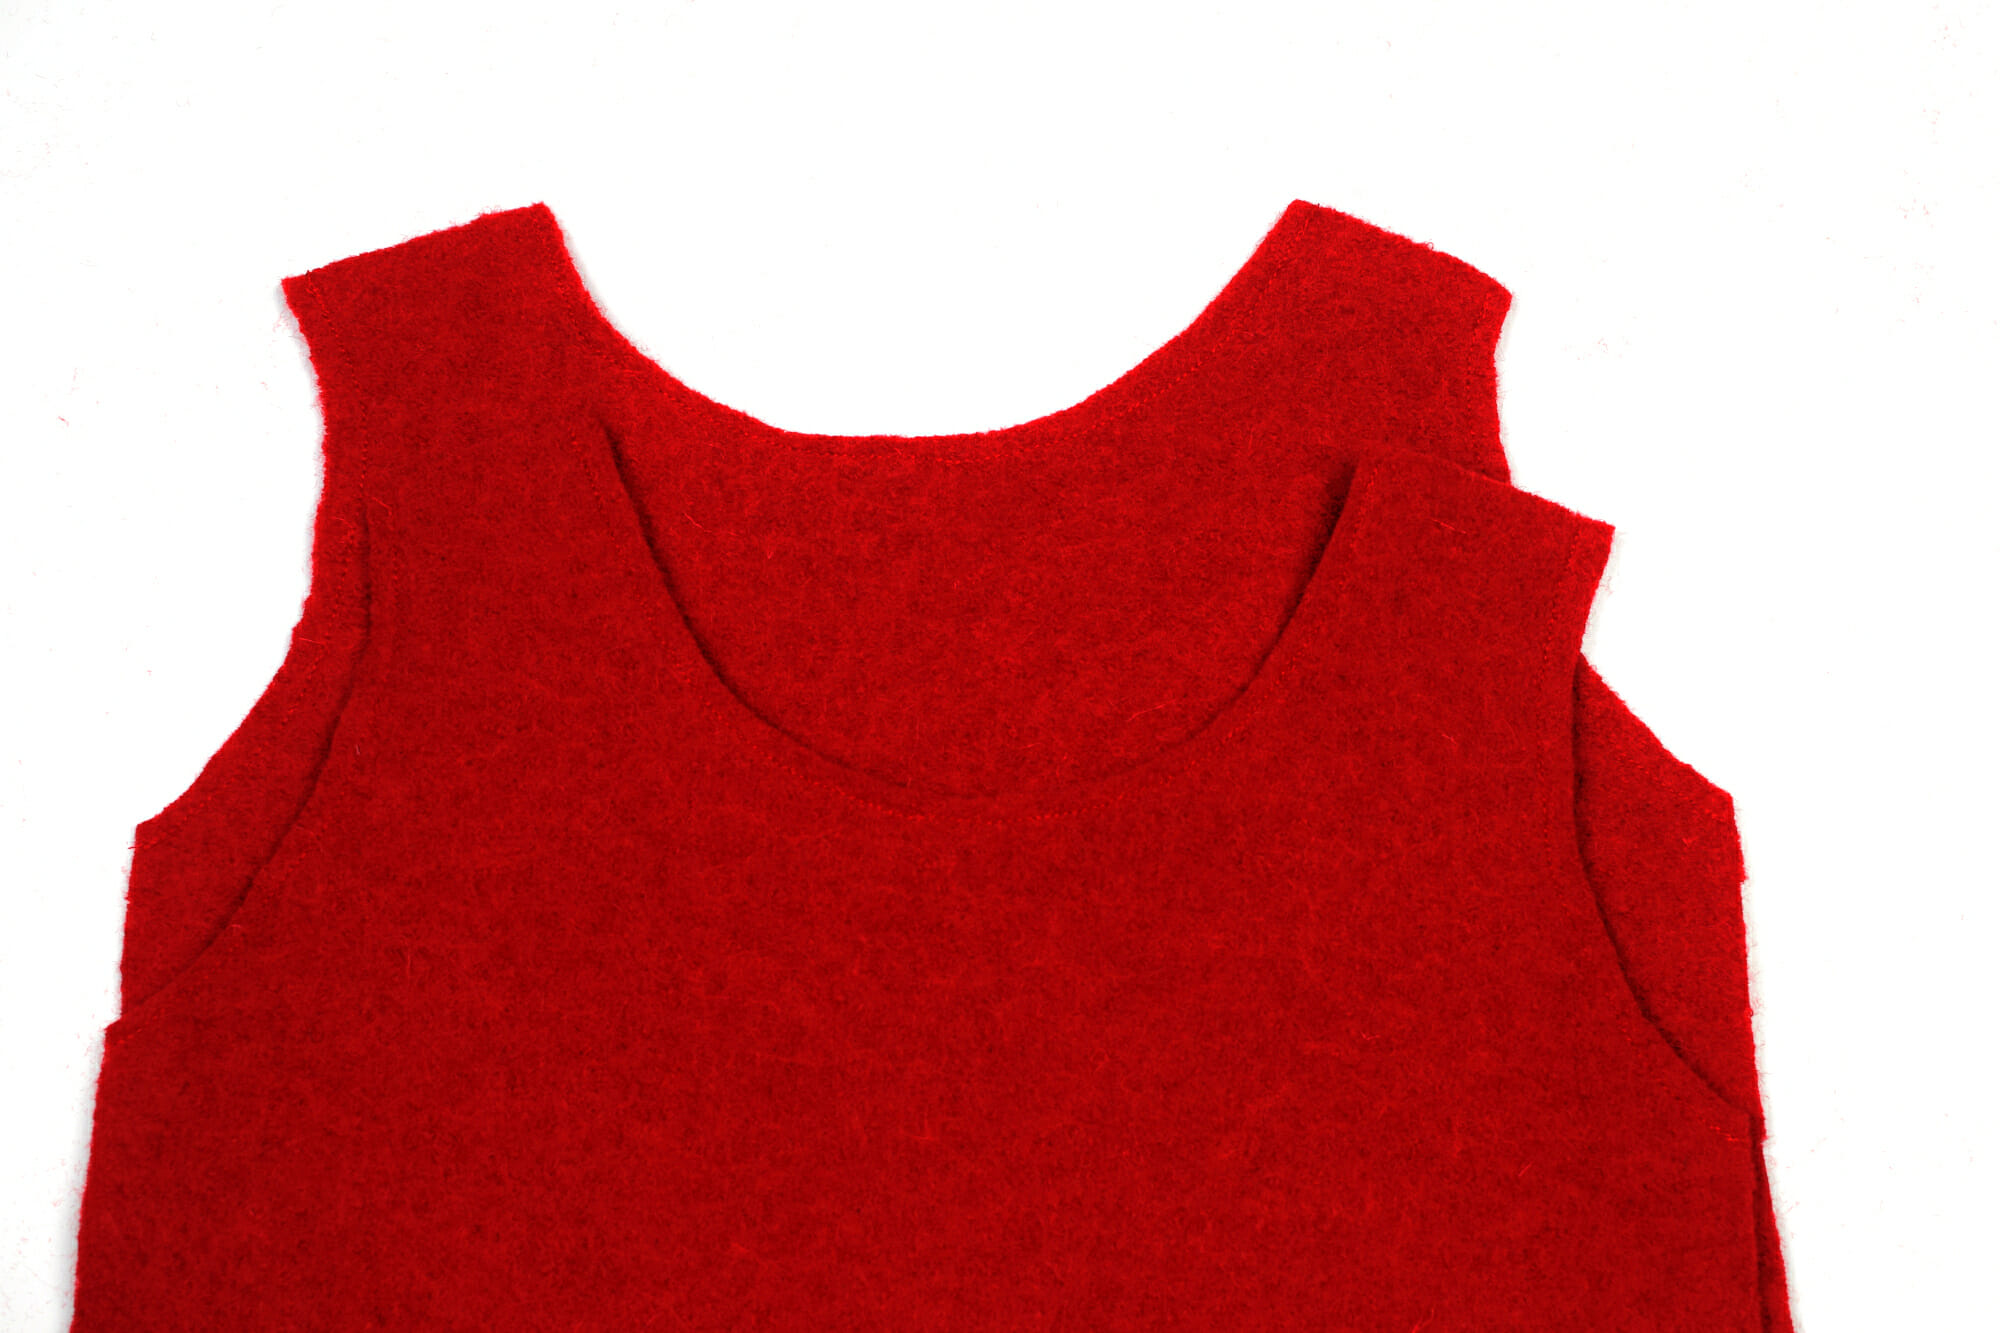
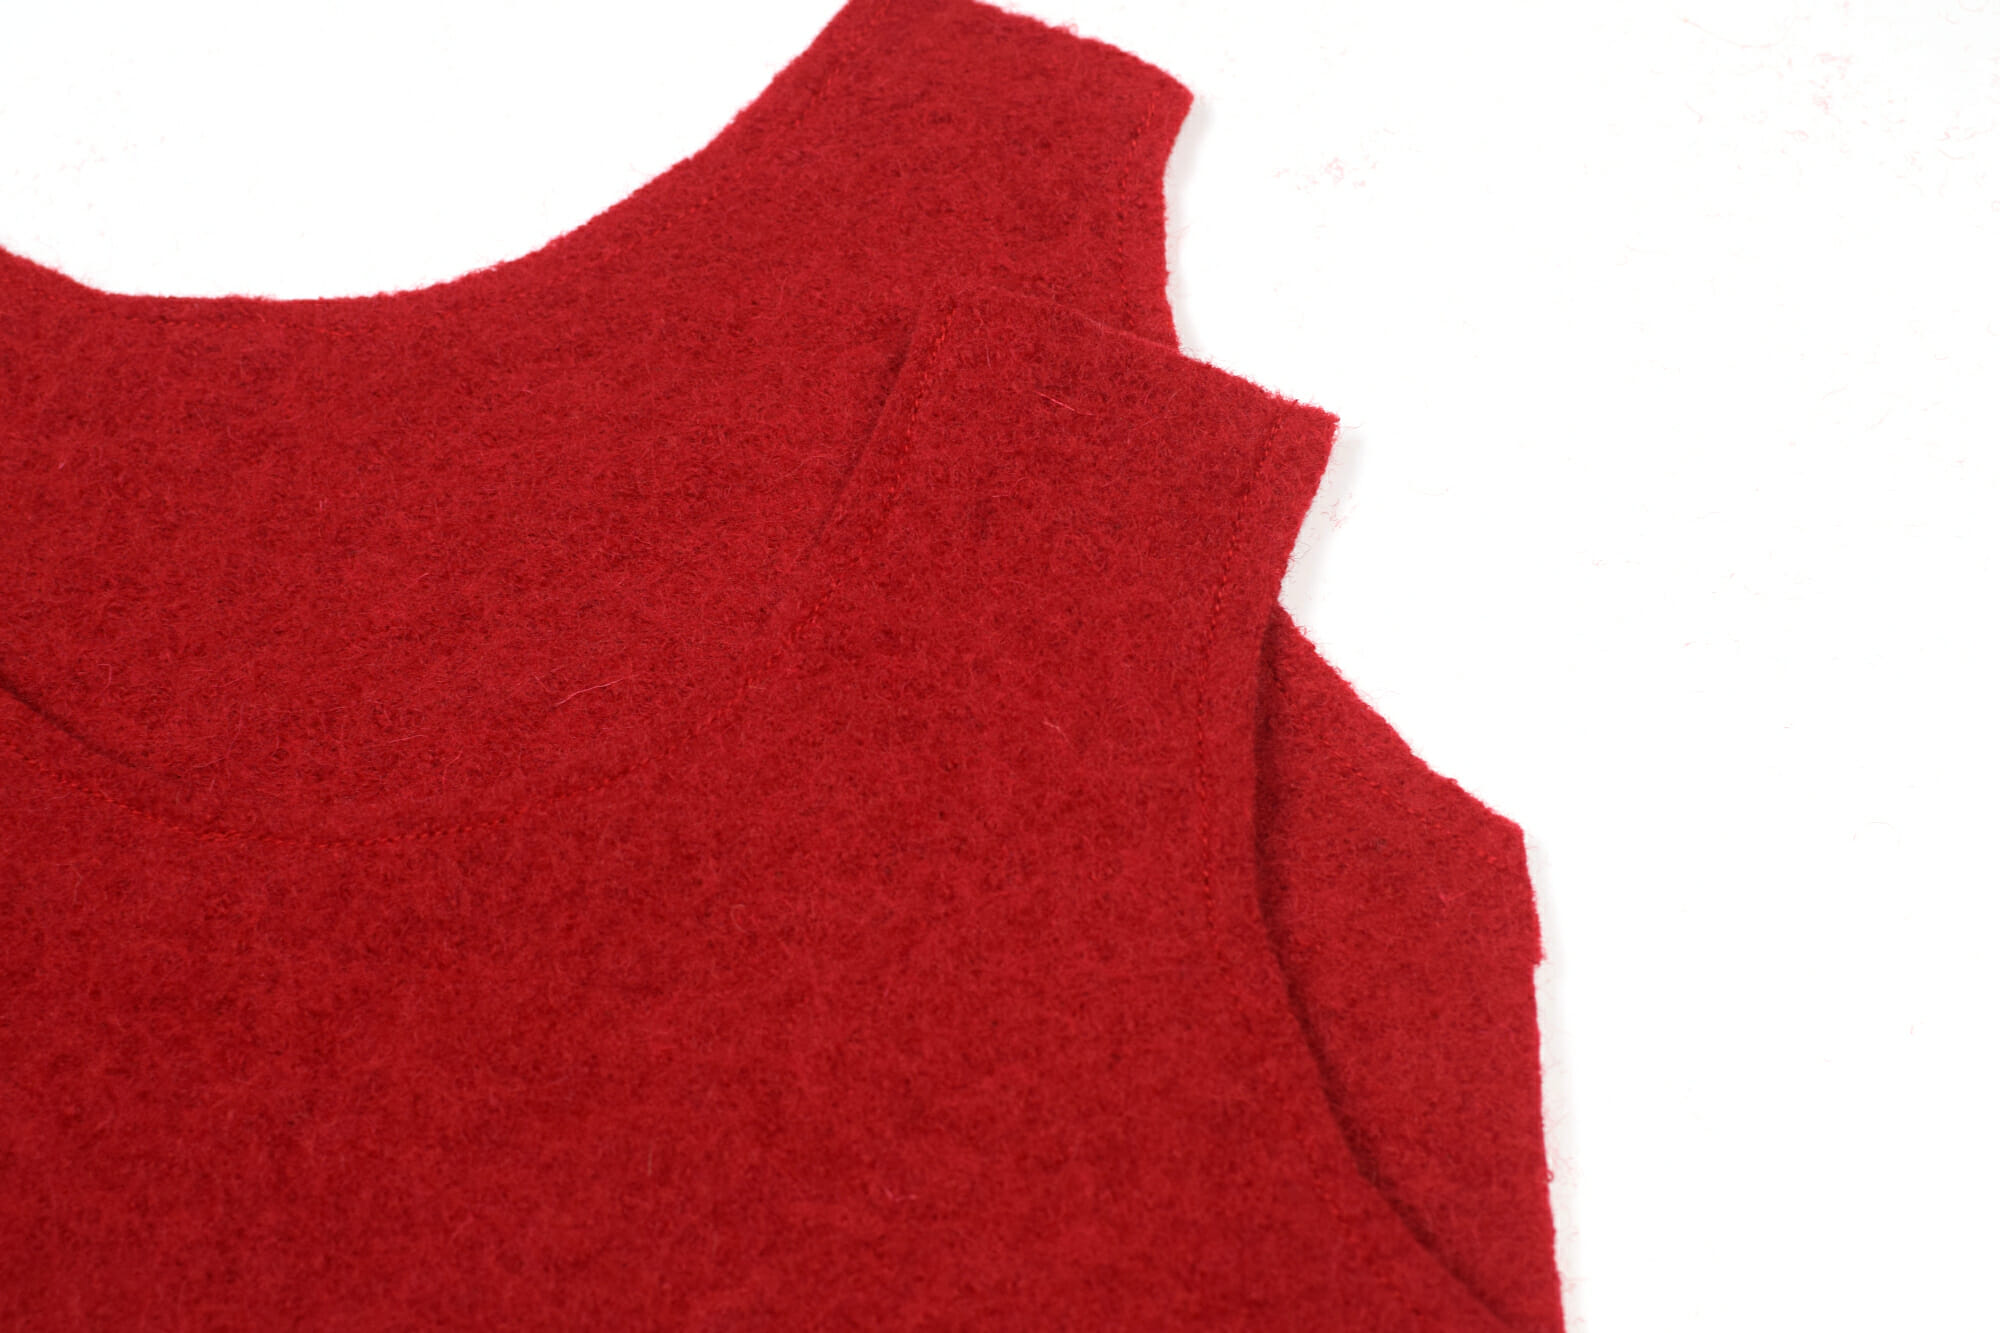
The fabric does not fray, but I did staystitch the neckline and the armholes to prevent stretching.
Step 3
With right sides together, I sewed the front and back pieces at the shoulder seams and side seams.
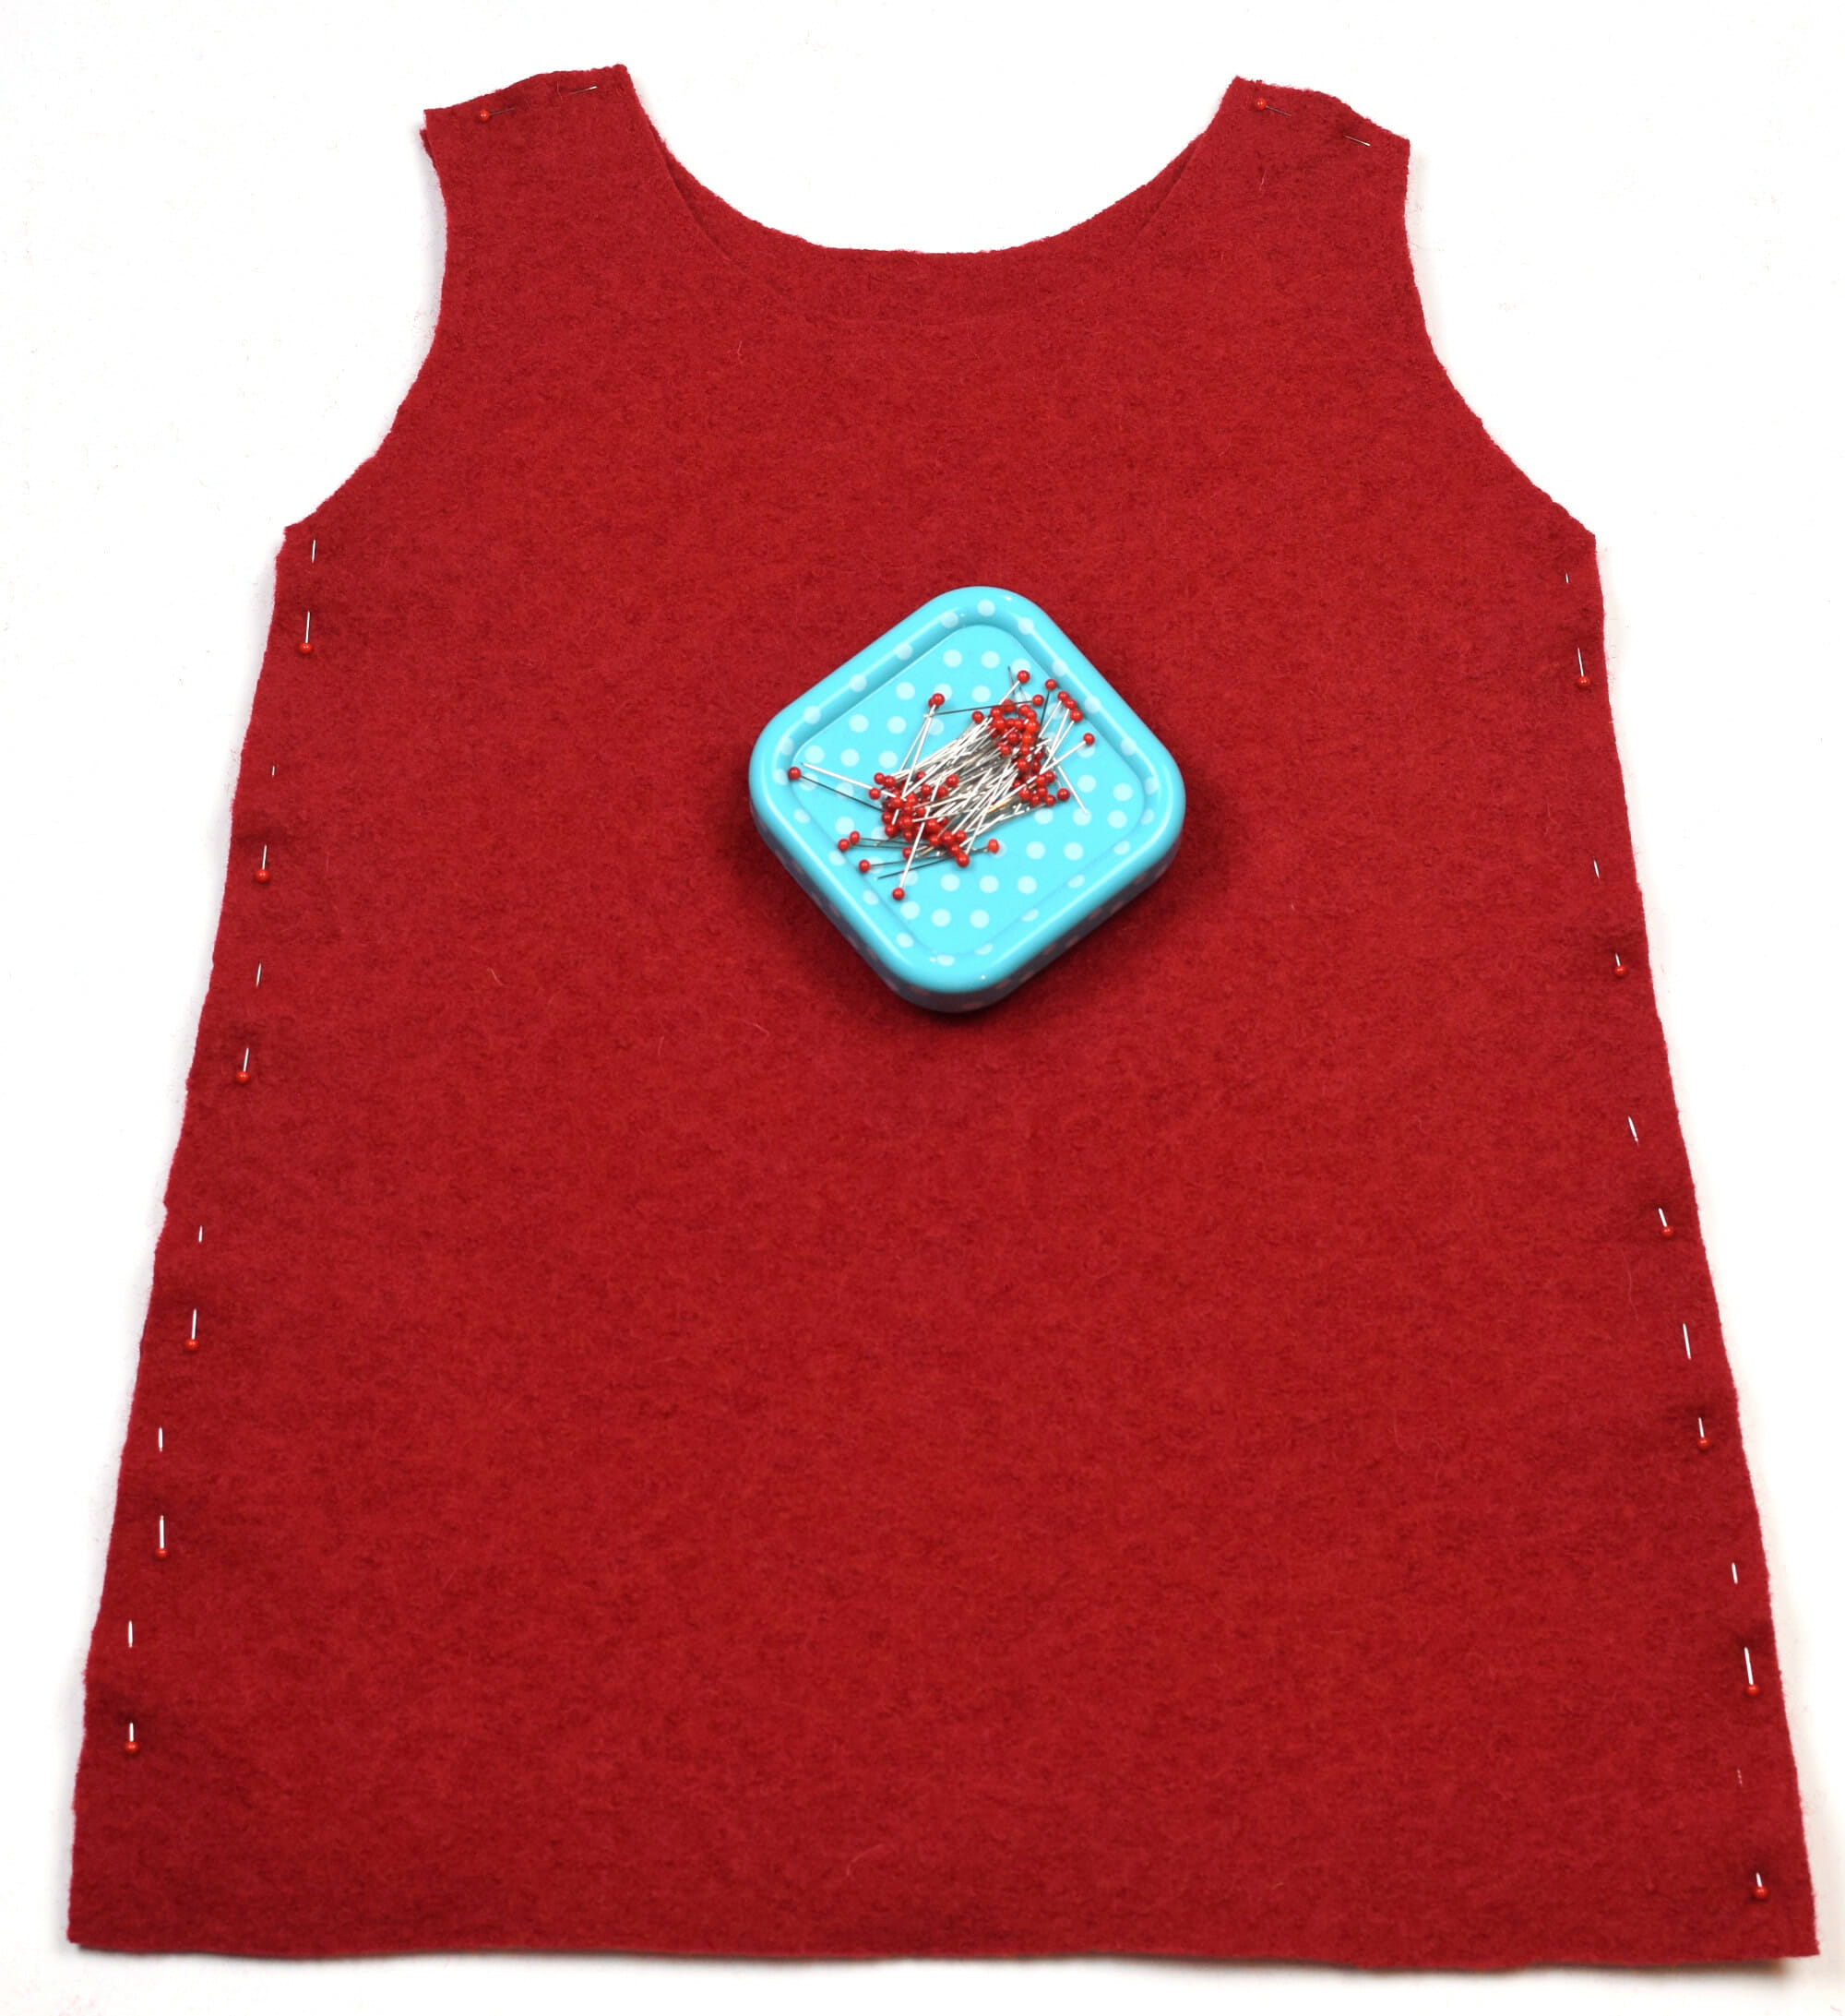
Then I set the iron to a wool setting and pressed all the seams open.
Step 4
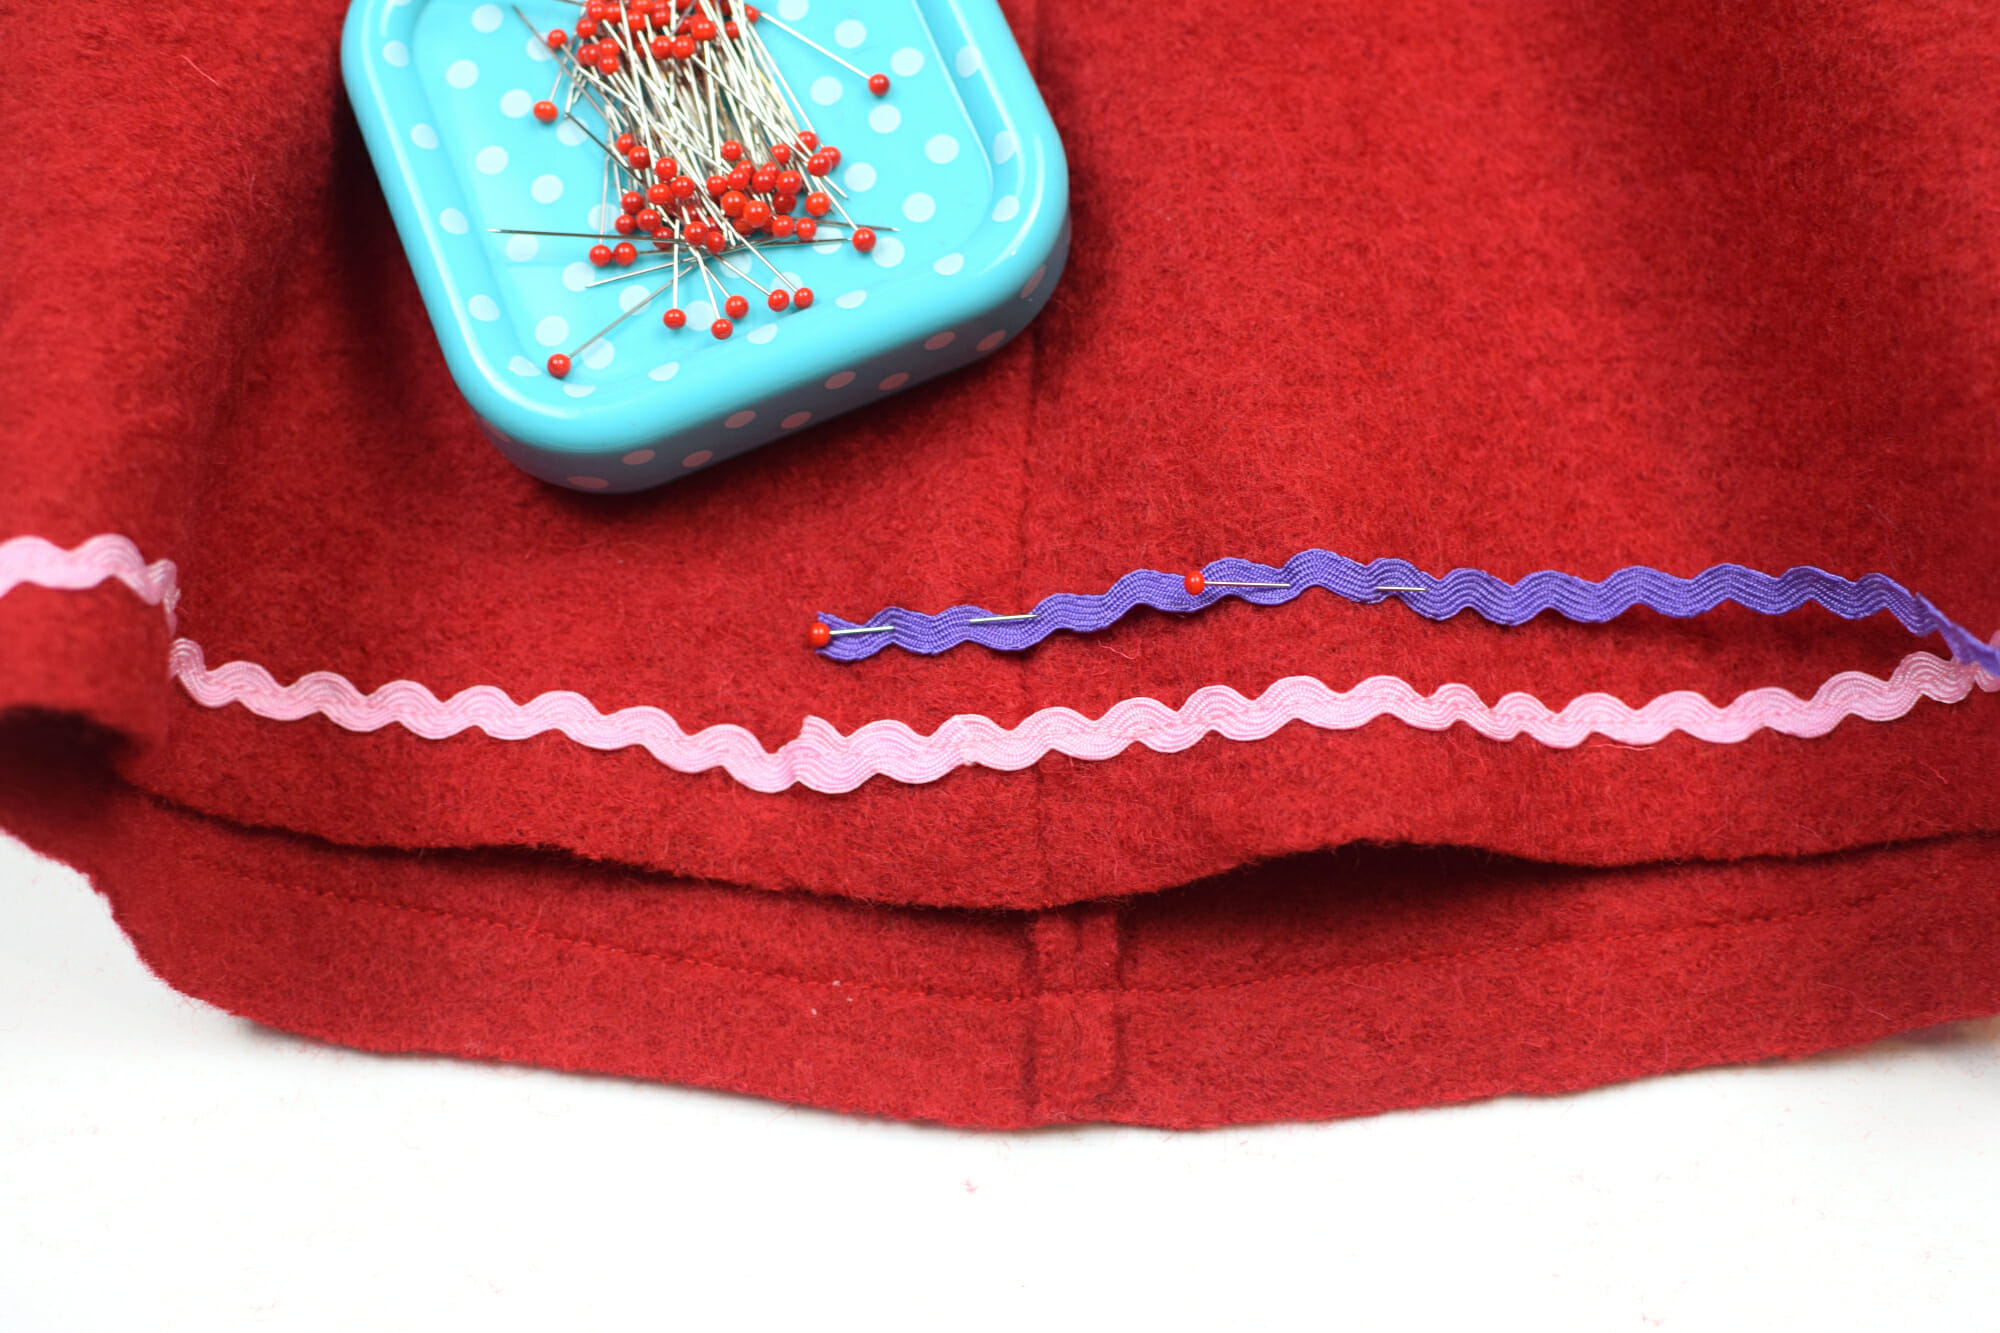
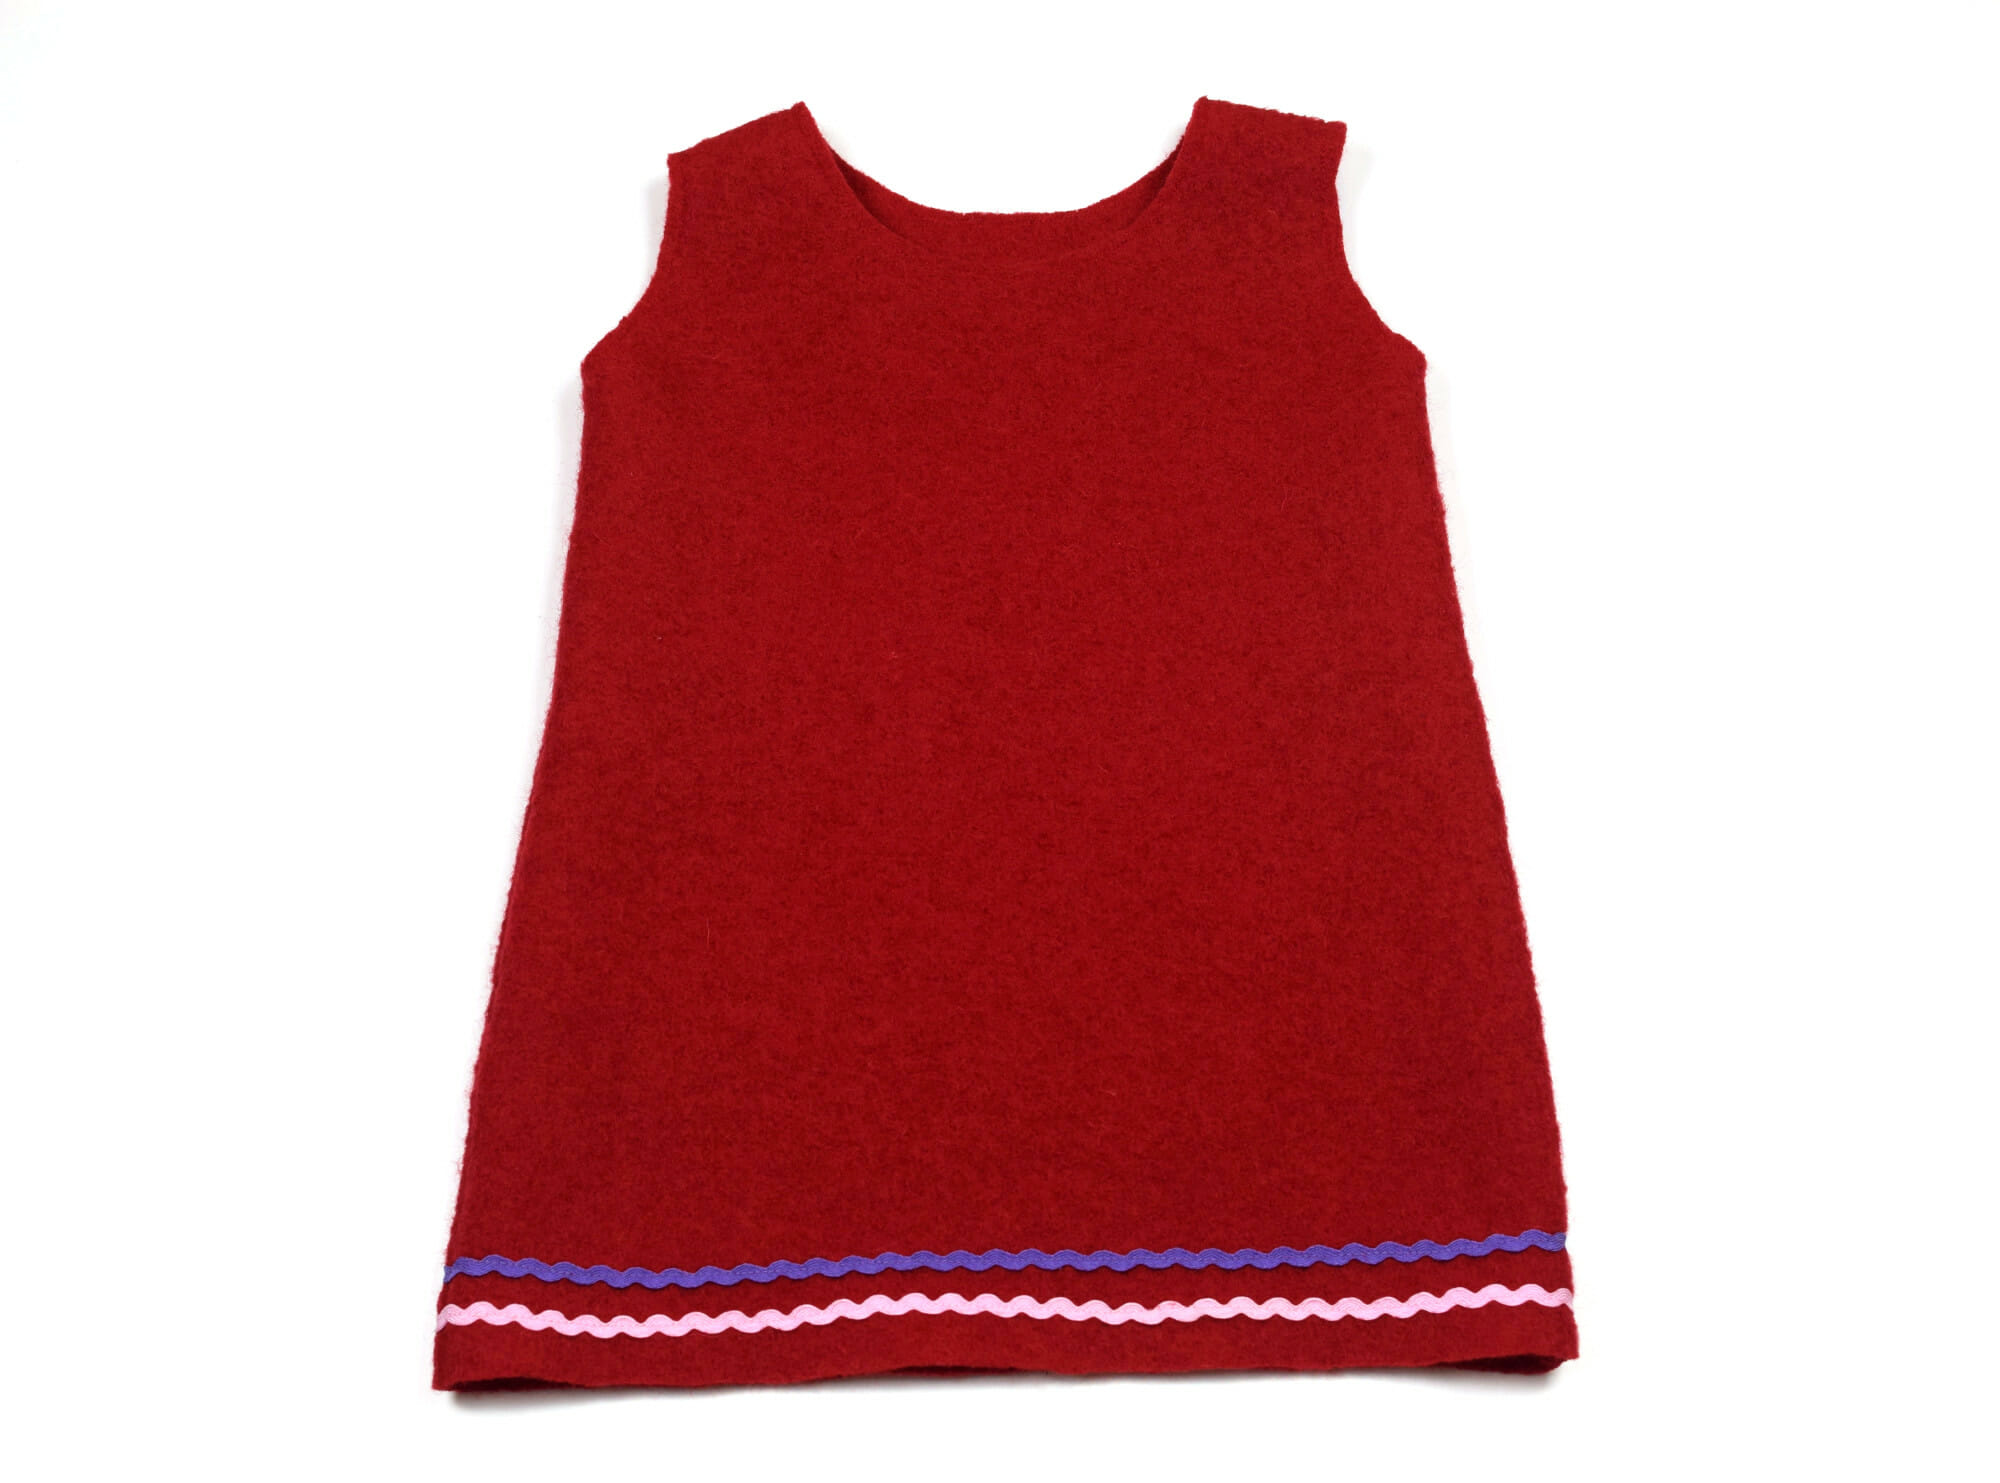
Hemming is optional, but I wanted to jazz up this simple wool dress and added two rows of rick rack.
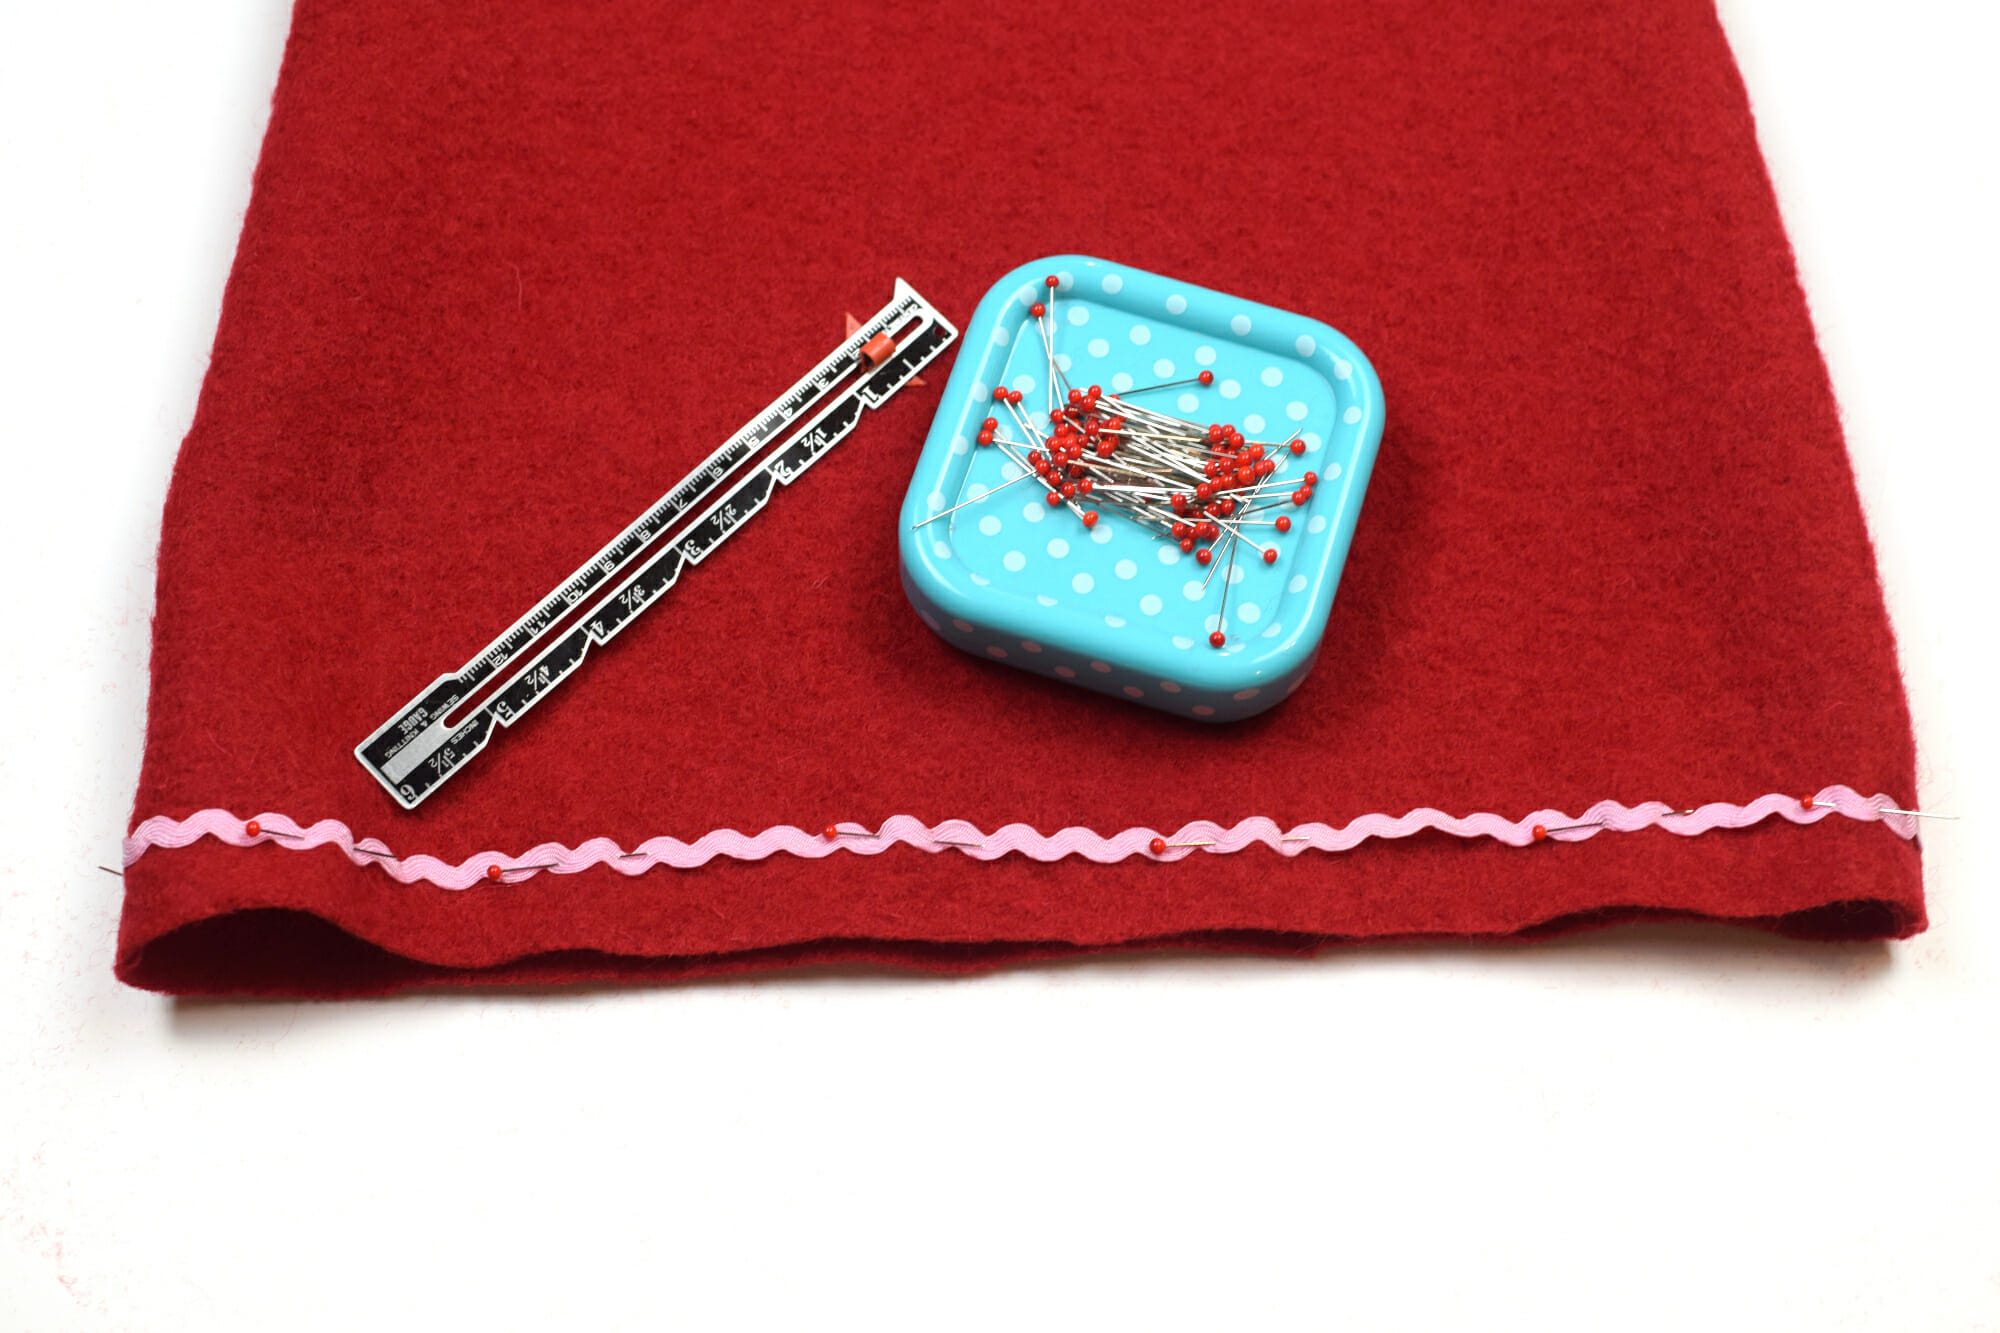
I measured ½” from the raw bottom edge and pinned the rick rack in place.
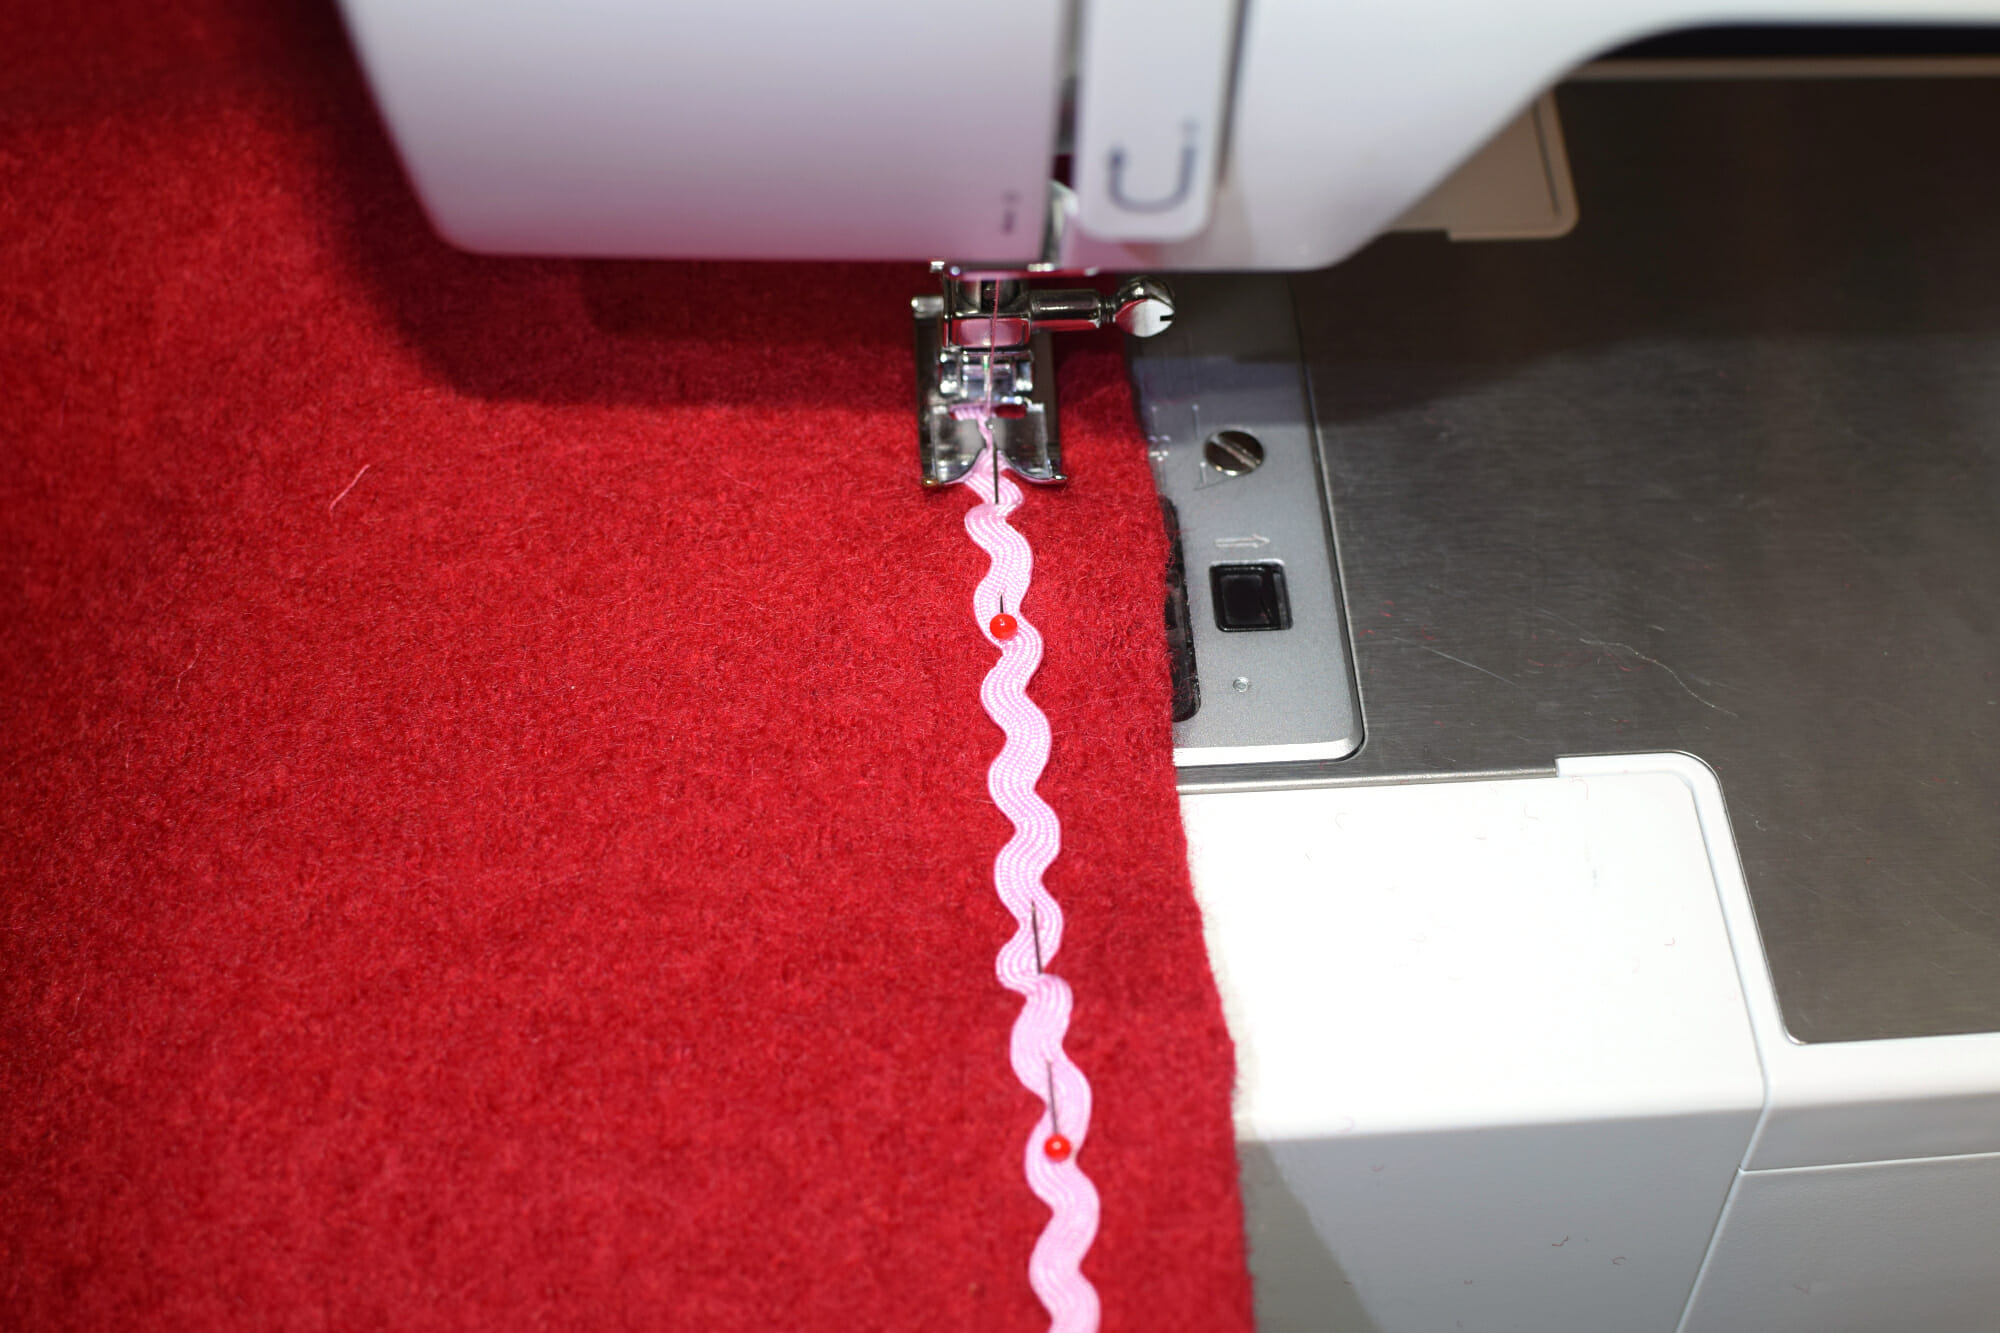
As you see, I used pink for the top thread and red for the bobbin thread.
In the end, I overlapped the end of the rick rack with the beginning. I pinned the purple rick rack 1/2’” from the pink one – I just eyeballed it, to be honest.
This super easy DIY wool dress turned out pretty cute, don’t you think?
A short recap
“You don’t have to see the whole staircase, just take the first step“, a wise man once said. And that’s exactly what I did.
This is my first time trying to make my own sewing pattern. It went as expected – not great, but not terrible either.
Right now the dress surely fits, but the next year I might have to reshape the armholes and add side panels to make the dress bigger.
I could have avoided this, had I added more flare at the bottom in the first place.
Don’t be afraid to trace your own pattern, even if you are a beginner. Add room for seam allowances and ease and it’ll be just fine.
You’ll learn more from this experience than from any tutorial on the web, I can tell you! Confidence is priceless.
Let’s keep in touch! You can find me on Facebook, Instagram, and Pinterest.



I didn’t know about boiled wool’s warmth! Now it’s all connecting.. This looks awesome. I’ve been sewing for one year and just decided to start taking risks, like this, and allowing the imperfections to let me 1: accomplish a project and 2: give me a chance to learn for next time. It seems you’re already good at accepting imperfect and welcome the growth and learning. I really liked this walk through!
Hi,
That’s really great, and I’m so glad for you! It took me a lot to start taking risks – more like four years. I don’t know why it took me so long, really. It’s so freeing and satisfying.
Lately, I’ve wanted to sew (another) self-drafted dress for my daughter (plain cotton this time), but the school closures caused by covid take a toll on me and my sewing mojo. 😛
If you ever give this dress a try, I’d love to know! Wish you all the best!