This is my first time sewing a wool coat for little girls, and I’m in love with the result! This sewing project was quite an adventure from start to finish.
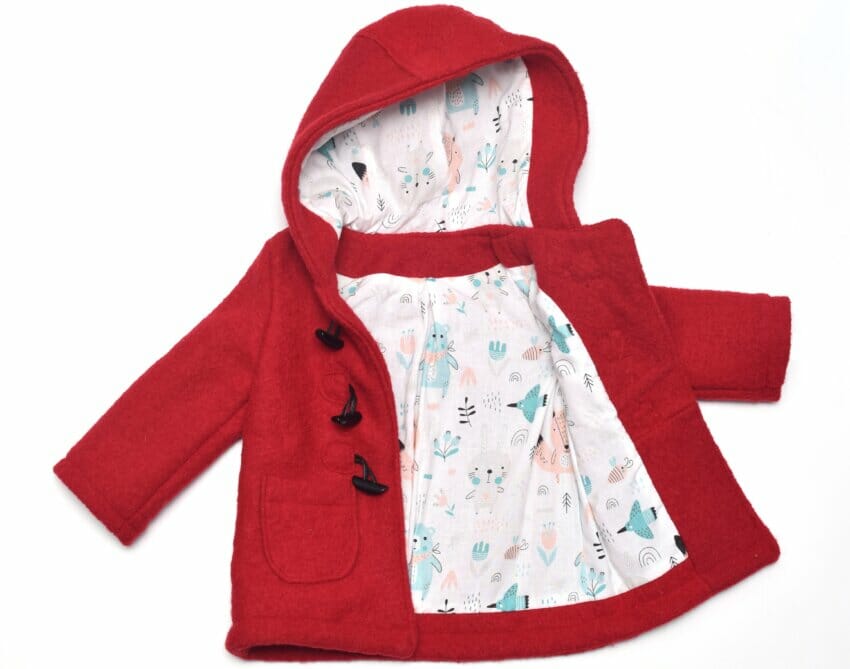
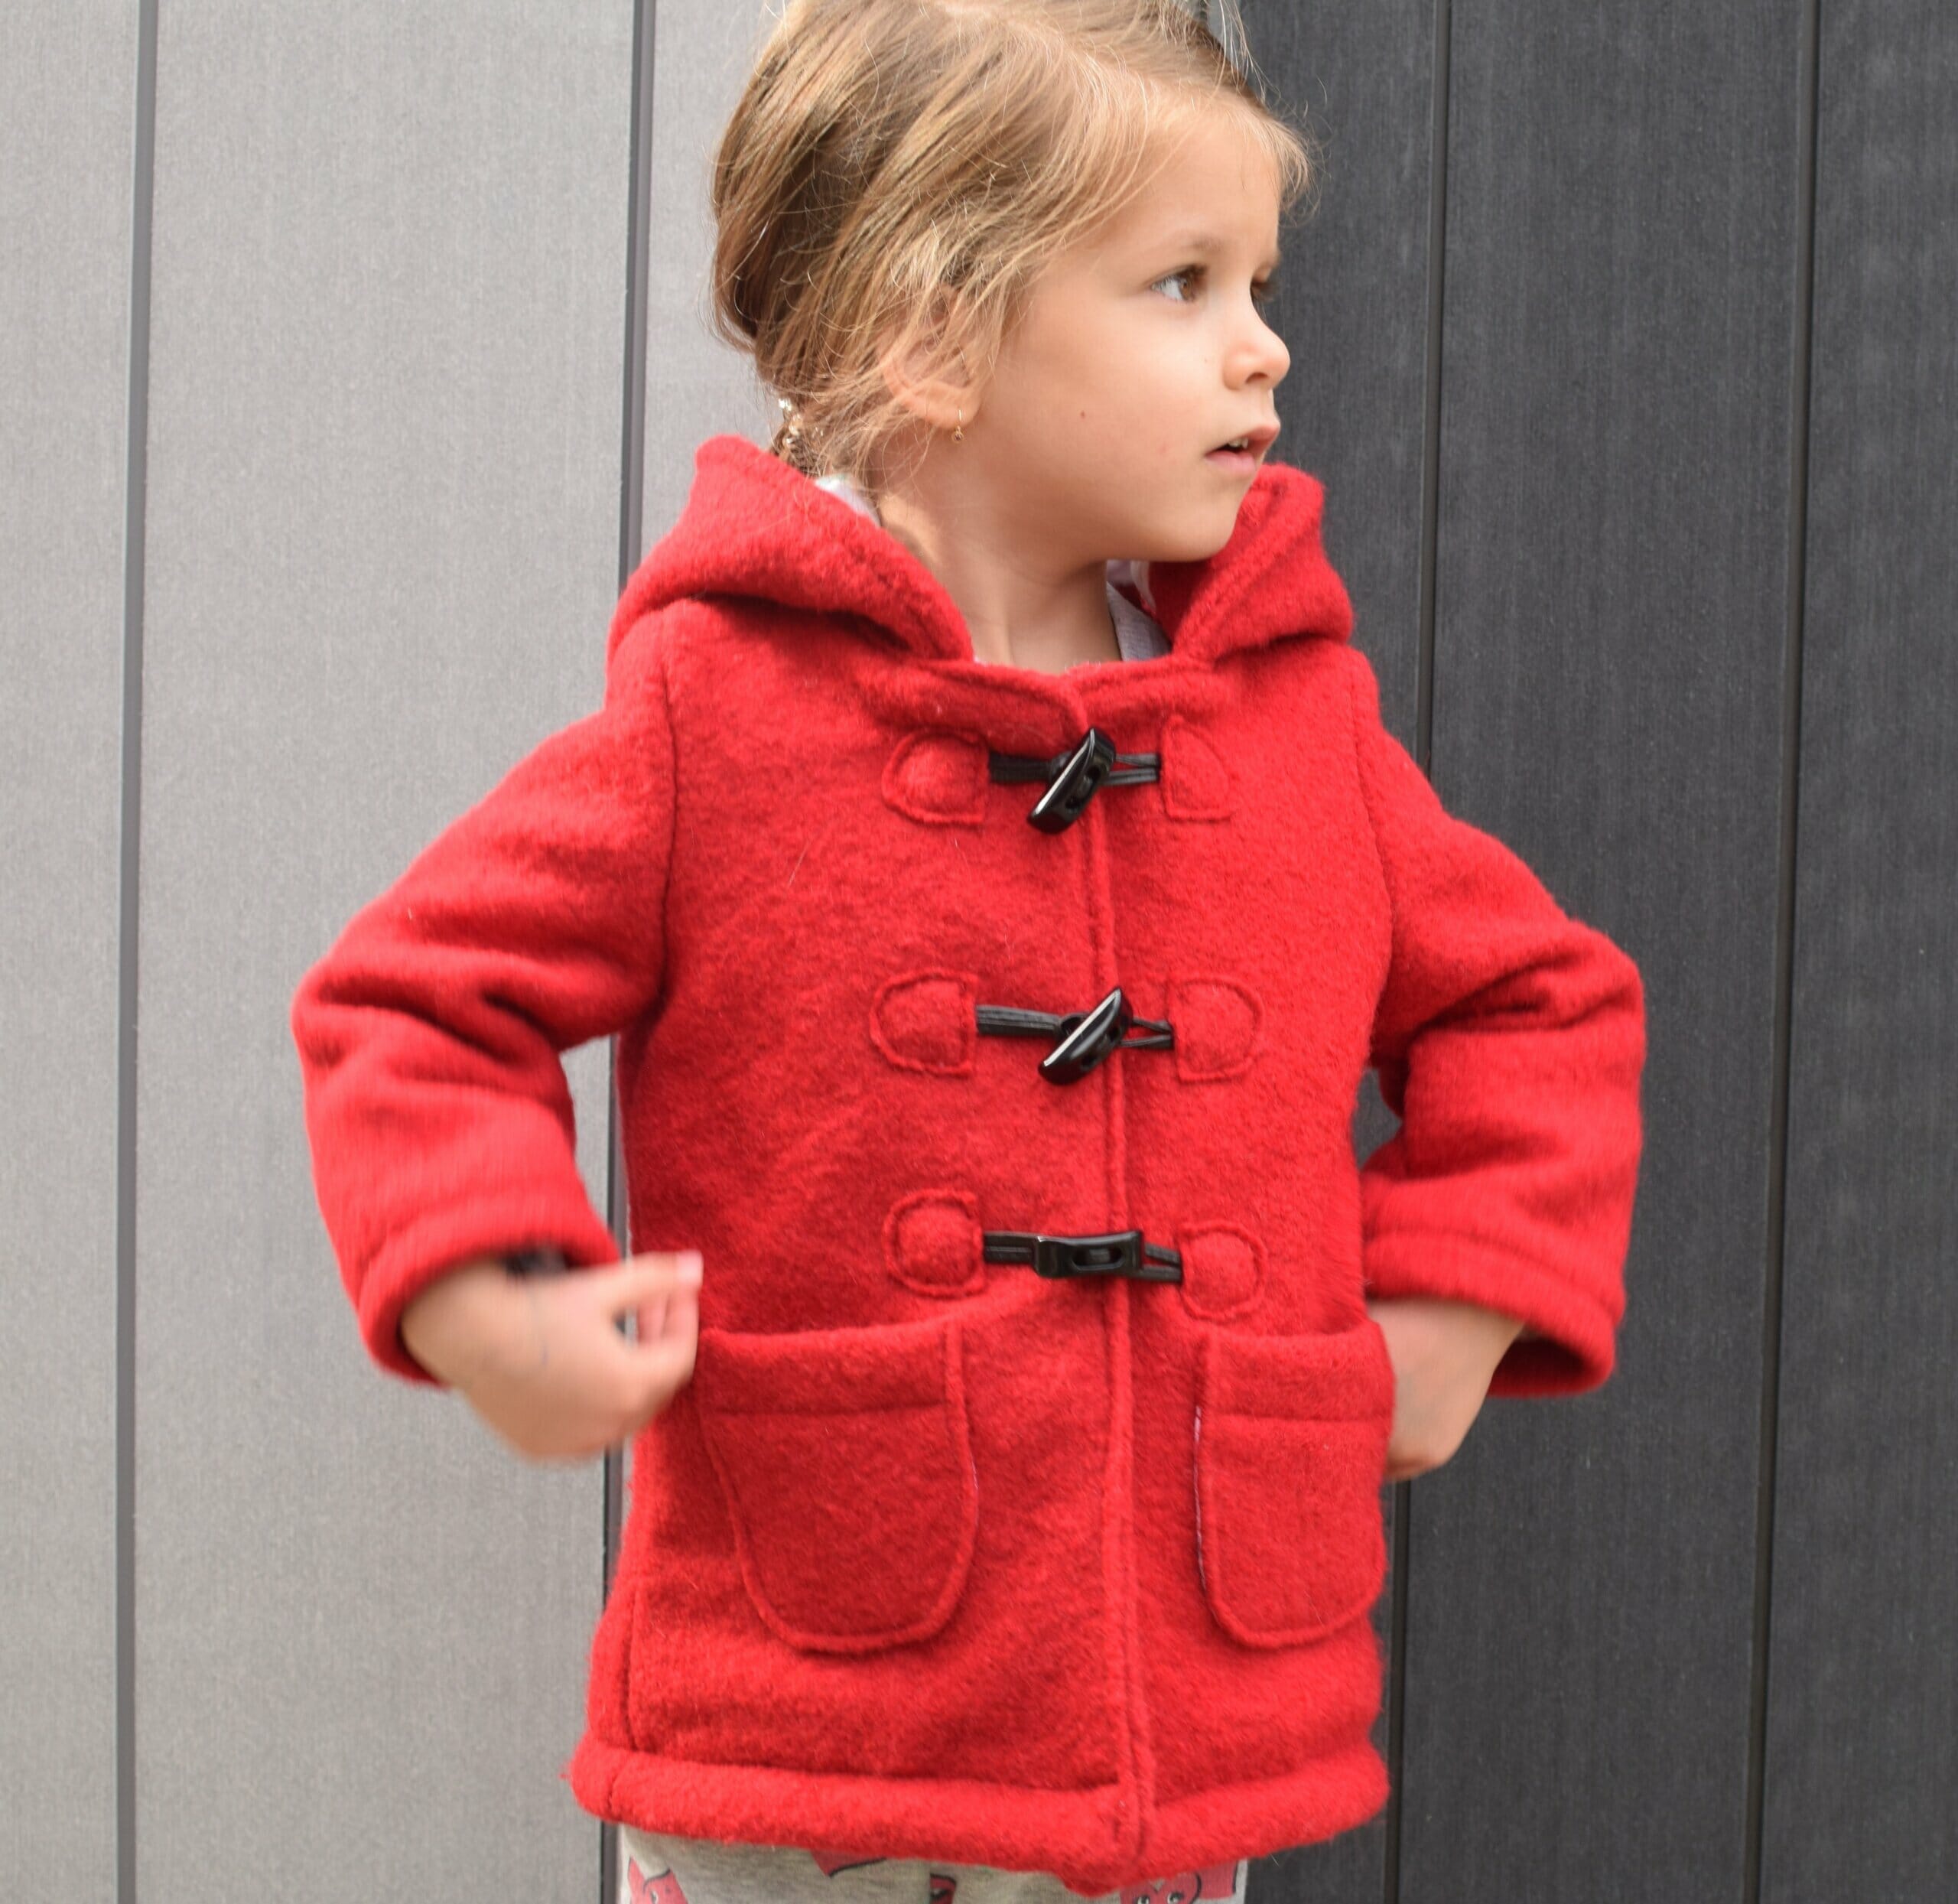
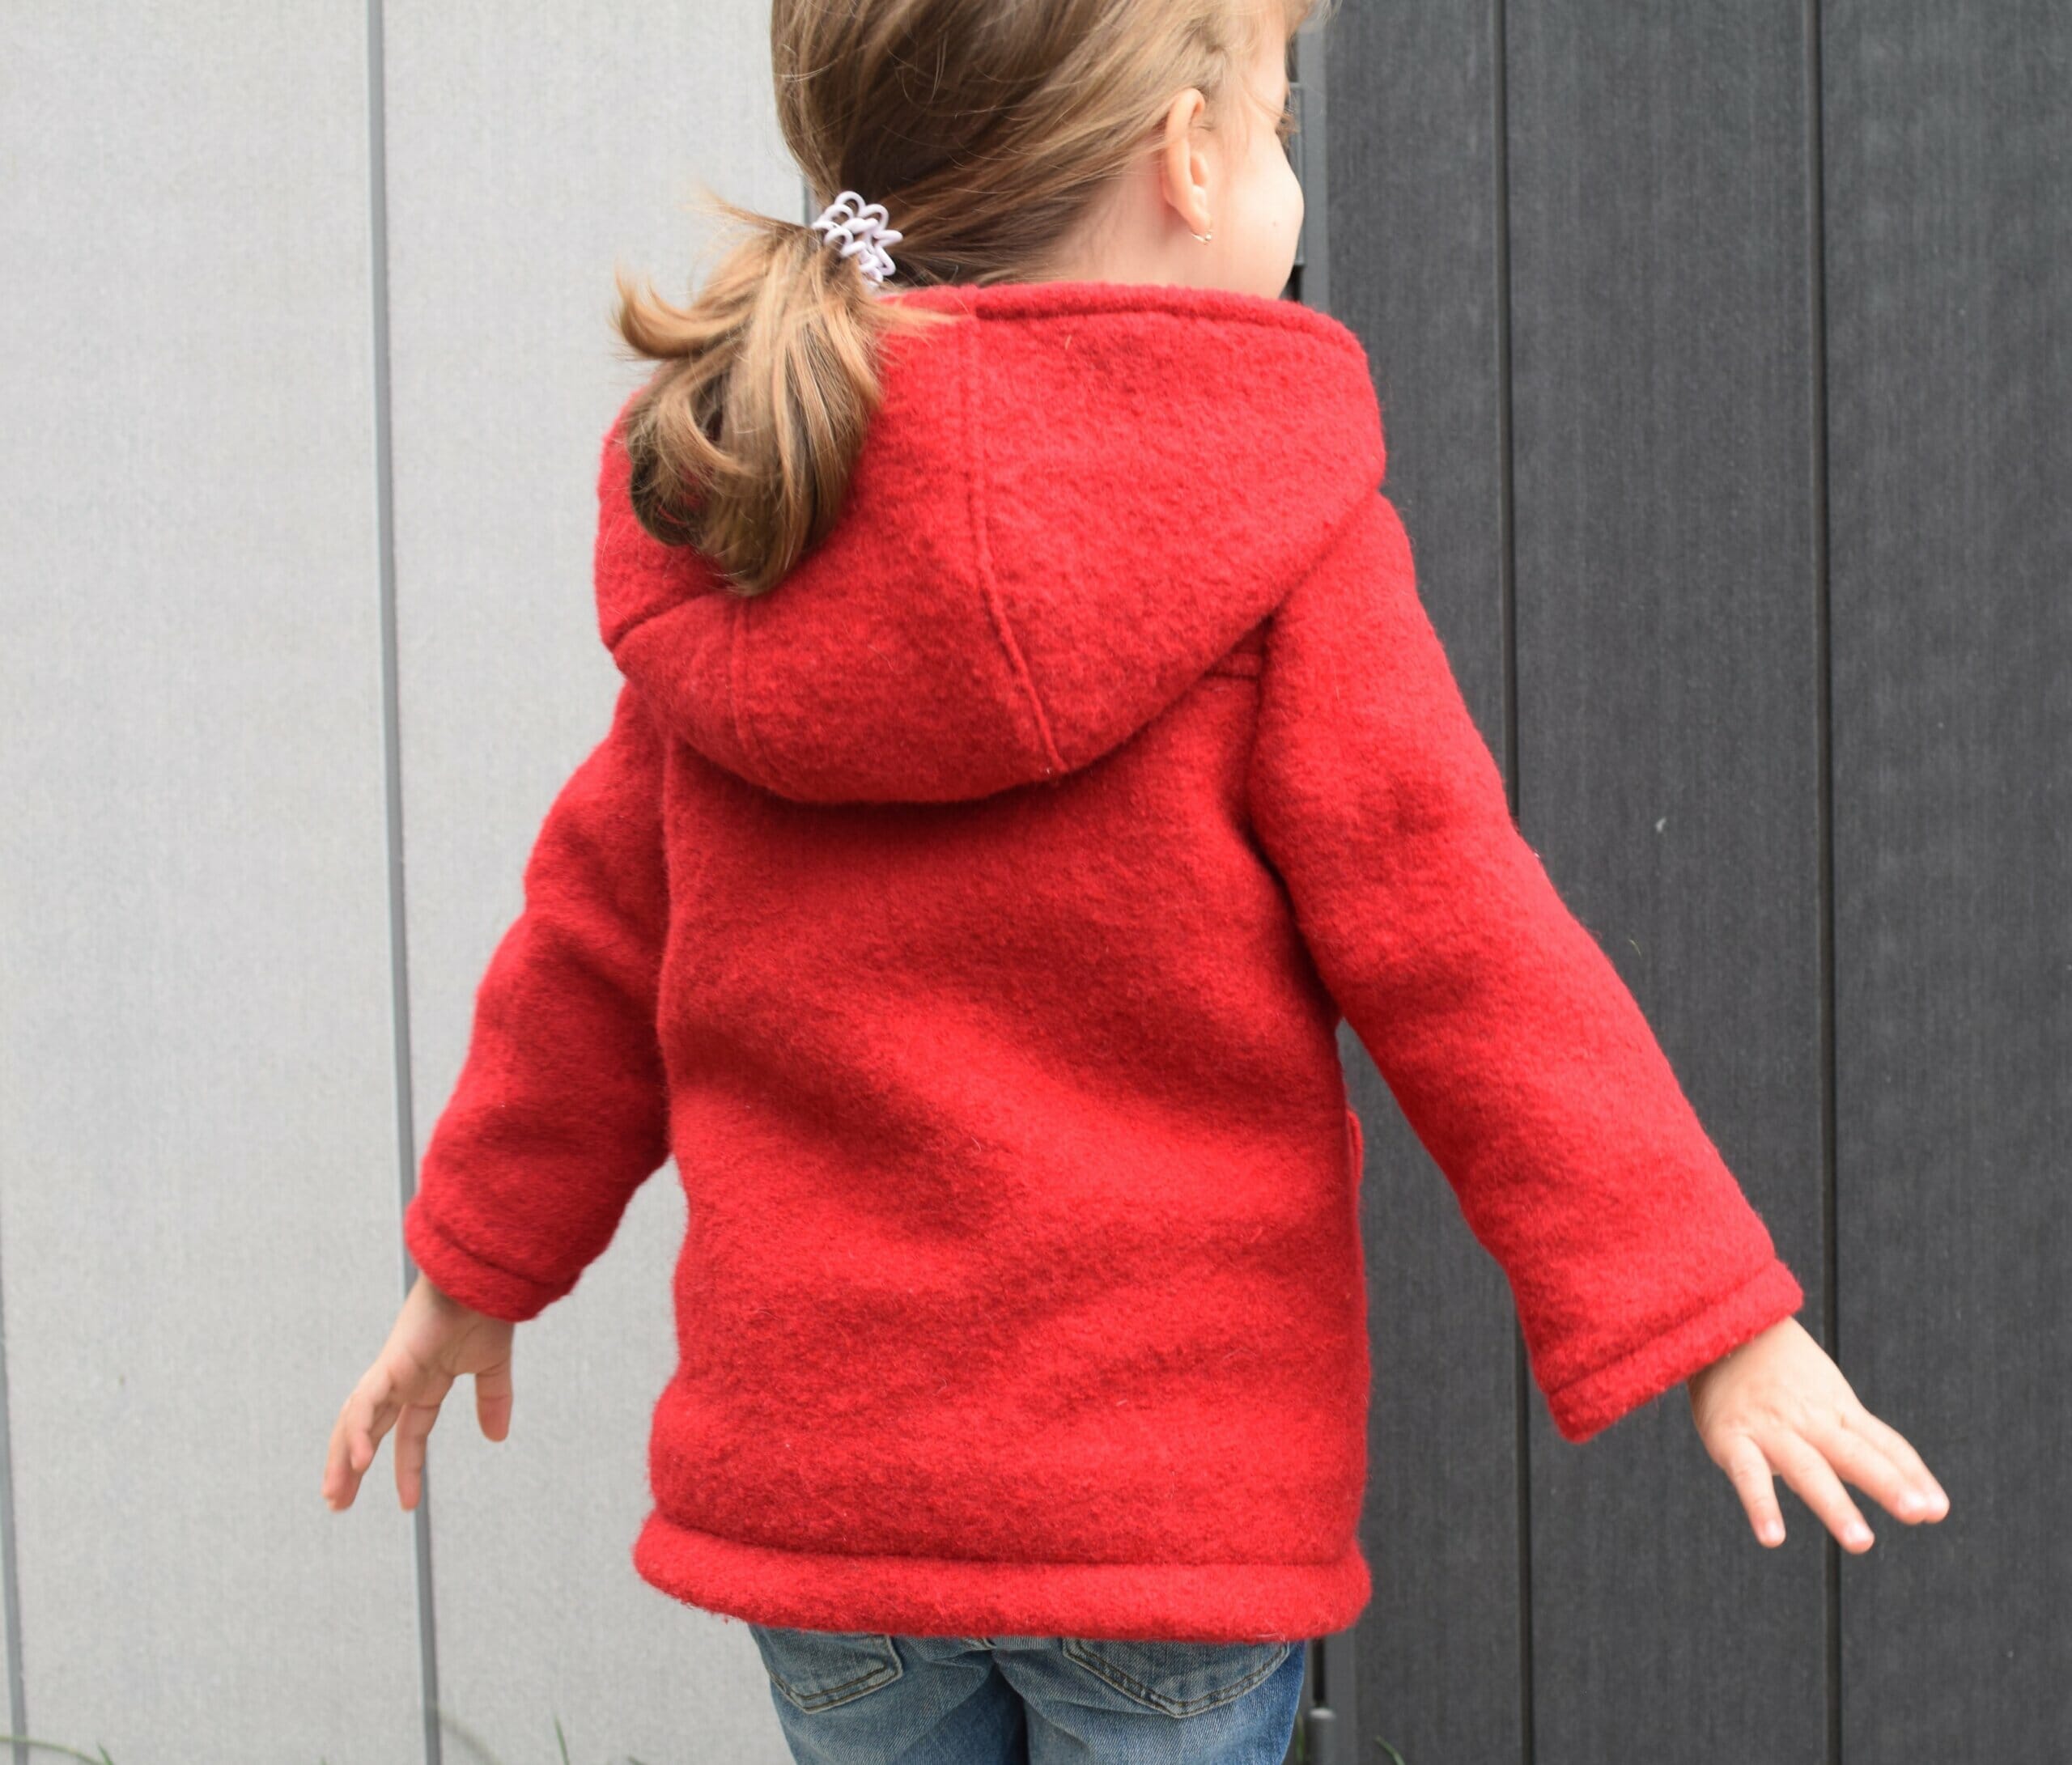
I used the Pixie hooded coat pattern by Oh Me Oh My Sewing. I made the coat in size 4, with heavyweight boiled wool for the outer layer and cotton for the lining.
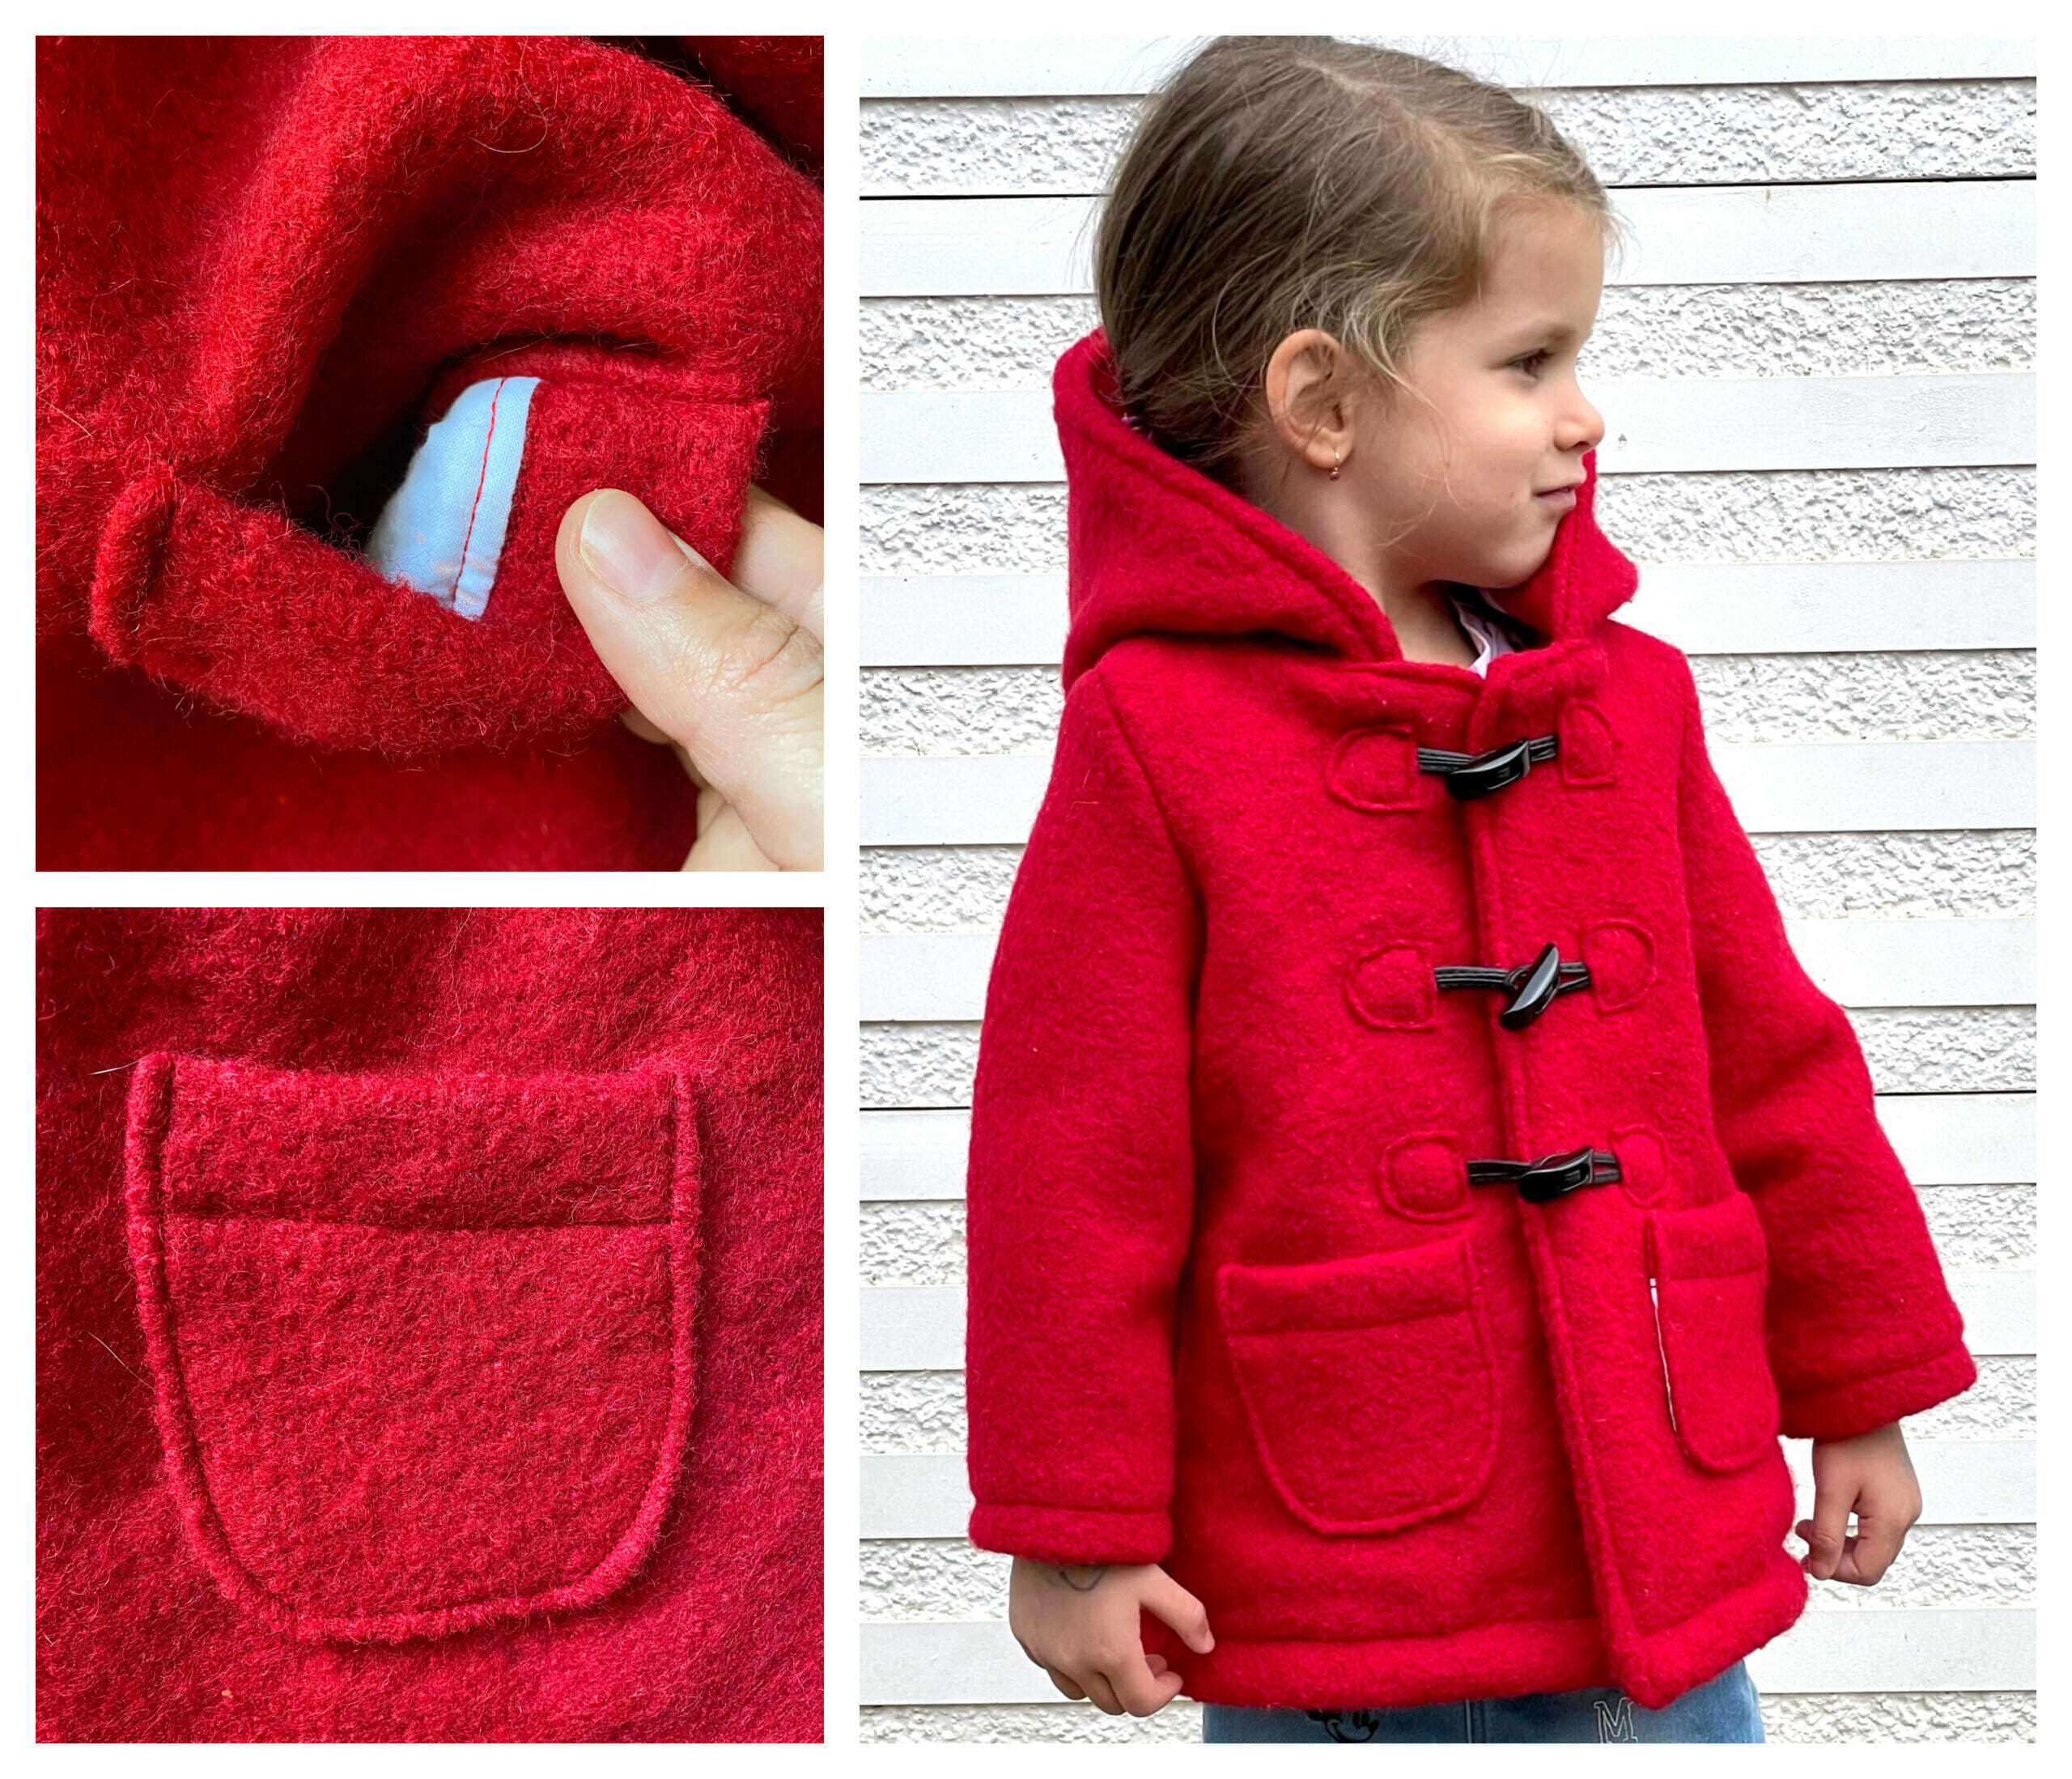
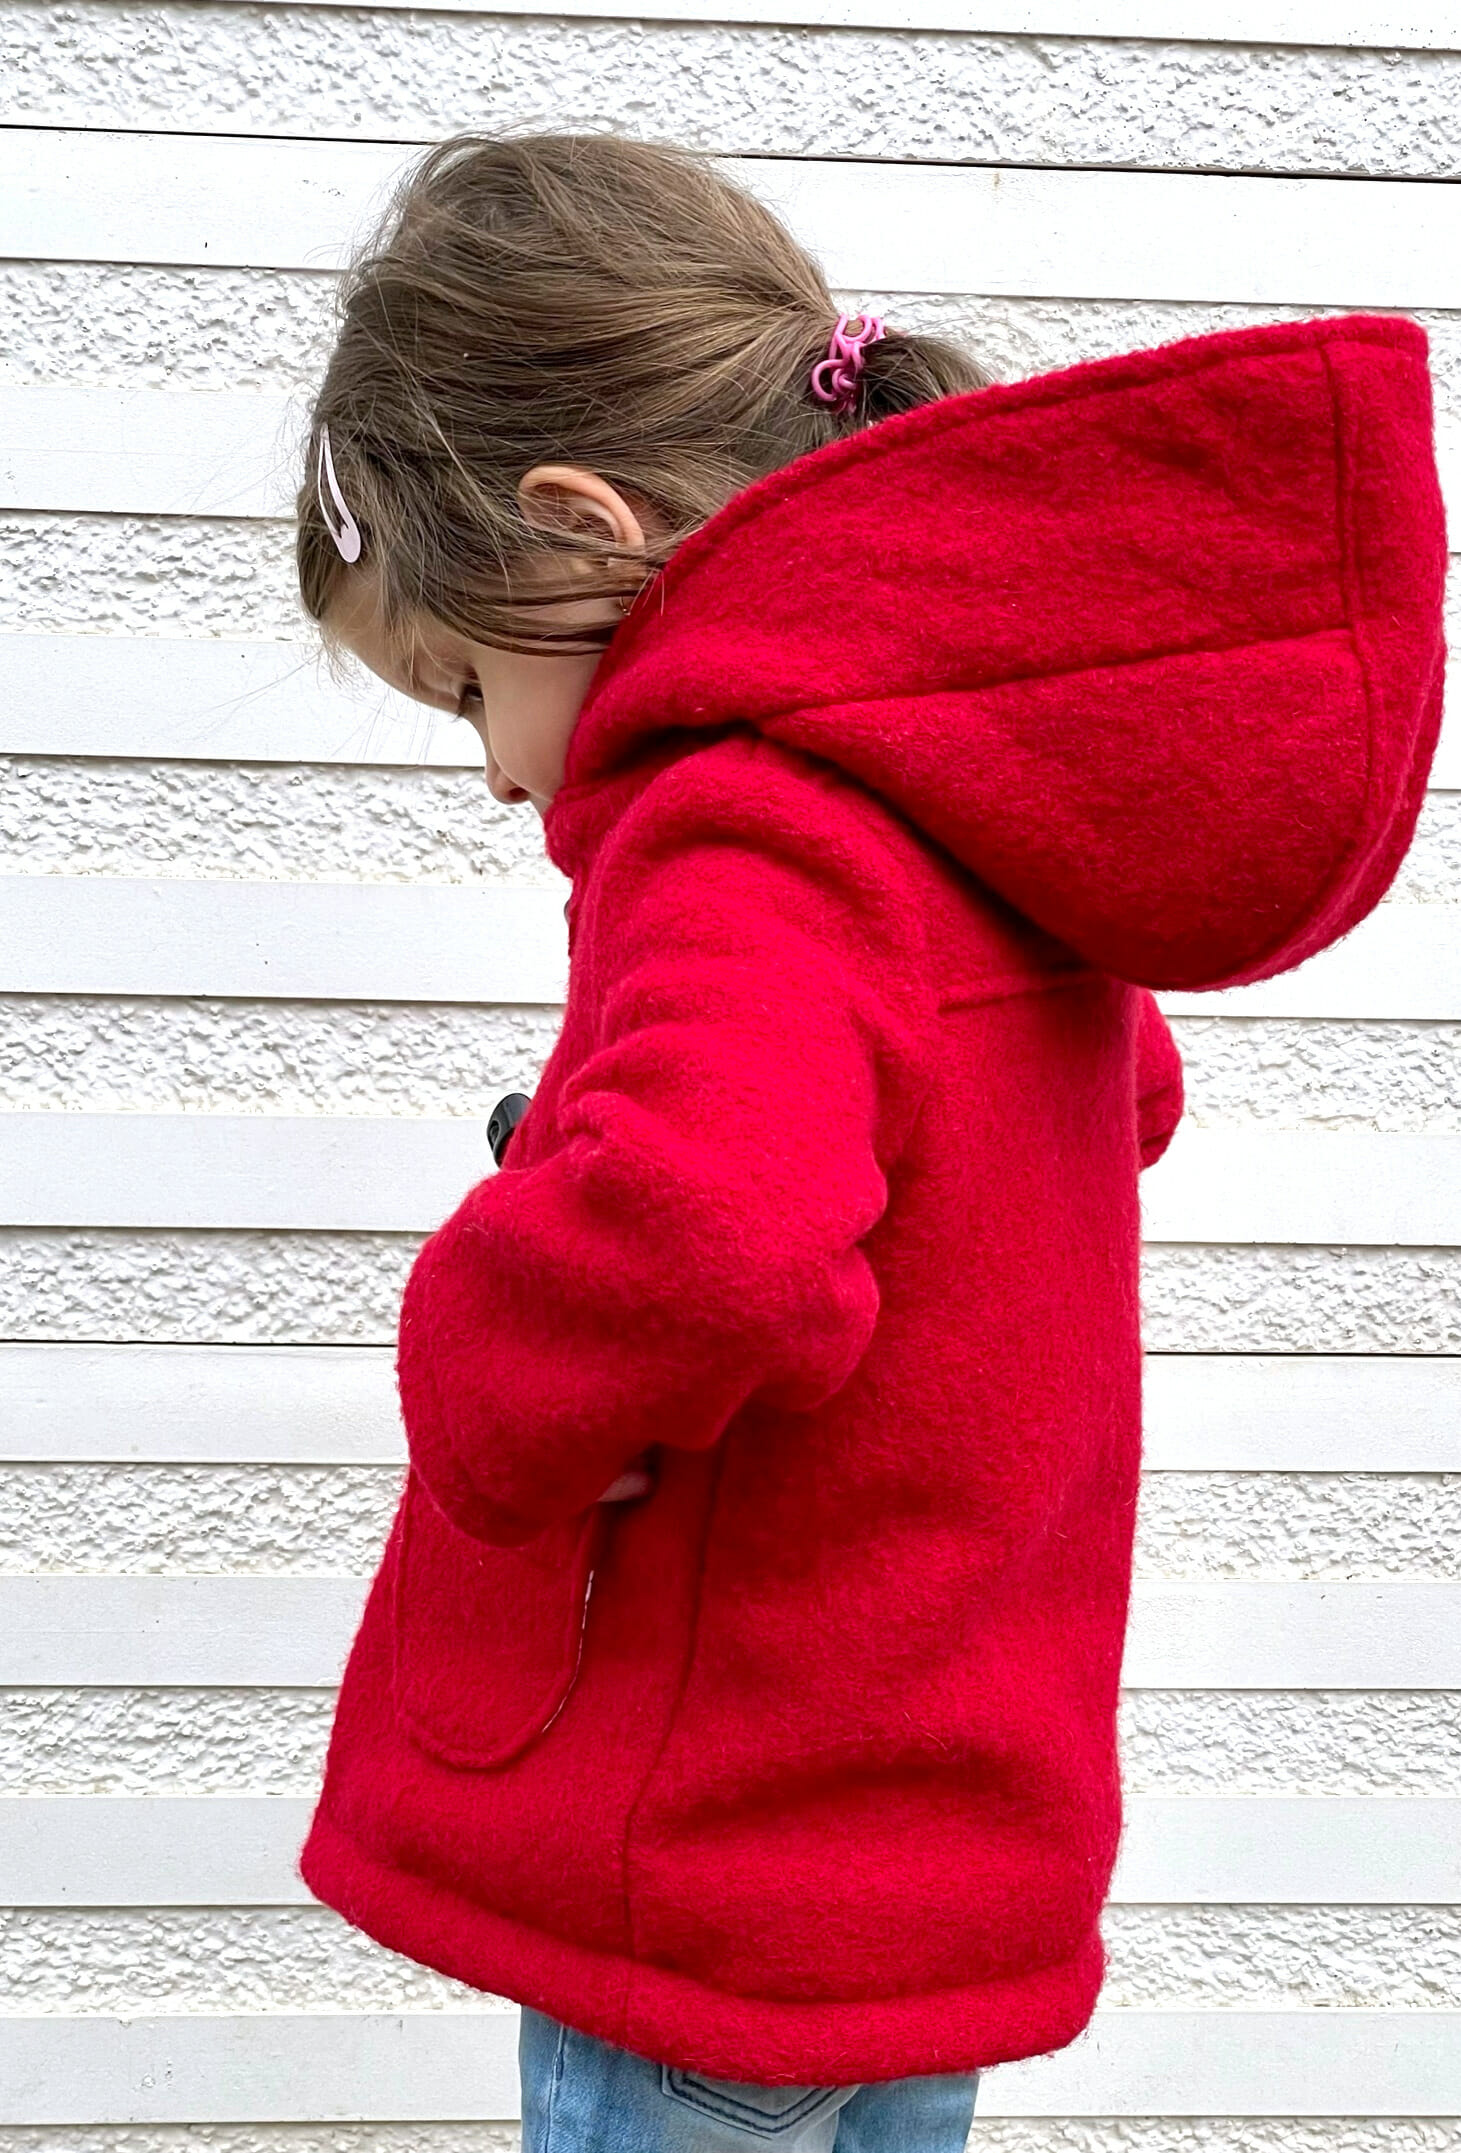
My daughter is thrilled with her cute little red coat and loves the hood and pockets! Yay!

The boiled wool I used is 355 gsm (this stands for Grams per Square Meter and refers to the overall weight of the fabric), and it’s a great weight to wear on cold, snowy, and windy days.
Since Romania (still) has four well-defined seasons, this cute little coat will get a lot of wear in the coming weeks.

Sewing a DIY girls’ wool coat for the first time. Here’s what I learned
The Oh Me Oh My Sewing pattern is easy to follow, and it comes together quickly (a couple of hours of sewing, nothing more) – after you have all the pieces at the ready.
But here’s the trick.
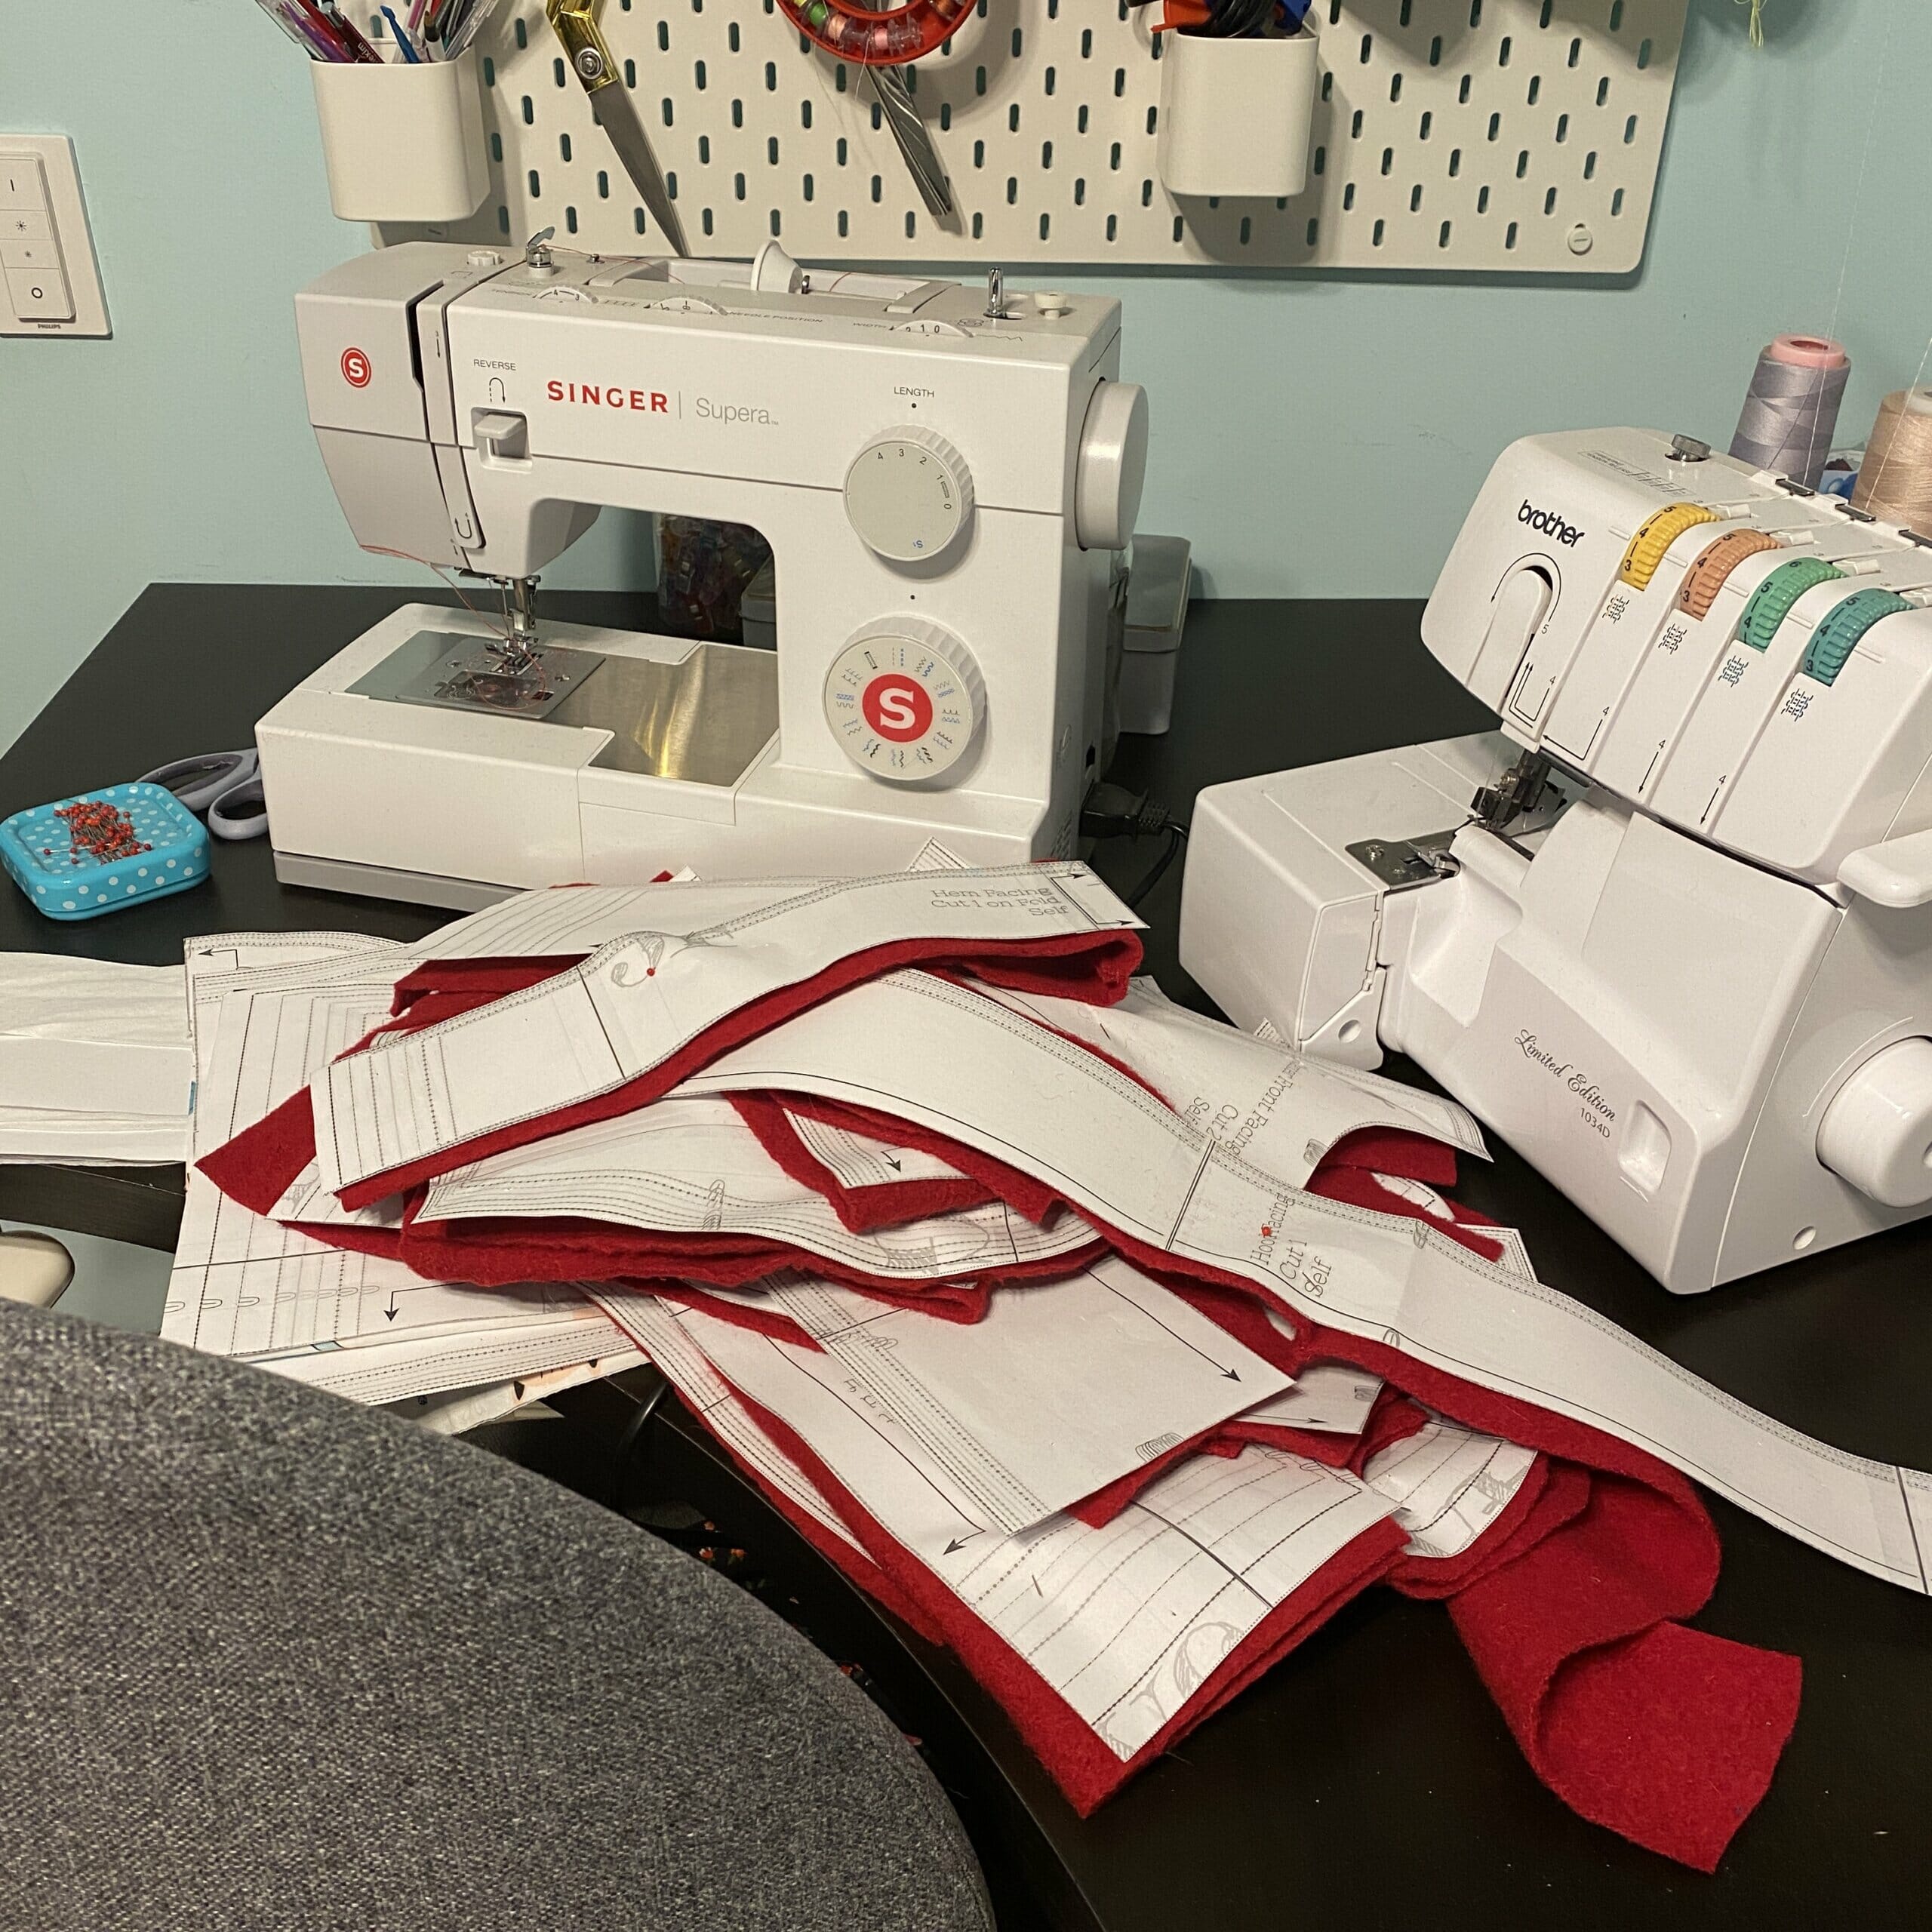
This is a print-at-home PDF pattern, so it does not have a copy shop version. Consequently, you have to print about 30 pages and then tape them together.
For the assembly, I used a glue stick. It all went relatively fast – 32 pages taped together in 30-40 minutes. Here’s what it all looked like.

From there on, I needed 20 pattern pieces to make my fully lined round hooded coat with round pockets. I cut them all the next morning, but not before adding scotch tape here and there, because I want these pattern pieces to last.
Quite an intimidating view, I’d say.
But now comes the sewing part – this is fun and quick because the instructions are clear, and all pattern pieces line up nicely.
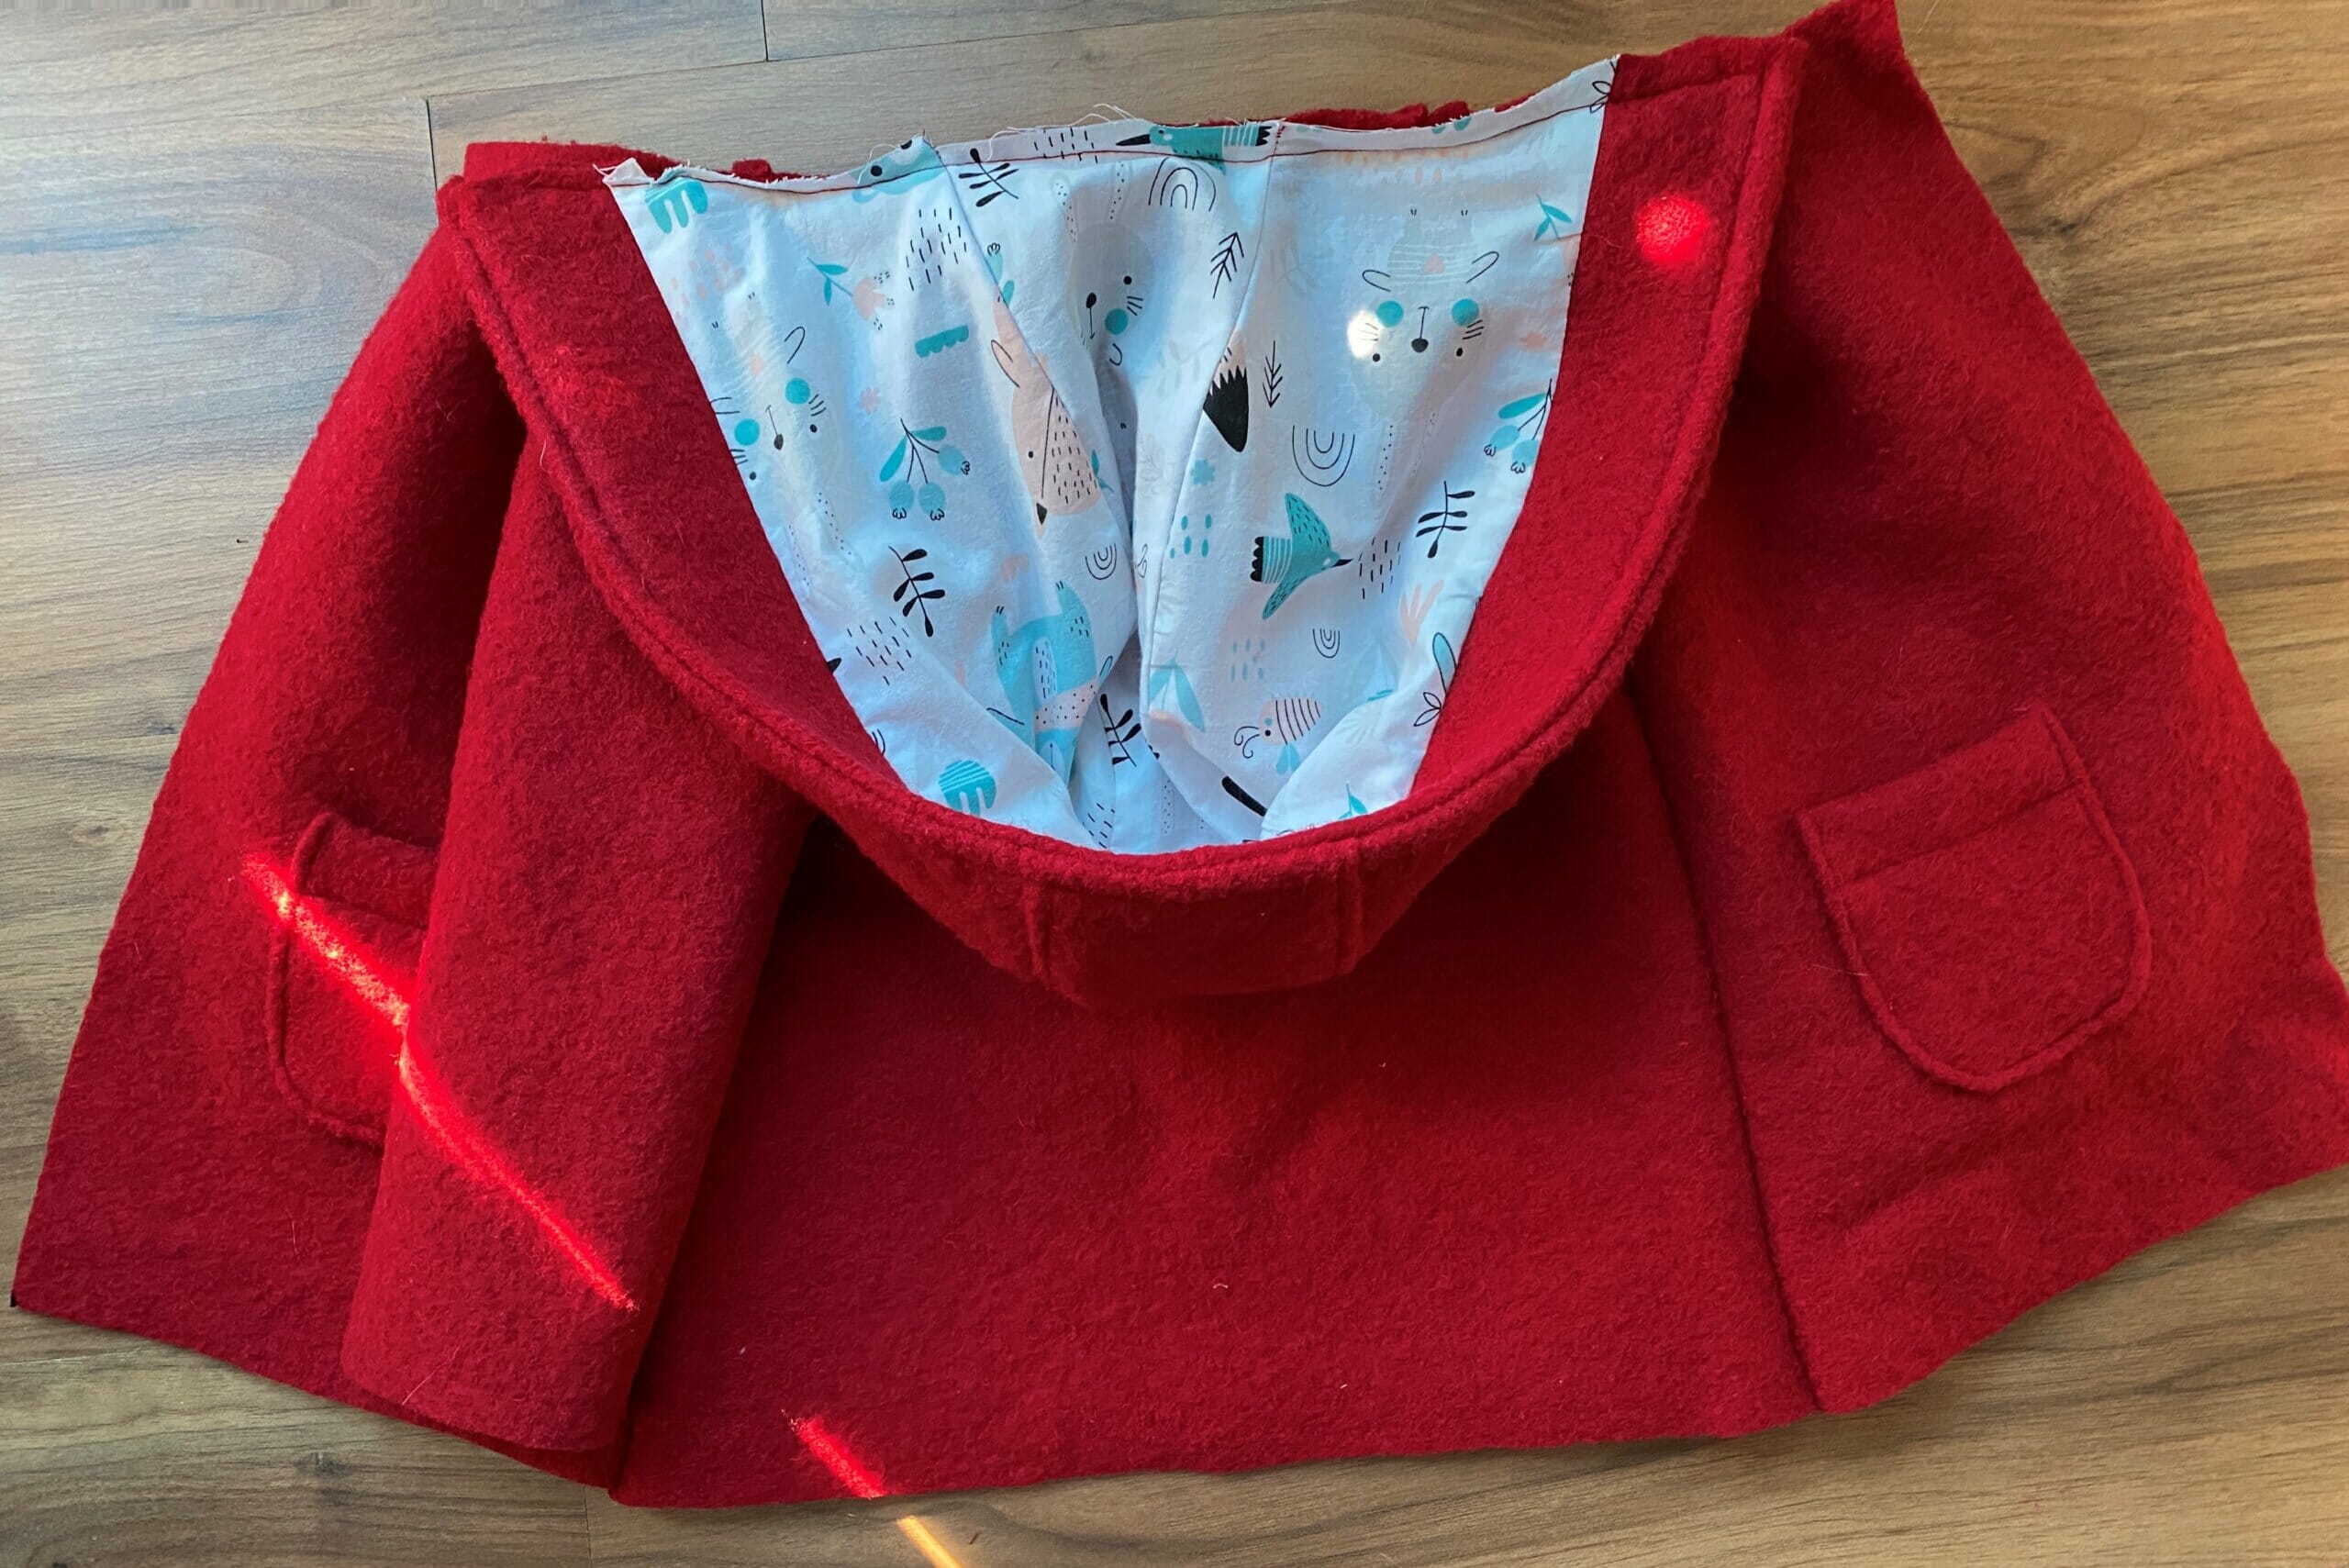
There was not enough fabric, so I had to harvest some from this wool dress that my daughter outgrew. I had to piece the center front facings, the hood, and the back yoke.
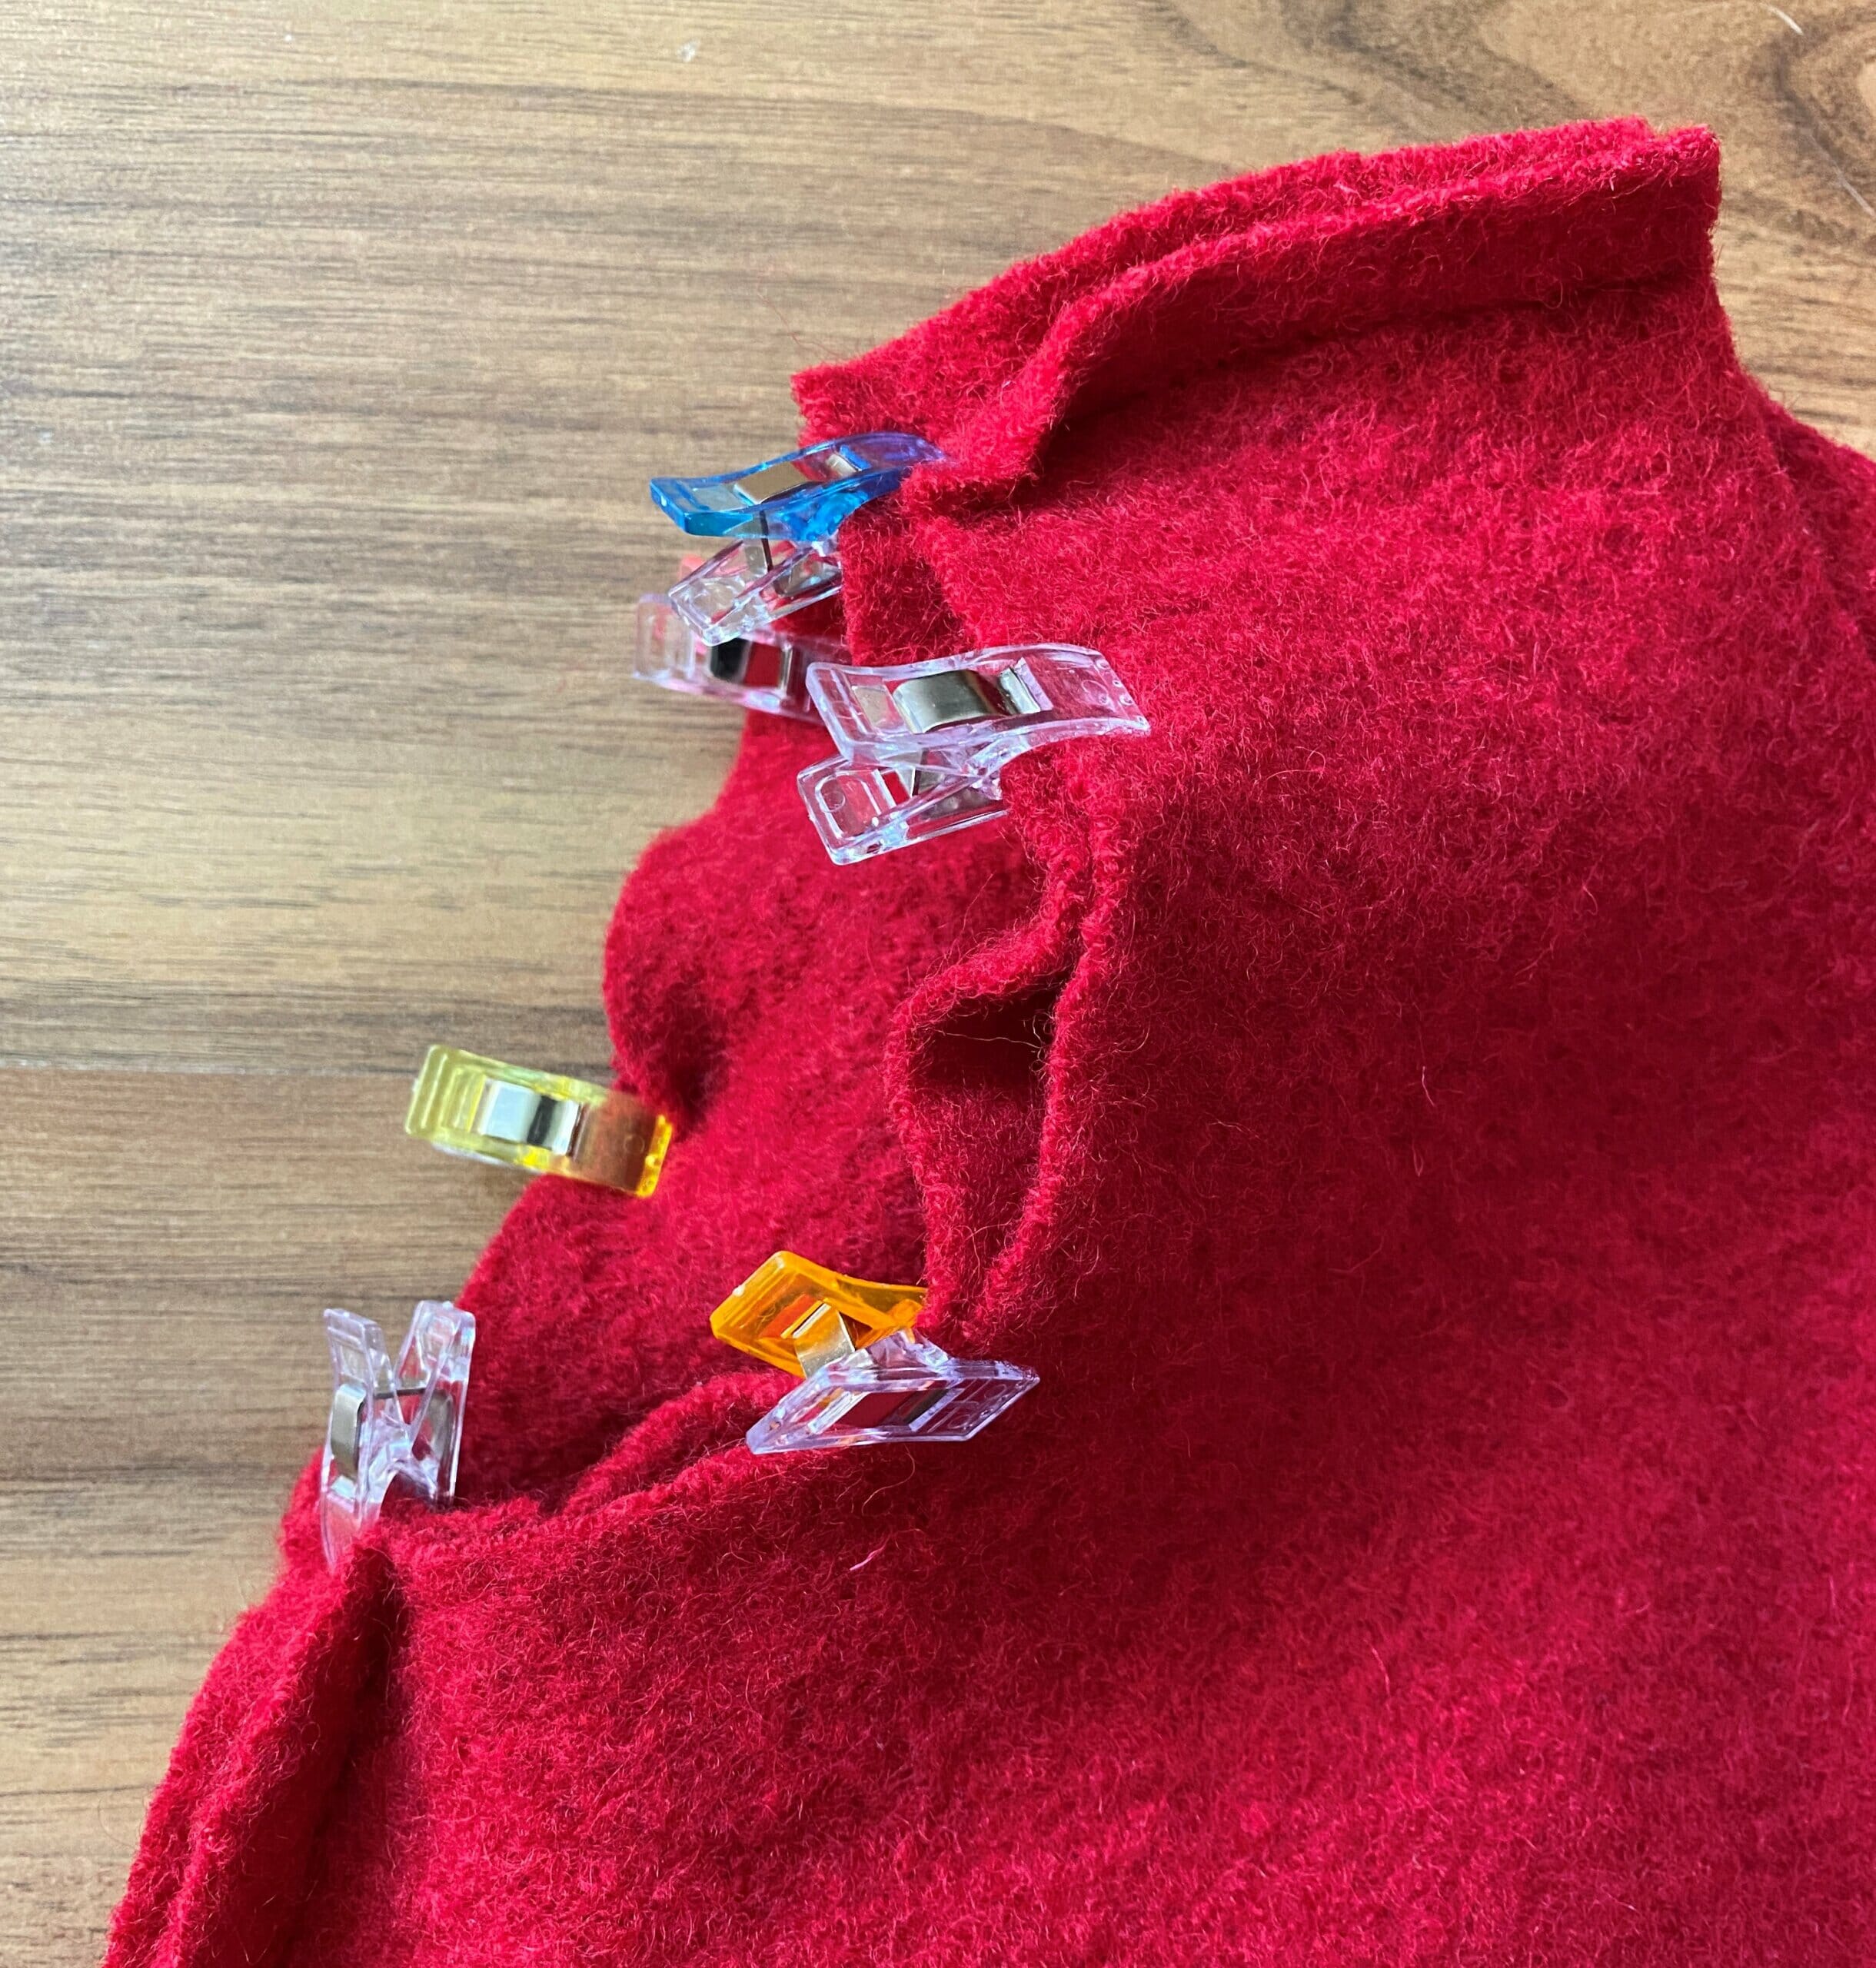
You absolutely need sewing clips for this project – pins can’t hold thicker fabrics.
I have to admit I felt unsure when it came to turning the coat right side out. Basically, you have to pull the whole coat through a hole in the sleeve lining.
It may look strange, but it works! You know what they say, “Don’t rush the process, good things take time“.
After turning your coat right side out, it’s simple as ABC to stitch the sleeve lining hole closed.

I stayed true to the pattern, except for the pockets. The instructions show how to make a simple, unlined pocket, but I chose to make a lined patch pocket following this Youtube tutorial.
One small but important change – next time I will certainly choose a matching fabric for the lining. Right now it doesn’t look pretty from the side.
However, it took me much longer than I initially planned to finish the coat. I couldn’t figure the best way to attach a closure.
No matter how hard I tried, it was so difficult to get four layers of thick wool (355 gsm) underneath the presser foot. And when I did get the coat underneath the presser foot, the sewing machine refused to move the fabric (hence the butchered leather toggles as you can see in the below pic). The horror!
I think installing toggles or buttonholes might have been easier if I stitched them before assembling the coat.
I spent two days trying to figure things out, but it was impossible to get even stitches around the toggles or to make buttonholes.
The only option remaining – sew some sort of closure by hand. I chose to install toggles, but since holes in leather are irreversible, I had to make toggles out of self-fabric.
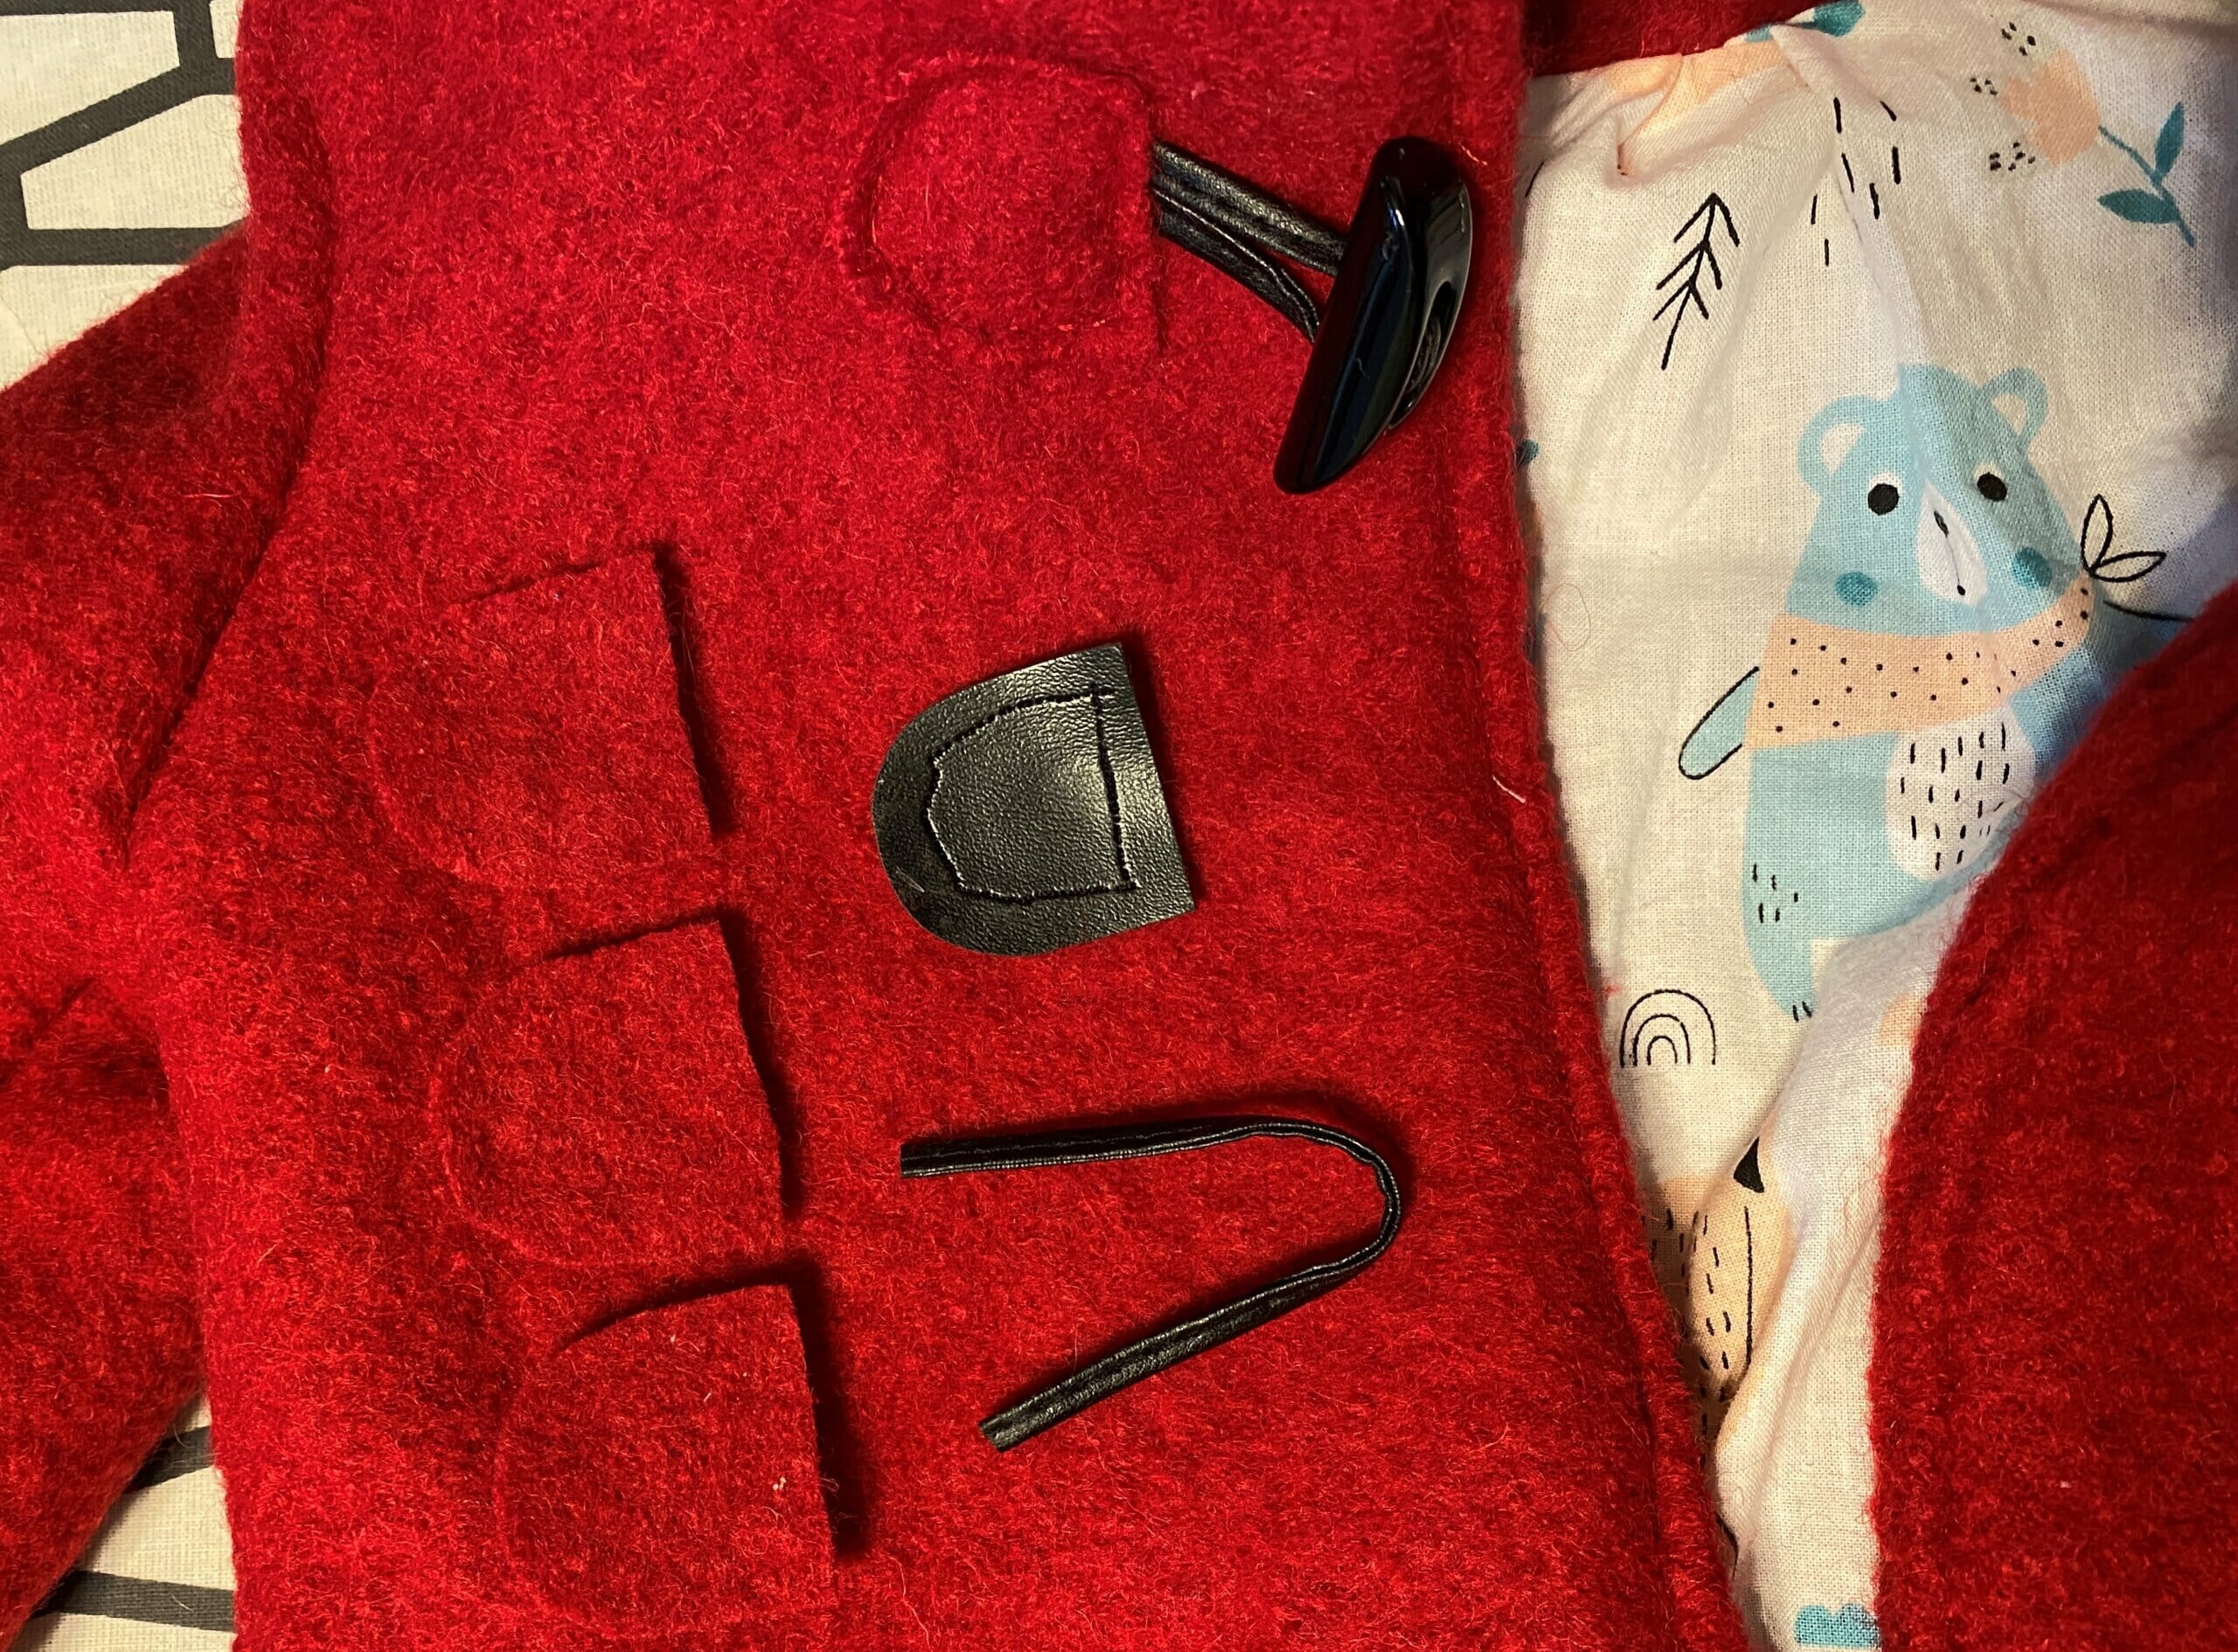
Fortunately, the edges of boiled wool fabric do not fray, so it was easy and quick.
It took me about one hour to sew all these toggles by hand. Even though I always swore up and down that I hate sewing by hand (because I consider myself too impatient) I enjoyed the process this time. Also, I’m quite satisfied with the final result. Here’s the hand sewing technique I used.
This toggle closure makes it easy for little fingers to do up and undo.
Pixie hooded coat pattern by Oh Me Oh My Sewing
Final thoughts
- If you are a (somewhat) confident beginner, you can sew your own beautiful wool coat in less than two days (one for cutting the pieces, one for sewing).
- If you choose a print-at-home pattern (like I did), there will be a lot of pages to print and tape together, and then you’ll have a great deal of pattern pieces to cut.
- After that, the sewing part is pretty straightforward and satisfying.
- Altough, if you choose a thick fabric for your coat, you might struggle when it’s time to attach buttonholes or toggles. At this point, I felt betrayed by my beloved regular sewing machine, and I had to sew the toggles by hand.
- I would recommend you size up if you use thicker fabrics as I did. My daughter is 4 years old, and I made the coat in size 4. It would have been much smarter to make it in size 5. The coat should be loose enough to add layers underneath in winter.
A warm and cozy coat makes a fabulous handmade gift for girls of any age, and I’m delighted to have this new skill under my belt.
I didn’t know I was capable of making a lined coat. I love this feeling of surprising myself!
Let me know in the comments section if you’ve tried this coat pattern or if you have any tips for making your first coat!
Let’s keep in touch! You can find me on Facebook, Instagram, and Pinterest.
Related posts