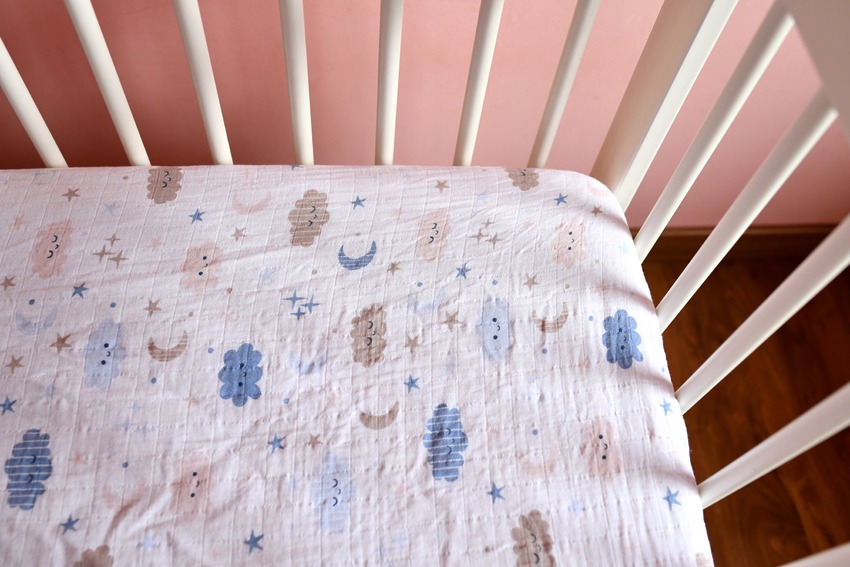
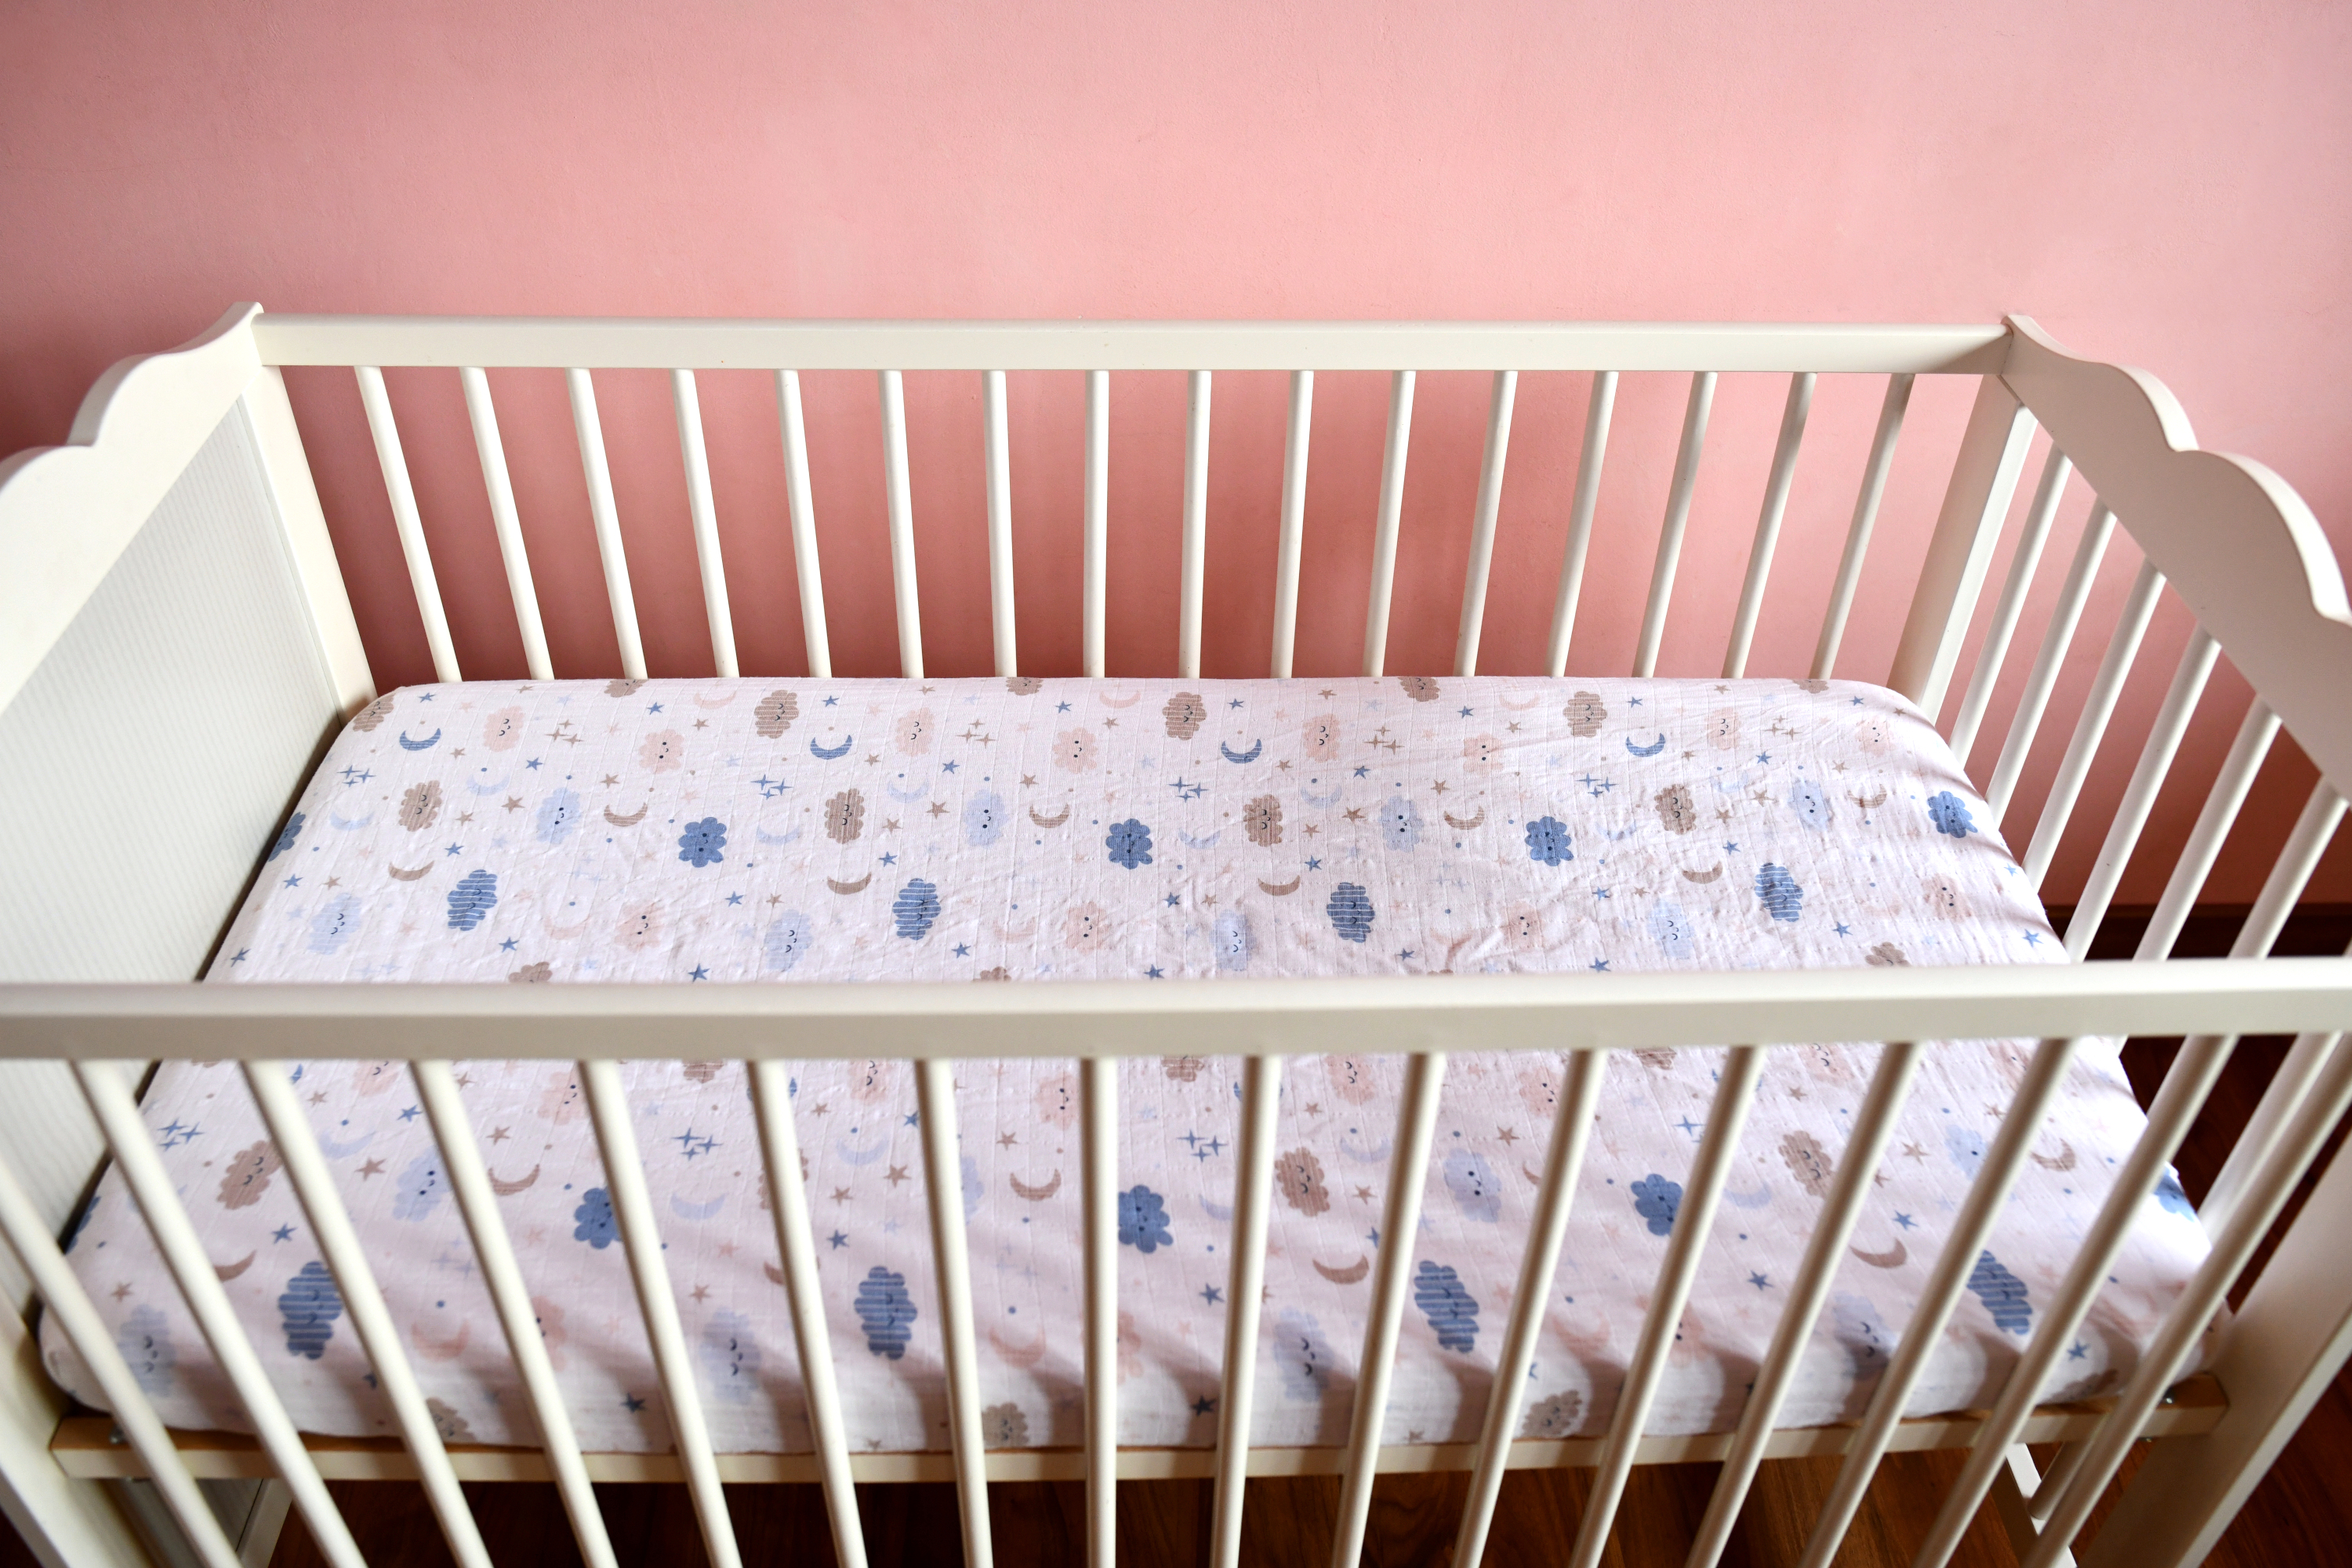
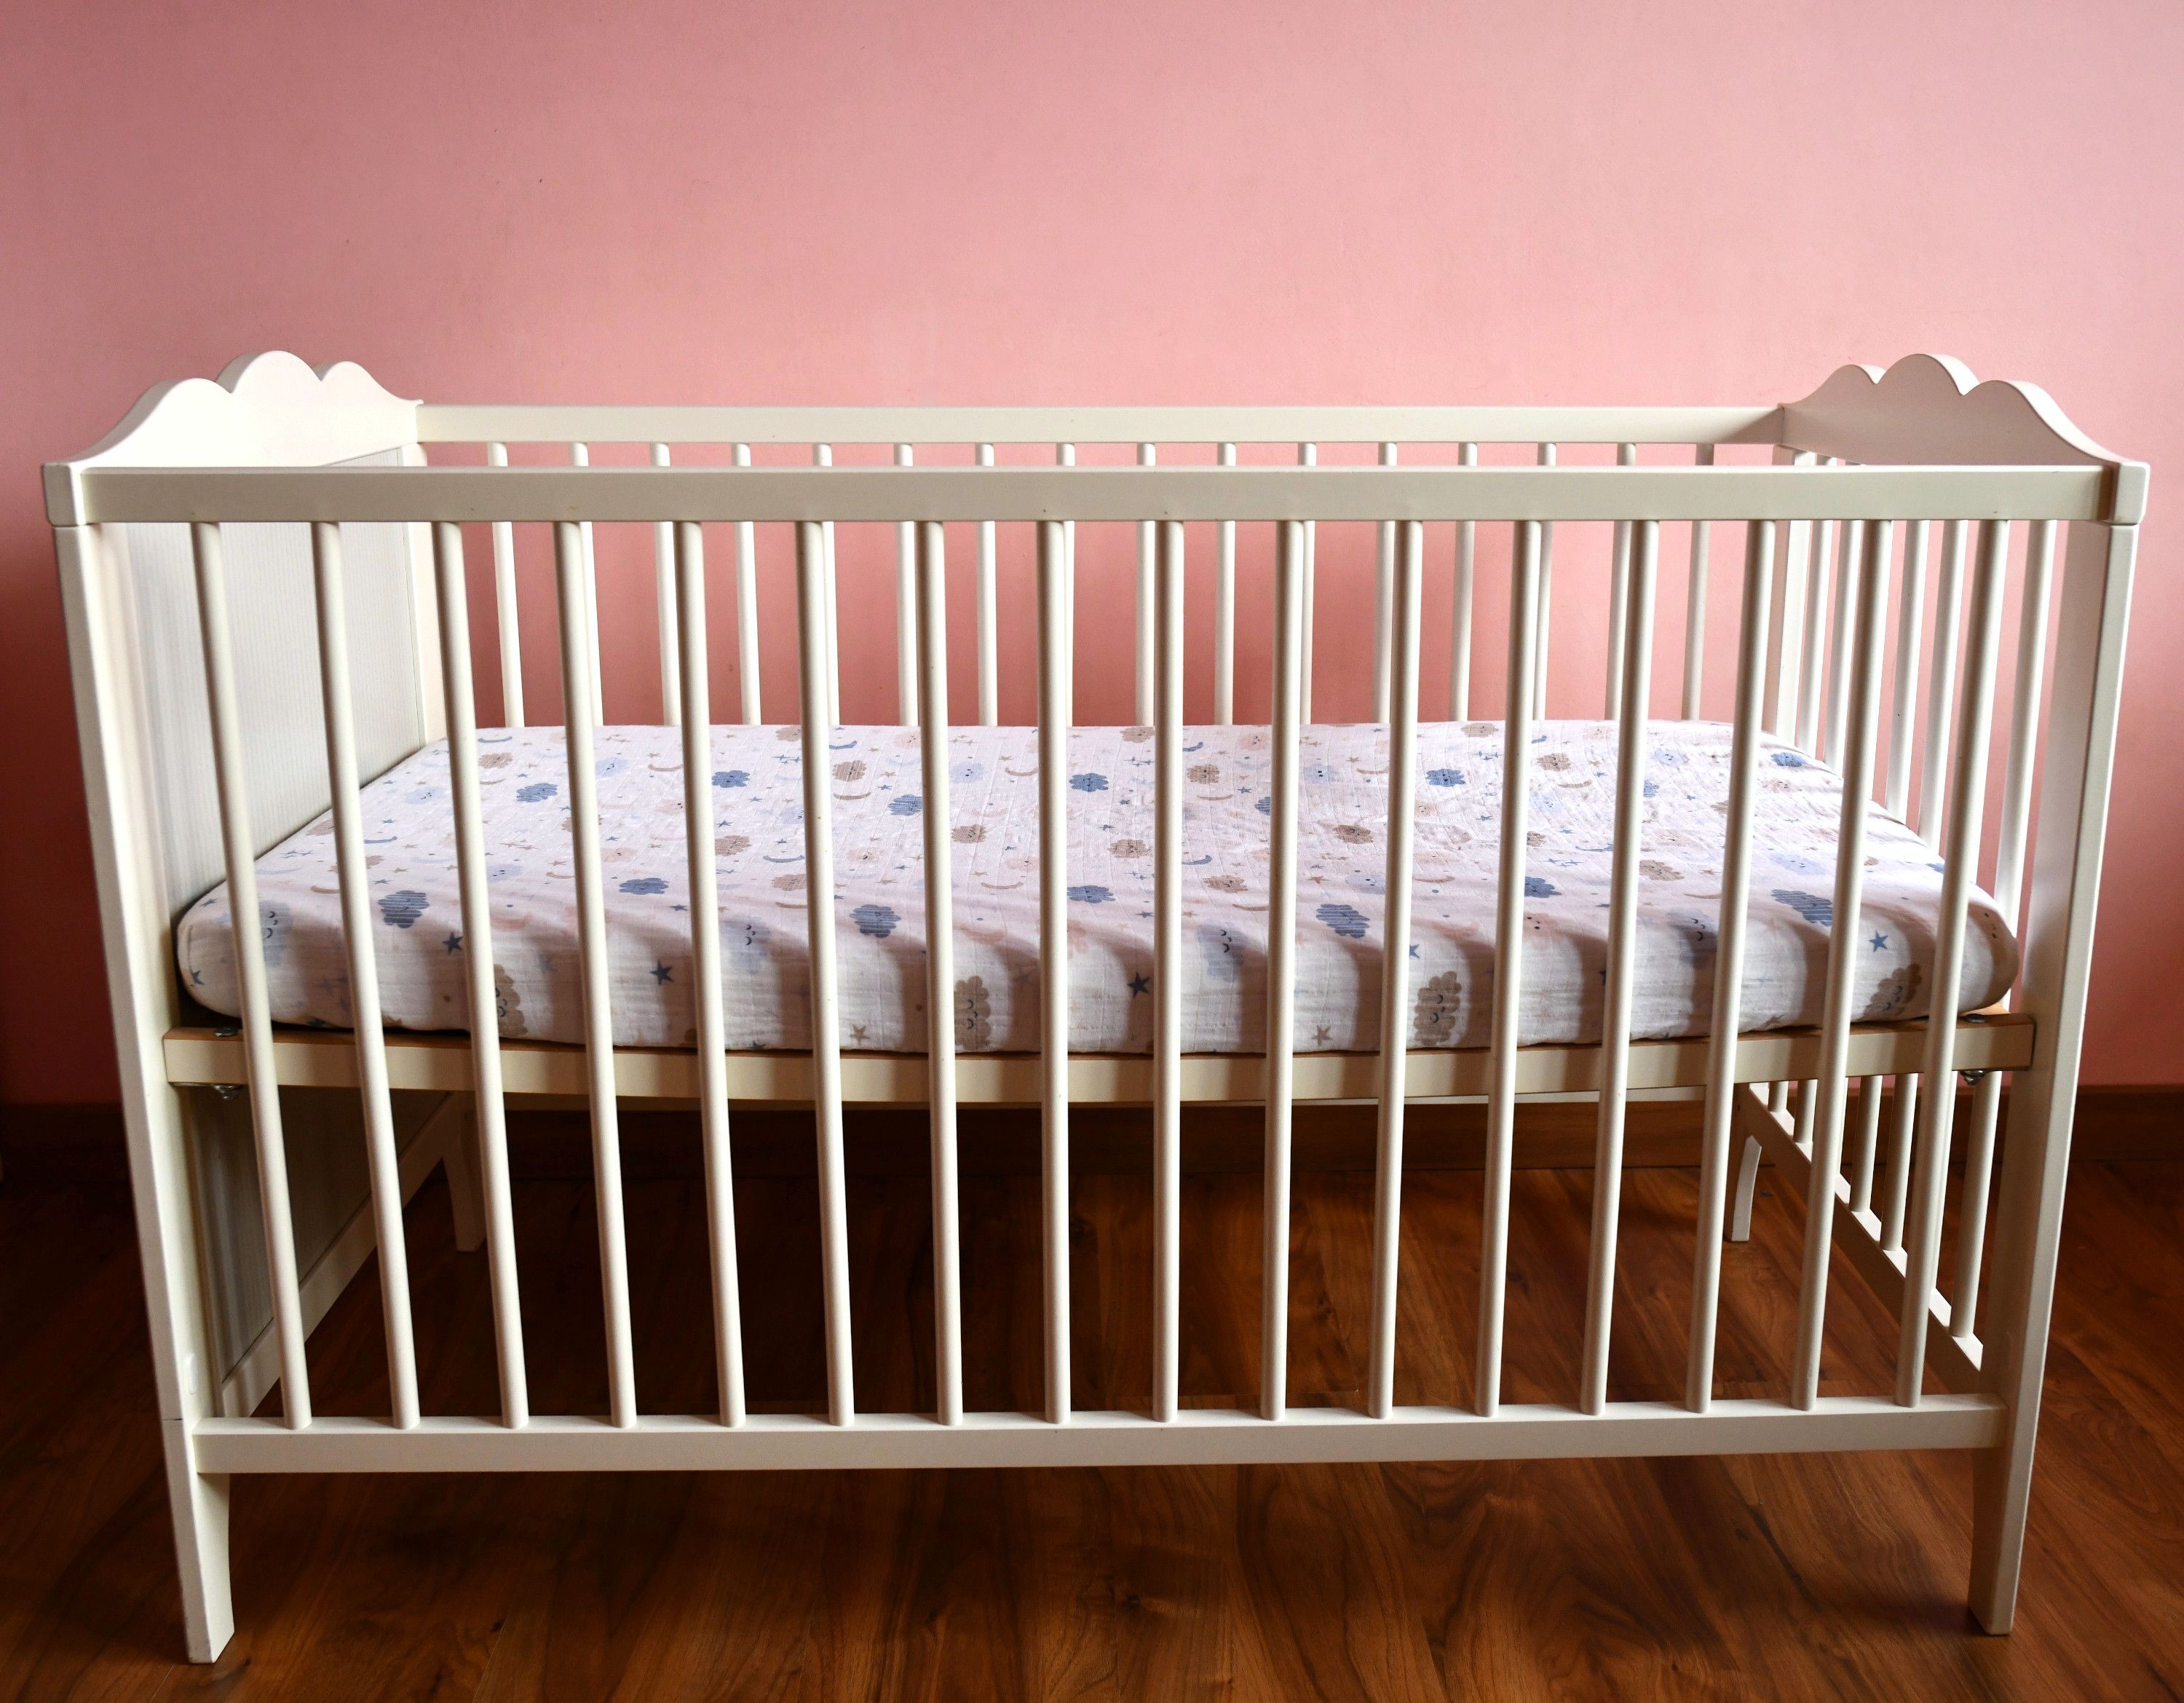
Making your own crib sheets is a fun and easy project, even if you’re just starting out with sewing! There’s an endless variety of adorable fabric prints and patterns to choose from, allowing you to create a unique crib sheet that perfectly matches your nursery decor. And the best part? No serger required – you only need your regular sewing machine and French seams to get a neat, professional finish!
Not only do homemade crib sheets help you save money, but they also make the most thoughtful and practical baby shower gift. Why settle for plain, store-bought sheets when you can sew something special and personalized for that little one?
In this simple, step-by-step tutorial, I’ll show you everything you need to know to sew your own crib sheet – from choosing the right fabric to mastering French seams for a smooth, durable finish. You’ll even learn which fabric types work best and how to get the perfect fit.
Ready to dive in? Let’s get started!
Choosing the right fabric for crib sheets
When making crib sheets, cotton and cotton blends are your best friends – they’re breathable, hypoallergenic, and super durable. These fabrics keep your baby comfy and cozy all night long.
If you’re making a crib sheet for colder weather, flannel is an excellent choice as it adds extra warmth and softness!
How much fabric do you need for a crib sheet?
A standard crib mattress measures 51 5/8 inches long, 27 1/4 inches wide, and is usually less than 6 inches thick. To make a perfectly fitting crib sheet for this size, you’ll need about 2 yards of 44-inch-wide fabric.
How much elastic do you need for a fitted crib sheet?
The key to a great-fitting crib sheet is the right amount of elastic. It should fit snugly but be easy to put on and take off when needed.
For most crib sheets, 1/4-inch-wide elastic works wonderfully. You’ll typically need around 60 to 70 inches of elastic for a standard crib mattress, but the exact amount can vary depending on how stretchy your fabric is and how tight you want the sheet to fit.
Look for elastic that snaps back to its original length after stretching – it will ensure your sheet holds its shape and stays snug. Some elastic has more stretch than others, so you might need to tweak the length slightly. It’s always a good idea to have a little extra elastic on hand, just in case you need to make adjustments!
Why use French seams?
The beauty of using French seams for your crib sheet is that they create a professional-looking, clean finish without needing a serger. In fact, this method can be just as quick as serging seams – and possibly even faster!
While serging gives you a neat edge, you’ll actually save time by using French seams, because it’s quicker to iron the raw edges than it is to thread your serger and finish the seams that way. Plus, French seams are a great option for beginners since you don’t need any fancy tools – just your regular sewing machine and a little bit of patience.
Sewing supplies
- 2 yards of fabric – cotton / flannel
- approx. 60-70 inches of 1/4″ elastic
- sewing machine
- sewing machine needle
- matching thread
- sewing pins
- safety pins
- fabric scissors
- measuring tape
- 8″ square paper pattern for cutting out corners
DIY crib sheet instructions
Ready to sew your own fitted crib sheet? This simple, step-by-step guide is perfect for beginners and will help you create a crib sheet that fits standard U.S. crib mattresses (typically 27–28 inches wide, 51–52 inches long, and 3–6 inches deep).
You’ll be amazed at how easy it is!
Quick tip: Always pre-wash and dry your fabric before you start sewing! This helps prevent any shrinking after your crib sheet is finished and ensures the fabric stays the right size.
Let’s get started on making your crib sheet! Follow these easy steps, and soon you’ll have a custom, comfy sheet ready for your little one’s crib!
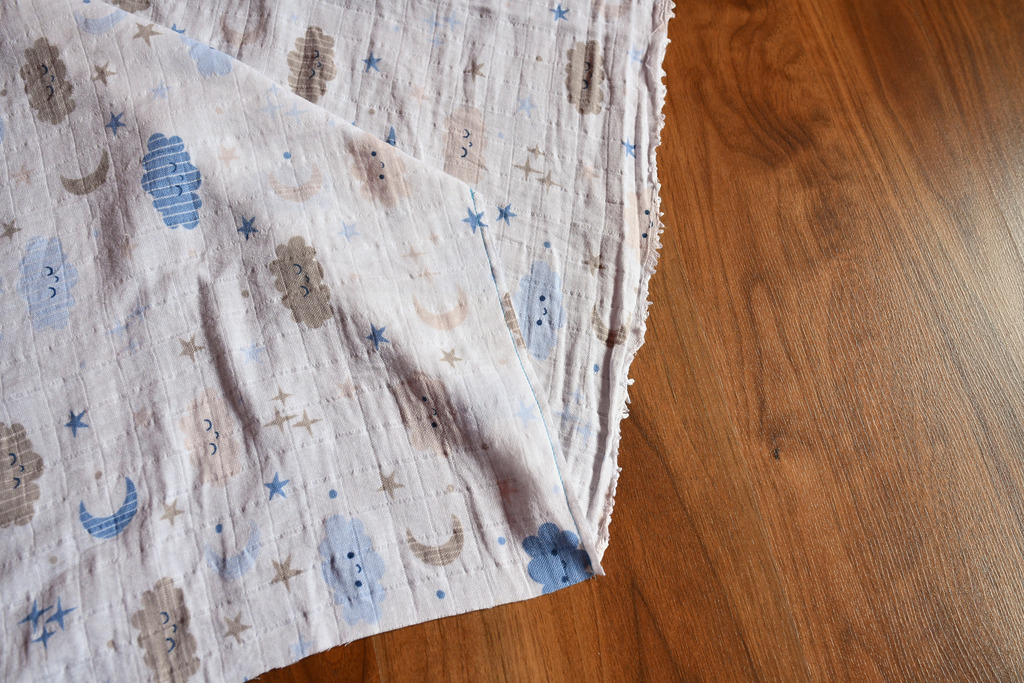
Start by cutting your fabric to 68 inches long by 44 inches wide.
Why these measurements?
A standard crib mattress is 28 inches wide by 52 inches long, so you’ll need enough fabric to cover the mattress surface plus extra for the depth and tucking under. If your crib mattress is a different size, you can adjust the measurements accordingly.
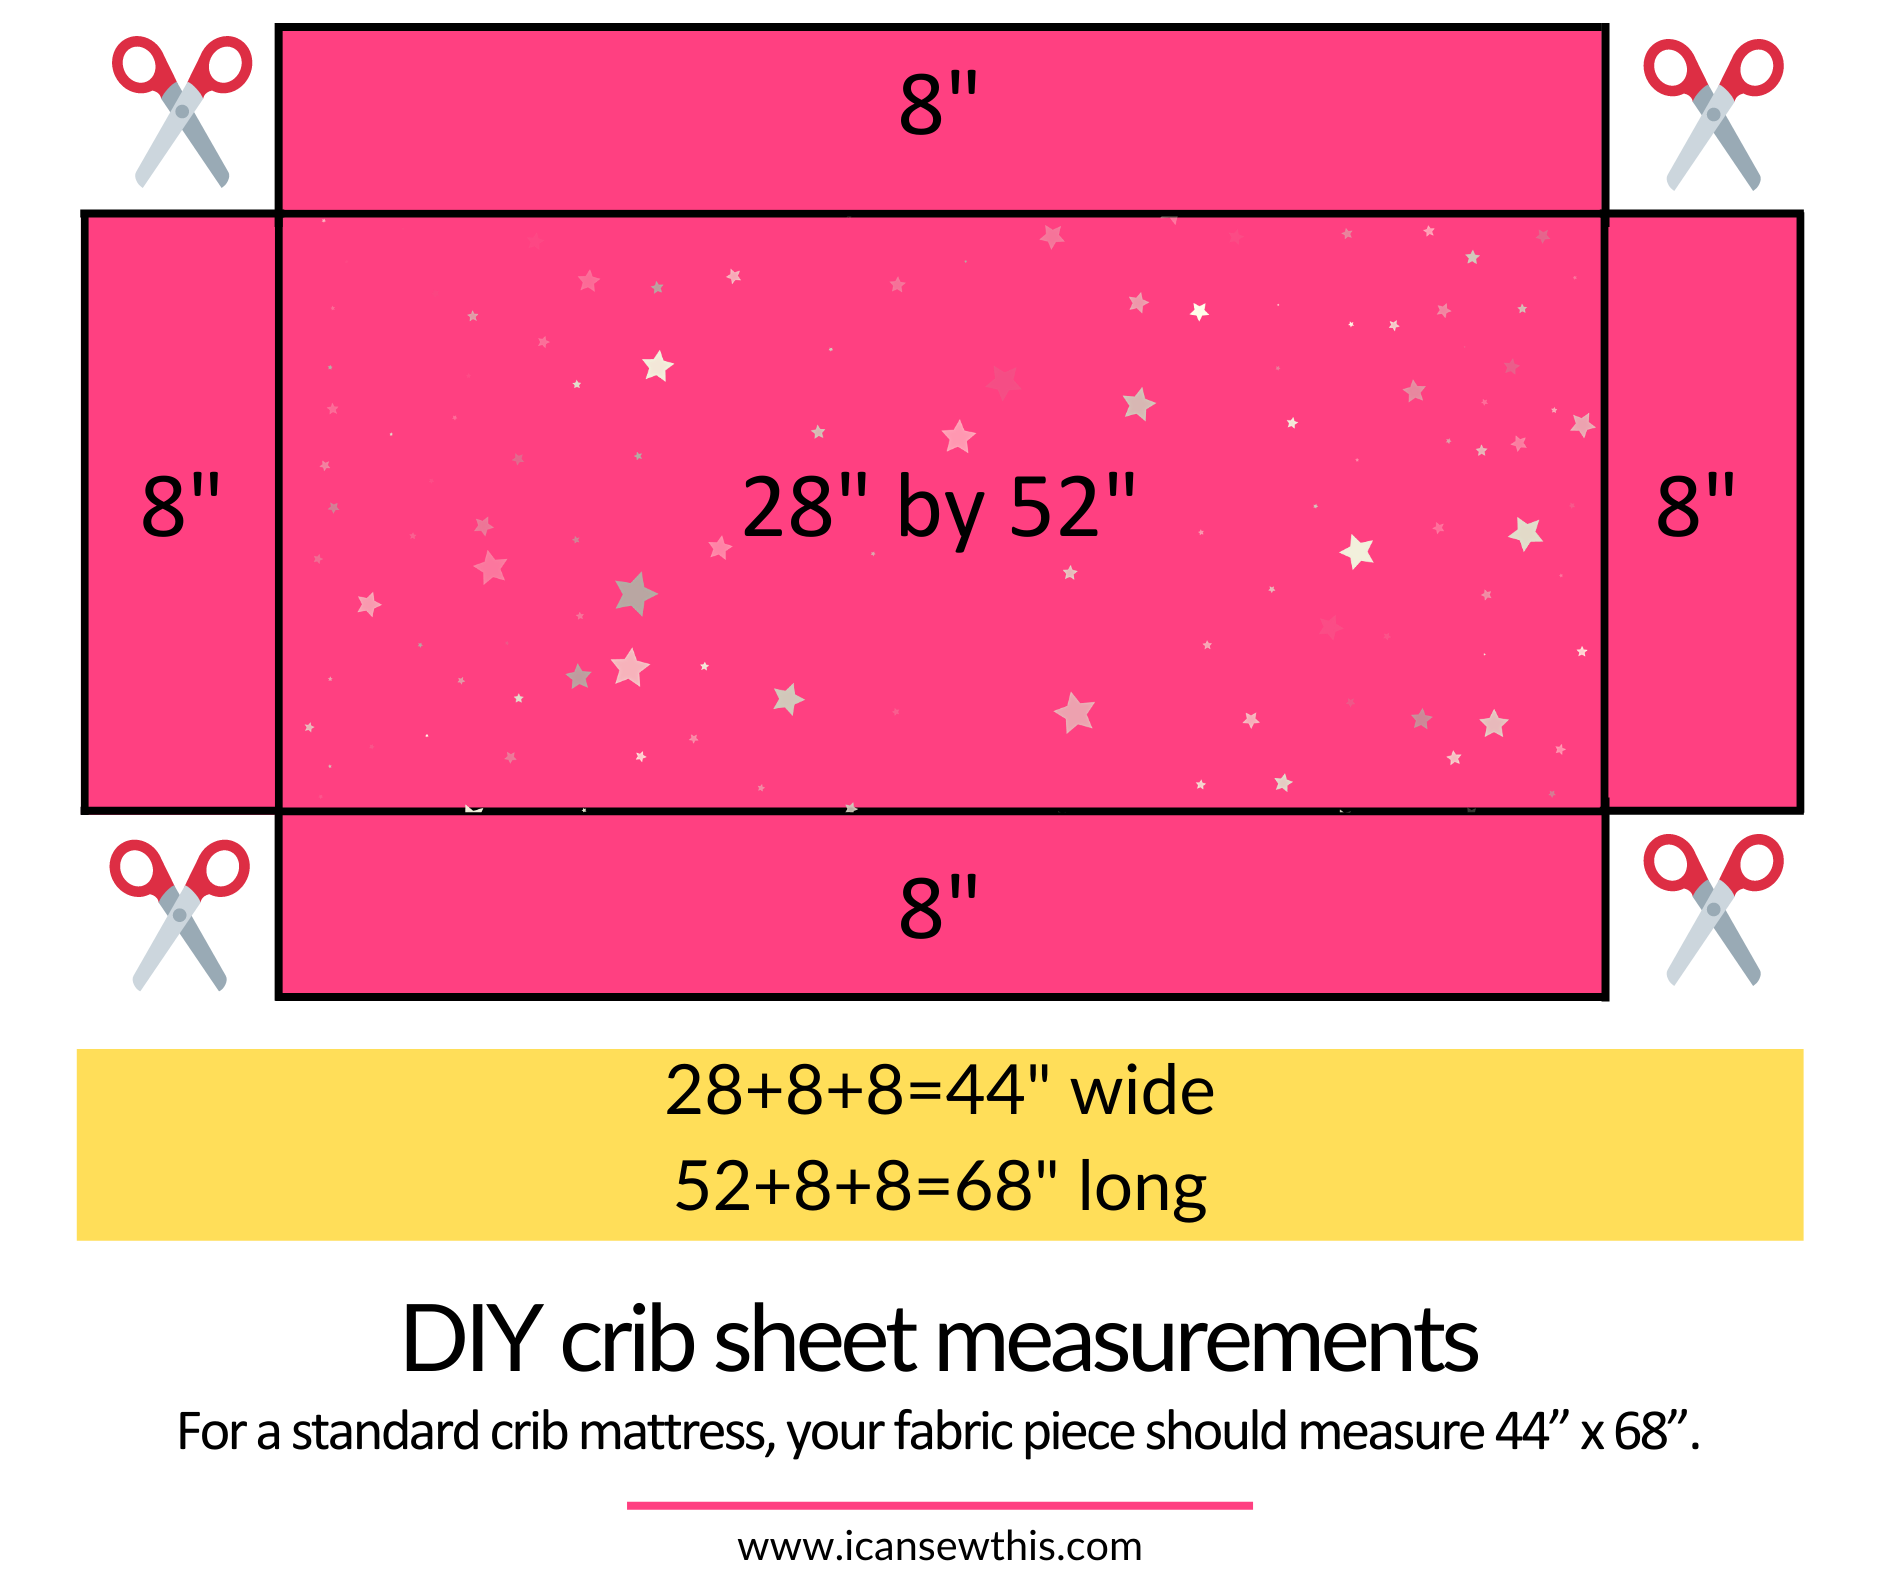
Calculate the depth for the fitted corners
To get a snug fit that stays in place, you’ll need to account for:
- Hem/elastic casing – about 1 inch
- Mattress depth – standard crib mattresses are usually around 6 inches deep or less
- Tuck-under allowance – an additional 2 to 4 inches to keep the sheet from slipping off
For a standard crib mattress, cut an 8-inch square from each corner of the fabric piece. This gives you enough depth to wrap around the mattress and tuck under securely.
Need a different size?
If you’re making a fitted sheet for a custom mattress size, here’s a simple formula for your fitted sheet depth:
- FD (fitted sheet depth) = 1 inch (hem/casing) + mattress depth (in inches) + 2 to 4 inches (tuck-under)
Using this FD measurement, cut a square from each corner of your fabric piece to match. For instance, an 8-inch square cut-out will make a crib sheet with an 8-inch depth.
Tip: If your fabric width is only 42 inches, you can still make a crib sheet! Just keep the selvages on, and if the mattress is around 3-4 inches deep, cut a 7.5-inch square from each corner. In this case, cut your fabric to 67 inches by 42 inches.
How to make a fitted sheet in any size
Want to make a fitted sheet for any mattress? Here’s how:
- Calculate your FD (fitted sheet depth) as described above.
- Create a paper template of FD x FD to use for cutting corners.
- Add 2 x FD to the length and width of your mattress size, then cut your fabric to match. Cut out a square at each corner using your FD template, and you’re ready to sew!
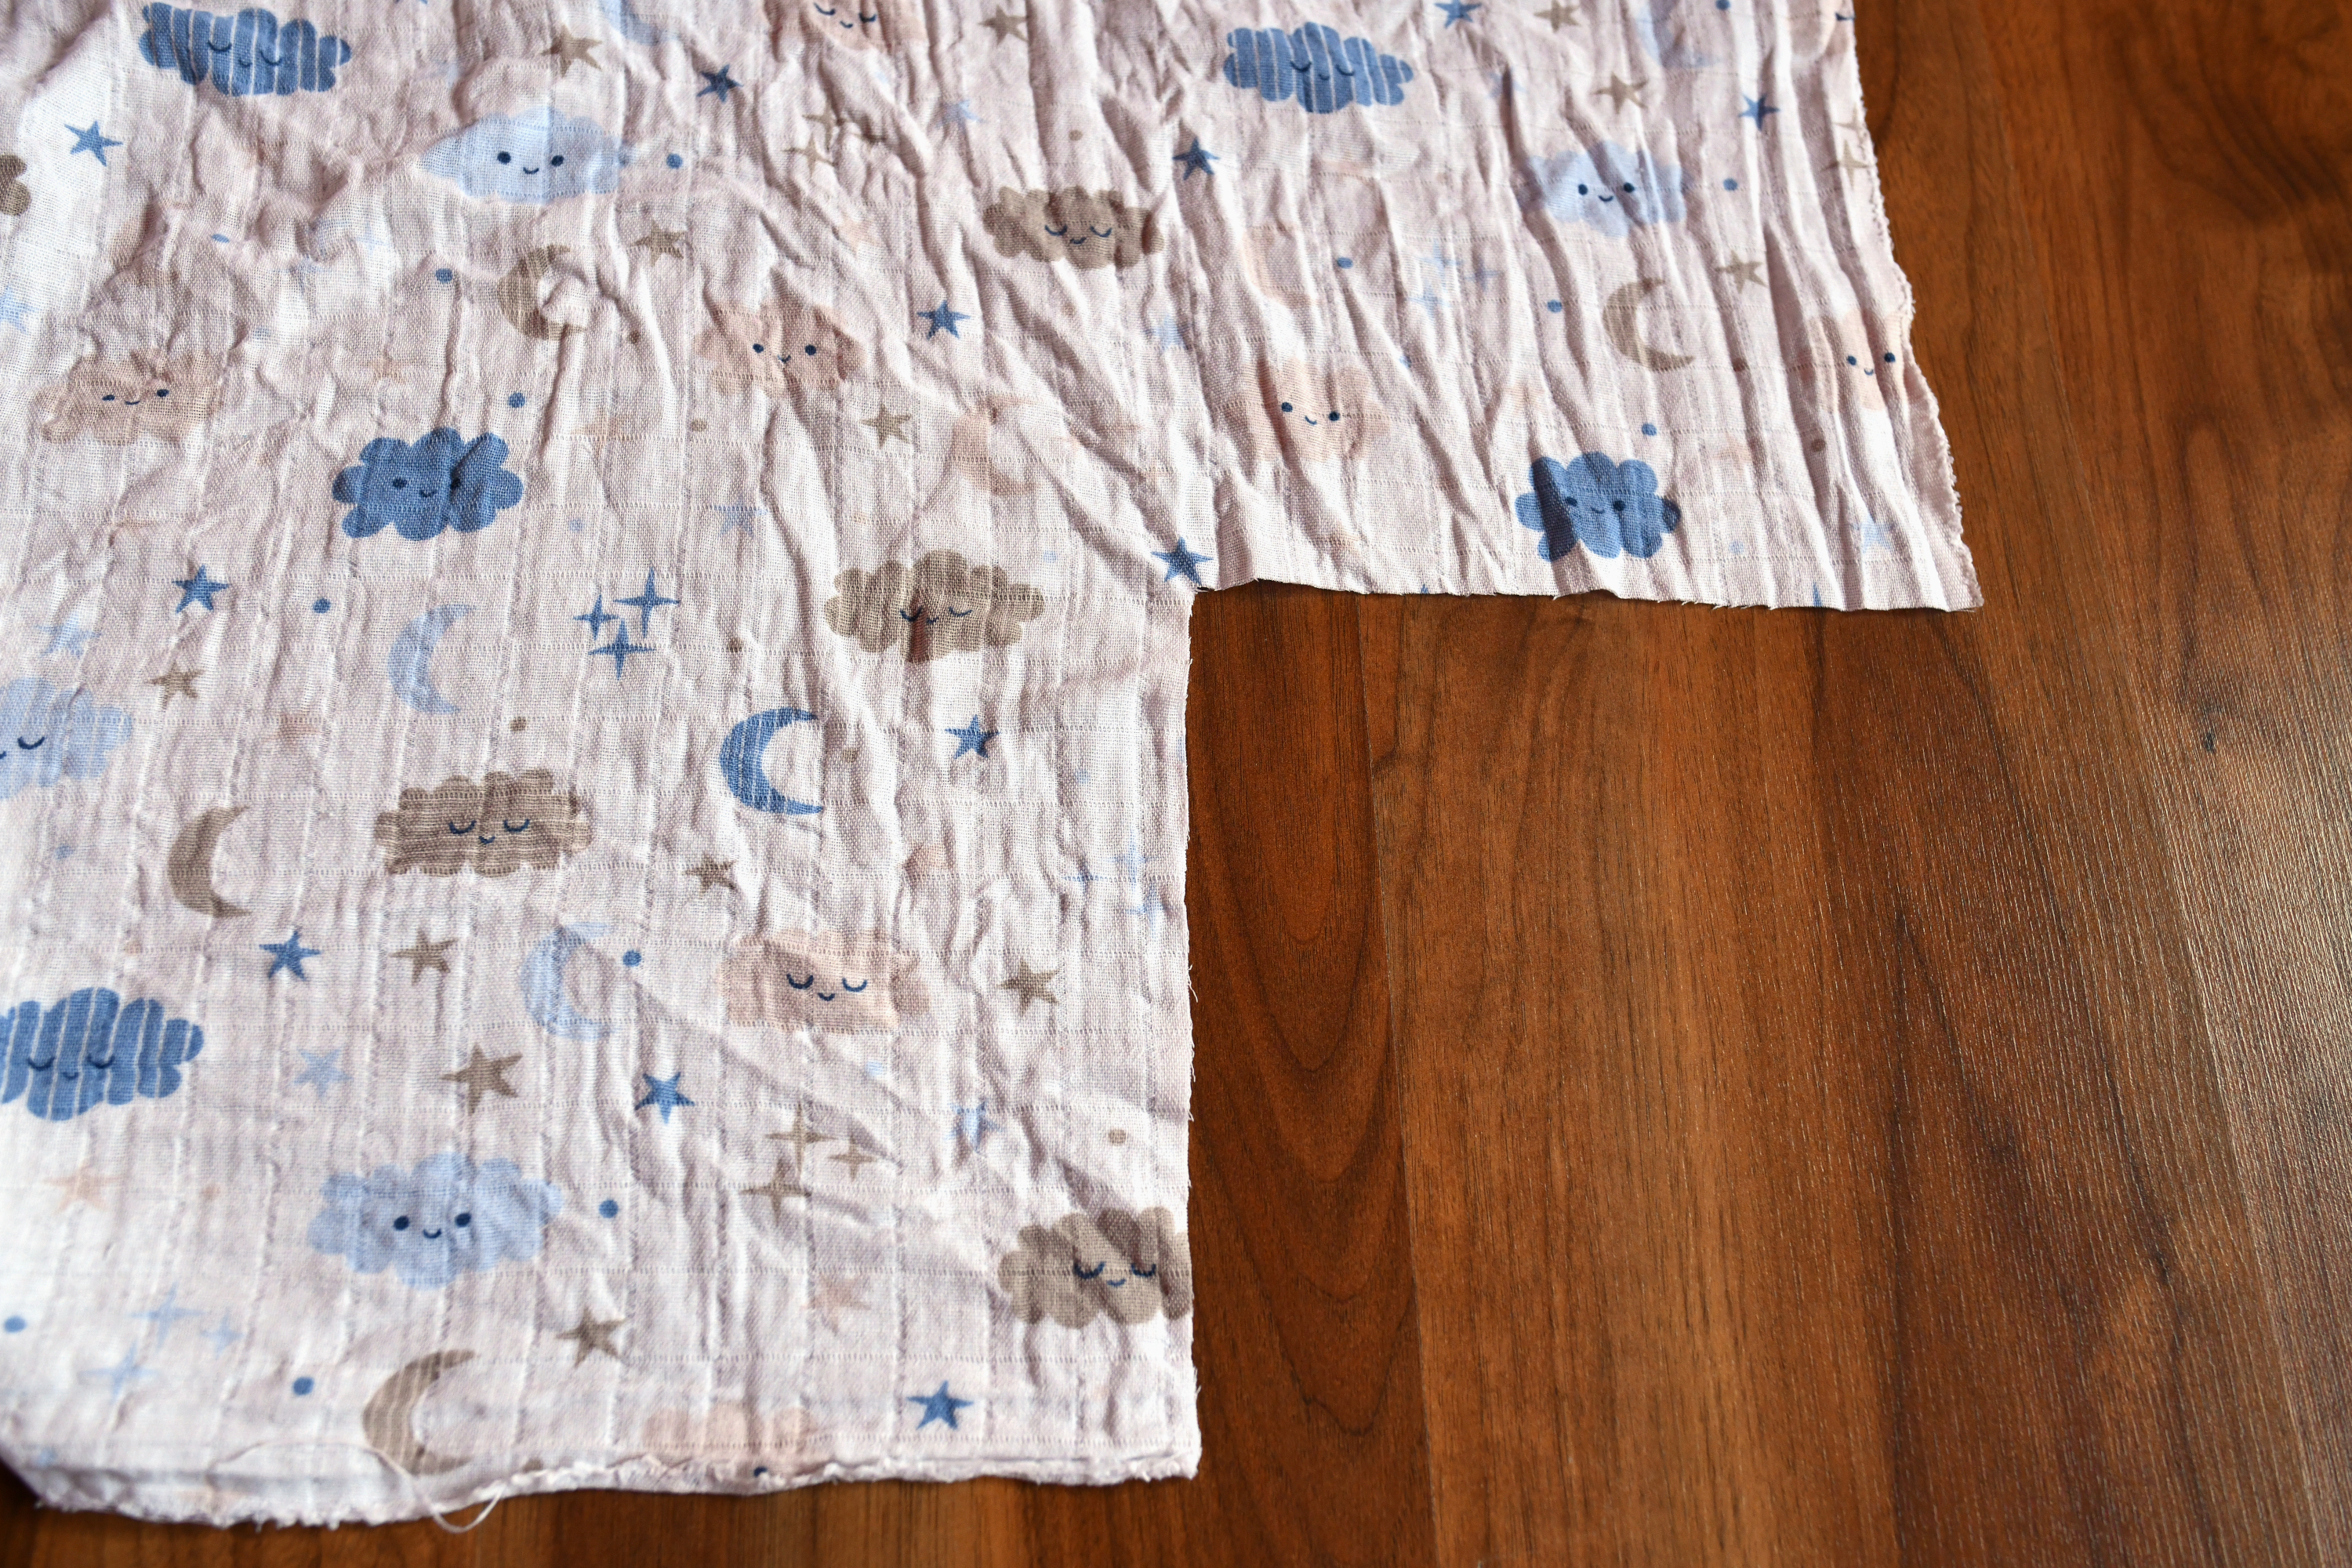
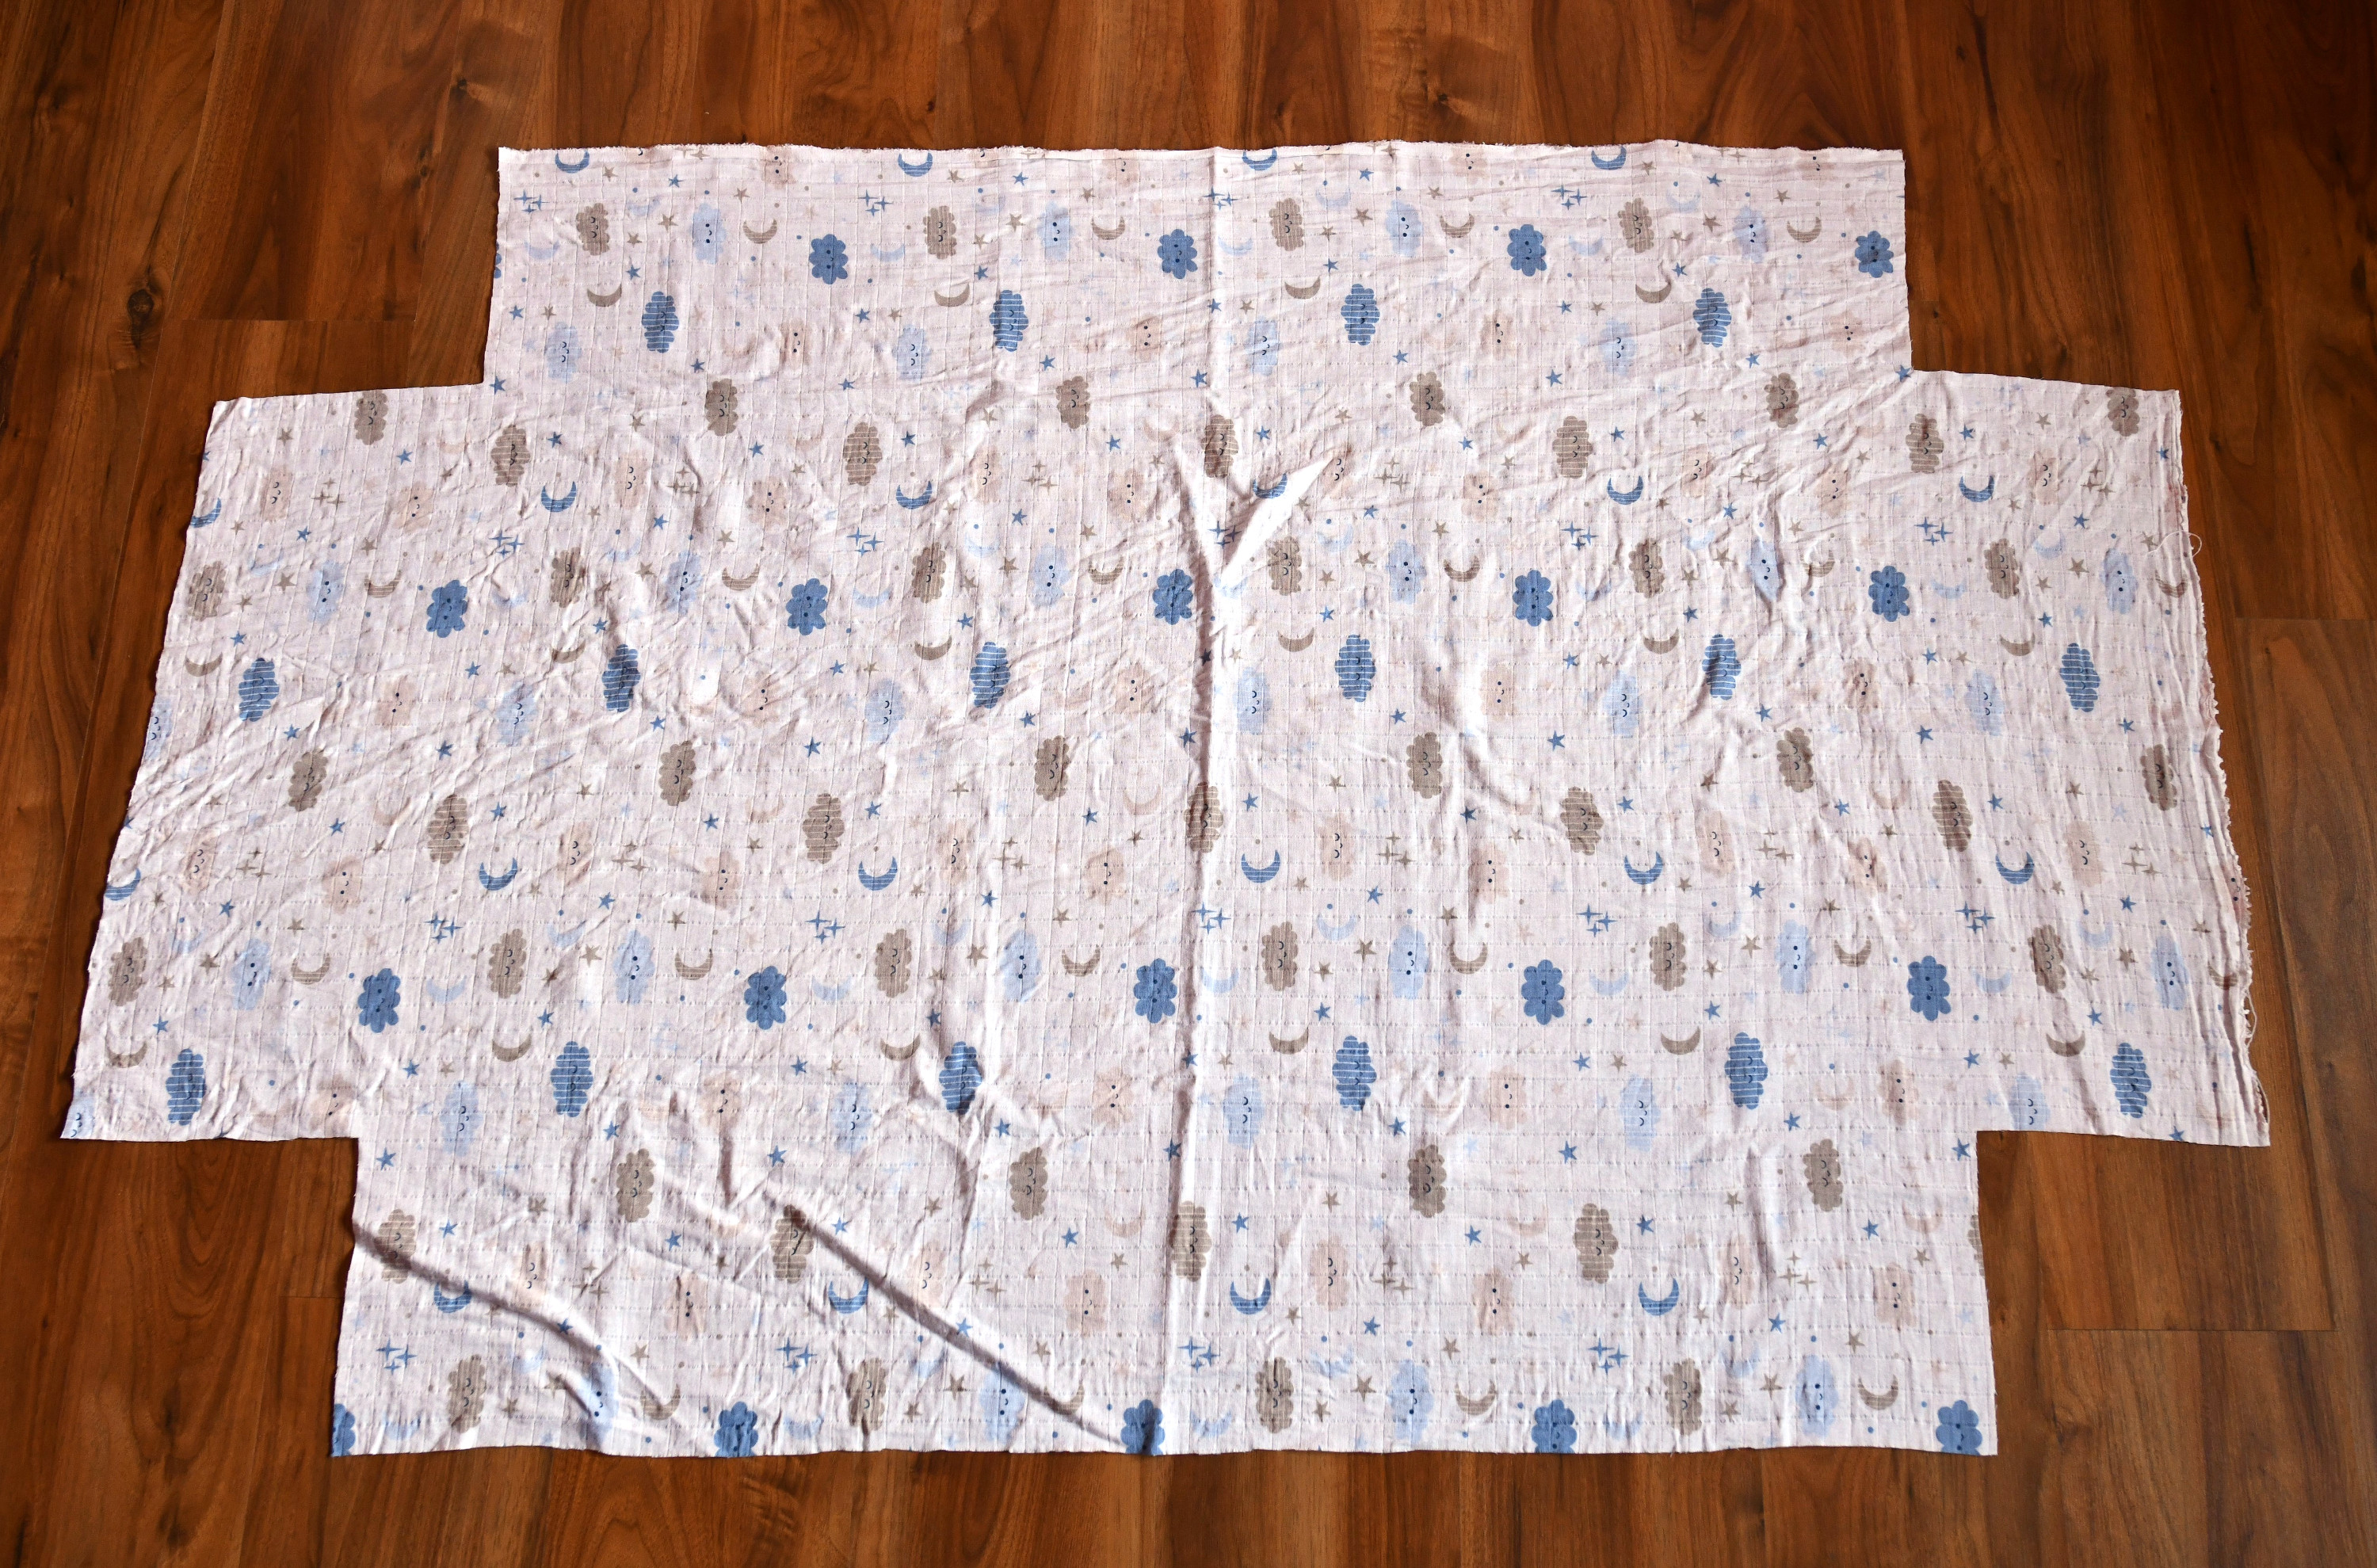
Step 1 – cut the fabric
For a standard crib mattress, cut your fabric to 68 inches by 44 inches.
Step 2 – cut out the corners
Next, cut a square measuring 8 inches by 8 inches from each corner of the fabric.

Your fabric should now have cut-out corners, forming a plus sign shape.
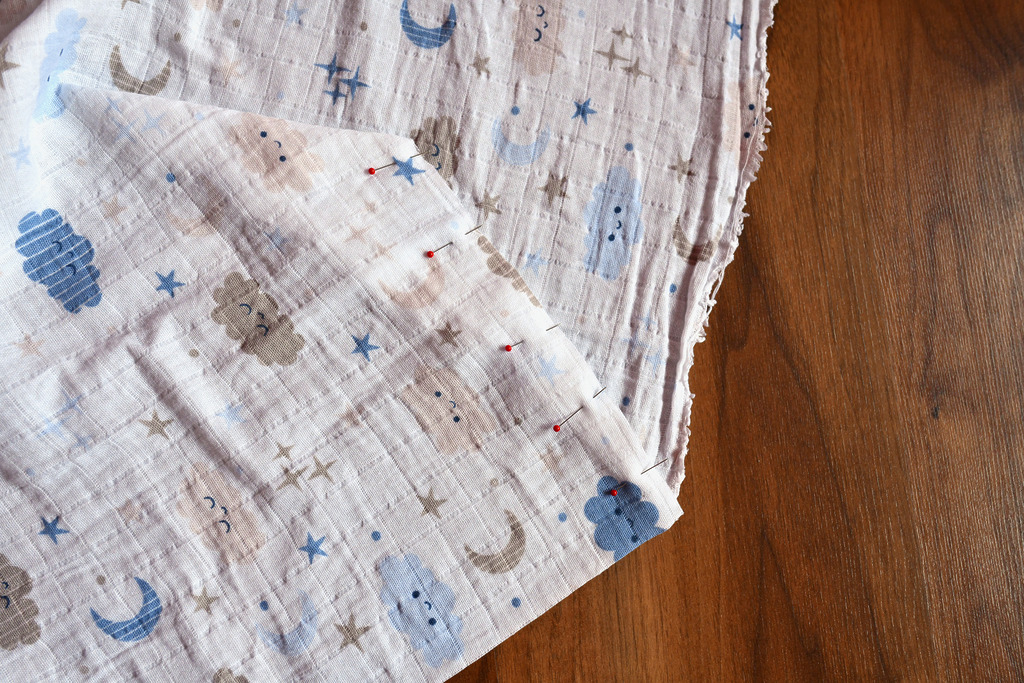
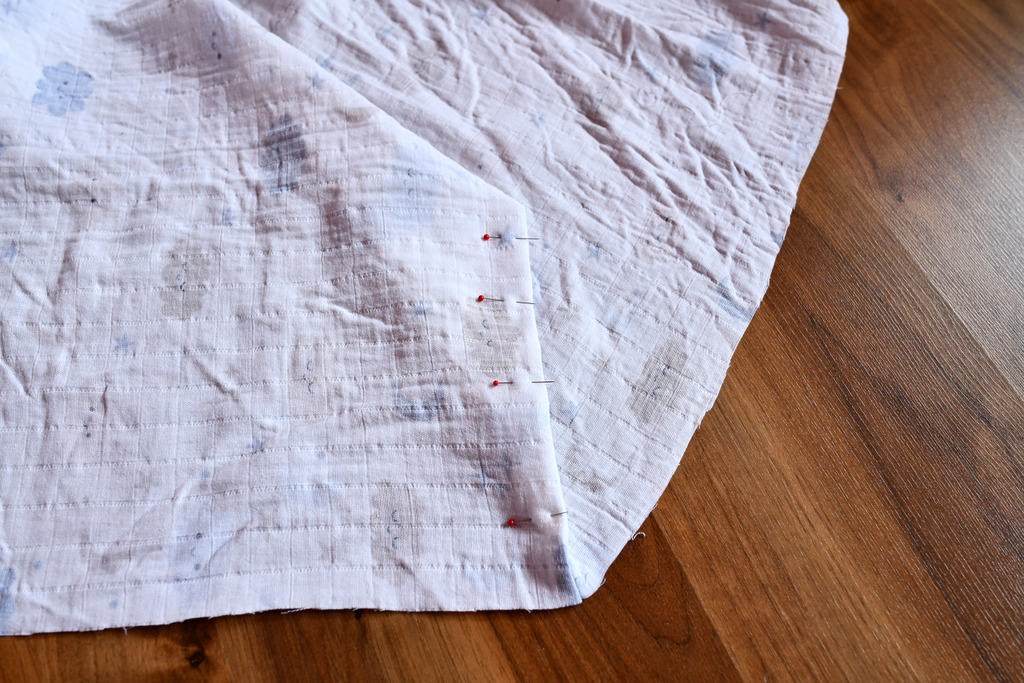
Step 3 – sew the corners using a French seam
Let’s start sewing! Pin the edges of each cut corner together with the wrong sides facing each other. You don’t need a serger here – we’ll use a French seam technique that keeps everything looking neat and professional. (Here’s how to make your crib sheet using a serger.)
- Sew each corner with a 1/4-inch or 3/8-inch seam allowance. Remember to use a backstitch at the beginning and end for extra strength.
- Trim down the seam to 1/4 inch if needed.
- Flip the fabric so the right sides are touching and the raw edges are now enclosed. Pin again if you like.
- Sew another seam along each corner, this time with a 3/8-inch seam allowance to fully enclose the raw edges.
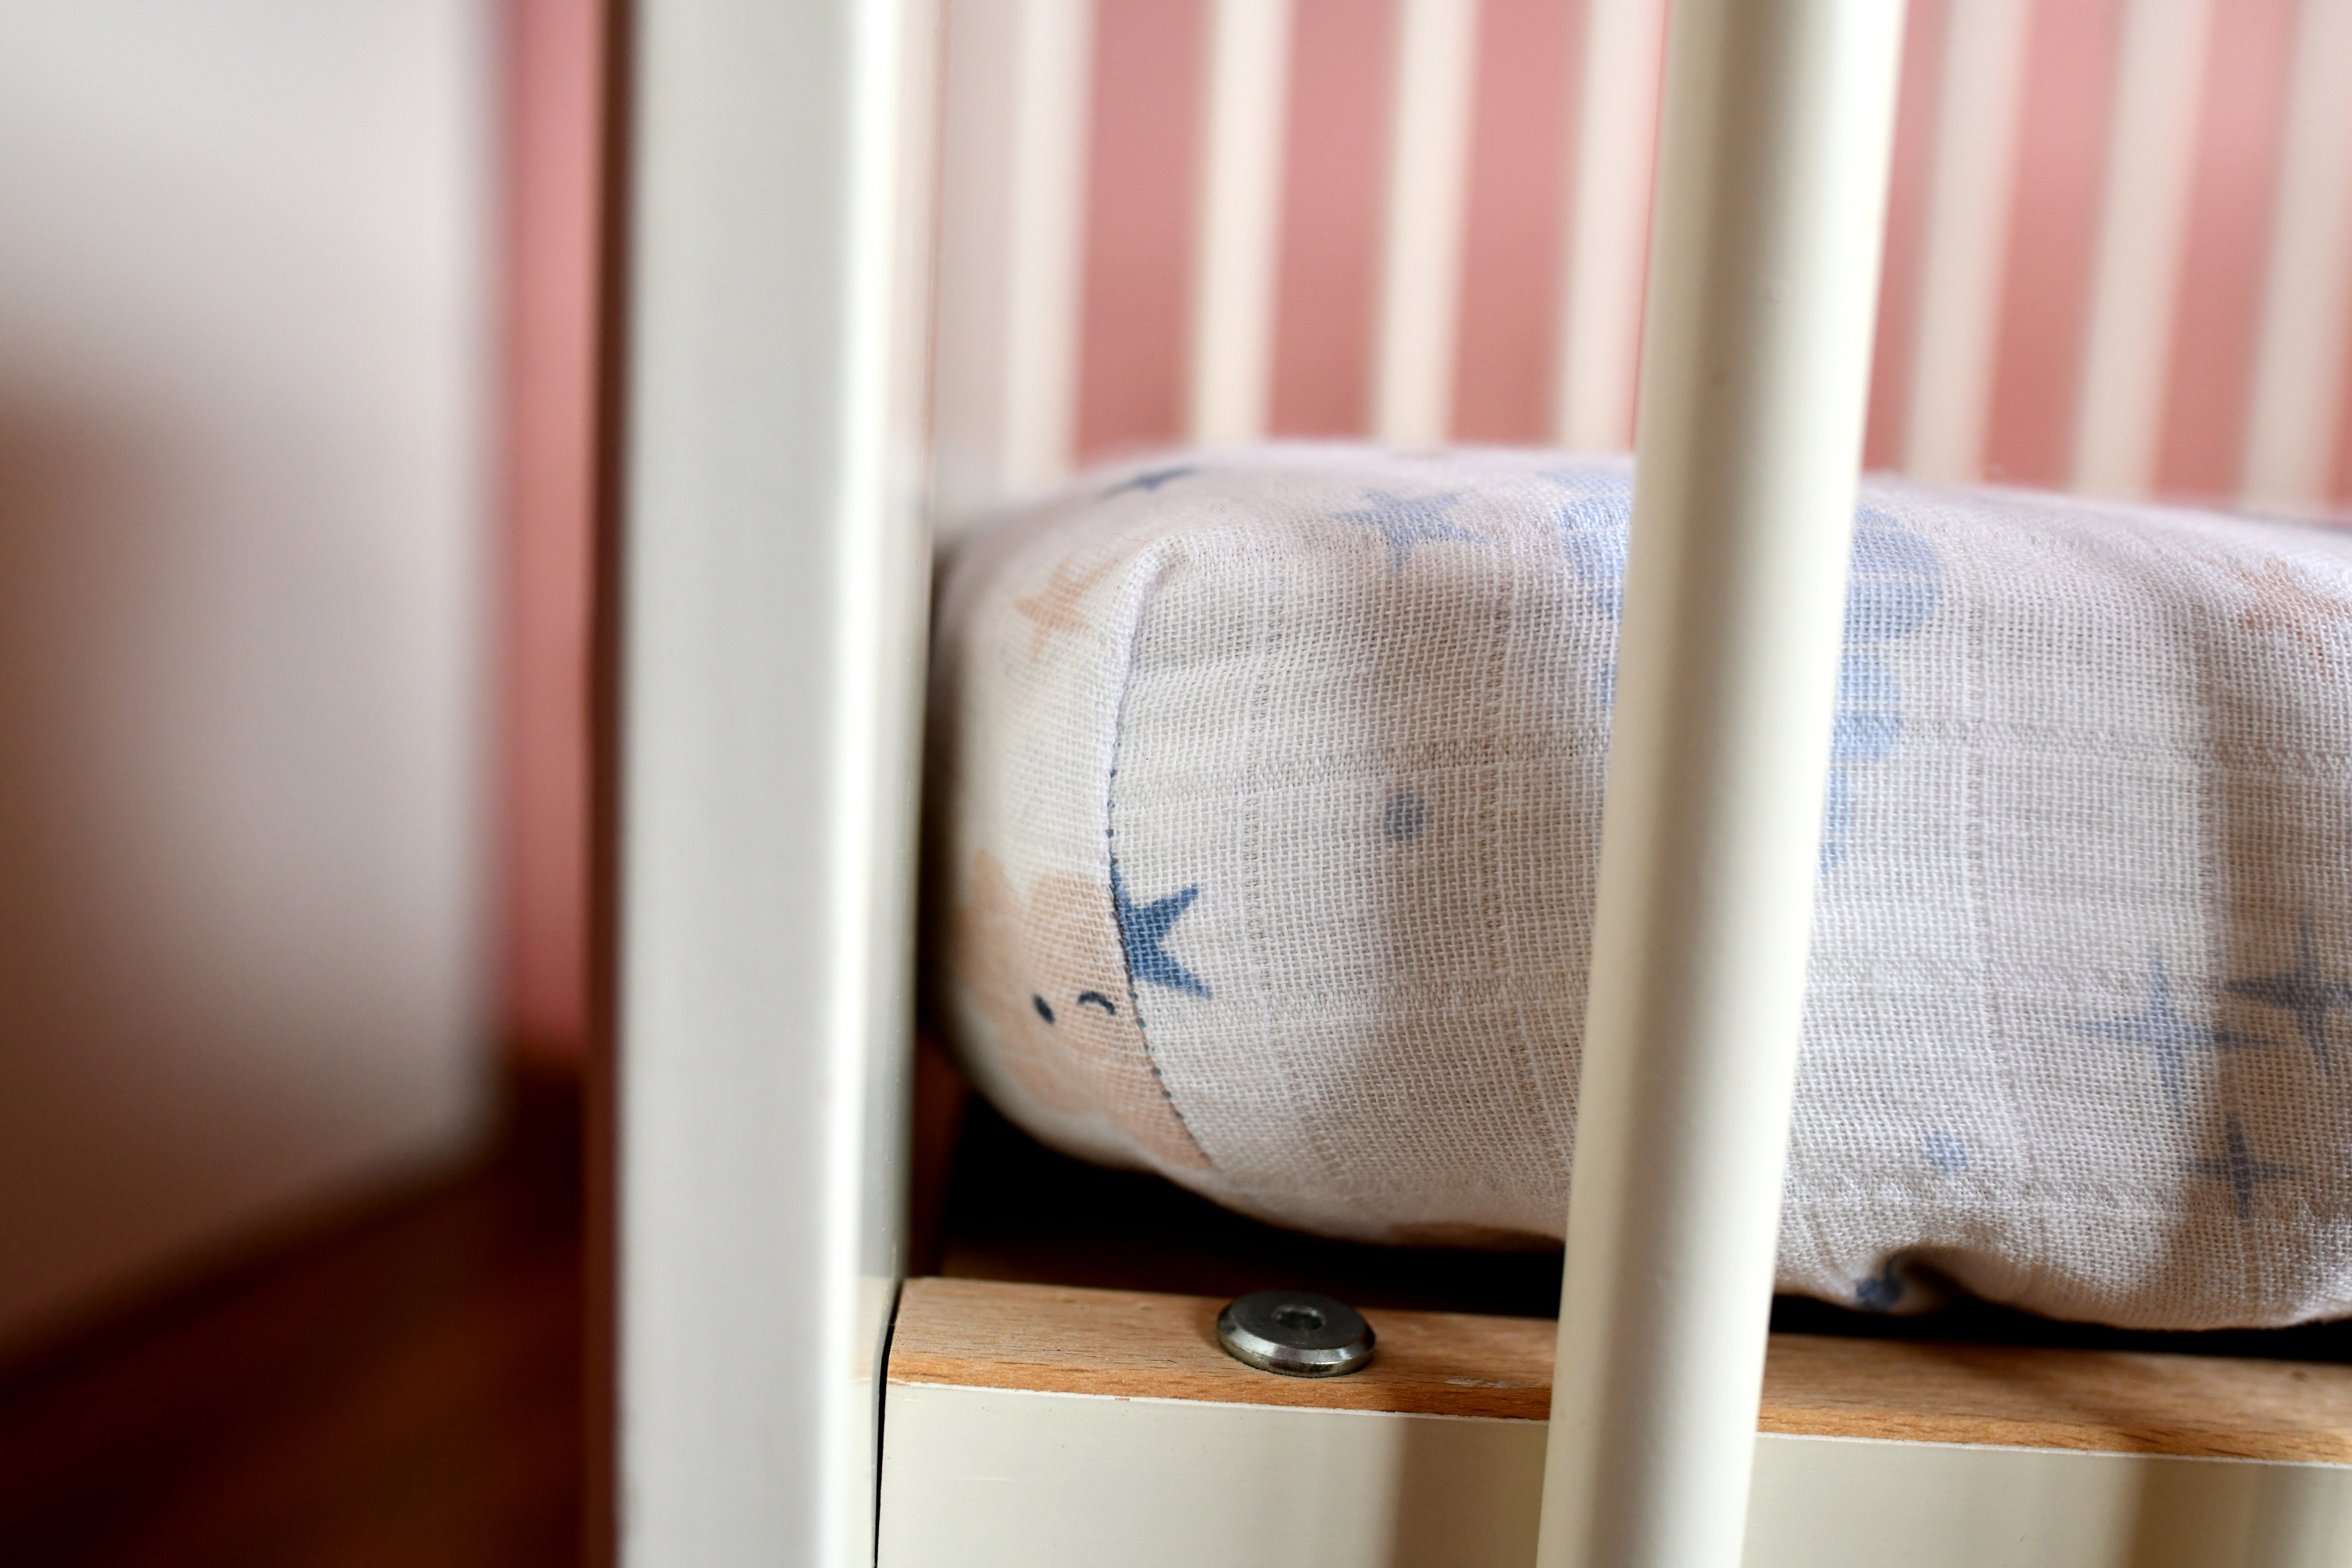
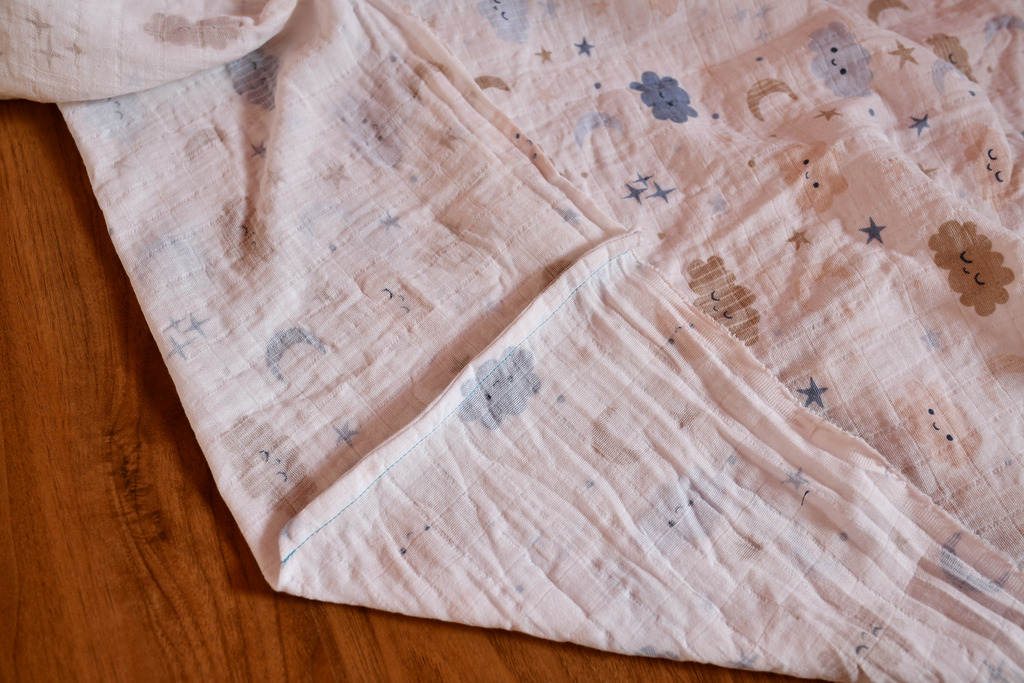
After finishing all four corners, your crib sheet will look clean and tidy, with no visible raw edges – that’s the beauty of a French seam! It gives a polished look and keeps everything secure.
Repeat for all corners, and admire your work!
Step 4 – hem the edge of the crib sheet
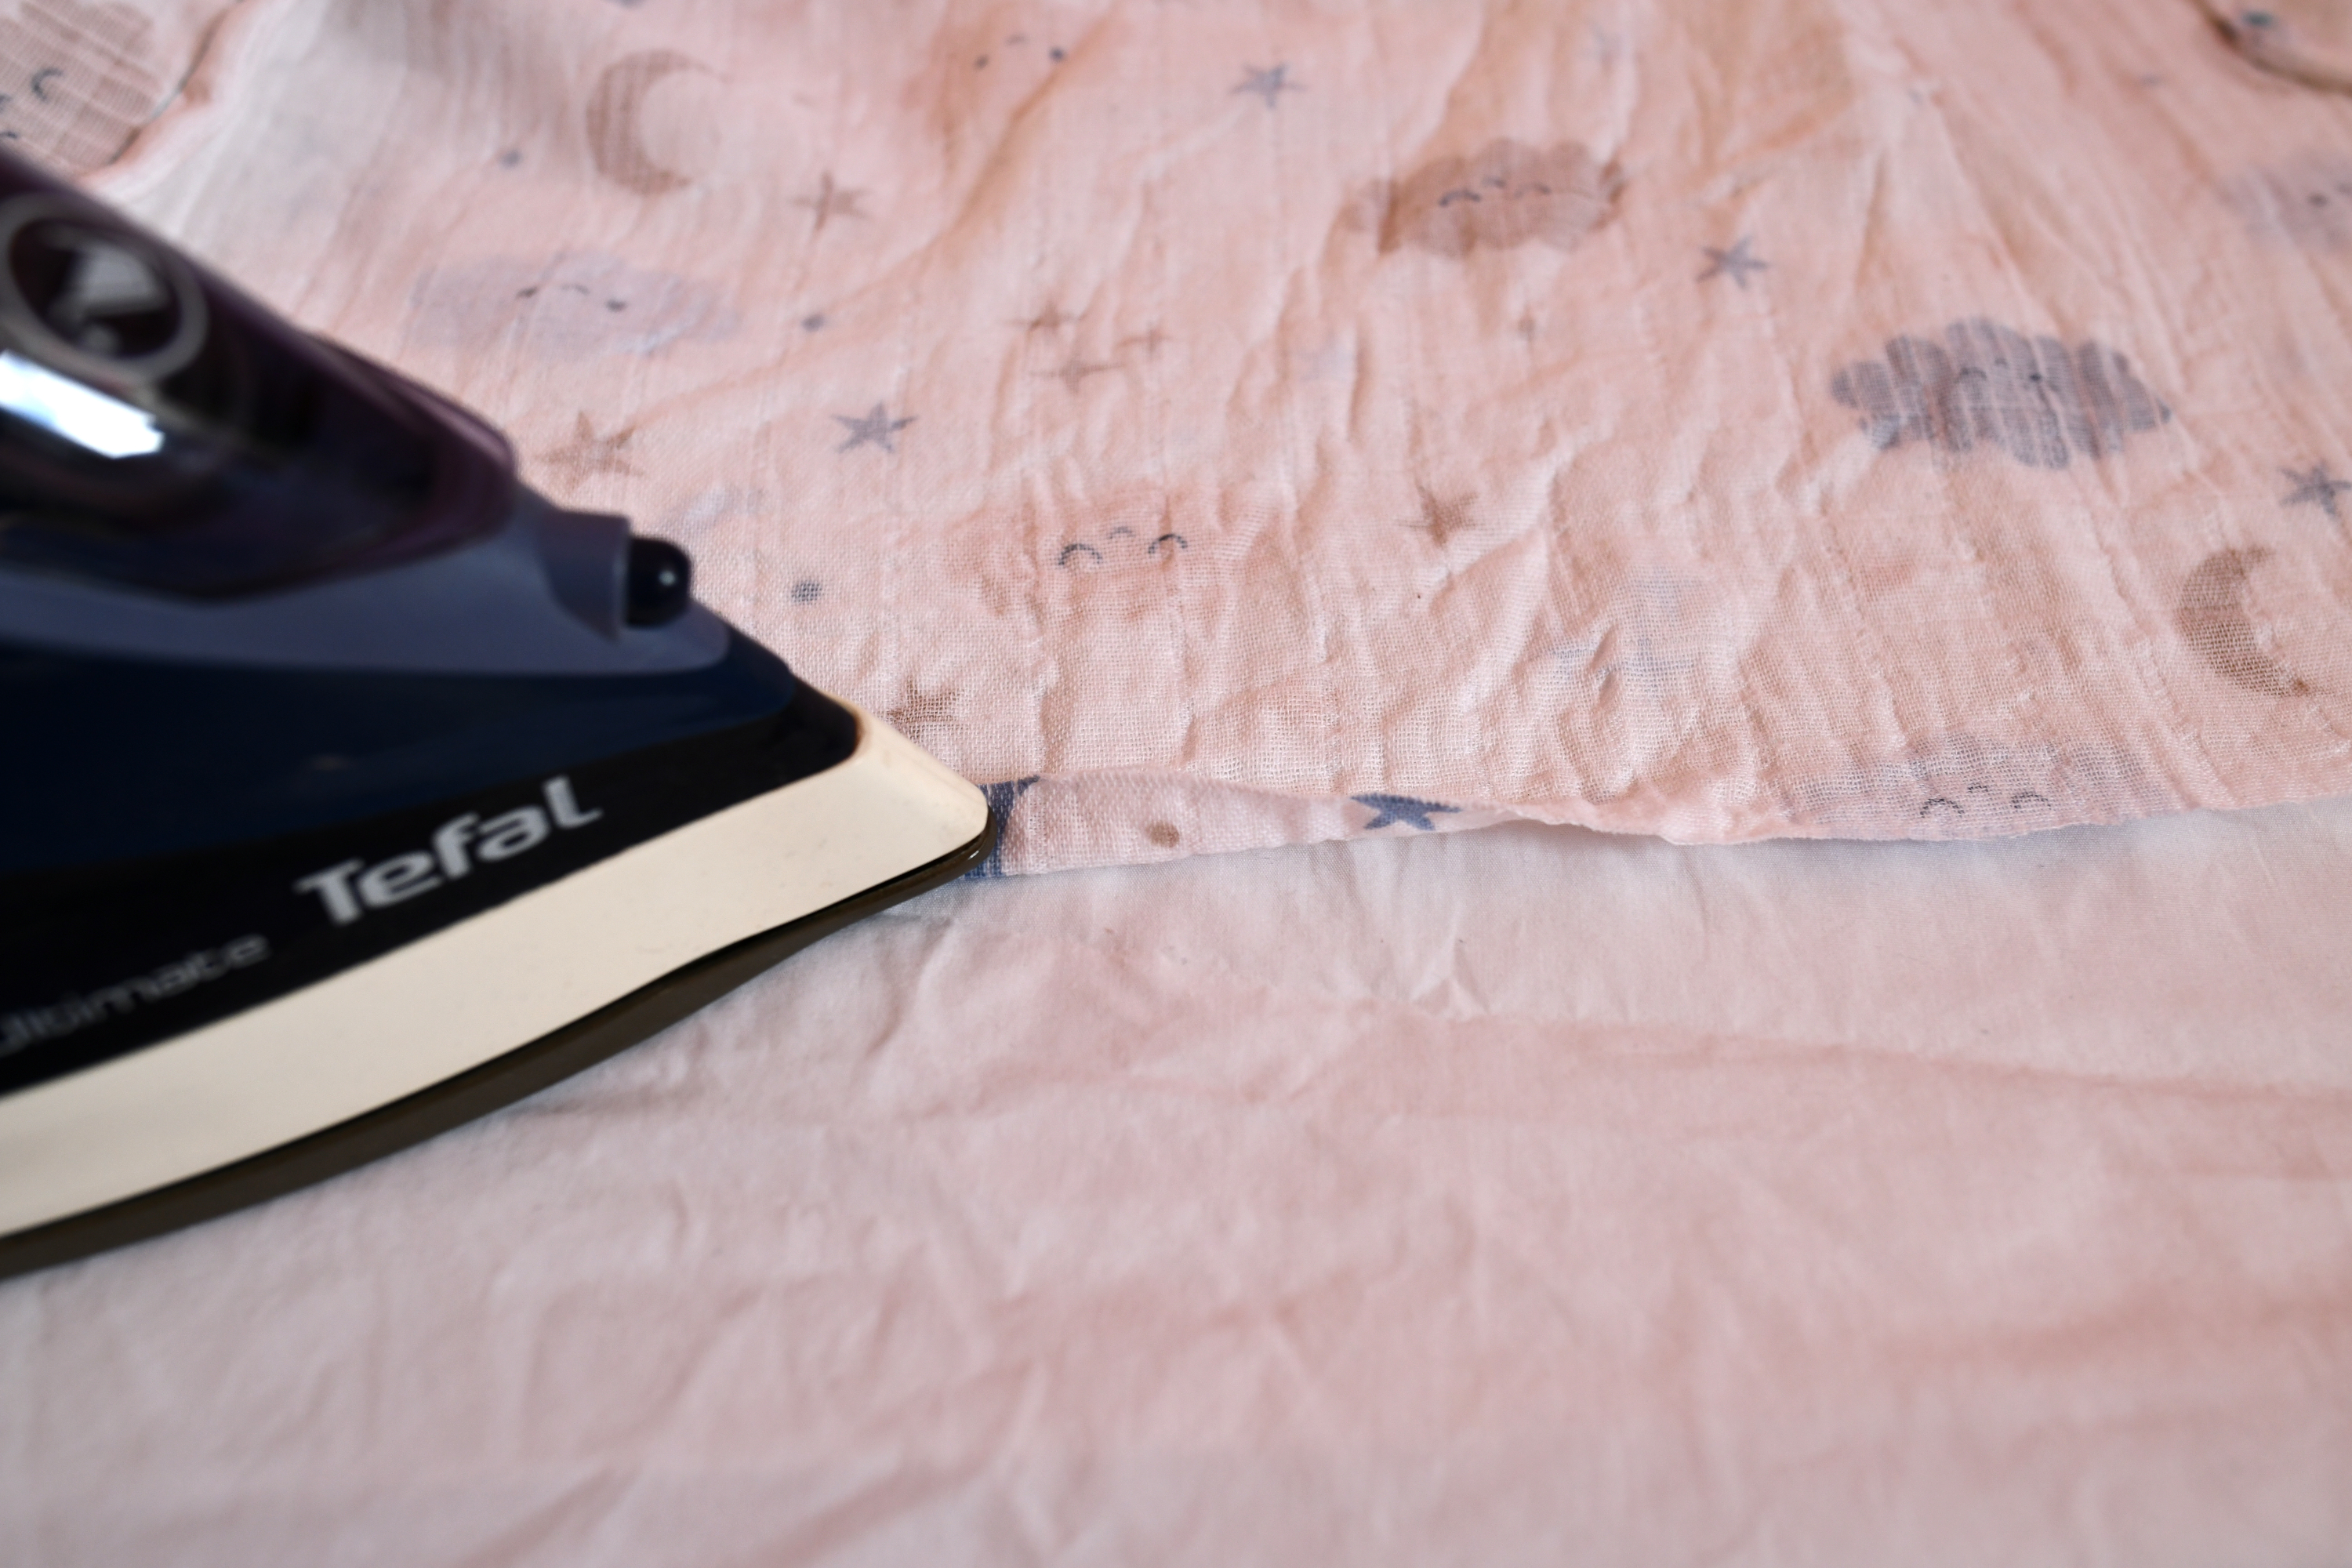
To prevent fraying, hem the edge of your sheet. You can use a serger or a zig-zag stitch, but here’s an easy option: fold the edge under 3/8 inch and press it with an iron. This gives you a smooth finish that’s simple and effective.
Step 5 – make the elastic casing
Now it’s time to create a casing for the elastic, which will keep your fitted sheet snug around the mattress.
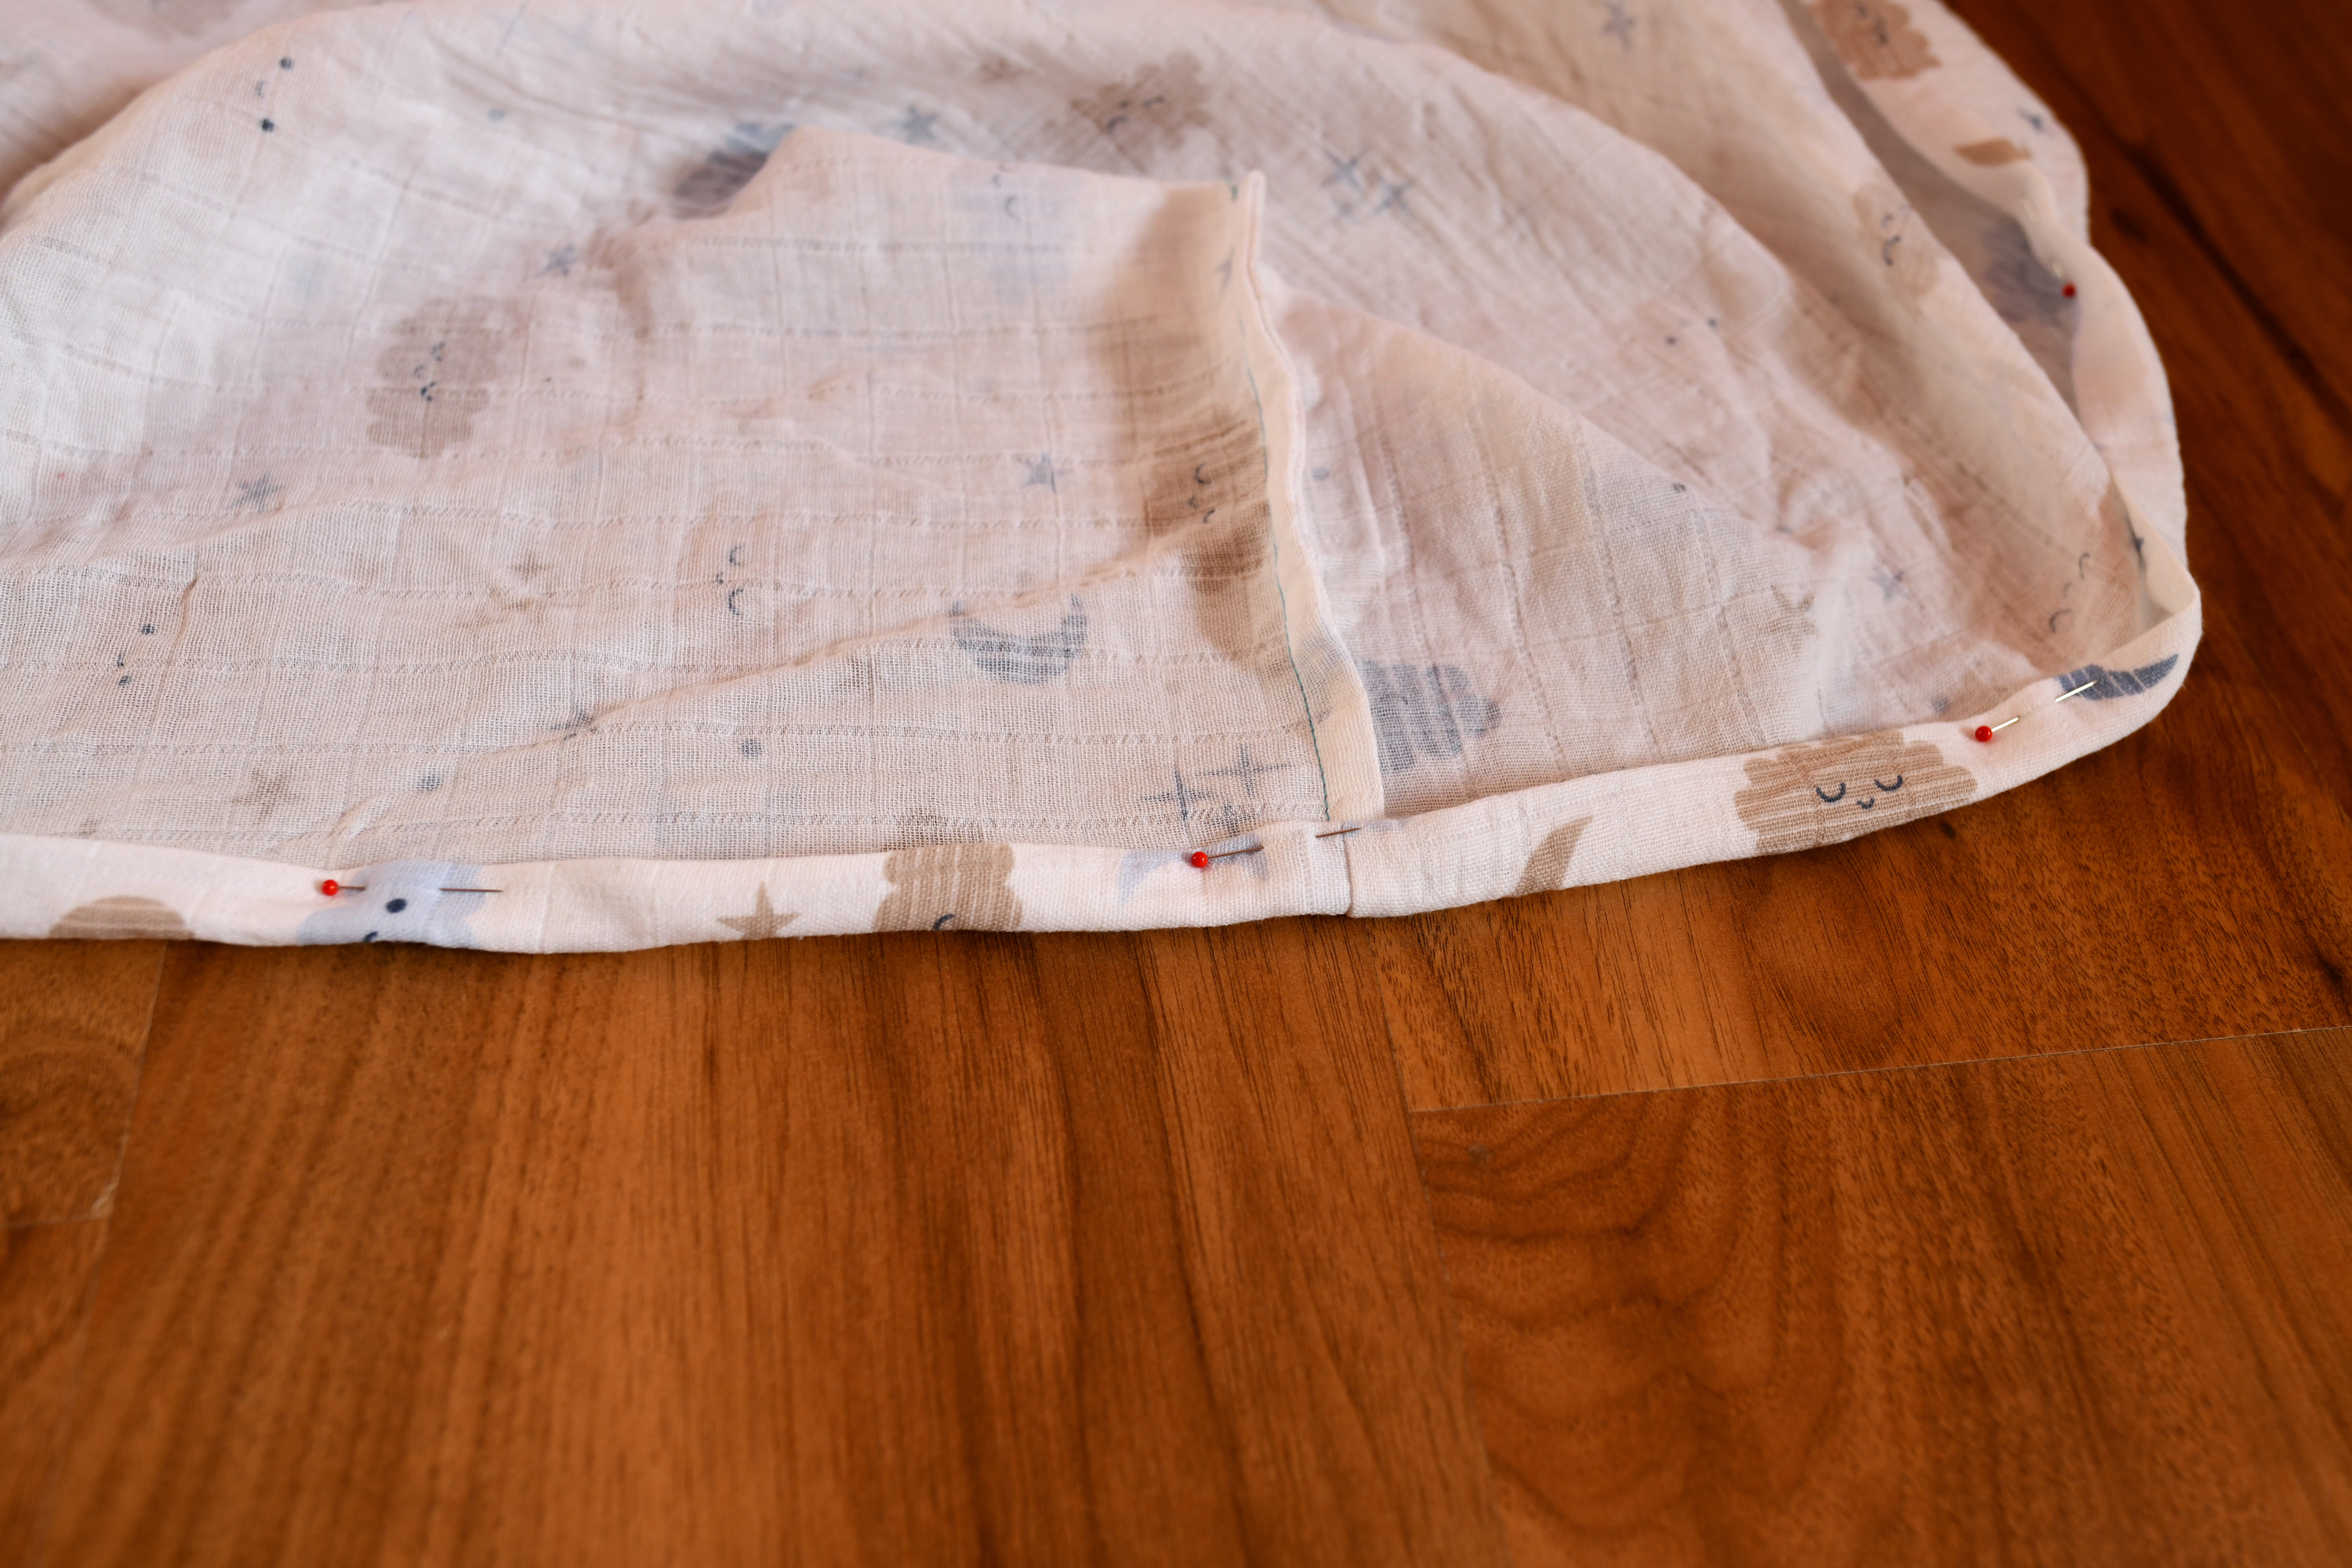
- Fold the edge under by 1/2 inch and pin it every 4-5 inches. Don’t worry, this spacing is enough!
- When you reach the corner seams, snip into the seam allowance (but not through the seamline). This lets you press each side of the seam allowance in opposite directions to reduce bulk.
- Keep all the corner seams facing the same direction – this makes threading the elastic through the casing much easier.
Next, sew the casing with a straight stitch, leaving a 1-inch opening to insert the elastic later. (Here are my top tips and tricks for sewing a straight stitch)
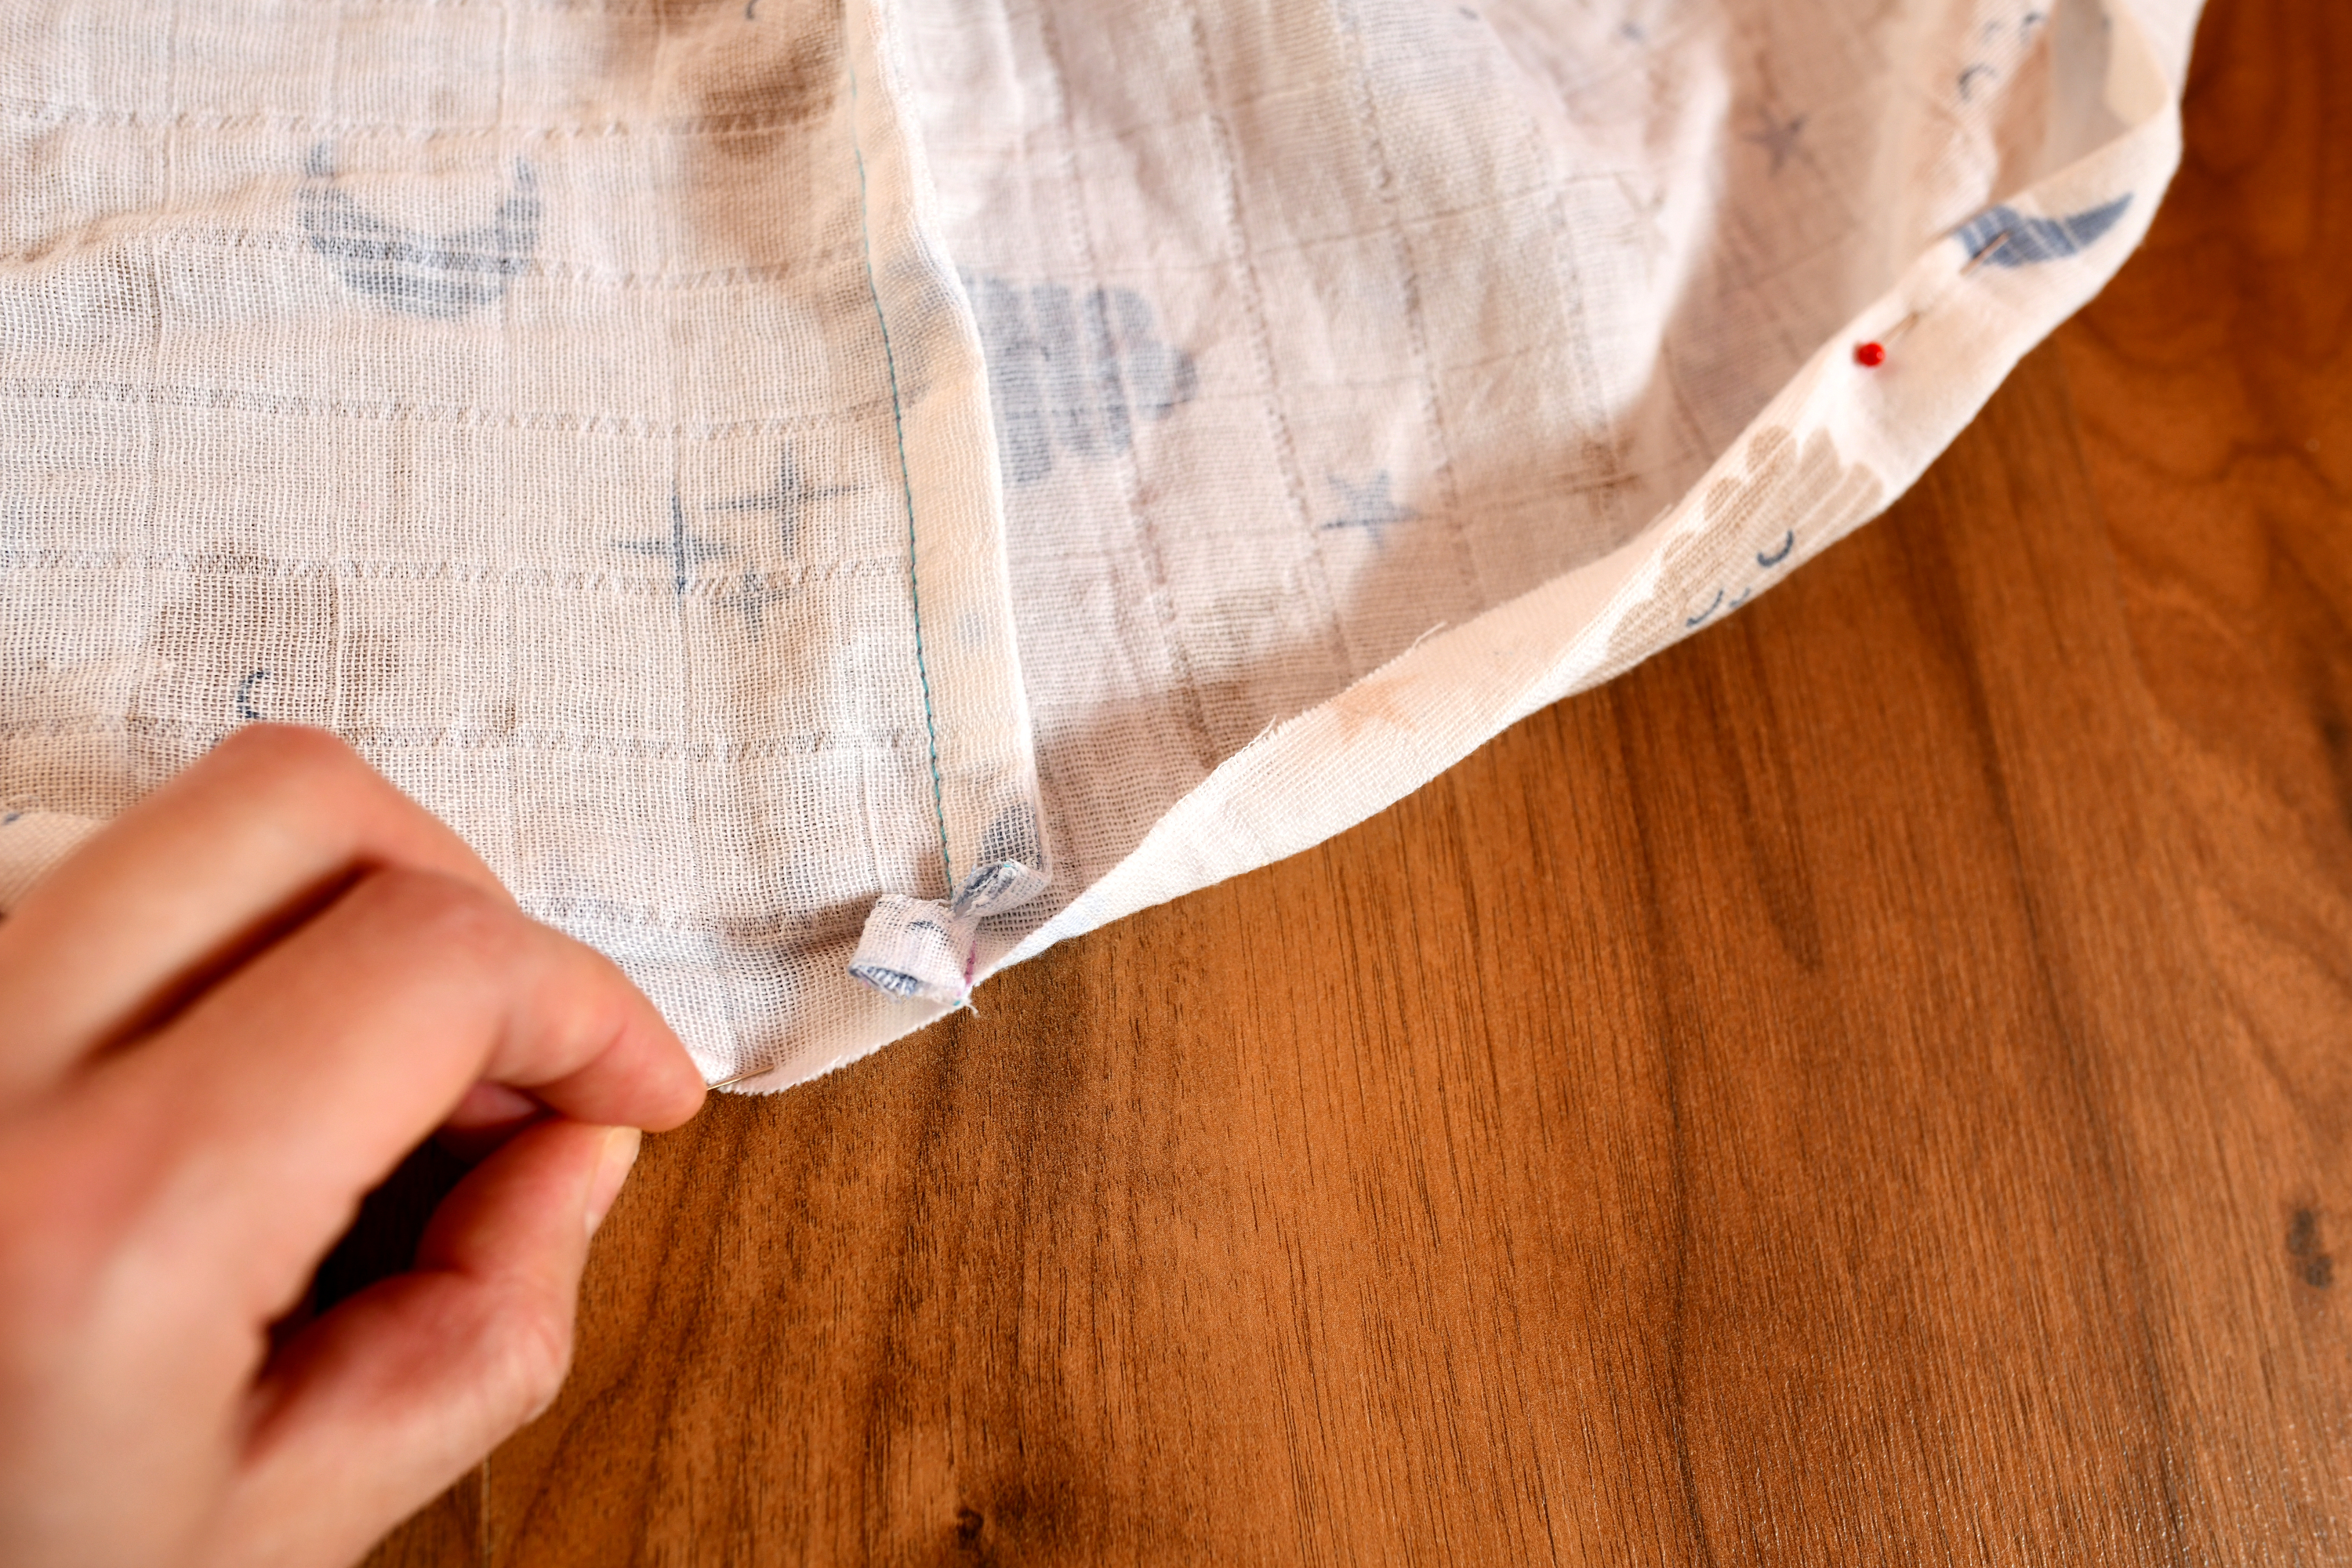
Step 6 – insert the elastic
Cut a piece of 1/4-inch-wide elastic that’s between 60 and 70 inches long, depending on how snug you want the fit. Attach a safety pin to each end of the elastic – this makes it easier to guide through the casing.
- Thread the elastic all the way through the casing, using the safety pins to help it slide along.
- Once you’ve threaded the elastic, overlap the ends and sew them together securely.
- Finally, close the small opening in the casing with a few stitches to keep the elastic in place.
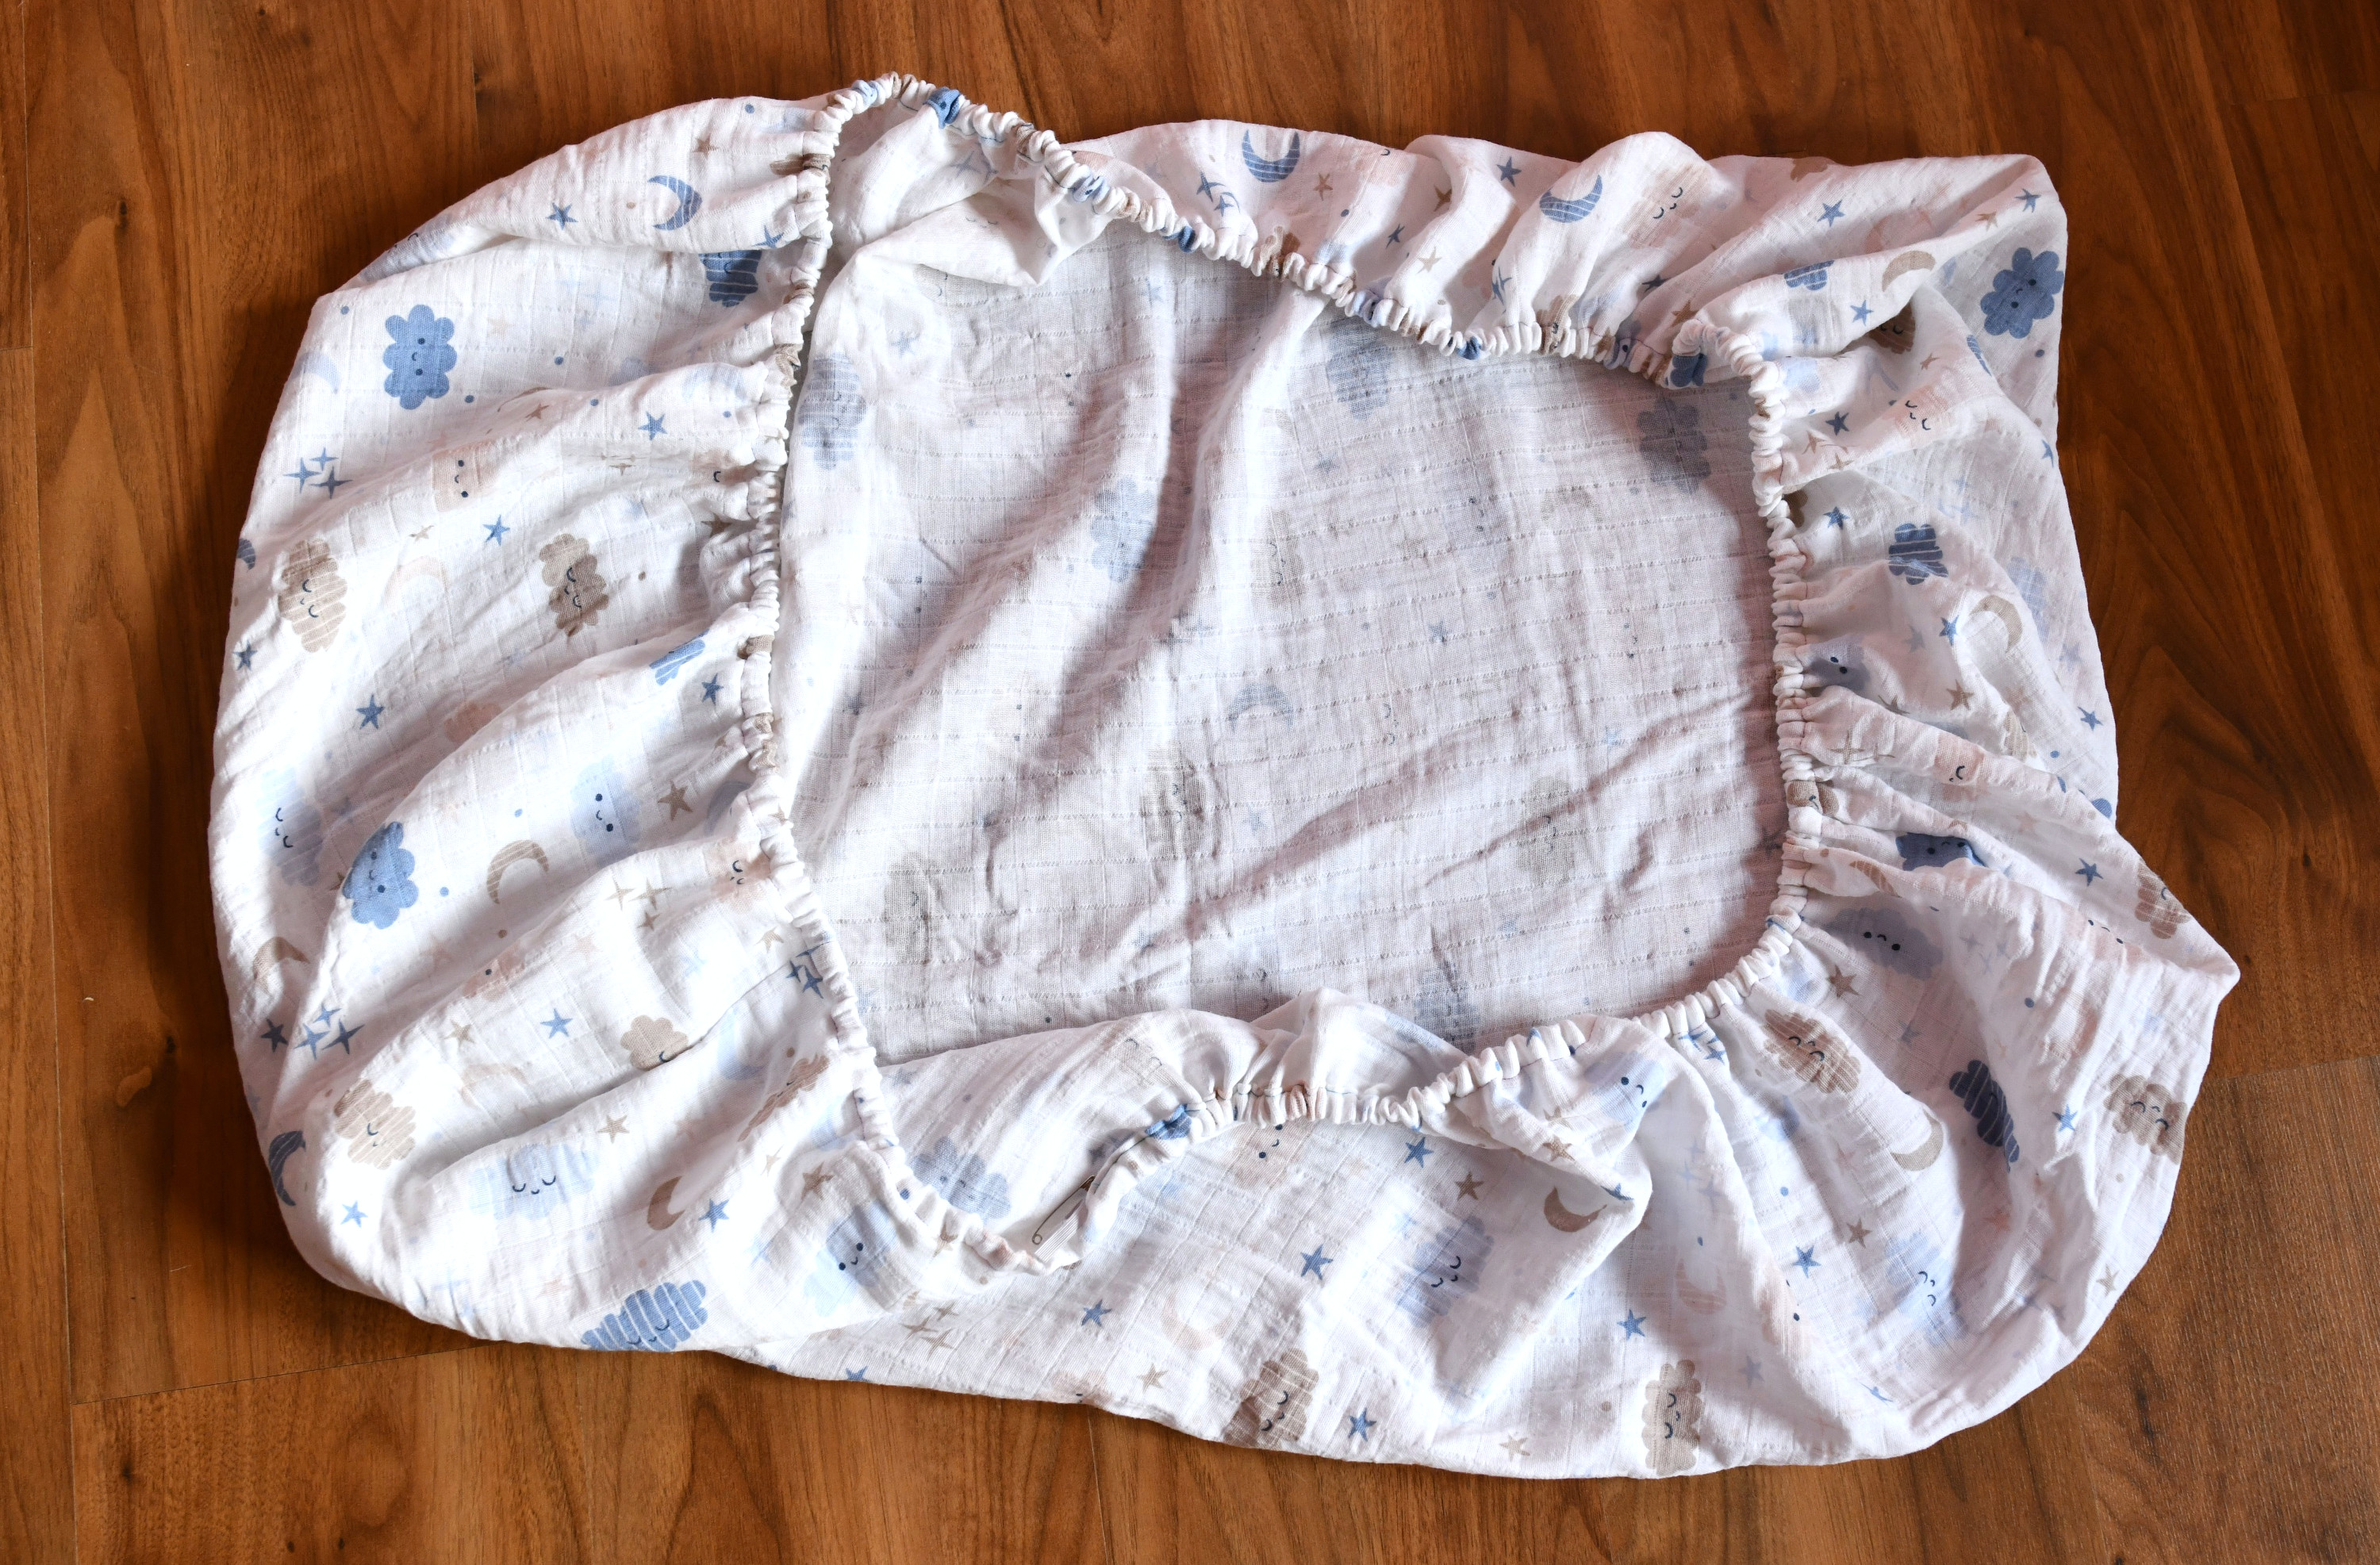
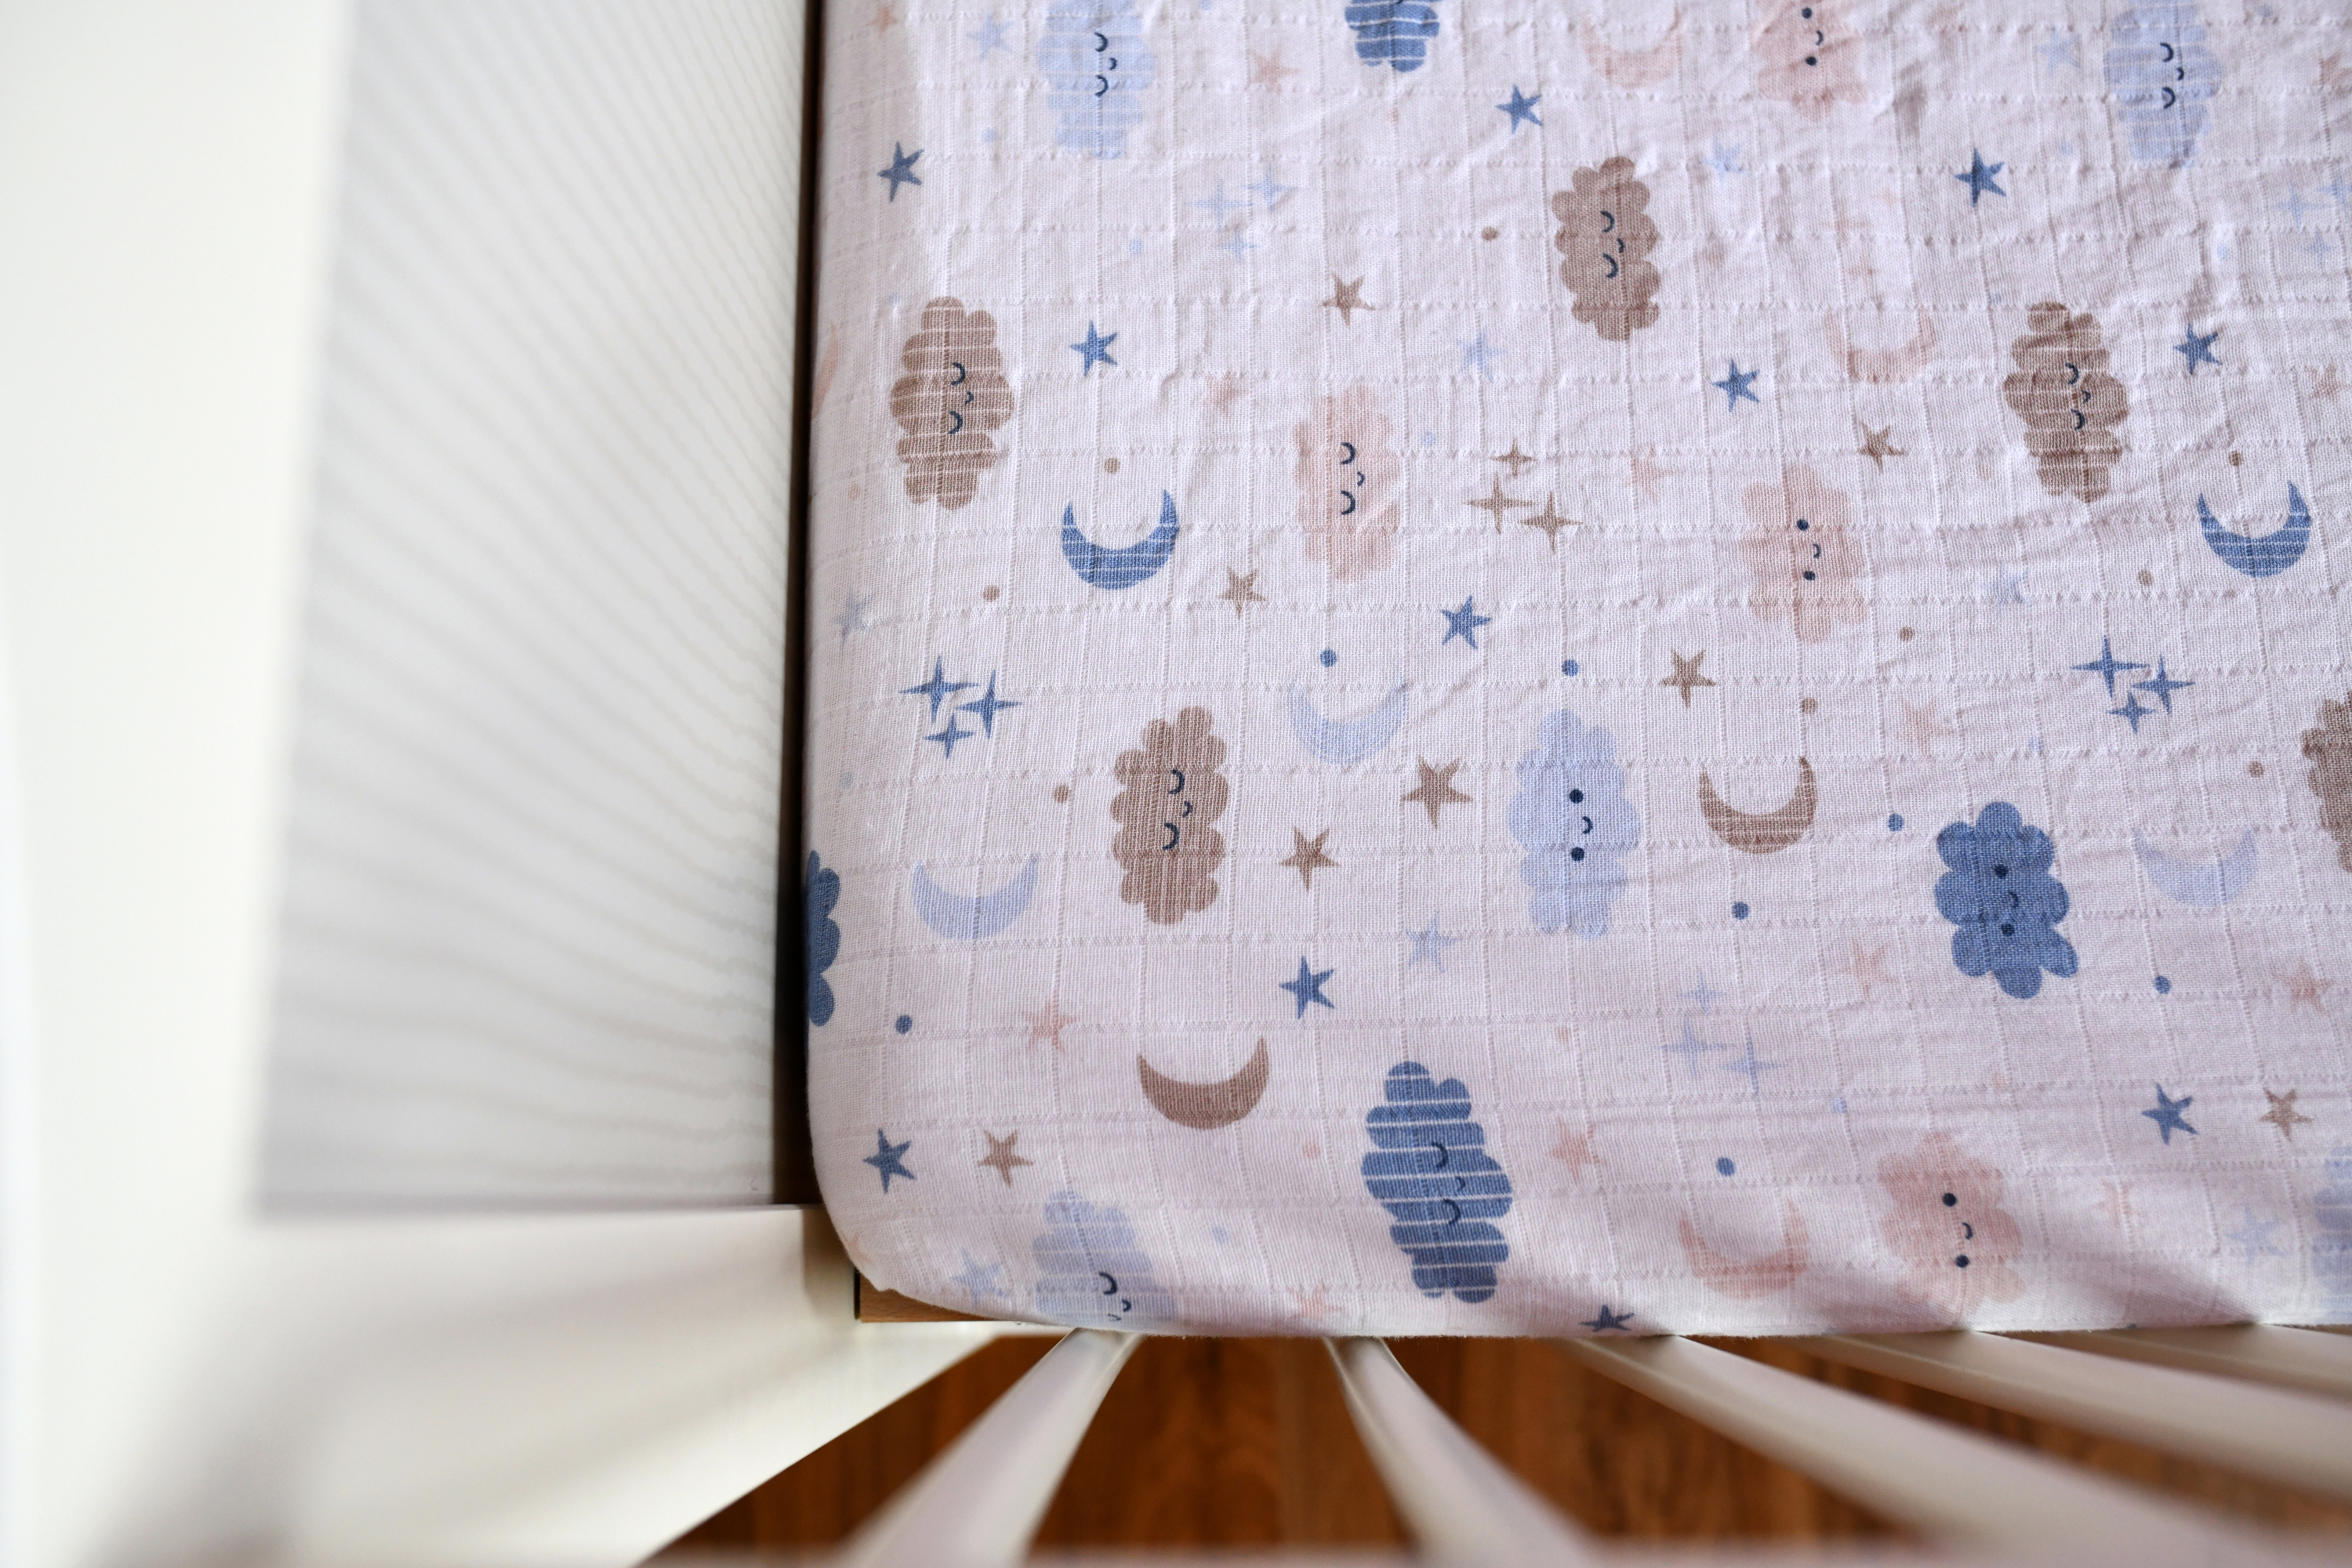
And there you have it – a cozy, custom crib sheet made by you! Now, you can add a personal touch to your nursery or whip up a thoughtful baby shower gift that’s sure to impress.
Making crib sheets is not only practical, but it’s also a fun way to experiment with different fabrics and colors. Once you see how easy it is, you won’t be able to stop at just one!
Did you enjoy this easy crib sheet tutorial? I’d love to hear your thoughts in the comments! And if you try this project, please share a picture @icansewthis – I’d LOVE to see your beautiful creation.


Great tutorial, and you’re right- I couldn’t stop at just one! I’ve made four so far and they come together quicker each time. Your instructions are very clear and the result is a very nicely finished product. These would also make a great gift.
hi! which brand of good quality elastic is best for this? I’ve seen tutorials that uses as much as 90″ of elastic because the elastic isn’t stretchy enough. Which brand did you use? thank you so much!
Thank you for a wonderful tutorial! The sheets are beautiful and look professional, yet could not have been easier thanks to your detailed instructions. My daughter is going to love them!
Super tutorial. I own a furniture store that specializes in nursery furniture. I’m excited to try my hand at making crib sheets for my floor models. I struggle with finding unique sheets that are fun and trendy so I would love to try and make my own.
O my gosh, this tutorial is hands down the best that I have found!!!!
Thank you for addressing every detail. Pictures were so helpful.
I’m wanting to make this as a gift and your tutorial has given me confidence to give it a try. Your tutorial even helped me with calculations for a crib mattress 54×28 which confirmed came out to 70×28.
Your the best,
JeriLynn
Fantastic! I’m so glad to hear this, JeriLynn! Crib sheets as gifts are a wonderful idea, and I hope you’ll make a lot more of them from now on.