I tried my hand at the Free Range Slacks pattern, for the first time ever. Here’s what I like most about this popular sewing pattern, what went wrong, and what I would change next time.
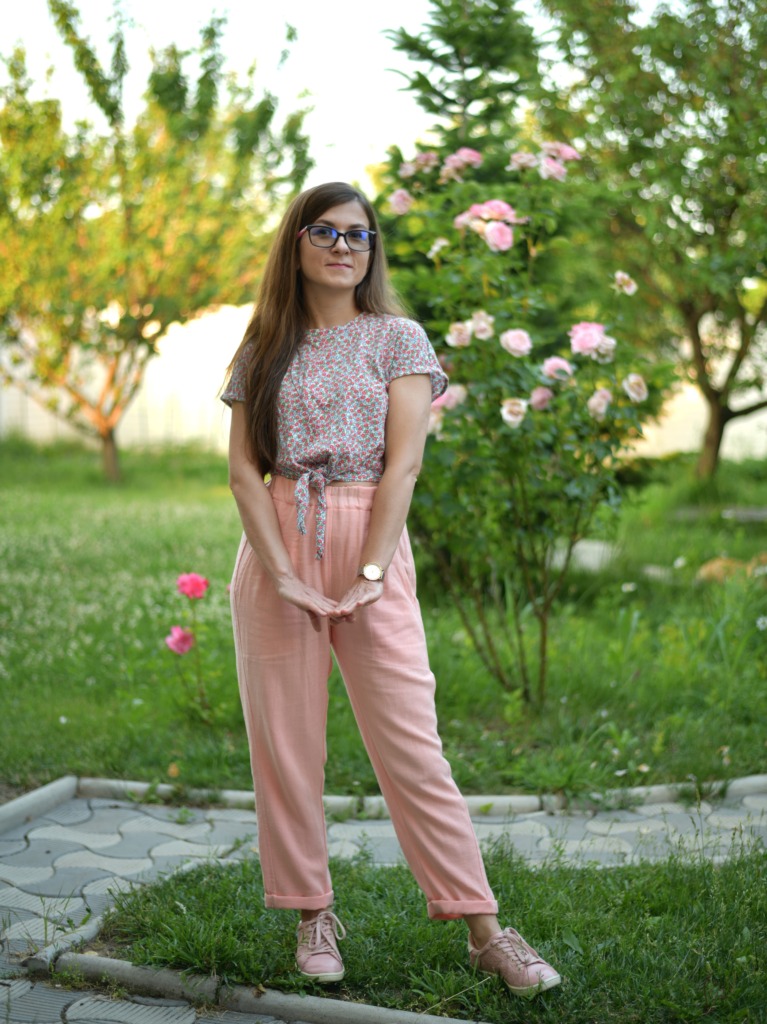
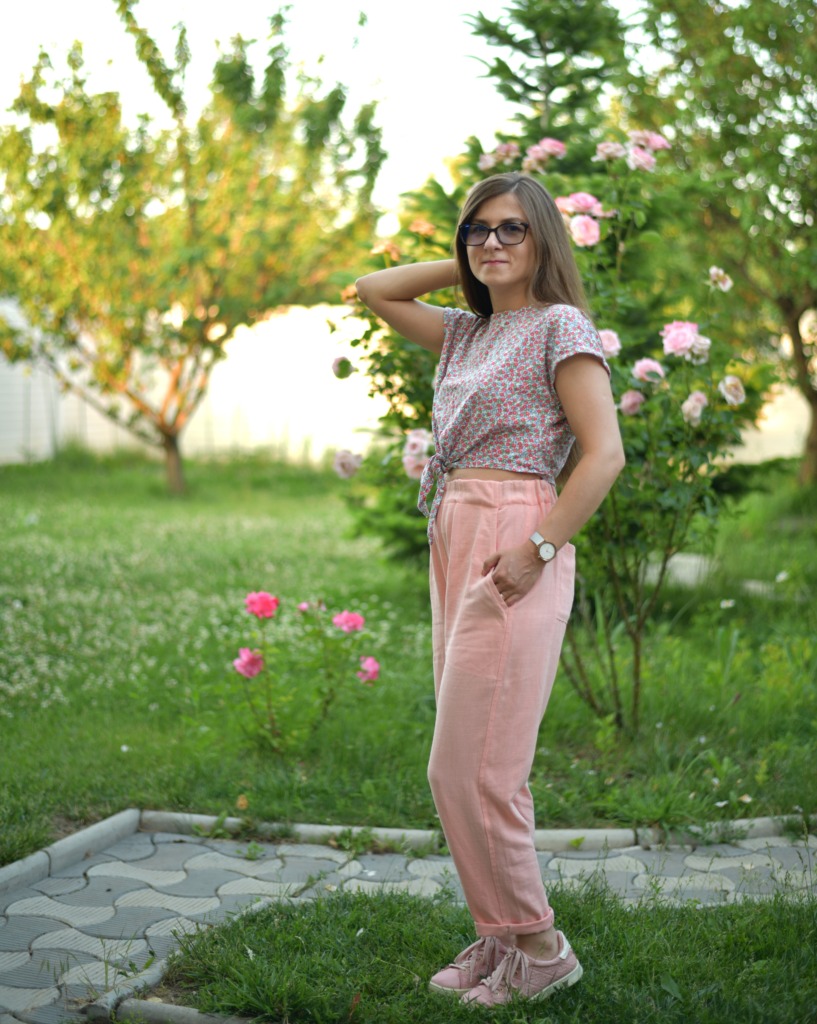
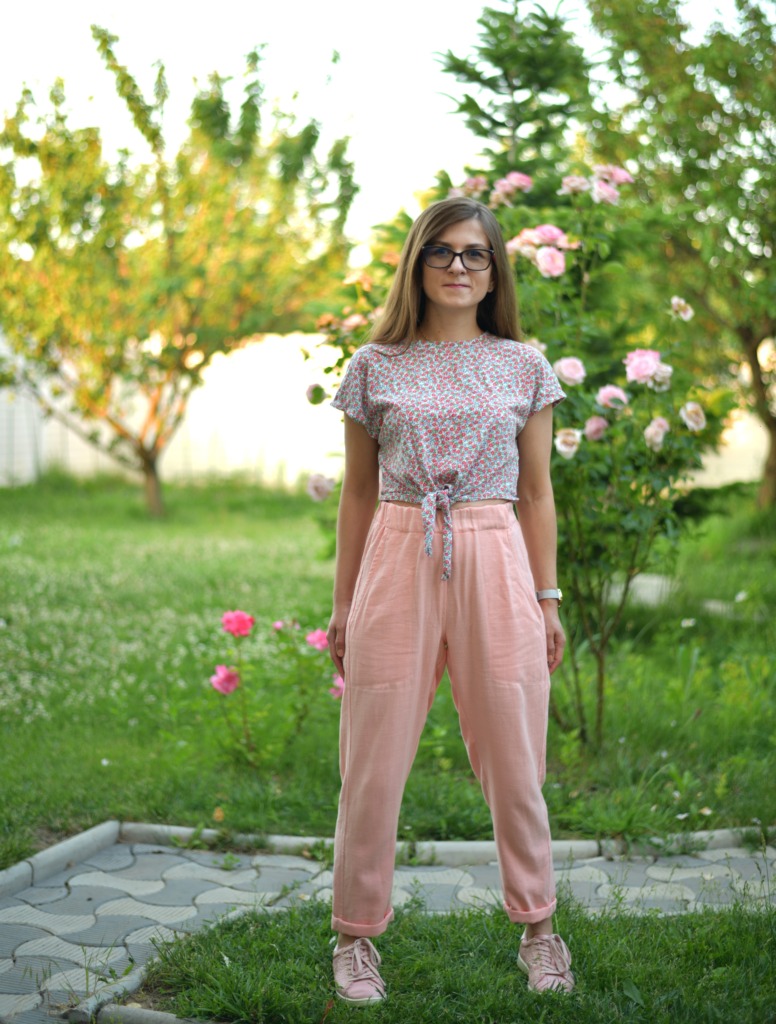
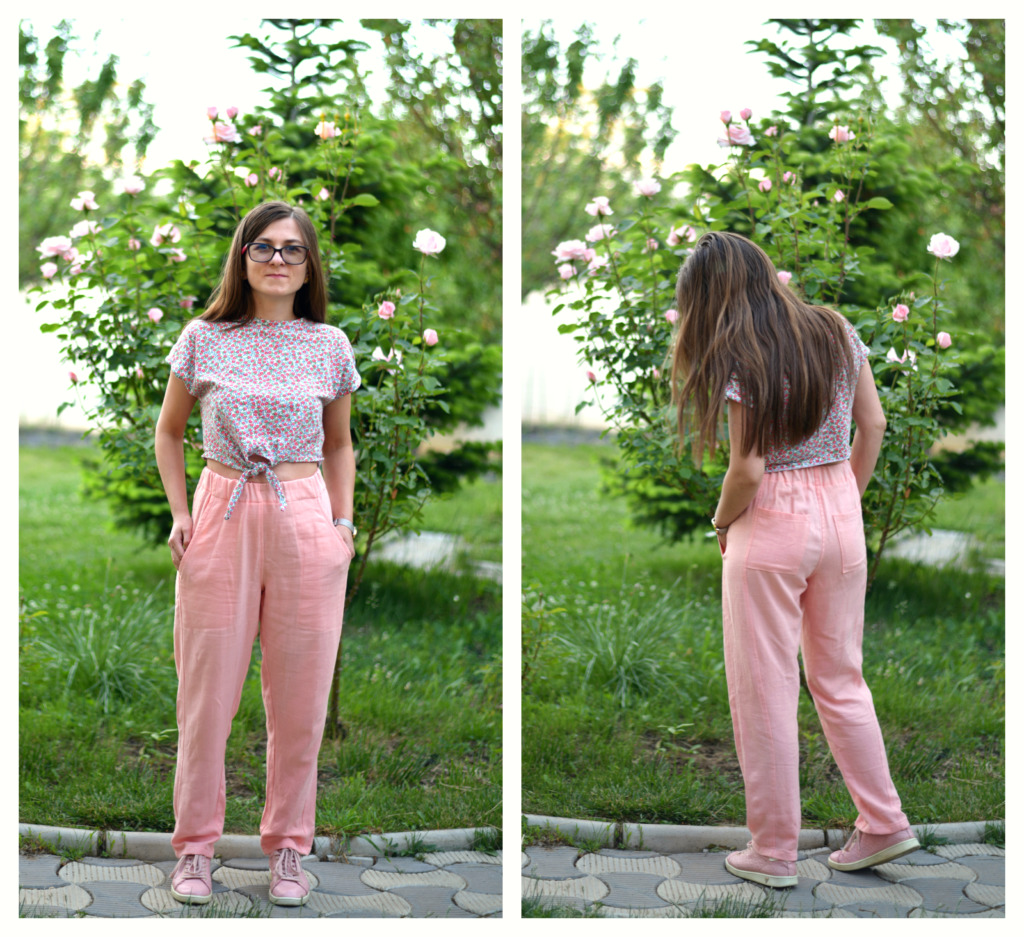
So these are my new summer pants in pink linen/viscose blend! These elastic-waisted linen pants ended up a bit roomier than intended, but will still be worn a lot. They’re so comfy and airy, ideal for spring and hot summer days!
The Free Range Slacks pattern by Sew House 7 is one of the most popular sewing patterns right now and it’s definitely praiseworthy. #freerangeslacks is a trending hashtag nowadays on Instagram so I’ve had the opportunity to see them made in a lot of fabrics and colors.
Related: How to make a tulle skirt in 10 simple steps / DIY tutorial: simple summer skirt with pockets / Tiered ruffle skirt with elastic waistband
What I like most about the Free range slacks pattern
- super comfortable to wear
- the neat elastic waistband
- front pockets that are sturdy & deep
- the side panels
- topstitching lines
- tapered leg option
About the Free Range Slacks pattern
There are two options – a tapered leg version and a straight, cropped version. Both come with an elastic high waist, side panels, front pockets, and optional back patch pockets. The pattern comes in two size ranges (0-20 and 18-34).
Check out the Free Range Slacks pattern.
All the sewing instructions are clear and easy to understand. I’d say that a beginner can make this pattern relatively stress-free.
Many more pairs to follow – what I would change next time
As for me, I already have the next pairs in mind. Next time I will size down just a bit – but I won’t print & assemble again the pattern pieces, as I’m too lazy for that.
Instead, I’ll just cut a bit here and there to remove some width from the legs. Moreover, I plan to shorten this cute pattern and turn it into a pair of shorts.
Above all, I will choose a fabric that has less drape and does not shift much while cutting.
Accurate cutting is crucial – that’s how you get clothes that hang nicely. If you cut off grain, the fabric will stretch and distort, and the garment will just hang awkwardly. Alas, that’s exactly what happened here.
Also, I will use a pencil to mark the name of the pattern piece on my fabric pieces immediately after cutting out – for example, right front / left front / left side panel etc. This pattern has about a dozen pattern pieces, so prevention is better than cure!
Choosing your size
You should choose your size according to your hip measurement rather than waist measurement. But ultimately, it comes down to how much ease you want to have, so you have freedom of choice.
If the size chart says that for a size 2 the hip measurement is 39″, it doesn’t mean that the trousers can’t be pulled over your 40″ hips. It’s just that there will be less room in the hip area. Don’t forget to check the finished garment measurements.
Choosing fabric for your trousers
I made a size 0 with no adjustments – my waist is 26” and hip measurement 36” (and I’m 5 feet tall). I chose the tapered version and opted for two back patch pockets.
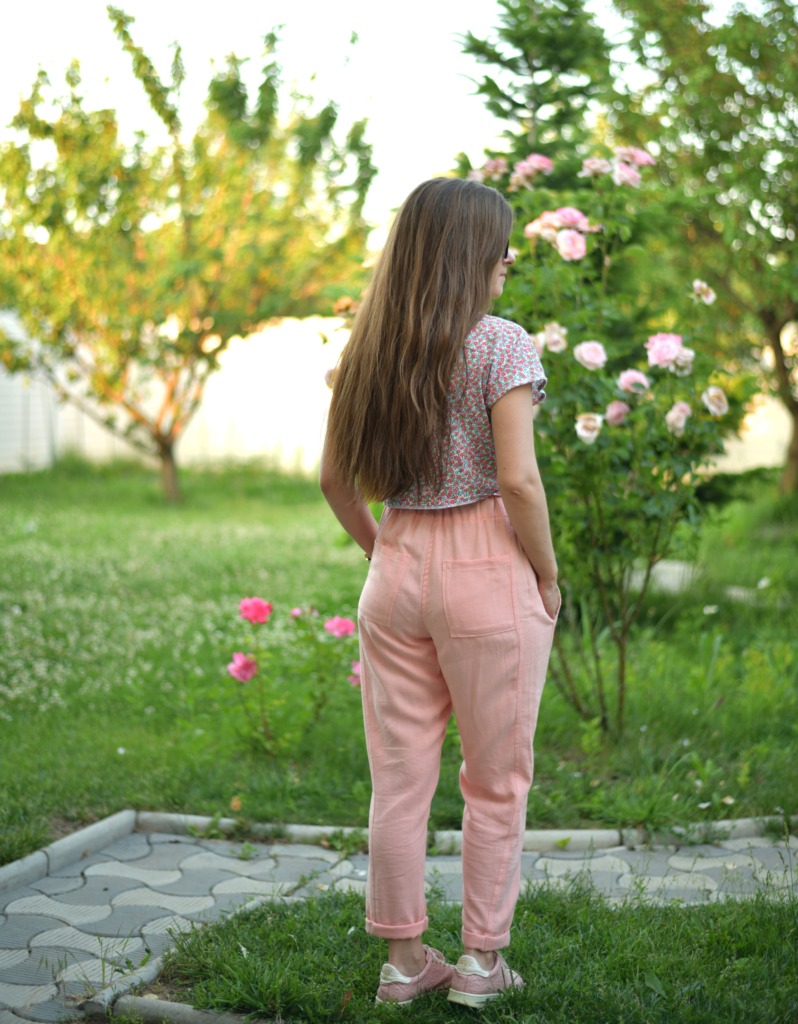
However, if you choose a fabric that has a lot of drape (like my linen/viscose blend) you better go down one size.
My trousers are significantly looser-fitting than an identical pair made from a more structured fabric.
Unfortunately, this is not an intentional feature from my part, it’s just that my research was not thorough enough. They did warn about this issue here, in this sew-along / tutorial.
One more thing – this linen/viscose blend shifts a lot while cutting. There was a lot of drama when cutting out the fabric pieces. The sewing part went just fine, though.
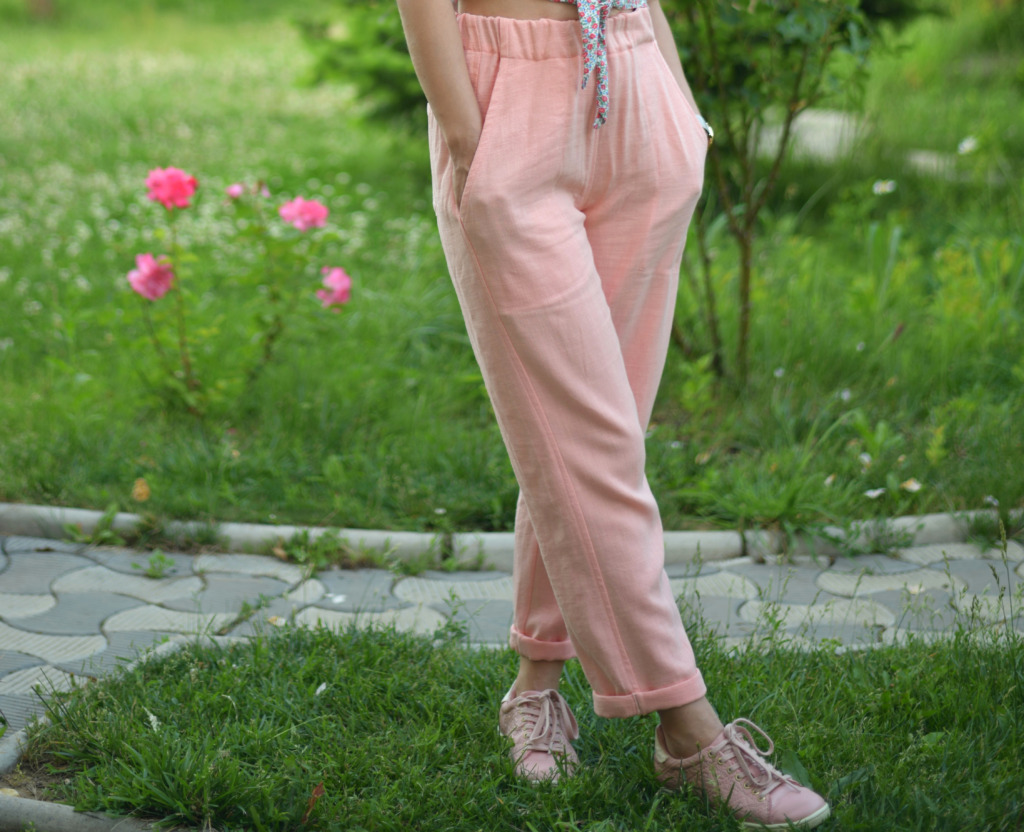
I’ve done my best to cut the pieces accurately, but it only got me this far. Notice how the pants crease in the below picture.
Will these trousers look saggy with wear? I’m almost certain of it. It still makes a great pair of lounge pants, though.
Later edit: I took these trousers on a trip to Italy and made a short video of how they look in motion:
Making my first pair of slacks did not go smoothly
…but it was well worth the trouble. Everything will be much easier and quicker now that I got the hang of this pattern.
My biggest mistake was that I chose a fabric with no obvious right or wrong side for my first attempt.
I printed and assembled the pattern pieces the day before. The original plan was to sew the pants in one sitting.
I thought myself in a state of flow, but then I pinned and stitched both BACK PANT pieces to the SIDE PANT, then did the same thing with the FRONT PANT pieces.
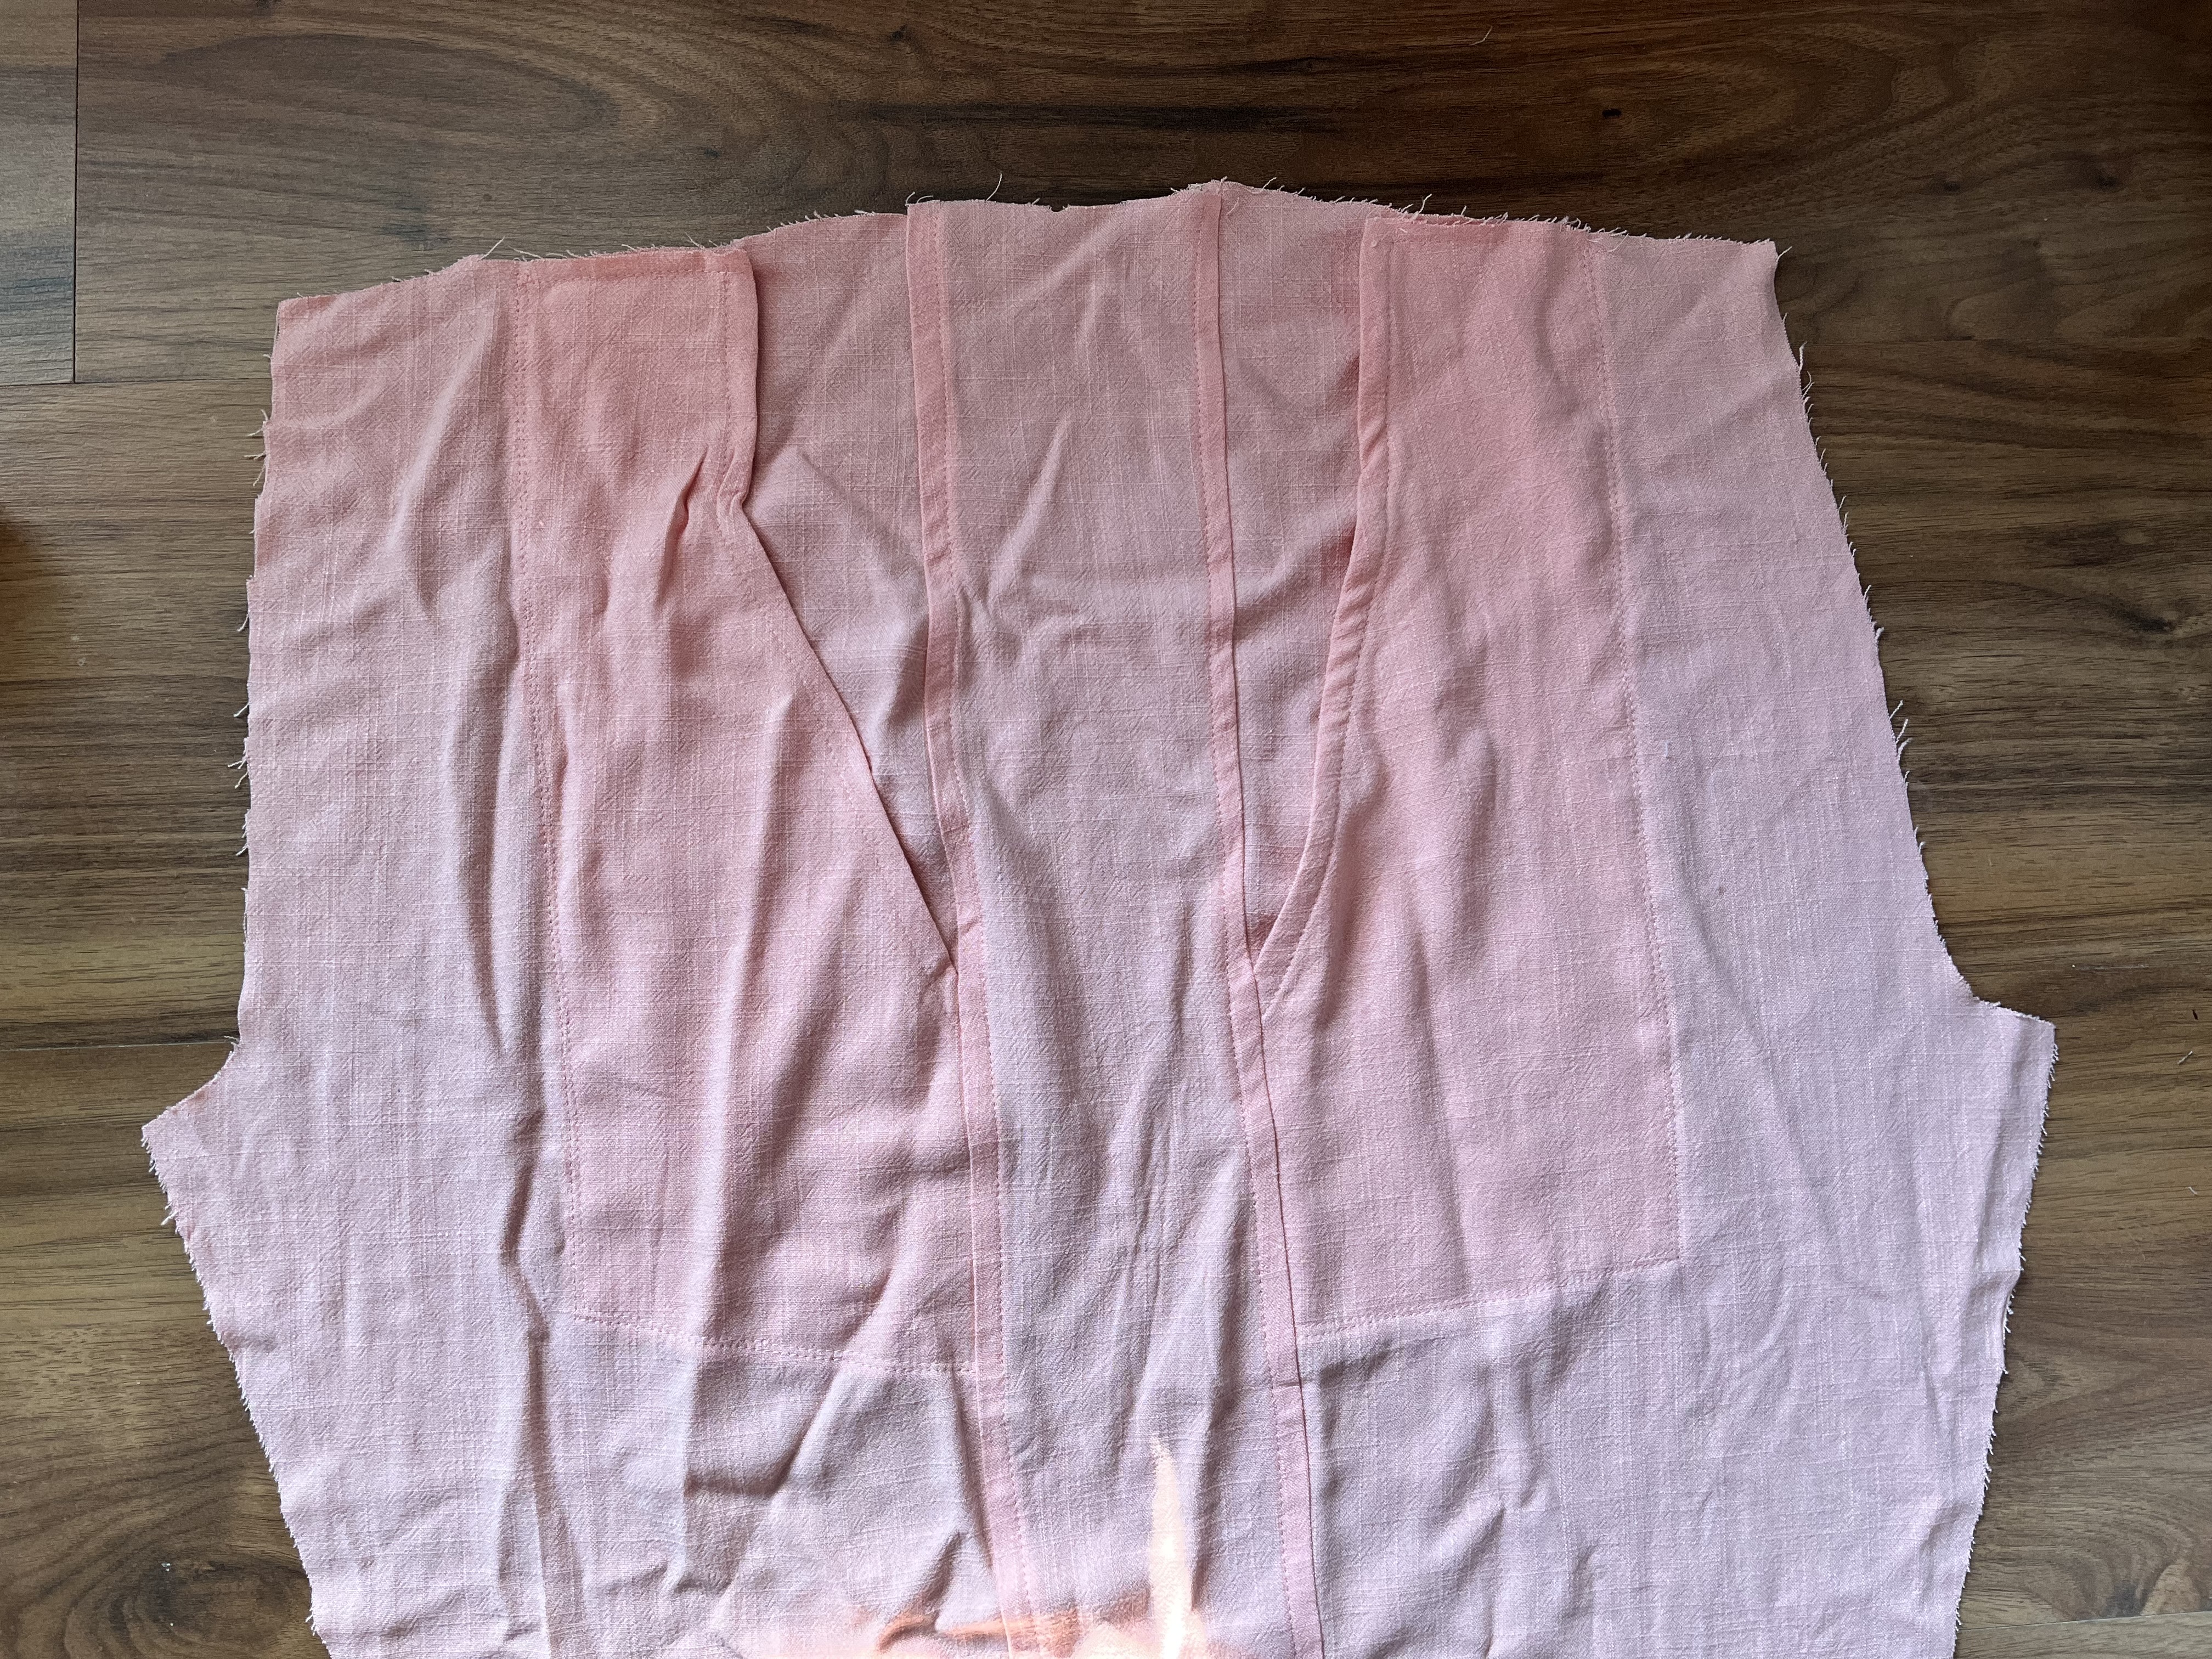
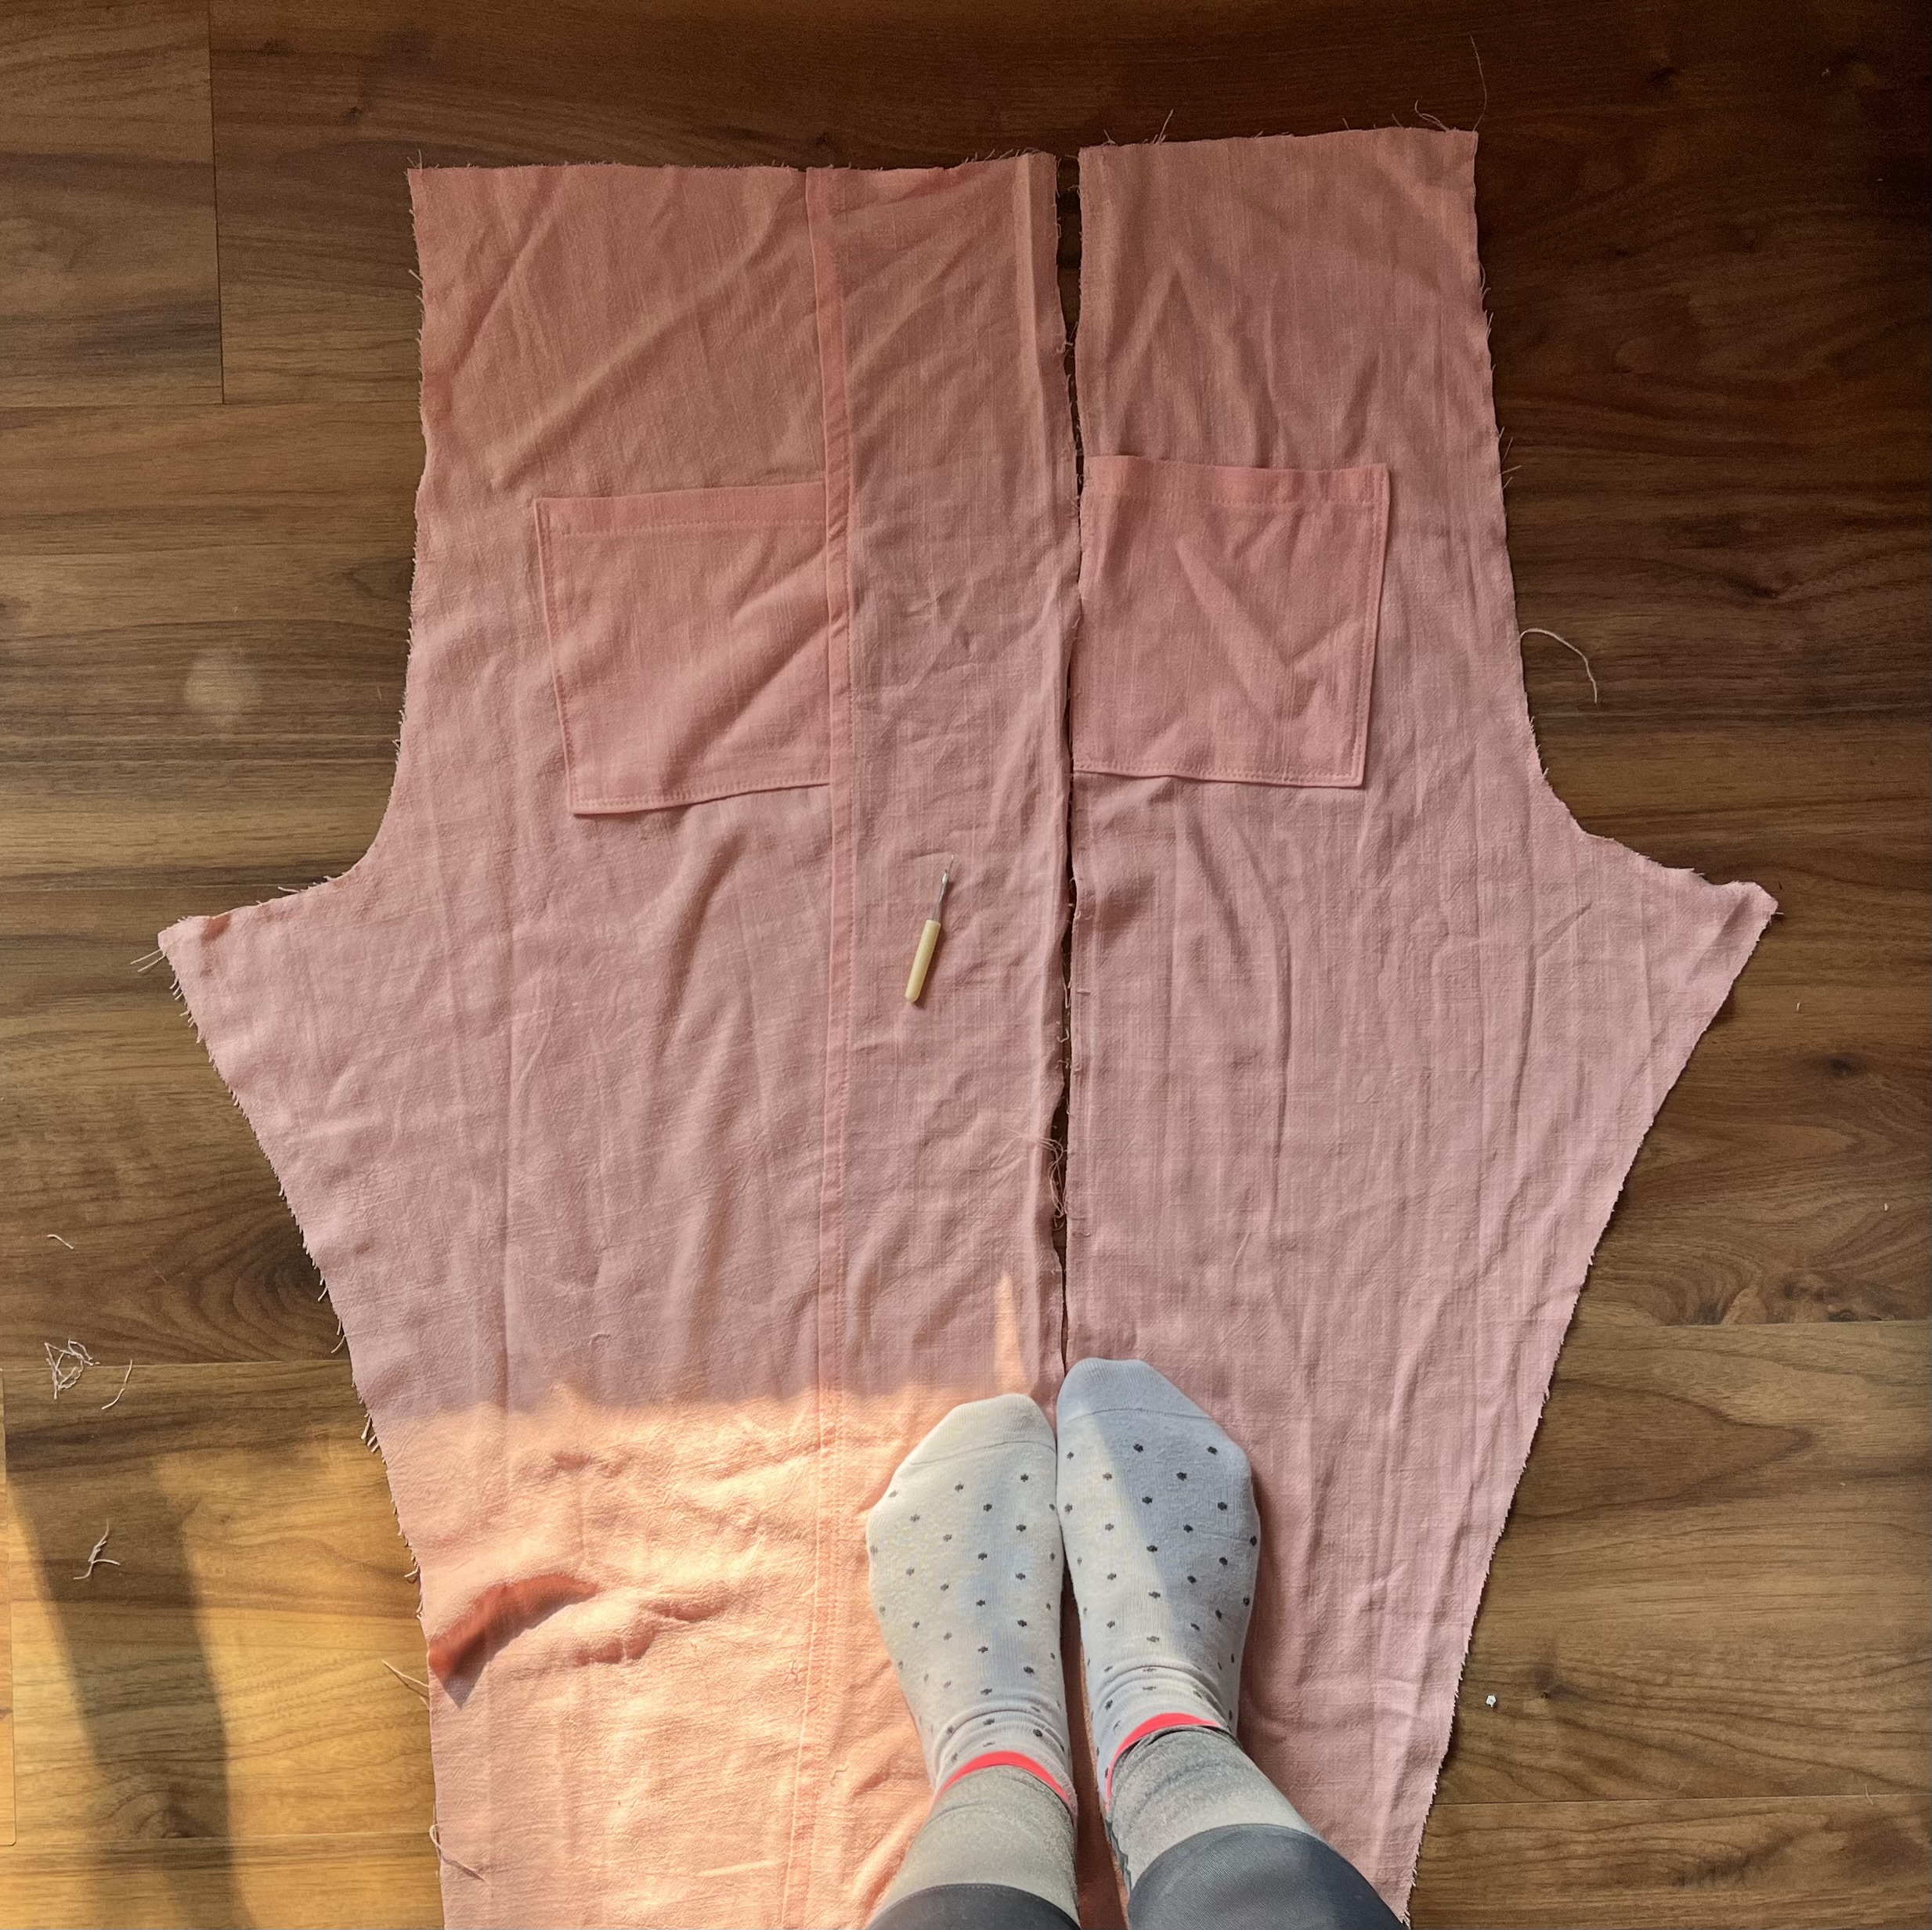
After that, I hurried to baste the inseams and crotch seams so I can try on the pants. Oh, the horror!
At that moment, I thought that I’d accidentally made two left legs, and I was so upset that I screamed inside, then stormed out. I took a break from all sewing for three days. I did not even enter the room this whole time.
Own up to your mistakes – that’s easier said than done
Still, after a 3-day break, I felt ready to keep doing it.
I really wanted and needed to finish the project – it is a cool sewing pattern, the fabric is good quality, and I just couldn’t allow myself to give up.
So, I spent about two full hours unpicking the seams. In the first part, I listened to music, then I had a chat with a friend over the phone, and the time flew by.
Now I’ve learned my lesson
I should have labeled all pattern pieces with a pencil or chalk – next time I’ll be using this type of fabric (no apparent right or wrong side) I will certainly mark the name of the pattern piece on my fabric pieces immediately after cutting out – left front, right front, left back, etc.
There are options to flat-fell or French seam the side seams so that they look more finished when rolled up. That didn’t stop me from serging all the seams.
I had my heart set on finishing these trousers faster and be done with them.
Although I normally think it pays off to have a lovely finish on the outside and the inside, from time to time I cut myself some slack.
This time, I count on the fact that I’m only 5 feet tall and nobody will be able to see that small detail.
By the way, here’s how the trousers look on me without the rolled bottom hem. If you skip the pockets, this might just be the cutest pair of pajama pants!
That’s all for now, see you next time!
Let’s keep in touch! You can find me on Facebook, Instagram, and Pinterest.

Related posts