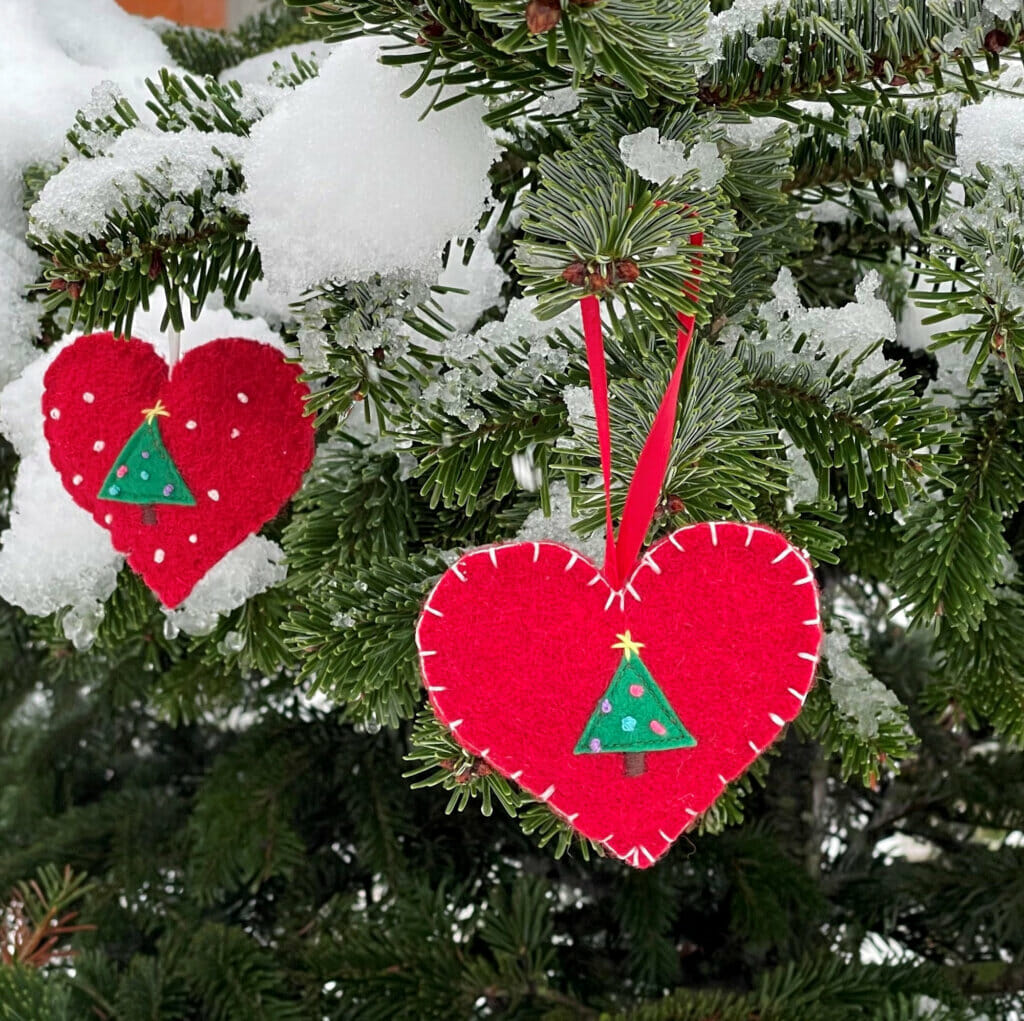
How to make easy DIY Christmas ornaments. These simple yet adorable wool heart ornaments make for a great Christmas tree decoration as well as for some thoughtful handmade gifts for loved ones. Try your hand at festive holiday ornaments with this easy DIY tutorial.
I’m so happy to share with you this easy “how-to” for making a fun holiday ornament.
This simple project is perfect for any embroidery beginner.
I always loved embroidery but from a distance until now. To be honest with you, I don’t consider myself good at sewing by hand. At my house, my husband is the one who tackles every single project that requires hand stitching. And there are quite a few occasions since we have three kids and their well-loved stuffed toys need maintenance from time to time.
Related: Easy DIY Santa hat ornaments tutorial / 20 best Christmas ornament sewing patterns
Anyway, what I’m trying to say is that my hand sewing skills are not so great, and mad skills are not required for this DIY project.
Related: 25+ of the best free Christmas sewing projects
Easy DIY Christmas ornaments – embroider without embroidery thread
In fact, I did not even use embroidery thread – because I simply don’t have embroidery thread and I did not bother to place an order for such a small item. Instead, I decided to make do with what I have.
Therefore, this wool Christmas ornament is made with a simple sewing thread.
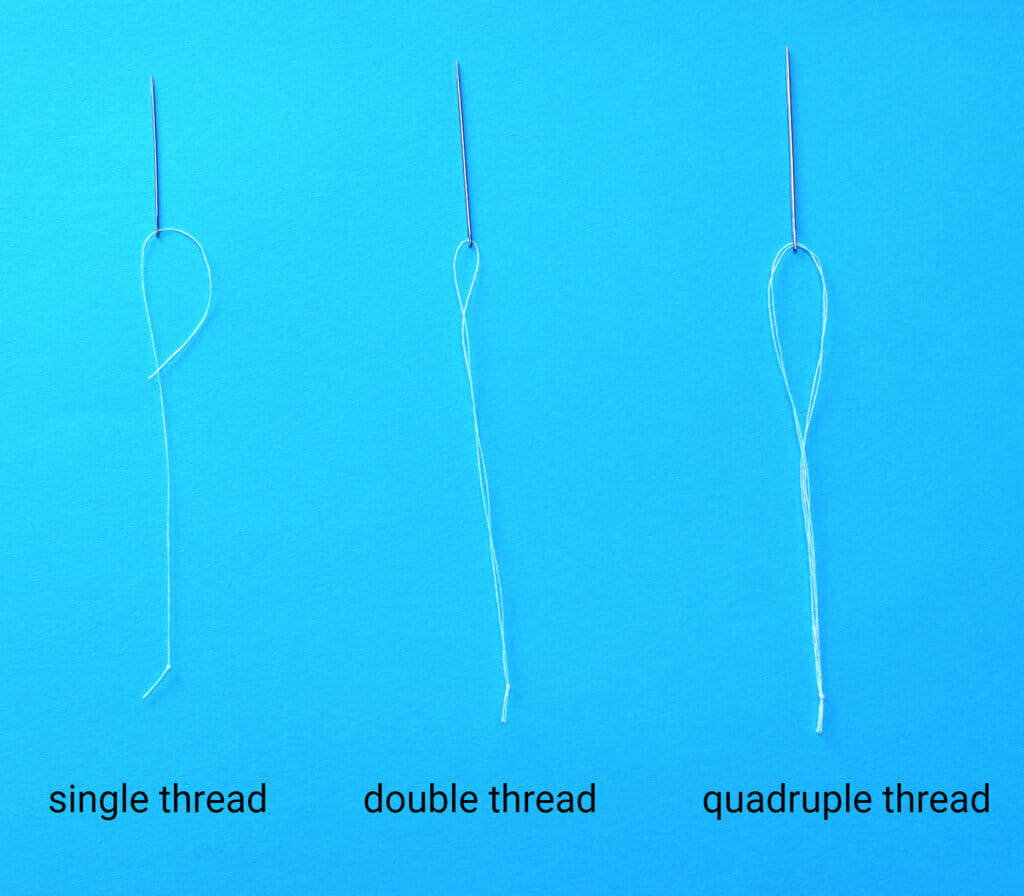
If you have embroidery thread, by all means, use it – it’s definitely better. But if you’re thrifty (and lazy) like me, just thread your needle with quadruple thread.
That means that two threads will go through the eye of the needle; when you pull them out, there are four strands in total. Just go slowly and carefully when sewing to make sure the thread won’t get all tangled up.
This easy DIY craft idea makes an excellent Christmas project for beginners.
When the holiday is over, just pack these ornaments in a box – so you can use them for the next year as well. I will definitely continue to do so for as long as possible, as I’m trying to limit the amount of waste that I create when decorating for Christmas.
Related: 25 gift ideas for sewists. The ultimate gift guide
These cute hearts ornaments are made with red boiled wool scraps (leftover from this girls’ dress) and are about 3 inches tall.
Sewing supplies
- Felt or wool – for the red hearts
- Small pieces of green felt to make the trees
- Embroidery thread / simple sewing thread
- Hand sewing needle
- Scissors
- Stuffing – or some fabric scraps
Let’s sew these cute DIY Christmas ornaments!
Step 1
Cut out two hearts. I used a 3-inch heart template I found on Google Images to cut the shapes for my heart. You can choose another shape (maybe a star or a simple circle) or you can just draw up a heart yourself.

Step 2
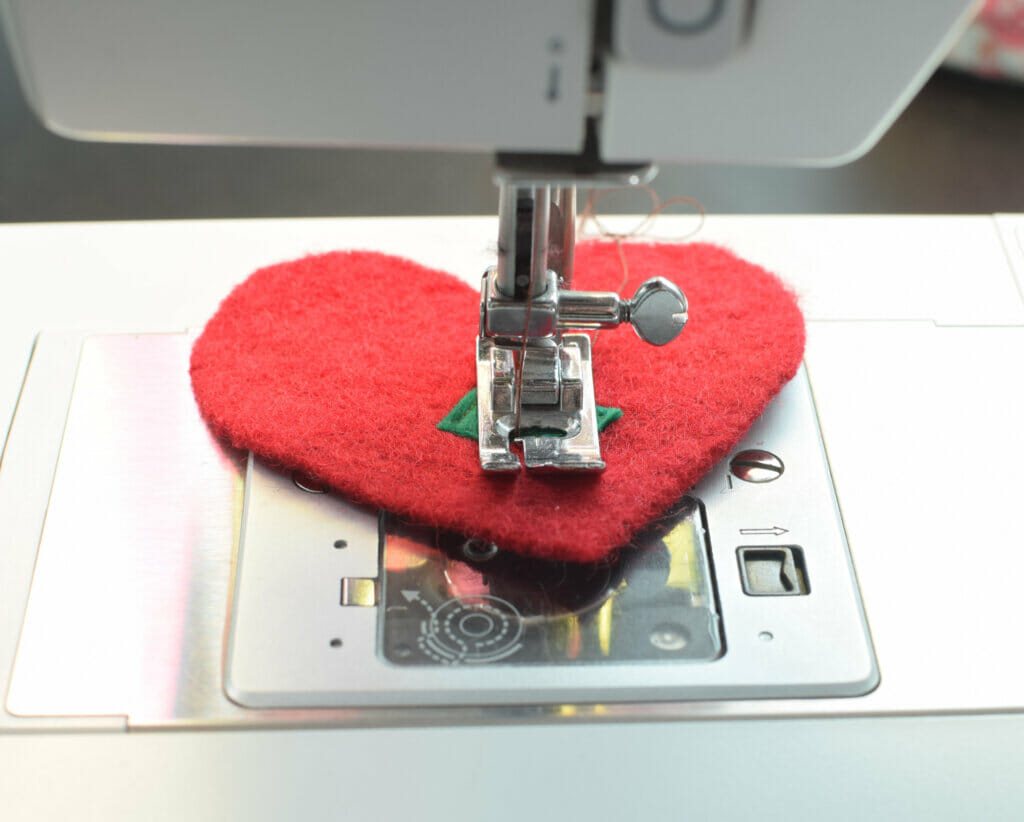
Sew the felt tree to the front piece of the heart ornament. You can either sew by hand or with a sewing machine (like I did).
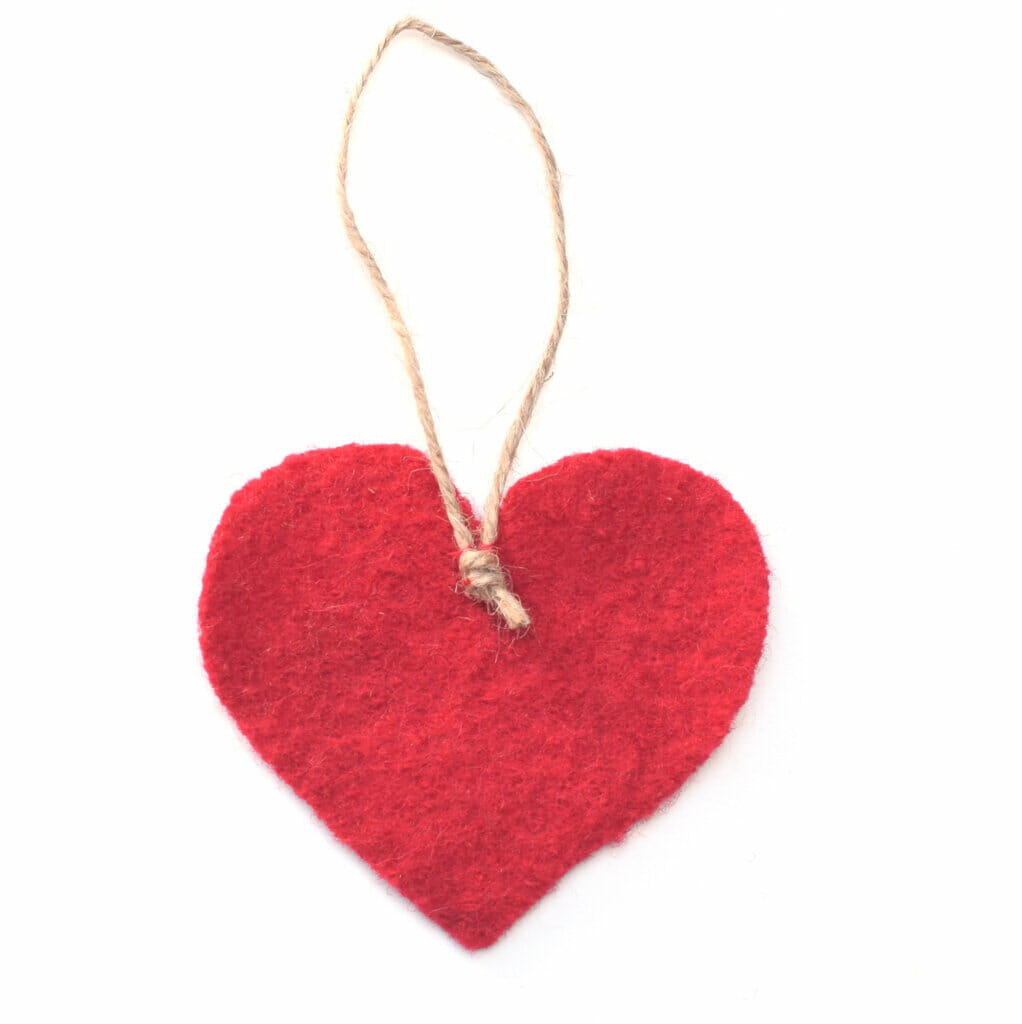
Next, place the hanging loop (could be ribbon, cord, or twine) in the top center of the back piece and secure it with a few stitches. This way, you’ll neatly sandwich the loop inside the layers, where the ends cannot be seen.
Tip: If you use cord, make a loop and tie a knot, to prevent the string from coming out.
Step 3
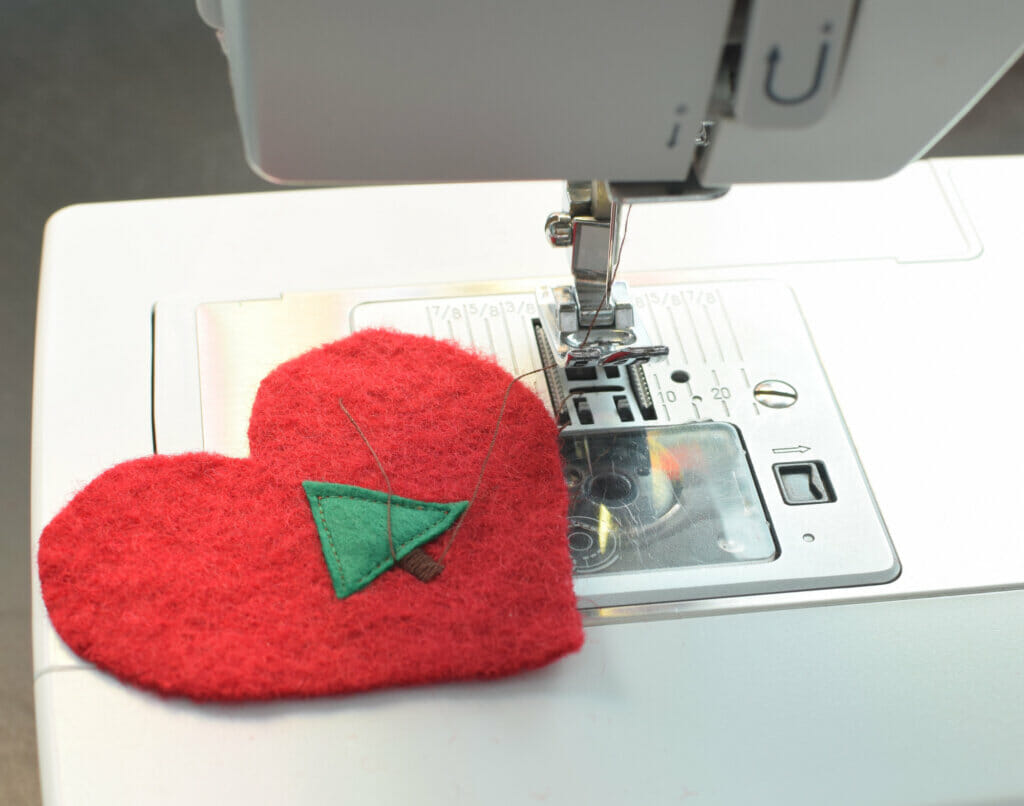
Now you need to create the trunk of the Christmas tree. For this purpose, a satin stitch is a great idea.
Or, you can again use the zigzag stitch on your sewing machine – the longest width and the minimum length will do the trick.
Step 4
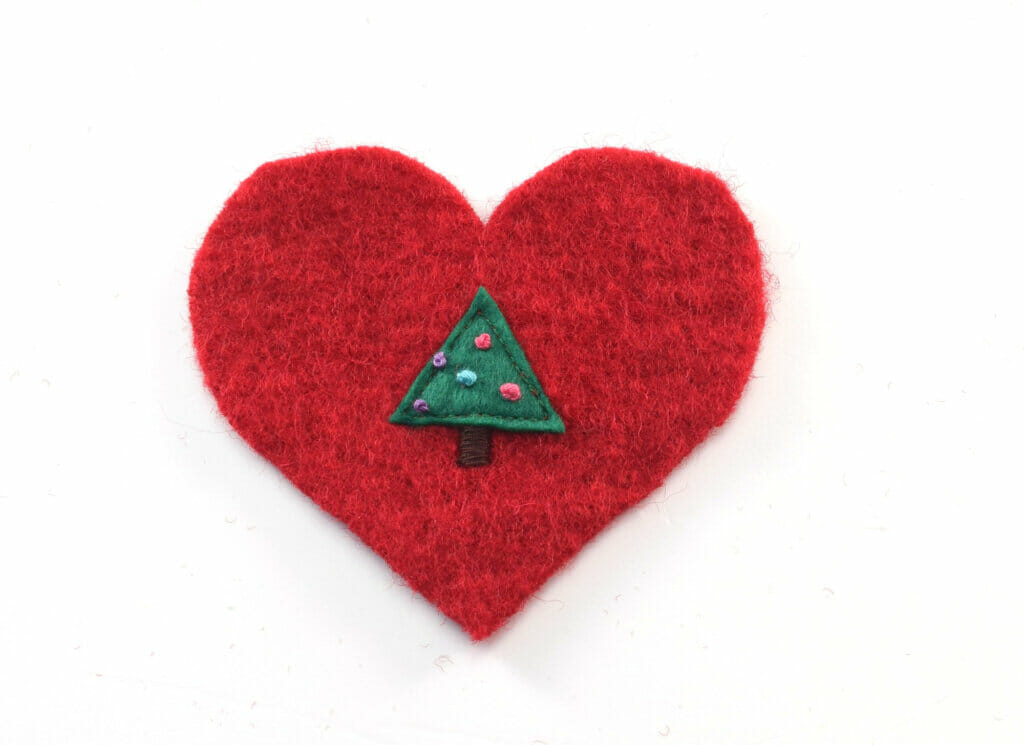
Make tiny, colored globe ornaments in your tiny felt tree with french knots.
See the technique in the video below. For bigger and more dimensional knots, you can make 2 or 3 wraps.
French knots are easy and they look great. Use different colors, like pink, light blue, yellow, or orange.
Tip: To improve efficiency, consider batch sewing. That means doing multiples, one step at a time. For instance, cut all pieces, stitch all felt trees, make all pink globe ornaments, then make all blue globe ornaments, rather than stopping after each step and changing the thread.
Step 5
Make the star tree topper. First, stitch a cross, then, add one or two diagonal stitches.

Step 6
Make simple snowflakes using french knots and white thread.

Keep making snowflakes until your heart ornament is nice and full.
For one of my DIY Christmas ornaments, I chose to keep it simple and make no snowflakes – I think it turned out to be cute.
Step 7
Start to stitch the two heart pieces together with the blanket stitch – see the video below for instructions.
Tip: use red thread if you find it hard to keep your stitches even! No one will ever notice the mishaps.
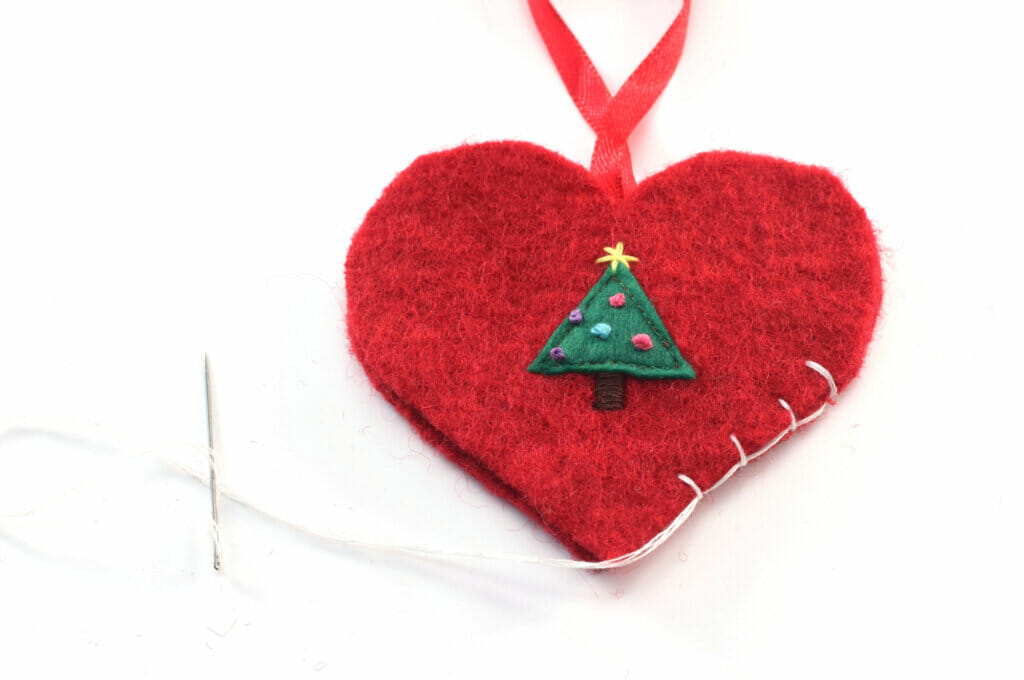
Then, add your filling. Put in as much or as little as you want.
Another tip for frugal sewing. I cut some scraps of fabric into little strips and used them as stuffing for my heart ornaments and I’m really pleased with how they turned out.

Have you started gearing up for the holidays? I hope you’ll give these DIY Christmas ornaments a try!
Let’s keep in touch! You can find me on Facebook, Instagram, and Pinterest.






Related posts