Learn how to make cute DIY Santa hat ornaments in under 5 minutes with this quick and easy tutorial and free pattern.
It’s so simple that you can even let your kids make these fun 3-D ornaments themselves (with a little help from you).
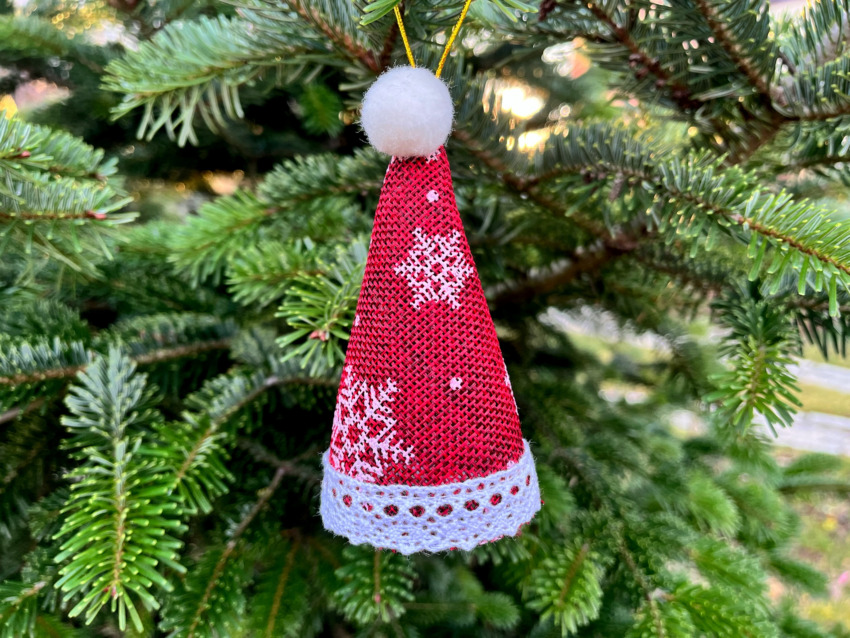
5-minute DIY Santa hat ornaments
You can whip up a whole batch of Santa hats for your tree or to give them as little Christmas gifts. Moreover, you can ditch the hanging loop and use this Santa ornament to dress up your holiday mantel.
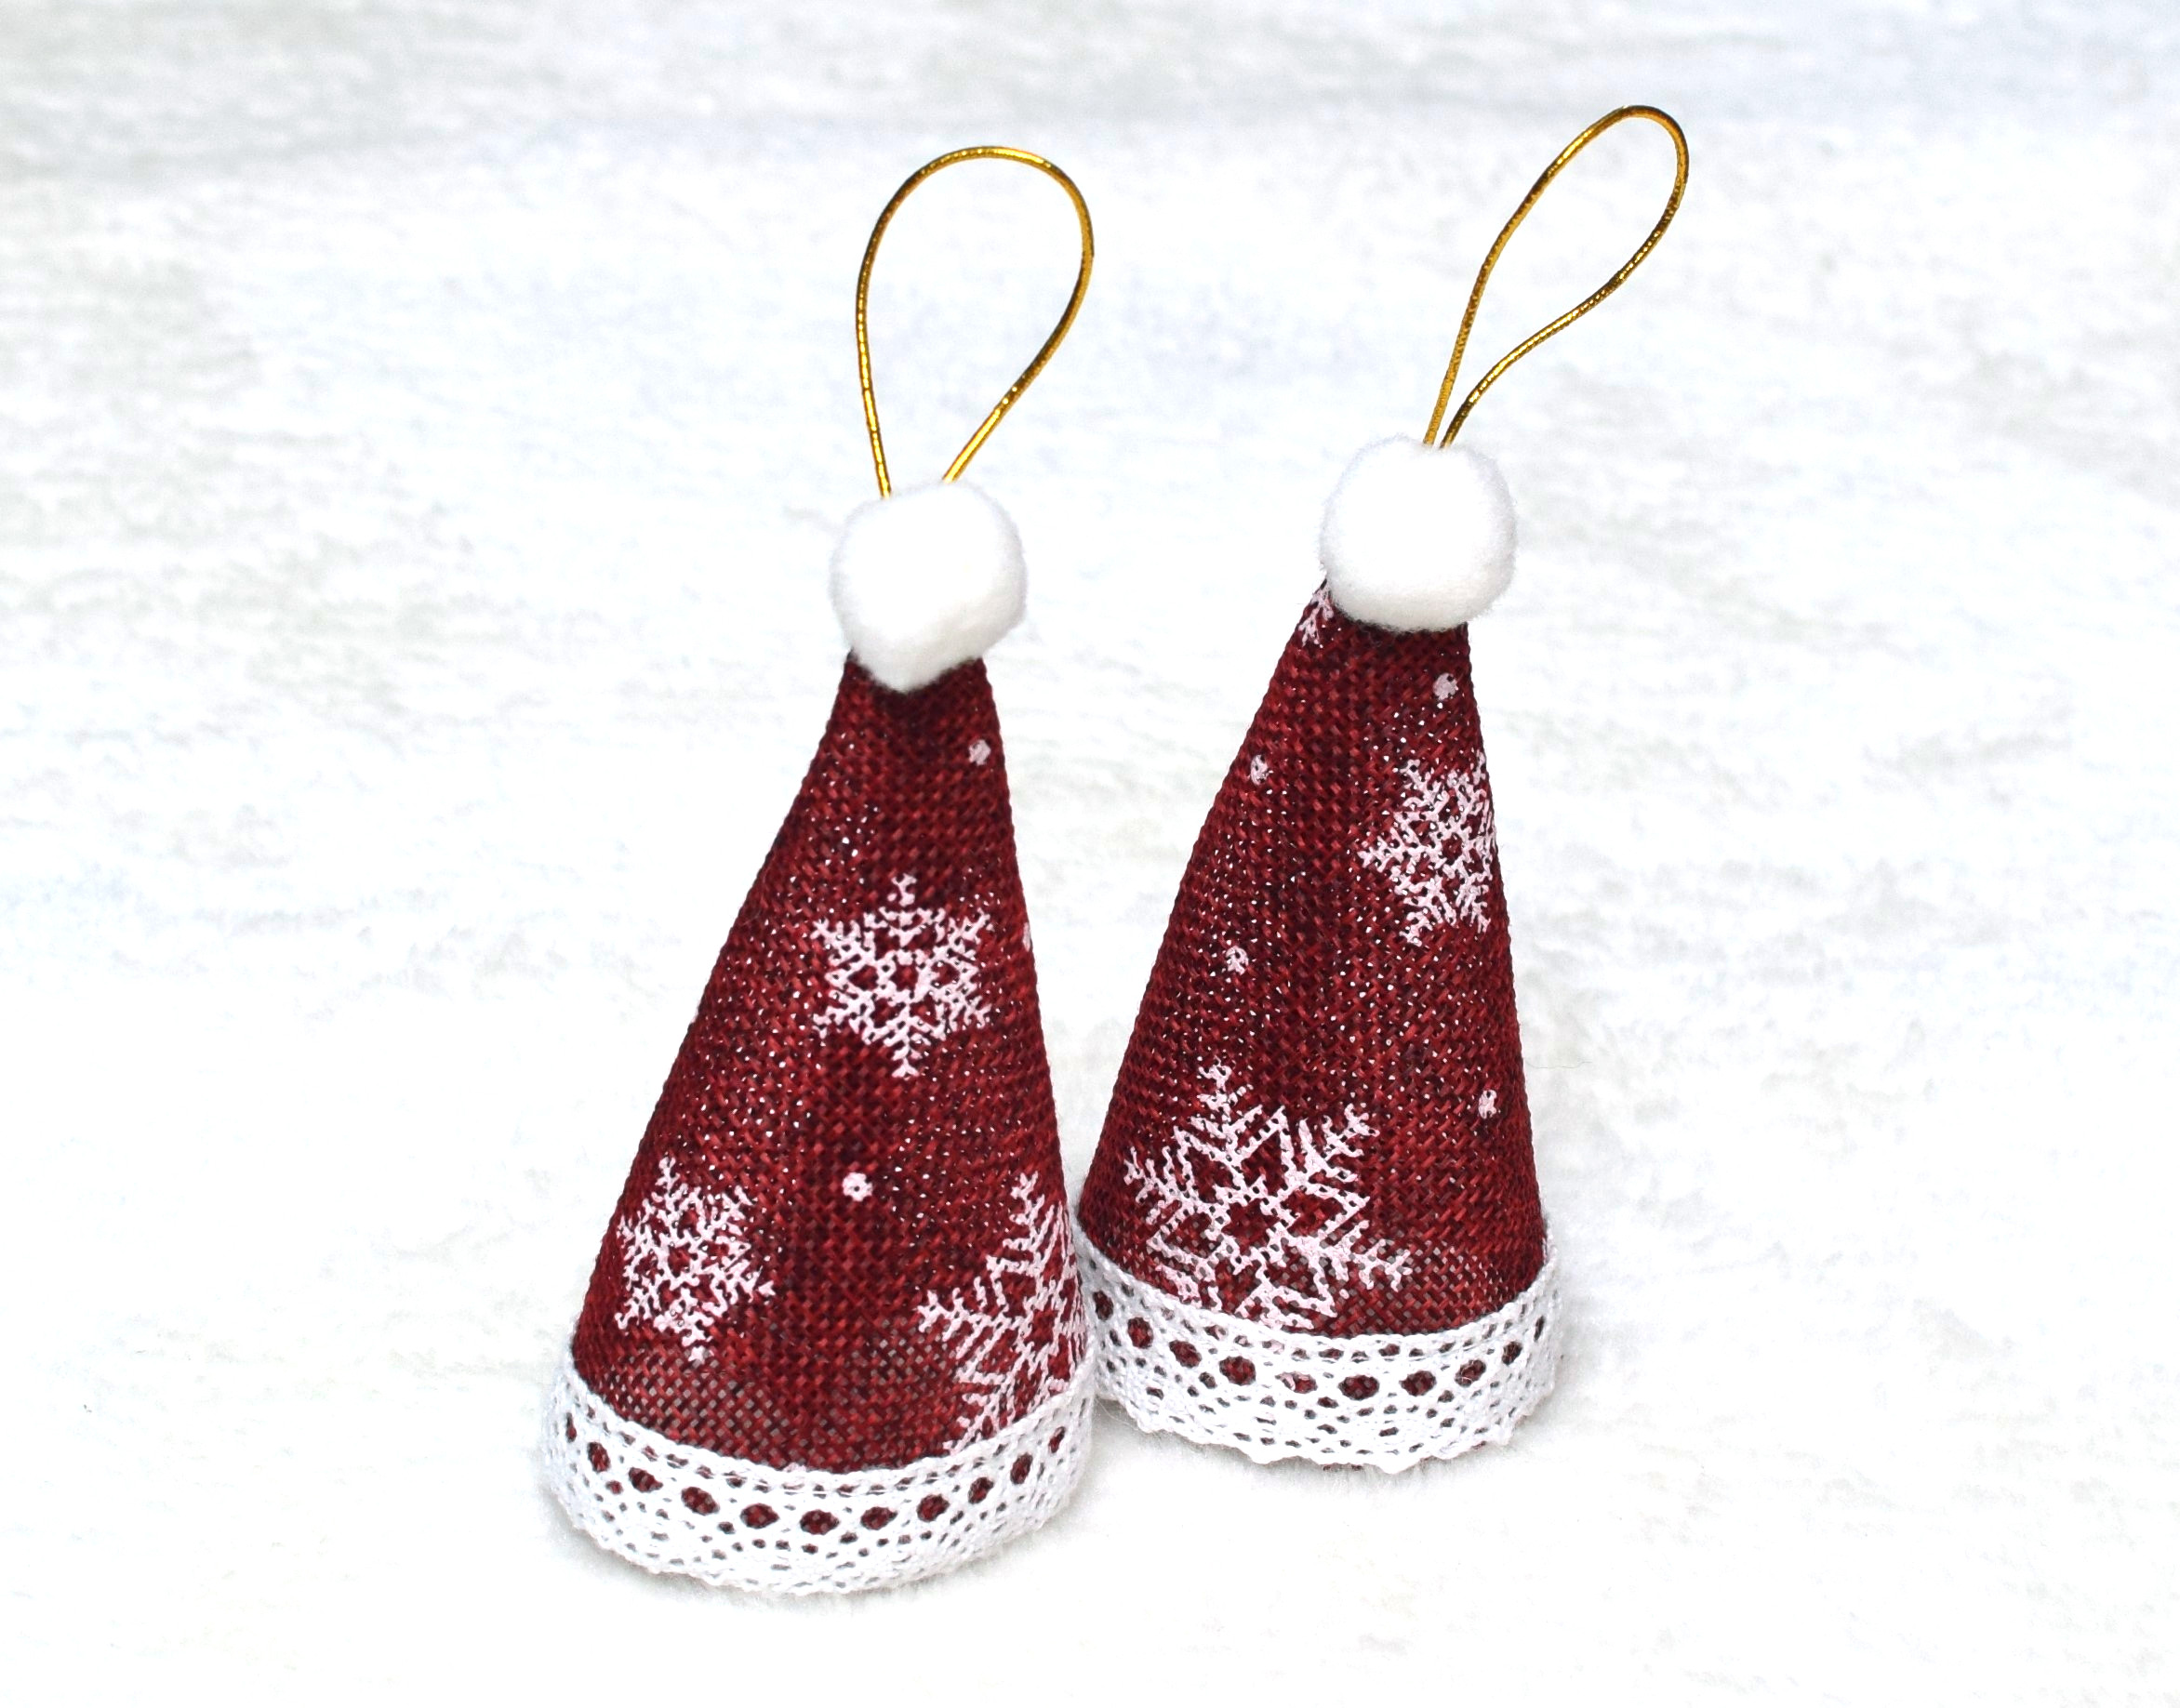
I used a polyester faux burlap fabric, but you can also use cotton fabric with fusible interfacing to give it more structure and body. No need to worry about edges unraveling, since you’ll likely never wash these ornaments nor use them much, as a matter of fact. The stitching lines prevent further fraying, anyway.
I used a gold elastic cord to hang my ornaments. You can also use hemp twine, metallic strings, peppermint twine, or thin ribbons.
The finished hat, without the loop, is approximately 4 inches tall.
Sewing supplies
- Santa hat ornament – free PDF pattern below
- Lace trim
- Twine/ ribbon/ elastic cord
- White pompoms
- Sewing machine
- Needle, thread
Quick and easy DIY tutorial for making Santa hat ornaments
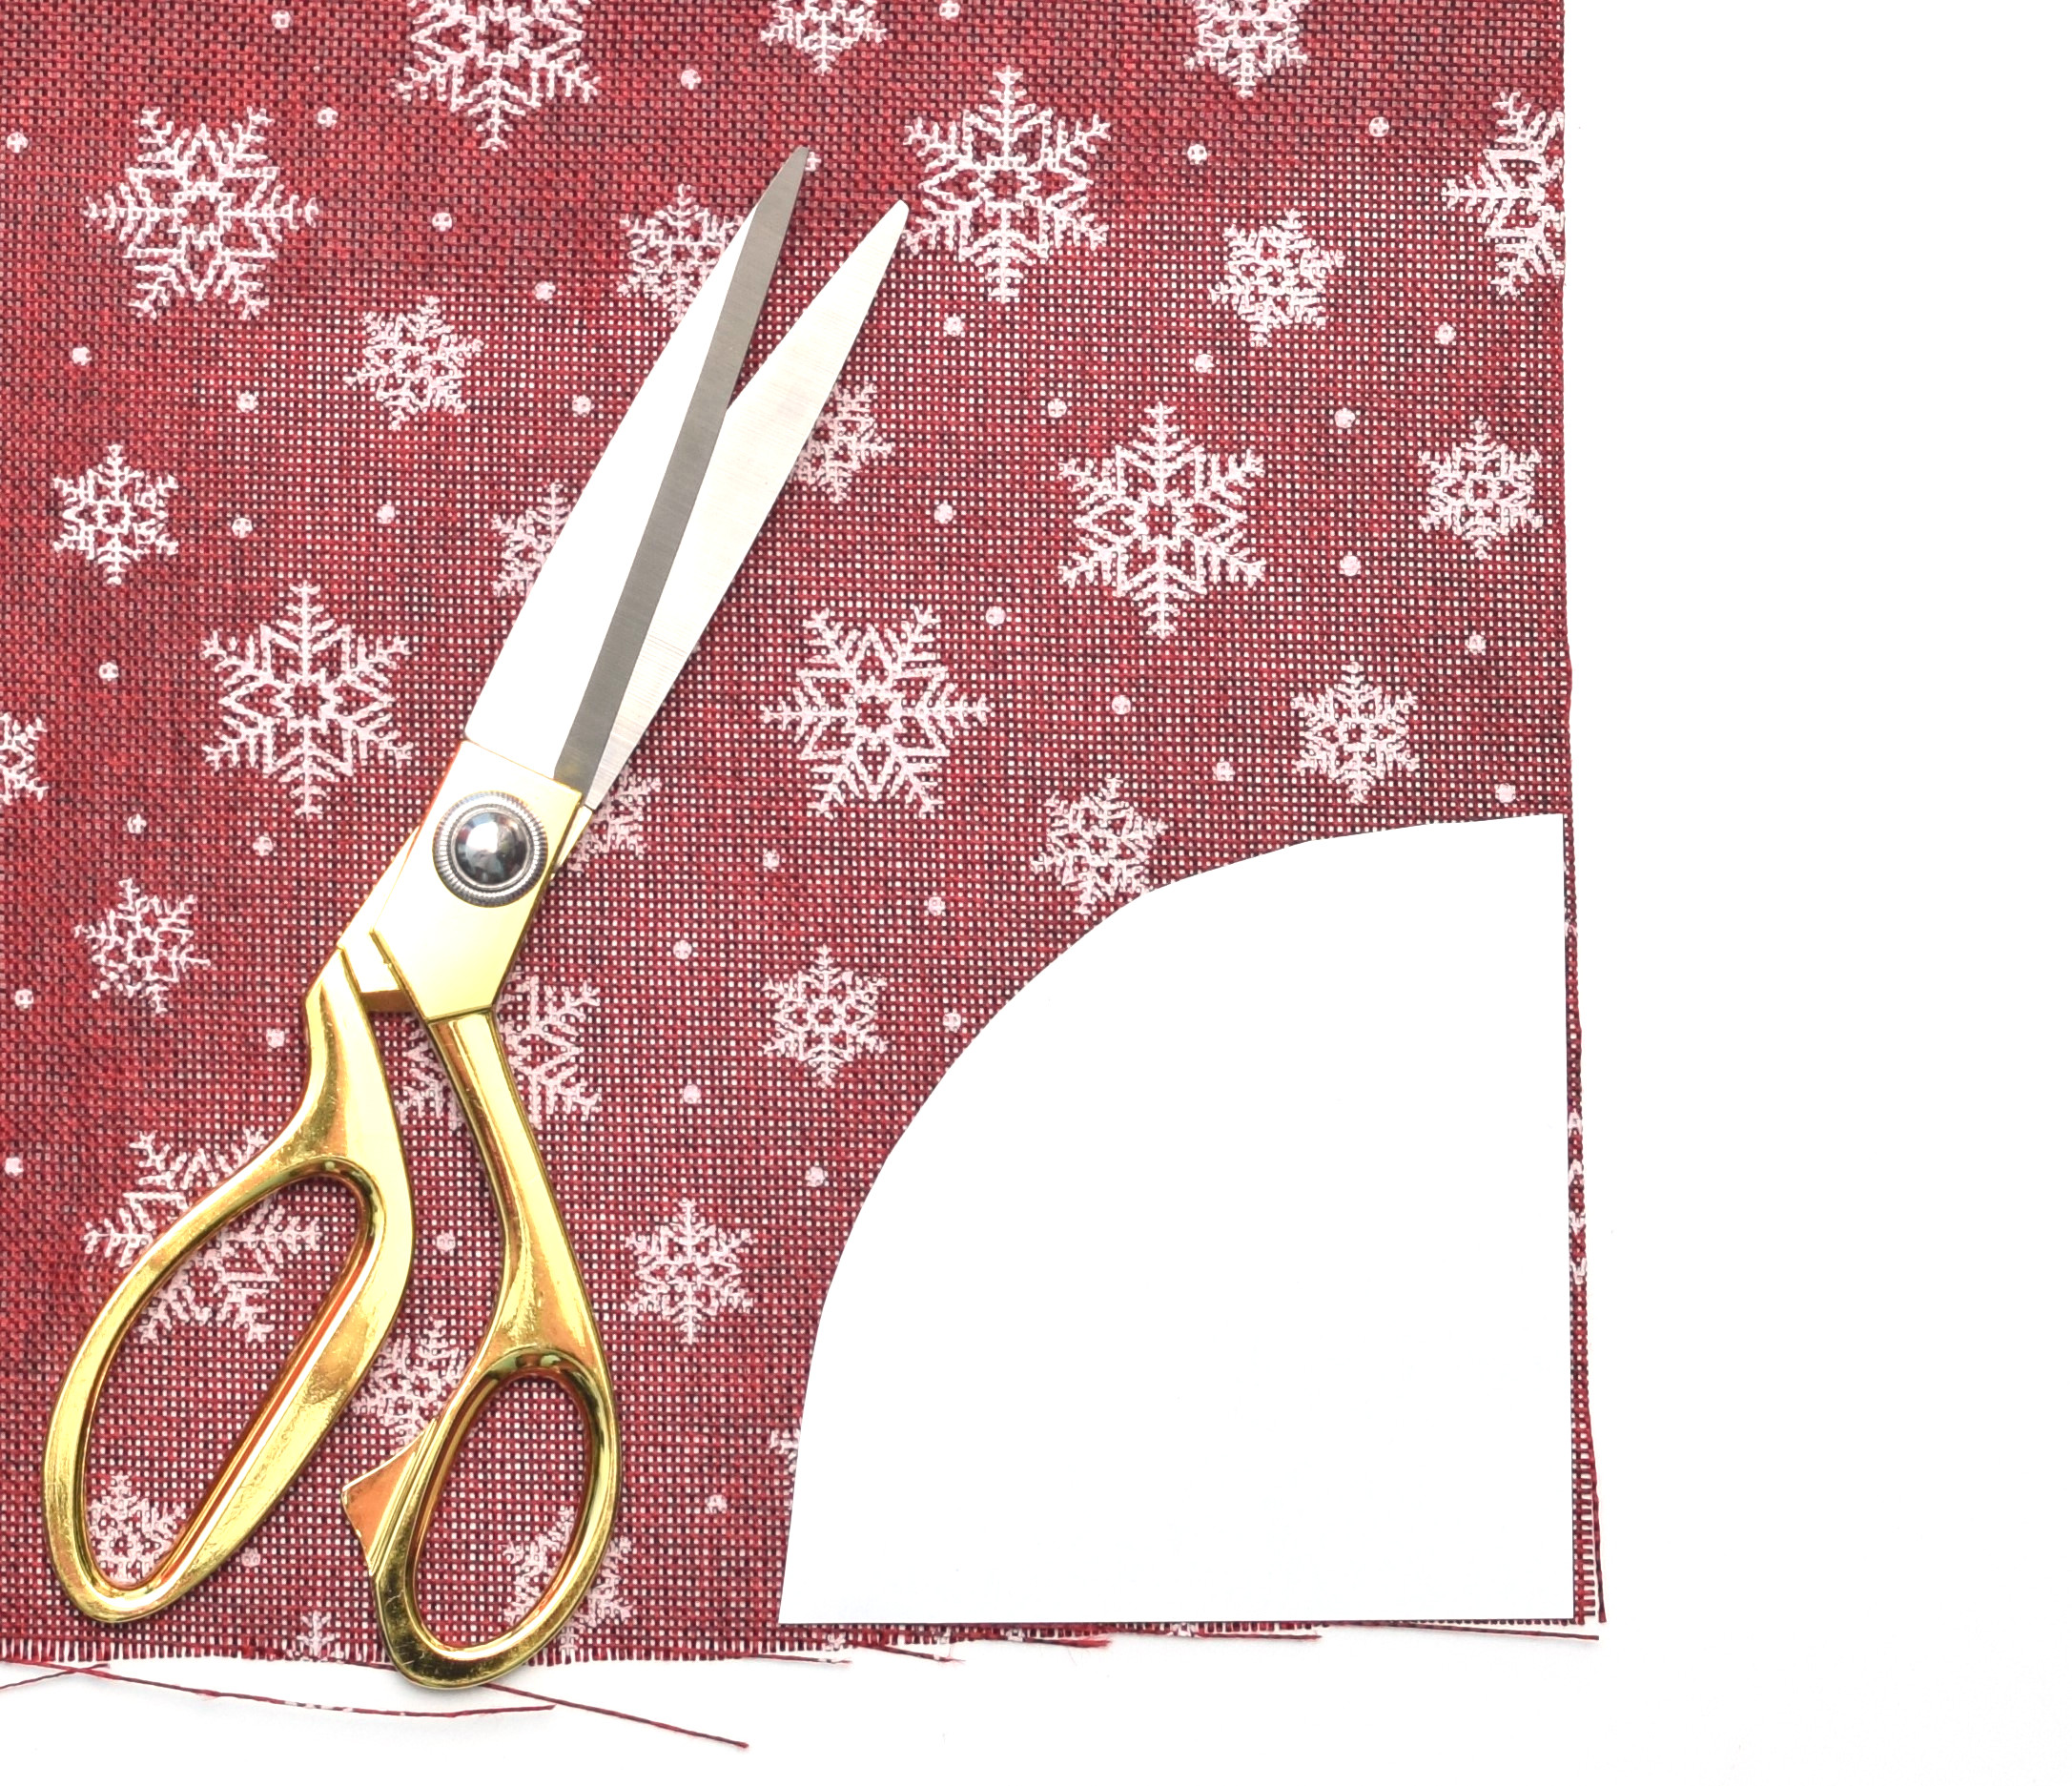
Step 1
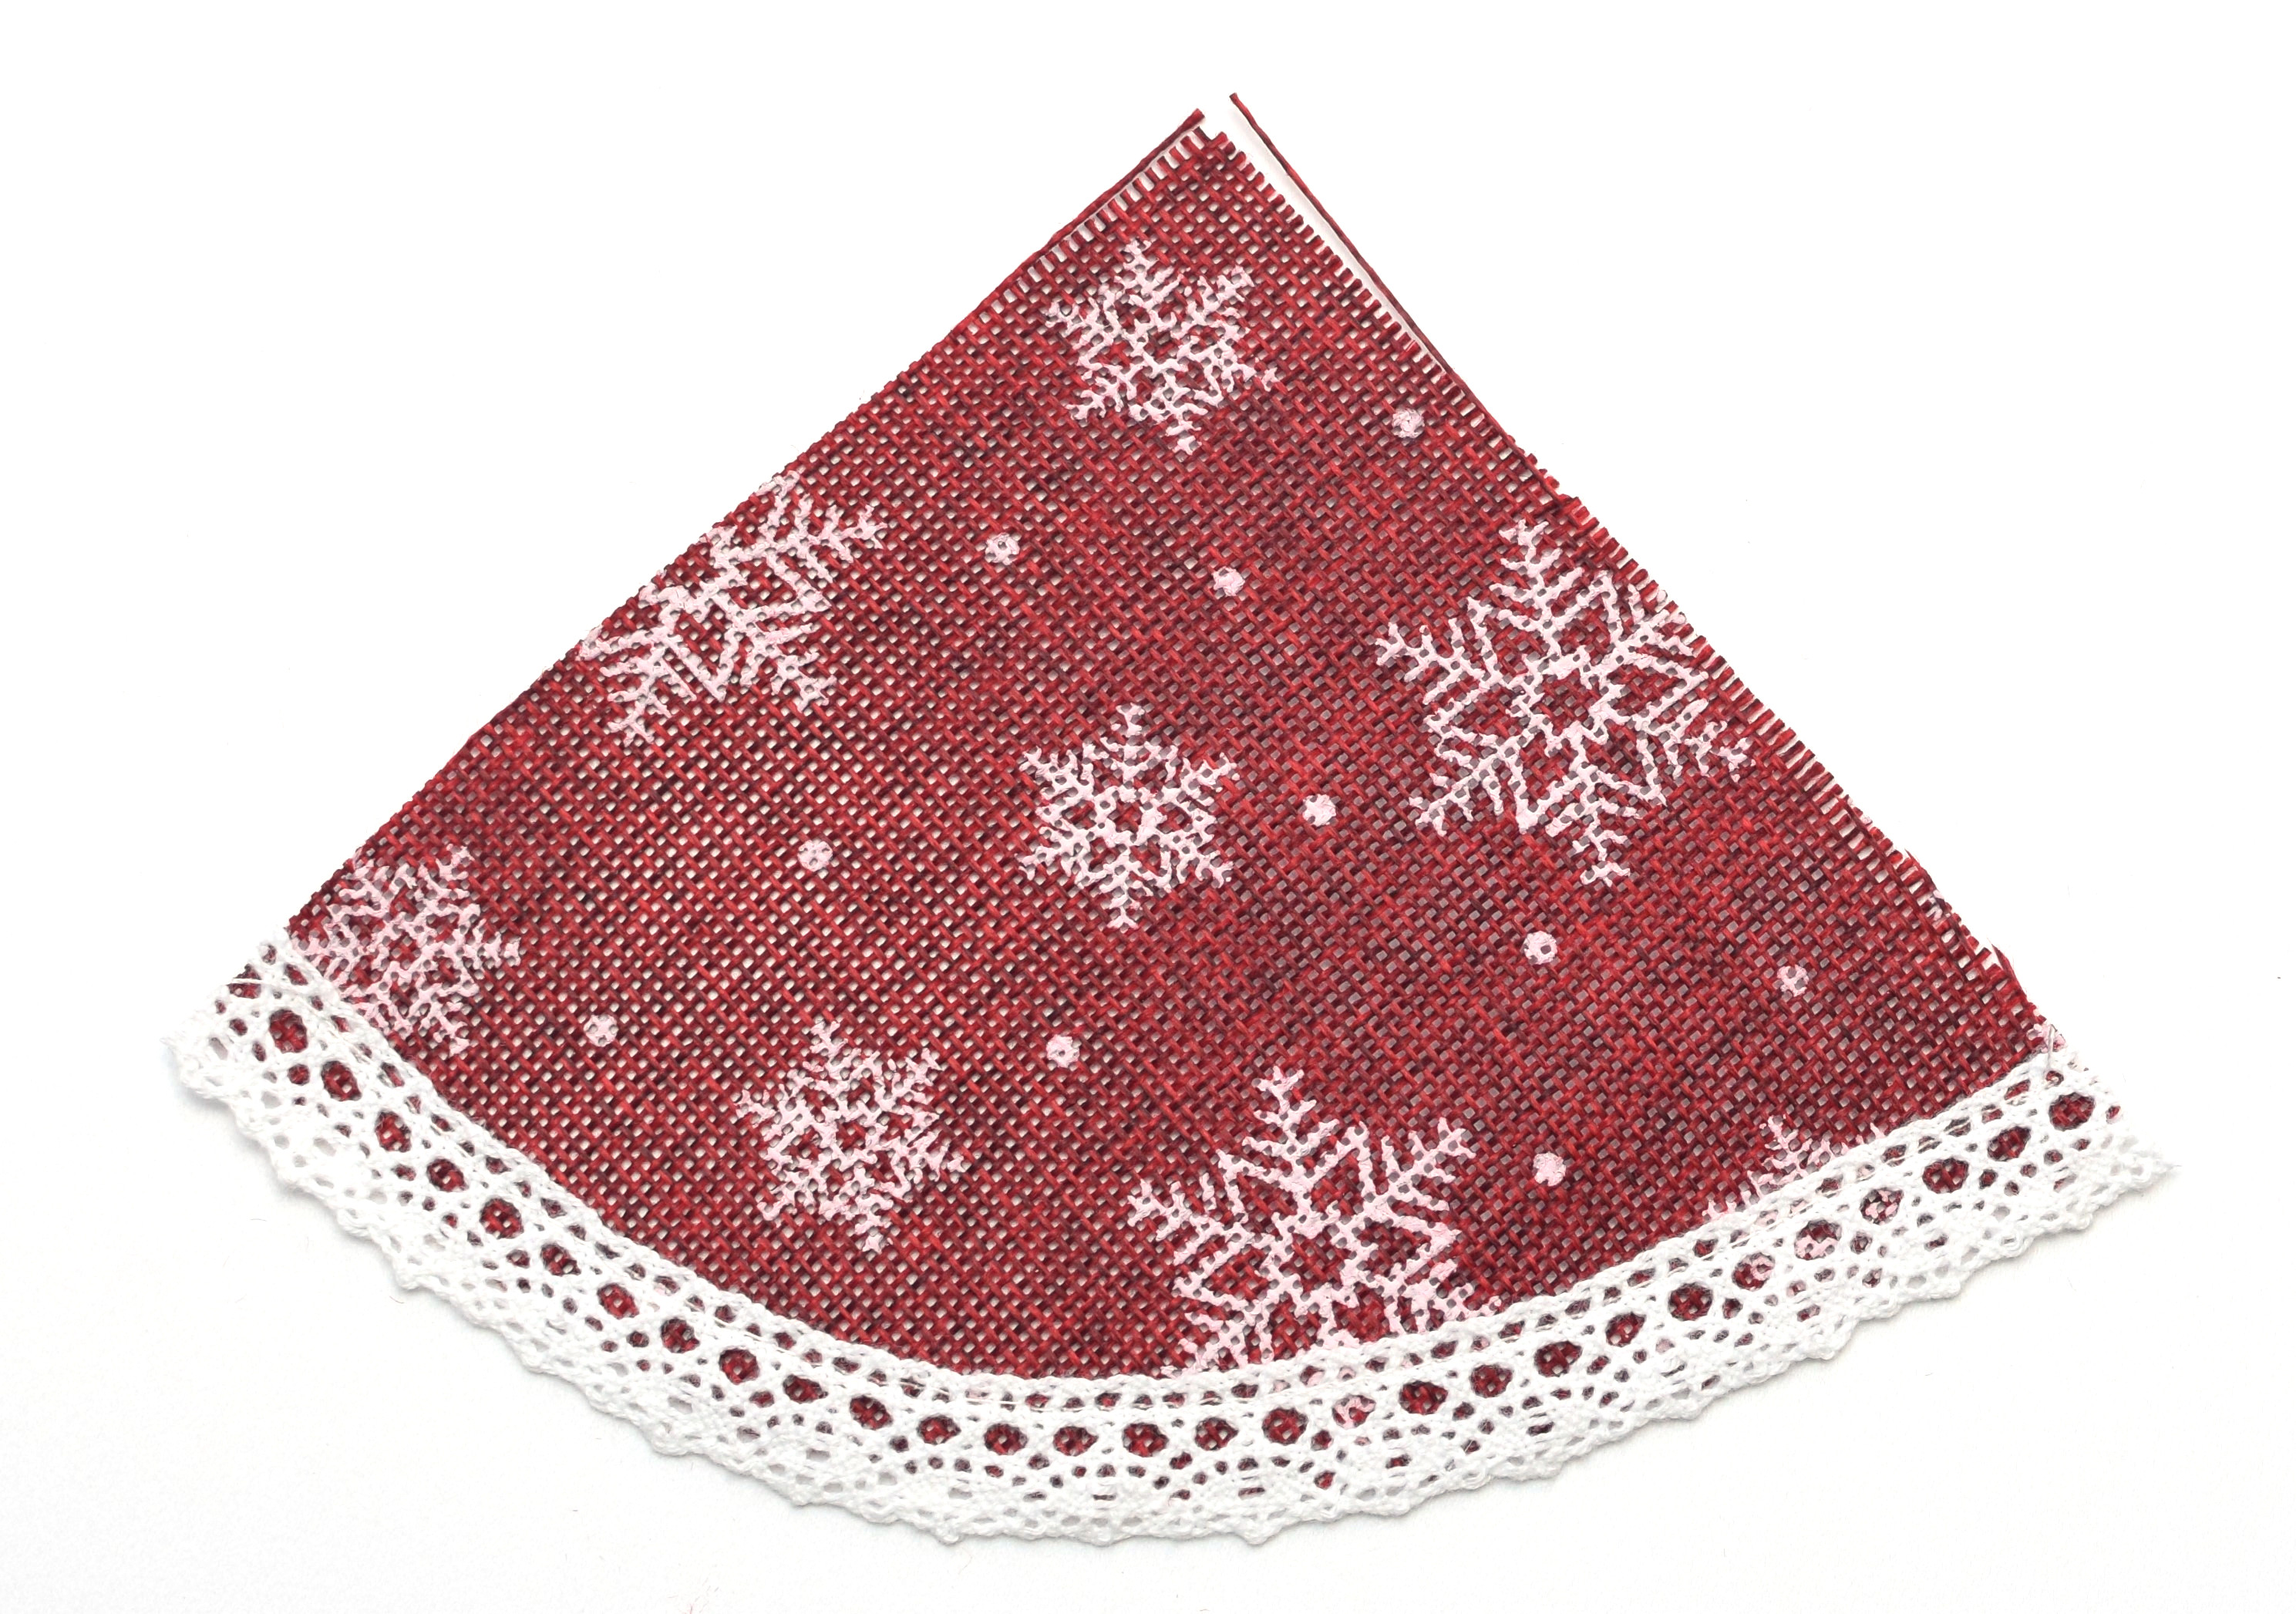
Cut one pattern piece from your chosen fabric.
Step 2
Align the lace trim to the bottom of your pattern piece and stitch along the curved edge. I used a simple straight stitch, but the zigzag stitch is fine too.
Step 3
Fold your twine/ribbon in half to make a hanging loop.
Tip: If you use thin cord, secure the ends in a knot, to prevent the loop from coming undone.
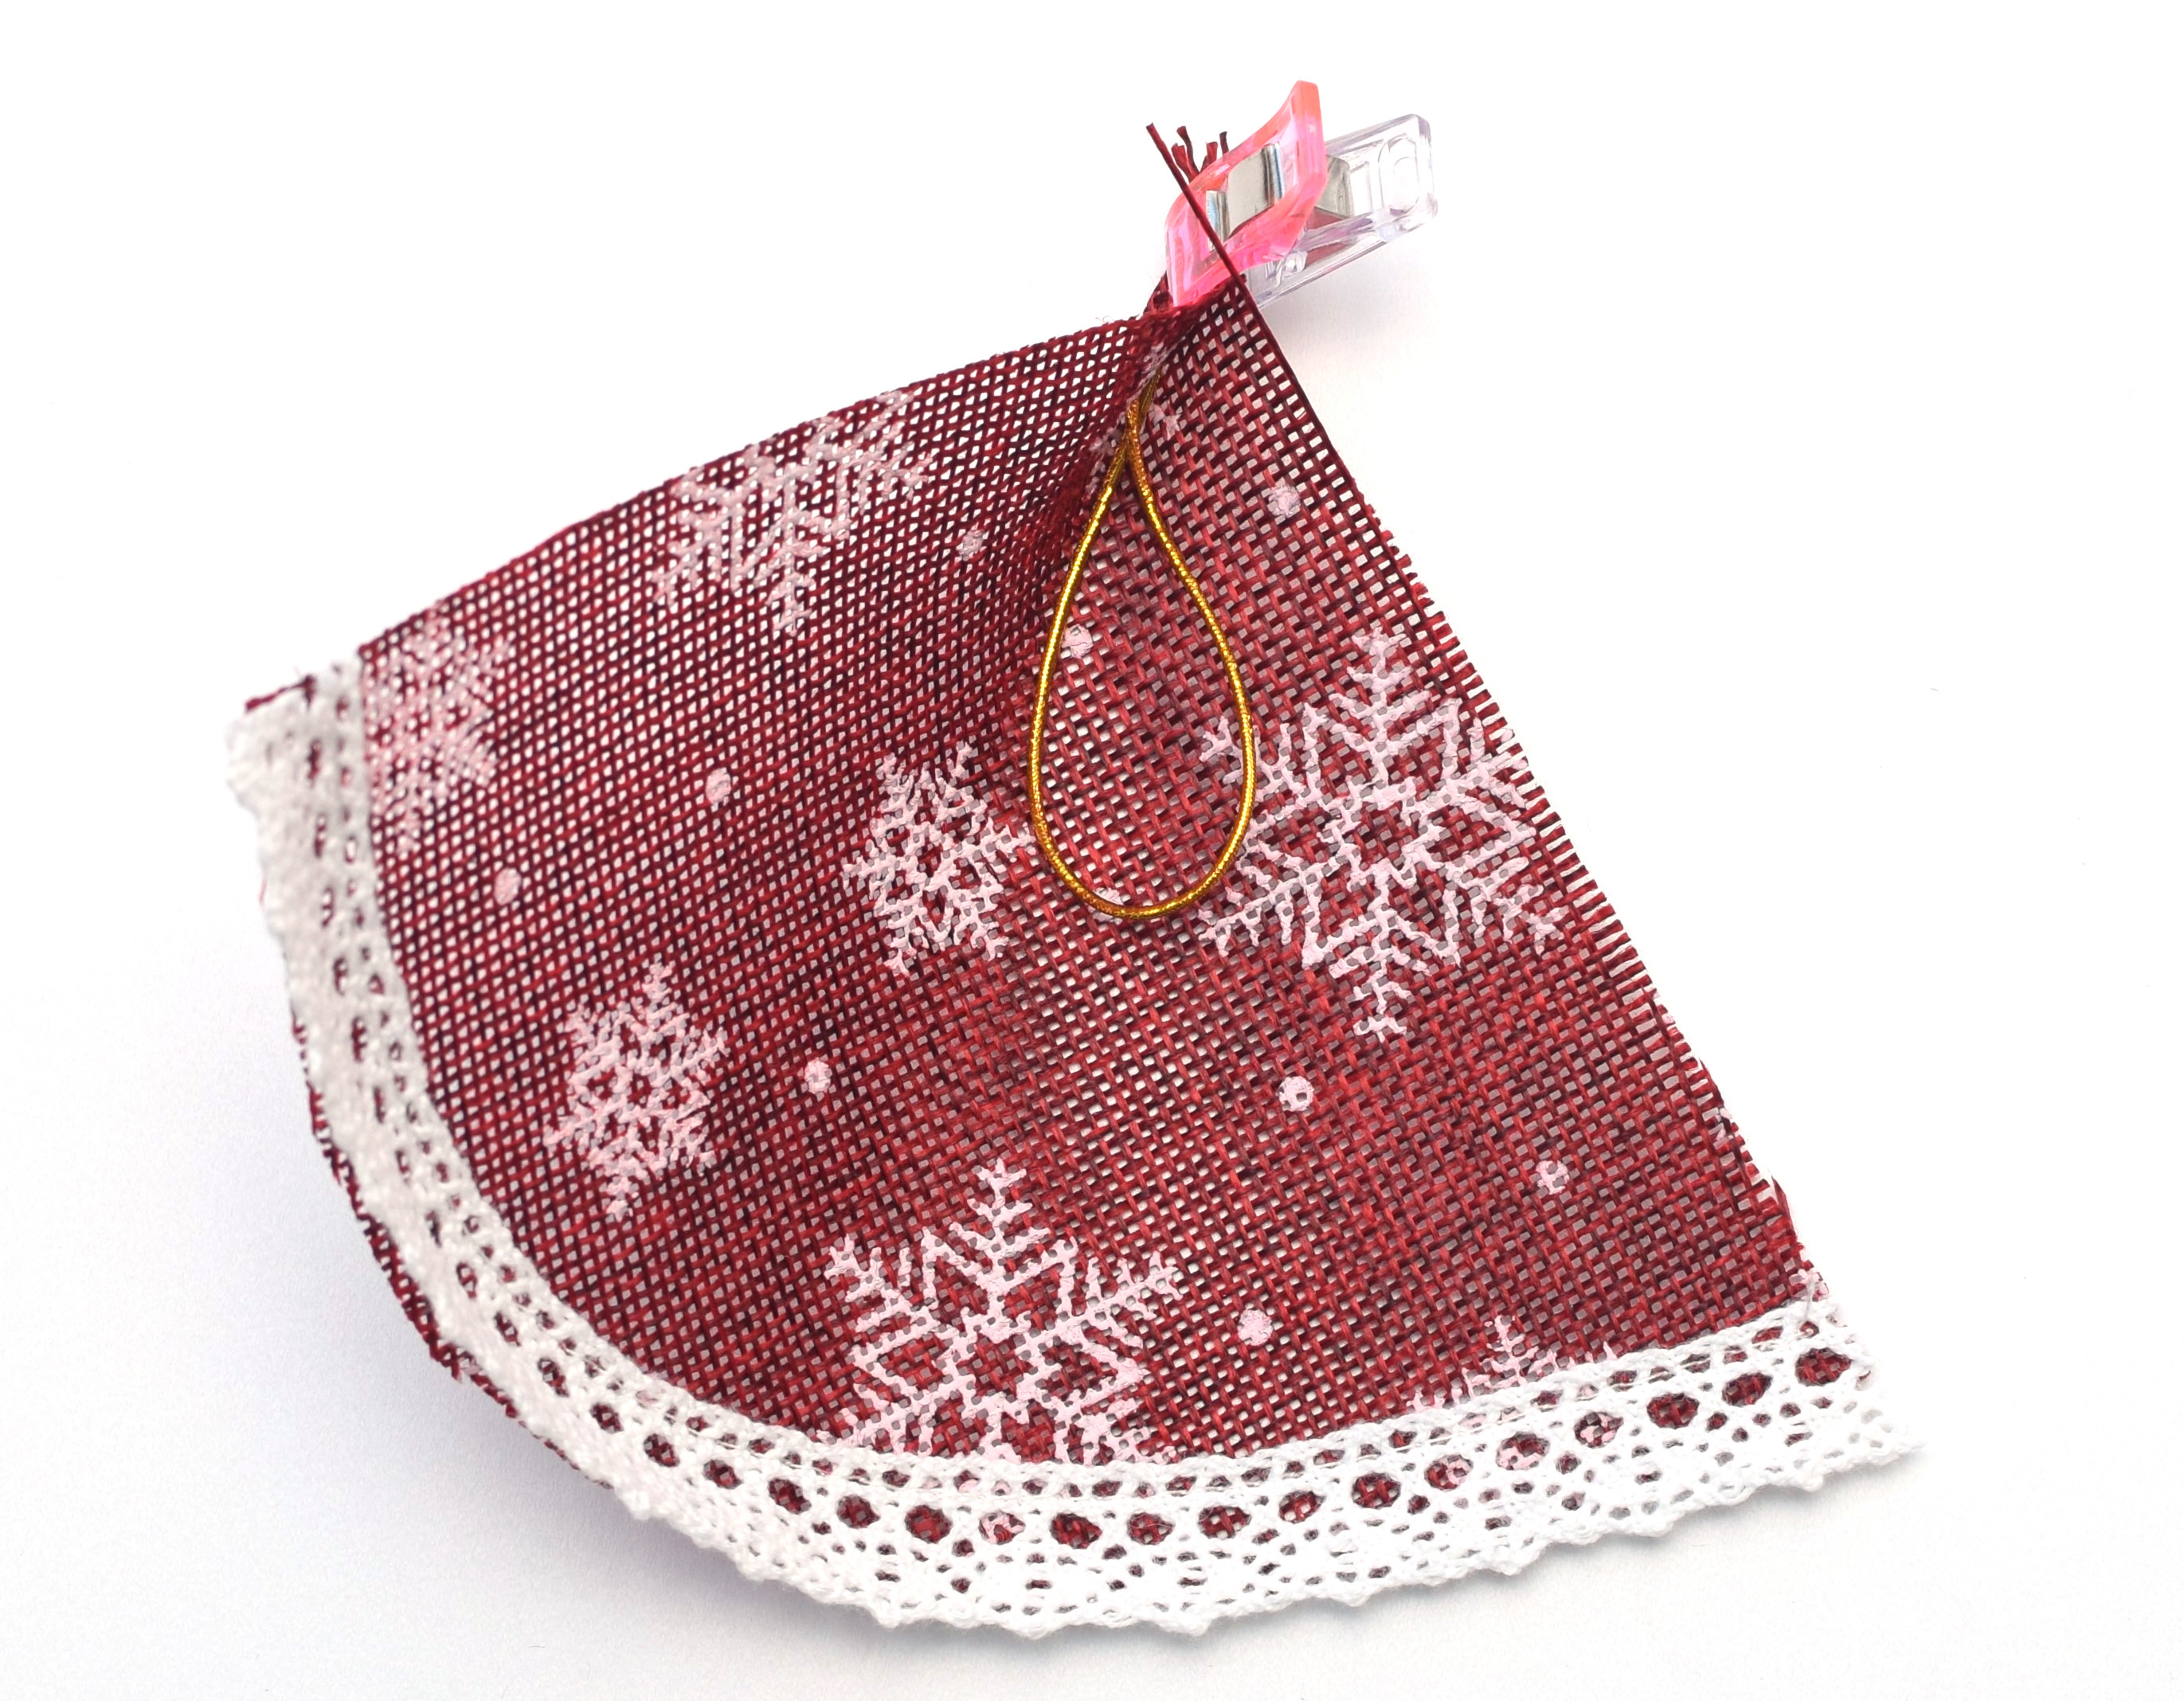
Sandwich it upside down at the top, then fold the pattern piece right sides together in half using sewing clips.
Stitch along the straight edge, through both layers and the loop.
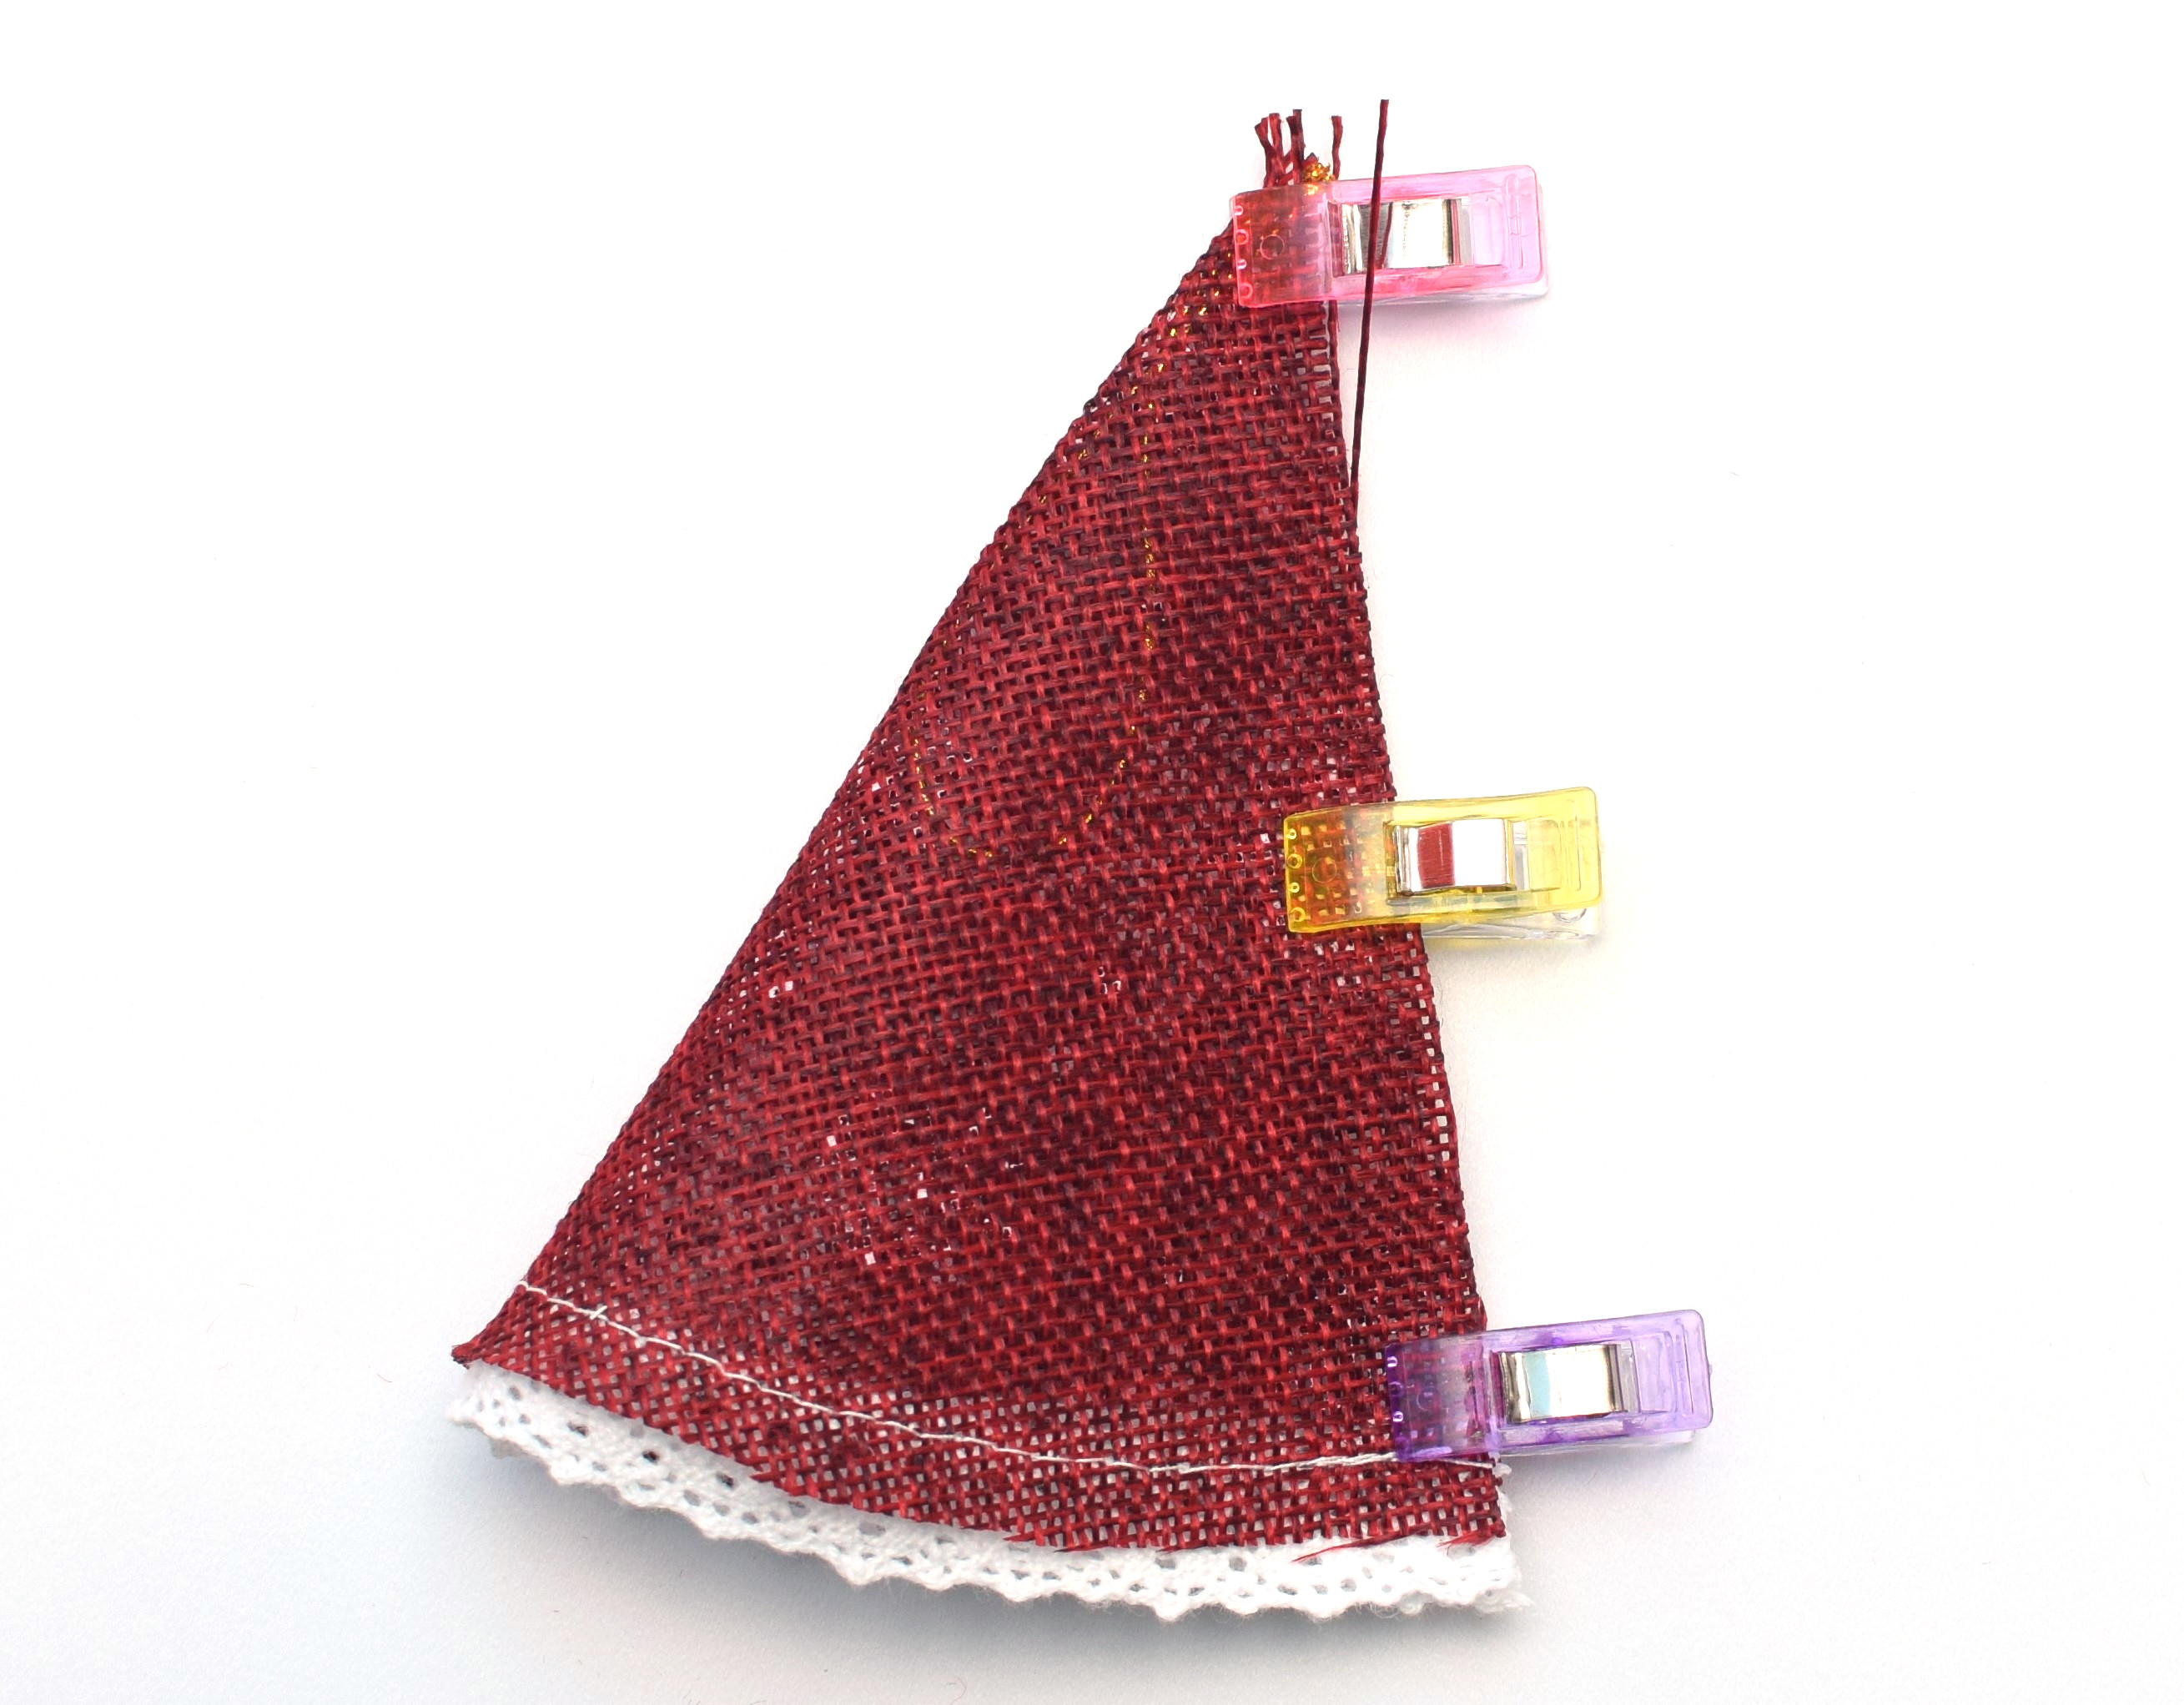
Do not forget to backstitch at the beginning, over the loop edges, and at the end of your stitching line.

Step 4
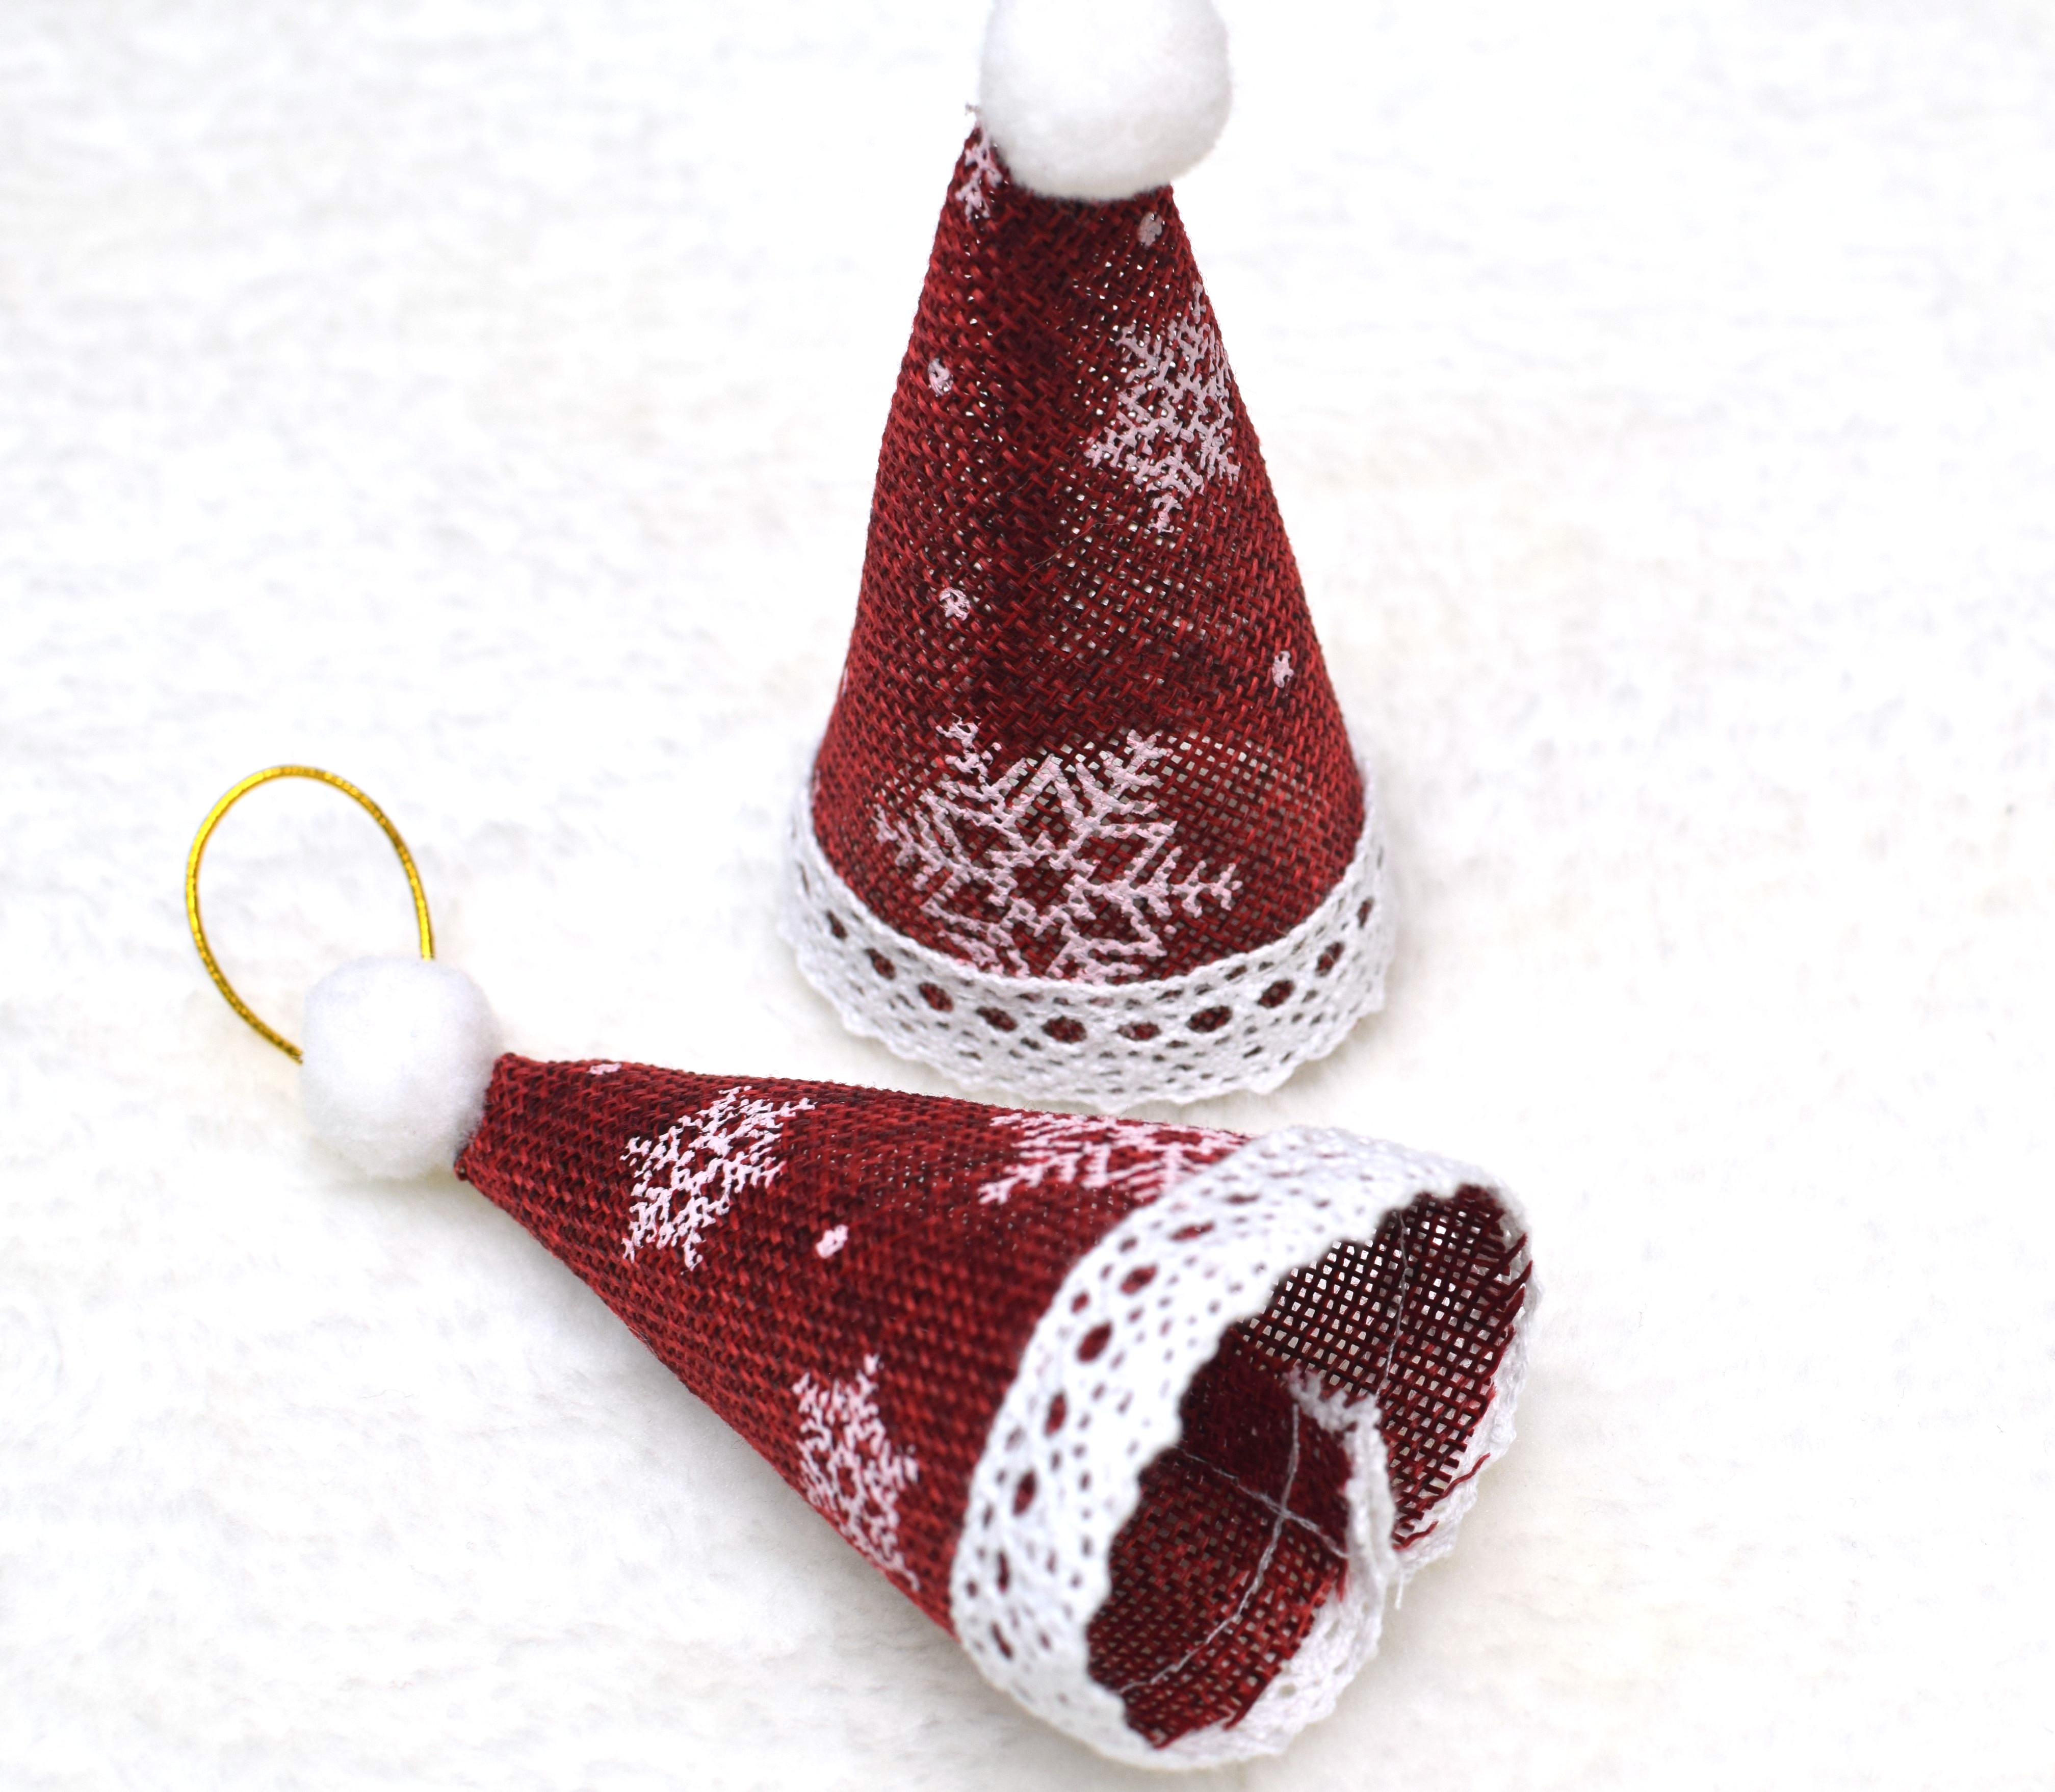
Turn the Santa hat ornament right side out. Attach a white pompom to the top of your ornament using hand stitches or a hot glue gun.
Your Santa hat ornaments are now ready to hang!


Make sure to save this quick DIY project for inspiration!
Also, you might want to check out this cute heart-shaped Christmas ornaments tutorial.
Let’s keep in touch! You can find me on Facebook, Instagram, and Pinterest.
Related posts