These simple headbands are the best I’ve made so far, and I want to share a quick step-by-step tutorial with you. For some unknown reasons, until now I’ve never tried to apply interfacing on my headbands, and I feel like I’ve missed out! It’s a game-changer.
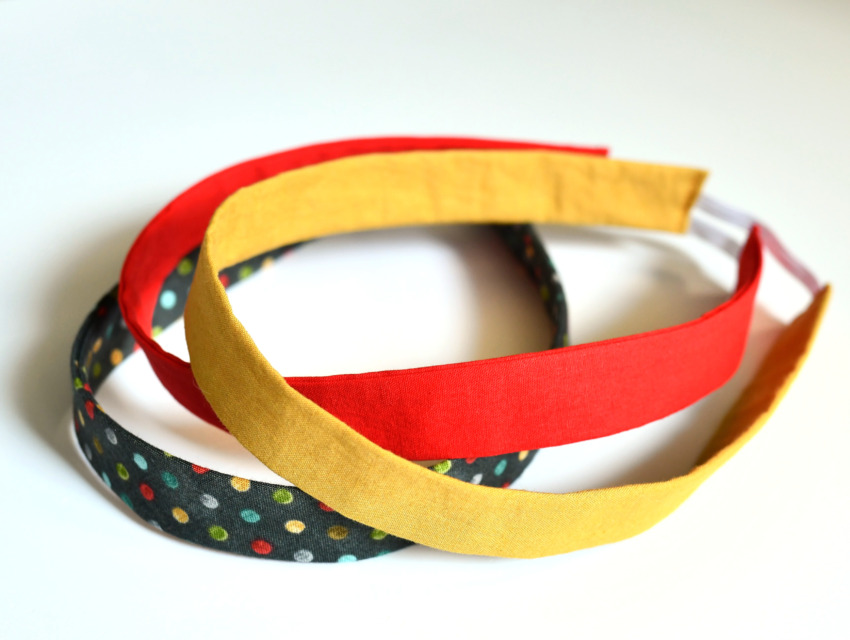
These headbands have more structure and a quality feel that I love! They are comfortable for all-day wear and so pretty!
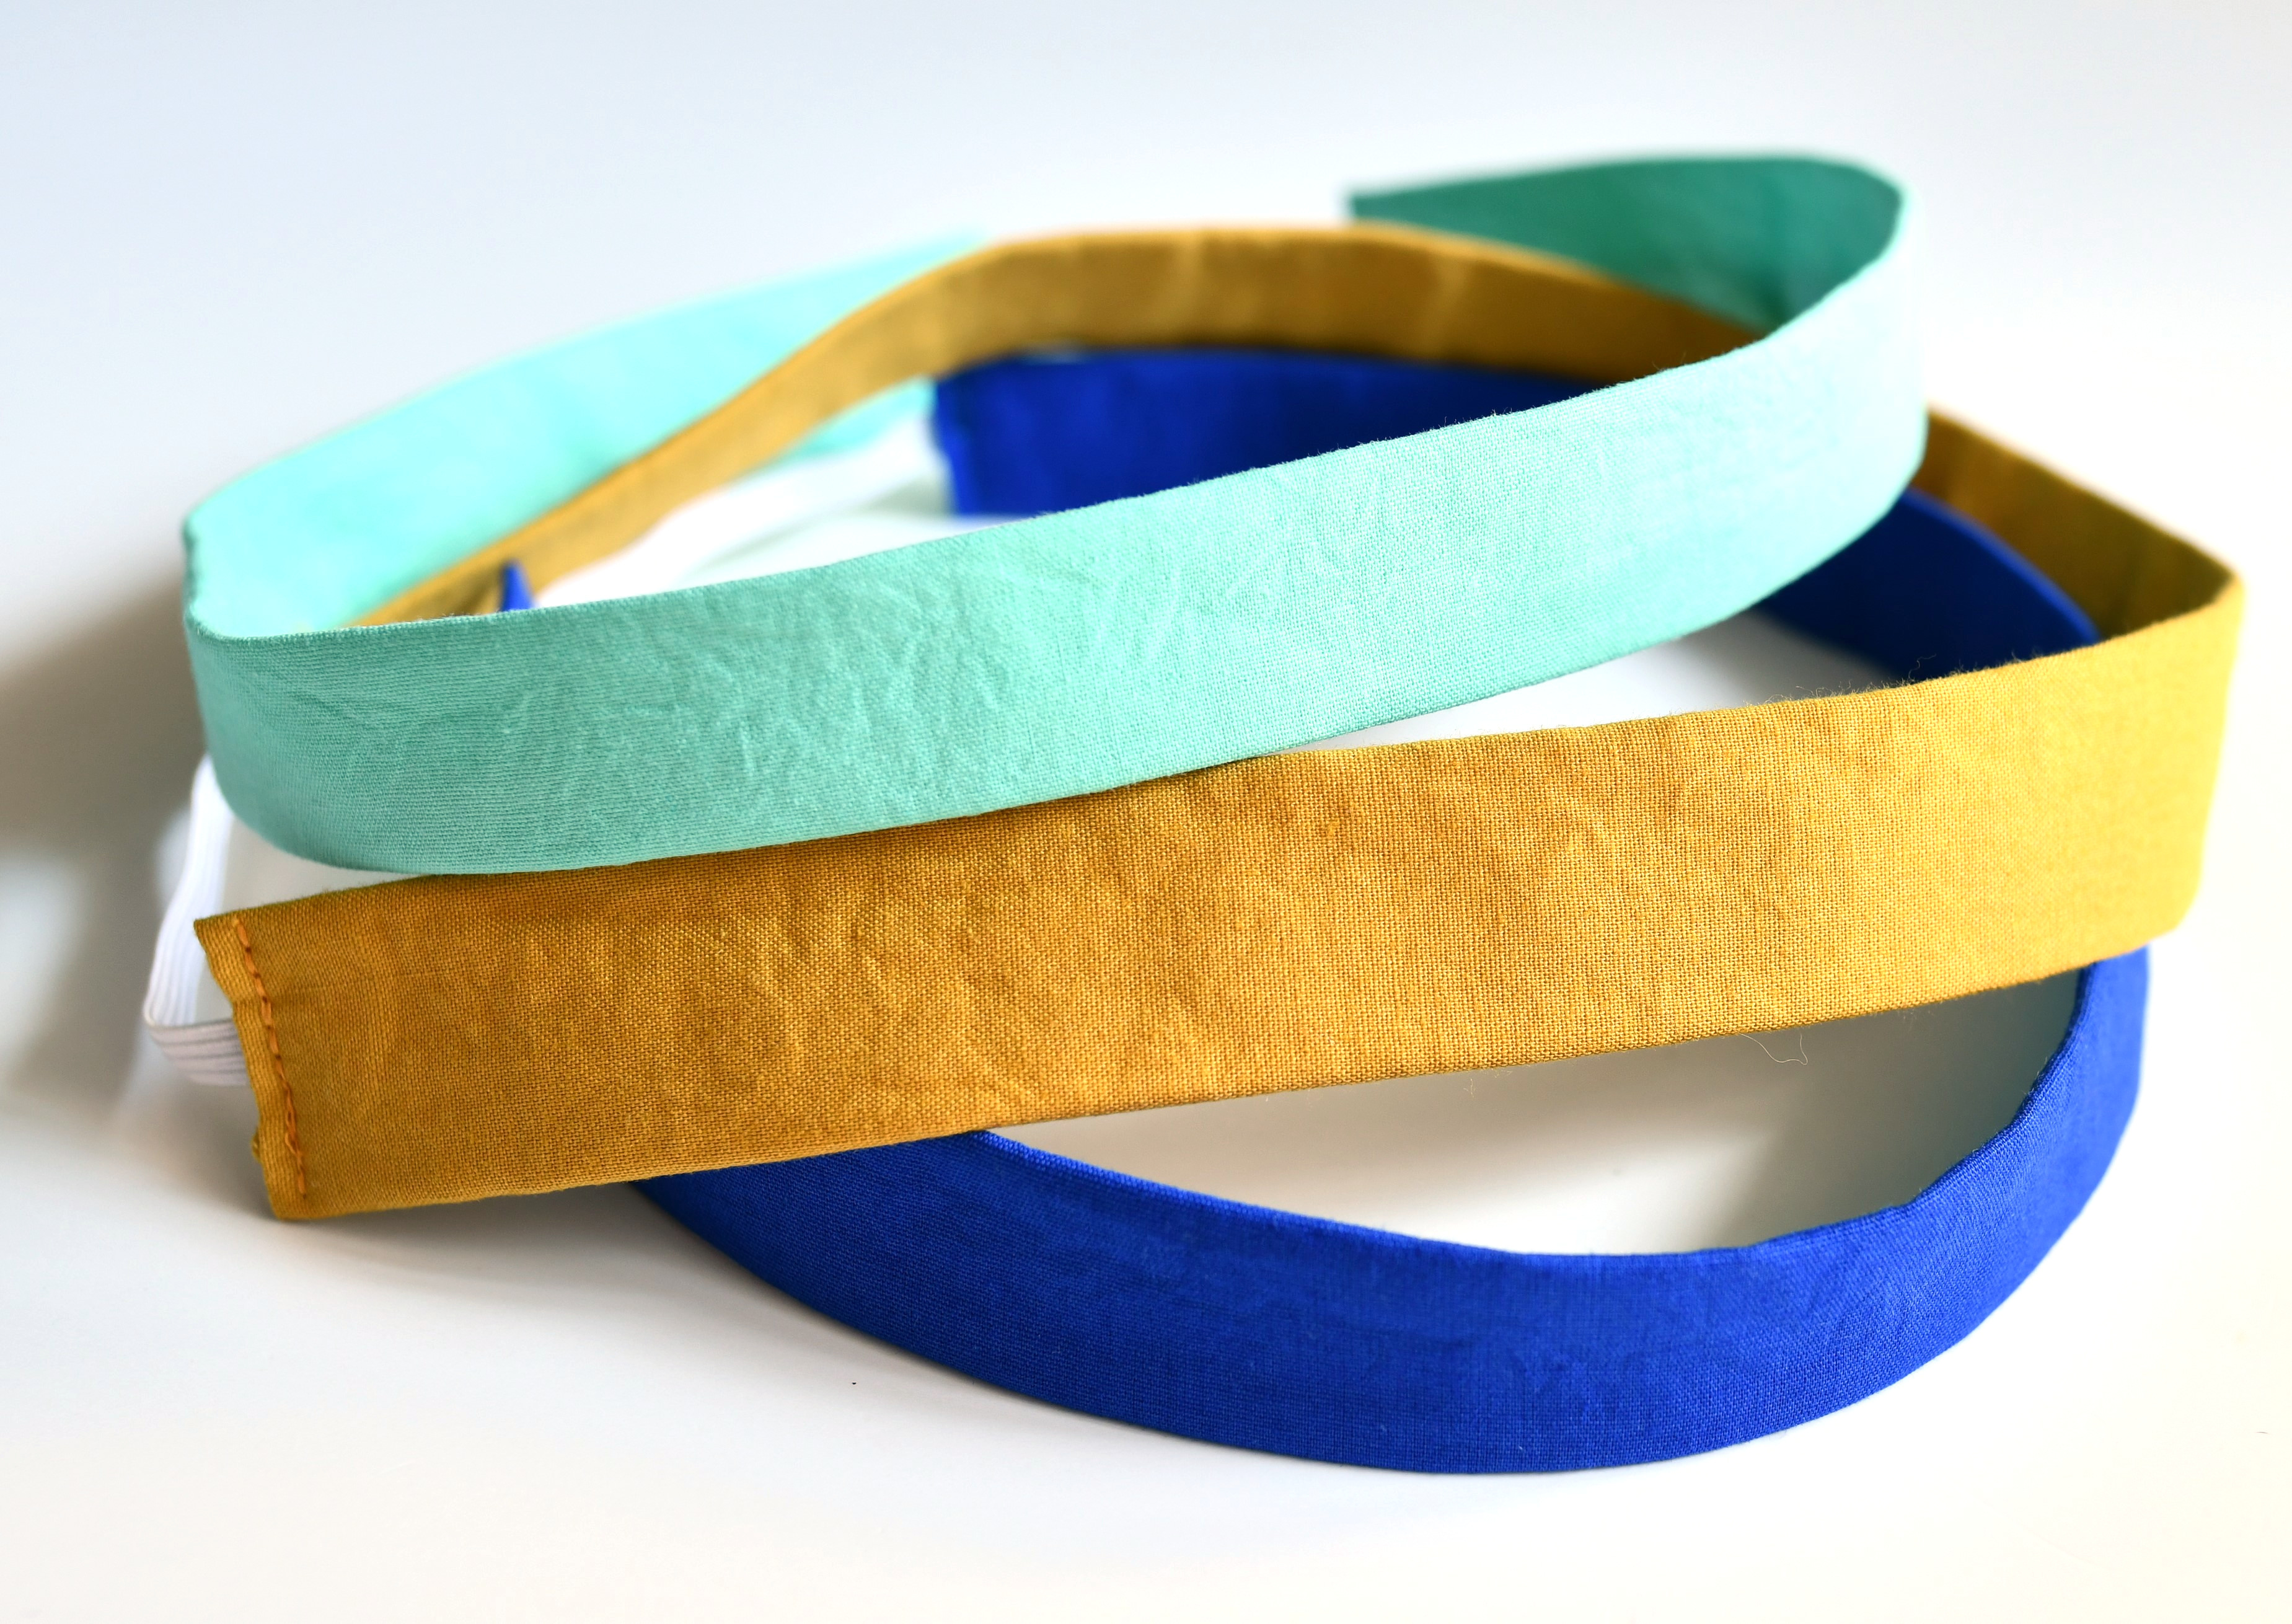
The reason I’m so happy about these headbands is that they keep their shape even after taking them off. I’ve made a lot of simple headbands without interfacing in the past and they are quite flimsy, they get wrinkled easily and tend to look unappetizing at the end of the day.
I noticed that my daughters would not reach out to them anymore after a while. Sure, with some ironing everything gets back to normal, but these sturdy headbands simply look more inviting, in my opinion.
How to make a simple headband that fits perfectly
In my experience, the secret to a great-fitting woven headband is to make it exactly the size of your head.
You should barely feel it sitting on your head. If you’re not sure that it will stay put, use bobby pins to secure it.
You should avoid tight headbands as well as loose headbands. If you put on your headband and it feels snug, but still comfortable to some extent, you should know that this feeling will change for the worse over the next hour. Wearing a tight headband for a long period can cause headaches and discomfort.
Related: How to make a knotted headband (free pattern) / How to make scrunchies
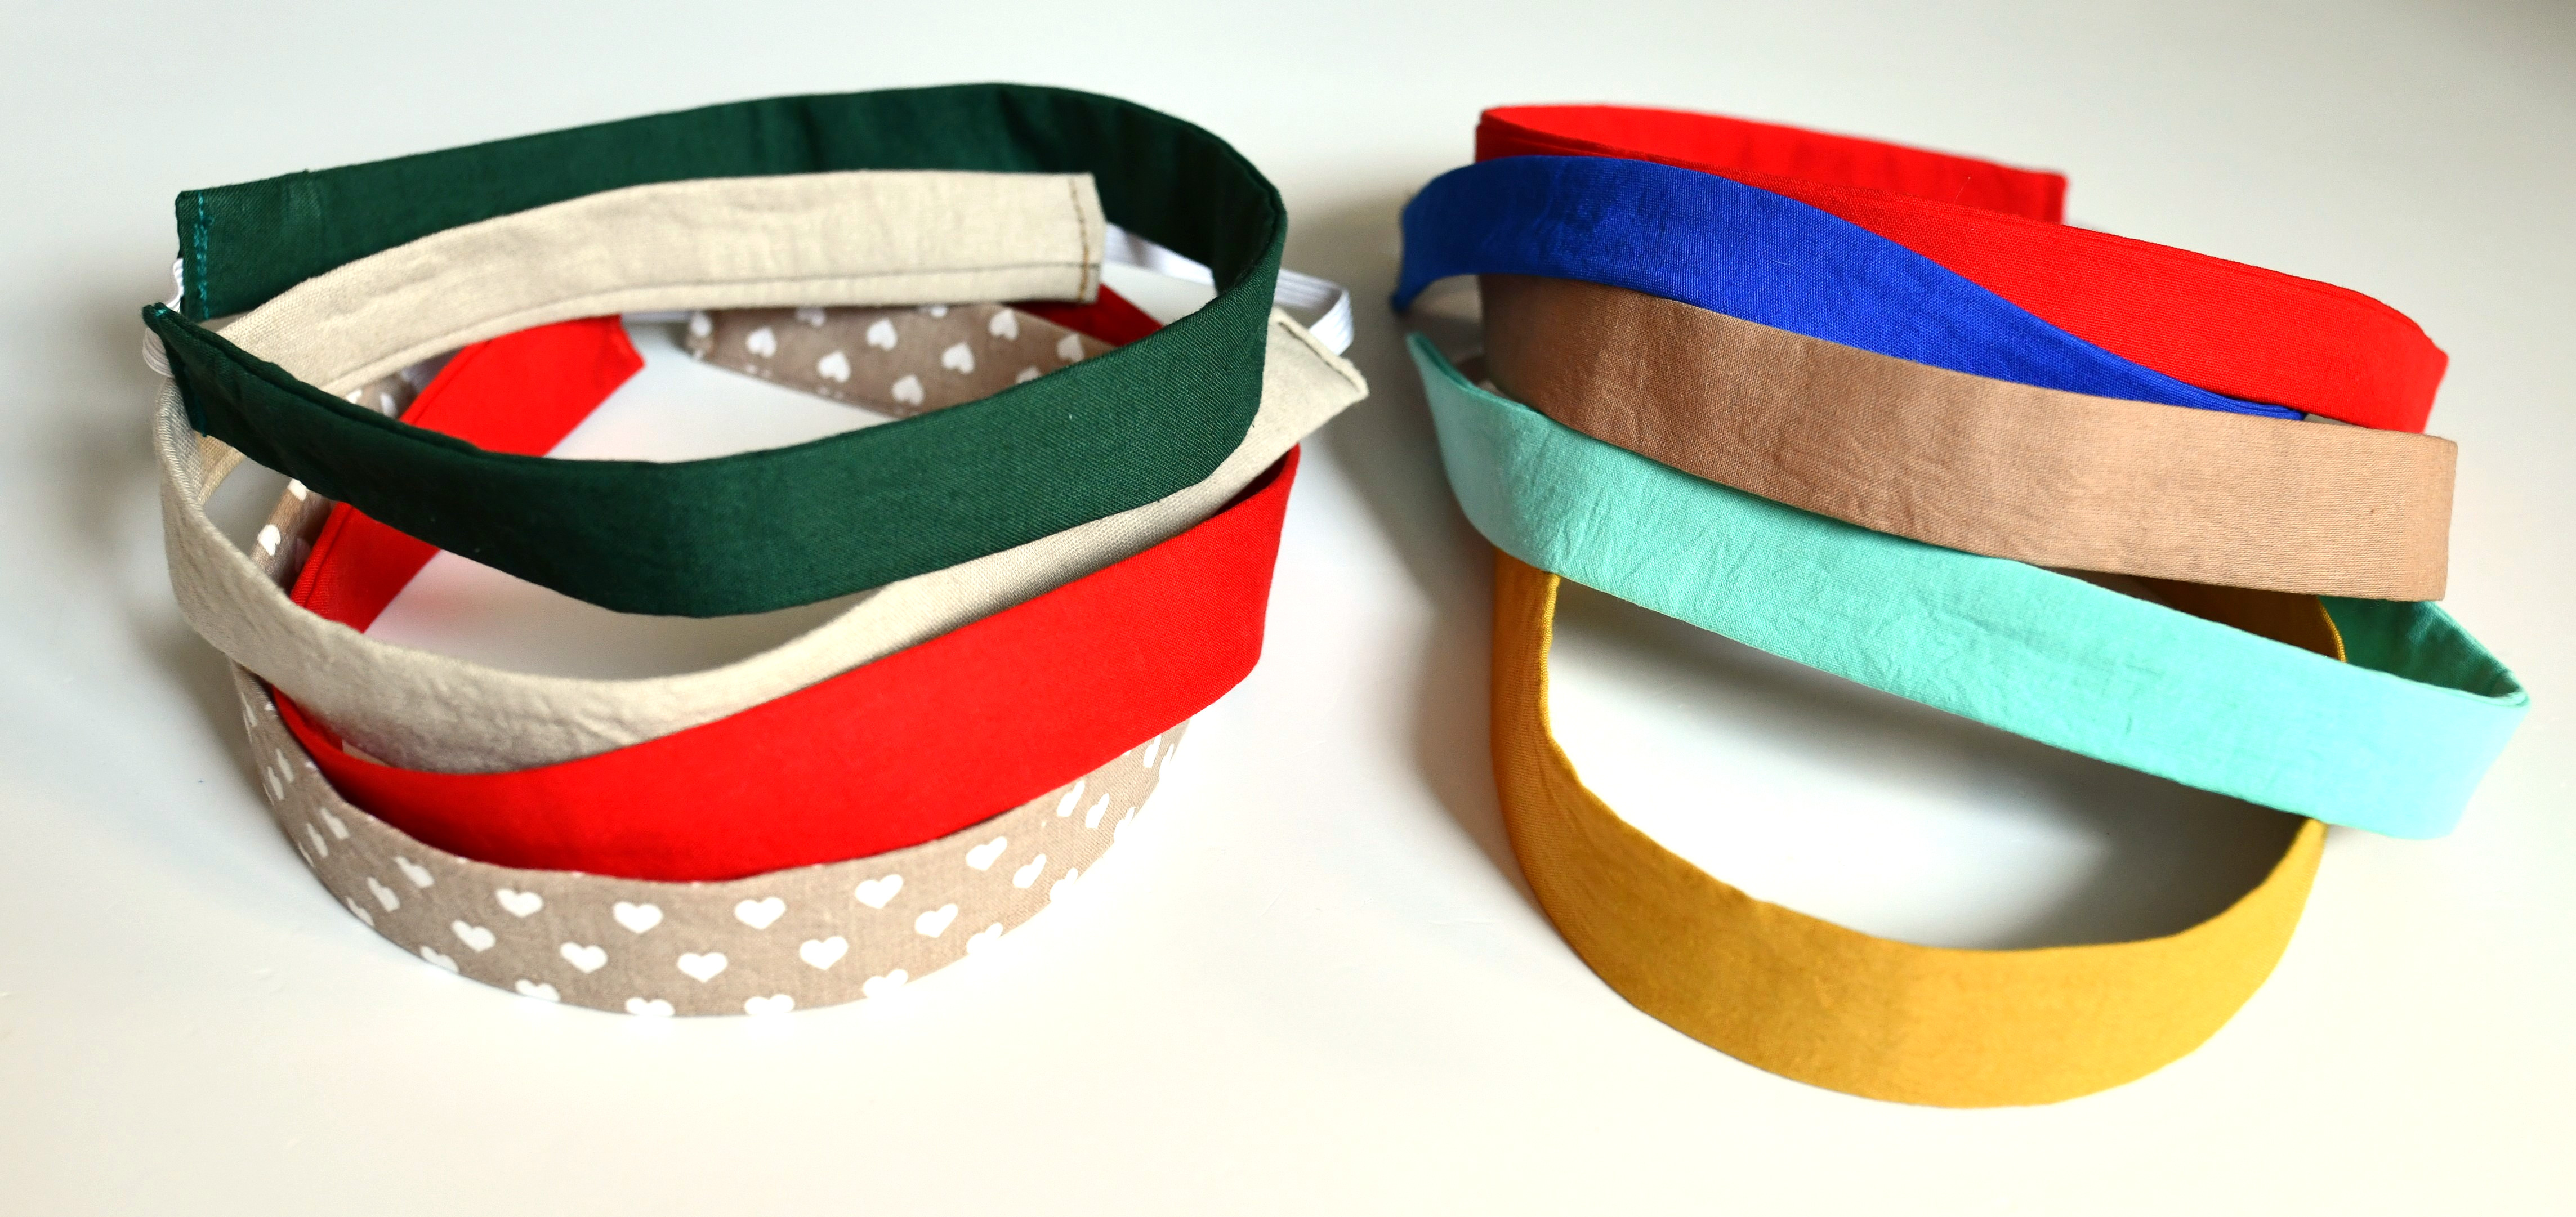
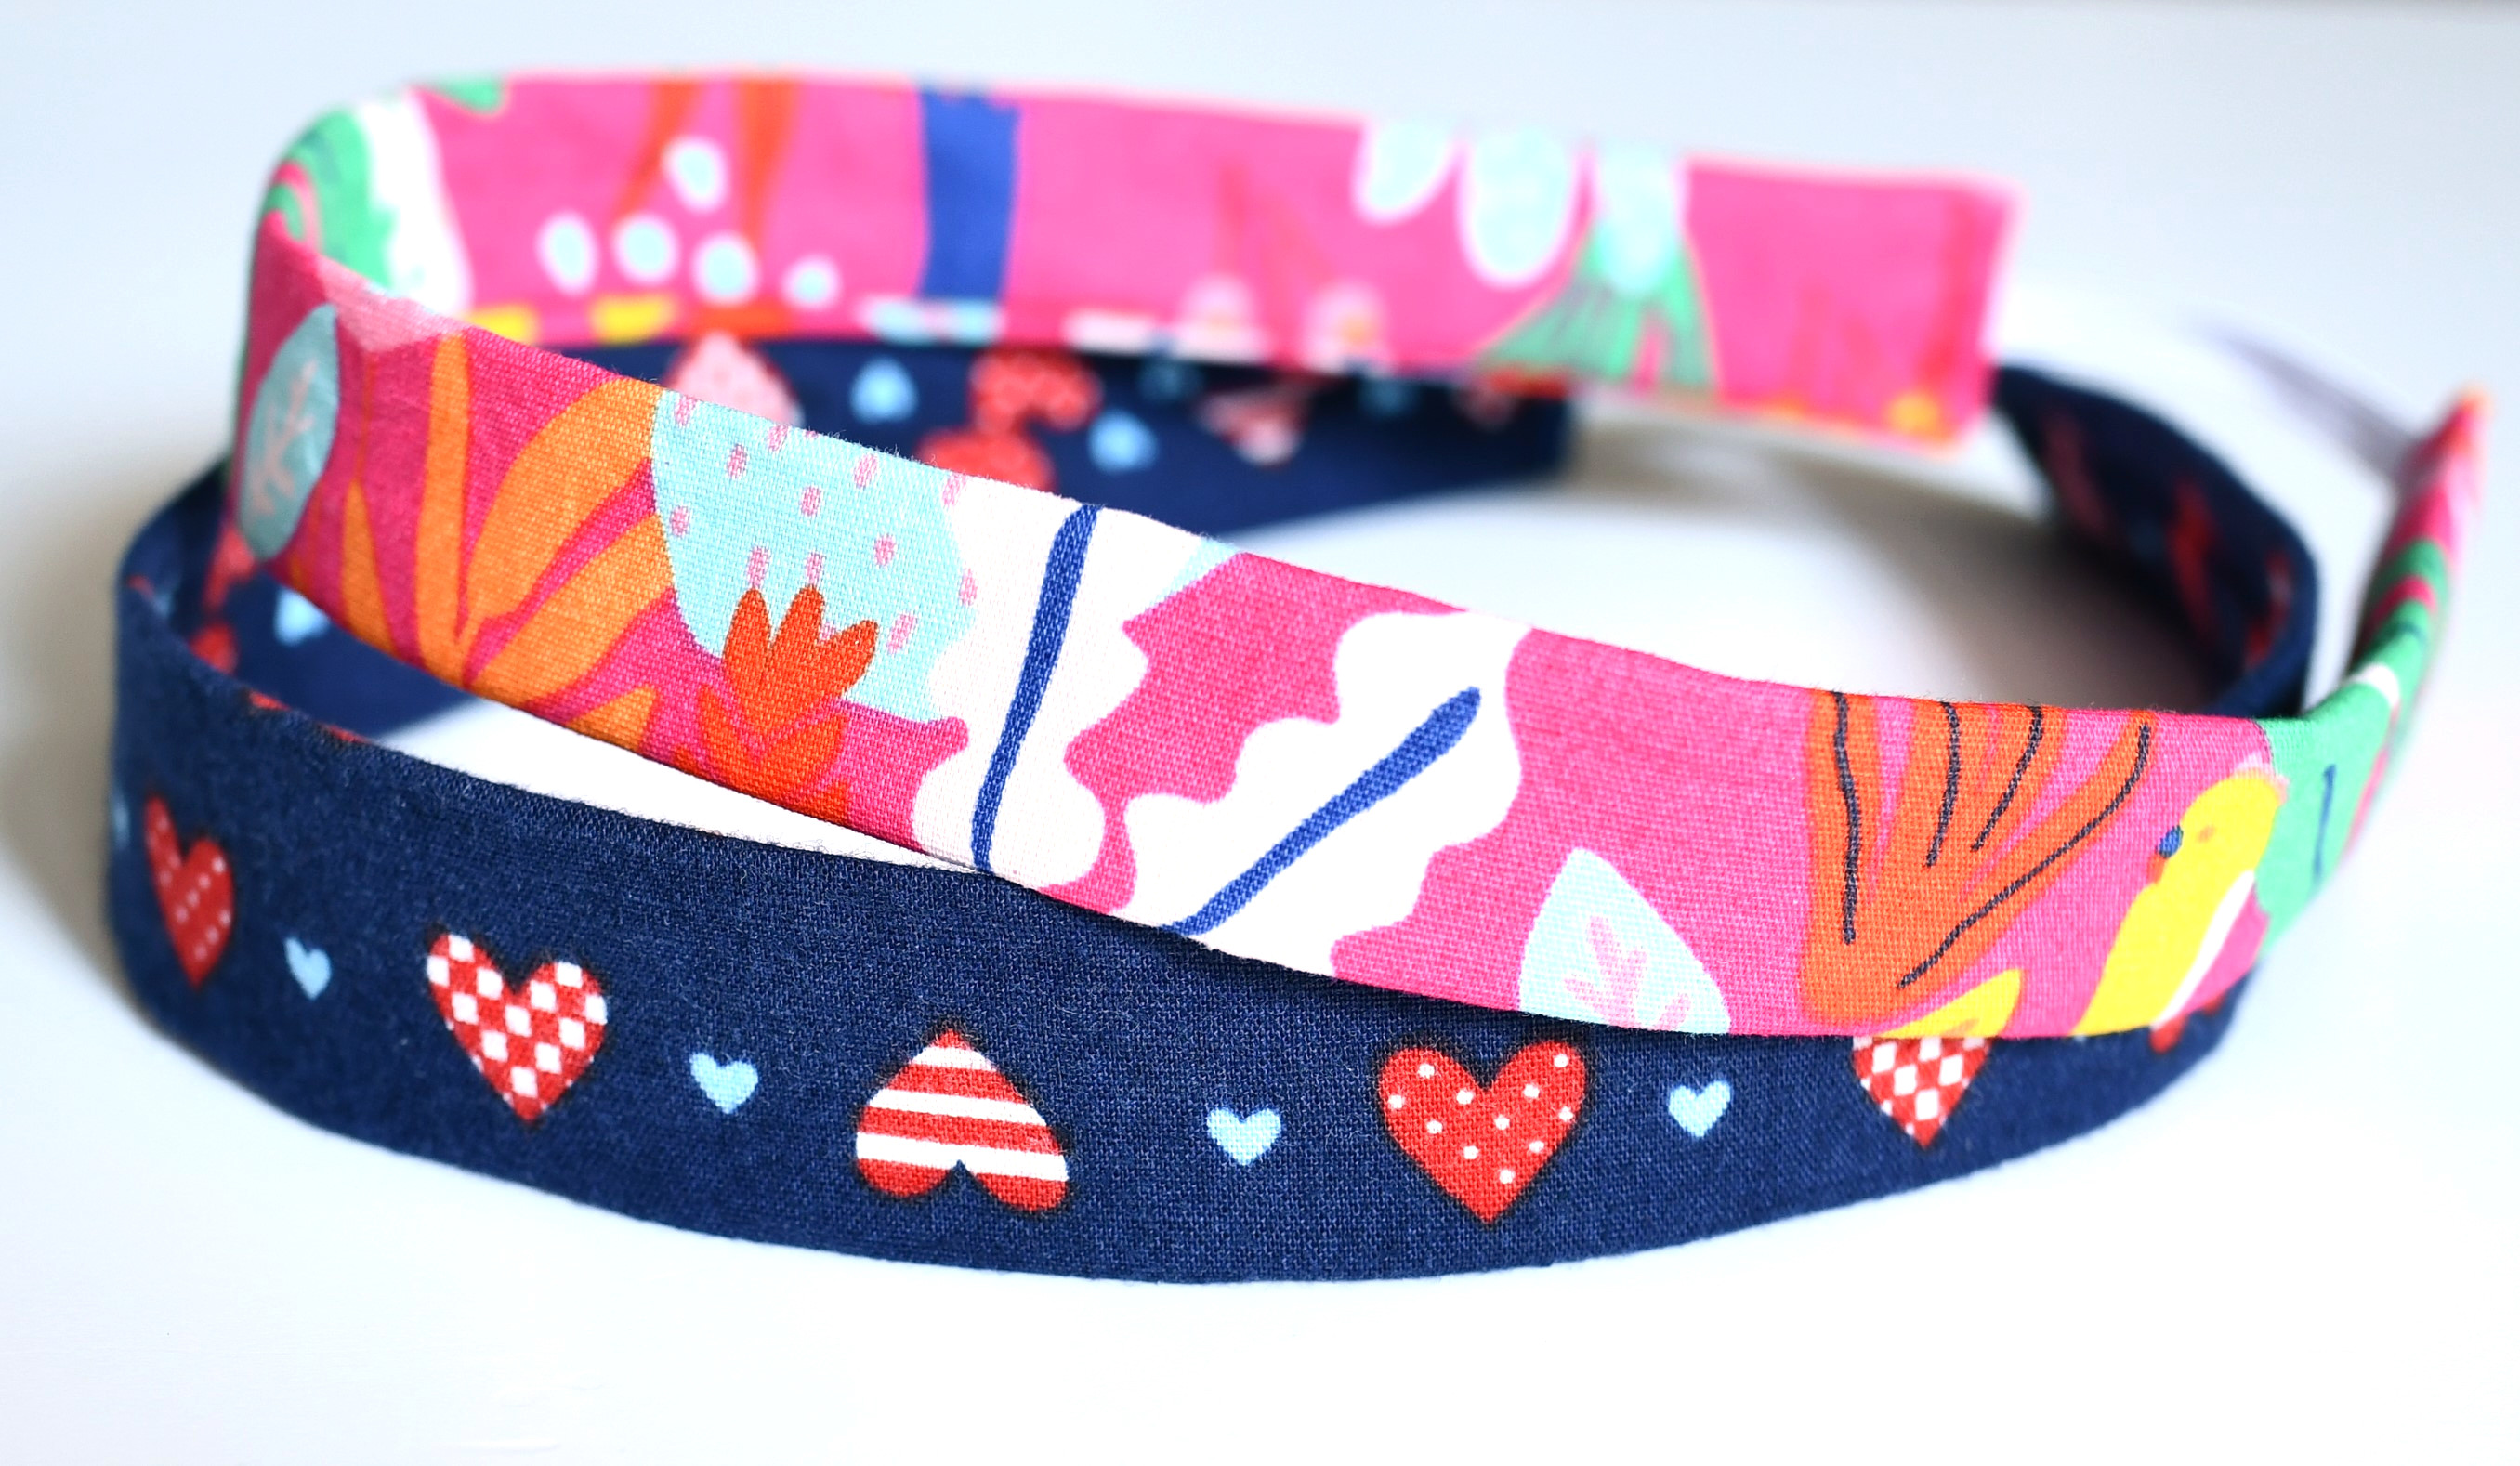
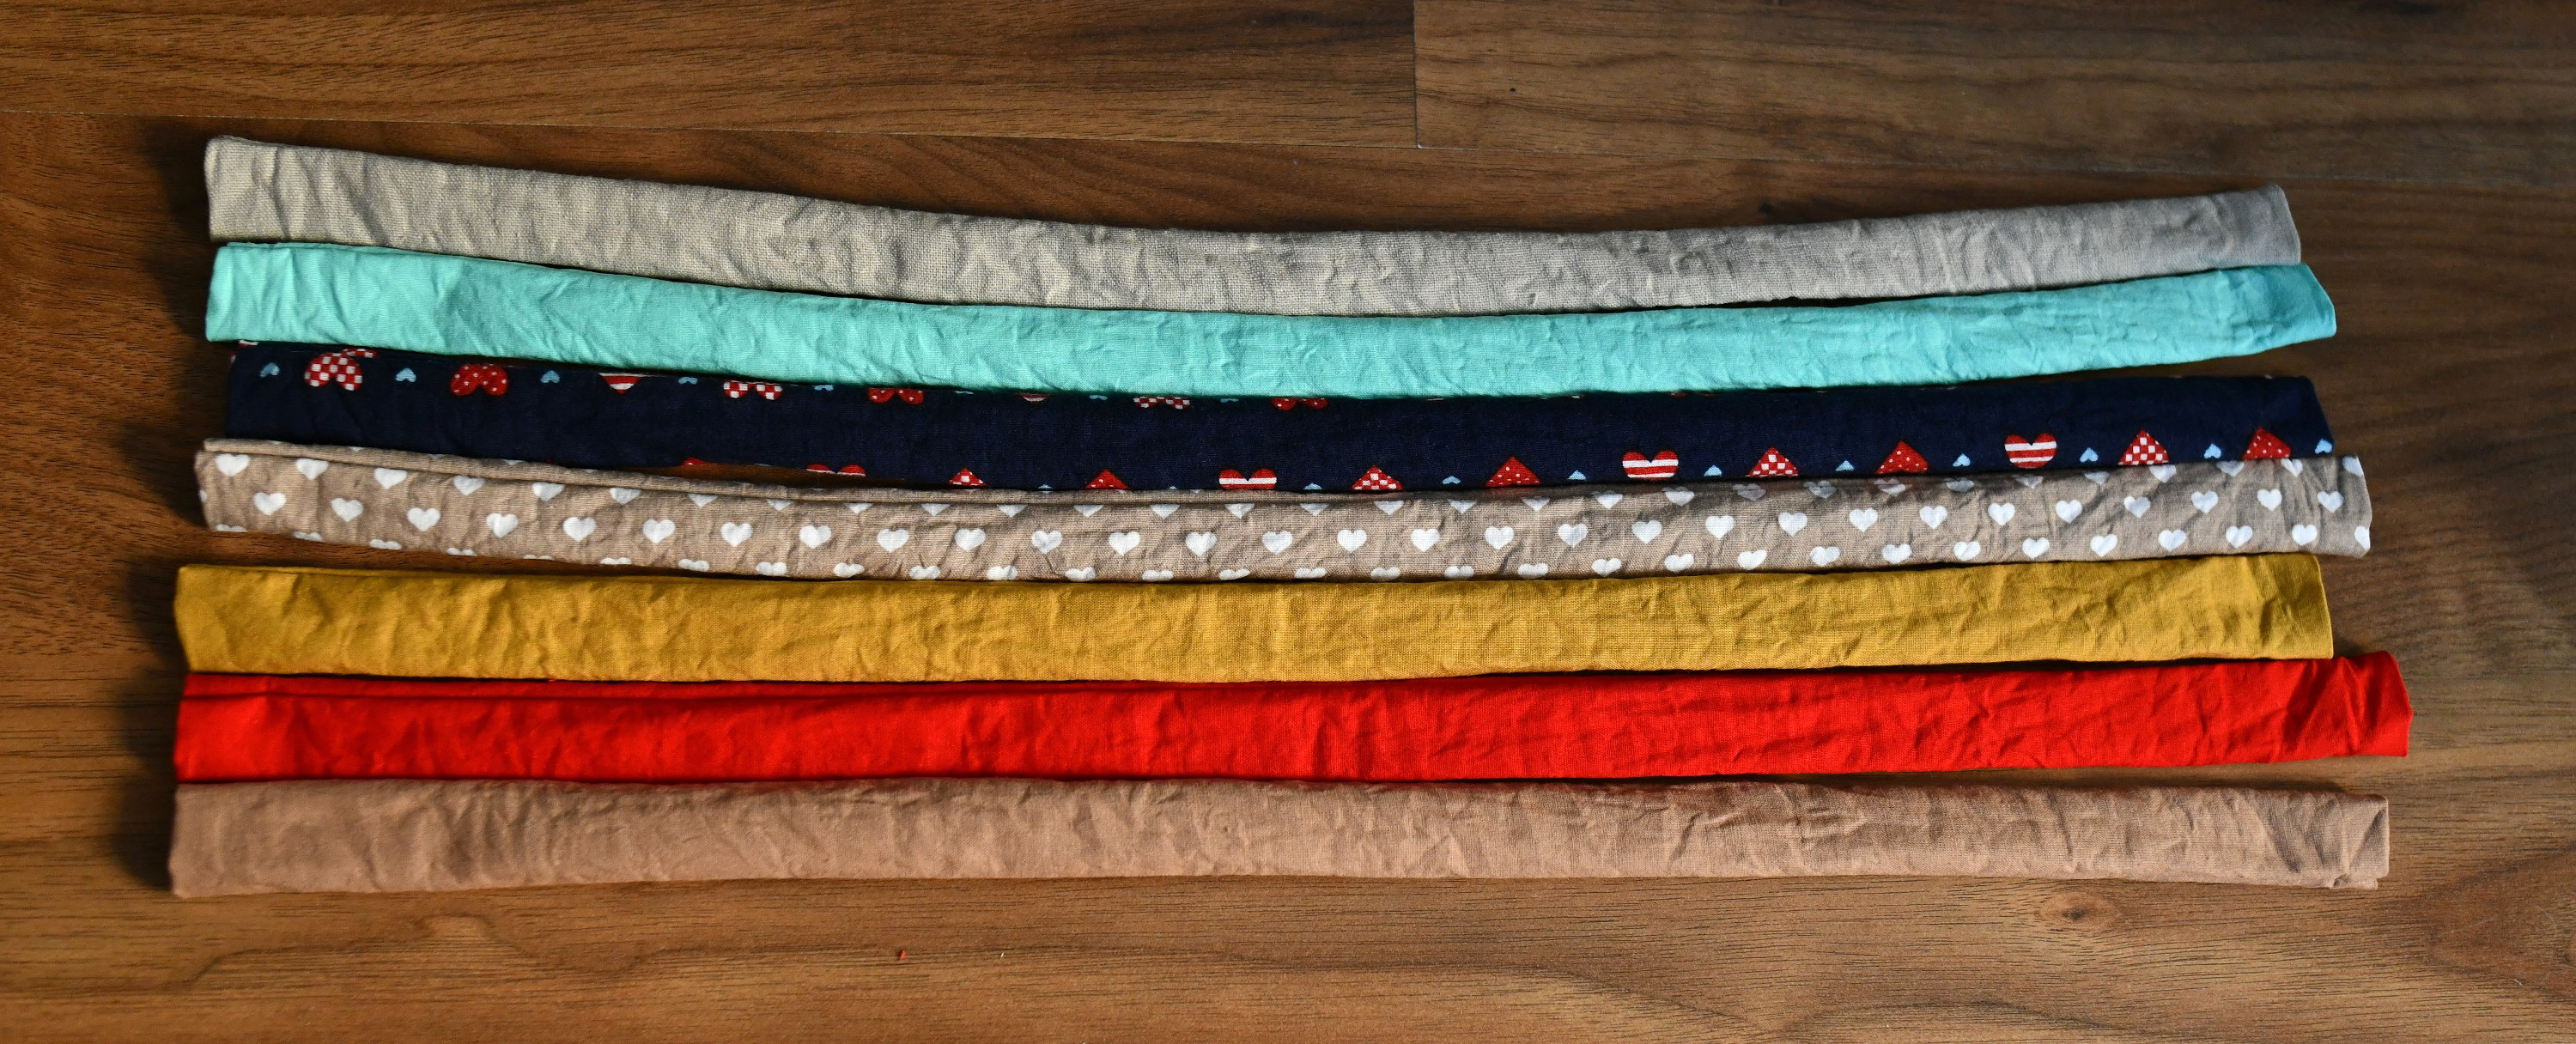
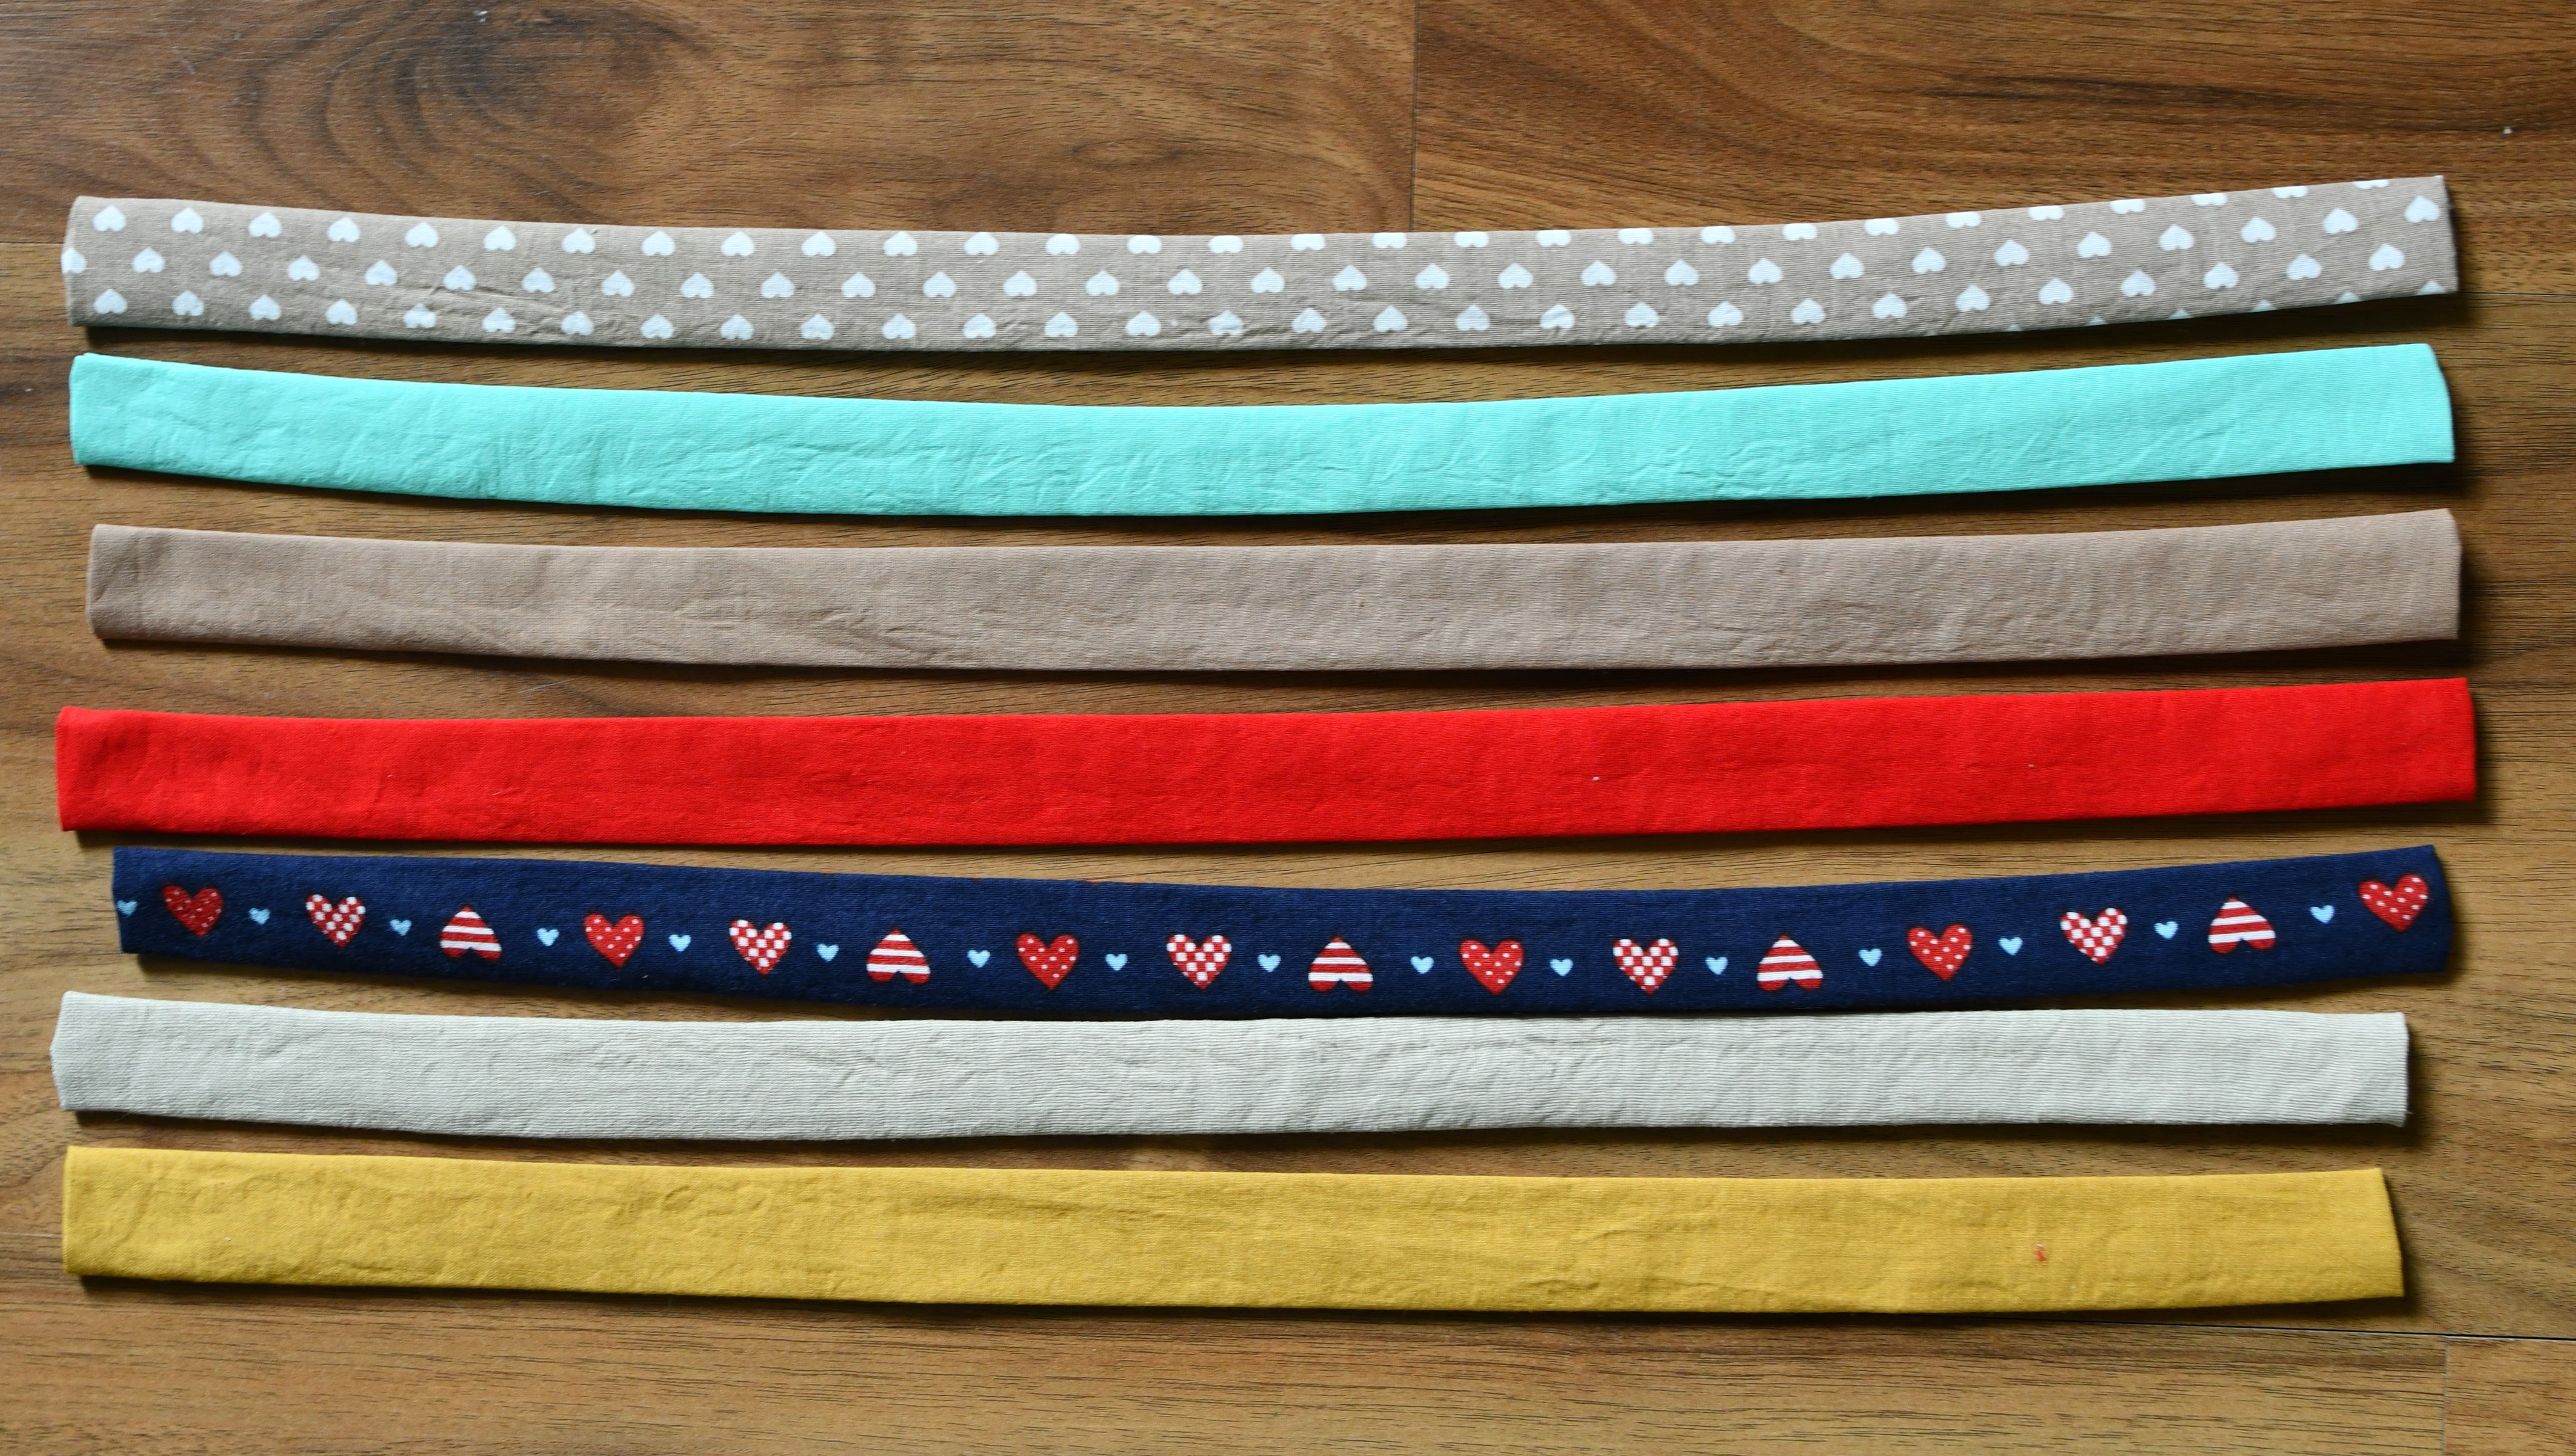
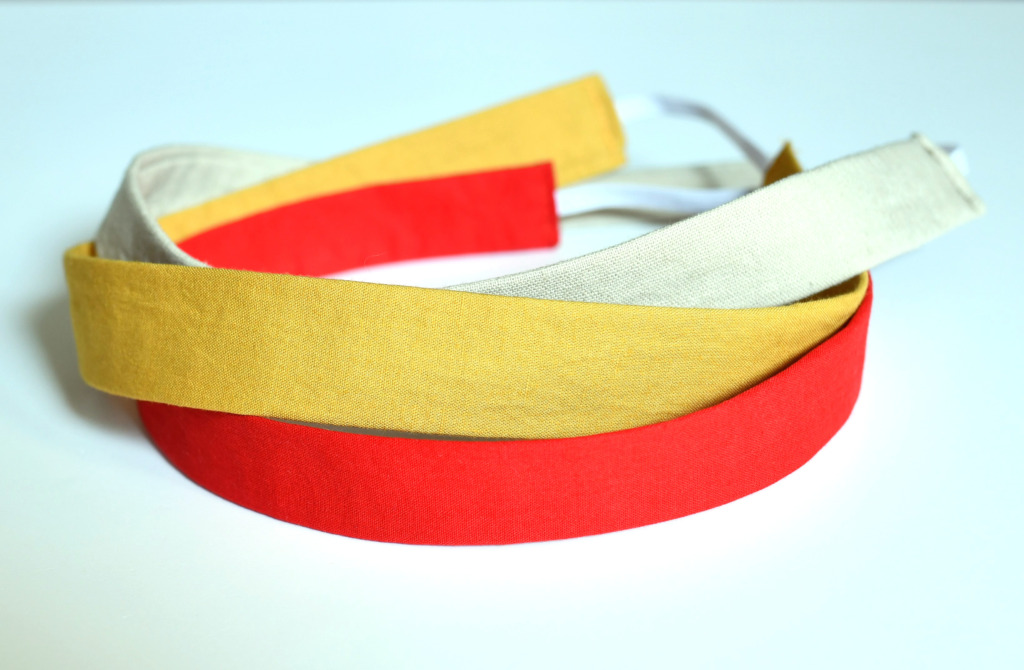
I made these headbands (and a few more) in one sitting. Some are for my daughters (they will have a lot of cute headbands to wear to school this year) and the others for my best friend, who is a big fan.
DIY simple fabric headband tutorial
Each finished headband is approx. 1 inch wide and it’s elasticated at the back.
You can adjust the width of your headband by changing the size of the large rectangle piece. I would not recommend making it narrower as it will impact your ability to turn the tube right side out. You can, however, make it wider if you like.
The main fabric part should be around 4/5 the circumference of your head – but play it by ear! – and the elastic part should make up for the rest.
Related: How to make an eye mask (free pattern) / DIY reusable cotton rounds tutorial
Sewing supplies – DIY simple headband tutorial
- cotton fabric
- lightweight fusible interfacing
- elastic
- fabric scissors / rotary cutter
- iron
- safety pin
- thread
- sewing pins
How to sew a simple headband in 5 easy steps
Step 1 – prepare your fabric pieces
Cut your fabric piece 19.5” by 2.5” for an adult headband. Then, cut your interfacing a bit smaller – 18.5” by 2.5”.
For a little girls’ headband, cut your main fabric piece 18” by 2.5”, while the interfacing strip should measure 17” x 2.5”.

Then, place the interfacing on your fabric piece, with the tiny glue dots touching the wrong side of your fabric piece.
One side of the fusible interfacing is smooth, and the other is bumpy with tiny dots. It’s rather hard to see the glue dots on white interfacing, so feel the interfacing in between your fingers and search for the bumpy side.
Step 2 – fold and pin
Fold the shorter ends of the main headband piece by approx. 1/2” towards the wrong side, then fold the rectangle lengthwise in half, right sides together. Pin everything in place.
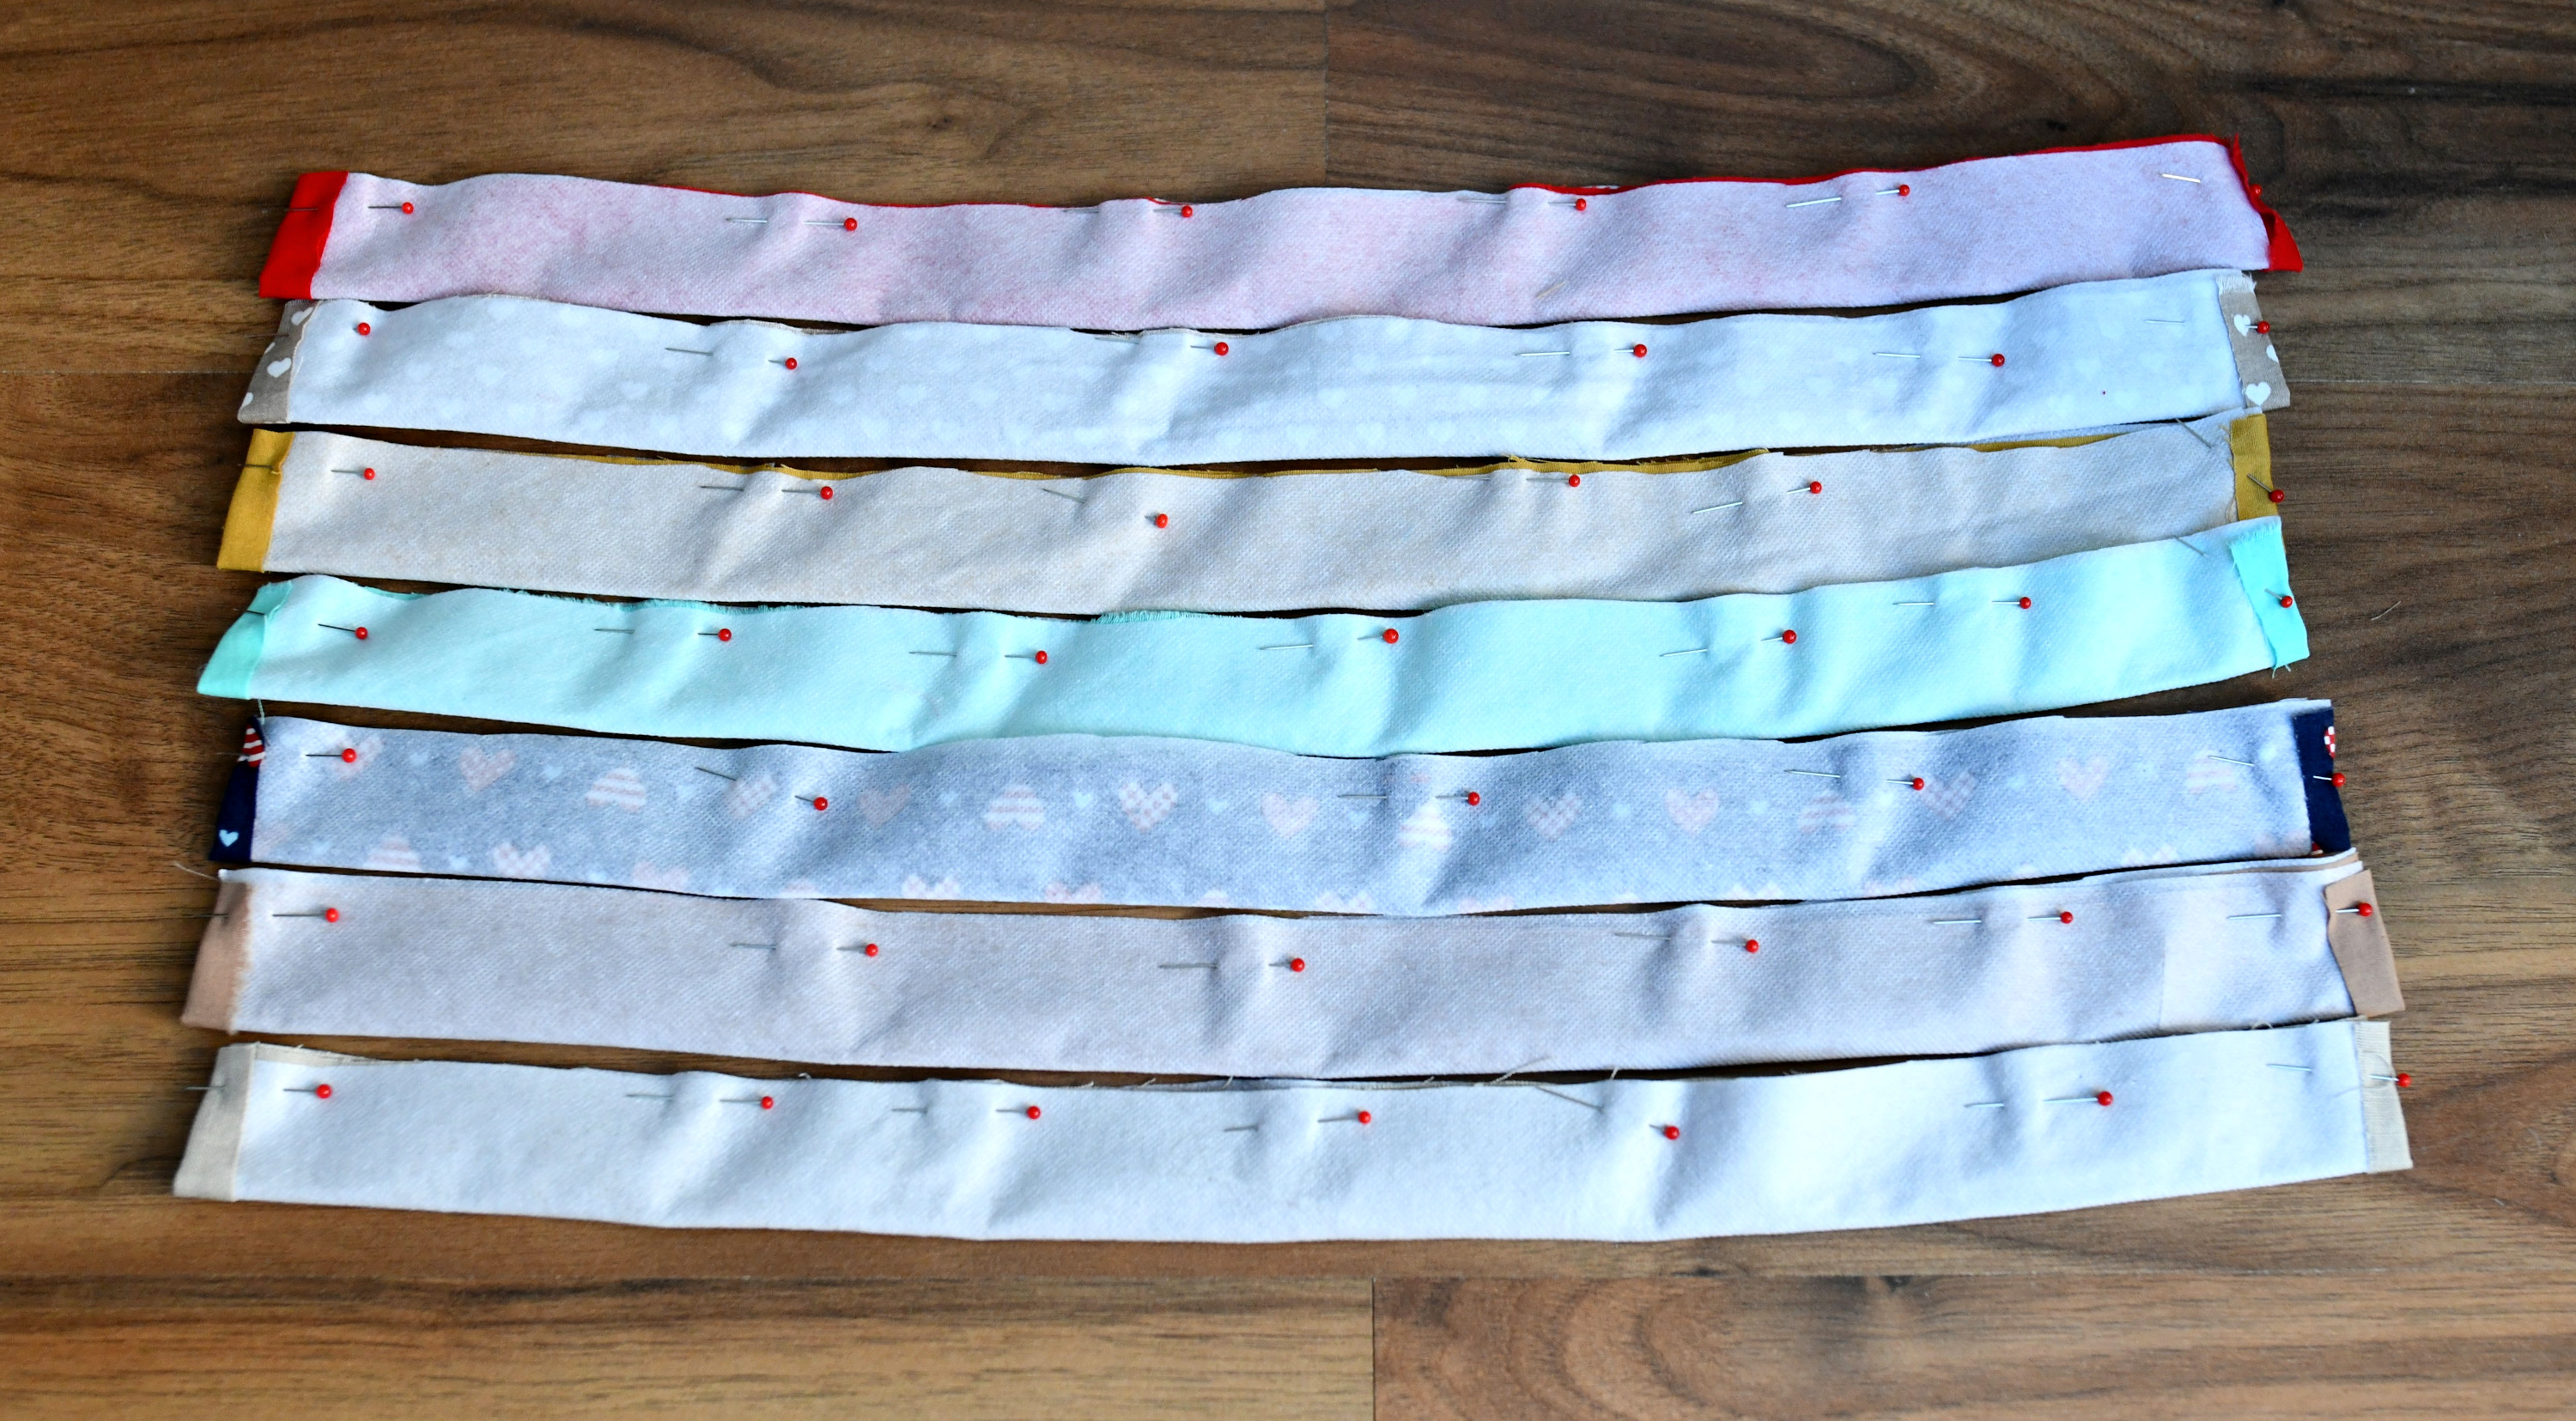
Step 3 – sew the long edge
Stitch the long edge with a 1/4” or 3/8” seam allowance, whichever is easier for you. Make sure to backstitch at the beginning and the end.
If you batch sew, in this step you can totally use the same thread on all headbands. Rest assured that the stitches won’t show on the right side.
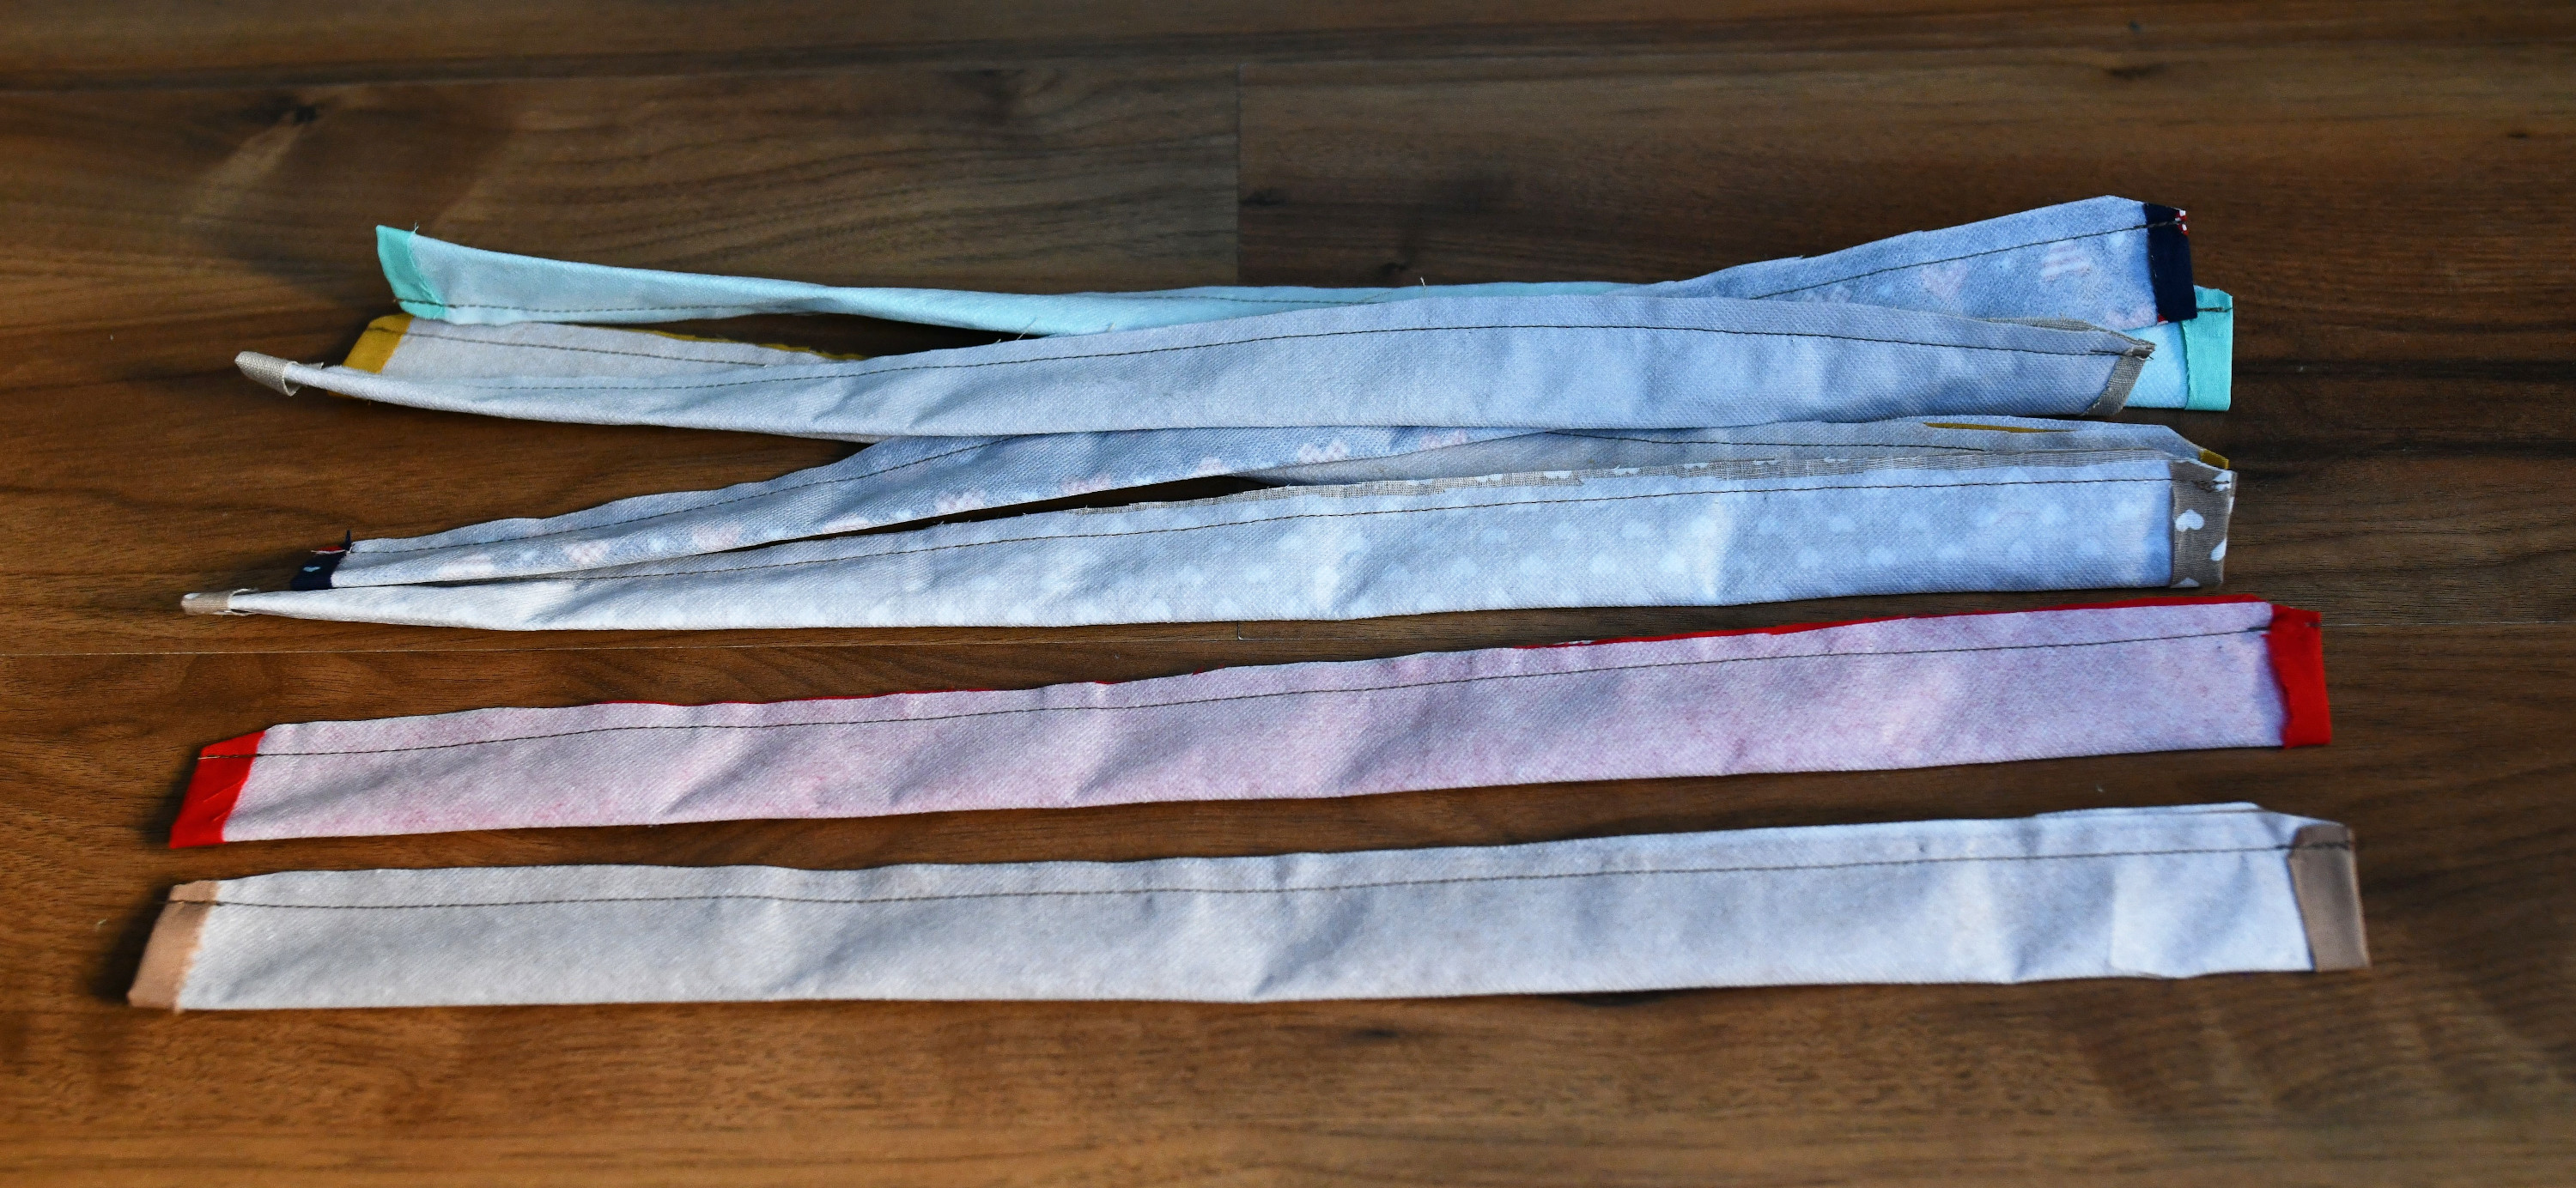
Snip off thread ends, then trim the seam allowance at both ends of the headband piece.
Step 4 – turn the tube right side out
Next, turn the headband right side out using a safety pin.

All my fabric tubes are about 1” wide, as you can see in the below pic.
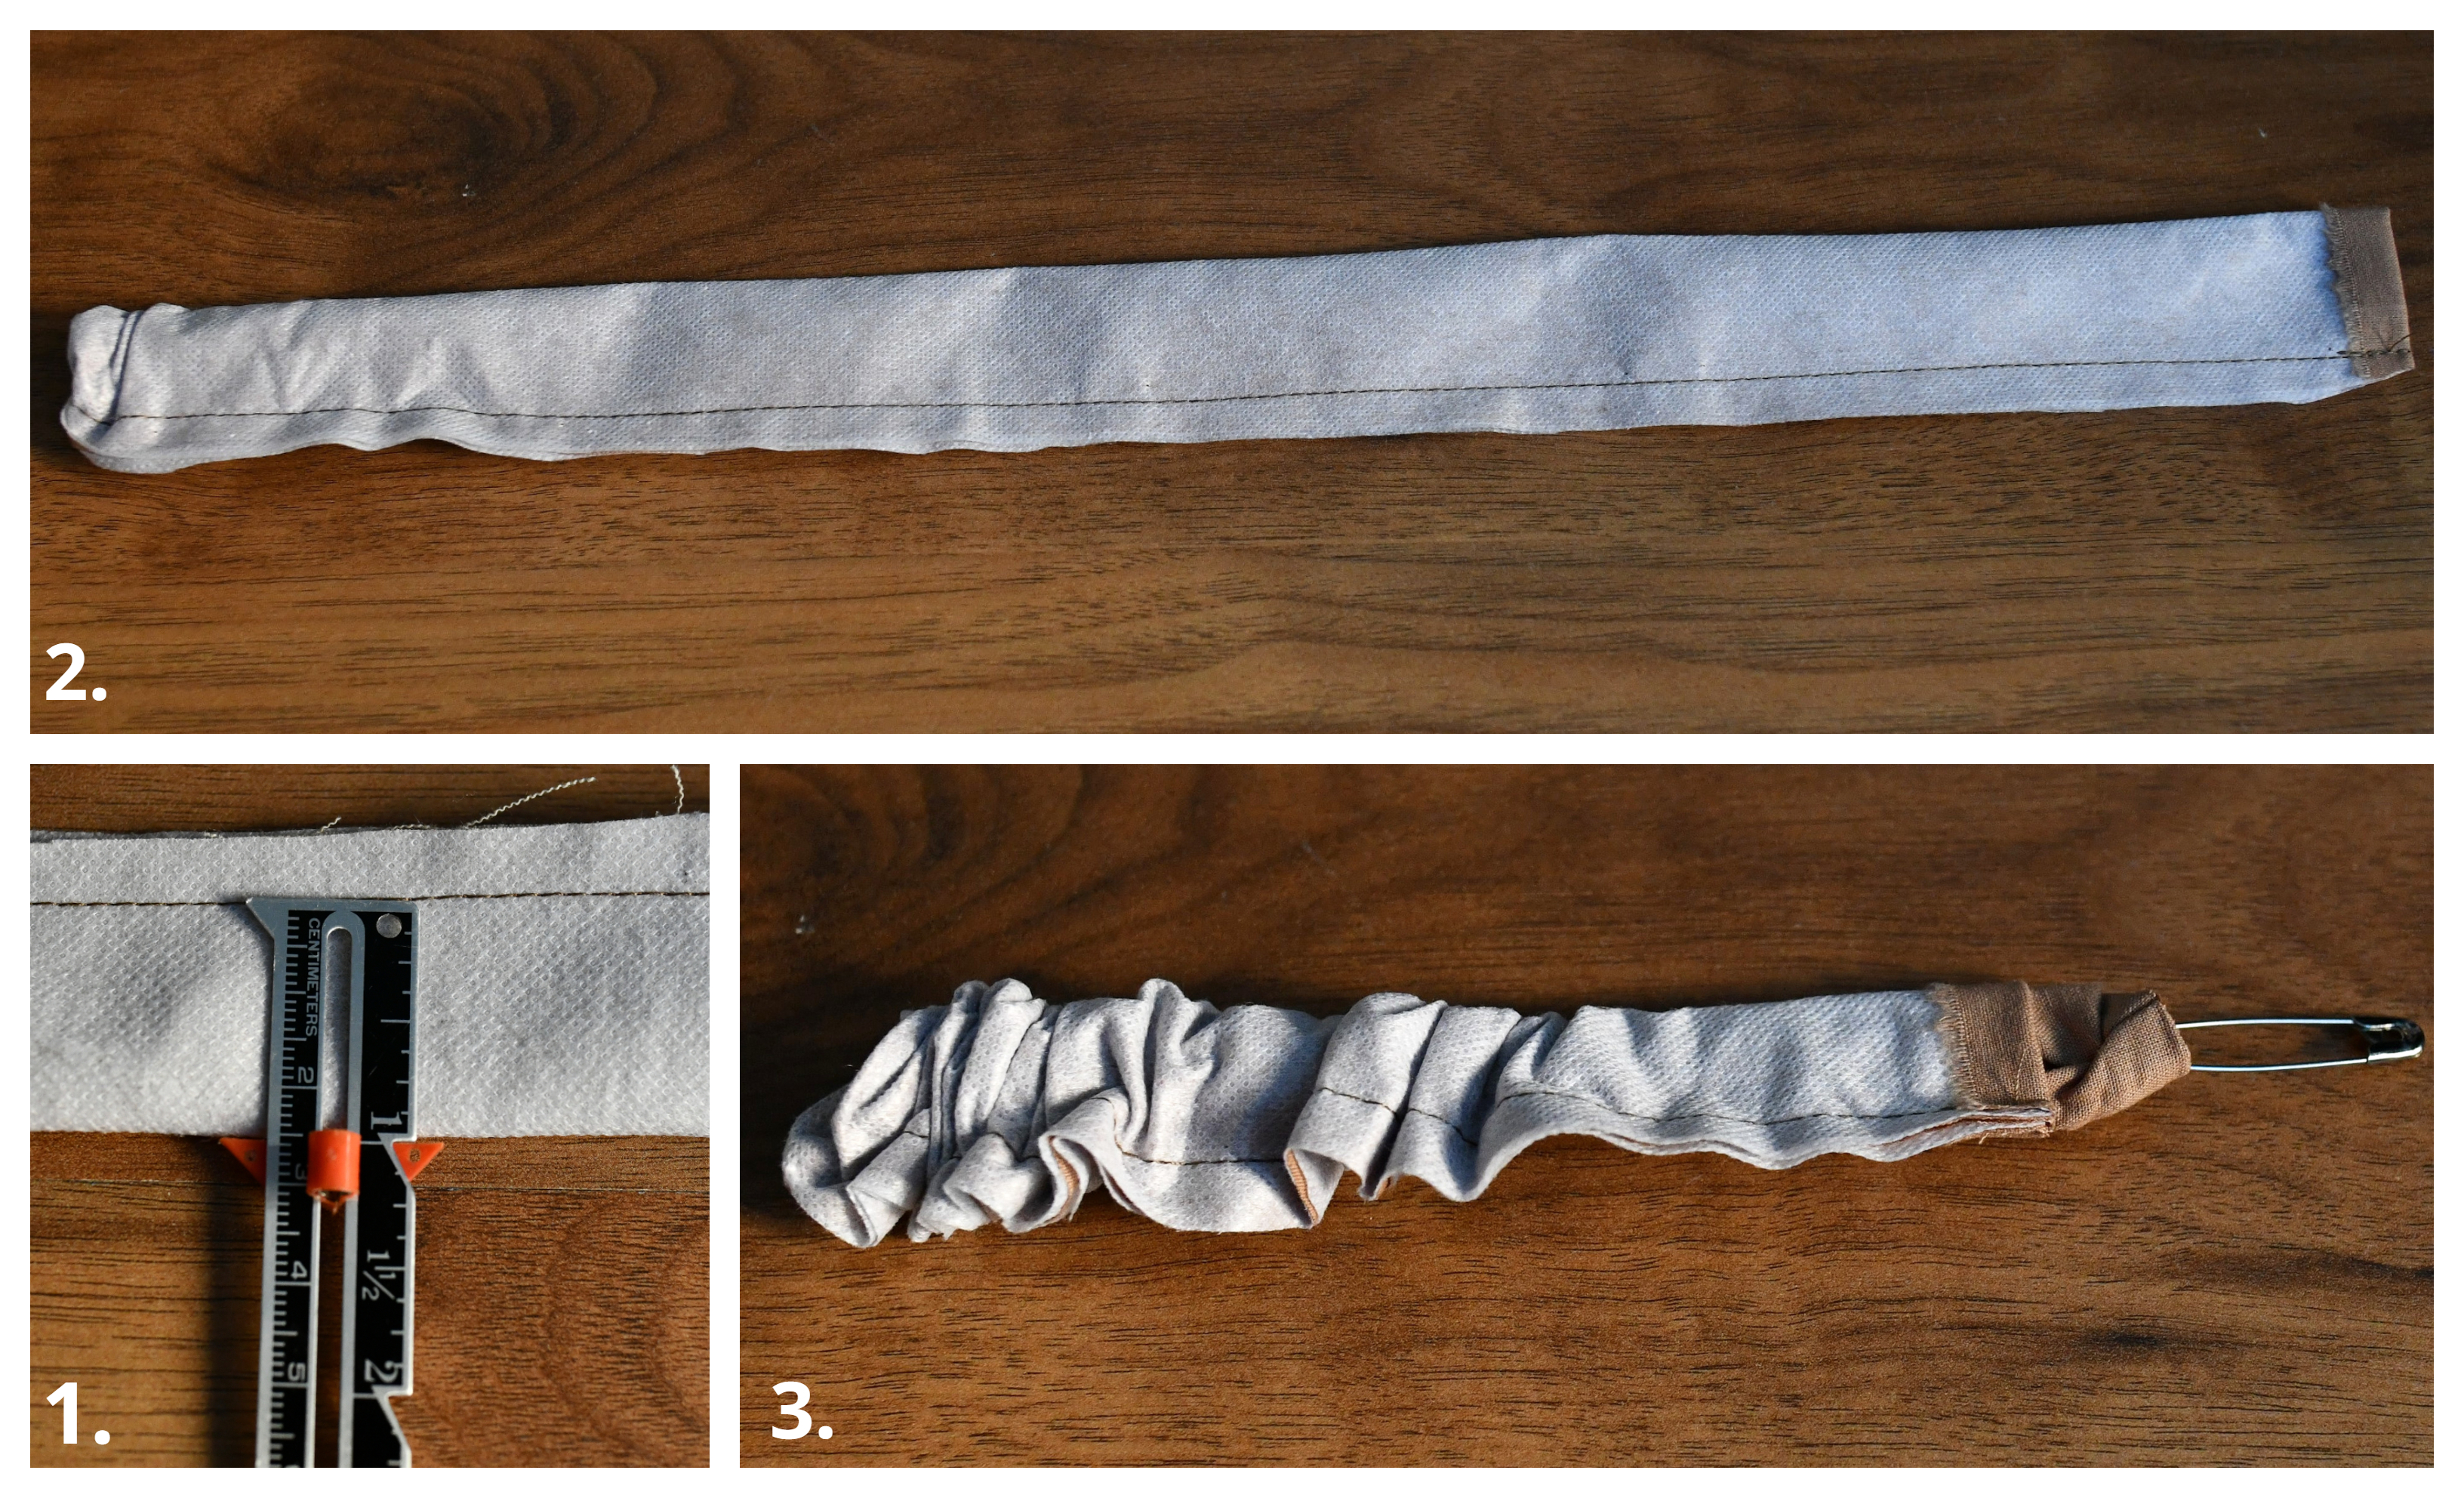
I find the first 2 or 3 inches to be a bit trickier to handle since the interfacing makes the tube sturdier. Just be calm and patient for a few seconds and you’ll get there!
After those first few seconds, pushing the safety pin through the tube of the fabric is a piece of cake.
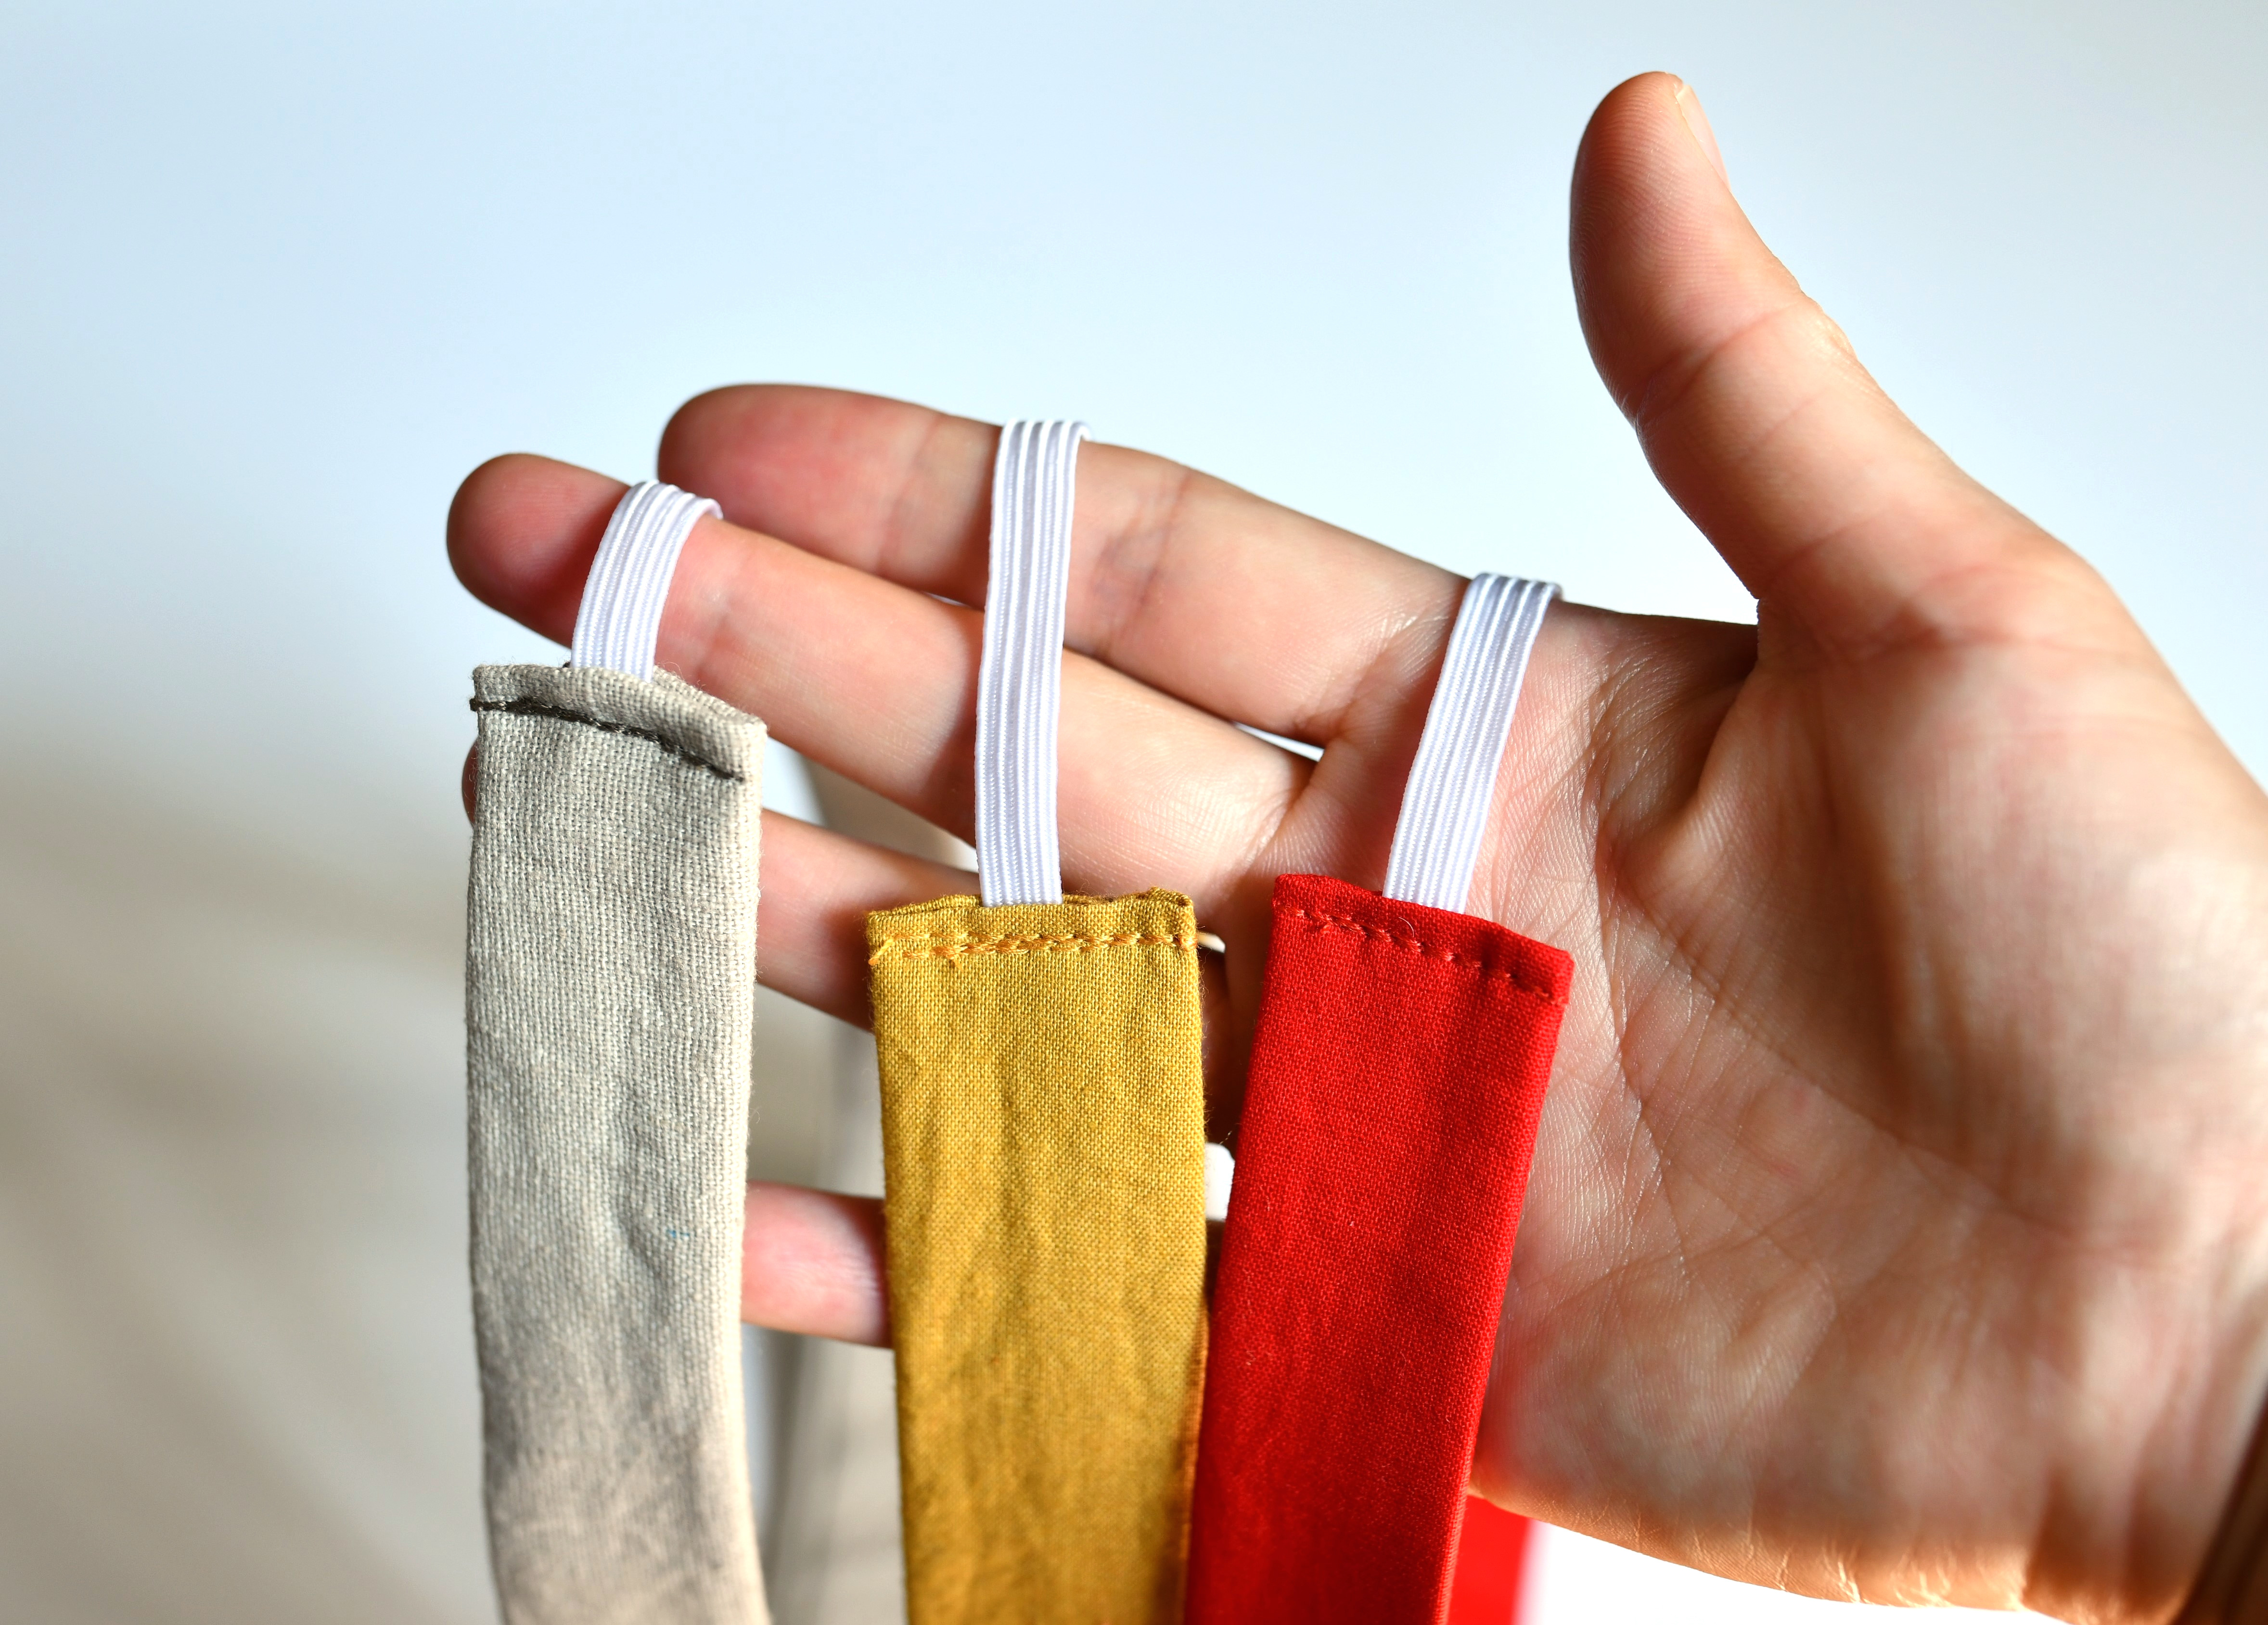
Step 5 – attach the elastic
Press well with an iron to make the headbands crisp and flat.
Now, all that is left to do is attach a small piece of elastic to the back. Center the elastic and insert it through the short open ends, then secure it by stitching back and forth.
In this step it’s better to use a matching thread. This is where I wished I had a sewing machine with an automatic needle threader. Oh well, maybe someday.
You can use whatever elastic you have on hand, be it 1/4” or 1/2” wide.
The exact length of the elastic piece will depend on the particular circumference of your head. You’ll need somewhere between 2 and 4.5 inches of elastic to finish your headband.
These headbands can be made with your leftover fabric scraps. If your fabric piece is not long enough, you can lengthen it by adding side panels (just like I did with the dark green headband).

I hope you enjoyed this simple headband sewing tutorial, see you next time!
Let’s keep in touch! You can find me on Facebook, Instagram, and Pinterest.
Related posts