Learn how to make an adorable two-colored pincushion using squares of scrap fabric! This easy step-by-step tutorial is perfect for beginners. All you need are 4 small squares of cotton fabric and some stuffing to create your own pincushion.
You can also adjust the size if you want. I made mine about 3 inches square, but you can easily make it larger by cutting bigger fabric squares. It might look complicated, but it’s really just a few straight lines of sewing. You’ll see how easy it all comes together!
What you’ll need
- 2 different fabrics (I used solids, but prints work too!)
- 4 small squares of cotton fabric (I used 3-inch squares: two in light pink, two in orange)
- Stuffing
- A cute button for the center
- Basic sewing supplies (universal sewing needle, hand sewing needle, thread, scissors, pins, sewing machine, iron)
Why you’ll love it:
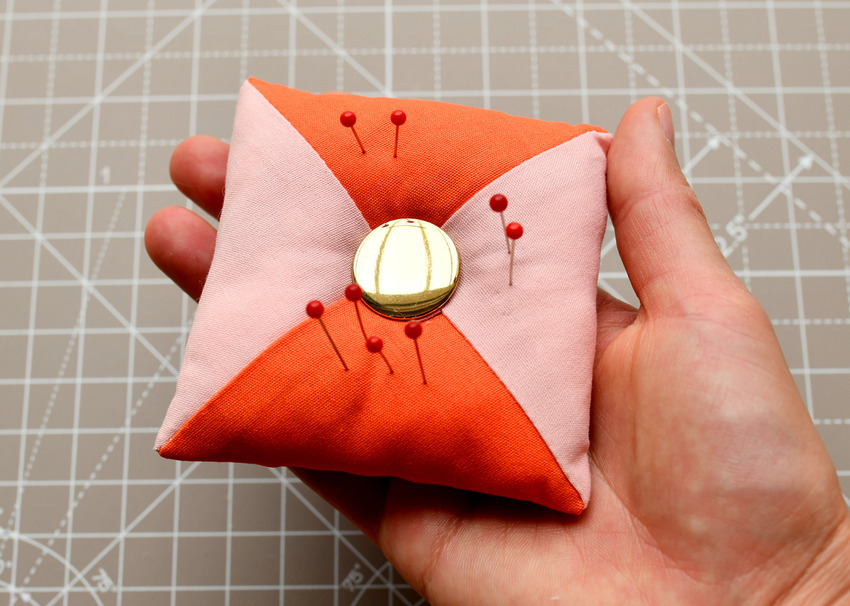
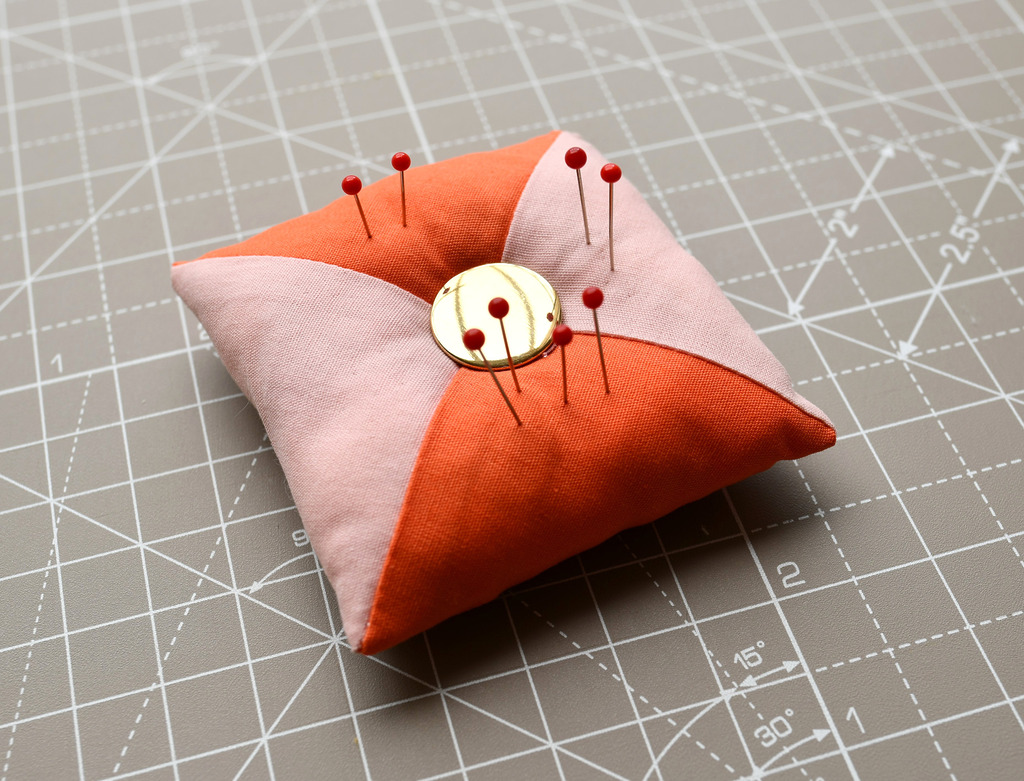
This pincushion has 4 different sections to store your needles and pins – it’s pretty and practical! Choose coordinating or contrasting fabrics for a fun detail, and add the cutest button to the center.
I love my pink and orange pincushion – it’s the little things that make sewing so fun!
You might love these sewing project ideas as well: Mini zipper pouch / Easy drawstring gift bag with handles (free pattern)
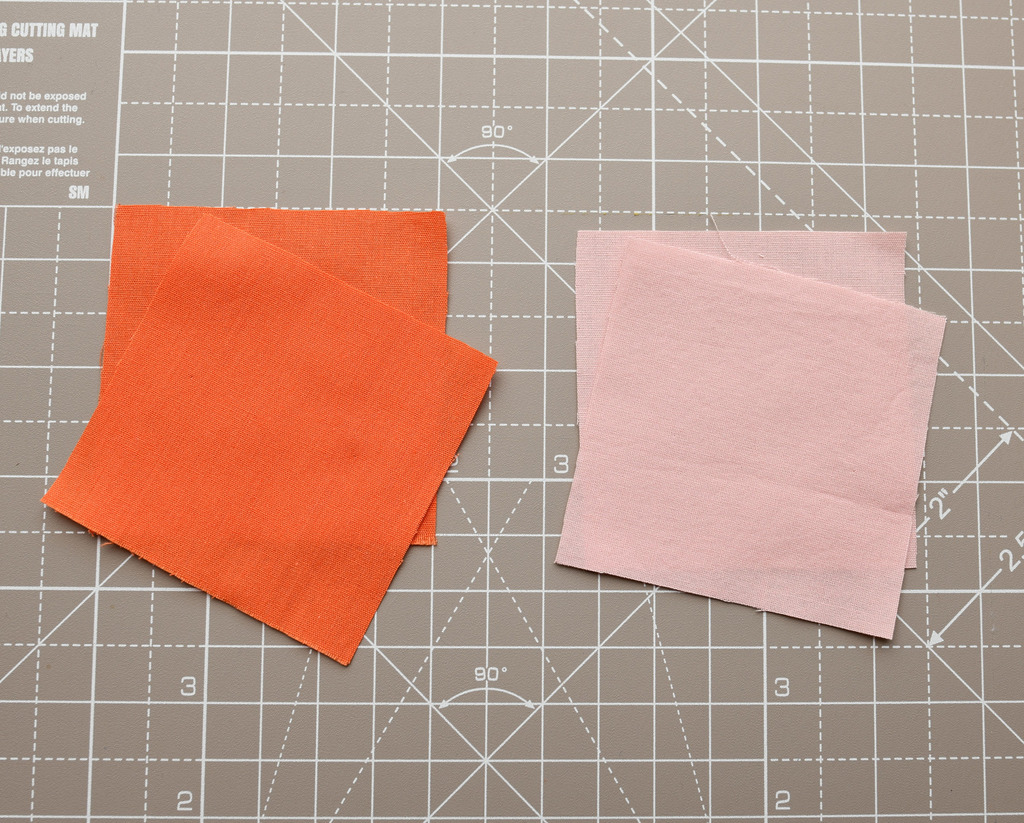
Step 1: Prepare your fabric
Choose two different fabrics. I went with solids, but feel free to use any prints you like! For a small pincushion, cut two 3-inch squares from each fabric.
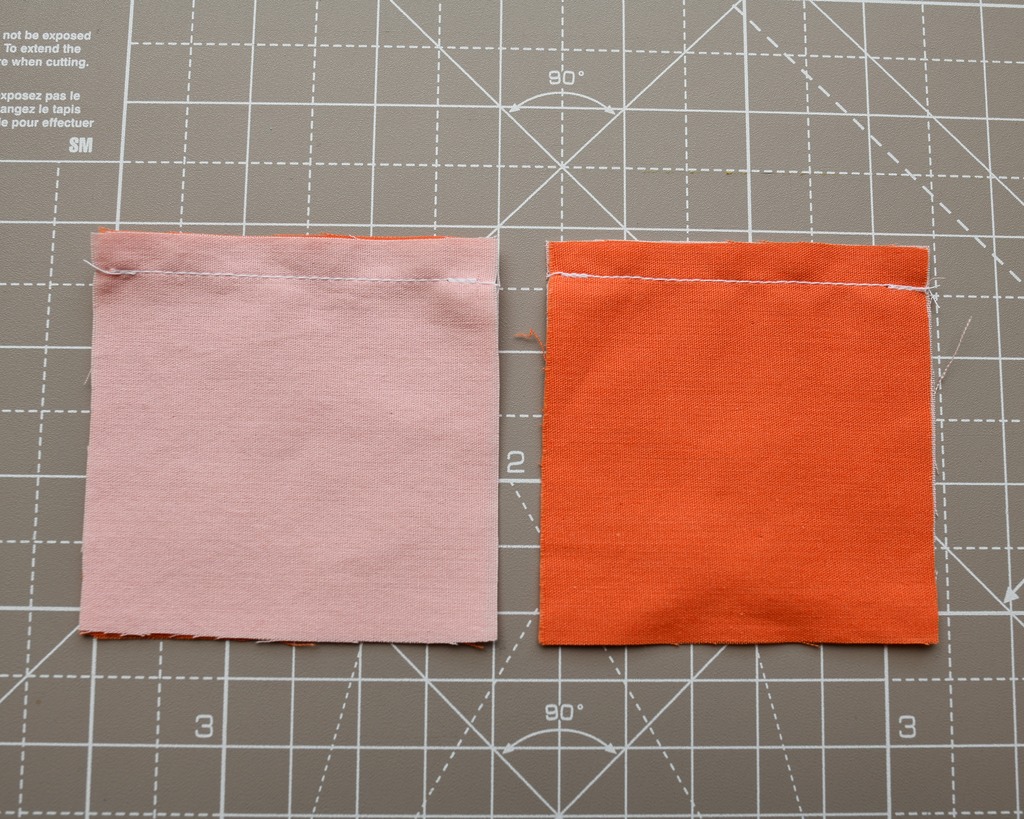
Place two different squares with right sides together, and sew along one side with a 1/4″ seam allowance. (Check out my top tips and tricks for sewing a straight stitch!)
Repeat for the remaining fabric squares. Press the seam with an iron.
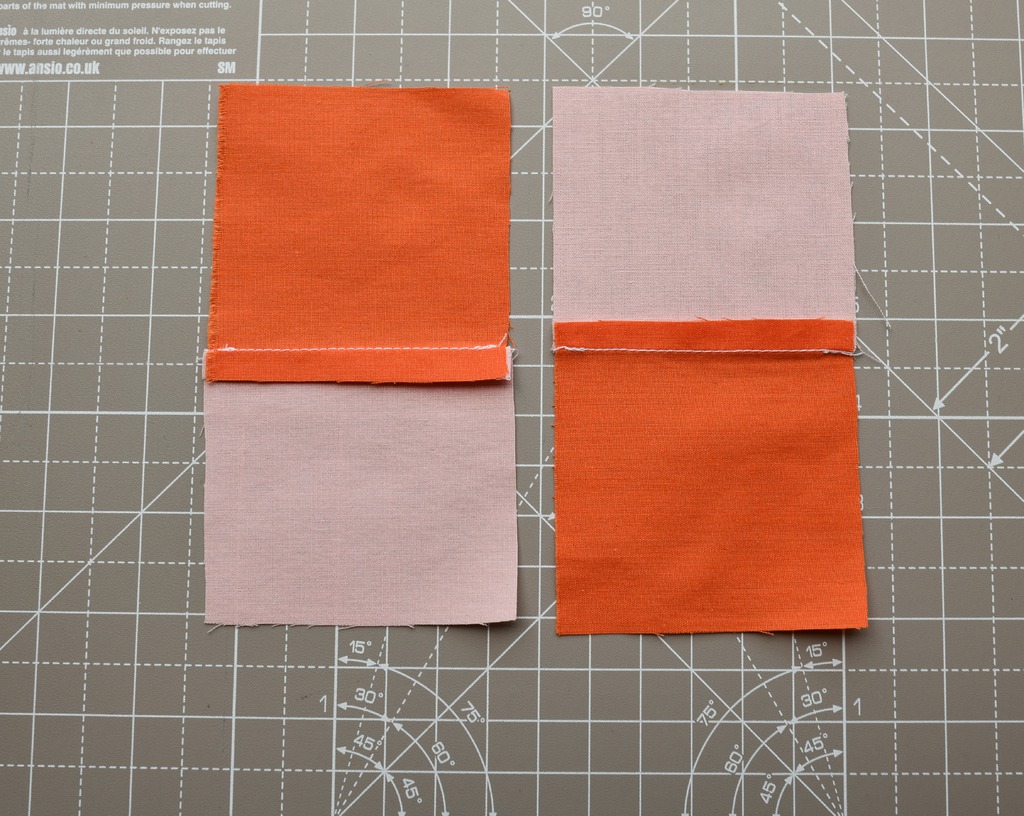
Step 2: Sew the rectangles together
Place the two fabric rectangles right sides together, making sure each print/color is opposite the other. Line up the center seam and pin to secure the pieces.
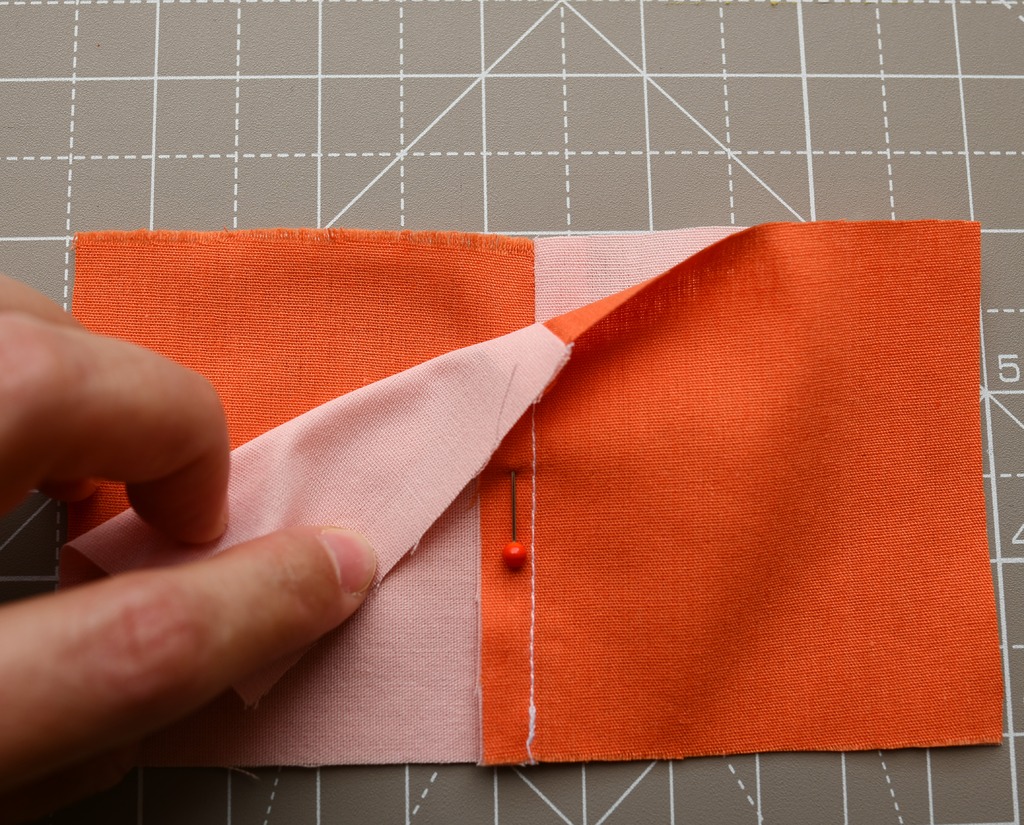
Stitch around three sides of the rectangles, leaving one long side open. Clip the two corners as shown in the picture to reduce bulk.

Step 3: Form the pincushion
Now open up your little pouch, like this:
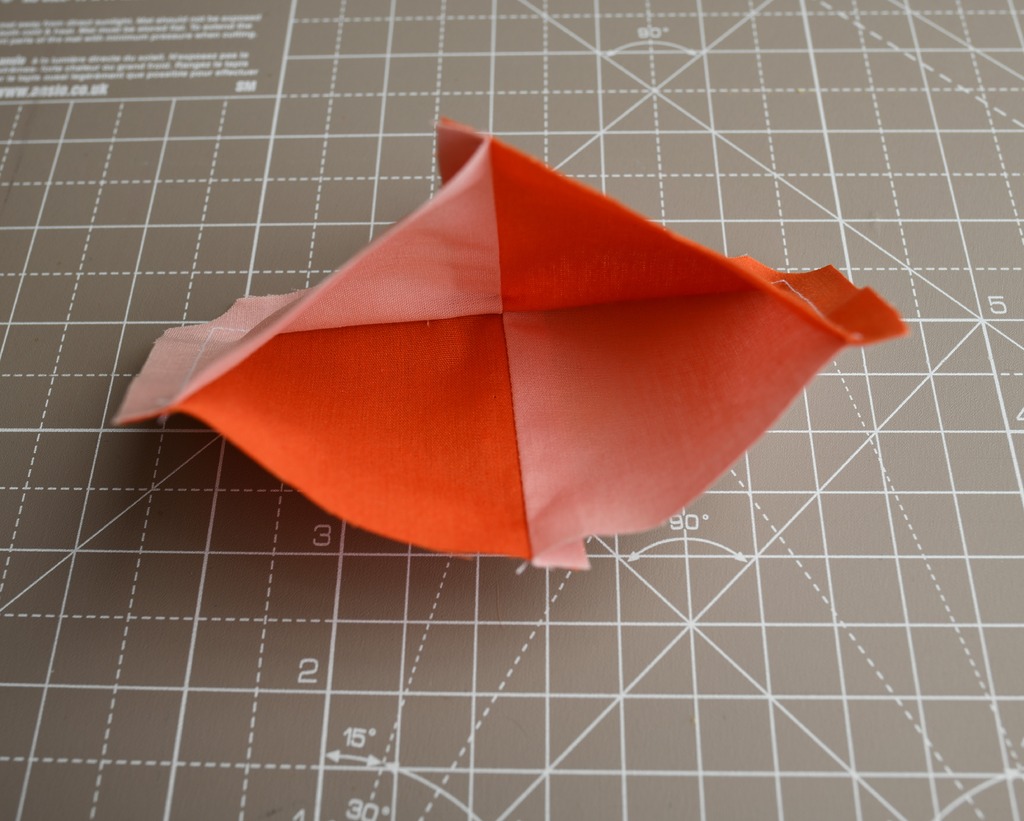
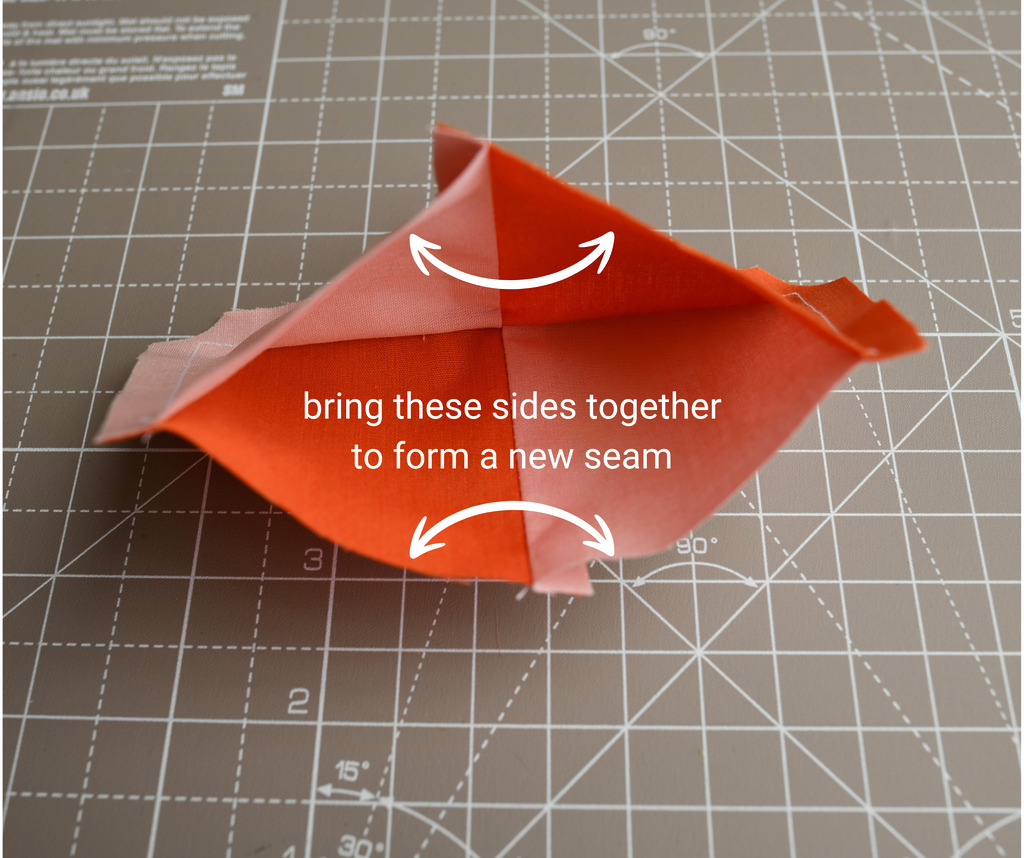
Instead of sewing the remaining long side, you’ll create a new seam.
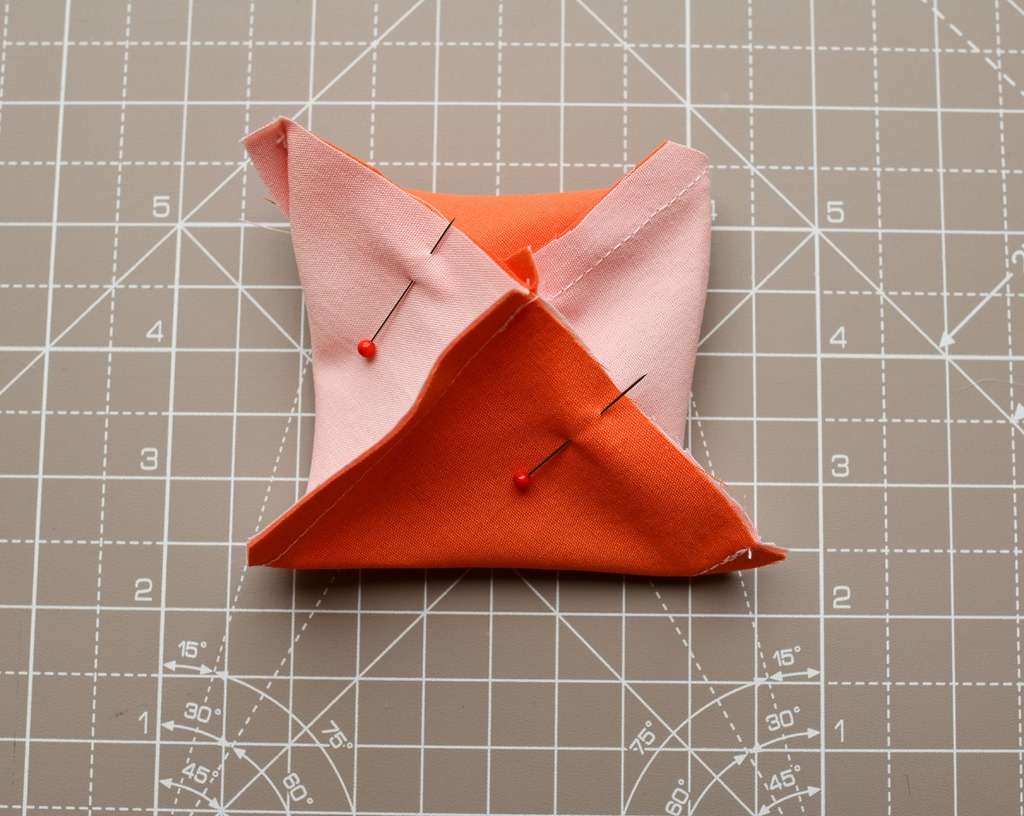
Pull apart the top and bottom seam, then bring together the right and left sides (as shown below). This will form a square pillow shape.
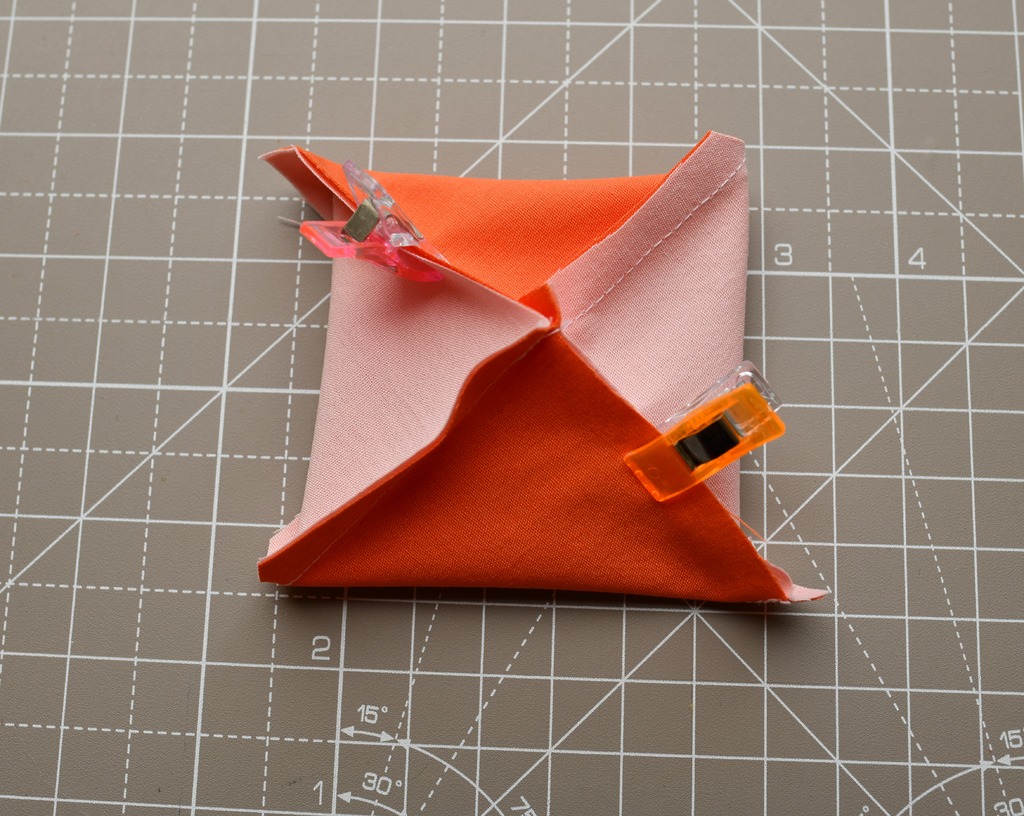
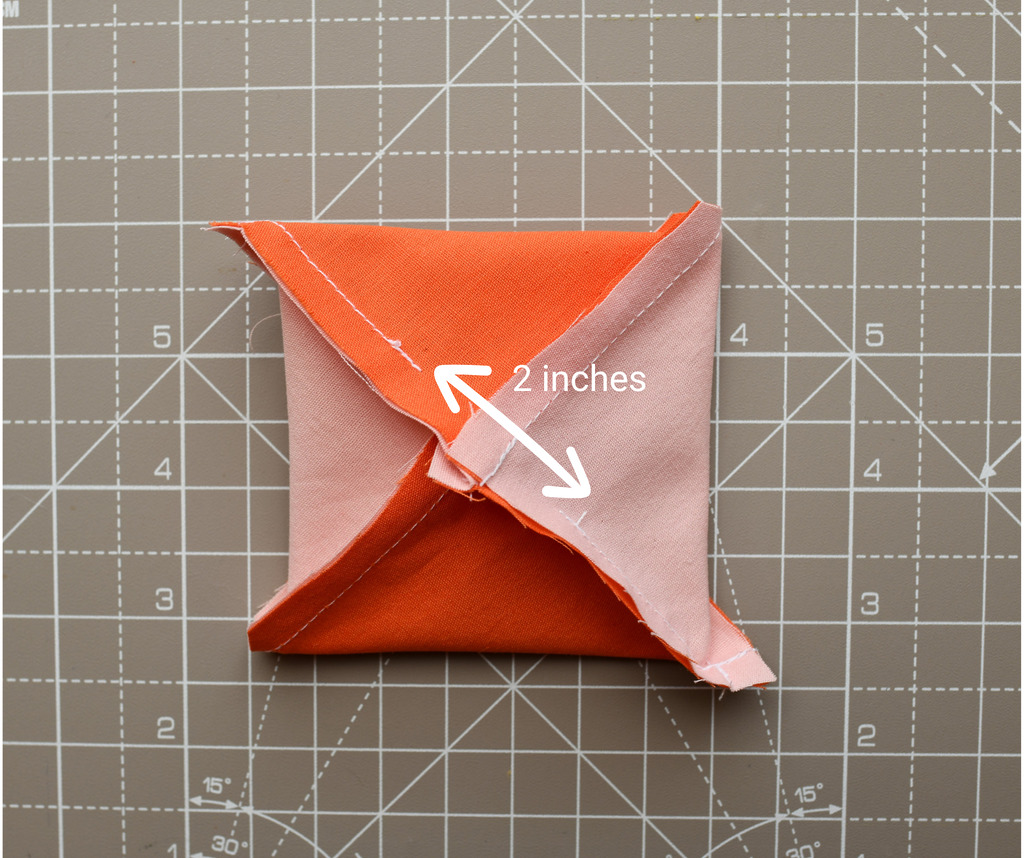
Sew a small seam starting from each corner, stopping about 1 inch from the center. After sewing both seams, you should have a 2-inch gap in the middle for turning the pincushion right side out.
To reduce bulk, clip the remaining two corners (the top right corner and the bottom left corner in the second photo below).
Step 4: Turn and stuff
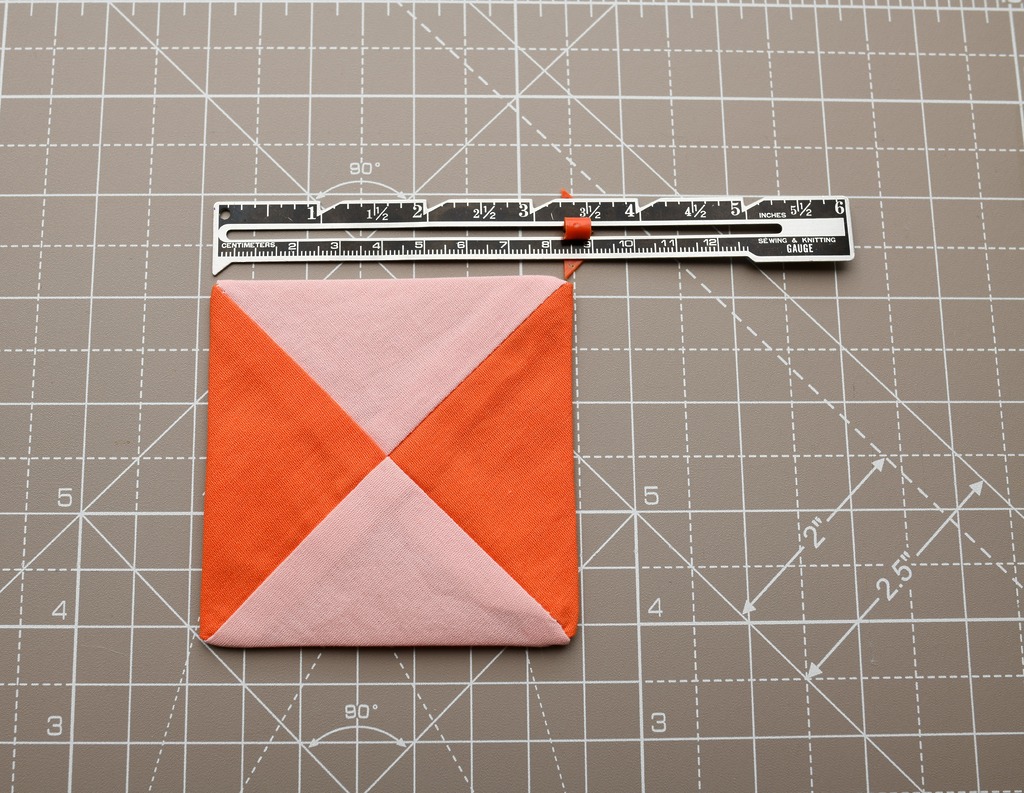
Turn the pincushion right side out. Use a chopstick to push the corners out and an iron to press it flat. Looks good, right?
Now stuff your pincushion with poly-fill, crushed walnuts, rice, dried lavender, or cotton wool balls with a few fabric scraps for weight, like I did. Distribute evenly, then remove lint and fluff with a lint roller.
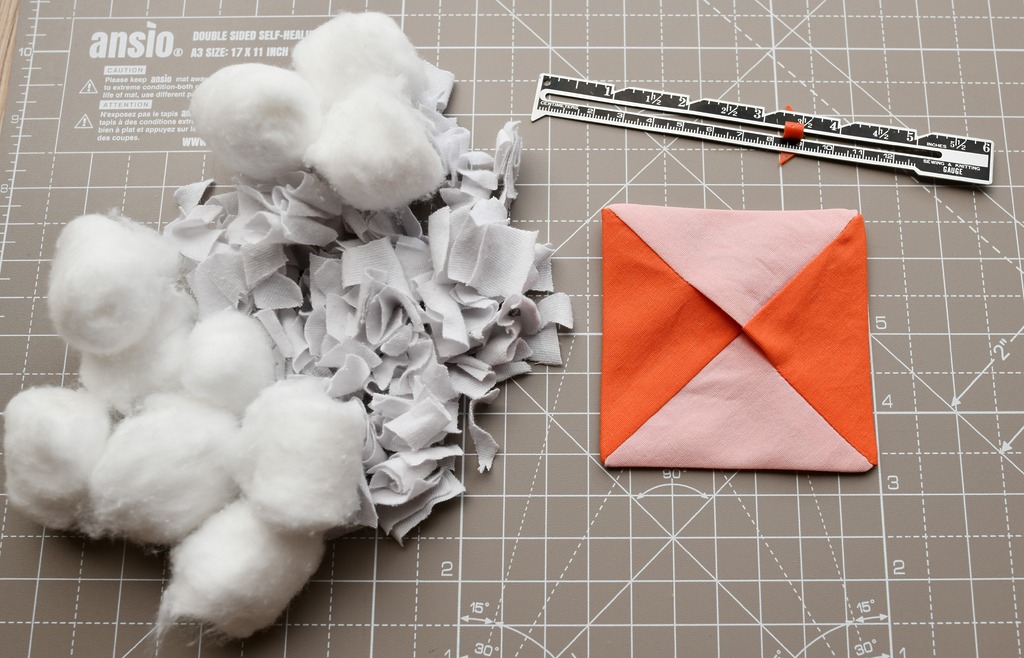
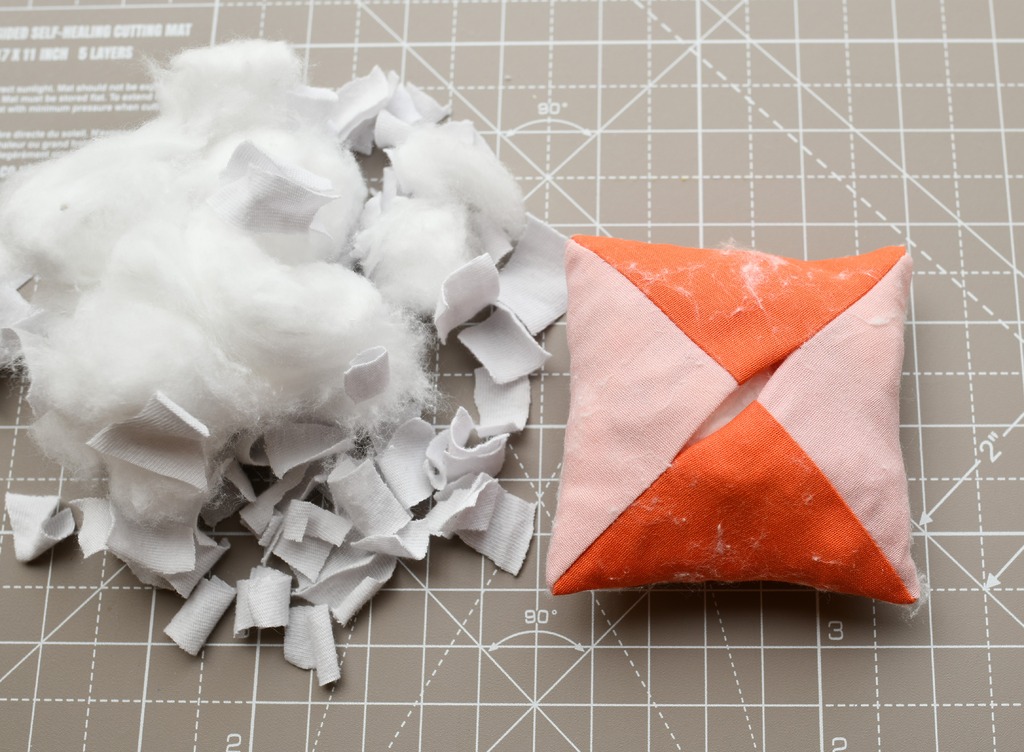
Tip: Don’t add too many fabric scraps, as it will make sewing the button in the middle a bit more difficult.
Step 5: Close and finish
Ensure the raw edges of the 2-inch opening are folded inside neatly. Use a hand sewing needle to stitch it shut. Don’t worry about making the stitch perfect, it will be the bottom of your pincushion!
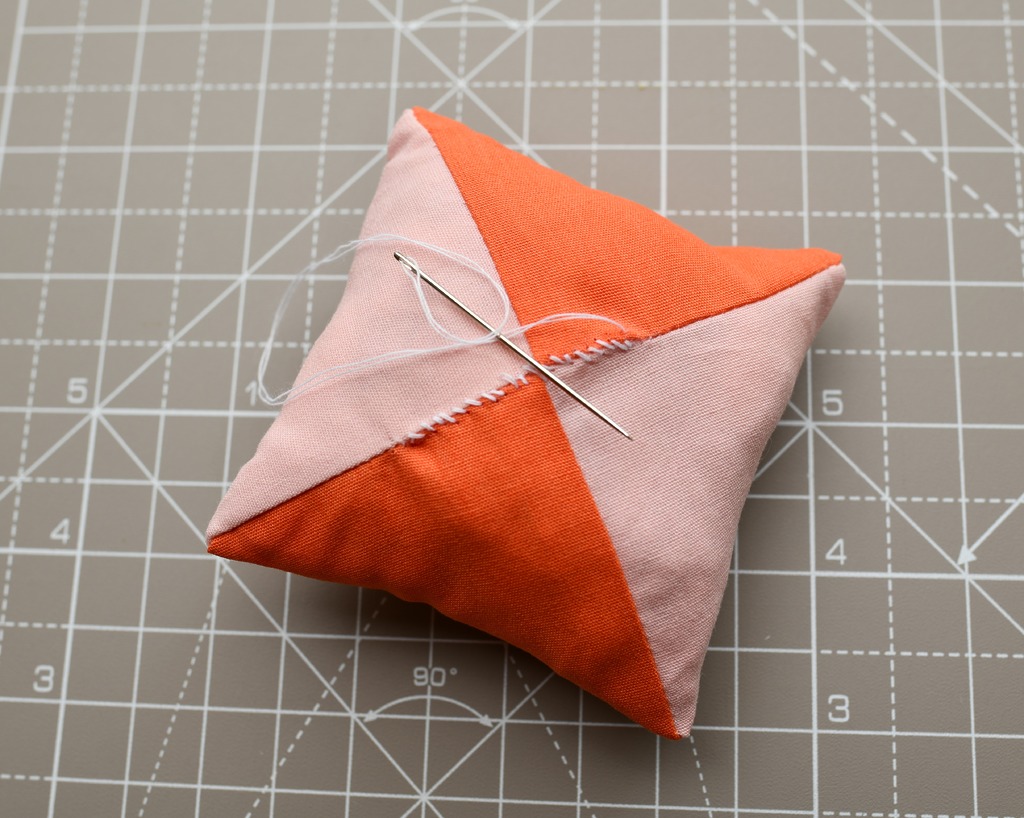
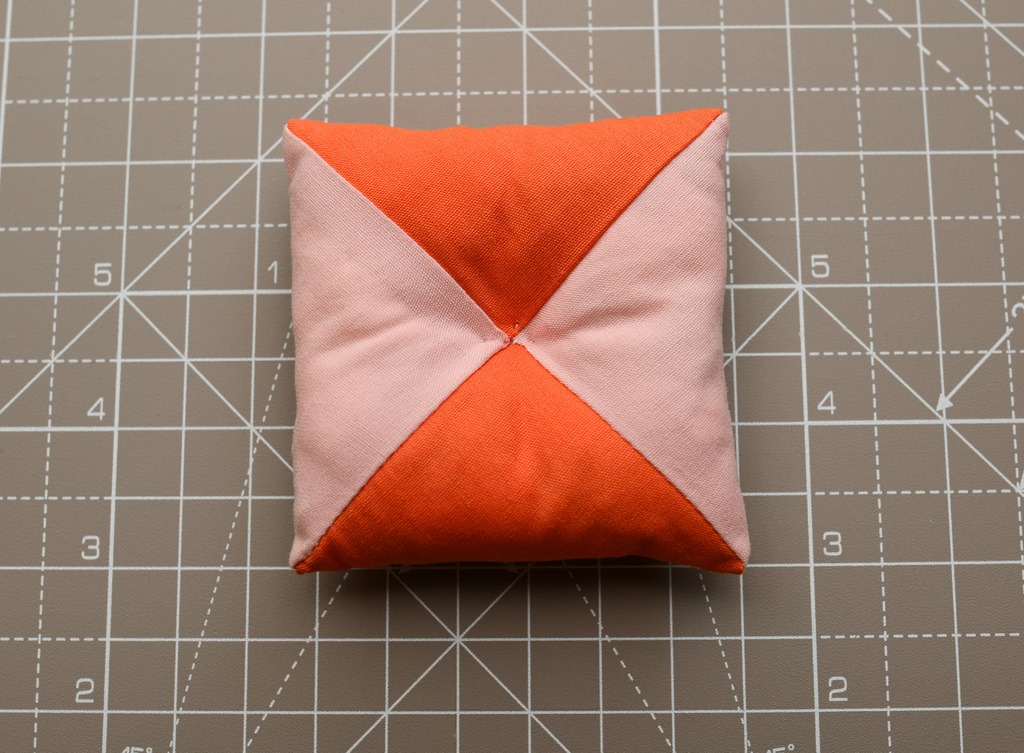
Next, insert the needle through the top center of the pincushion and out through the bottom center to create that cute quilted effect. Poke the needle down through the center and back up a few times to secure.
Now decorate your pincushion with the cutest button you can find in your button box! You can hand sew it in place or use a hot glue gun.
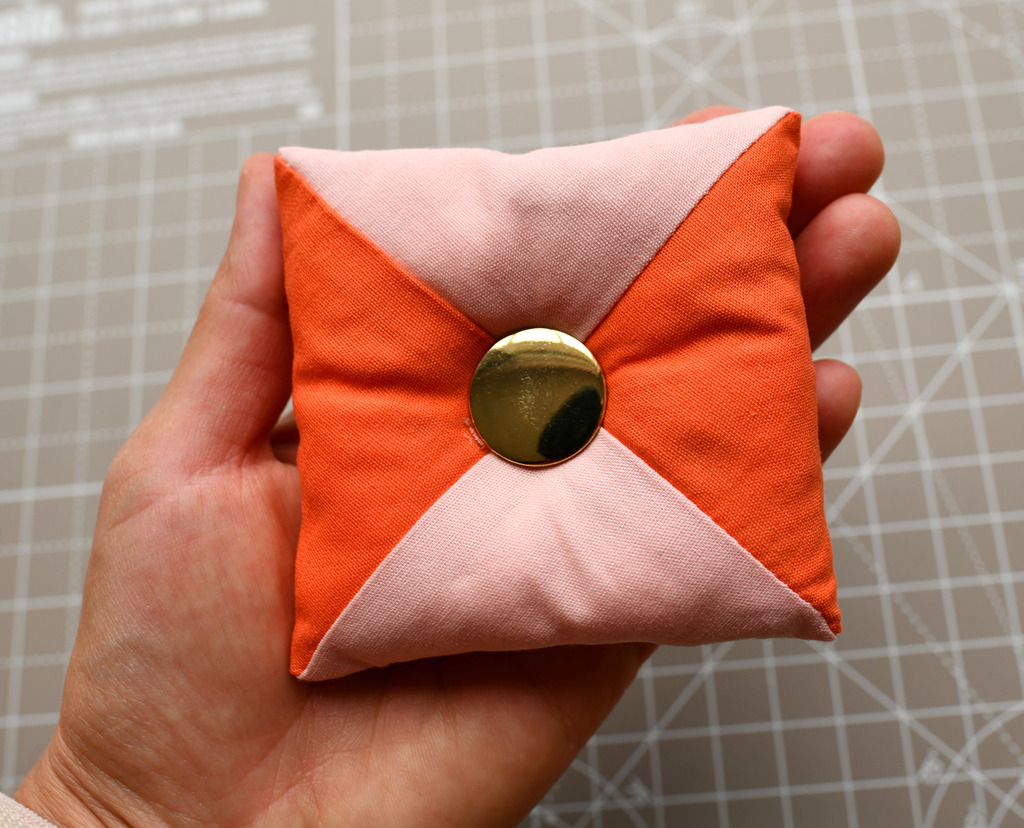
And that’s it! Enjoy your adorable, handmade pincushion!
Let’s keep in touch! You can find me on Facebook, Instagram, and Pinterest.
Related posts