Learn how to make a cute Barbie faux button placket skirt with this easy tutorial. This simple project requires just a small rectangle of fabric, sewing thread, and a bit of creativity. Featuring an elastic waistband, faux button placket, and embroidered French knot buttons, it’s the perfect addition to any Barbie doll wardrobe!
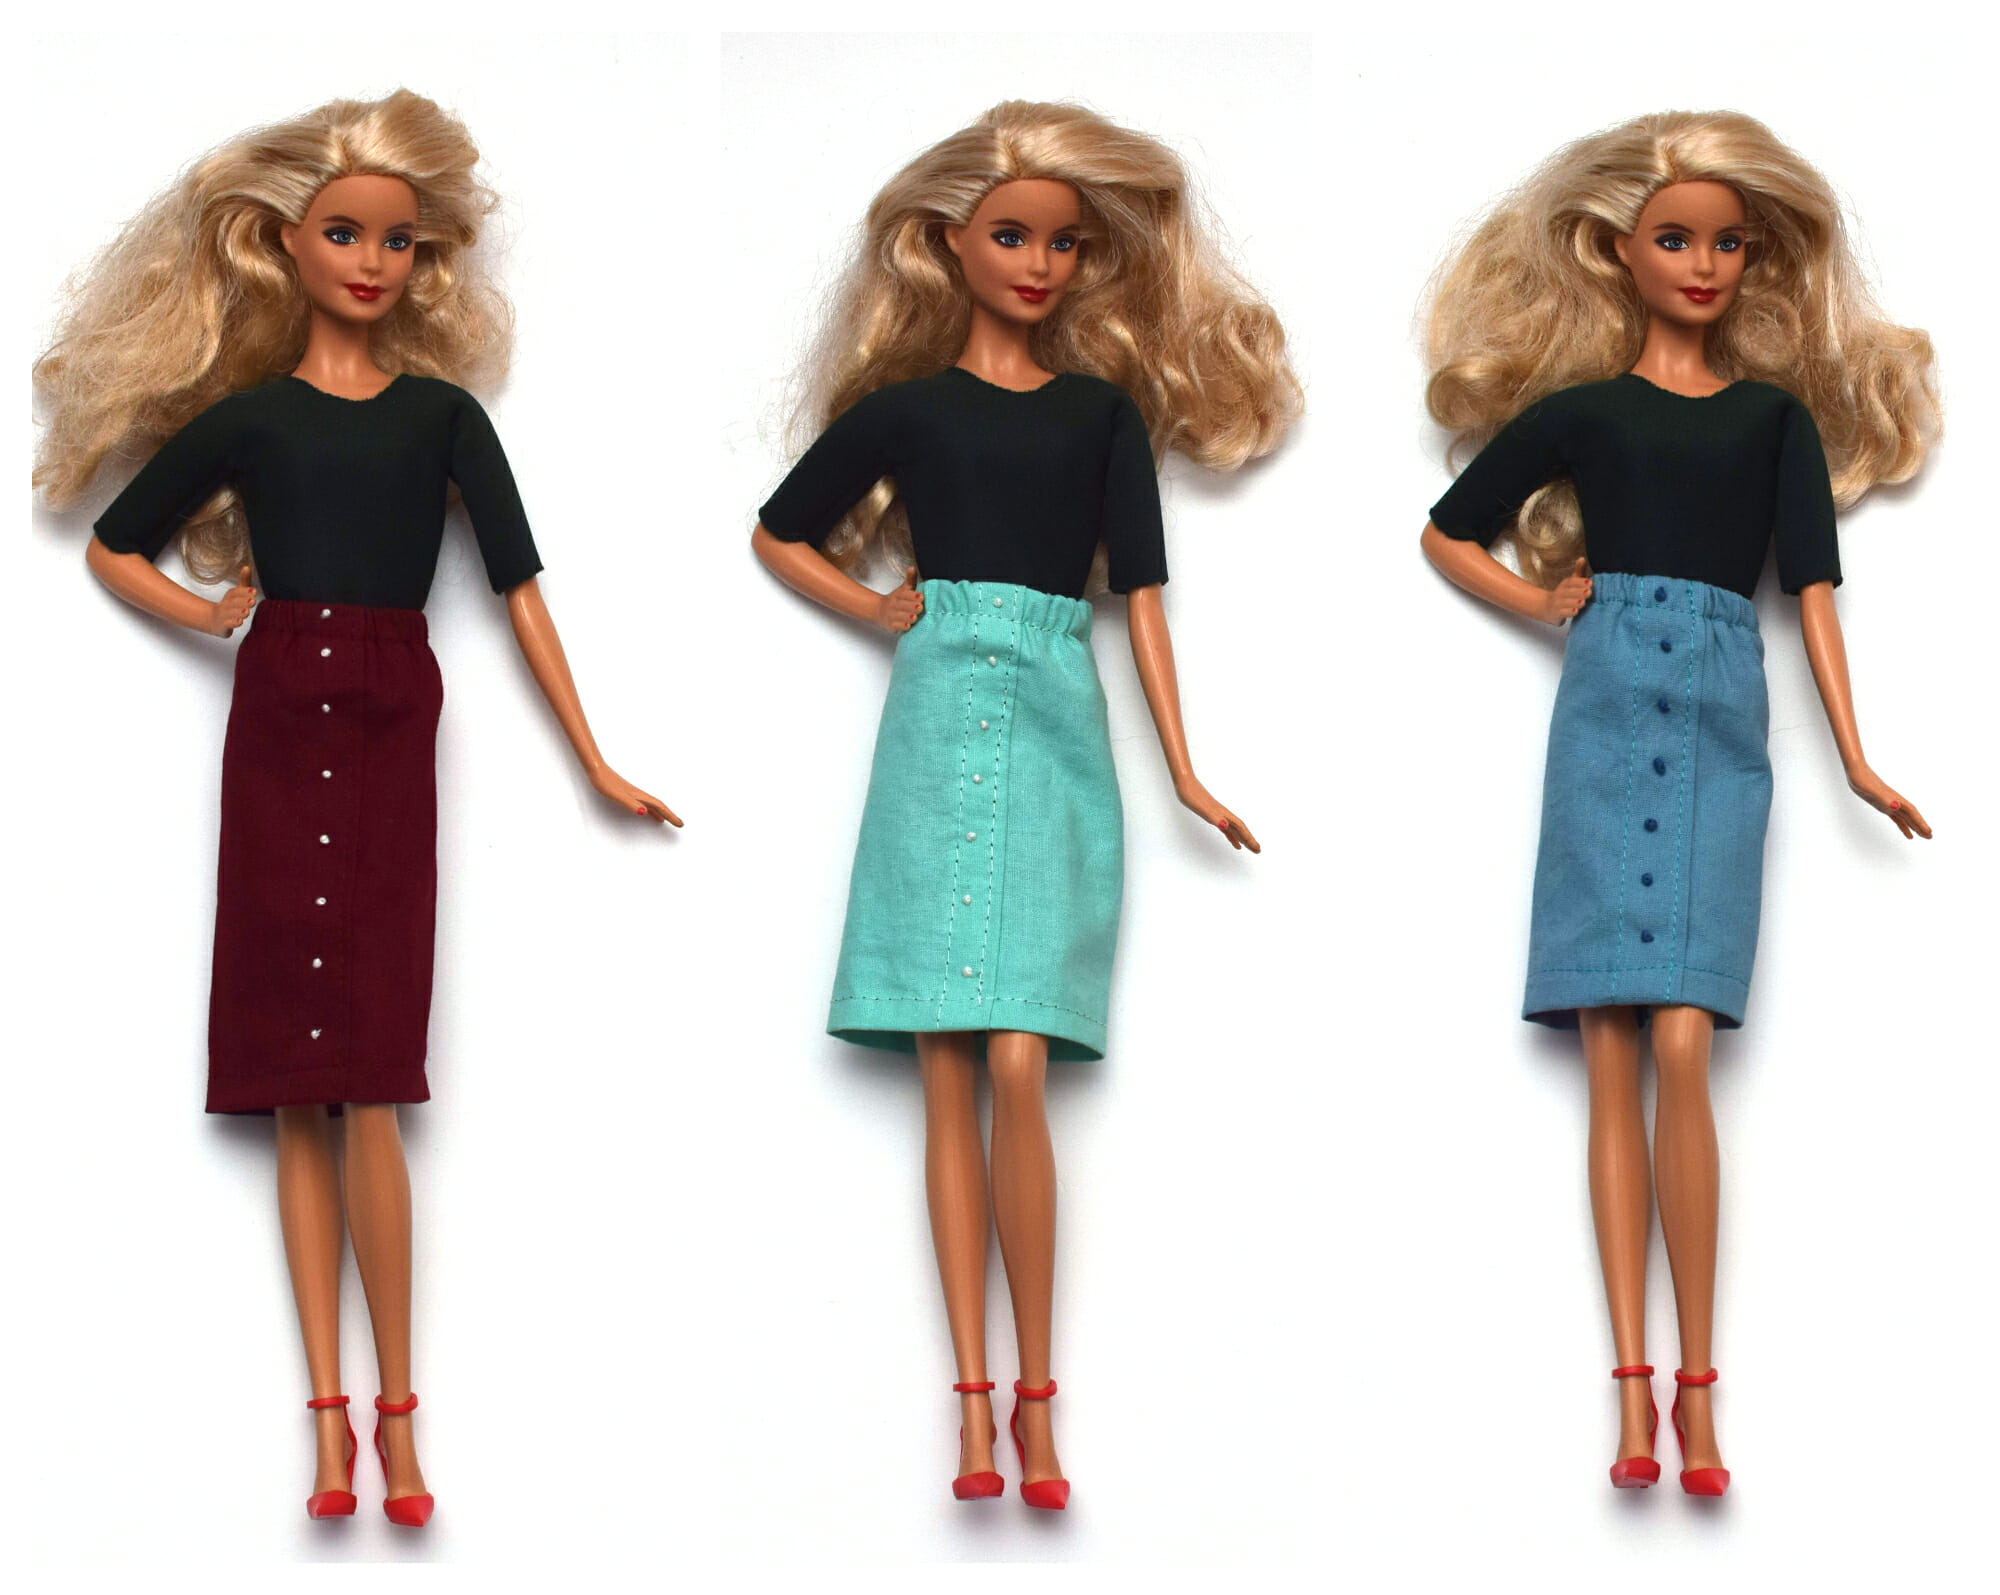
I love button-front midi skirts, and I decided to make some for my daughter’s Barbie doll.
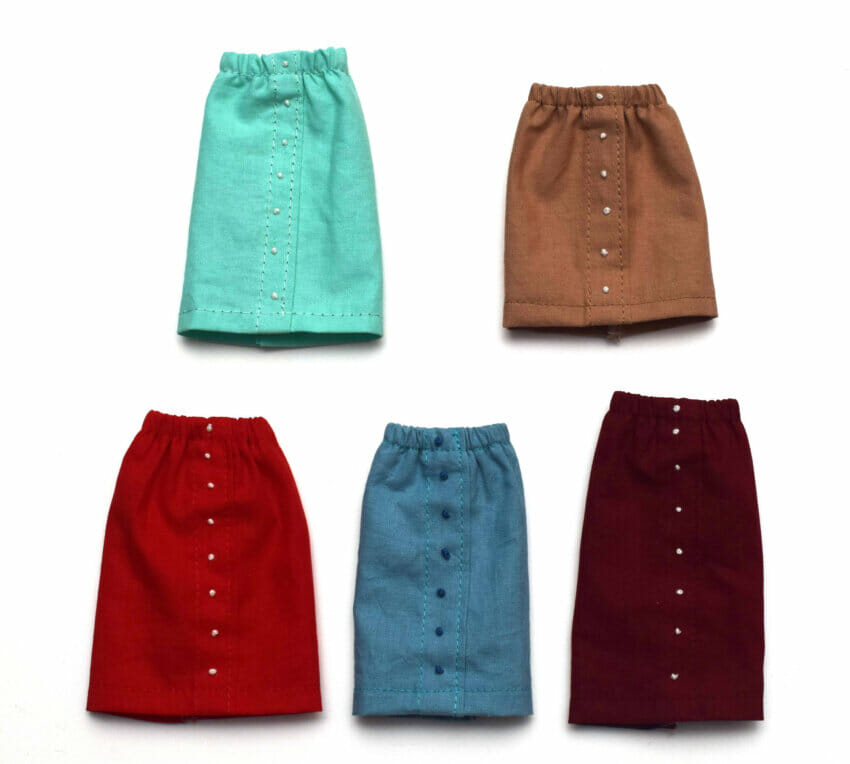
These skirts have an elastic waistband, a faux-button placket, and faux buttons that are actually embroidered french knots.
Lovely skirts for a doll wardrobe, don’t you think?

It’s funny to think that I used to be scared of sewing tiny doll clothes, and now it’s one of my favorite things to do!
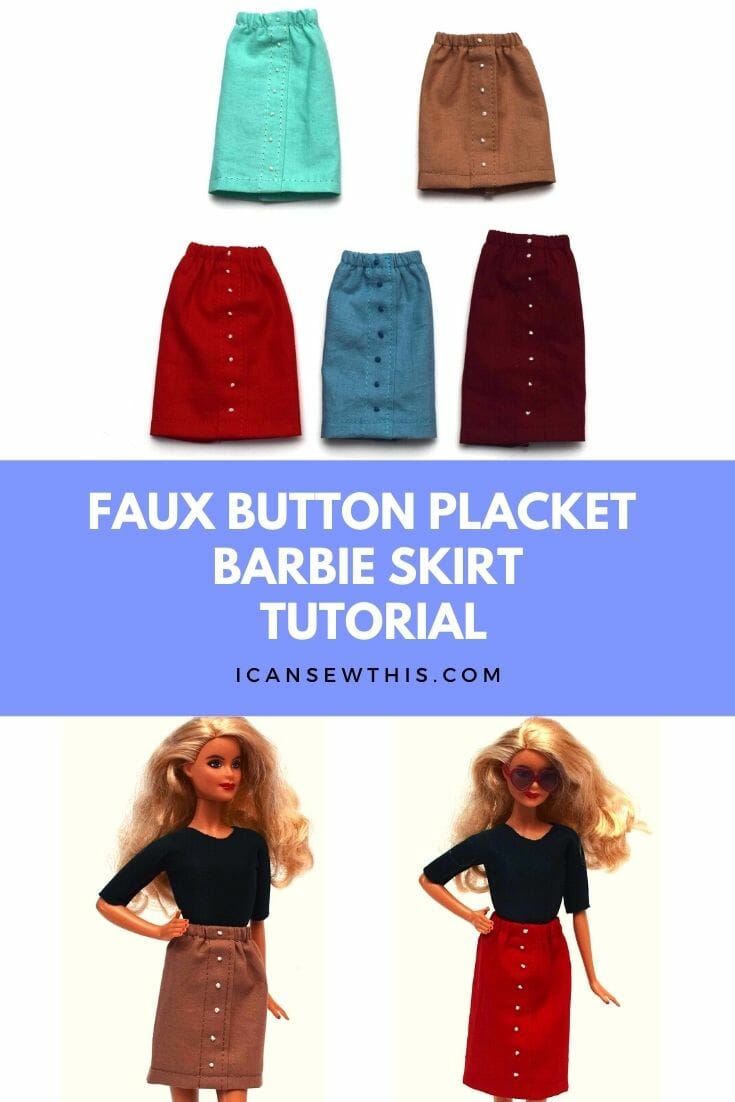
Pin this tutorial for how to make a cute tutu skirt using this link or the collage image below.
Related: How to make a Barbie tulle dress (+free PDF pattern)
Sewing supplies – Button-front midi skirt for Barbie dolls
- cotton fabric scraps
- sewing machine
- needle
- matching thread
- fabric scissors
- serger or pinking shears
Let’s sew this pretty Barbie skirt!
Barbie Faux Button Placket Skirt Instructions
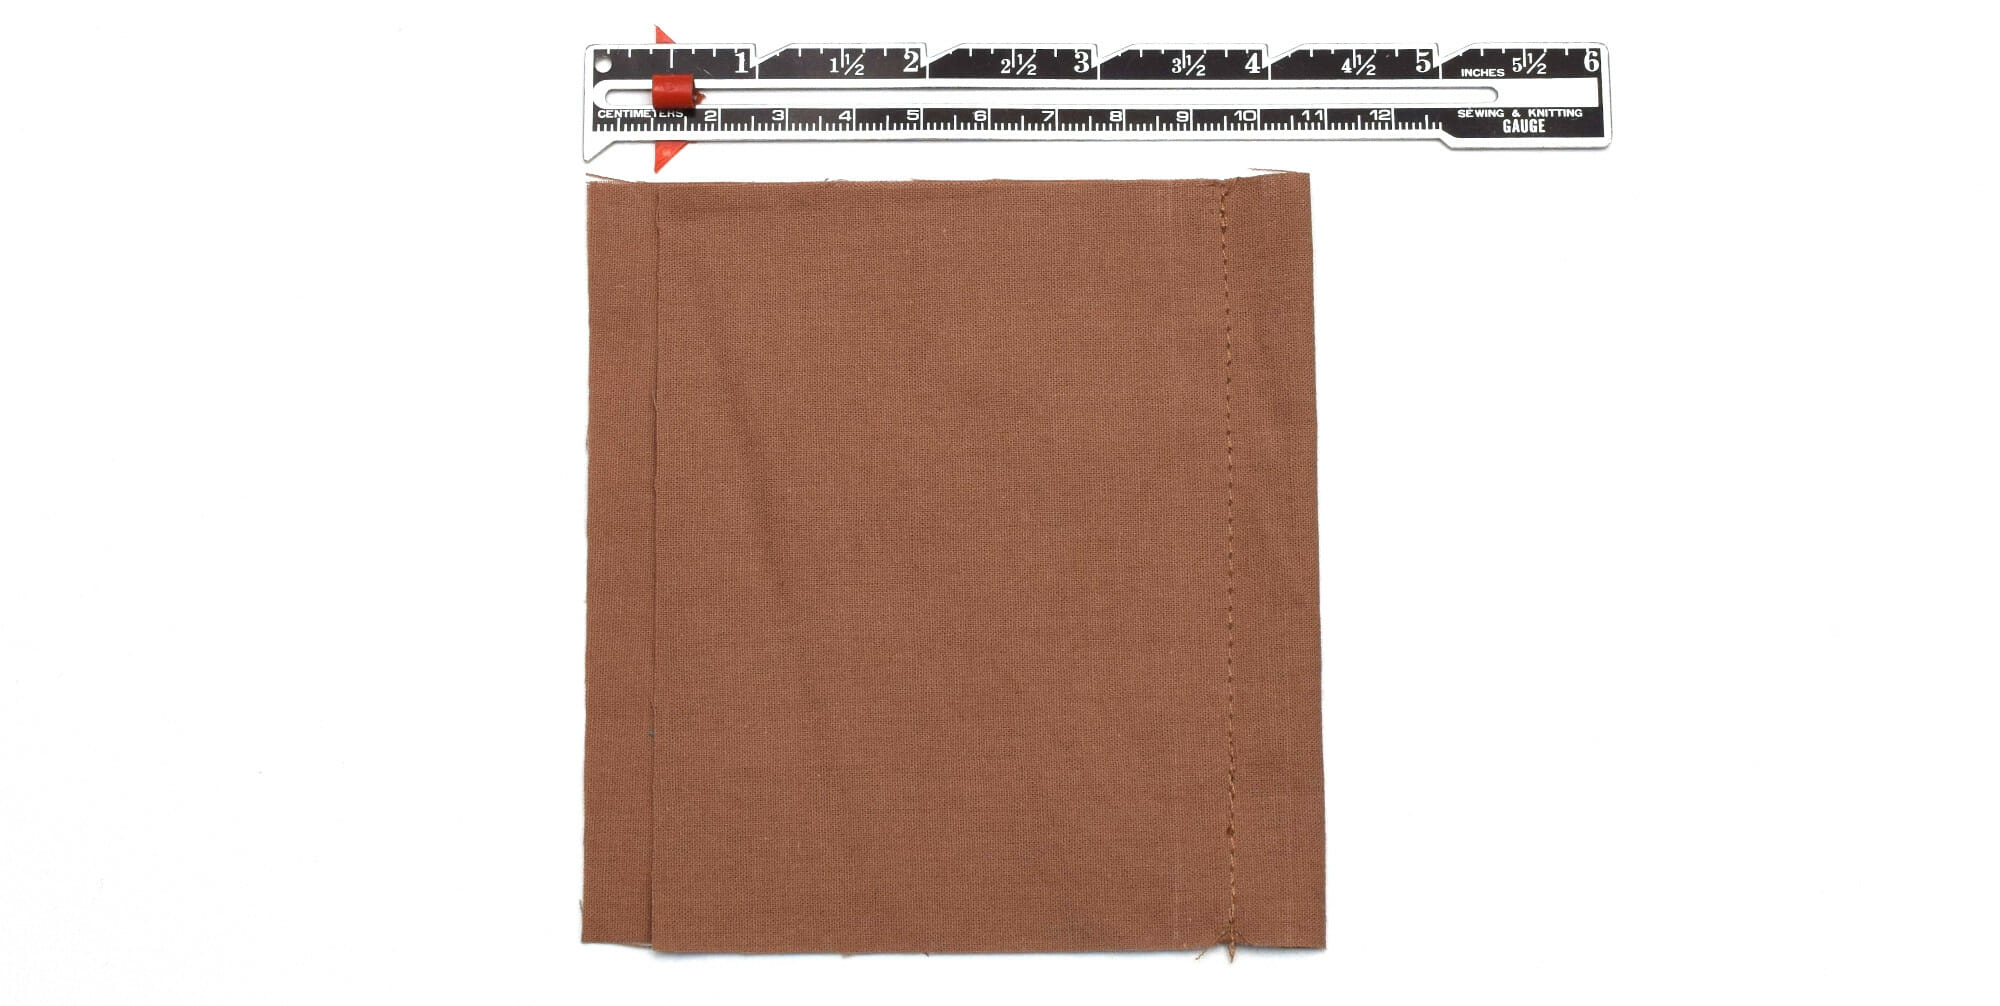
Step 1
Cut the fabric piece – 8 inches wide and 5 1/2” tall.
Step 2
Fold the fabric piece in half, widthwise, with one side 3/8″ bigger than the other. Sew 3/8” from the folded edge.
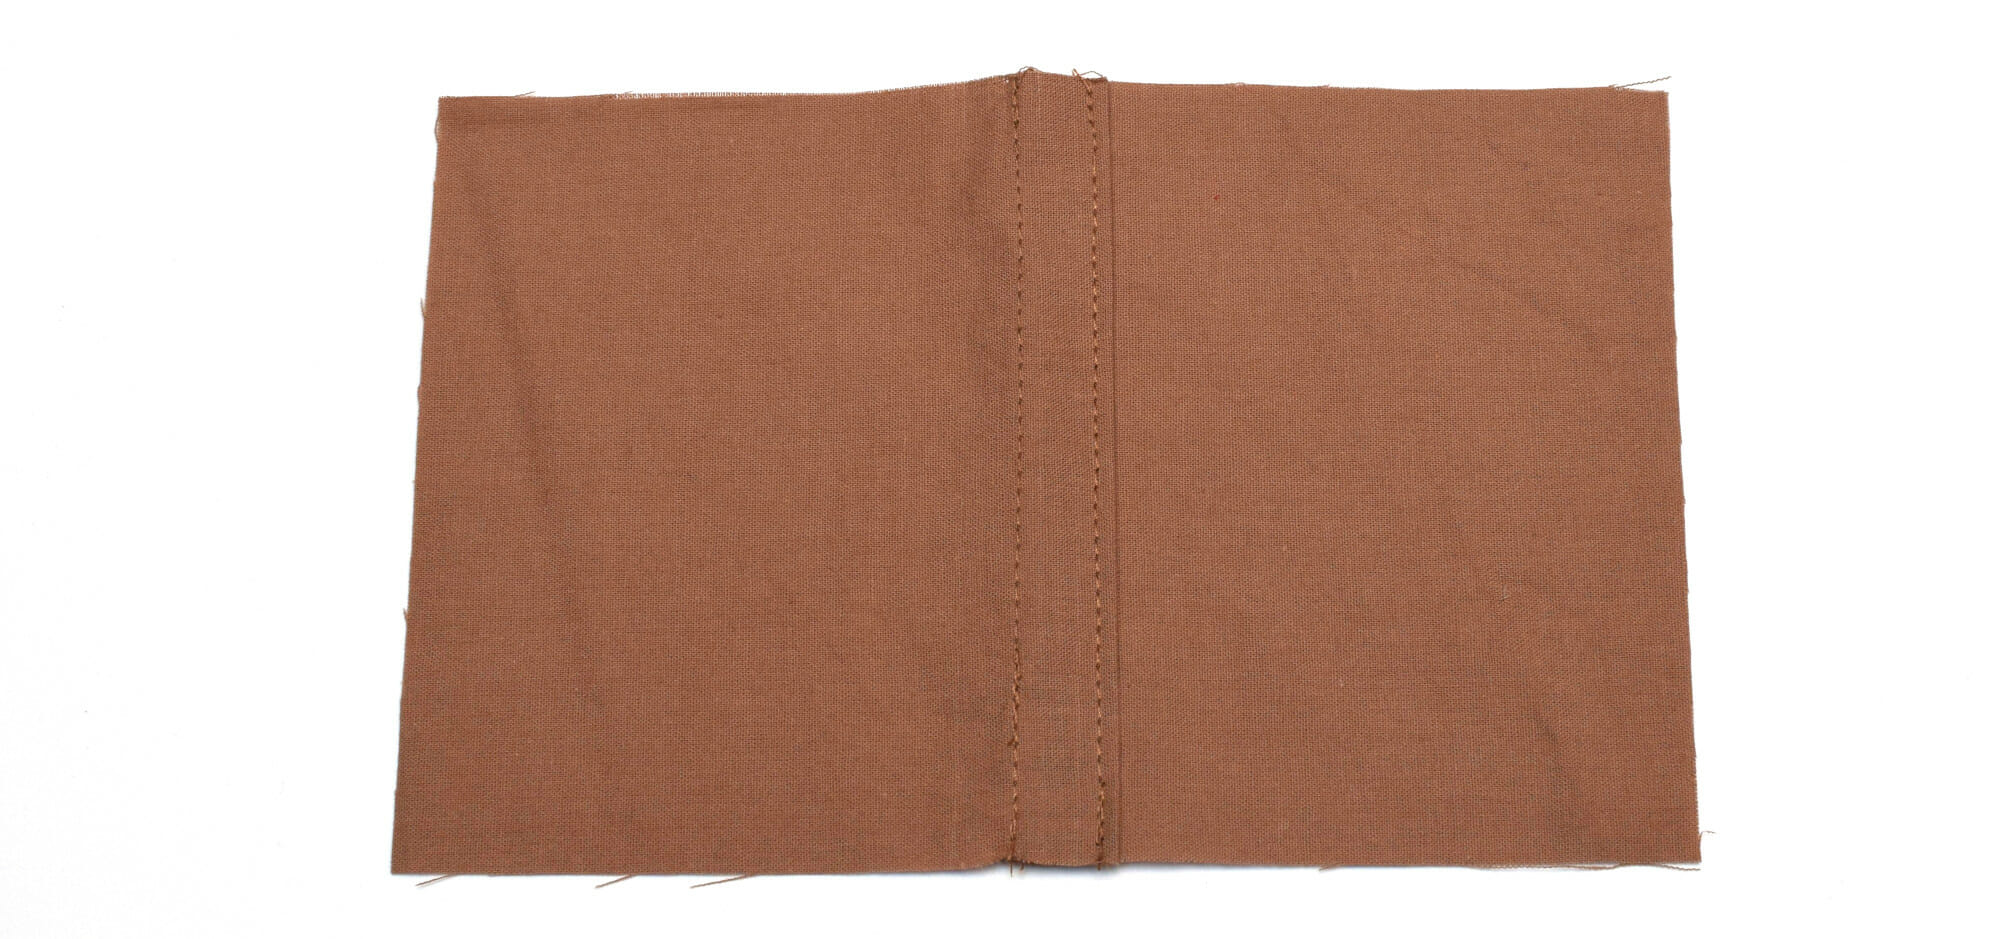
Step 3
Open the piece, then press and flatten the front fold towards the bigger panel. It will look like a pleat, but it will soon become the faux button placket for our Barbie skirt.
Topstitch along the faux button placket 1/8 inch from the folded edge, to secure it to the skirt.
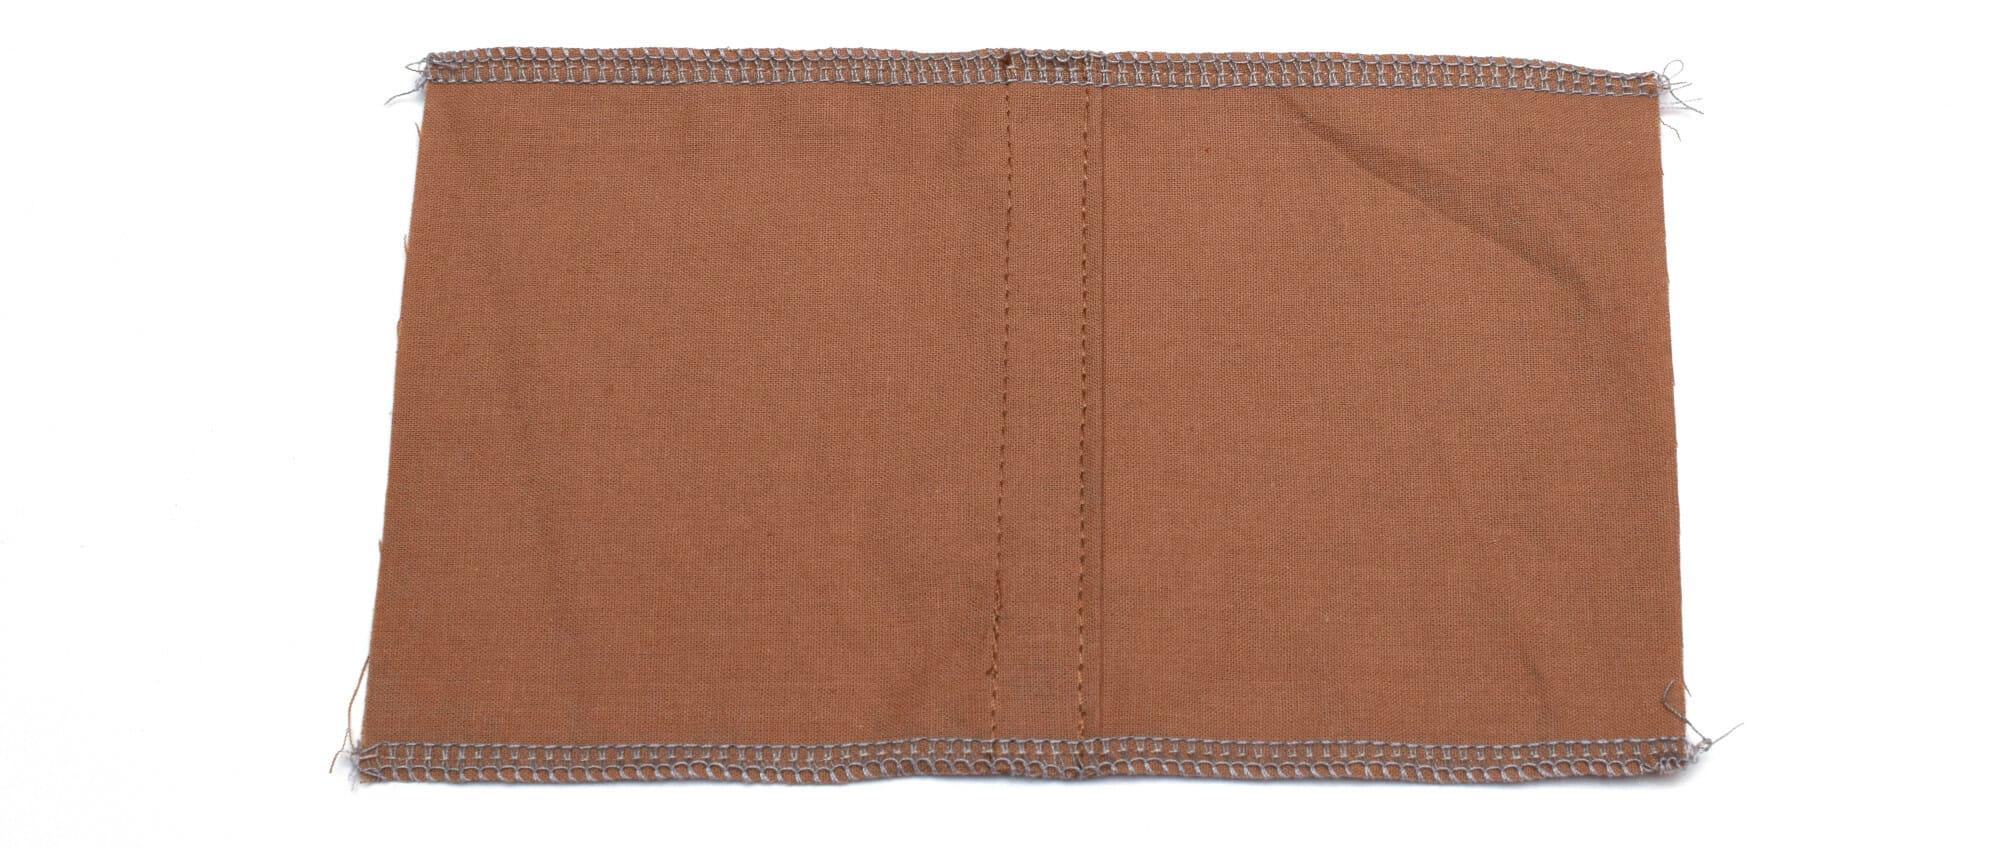
Step 4
Now serge or zig-zag the top and bottom edges of the fabric piece.
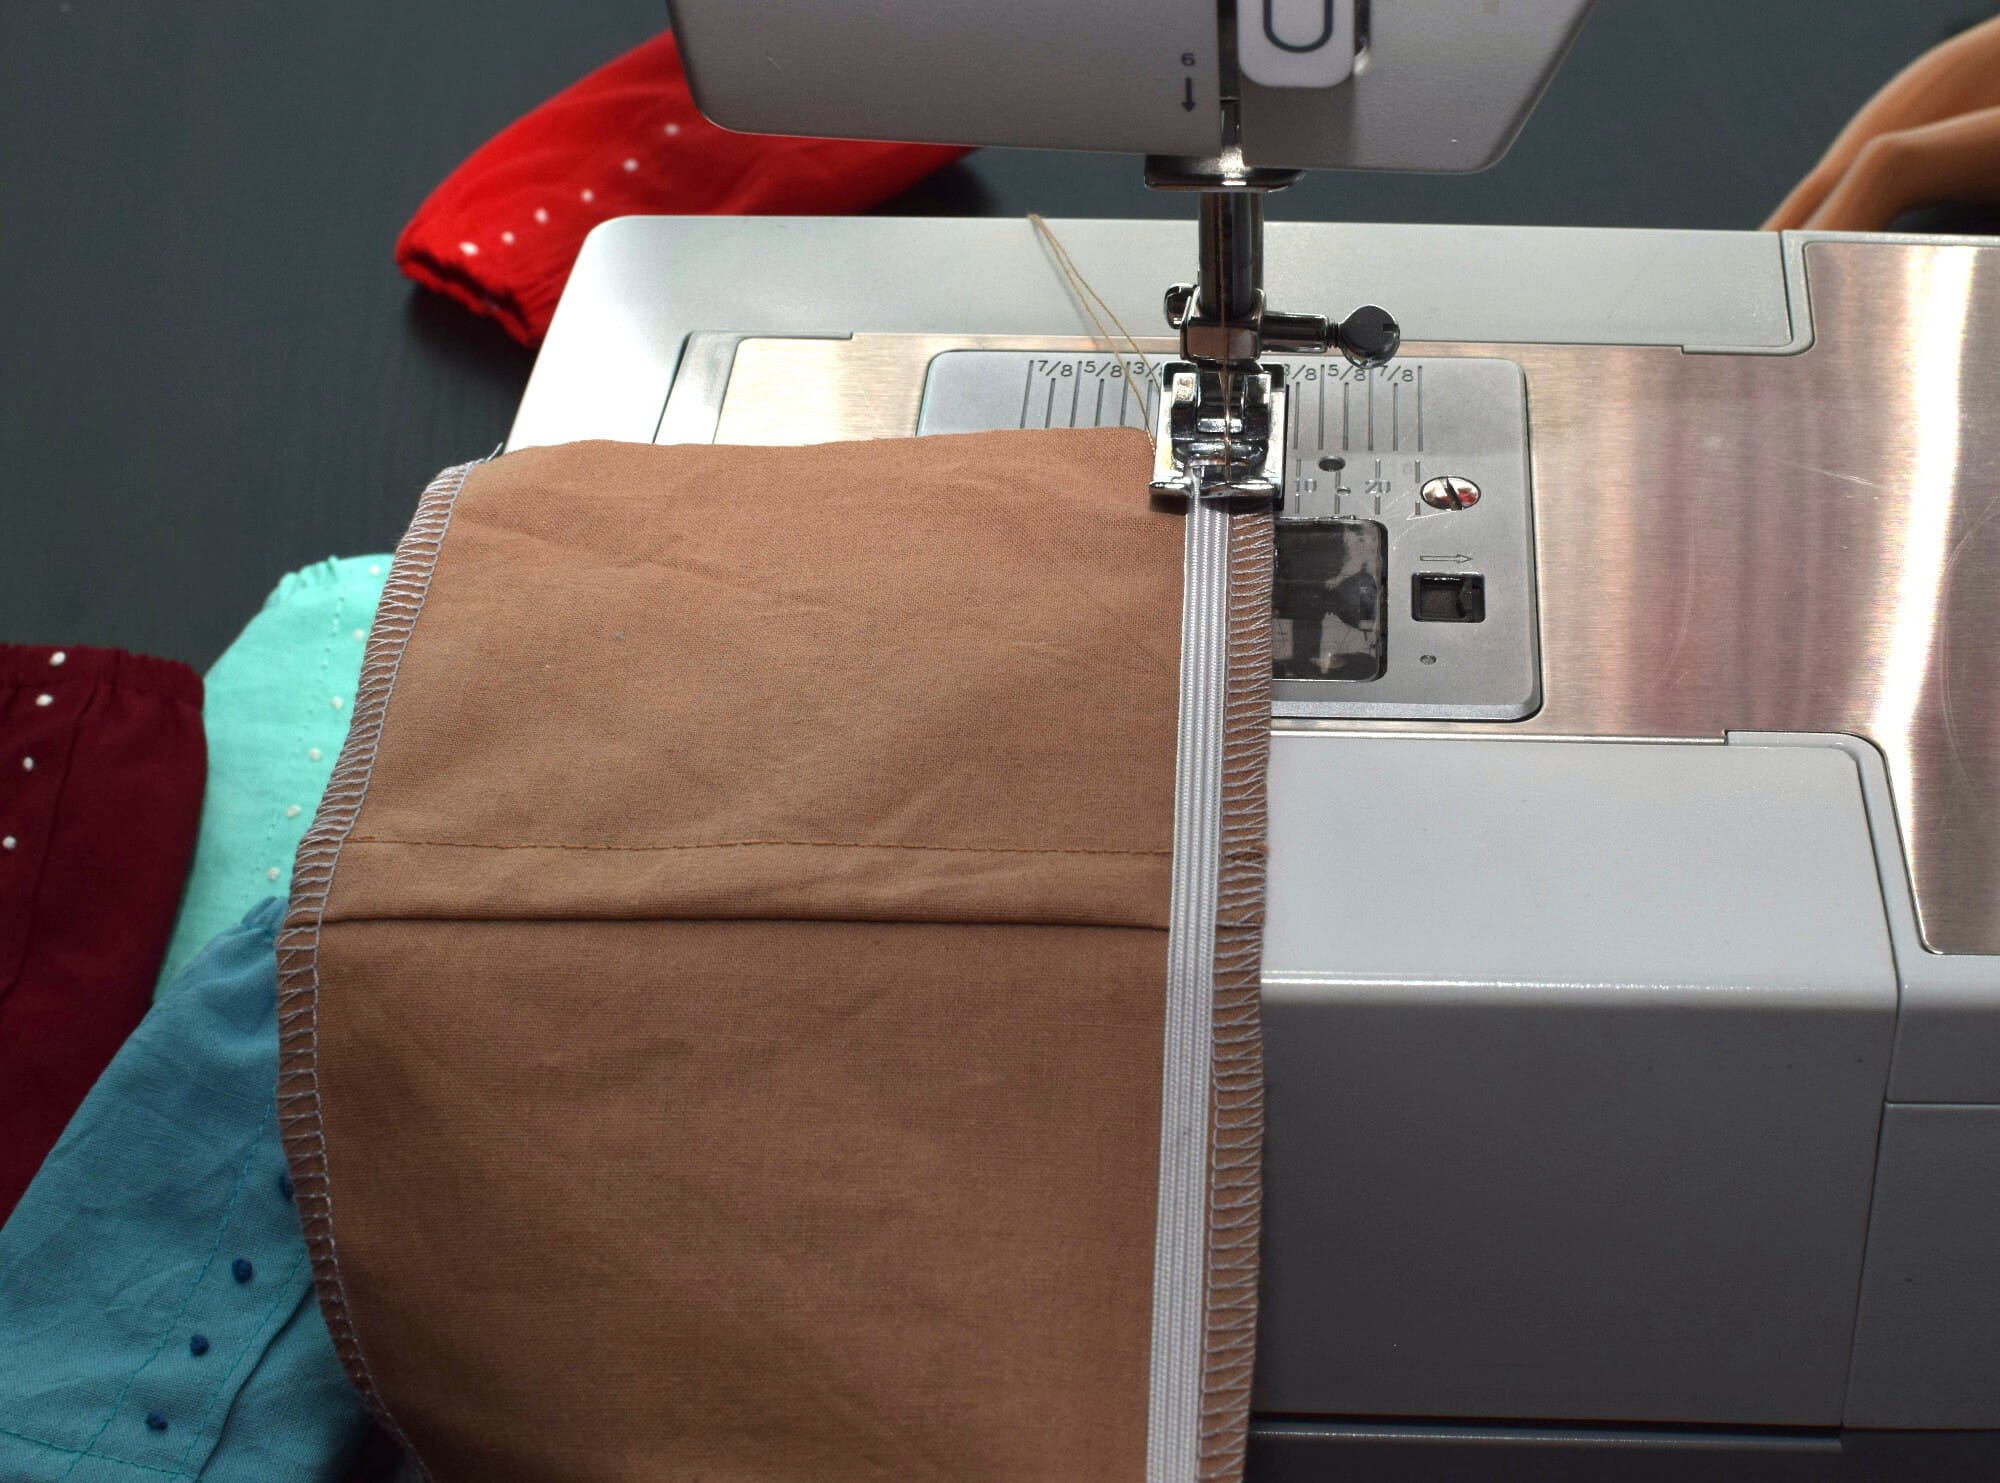
Step 5
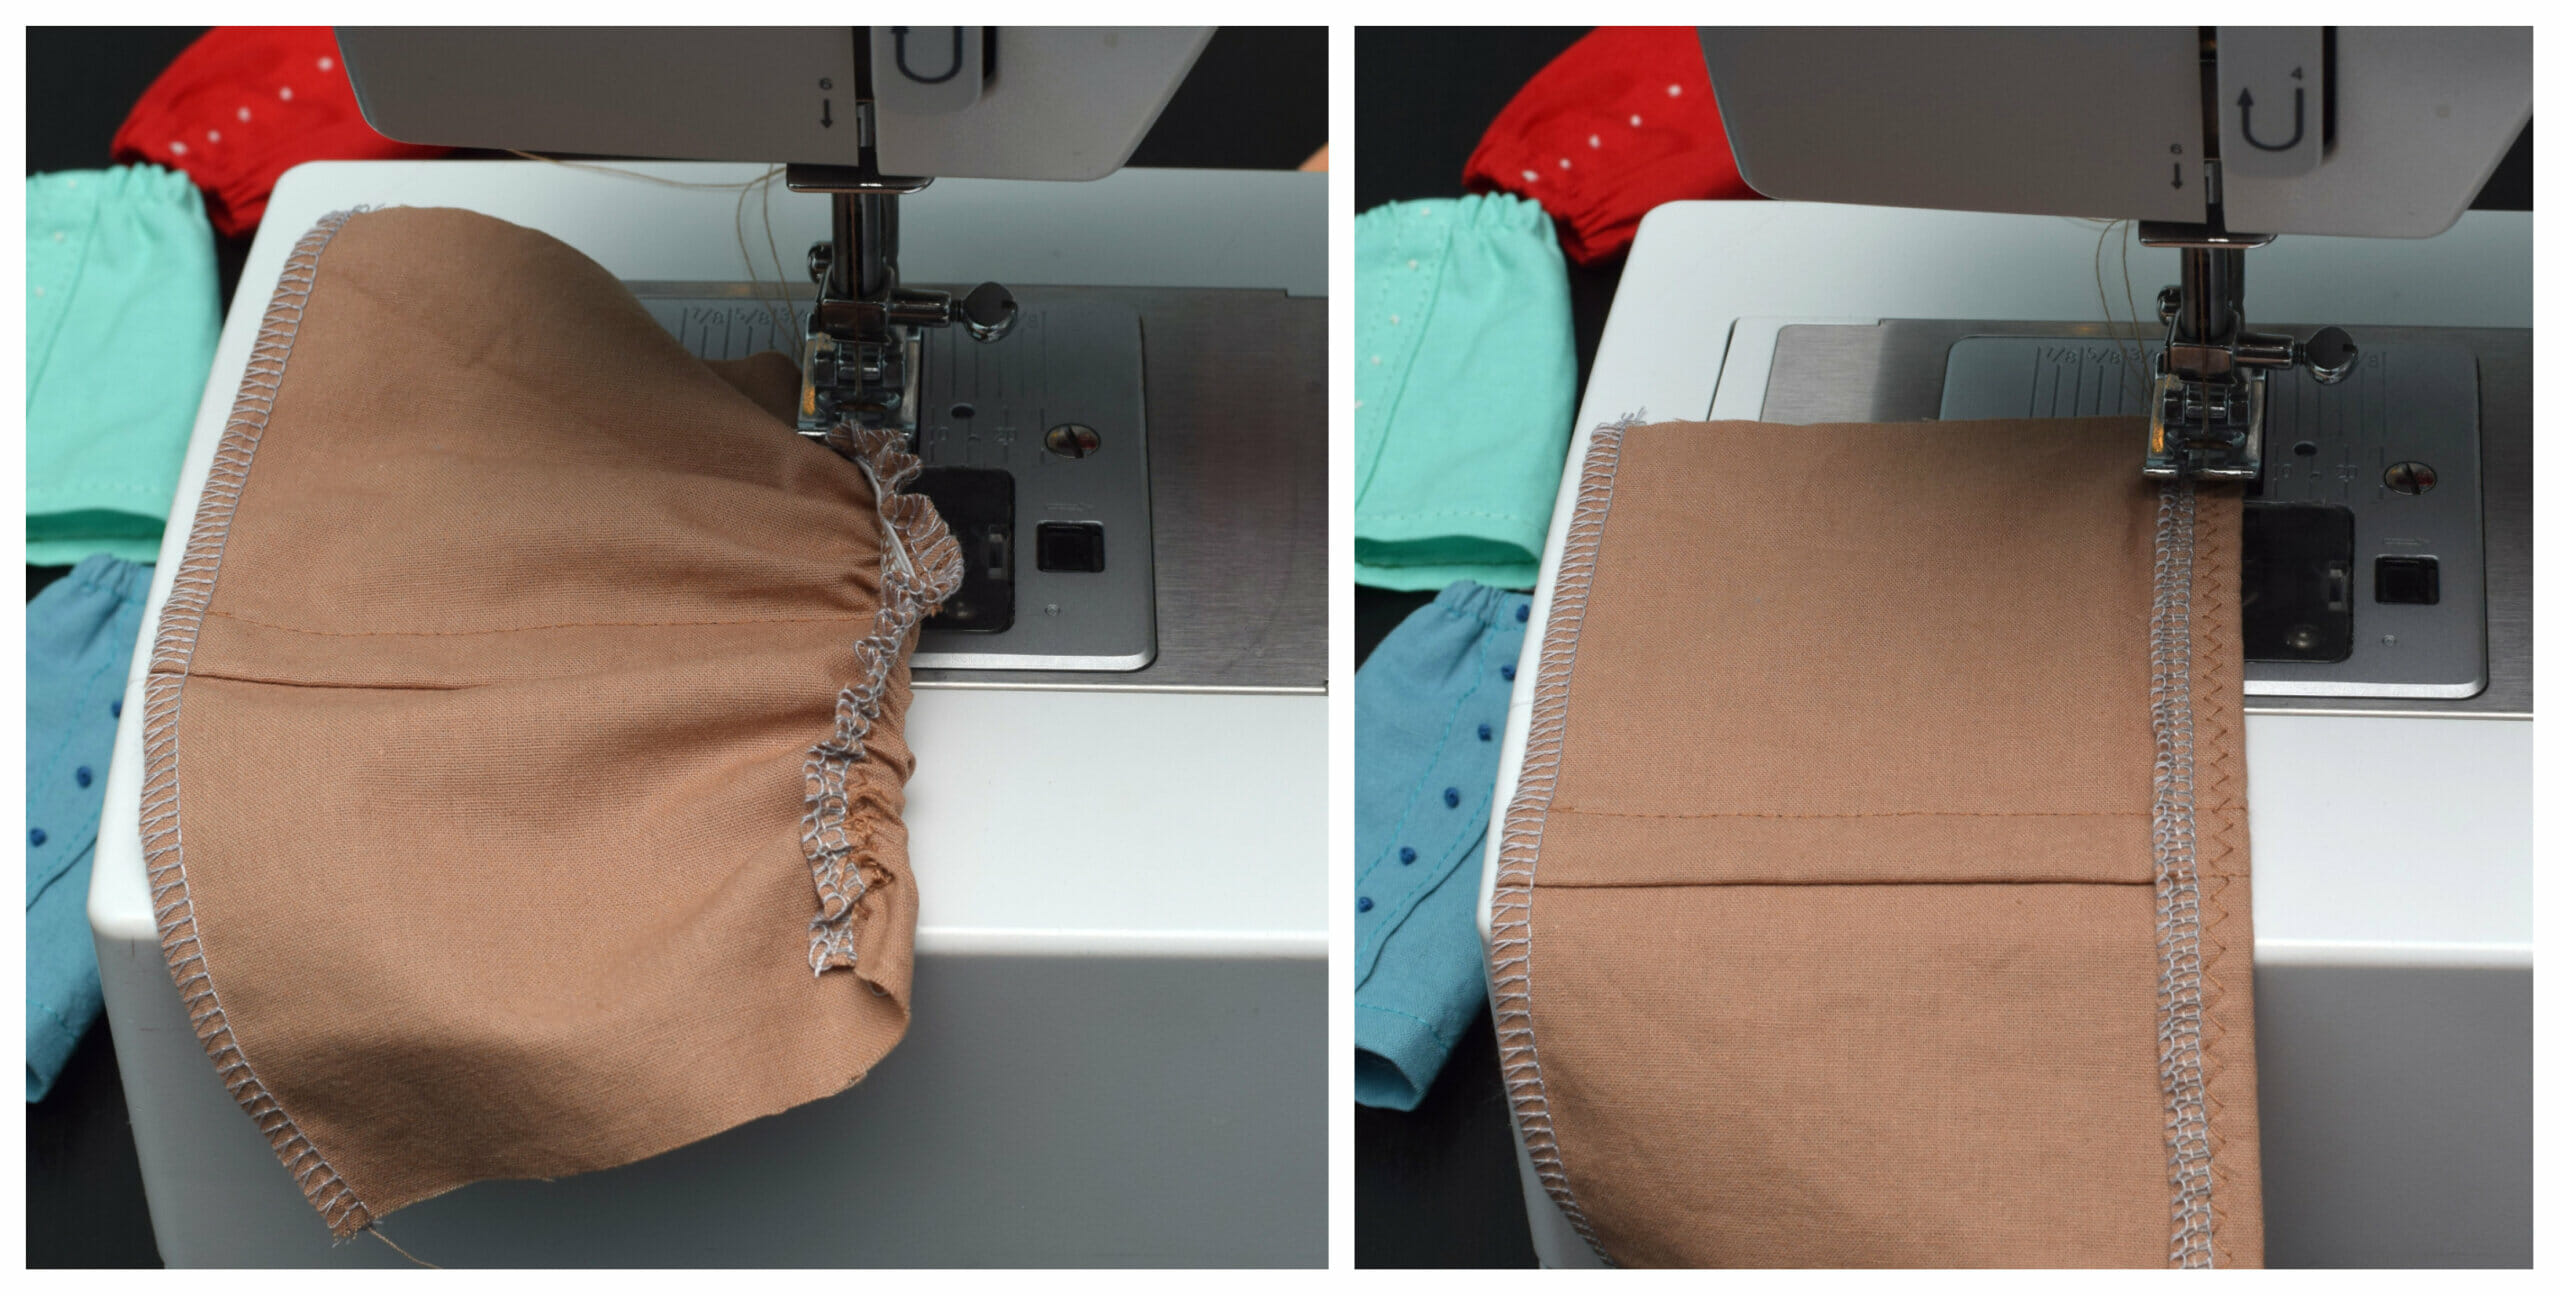
Cut a piece of 1/4 inch elastic 3 3/8 inches long, then lay the elastic down on the wrong side of the skirt, immediately below the overlock stitch, and 3/8” away from the edge. Don’t start sewing close to the edge to keep the sewing machine from eating the fabric.
Using a zigzag stitch, sew and backstitch two or three times over the elastic, then stop – make sure the needle is in the down position. Now you’re going to stretch the elastic to reach the other end, and stitch over it to hold it in place.
This is how the skirt looks right now.
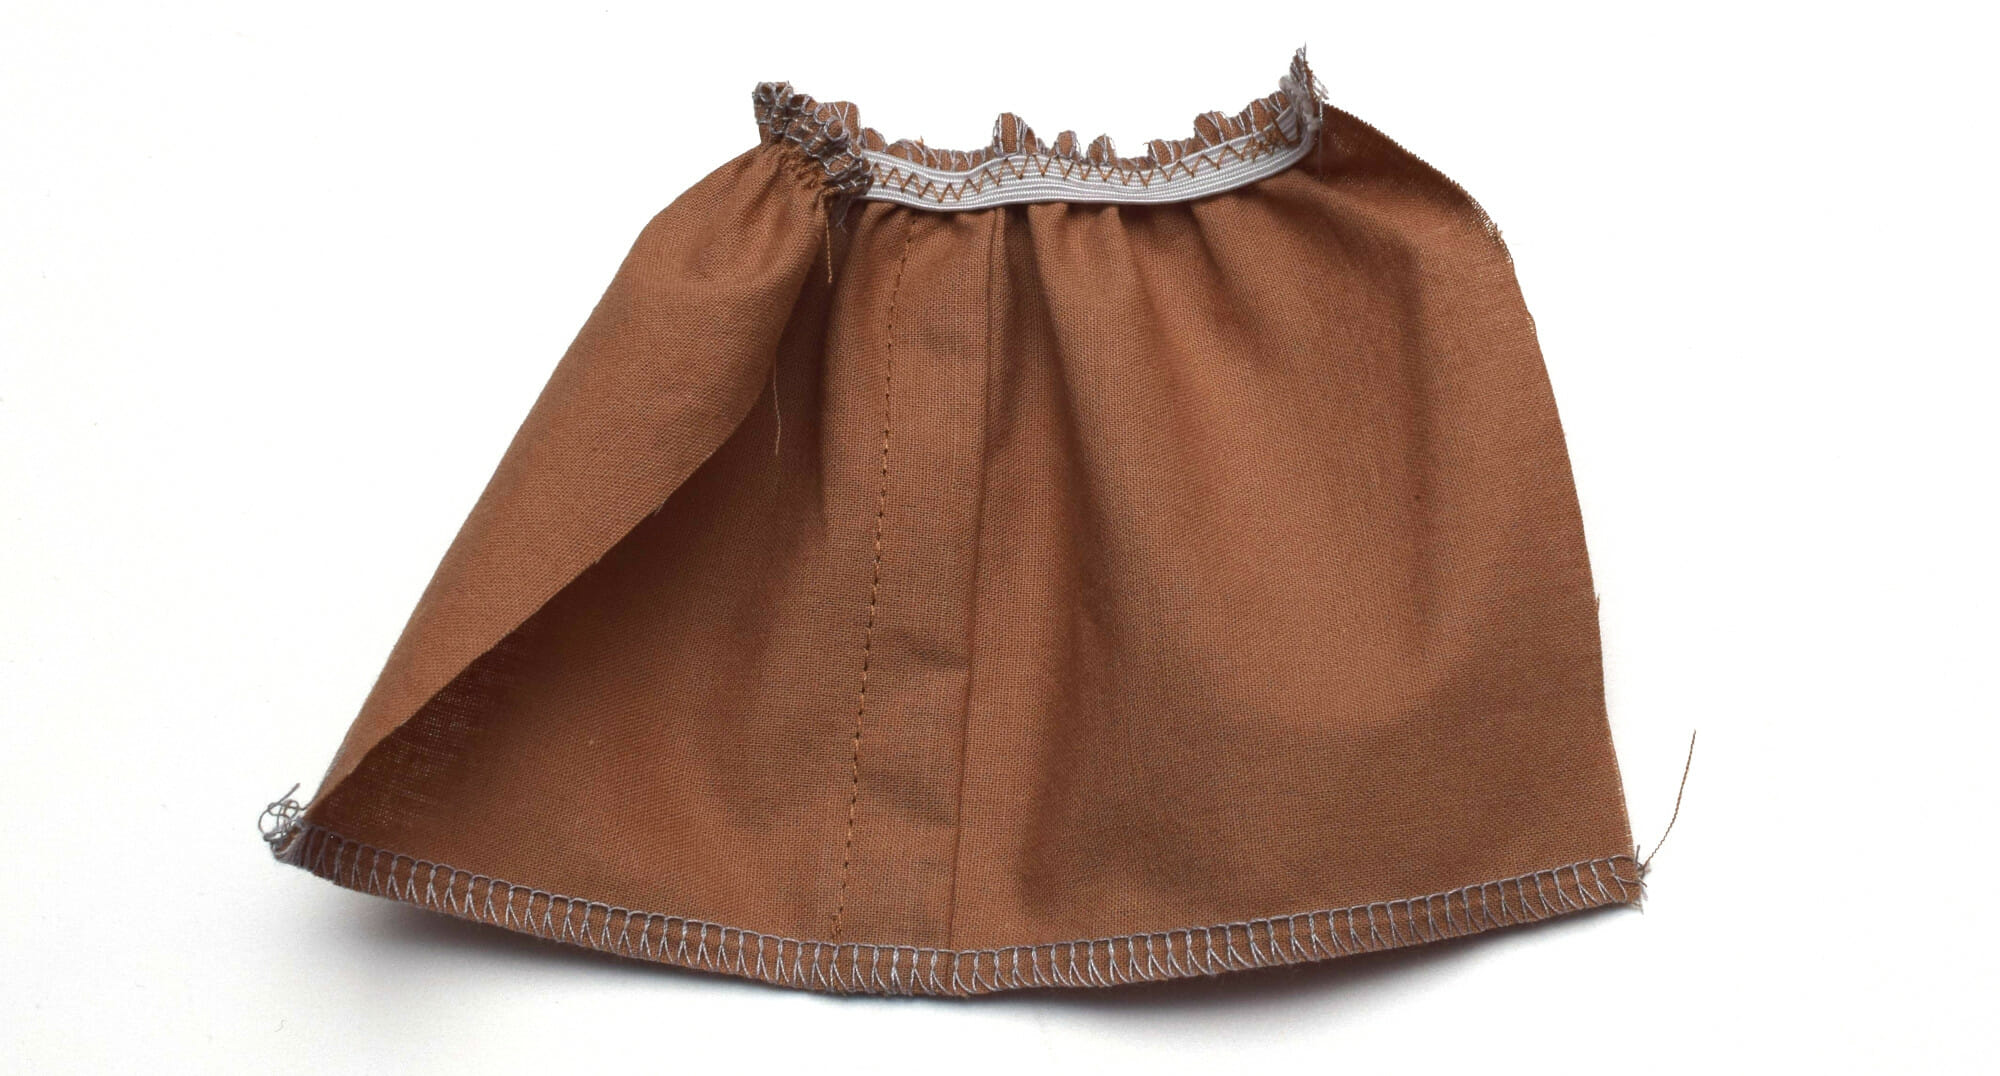
Step 6
Next, fold the top edge of the skirt over the elastic, and sew along the edge to form the waistband. Use a straight stitch.
Step 7
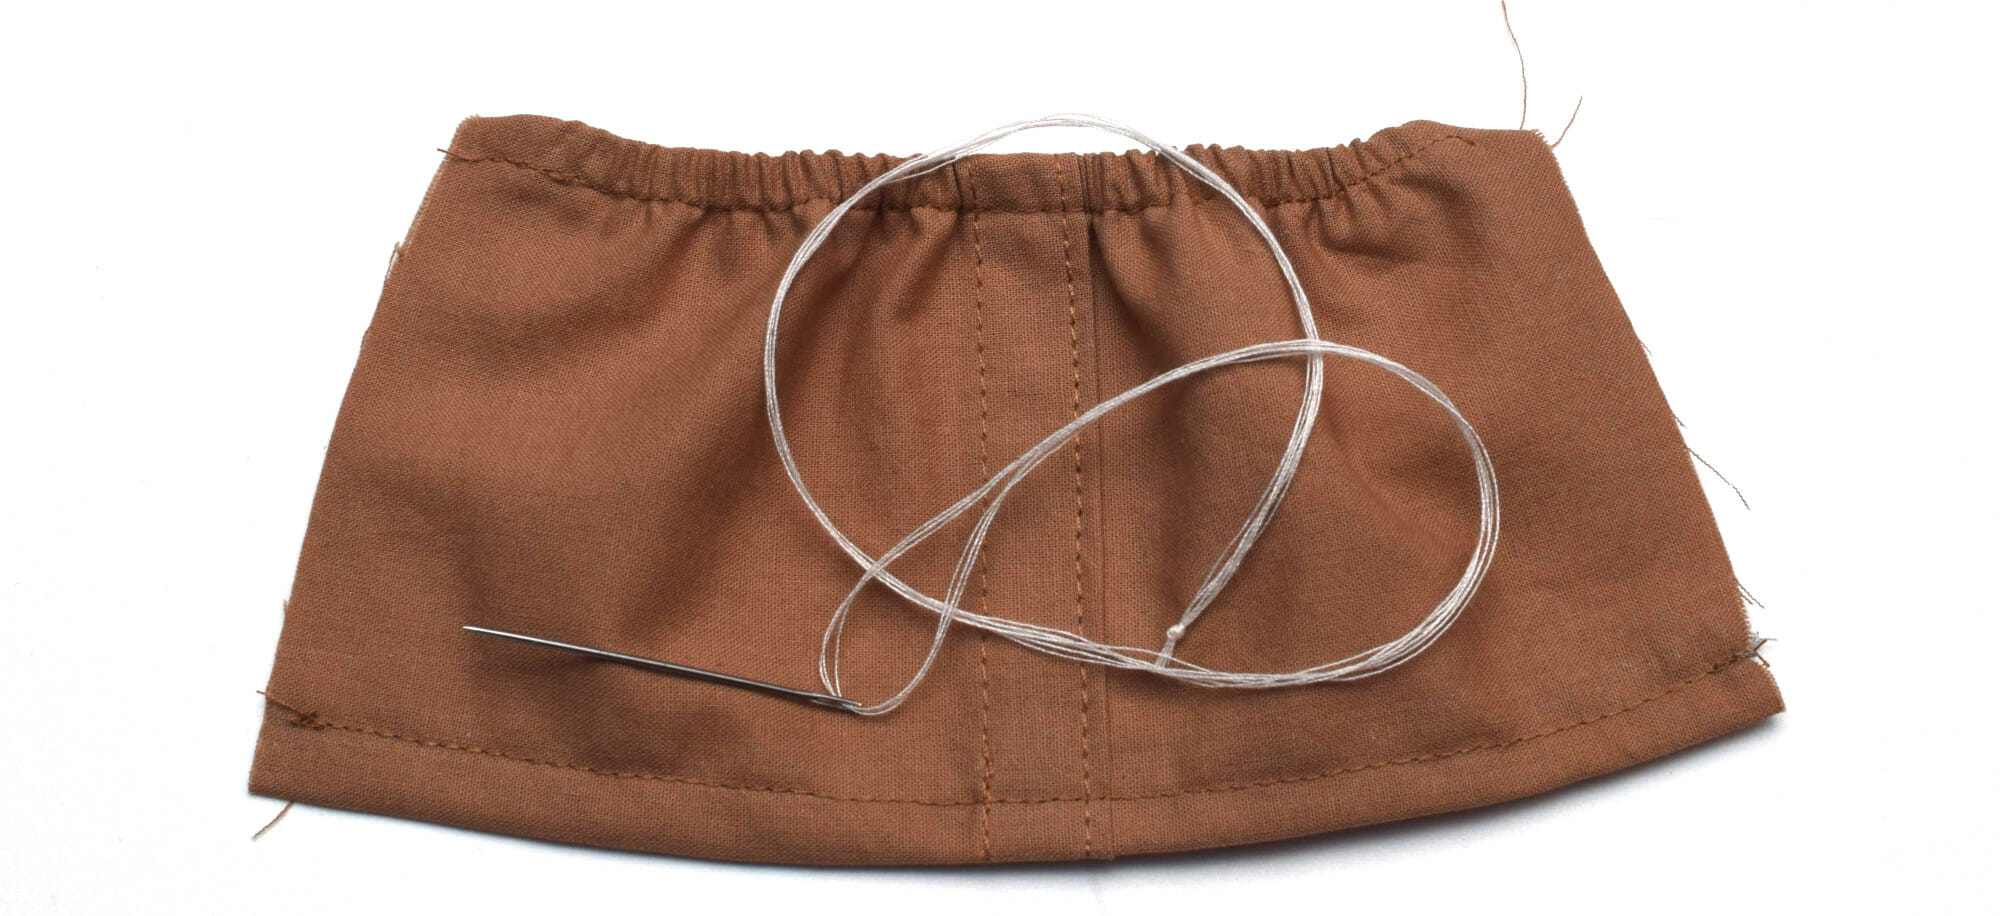
Hem the bottom of the skirt by turning the raw edge under 3/8”. For the next step, prepare the needle -thread it with three strands of thread, six in total.
Step 8
Now we’re going to make faux buttons with french knot embroidery.
You can use embroidery thread, or you can just thread your needle with three strands of thread like I did.
That means that three threads will go through the eye of the needle; when you pull them out, there are six strands in total.
To make a beautiful french knot, you have to make sure the needle is close to the fabric when you wrap the thread around it. Wrap the thread twice around the needle to obtain a perfect french knot.

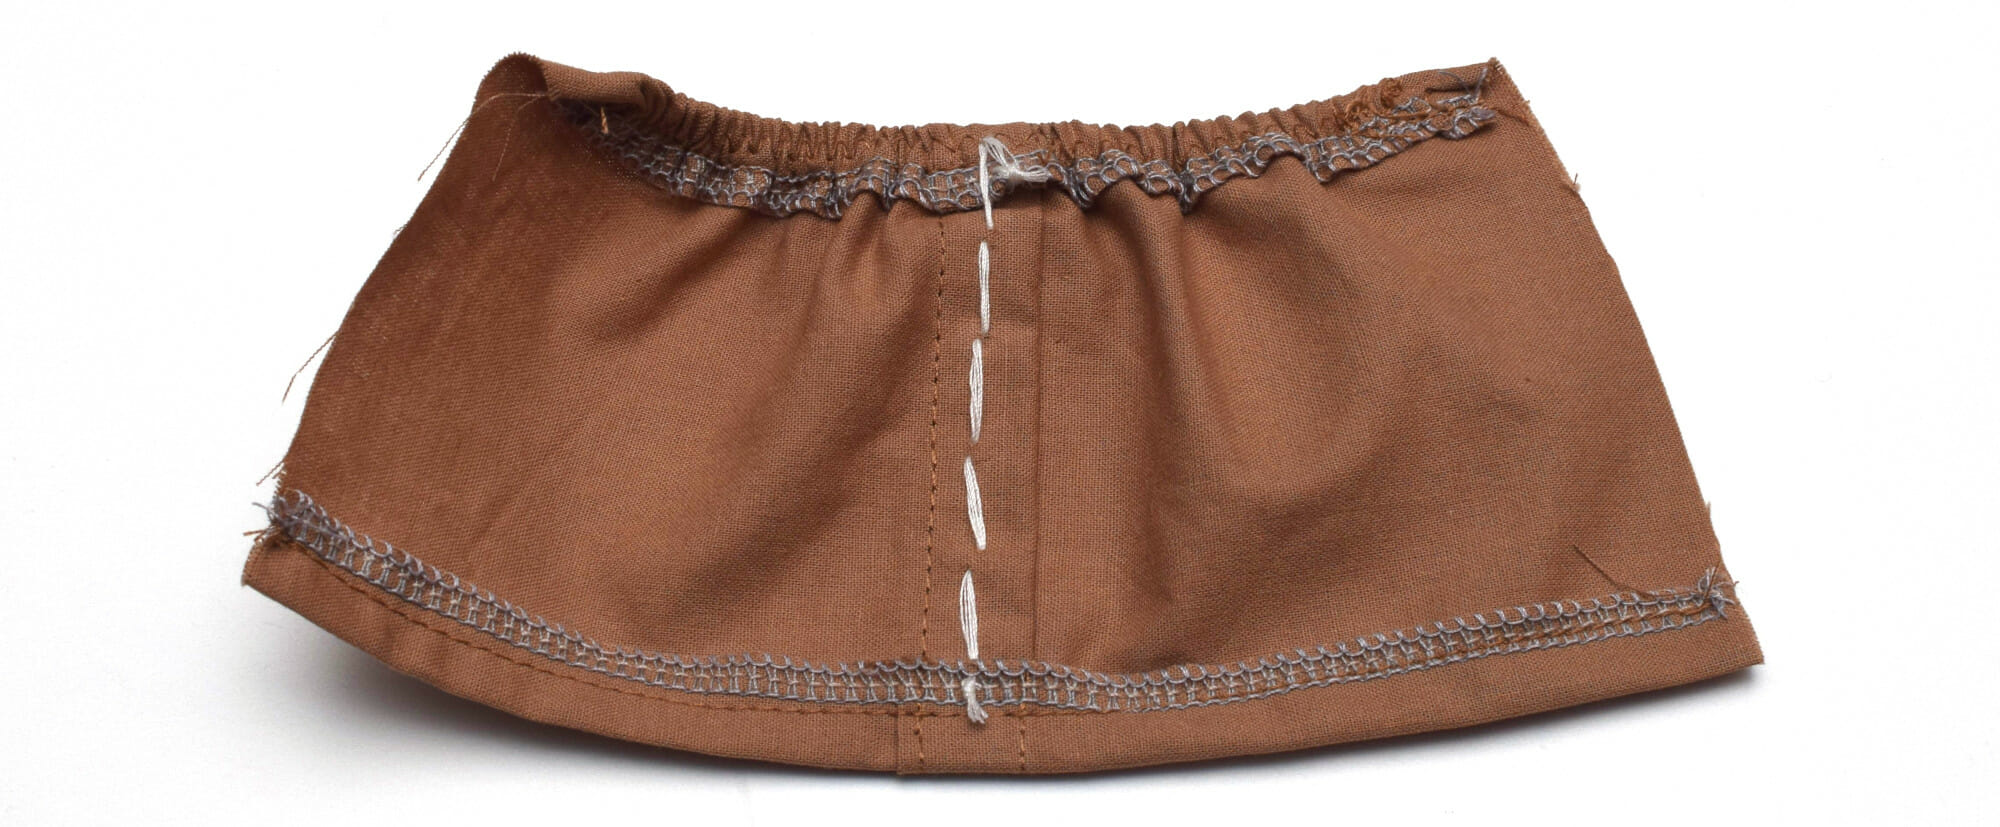
I used a seam gauge to space my faux buttons at 1/2” apart.
This is how the skirt looks on the inside right now.
Step 9
Then, with the right sides together, align the seams and stitch the skirt using a 1/2″ seam allowance at the center back.
Serge or zig-zag the center back seam, then press with an iron.
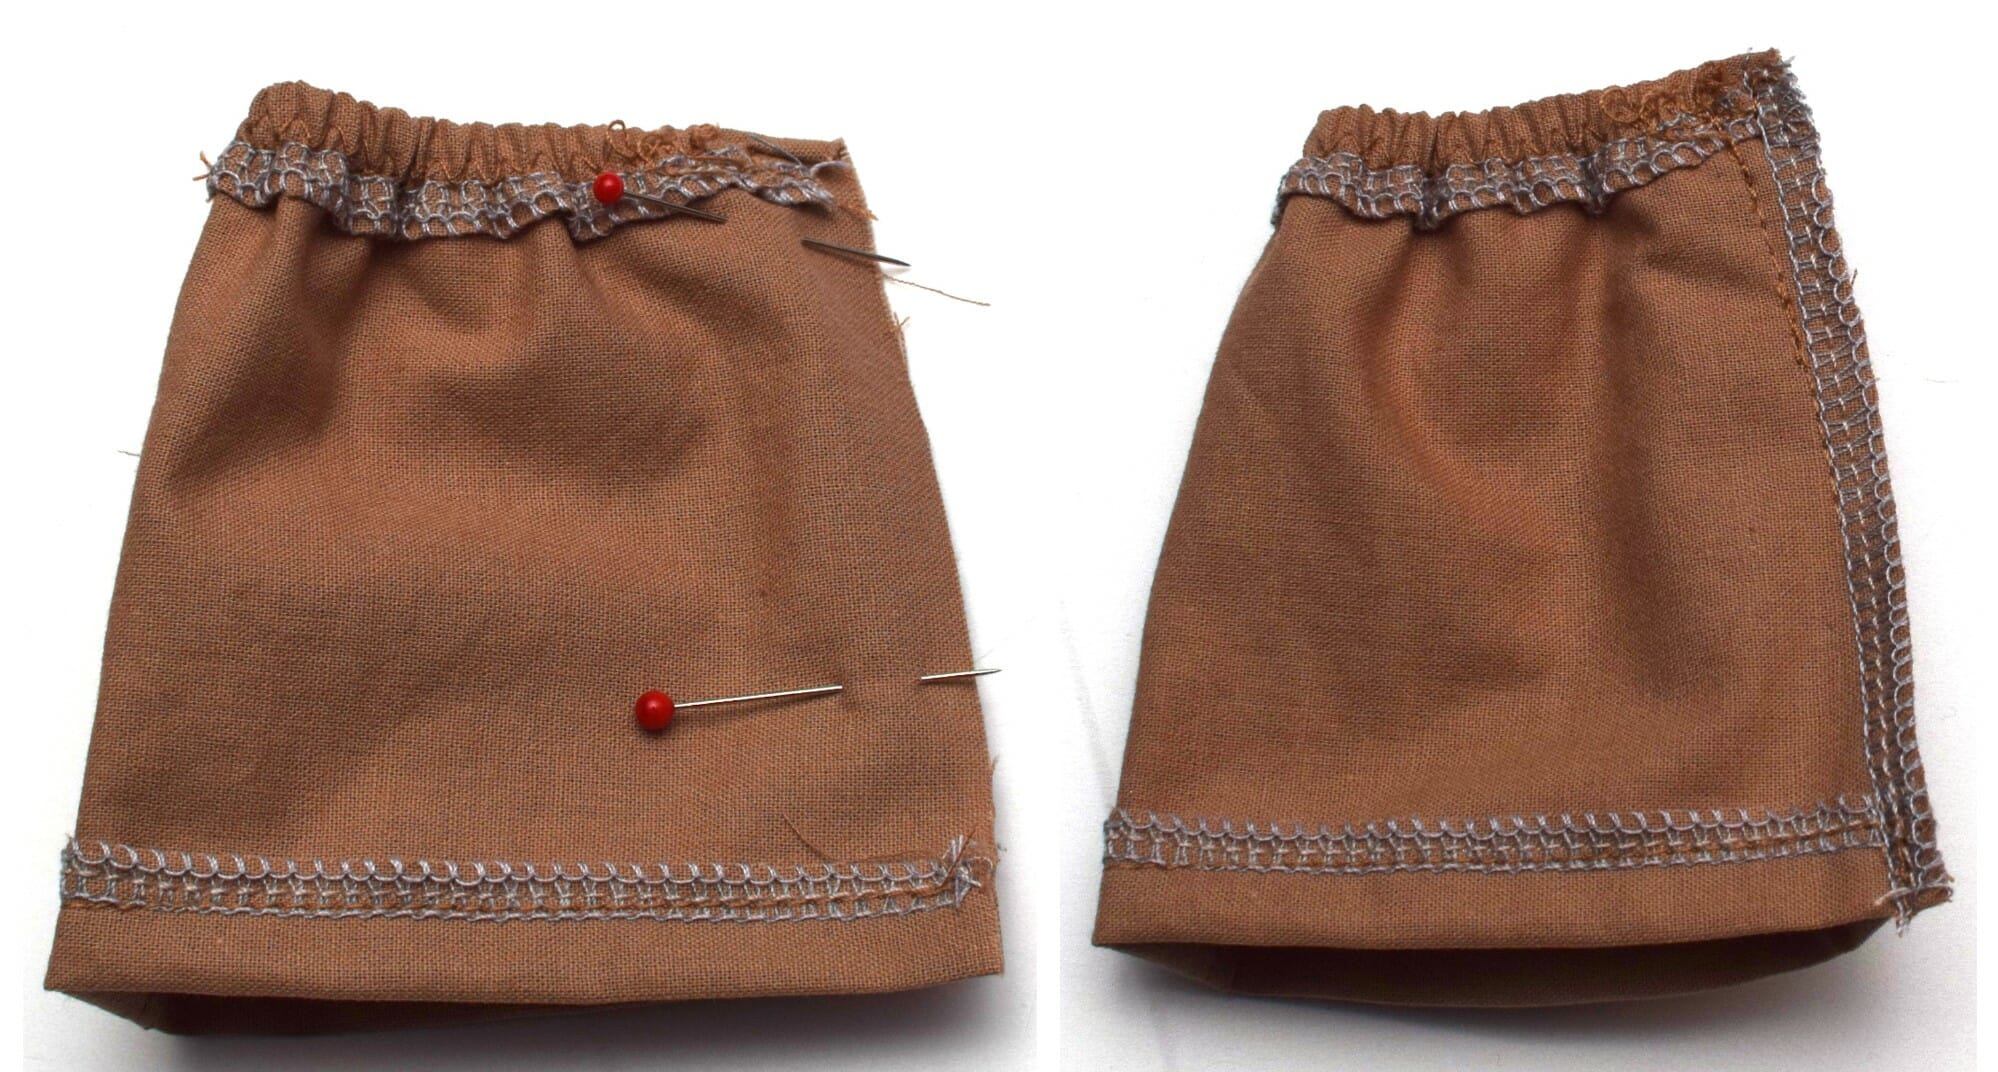
This cute faux button placket Barbie skirt is finished!

Did you find this Barbie skirt tutorial helpful? I’d like to hear what you think of it!
And I would LOVE to see pictures! If you give this cute Barbie skirt a try, please tag me on Instagram or Facebook.
Let’s keep in touch! You can find me on Facebook, Instagram, and Pinterest.


Great idea! It gave me the idea to use some small beads, from a left over project. Your tutorial is fantastic. Thank you for sharing, all the best!
I’m glad you like, Laura! Thank you!
This is brilliant! I love how simple it is. Thanks for sharing. I can’t wait to make it.
I’m so glad you like it, Lisa! Thank you for letting me know! <3 Happy sewing!
Love this!
Question – Step 6: Doesn’t the straight stitching to cover the elastic waist band make the elastic not stretch anymore? Do you stretch the elastic tight and then straight stitch?
Love making Barbie clothes for my granddaughters! This is so cute
Hi Donna,
Great question! At Step 6, I don’t sew over the elastic – I stitch along the serged edge. It’s a bit tricky, but you can make it easier by placing the elastic further away from the raw edge at Step 5. Thank you for reading my post and pointing this out!
All my best wishes,
Violet
Can’t wait to make this skirt. Thank for the information, very well written.
This is so cute! I don’t have anyone to make this for anymore, but if I did, I would definitely sew this. Your instructions are very clear and accurate. Nice job!
Thank you, Leslie! Kind words like these warm my heart and keep me going on with the blog, so… a big thank you! <3