

Have an odd cushion insert or want to skip buying expensive covers? Making your own envelope pillow cover is one of the quickest DIY home decor projects out there.
Once you know the simple formula, you can make a snug, custom cover for any insert size. It works for tiny accent cushions, extra-long lumbar pillows, and oversized couch pads.
Here is the exact formula to calculate your fabric cuts every single time.
Step 1: Measure your insert
First, grab your pillow insert and measure it from seam to seam across the widest part.
- Insert width = W.
- Insert height = H.
Always measure the insert itself, not an old loose cover. To get a nice, plump cushion, we cut the fabric close to the insert size so the finished cover never looks baggy.
Step 2: The front piece formula
Next, let’s tackle the front panel cut. Using a standard 3/8-inch seam allowance around all four edges means adding about 1 inch total to both width and height.
- Front width = Insert width + 1 inch.
- Front height = Insert height + 1 inch.
- Cut: 1 piece.
Example: For a 16 x 16 inch insert, cut your front panel at 17 x 17 inches.
Step 3: The back overlapping pieces formula
After that, you will calculate your two back panels. An envelope pillow needs two overlapping panels across the back so the insert stays tucked inside without gaping open.
Both back pieces share the exact same width as your front piece:
- Back pieces width = Front piece width
For the height, you need enough fabric for the finished hems plus a 4-inch overlap across the middle. Here is the quick formula:
- Back pieces height = (Insert height / 2) + 3.5 inches
- Cut: 2 identical pieces
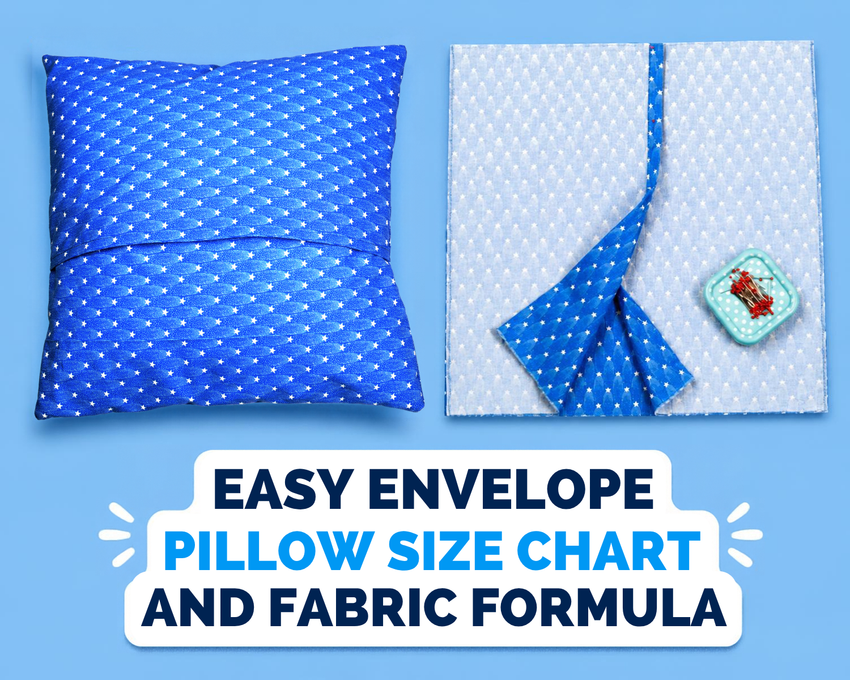
Checking the math: Let’s look at a 16 x 16 inch insert.
- Half the height: 16 / 2 = 8 inches
- Add 3.5 inches: 8 + 3.5 = 11.5 inches
- Cut 2 back pieces at 17 x 11.5 inches
Why does 11.5 inches work? Two 11.5-inch pieces give you 23 inches of total fabric height. The front is 17 inches tall, which gives you 6 inches of extra fabric (23 – 17 = 6).
When we sew the pillow together with a 3/8-inch seam allowance all around, we will lose about 1 inch total in height. So that leaves 5 inches difference.
Now, we want about a 4-inch overlap to keep the pillow snugly inside, which leaves 1 inch extra to work with. Perfect – we will use that inch to fold and hem the raw edges of the back pieces. That leaves a clean, generous 4-inch overlap right across the middle so your pillow insert never slips out.
Cut cheat sheet for square pillows
Meanwhile, if you want to skip doing the math, use these cut dimensions for standard square throw pillows (all using 3/8-inch seam allowances):
14 x 14 inch insert:
- Front: cut 1 piece at 15 x 15 inches
- Back: cut 2 pieces at 15 x 10.5 inches
16 x 16 inch insert:
- Front: cut 1 piece at 17 x 17 inches
- Back: cut 2 pieces at 17 x 11.5 inches
18 x 18 inch insert:
- Front: cut 1 piece at 19 x 19 inches
- Back: cut 2 pieces at 19 x 12.5 inches
20 x 20 inch insert:
- Front: cut 1 piece at 21 x 21 inches
- Back: cut 2 pieces at 21 x 13.5 inches
How to calculate rectangular and lumbar pillows
Similarly, rectangular pillows use the exact same logic. For lumbar cushions, placing the envelope flap across the wider side keeps the back flatter and looks much cleaner on your sofa.
The lumbar formula:
- Front width = Insert width + 1 inch.
- Front height = Insert height + 1 inch.
- Back pieces width = Front piece width.
- Back pieces height = (Insert height / 2) + 3.5 inches.
Cut cheat sheet for lumbar pillows
Small lumbar (12 x 18 inch):
- Front: cut 1 piece at 19 x 13 inches
- Back: cut 2 pieces at 19 x 9.5 inches
Standard couch lumbar (12 x 20 inch):
- Front: cut 1 piece at 21 x 13 inches
- Back: cut 2 pieces at 21 x 9.5 inches
Long lumbar (12 x 24 inch):
- Front: cut 1 piece at 25 x 13 inches
- Back: cut 2 pieces at 25 x 9.5 inches
Medium lumbar (14 x 20 inch):
- Front: cut 1 piece at 21 x 15 inches
- Back: cut 2 pieces at 21 x 10.5 inches
Deep lumbar (14 x 24 inch):
- Front: cut 1 piece at 25 x 15 inches
- Back: cut 2 pieces at 25 x 10.5 inches
Extra-long bed lumbar (14 x 36 inch):
- Front: cut 1 piece at 37 x 15 inches
- Back: cut 2 pieces at 37 x 10.5 inches
How to calculate standard bed pillows
On the other hand, if you want to sew a sham-style cover for a standard sleeping pillow (20 x 26 inches), use a side opening instead so the cushion slides in easily.
- Front: cut 1 piece at 27 x 21 inches
- Back pieces height: cut 2 pieces at 21 inches tall
- Back pieces width: cut 2 pieces at 16.5 inches wide
Cutting the width at 16.5 inches gives you a roomy 5-inch overlap across the short side to keep bulky bed pillows hidden.
Ready to sew?
Now that your pieces are cut, head over to my quick 10-minute envelope pillow cover tutorial to follow the simple step-by-step assembly guide.
If you prefer decorative ribbons instead of a plain fold, check out my easy envelope pillowcase with ties tutorial next.
You might also love:
- Best free sewing patterns for DIY reusable makeup remover pads
- Free mini zipper pouch sewing pattern
- How to sew a simple summer skirt with pockets – no pattern needed
- DIY dish towels sewing tutorial
Let’s keep in touch! You can find me on Facebook, Instagram, and Pinterest.
Related posts