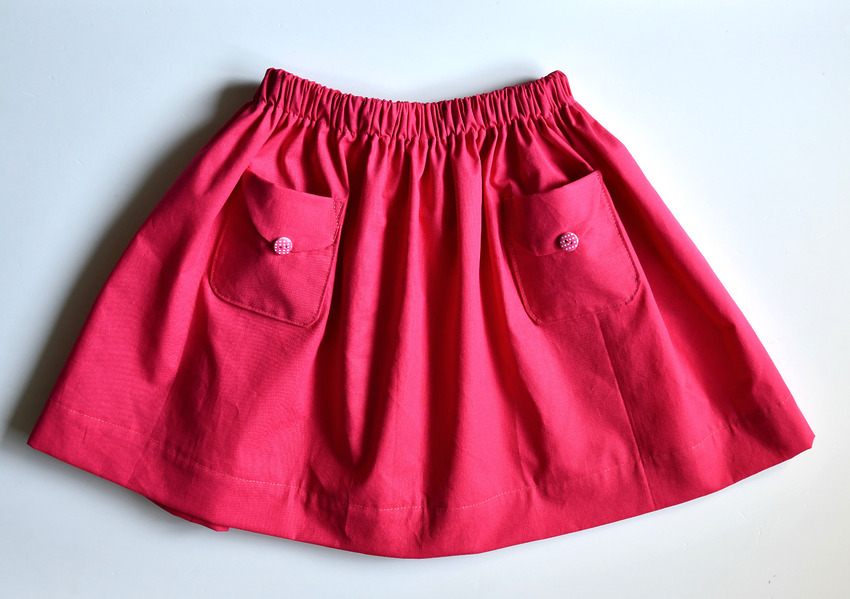
Learn how to sew a cute gathered skirt with asymmetrical rounded patch pockets for girls with this step-by-step tutorial. Perfect for spring and summer, this versatile skirt is a great addition to any little girl’s wardrobe. This tutorial will guide you through the entire sewing process, from making the pockets to inserting the elastic waistband.
About a week ago, I spotted this cute skirt on my favorite blog and decided to make a similar one for my youngest daughter. With spring in full swing, it was time to refresh her wardrobe, and a gathered skirt with patch pockets seemed like the perfect addition.
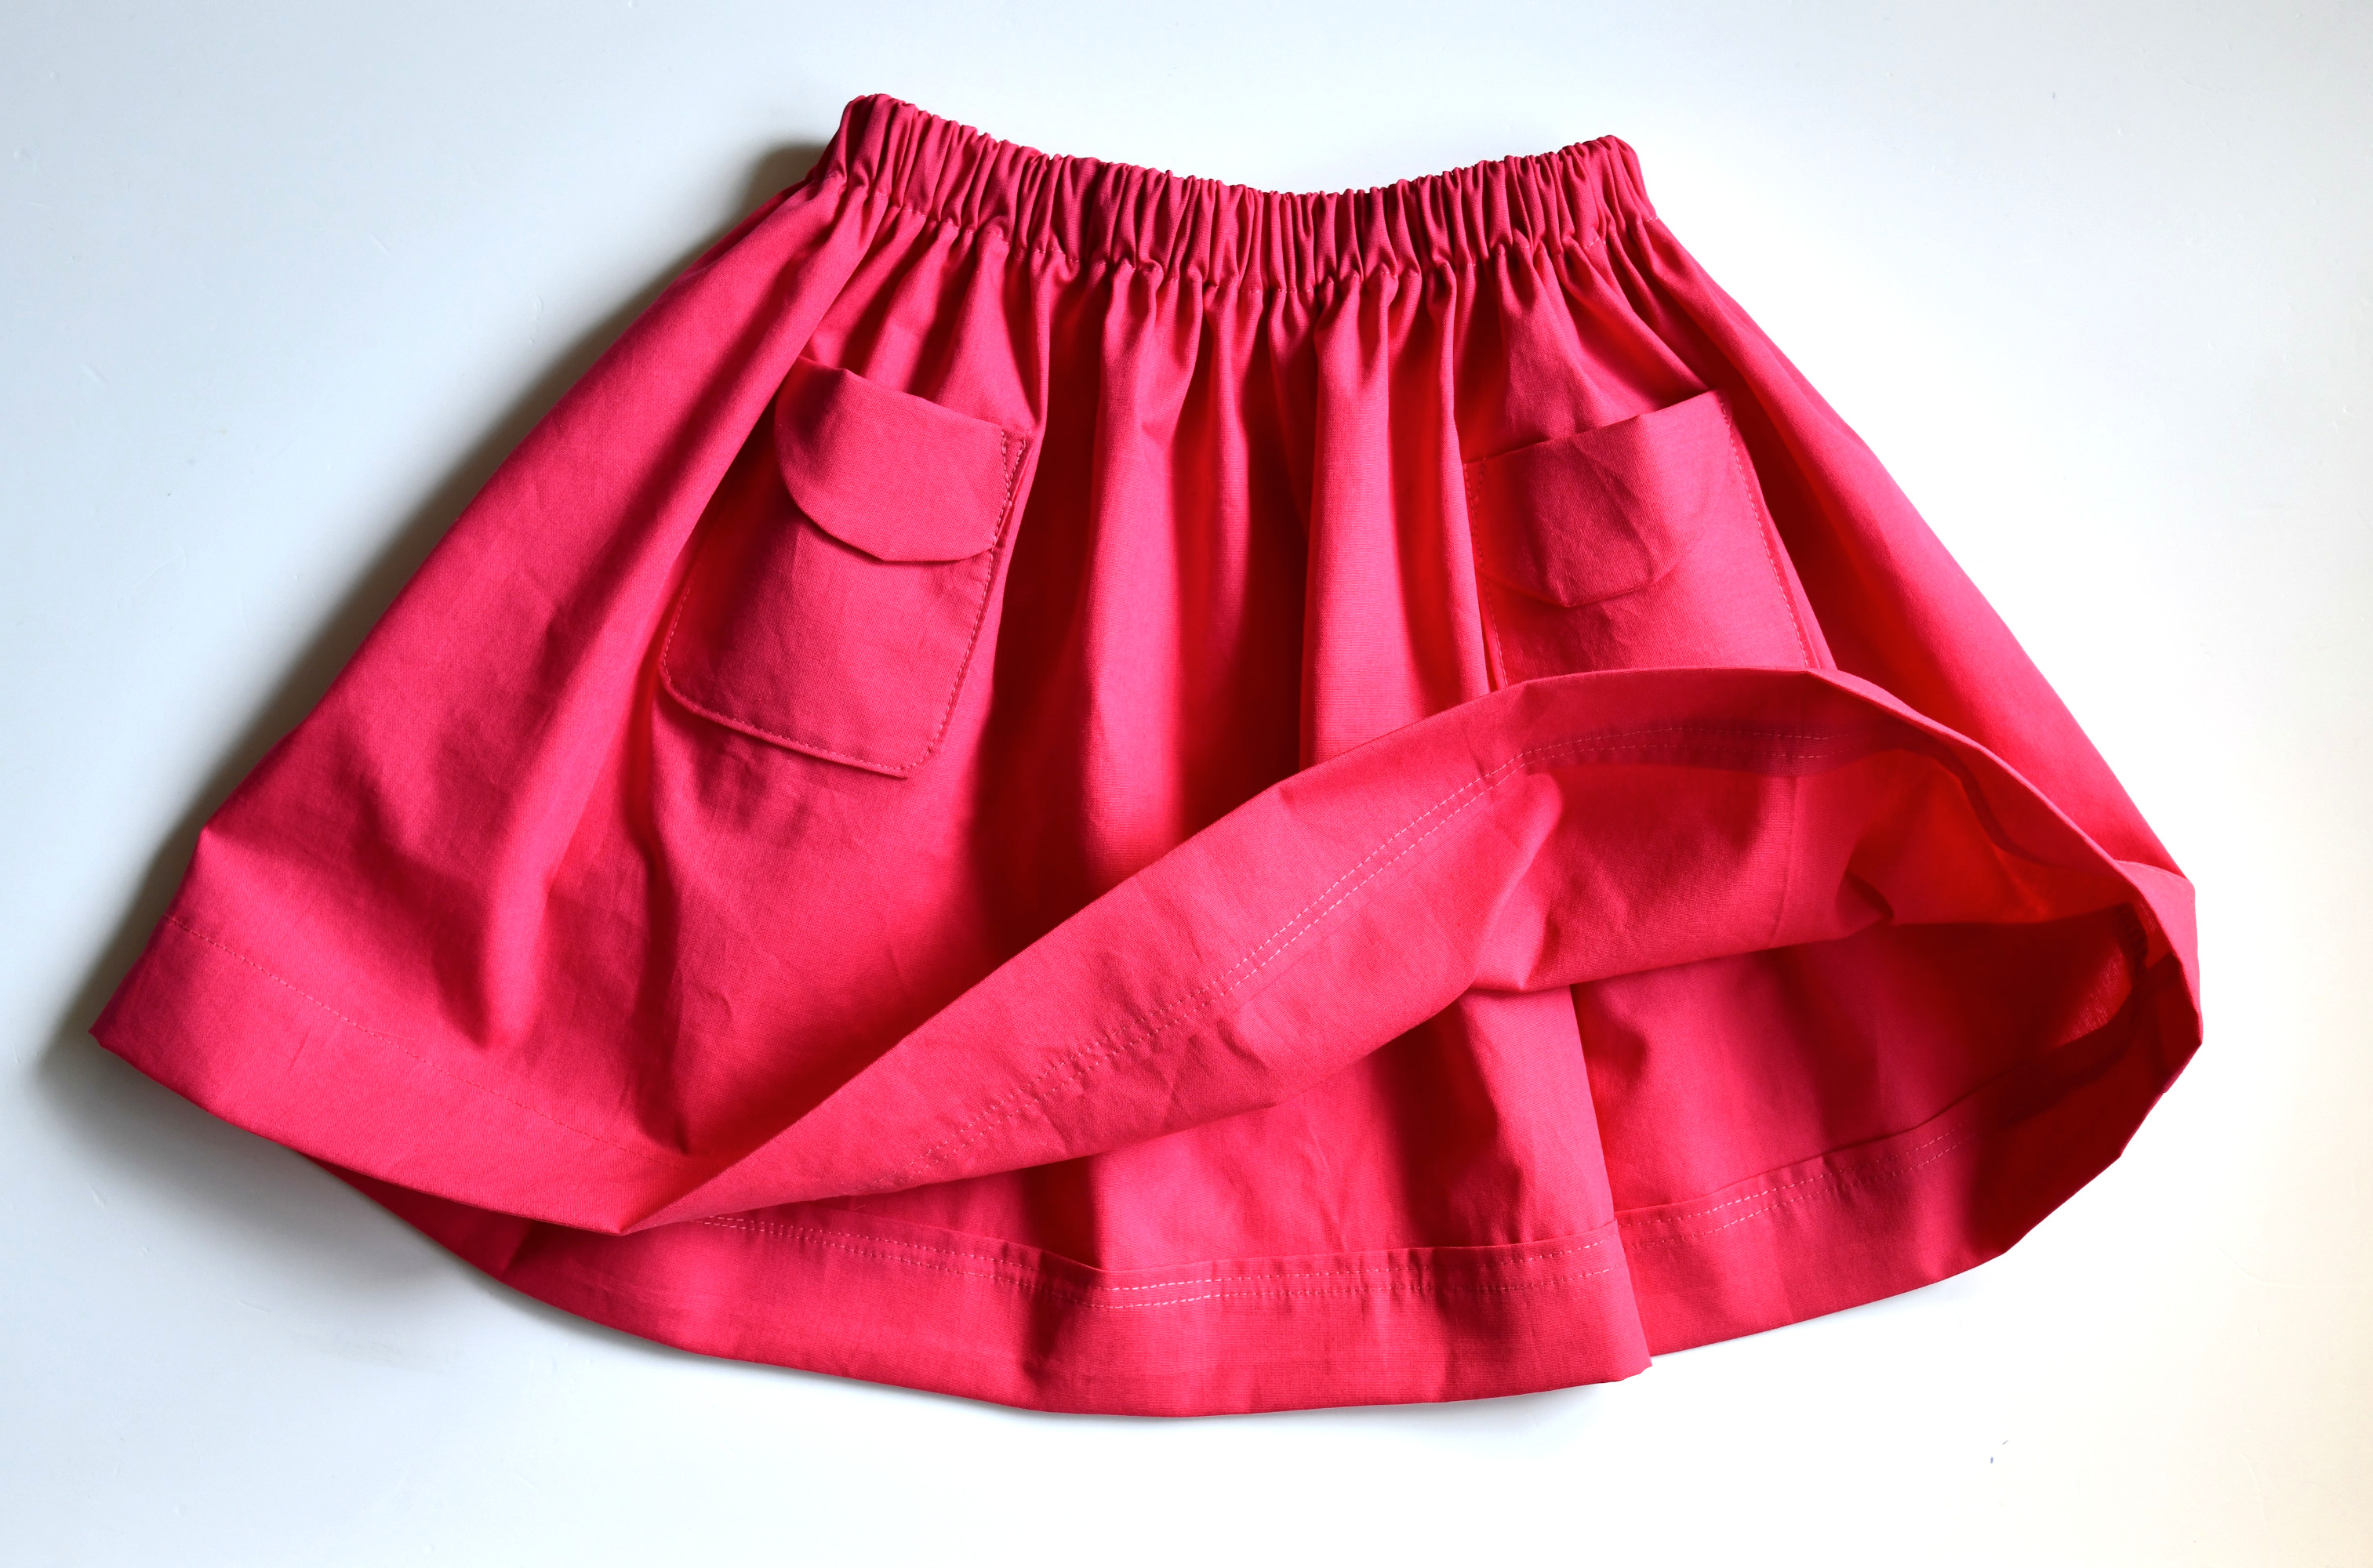
This little skirt is a versatile mix-and-match piece, and I hope she’ll wear it a lot this spring / summer season.
I always find sewing skirts fun and easy, and this one was no exception. It was a quick little project that was very satisfying to complete.
Related: How to sew a simple skirt (tutorial for beginners) / Floral skirt with side bows and ties
For this skirt, I used some poplin cotton from my stash, and it happened to be pink – which is still her favorite color!
The finished skirt is gathered using 2 times the waist measurement and is 13 inches long. I used 1-inch wide elastic for the casing and made a double hem, 1.5 inches wide.
When I initially guessed the measurements for the skirt while my daughter was in kindergarten, I cut the fabric piece larger than I needed. That’s why I ended up removing about 16 inches from the width of the fabric piece and made a wider hem than initially planned.
DIY gathered skirt with rounded patch pockets – sewing supplies
- free PDF pattern for the asymmetrical rounded patch pockets – DOWNLOAD BELOW
- Sewing machine
- Universal regular point needle
- Fabric – cotton, poplin, linen
- Fabric scissors
- Iron
- Chalk pencil
- Measuring tape
- Sewing gauge
- Sewing pins
- 1-inch wide elastic
- Safety pins
How to make a cute gathered skirt with asymmetrical rounded patch pockets
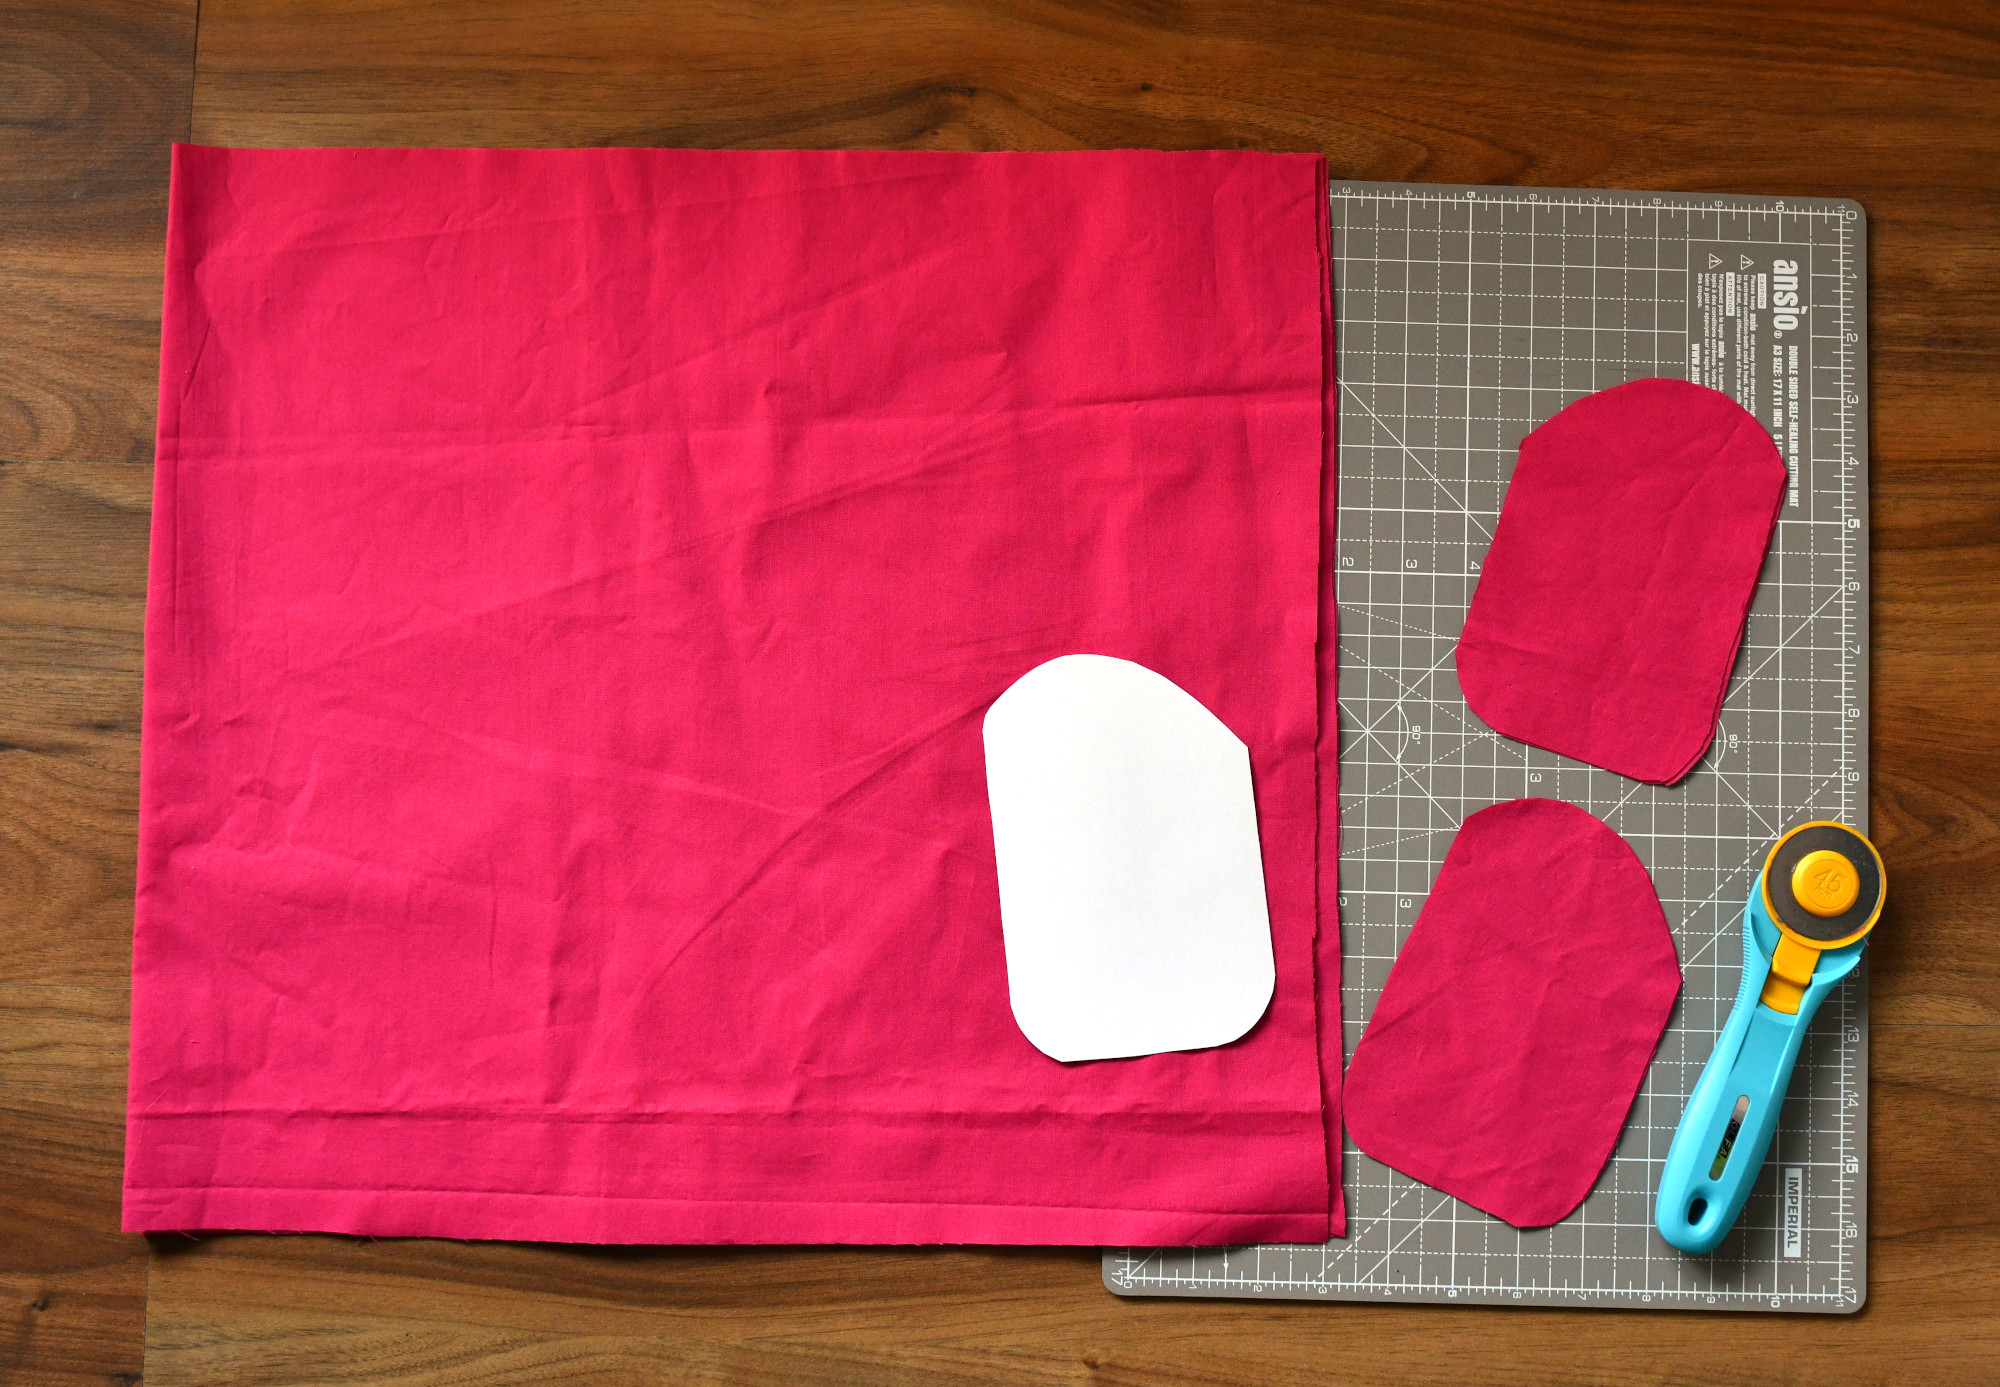
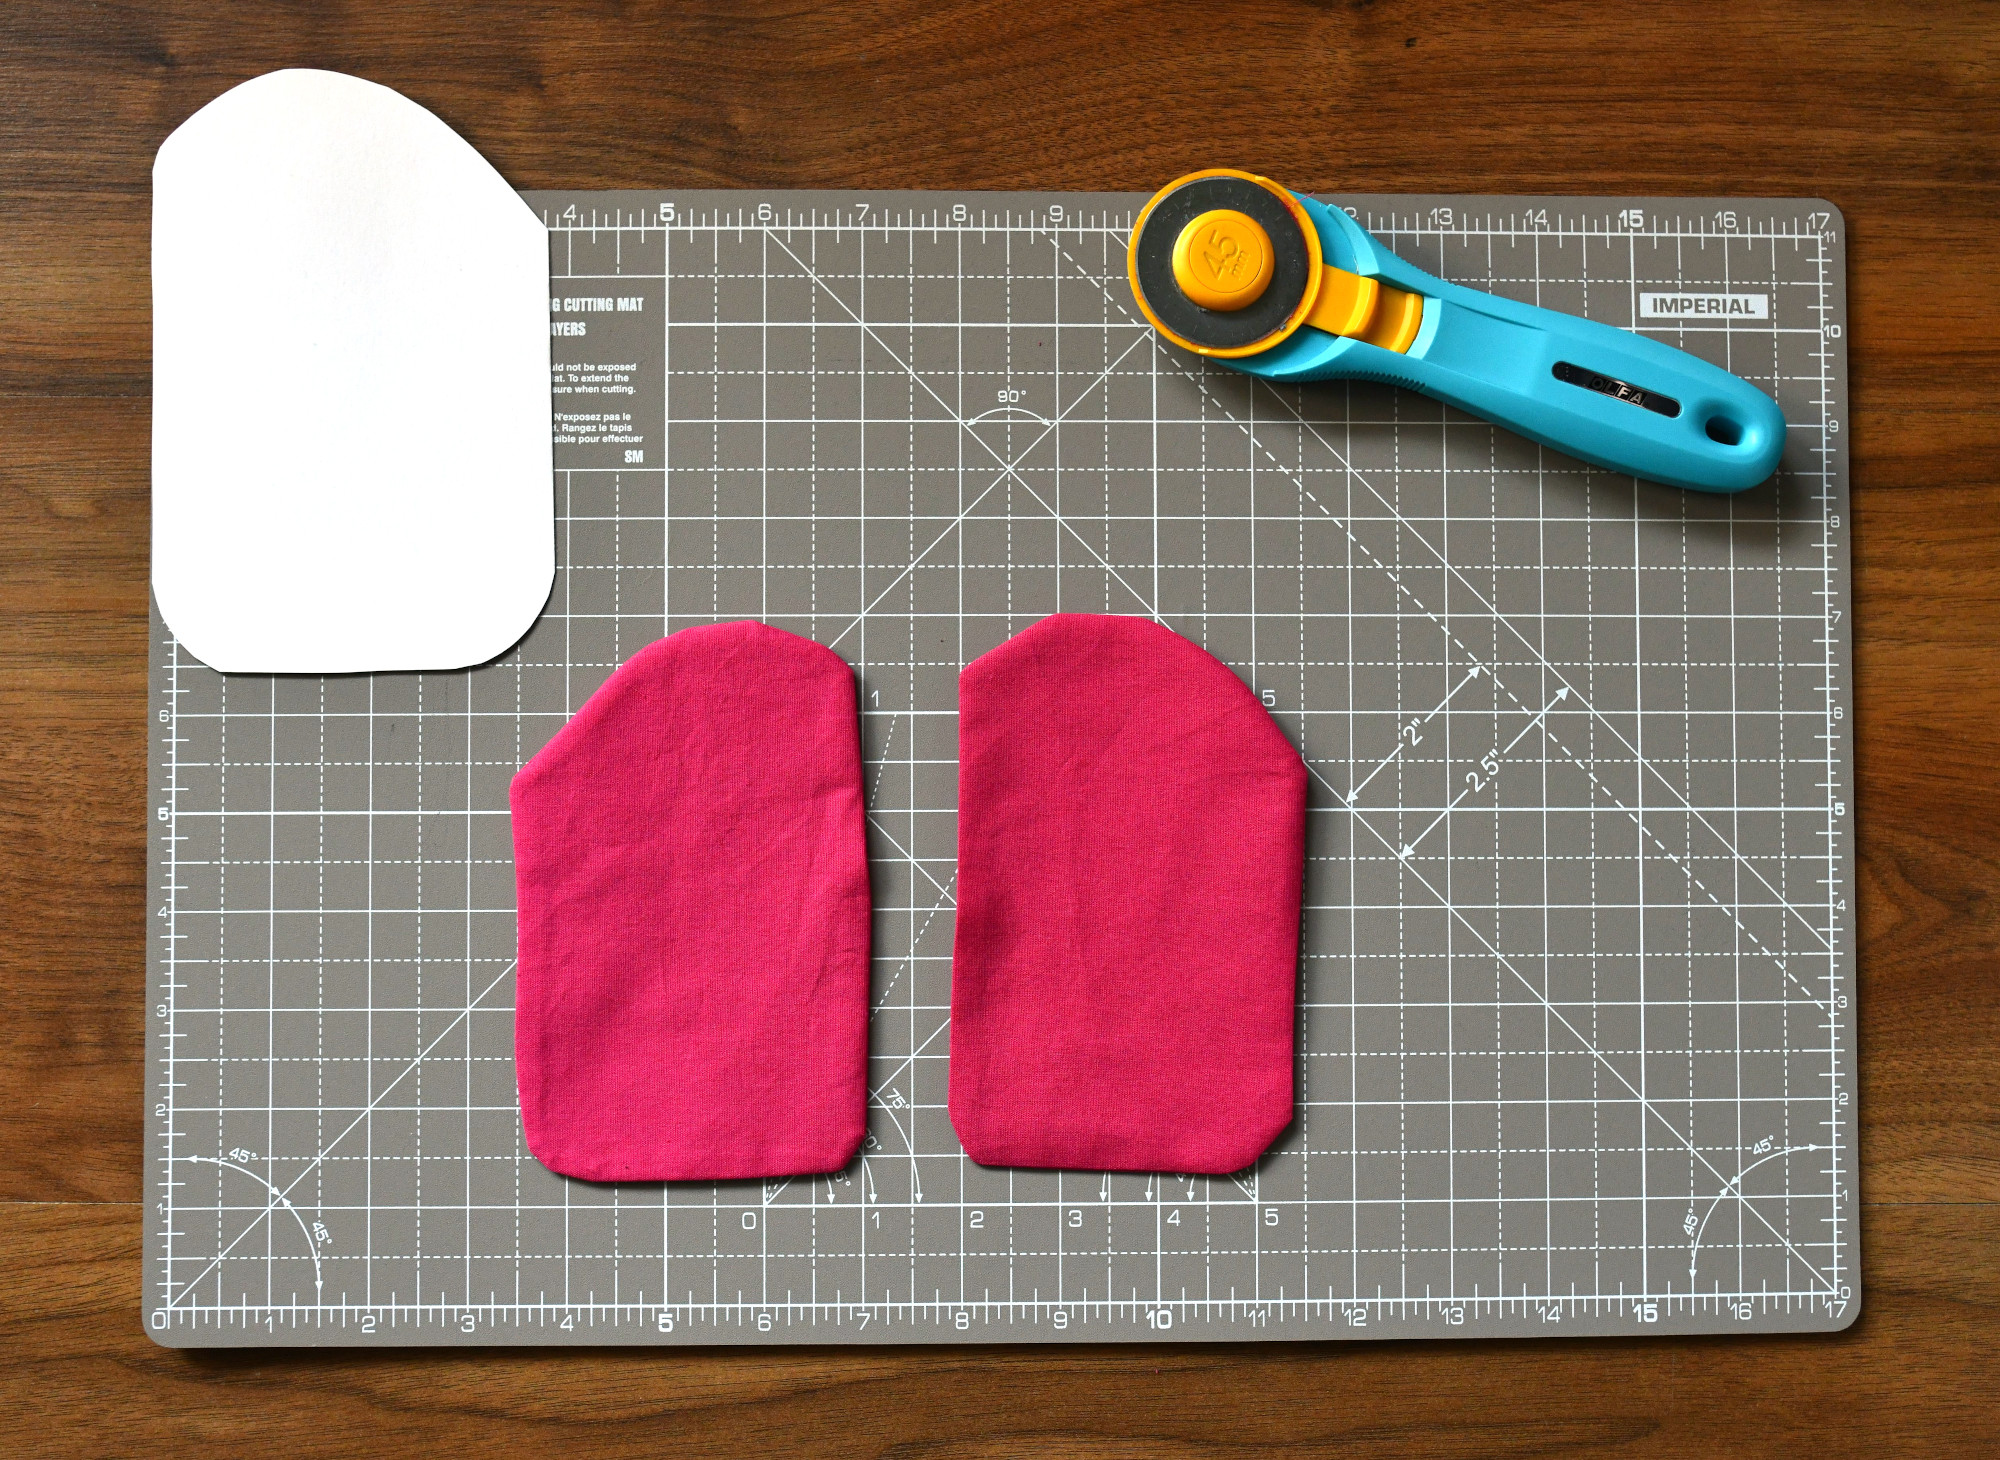
Step 1 – cut and sew the pockets
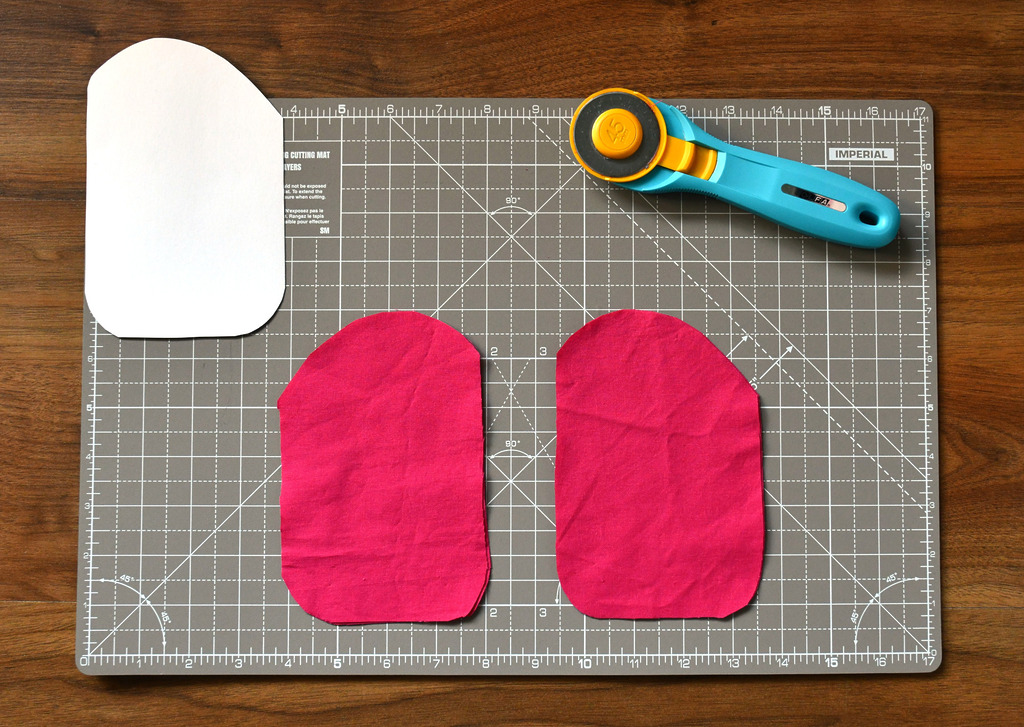
Let’s start with the pockets. You will need the pocket template to cut four pattern pieces – two mirrored pairs in total – to create two asymmetrical rounded patch pockets.
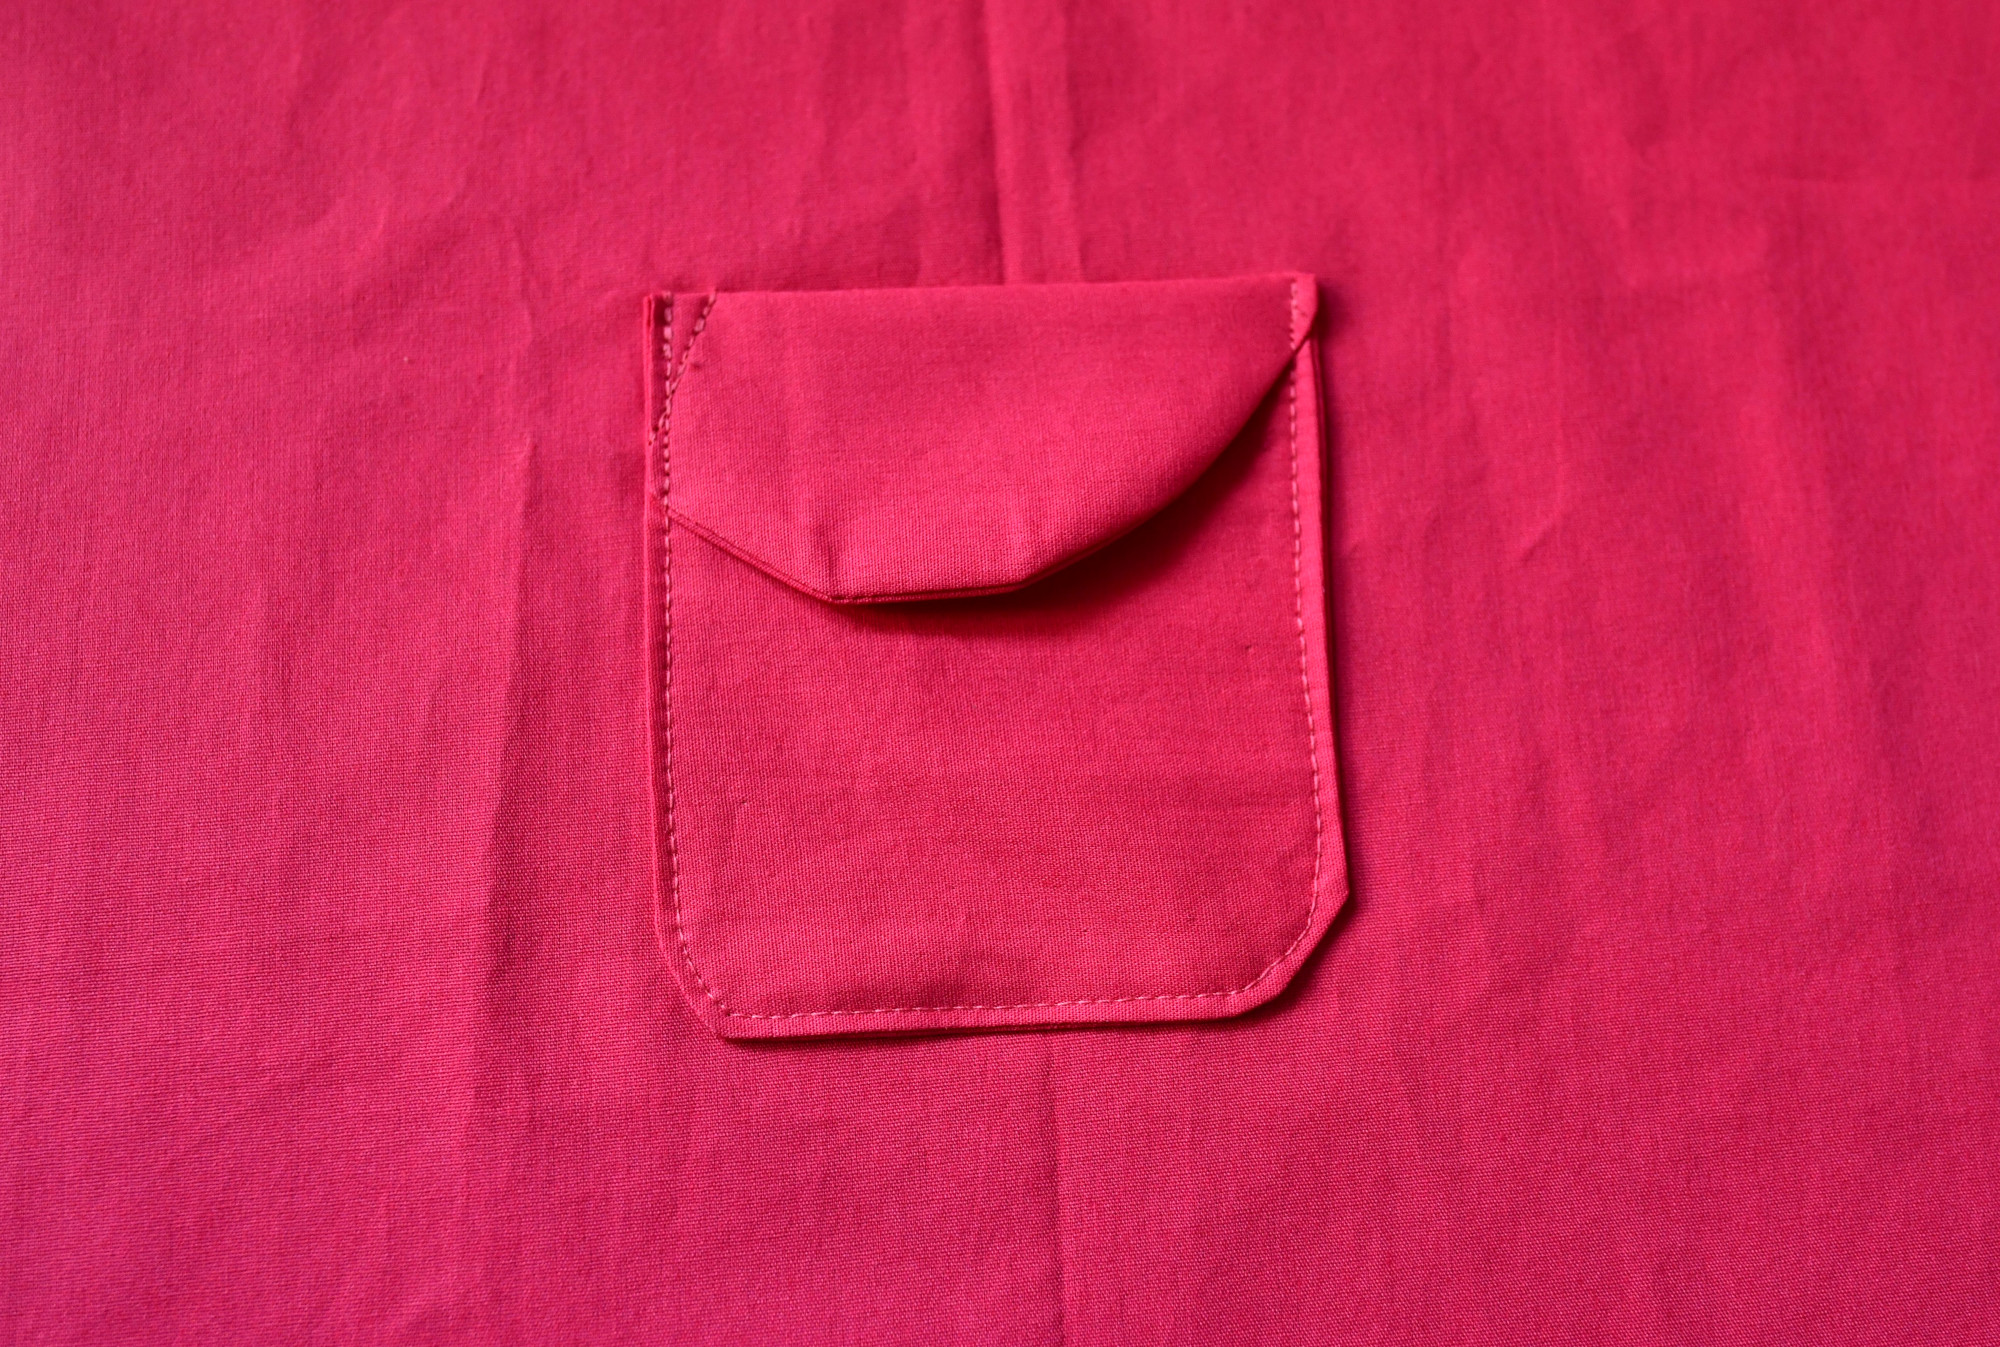
The flap on these pockets is fake – they are simply folded at the top. To add a cute touch, I decided to include a button.
This pocket size is great for skirts designed for girls aged 0-5 years. If you are making a skirt for an older girl, you may need to enlarge the pocket template to make it more functional.
Currently, these pockets are already a bit too small for my 5.5-year-old daughter, so I find them more pretty than practical.
To create the pockets, place the pocket pieces with right sides together and stitch all the way around, leaving a 1.5-inch opening on the long, straight side.
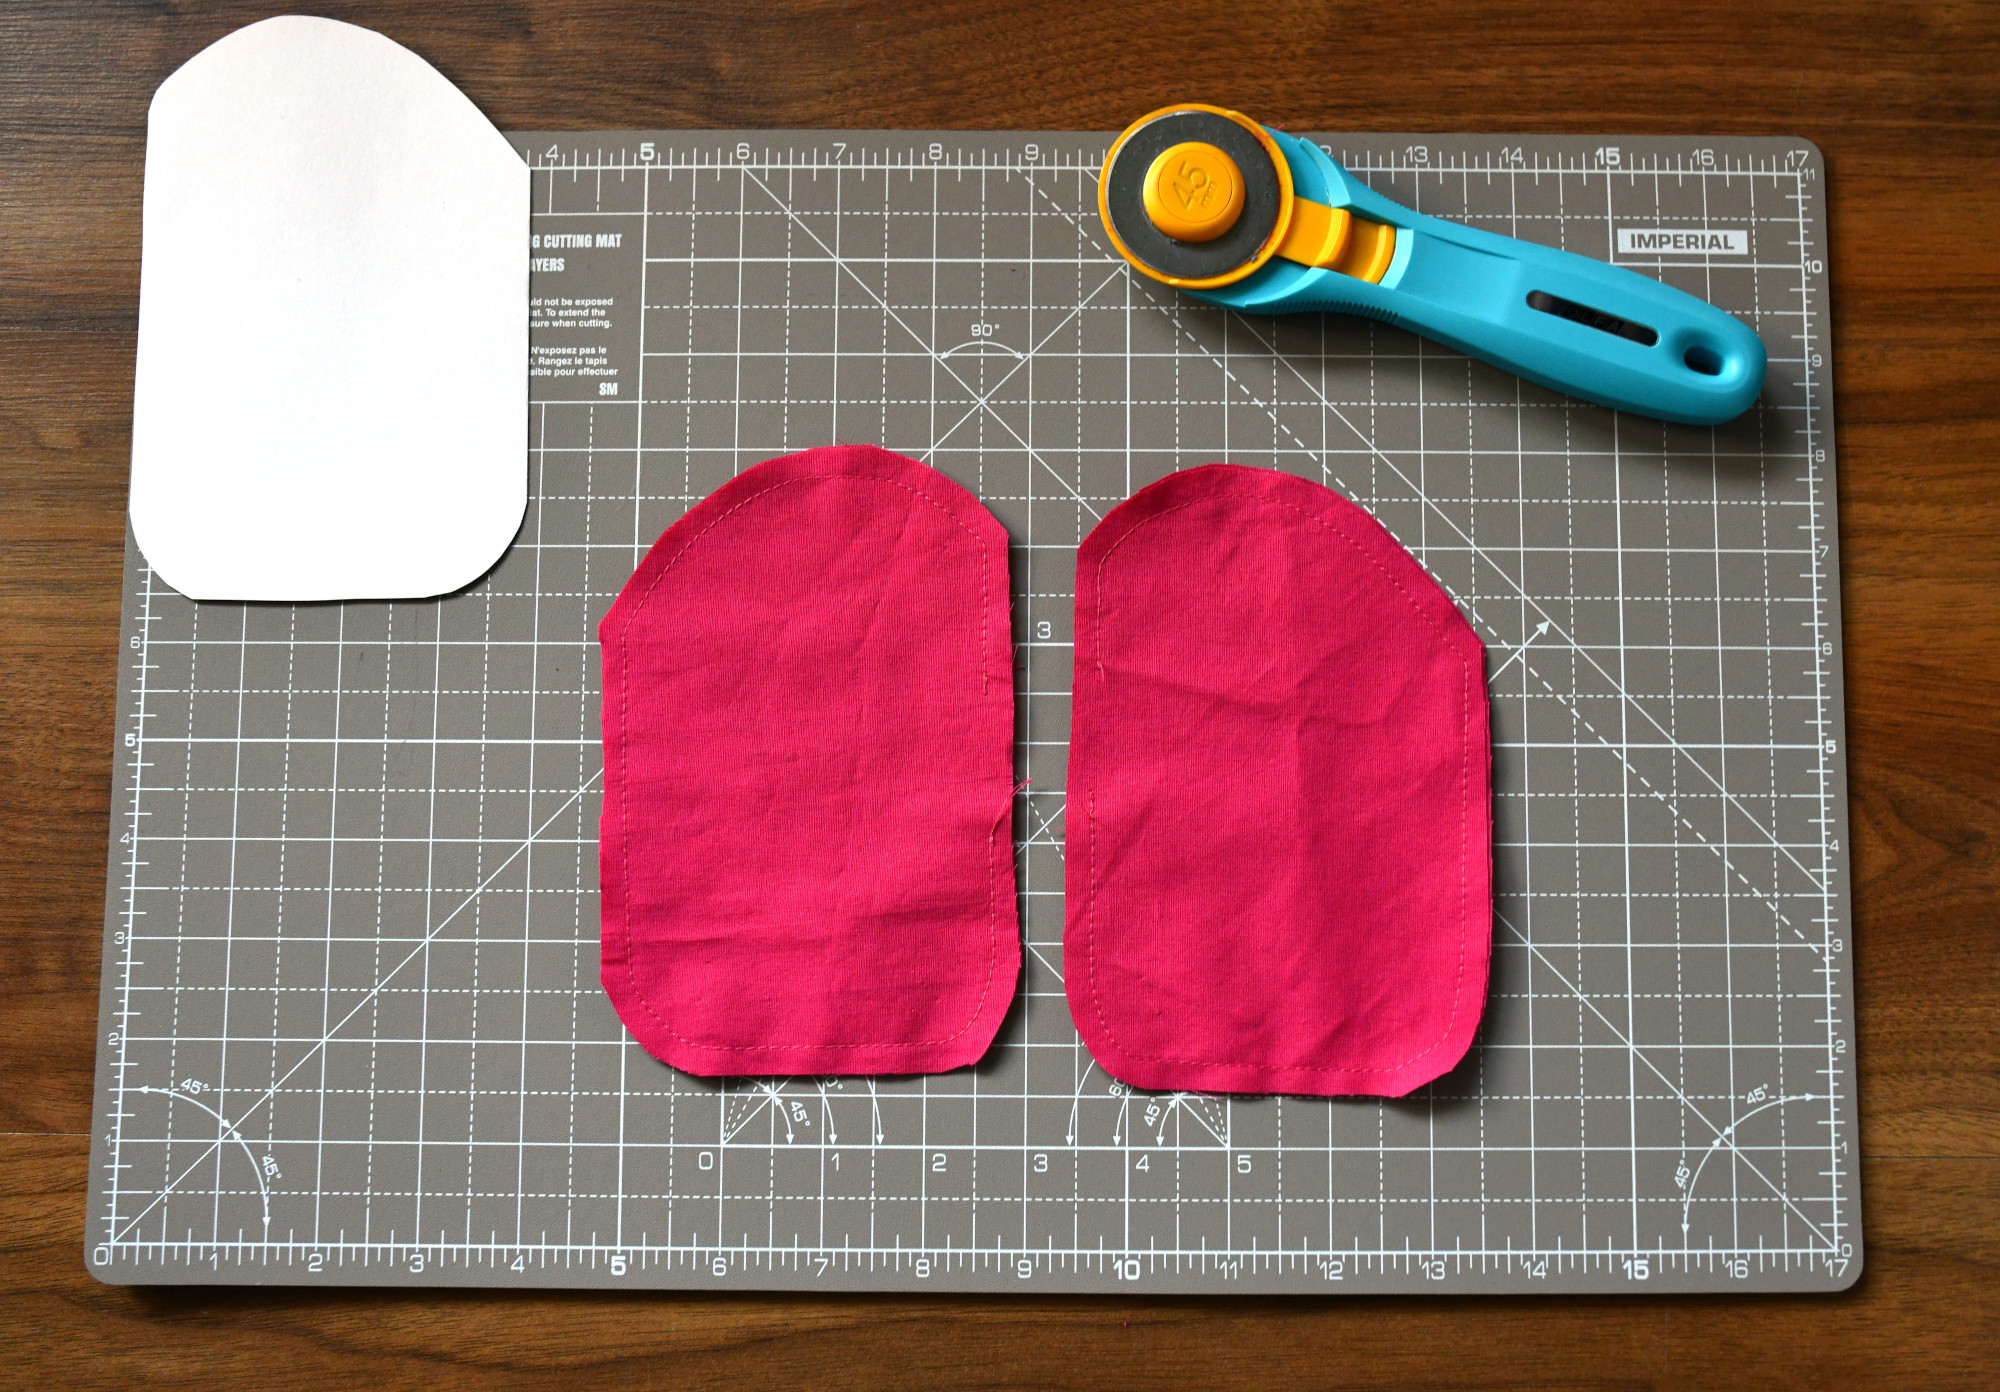
When sewing the rounded patch pockets, it’s essential to sew slowly and consider the curve as a series of small straight stitches. Take your time and look ahead to pivot the fabric when needed. This will help you achieve a smooth and neat curve on your patch pockets.
Next, clip the corners and curves of the patch pocket and/or trim the seam all around (I chose the latter).
Step 2 – turn the pockets right side out
Use the small gap to turn the patch pocket right side out, then, using a pencil or chopstick, push the corners out.
It’s time to give the pockets a good press. This step is crucial – don’t skip it. Make sure that the small opening is pressed well and its raw edges are tucked inside to create a neat and professional finish.
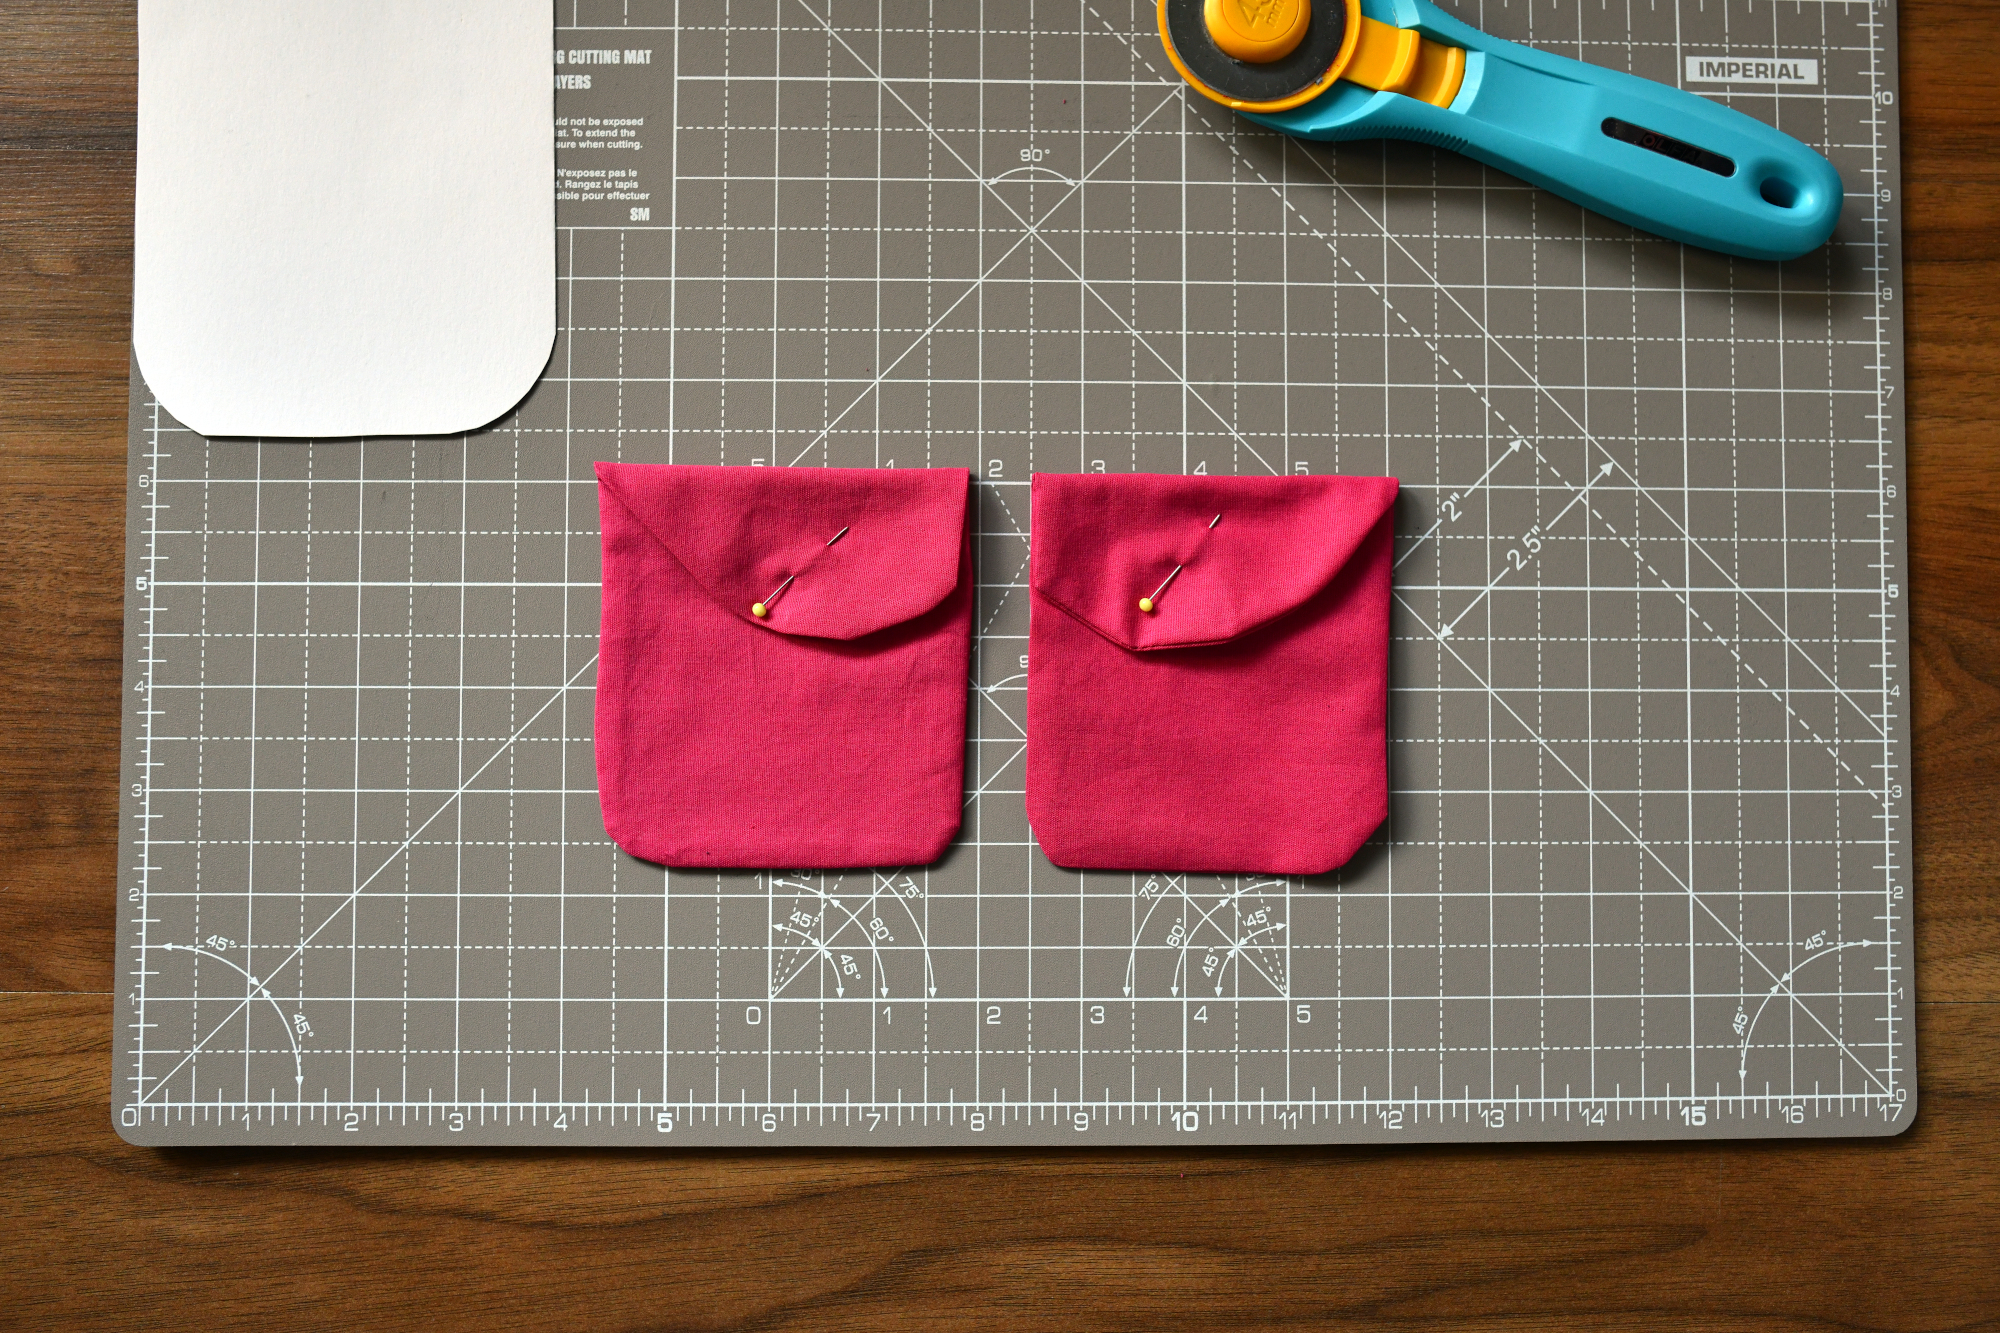
Fold the top edges of both pockets similarly, and hold the flap in place with pins. The pockets are now ready to be attached to your skirt.
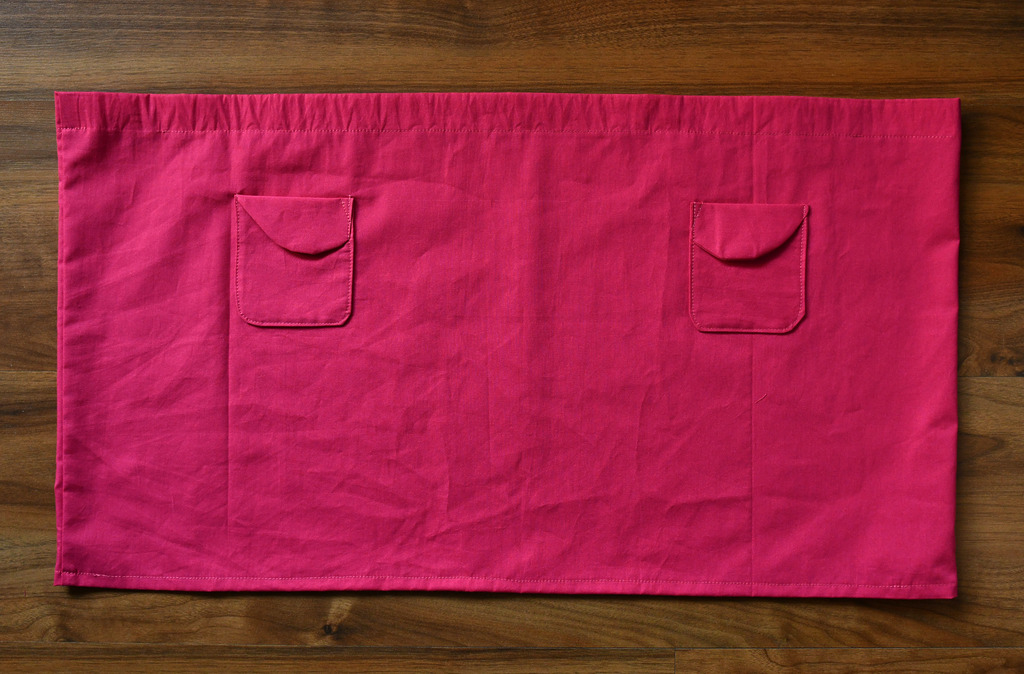
Step 3 – placing the rounded patch pockets
To attach the pockets to the front fabric piece of your skirt, start by using a fabric marker to trace a parallel line 3 inches from the top raw edge. Then, fold your fabric piece in half width-wise and trace a line in the middle to ensure that your pockets are placed symmetrically.
To place my pockets symmetrically, I measured 5 inches from the side seam (measured from the nearest pocket edge) for each pocket, with a 10-inch distance between them. However, you can adjust the placement to your preferences.
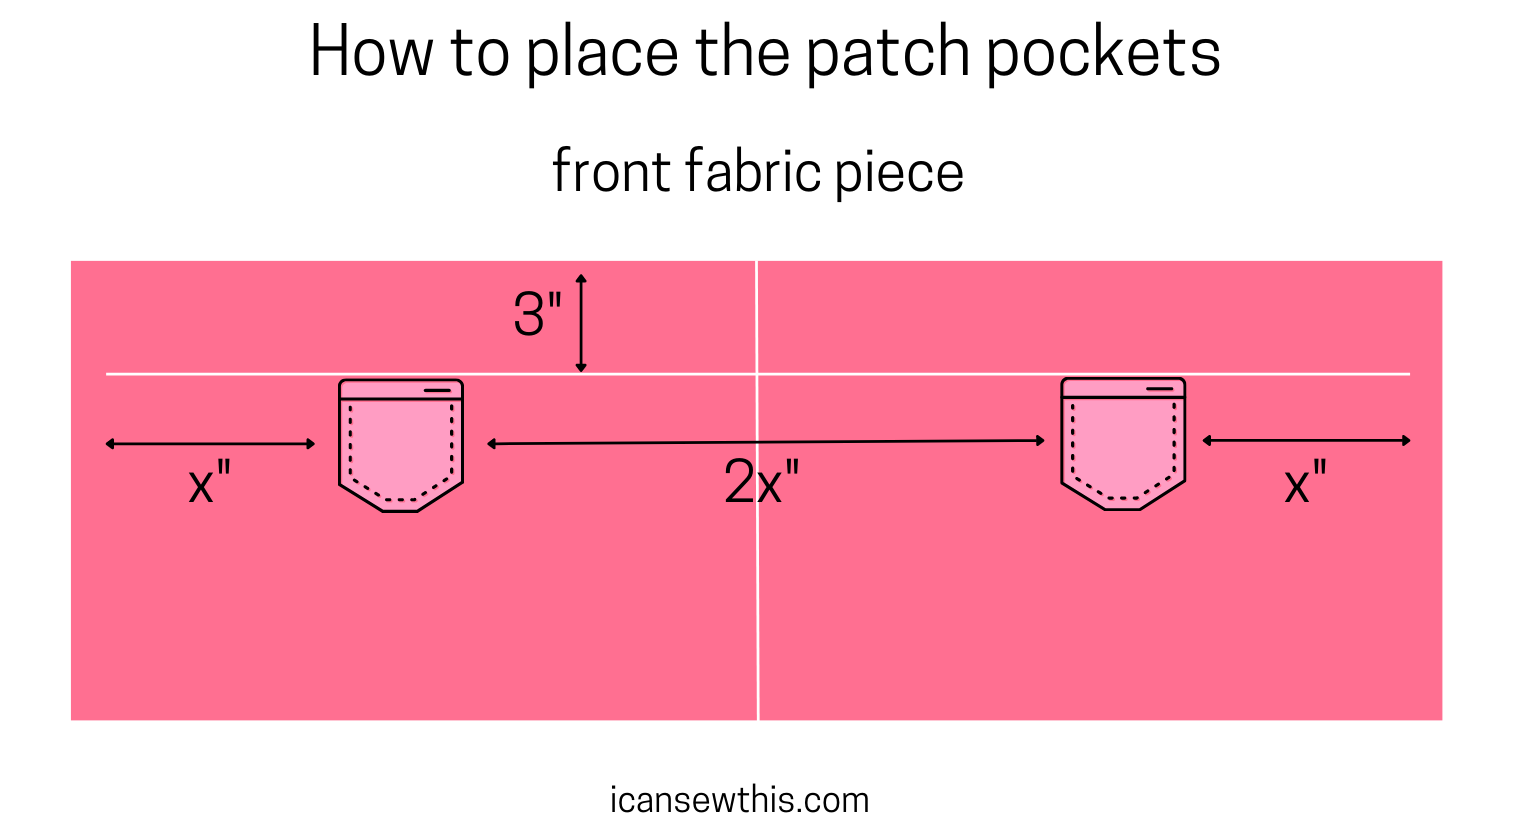
If you want the exact same placement as mine, make sure the distance between pockets is 2 times larger than the distance from the pocket edge to the side seam. Please see the diagram above.
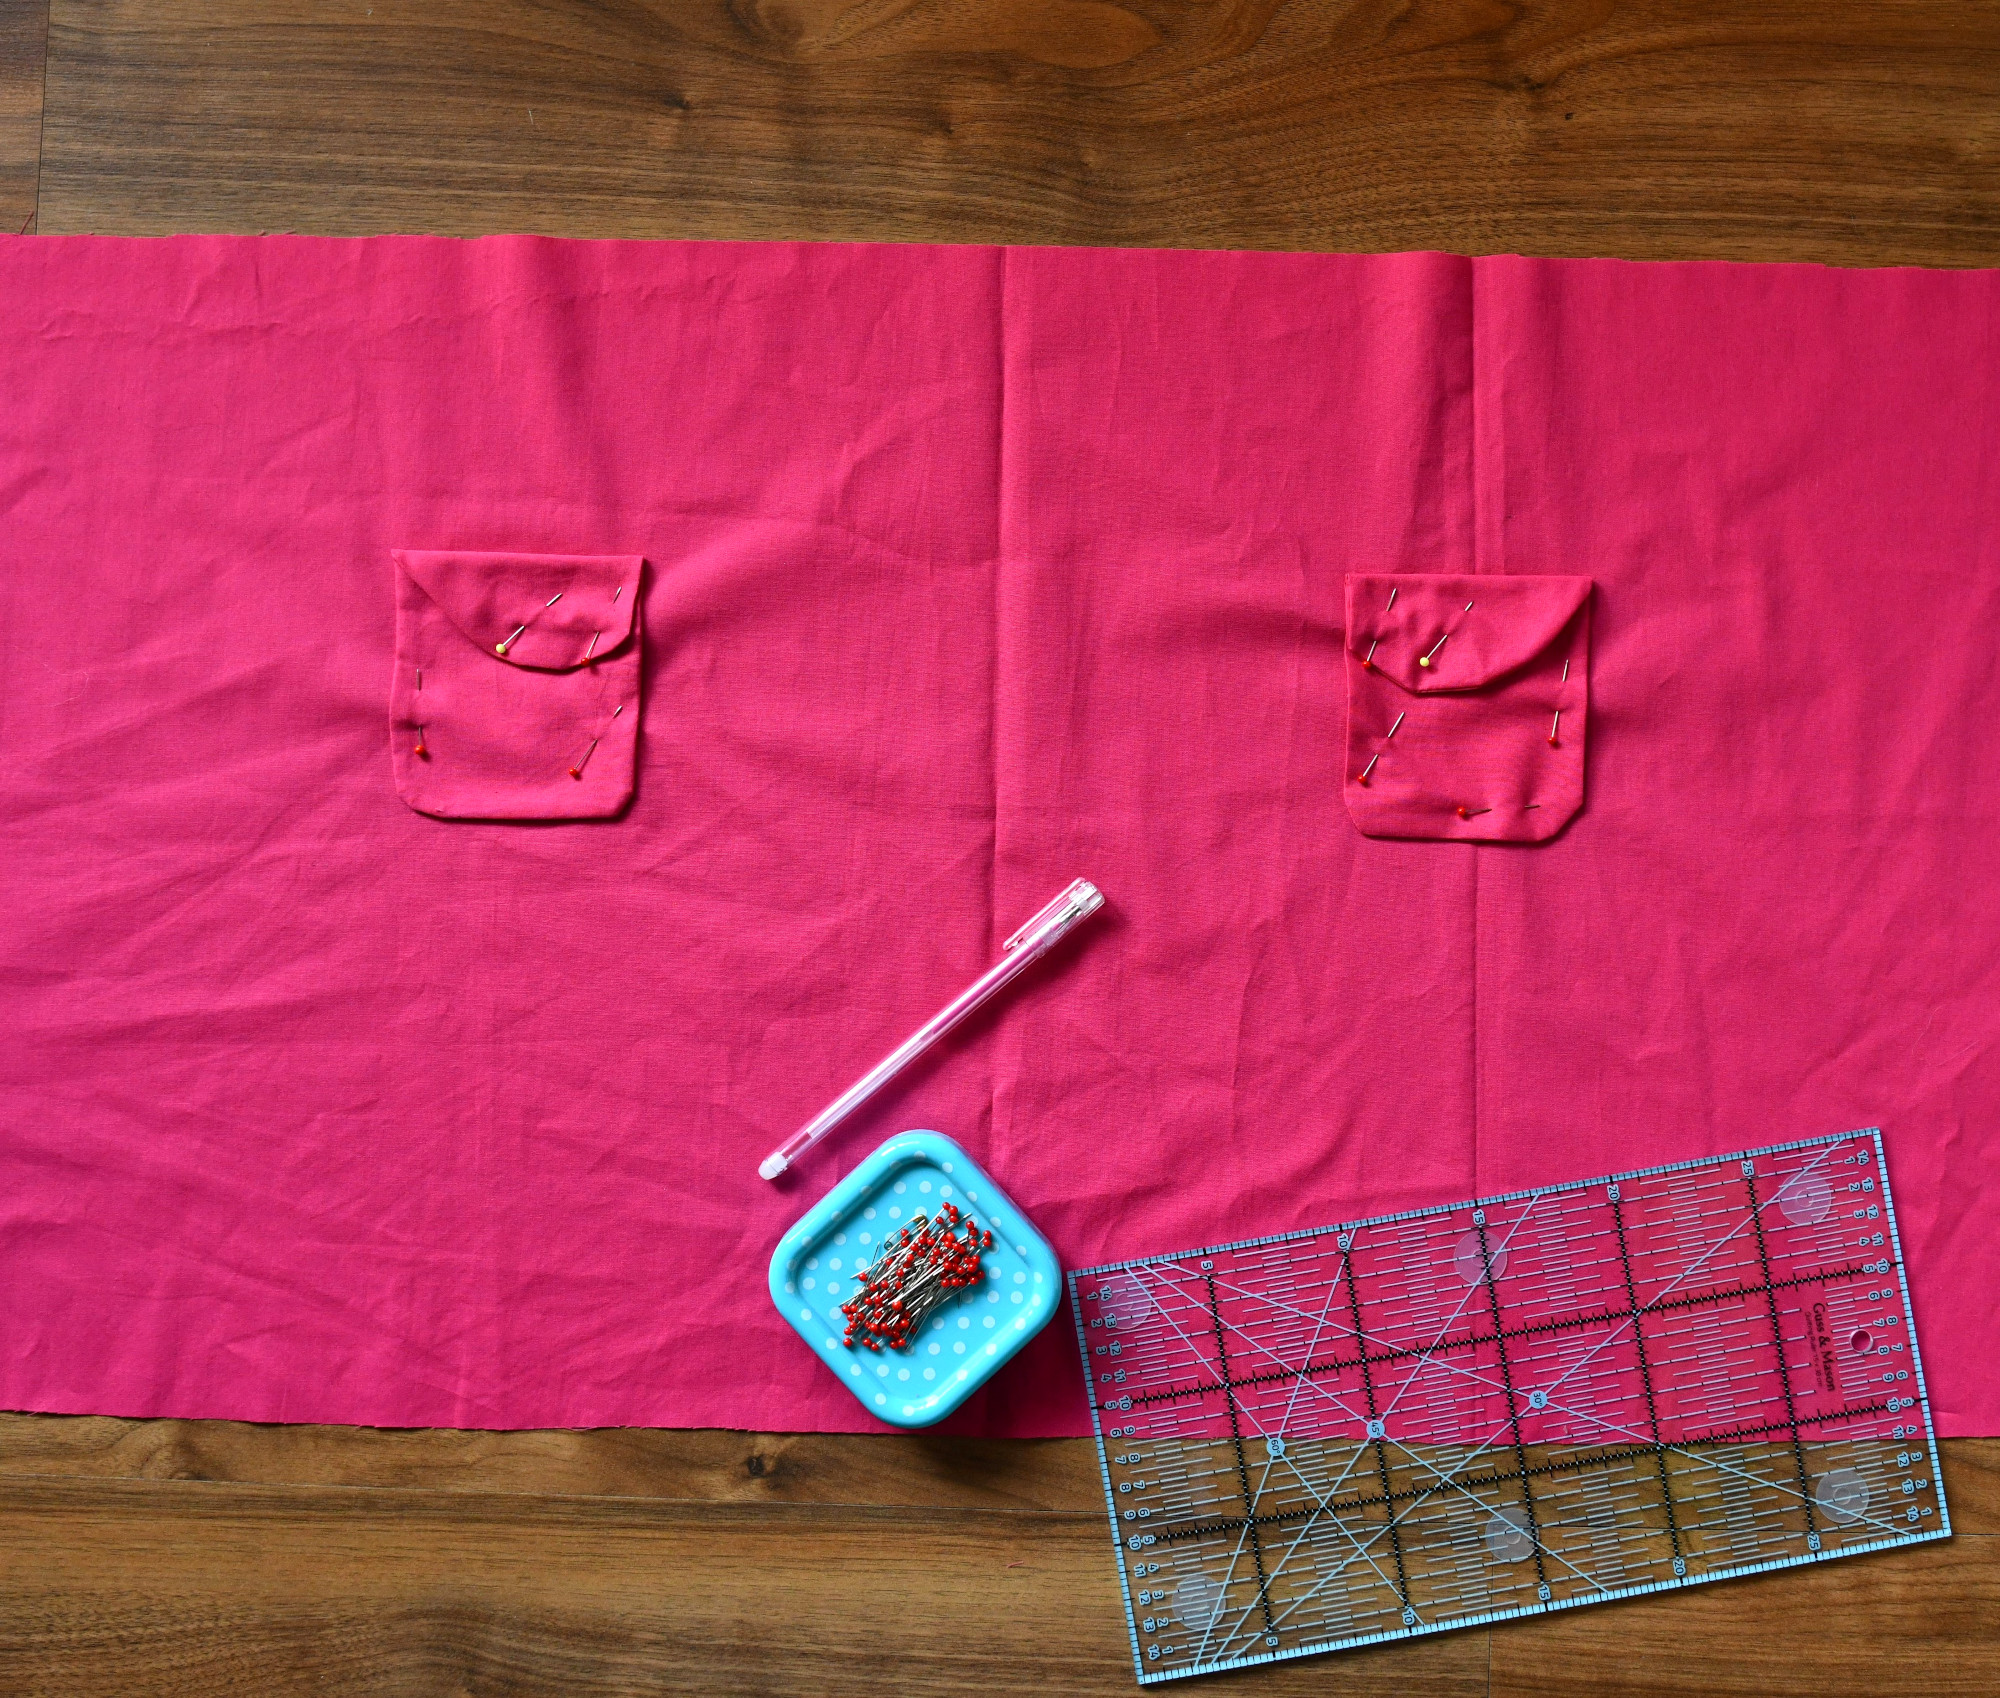
Step 4 – attach the pockets to the skirt
Once you have determined the pocket placement, secure the pockets in place using pins. Then, topstitch around the pocket and reinforce the pocket at the top side edges. I reinforced only one side of the pocket, and it will still hold up well.
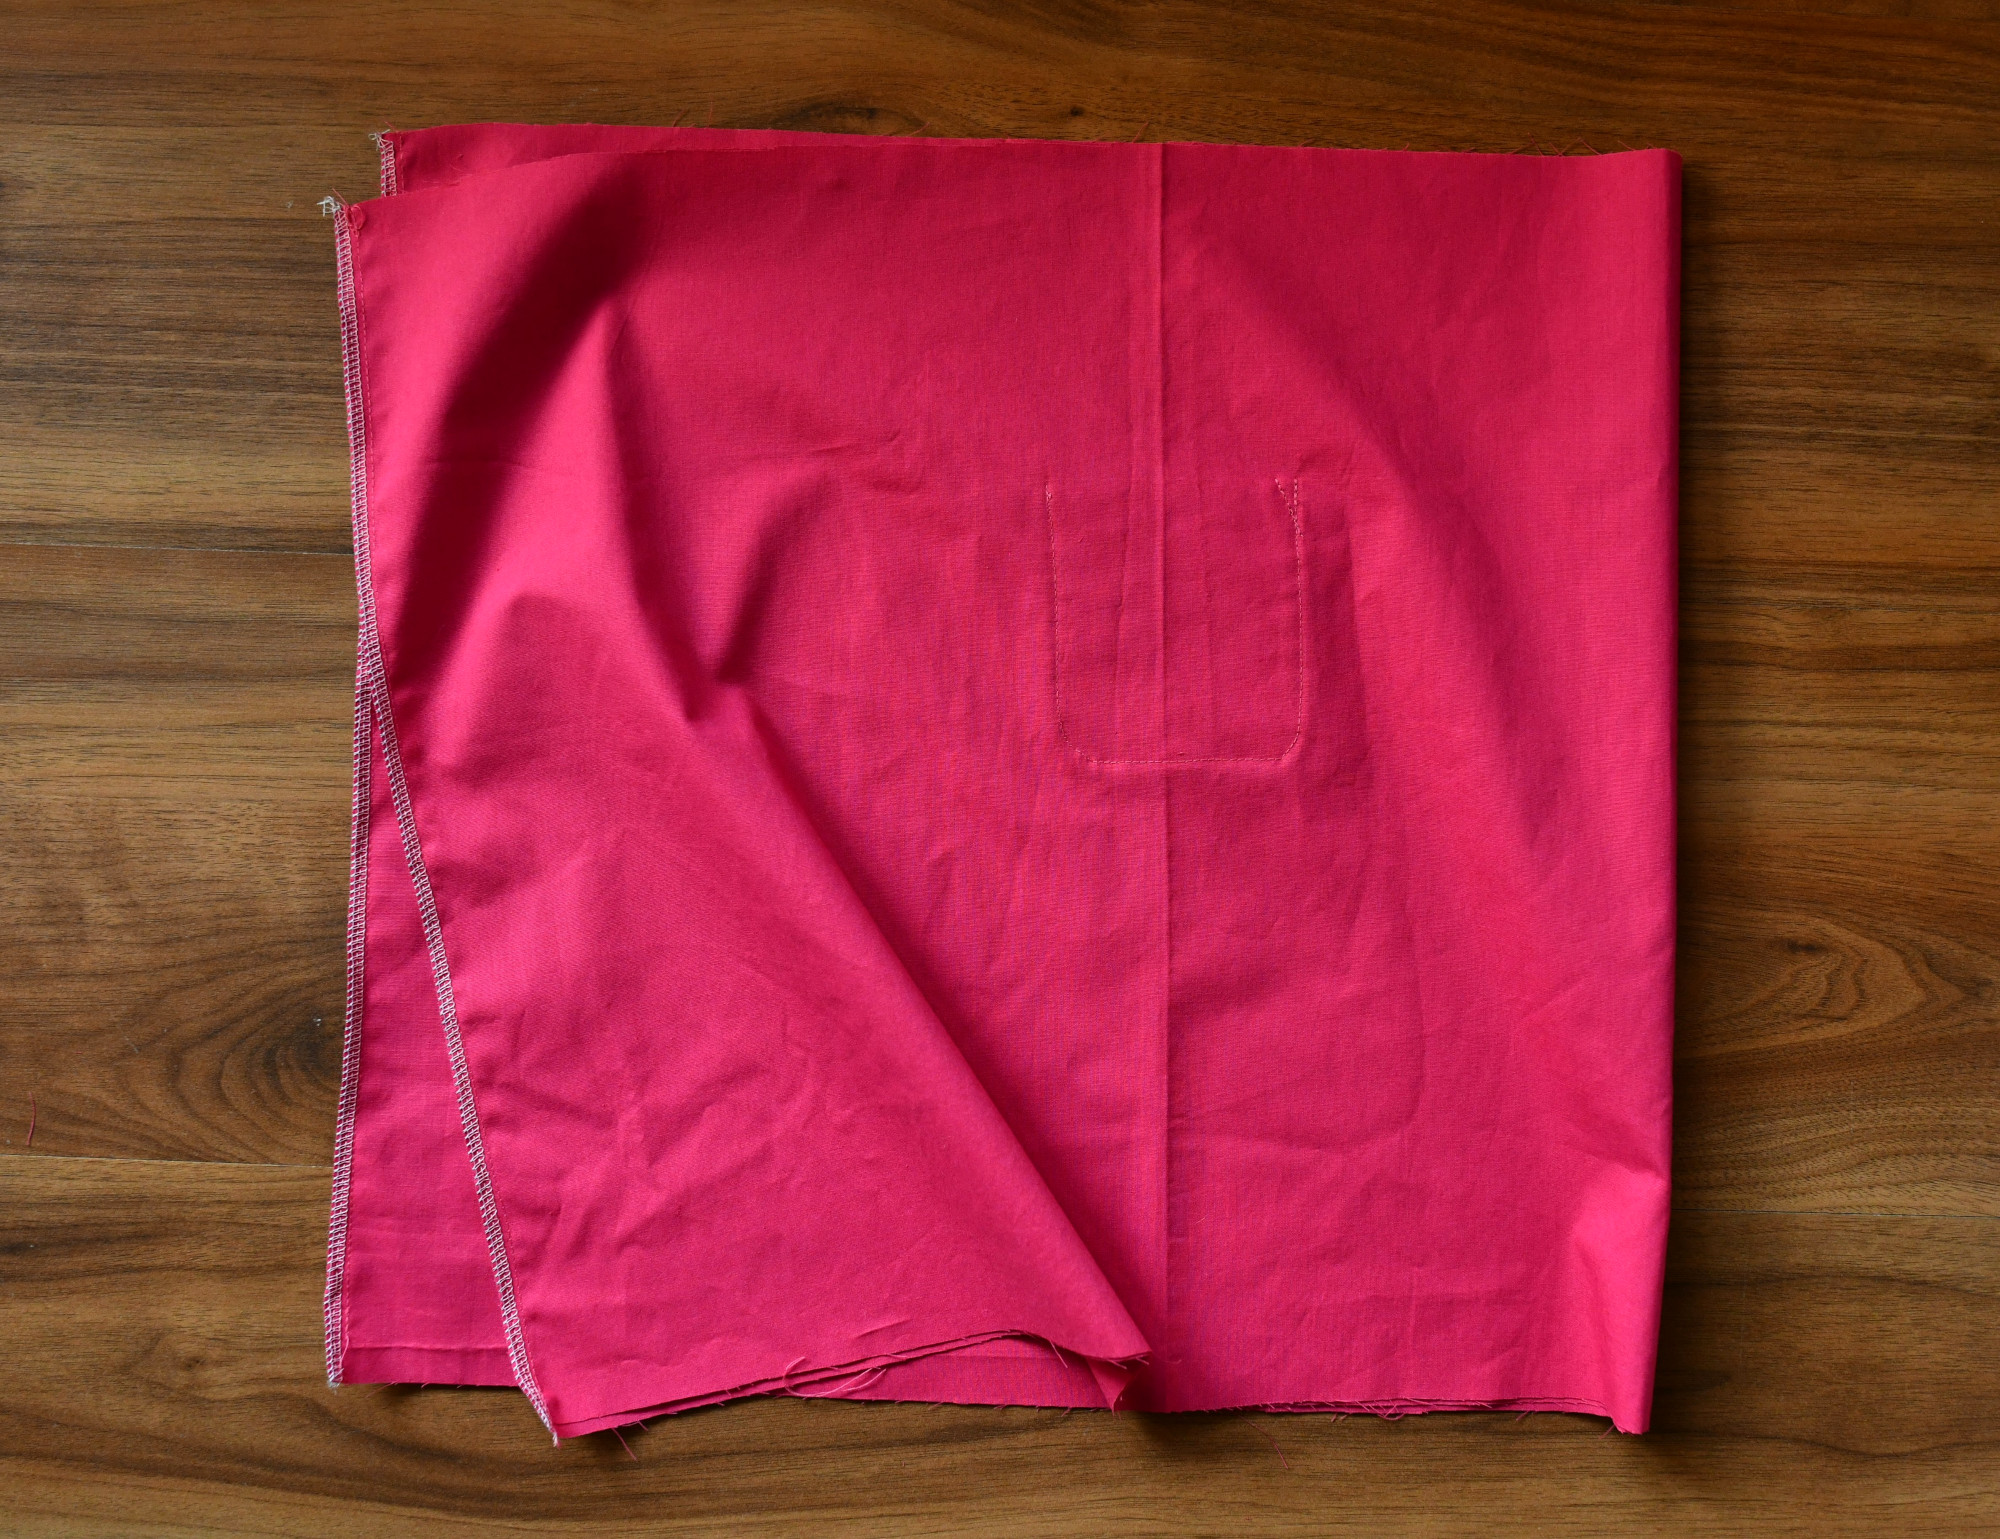
Step 5 – sew the side seams of the gathered skirt
Now let’s move back to the skirt. Place the two fabric pieces right side together and sew the side seams. Serge or use pinking shears or French seams as per your preference. It is very important to press the seams well after stitching.
Next, serge the top and bottom edges of the skirt to prepare for the elastic casing and hemming.
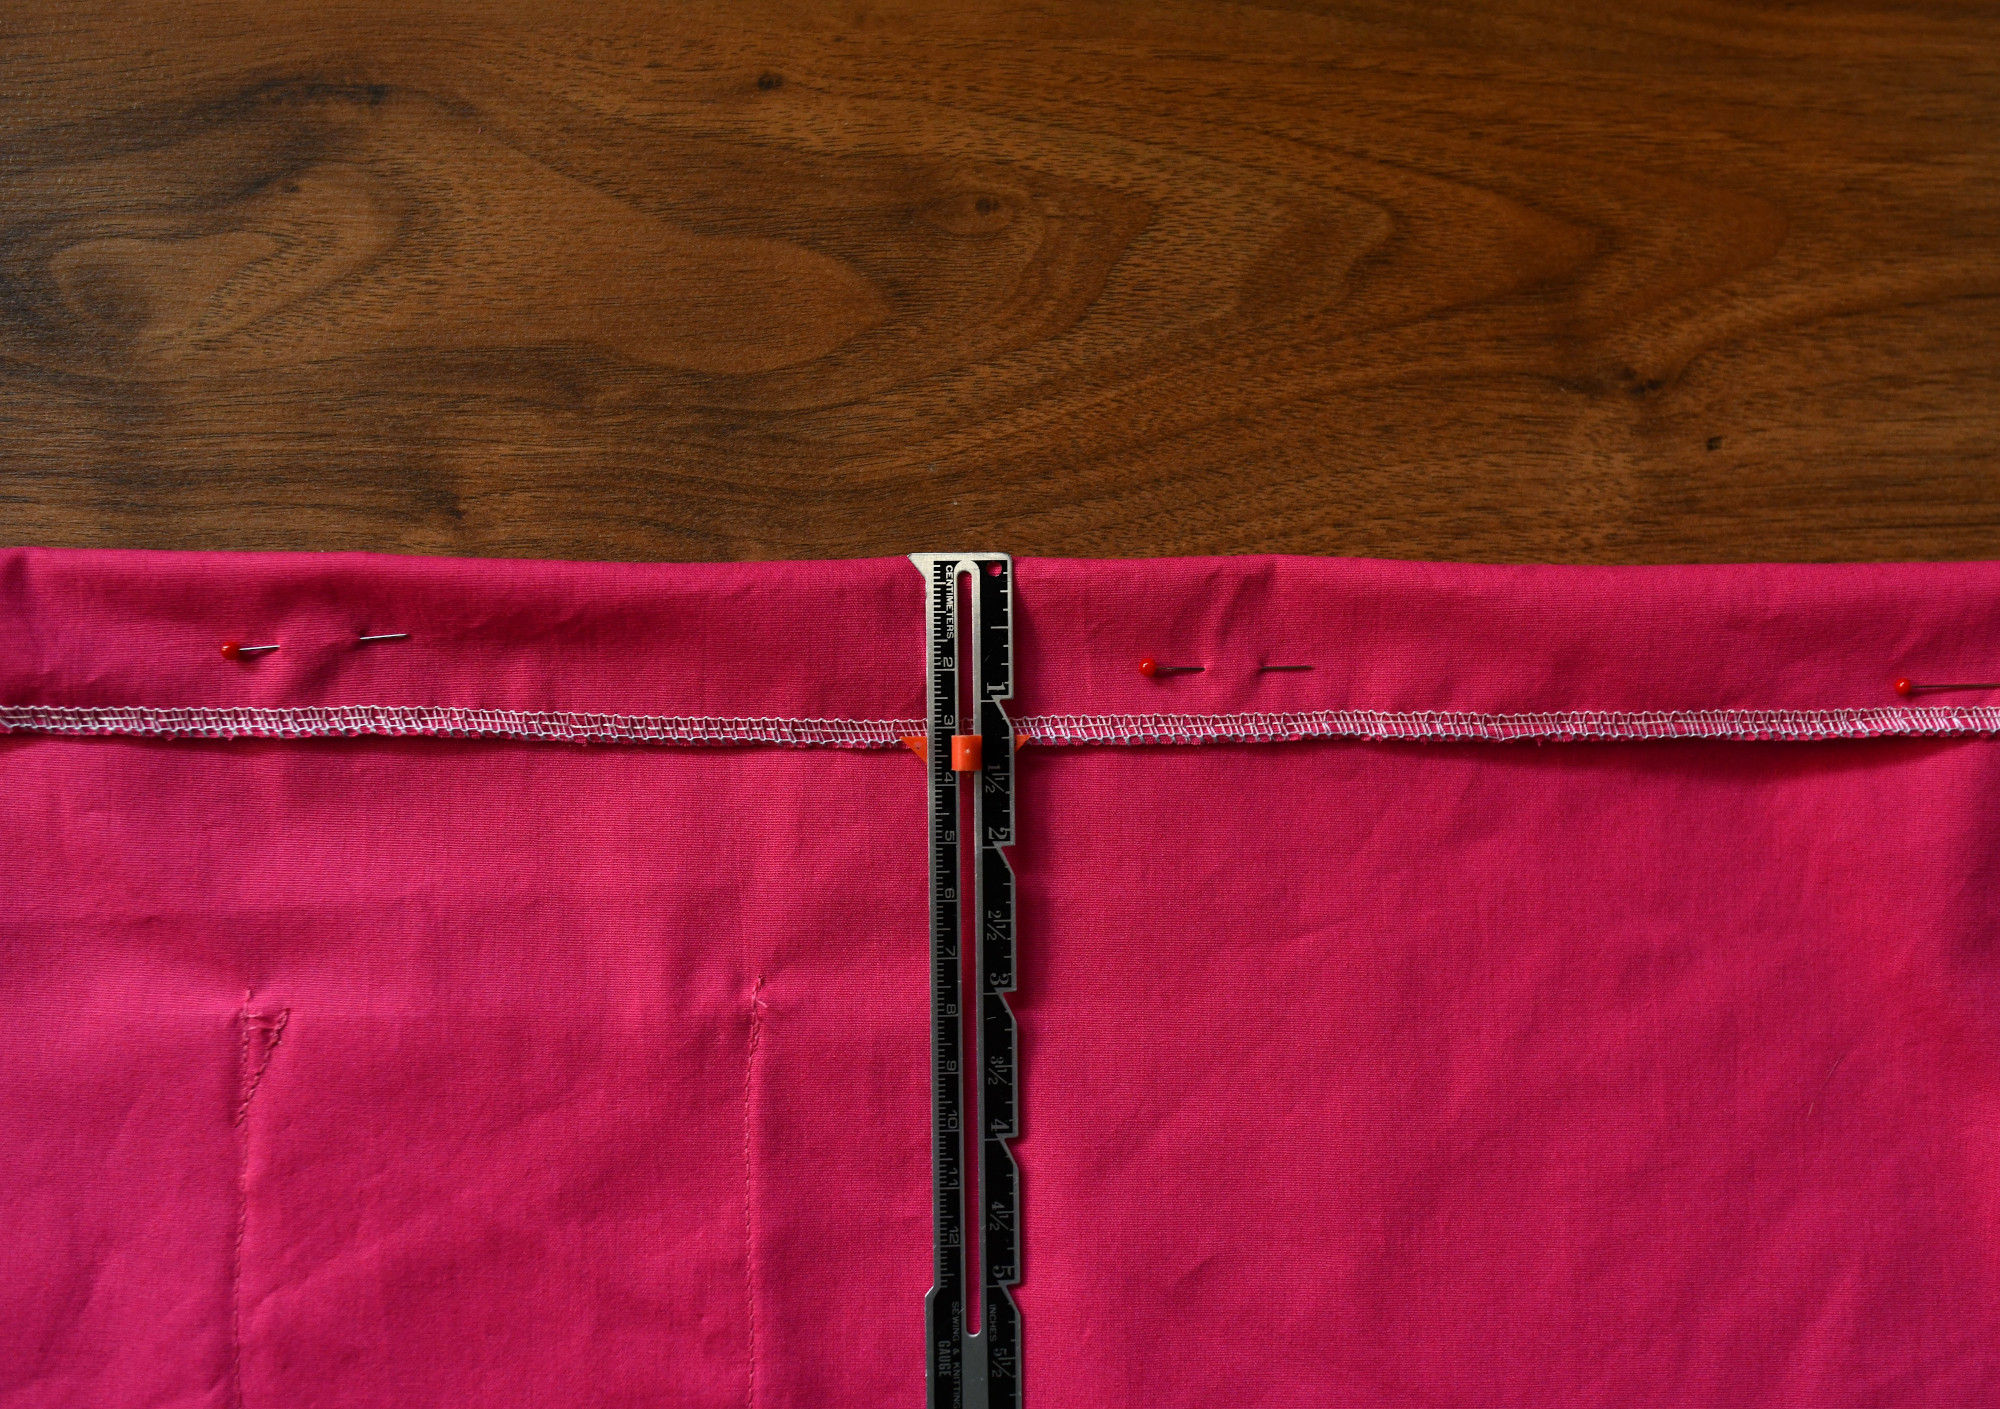
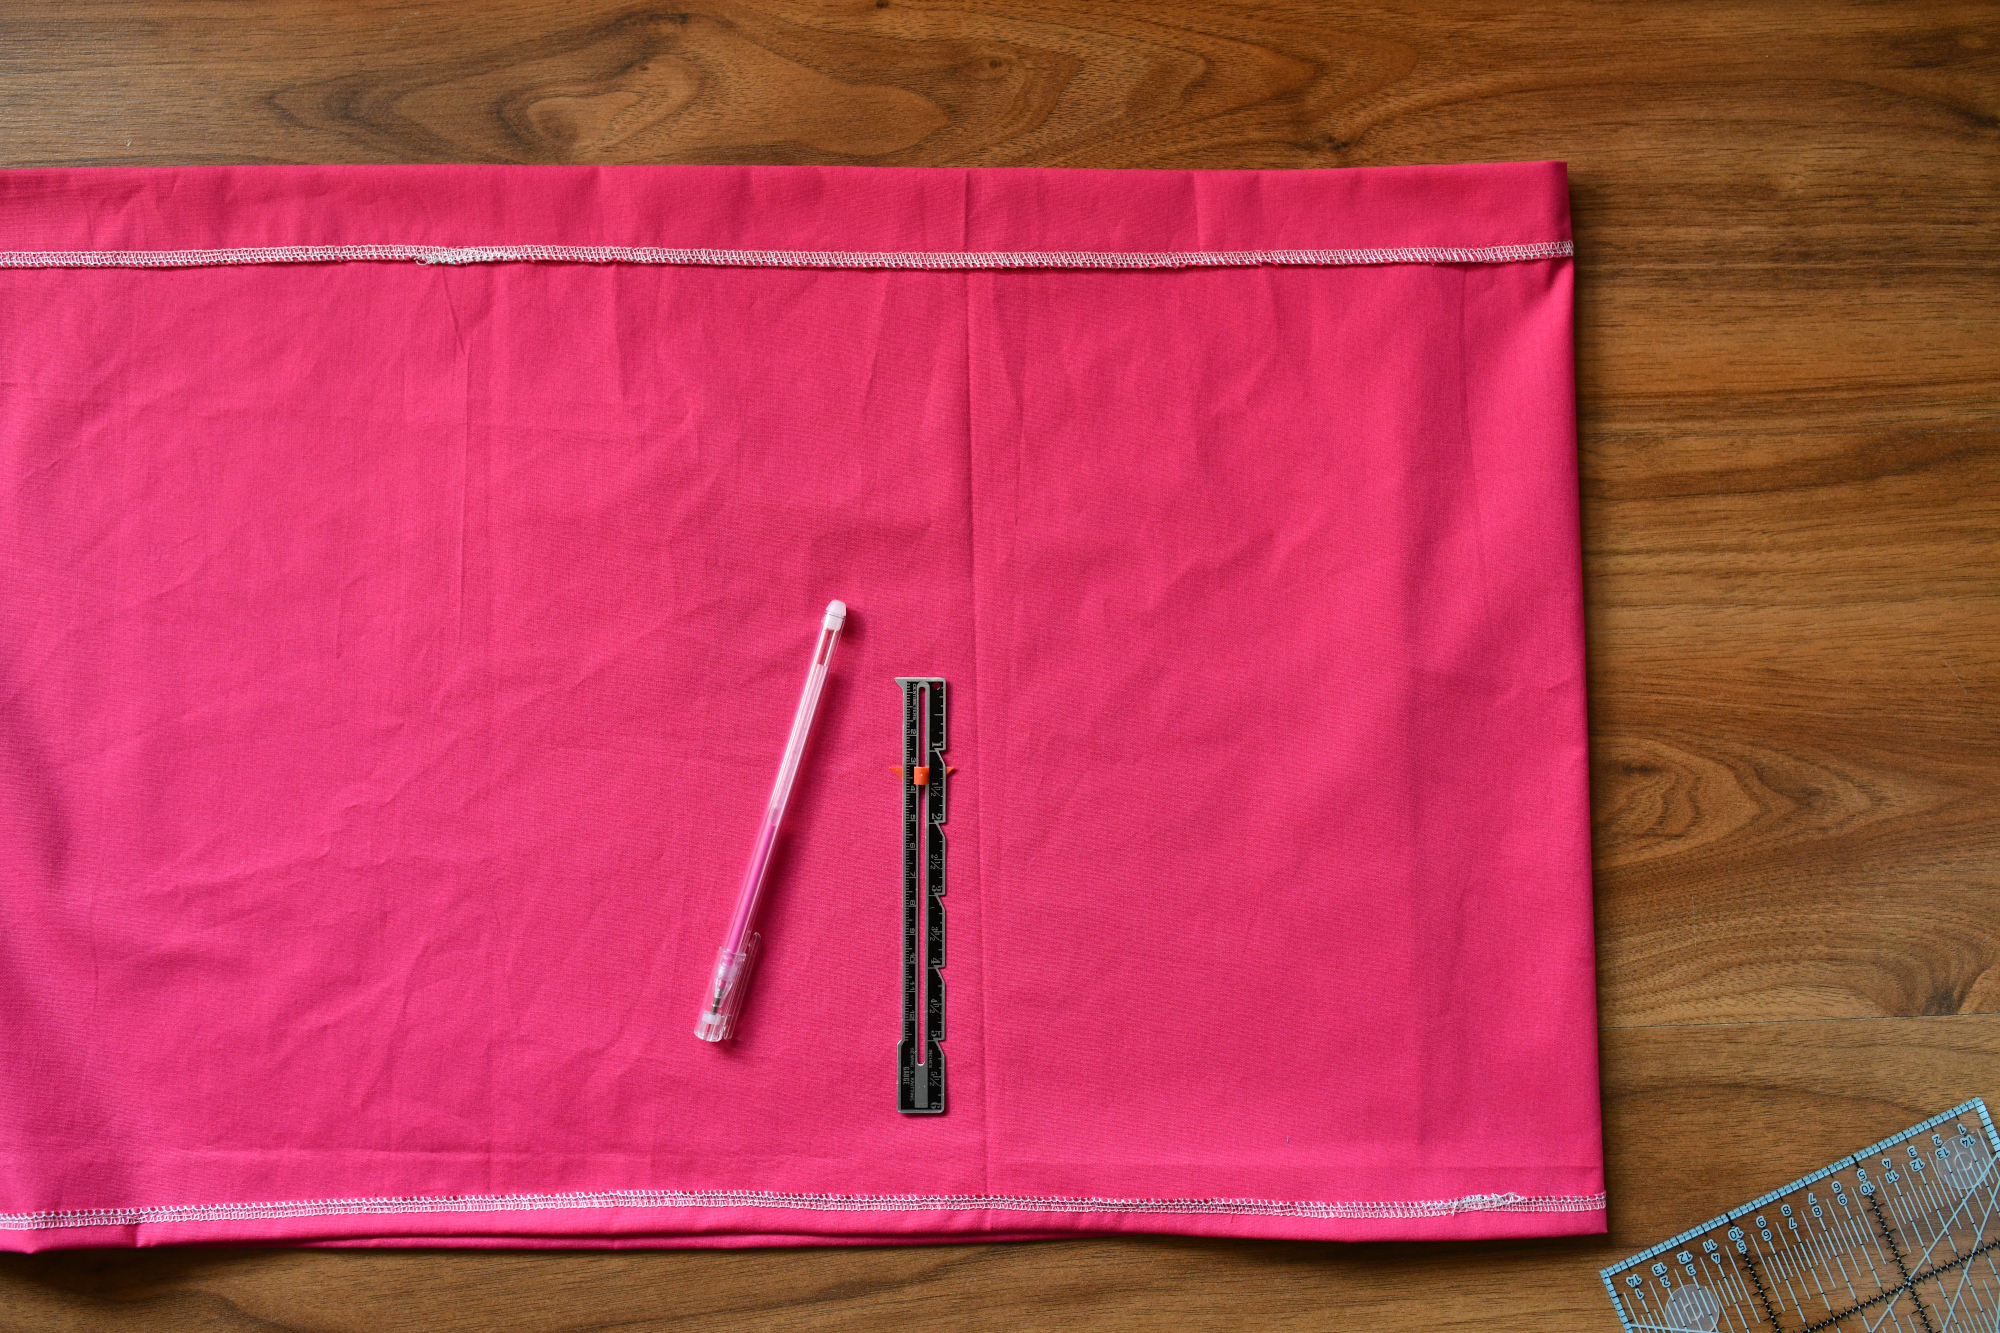
Step 6 – make the elastic casing and hem the skirt
To create the elastic casing, fold the top edge down 1 1/4 inches and secure with pins. Sew the waistband, ensuring you backstitch at the beginning and end of the seam. Most importantly, leave a 2-inch opening for inserting the elastic.
For hemming, use a straight stitch. I initially made a narrow 1/2 inch hem for my gathered skirt, but I had to redo it and fold it again as the skirt was too long. To avoid this, I now use a trusty skirt length chart that I always refer to when making girls’ skirts.
Step 7 – insert the elastic
Now insert the 1” wide elastic through the waistband using a safety pin, and join the elastic ends and sew them together. Ensure that the elastic is not twisted inside the casing, and then close the waistband with a straight stitch.
If you don’t have non-roll elastic, I have a favorite hack to create an elasticized waistband that won’t twist. Begin by distributing the gathers evenly around the waistband. Then, sew three vertical stitches across the elastic using a backstitch, with one at the back seam and two at the side seams. This will hold the casing and elastic in place, and it’s not visible to anyone except you.
If you enjoyed this post and want more free patterns and tutorials, be sure to check out craftsondisplay.com! There, you’ll find a wide range of DIY projects to inspire your creativity and help you improve your sewing skills.

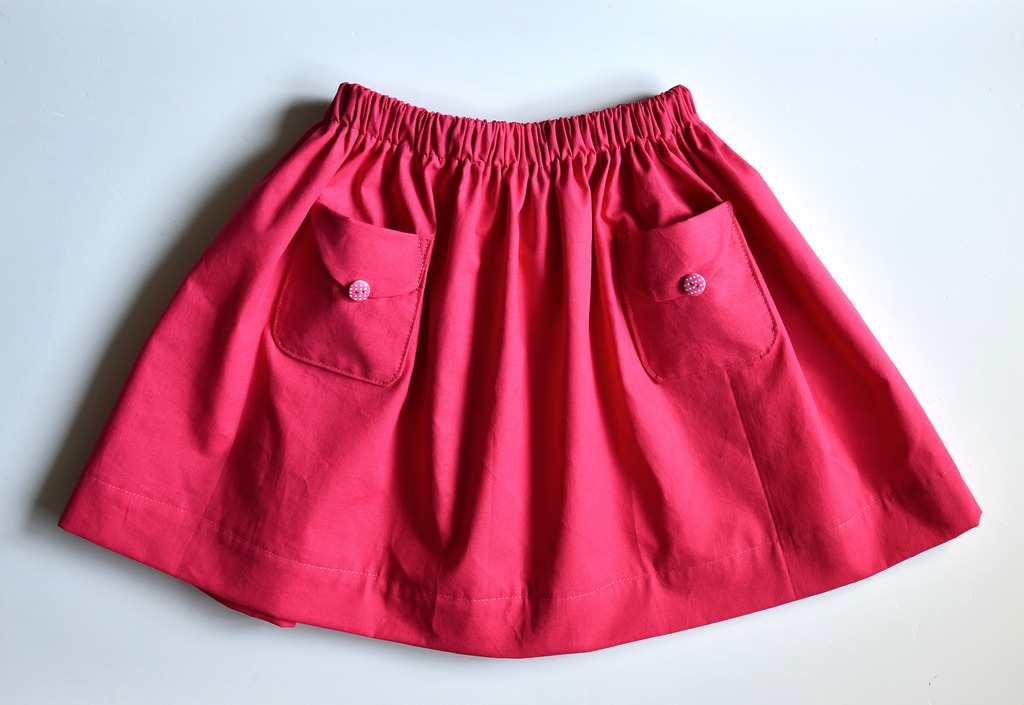
Your adorable skirt with patch pockets is now ready to wear!
If you want to add some extra charm to your rounded patch pockets, consider sewing cute buttons in the middle, at the bottom of the flap. This can be done by hand, or you can leave the pockets as they are – they’re already super pretty and add a lovely detail to this DIY gathered skirt.

Did you find this cute gathered skirt with rounded patch pockets tutorial helpful? I’d like to hear what you think of it! And I would LOVE to see pictures if you give this project a try.
Let’s keep in touch! You can find me on Facebook, Instagram, and Pinterest.
Related posts