How to make an easy and cute fabric bookmark in 5 minutes. This is a beginner sewing project that even kids can make, and it’s so much fun!
My daughter is always thrilled to use the sewing machine, all the more so if she can practice those fancy stitches.

I also like the decorative stitches, even though they mostly go unused. By far, my favorite is the scalloped stitch and I turned to it to jazz up a few fabric bookmarks.
I chose to add elastic to my fabric bookmarks because I hate when they slide and fall out.
Besides, elastic is thin enough to not stress the pages or the glue in the book’s spine – an important factor I always take into consideration. I don’t like bulky bookmarks that can damage the book when it’s closed.

I think these easy fabric bookmarks are great when you need a quick handmade gift, for teachers, Mother’s Day, party favors or stocking stuffers. Also, a thoughtful gift at any time of the year for bookworm friends.
Besides, they are a fun way to use your fabric scraps. And I’m being serious when I say this is a 5-minute DIY project.
Related: 10+ cool sewing tools you might not have yet
It’s one of the easiest things to sew, and I reckon kids will be especially delighted to use fancy stitches.
It’s pretty cool to sew as a kid. Last year I taught my 9yo to sew scrunchies, and she kept sewing more and more. Eventually, she took some scrunchies to school to give to her colleagues and she quickly became a sort of a mini-star. I kind of expect her to do the same with these fabric bookmarks.
Teaching kids to sew is great fun. It feels amazing, and can be a rewarding activity, as sewing is very likely to help your child make new friends and boost her self-esteem.
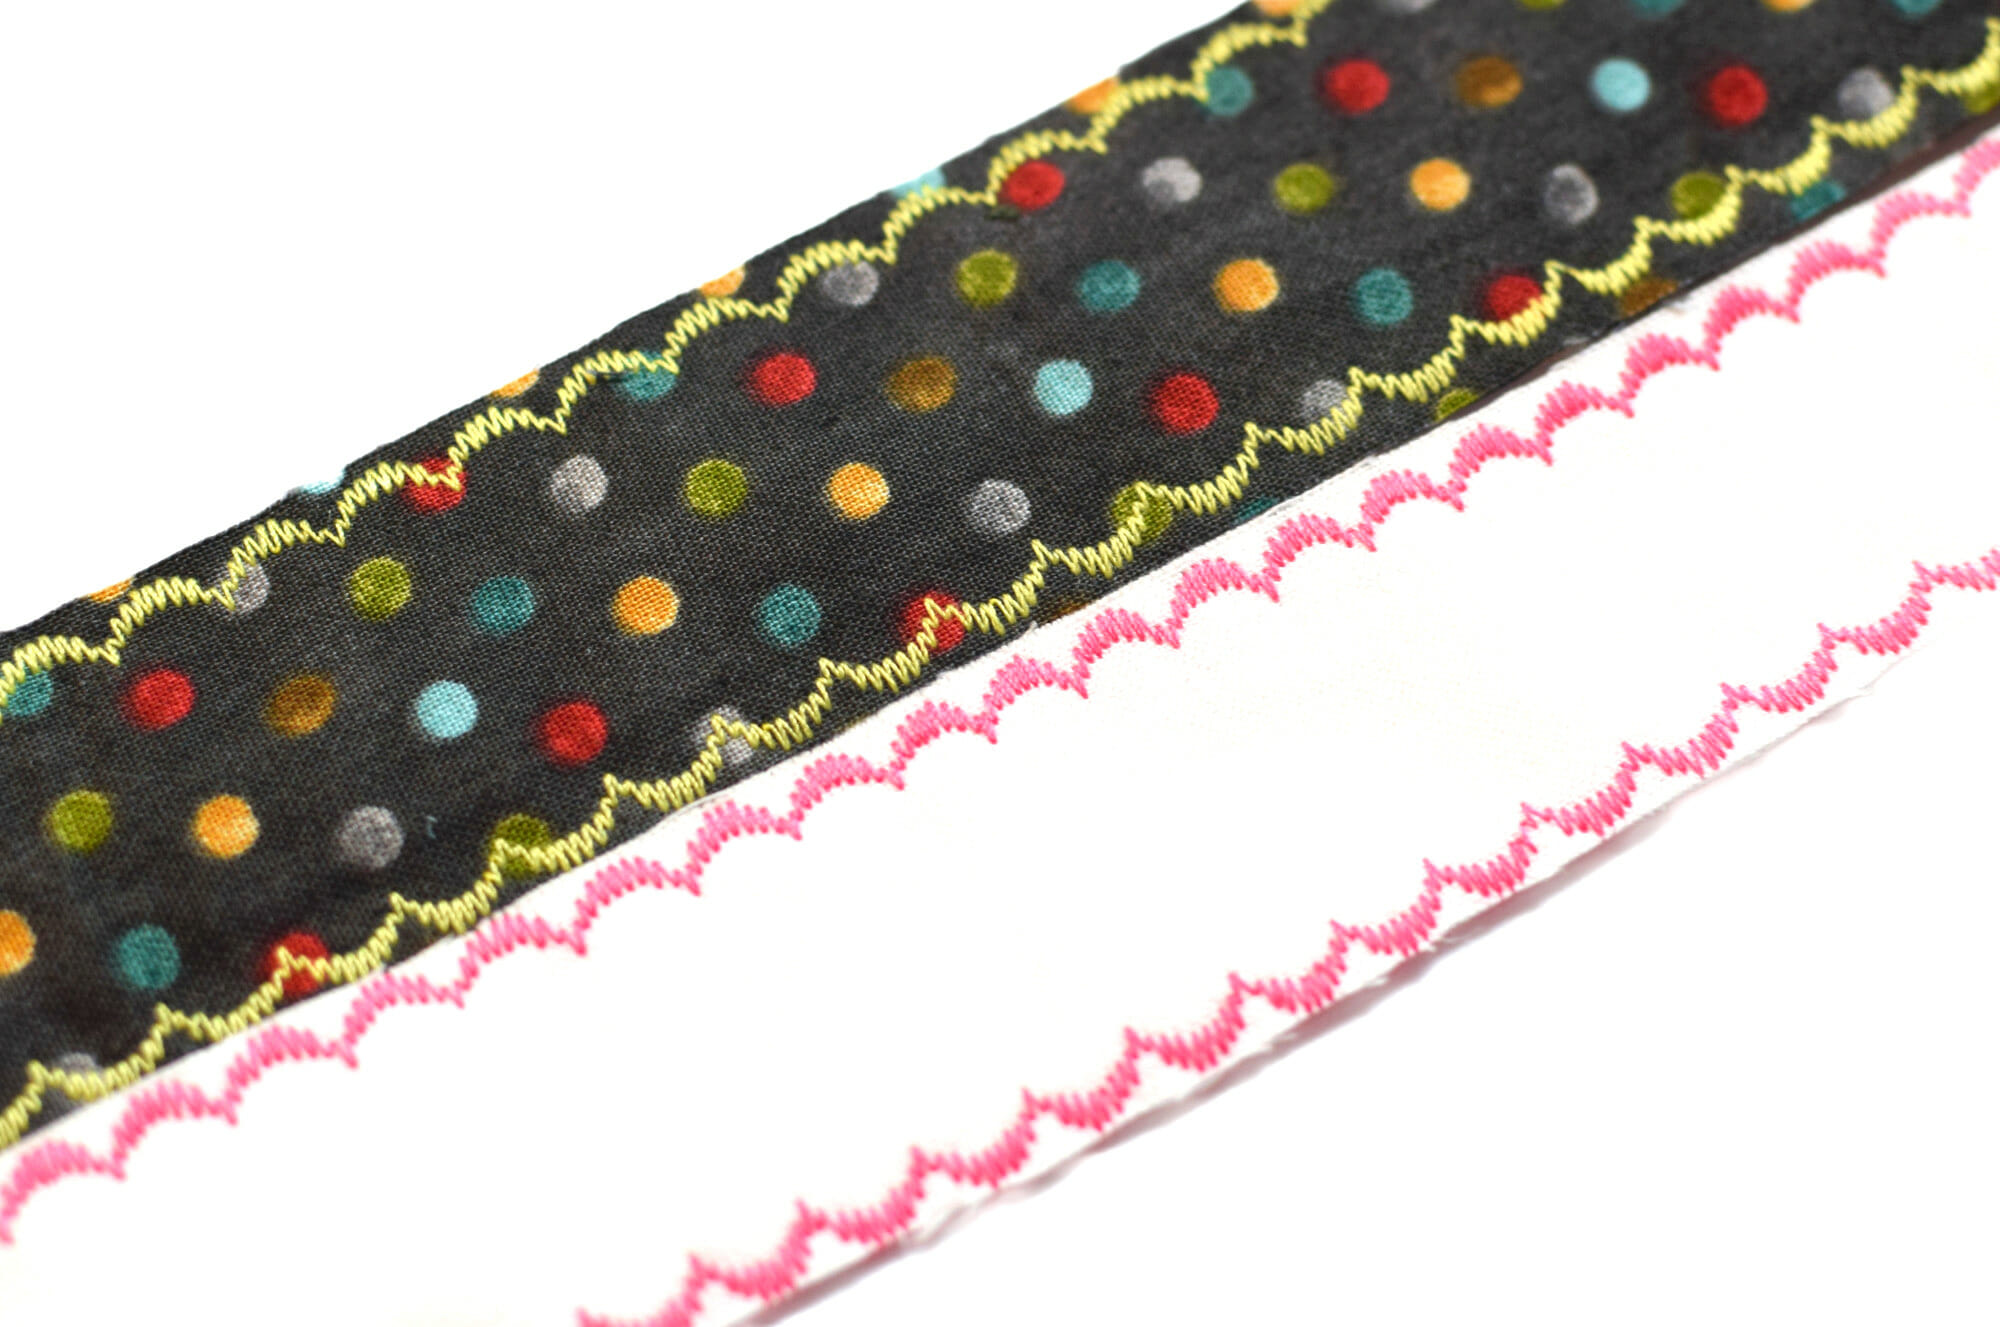
Here’s how to make easy fabric bookmarks with elastic:
Tip: I’d recommend you use plain single color fabrics or with simple models so that the decorative stitches can stand out.
Easy fabric bookmark – sewing supplies
- sewing machine
- thread
- sewing machine needle
- fabric scissors
- sewing pins
- sewing gauge
- iron
- ½ inch elastic
- Fabric of choice – plain colors/simple models
Step 1
Cut your fabric piece.
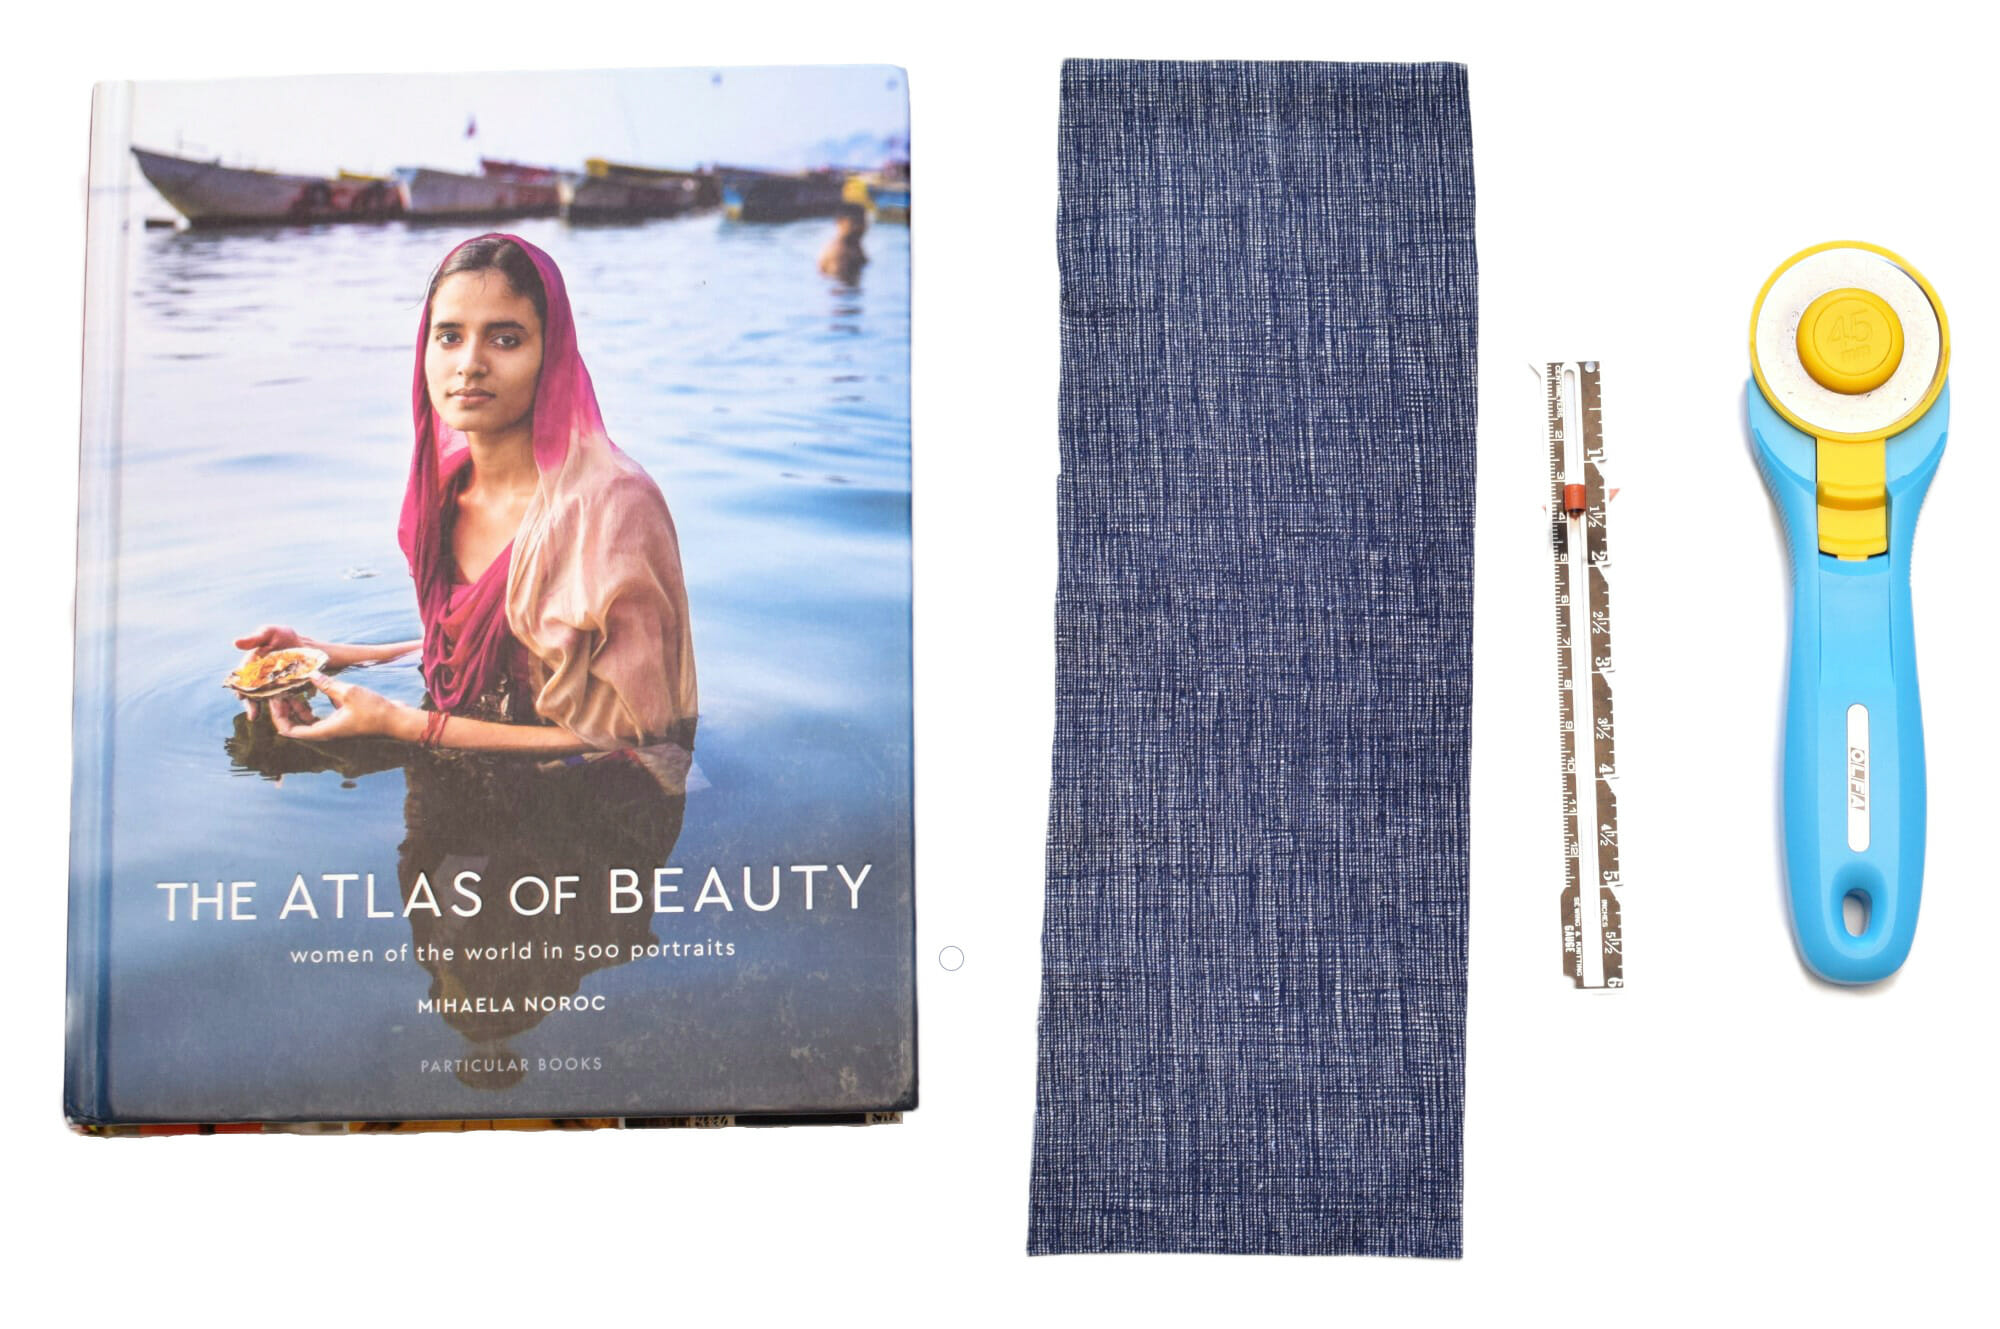
Fabric width – 3 or 4 inches (that depends on how big or small you want your bookmark)
For the fabric length, measure the book for which you’re making the bookmark and add 2 inches to that number.
Cut your elastic in the same length as the chosen book.
Step 2
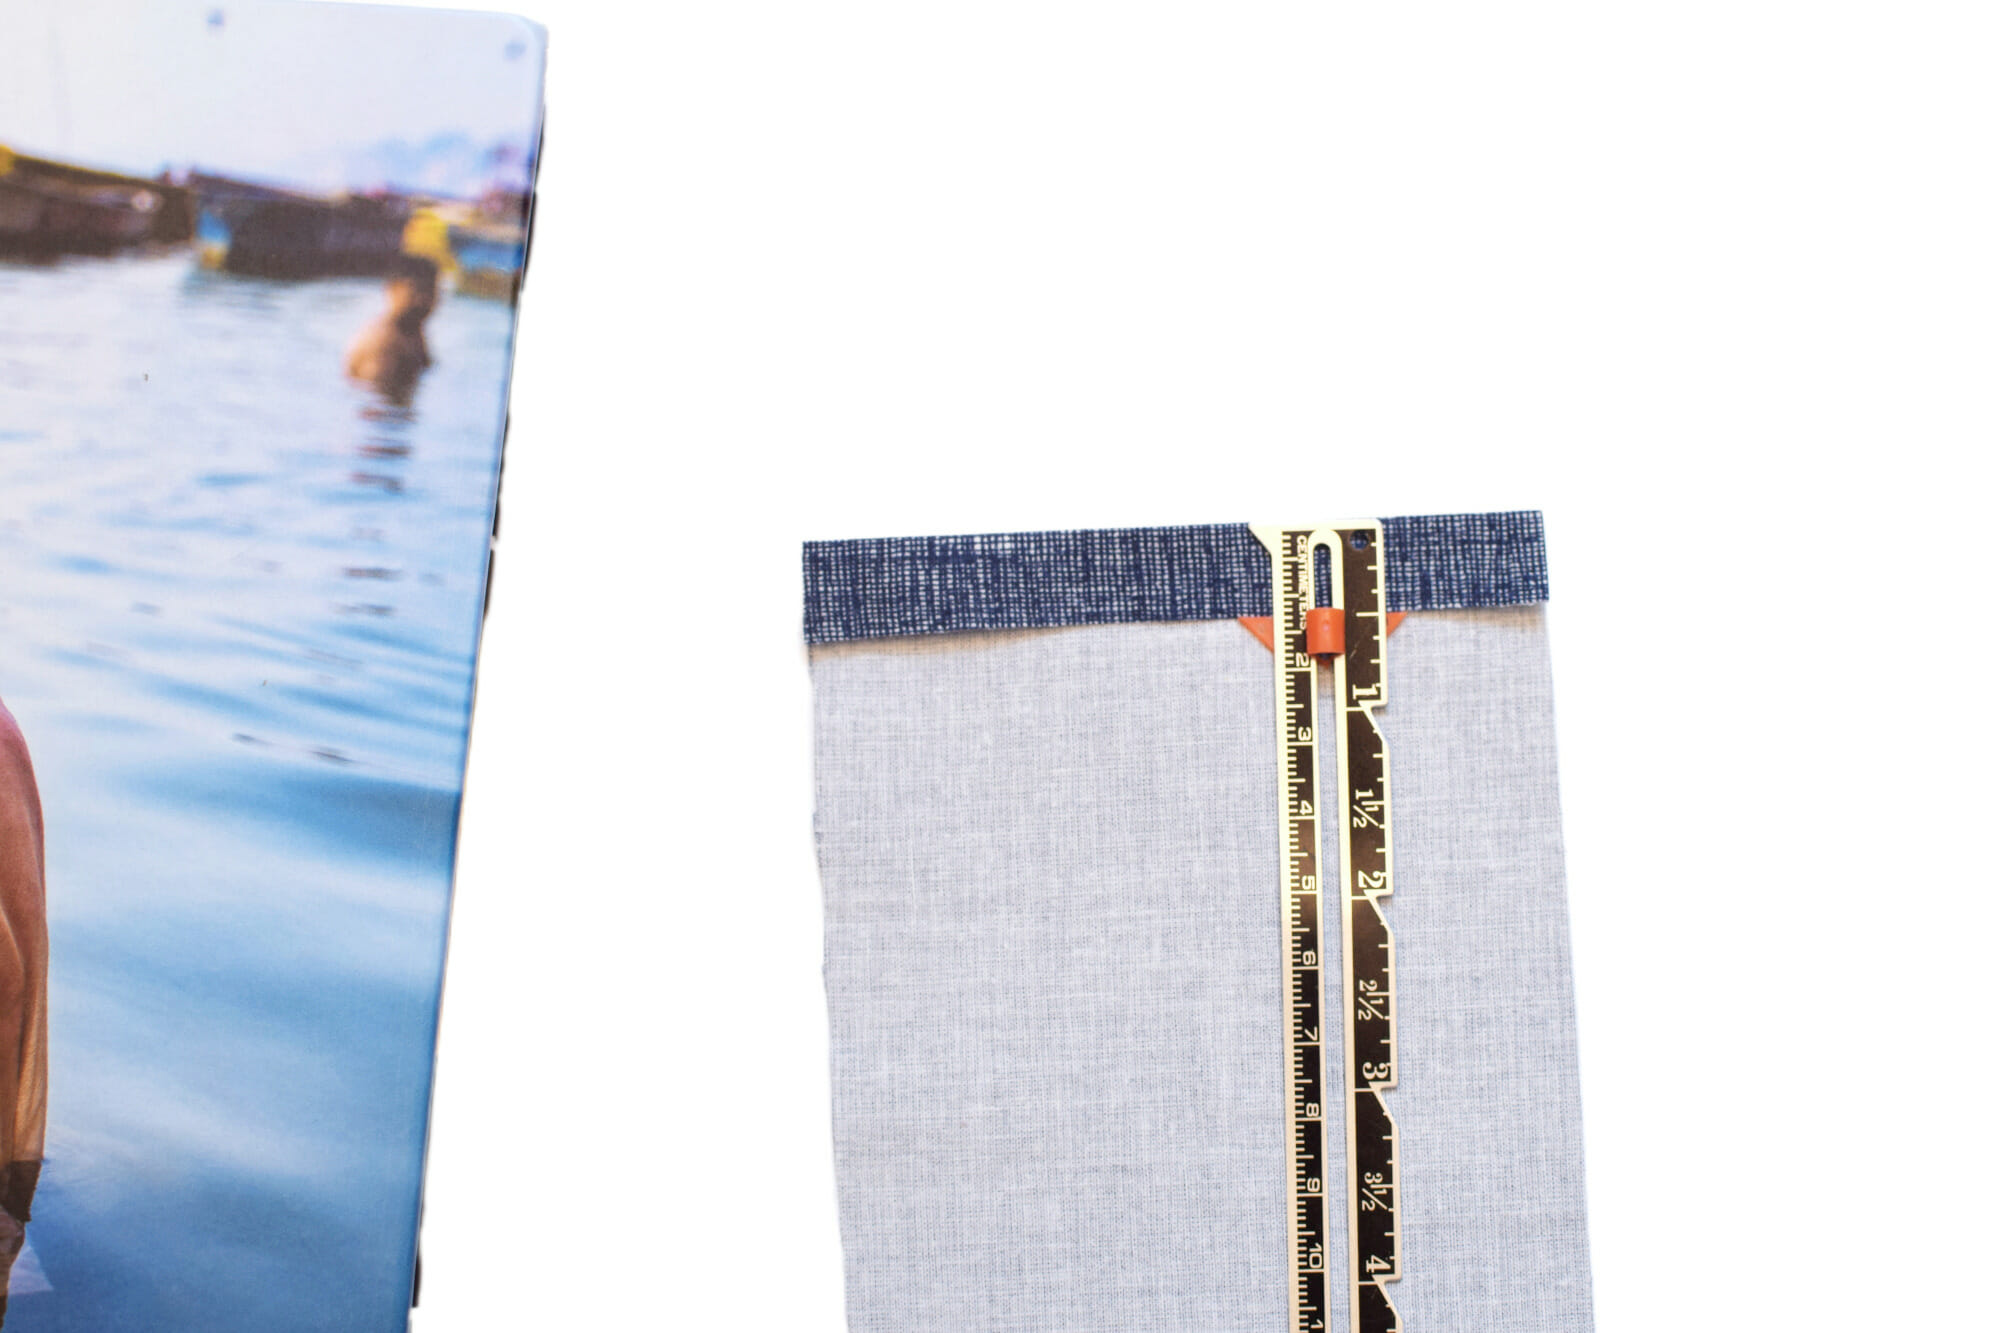
Press under 1/2 inch on the rectangle’s short ends – both of them.
Step 3
Fold the fabric rectangle in half lengthwise, wrong sides together.
Select your favorite decorative stitch (I used the scalloped stitch) and start sewing a little farther away from the edge.
Set the stitch length to the absolute minimum (0-1) and the stitch width to maximum (most sewing machines can be set to a maximum stitch width of 4 to 6 mm).
Use a contrasting thread.
Sew a few stitches forward, then stop and push the back-stitch button. Continue sewing forward and pay attention to the guides on your sewing machine footplate to sew a straight line. Backstitch at the end of your stitch too.
Now, look at the arrows in the picture below.
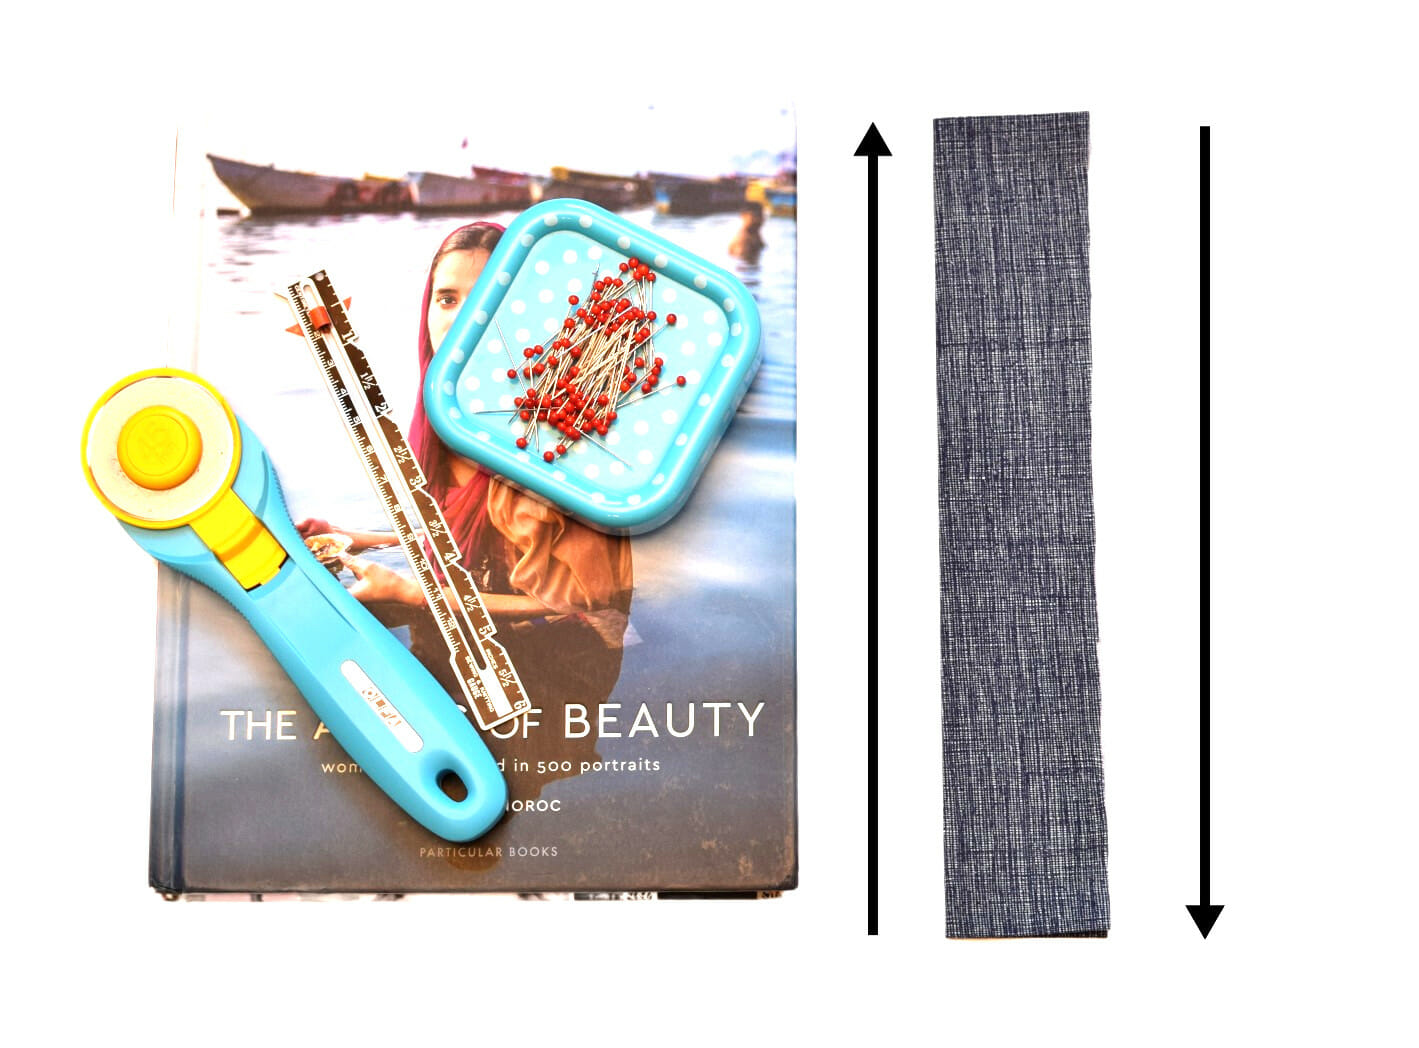
The rows of decorative stitches will be mirroring each other, so the starting point for the second row will be the opposite of the finishing point for the first row. I hope I’ve made myself clear.
Sew the second row of decorative stitches.
Step 4
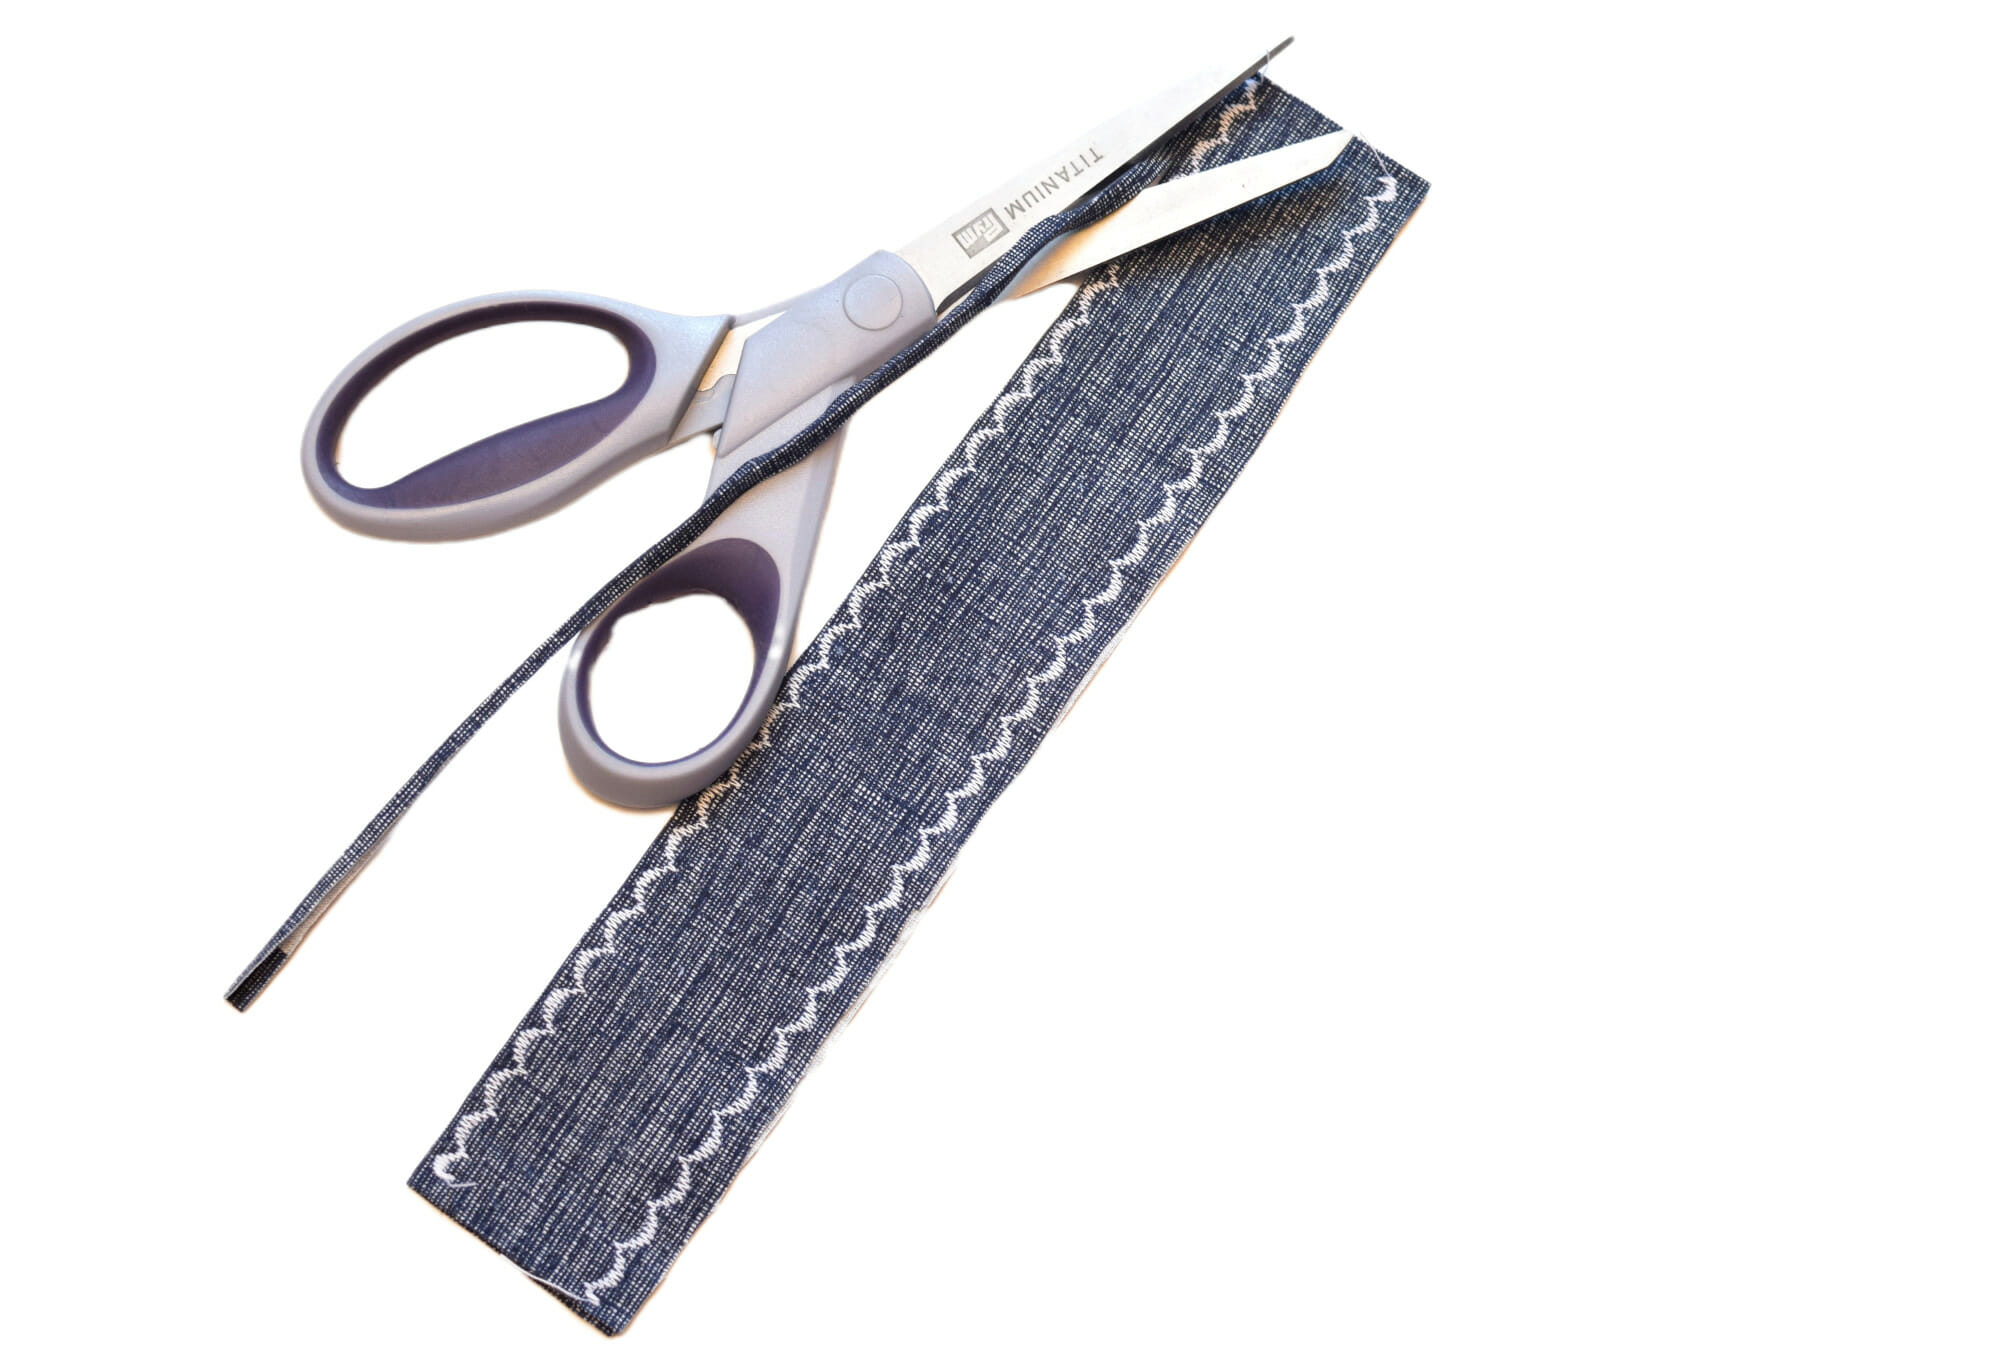
Trim close to the stitching, being careful not to cut through the fancy stitches.
Some fraying can occur in time but don’t worry, it will actually give your fabric bookmark it a shabby chic look.
Step 5
Finally, insert your elastic at one end, overlapping by about half an inch, and stitch it in place. This time, use a matching thread.
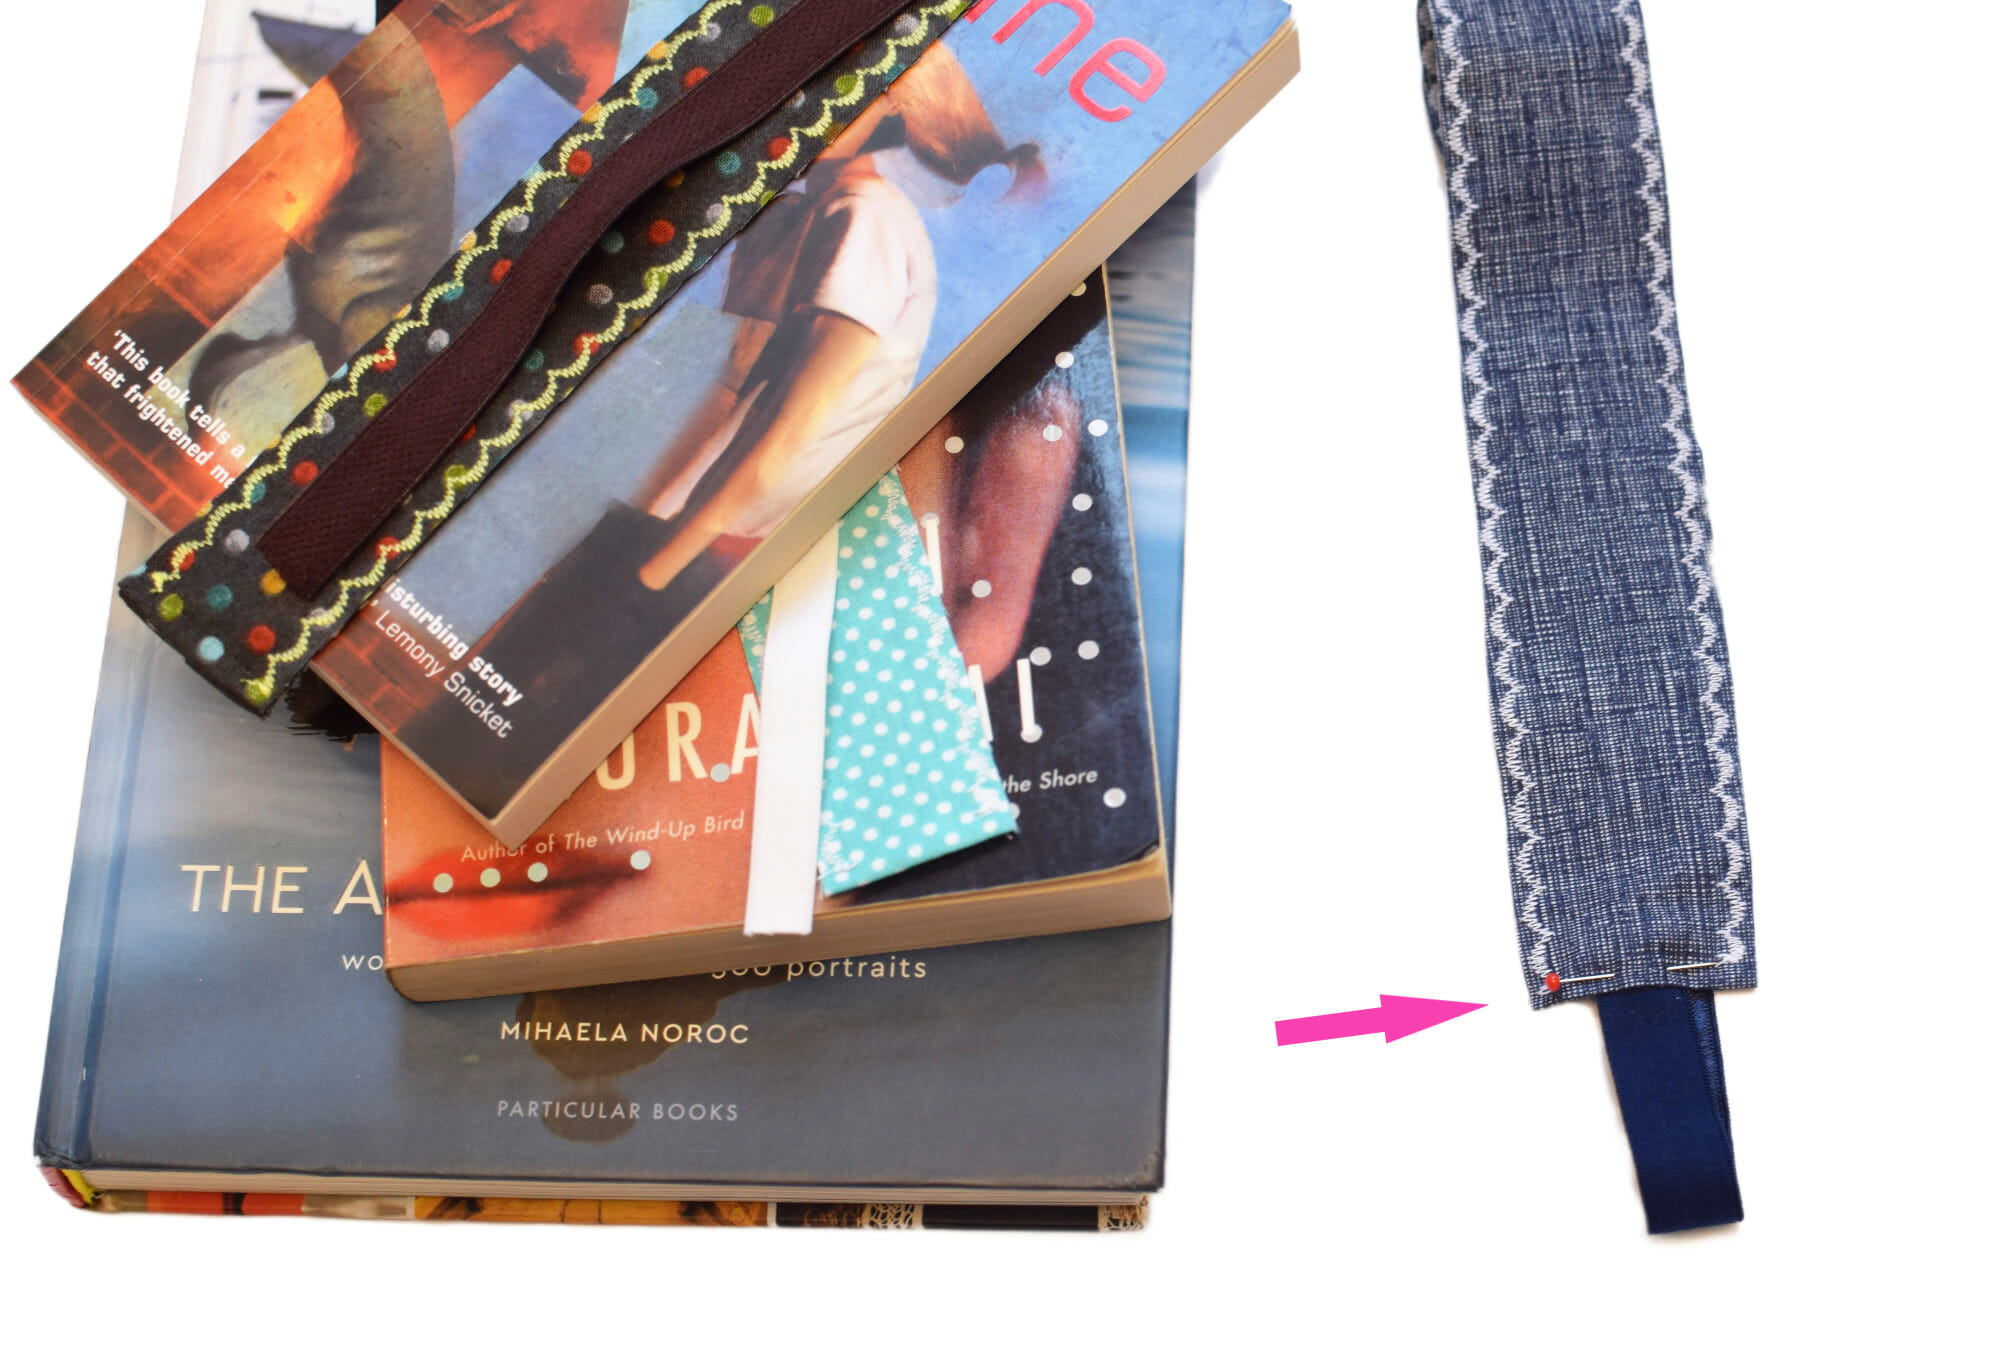
Repeat on the other end and you’re done!
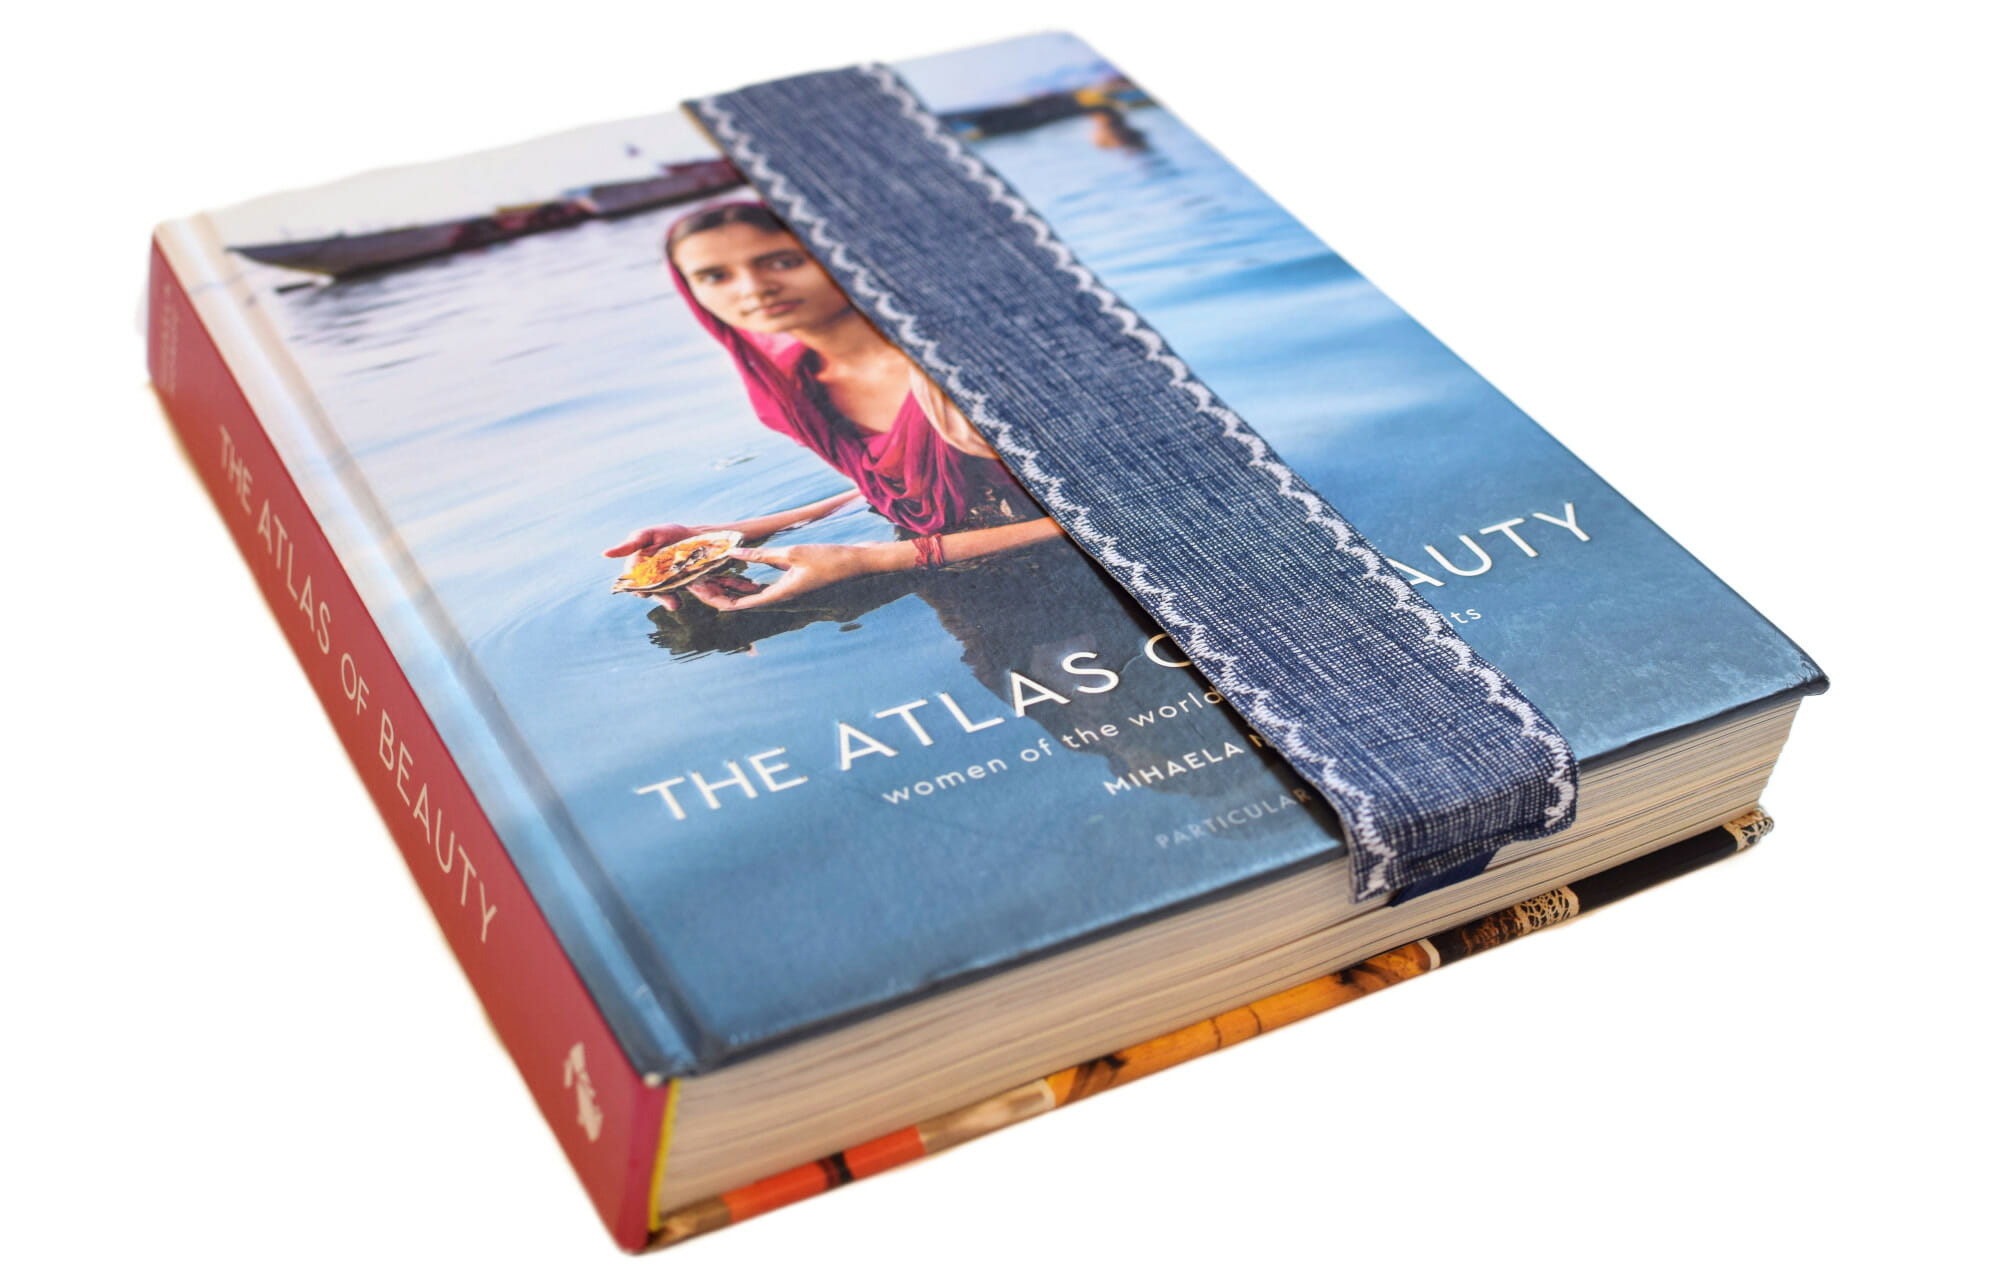
This is such a pretty and functional fabric bookmark. I hope you make a few for yourself and have as much fun sewing this simple project as I did!
Let’s keep in touch! You can find me on Facebook, Instagram, and Pinterest.


Related posts
1 thought on “Sew simple and cute fabric bookmarks – perfect for quick gifts”