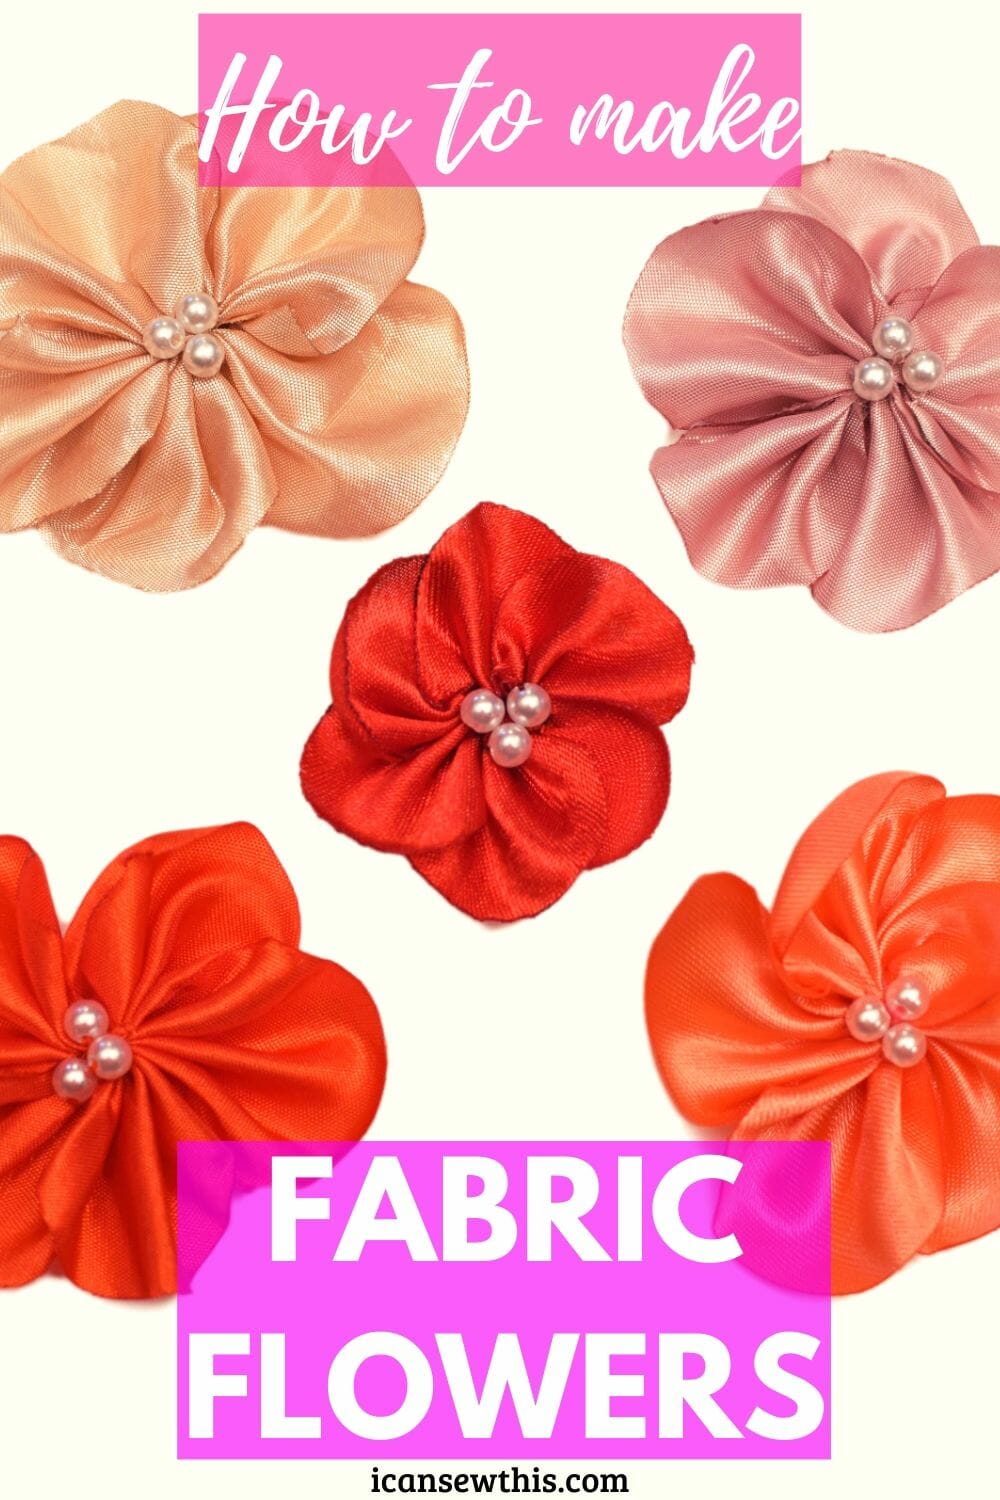
This is a great project to upcycle leftover fabric scraps into fun and functional items. In just a few minutes, you can make an adorable fabric flower baby headband. Learn how to easily make a DIY fabric flower with this step-by-step tutorial.
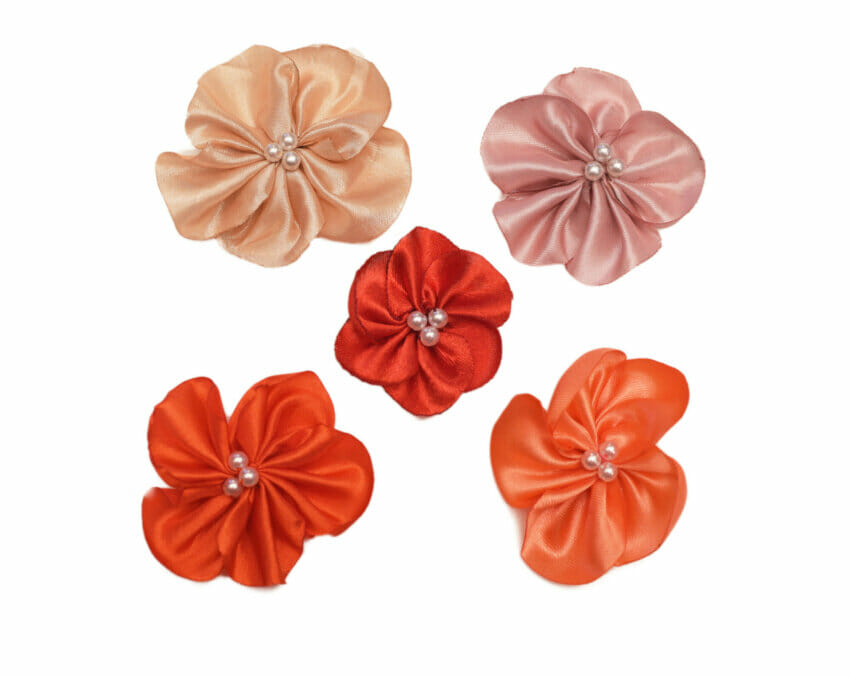
These pretty DIY flowers are made of stiff polyester satin/taffeta, and I love their touch of elegance.
Fabric flowers are so easy and fun to make and can be used in a variety of ways.
You can turn these fabric flowers into hair accessories (bobby pins, headbands, hair ties), brooches, add them to jewelry, use them as an embellishment for clothes or for wedding crafts.
They look gorgeous and they’re super quick to make. This fun and simple project is completely doable even for a complete sewing beginner.
Related: How to make the very best scrunchies
DIY fabric flowers – supplies
- Fabric suggestion – stiff satin/taffeta
- matching thread
- fabric scissors
- hand sewing needle
- faux pearl beads/ elegant buttons
- hot glue gun
- candle
How to make fabric flowers – 5 easy steps
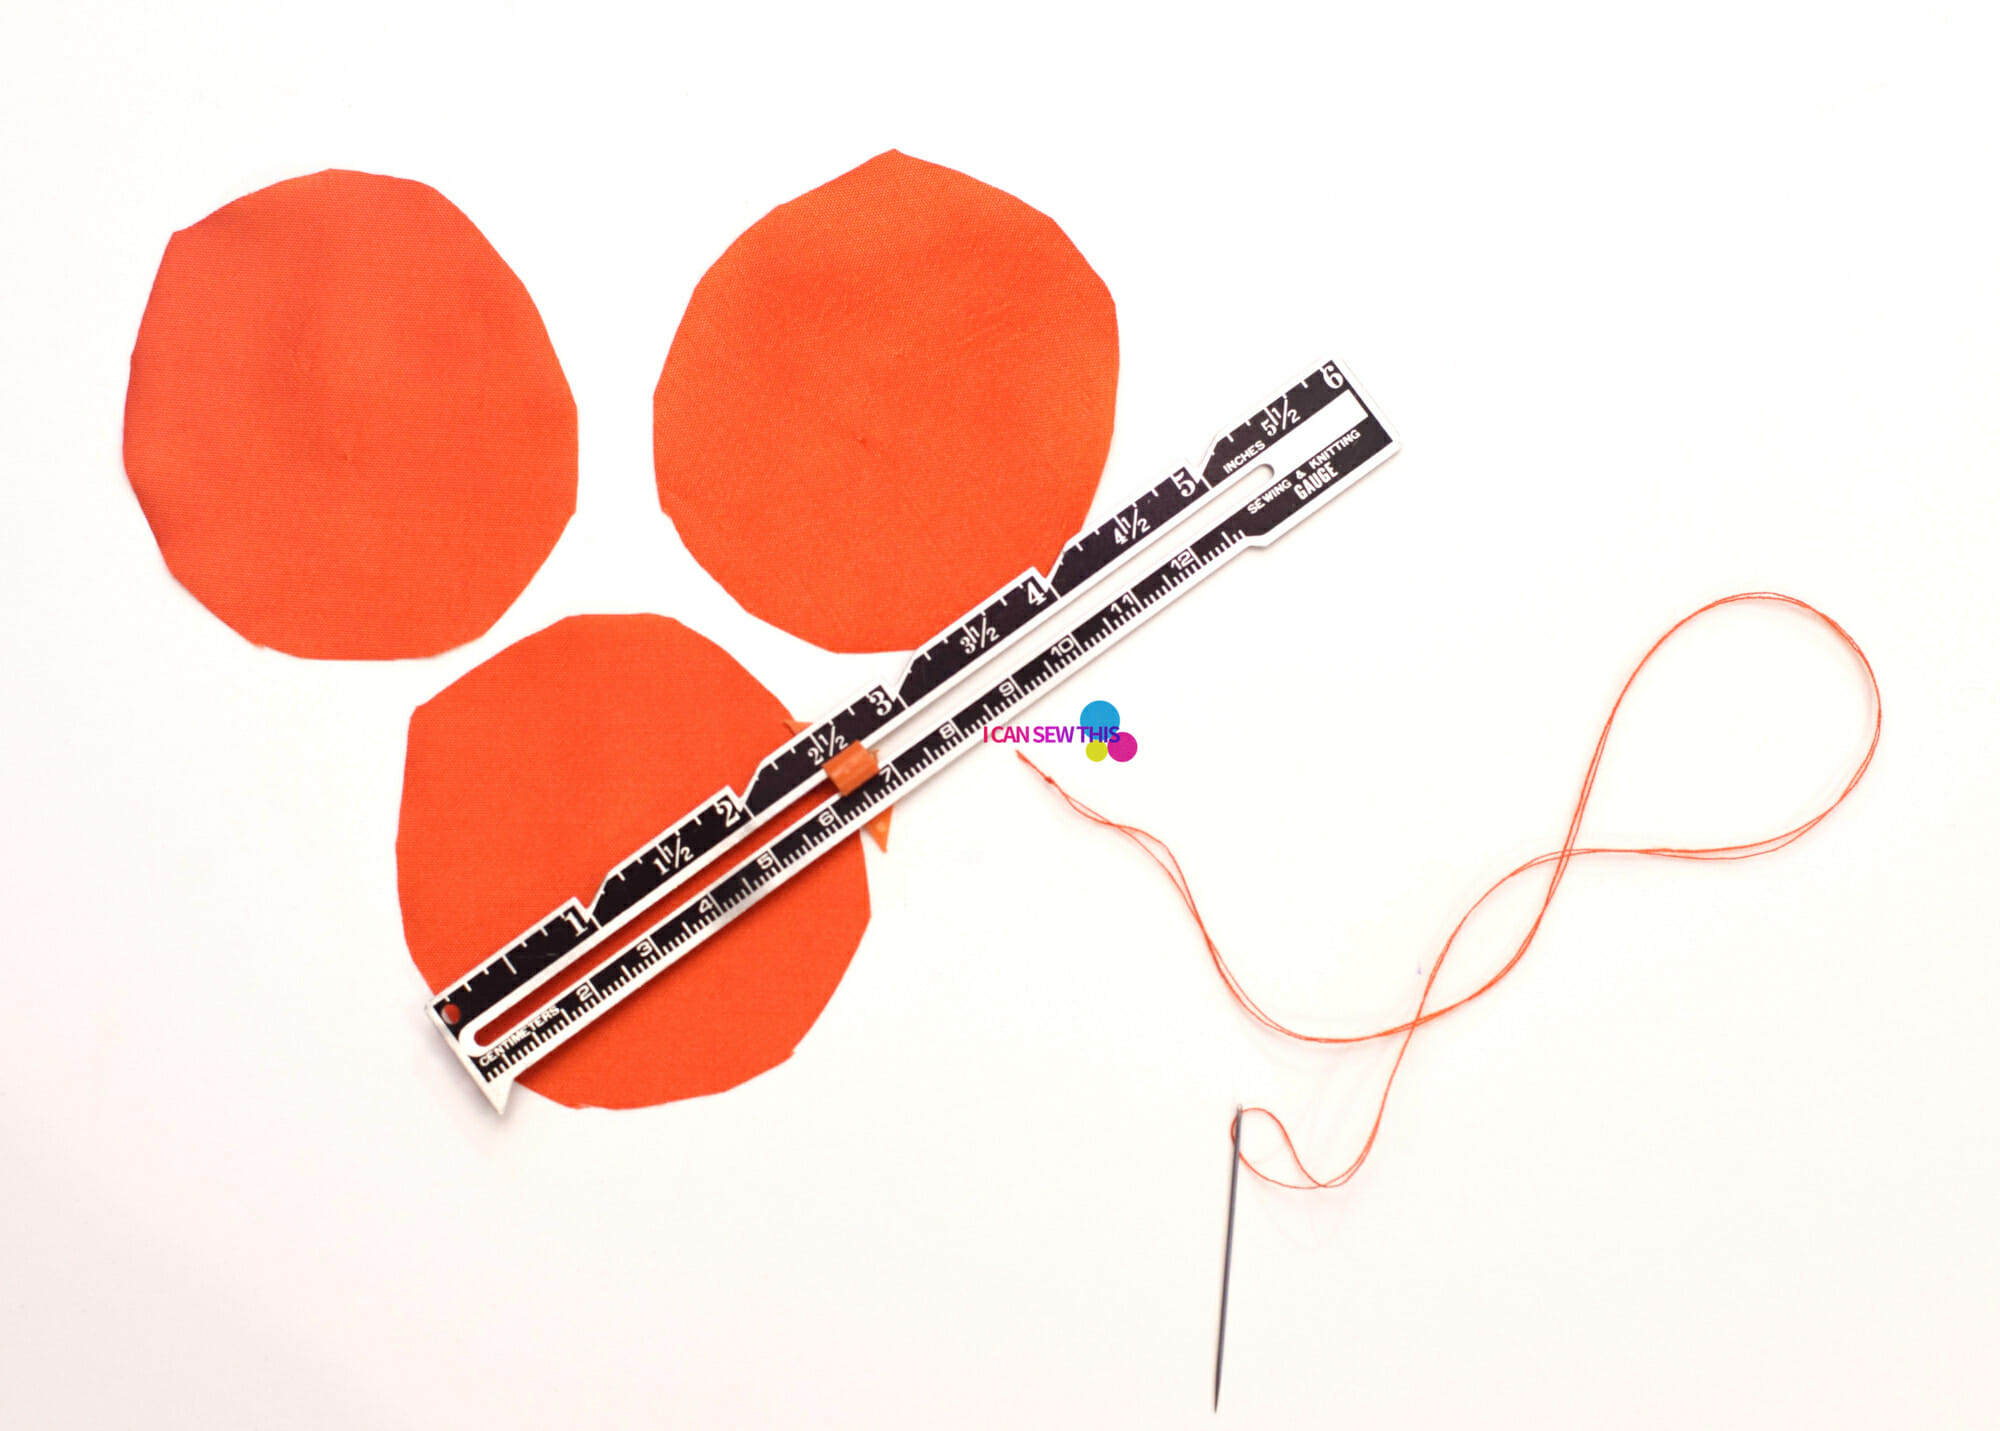
Step 1
Cut three circles out of your fabric. The diameter of those circles should be the same as the desired finished size of the flower.
For this red flower, I chose to cut circles 2 ½ inches in diameter. As a result, my flower will measure approximately 2 ½ inches in the end.
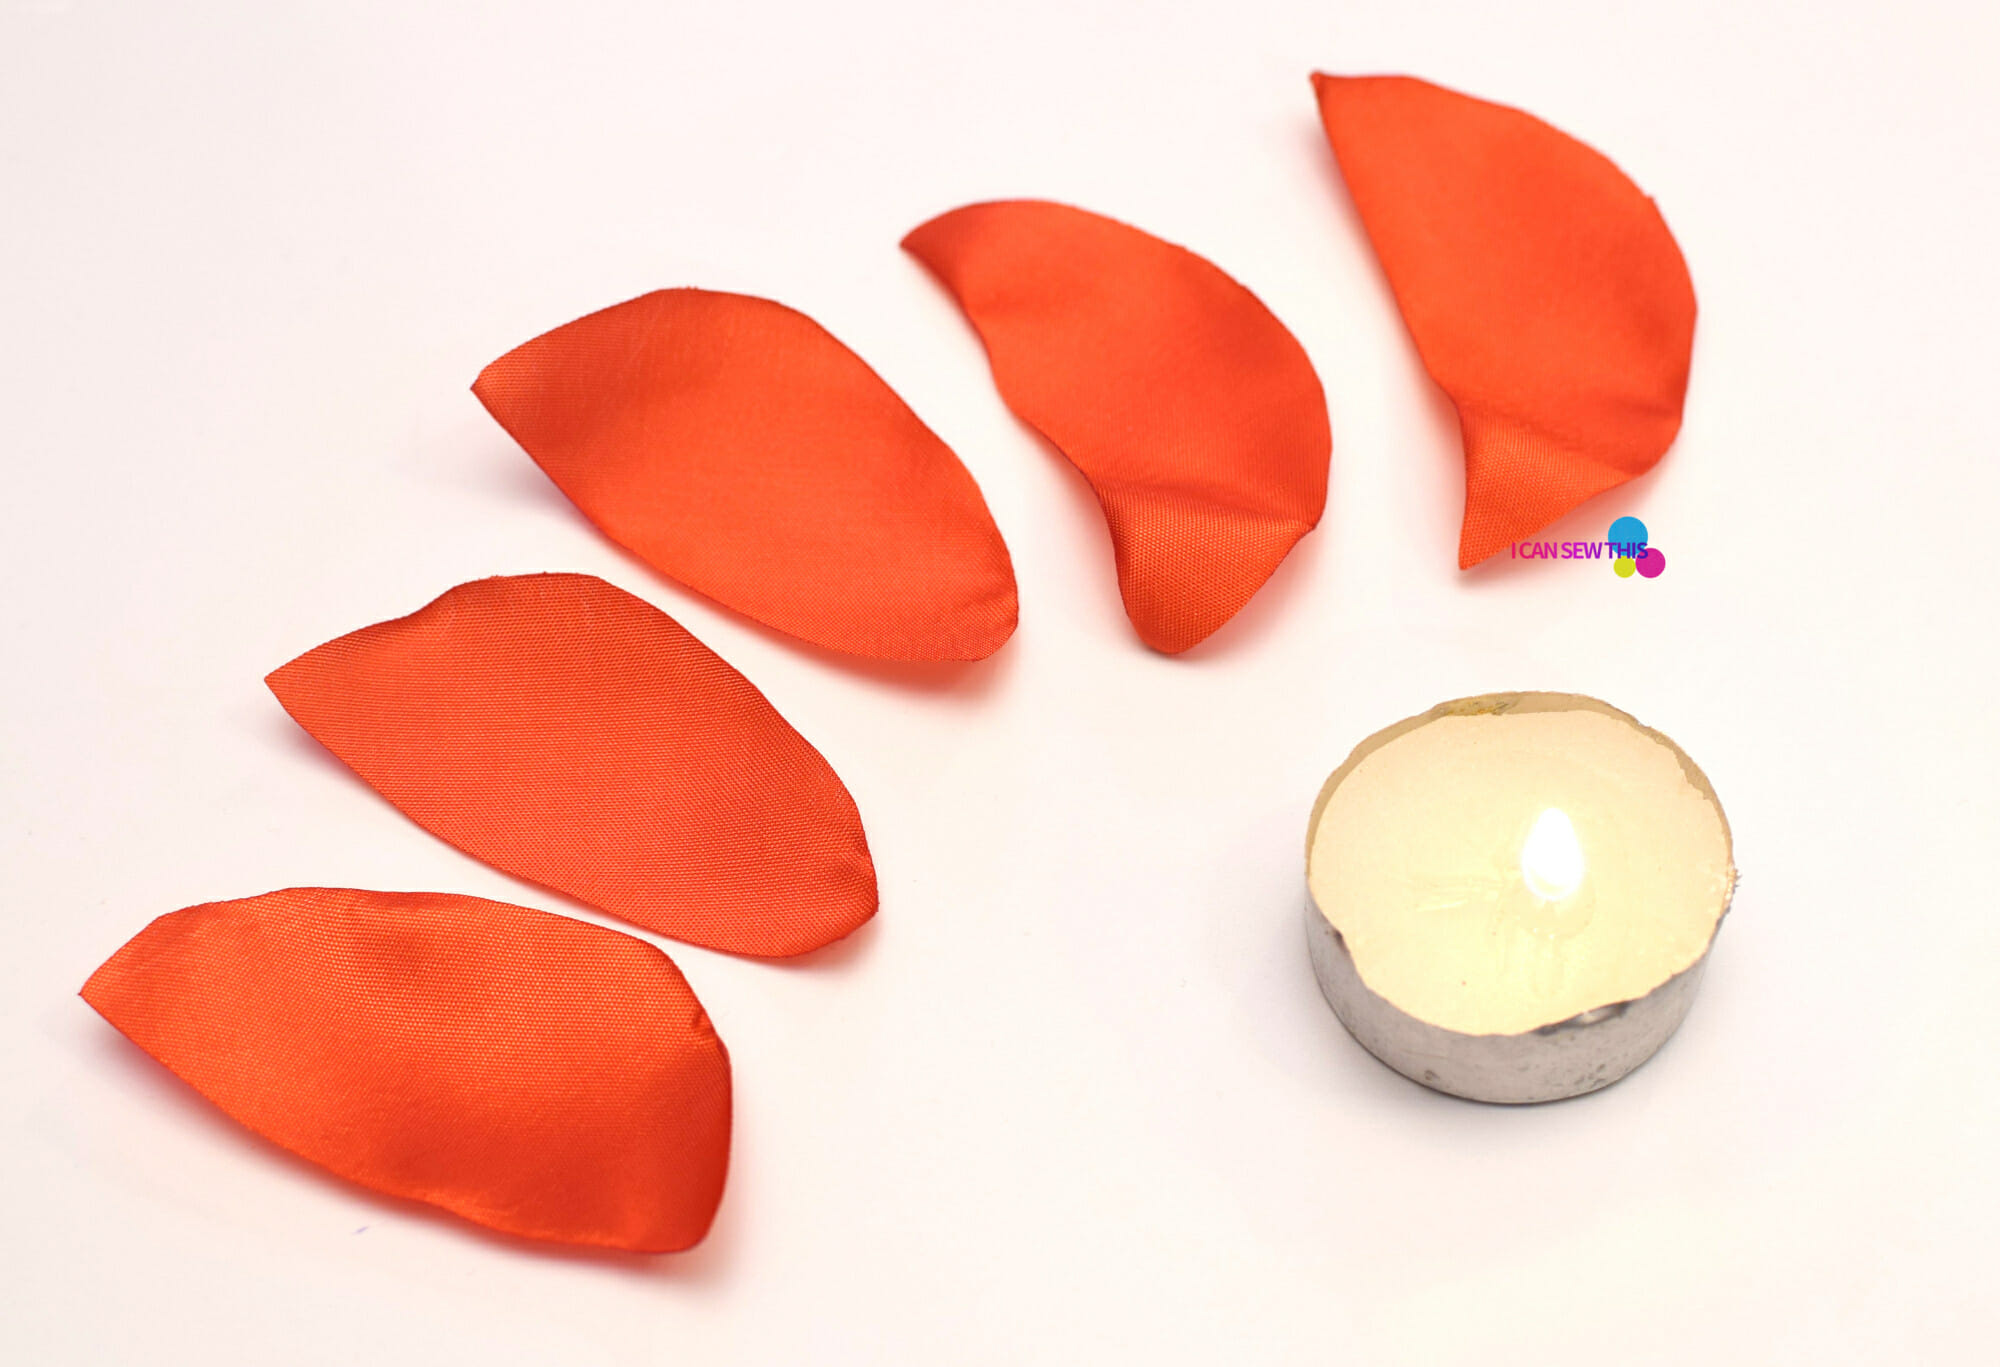
Step 2
Cut the circles in half. You will use only five out of the six petals. Save the remaining petal for a later flower project.
Next, use a candle to melt and crinkle all the edges of the petals. It’s important to be very careful, because it’s quite easy to get burnt. Just hold the half circles above the flame until the edges begin to curl.
Keep rotating the fabric above the candle so that it does not catch fire. You want to melt the edges to stop them from fraying but not actually burn the petals.
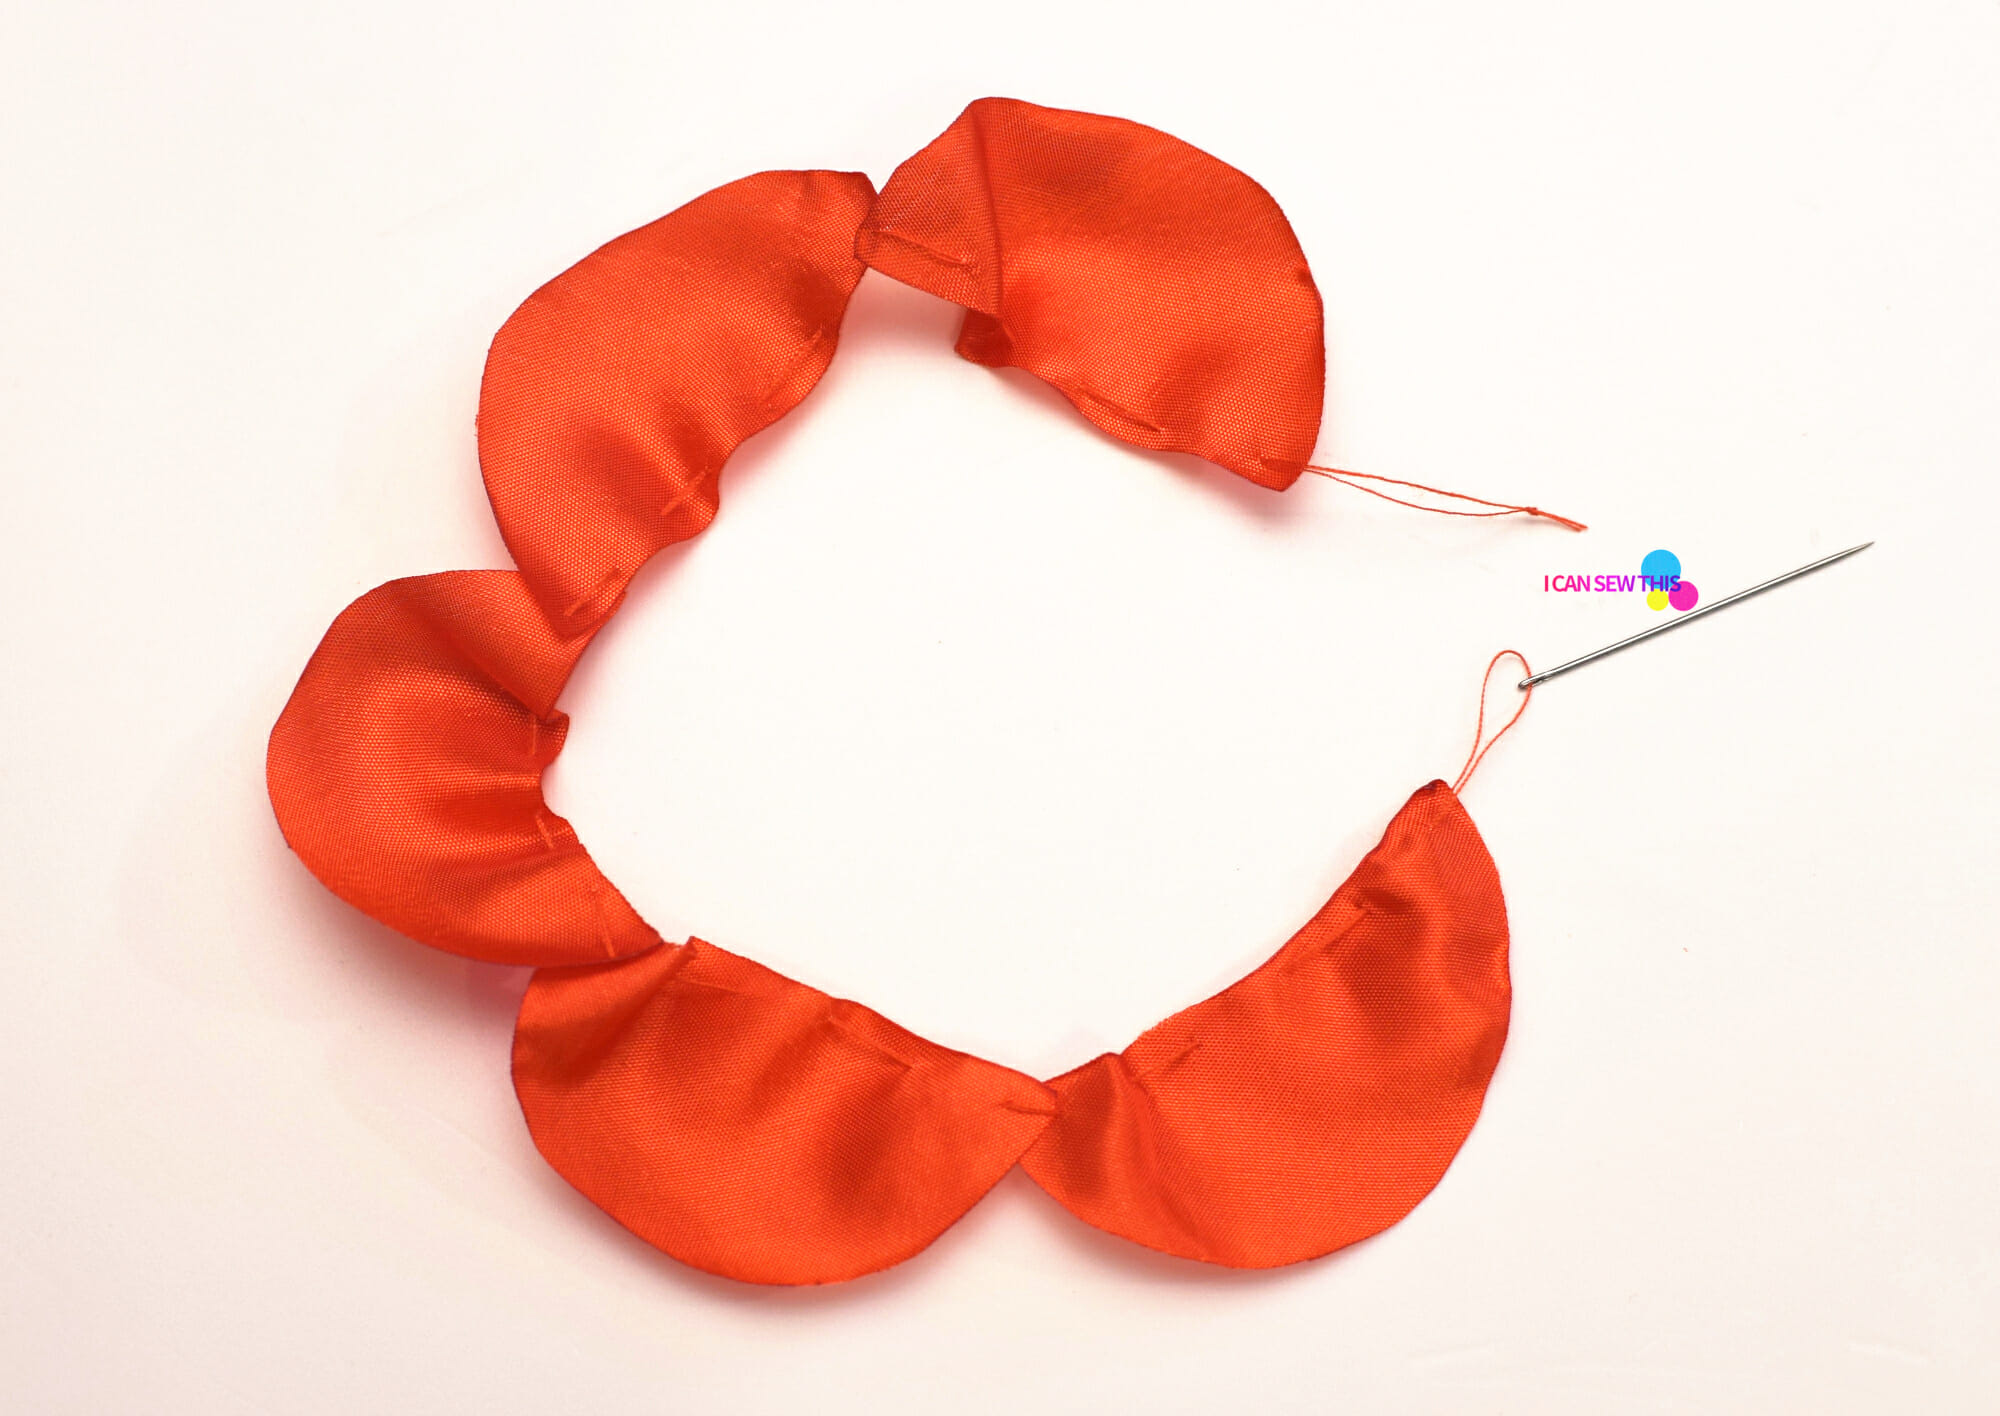
Step 3
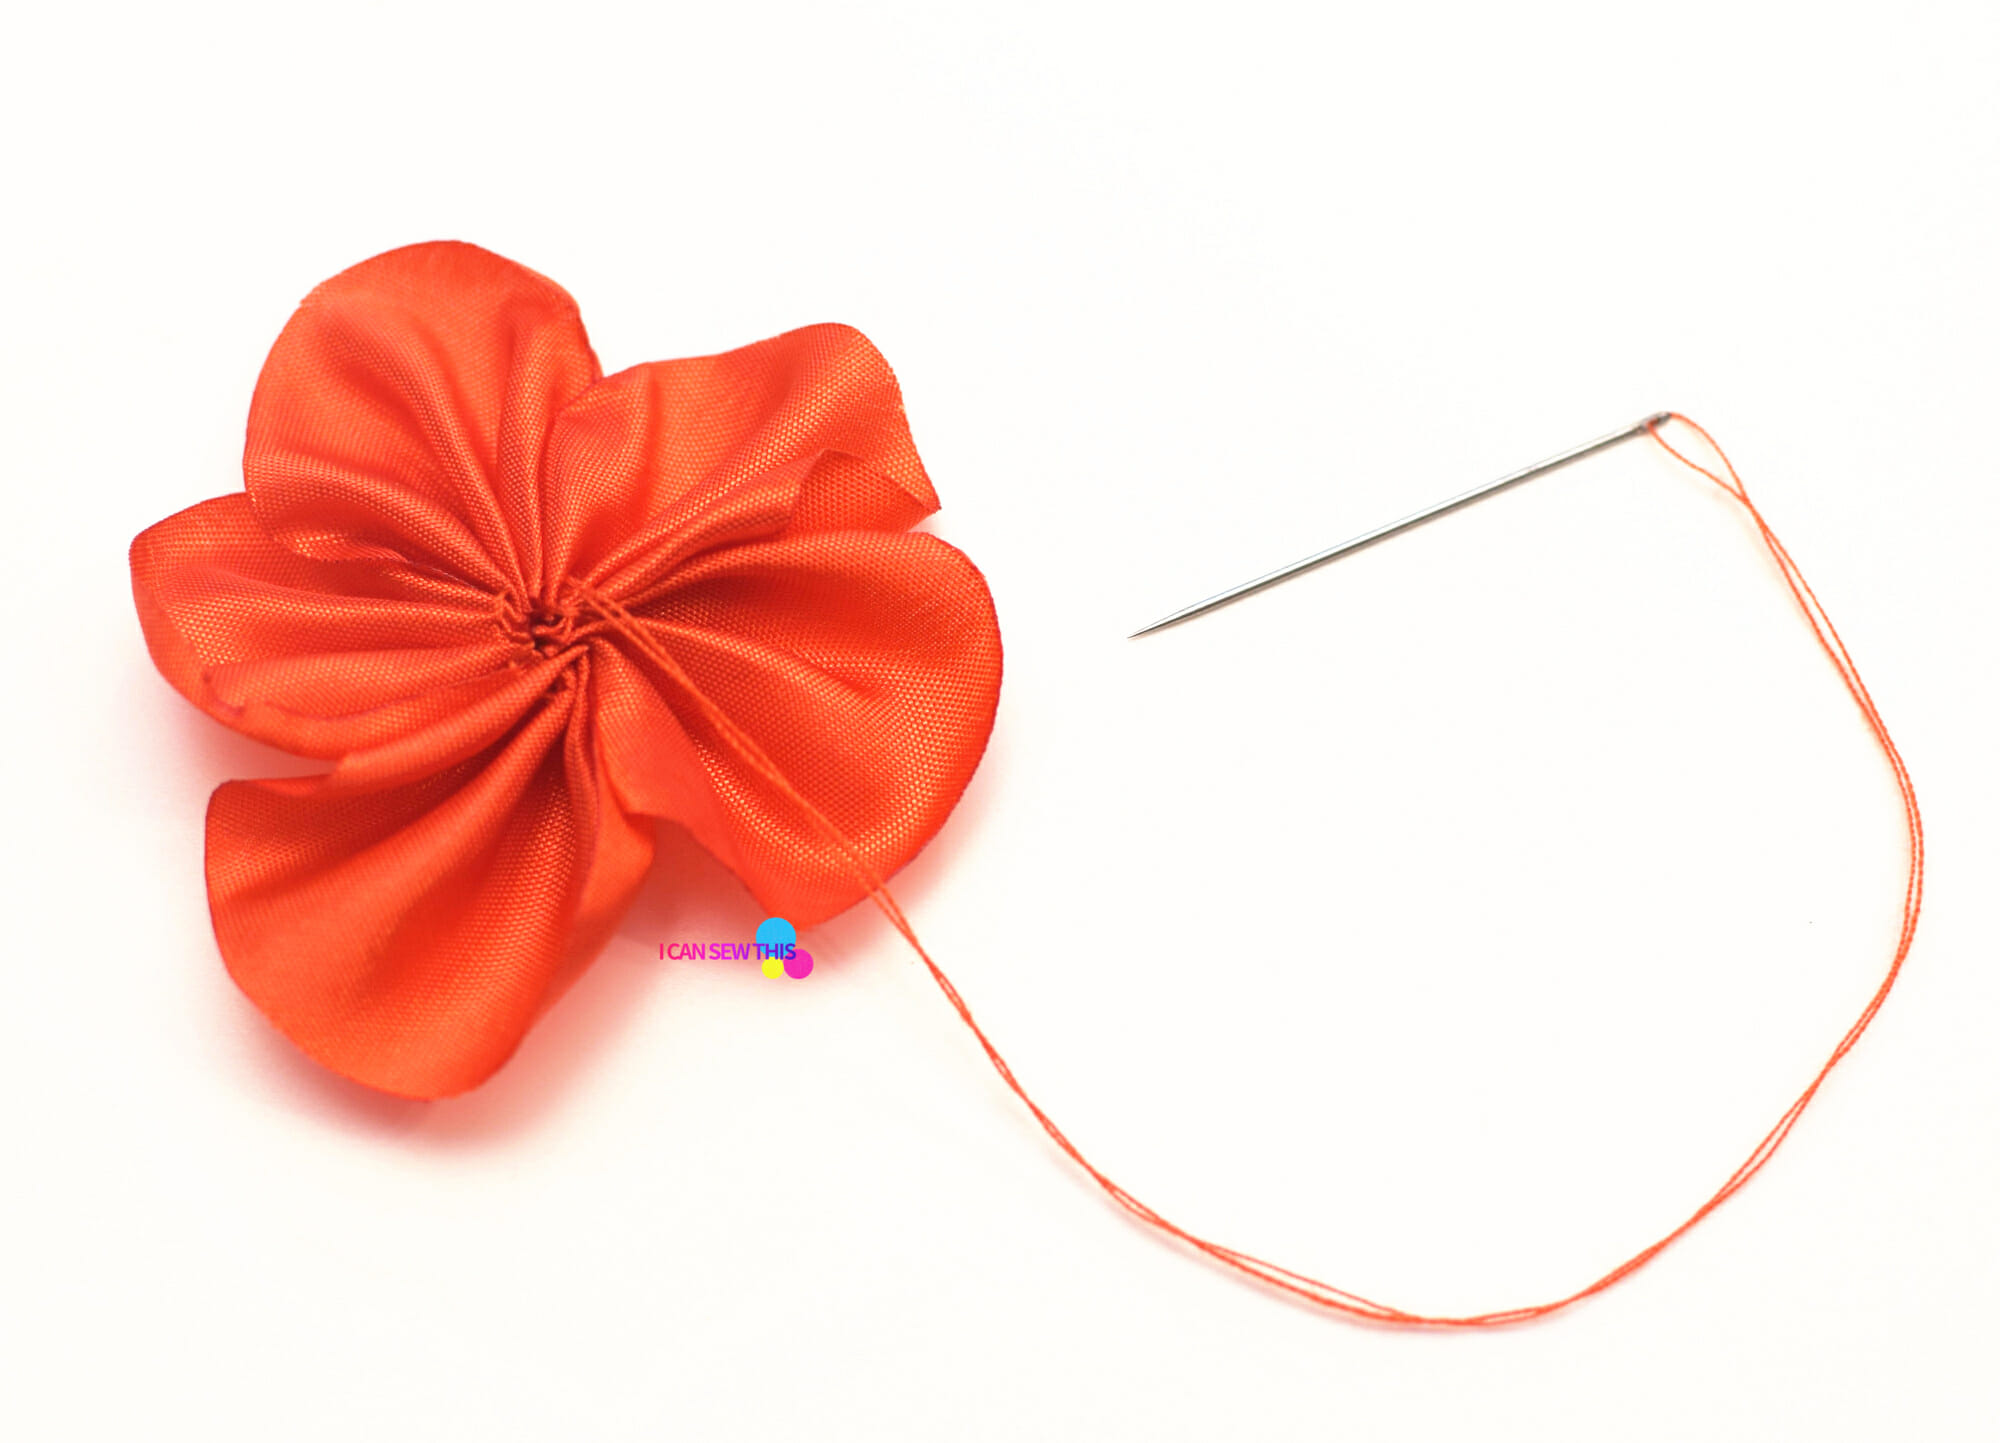
Use a needle and matching thread to run a gathering stitch along the petals’ base. Leave a small loop at the end.
Step 4
Next, pull the thread to gather up the petals and create a flower shape.
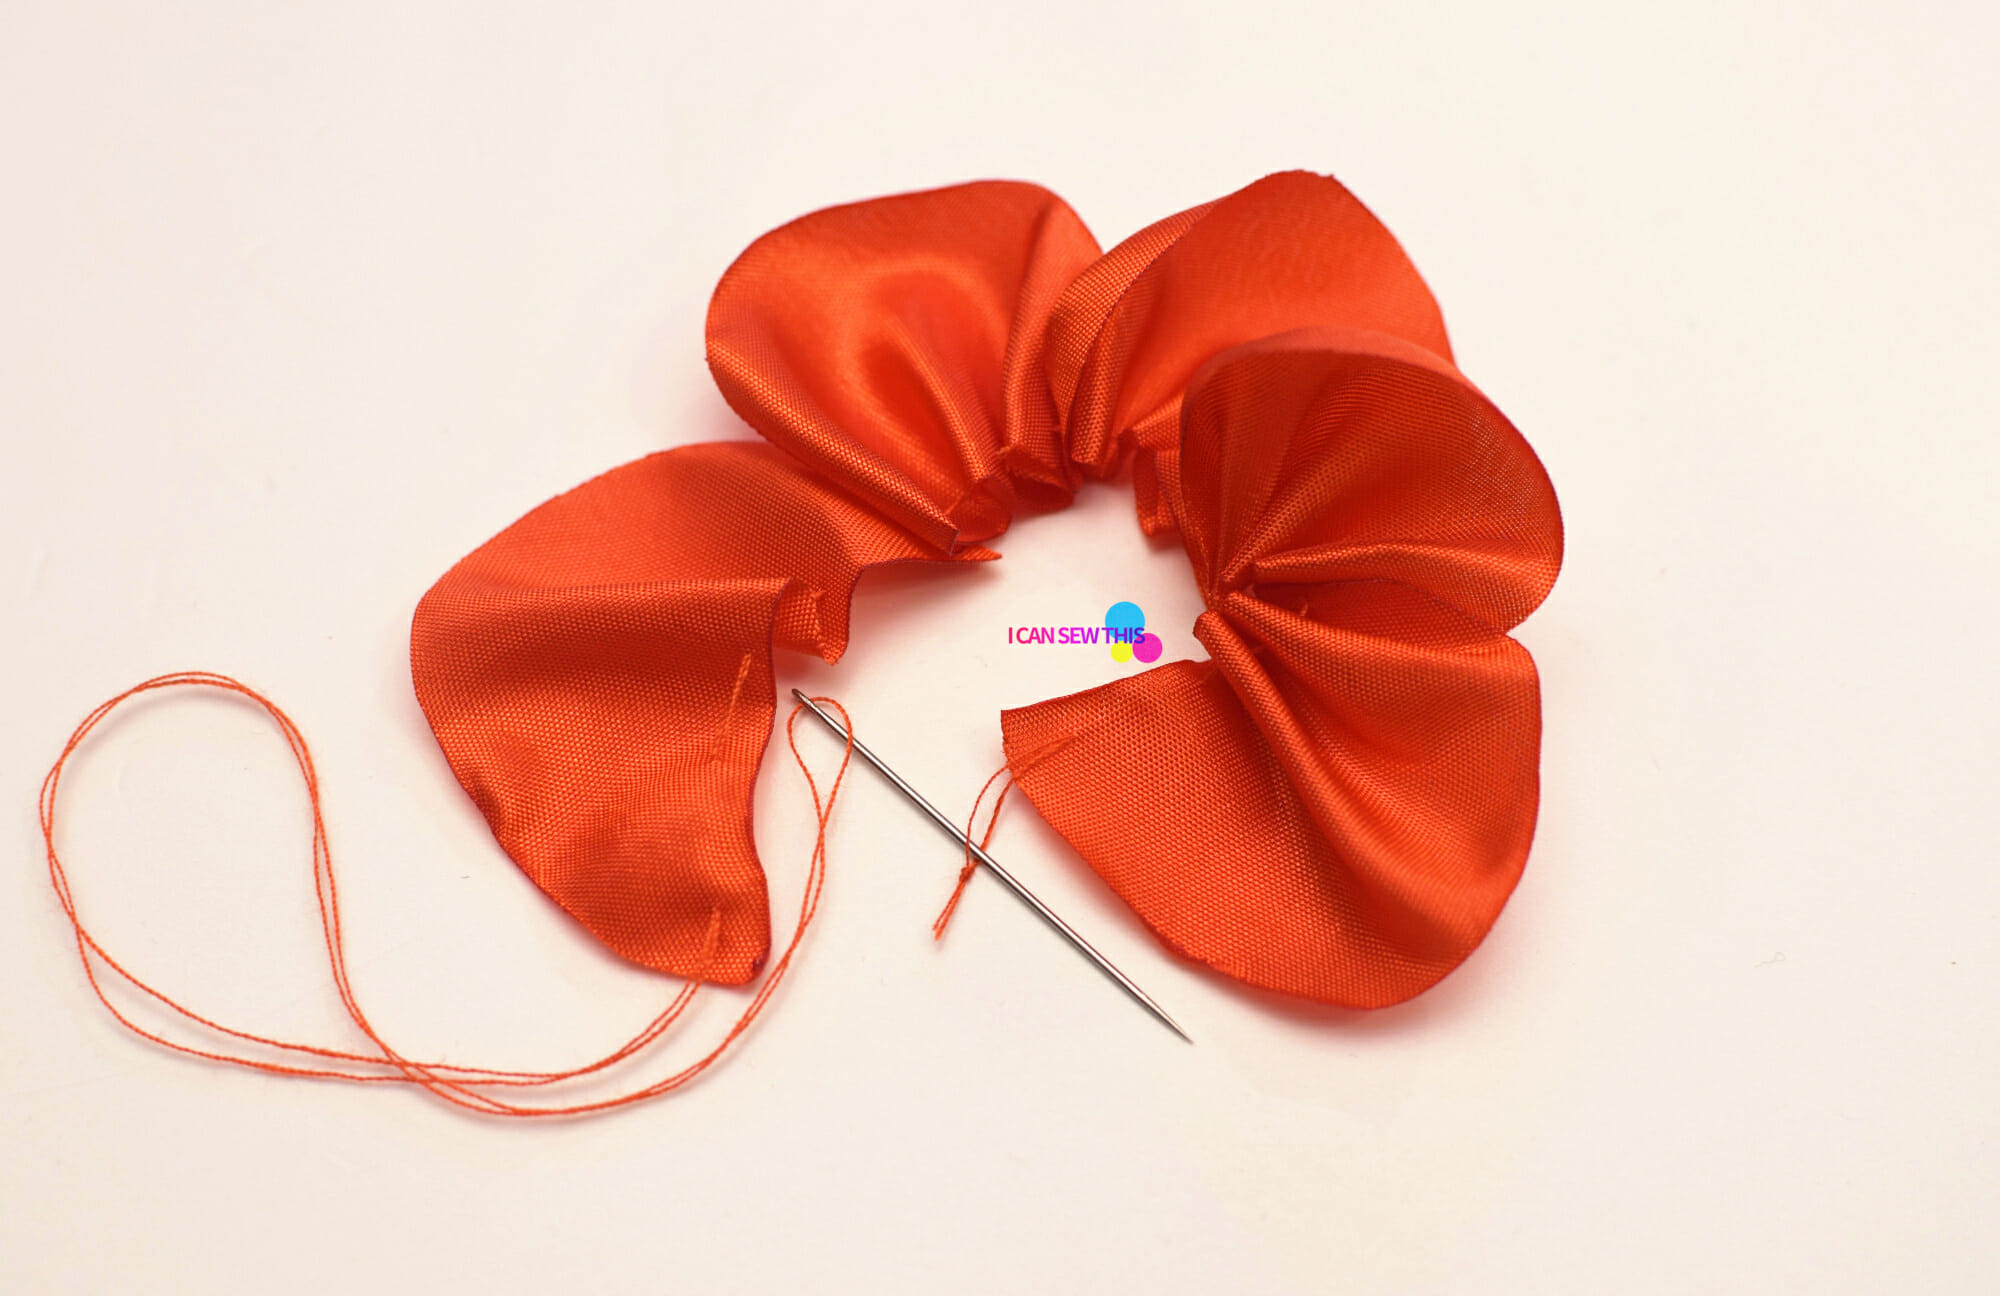
Now pass the needle through the loop (see the photo above) and secure the flower with some stitches at the base.
Step 5
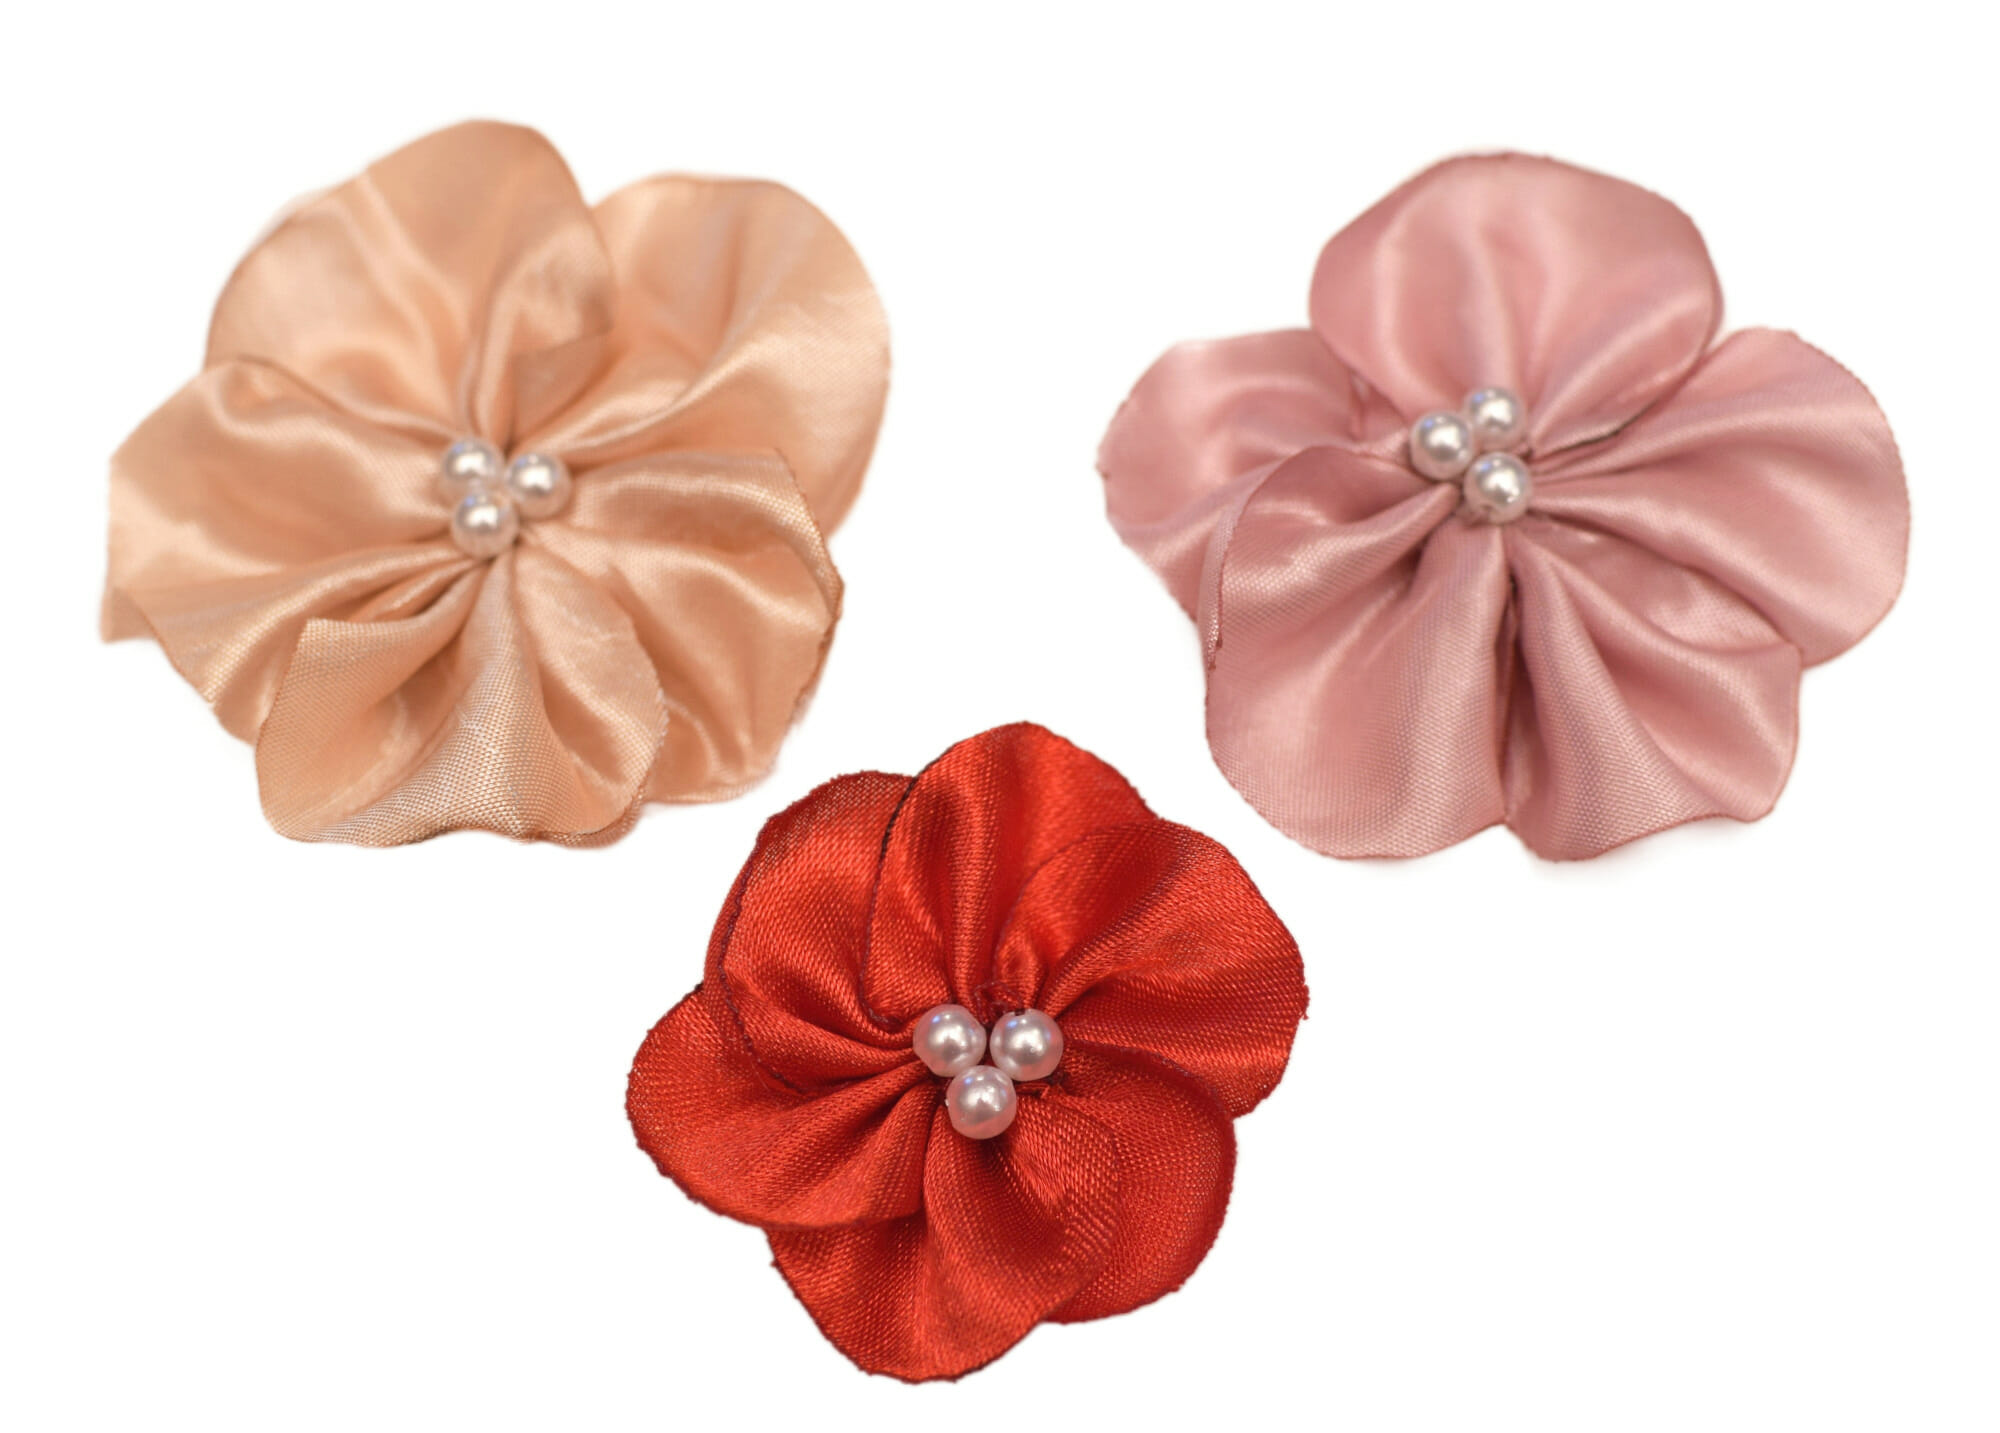
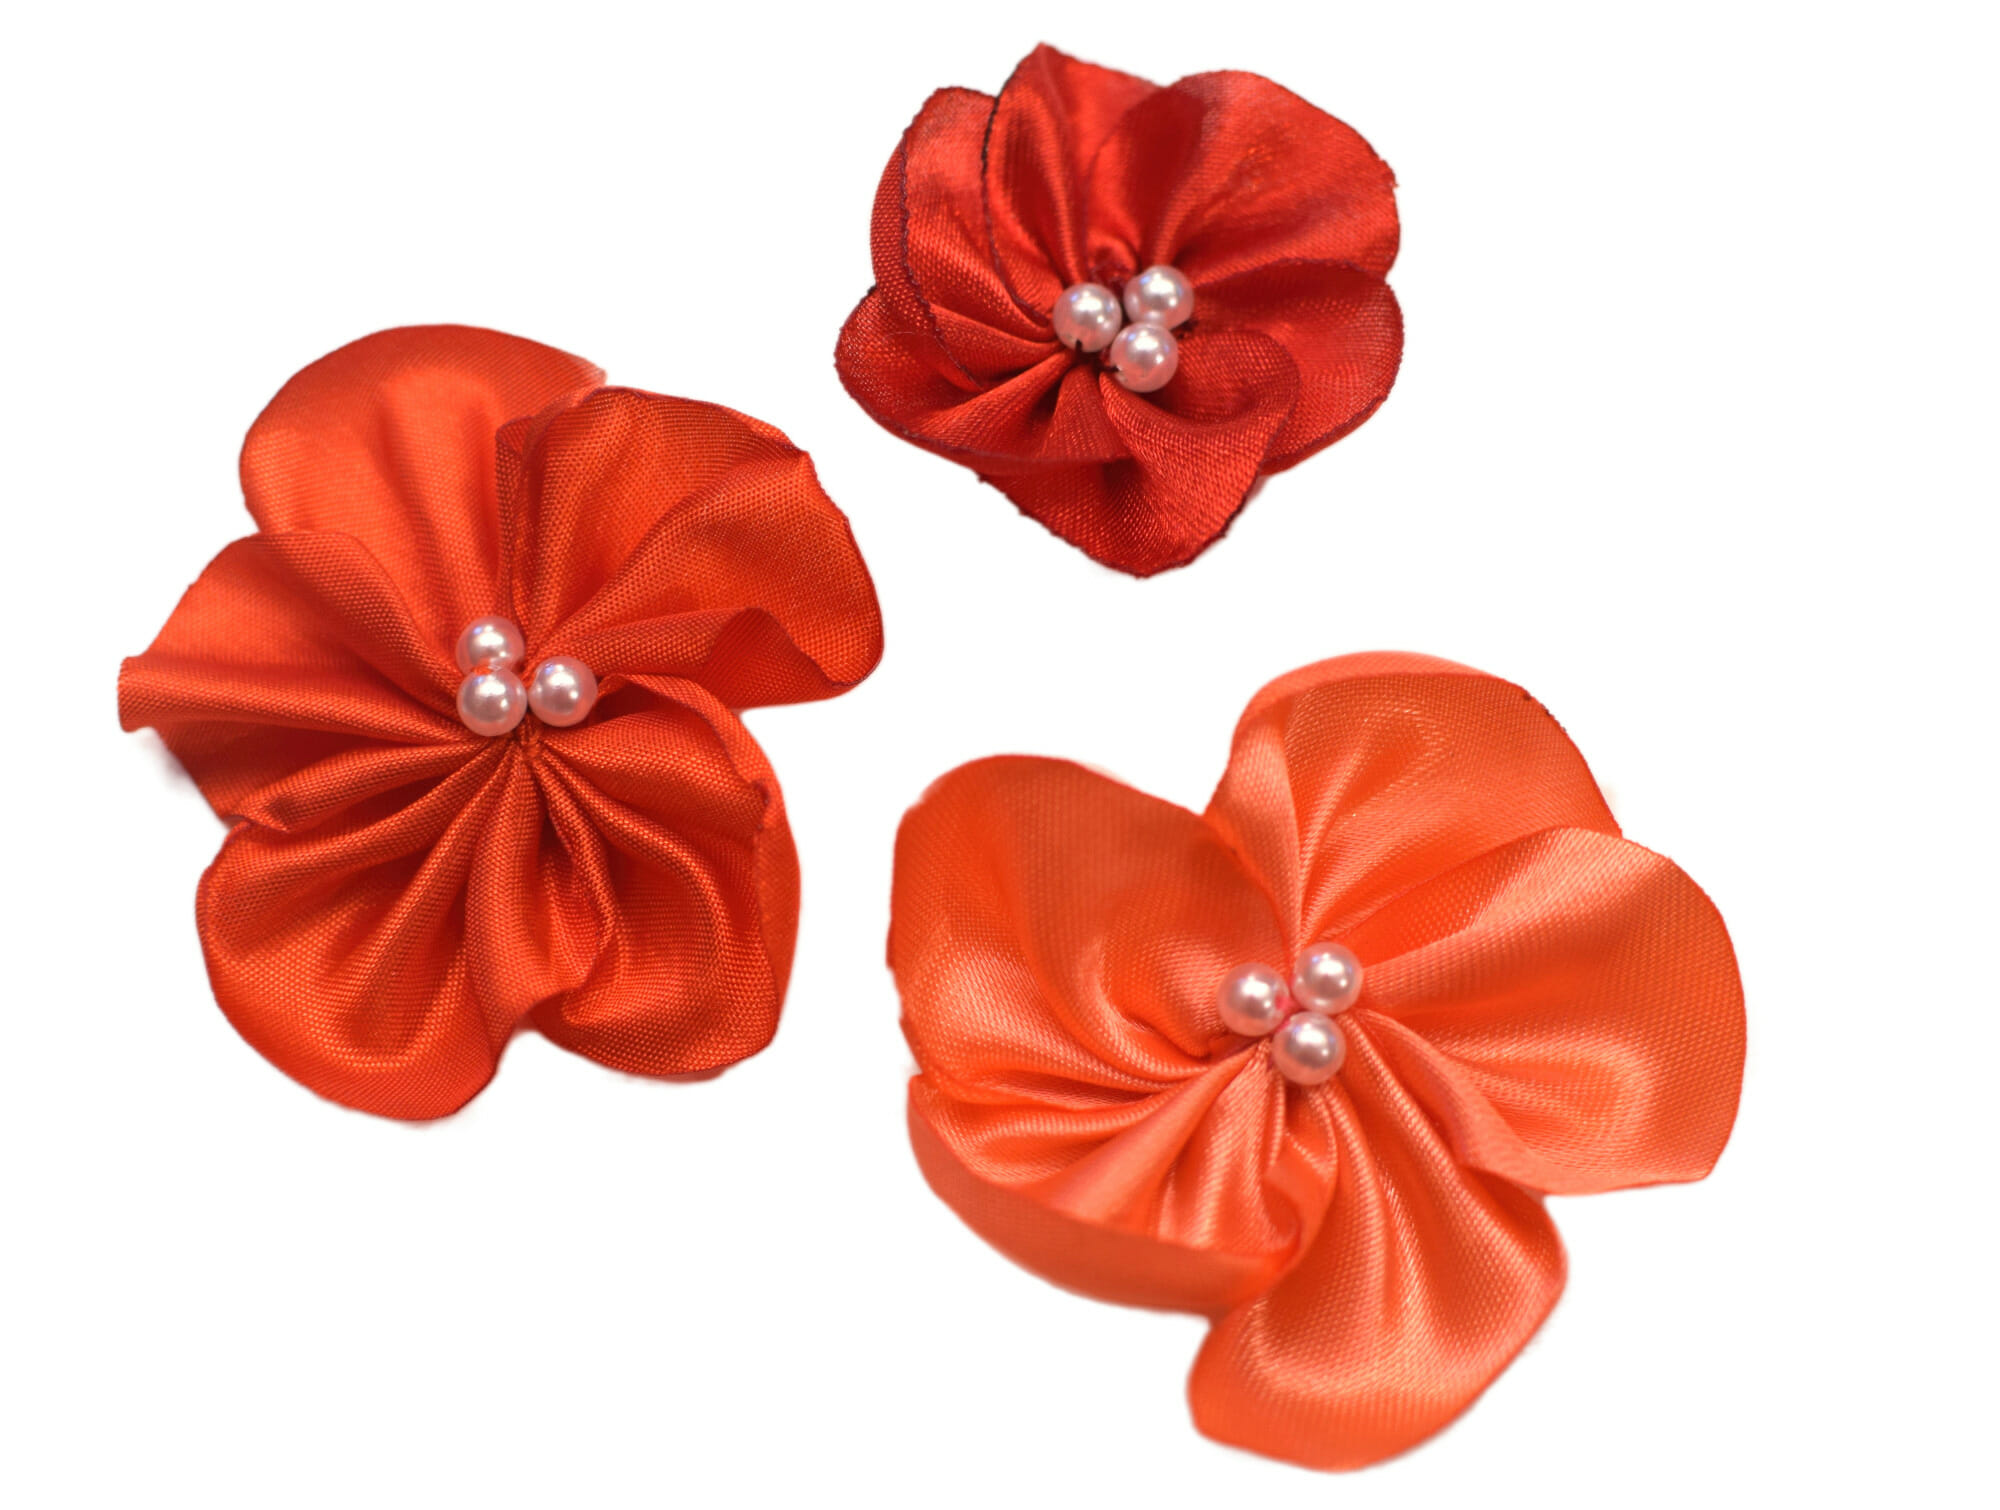
To finish the flower, add a few faux pearl beads or a cute button in the center.
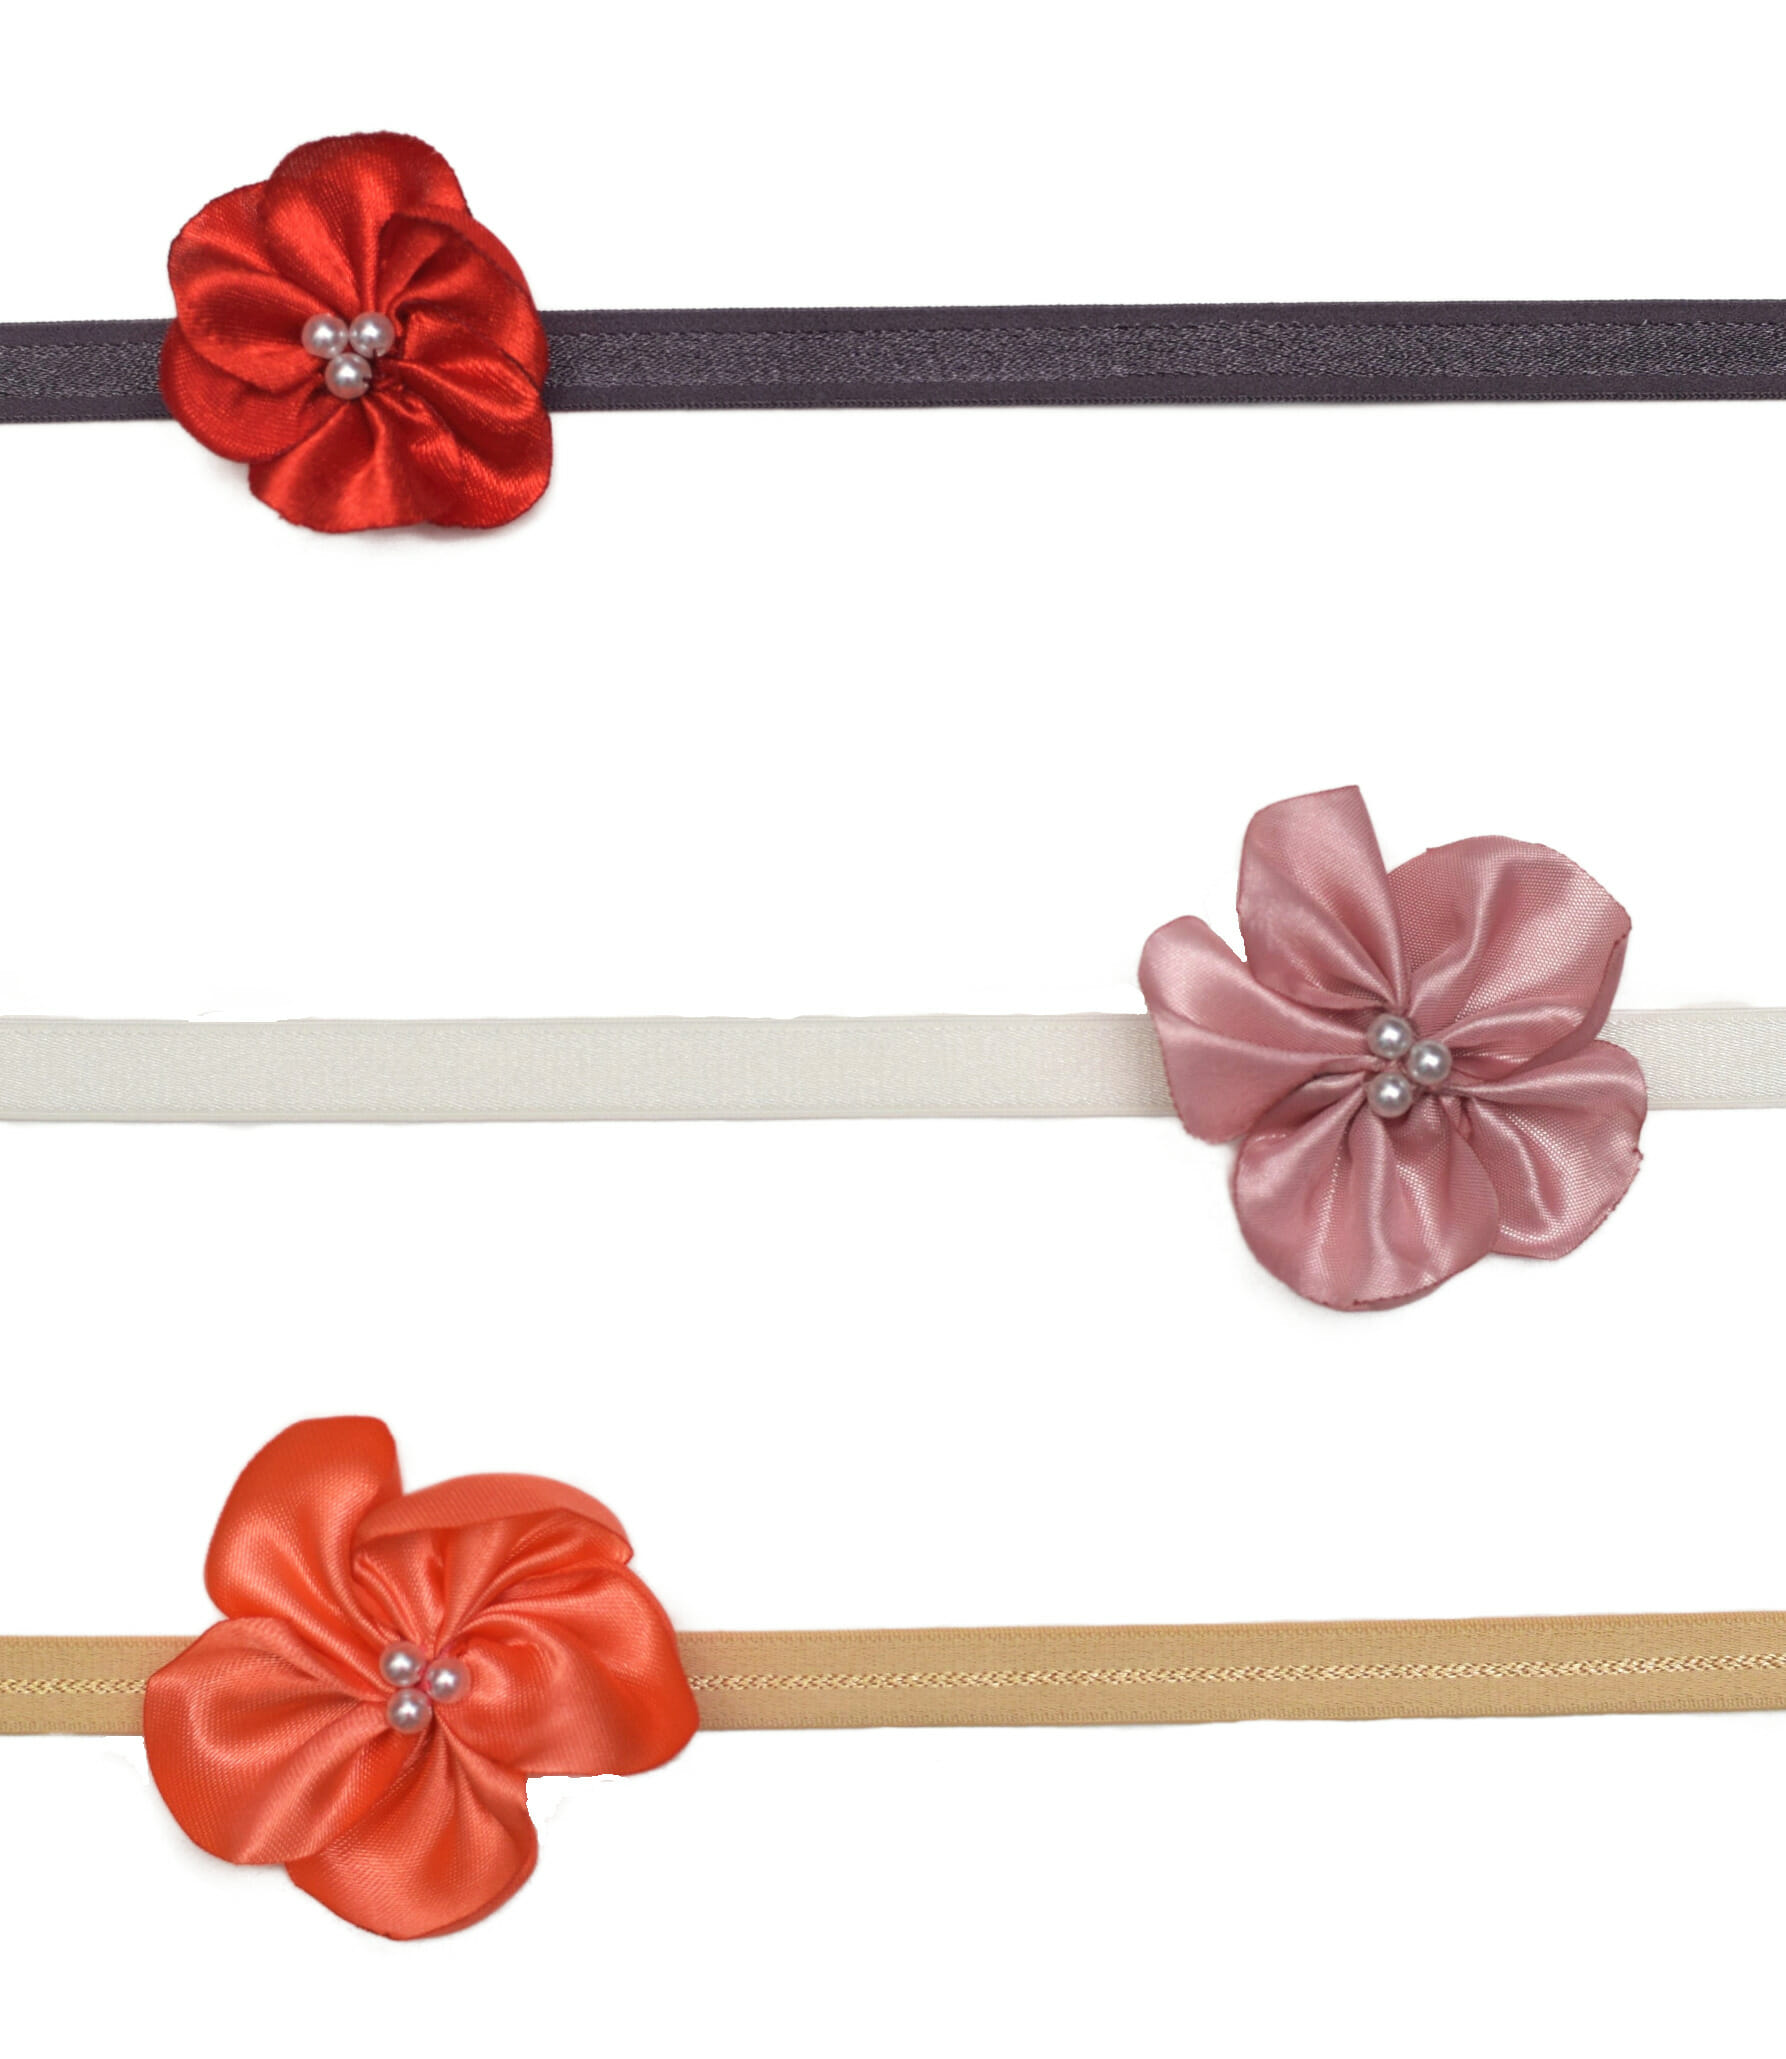
All you have to do now to finish this easy and fun project is attach the fabric flower to the headband using a hot glue gun.
To add extra stability to the flower, you can also glue a round piece of felt on the underside of the headband.
Fabric flowers – a clever little thing to make with scraps
Now you know. When you have scraps of satin or taffeta leftover from other projects, don’t throw them away! Instead, you can use them to make fabric flowers that will look awesome on a baby headband.

I hope you enjoyed this tutorial and you’ll soon start making your own beautiful fabric flowers!
Let’s keep in touch! You can find me on Facebook, Instagram, and Pinterest.
Related posts