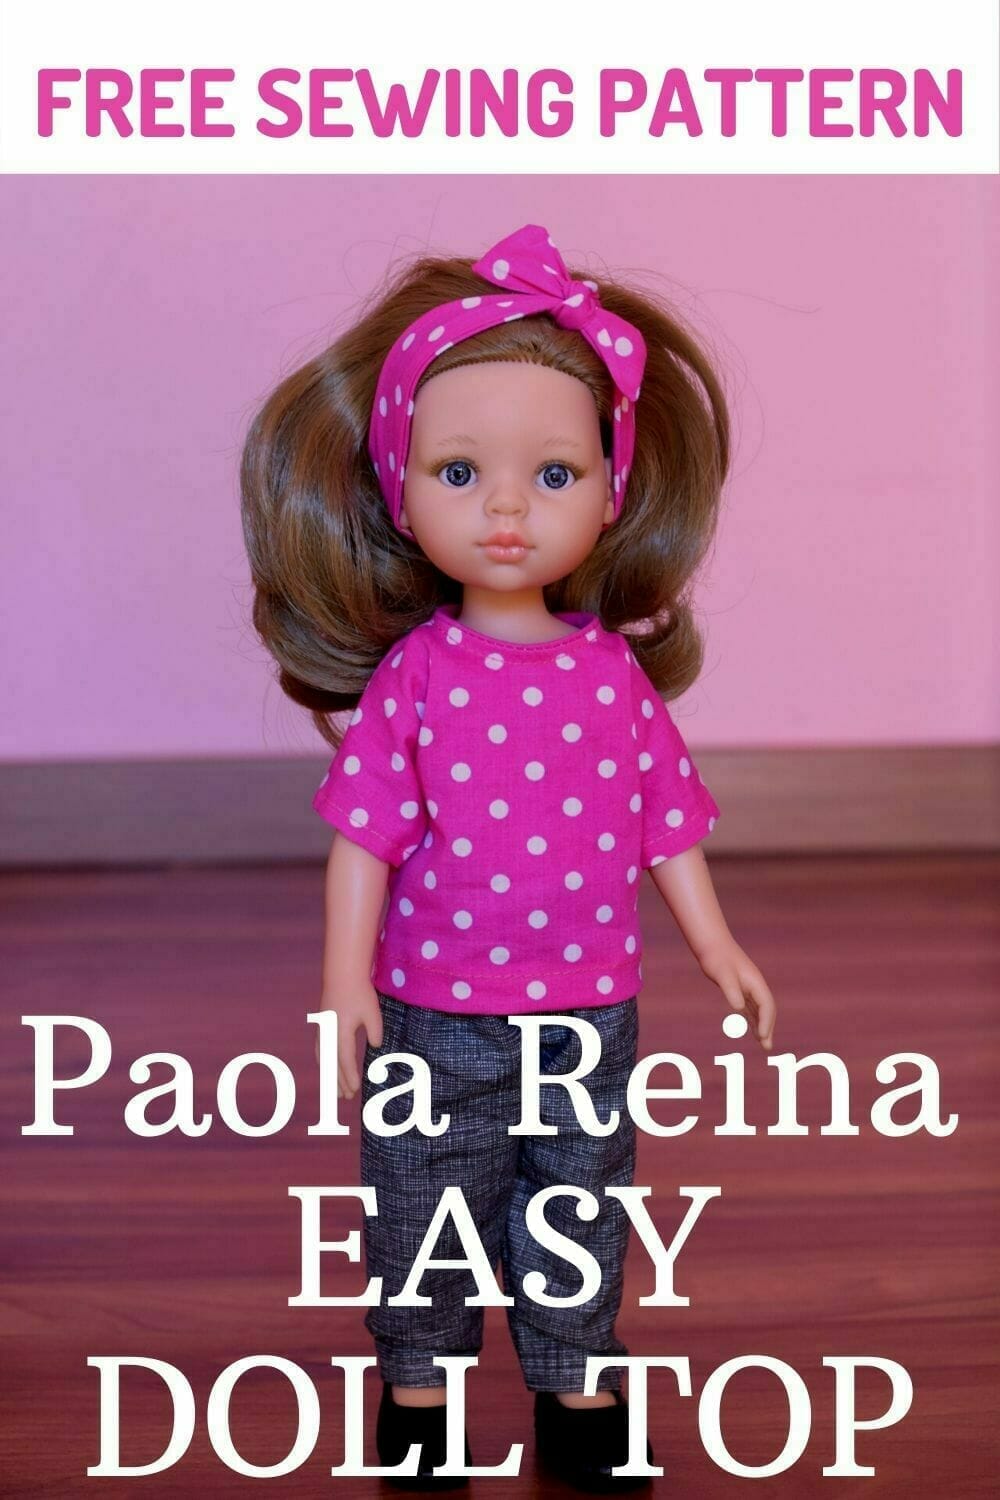
Learn how to make a cute top for any 12-inch or 13-inch Paola Reina doll with this free PDF sewing pattern and tutorial. You need no previous experience sewing clothes. This is a quick and fun sewing project, and the directions are very easy for a beginner to follow.
I may be new around here but I already have a loyal fanbase right here, at home. My three kids stand in awe of me when I triumphantly come out of my sewing room with so many different and fun things like skirts, pants, pillows, totes, or zipper pouches.
The last time I surprised them was when I made doll clothes for the beautiful Paola Reina doll my daughter received as a Christmas gift.
RELATED: Learn how to make easy doll pants, doll skirt or a simple doll dress – free patterns and tutorials!
I’m very pleased to share with you this easy top sewing pattern for Paola Reina dolls, and I hope you’ll enjoy making it as much as I did. You can download the PDF pattern for free – be sure to set the print scale at 100%.
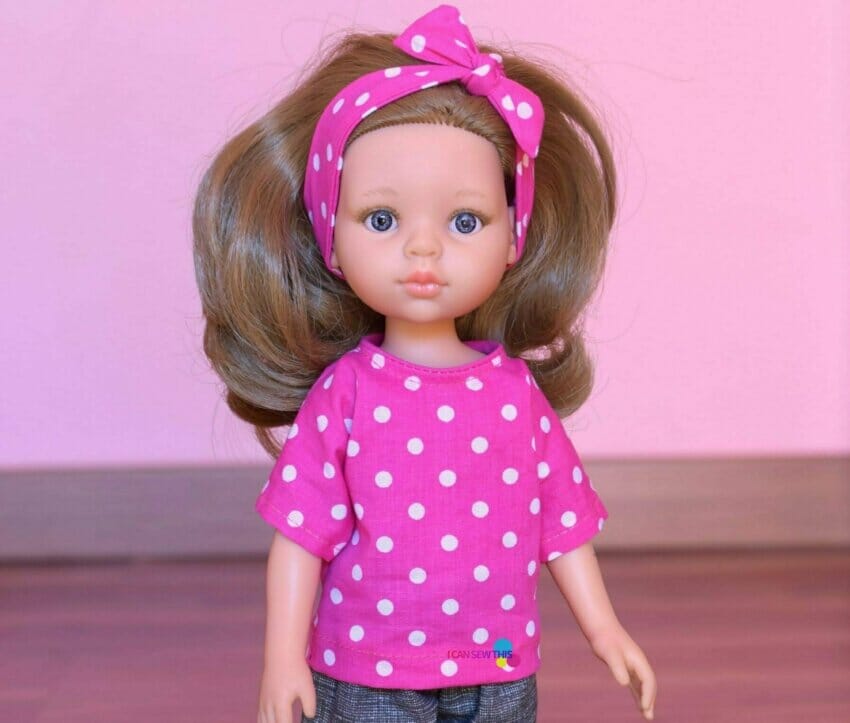
I made it with a loose fit, with my youngest daughter in mind. She’s only 2.5 years old and she loves dressing up games, and I wanted the shirt to be easy to slip on and slide off.
I know doll clothes don’t get washed as often as our clothes do, but that’s not reason enough to skip on finishing the inside seams. I really dislike the raw edges and the messy, dangling threads on anything.
For this doll top, I used woven cotton fabric and pinking shears to finish the inside seams, and I’m glad I took some time to make everything look nice, inside and out.
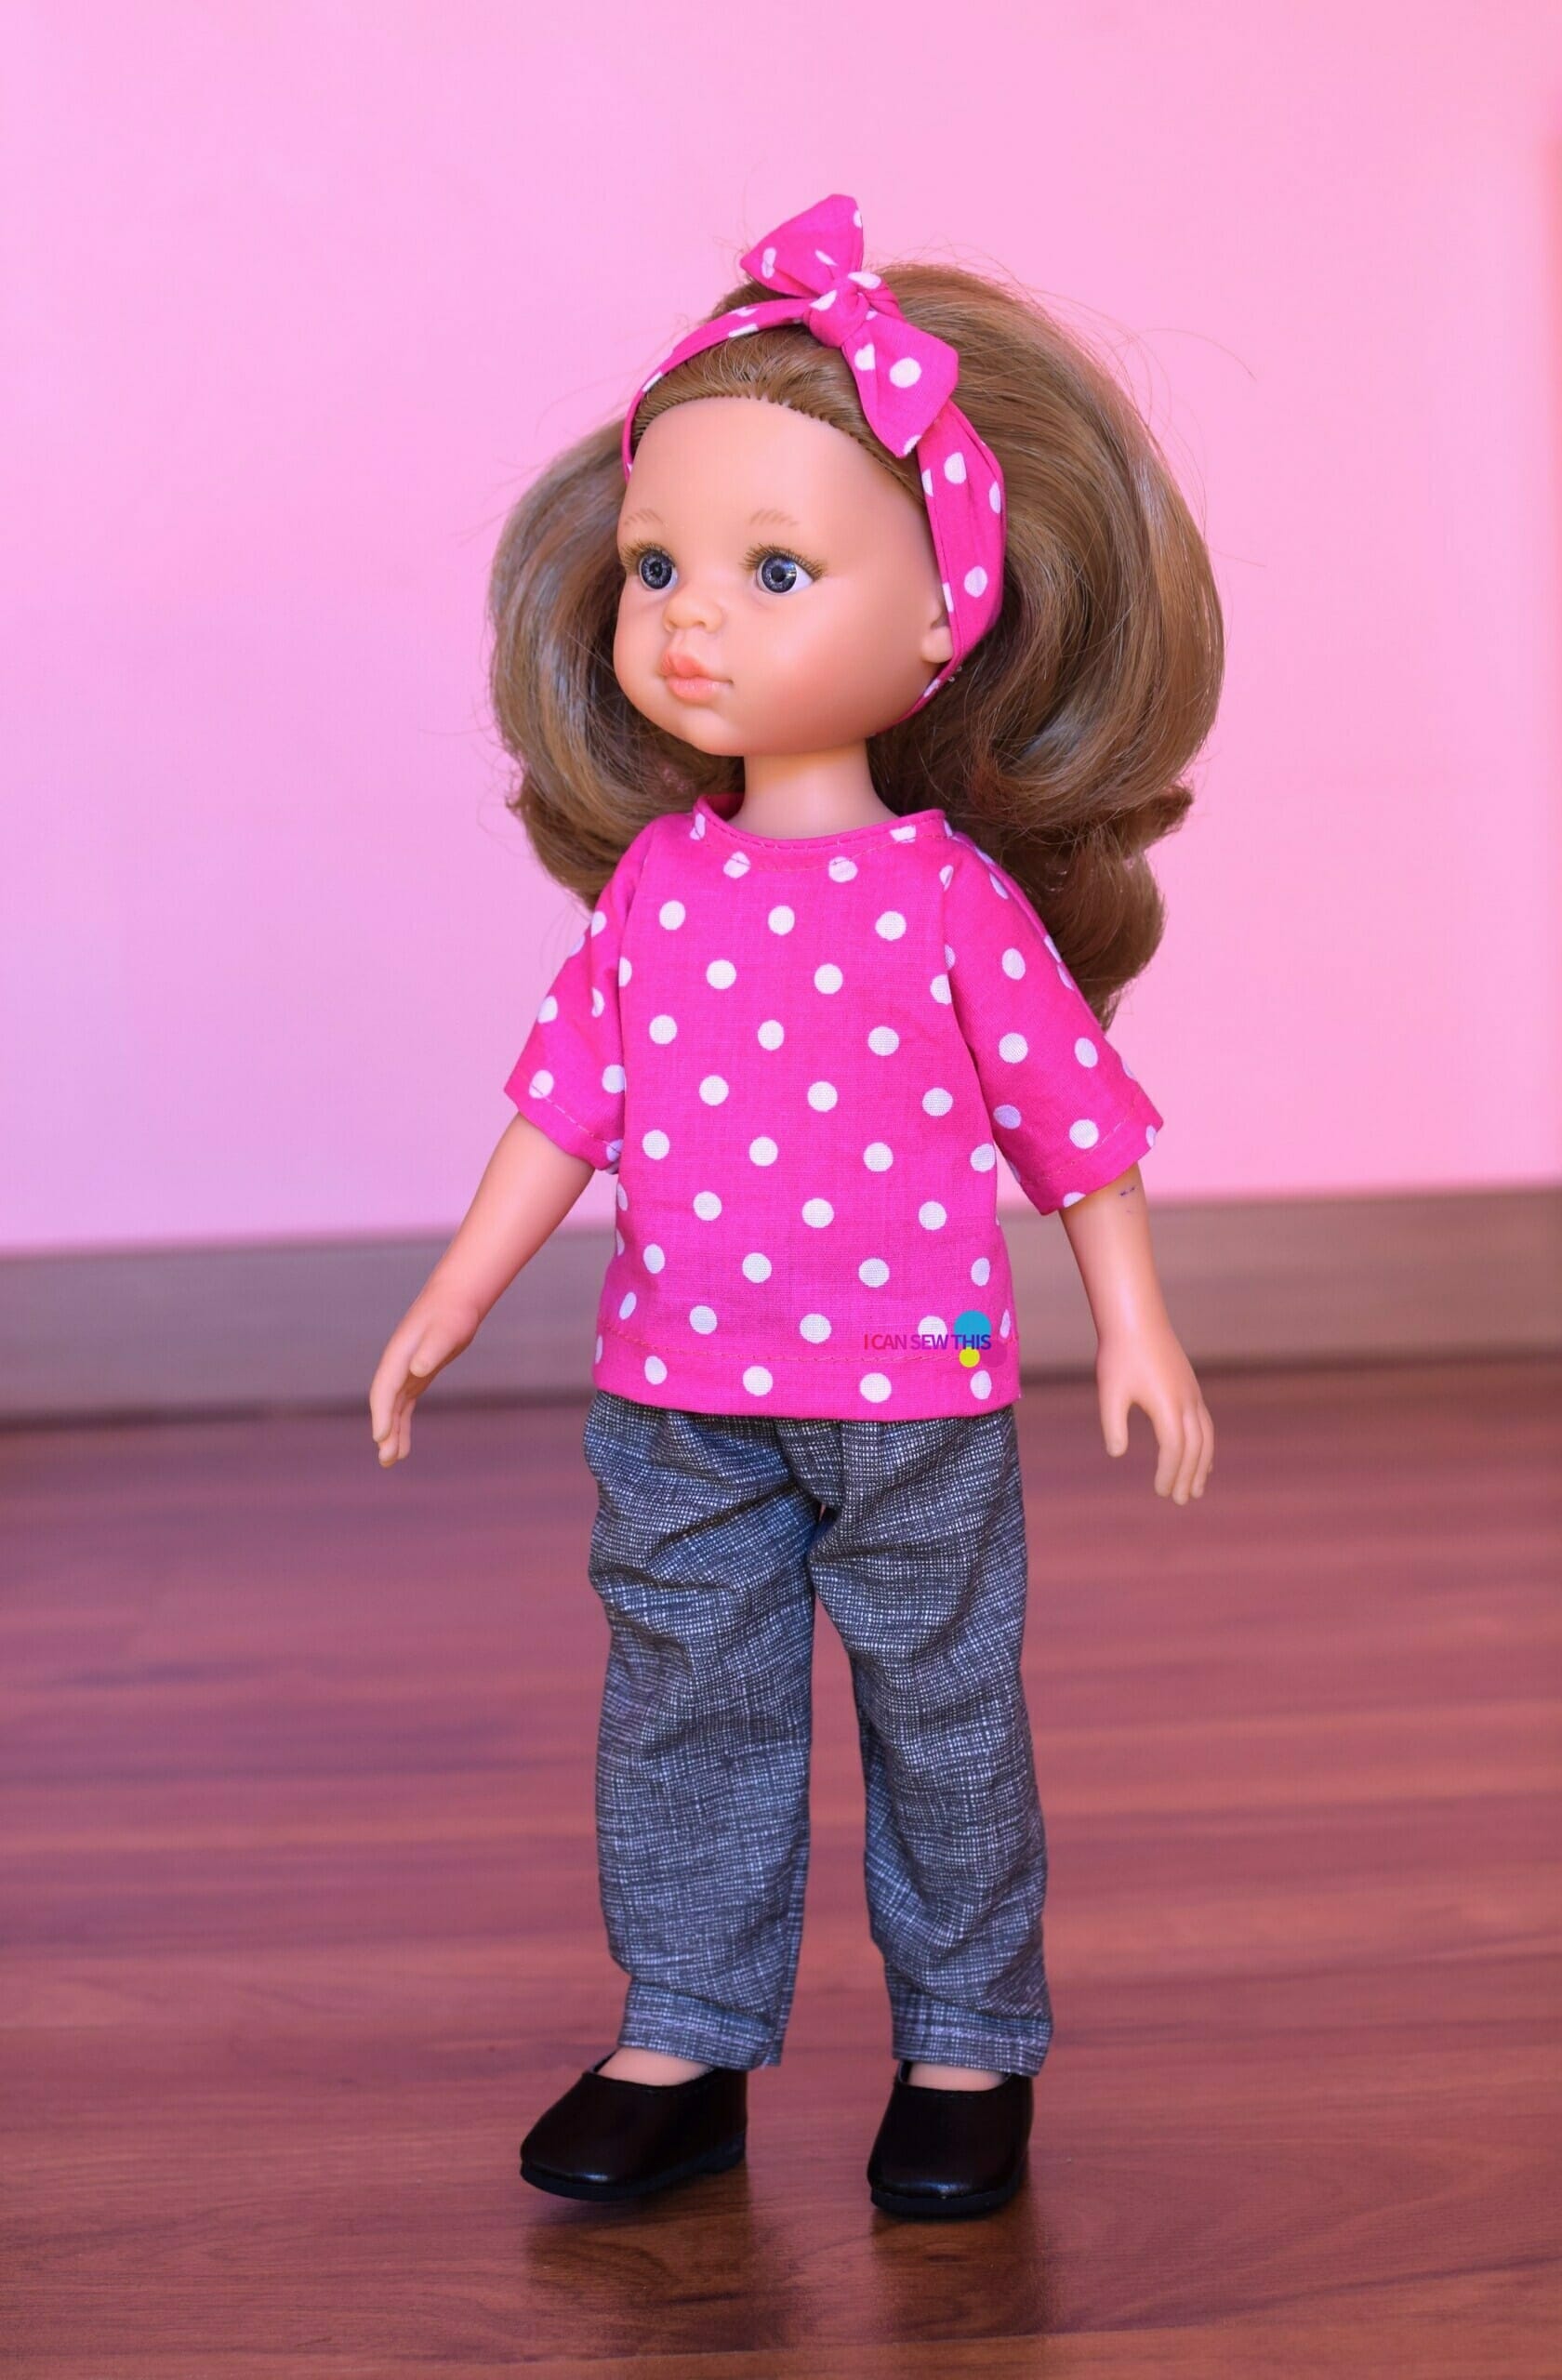
The doll top is made to fit 12 and 13-inch dolls – our blonde Paola Reina doll is 32 cm tall.
Sewing supplies
- cotton fabric scraps
- matching thread
- fabric scissors
- pinking shears
- pins
- sewing machine
- sewing machine needle
- Paola Reina doll top – Free PDF sewing pattern available below (1/4″ seam allowance included)
How to make a simple top for 12-inch and 13-inch Paola Reina dolls
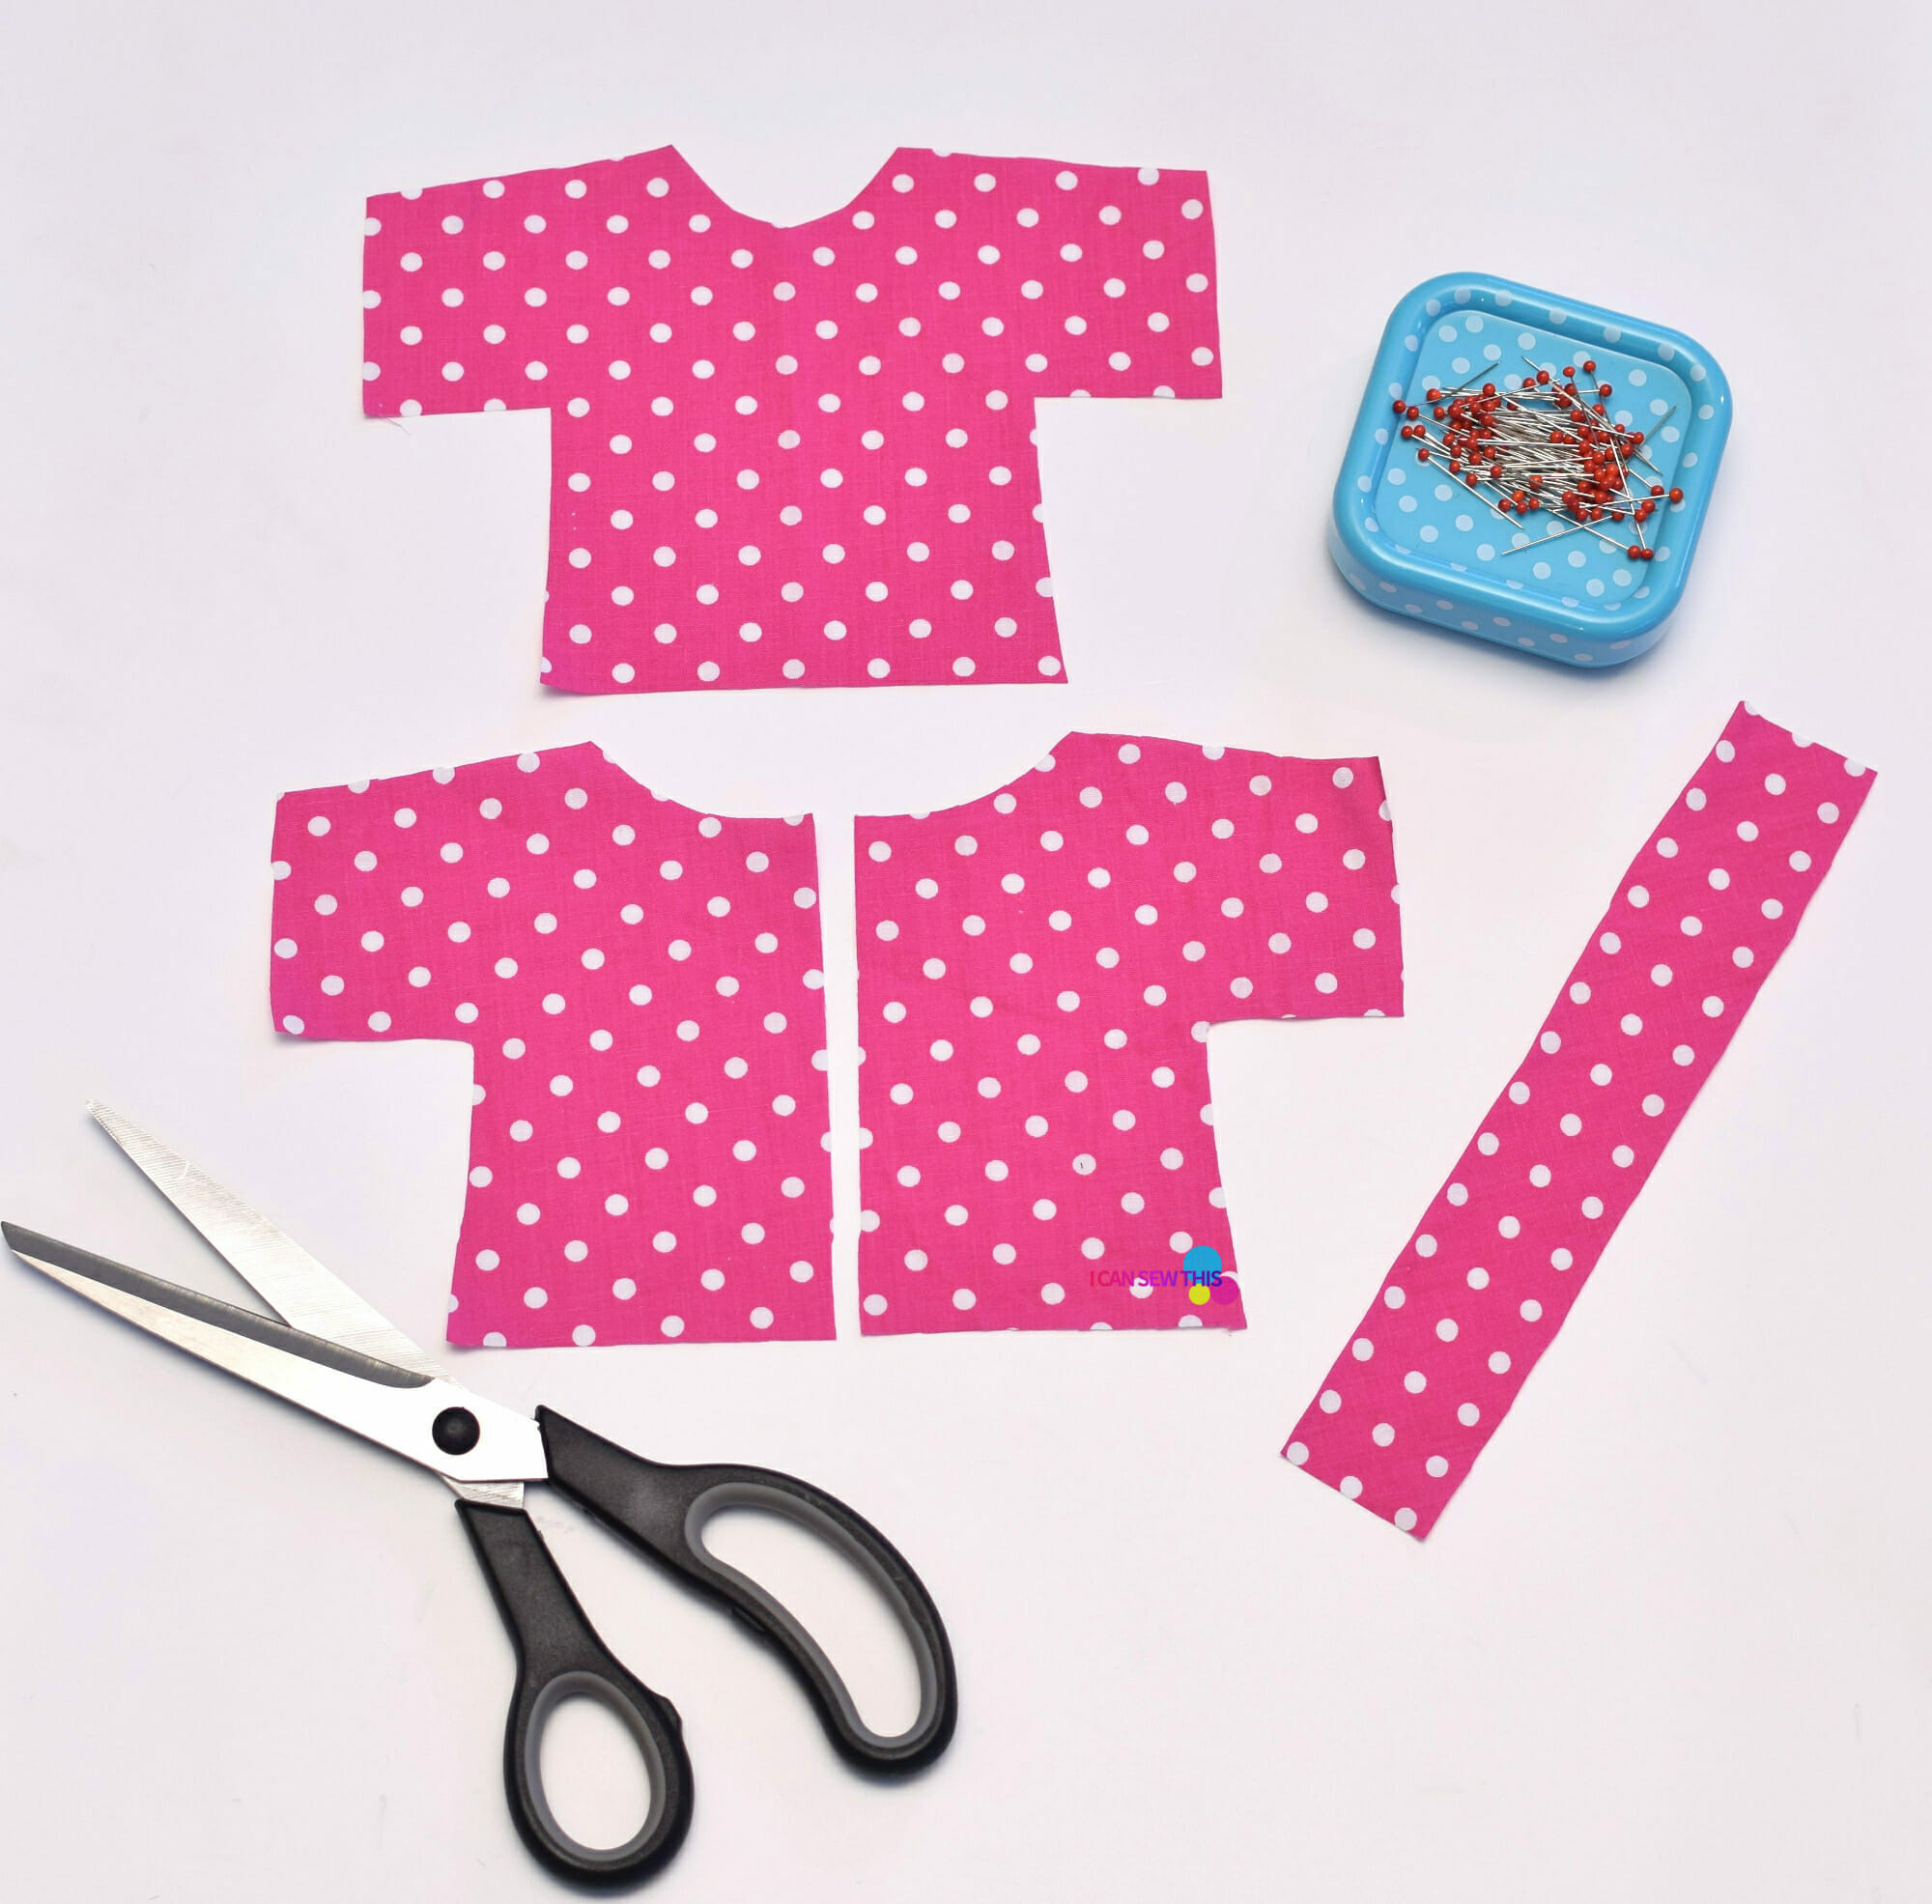
Step 1
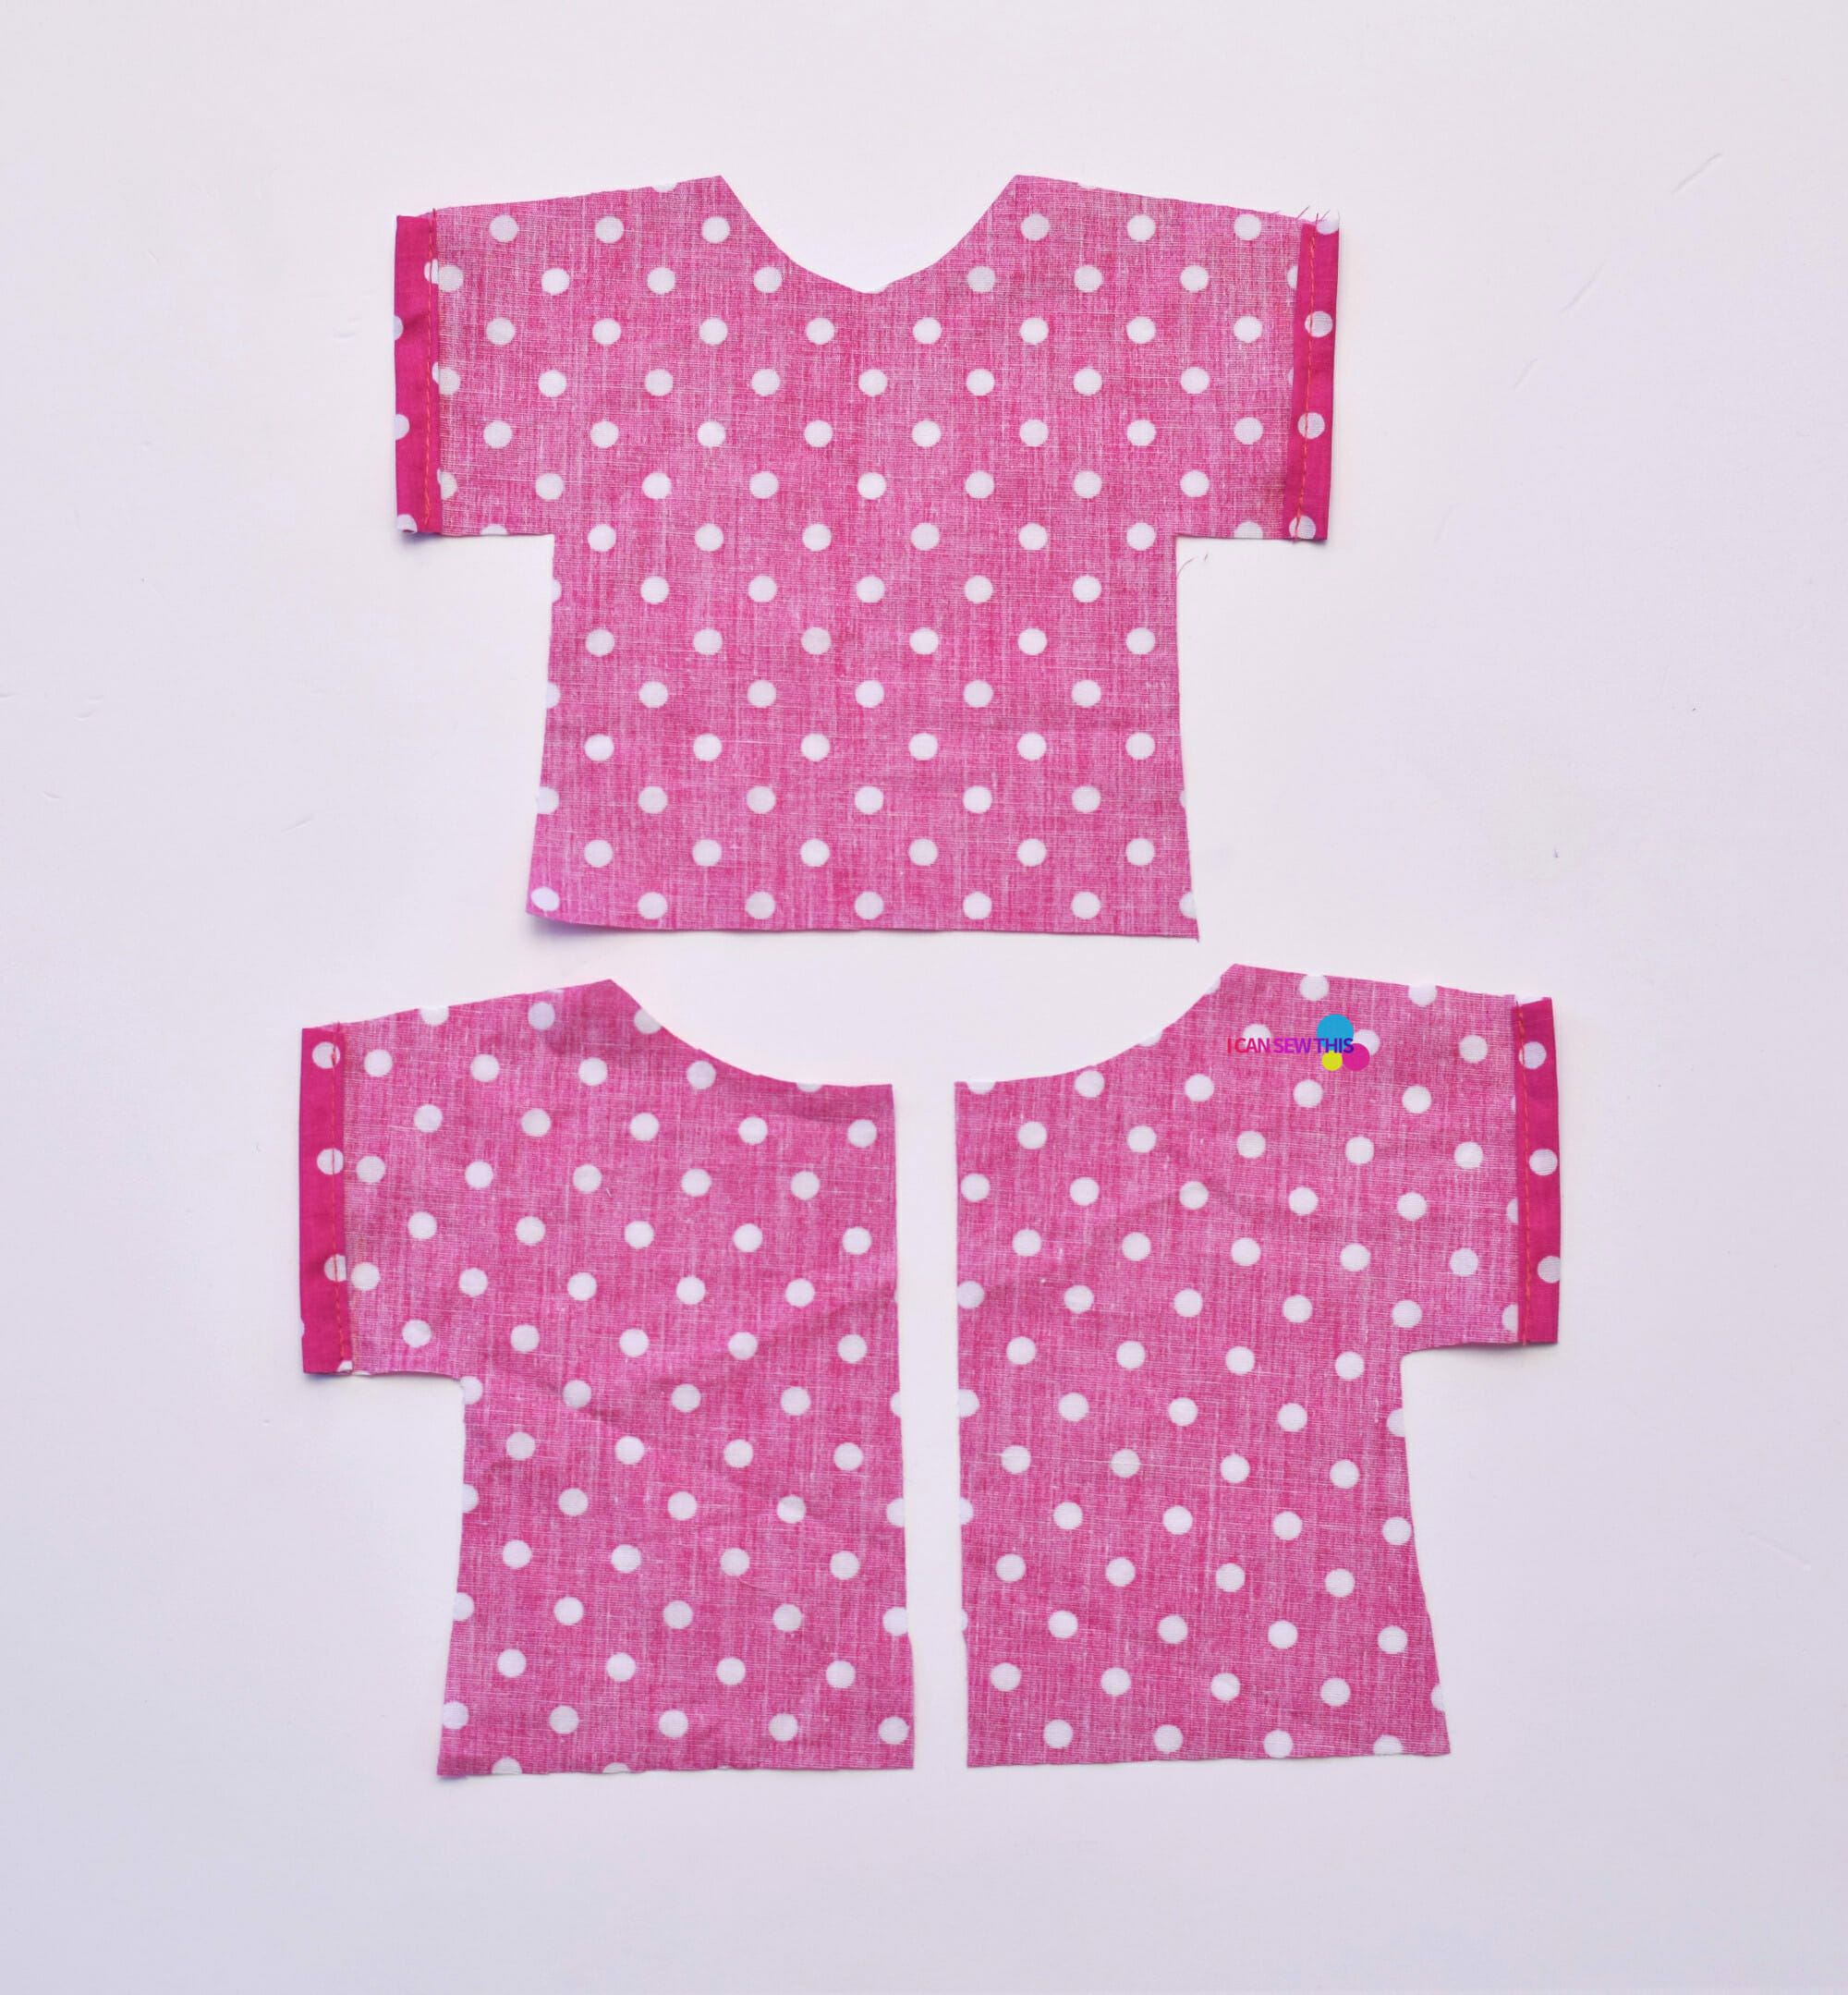
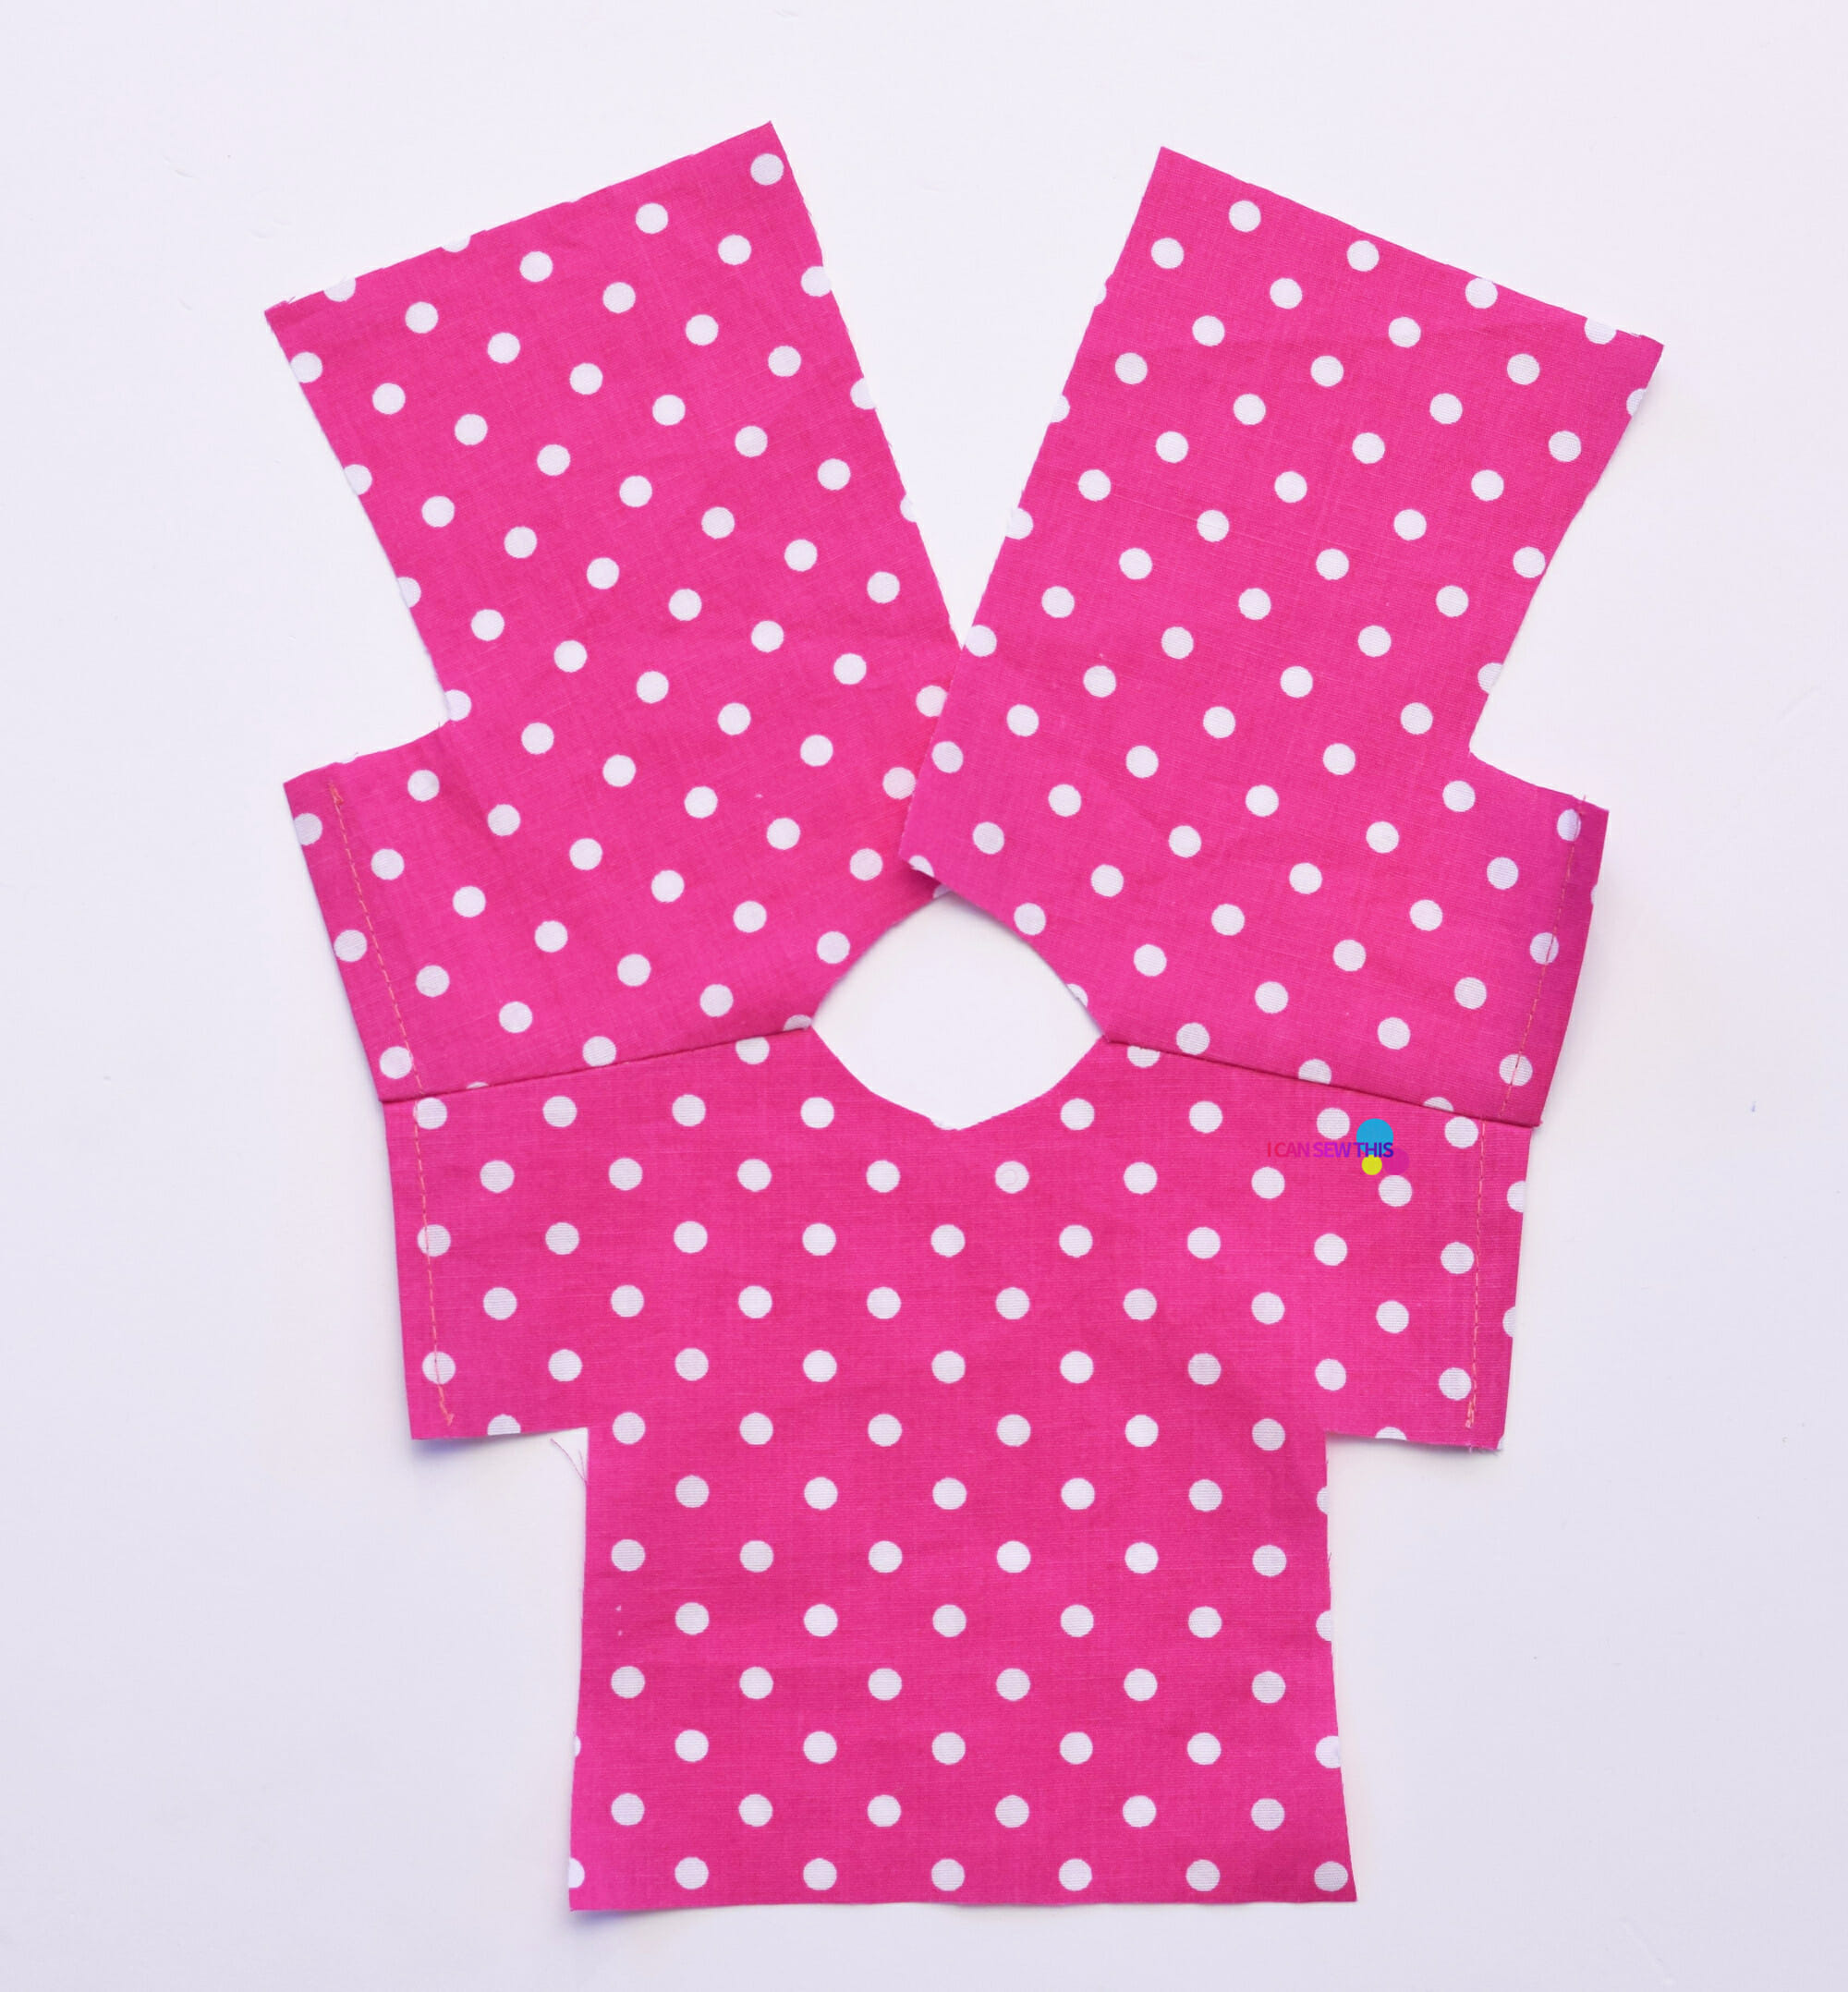
Cut out the fabric pieces. You need one front bodice, two back pieces, and 4 inches of 1-inch wide bias tape.
Step 2
Hem all the sleeve edges by turning under 1/4″ twice – this is called a rolled hem.
Step 3
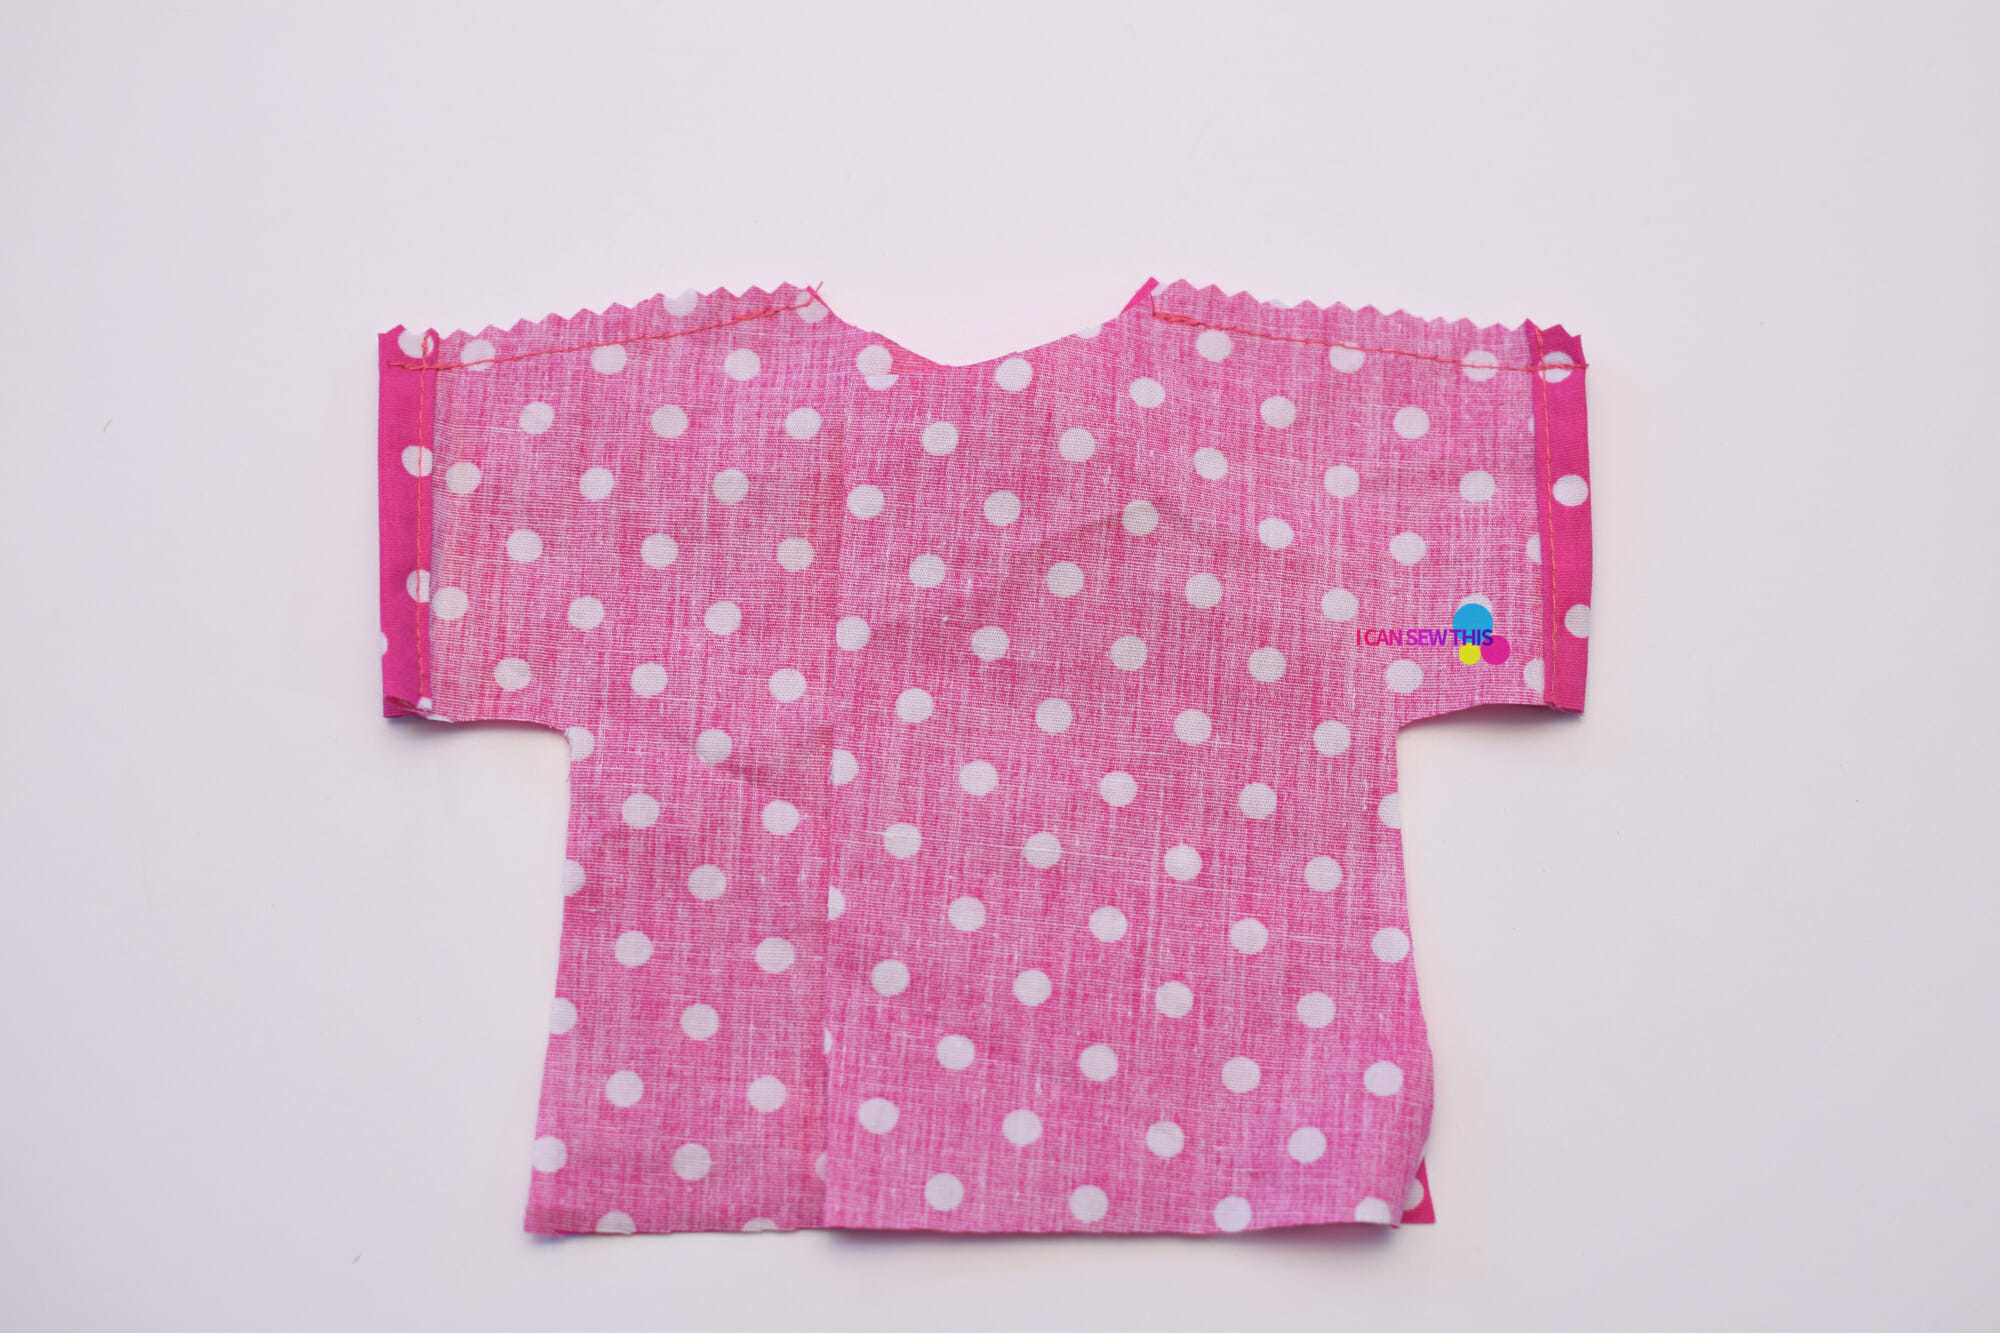
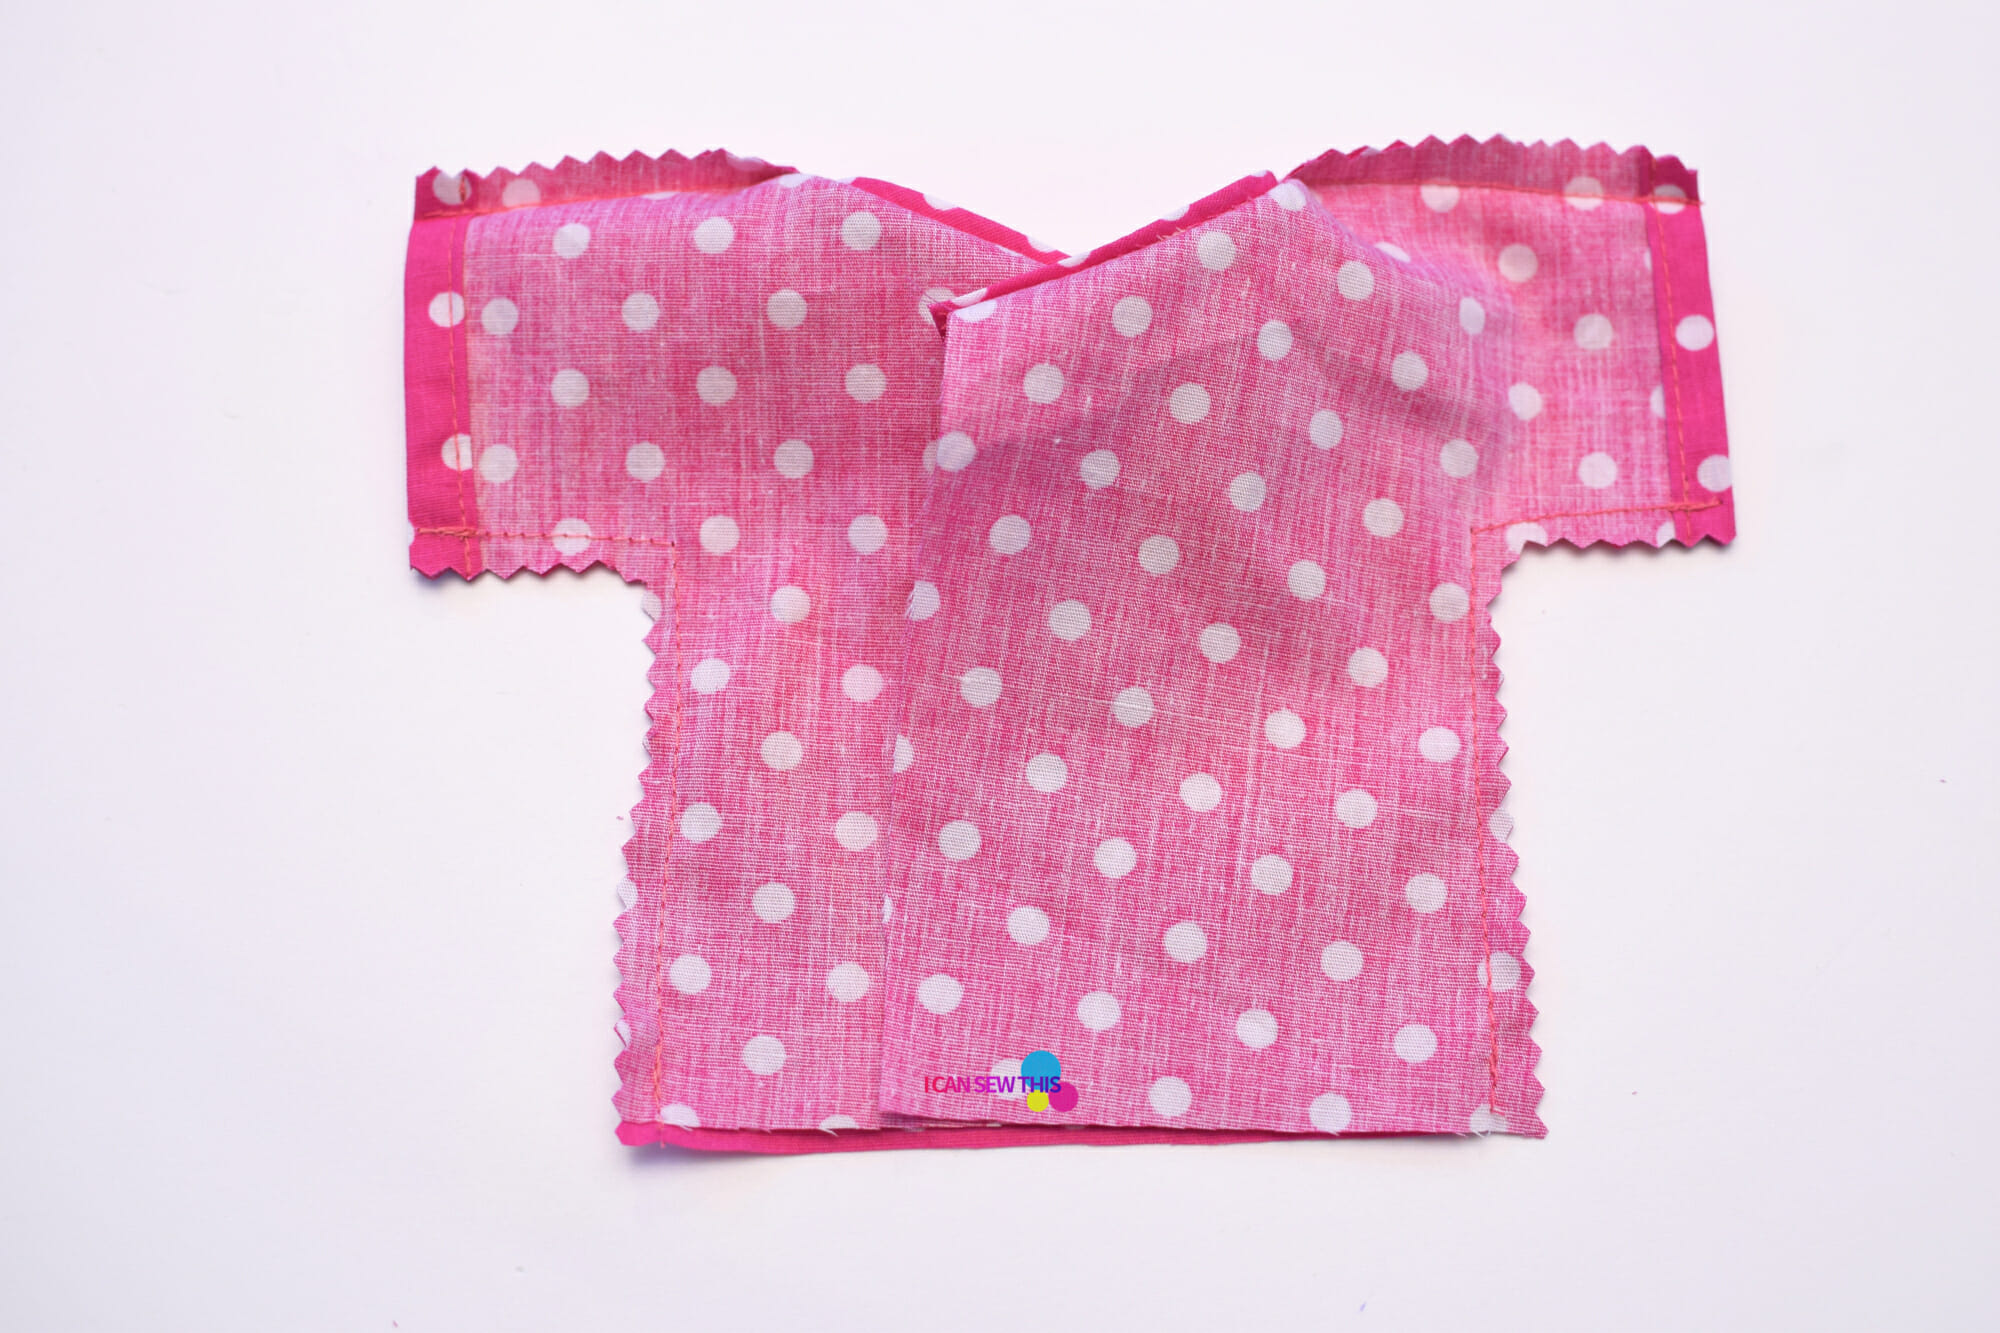
Sew the front and back pieces together at the shoulders, with the right sides together. Trim the seam allowance with pinking shears.
Step 4
Press the shoulder seams open – I know it’s tempting, but don’t skip this step.
Step 5
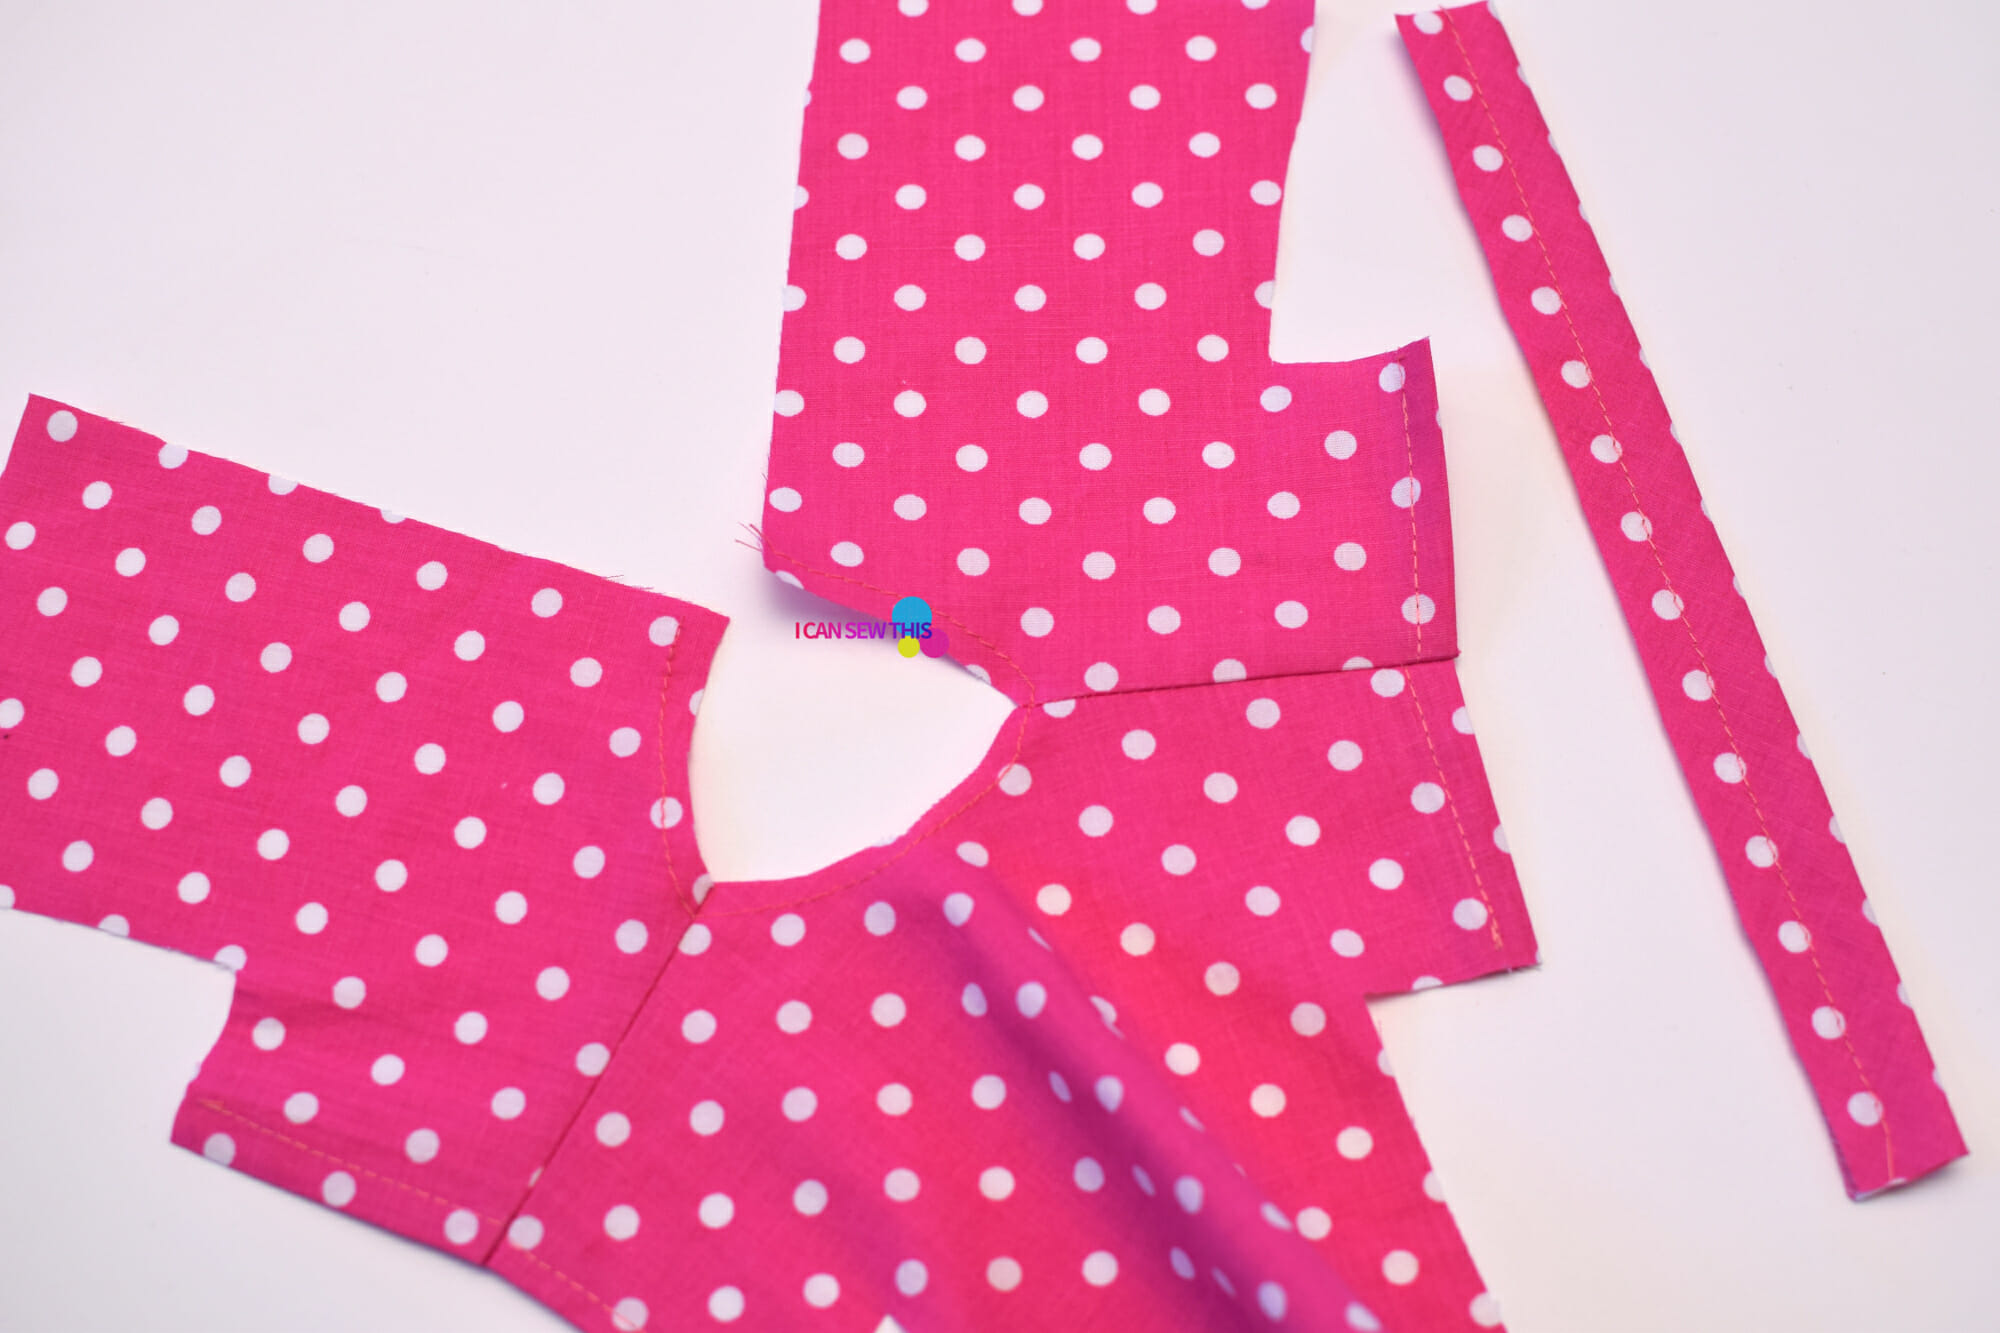
Fold the bias tape in half lengthwise, with wrong sides together, and run a simple stitch.
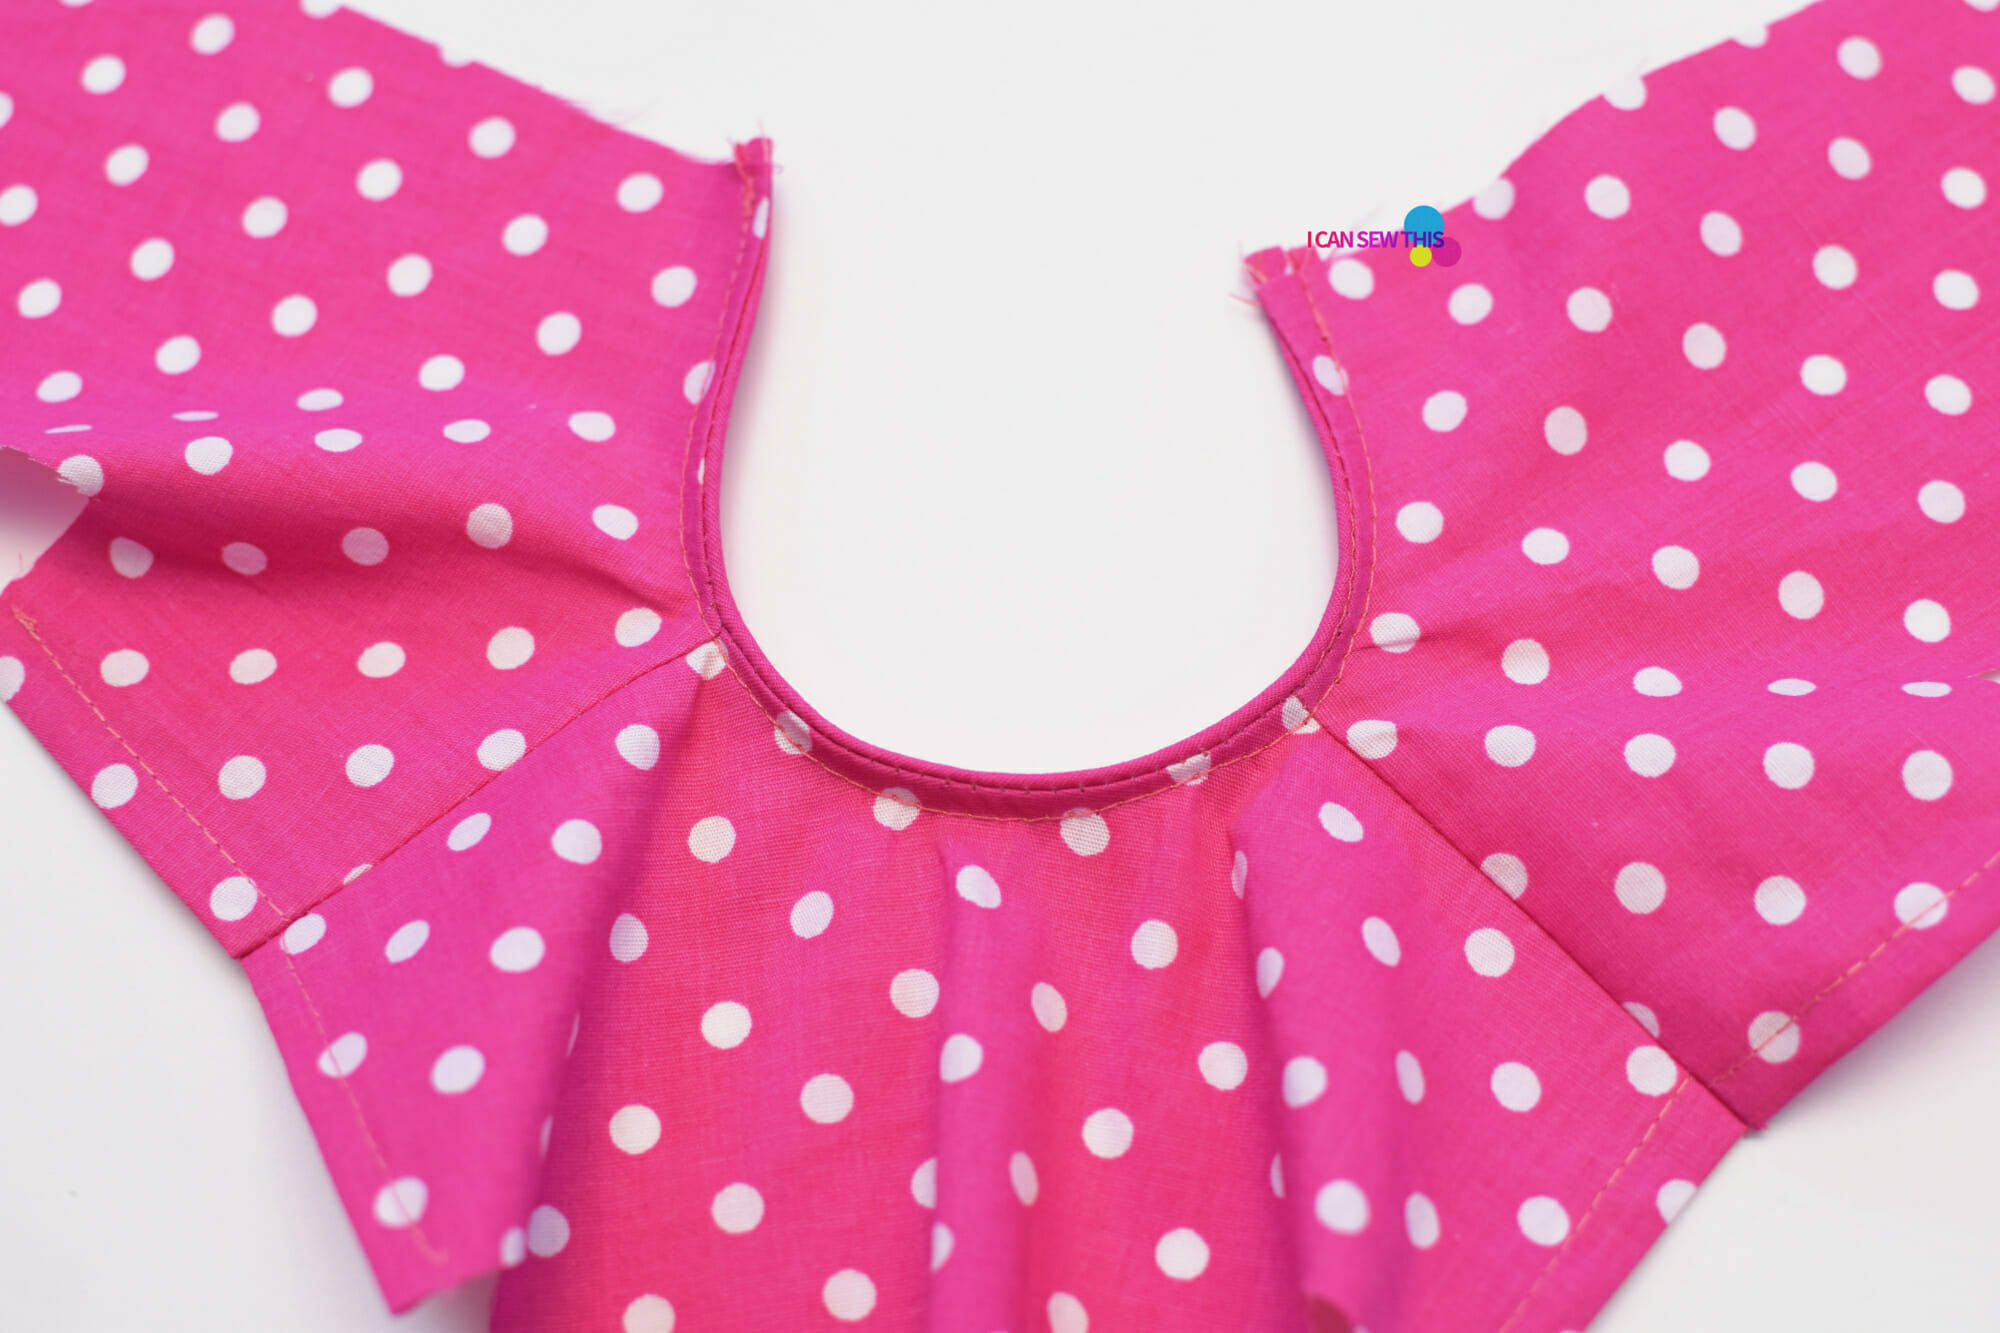
Staystitch the neckline. Staystitching is a straight stitch sewn to the curved edge of a single layer of fabric to prevent stretching out of shape. No need to use the backstitch here.
Step 6
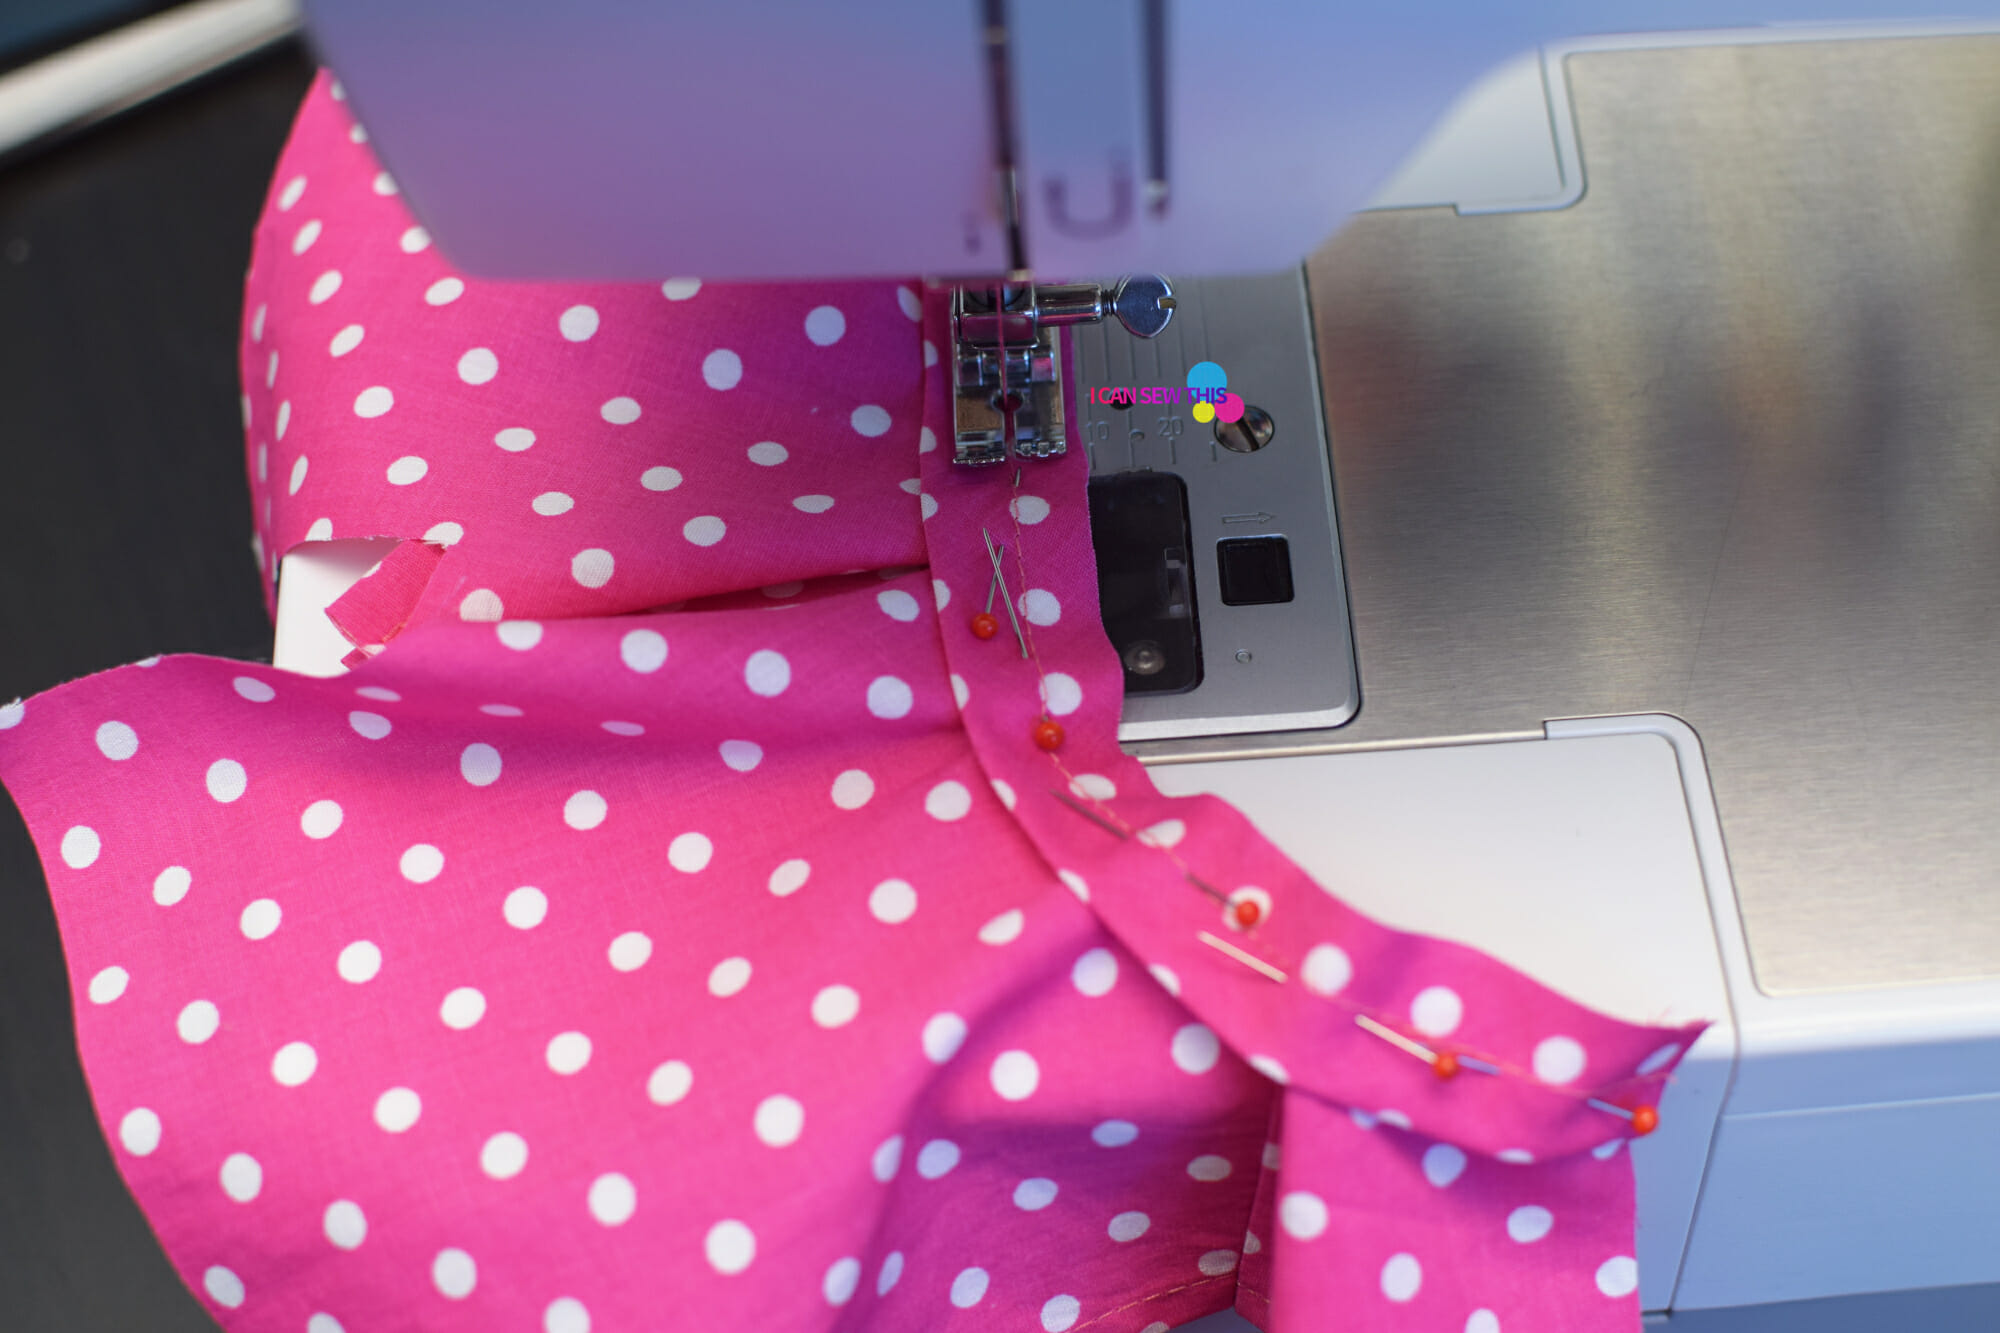
Sew the bias tape around the neckline, right sides together. Use the stitch line as a guide to position the bias tape.
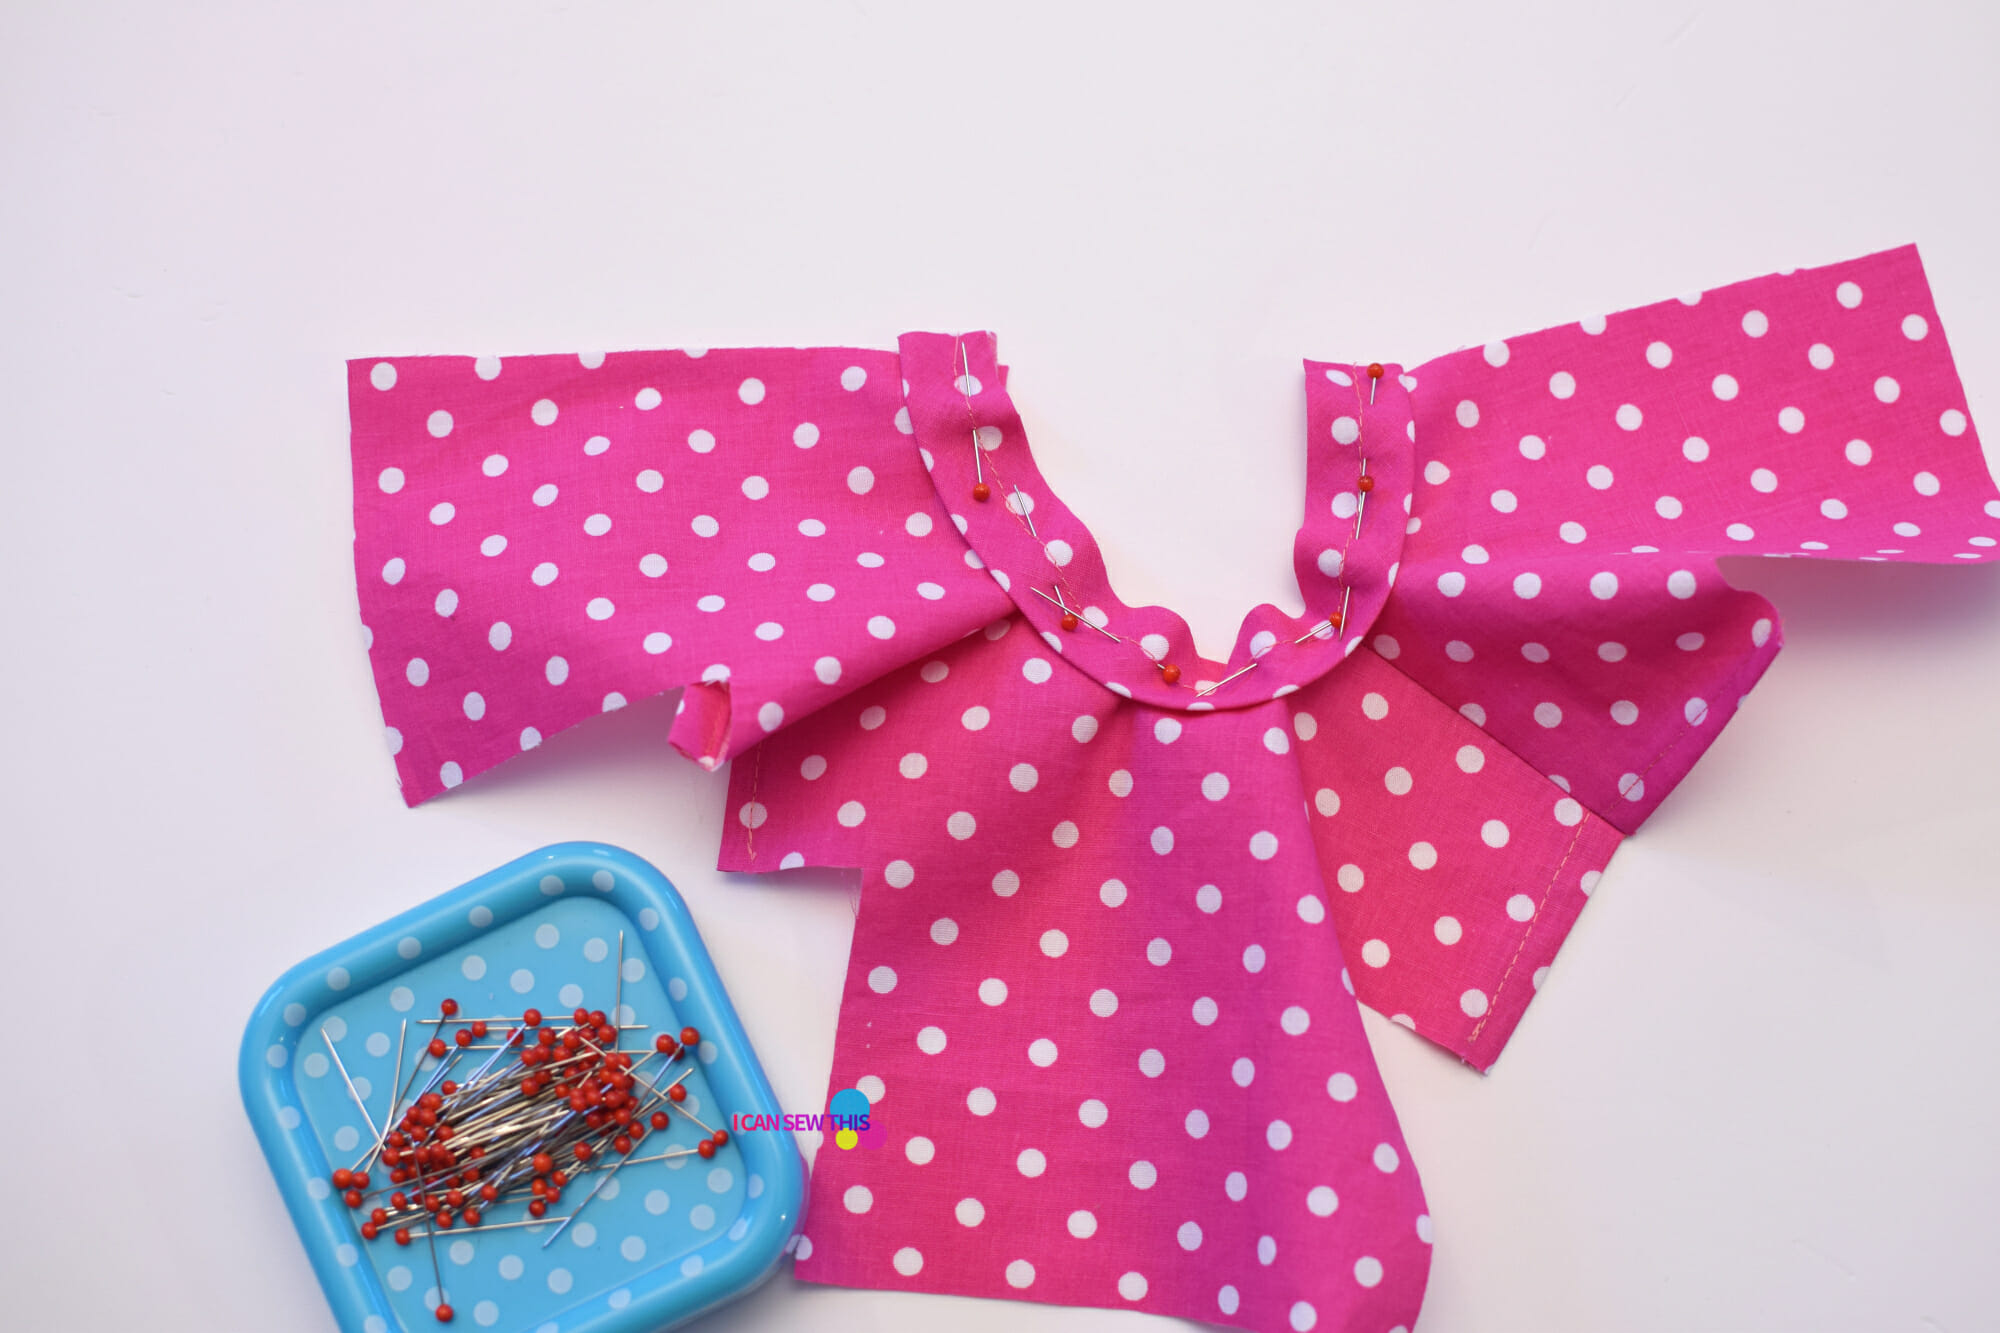
Tip – it’s actually easier not to pin the bias tape to the neckline, but to position it as you sew. I removed all the pins before sewing.
Step 7
Trim the seam allowance from the neck edge.
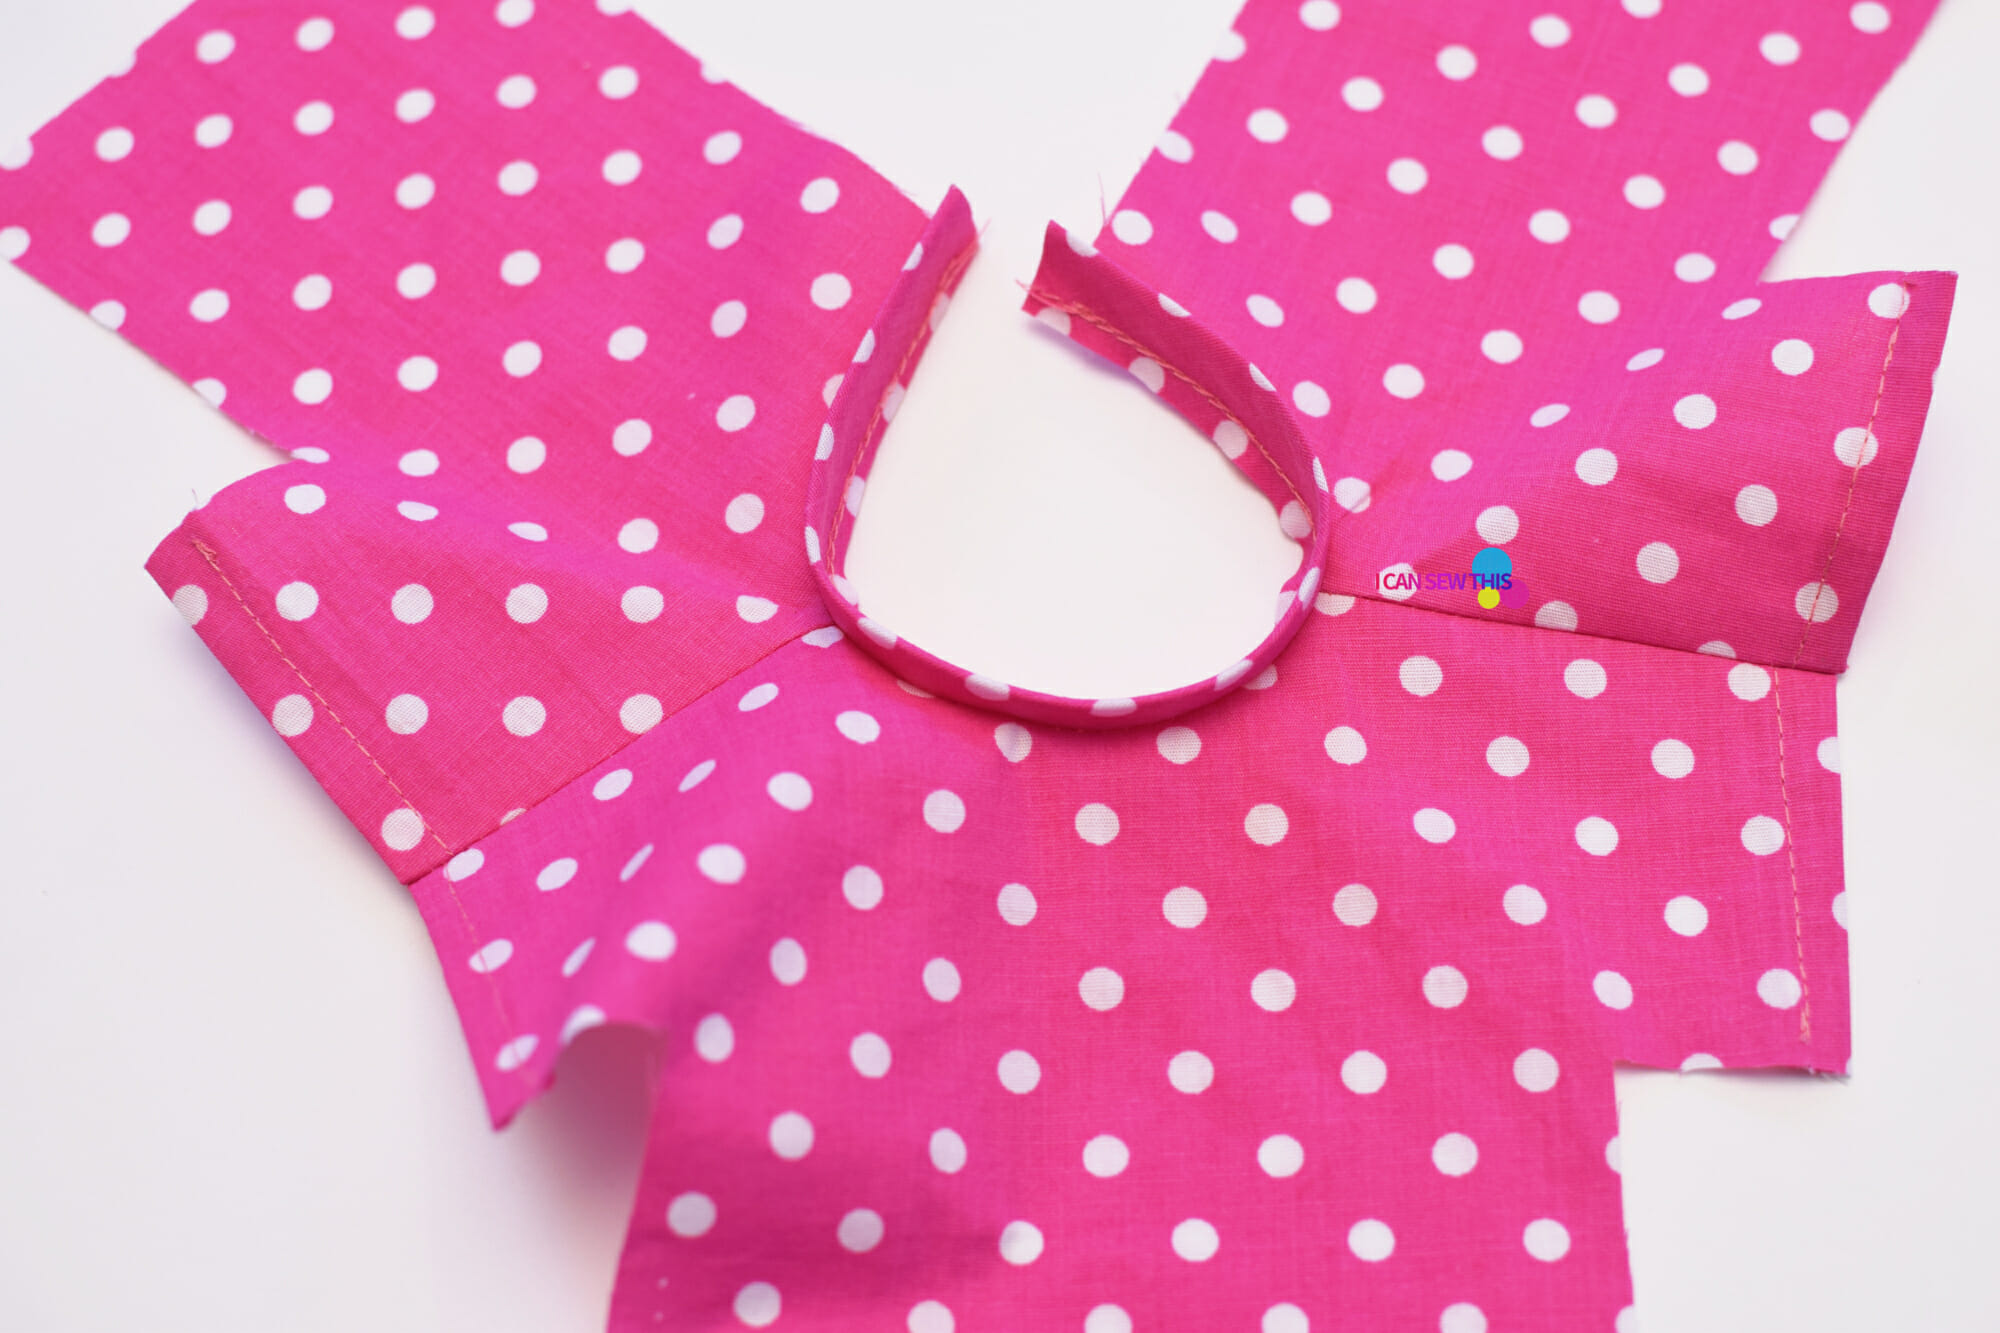
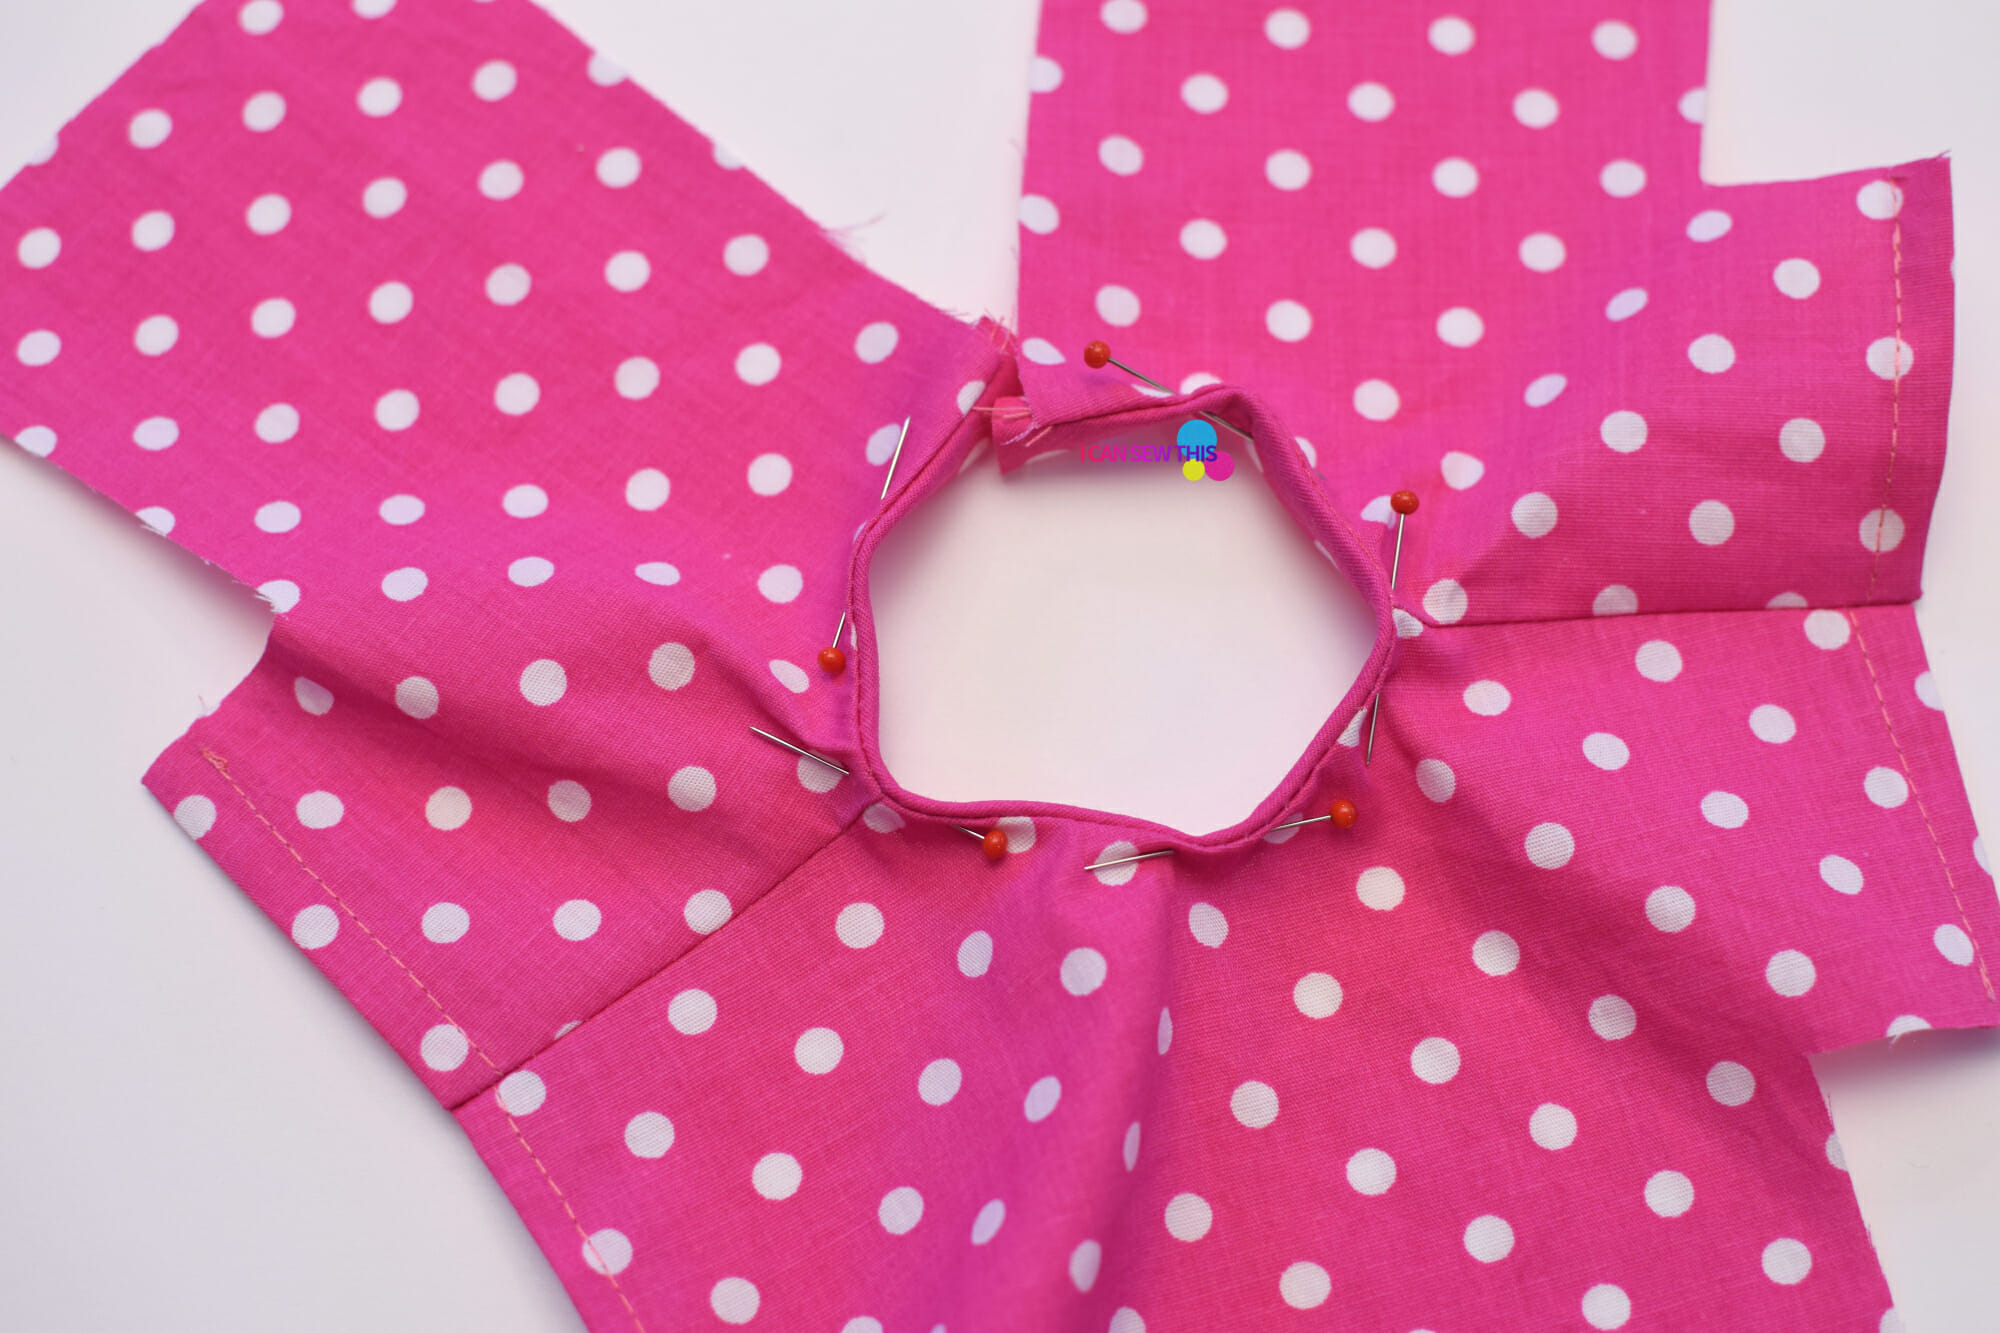
Step 8
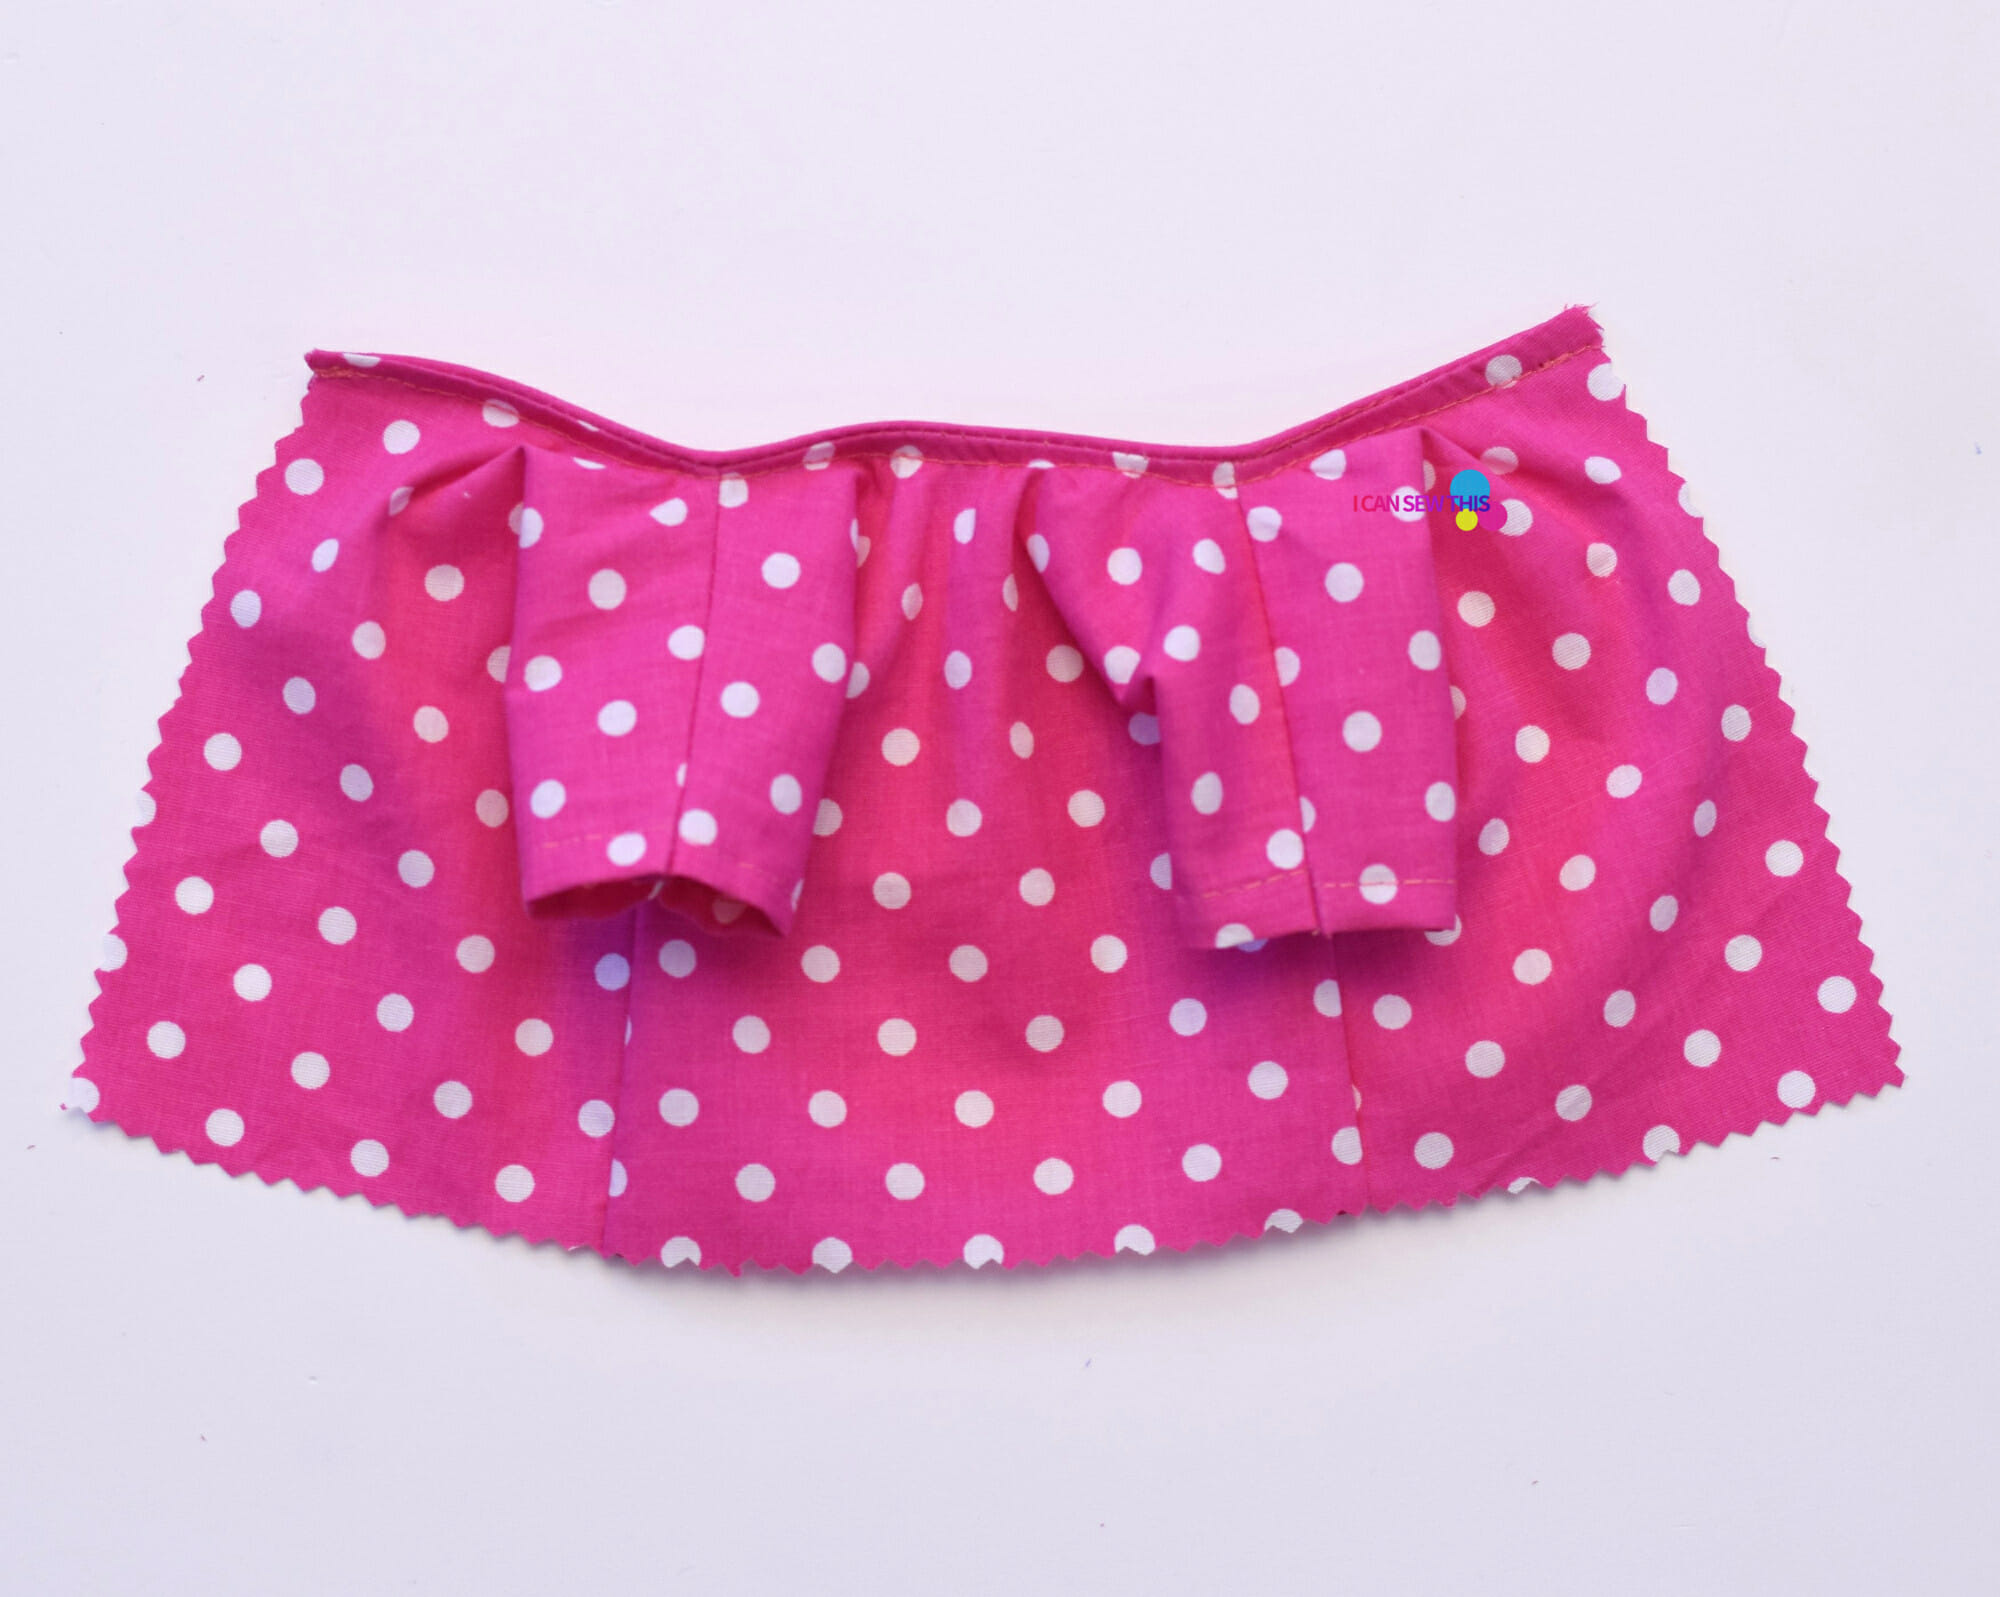
Fold the binding over to the wrong side, and give the neckline a good press. Pin it in place and topstitch.
Step 9
Match up the underarm seams. Then pin and sew the side seams and the sleeve seams together. Finish the seams with pinking shears.
Step 10
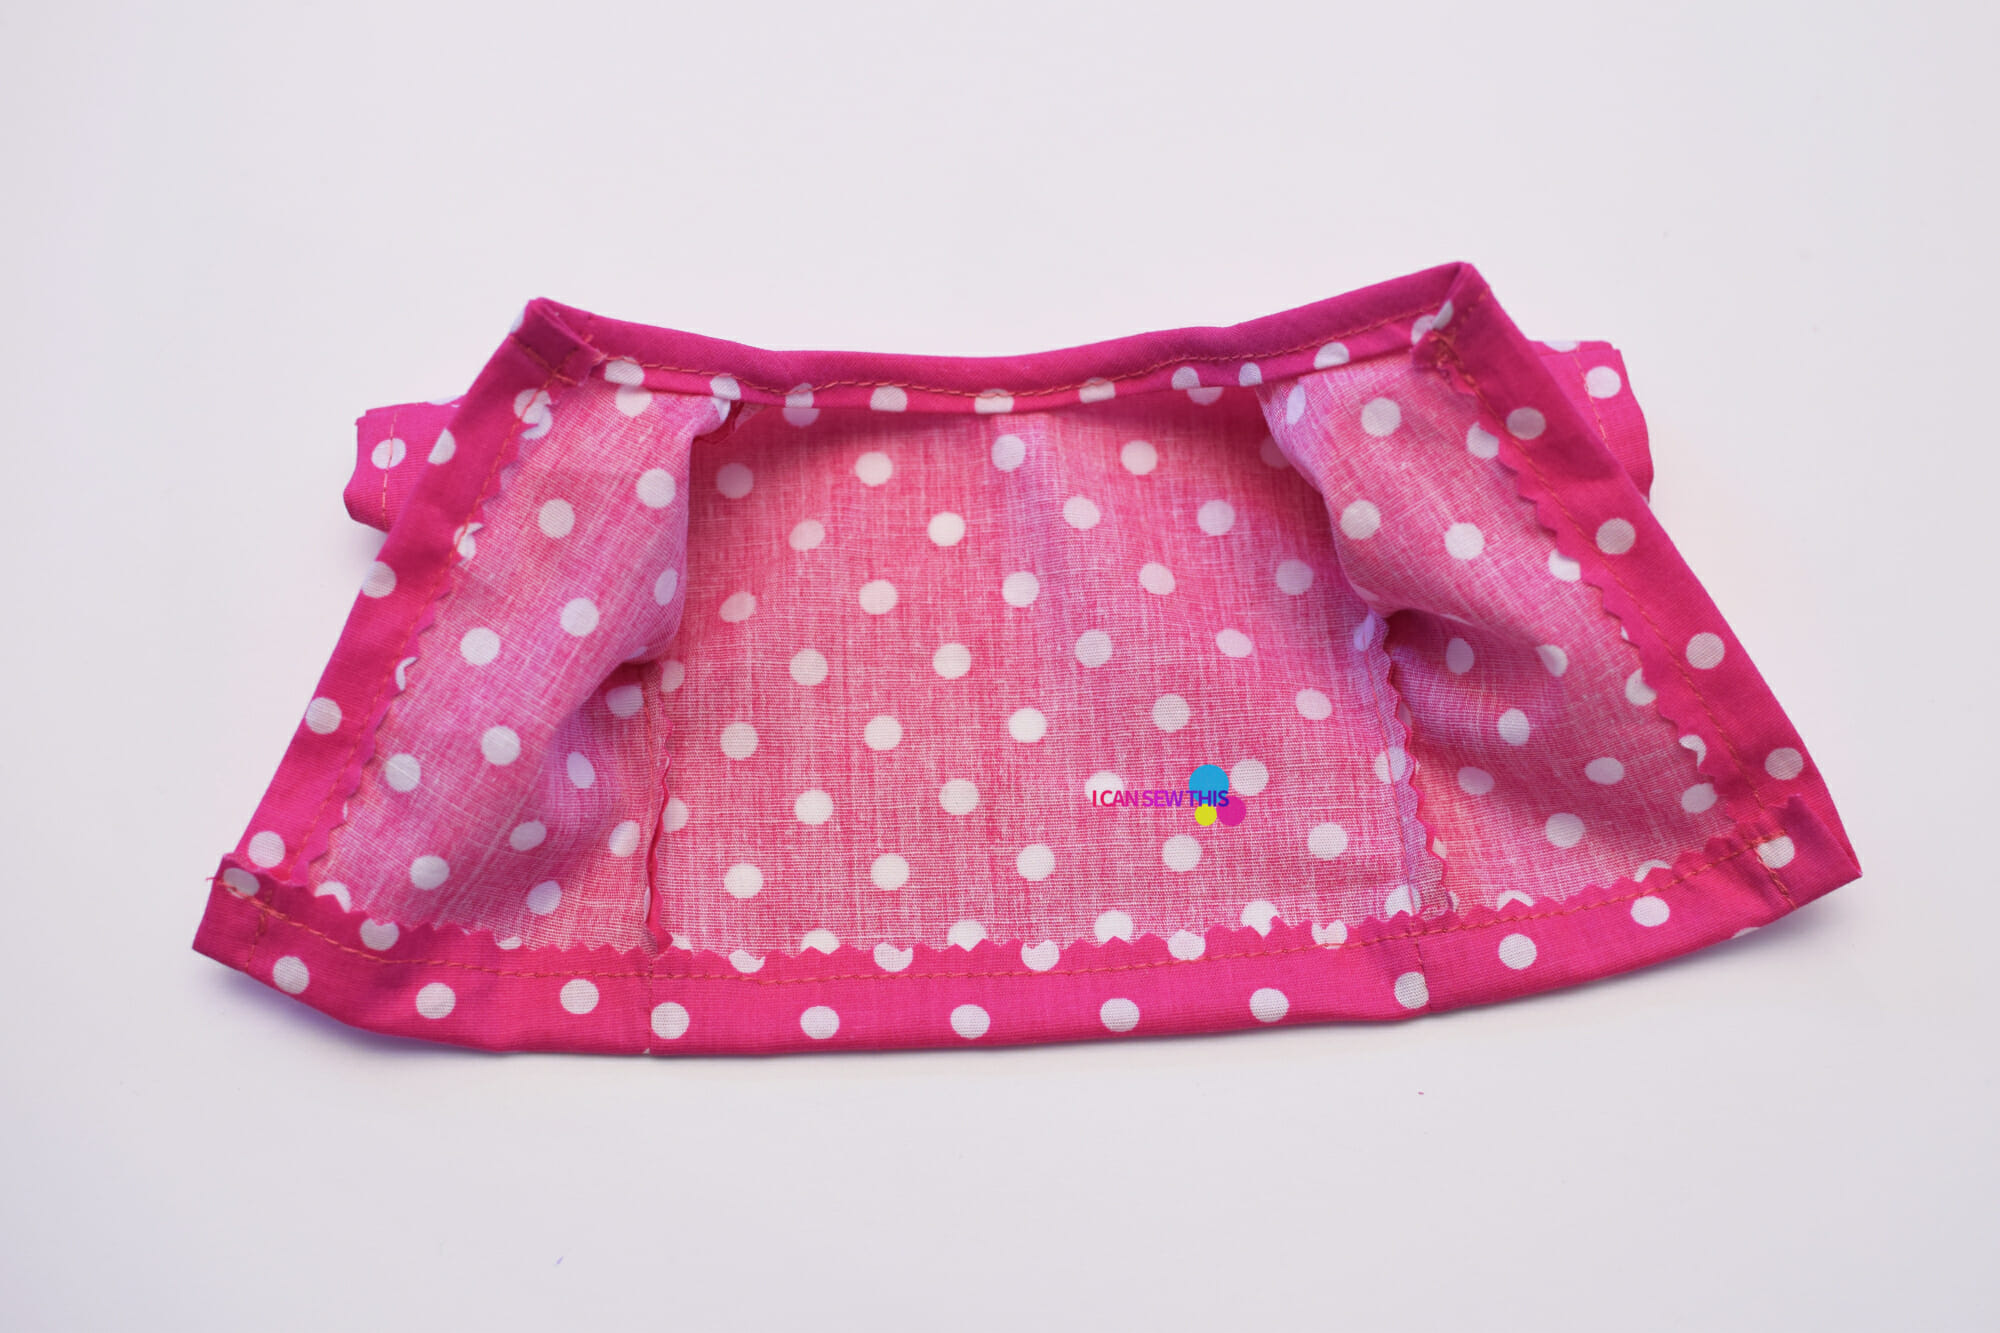
Use the pinking shears again, to finish the center back edges and the bottom edge of the doll top.
Step 11
Turn the pinked edge of the center back bodice under 1/4″ and stitch.

Step 12
Hem the doll top by turning the bottom pinked edge of under 1/4″ and stitching.
Step 13
Cut the velcro tapes to the desired length and attach them. Make sure the two sides match up at the end.
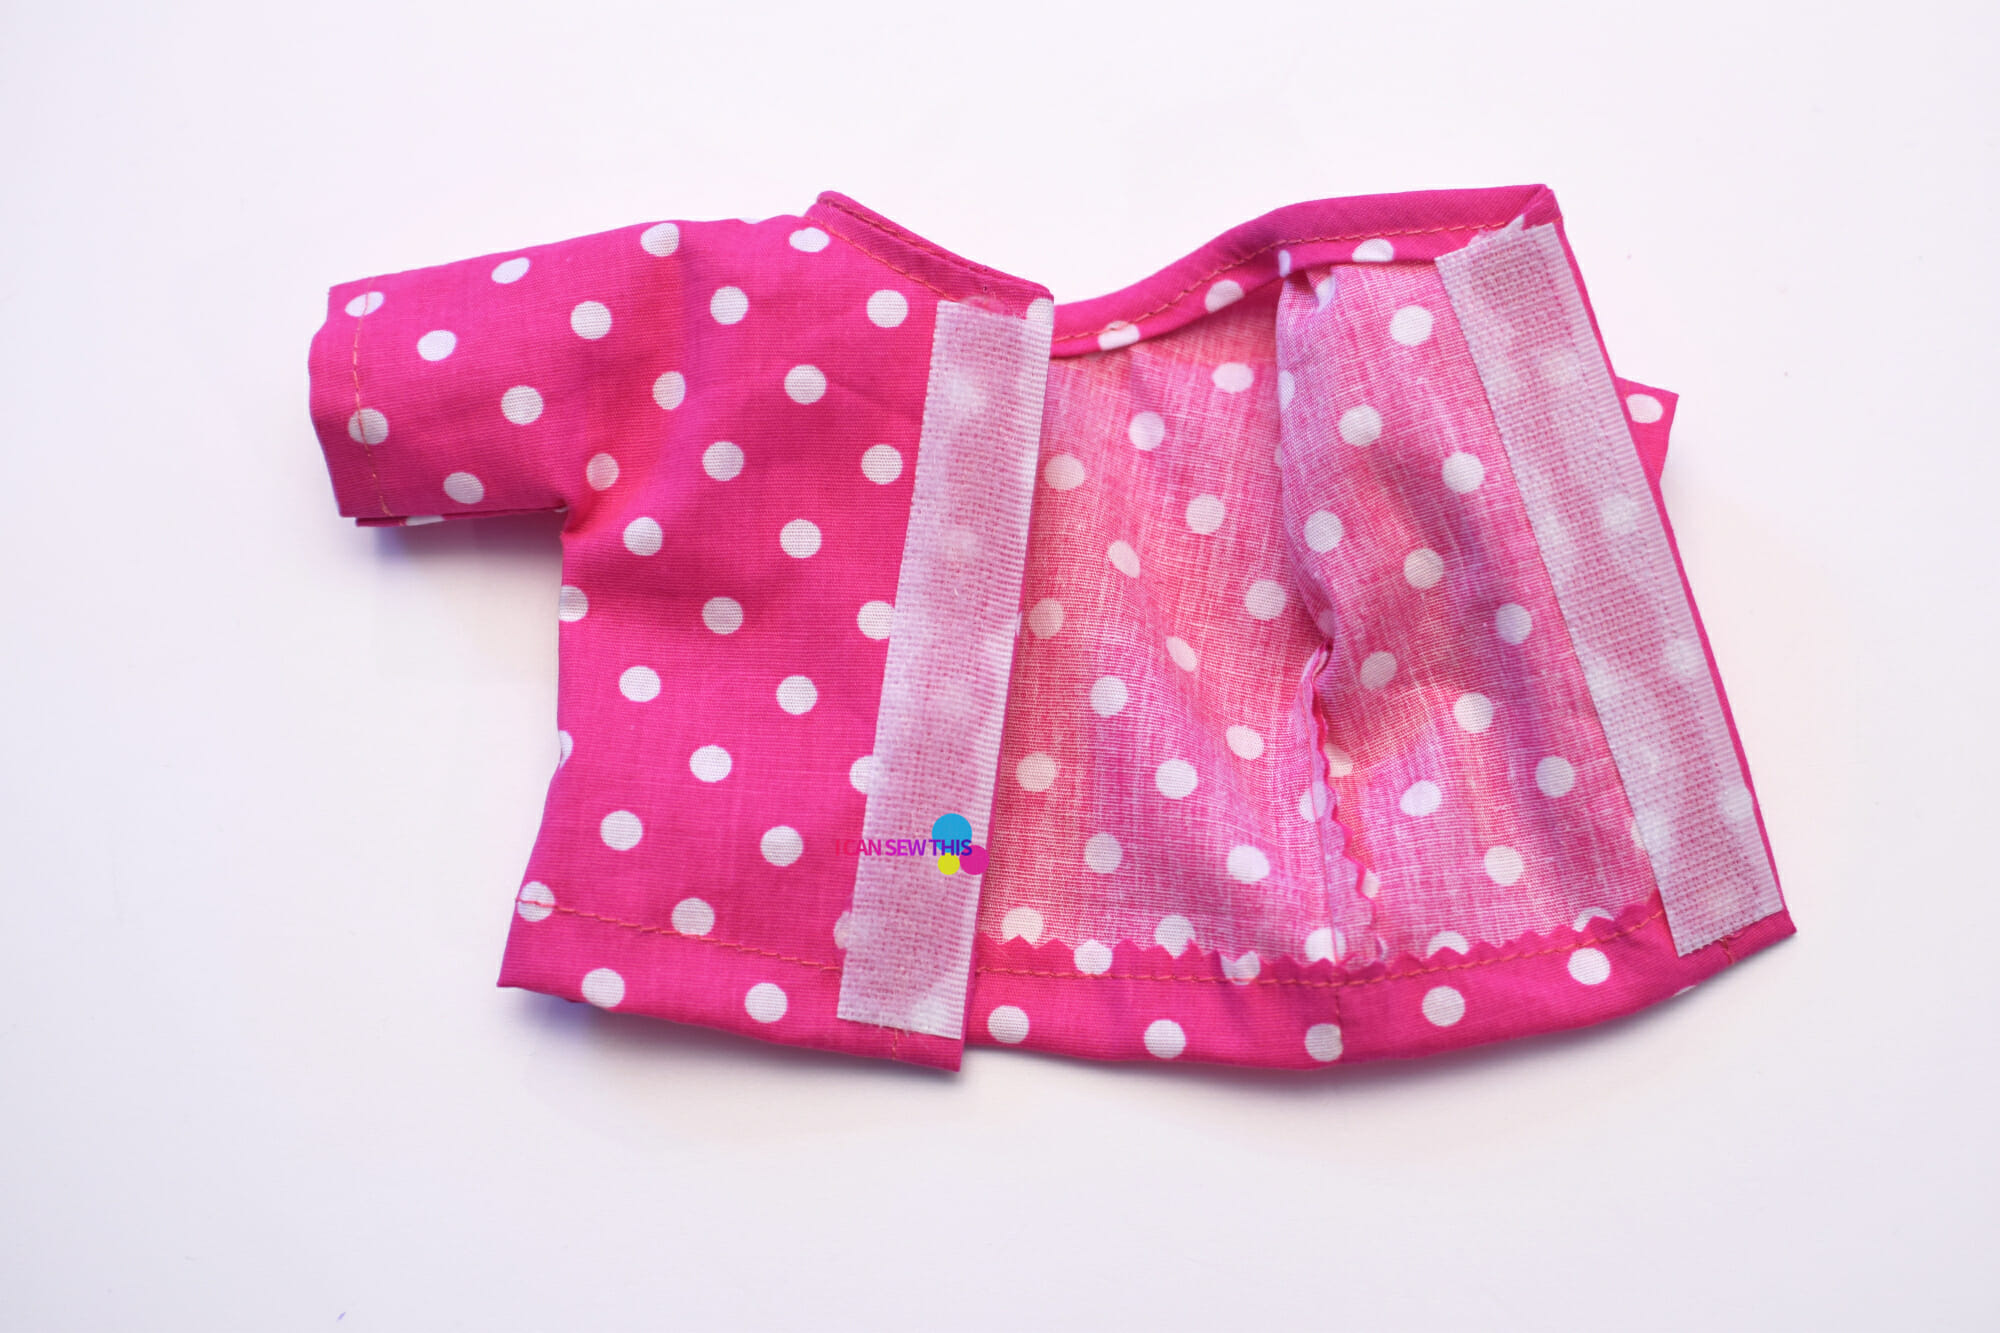
I prefer to use hot glue to attach the velcro tapes to the garment because my sewing machine always skips stitches when sewing velcro.
This was easy and fun, right?
The back velcro closure makes it easy to put the shirt on and off even for younger children.
Doll top customization ideas
You can customize this simple top by adding lace, rickrack, or ruffles, or by making the sleeves longer or shorter.
Moreover, you could even shorten the bodice and add a gathered skirt, to make a super cute doll dress.
BONUS – How to make an easy headband for a 12 or 13-inch doll
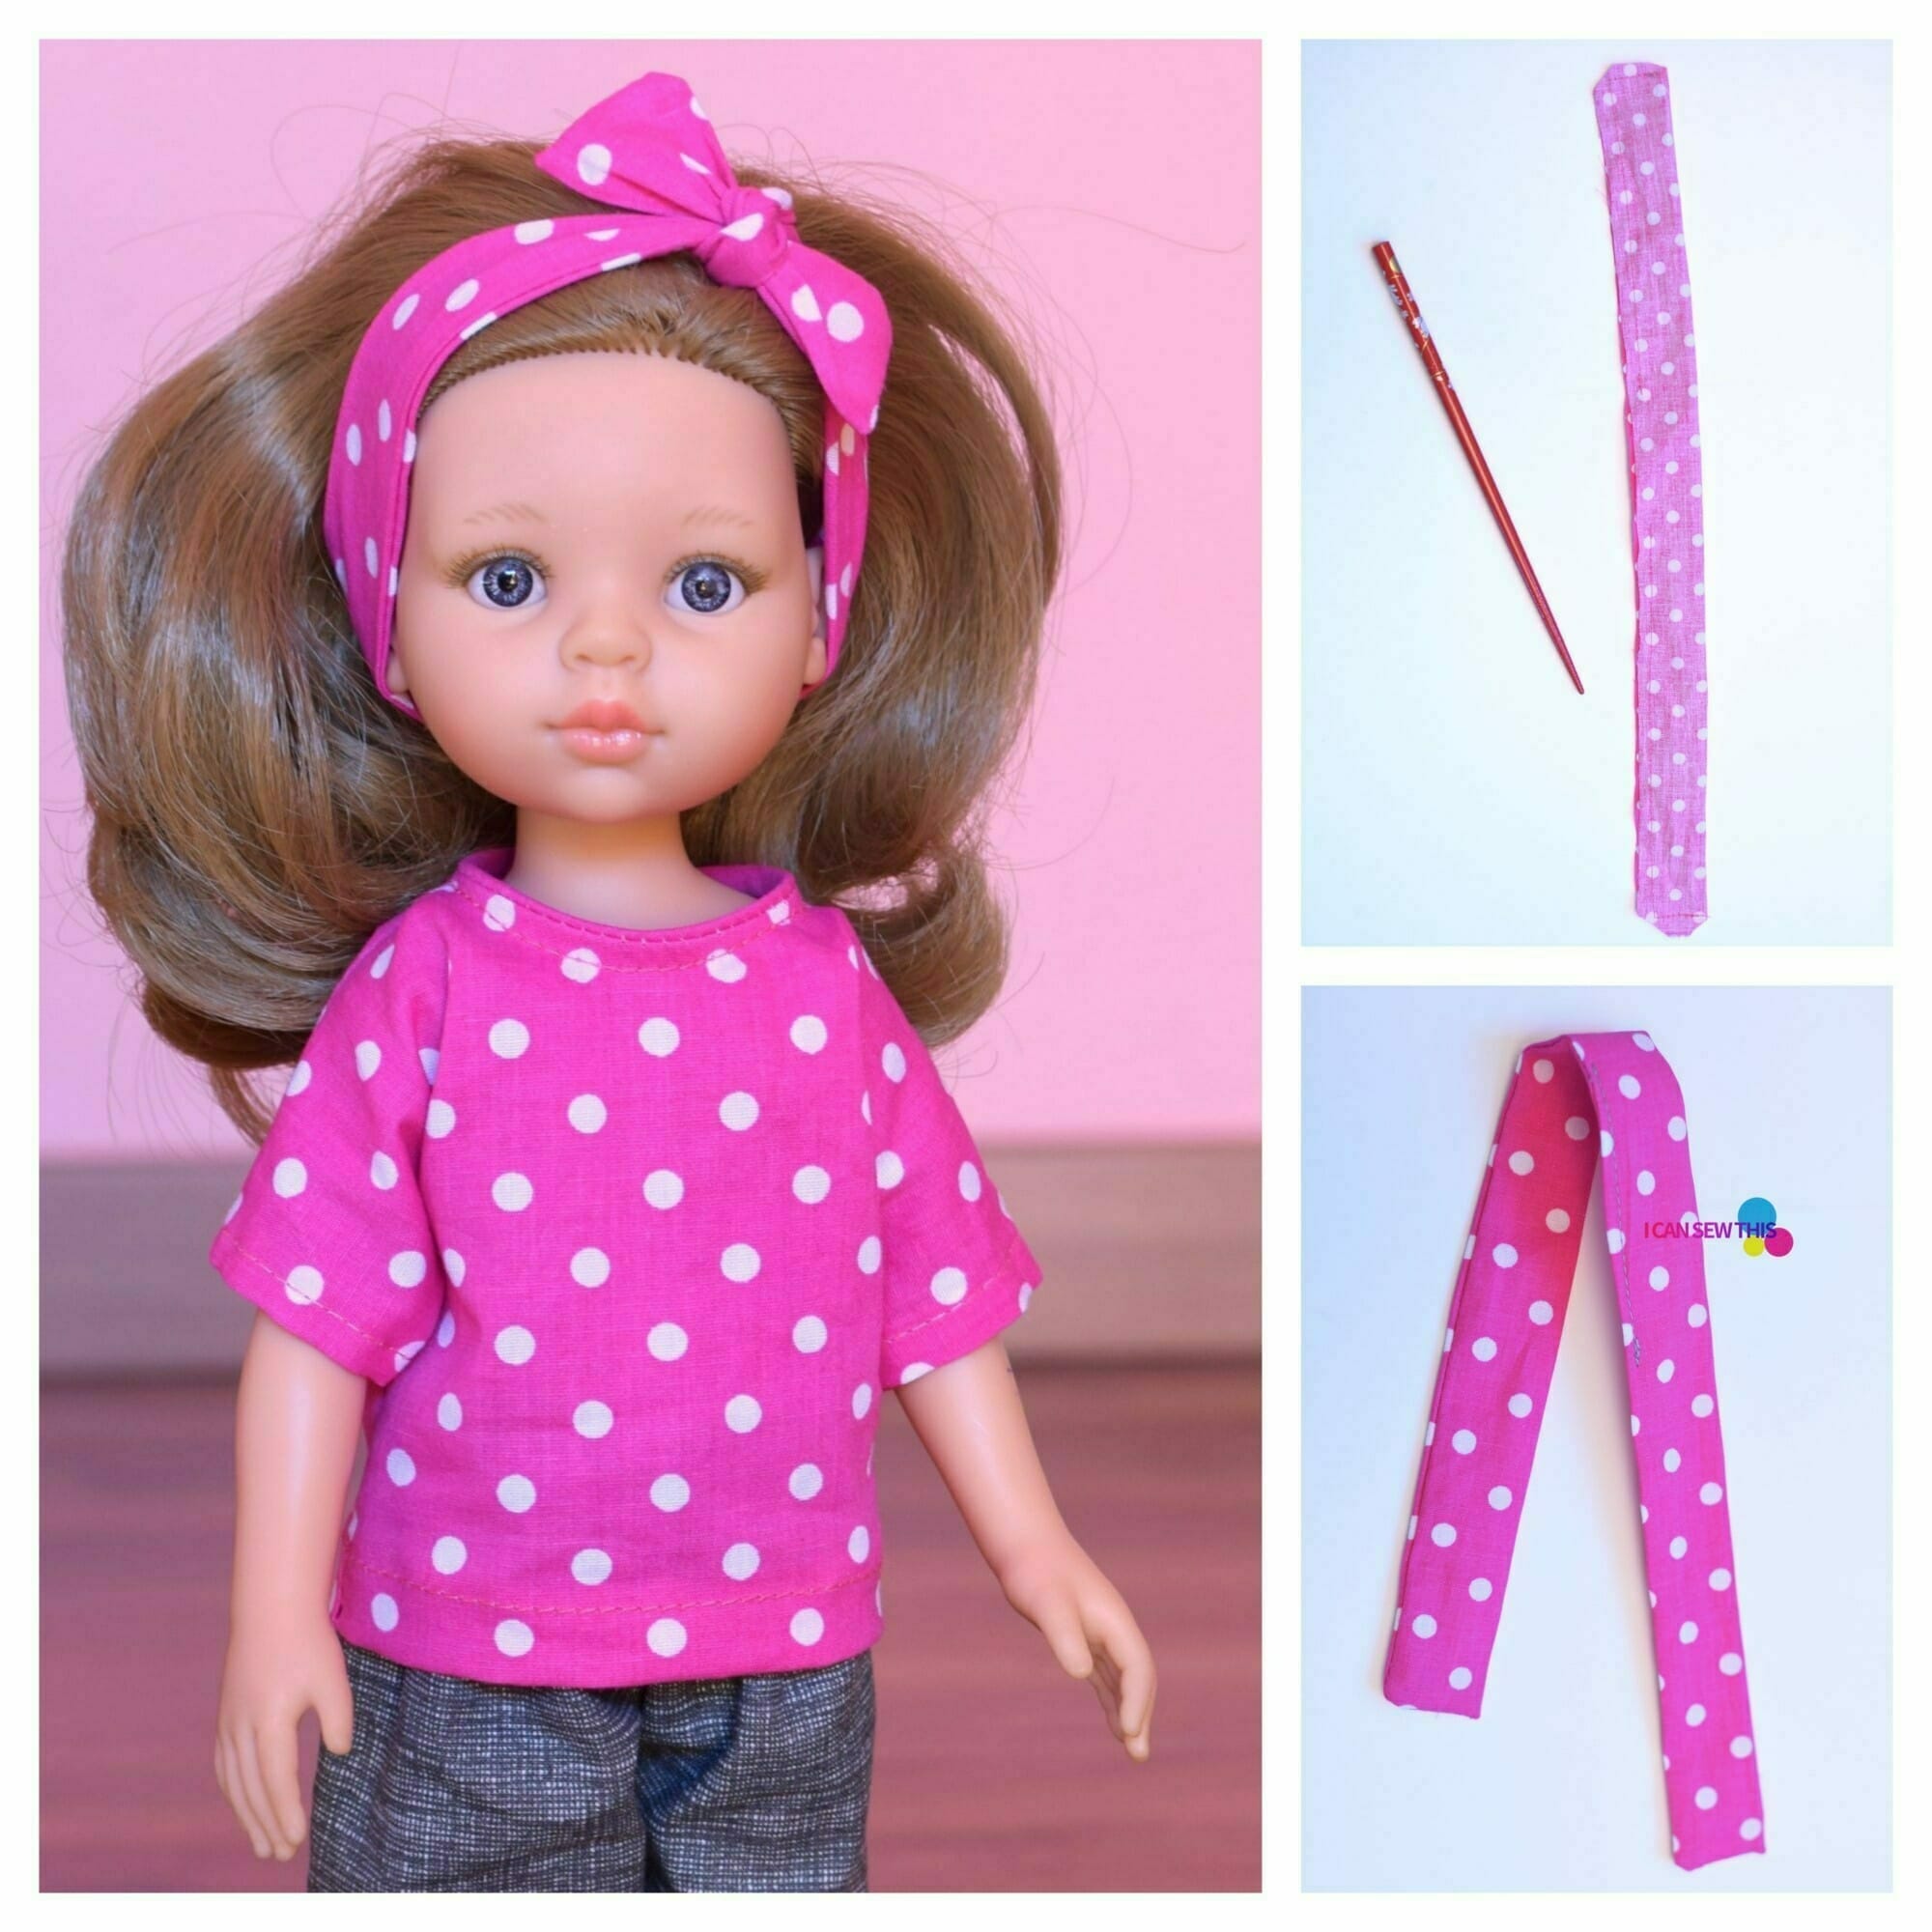
Cut a piece of woven cotton fabric 14 ¼ inches (36 cm) long and 2 inches (5 cm) wide.
Now fold it in half lengthwise, with right sides together, and sew around the raw edges. Leave a 2-inch opening in the center.
Trim the corners down close to the seam, to reduce the bulk. Turn the headband right side out, using a chopstick to gently push out the corners. Stitch the small opening closed.
All you have to do now is wrap the headband around the doll’s head and tie into a double knot!
Related: How to make the very best scrunchies (5 easy steps)
Sewing doll clothes
Cute dolls surely deserve a nice wardrobe!
Nevertheless, buying clothes for dolls can be expensive. This is one of those moments I’m so glad I have a sewing machine and I know how to use it.
You can save real money by making something yourself, not to mention you get that great sense of achievement and pride. Besides, sewing doll clothes is a great way to use up scraps or old unwanted clothing.
I hope you have found this tutorial and the free sewing pattern for the Paola Reina doll helpful! Making doll clothes is so much fun and at the same time a great way of improving your sewing skills without concerning yourself about wasting fabric.
Let’s keep in touch! You can find me on Facebook, Instagram, and Pinterest.
Hi Violet! After almost two years of sewing, I’m still a clumsy beginner, but your free patterns and detailed tutorials have been a great help — thanks to you, my Paola Reina is… well, not naked anymore :D. I hope that, with time, she’ll be dressed with better clothes. Since I have some trouble attaching sleeves, I’ve been eyeing this top for a long time. While all the instructions are very clear, there is one thing I don’t understand. At the beginning, what do you do with the bias tape? From what I understood, you folded it in half, sewed it to the neckline, on the right side, then folded it and sewed it again… did I get it right?
Hey, thank you for the sweet comment! I’m so sorry for the late reply, I’ve been on vacation with no access to the website admin. To answer your question – yes, you got everything right! I’m sure your doll will have the cutest wardrobe in no time! Best wishes.
Awww, don’t mention it! Thanks
Bonjour
Pourriez vous m’envoyer le tuto.
Merci d’avance
Patricia
me ha gustado voy ha hacerlo . Gracias x el tutorial.