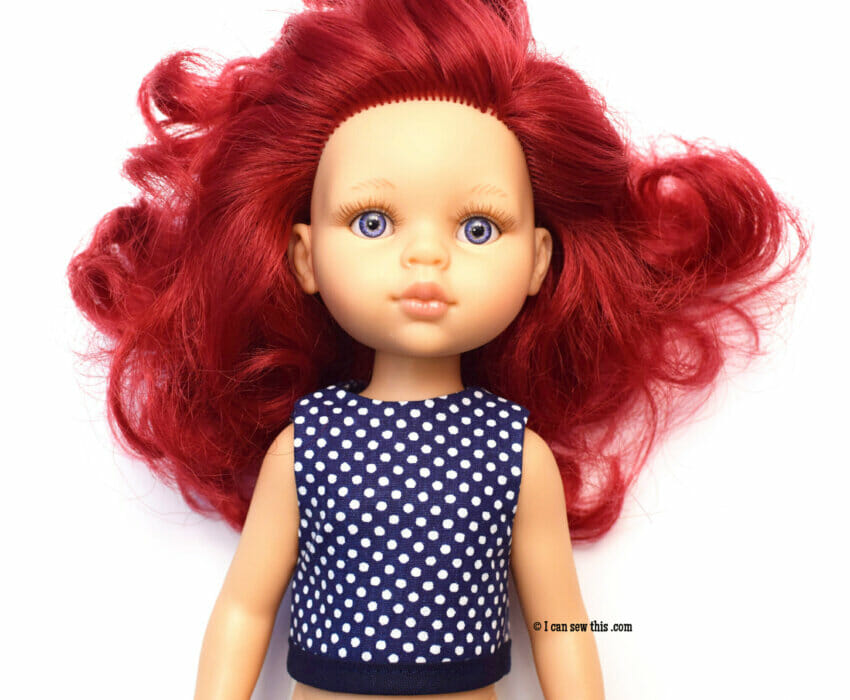
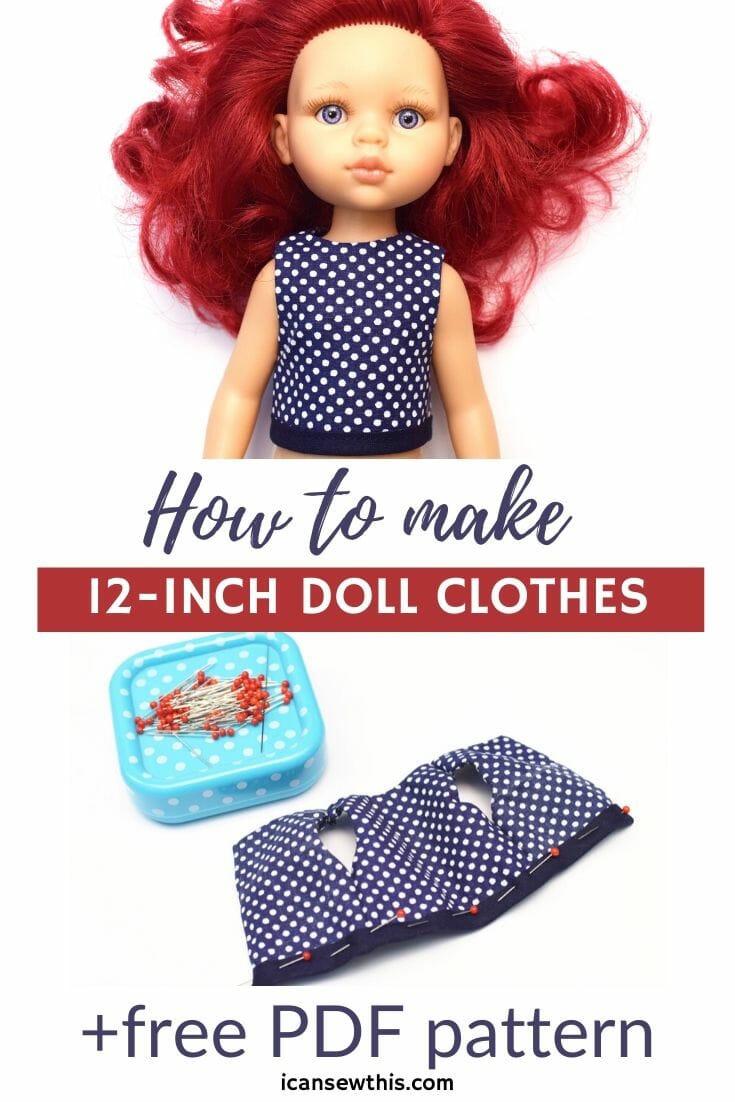
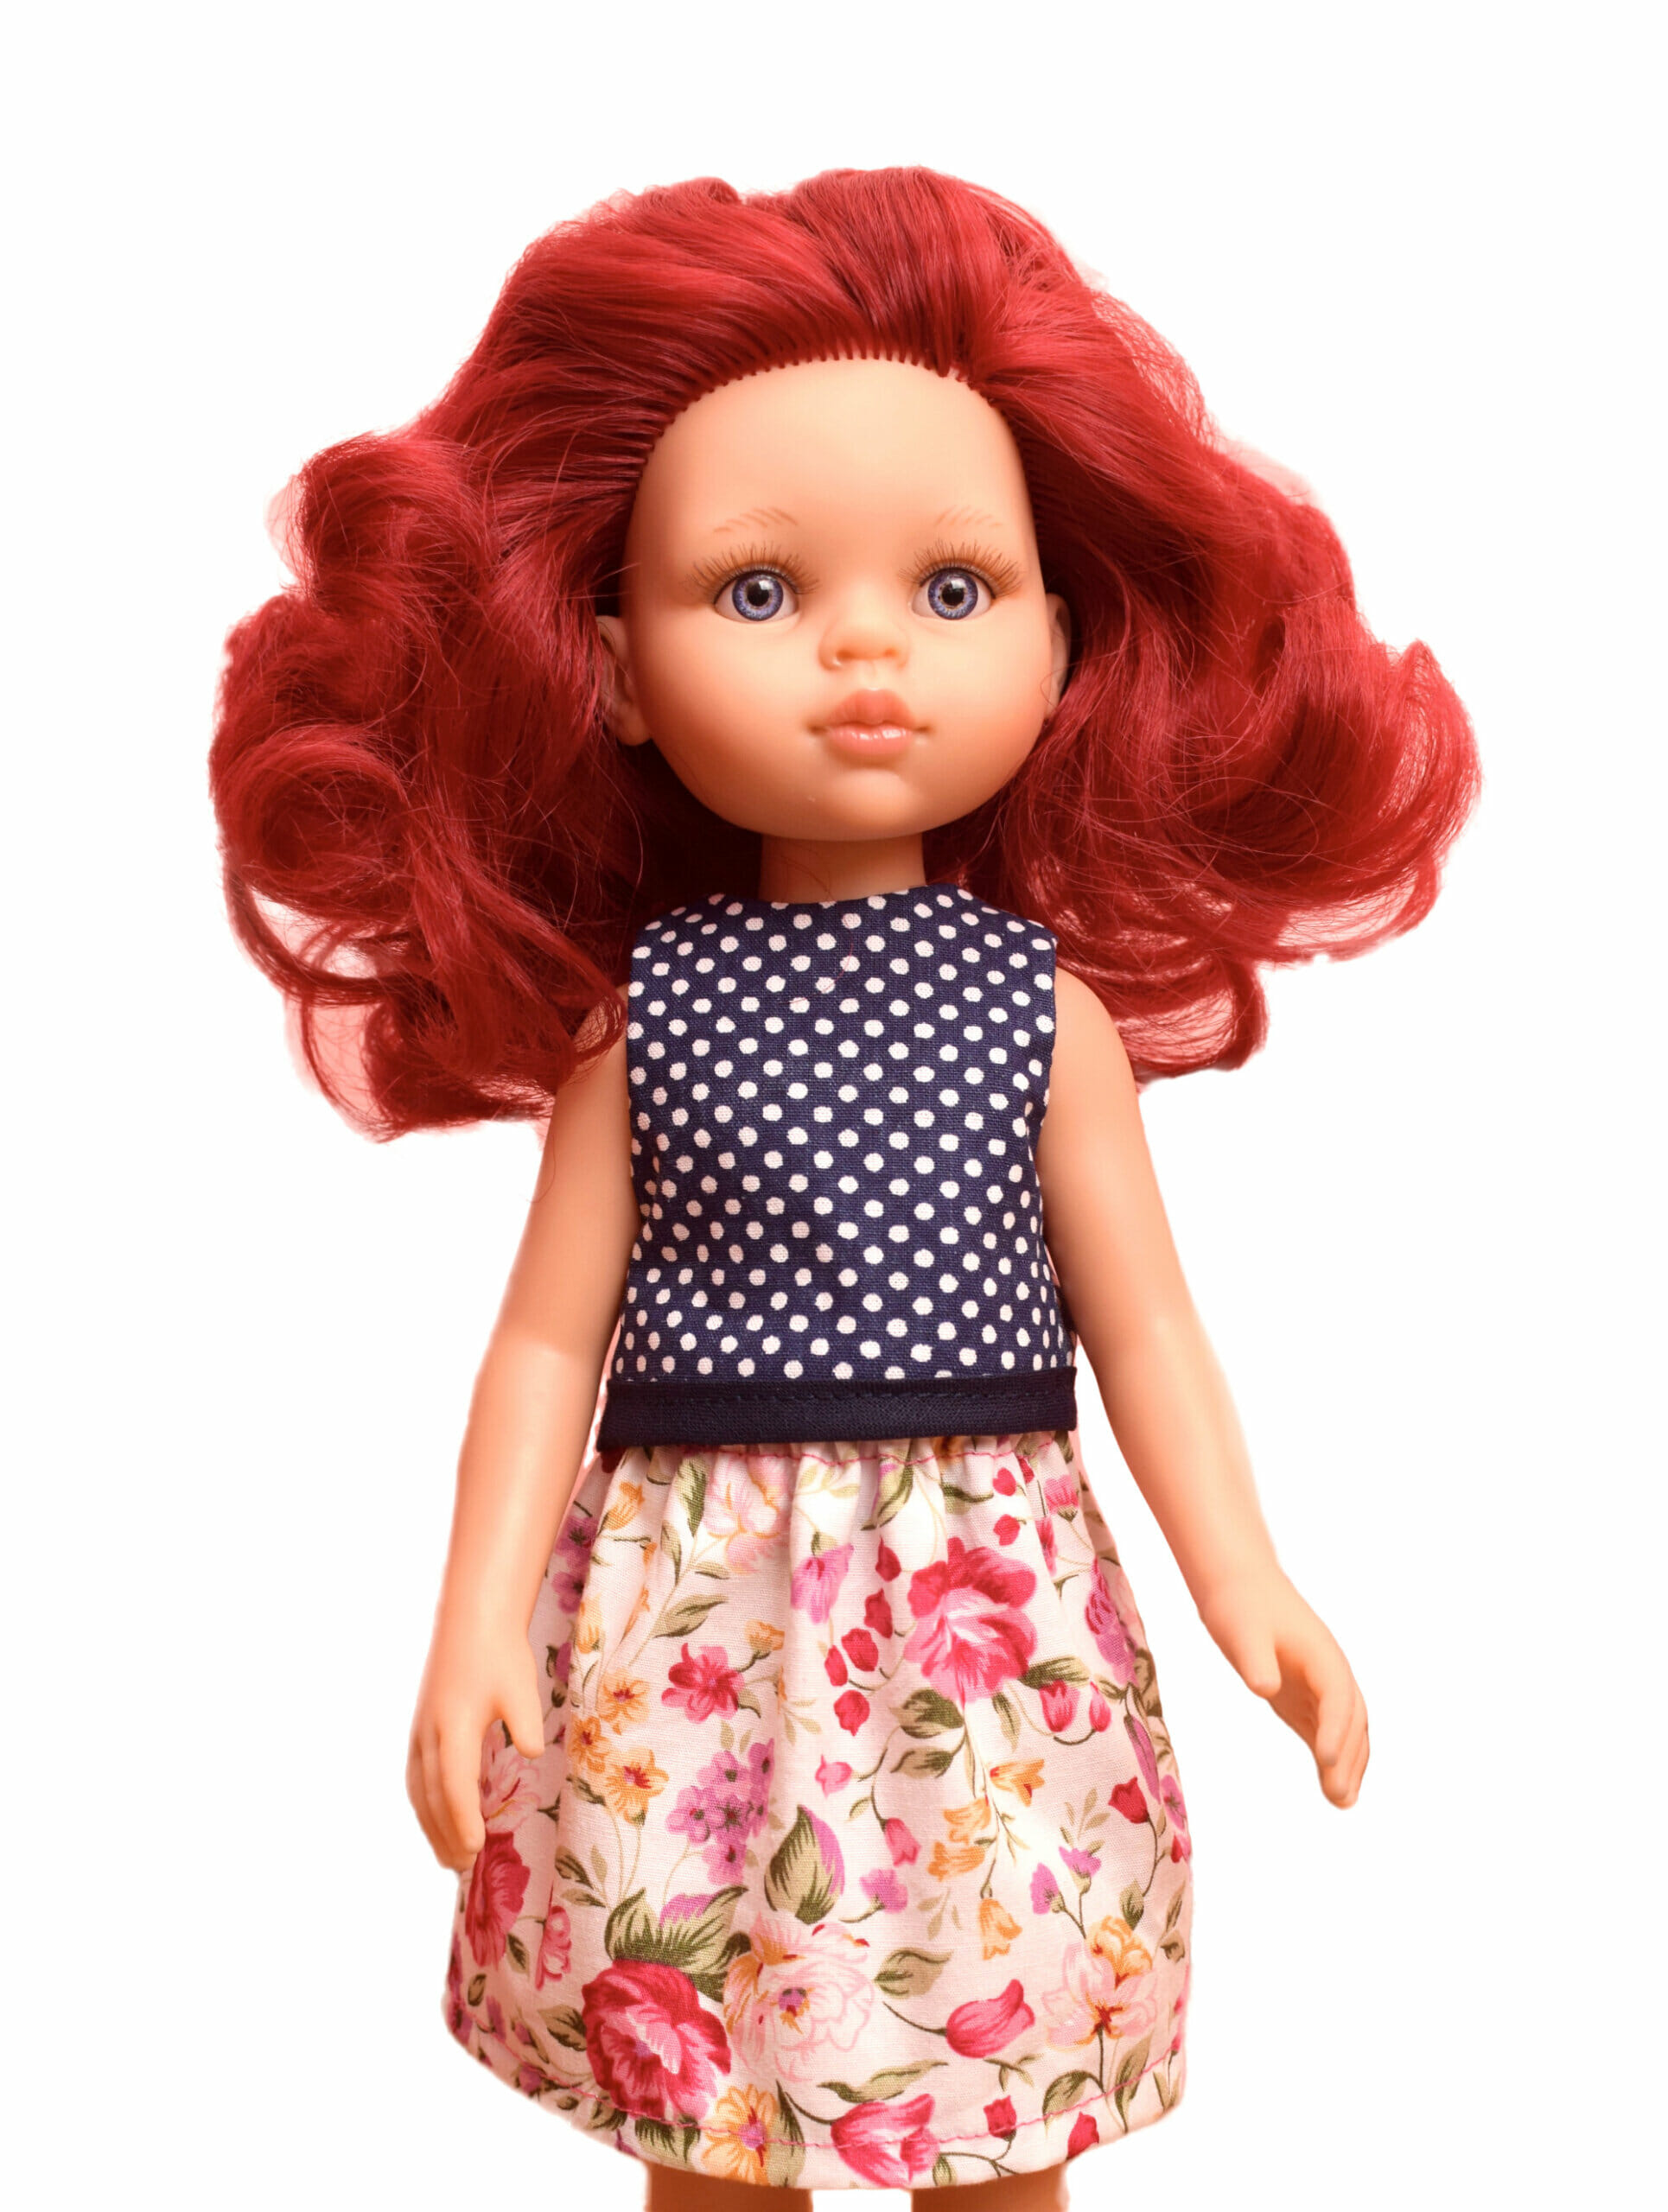
Learn how to make easy and quick doll clothes for your 12-inch Paola Reina doll with this free sewing pattern and tutorial. Keep your favorite dolls looking stylish while having fun.
I made a lot of doll clothes during my first week of self-quarantine in 2020, as a way to keep my toddler busy and entertained.
For me, that was an easy call. I get tremendous joy from sewing doll clothes for my kids, and these are easy and quick sewing projects. You just can’t say No to this temptation!
RELATED: Learn how to make easy doll pants, doll shirt or a simple doll dress – free patterns and tutorials!
So, let’s sew together some cute doll clothes for your beautiful Paola Reina doll with this free pattern and tutorial.
Sewing supplies
- cotton fabric scraps
- bias tape
- matching thread
- fabric scissors
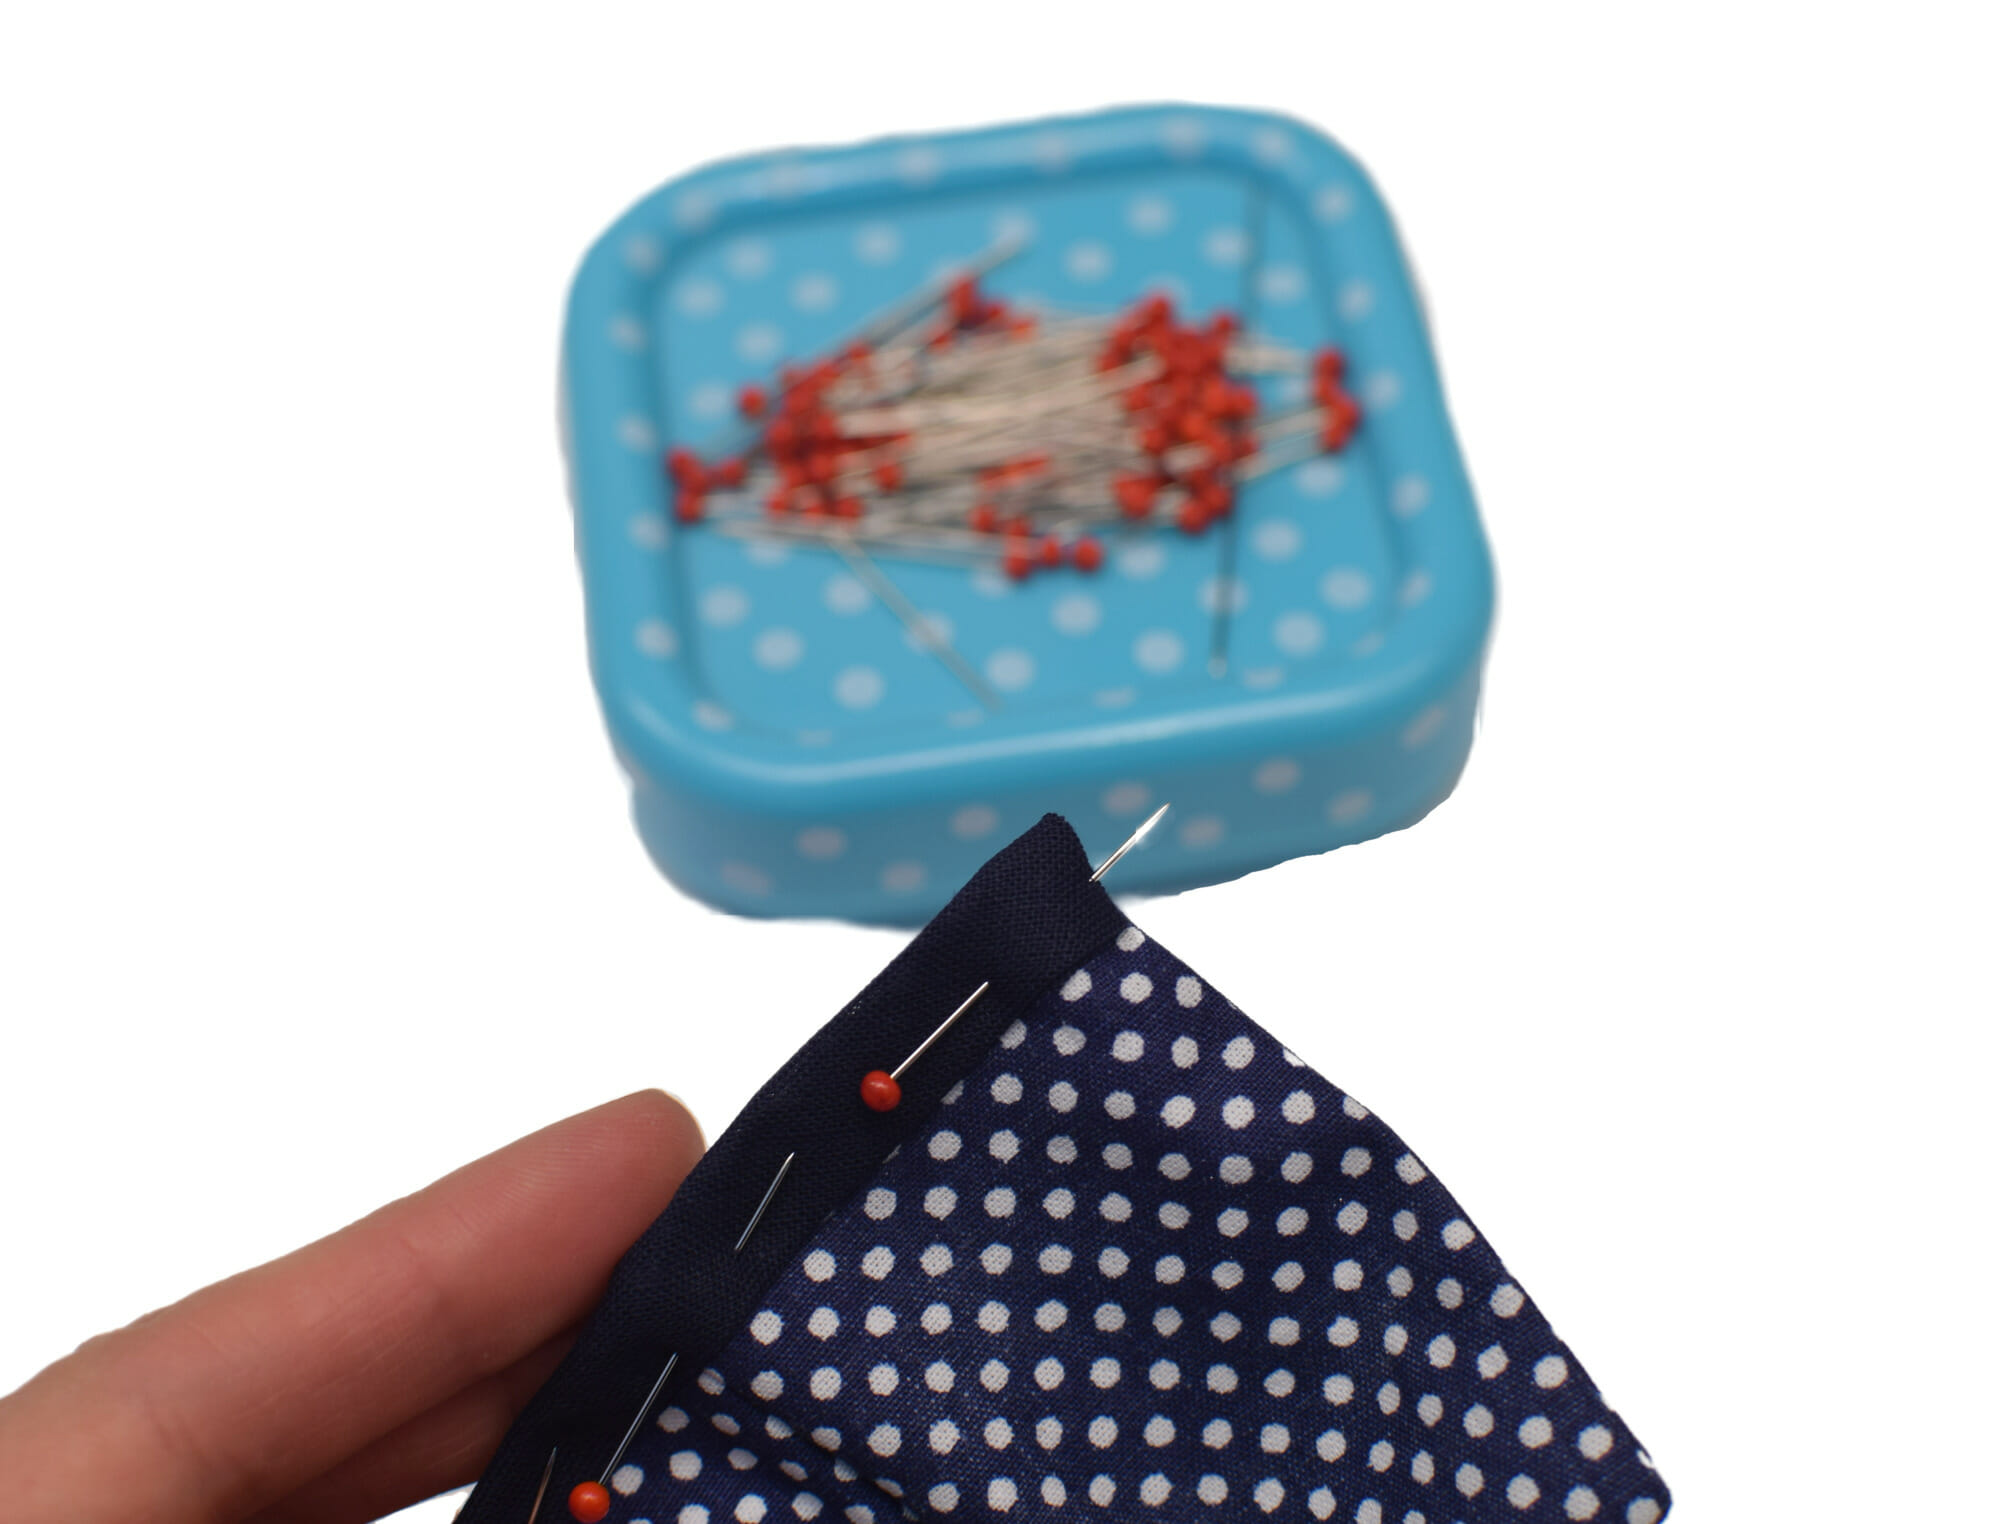
- pins
- sewing machine
- sewing machine needle
- approx. 4 inches of 1/8 inch elastic
How to make a fitted doll top – free pattern for 12-inch Paola Reina dolls
Step 1
Cut the fabric pieces and sew the doll top by performing the same steps (1 – 4) shown in this tutorial. Get the free pdf pattern and tutorial here.
Step 2
Measure the bottom of the doll top and add 1 inch to that measurement.
This is the length of the double-fold bias tape you will need to hem the doll top.
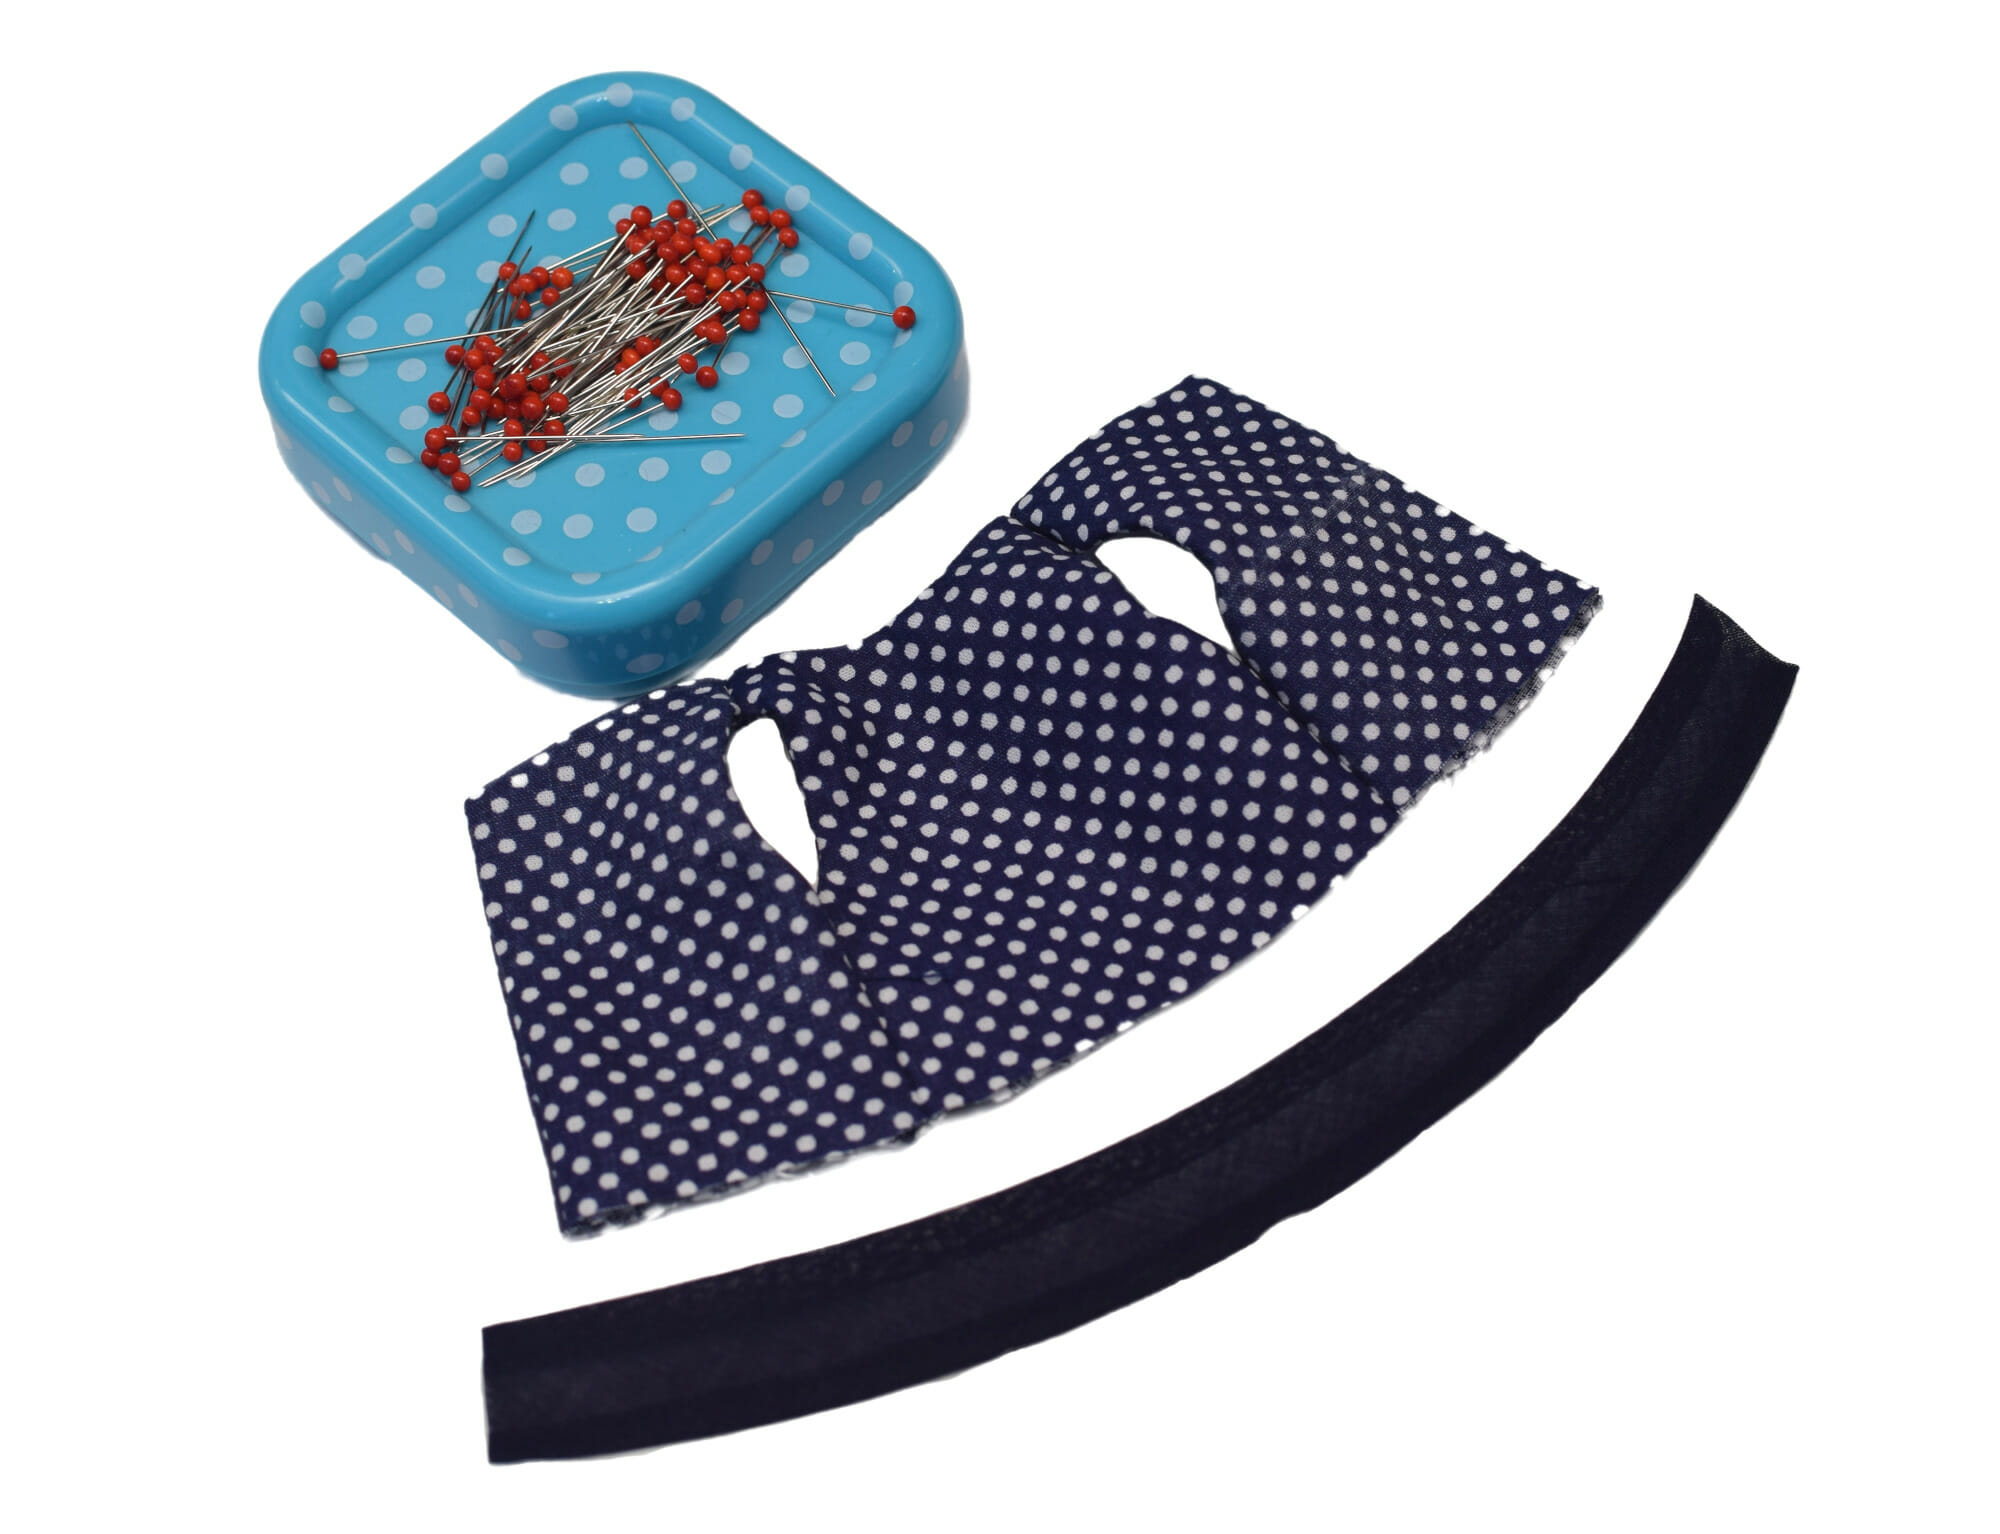
Step 3
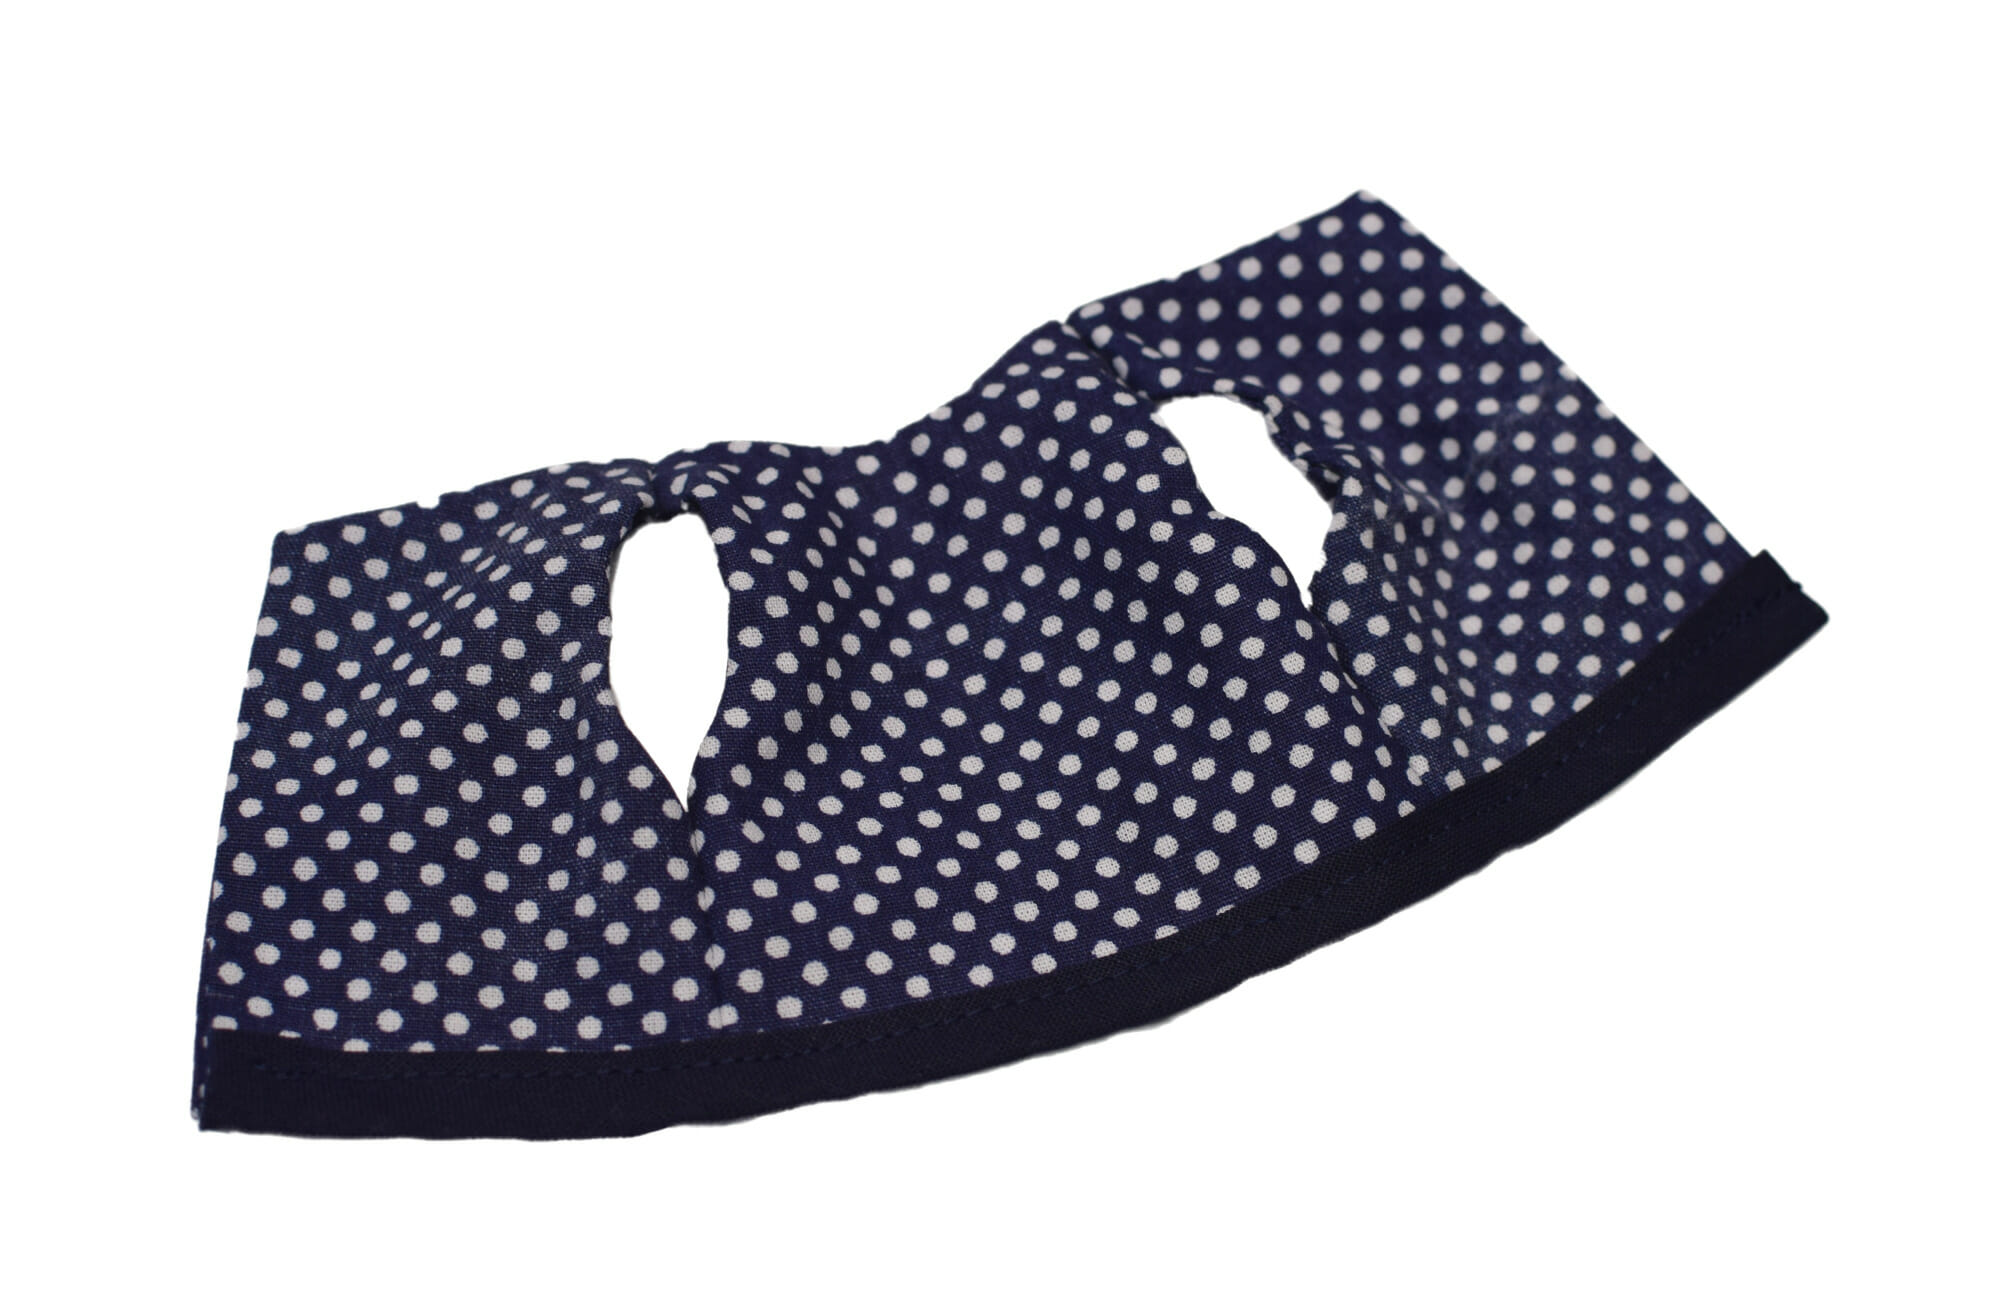
First, tuck under the short edges of the bias tape. Next, you have to sandwich the raw edges of the doll top between the folded bias tape.
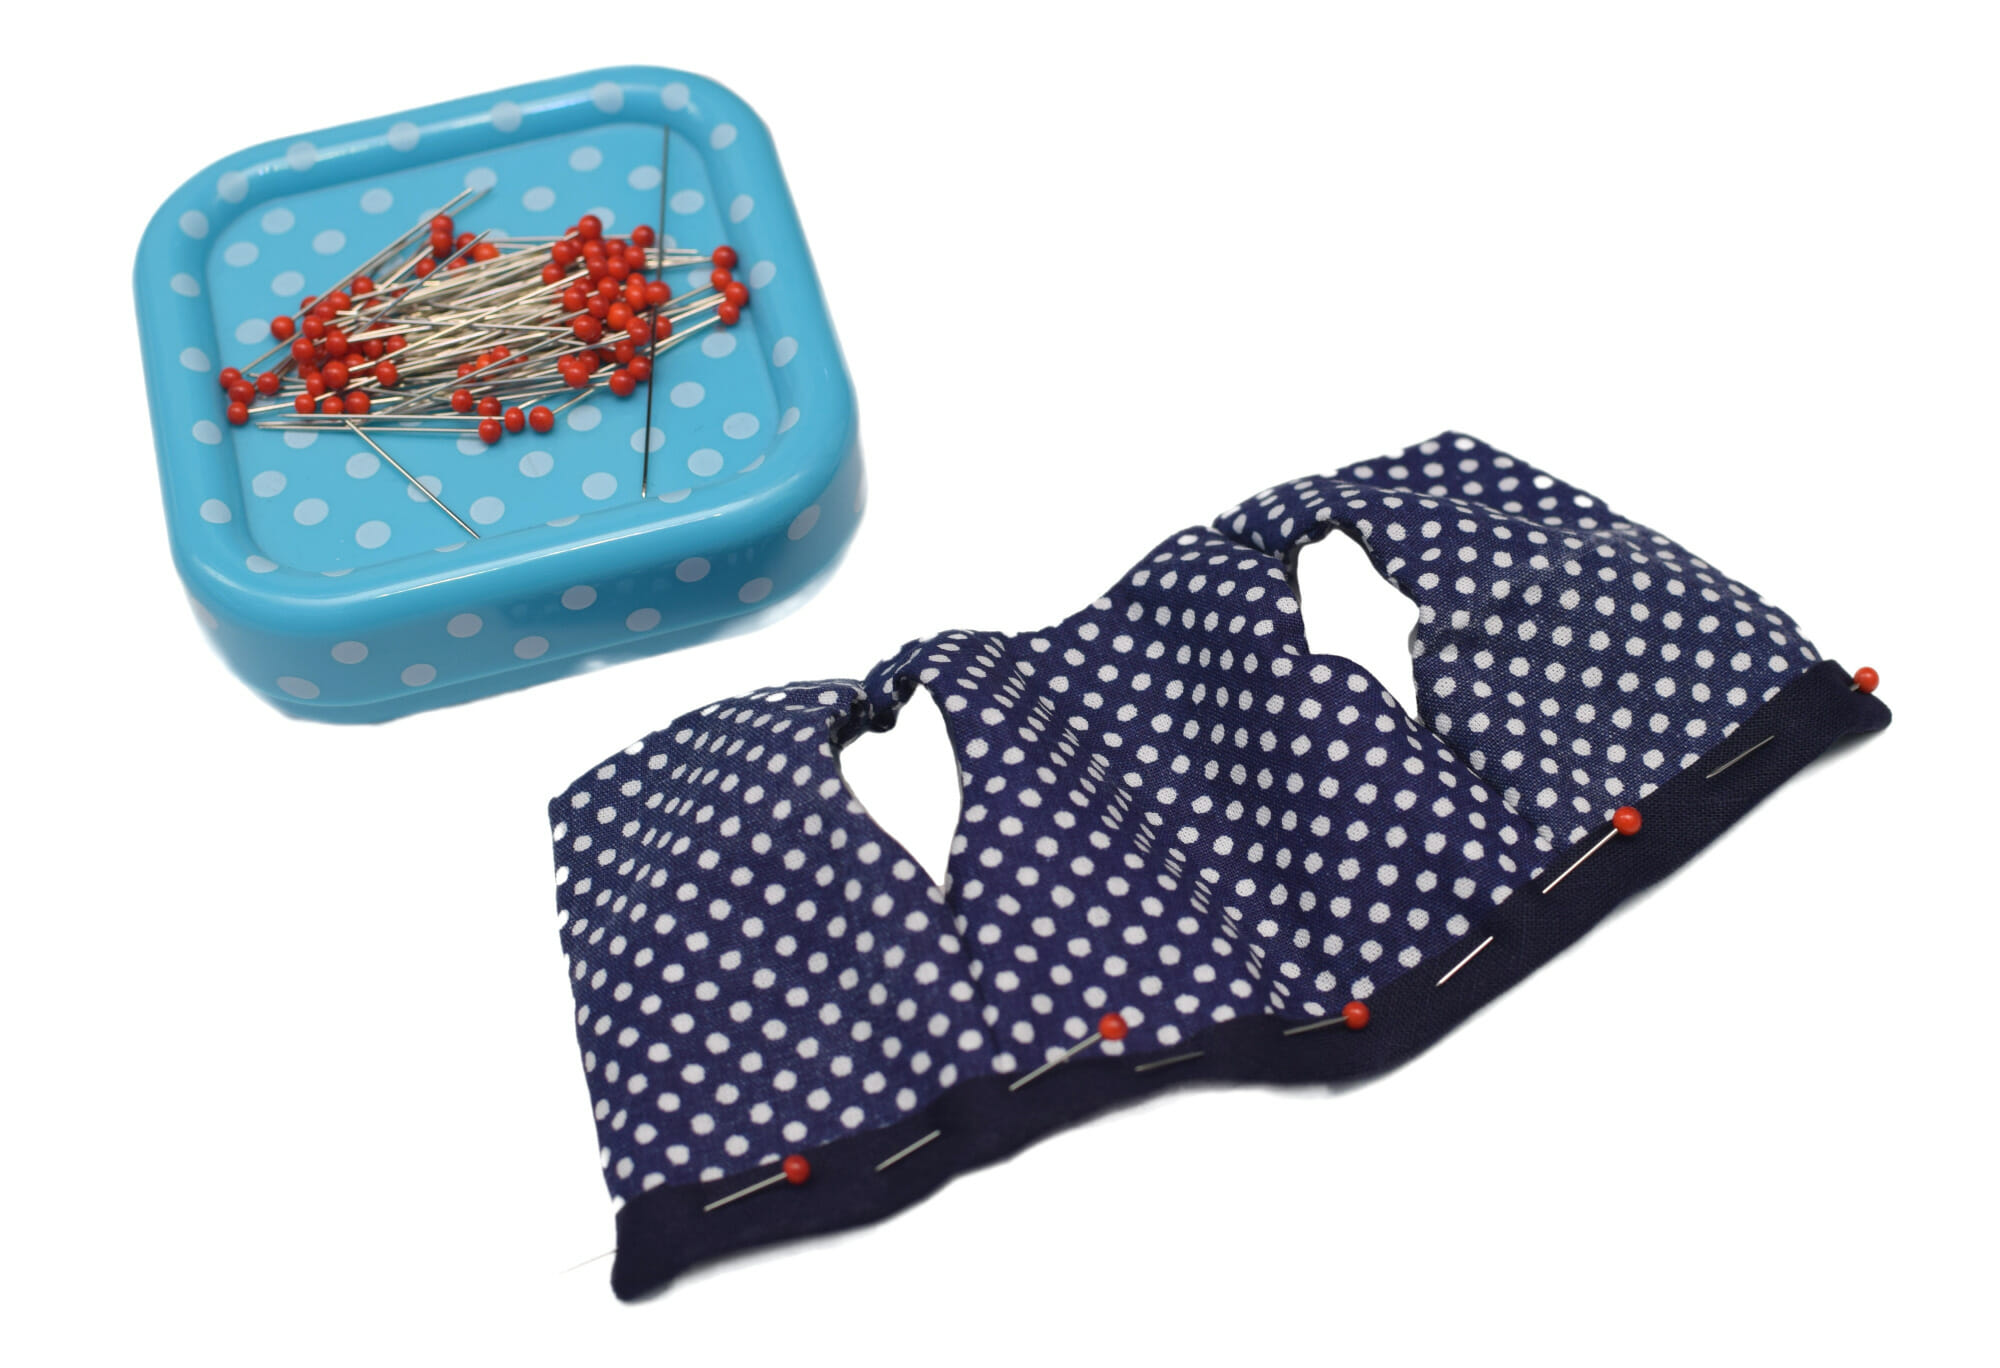
Pin and sew on bias tape. Make sure you catch both sides of the bias tape.
Add velcro to the back of the doll top and you’re done!
Of course, you can shorten the top to turn it into a crop top, or lengthen it.
You could do that by adding some length when you cut the pattern pieces, or by adding a peplum or lace, anything you want.

How to make a 12-inch Paola Reina doll skirt with elastic waistband
Step 1
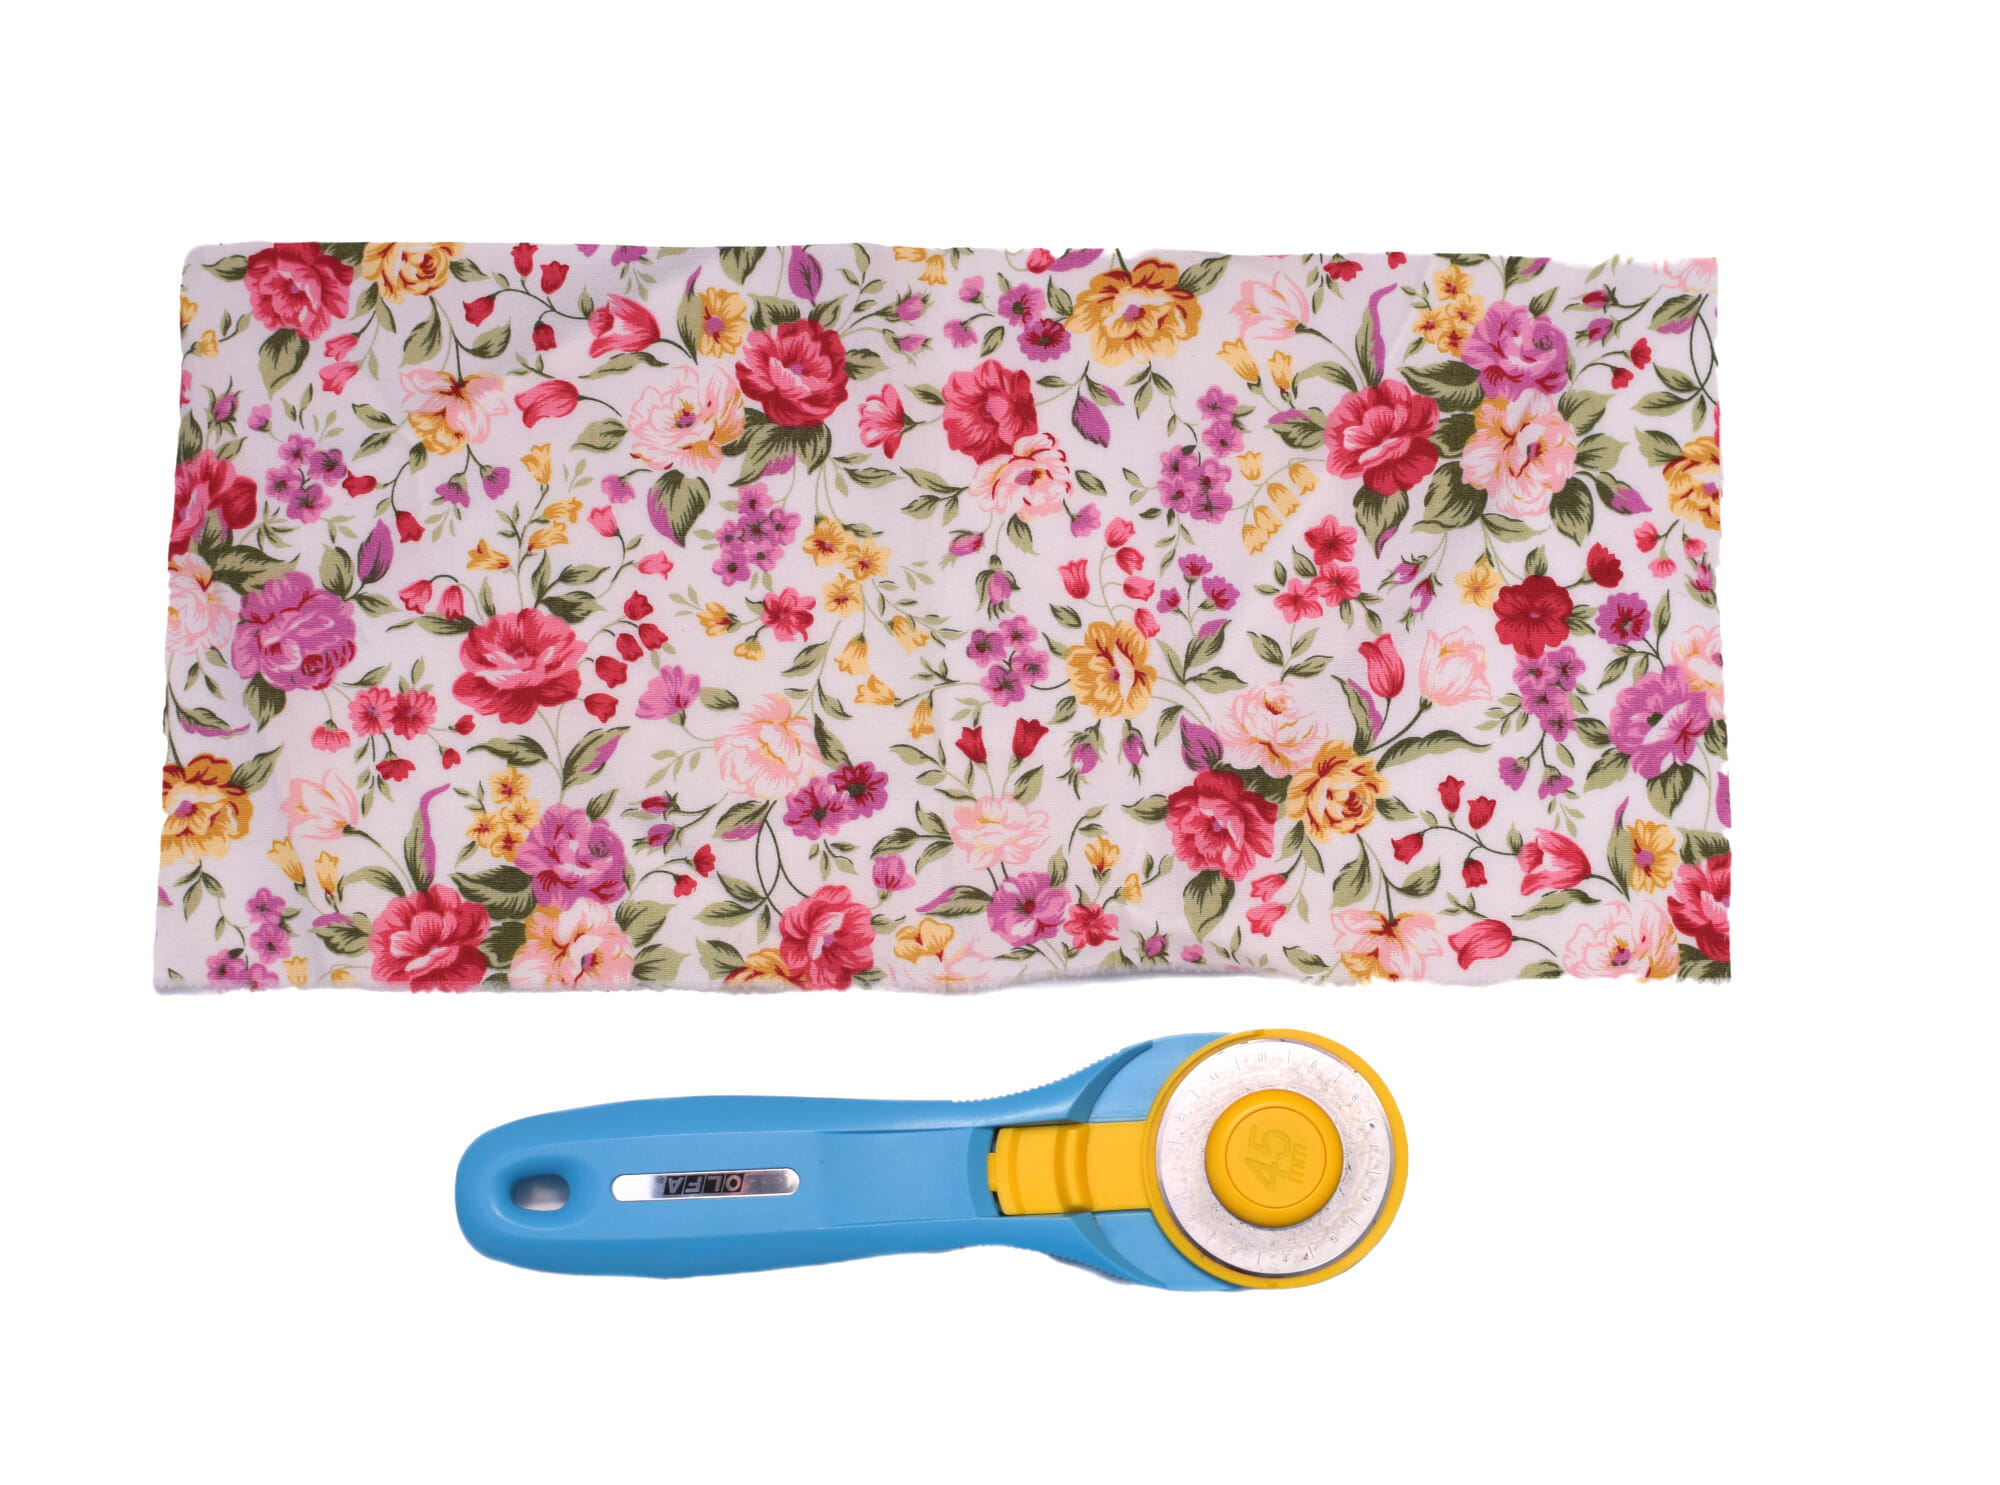
Cut a fabric piece 12 inches wide by 4-5 inches long.
Step 2
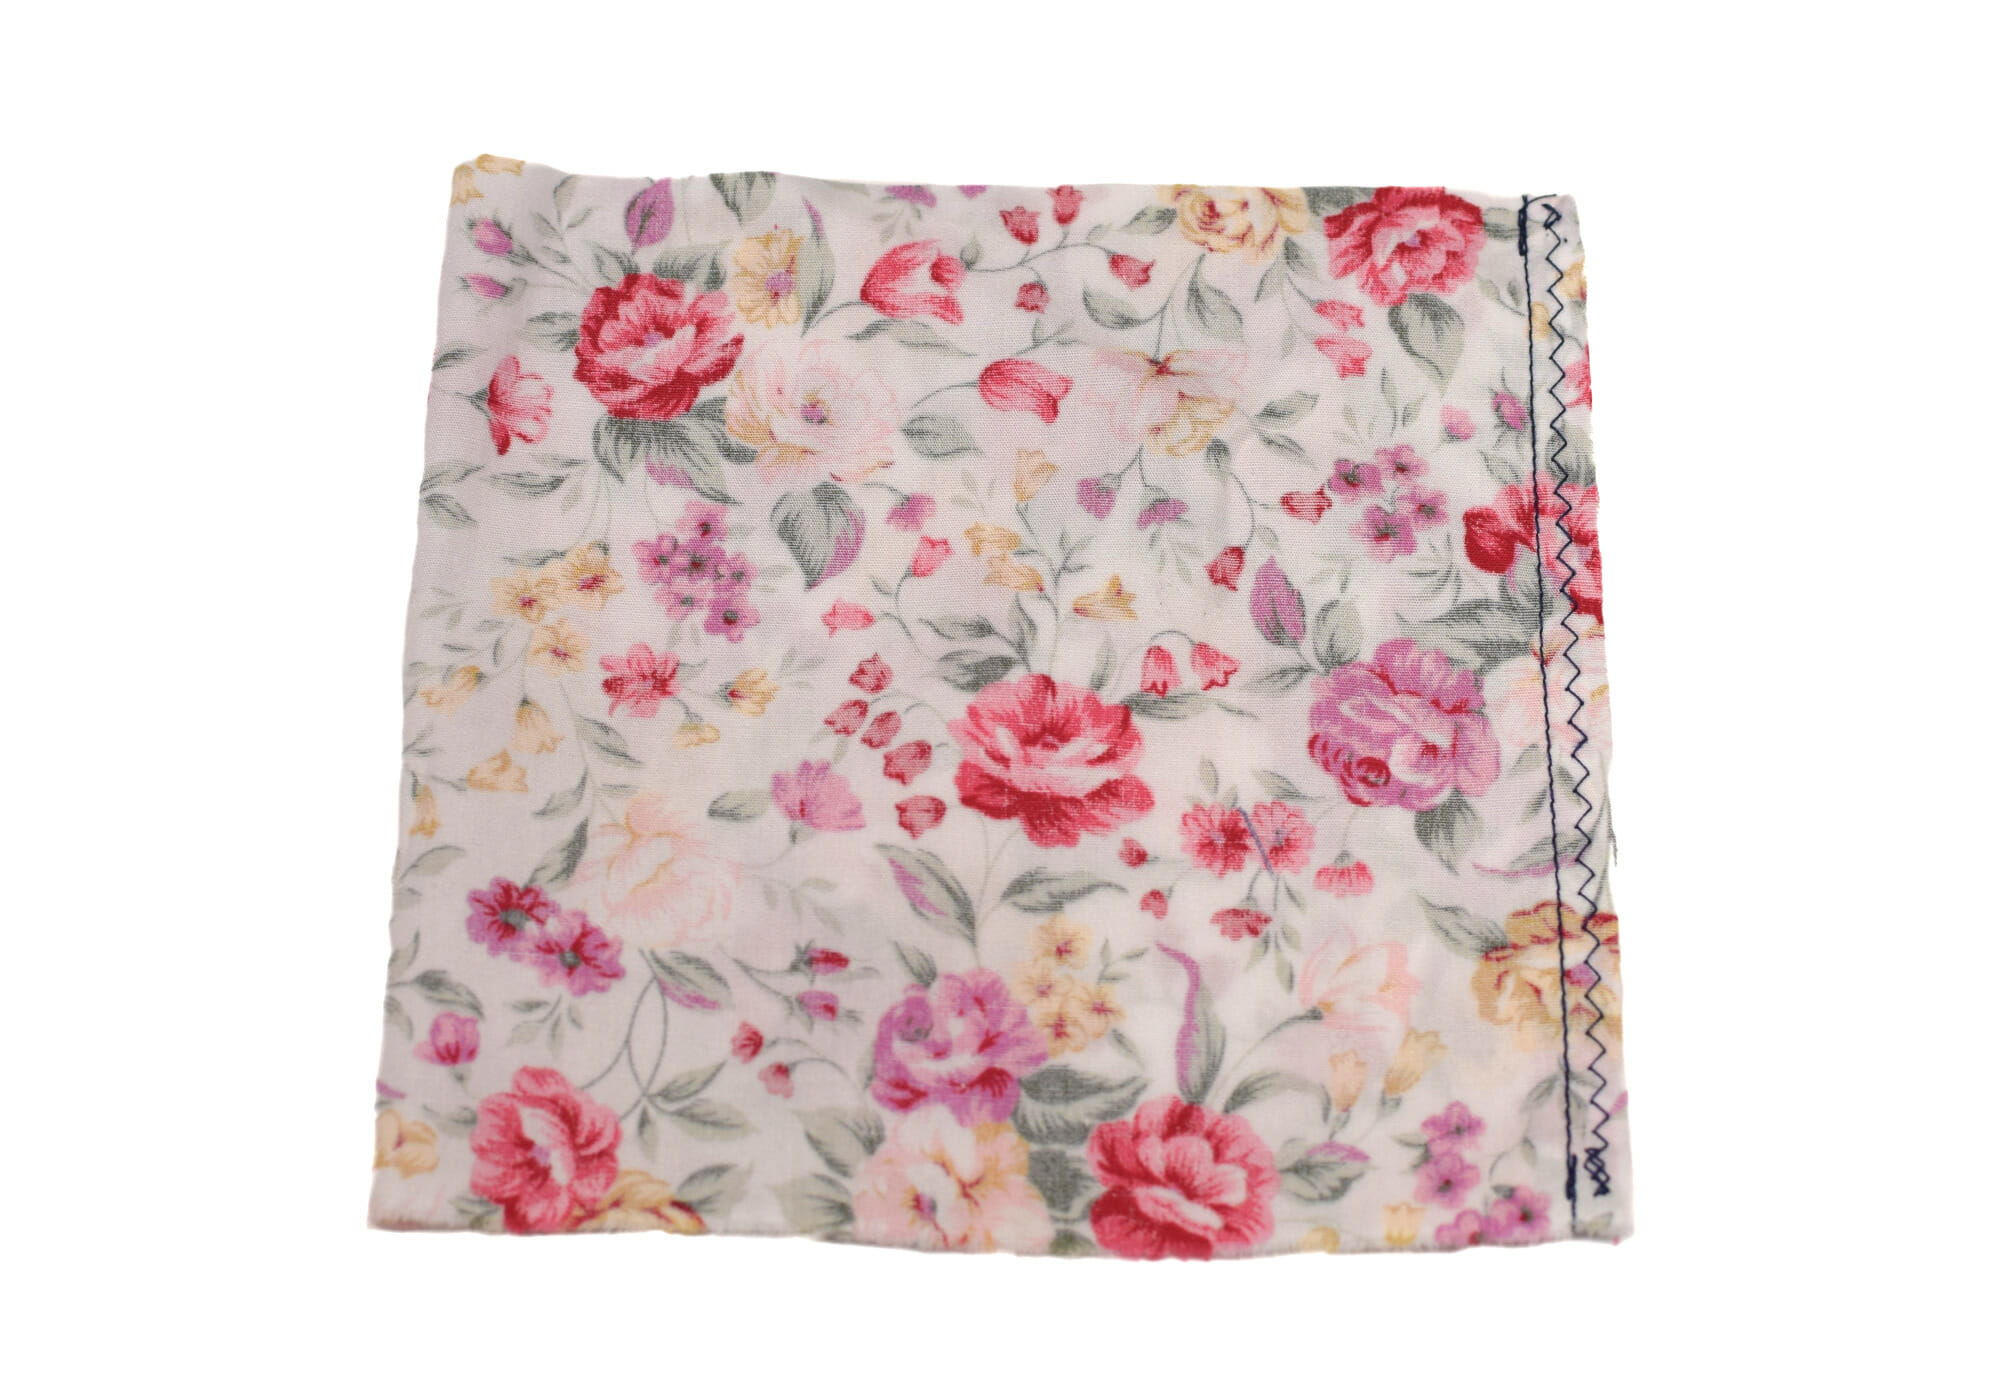
Fold the rectangle in half, right sides together. Sew the side seam and finish the raw edge with a zigzag stitch.
Step 3
Use a zigzag stitch to finish the raw edges at the top and bottom of the skirt.
Then hem the skirt.
Now let’s create the waistband casing. Fold the fabric over 1 inch and pin.
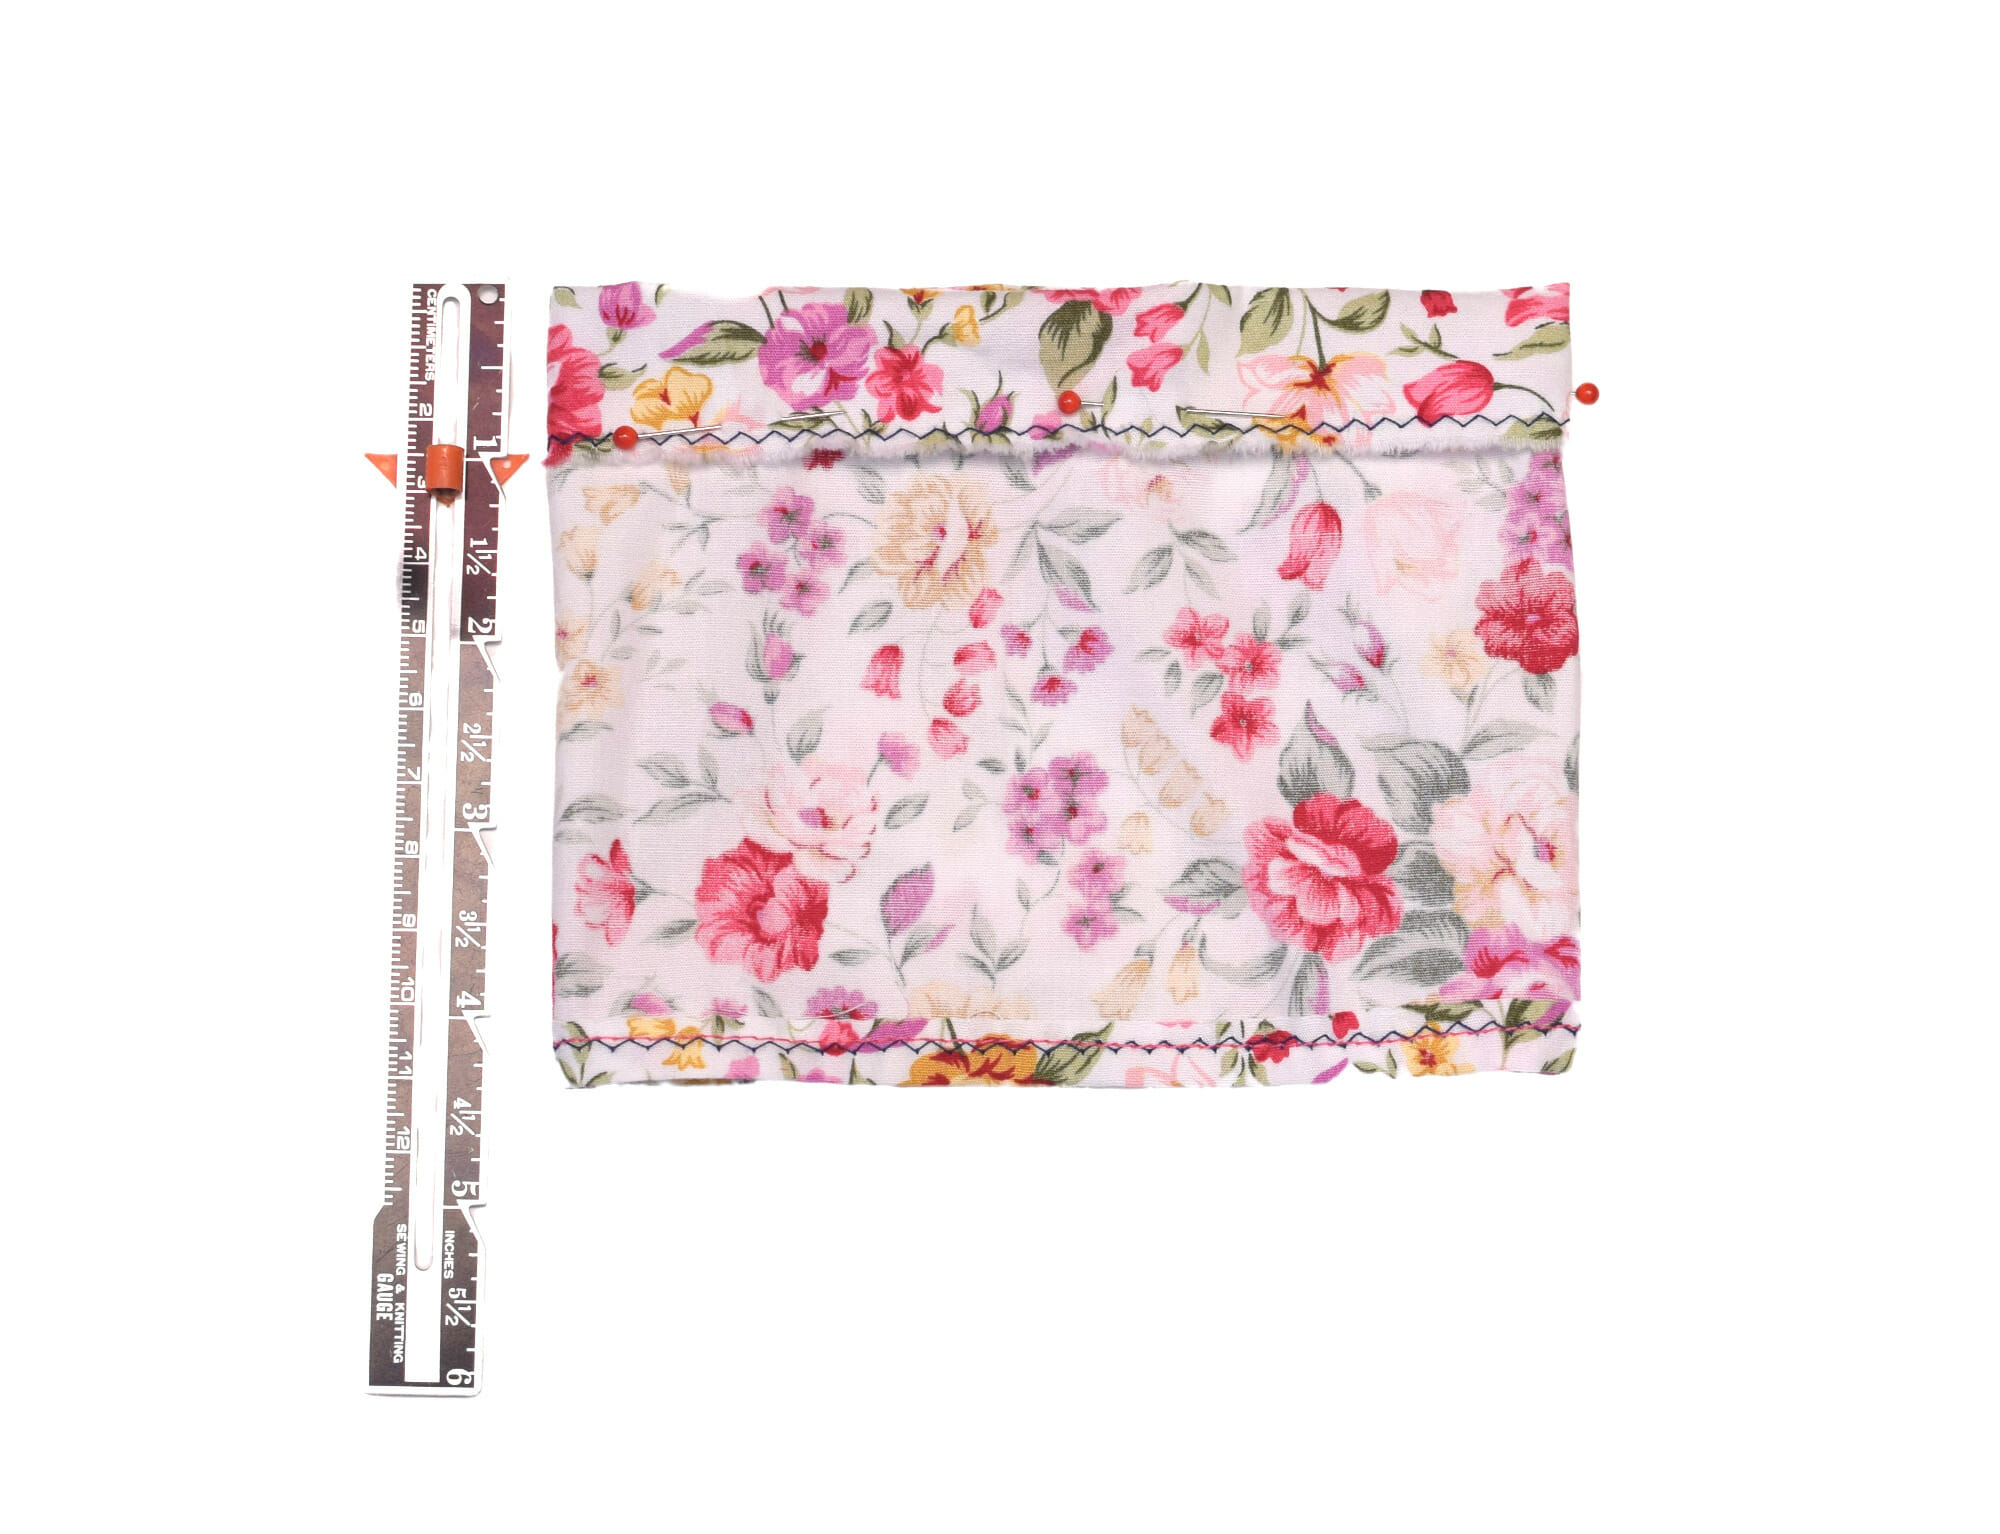
First, stitch 1/8 inch away from the top edge, all the way around, to make a paper-bag waist ruffle.
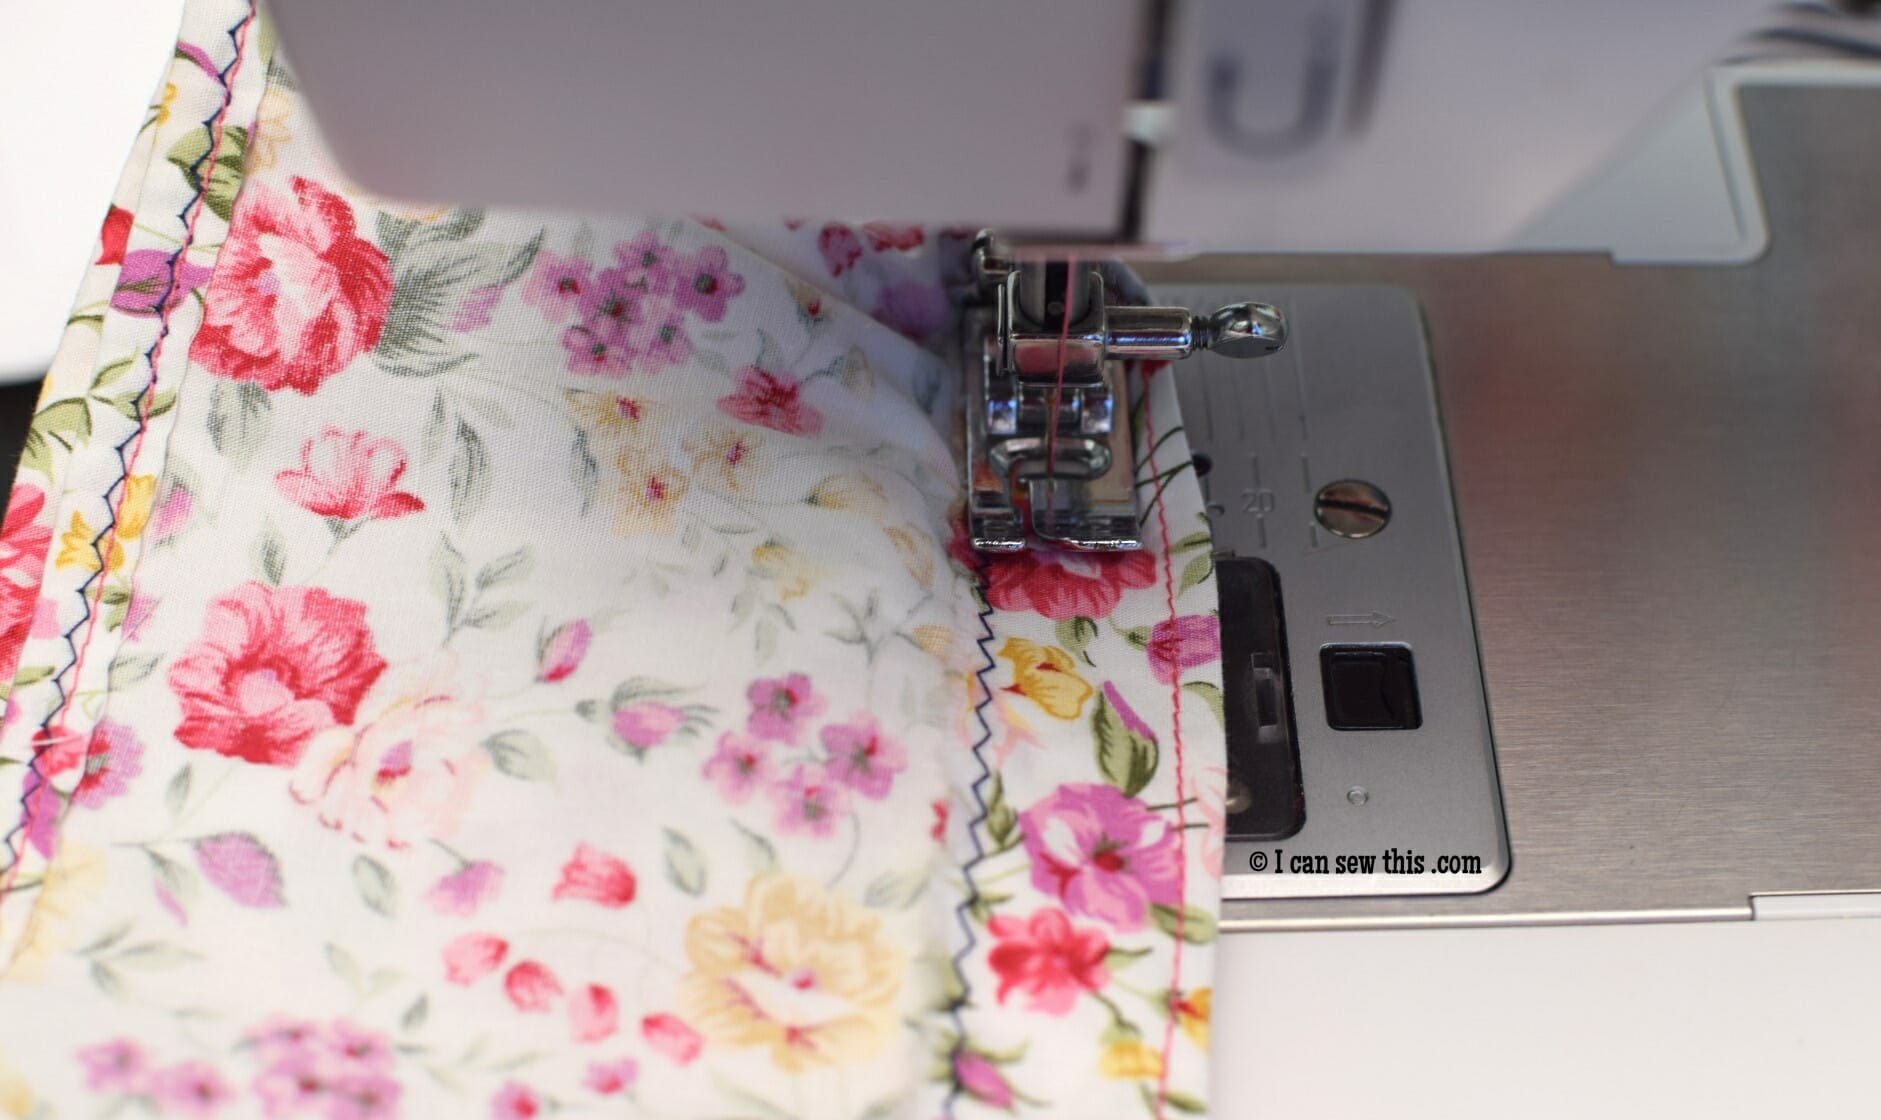
Sew a second row of stitches ¼ inch below the first one, and leave a small opening. This creates the casing for the elastic.
Use a safety pin to string the elastic through the waistband. I used a strip of 4 inches of 1/8 inch wide elastic.
Sew the small opening shut, and your doll skirt is done!
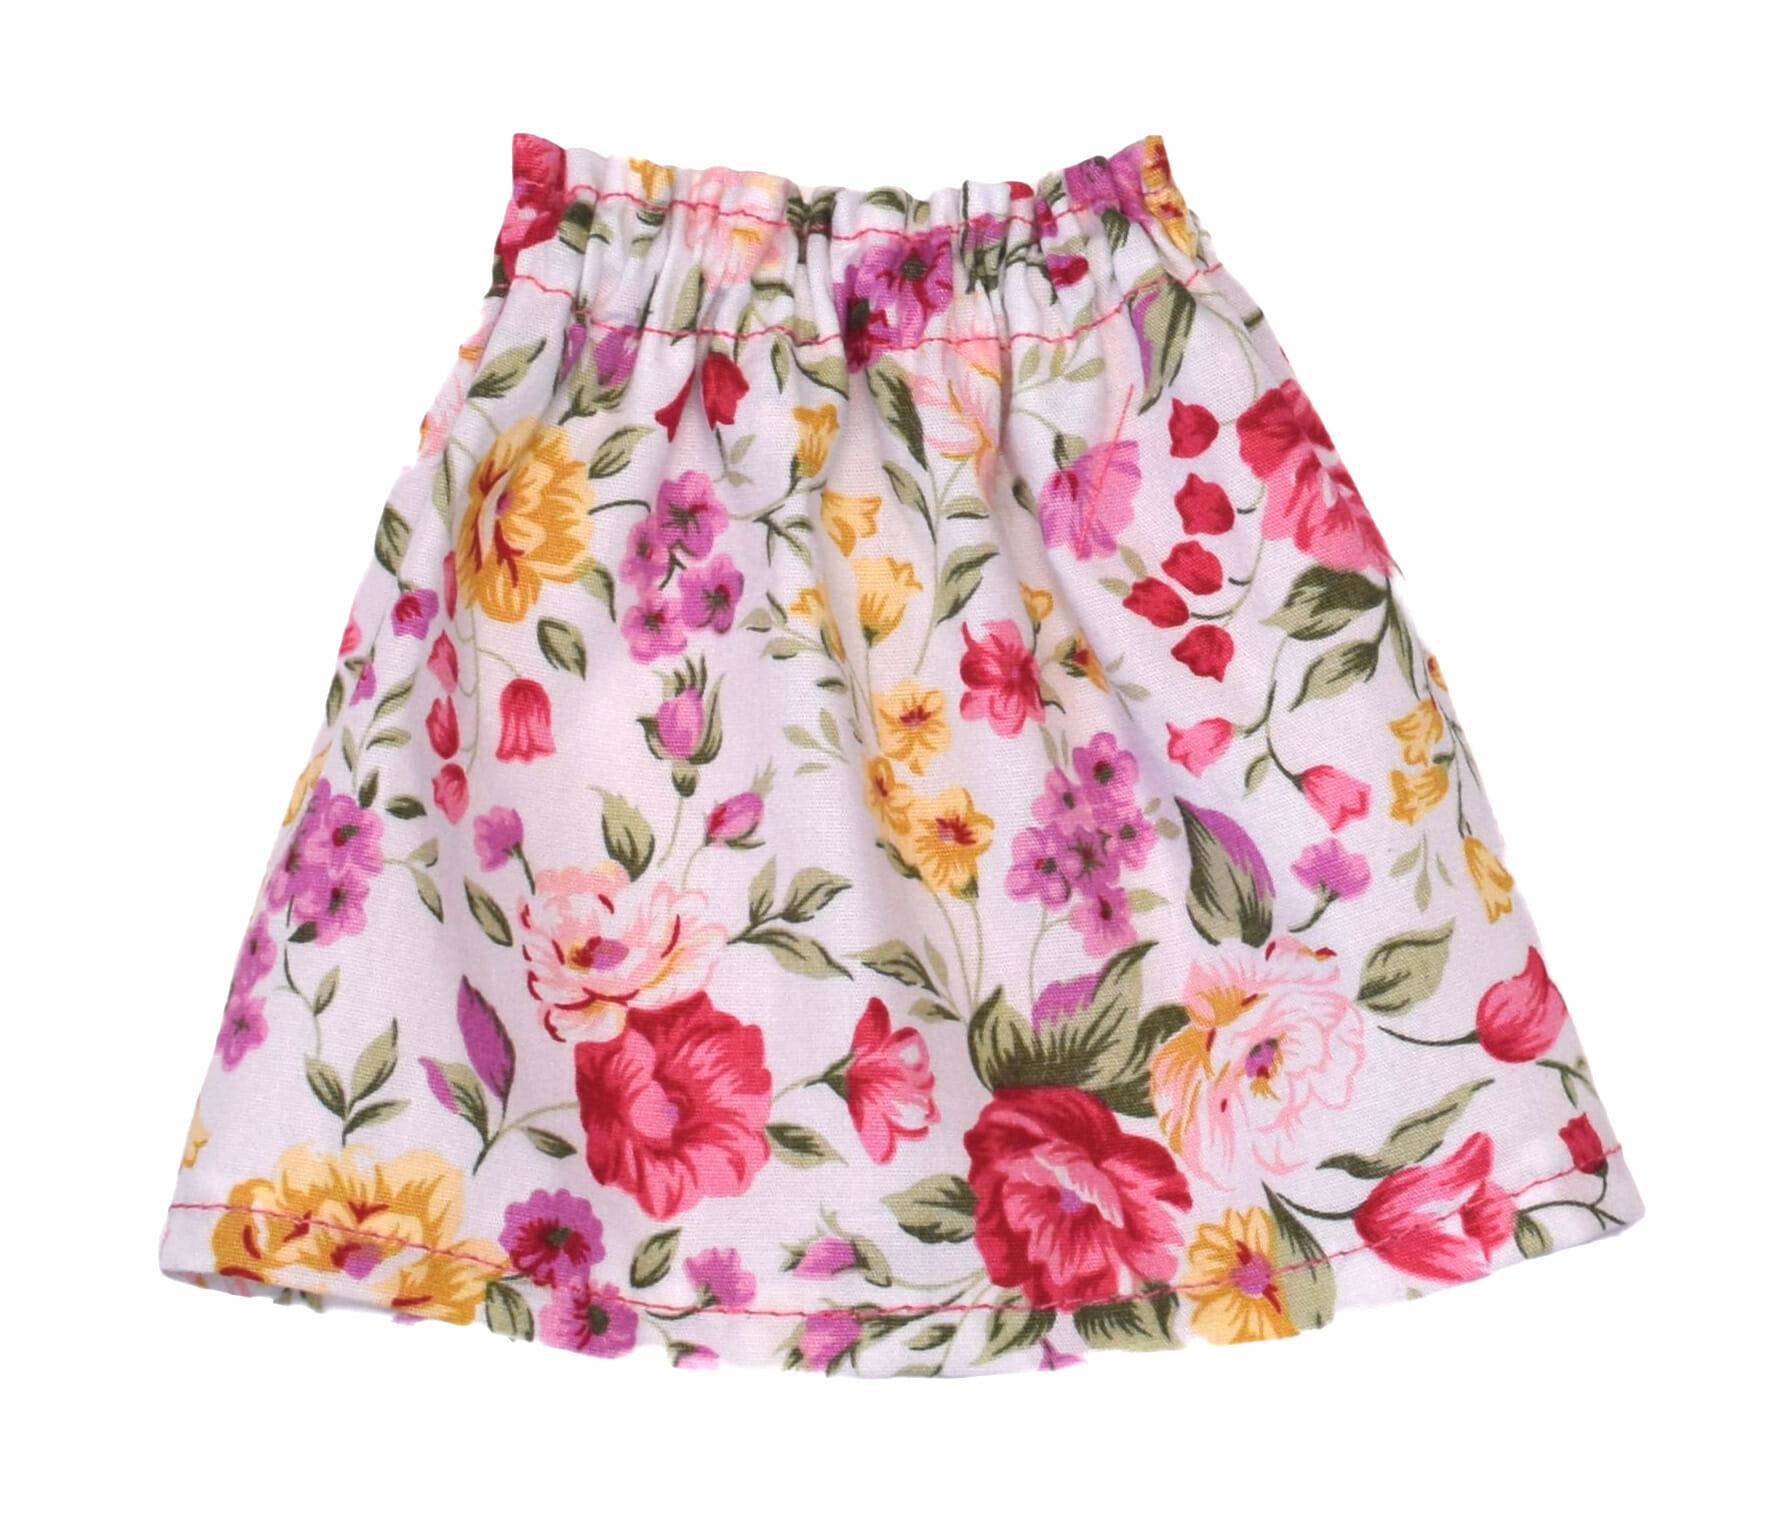
You can embellish this simple doll skirt by adding fancy stitches, ric-rac, ruffles, a small bow, or trimming with bias tape.
Let’s keep in touch! You can find me on Facebook, Instagram, and Pinterest.
Related posts