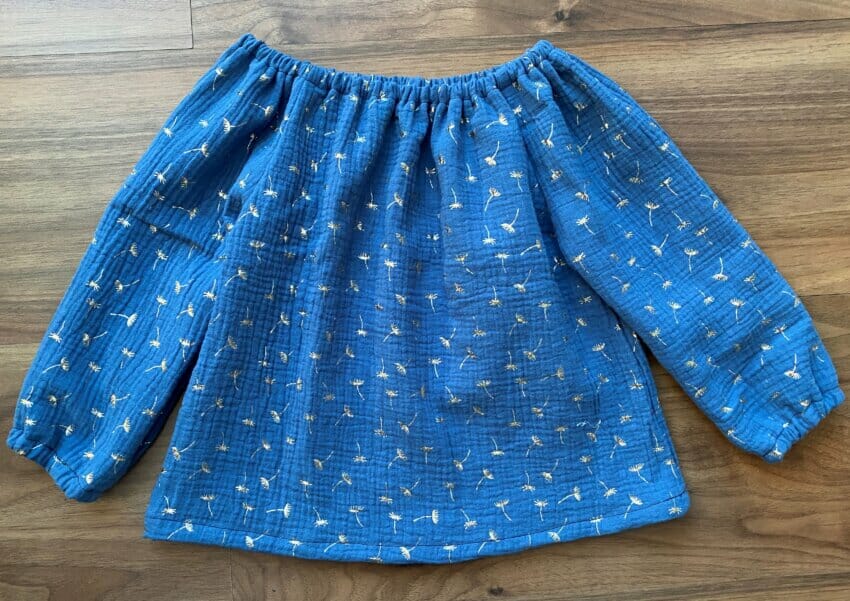
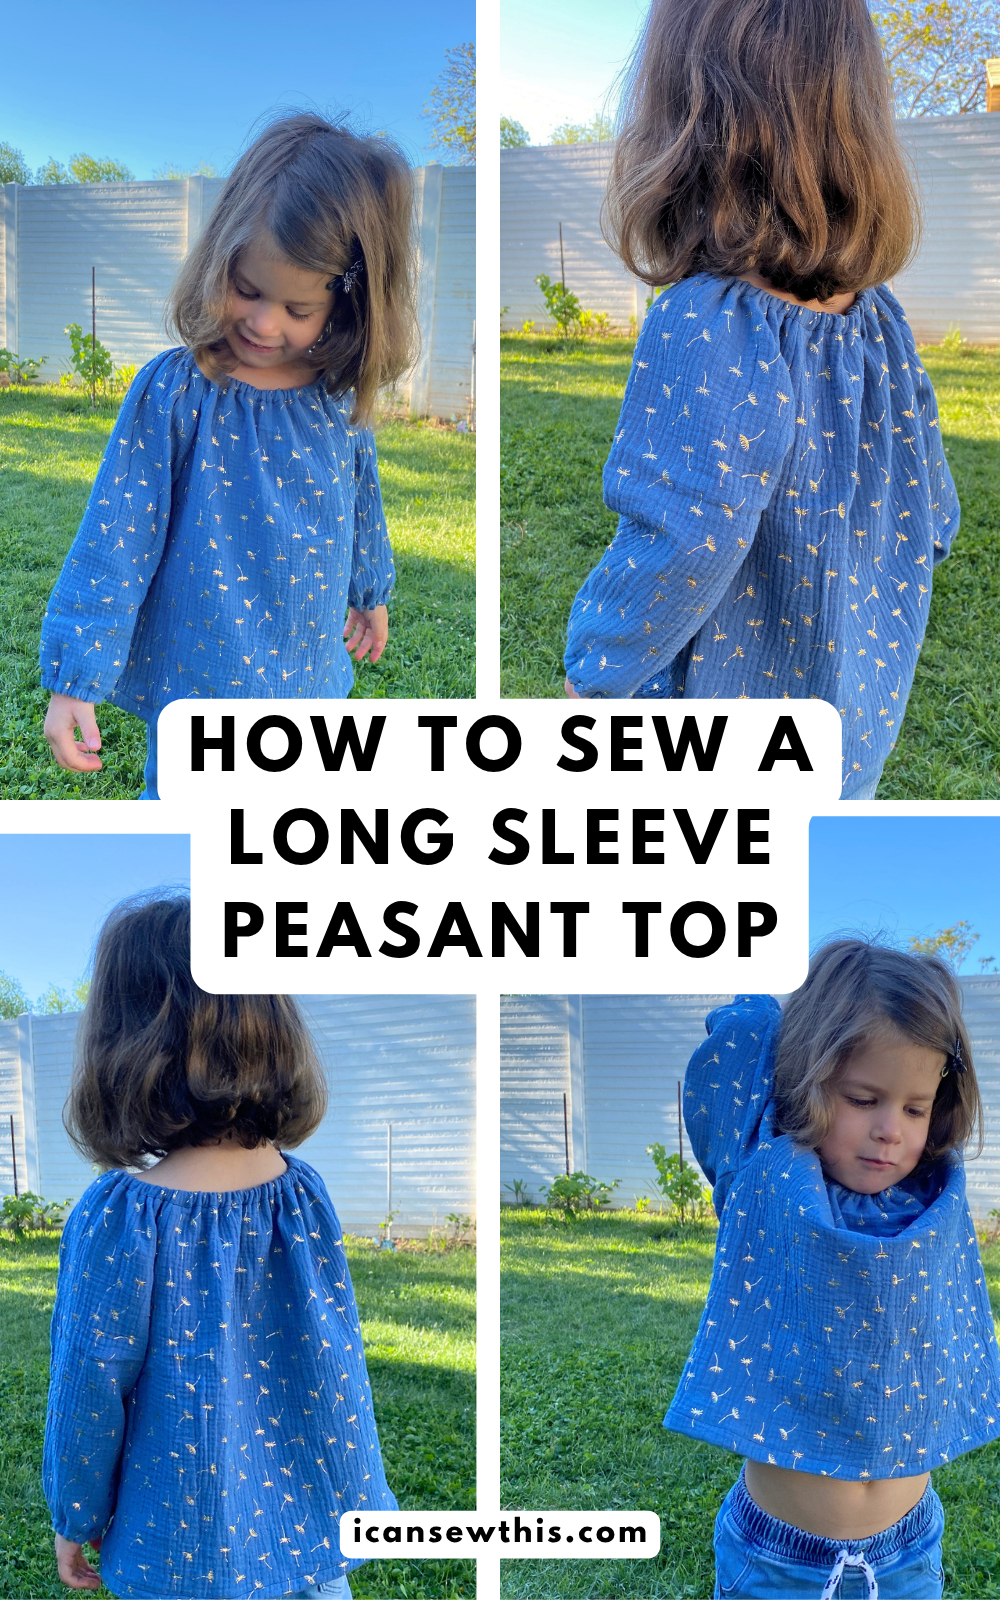
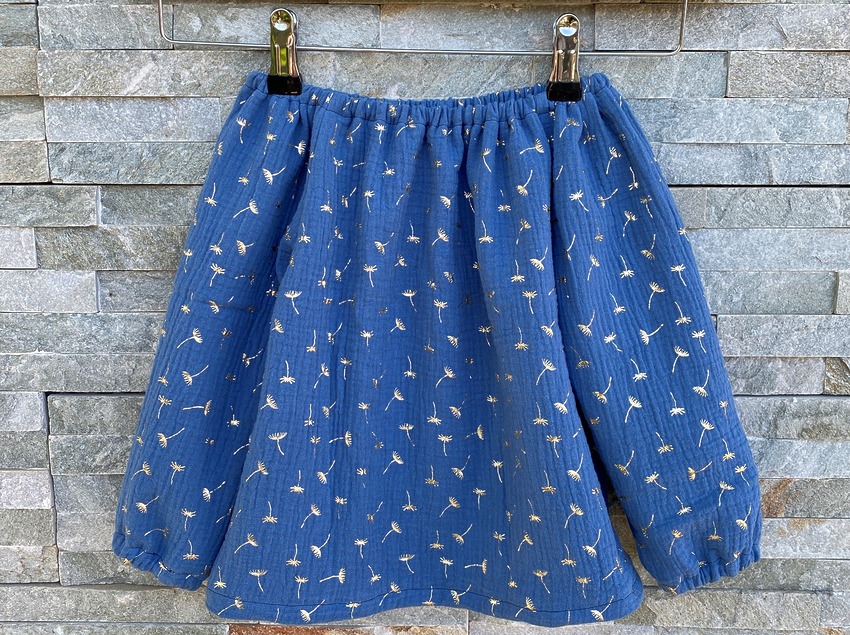
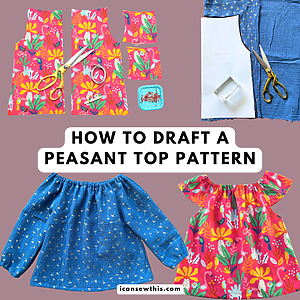
Learn to make a DIY long sleeve peasant top for your little girl with this free pattern and tutorial. This is a great beginner sewing project because there are no buttons, no zippers, and zero stress!
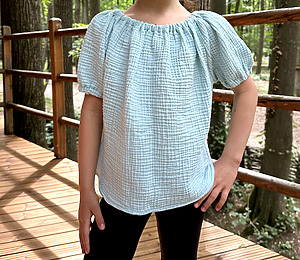
This cool and comfy blouse has a relaxed fit that allows for easy on-and-off, providing unlimited freedom of movement for active toddlers.
Why you’ll love this DIY peasant blouse
This cute double gauze top is perfect for fall and spring. It’s a versatile piece that pairs beautifully with your toddler’s favorite jeans or skirts. While this free pattern is for a simple long sleeve version, you can easily customize it with bows, pockets, lace, or a mini pom-pom hemline.
Pro tip: You can also lengthen this DIY pattern to create a cute peasant dress!
Important: Always prewash your fabric before sewing to avoid shrinkage, especially when using natural fibers like double gauze or linen.
How to lenghten the peasant top pattern to make a cute peasant dress – click here for instructions!
Sewing supplies
- Tools: Sewing machine, universal needle, matching thread, fabric scissors, and safety pins.
- Free PDF pattern: Size 3T-4T (fits approx. 38 inches tall) – see below
- Fabric: 1 yard (double gauze, cotton, linen, or viscose).
- Elastic: 33″ of 1/4” wide elastic.
Step-by-step instructions
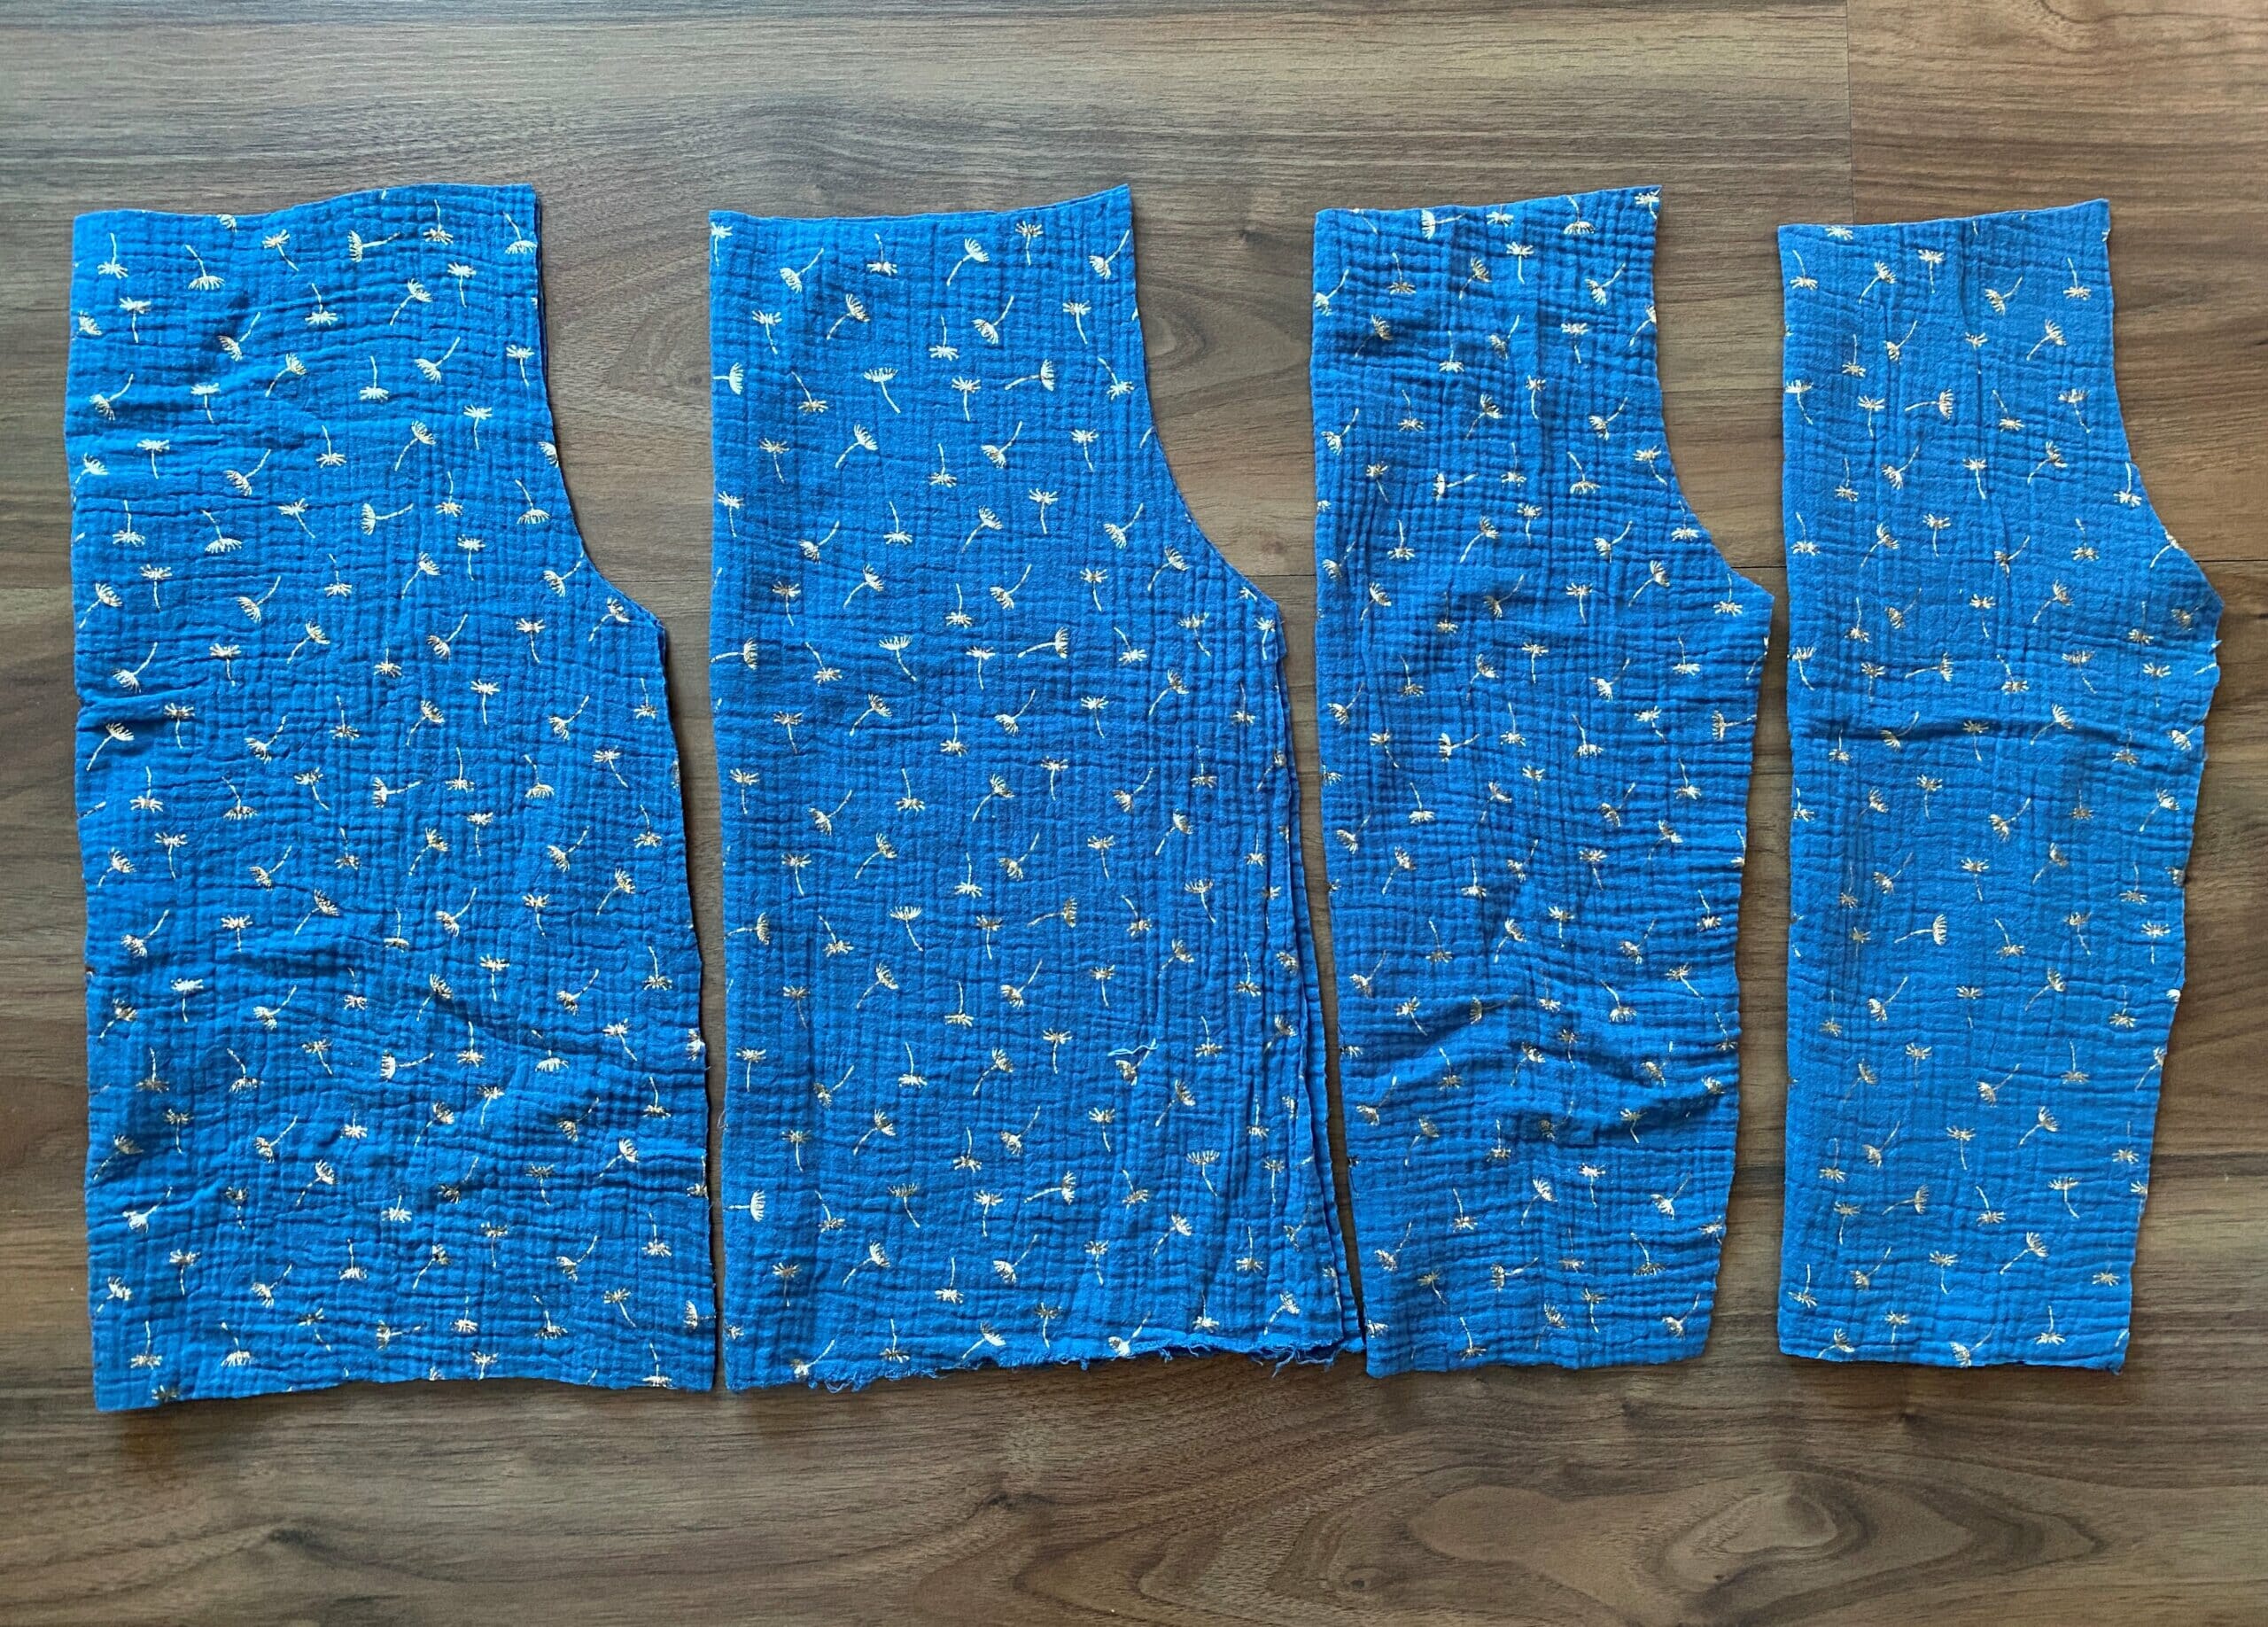
Step 1: Cut your fabric
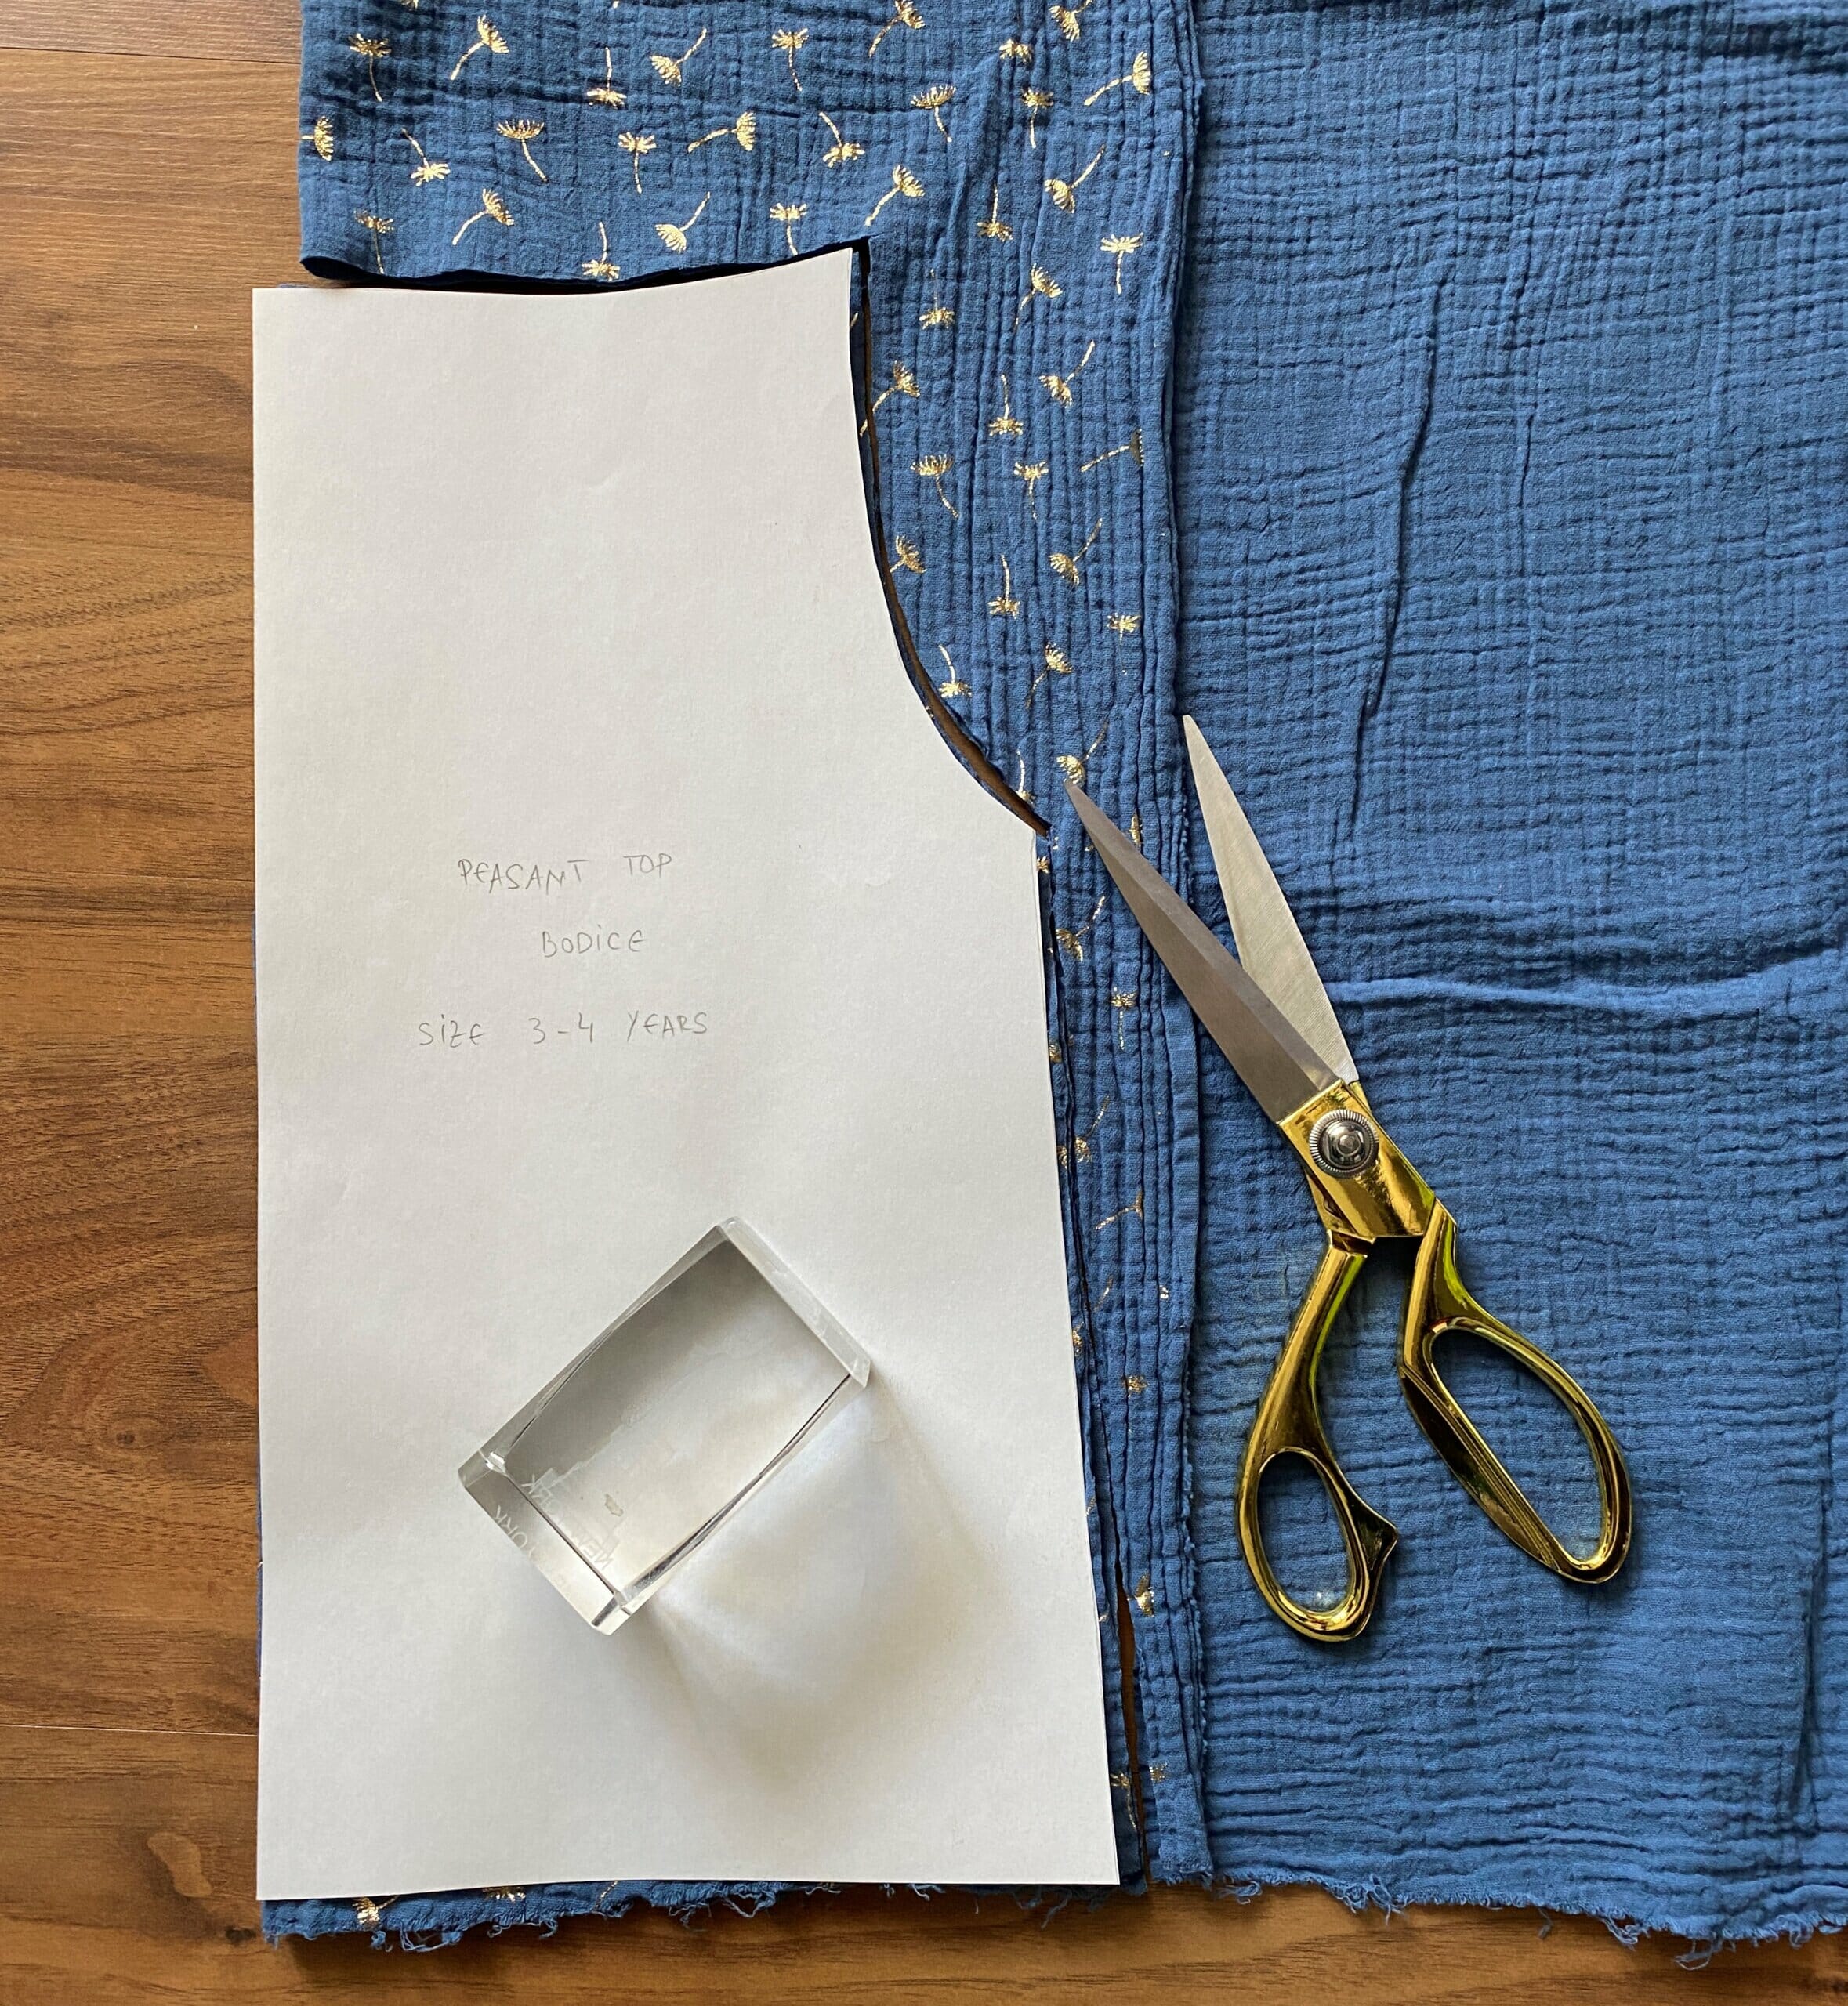
Cut your fabric pieces on the fold: 2 bodice pieces (front and back) and 2 sleeves.
Prepare your elastic:
- 2 x 7” pieces for the sleeves.
- 1 x 18-19” piece for the neckline.
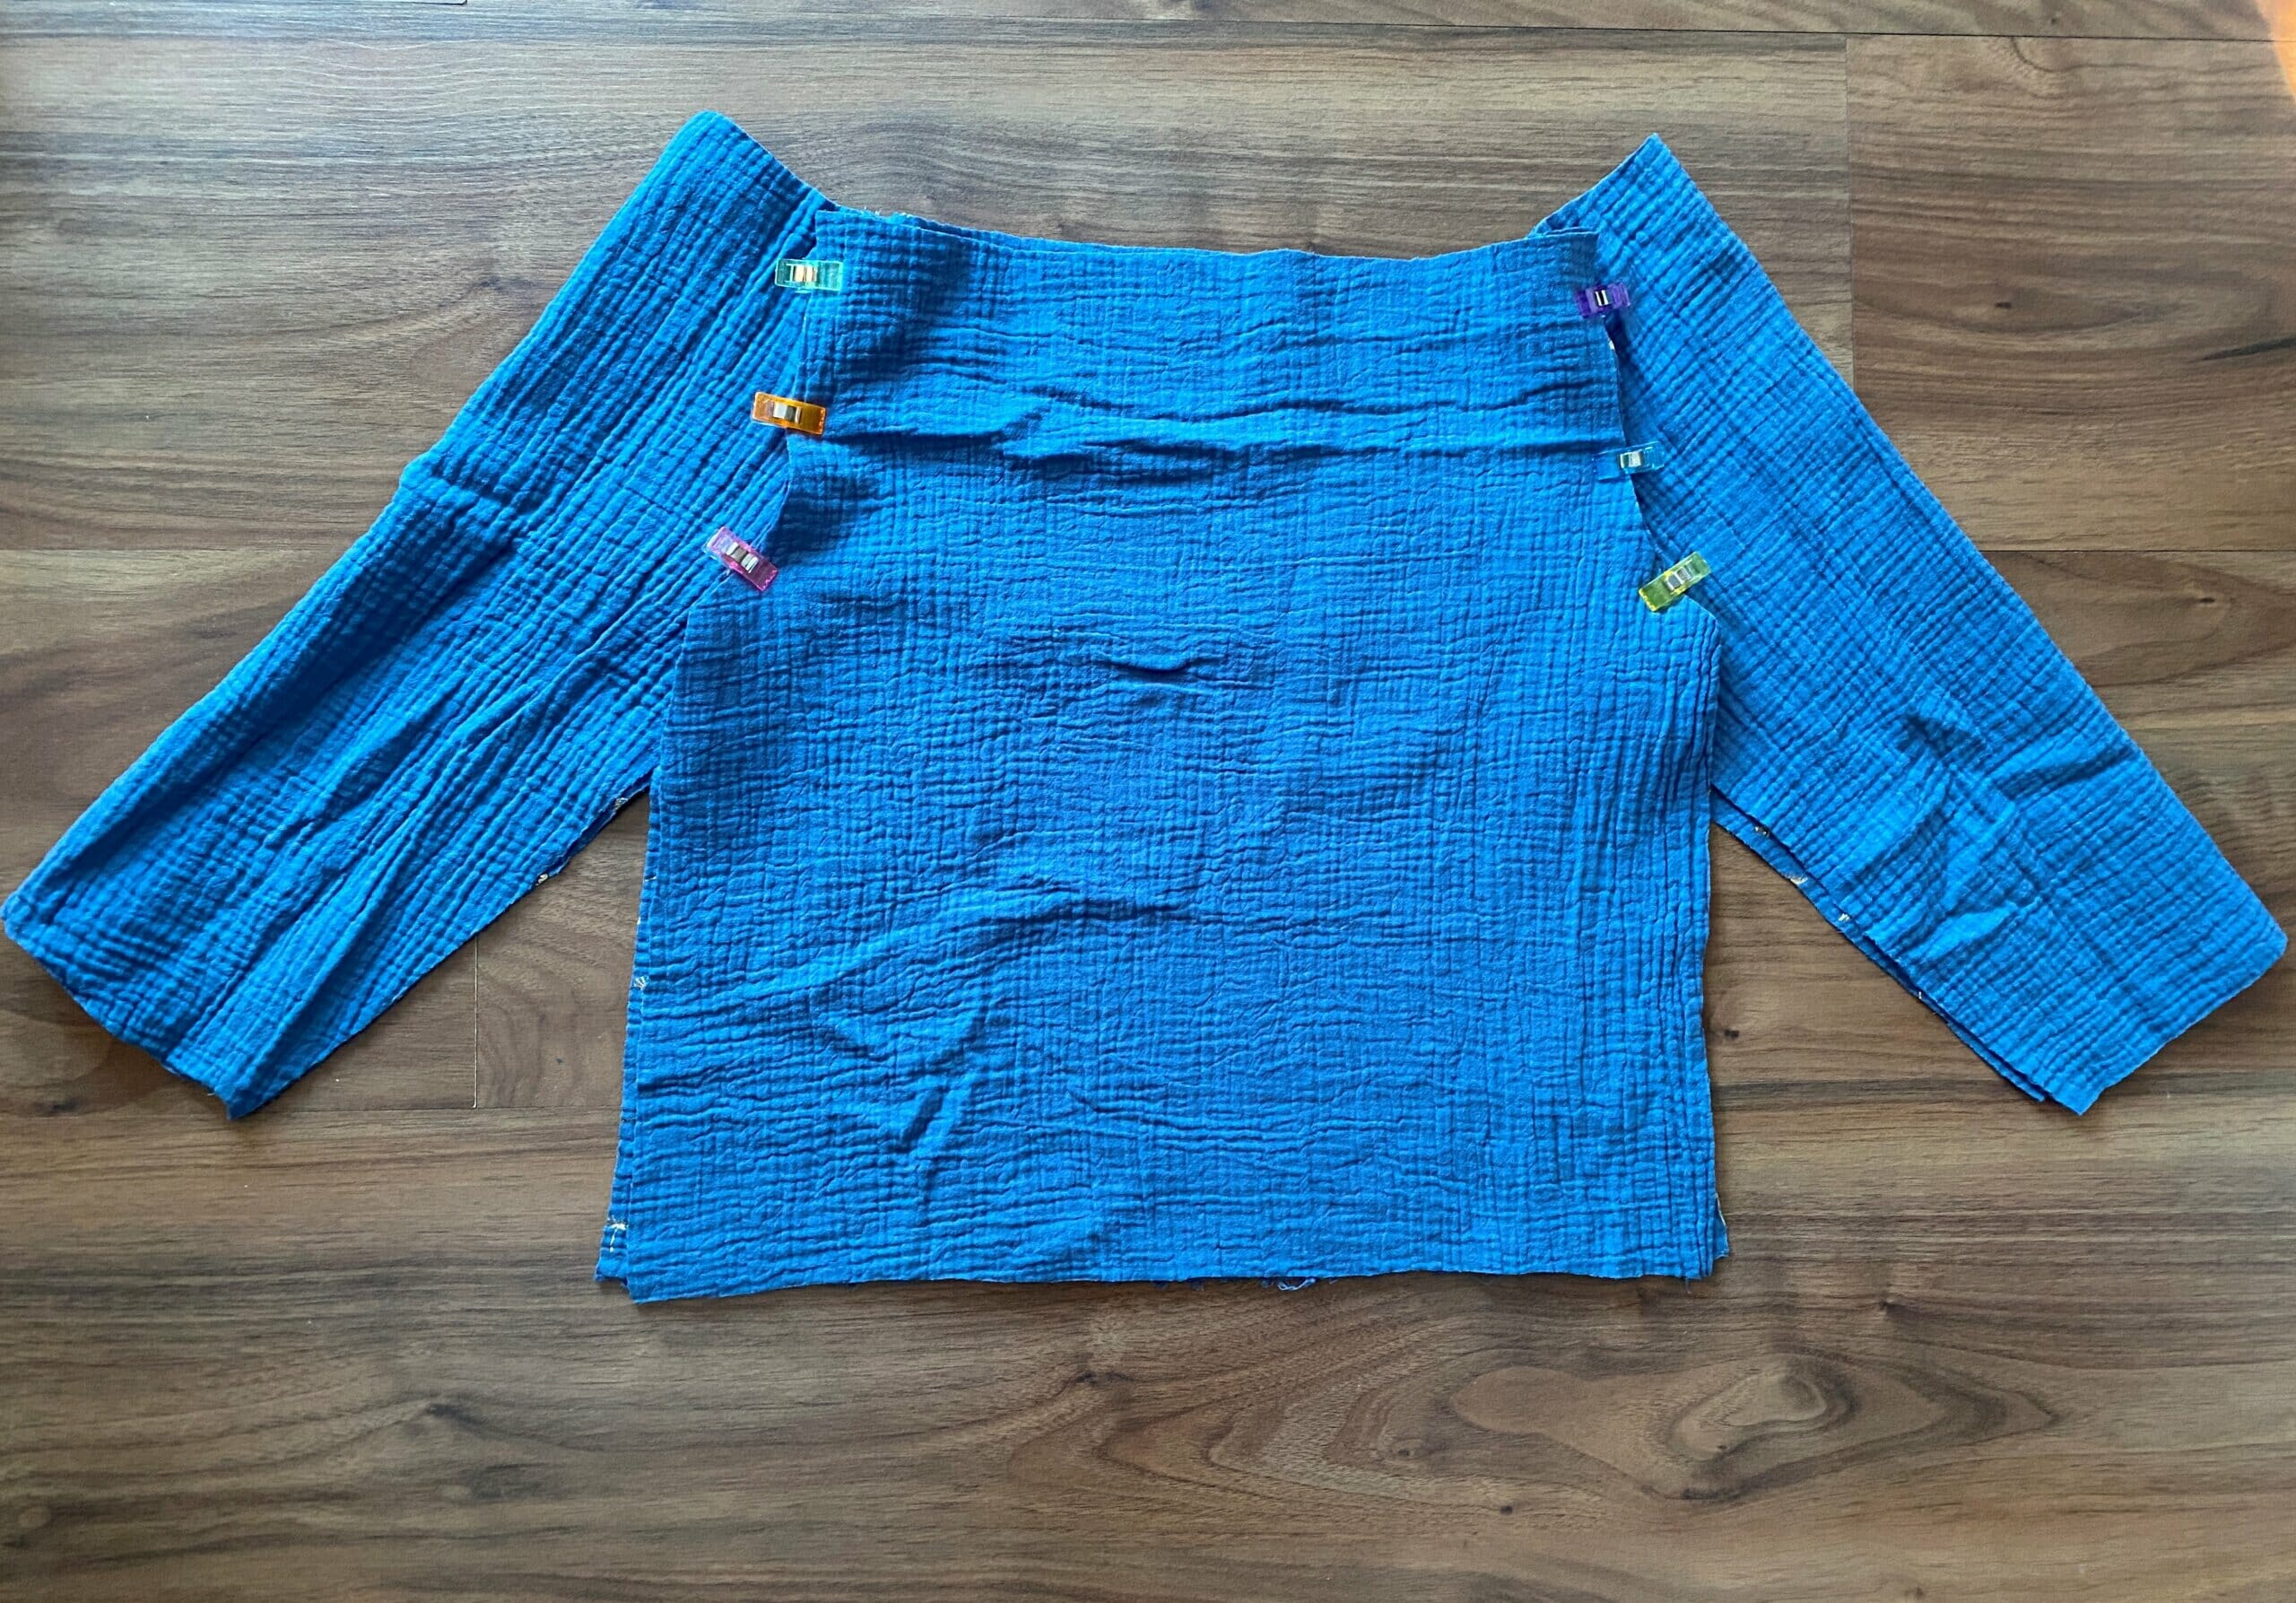
Step 2: Attach the sleeves
With right sides together, match one sleeve curve to the bodice back armhole. They should fit perfectly. Sew using a 3/8” seam allowance. Repeat for the second sleeve, then attach both to the bodice front.
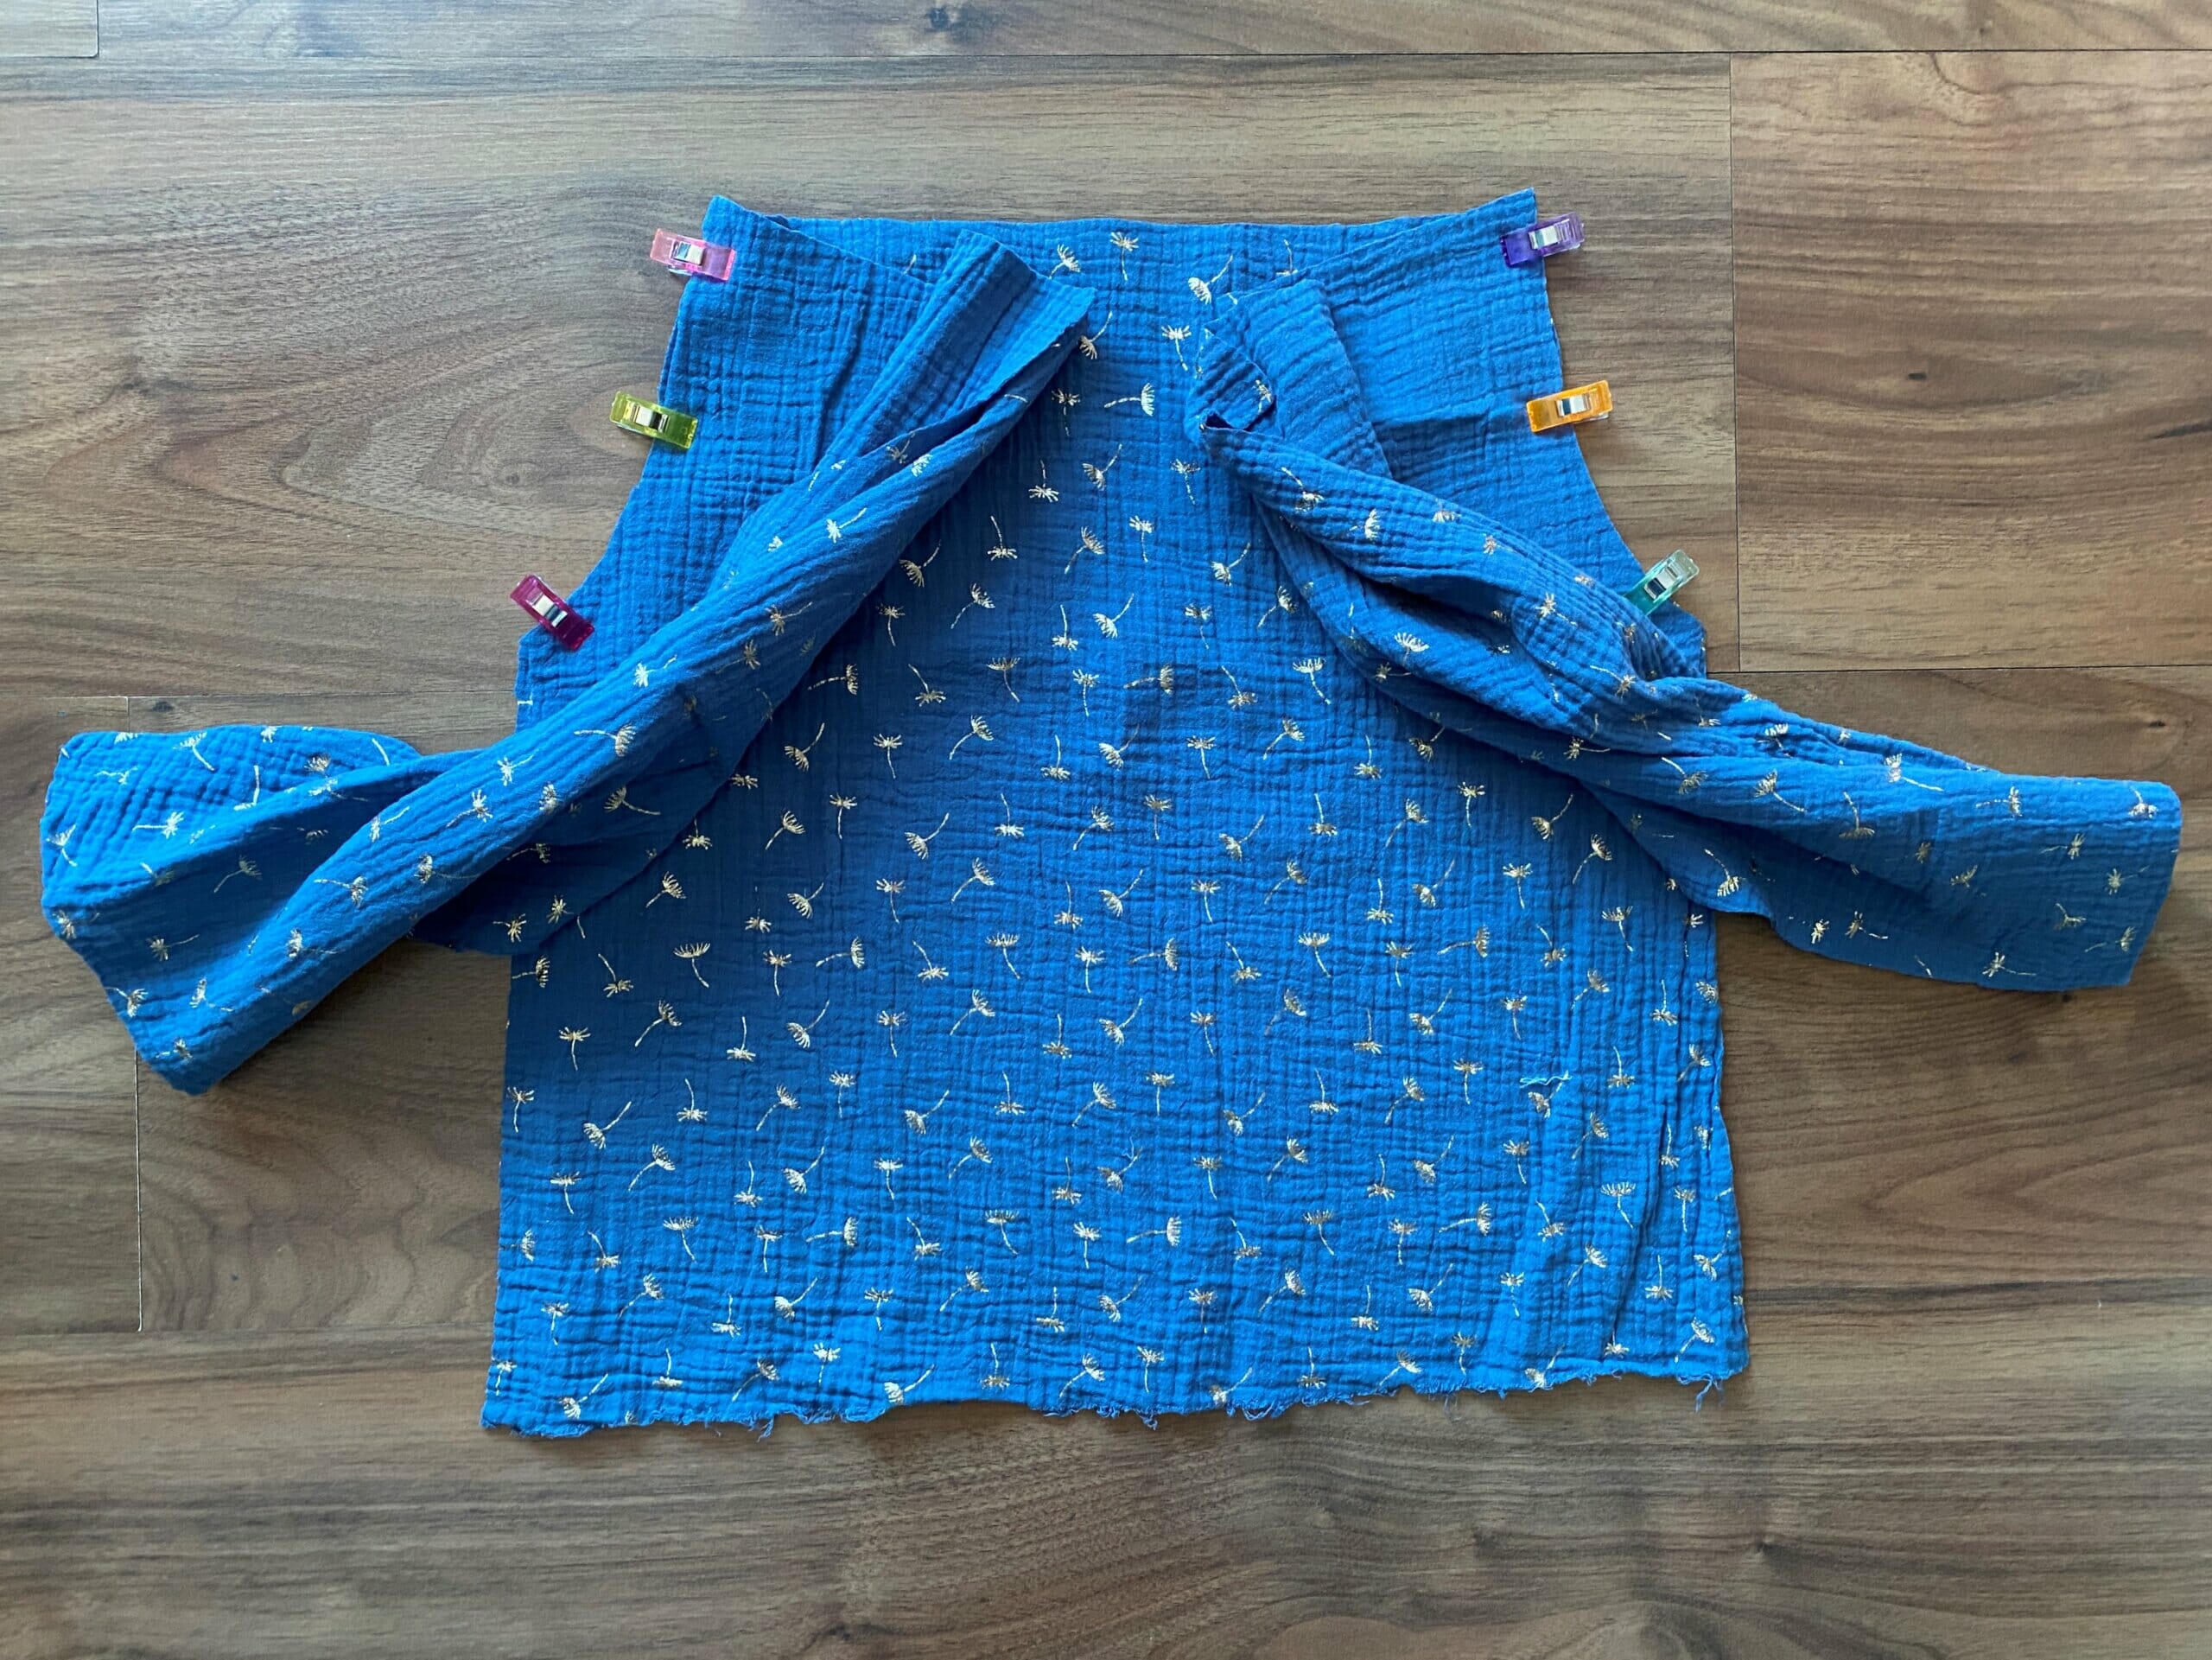
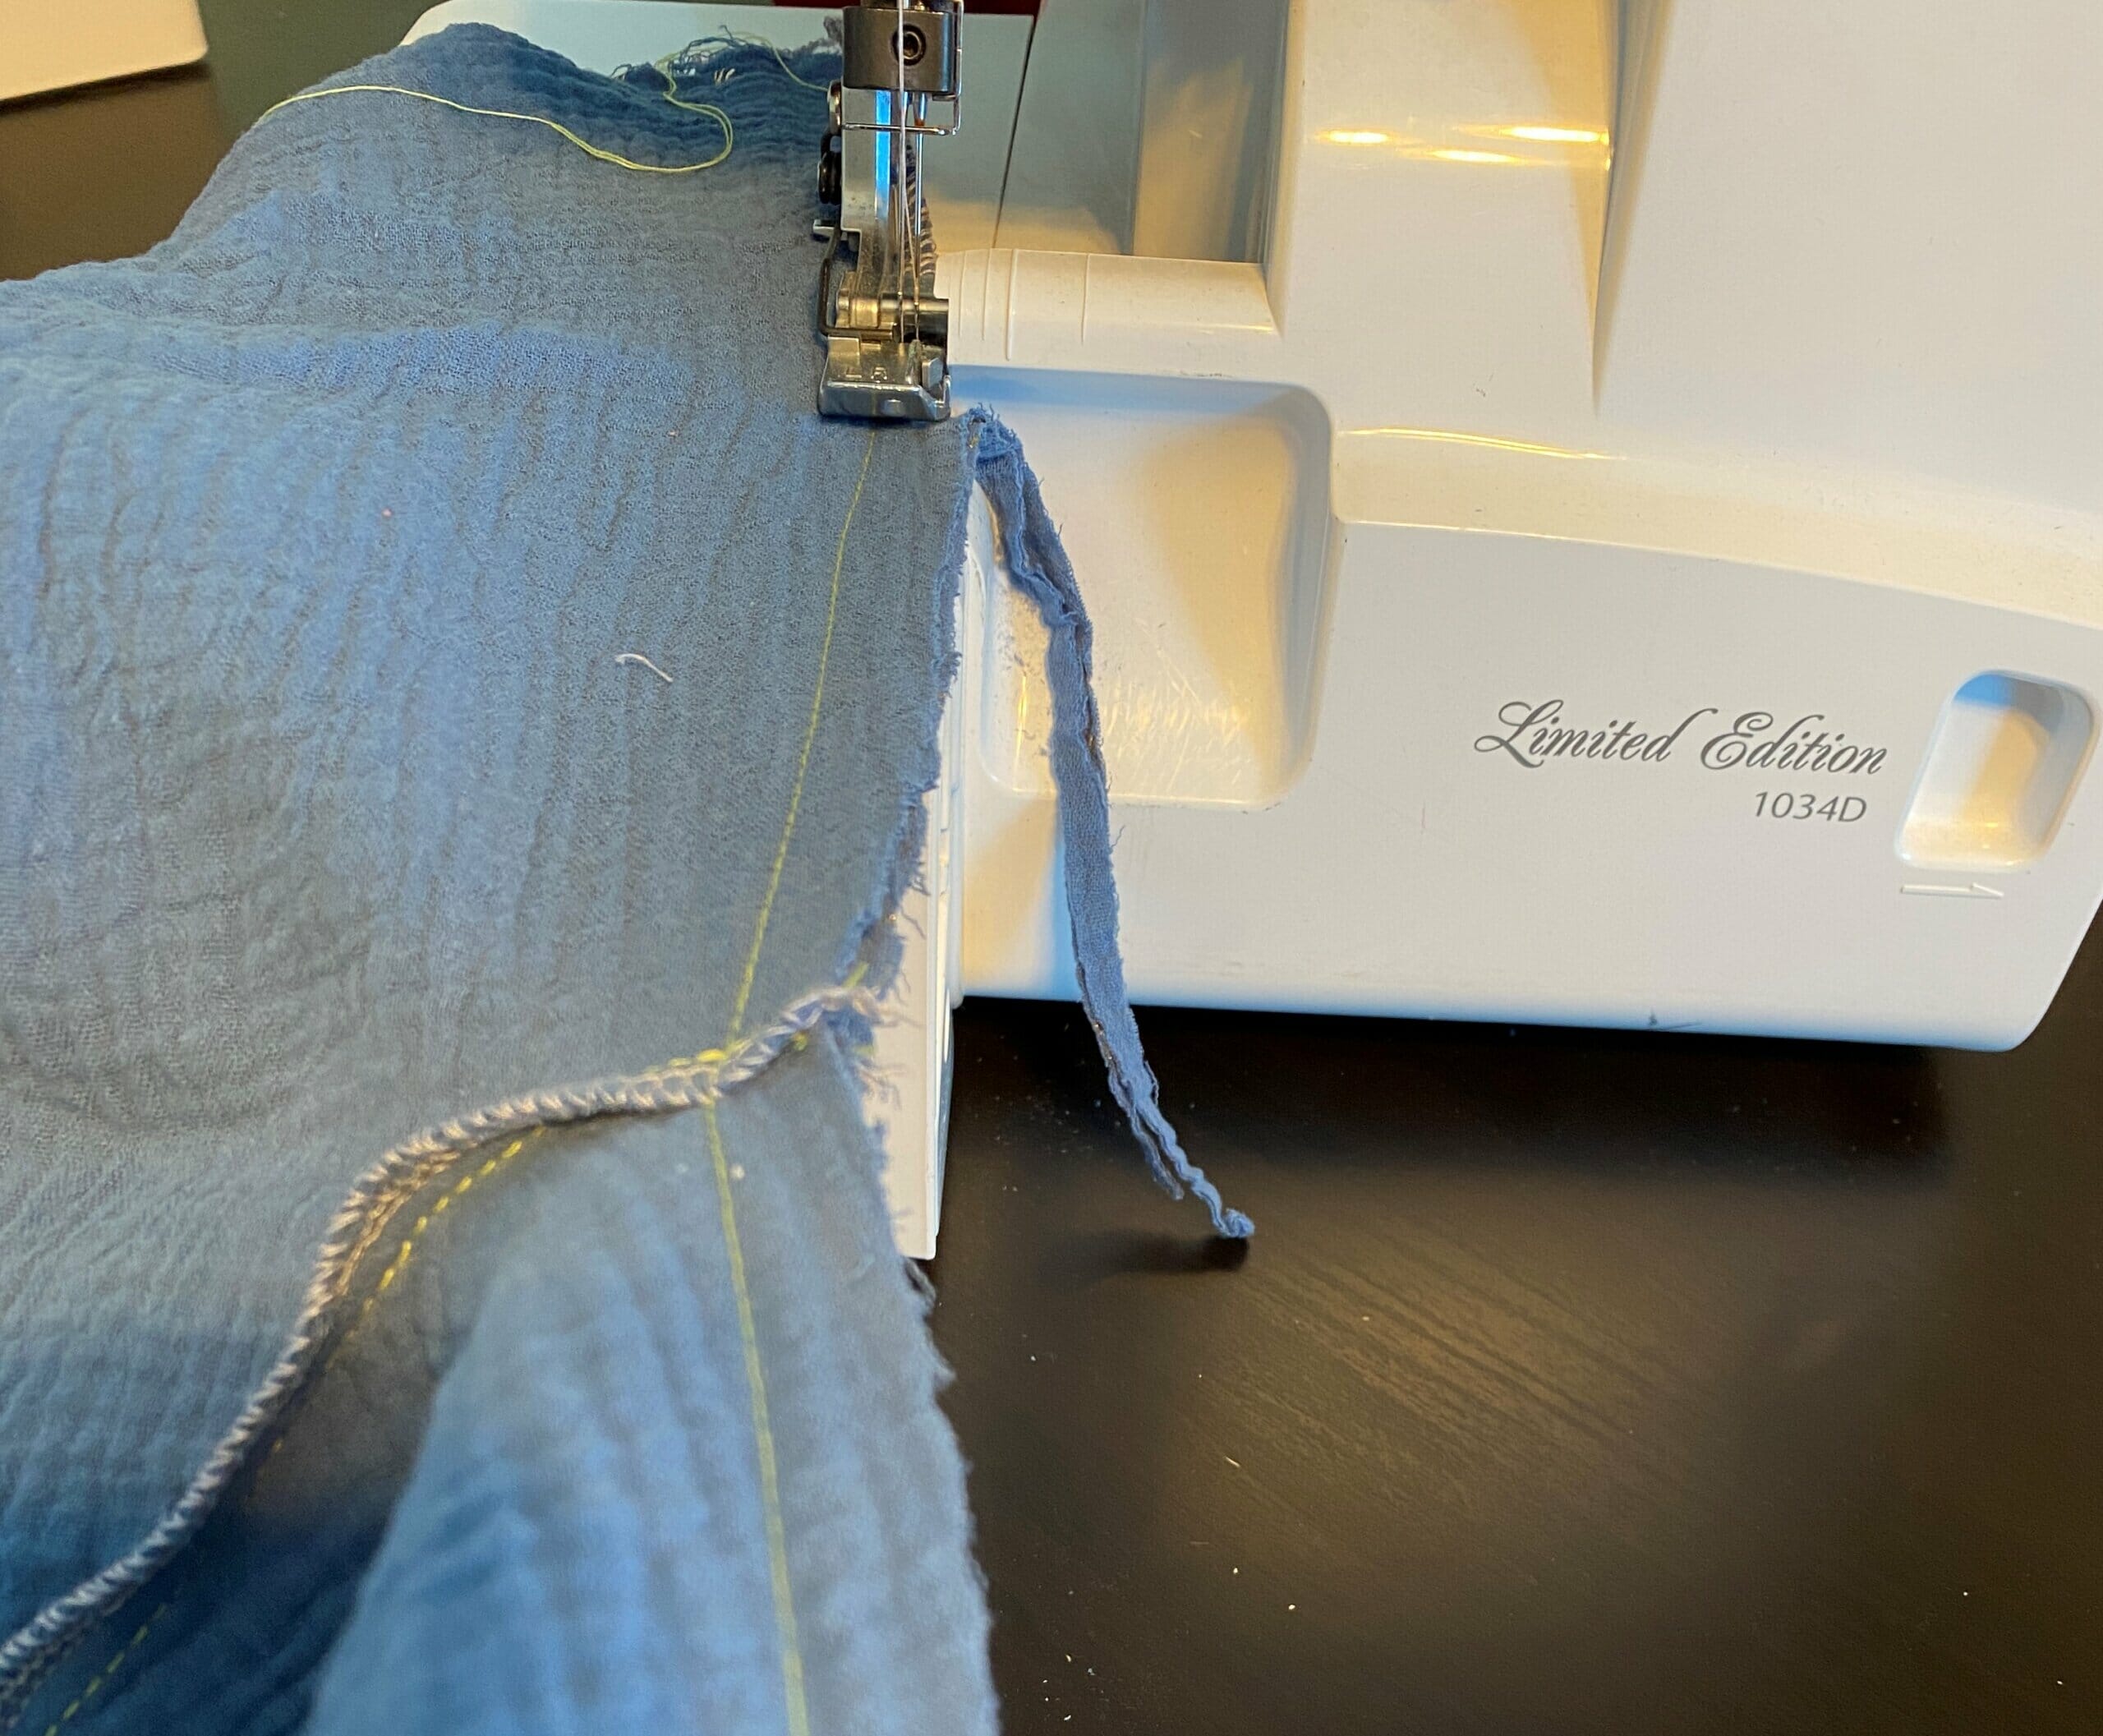
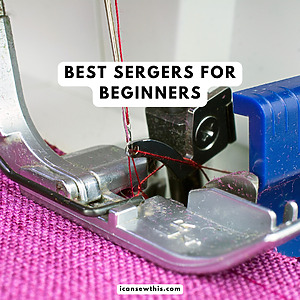
Finish the seams: Use a serger, zigzag stitch, or pinking shears on the raw edges to prevent fraying.
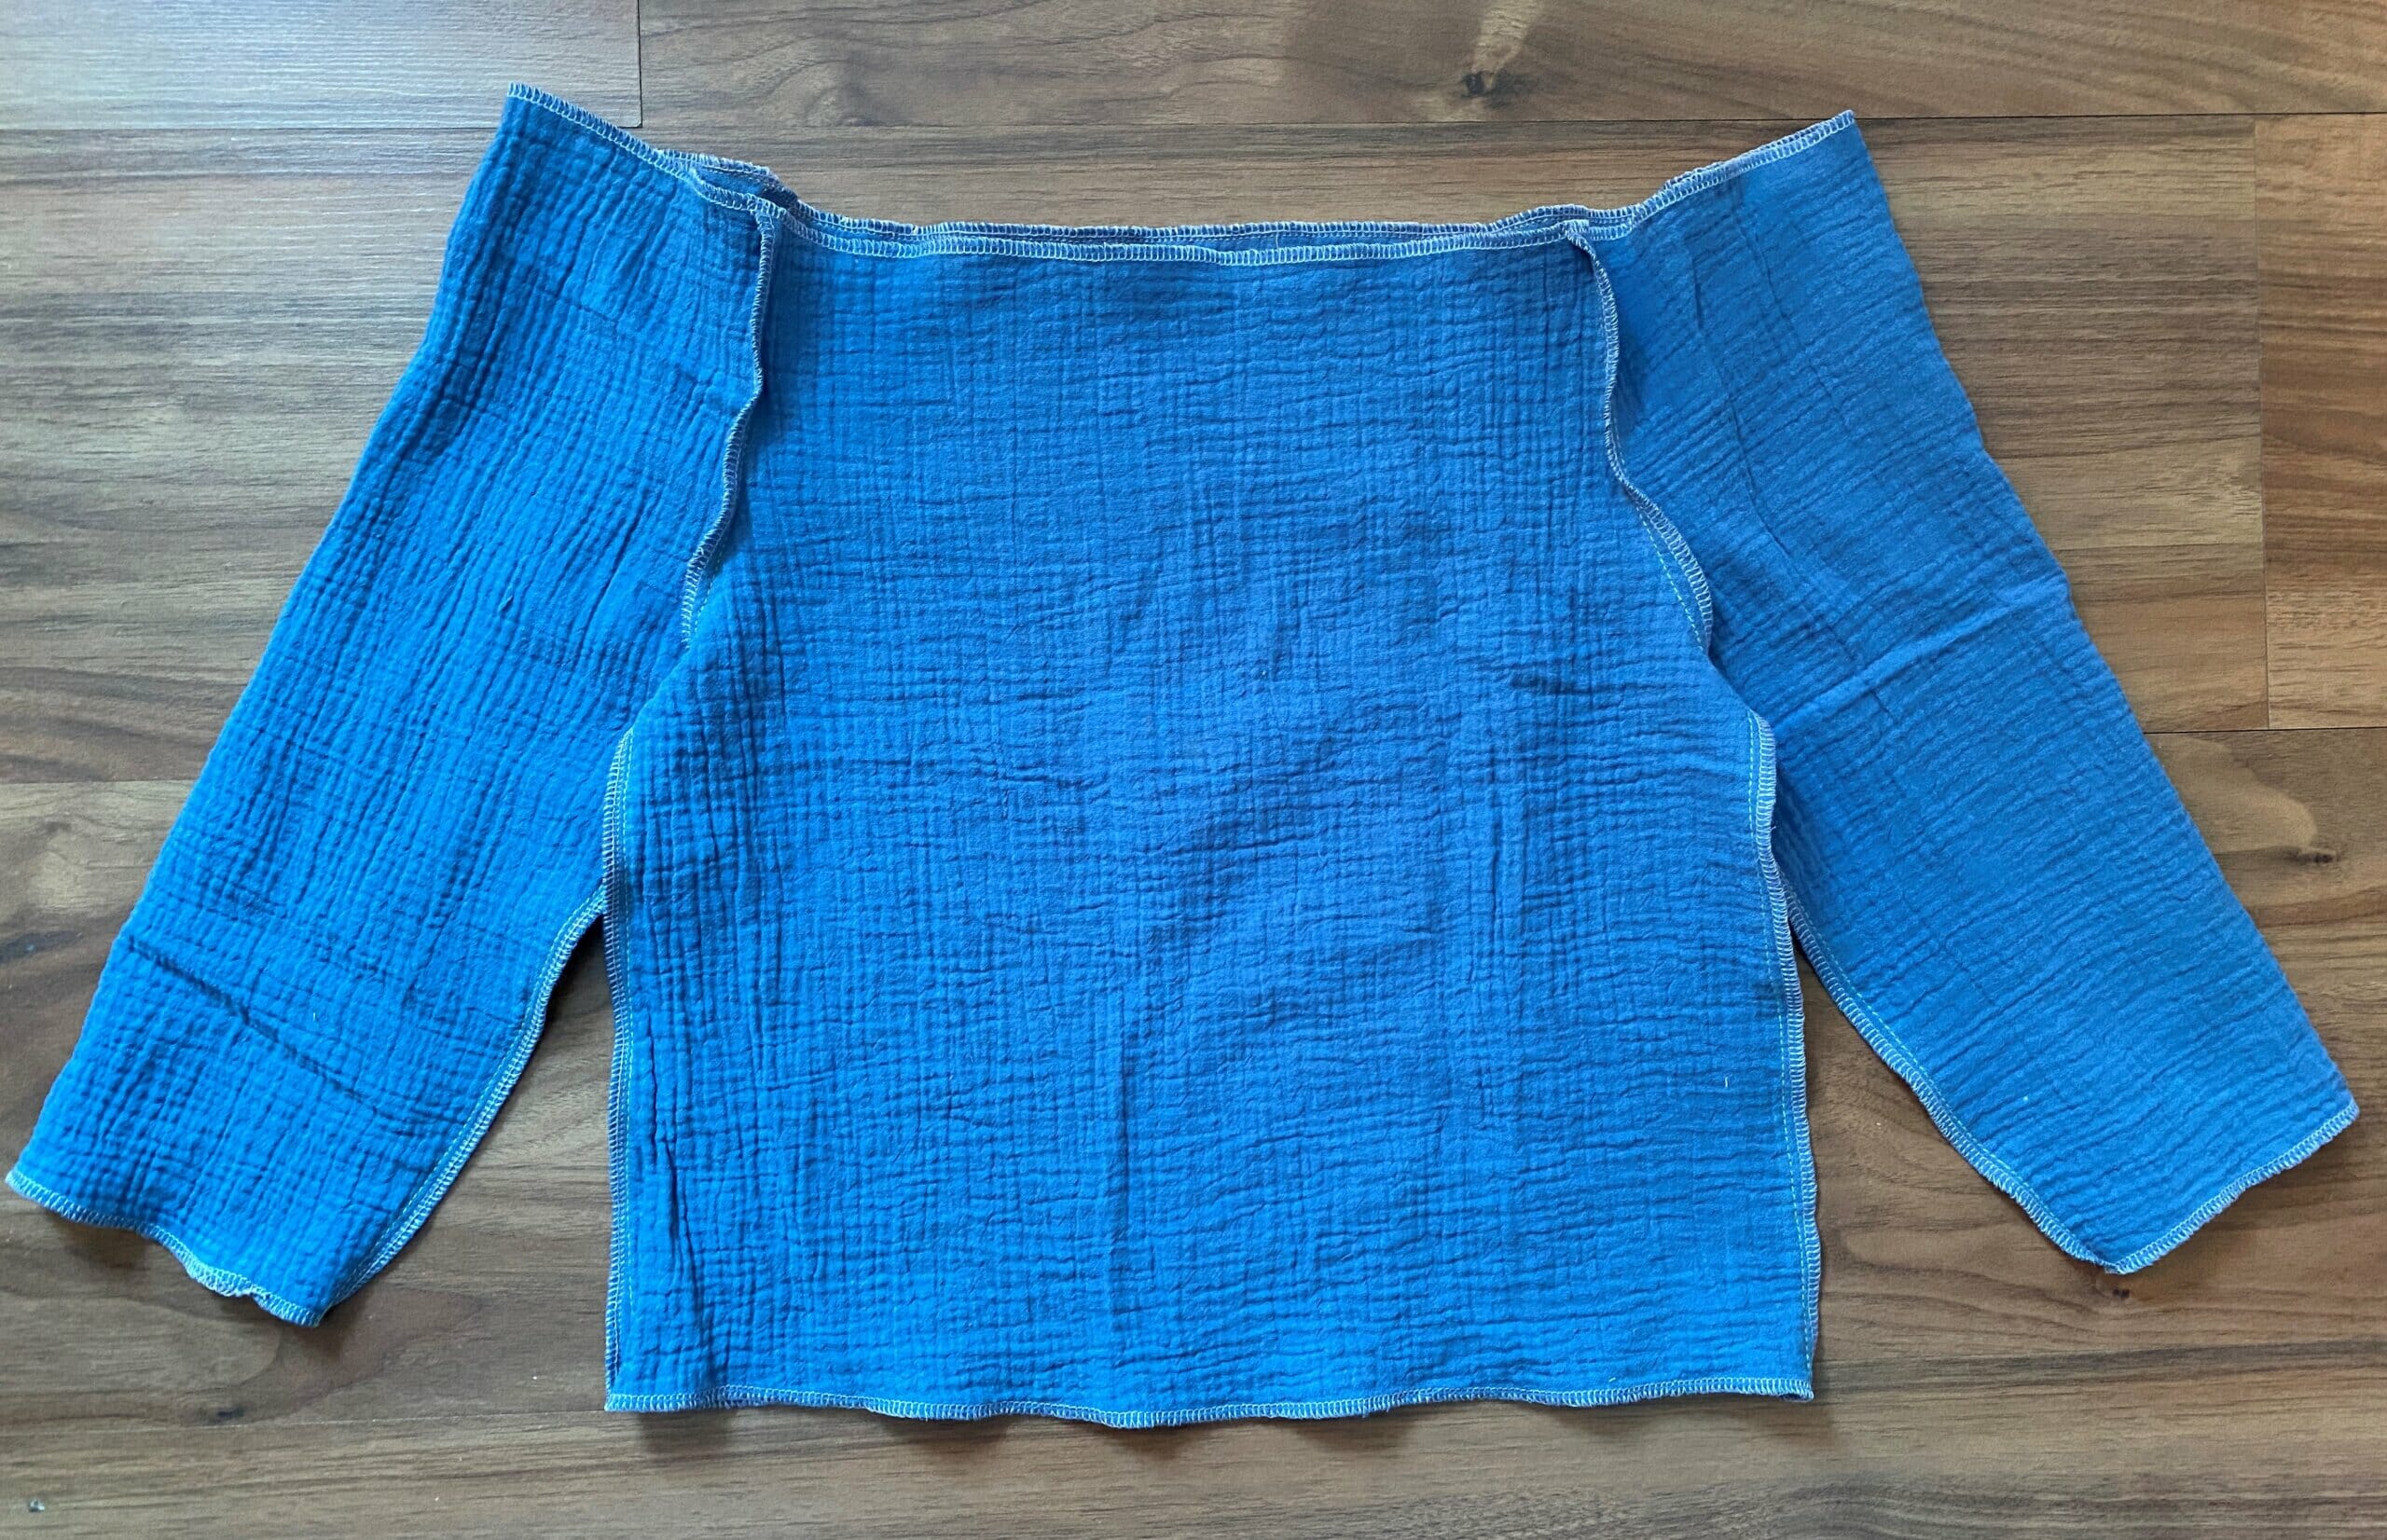
Step 3: Sew the side seams
Place the bodice pieces right sides together.
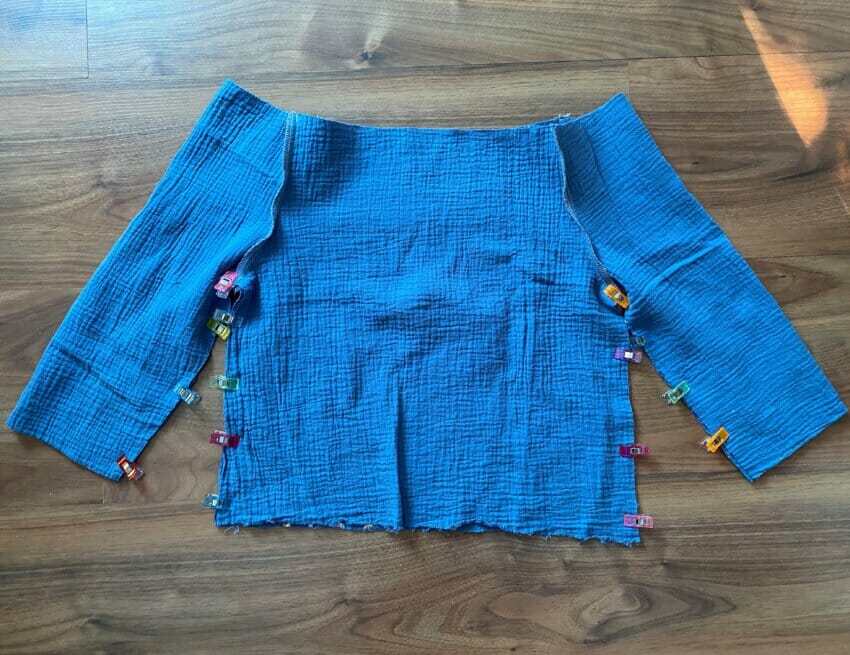
Sew from the sleeve hem all the way down to the bodice hem in one continuous motion.
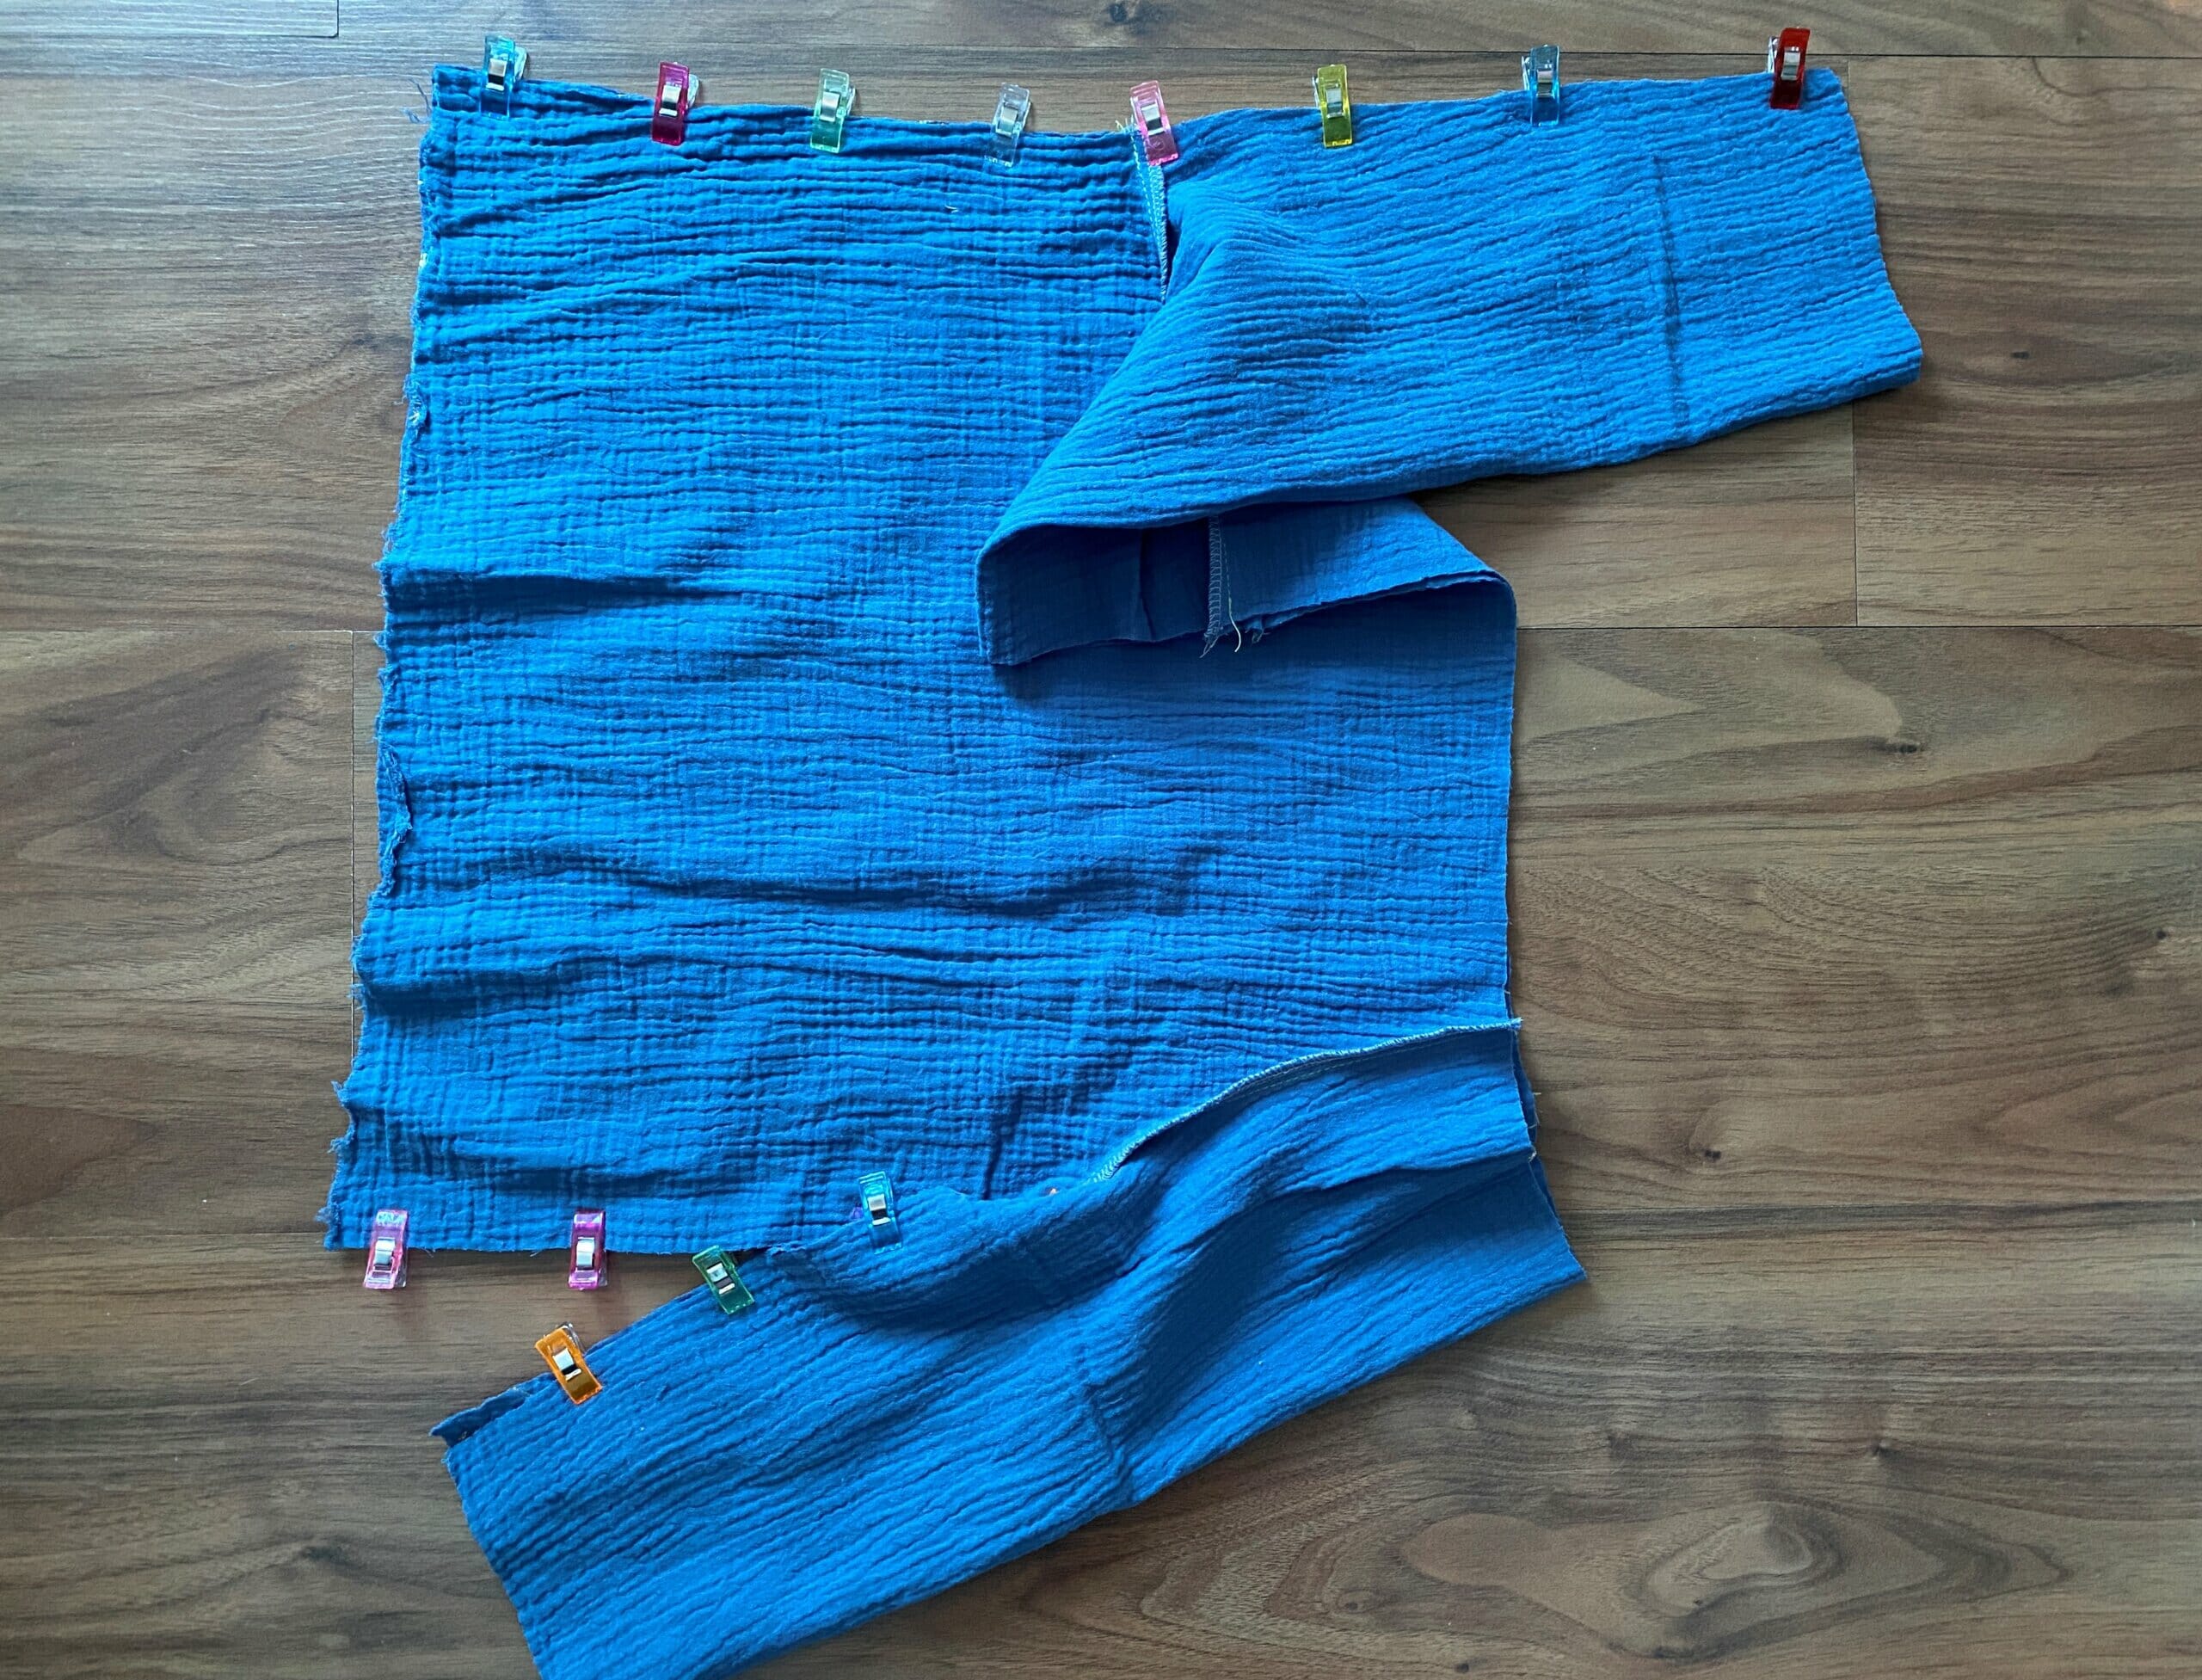
This creates a flat, even seam at the underarm.
Step 4: Prepare the edges
Serge or zigzag the raw edges of the sleeve hems, the top neckline, and the bottom hem of the blouse.
Step 5: Create the elastic casings
Fold the neckline edge over 1/2” toward the wrong side. Pin and sew 3/8” from the fold, leaving a 1-inch opening to thread the elastic.
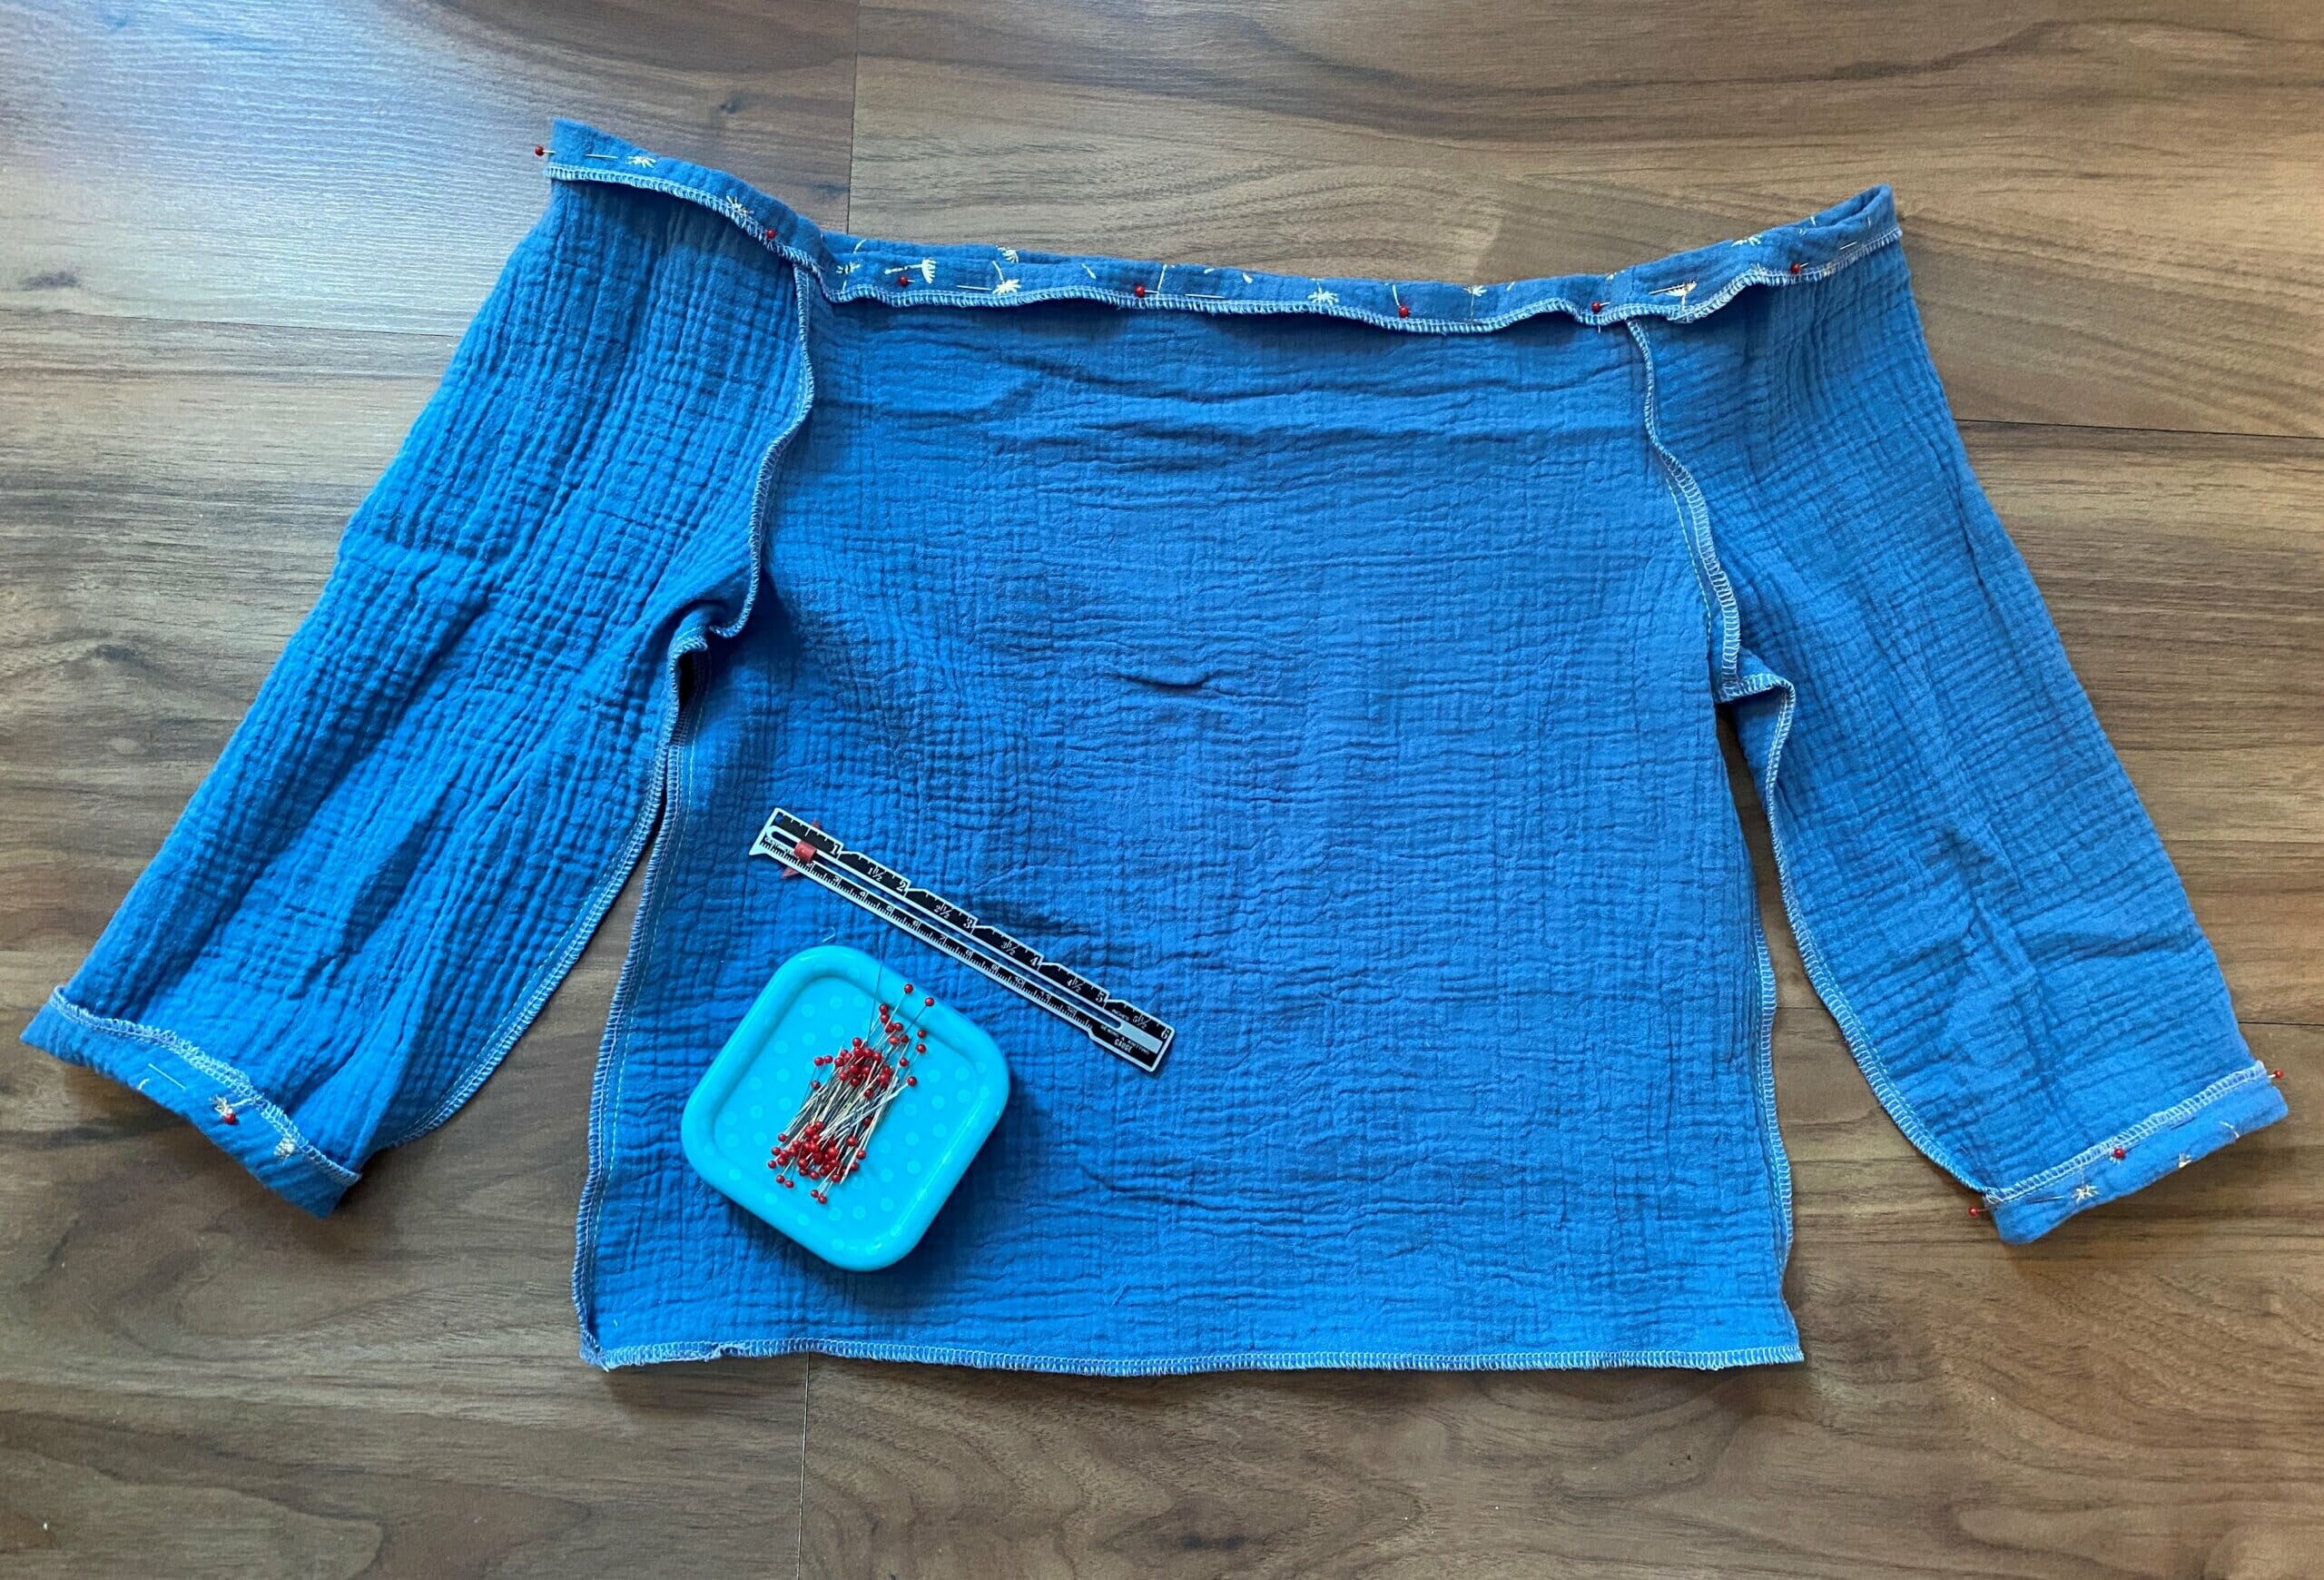
Repeat this process for both sleeve hems.
Step 6: Thread the elastic and hem
Use a safety pin to thread the elastic through the neckline and sleeves. Overlap the elastic ends by 1/2″ and zigzag stitch them together. Sew the casing openings closed. Finally, fold the bottom hem up 1/2″ and stitch in place.
Tips for sewing with double gauze
- Don’t pull: Double gauze is stretchy. Let the feed dogs move the fabric naturally to avoid wavy seams.
- Use a sharp needle: A fresh 70/10 or 80/12 universal needle works best.
- Low heat: Use a cool or medium iron setting so you don’t flatten the beautiful crinkle texture of the fabric.
How to calculate your elastic (The “Minus 2” Rule)
If you are grading this pattern up or down, a good rule of thumb for the neckline is to measure the wearer’s shoulder circumference and subtract 2 inches. For the wrists, measure the wrist and subtract 1 inch for a comfortable but secure fit.

Frequently asked questions (FAQ)
What is the best fabric for a DIY long sleeve peasant top? Lightweight, breathable fabrics with a nice drape work best. Double gauze, cotton lawn, linen, and rayon challis are all excellent choices for a comfortable fit.
Can I make this DIY peasant top in a larger size? Yes! While this free pattern is size 3T-4T, you can “grade” it up by adding width to the center fold of the bodice and sleeve pieces, and increasing the length as needed.
Is this DIY project suitable for absolute beginners? Absolutely. Because there are no zippers, buttons, or complex tailoring, this is often the first garment many people learn to sew.
How do I prevent the neckline from being too tight? Always test the elastic around the wearer’s shoulders before sewing the casing shut. The “minus 2 inch” rule is a great starting point, but personal comfort is key!
There is nothing quite like the satisfaction of seeing your little girl run and play in something you made with your own two hands. This DIY long sleeve peasant top is more than just a sewing project – it’s a versatile staple that can transition from a breezy spring blouse to a cozy fall layer.
Whether you kept it simple with double gauze or added your own creative embellishments, I hope you enjoyed the process. Don’t forget to share your creations in the comments below. I’d love to see the beautiful tops you’ve made!
You might also like:
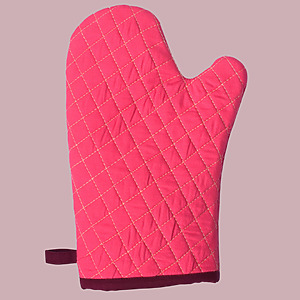
- Easy DIY oven mitt tutorial with free pattern
- How to sew a tutu skirt: easy step-by-step tutorial
- 22 cool sewing tools and gadgets you need to try
- 20 best free bunny sewing patterns
Let’s keep in touch! You can find me on Facebook, Instagram, and Pinterest.
Hi Violet. I can’t figure out how to access the free patterns, specifically the k7ds t-shirt pattern. Can you provide me some guidance?
Thank you!
Cyndi
How can I alter your pattern to make it for our 6 month old granddaughter?
Hi, Is this free pattern still active? I’m not receiving any emails once i register…Would like to make it for my little girls 🙂 Thanks!
Hi Jennifer,
Yes, of course! To subscribe, start by entering your email address in the pink box. Next, check your email to confirm your subscription (it’s a double opt-in). Don’t forget to also check your spam folder, just in case. Once you’ve confirmed your subscription, the pattern will be sent to your inbox right away. Thank you!
I have tried over and over to download this pattern. I clicked and clicked, no pattern.
Give up.
Hi SusanAnn,
I’m sorry it was such a frustrating experience for you! To subscribe, start by entering your email address in the pink box. Next, check your email to confirm your subscription (it’s a double opt-in). Don’t forget to also check your spam folder, just in case. Once you’ve confirmed your subscription, the pattern will be sent to your inbox right away. Thank you!
I made this shirt this morning. It was so simple with your easy-to-follow instructions. Thank you!
Thank you so much for this qucik and easy pattern. Looks so cute on my daughter. Made it a little bit smaller because she’s only 1 year old, but it worked great. Now I will sew one for my 4 year old as well. So pretty and so comfy!
Greets from Germany,
Sabrina
Hi Sabrina,
That’s great, I’m so glad you made this pattern and liked it! It’s still one of my daughter’s favorite tops, she loves the fabric. I’m sorry for the delayed response, it seems that I’m easy to forget things lately…
Best wishes to you and your family!
Cute, easy. Did you also make it for your older daughter? If so, how did you enlarge the pattern?
Hi Susan, thank you! Not yet, but these days I will make one for my 10-years-old. Mainly, you have to pay attention to the armscye – it has to be longer. You can just eyeball it by using an existing tee, but don’t forget to accommodate the elastic casing too – just add 2 inches or so to the upper part. Also pay attention to the chest measurement and the shirt’s length.