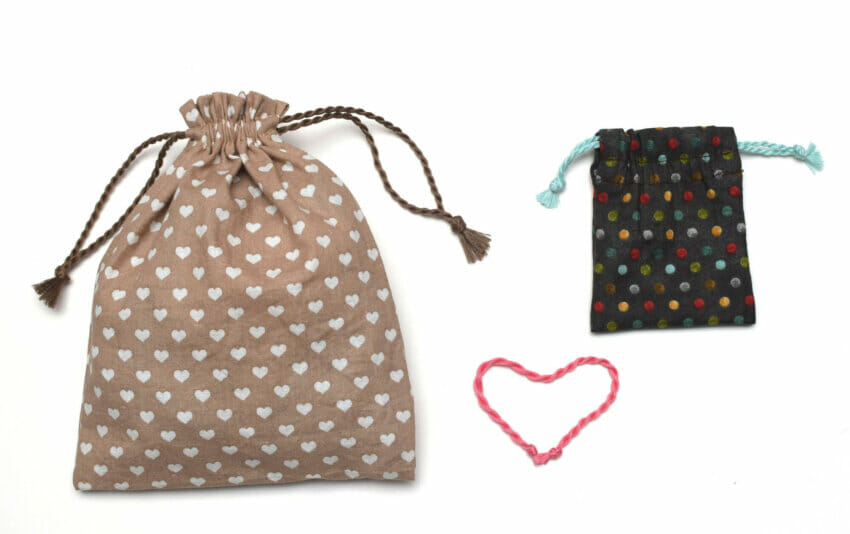
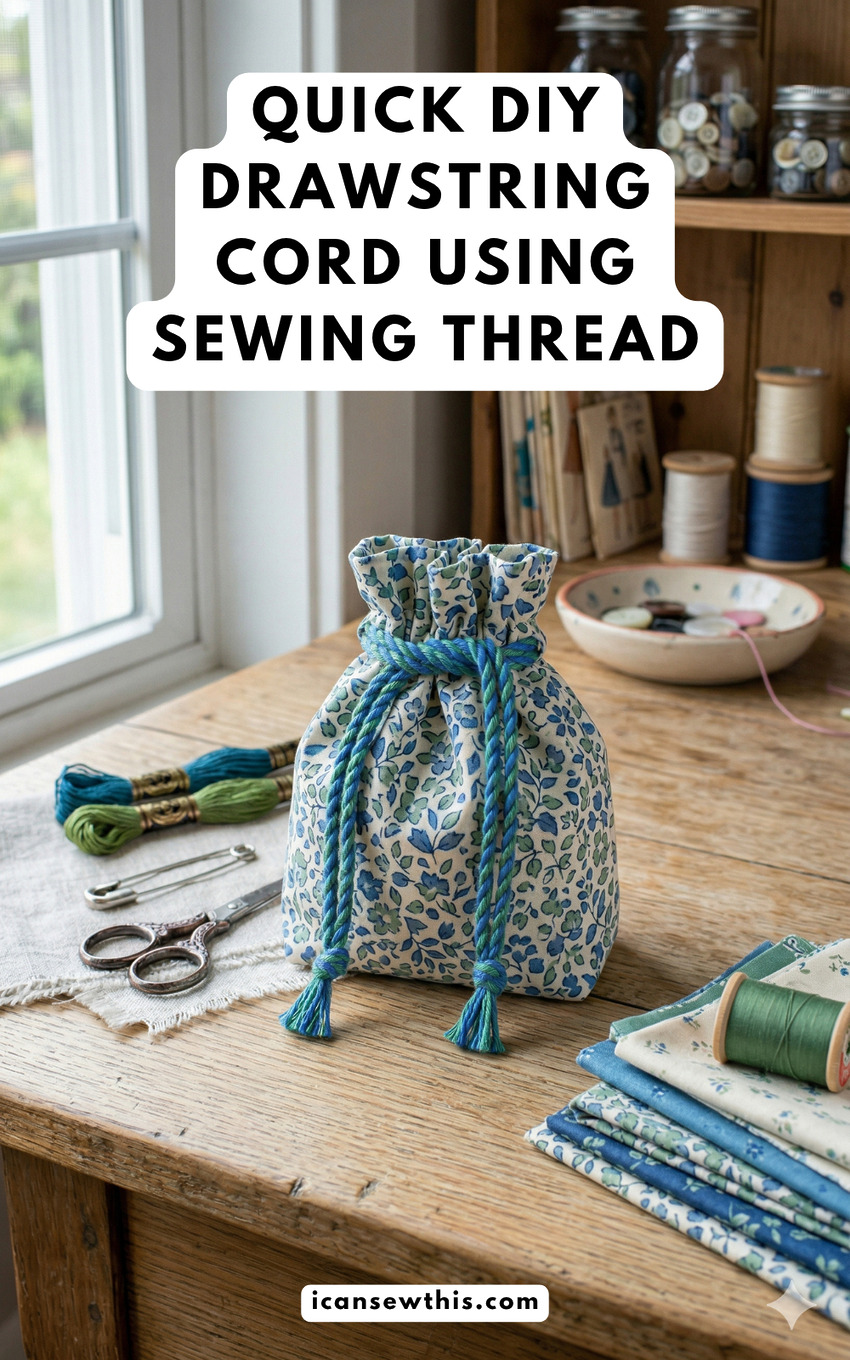
Making your own custom cord is a total game-changer for sewing projects. Whether you are finishing a small pouch or need a specific color for a gift bag, you can create a perfect match in minutes. This DIY drawstring method uses basic sewing thread to make a professional-looking twisted cord that is way tougher than it looks. It is a smart way to save money and skip a trip to the craft store.
Why make your own cord?
Sometimes a store-bought rope just doesn’t look right. It might be too thick, the wrong shade of white, or just too plain. When you make a twisted cord with embroidery floss or sewing thread, you get to control the thickness and the texture.
It is a high-quality, cheap solution for drawstring bags, friendship bracelets, or even button loops. Plus, it cinches tightly and stays tied better than slippery nylon cords.
Helpful tips for beginners
- Consistency is key: Keep the tension even as you twist. If you let it slack, you will get lumps.
- Over-twist slightly: The cord will shrink and thicken once it doubles over, so twist it until it starts to kink naturally.
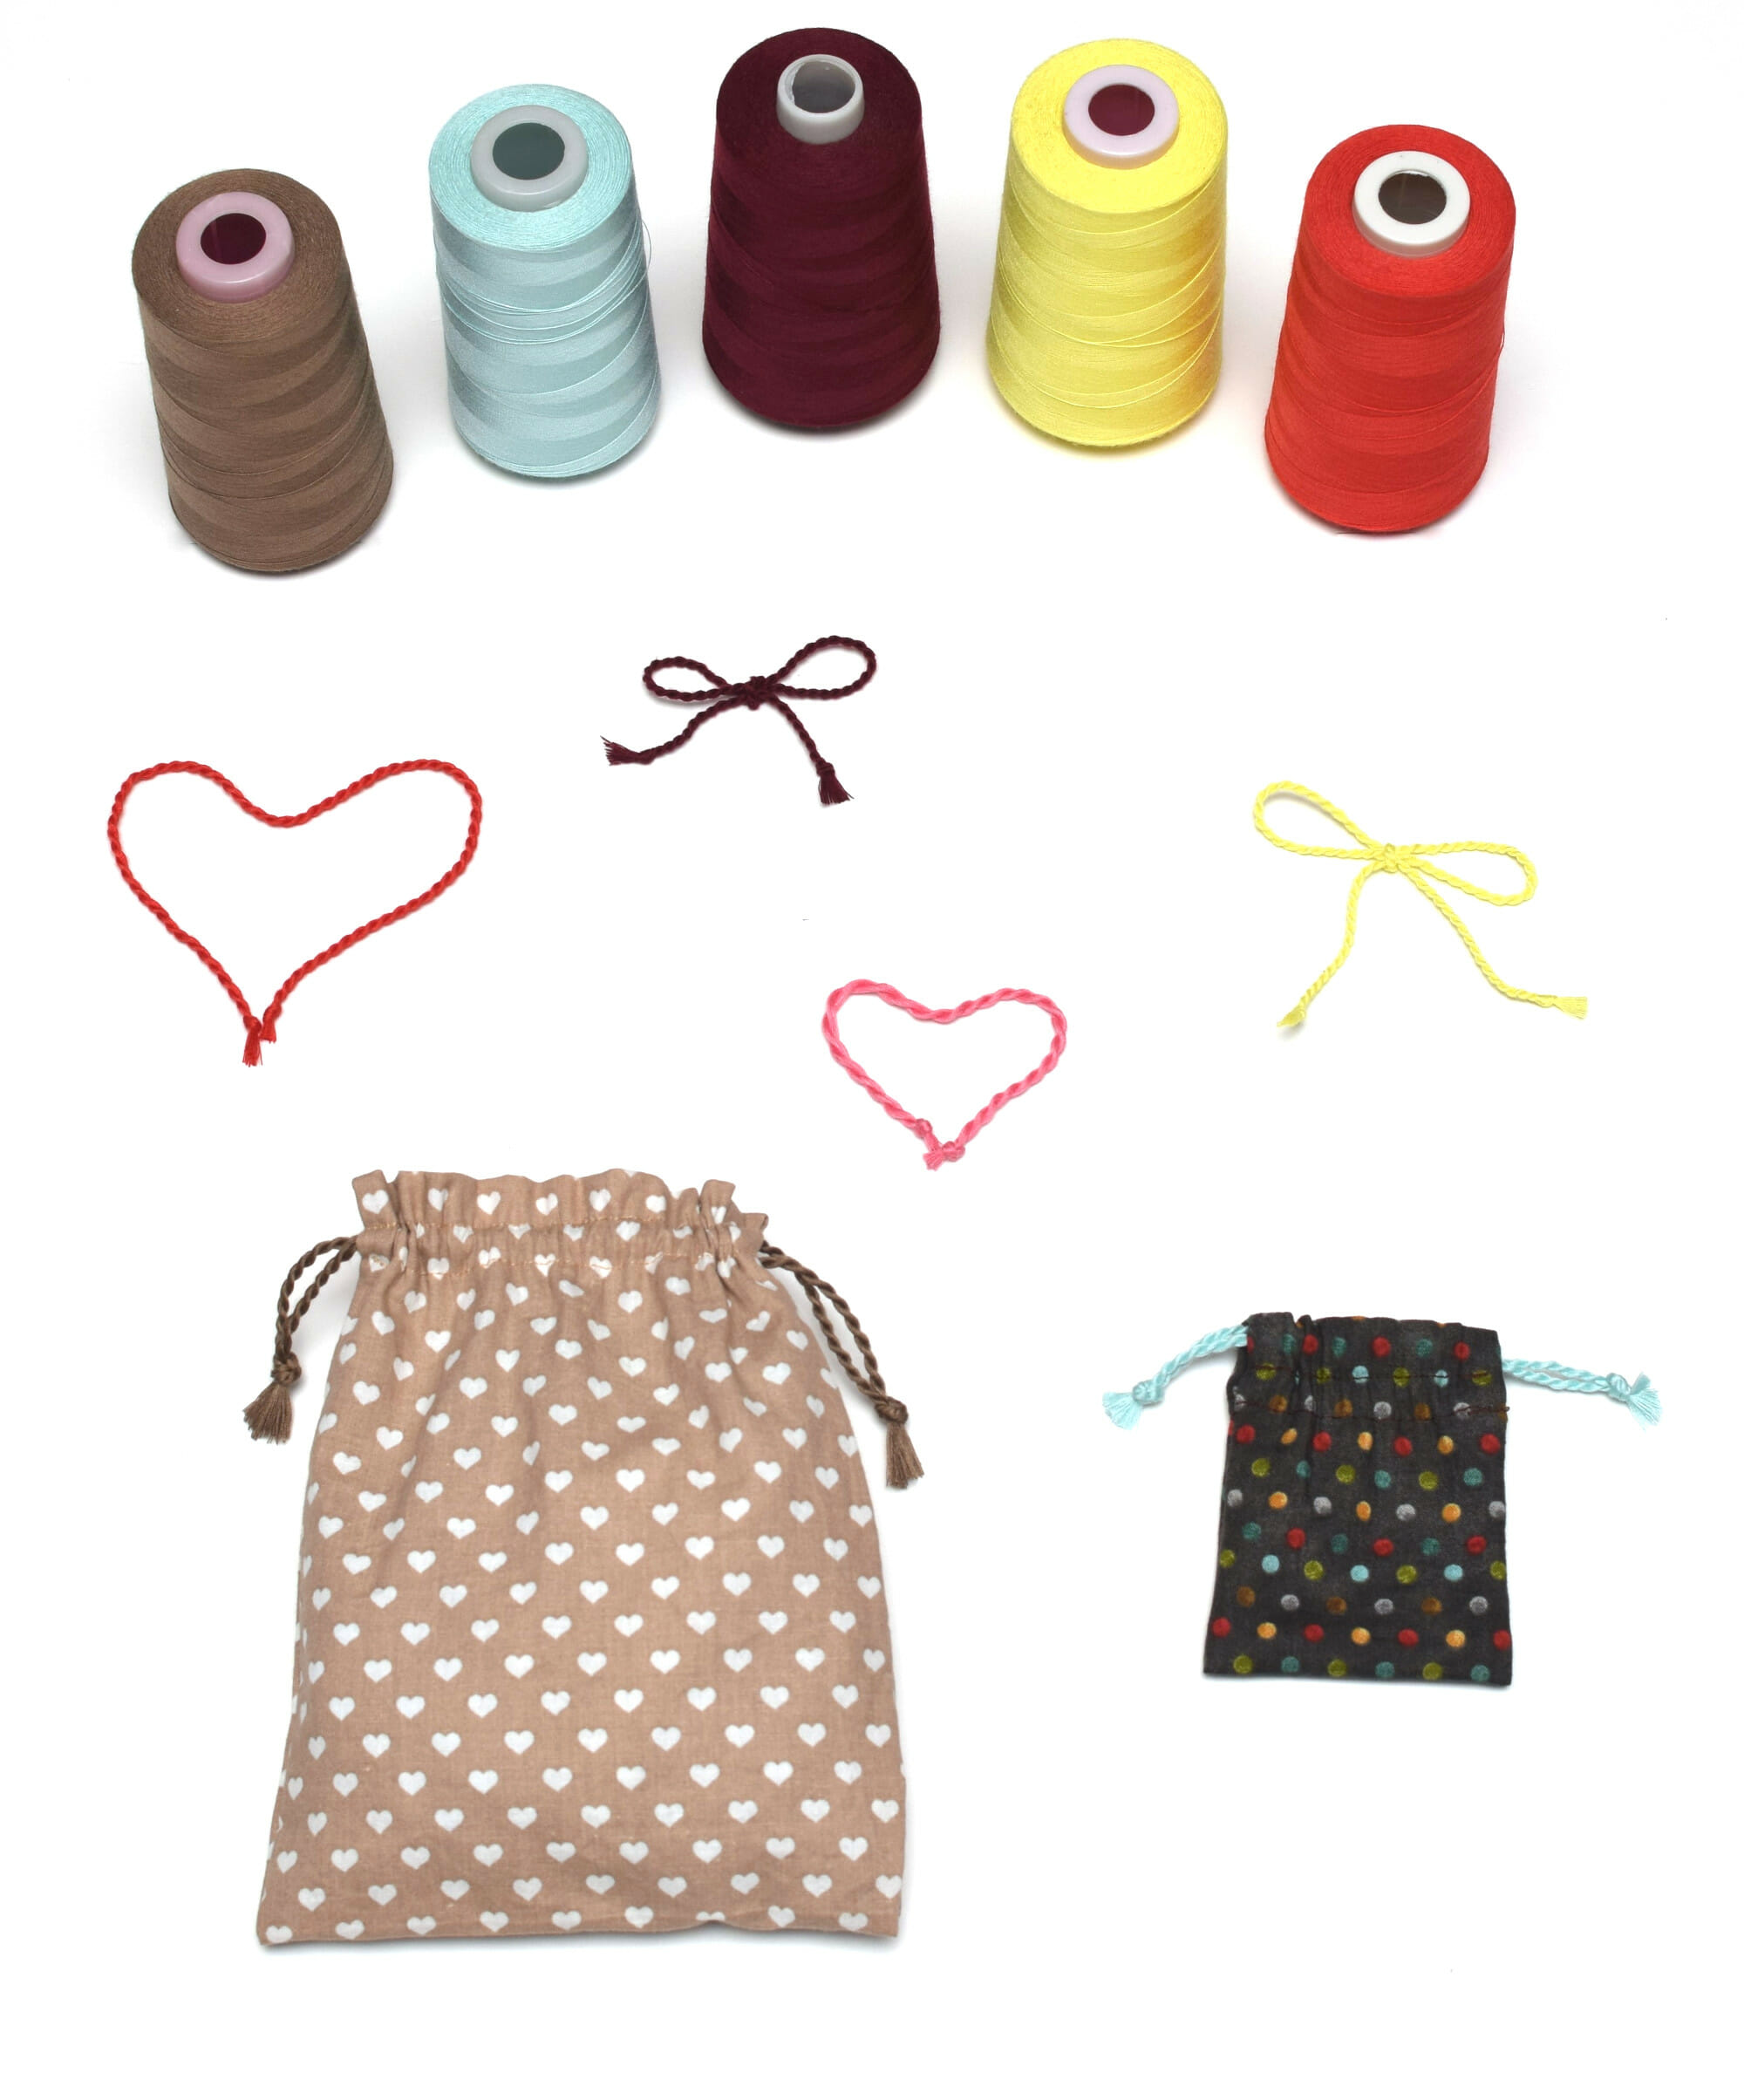
- Mix colors: Try using two or three different shades of thread at once for a cool variegated or “candy cane” look.
- The pencil trick: If your fingers get tired, loop the end around a pencil or a chopstick to use as a handle while you spin the thread.
Step-by-step instructions
Supplies you need
- Sewing thread, embroidery floss, or yarn
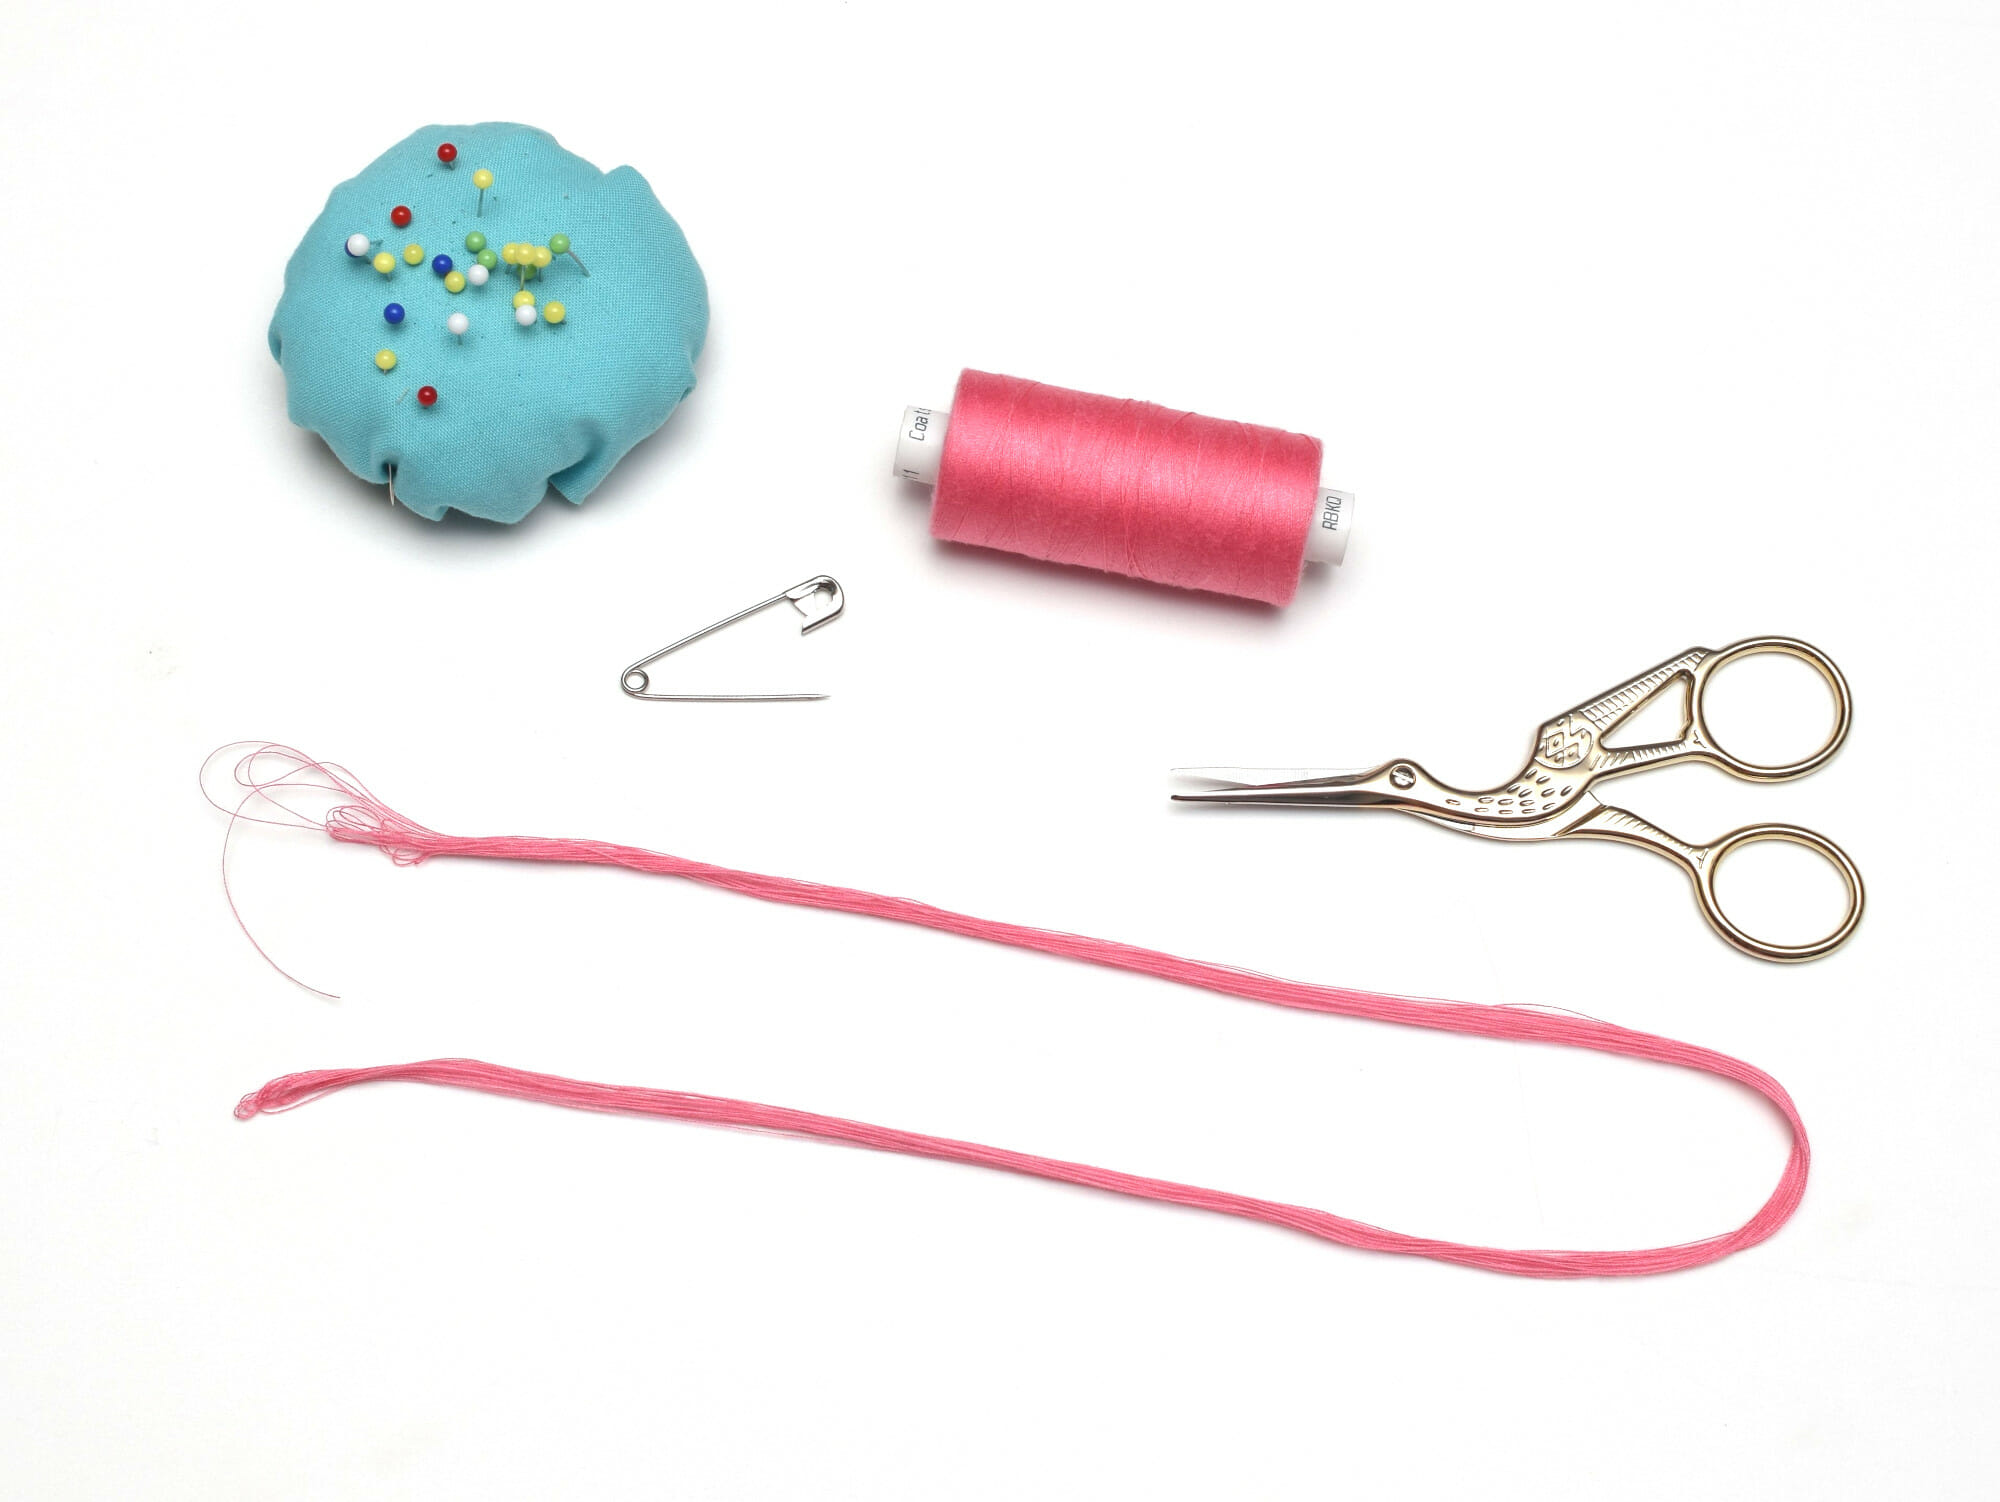
- Sharp scissors
- A safety pin or masking tape
- A heavy object or doorknob to anchor the end
Step 1: Measure and cut
Decide how thick you want your cord. For a standard small bag, use about 20 to 30 strands of polyester thread. Cut them double the length of your desired finished cord, plus approx. 5 inches for knots.
Step 2: Secure the end
Tie a knot at one end. Use your safety pin to hook it to a pillow, or tape it down to a table. You need this anchor so you can pull the multi-strand thread cord taut.
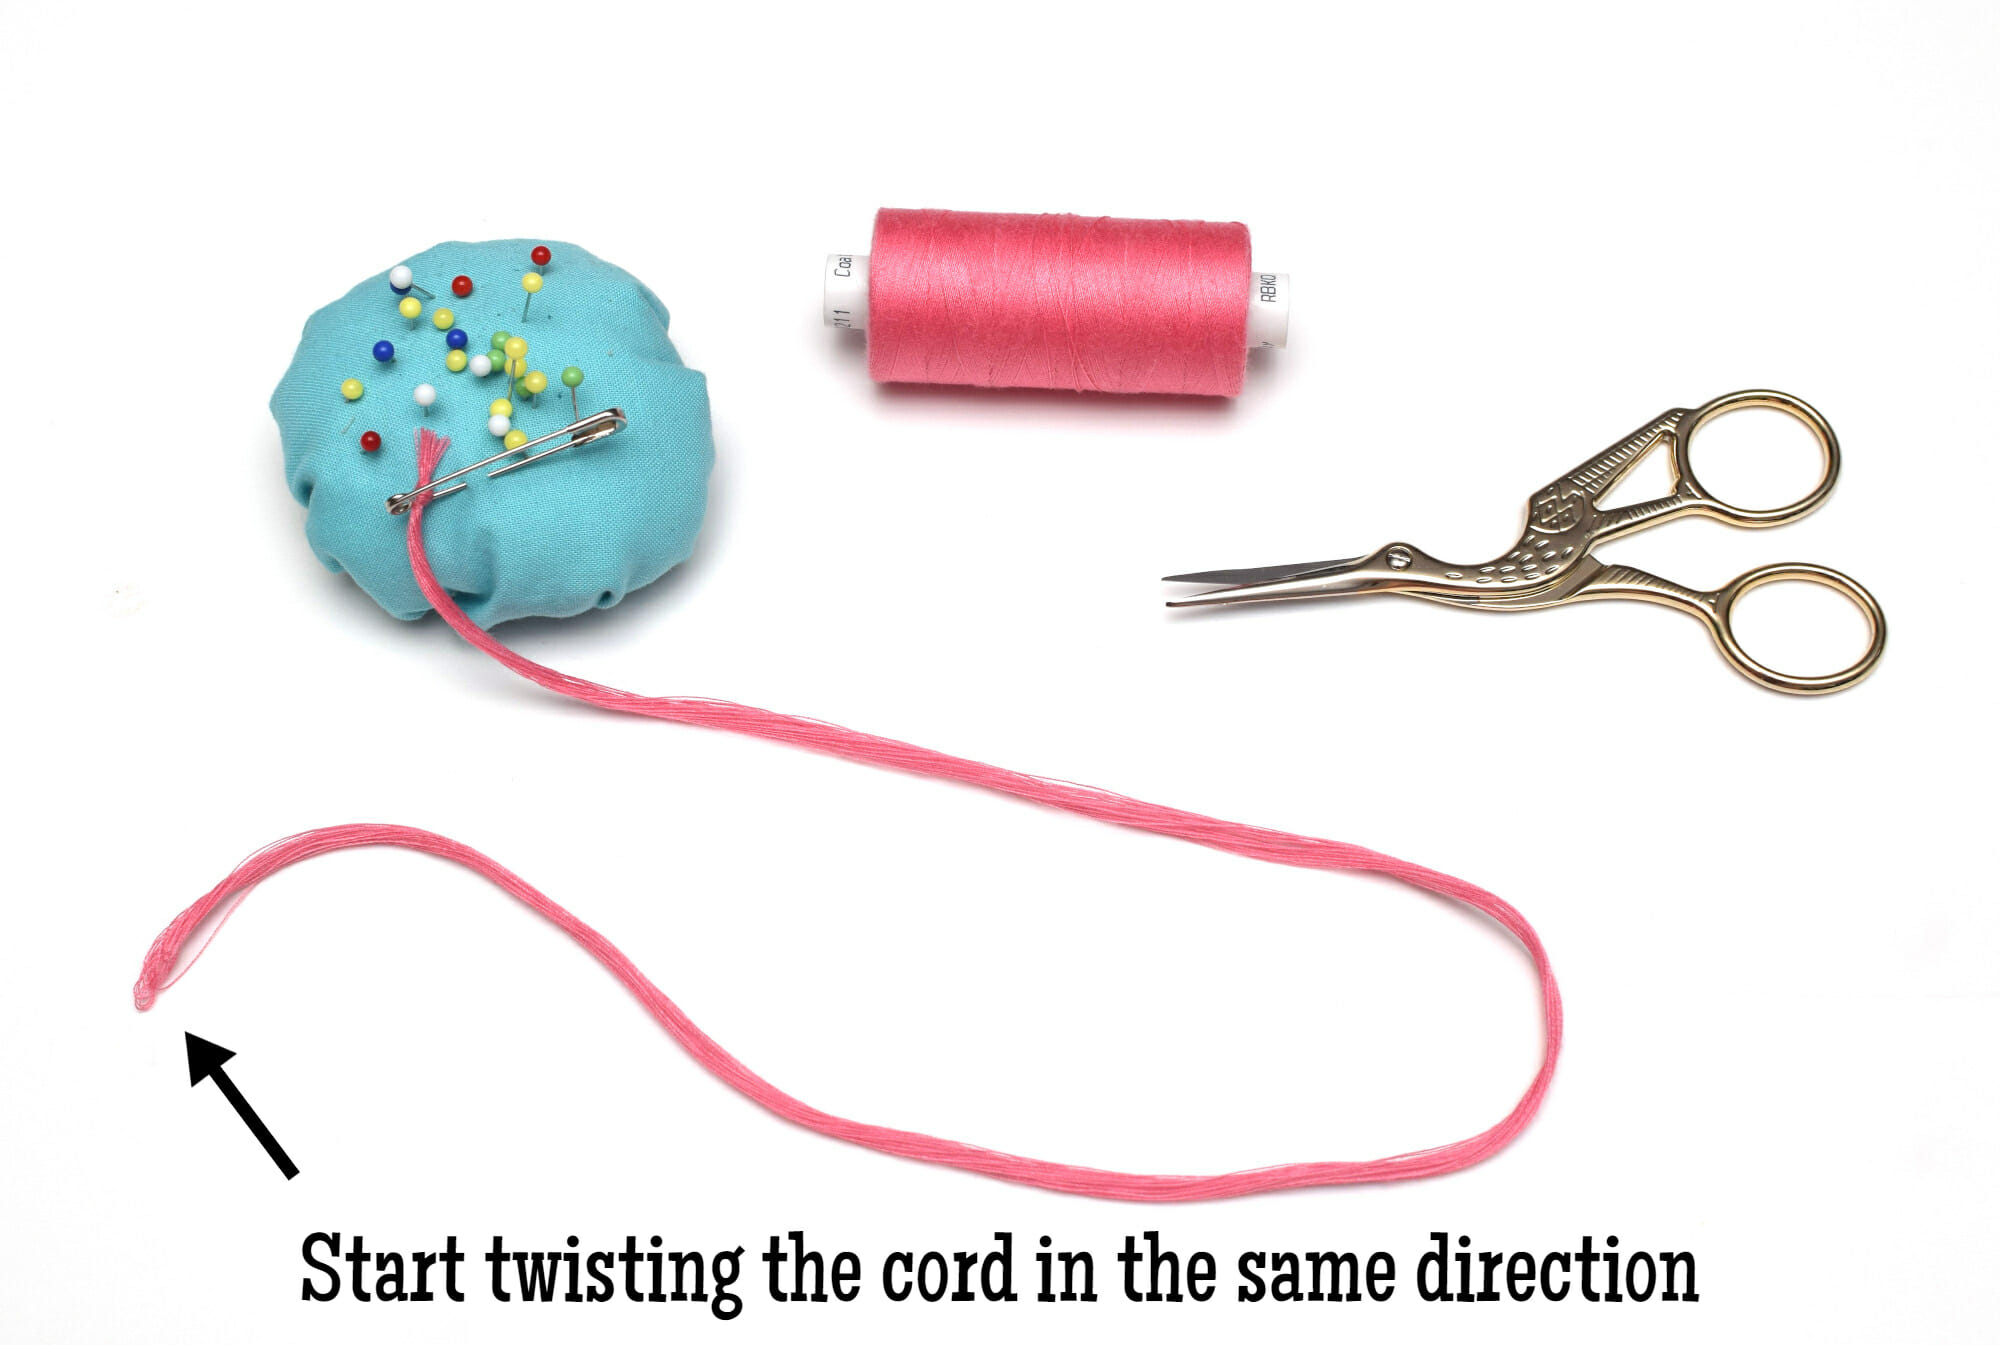
Step 3: Twist and fold
Hold the loose end and spin it clockwise. Keep going until the thread feels very tight and wants to curl. While keeping it tight, grab the middle of the strand and bring your hand back to the anchor point.
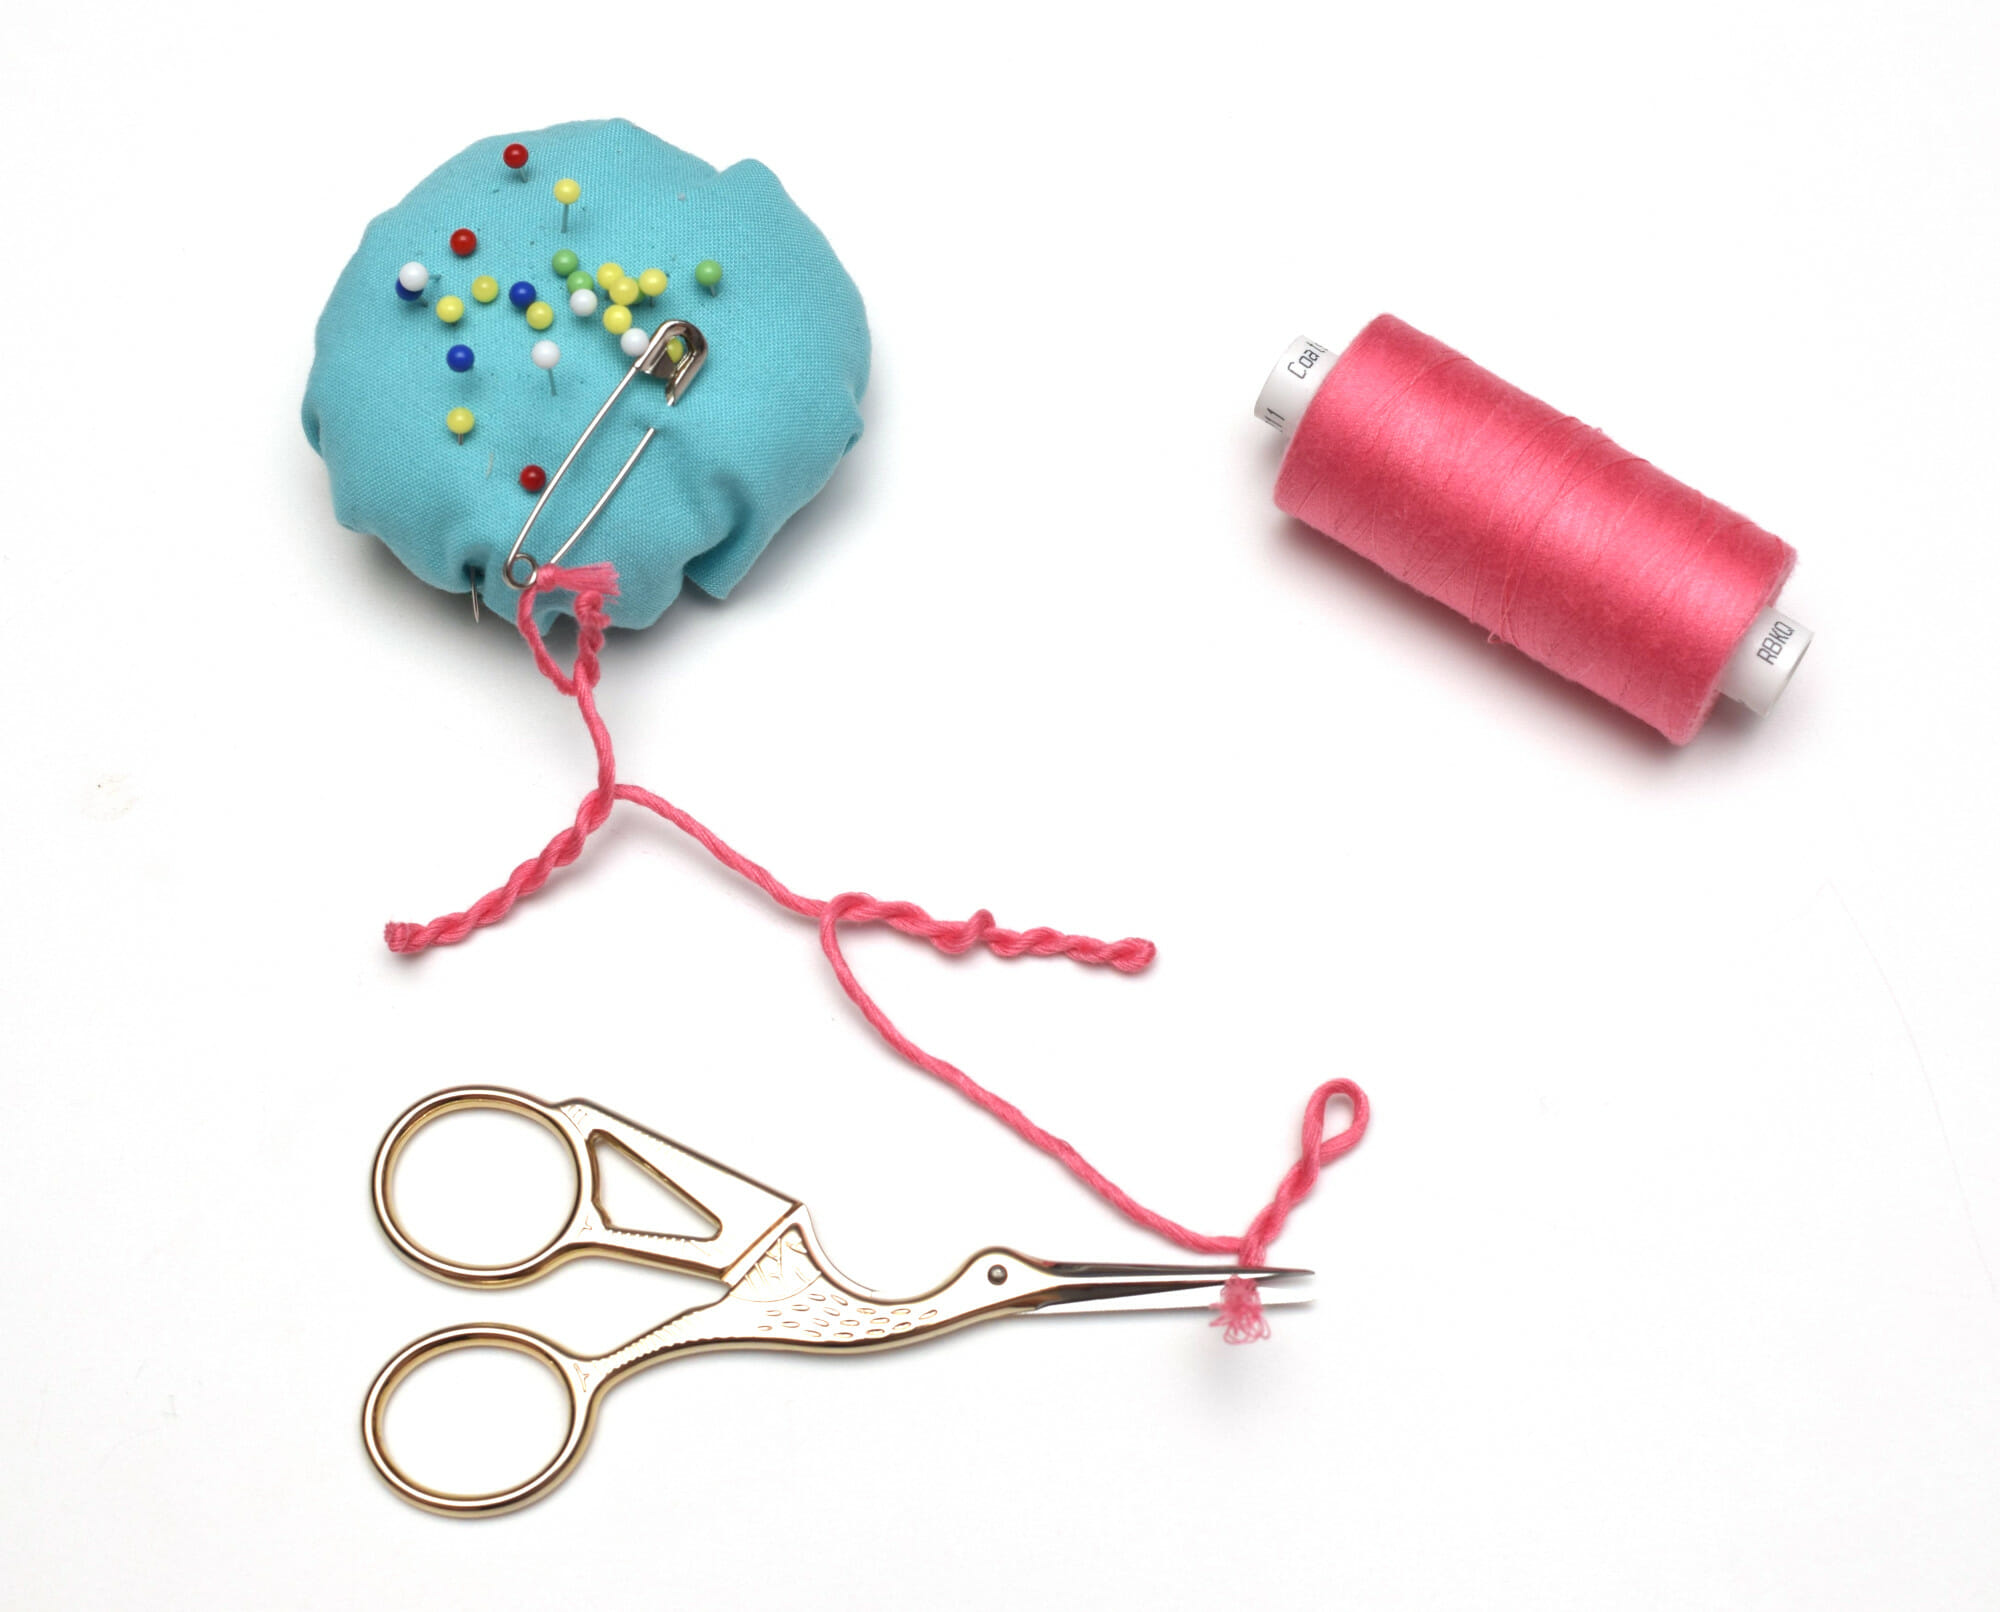
Step 4: The magic spin
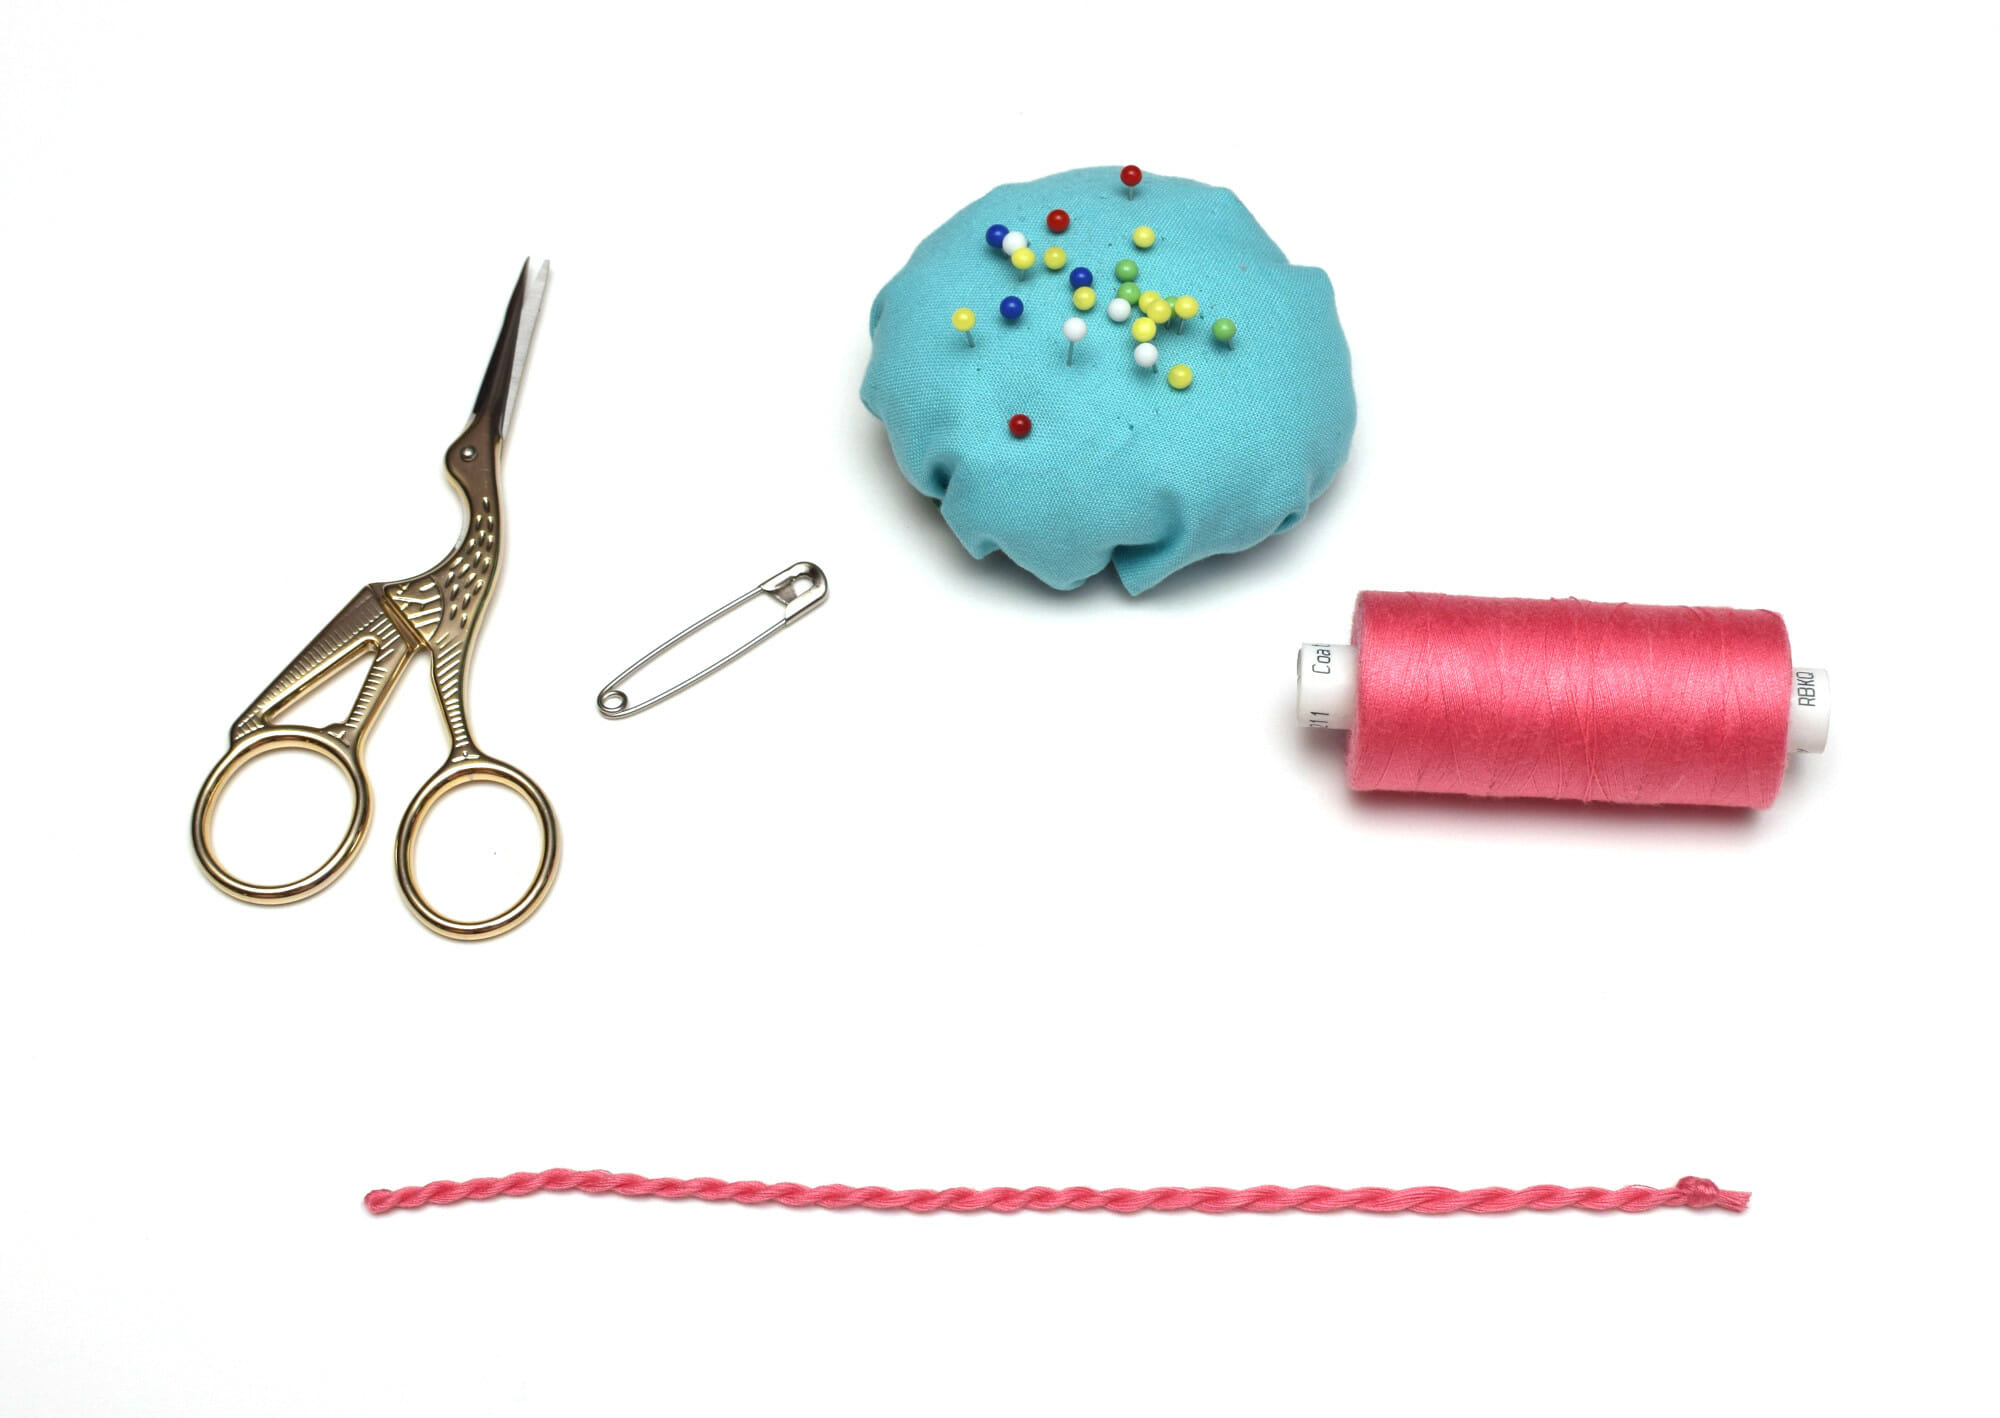
Let go of the middle. The two halves will naturally wrap around each other to form a custom twisted cord. Run your fingers down the length to smooth out any bumps. Tie a knot at the open end so it does not unravel.
Frequently asked questions
Can I use this for heavy laundry bags? Sewing thread is best for small to medium pouches. For heavy-duty bags, follow the same sewing thread hacks but use thicker yarn or macrame cord instead.
How do I stop the ends from fraying? Always tie a sturdy overhand knot at the very end. You can also add a wooden bead before knotting for a decorative look.
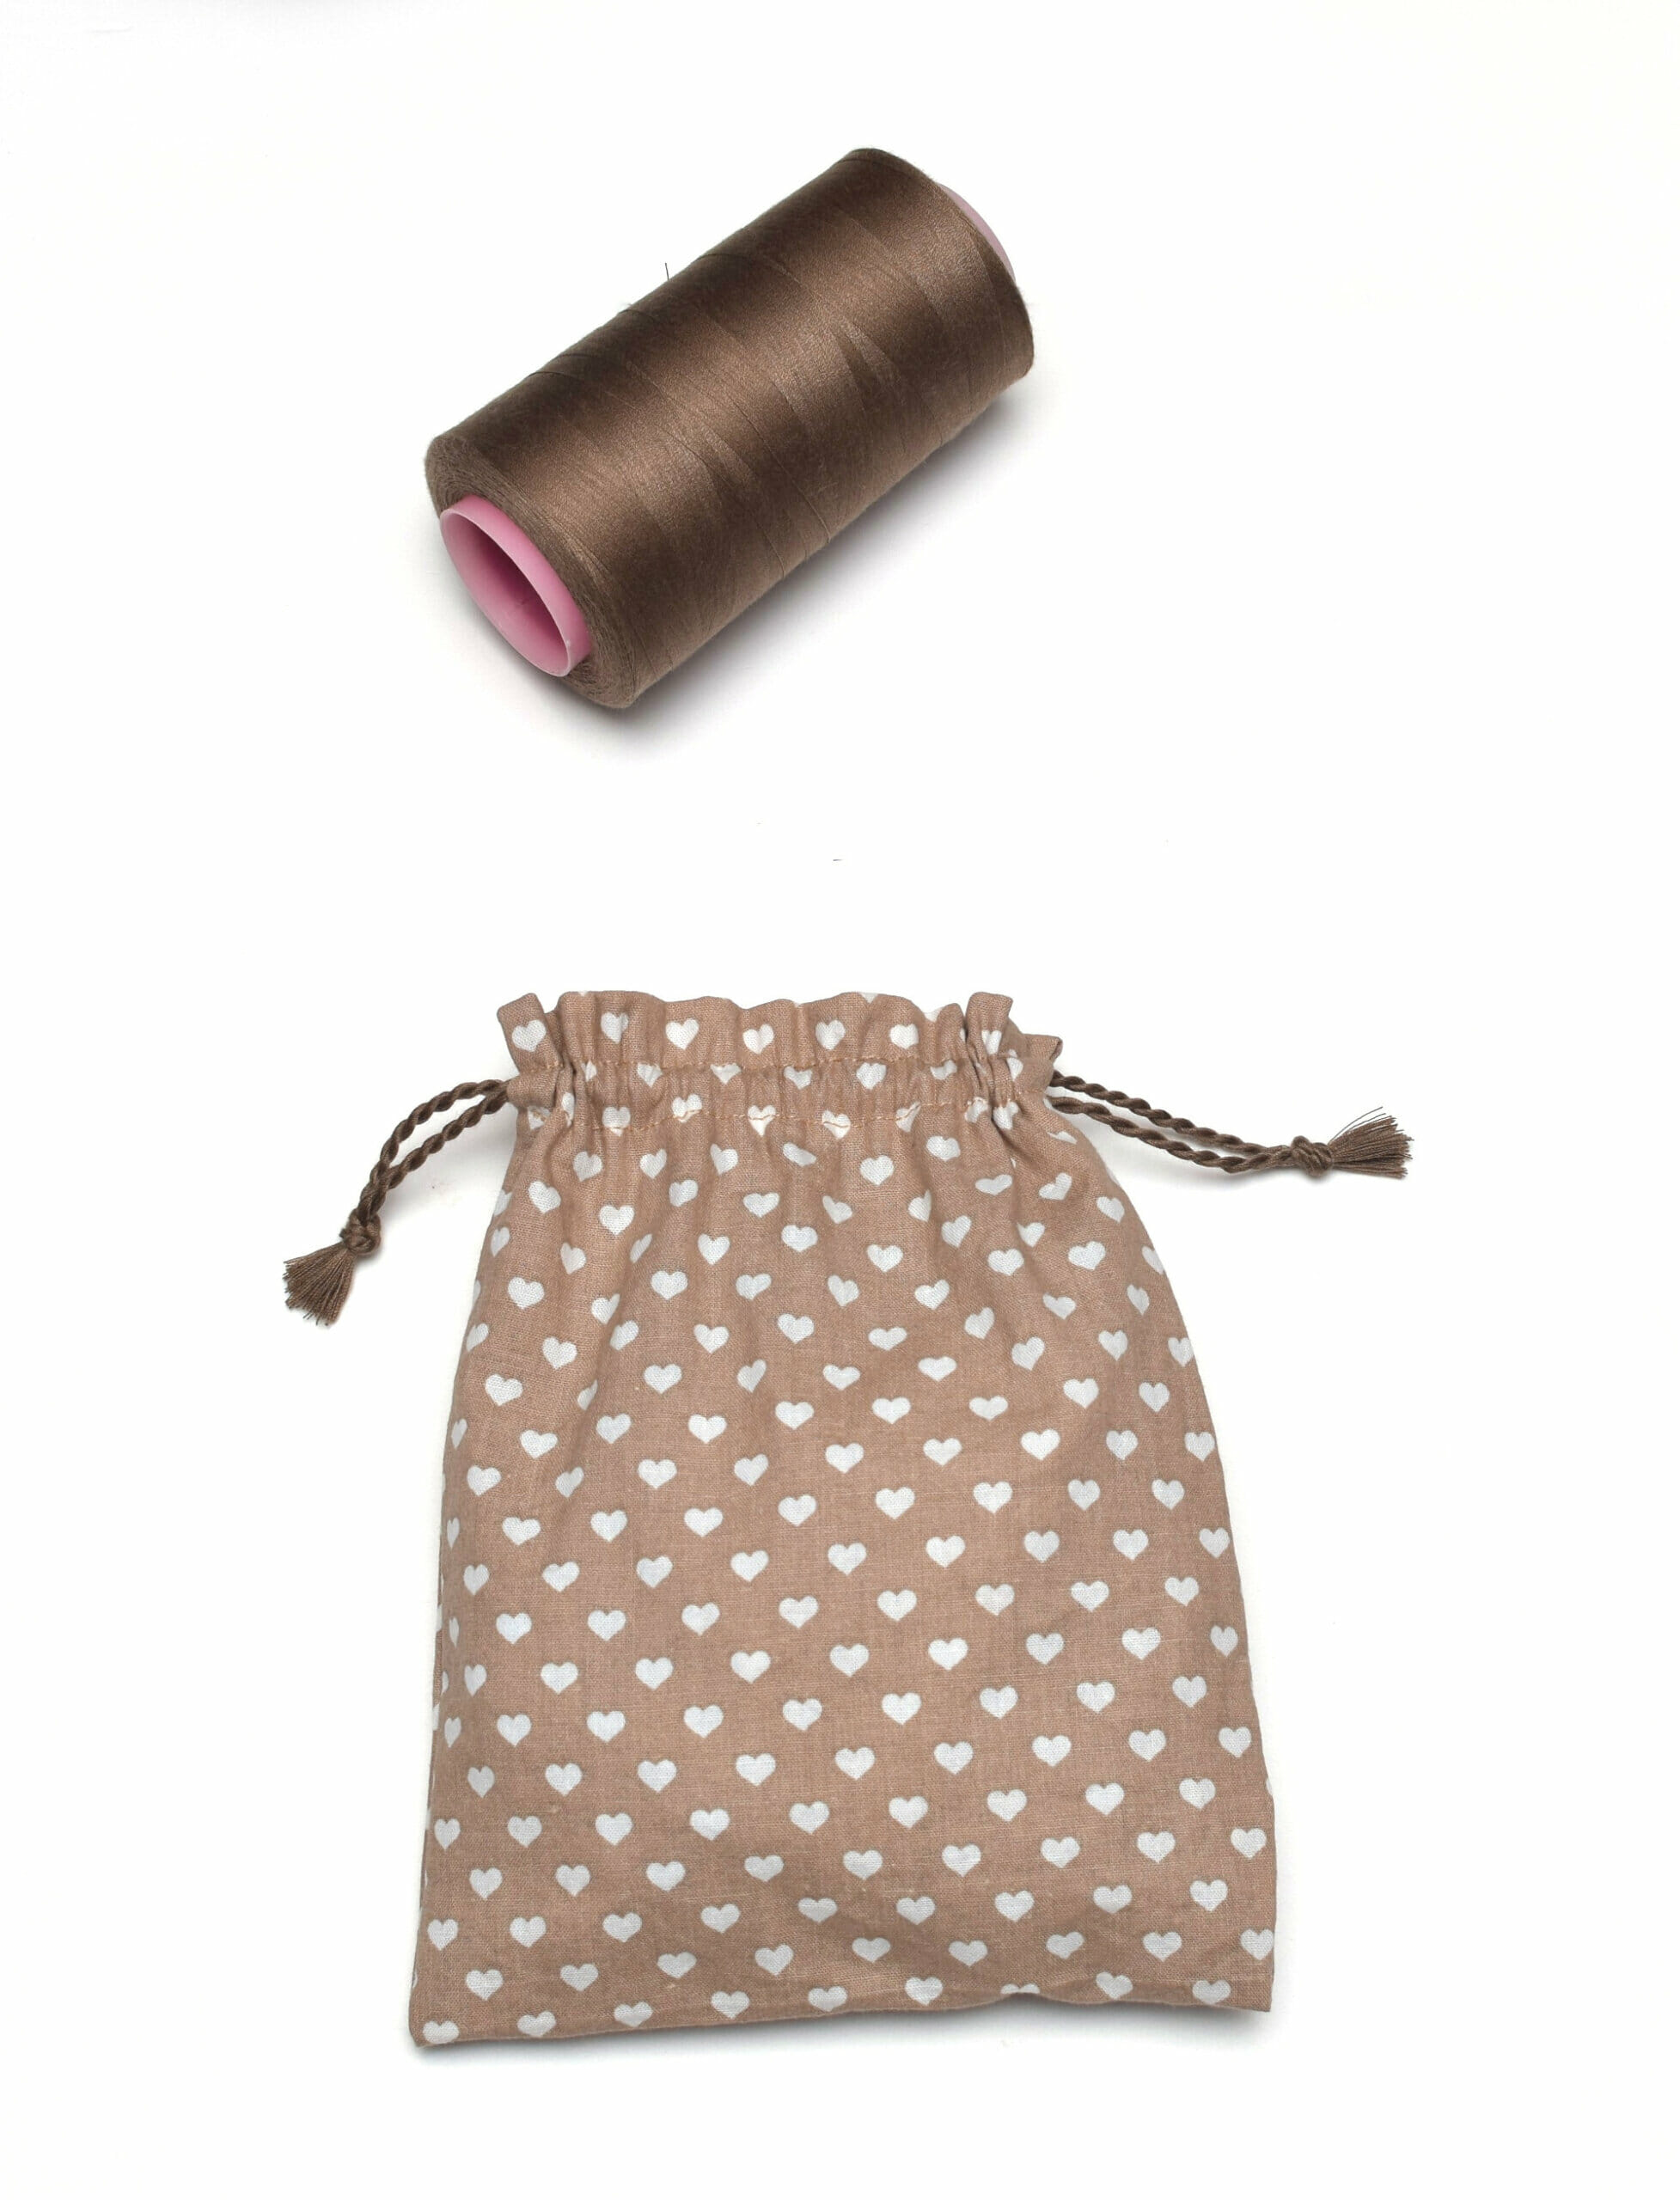
What is the best thread to use? Polyester thread is great because it is strong and has a slight sheen. Cotton embroidery floss works well if you want a matte, rustic look.
How do I get the cord through the bag? Attach a safety pin to one knotted end of your finished cord. Push the pin through the fabric casing, bunching and pulling the fabric until it comes out the other side.
This simple sewing thread hack is the best way to add a personal touch to your handmade bags. It is fast, functional, and costs practically nothing.
Once you master the twisted cord technique, you will never look at a spool of thread the same way again. Give it a shot on your next DIY drawstring project and see how much better a color-matched cord looks.
Let’s keep in touch! You can find me on Facebook, Instagram, and Pinterest.


What a beautiful trick..I just made a hoodie from scratch and wanted color coordinated drawstrings for the hood..this turned out fantastic and it definitely makes it one of a kind!! Thank you for this wonderful tutorial