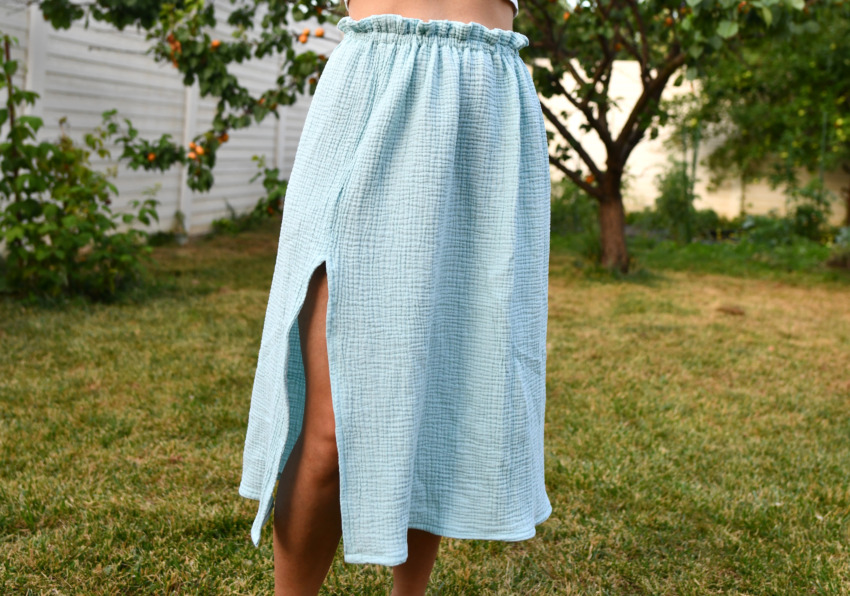
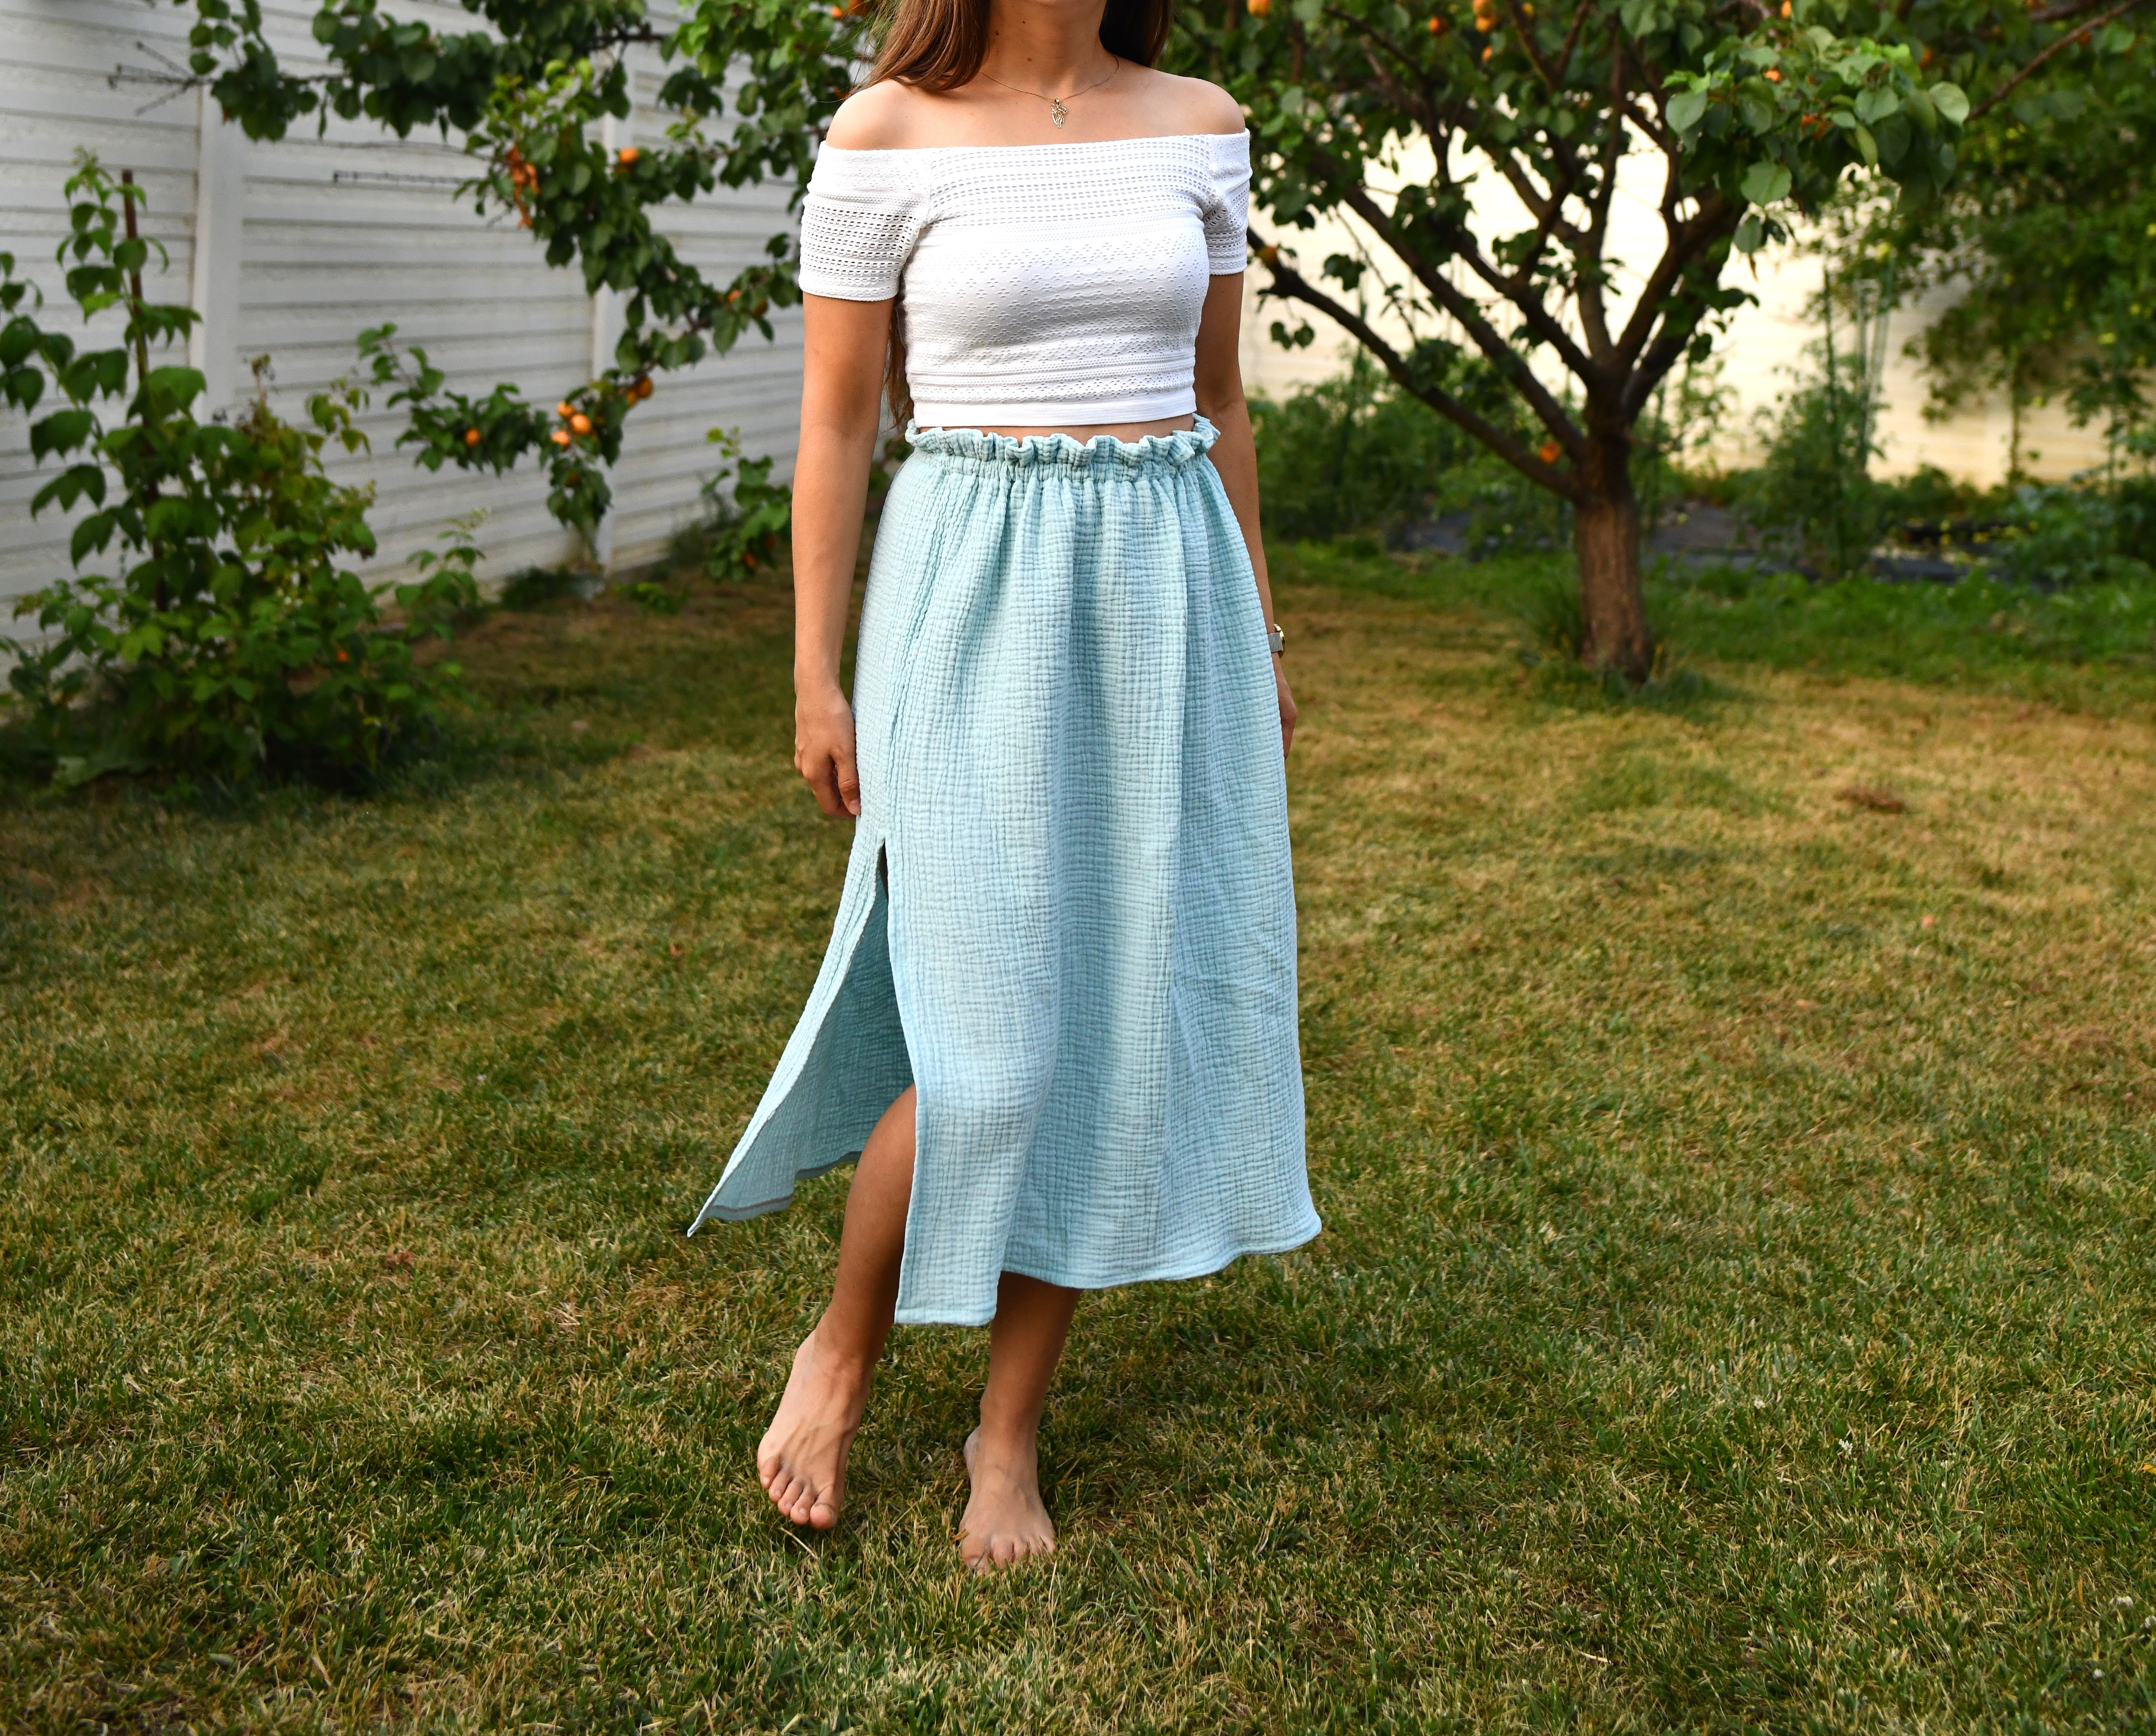
Learn how to make your own side-slit skirt with this simple tutorial. This double gauze skirt is a summer’s daydream and I will show you exactly how I made it.
I’ve been planning this midi skirt for so long, but only yesterday I’ve got around to sewing it.
Side-slit double gauze skirt tutorial – sewing supplies
- double gauze/cotton/linen/viscose fabric of your choice
- sewing machine
- needle
- matching thread
- sewing pins / sewing clips
- fabric scissors / rotary cutter
- iron
- 1/2” wide elastic
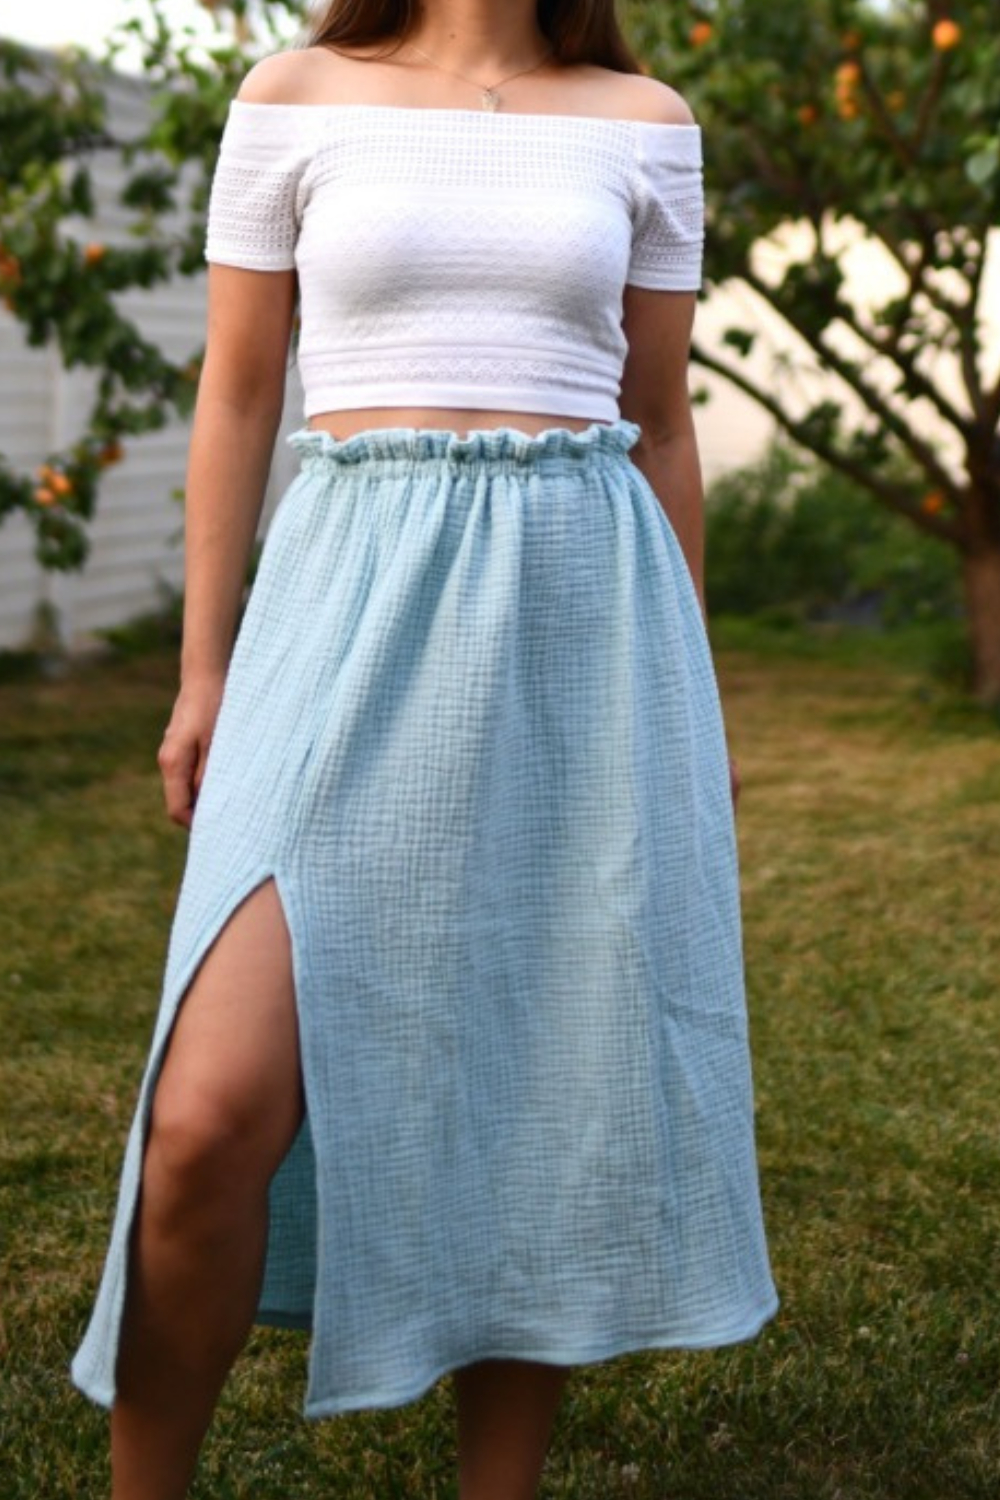
In short, here’s what you’re looking at: a 2x gathered skirt with an elasticated paper bag waist and a side slit. No pockets this time, although they could be easily added (tutorial and free pattern for in-seam pockets here).
It’s a super simple and comfortable summer skirt and I’ve had no difficulty in making it (although I made some silly mistakes along the way).
Sewing with double gauze
Double gauze is a really nice fabric to sew with and lovely to wear.
This type of fabric does have a little stretch to it, but I chose to ignore its stretchiness. Instead of seeing this property as a flaw, I figured I could use the textured look of double gauze to hide away all possible mistakes and it was a great plan.
In my opinion, double gauze can be a really forgiving fabric. While some say it’s finicky, I think it’s an easy fabric to sew with.
You can mind your own business and simply pretend you’re working with an easy-to-handle, stable fabric. In the end, any uneven stitches will become „invisible”.
As a rule, I made sure to press all my seams after sewing, to set the stitches into the fabric. After that, I simply let the crinkles do their thing.
Notes: I pre-washed my fabric before sewing and let it air-dry. Then, to remove all the wrinkles but preserve the texture, I used the iron and a small pressing cloth. That’s because my old iron won’t produce steam anymore.
But, if your iron behaves and generates steam, there’s no need for a press cloth – simply use it at a medium temp setting.
Here’s how my pretty double gauze skirt looks in motion:
Side-slit double gauze skirt tutorial
Step 1 – cut your fabric piece(s)
For this skirt, I cut a piece of fabric measuring 2 times my waist measurement & my desired length + 3 inches, to account for the paper bag waistband and a small, turned hem.
My measurements – waist 27”, hip 36”, height 5.02’ (153 cm), desired skirt length 29”
My fabric piece – 54” wide x 32” long
In my case, I used the entire width of fabric (54”) and left the selvages on, so I didn’t need to finish the edges.
If you need more than the width of fabric for your skirt, you’ll cut 2 fabric pieces and have two side seams. From that point on, you can decide if you want one or two side slits.
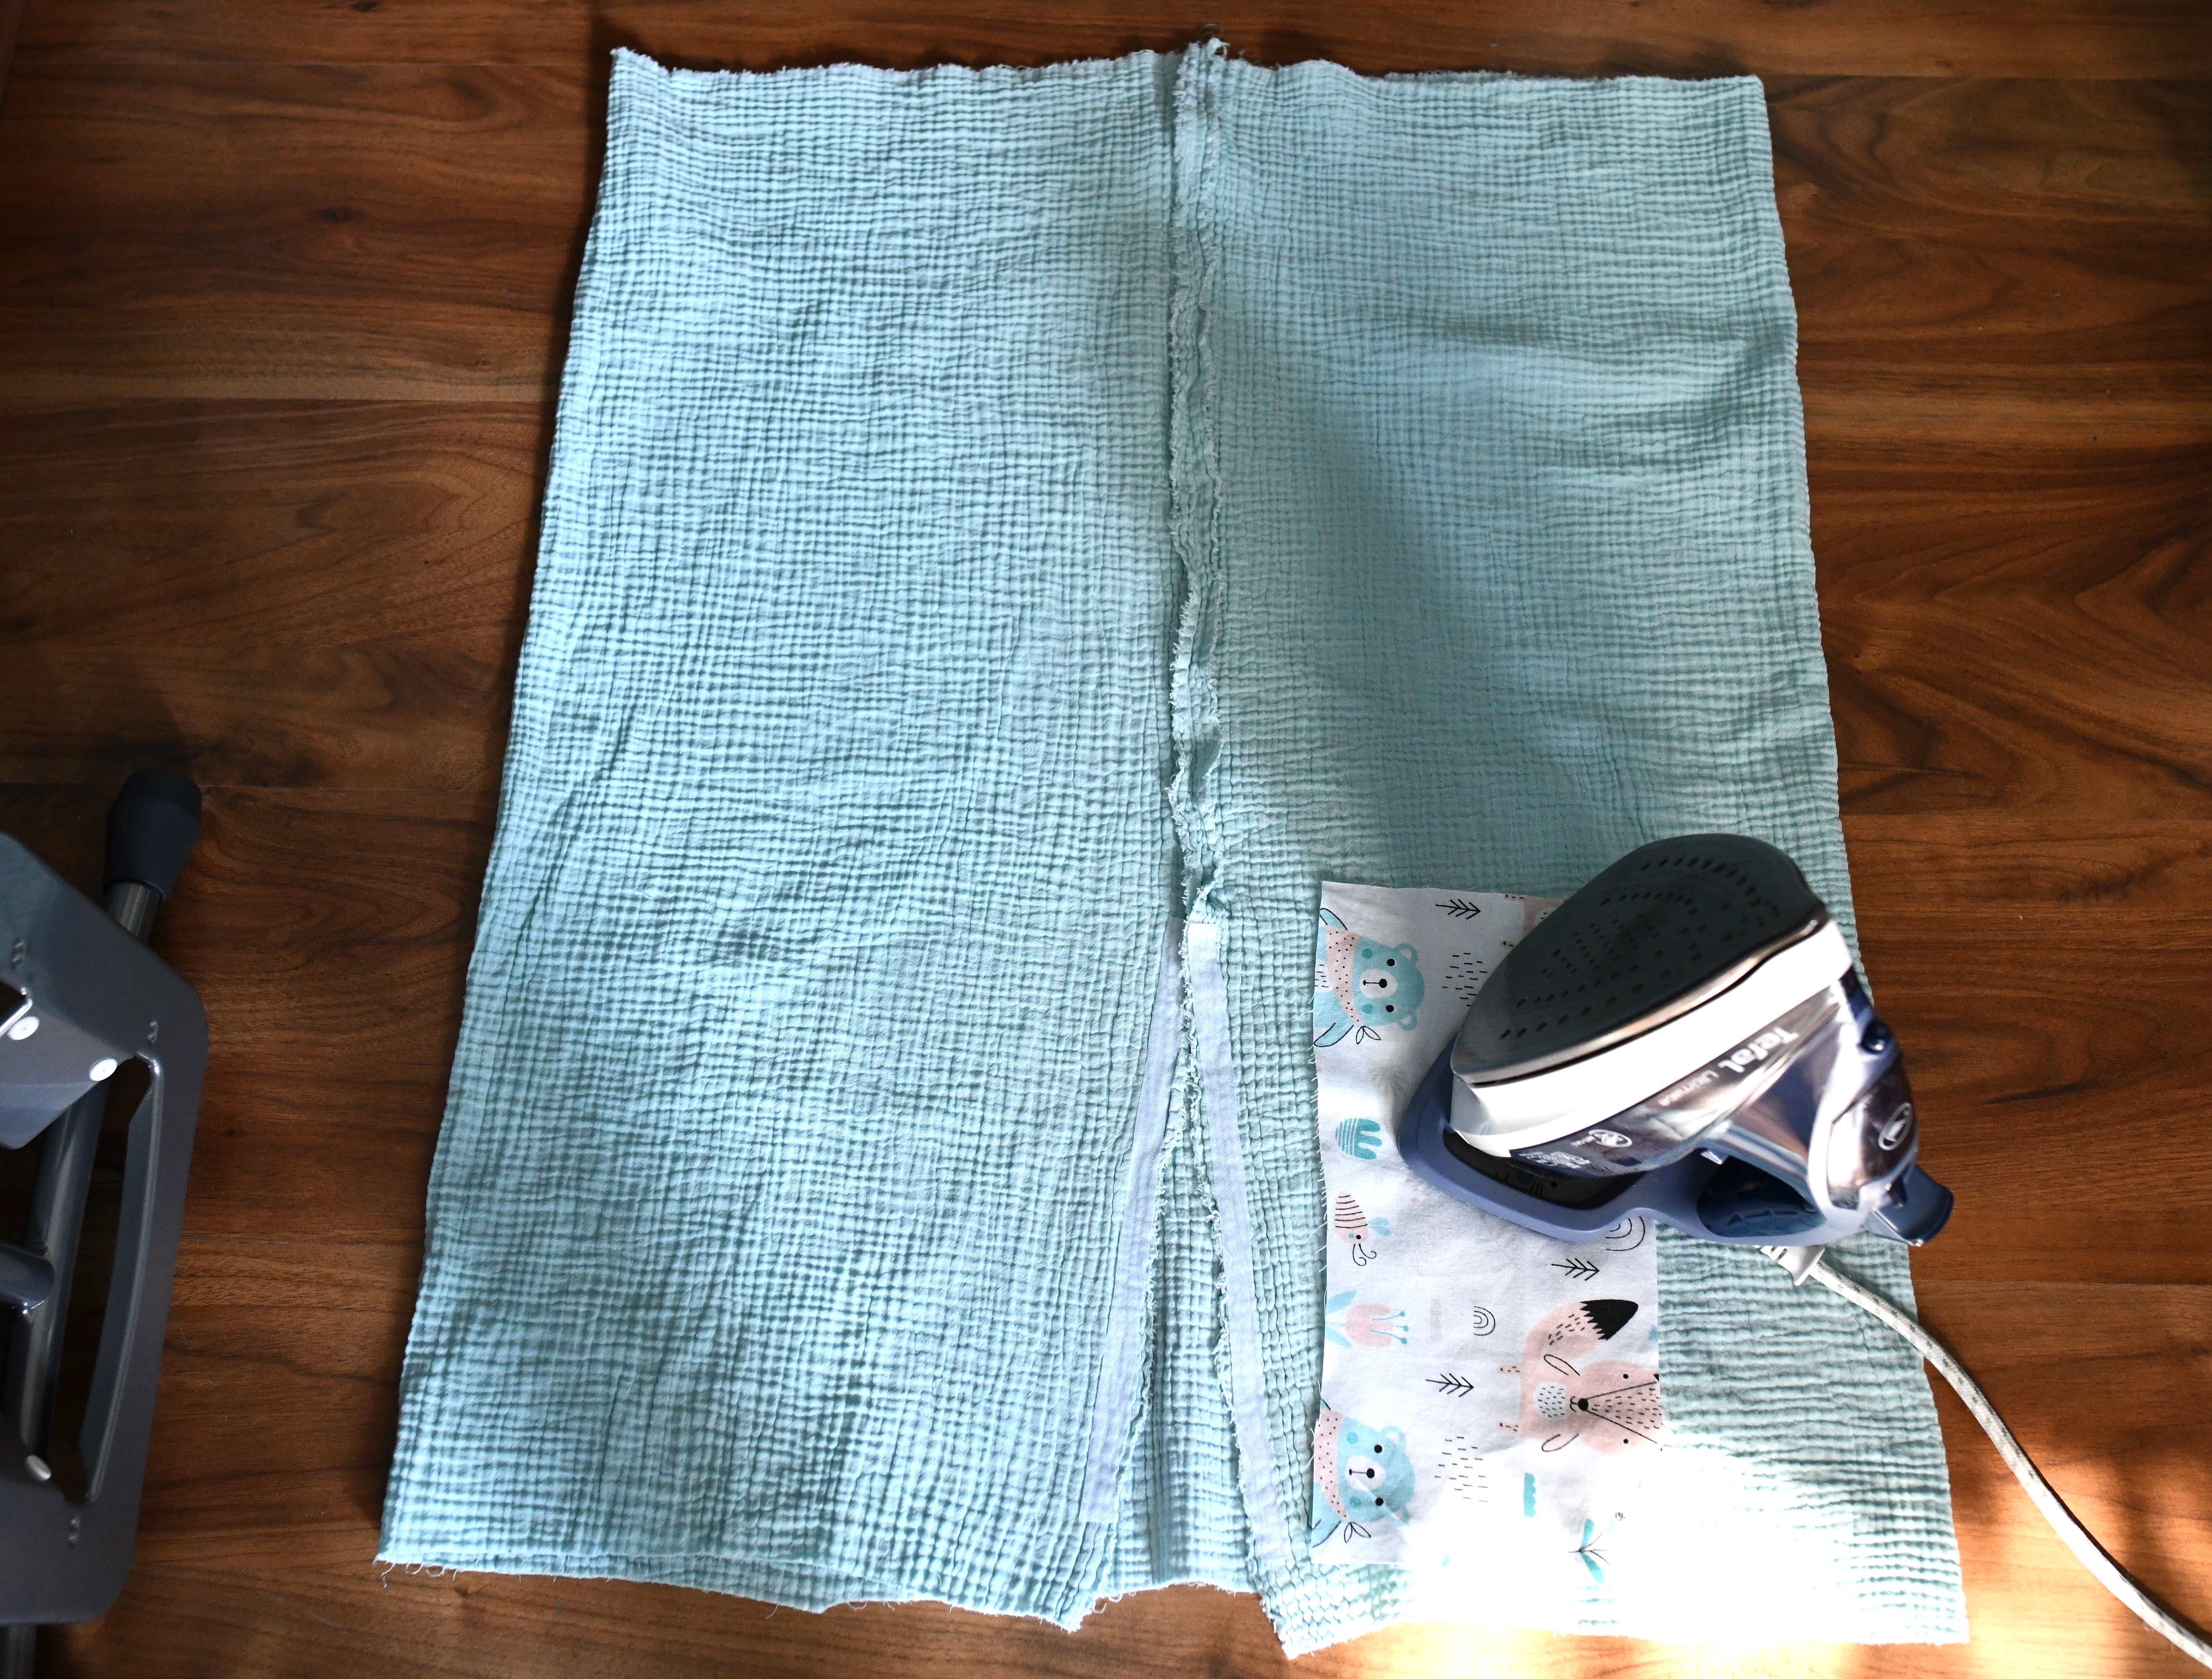
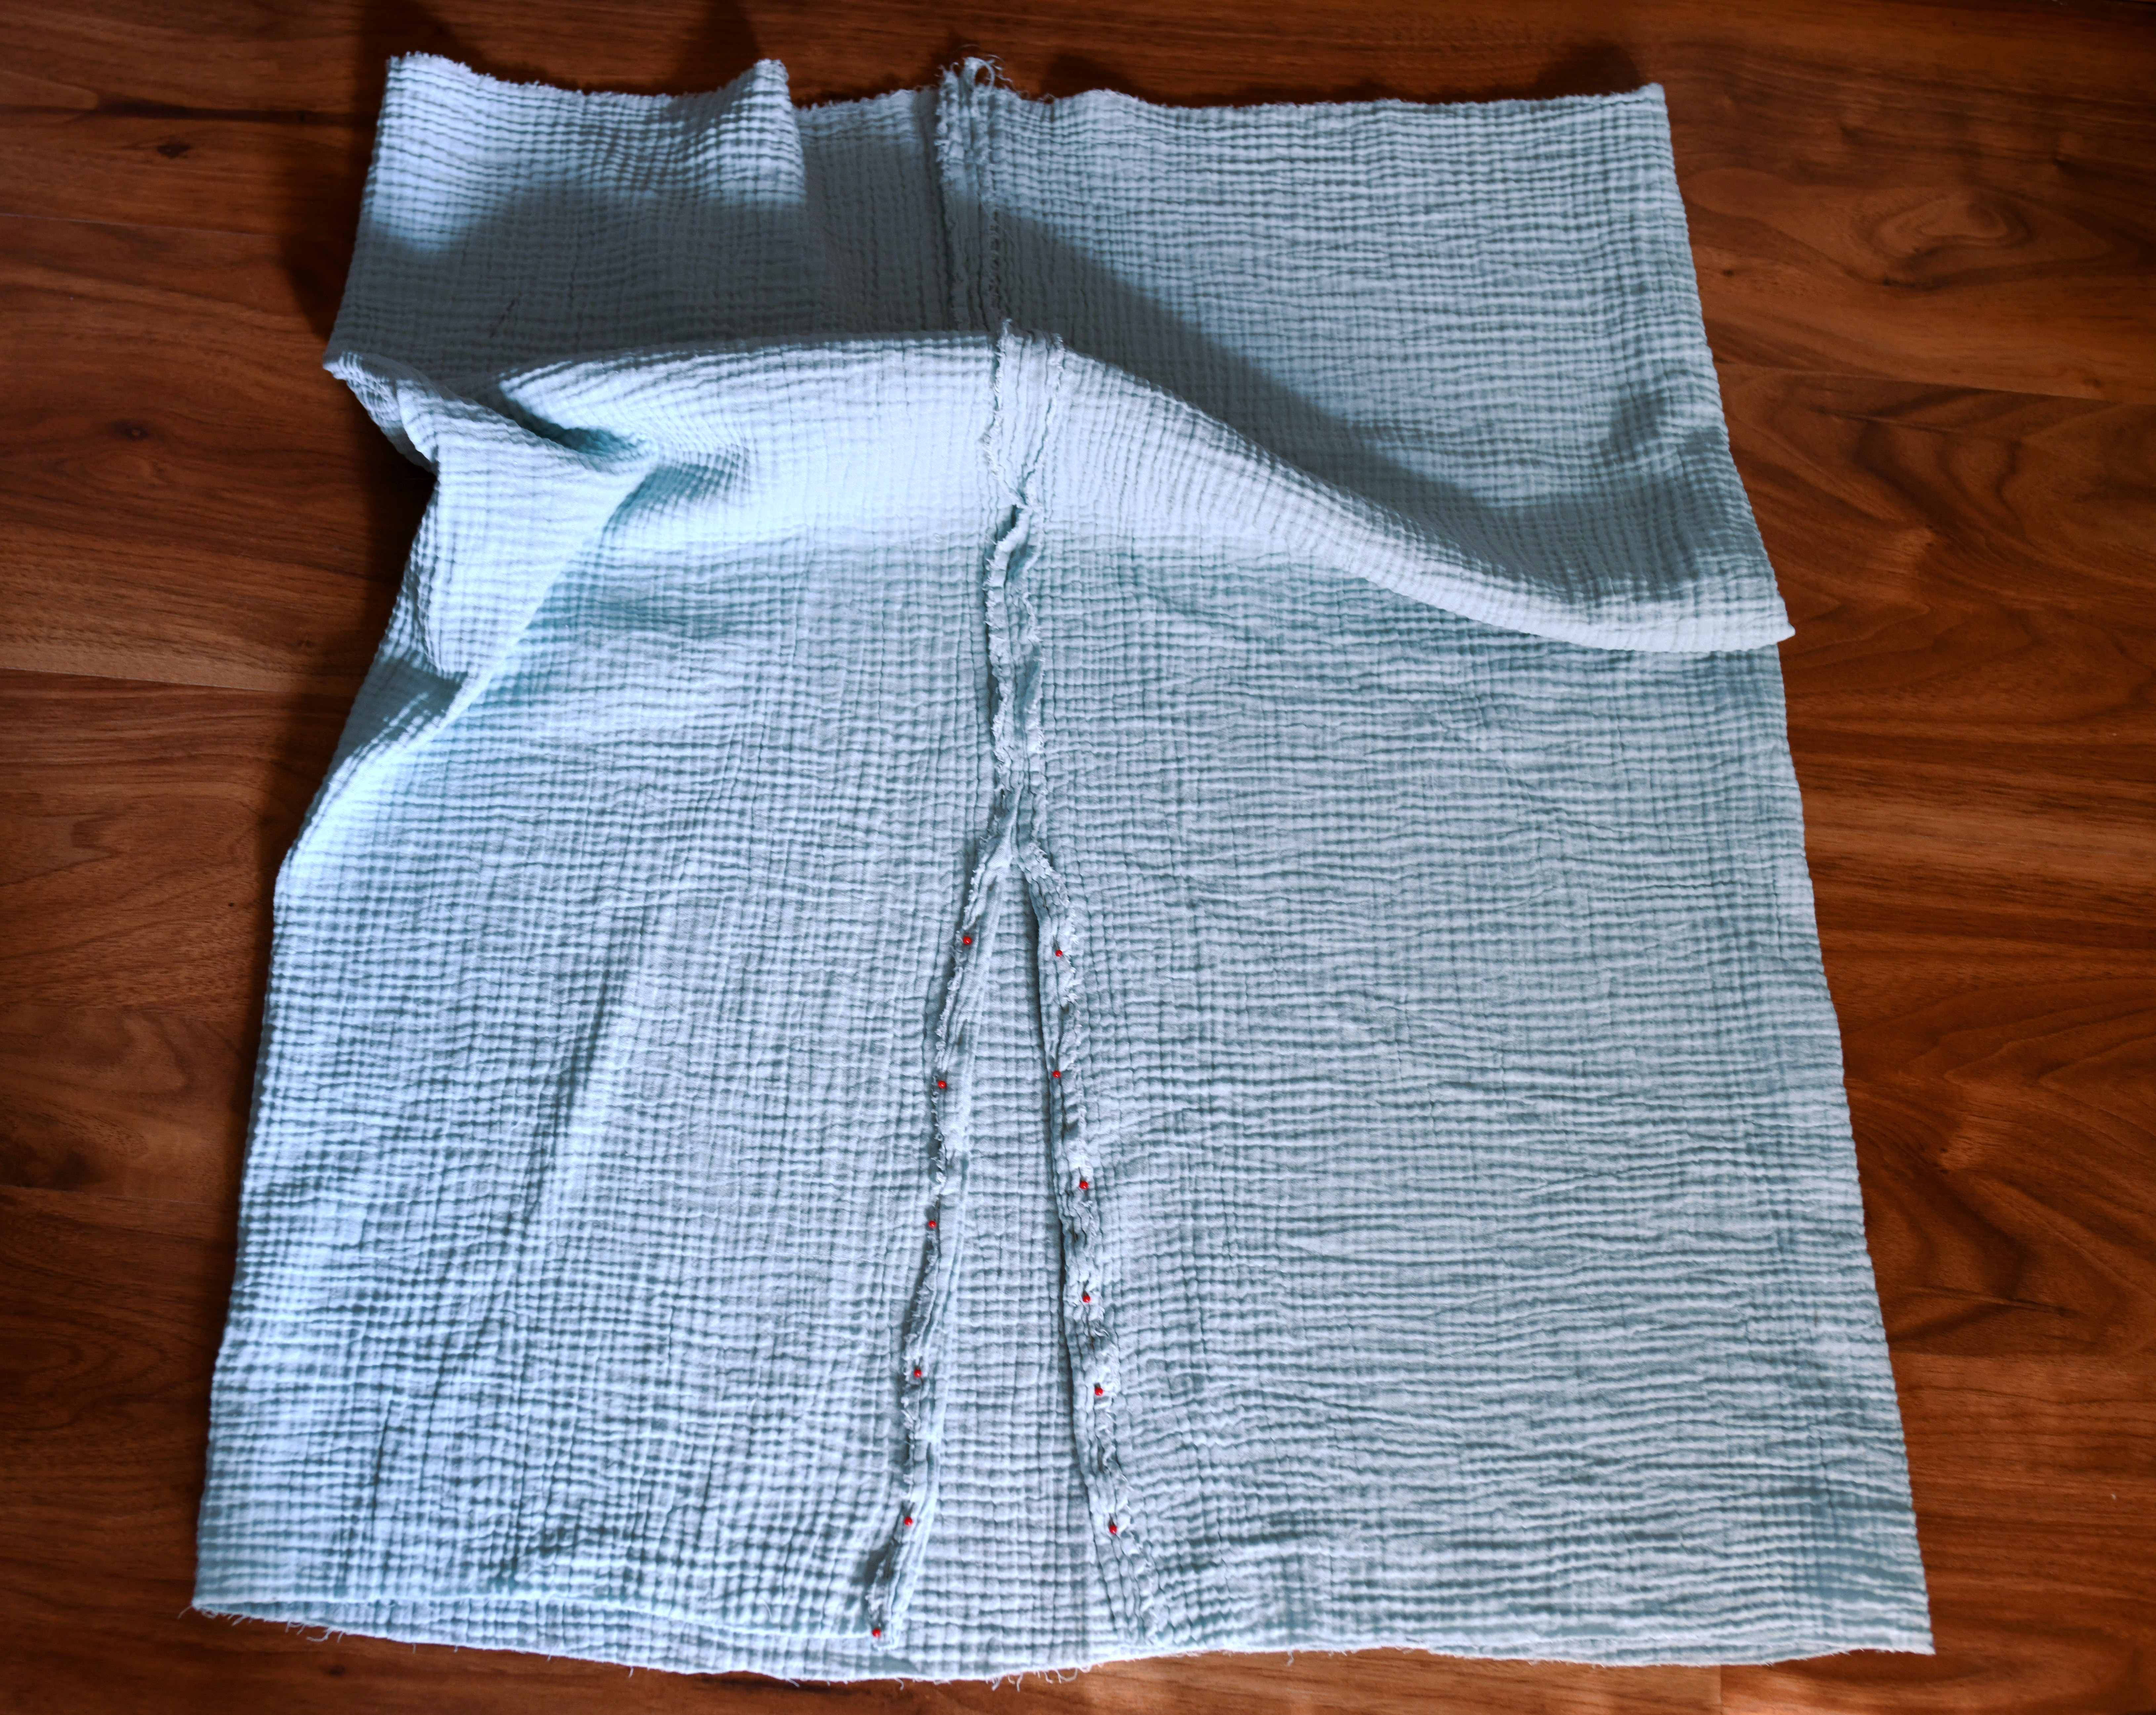
Step 2 – sew the side seam
I folded my fabric rectangle in half, right sides together to create a side seam, and used pins to hold the layers in place.

Afterward, I decided where I want my seam to finish and my side slit to start. Then, I marked the beginning of the slit by placing two pins at that point.
I stitched the side seam with a 1/2 inch seam allowance and stopped at my mark.

Sewing tip – ignore the textured look of the fabric and just do your best to sew a straight seam. Don’t stress over it. Backstitch.
Now’s the time to try on the skirt and check if the slit is the length you want. However, I was in a rush for no reason and forgot to do that.
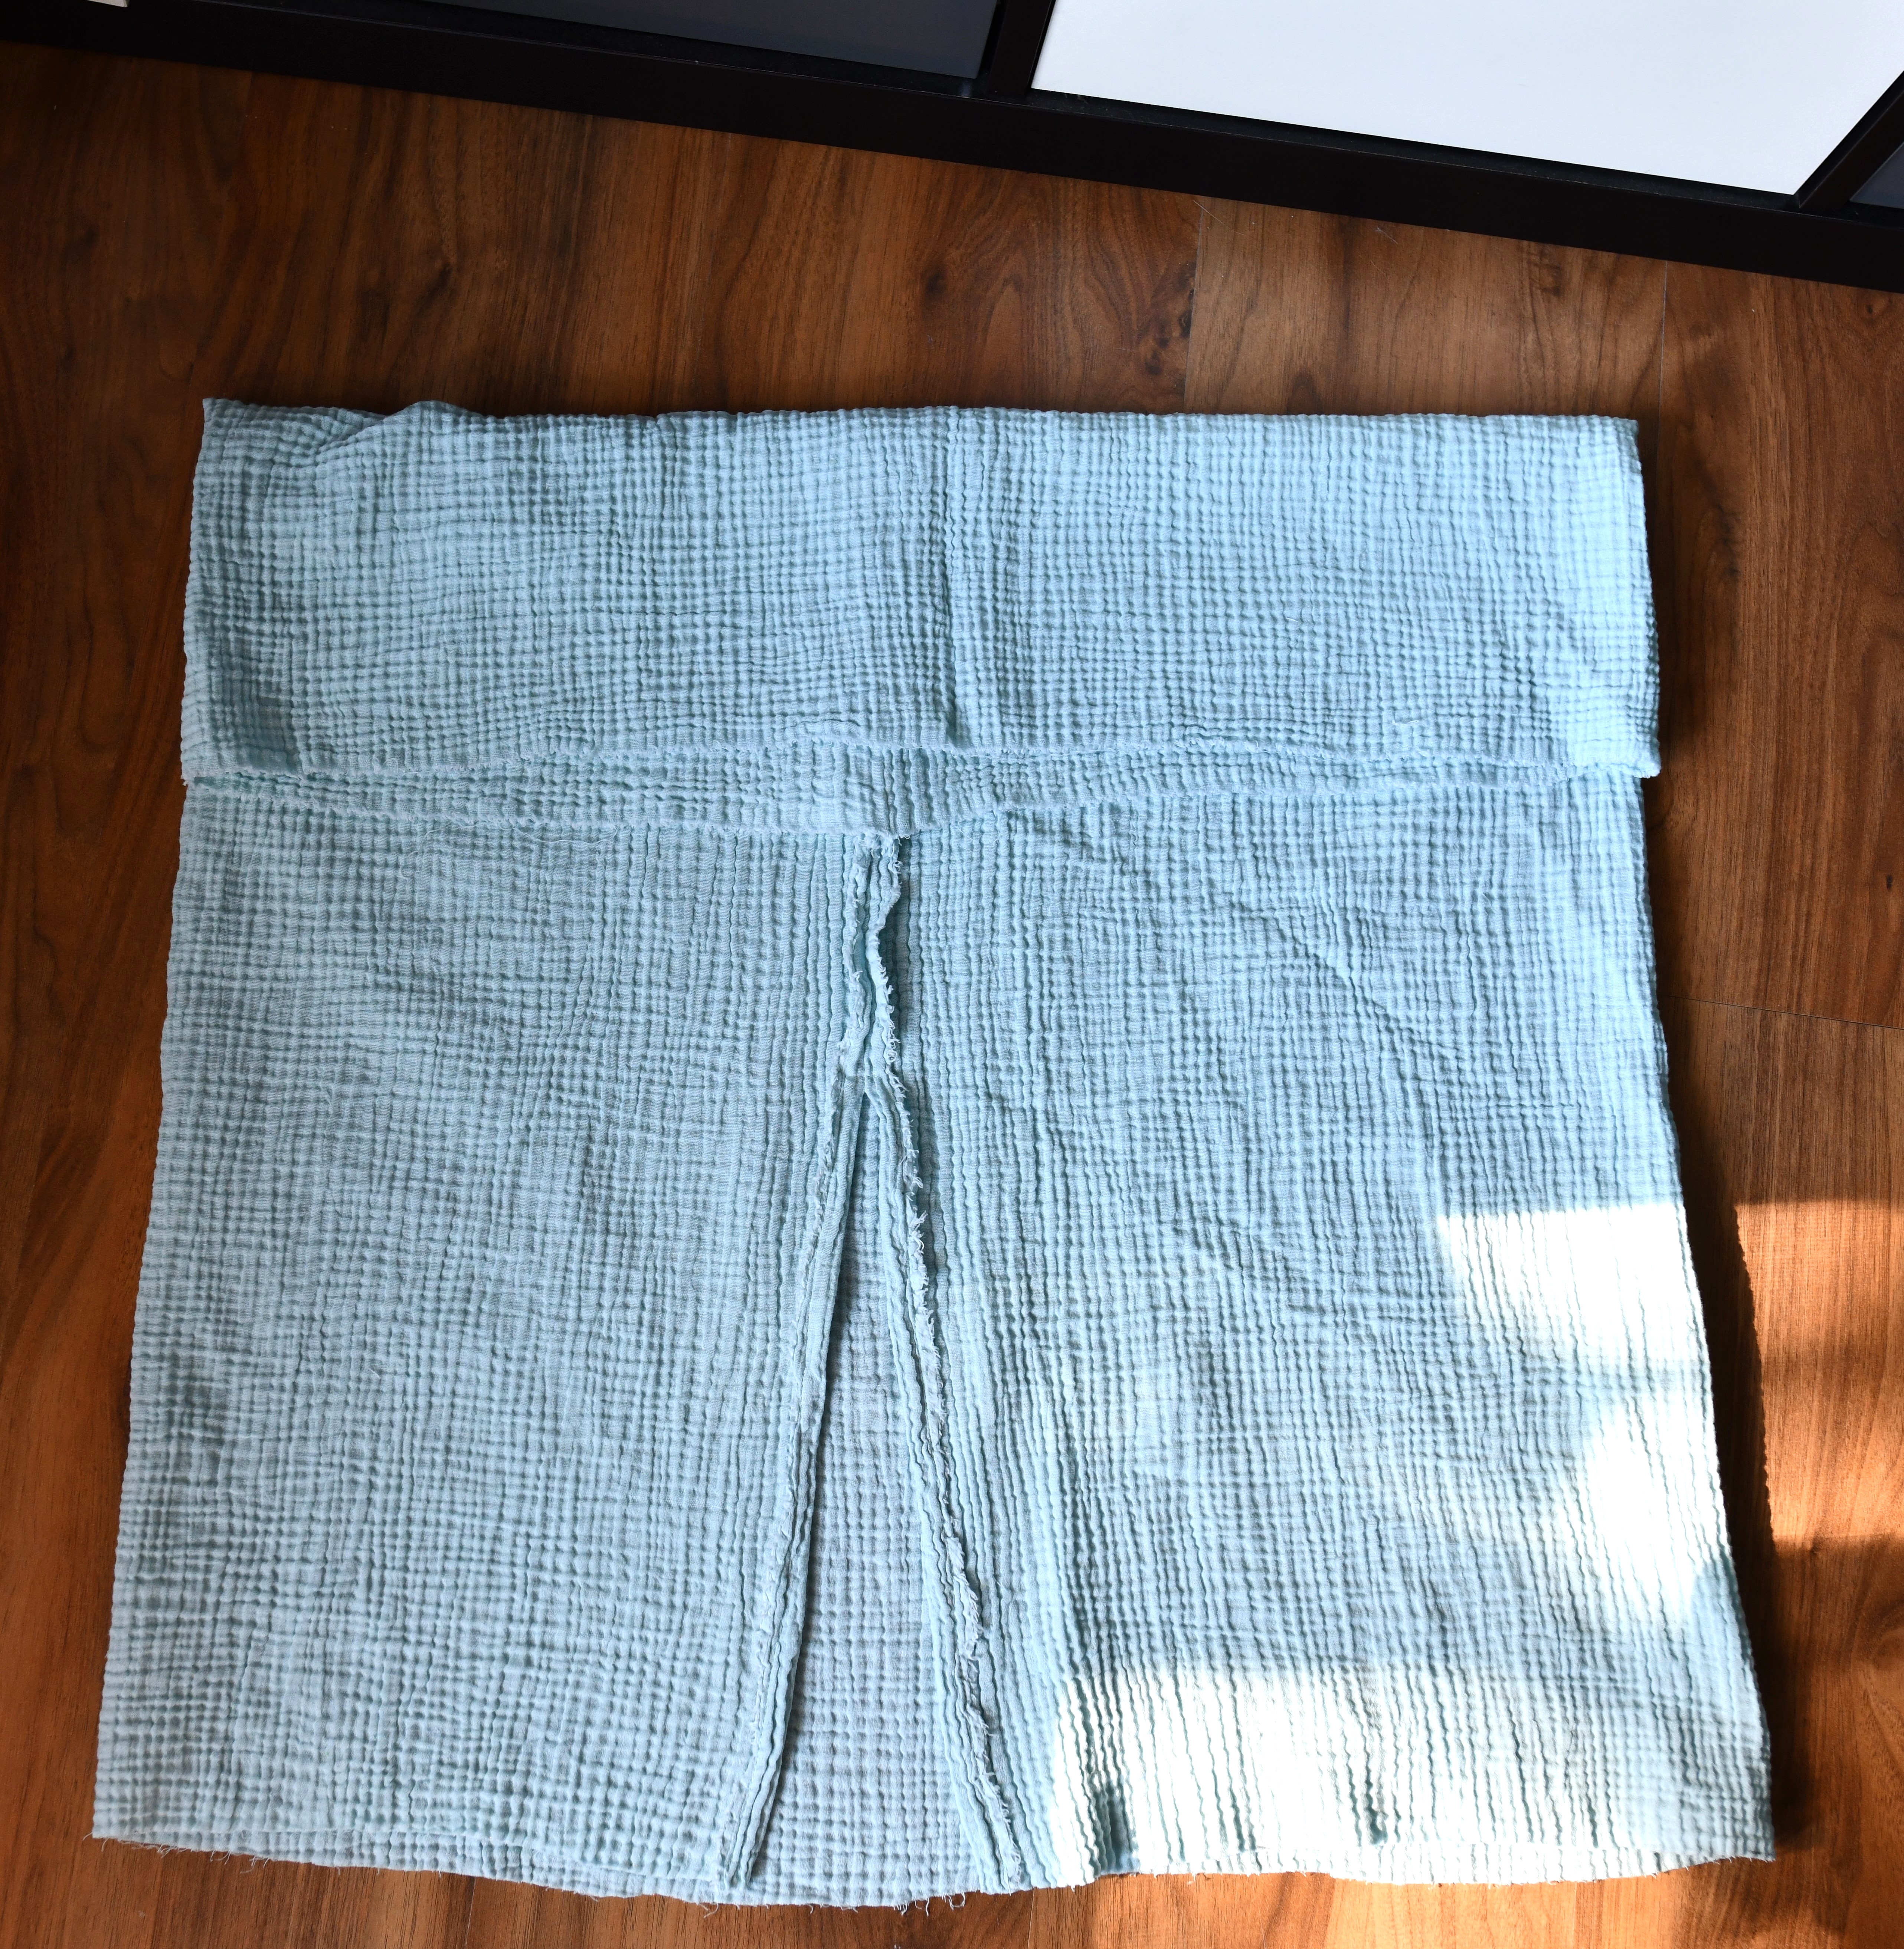
Step 3 – topstitch the side slit
Now I pressed the seam open. When I got to the slit opening, I continued pressing the edges open.
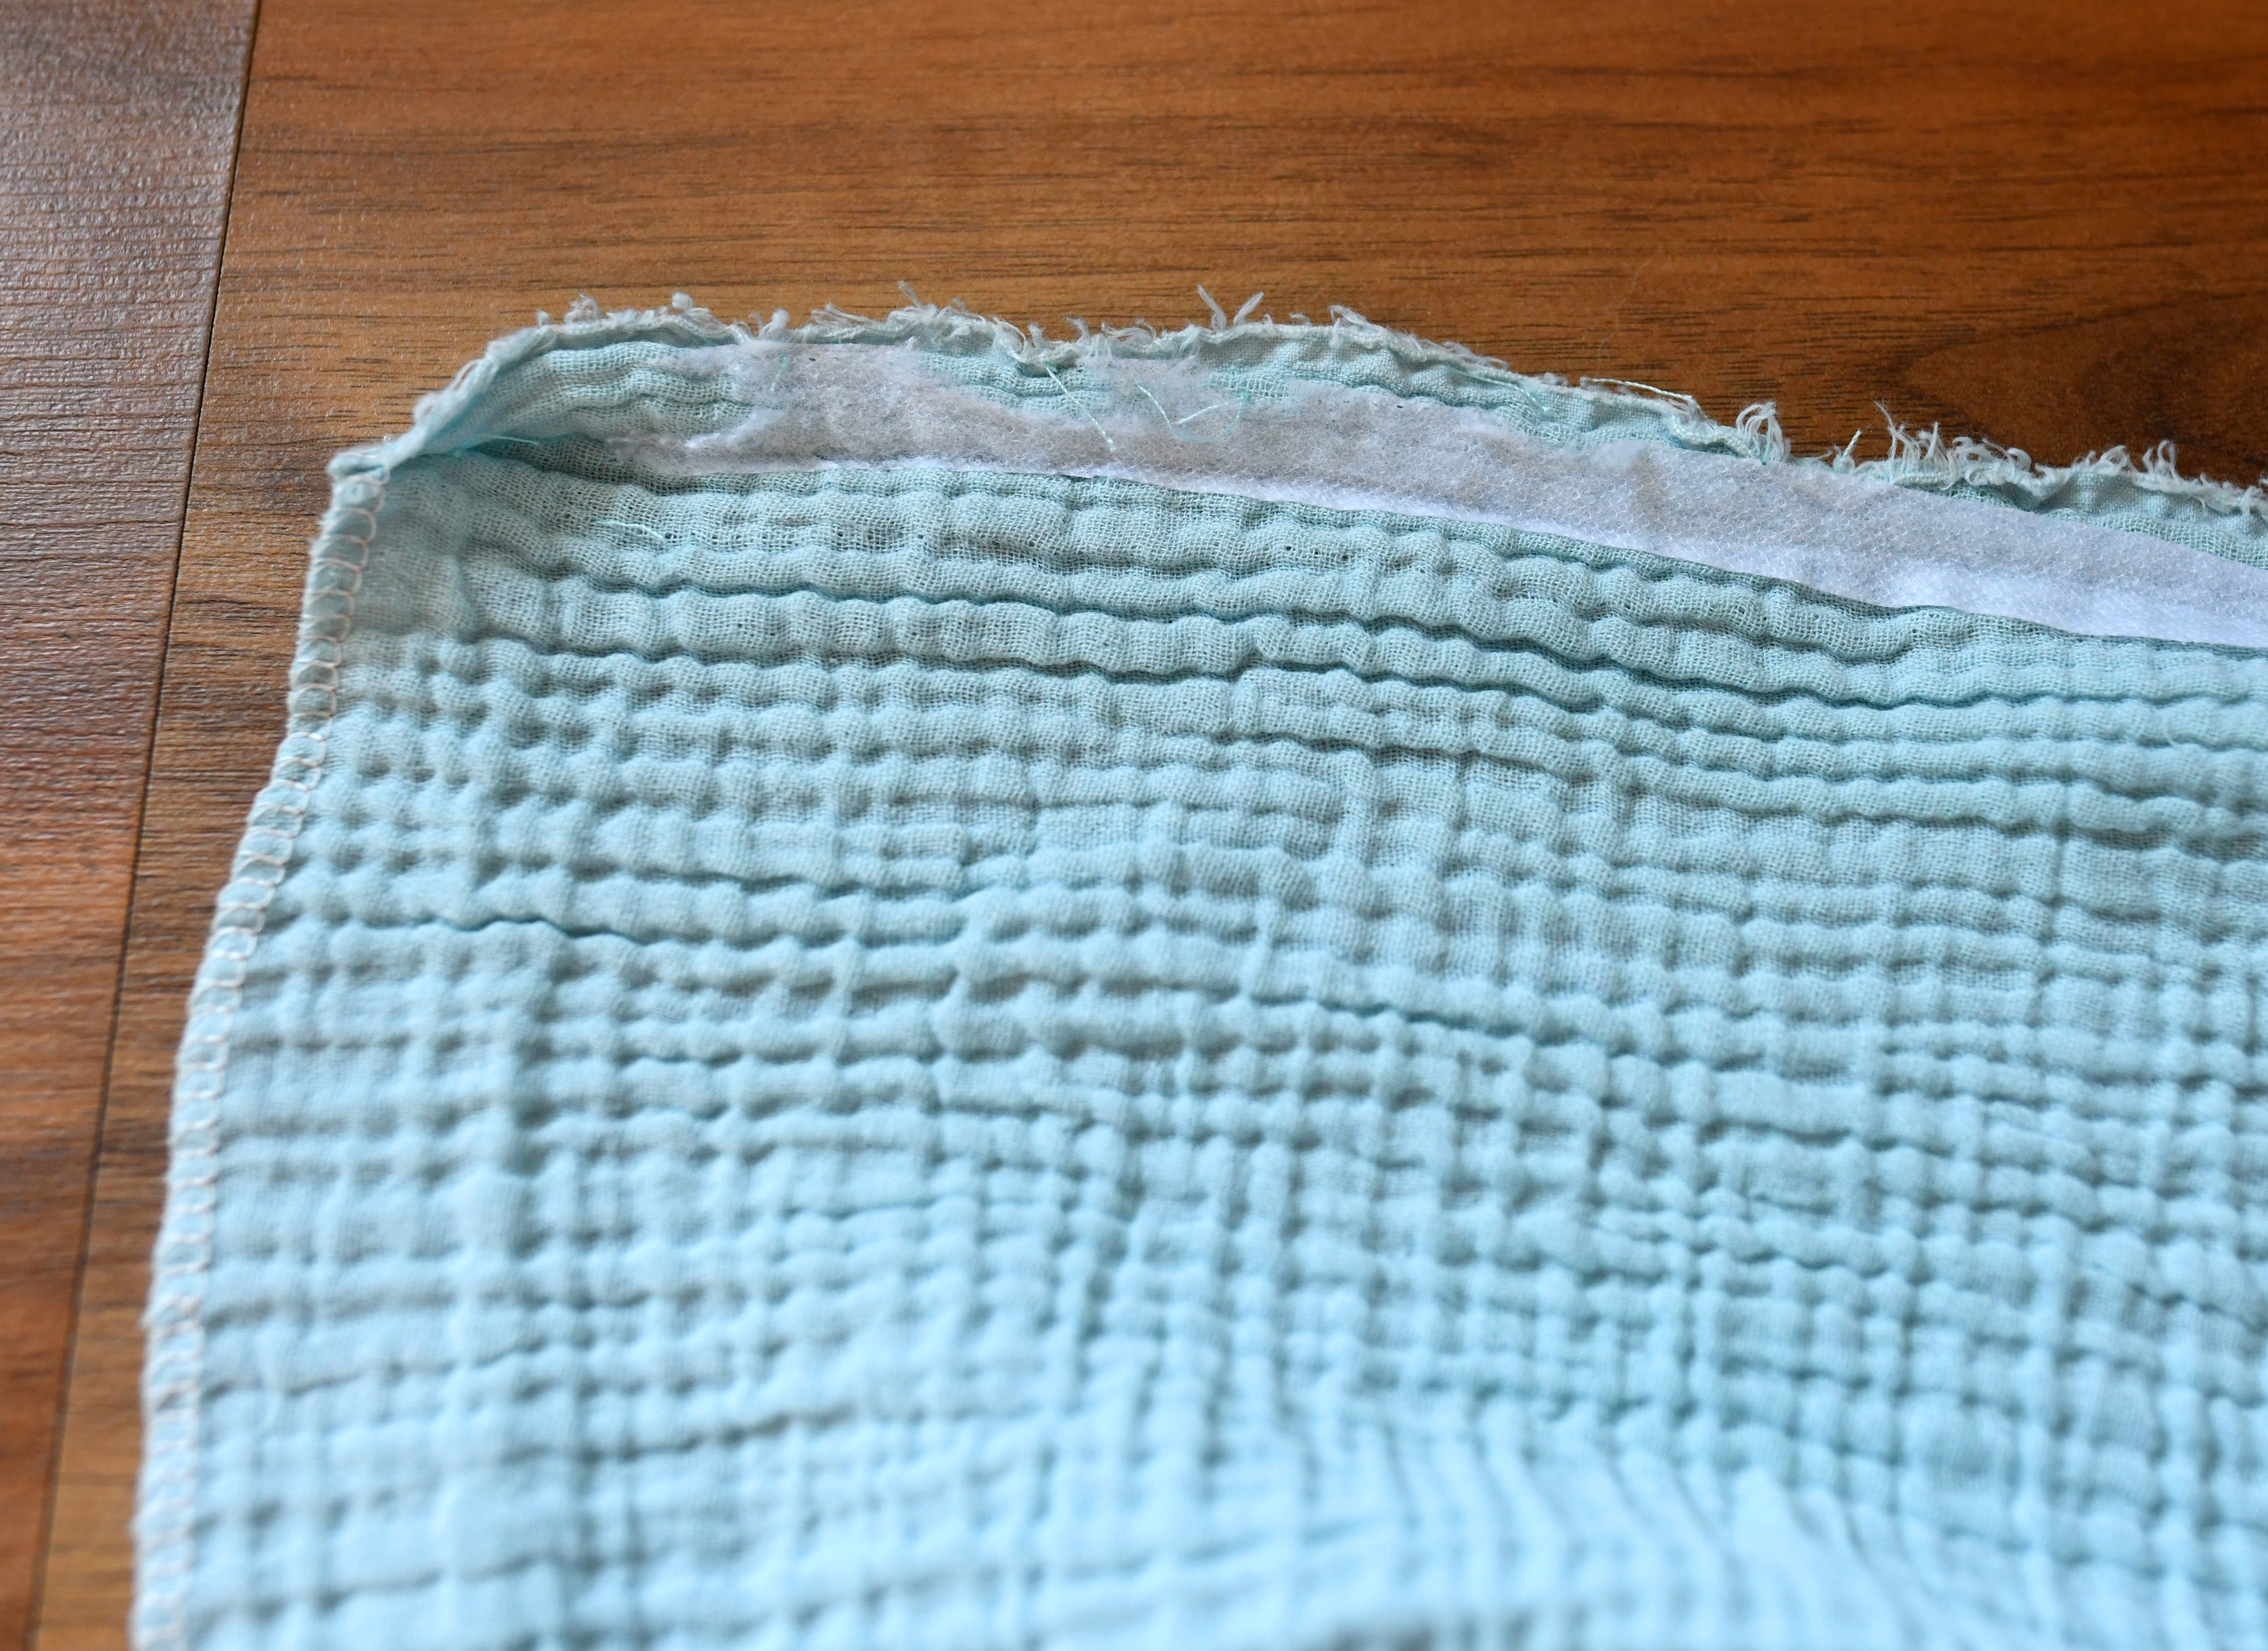
Now, do you see those interfacing pieces on the slits? They are not necessary!
I don’t know what I was thinking. I must have read somewhere, some time ago, about interfacing the slits so that they don’t end up distorted somehow, but… that’s not a thing. You leave your slits as they are!
At this point, I tried on my skirt for the first time and became acutely aware that 1. I did not like my interfaced side-slit 2. I fused the interfacing before even trying on the skirt and 3. I wanted my slit higher.
So, I unstitched and tried to tear away the interfacing, but to no avail. Occasionally I’m silly like that! Oh well, I adjusted the slit anyway – half of its length is interfaced, the other is not.
Fortunately, my side slit looks good despite everything. You do not need fusible interfacing, I repeat.
A small piece of fusible interfacing is sometimes necessary to strengthen the side slit of a tight pencil skirt – but this is not the case.
Next, I stitched around the slit, starting at the hem. I topstitched both folded edges in place as close to the outer edge as possible.
I gave my seams a good press, again.
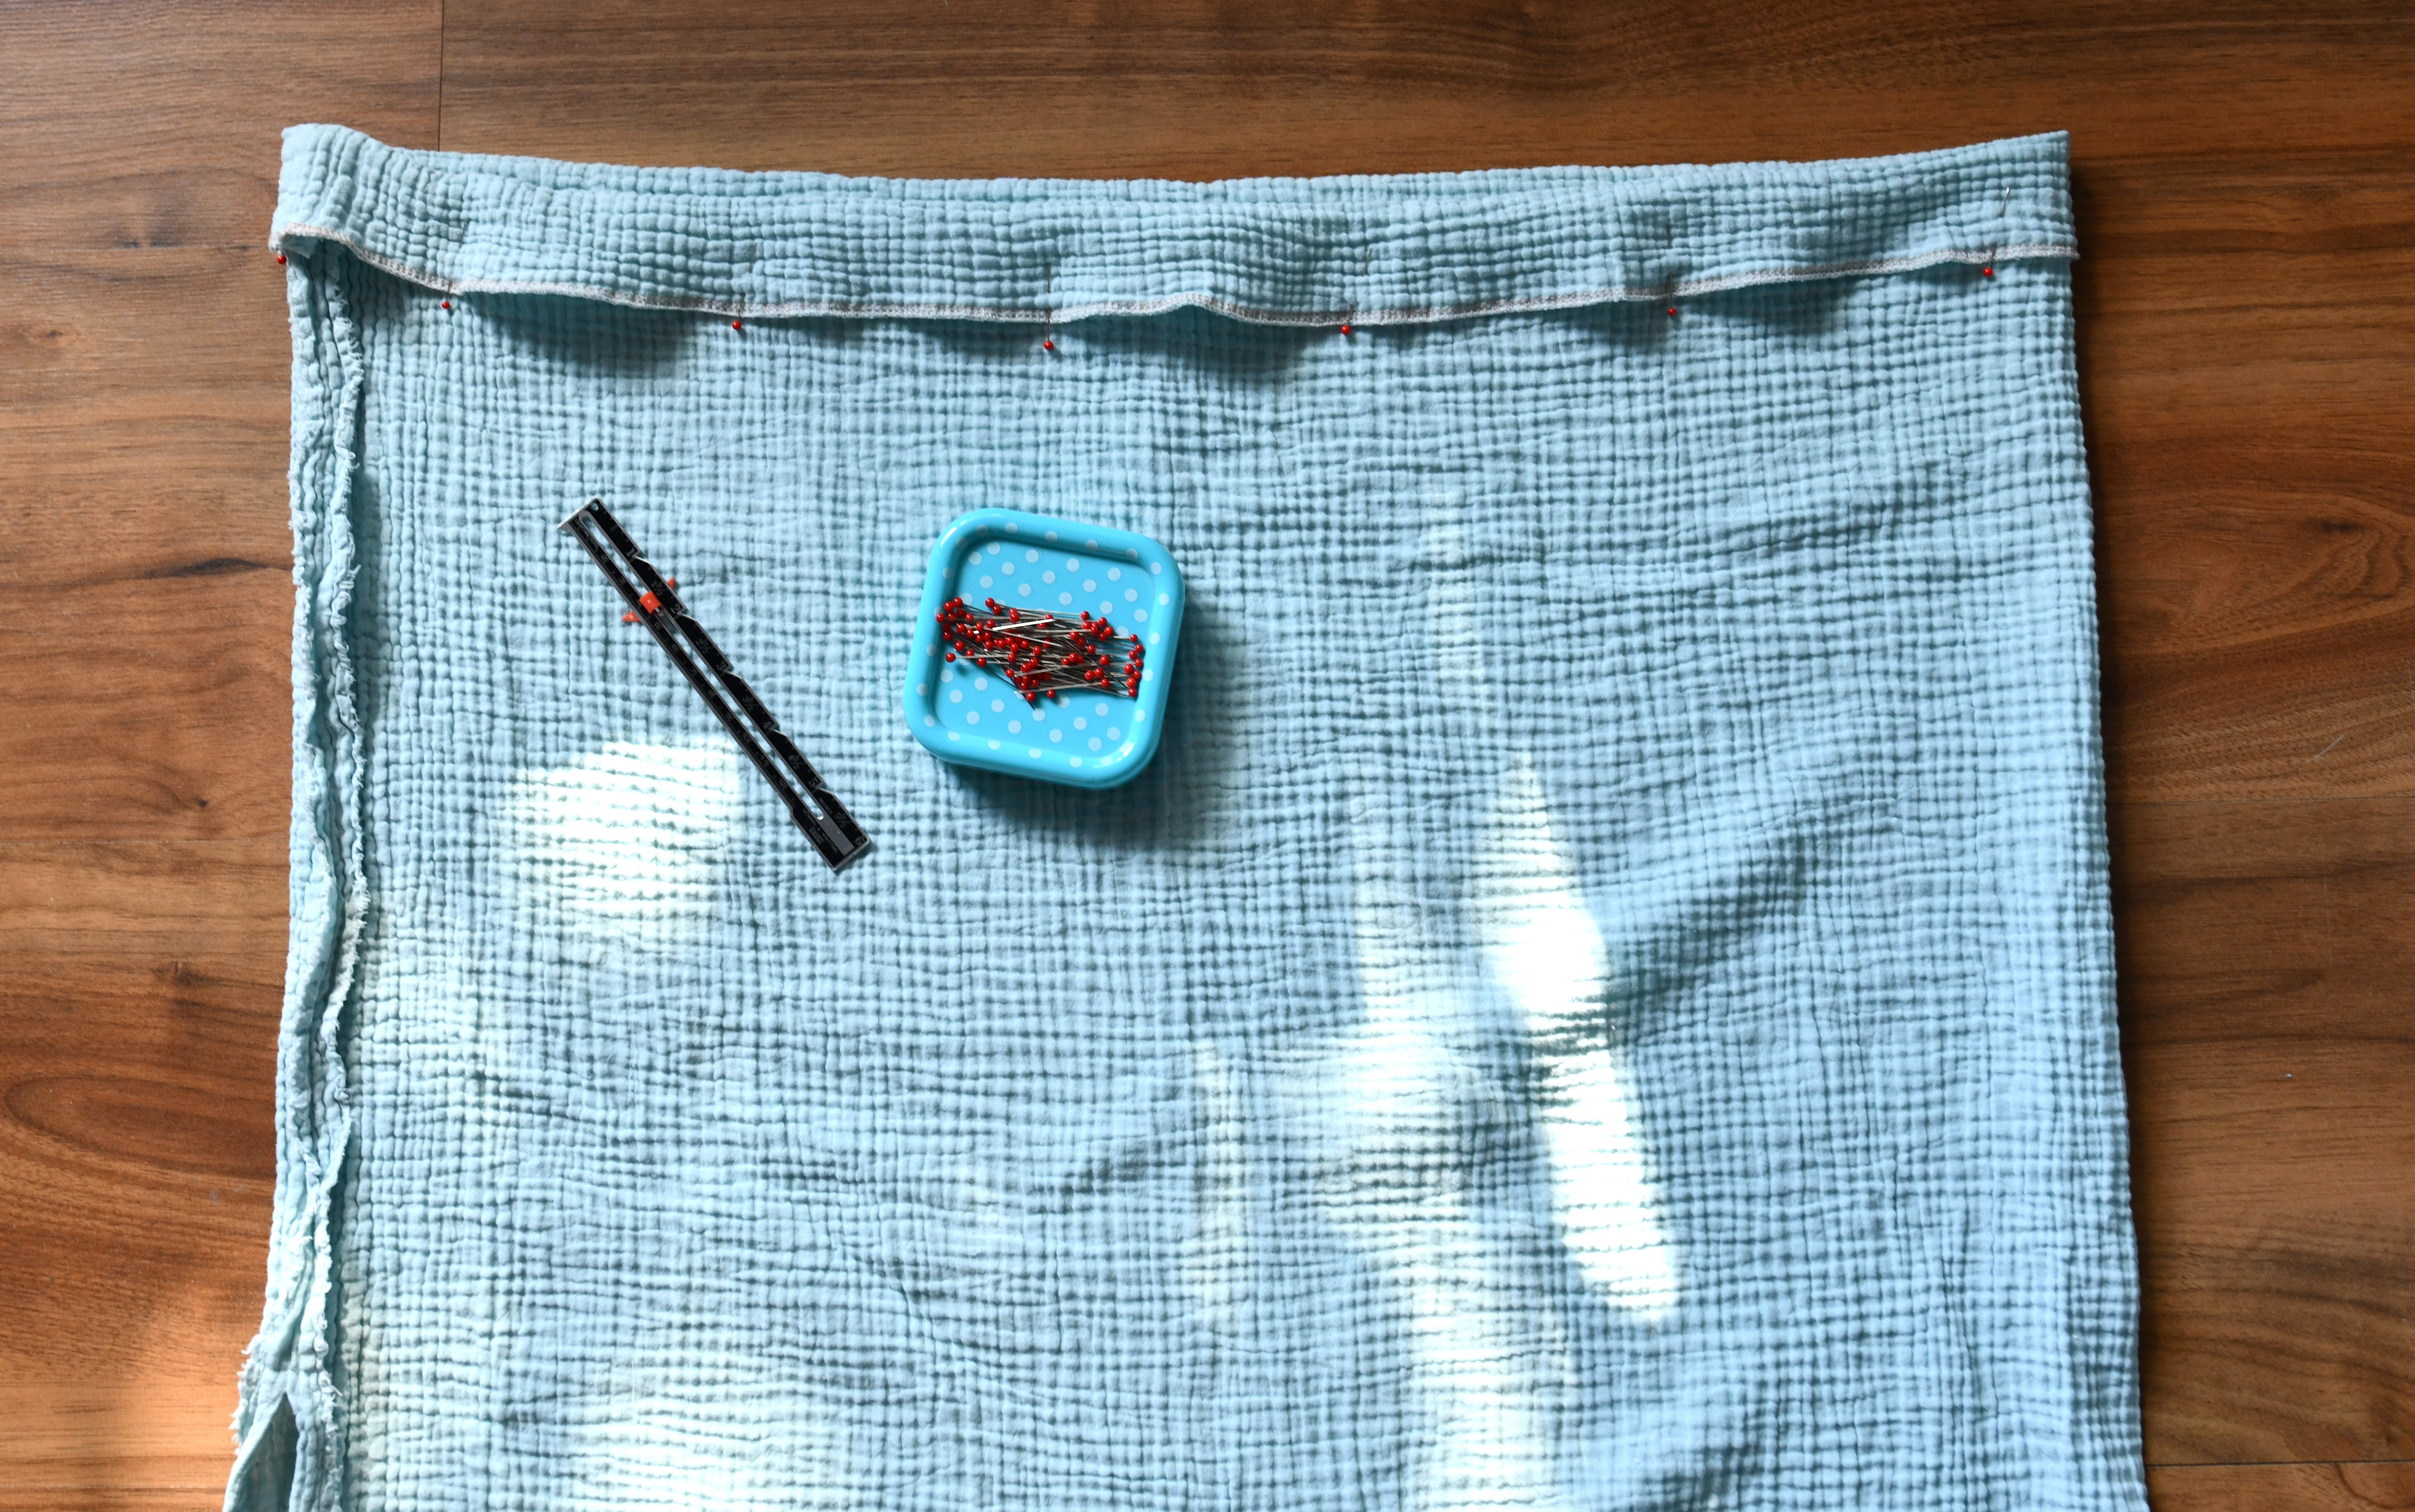
Step 4 – make the waistband
I serged the remaining raw edges (the top and the bottom of the skirt).
Then, I pressed the waistband over 1 1/2″ using not an iron, but my fingers and a sewing gauge. I pinned everything in place.
Next, I stitched around the skirt about 7/8″ below the top fold of the skirt and then again at approximately 1 1/2″ to create a 1/2” wide casing.
I left a 2” opening for the elastic.
I cut a piece of elastic about 3″ smaller than my waist measurement and used a safety pin to insert the elastic into the casing. I tried on my skirt to ensure the waist is neither too tight nor loose.
I stitched the two ends of the elastic together with a small overlap, then closed the gap I left open into the casing.
Step 5 – hem the skirt
I folded the fabric toward the wrong side by approximately 1/2 inch, then pinned and stitched along the serged edge to hem the skirt.
Almost done here! Finally, I ironed the hem so it lays down flat, and again, I used a press cloth.

My lovely side-slit double gauze skirt is now finished and ready to wear!
Hope you enjoyed this sewing tutorial, see you next time!
Let’s keep in touch! You can find me on Facebook, Instagram, and Pinterest.


Love love this skirt
Thank you, Joy! I’ll definitely take it on my summer holiday, I bet it looks super cute at the beach.