
I finally got around to trying one of the most popular free patterns on the internet – the City Gym Shorts by Purl Soho. If you’ve been in the sewing world for more than five minutes, you’ve probably seen these everywhere.
What I love most is the size range; since I have three kids of different ages, having one pattern that works for everyone is a huge win. But, if I’m being honest, I’m a fan of keeping things as simple as possible.
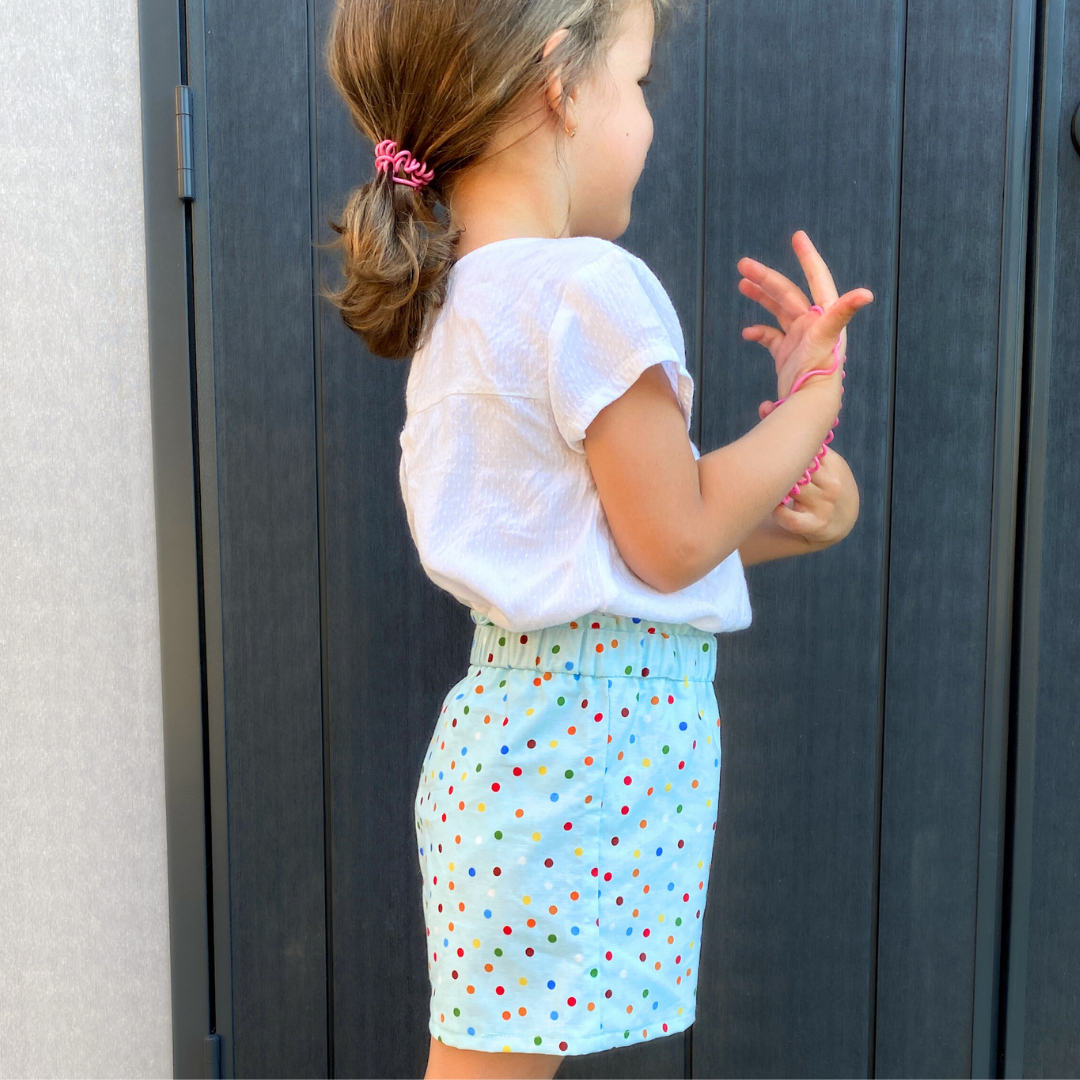
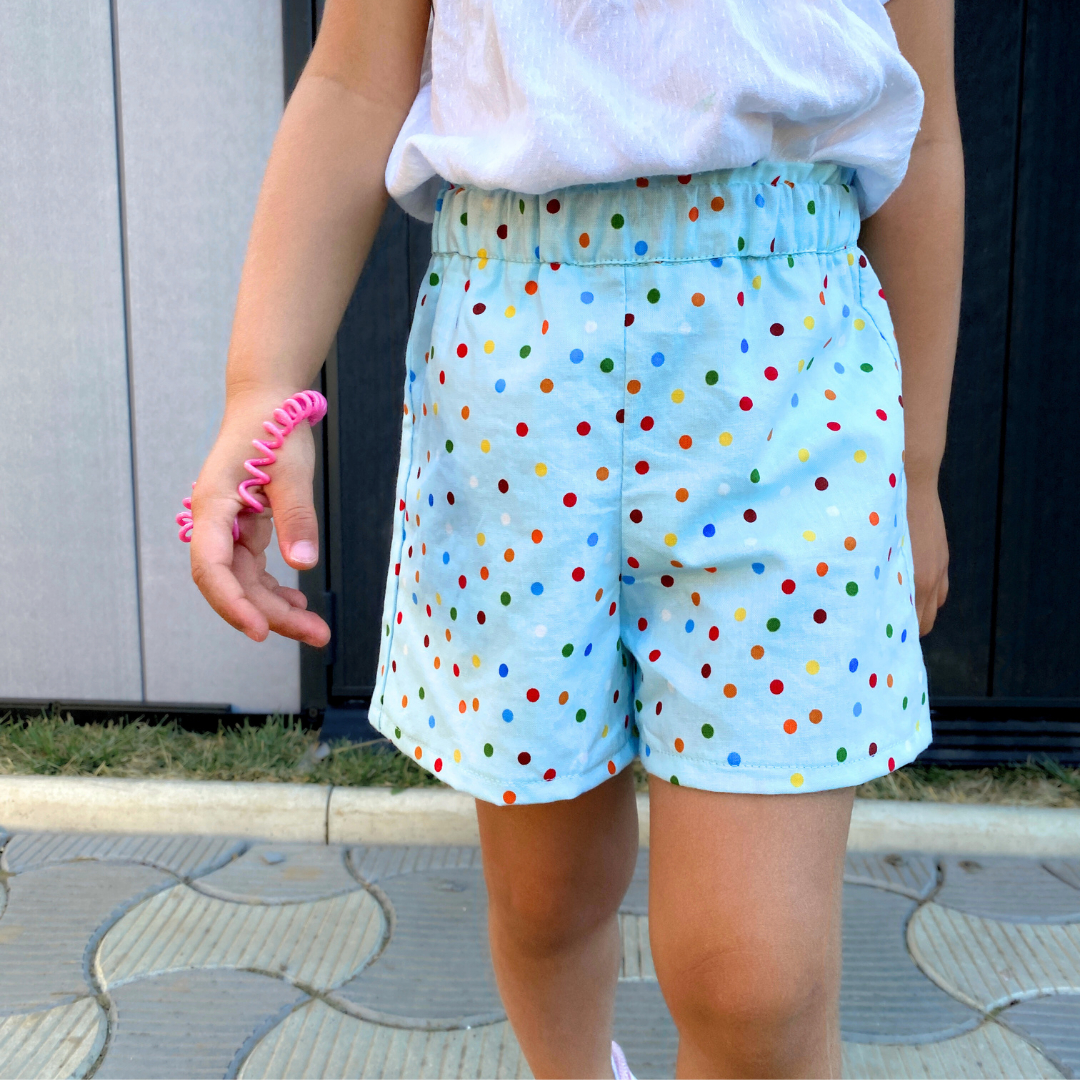
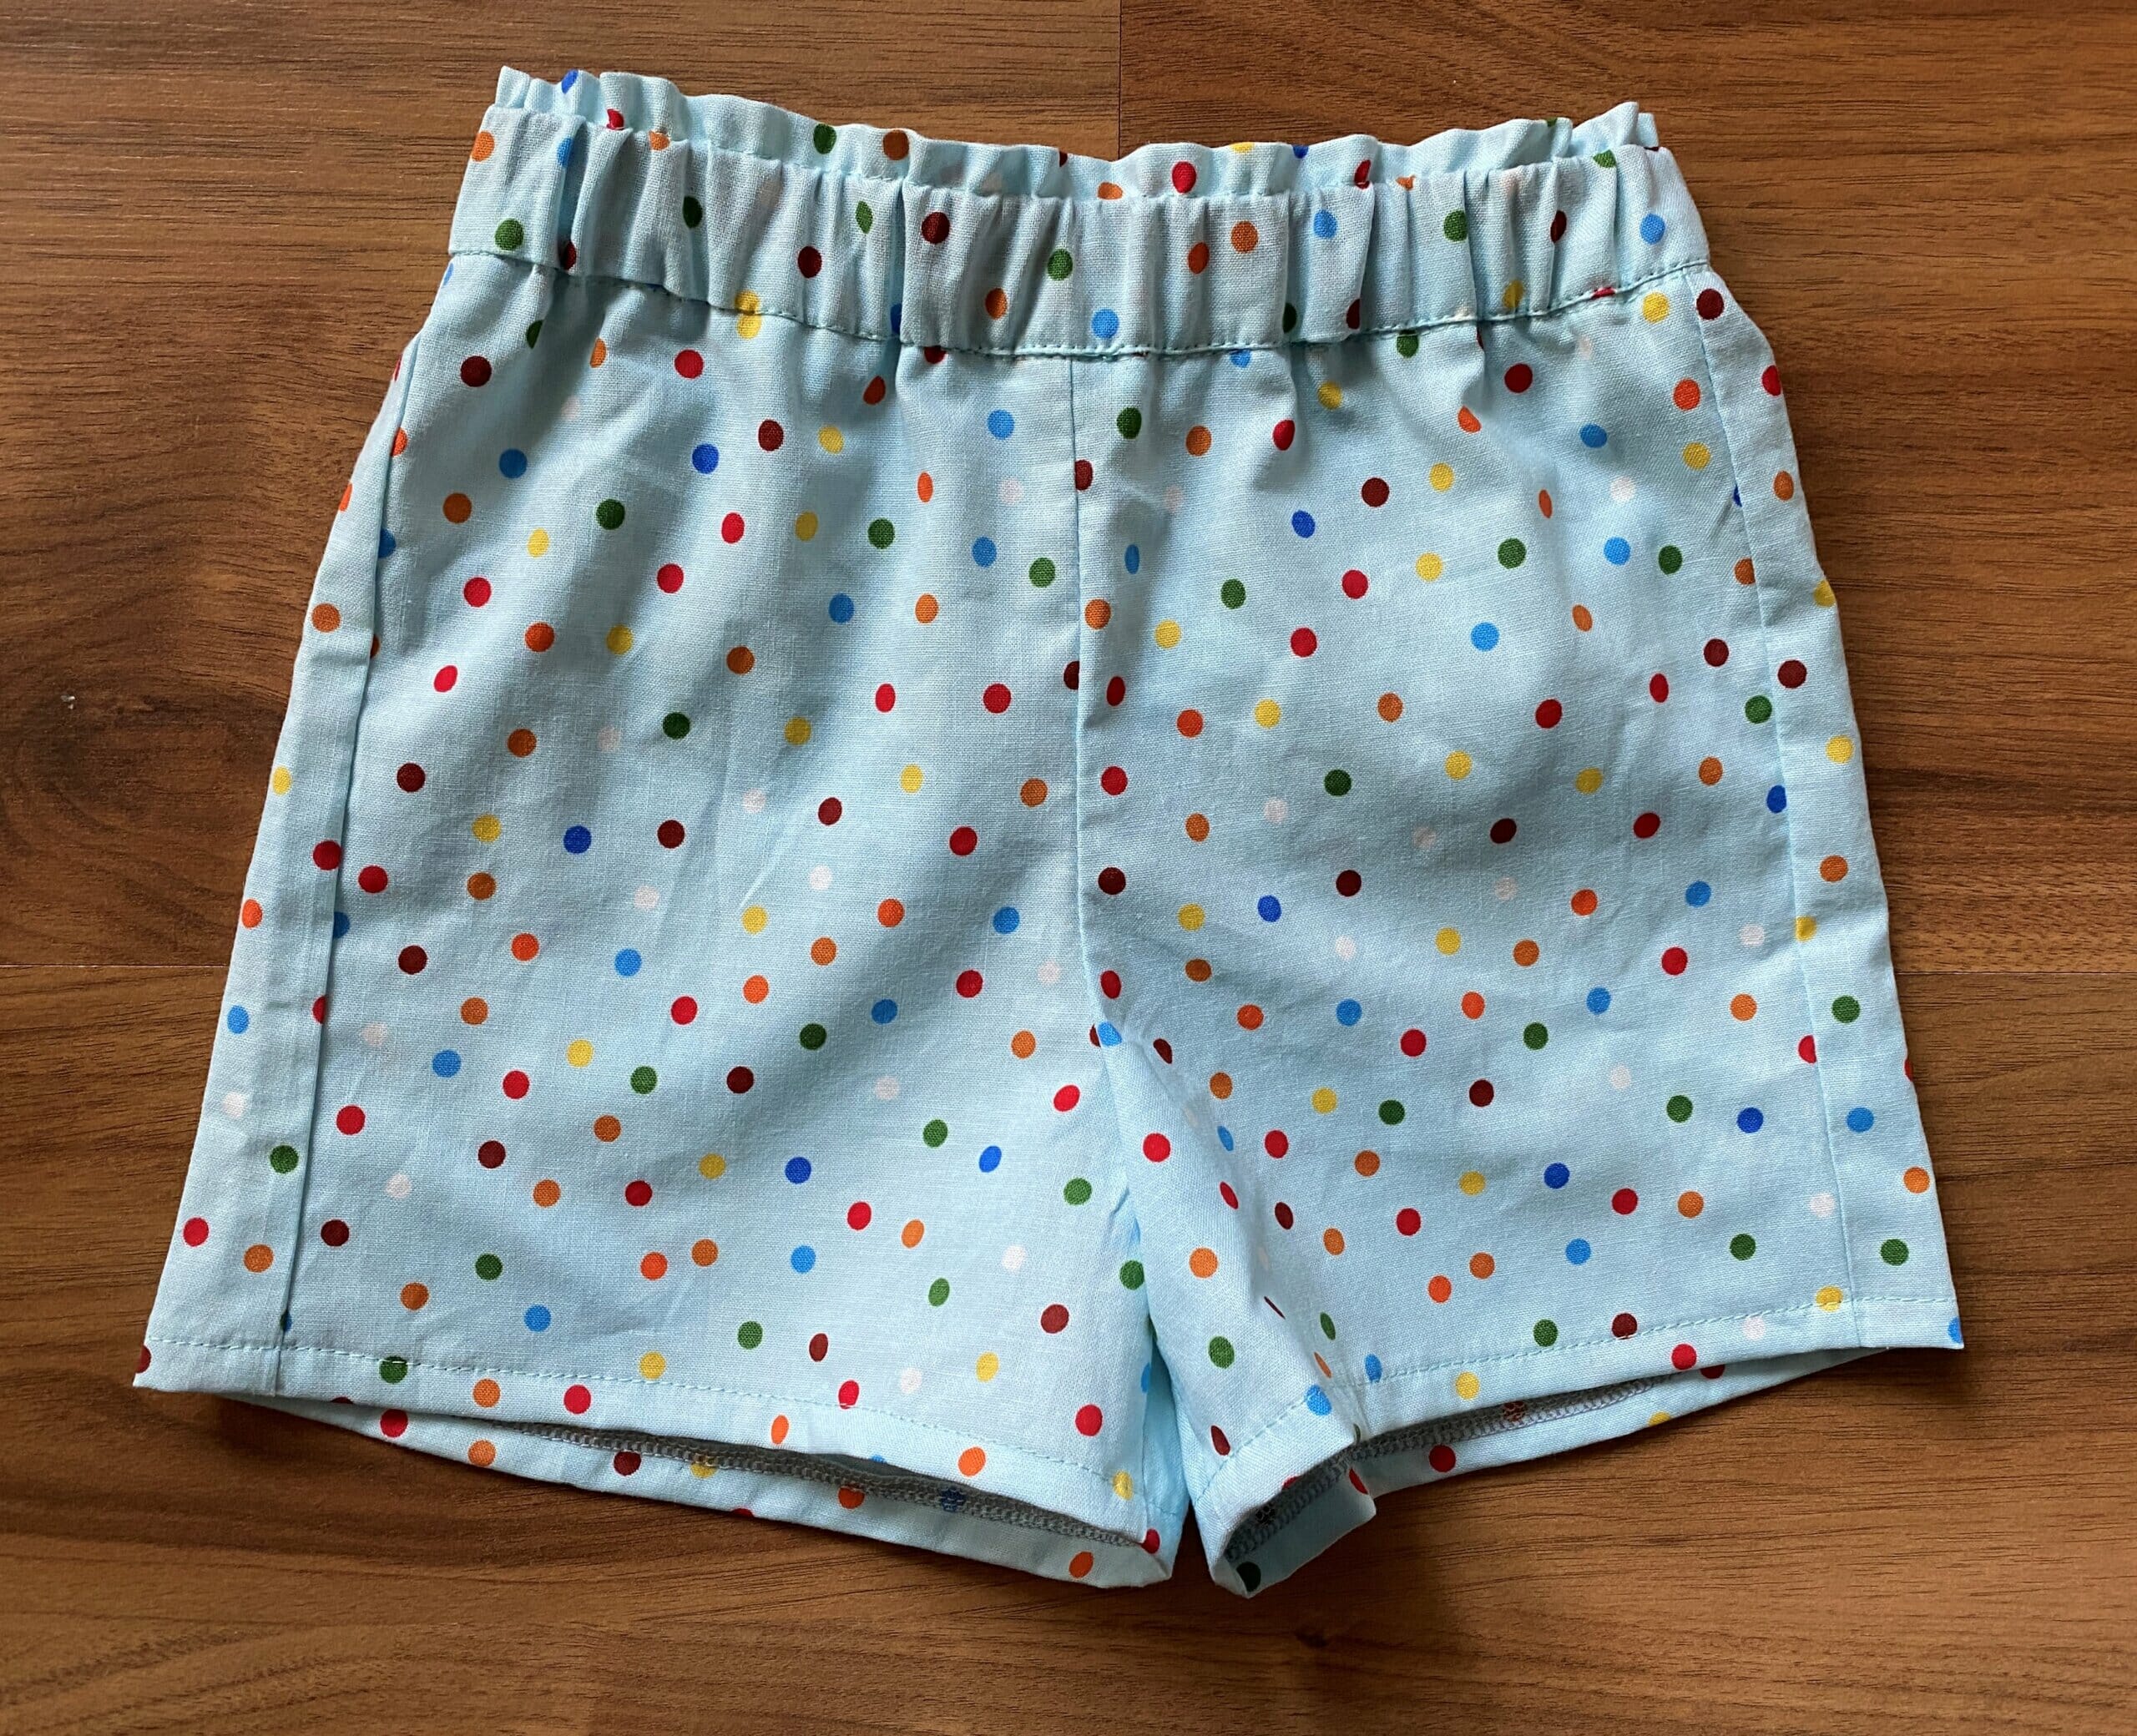
I decided to “hack” the pattern a little bit to suit my style – making them a bit longer, skipping the fiddly bias binding, and adding a trendy paper bag waistband. It’s a much faster sew, and my daughter is already obsessed with her new pair!
Why modify the City Gym Shorts pattern?
- No bias tape: Skipping the binding saves time and reduces bulk.
- Straight hem: Easier to sew for beginners than the original curves.
- Paper bag waist: Adds a stylish, ruffled detail at the top.
- More length: Provides a bit more coverage for active kids.
3 beginner mistakes to avoid
- Forgetting to mirror your pieces: When cutting your front and back panels, make sure you’re cutting mirror images. If you cut them all facing the same way, you’ll end up with two left legs!
- Twisting the elastic: Before you sew the ends of your elastic together, double-check that it’s laying flat inside the casing. A twisted waistband is super uncomfortable and hard to fix once it’s sewn shut.
- Skipping the backstitch: Since shorts take a lot of “wear and tear” (especially on kids!), make sure to backstitch at the start and end of every seam, especially the crotch area.
Supplies you’ll need
- Optional: Scrap bias tape for a DIY back label
- Free City Gym Shorts pattern (from Purl Soho)
- Fabric: Cotton lawn, linen, or lightweight quilting cotton
- Elastic: 1-inch width
- General sewing kit: Machine, thread, scissors, and pins
Easy paper bag waist shorts tutorial (City Gym Shorts hack)
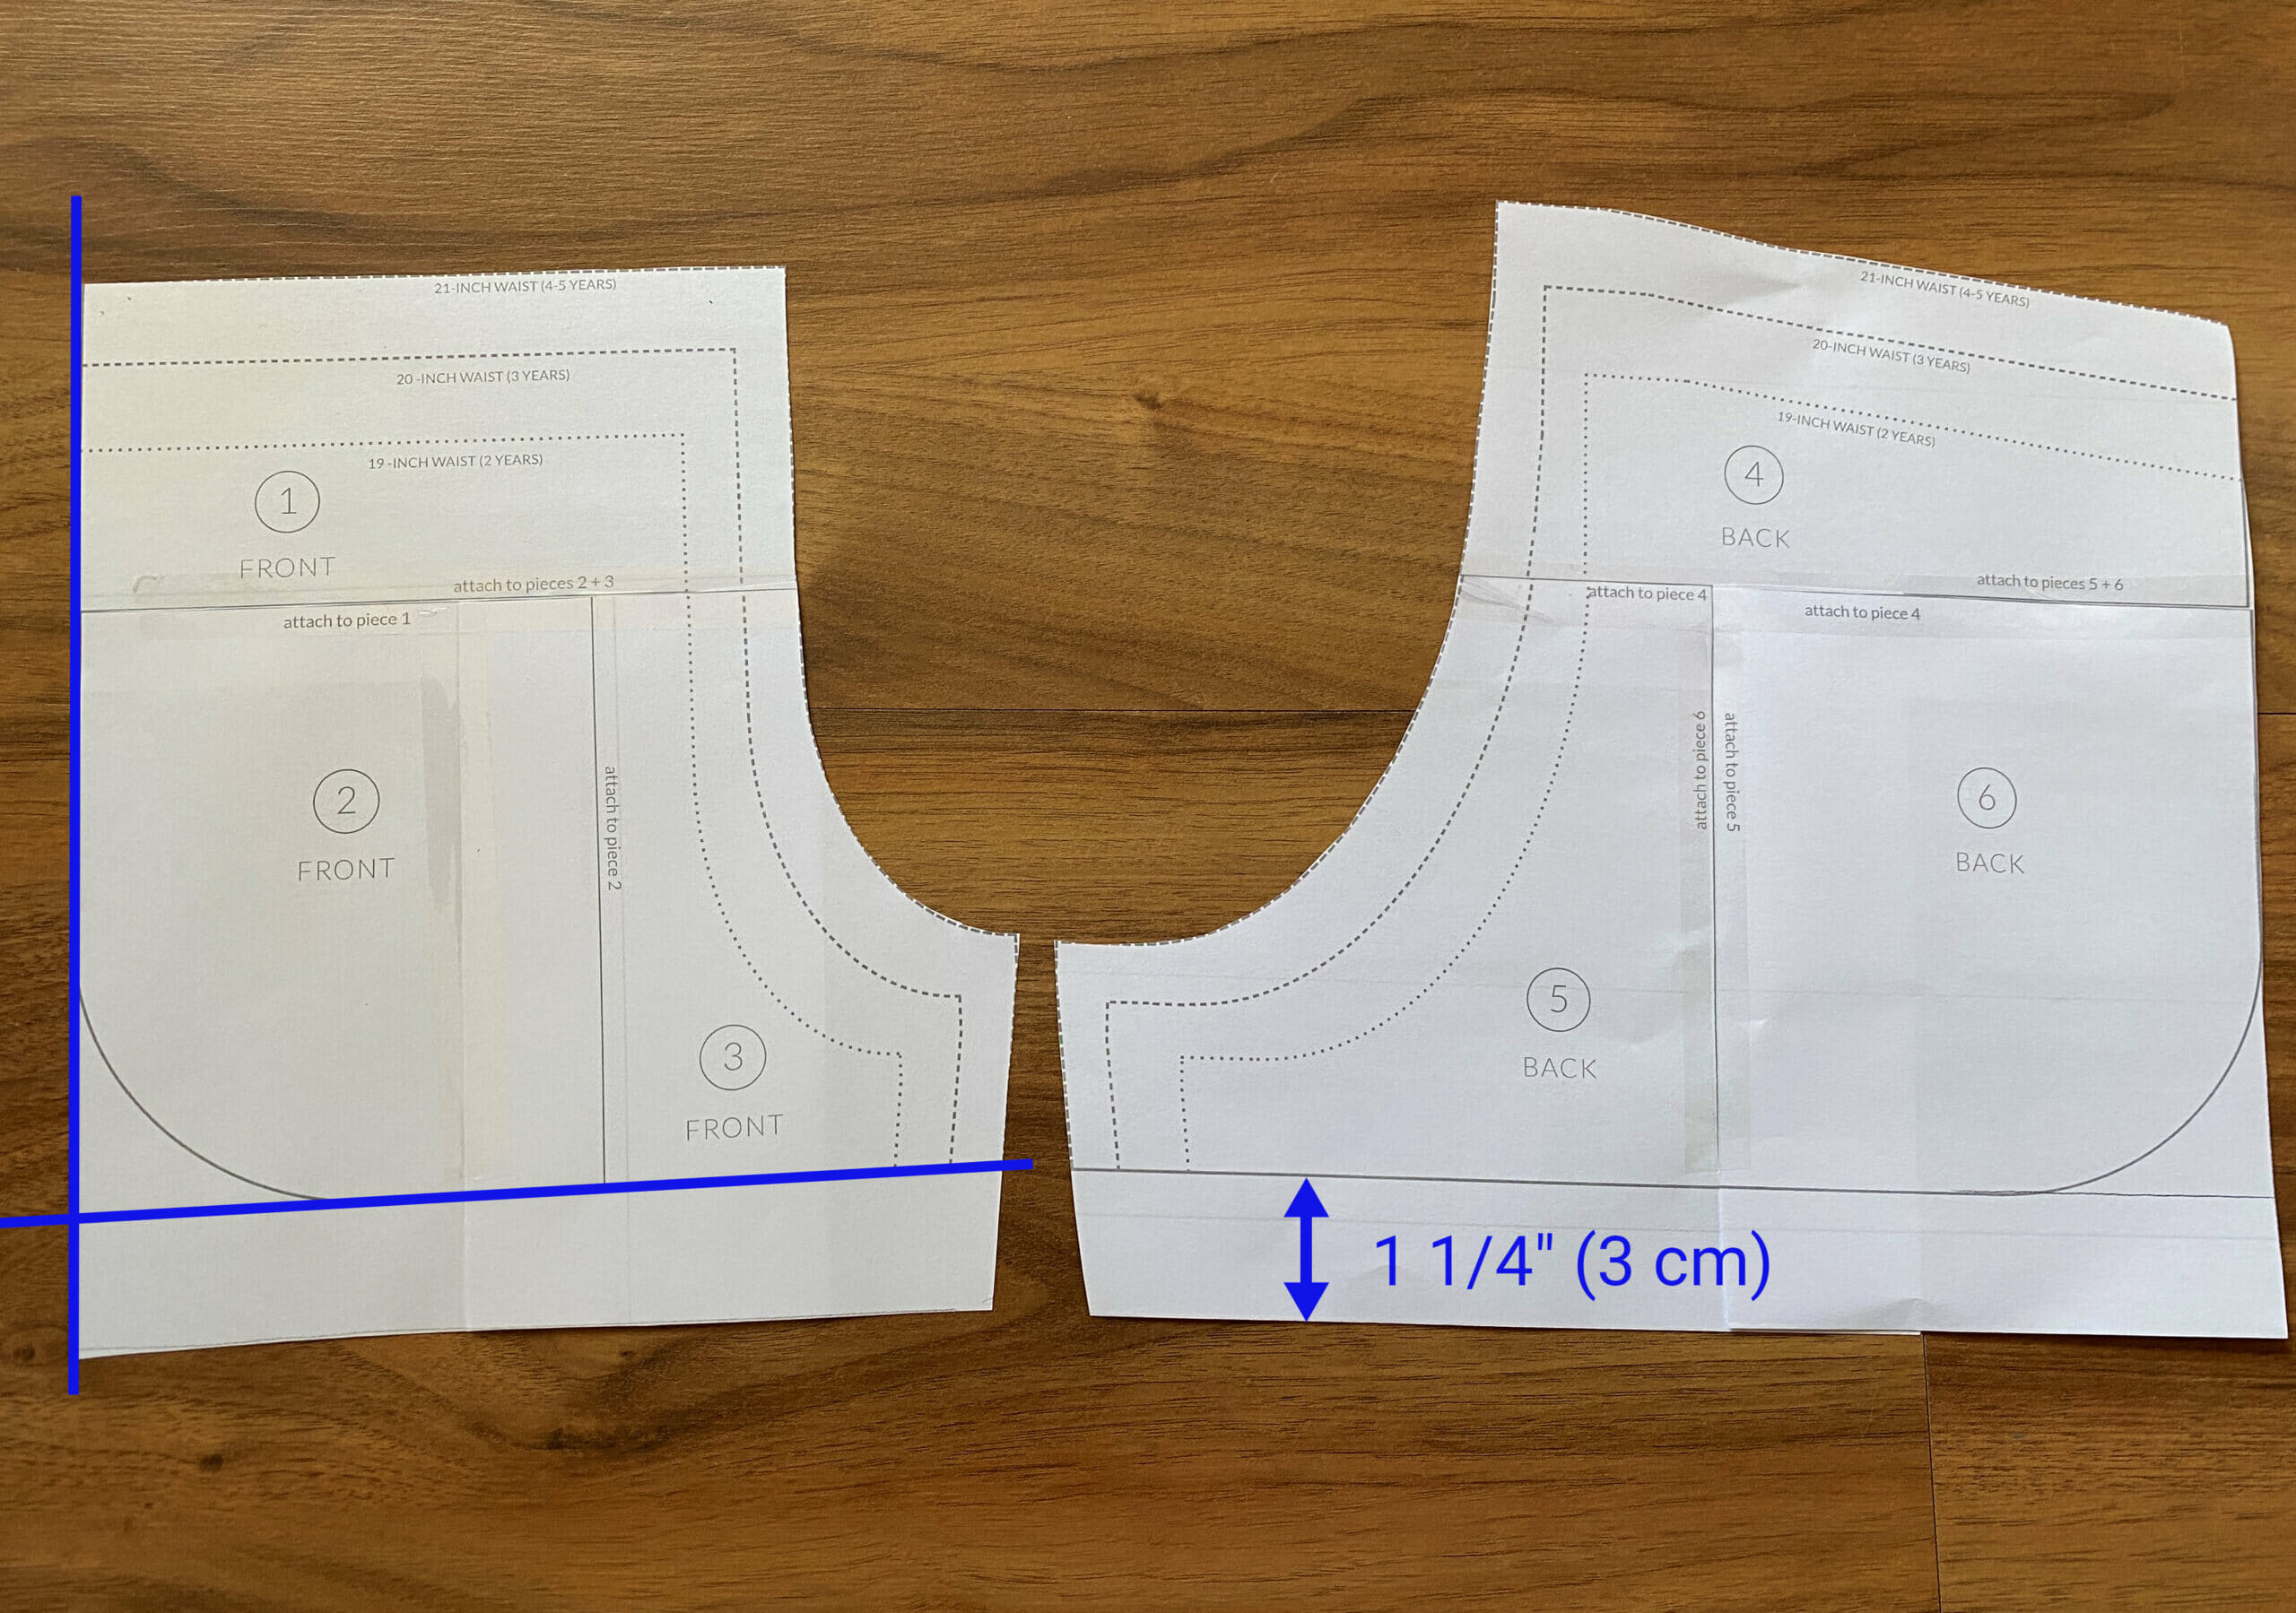
Step 1: Alter the pattern pieces
Before cutting your fabric, we need to “hack” the paper pattern.
- Straighten the hem: Use a ruler to draw a straight line across the bottom of the front and back pieces.
- Add length: I added 1 1/4 inches to the bottom of both pieces to give them a slightly longer fit.
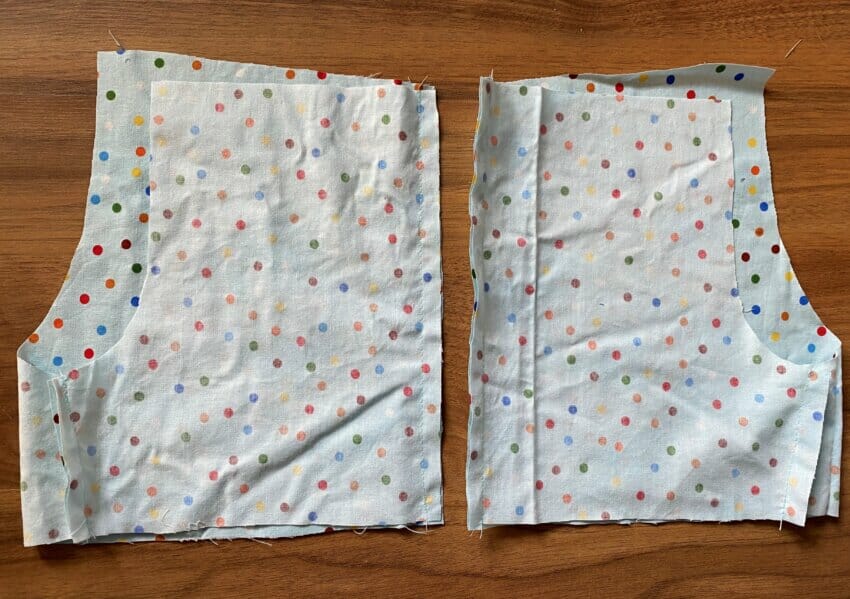
- Trace and cut: Cut your four fabric pieces (two front, two back) as mirror images.
Step 2: Sew the side and inner seams
Place one front piece and one back piece with right sides together.
- Sew the inner thigh seam and the outside side seam.
- Finish the raw edges using a serger or a zigzag stitch to prevent fraying.
- Repeat this for the second leg.
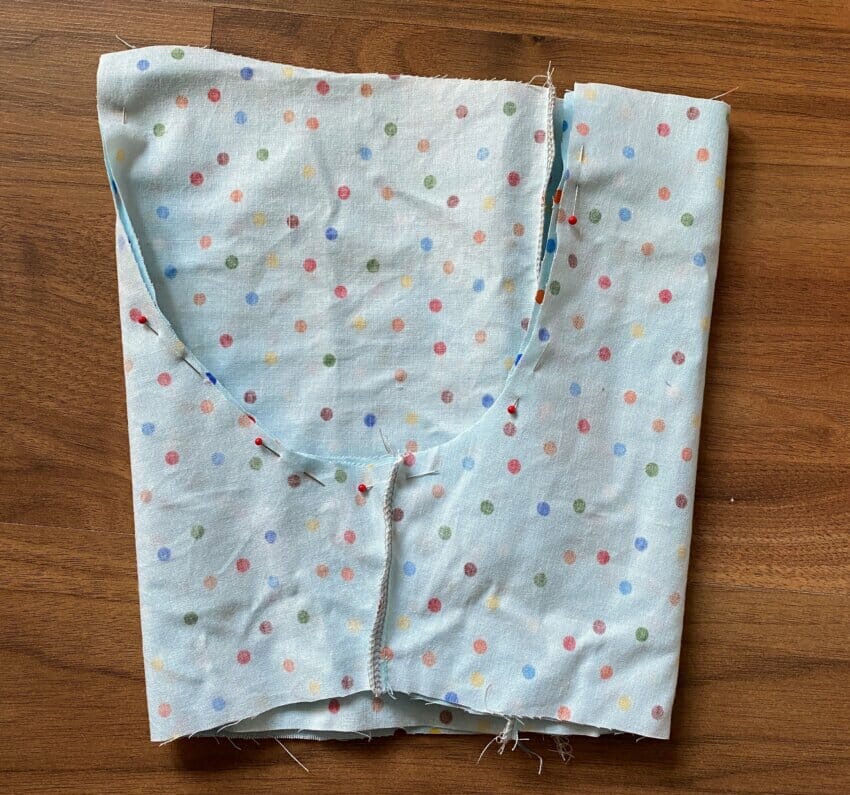
Step 3: Join the legs (the crotch seam)
- Turn one leg right side out.
- Insert the right-side-out leg into the inside-out leg so the right sides are touching.
- Align the center seams (the U-shape) and the inseams.
- Sew the entire crotch curve and finish the edge.

Ta-da! They’re already starting to look like shorts.

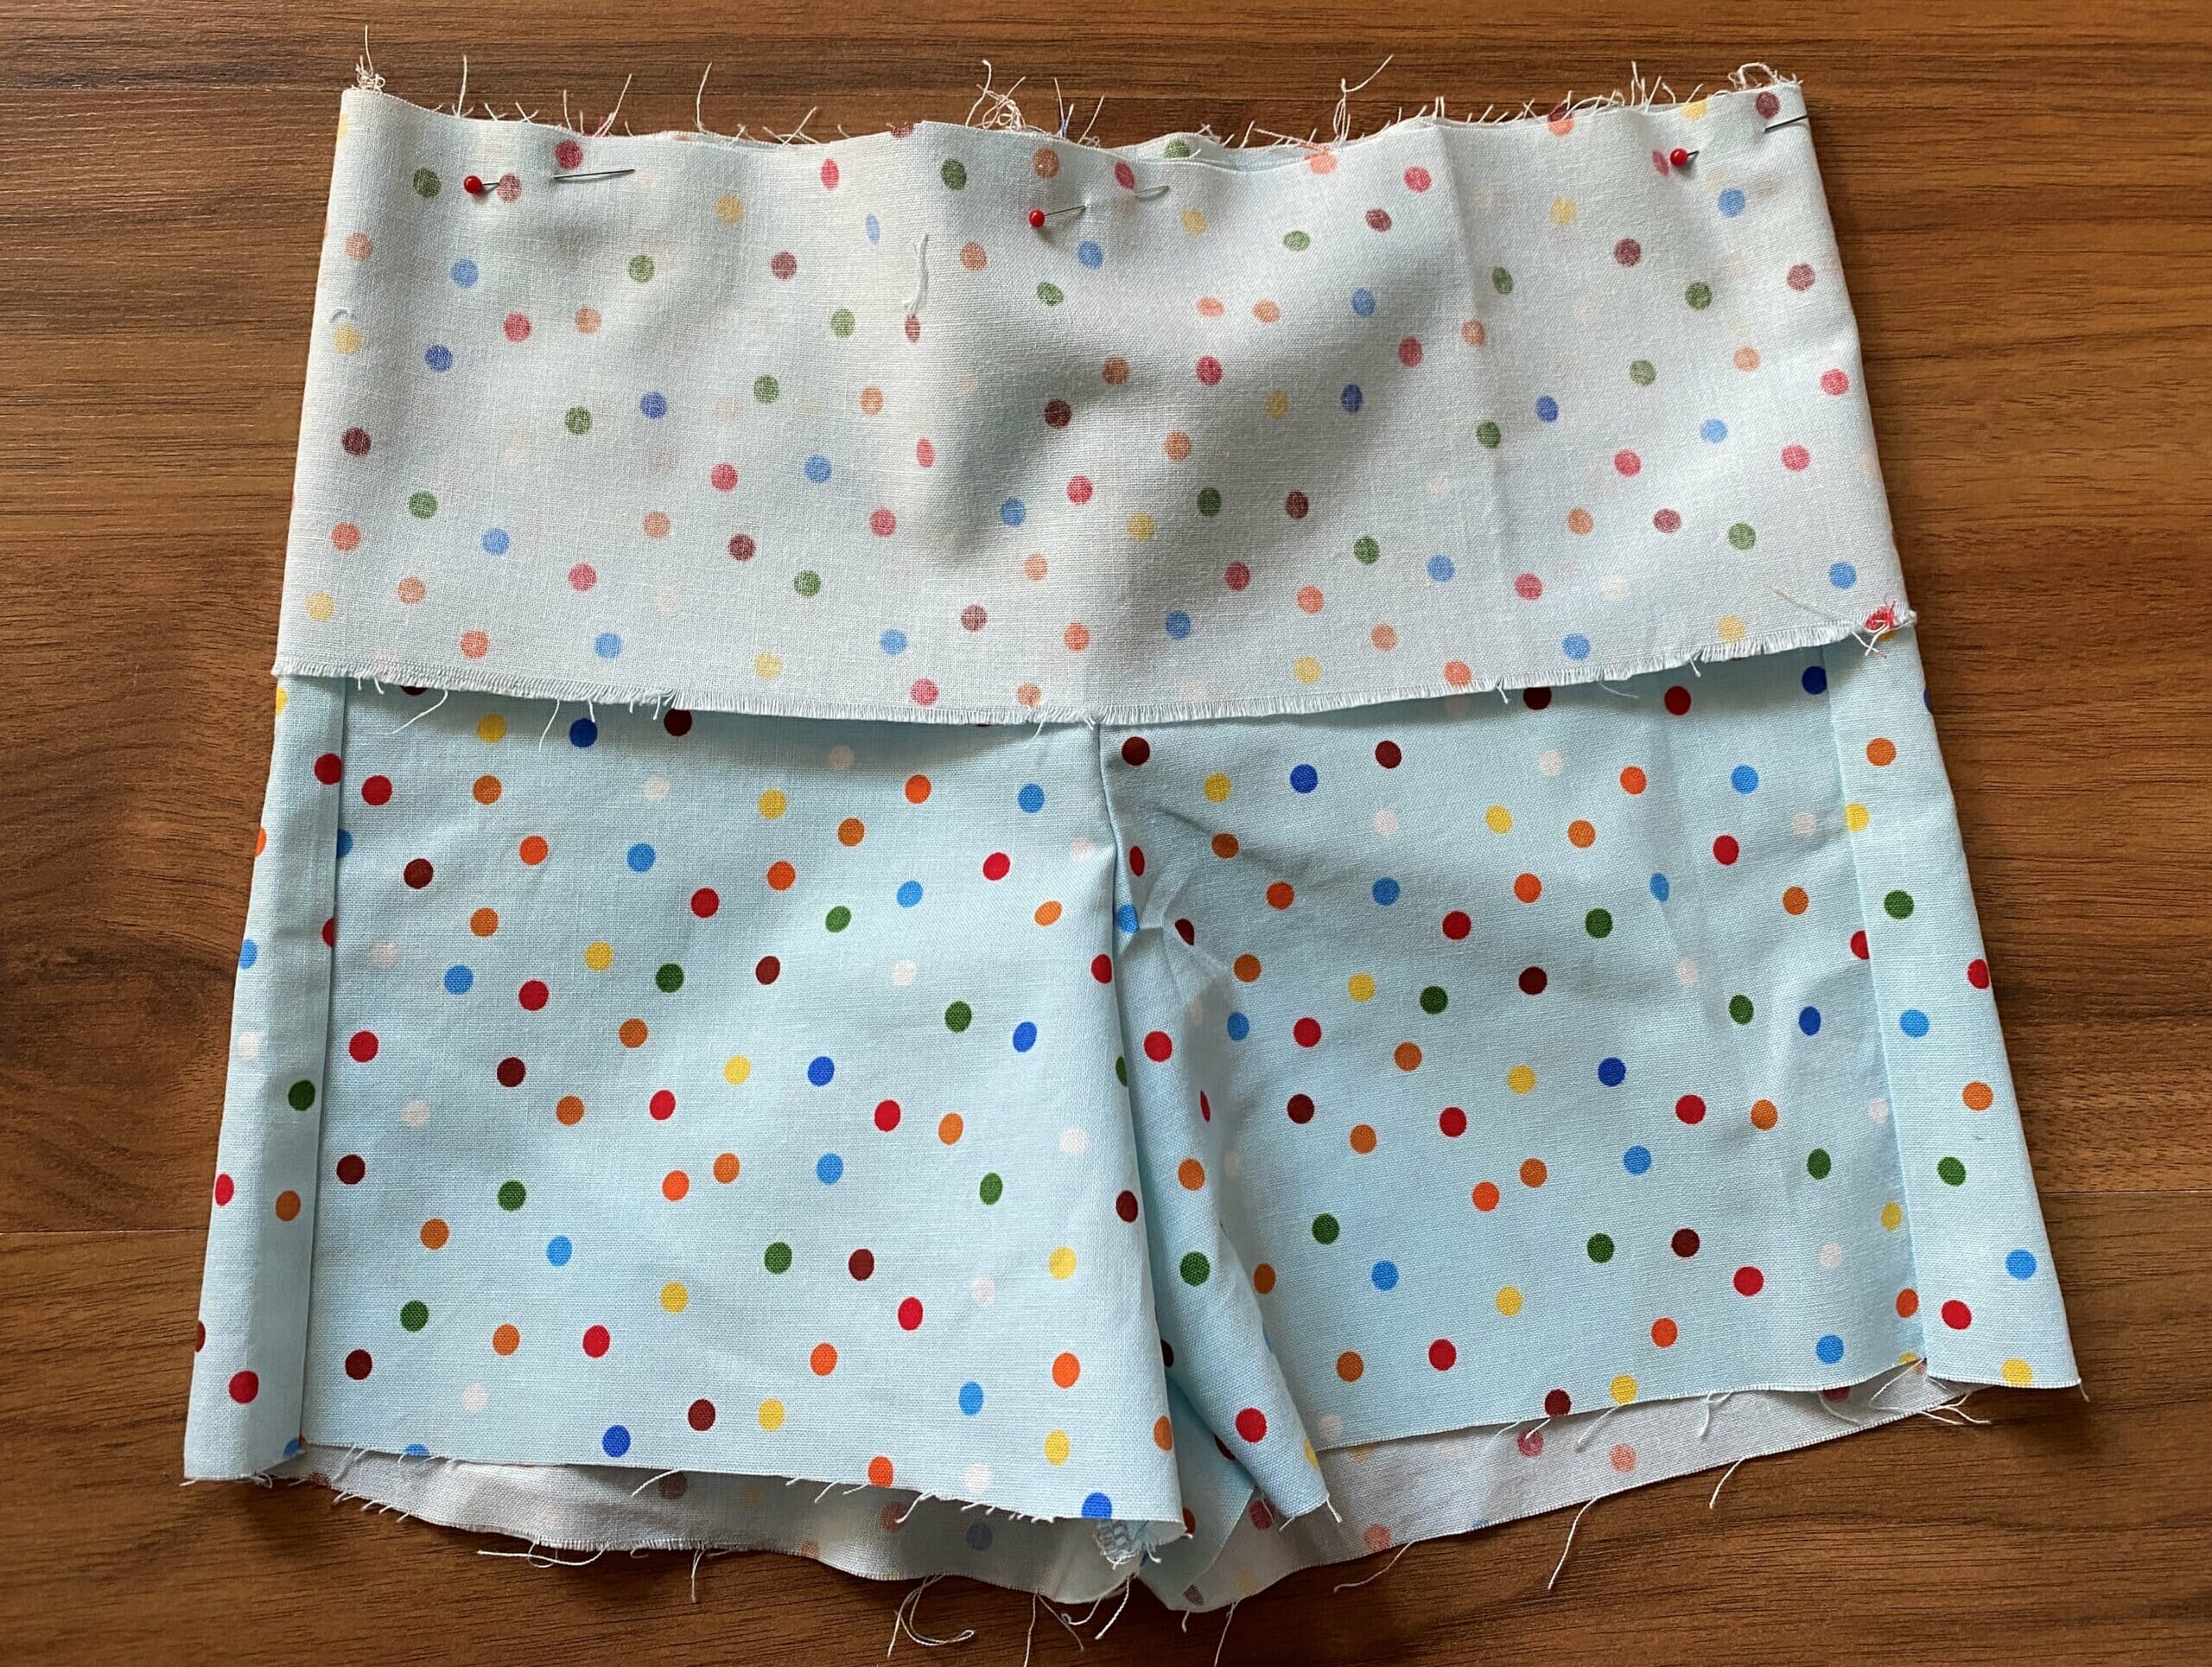
Step 4: Create the paper bag waistband
Instead of a basic casing, we’re making a paper bag waist.
- Prep the band: To create the paper bag effect, cut a fabric strip the same length as the original waistband but add an extra inch or two in height. For this size, I cut my strip 25″ long by 4″ tall. Sew the short ends to make a loop.
- Attach: Pin the waistband to the shorts, right sides together, and sew.
- Fold and stitch: Fold the waistband over to the inside, tucking the raw edge under.
- The “Stitch in the Ditch”: Sew from the front, right in the seam where the waistband meets the shorts. Leave a 2-inch gap to slide the elastic in.
- Add the ruffle: Sew a second line of stitching 3/8″ from the top edge of the waistband. This creates that “paper bag” ruffle above the elastic.
Pro tip: DIY bias tape labels
To help kids tell the front from the back, sew a small loop of contrasting bias tape into the back of the waistband. It’s a quick, professional touch that won’t fray or itch!

Step 5: Insert elastic and finish
- Use a safety pin to thread your 1-inch elastic through the casing.
- Overlap the elastic ends by 1/2 inch and zig-zag stitch them together.
- Close the 2-inch gap in your waistband.
- Hem: Serge the bottom raw edges, fold up a small hem, and topstitch.
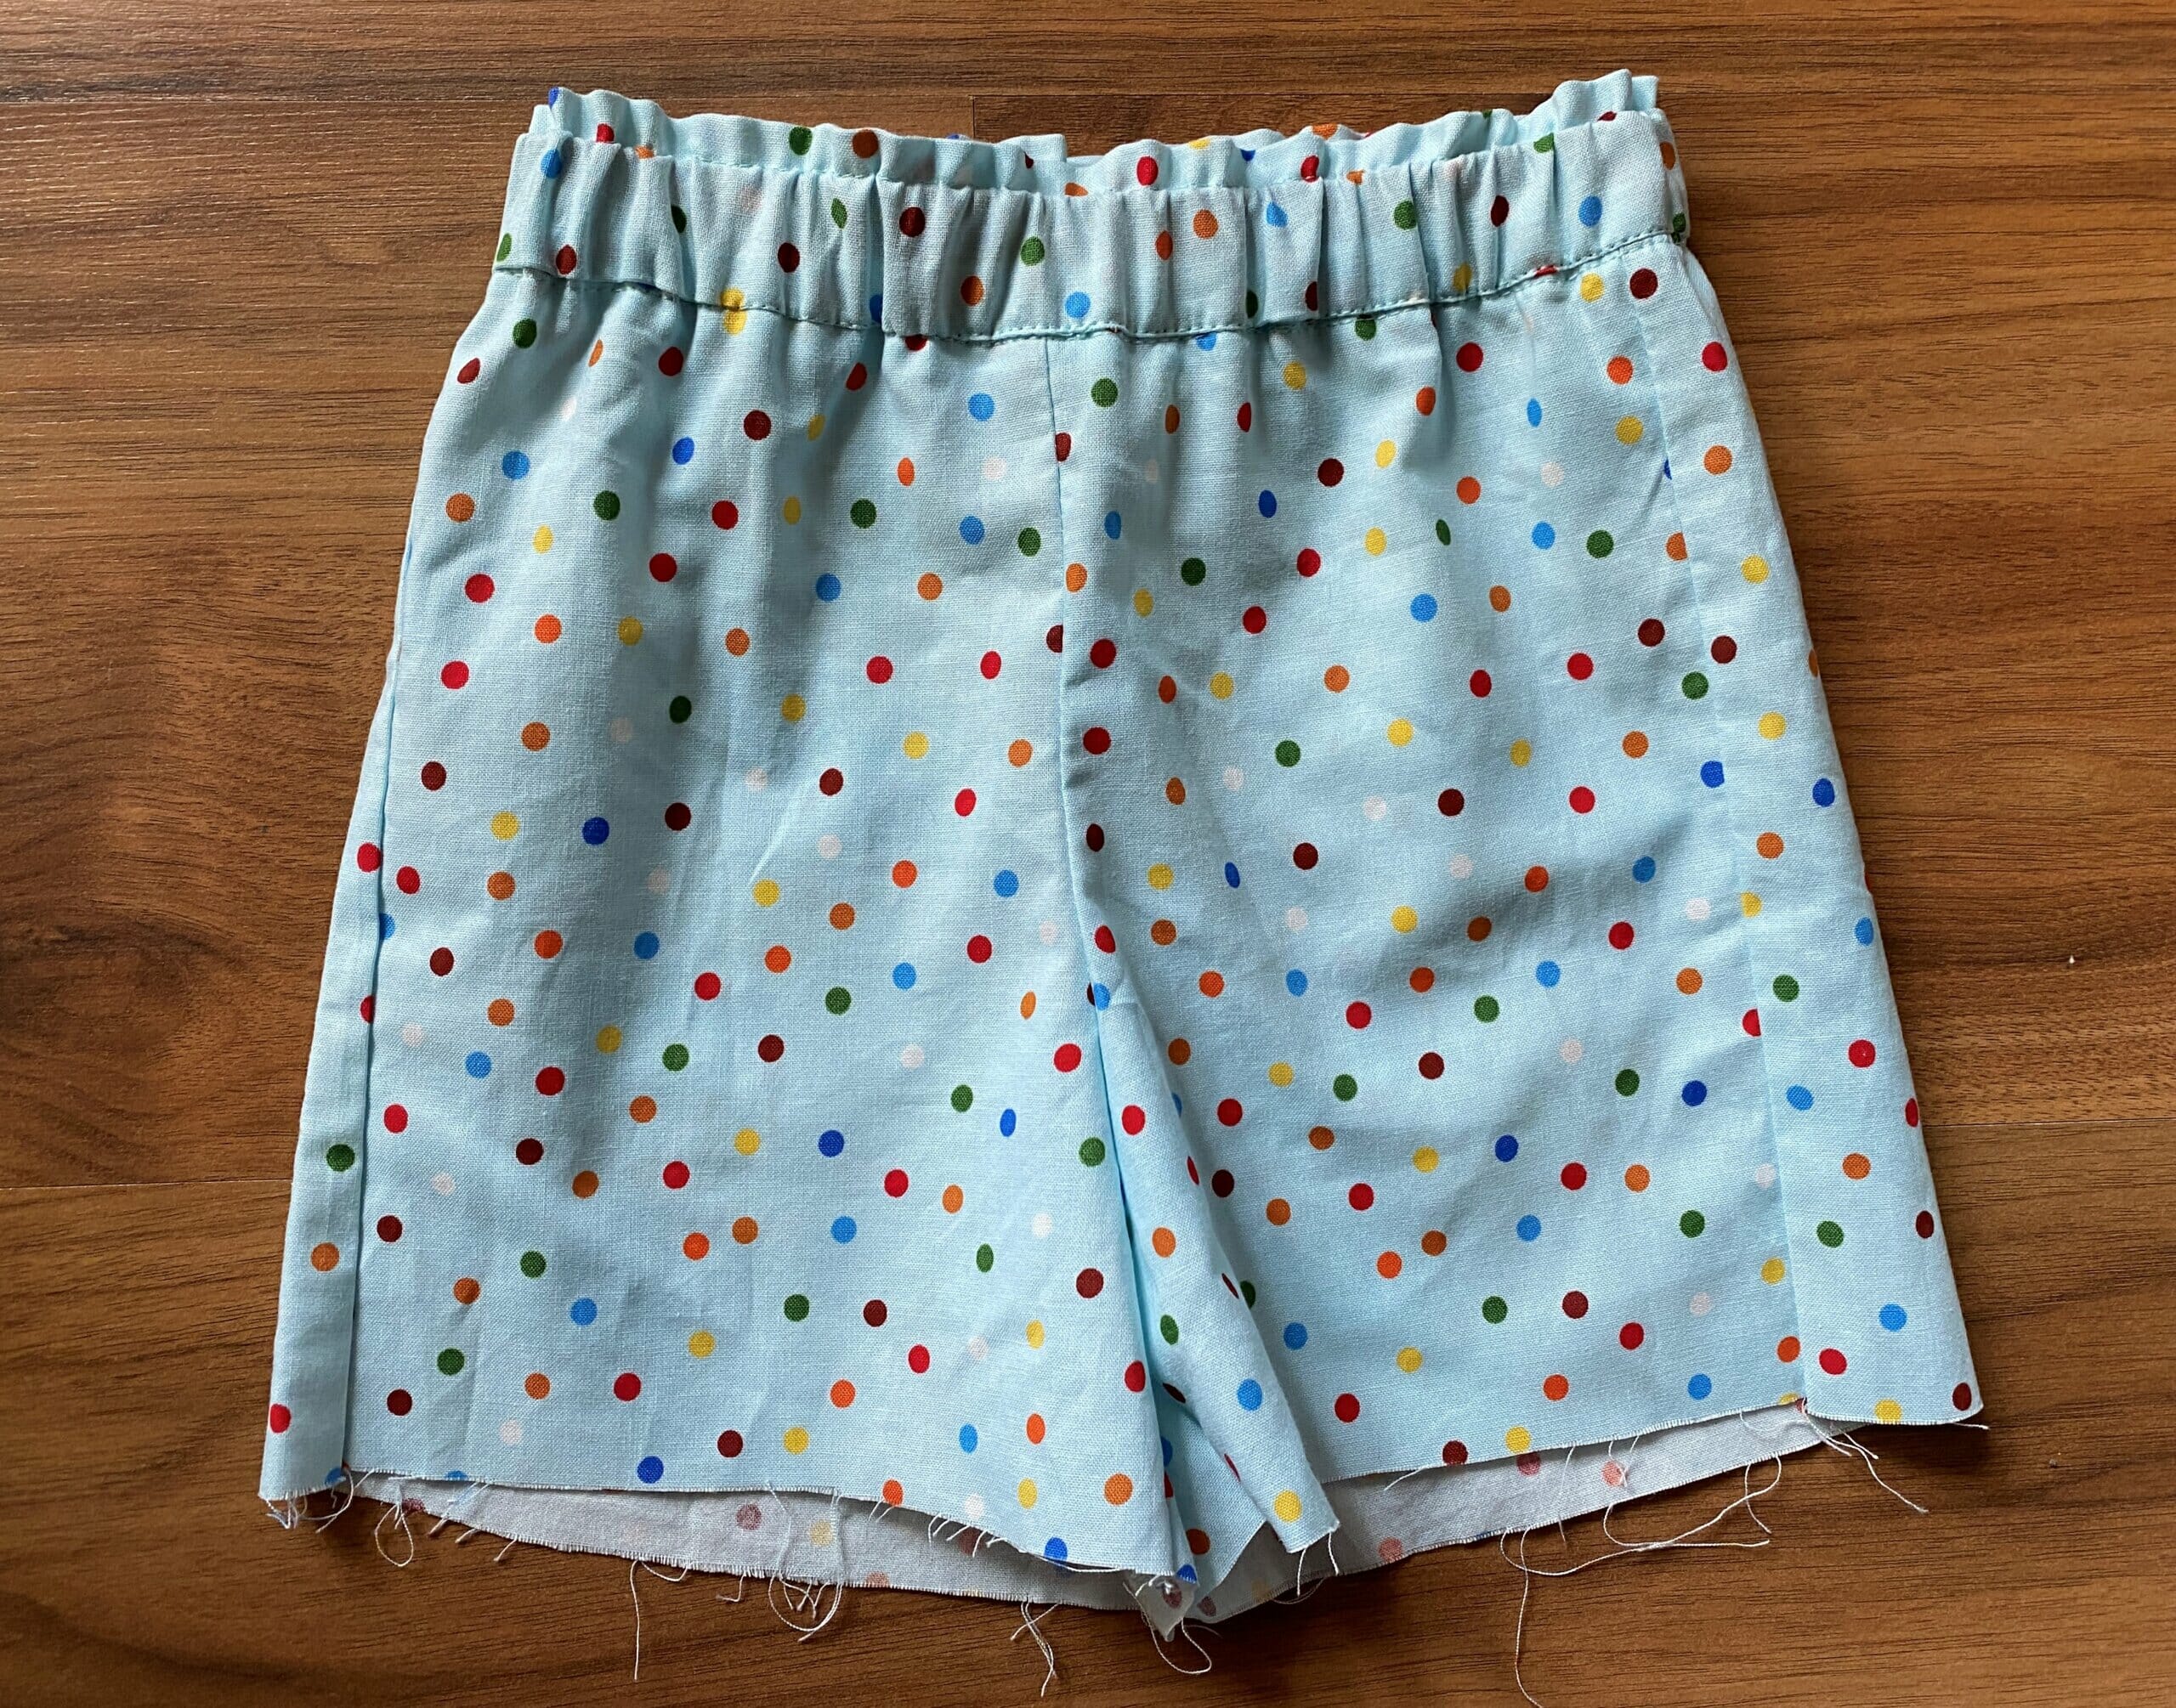
And done!
I’m so happy with how these turned out. They look almost nothing like the original “gym” style now, but that’s the best part about pattern hacking – it’s way more fun than just following the instructions perfectly.
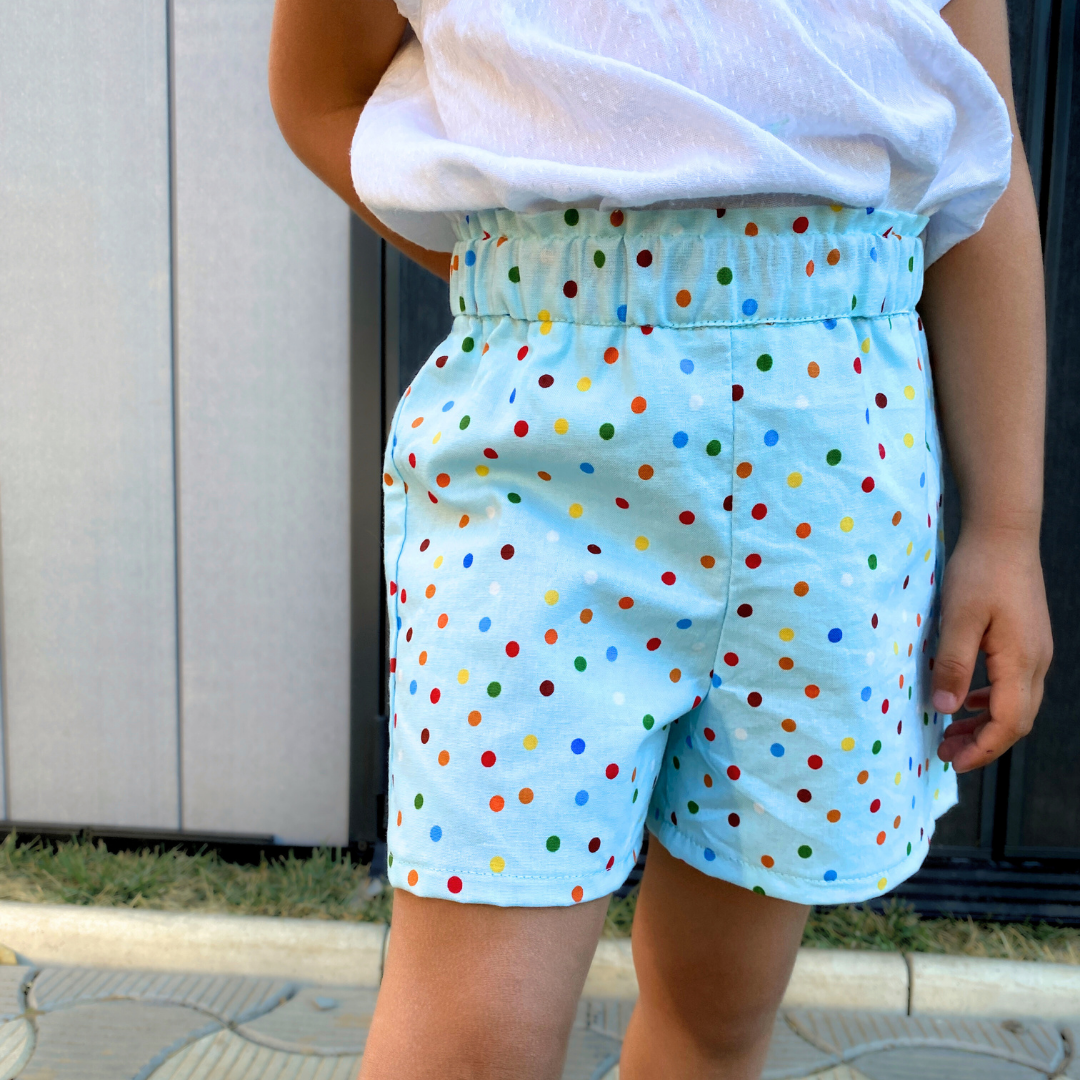
These are now my go-to for quick gifts or a last-minute summer outfit.
If you decide to give this modified version a try, I’d love to hear how it went for you! Send me a picture or leave a comment below – I always get such a kick out of seeing what fabrics everyone else chooses. Happy sewing!
You might also love:
- Best quilted vest patterns for kids
- 25 back to school sewing projects – free patterns
- Free T-shirt sewing pattern for boys and girls (review)
- StyleArc Bobby Kids Woven Pant pattern review
Let’s keep in touch! You can find me on Facebook, Instagram, and Pinterest.
Related posts