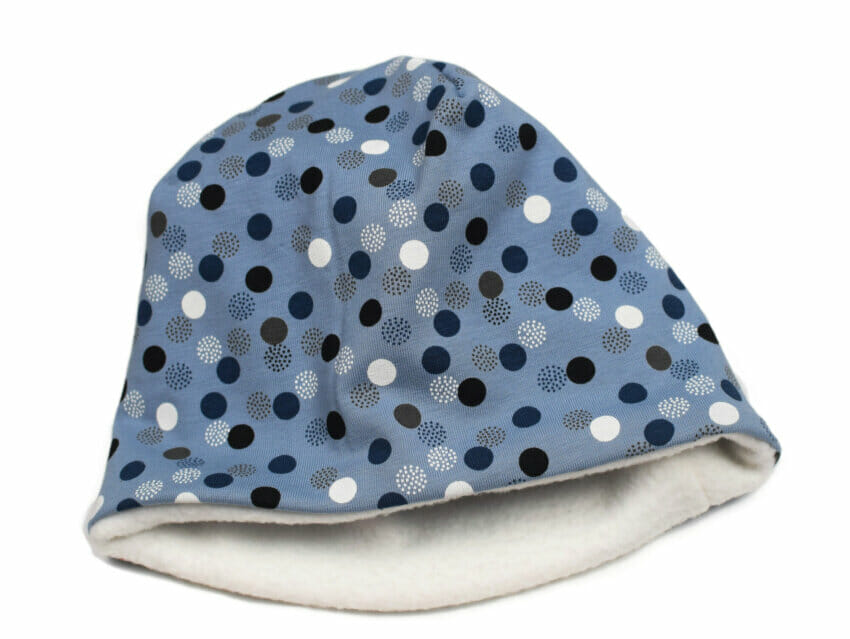
I’m excited to share this easy DIY fleece-lined beanie hat tutorial with a free PDF pattern! Made with cozy jersey fabric and soft fleece, this beanie is perfect for cold winter days, keeping little heads warm and snug.
This week, I’ve been busy sewing for my youngest, who’s already 2 years old (time flies!).
I started with a flannel crib sheet, but with temperatures dropping to around 40°F, a lined beanie quickly became a must-have.
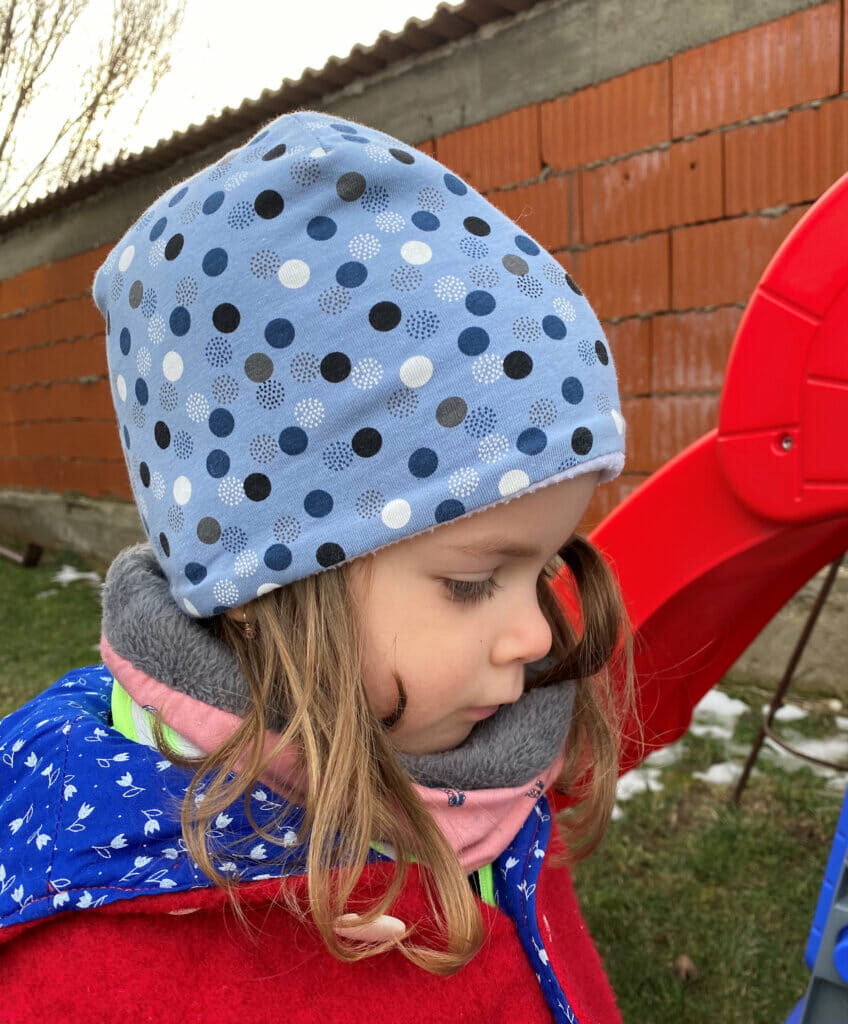
Don’t let the sunny photos fool you – winter is definitely around the corner!
Related: Cool new things you can do with an old sweatshirt. Upcycle ideas
I hand-drafted this pattern, loosely basing it on measurements from another hat, and I’m so pleased with how it turned out!
The beanie is soft, warm, and absolutely adorable. My daughter loves it, and I think you’ll love how easy it is to make.

With all the fun jersey prints available, this DIY beanie hat also makes a thoughtful gift for kids or friends.
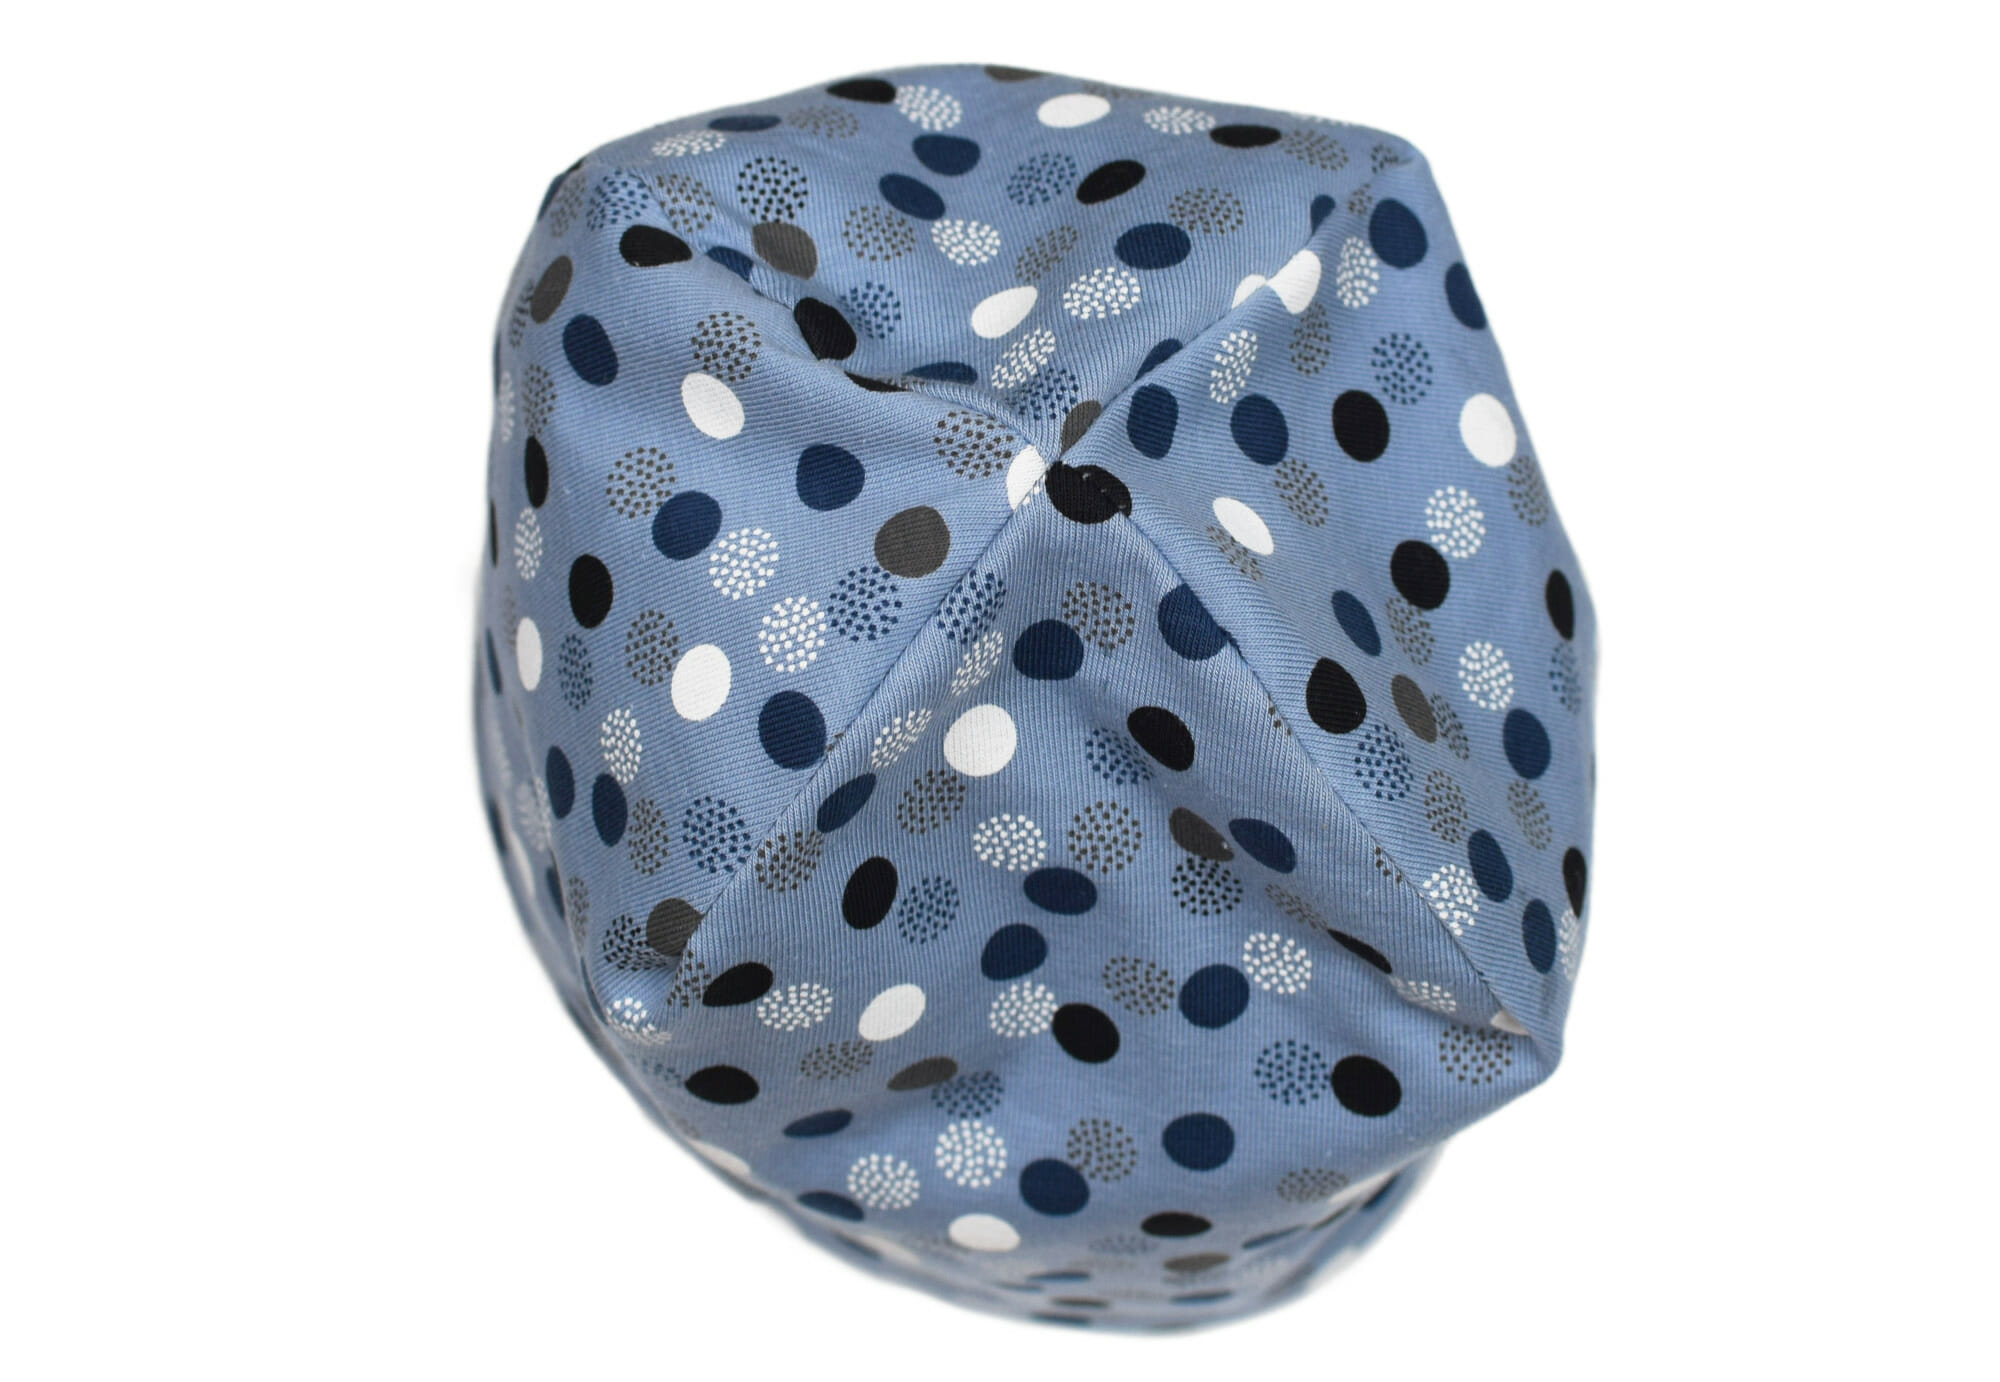
Simply print the PDF pattern, and in just 10 minutes, you’ll have a warm, stretchy, and practical hat that’s as cute as it is comfy!
Looking for some other fun things to sew? Here are some ideas for you: Infinity scarf / Free knotted baby hat
DIY beanie hat tutorial – sewing supplies
- Jersey fabric
- Fleece fabric
- sewing machine
- fabric scissors
- matching thread
- sewing pins
- jersey needle
- DIY beanie hat – PDF pattern available below – size 2T. Make sure you print it at 100% or “actual size”. The pattern includes a 3/8″ seam allowance.
Before you start sewing…
Before diving in, take a moment to prep your jersey fabric by hand washing it to pre-shrink – trust me on this one! (I’ve made the mistake of skipping this step before, so I’m definitely speaking from experience here.) Luckily, there’s no need to pre-wash the fleece.
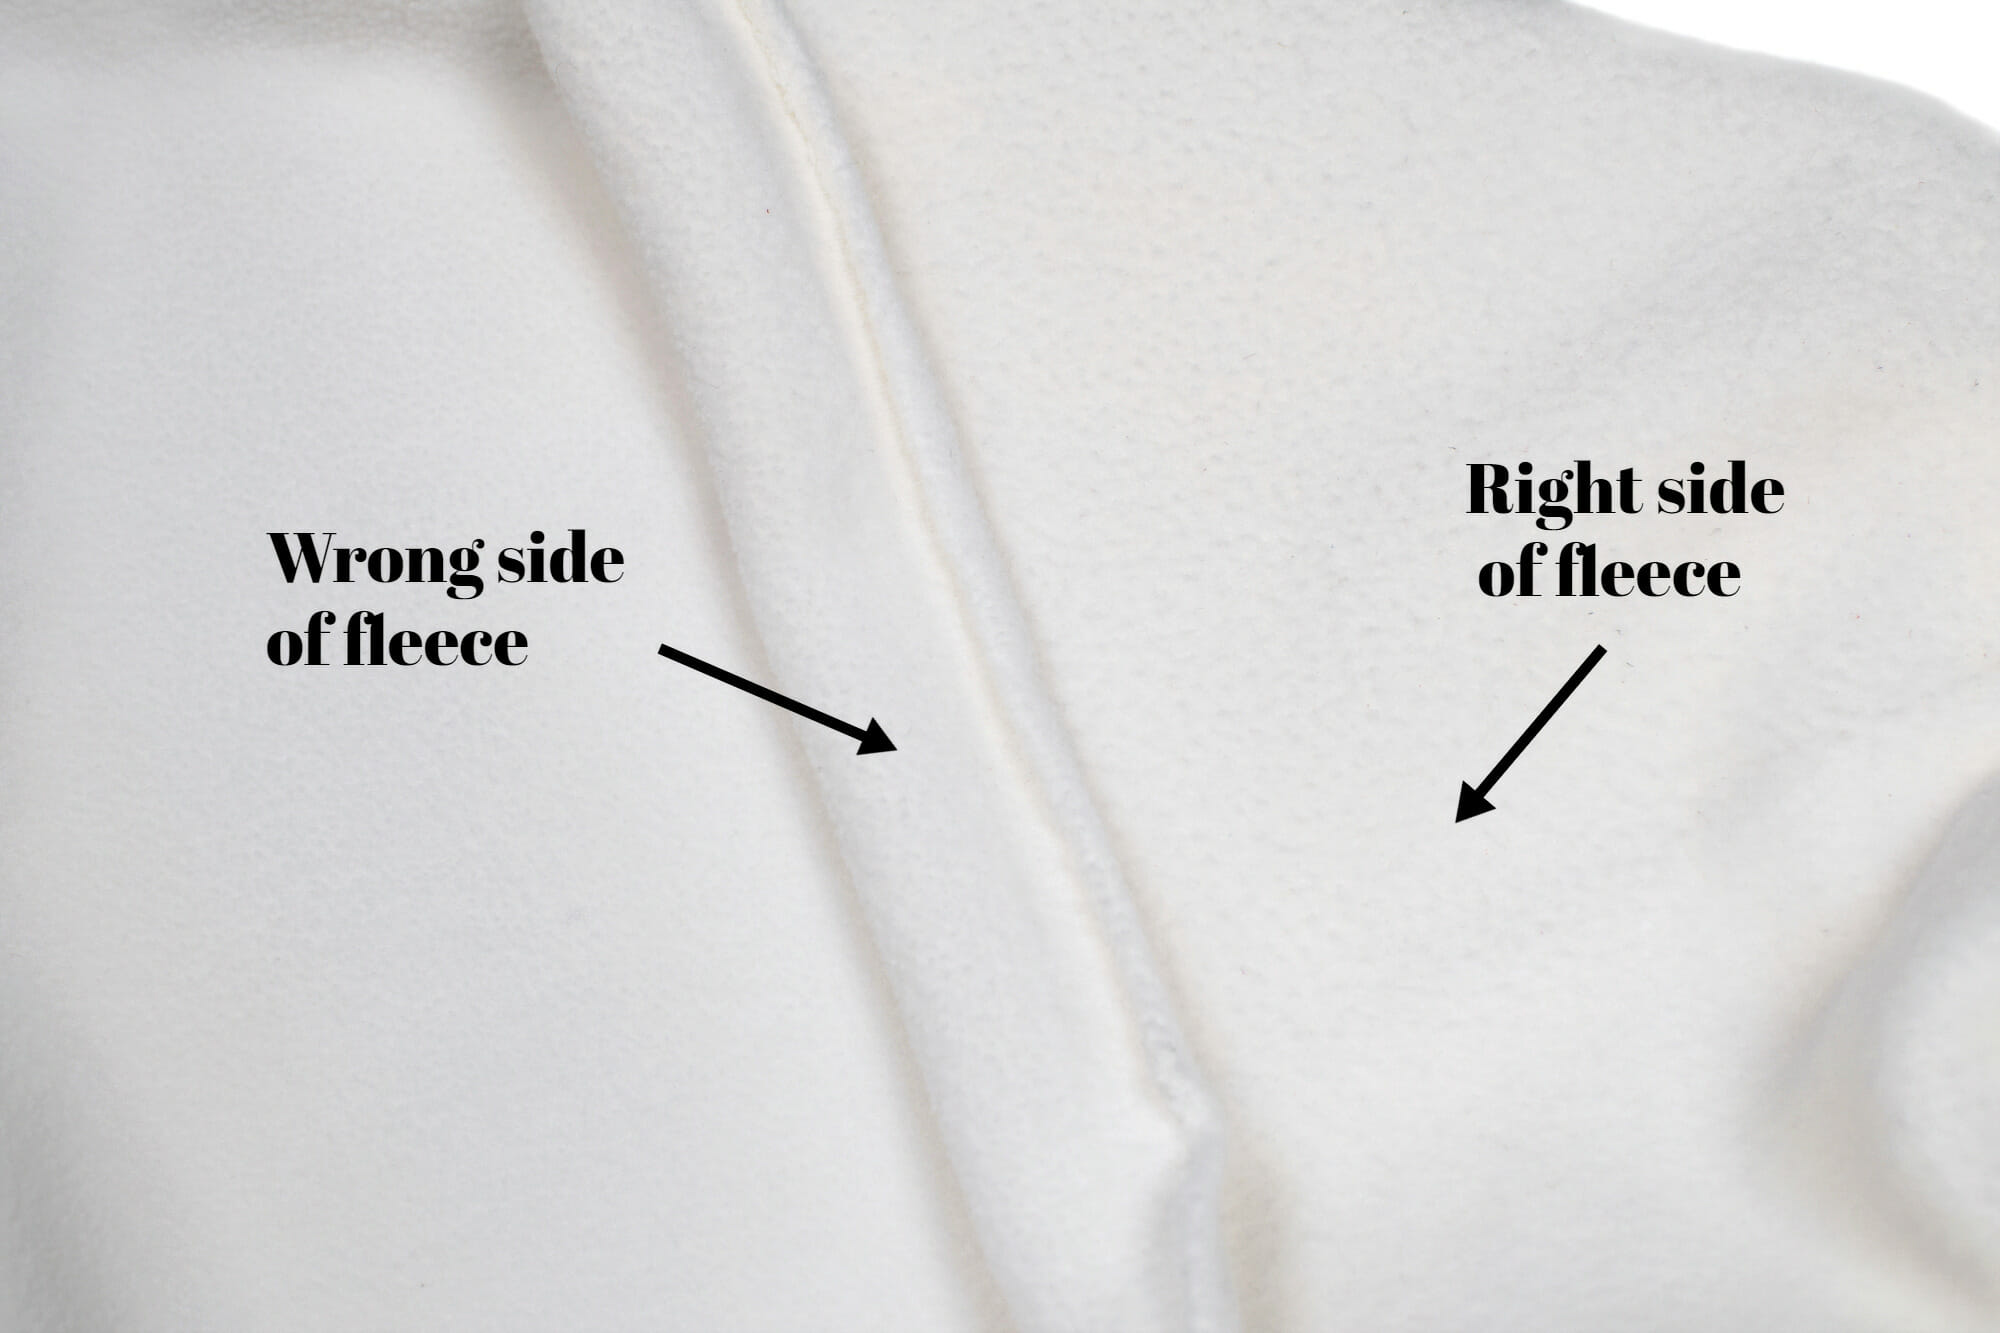
Wondering how to tell the right side of the fleece fabric?
Here’s a quick tip: gently pinch and stretch the selvage edge. Fleece always curls toward the wrong side of the fabric, so if it curls away, you’ve found the right side!
Helpful, right? Let’s get sewing!
DIY beanie hat lined with fleece – tutorial
Step 1 – cut your fabric pieces
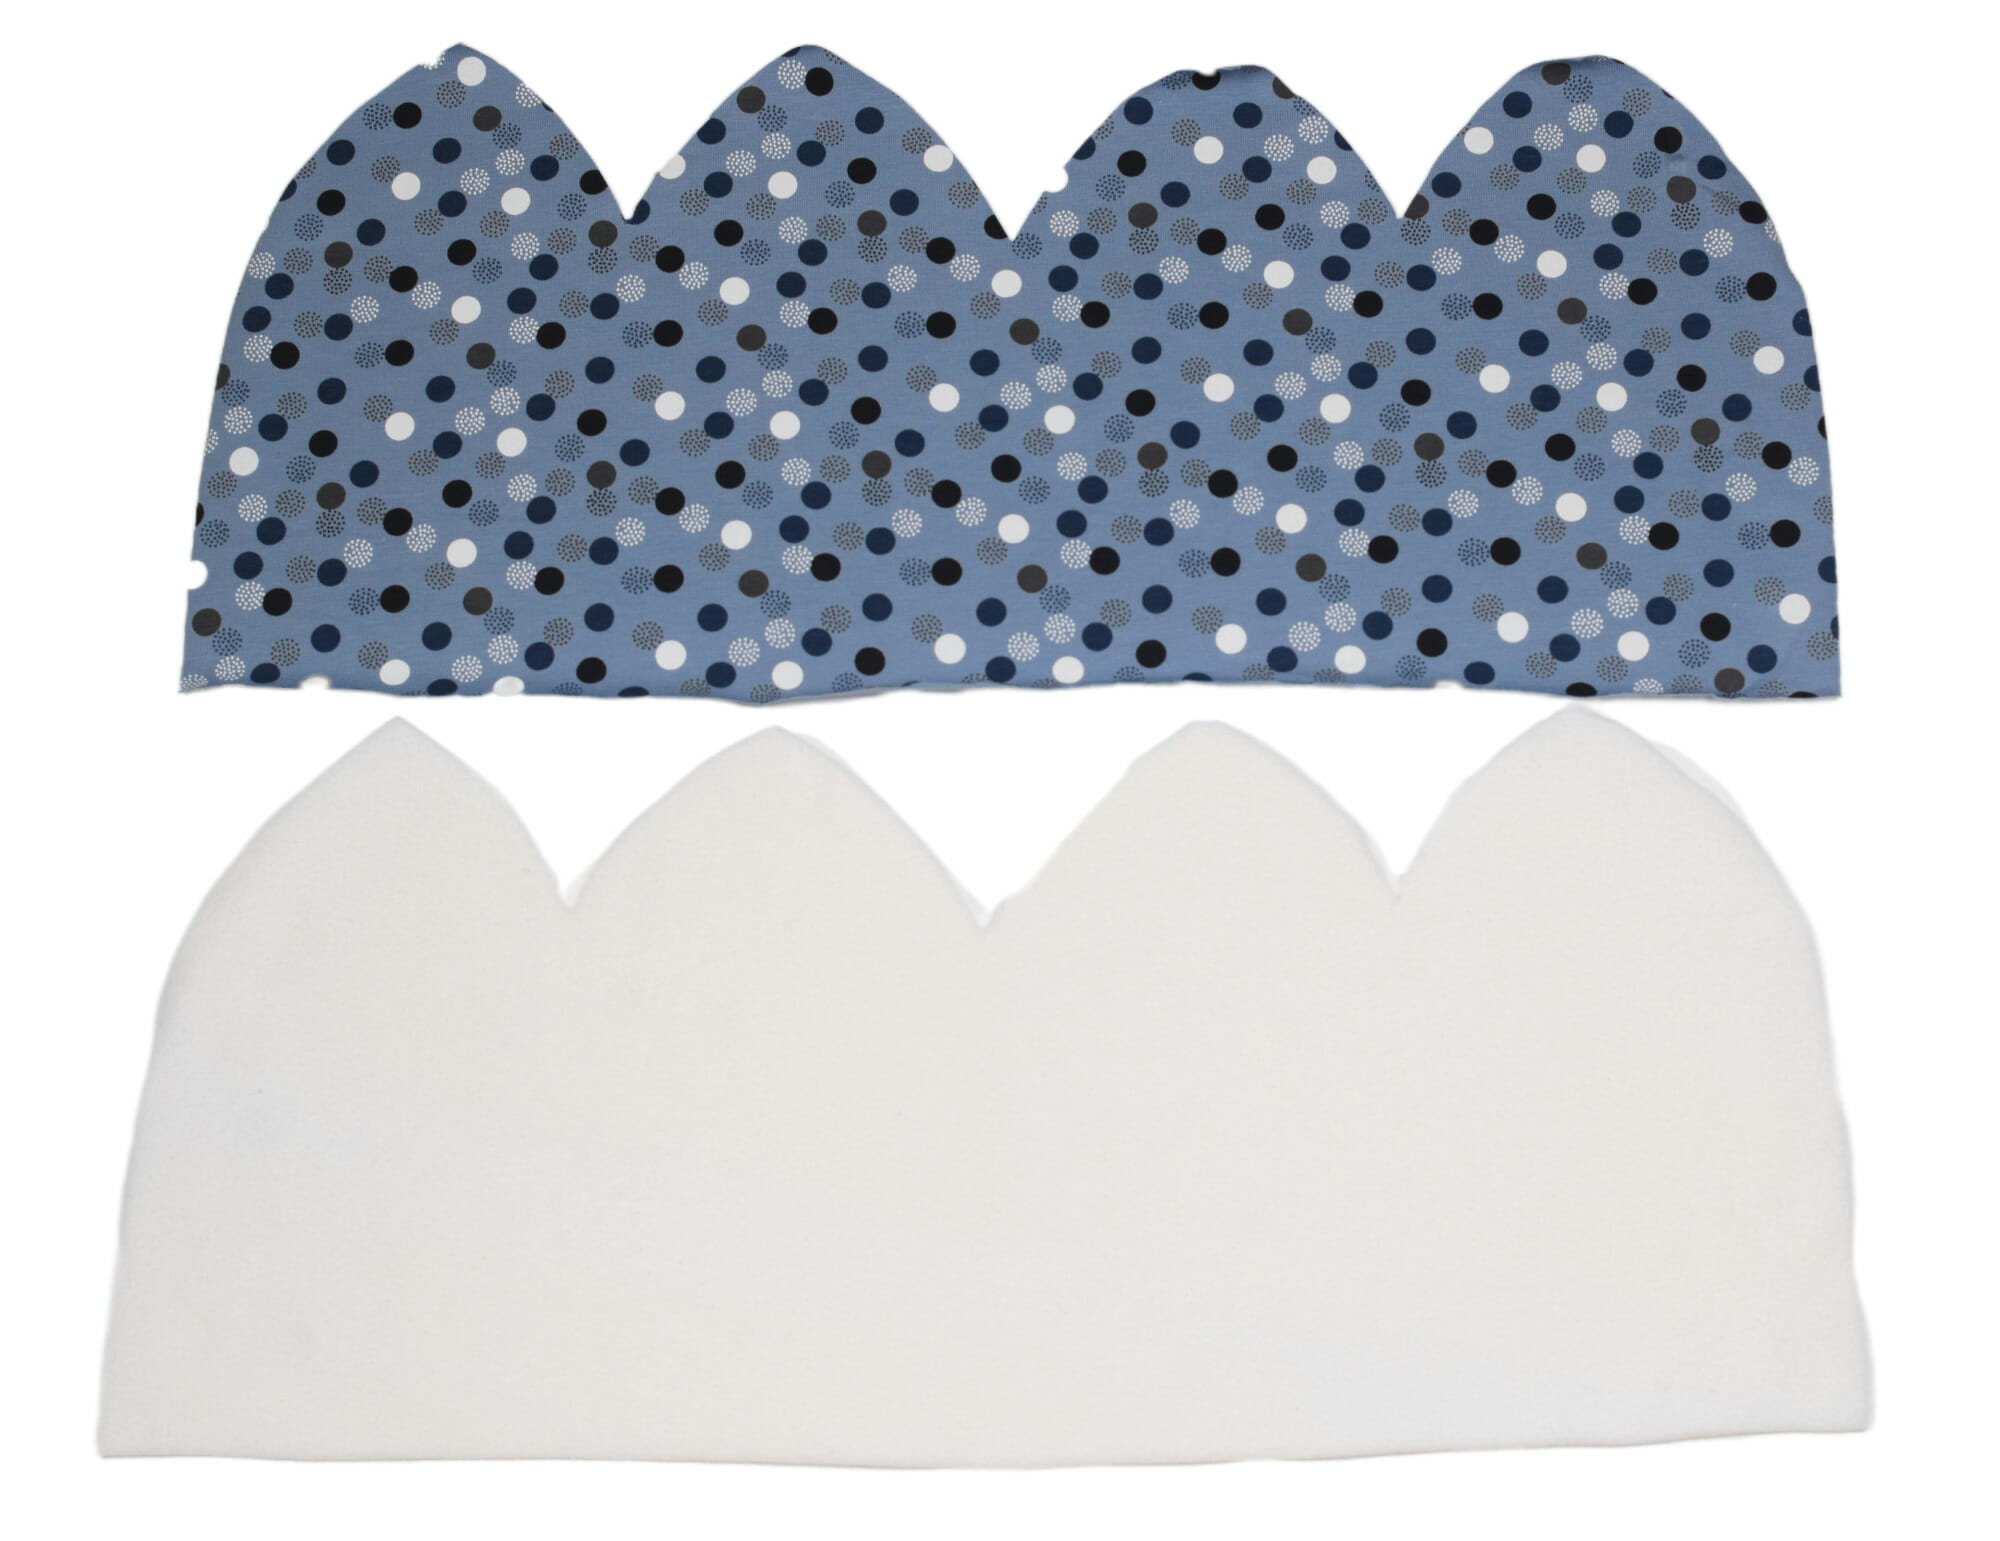
To get started, cut one piece each from the jersey and fleece fabric, making sure to cut on the fold so you have two large half-moons.
Check that the fabric stretch goes from side to side – this helps the beanie fit snugly.
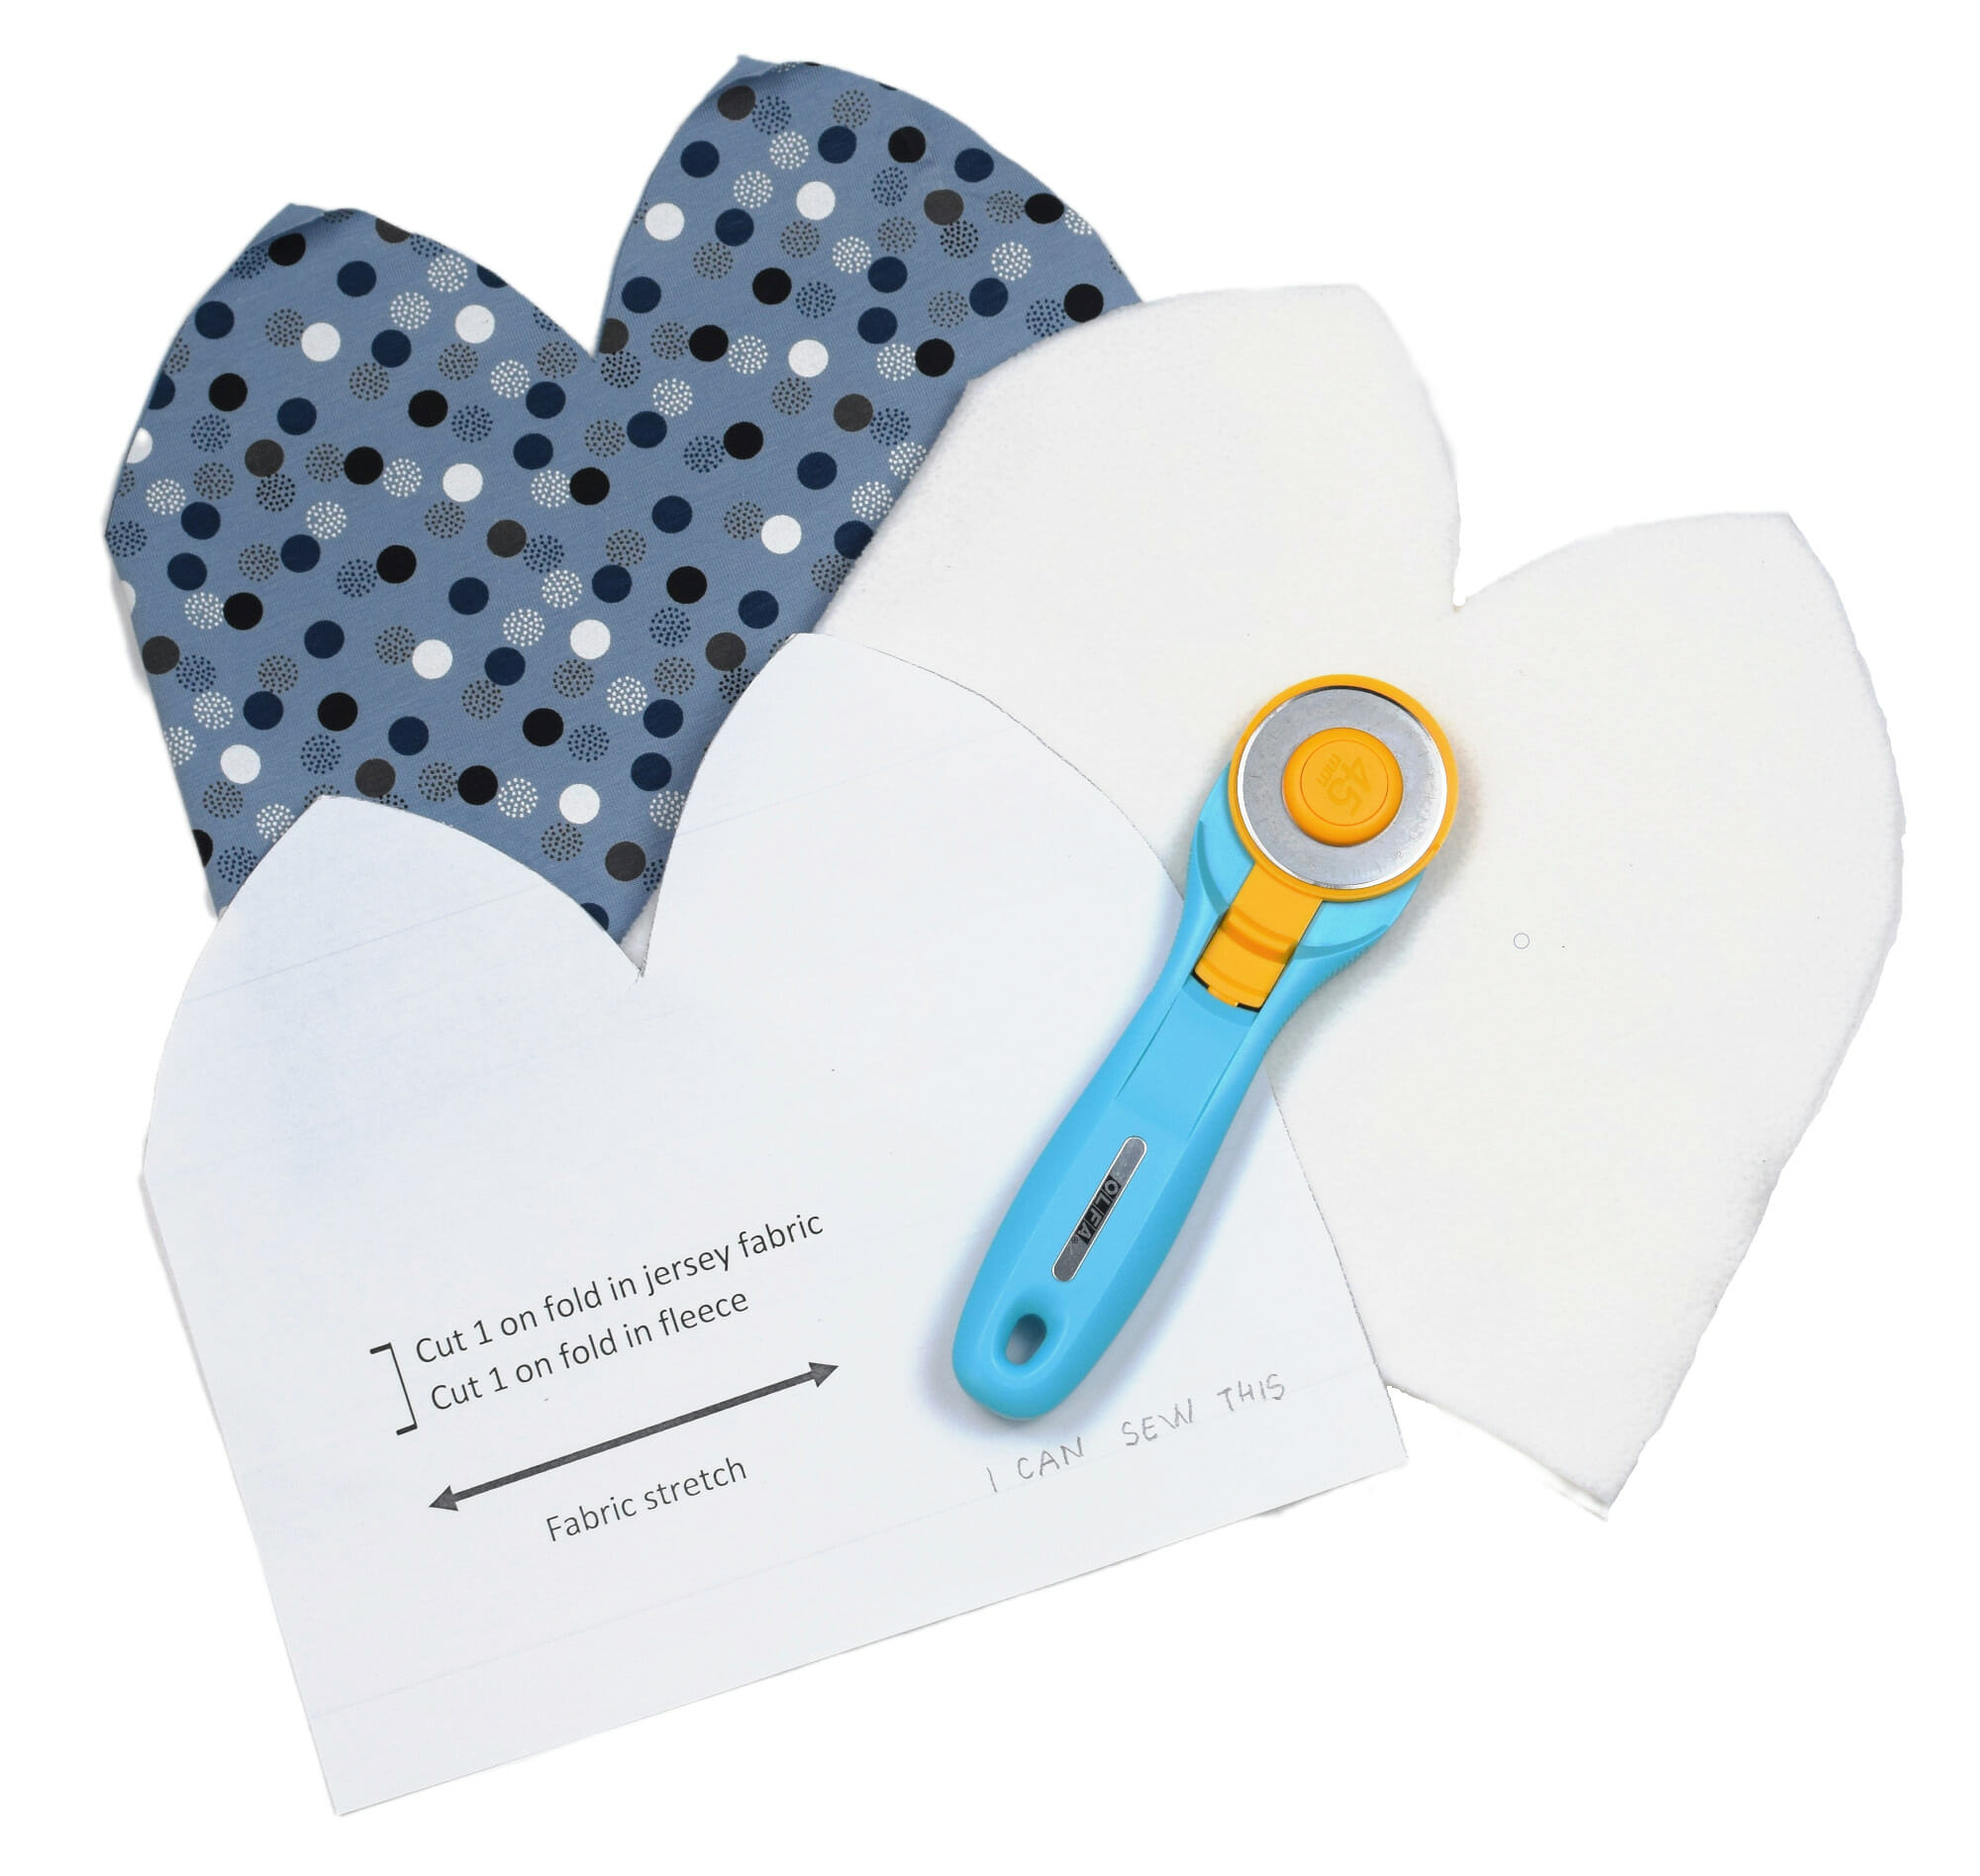
You’ll see in the picture below how the fabric pieces look before we start sewing!
Step 2 – sew the outer edges
Now, fold each fabric piece in half with the right sides together. Pin along the open edge and sew with a 3/8” seam allowance, as shown in the photo below.
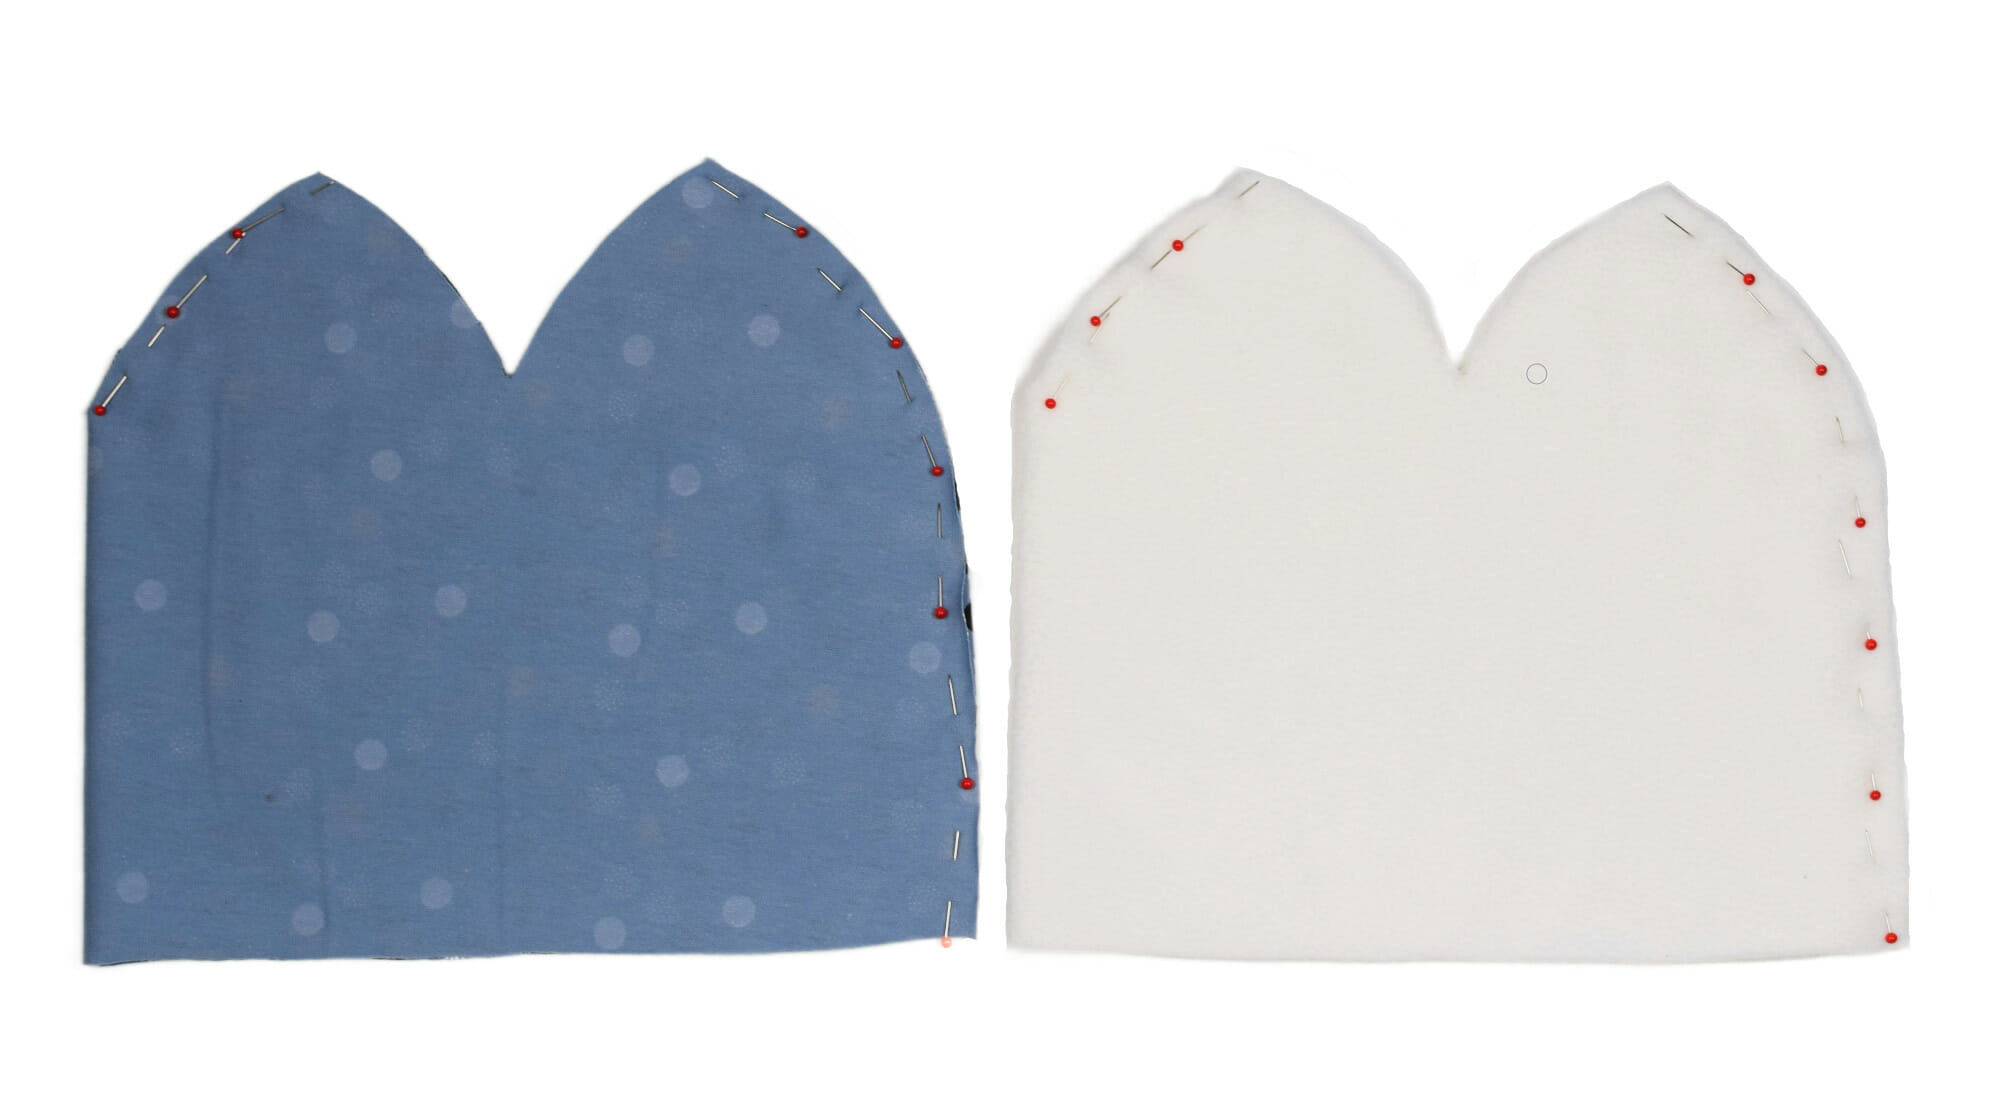
I used a straight stitch for this part, but a zig-zag stitch works too if you prefer. Since both jersey and fleece don’t fray, you don’t need to worry about finishing the inside seams here.
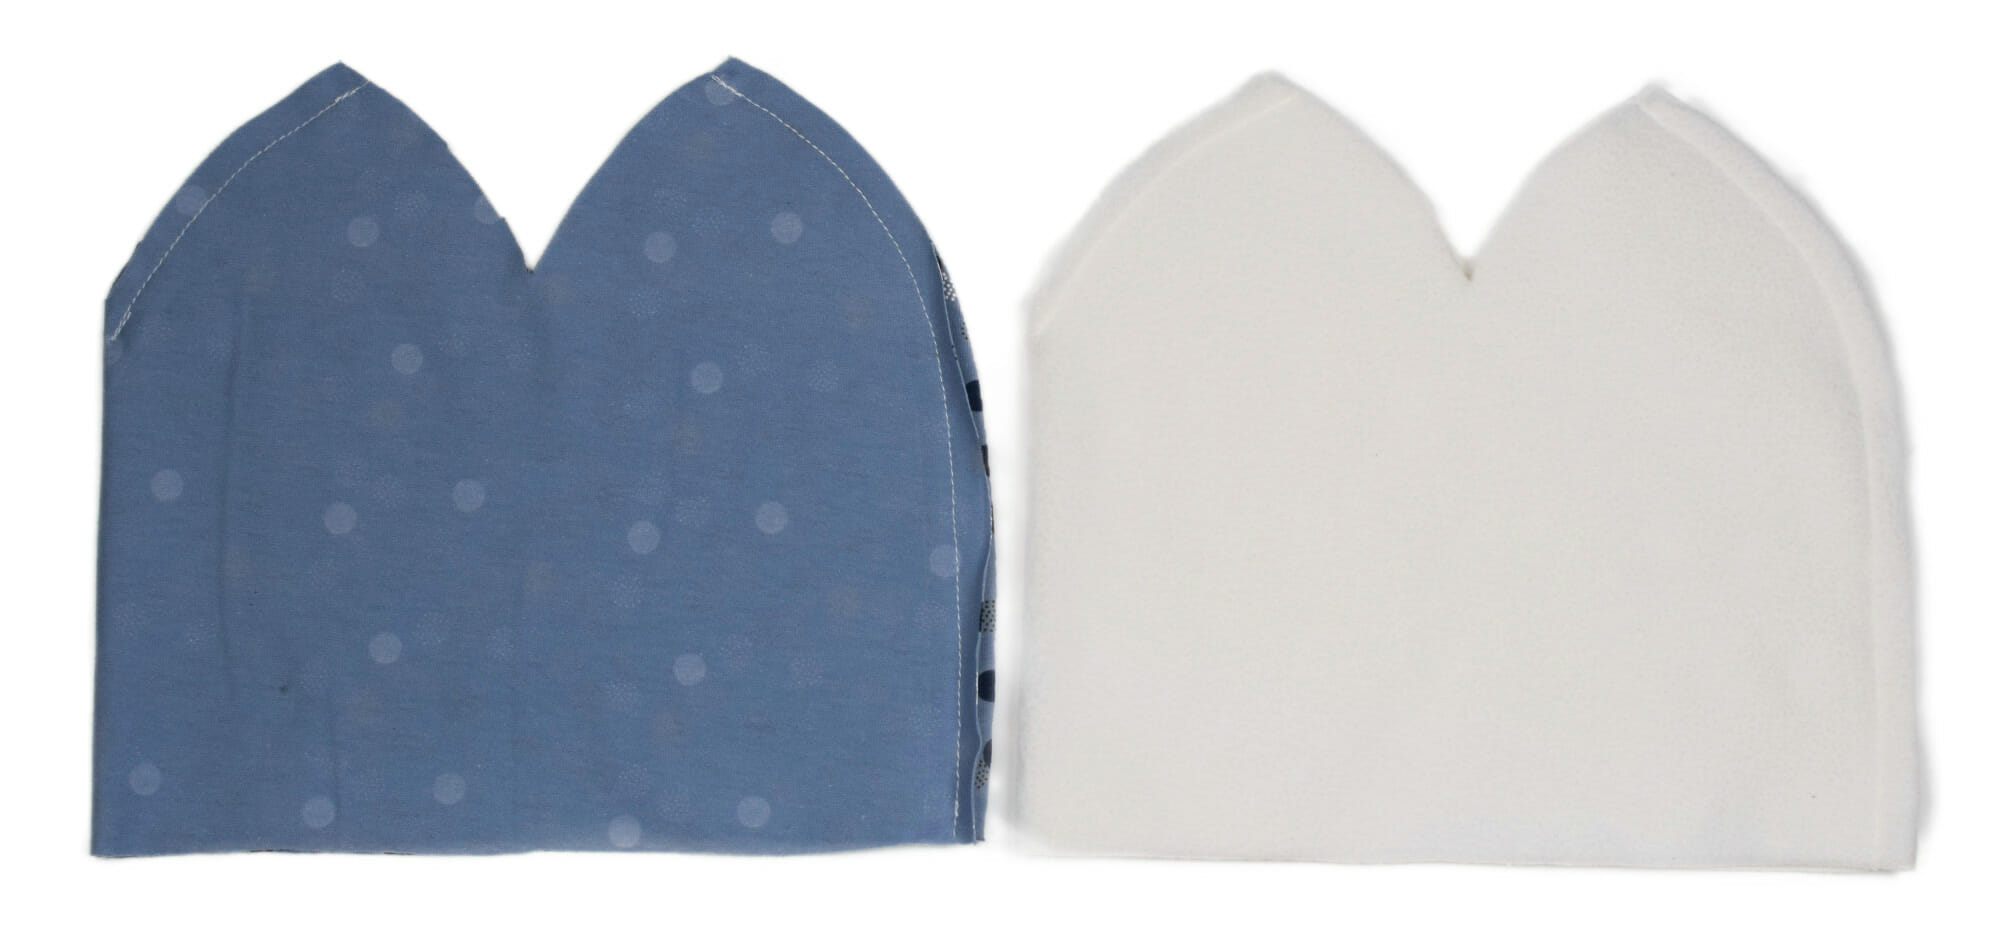
Take a close look at the straight stitch on my jersey fabric – looks neat, right?
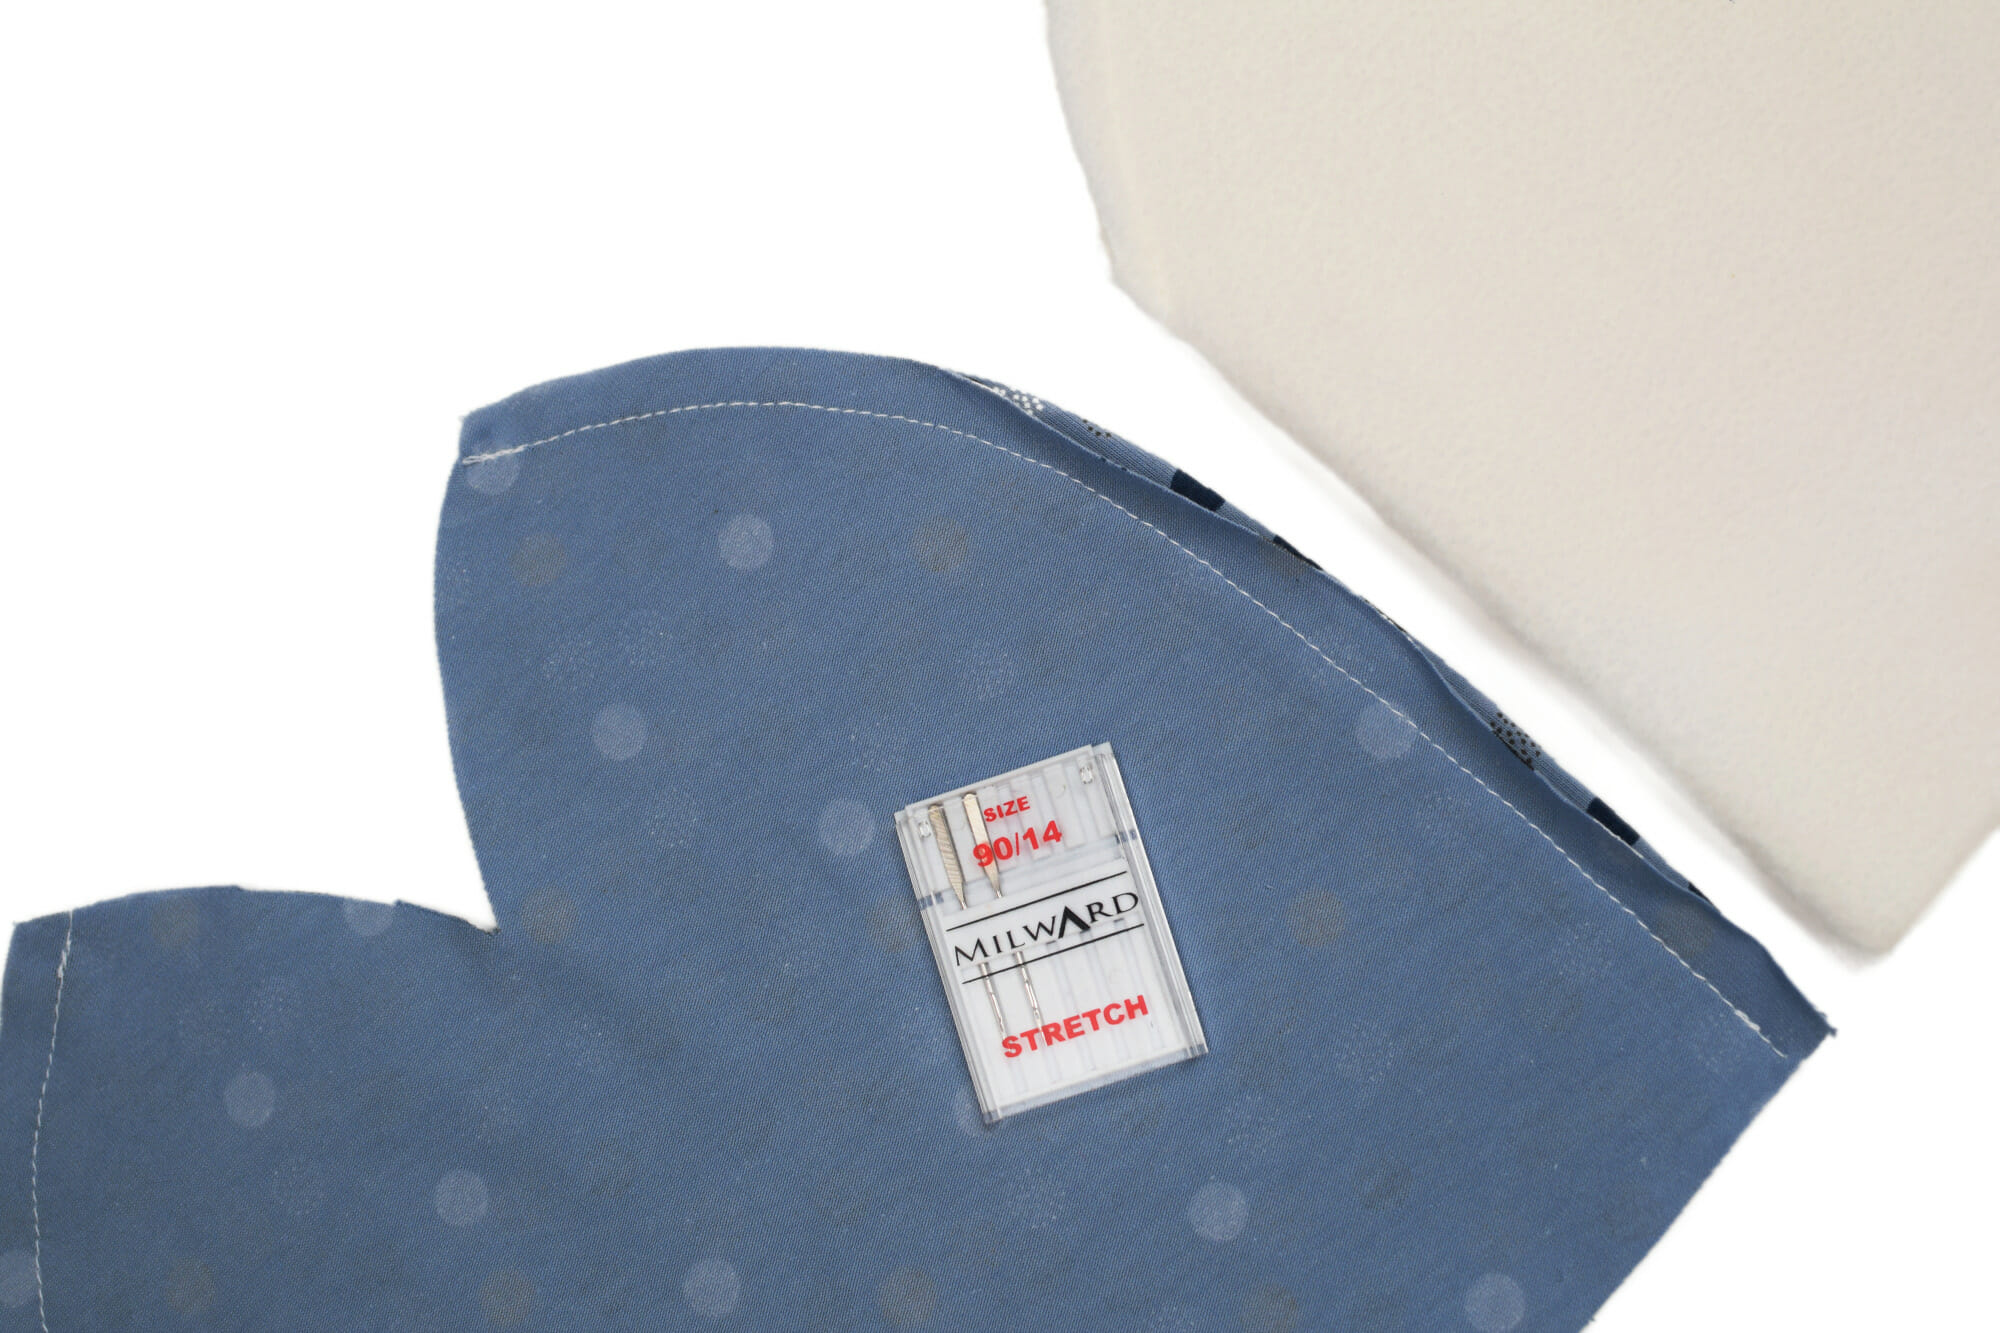
Here’s the simple trick: I used a 90/14 stretch needle. Stretch needles work wonders on very stretchy fabrics like jersey and fleece, better than even a jersey/ballpoint needle.
To be sure, try out both needles on a fabric scrap to see which one gives you the smoothest stitches.
Tried-and-true tip for sewing knits
When sewing knits, finding the right needle can make all the difference. I experimented with a few different needles before I landed on this 90/14 stretch needle. Surprisingly, my 70/10 jersey needles didn’t work well with the lightweight jersey on my heavy-duty Singer machine, even though smaller needles are generally recommended for lightweight fabrics.
So, if sewing with knits has been tricky for you too, give a quality stretch needle a try. It doesn’t have to be a specific brand – just a good stretch needle that suits your machine.
Got any other tips for sewing with knits? I’d love to hear them!
Alright, let’s jump back into finishing up this cozy beanie hat!
Step 3 – close the top of each hat
It’s time to close the top of both the jersey and fleece layers.
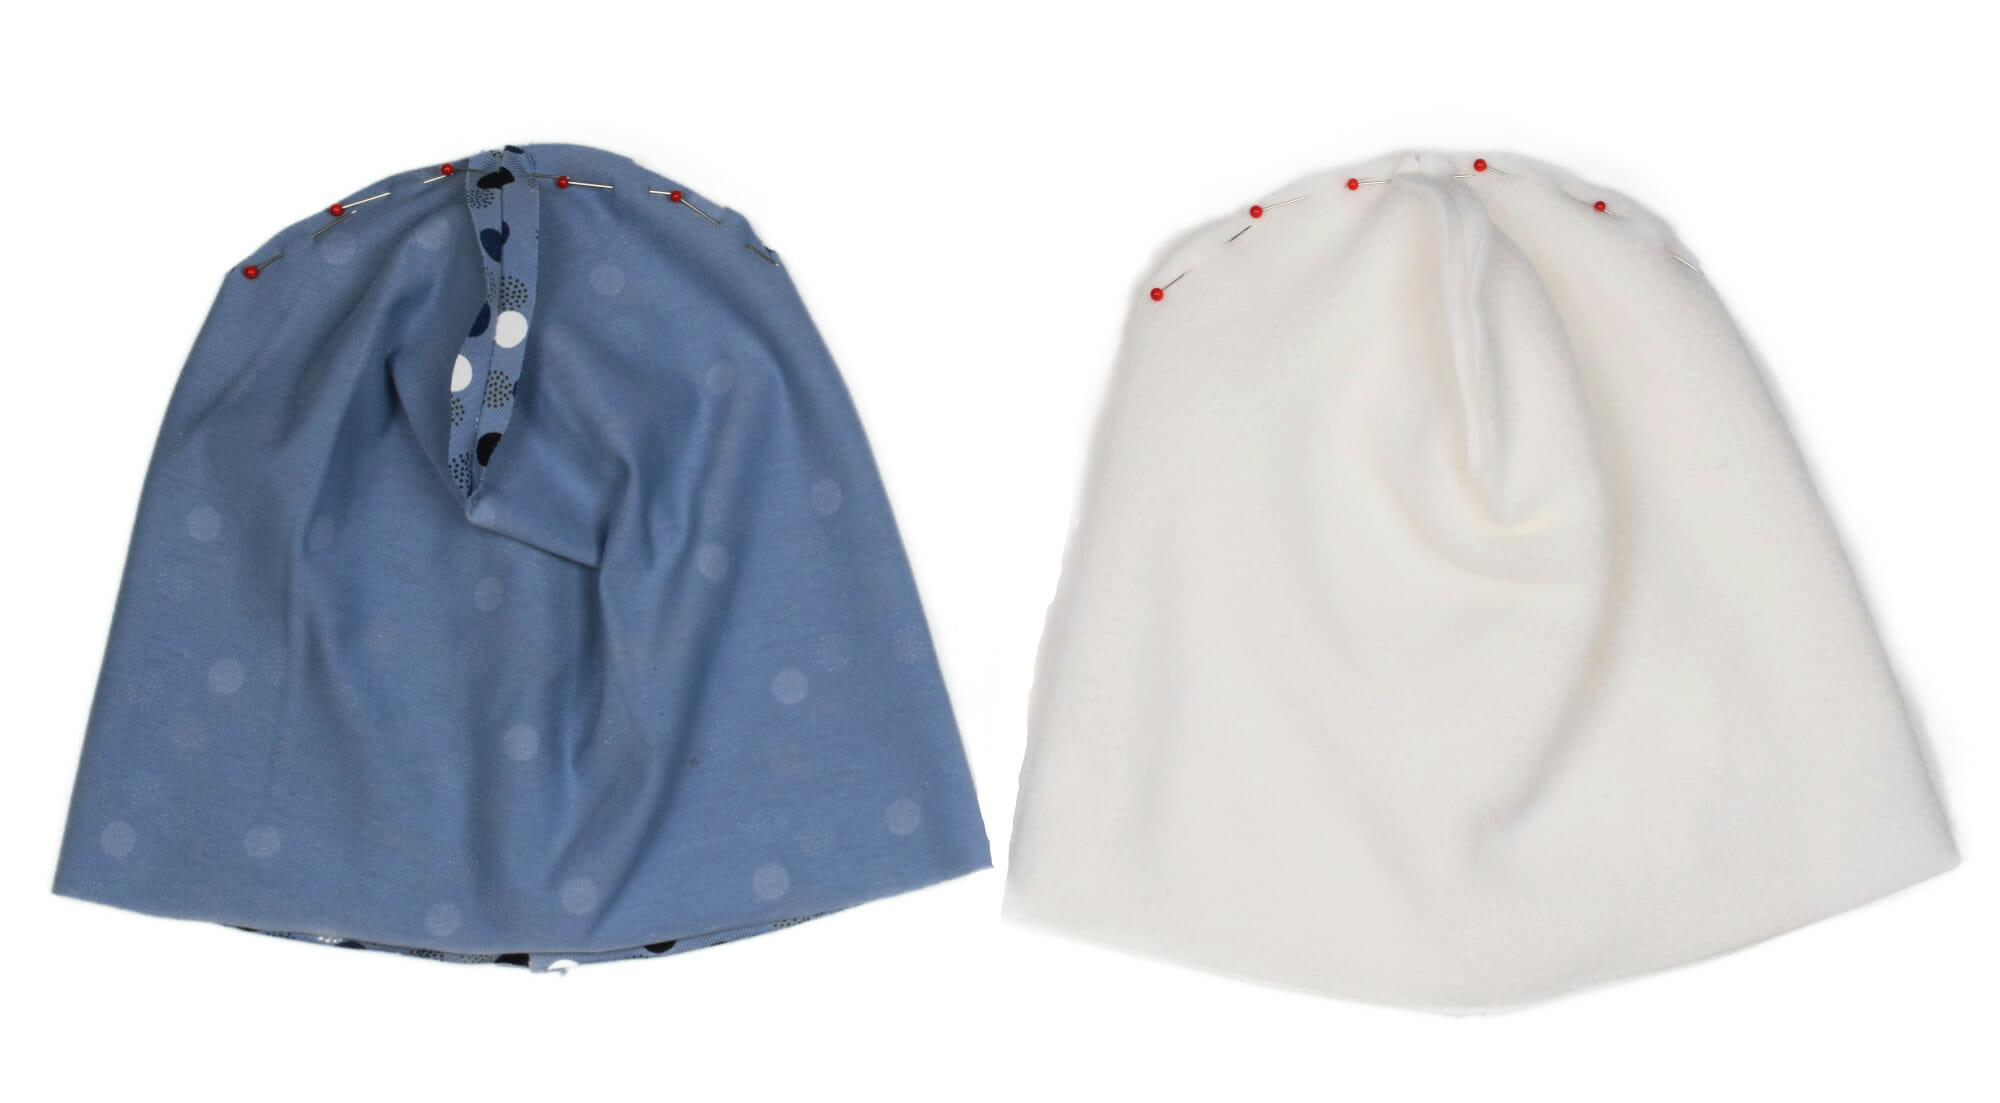
Take the jersey layer, fold it in half, and make sure the seams line up neatly. Then, stitch along the top edge to close it up.
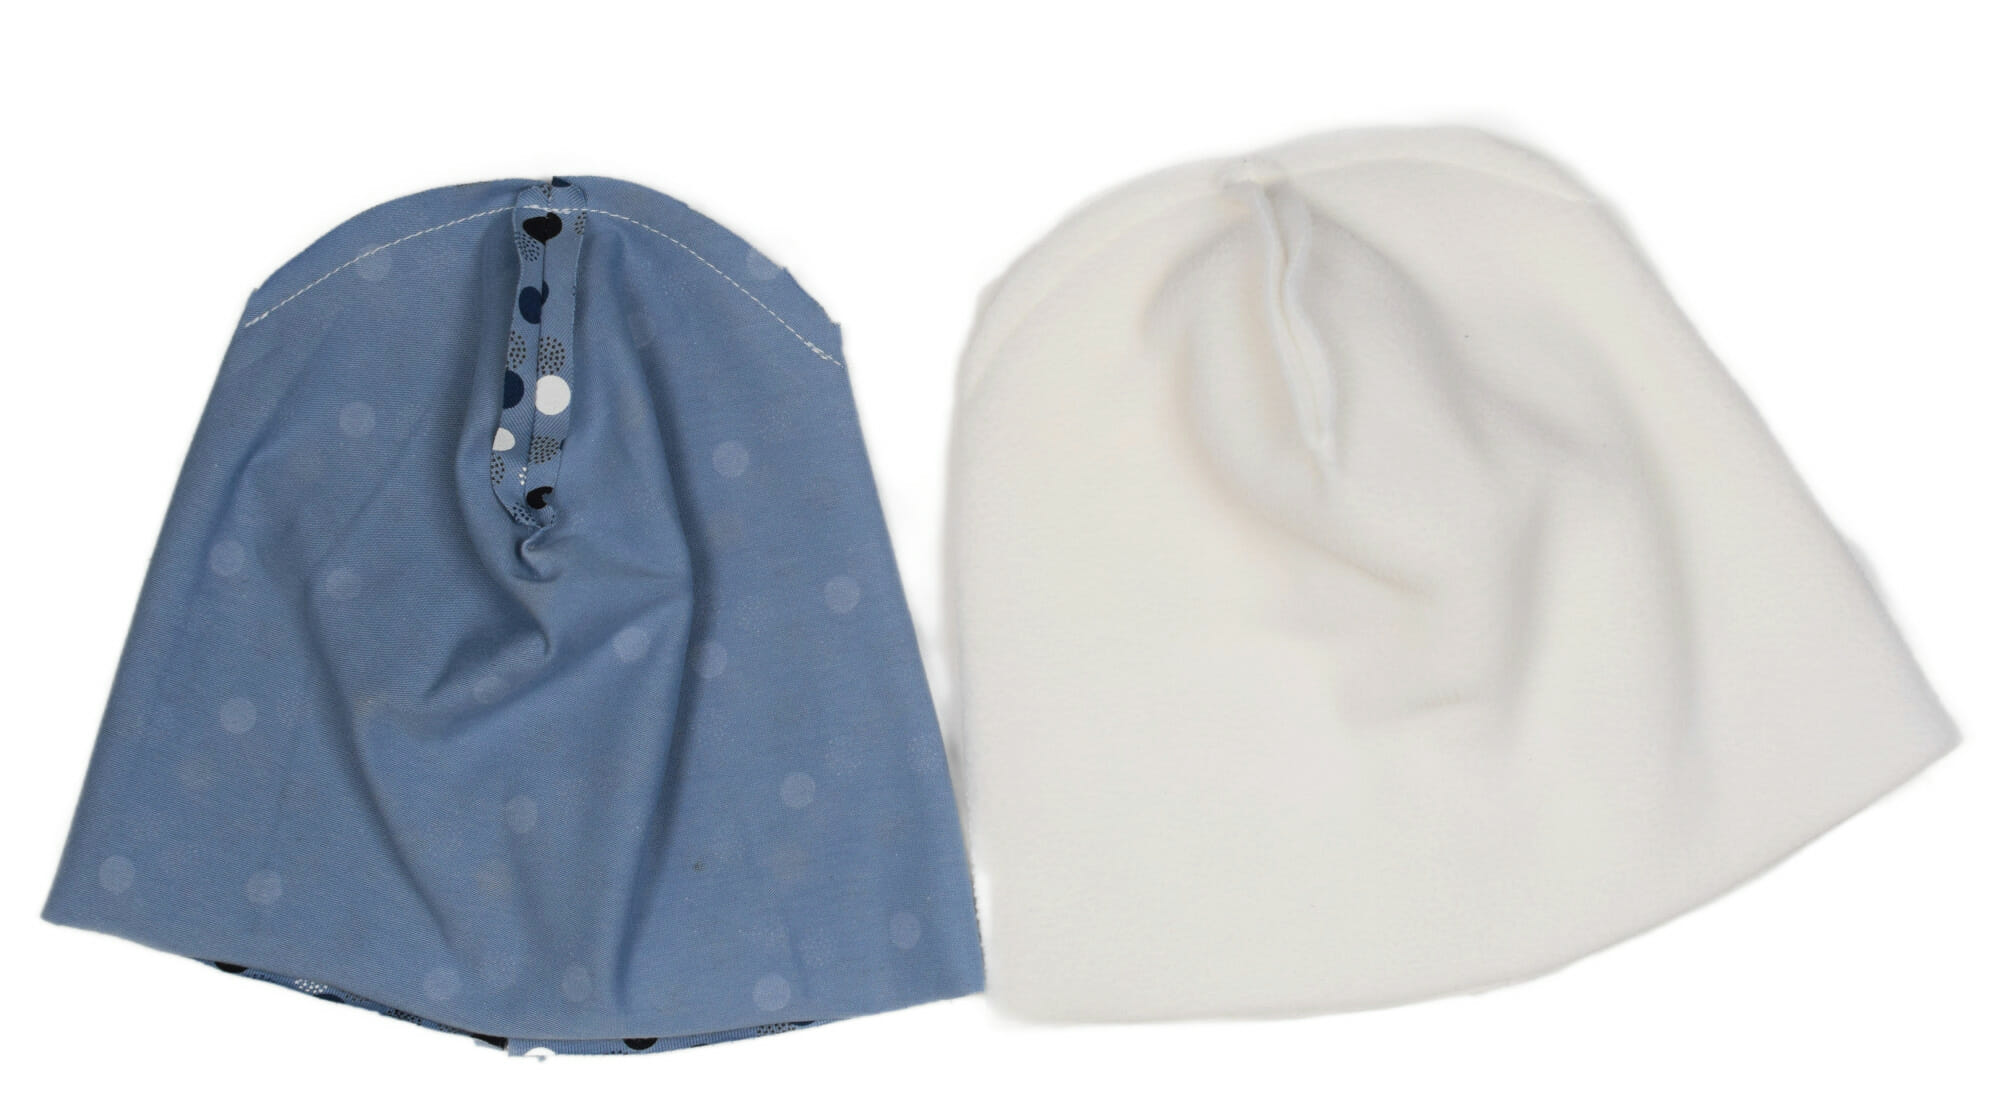
To keep things tidy, I like to snip a tiny bit into the corners, just up to the stitching line, and then press the seam open. It helps the beanie lay nice and flat!
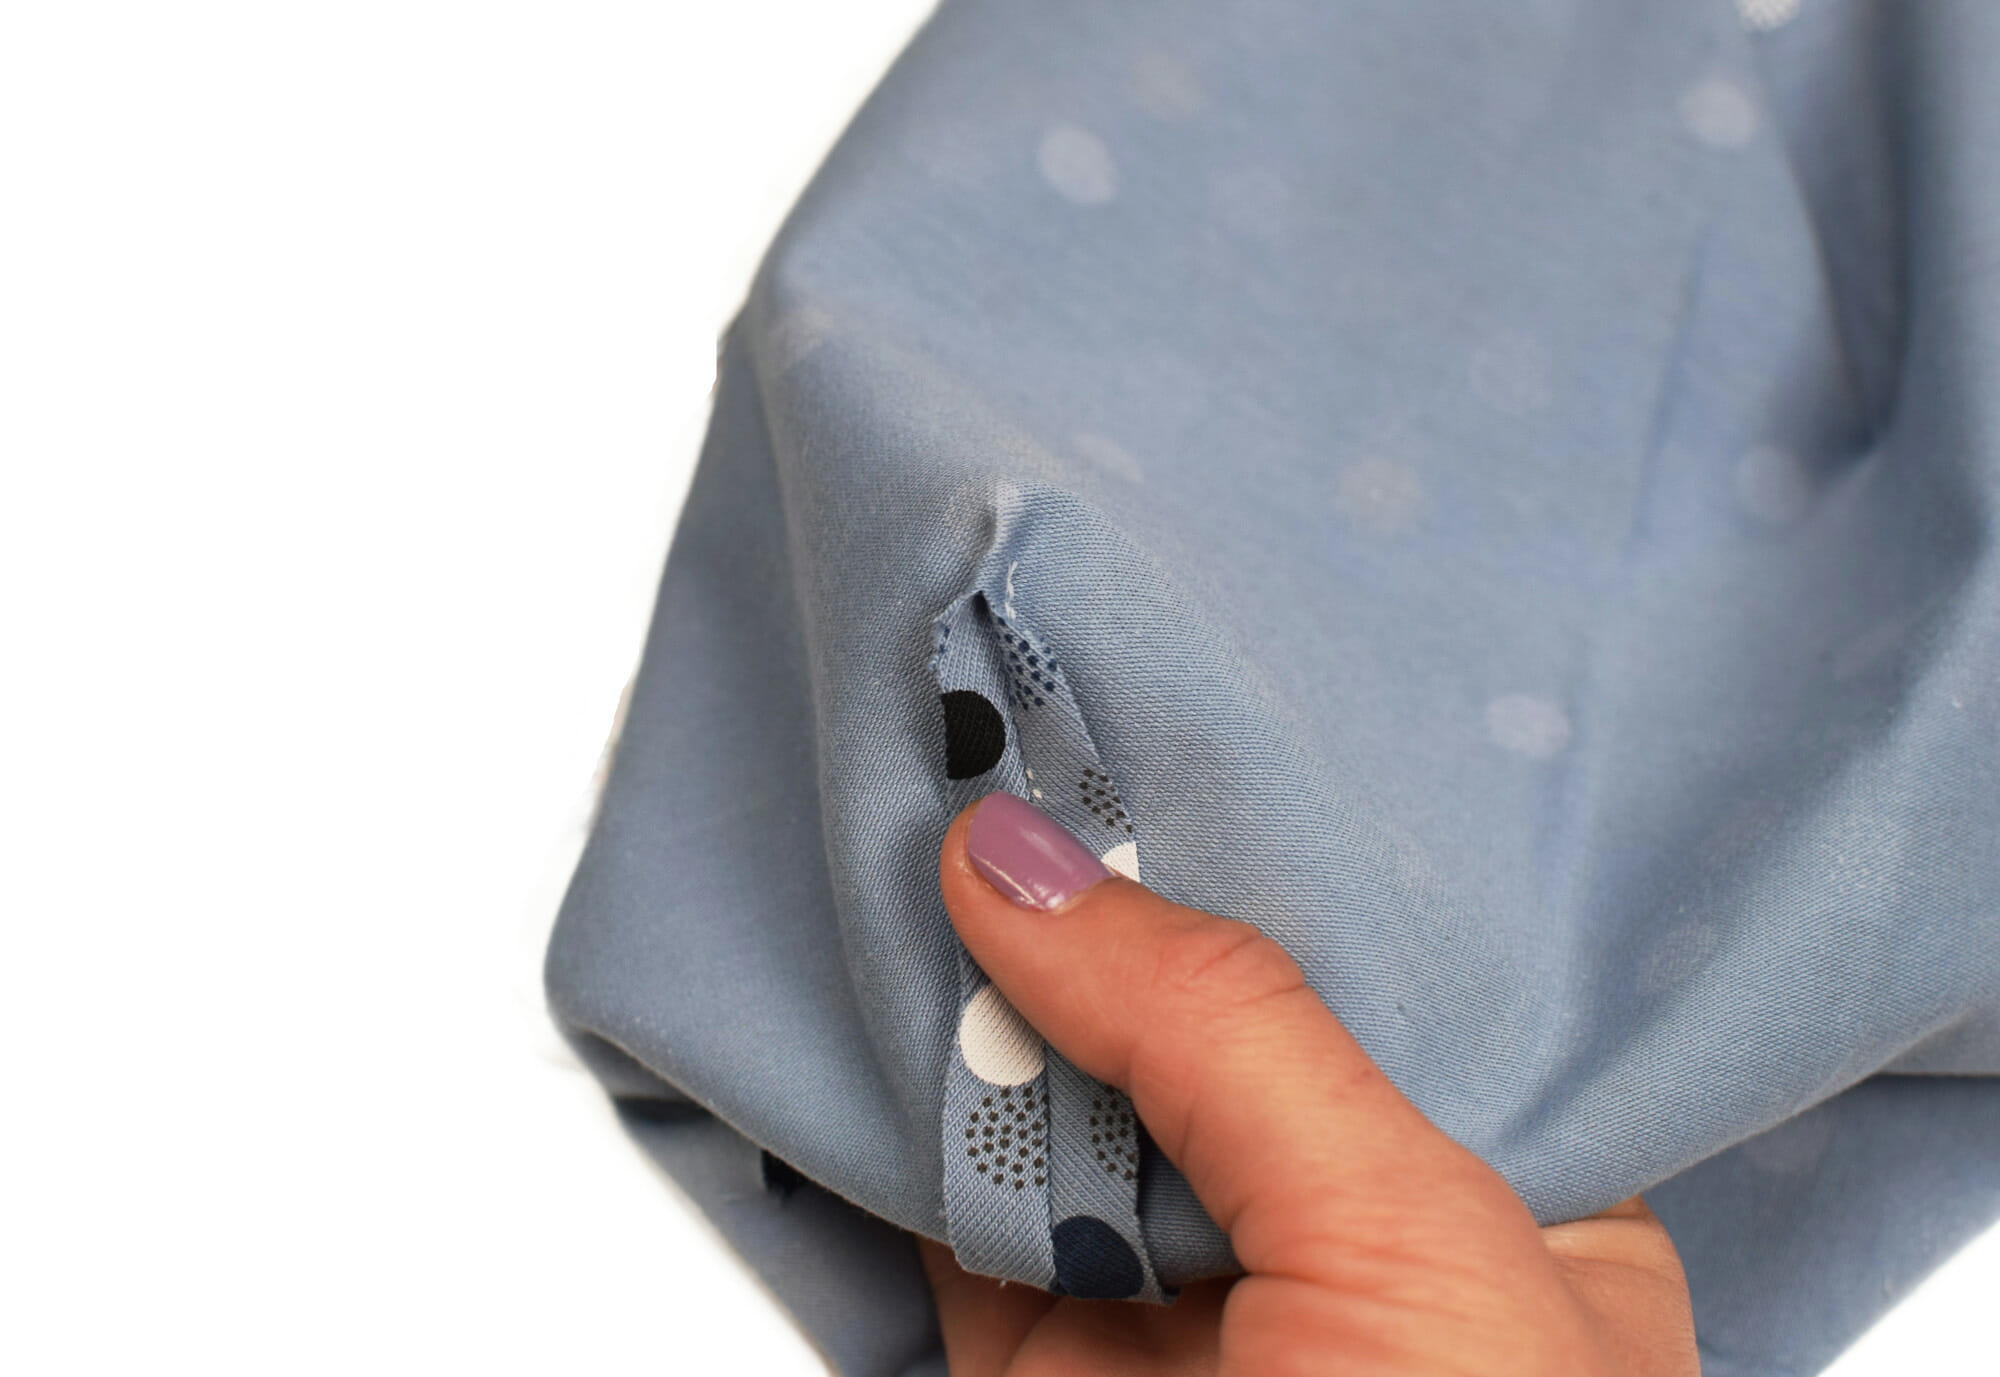
Step 4 – join the fleece lining and jersey hat
Now, place the fleece lining inside the jersey hat, with the right sides facing each other. Align the back seams so everything matches up perfectly.
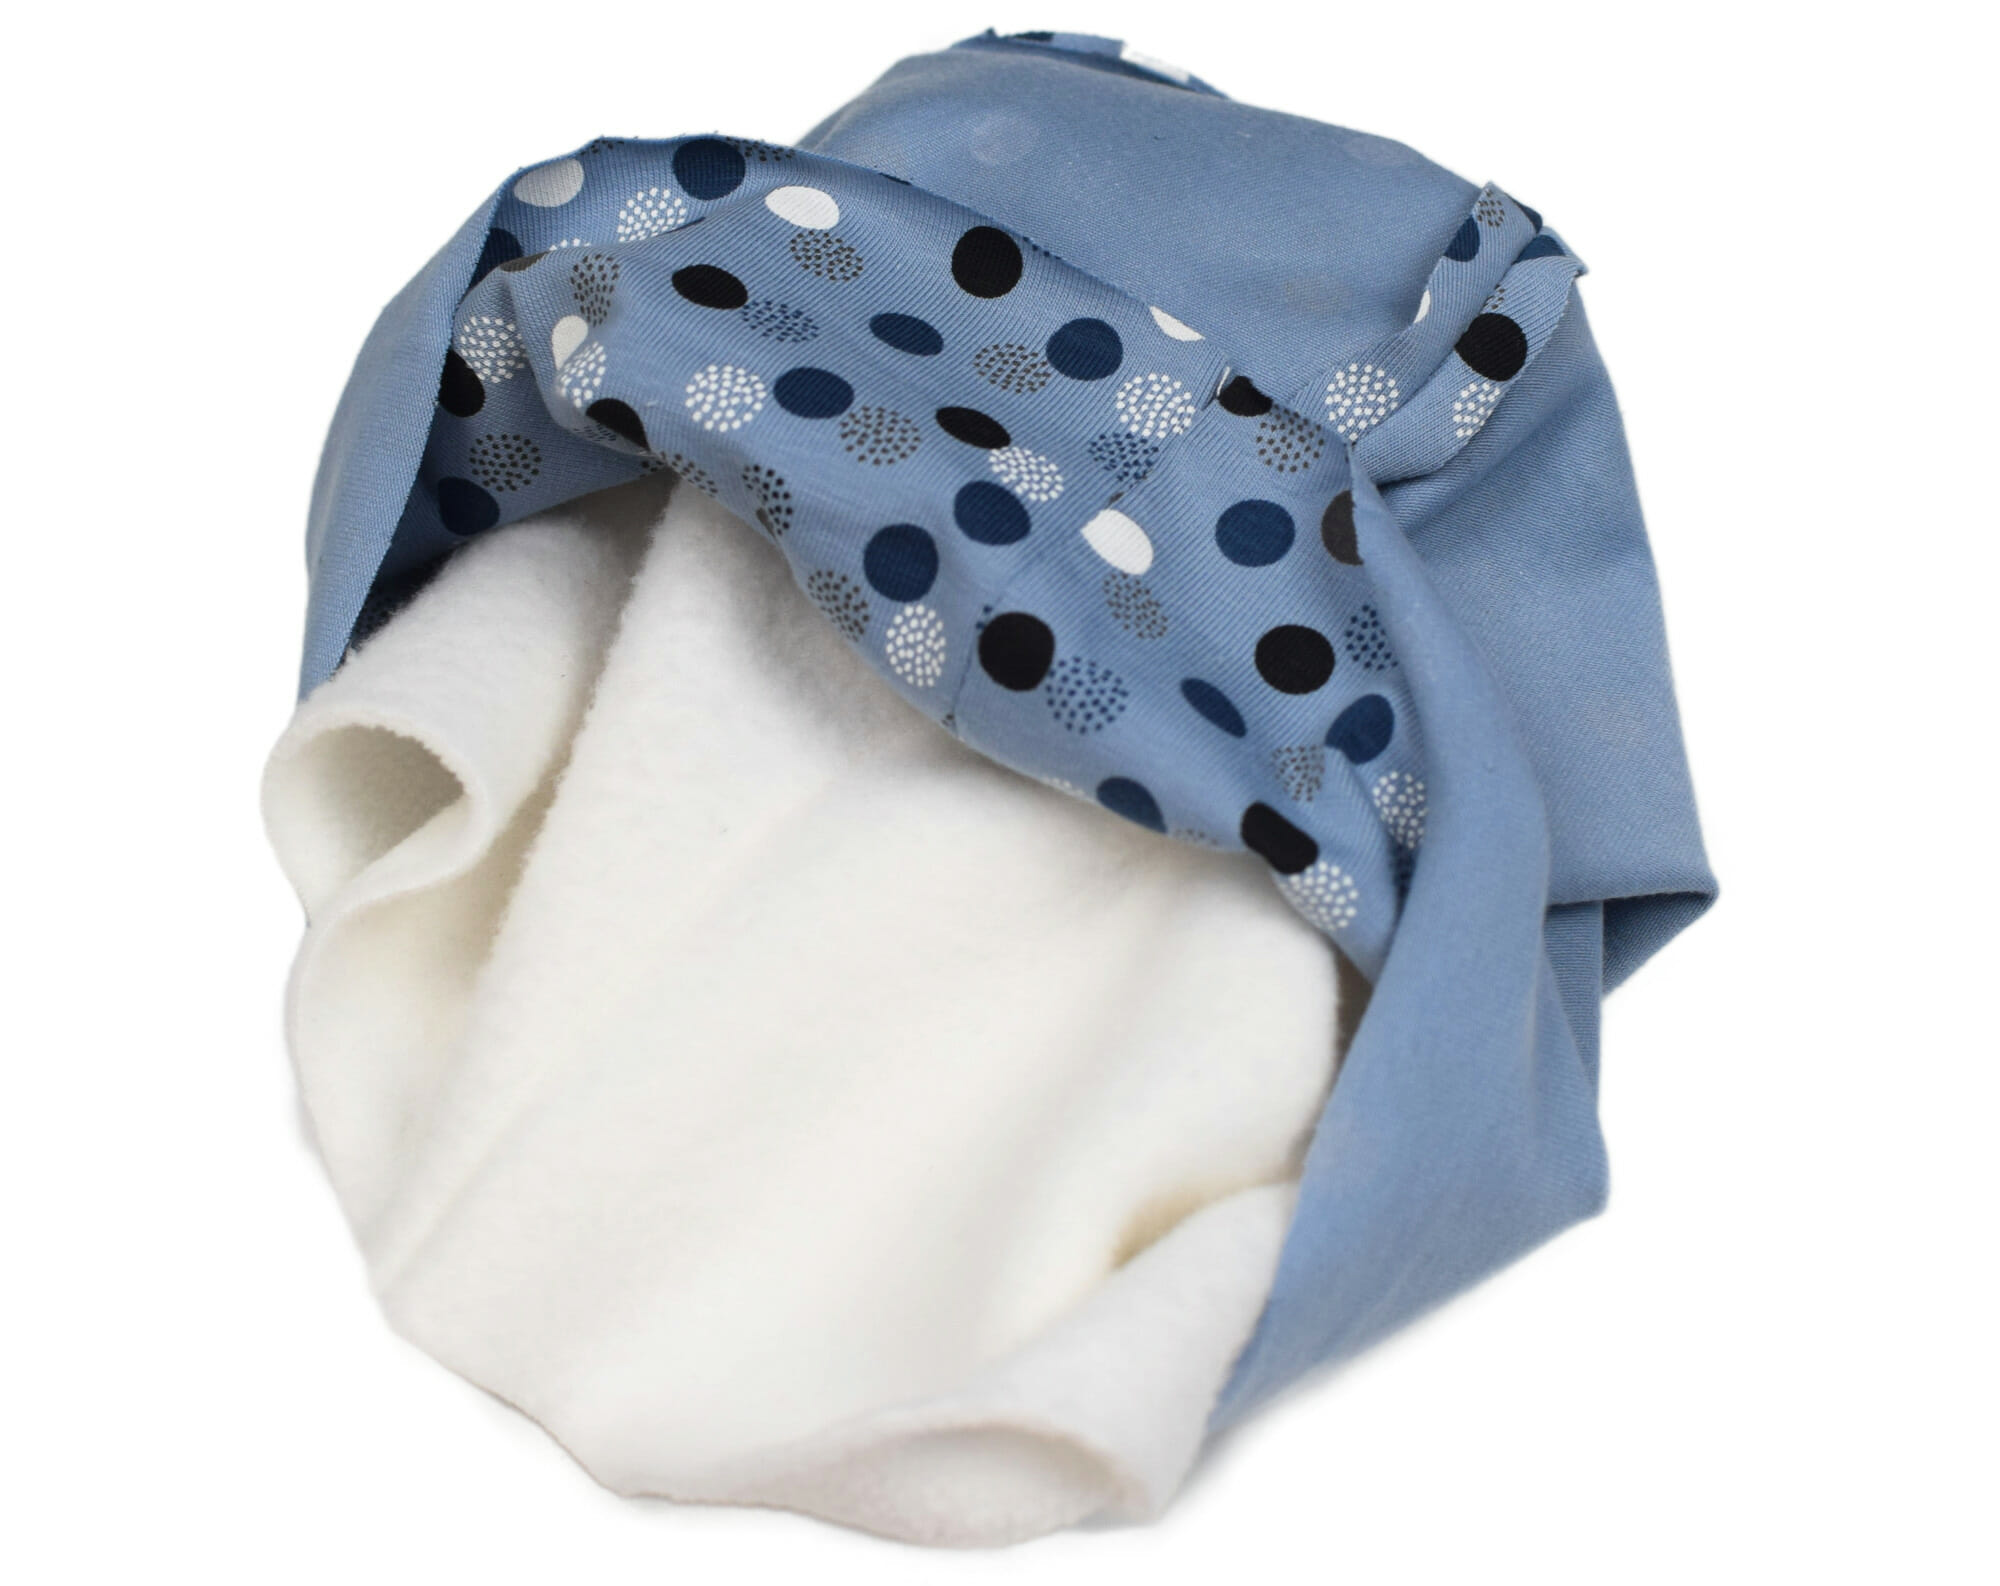
Using the free arm on your sewing machine, sew around the edge with a zig-zag stitch. Avoid a straight stitch here so the fabric keeps its stretch!
Backstitch at the beginning and end for durability, and leave a small 2-inch opening.
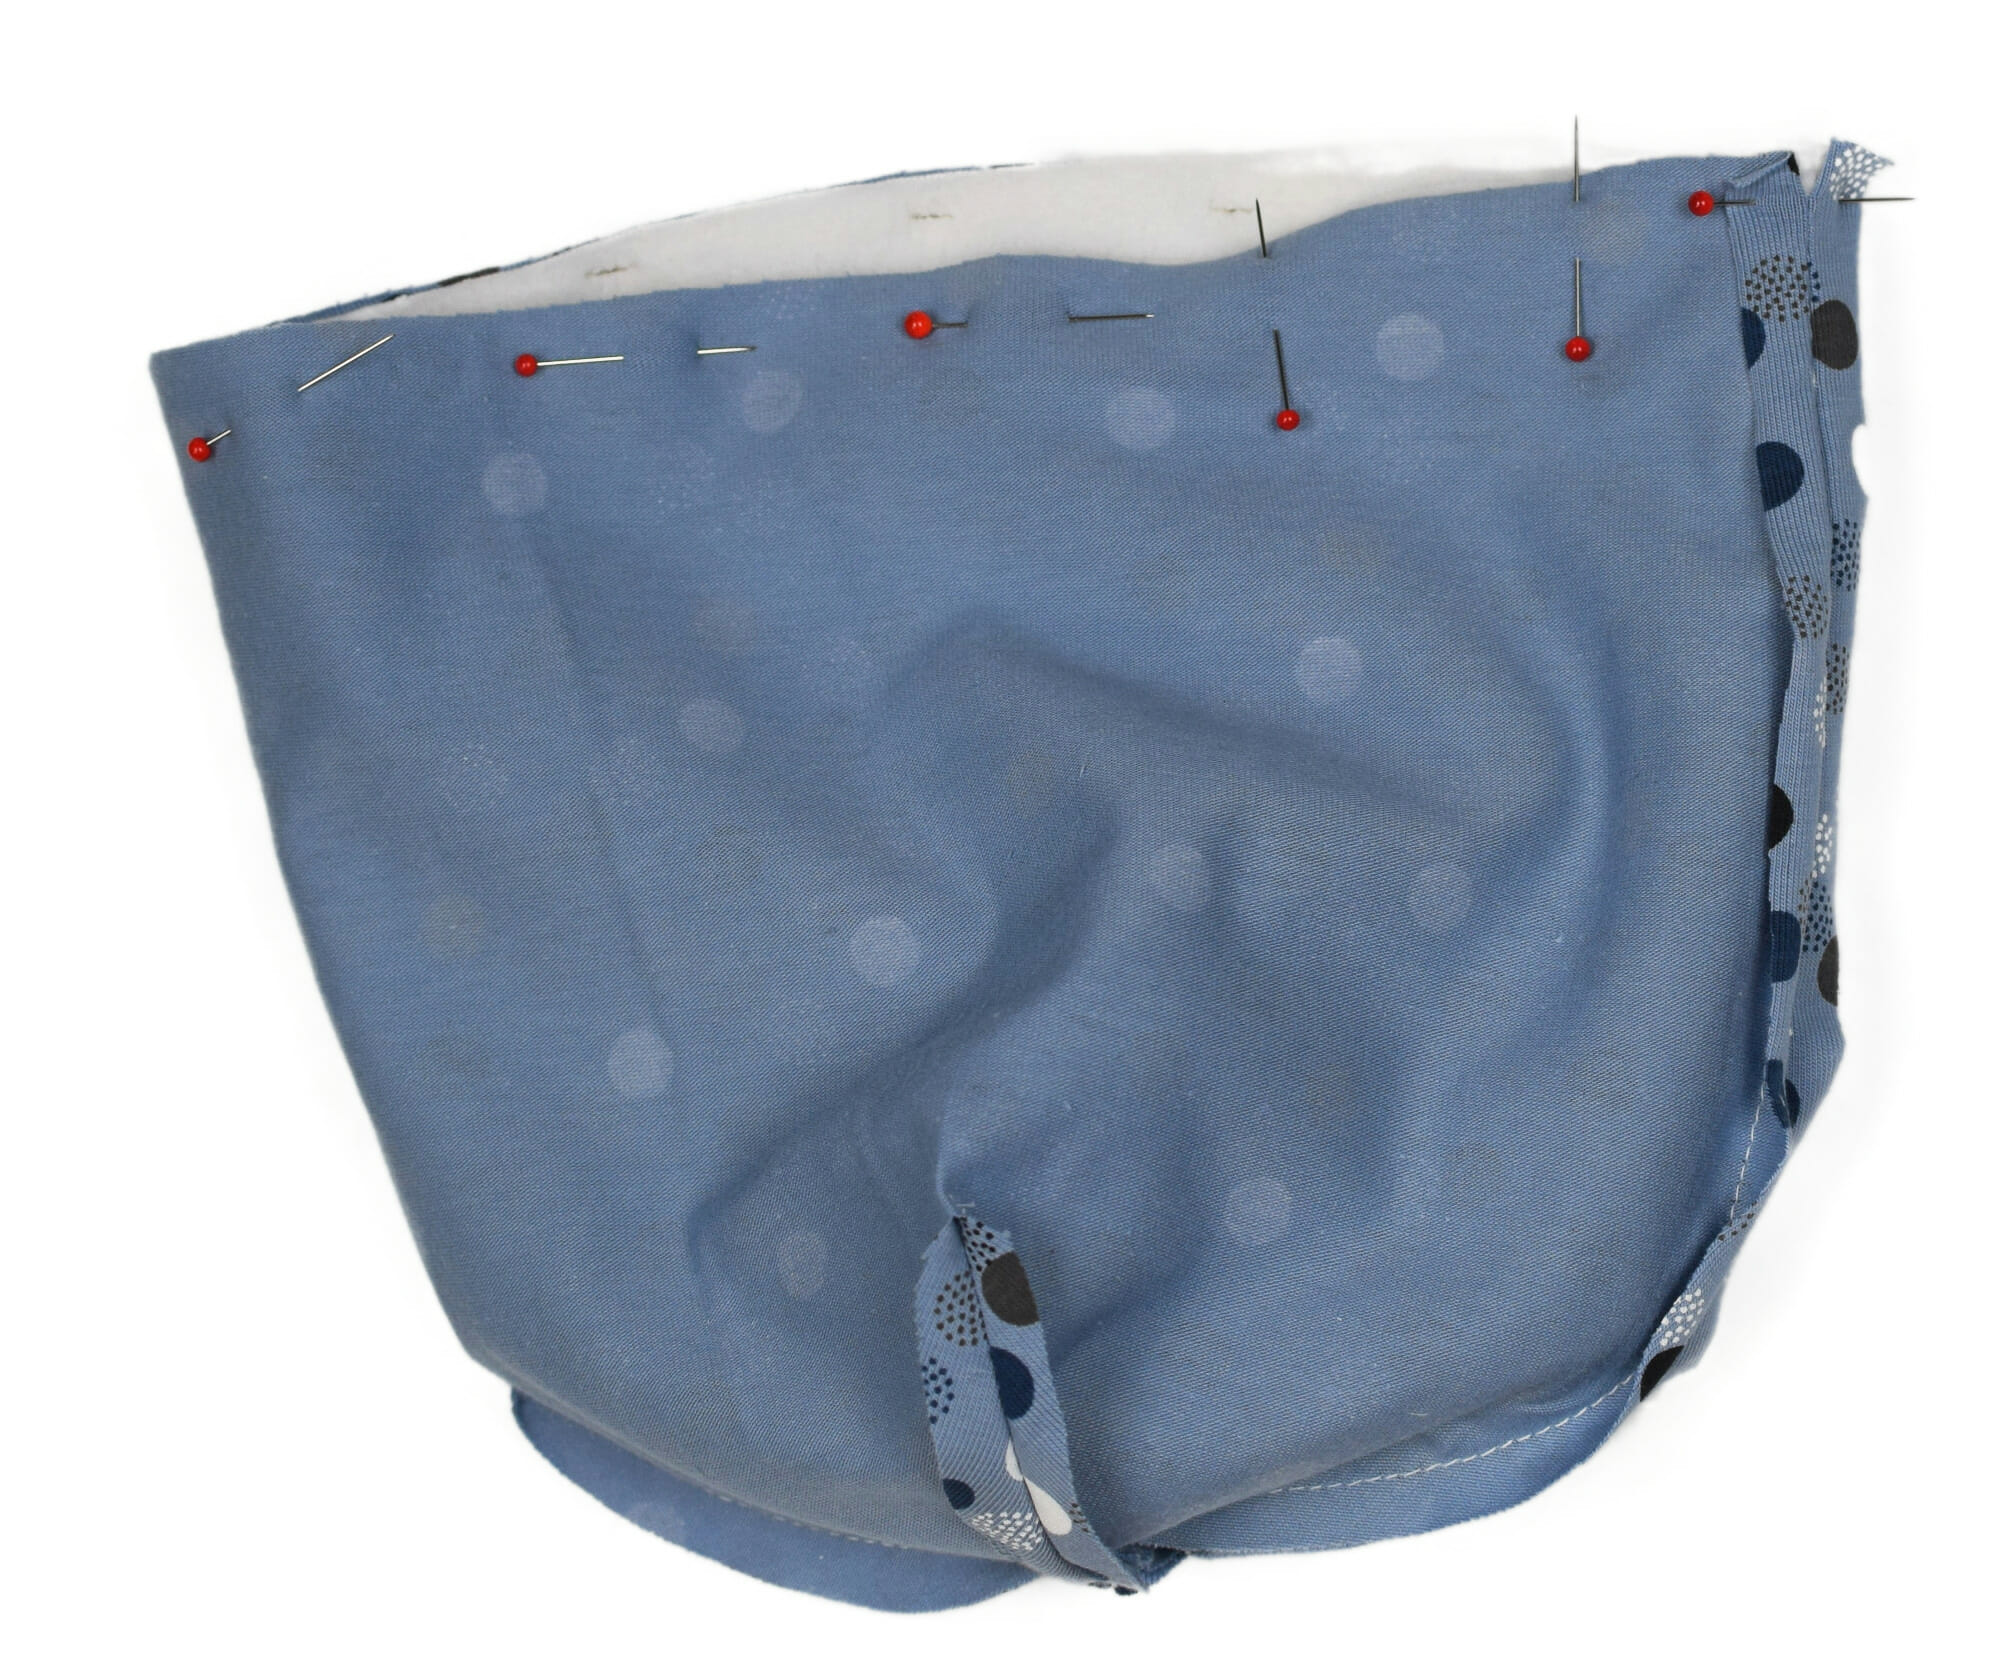
Look at that – no skipped stitches!
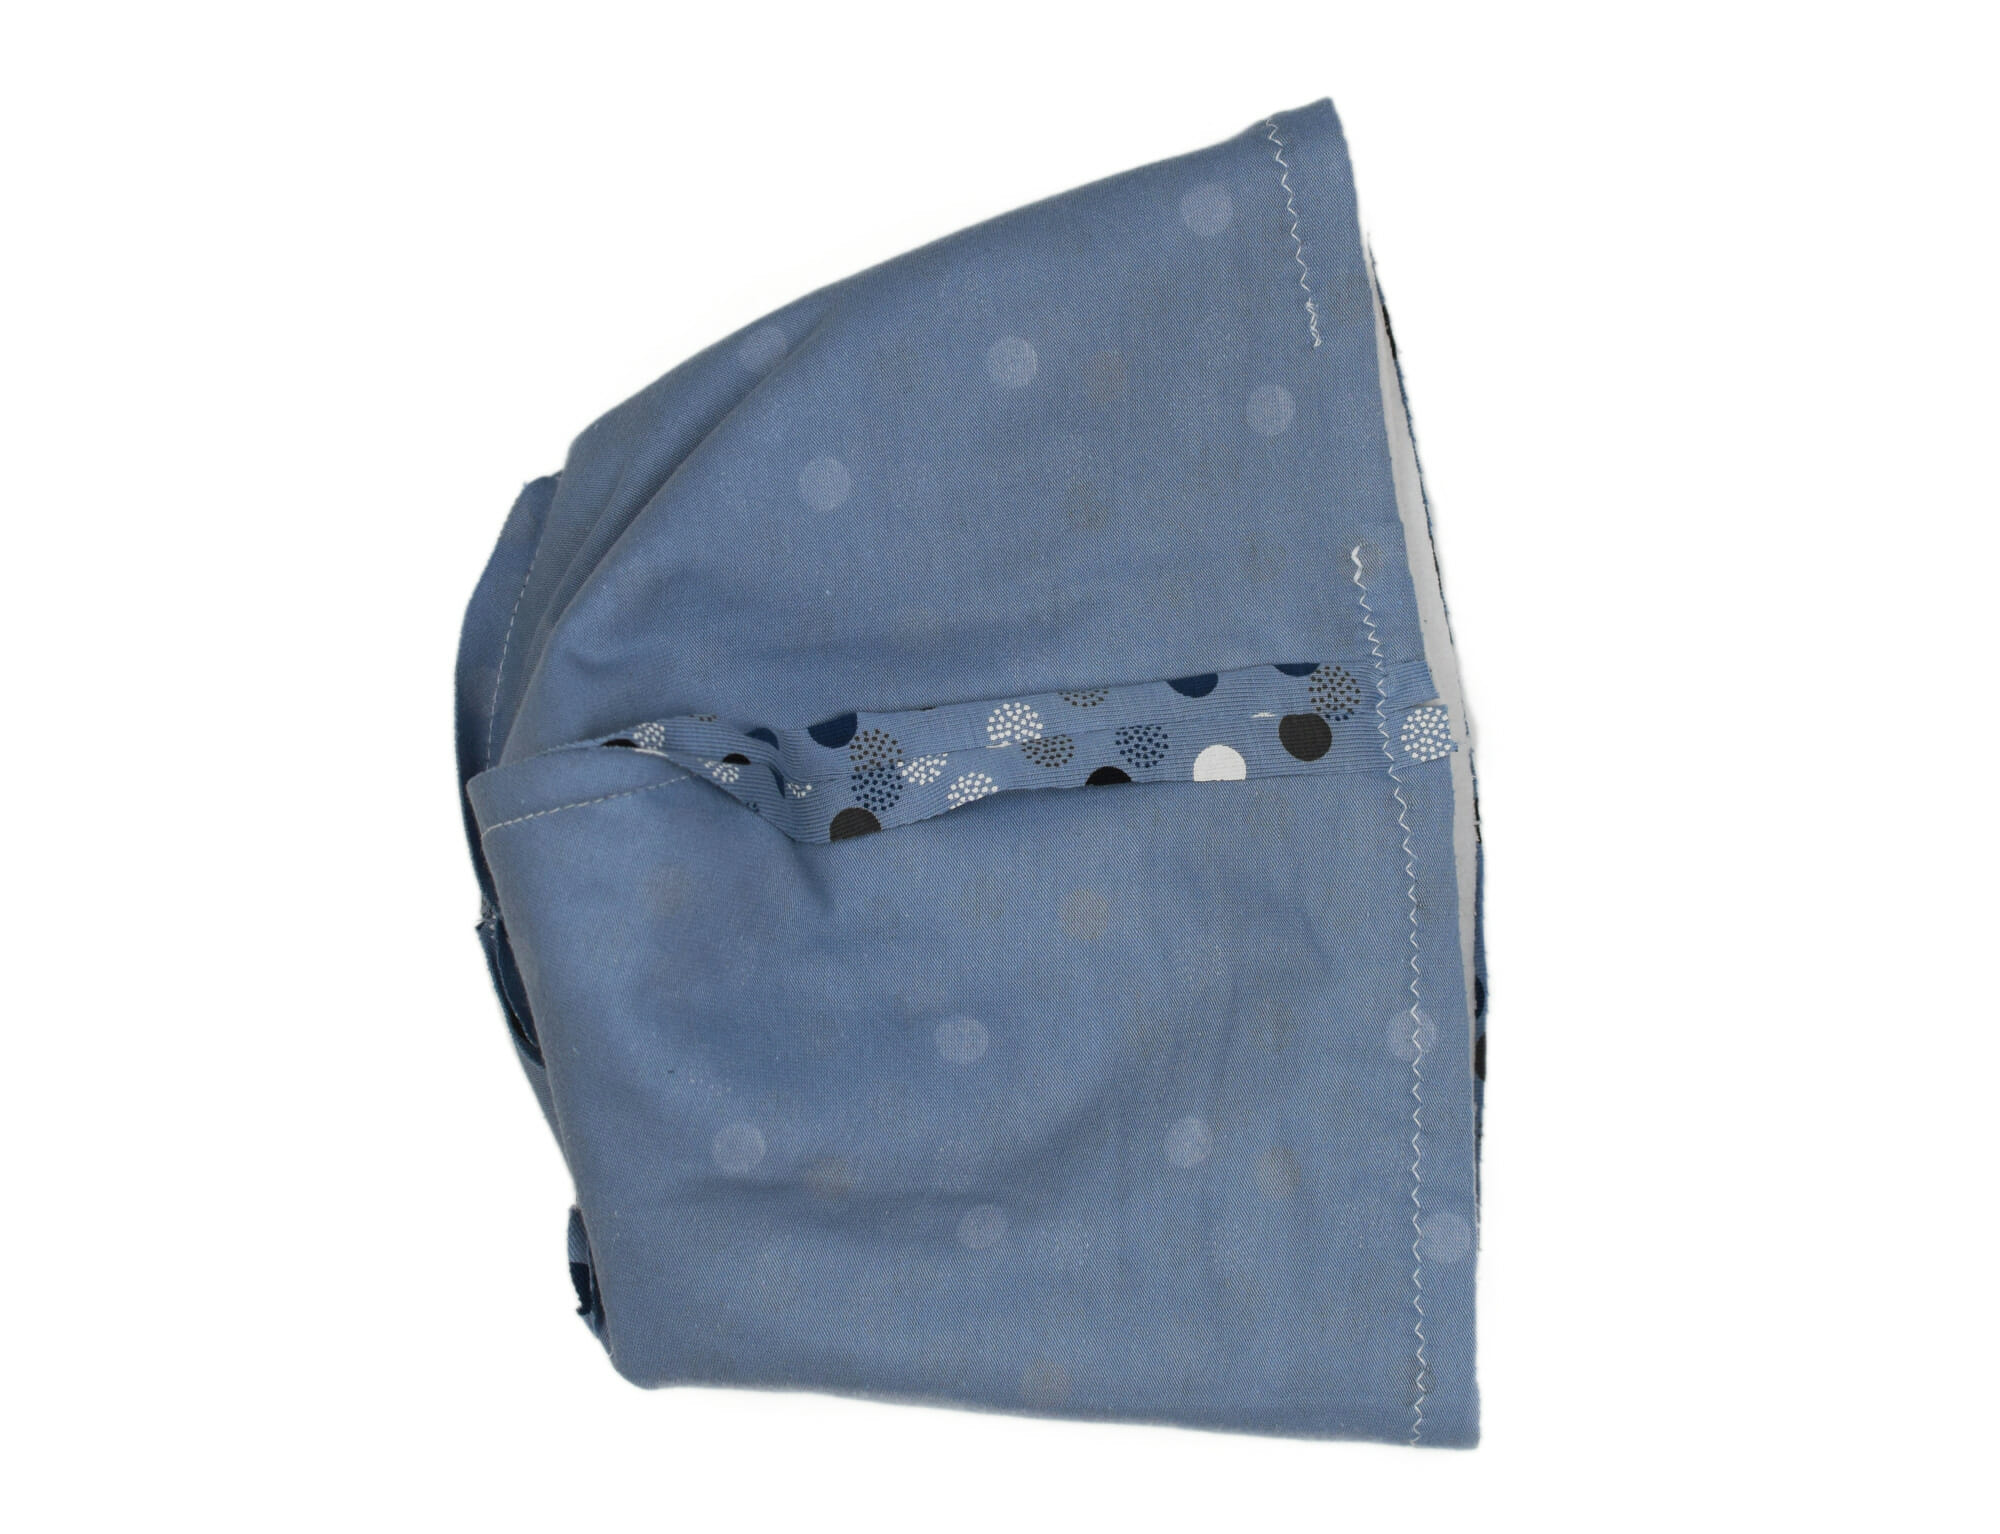
Step 5 – turn and finish your beanie hat
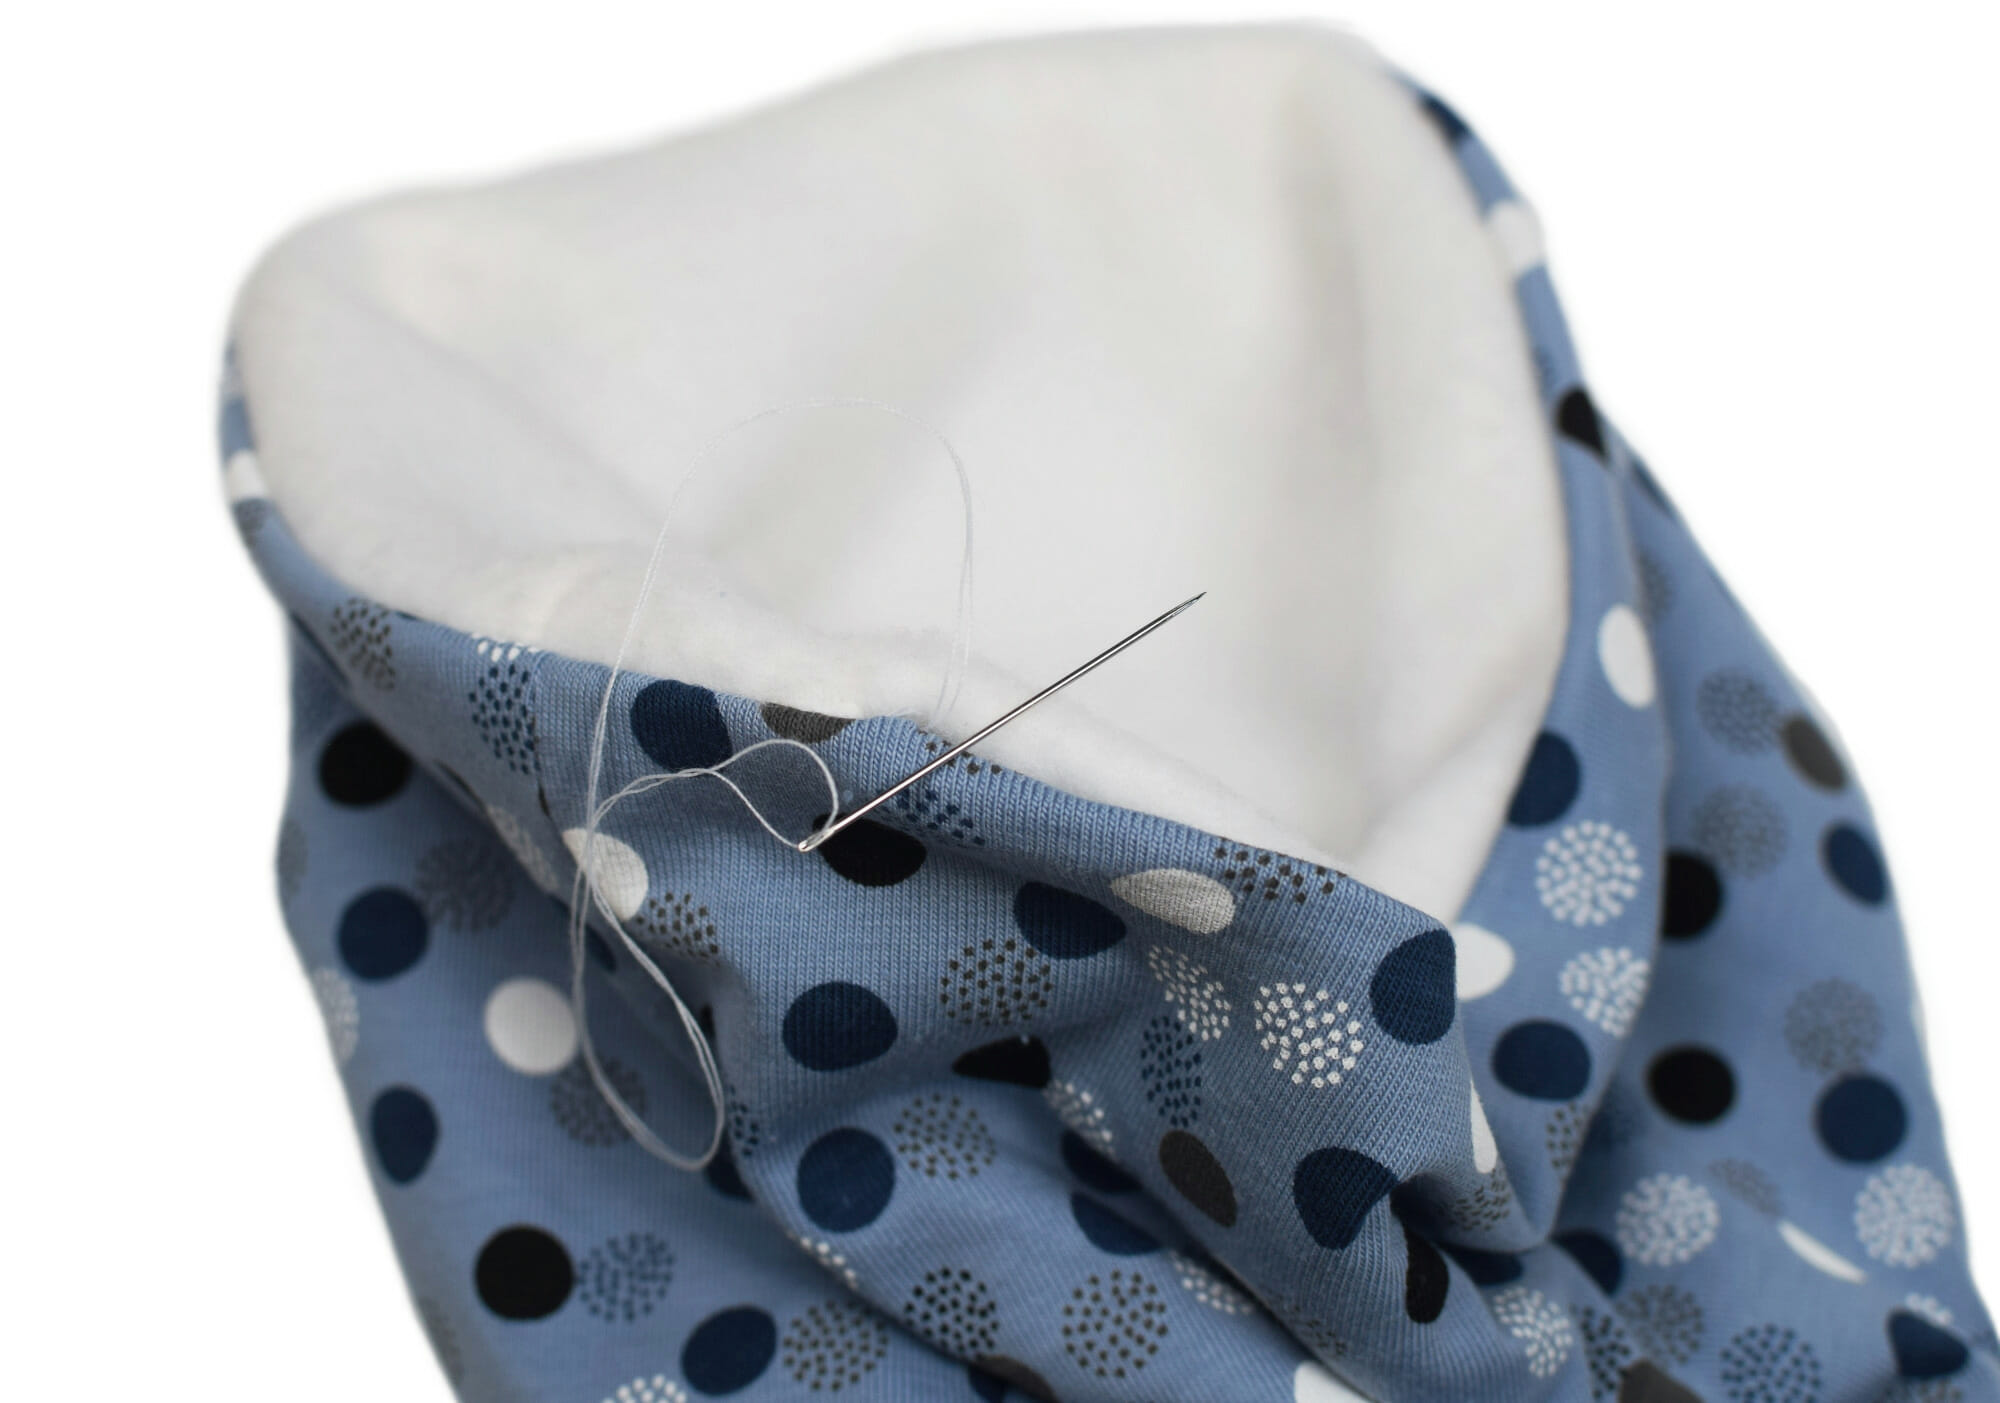
Through that little opening, turn your beanie right side out.
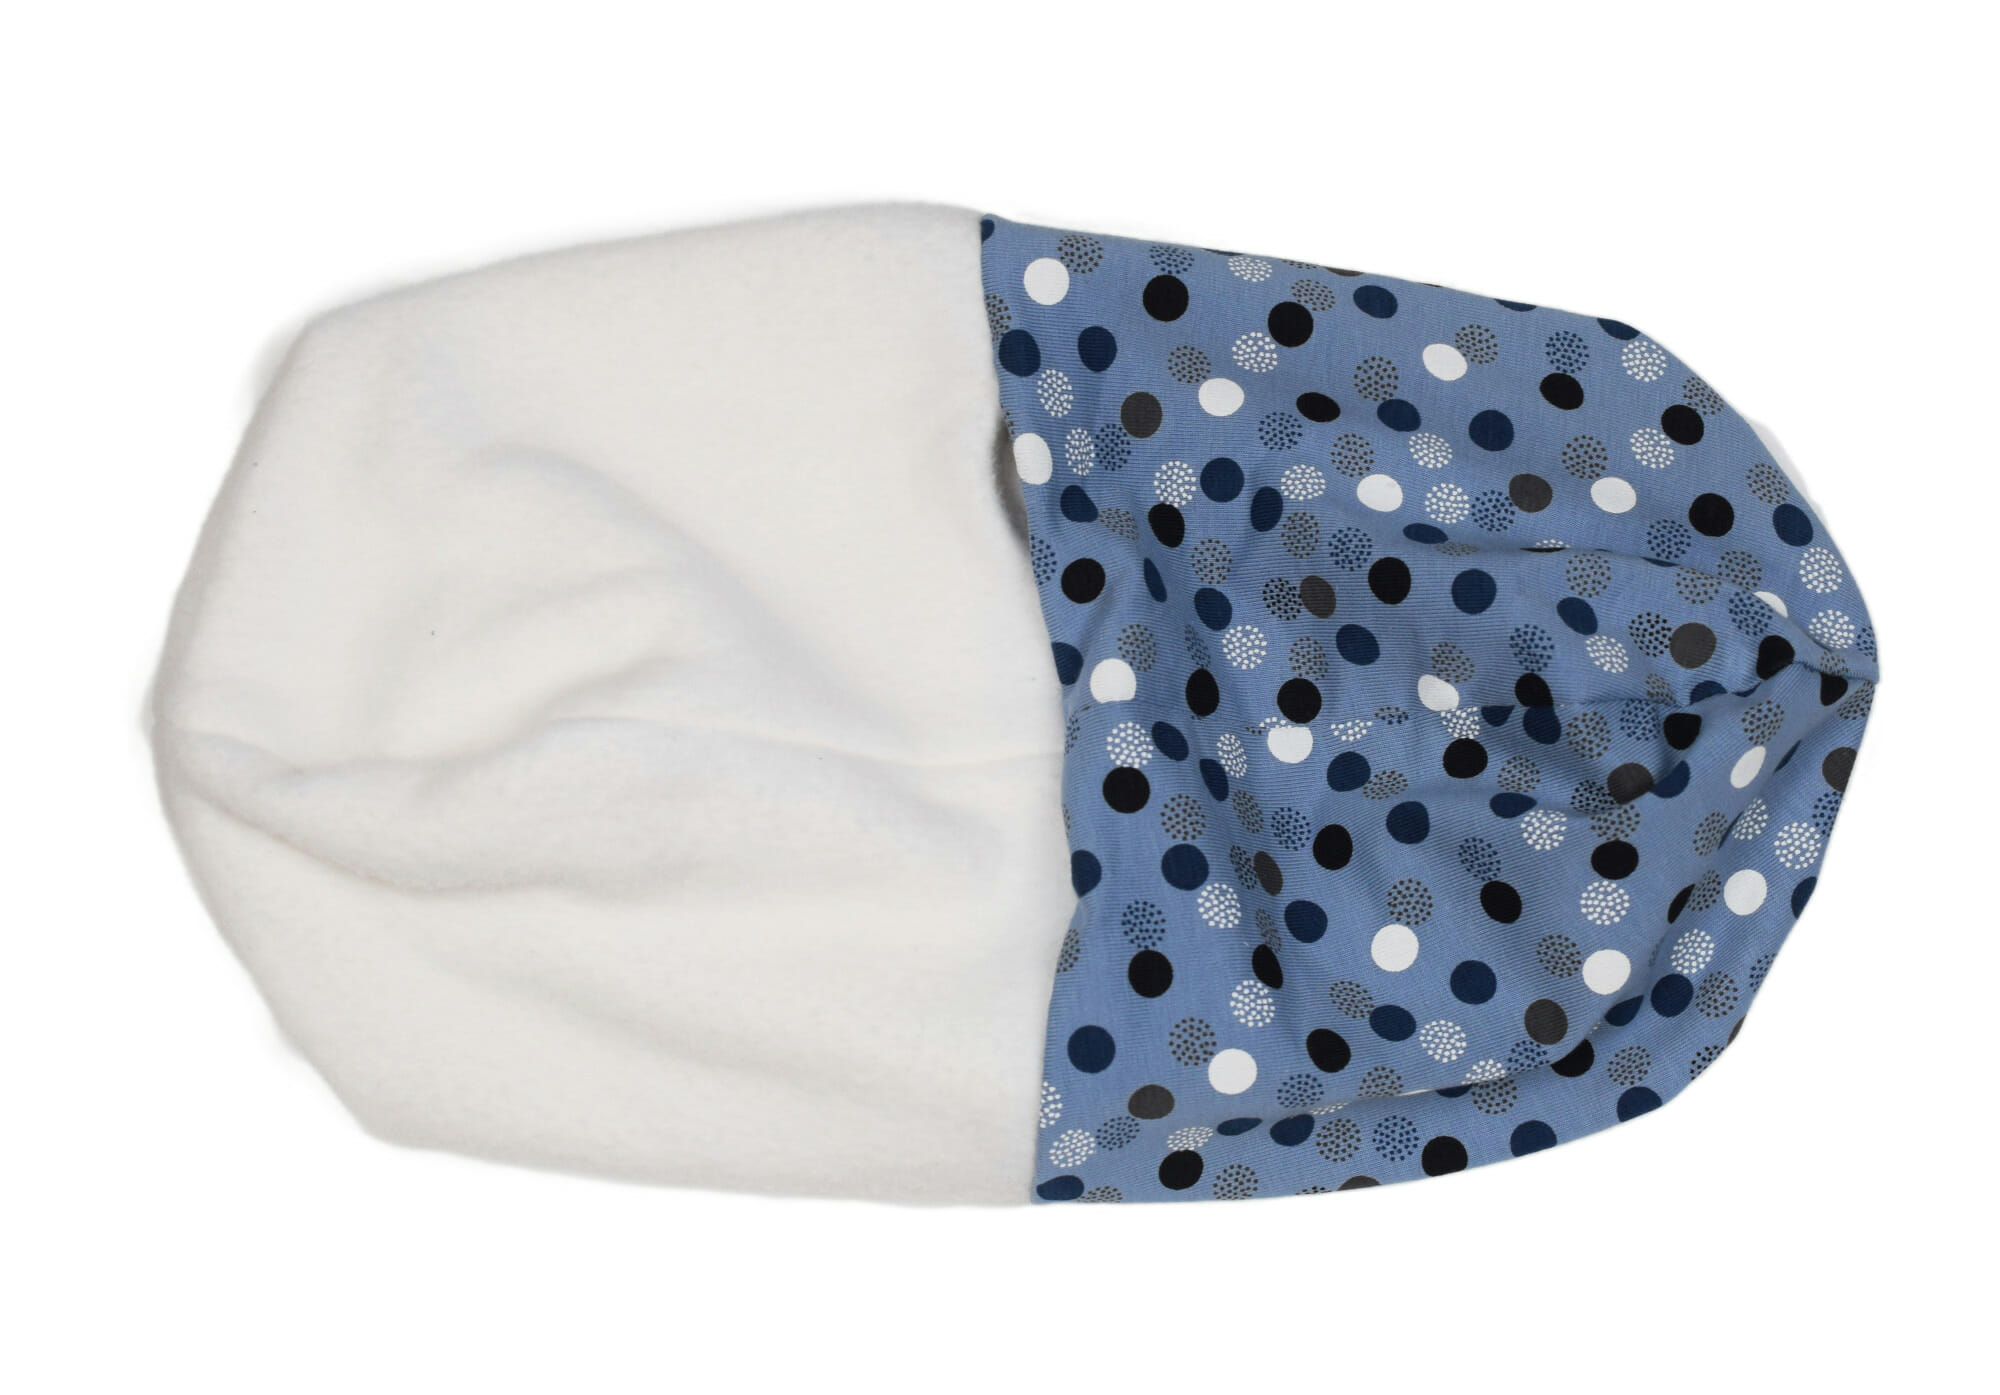
Then, close the gap by hand with a ladder stitch for a neat, invisible finish.
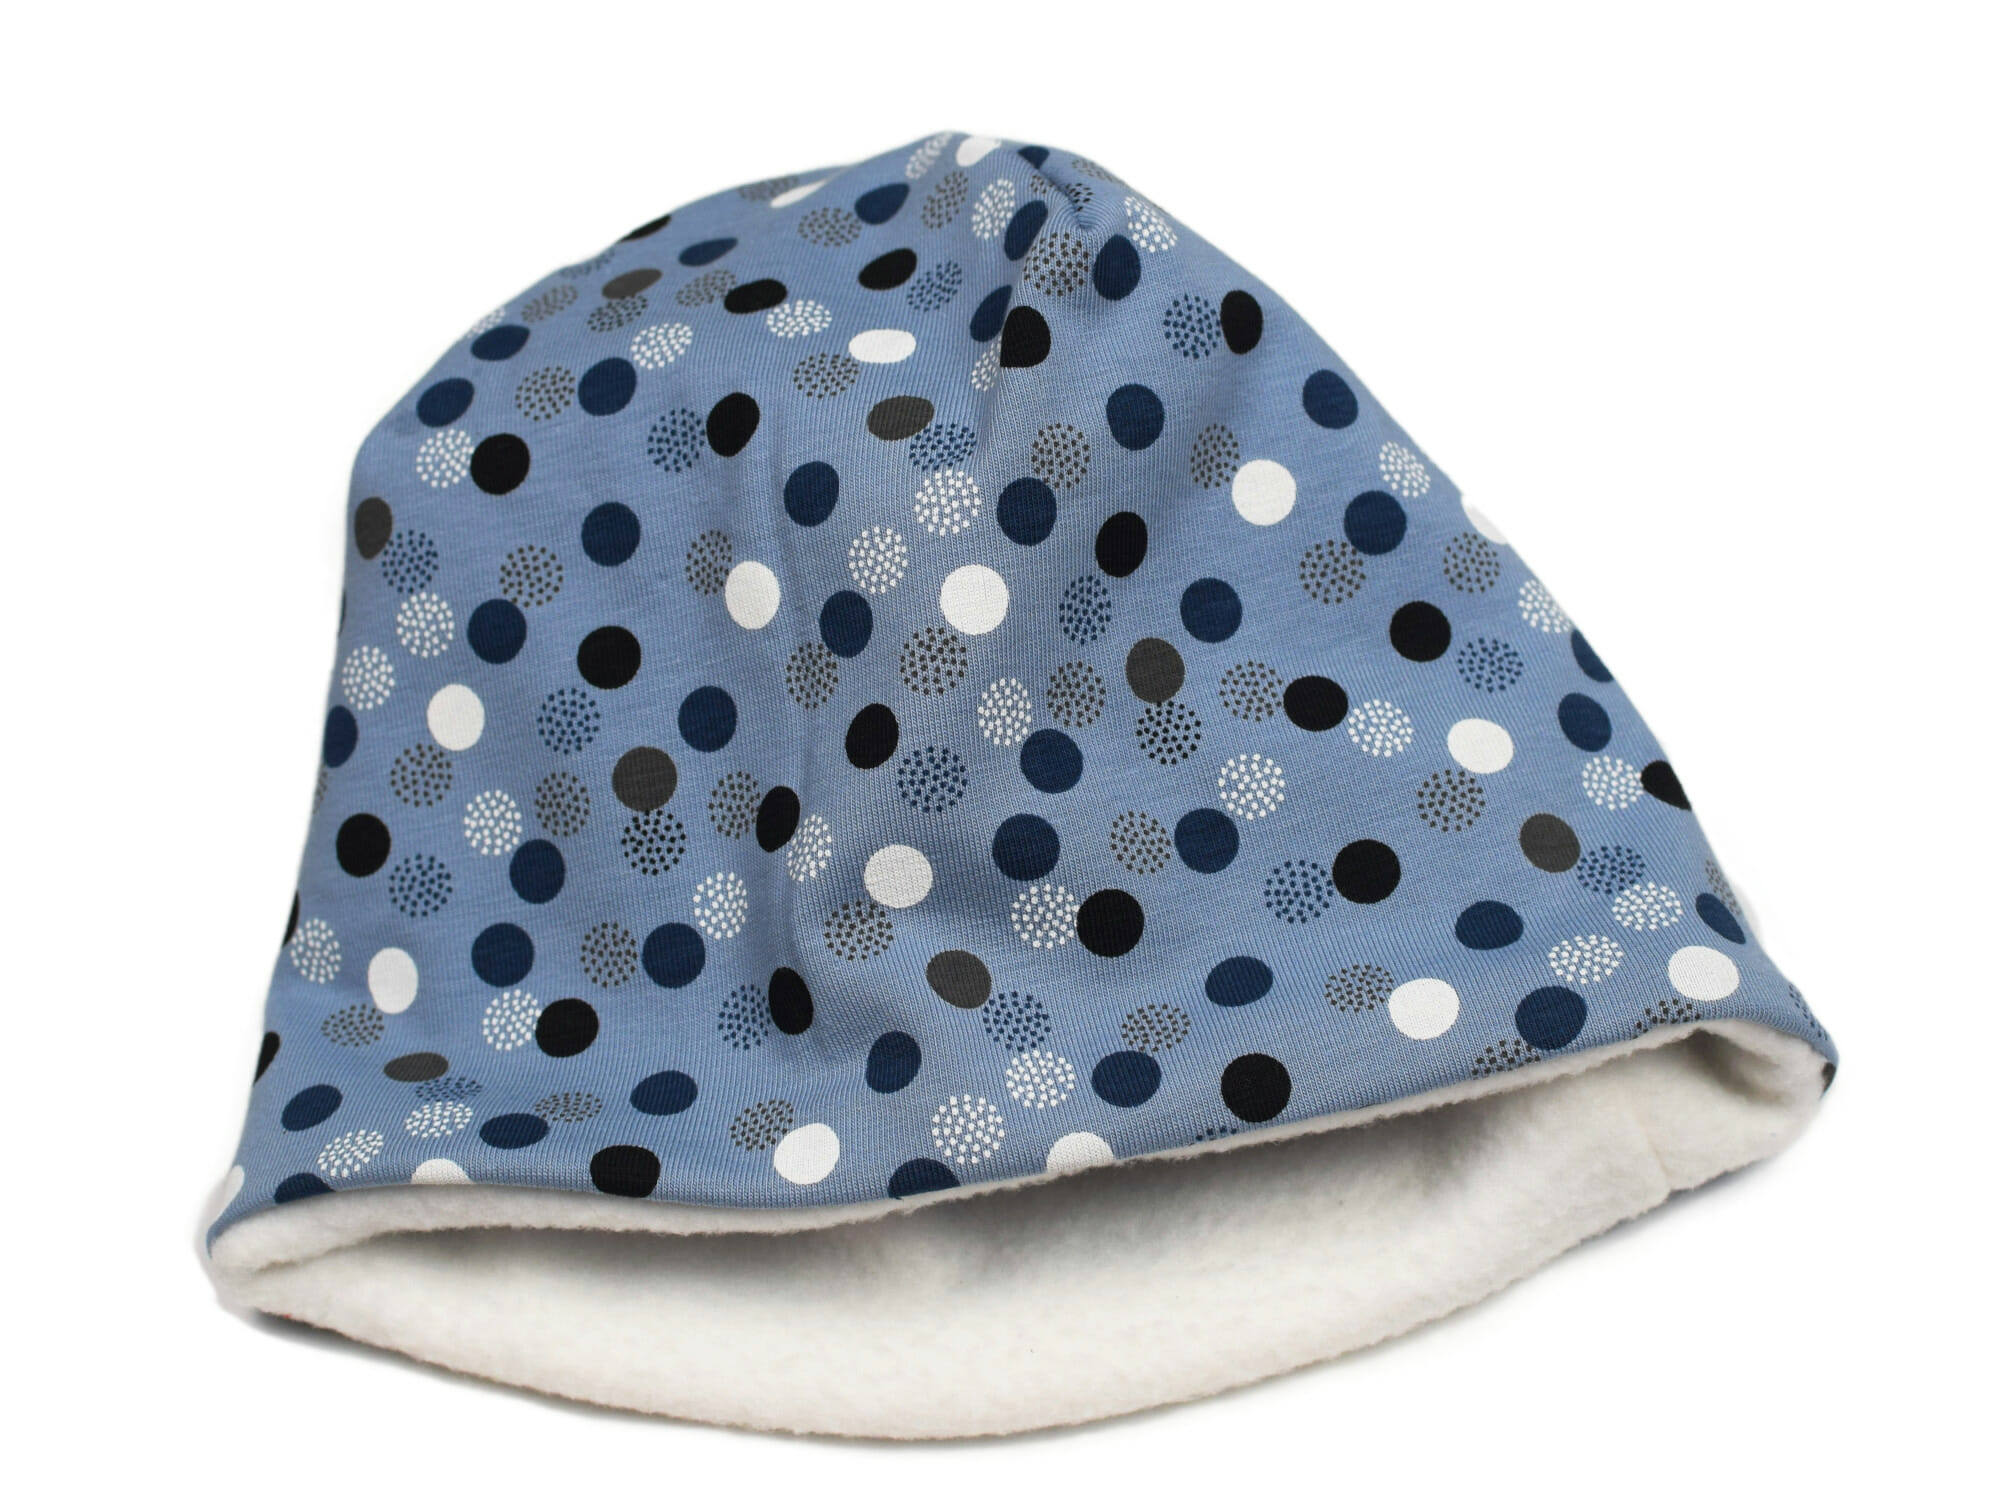
And that’s it – your cozy fleece-lined beanie hat that’s as cute as it is practical! This DIY beanie is a quick project that’s sure to bring smiles and warmth all winter long. Plus, you now have a pattern that you can tweak for any size, so everyone can enjoy a handmade hat!
If you try this tutorial, I’d love to see how it turns out – share your creations @icansewthis, ask questions, or let me know your own tips for working with knits.
Update: Beanie hat sizing tips
I originally published this post back in November 2019 after making this cute, fleece-lined beanie hat. Over a year later, it still fits my 3.5-year-old daughter, and she wears it all the time!
If you love getting lots of wear out of handmade clothes like I do, here’s a sizing tip: while the beanie pattern is perfect for a 2-year-old, I’ve noticed that my daughter is starting to outgrow hers (since fleece doesn’t stretch as much as jersey).
So, if you’re making this DIY beanie for a child over 3 years old, I’d recommend making the pattern a little wider and longer. And if you want to sew it for a 1-year-old, go just a bit narrower and shorter for the best fit.

Hey I can see where to find the pattern after having entered my email address. Please explain. Thanks!
I wanted to subscribe to get the free sewing pattern for the hat, but if I want to confirm with the mail, I get an error…
Hi Violet,
Thank you for the pattern and instructions. About to make this out of felt with a cotton batting lining between two layers.
The pattern page two shows a band. Your hat doesn’t show it. What is it for?
Take care ~
Hi Katy,
I’m a bit confused about the felt & cotton batting hat… Who is it for, if I may ask? If you want a kid to wear this beanie hat, you have to use fabrics that have some ability to stretch.
The hat does not have a band. I split the pattern into 2 pages to make sure the margins are always inside the printable area.
Do you have an adult version?
Looking for an adult pattern. Might you have one?
Also, could this be used with 2 layers of fleece?
Hi. Your comment caught my eye. I was born Oct. 29 and your question was posted on this date. I too was going to ask about fleece. My head size is a child’s size, but for an adult, you could just draw it bigger. I know from my many sewing projects and mishaps that trying any fabric is what one must do. Also, making your own patterns bigger is a good way to find what works. I am always experimenting with upcycled materials from thrift. I’ve used pillowcases, scrub tops, table runners, placemats, and little girl’s dresses. Shopping at thrift makes it more affordable because I know mistakes will happen. I have only been sewing for two years and I make a LOT of mistakes. But sewing is very relaxing and I’m a big DIY crafter. I hope my kind comment helps you. I am definitely going to try fleece.
I made this today with extra fabric I had laying around. This was super easy and quick to make! My toddler is asleep but I think she is going to love it!
Hi Savannah,
Thank you for your kind words!
I’m glad you liked this tutorial and I hope your beanie hat will get a lot of wear! <3 Mine here still does, one year later.