Sew an adorable and comfy DIY peasant top for babies and girls of any age! You can easily create your own pattern using a simple formula. In this tutorial, I’ll show you exactly how I made these cute double gauze tops.
The best part is, this method requires little to no math and no body measurements. All you need is a short sleeve t-shirt with a regular fit. You’ll be able to create different variations in terms of length, volume, or neckline.
With this skill, you can make DIY peasant tops in different sizes and styles for yourself or others. They are comfortable, pretty, and super quick to make.
Why double gauze is perfect for DIY peasant tops
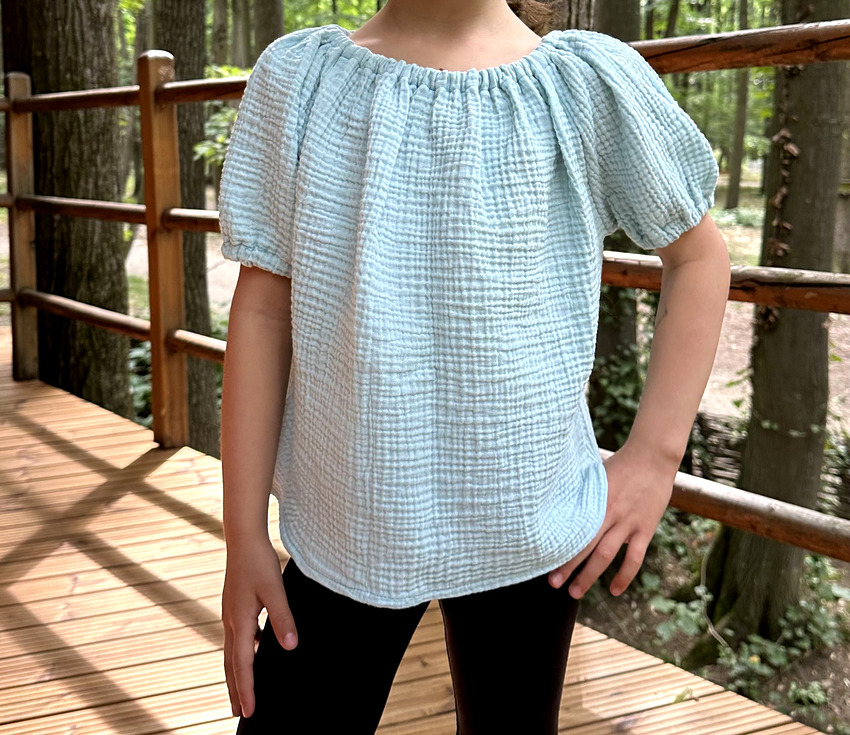
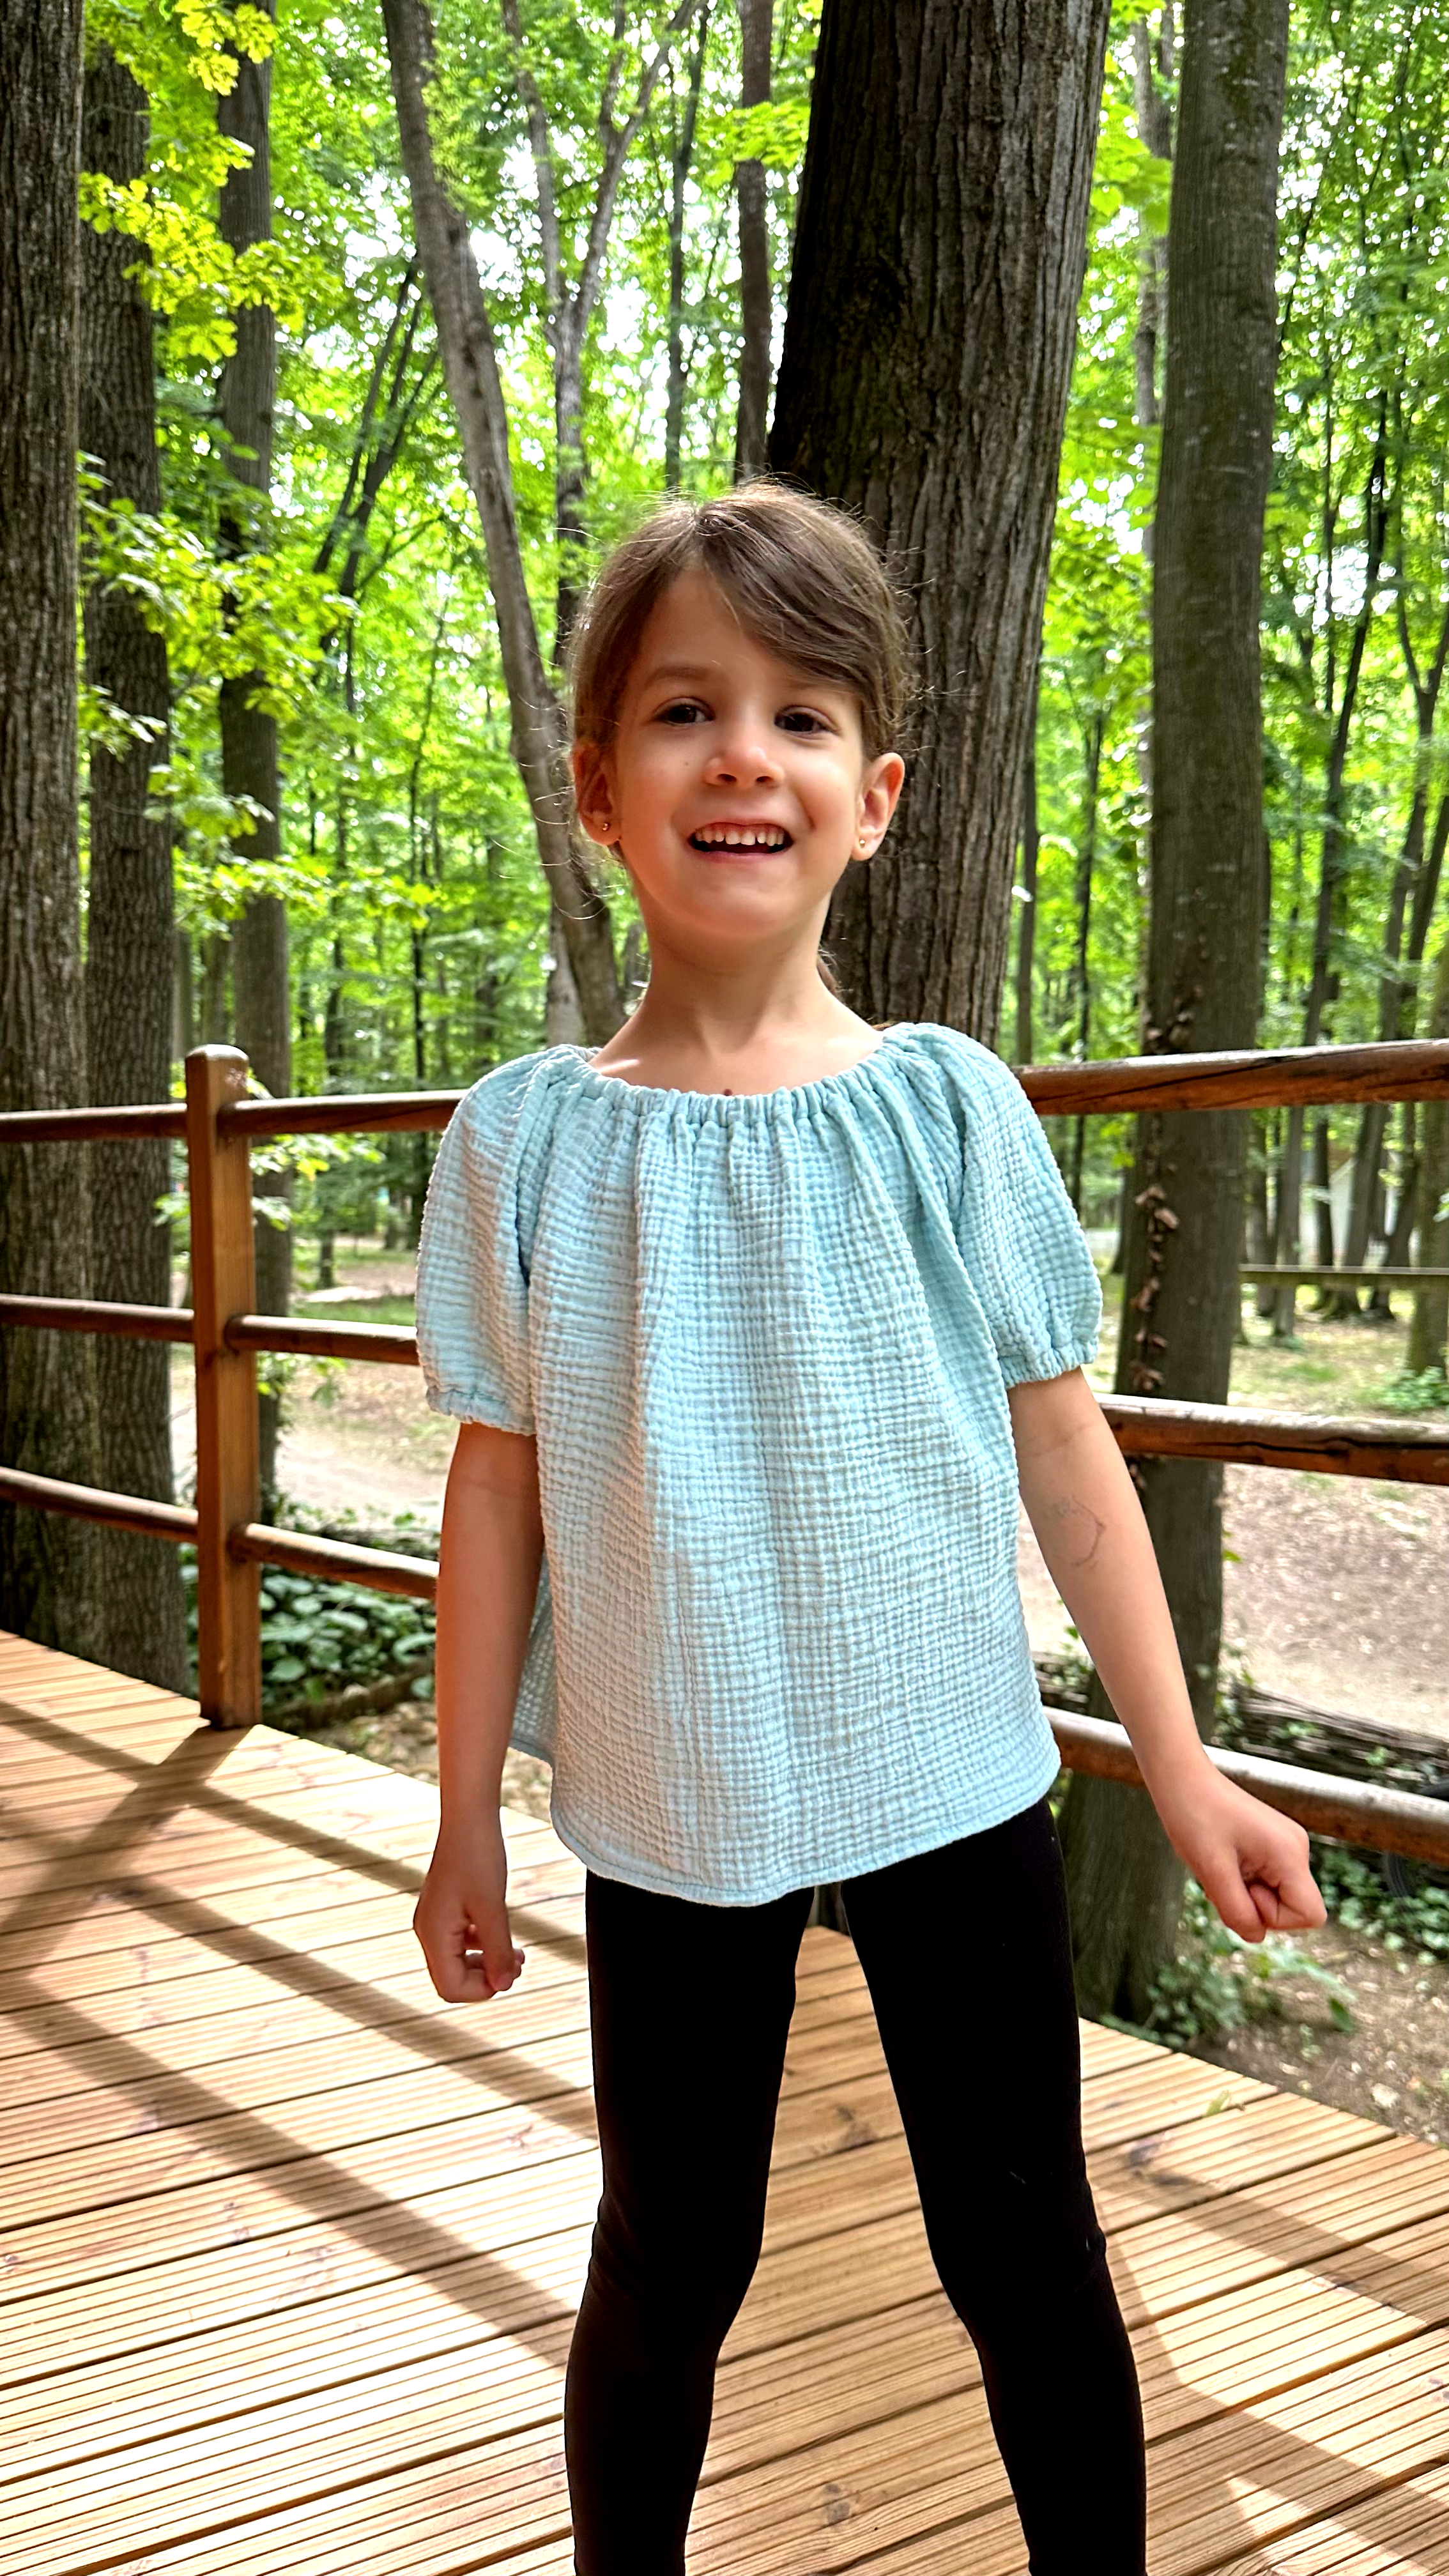
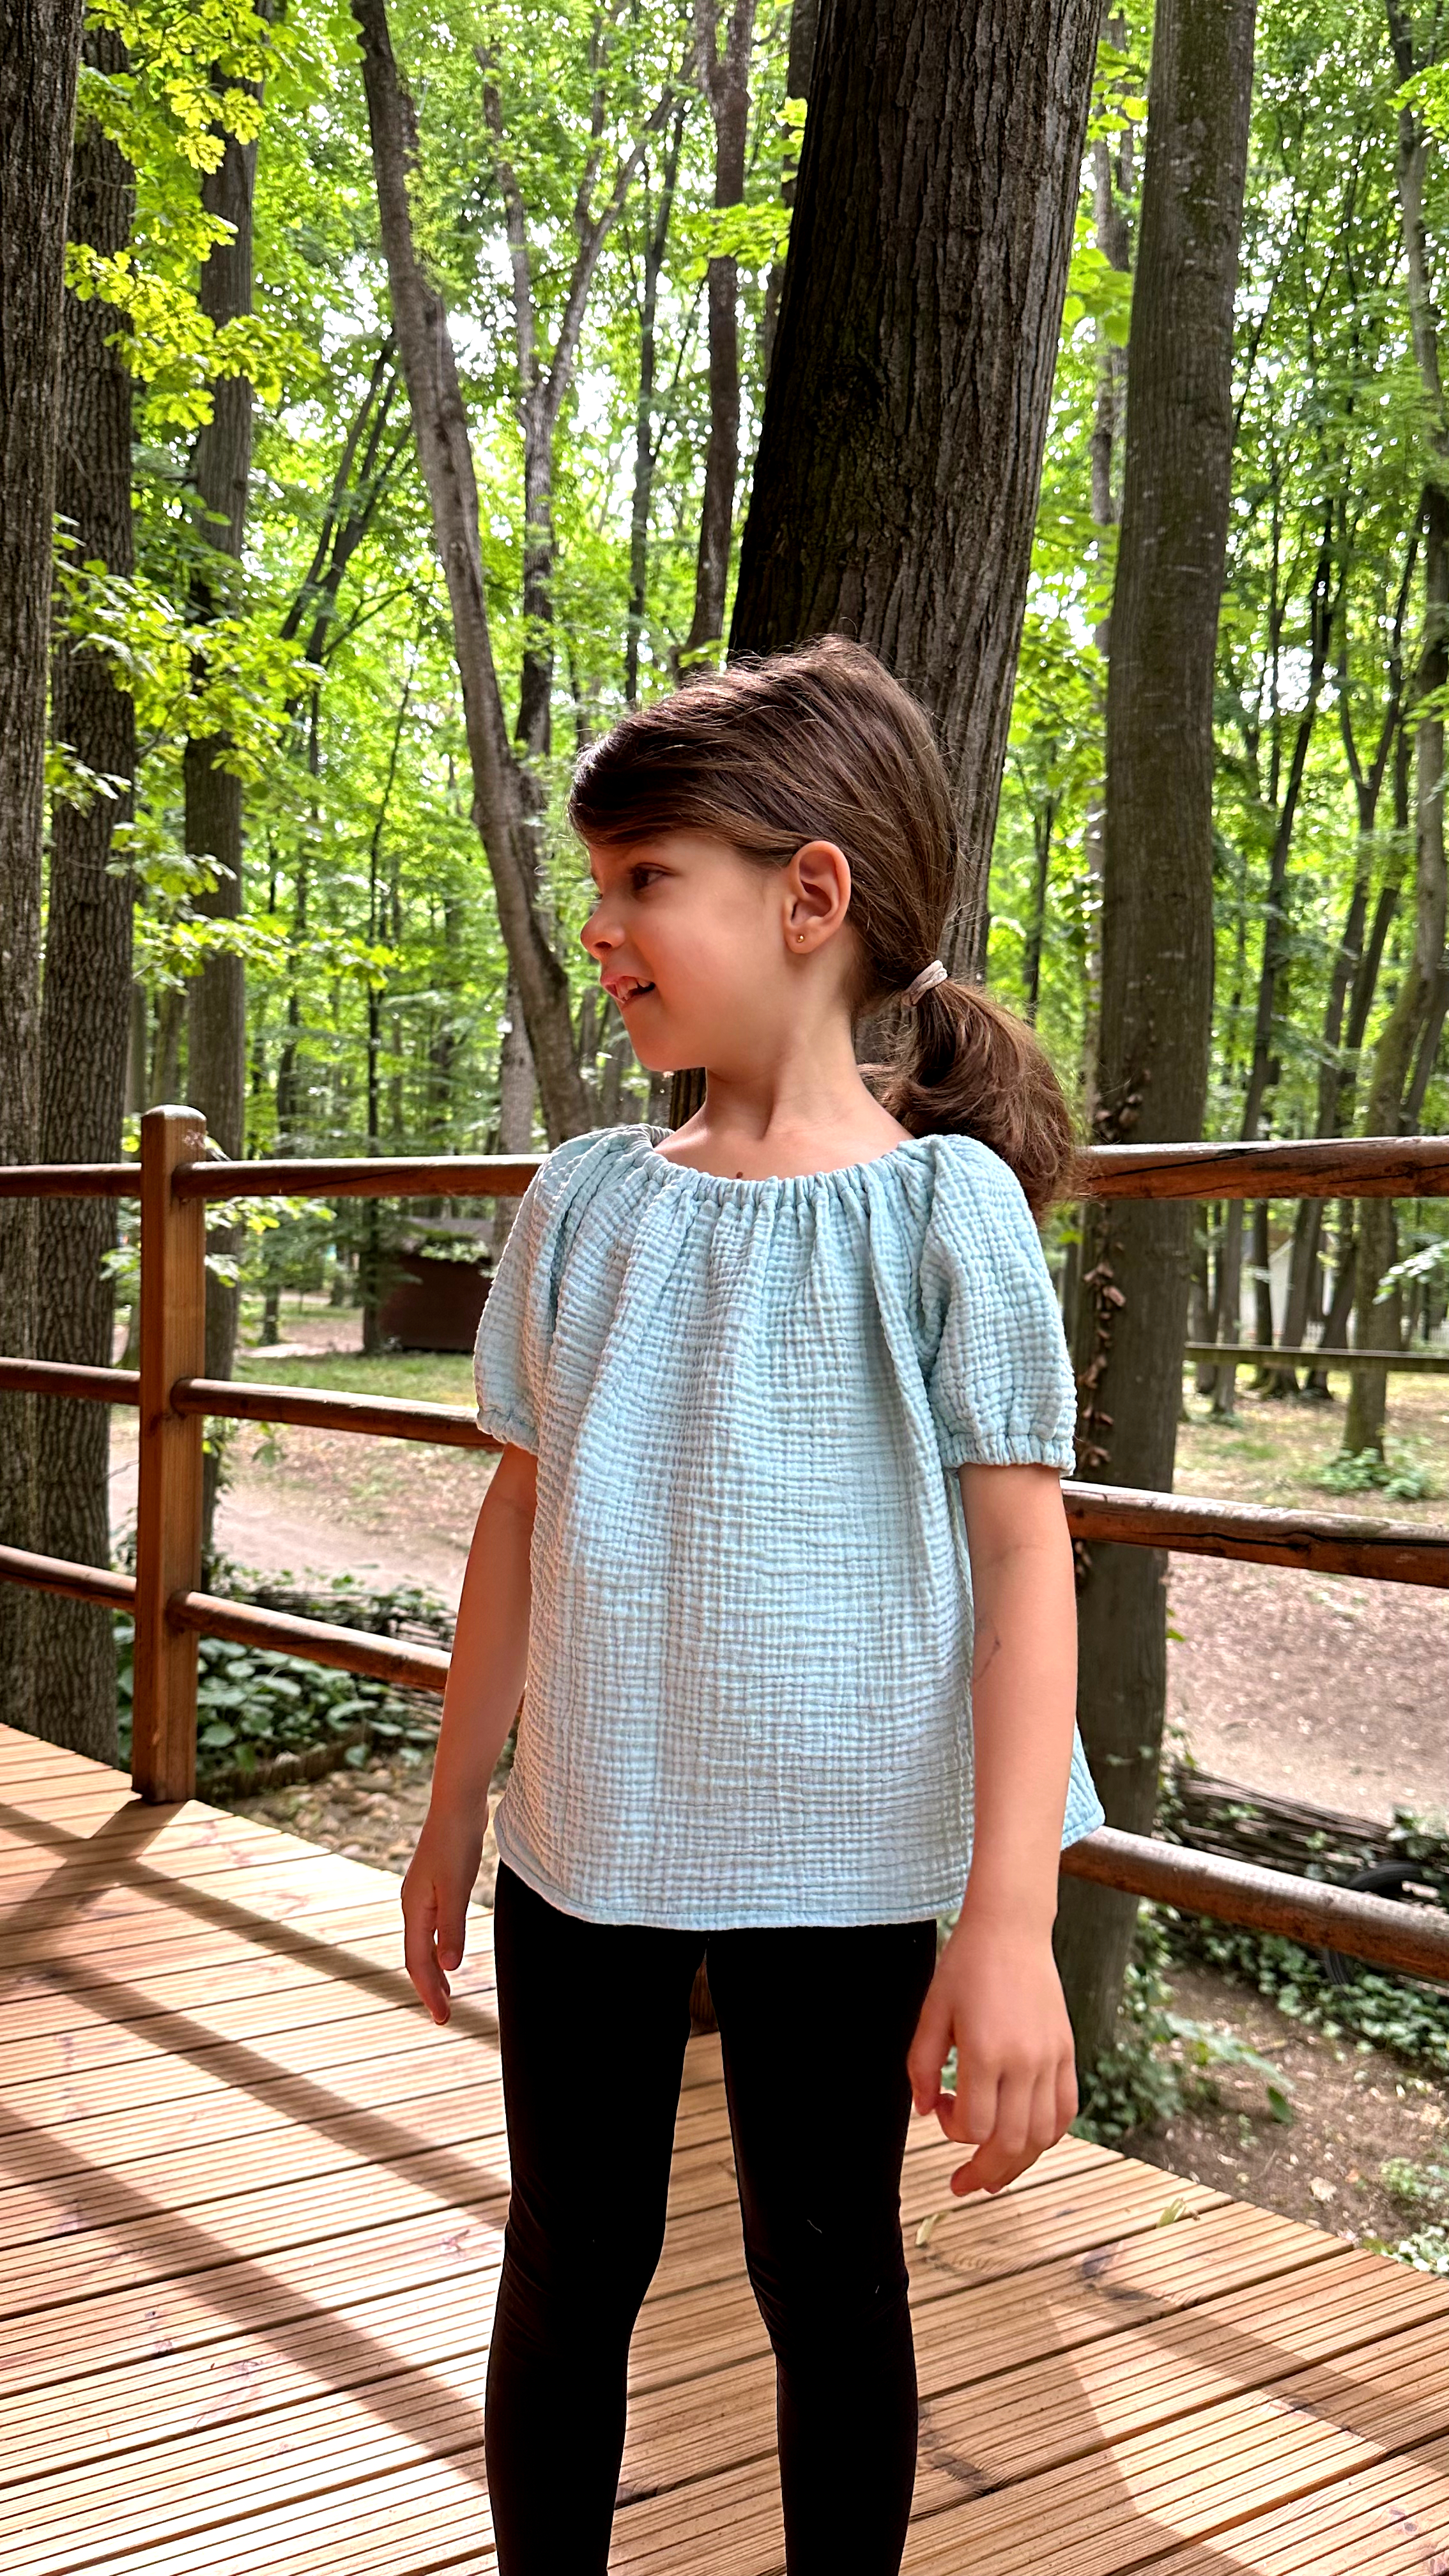
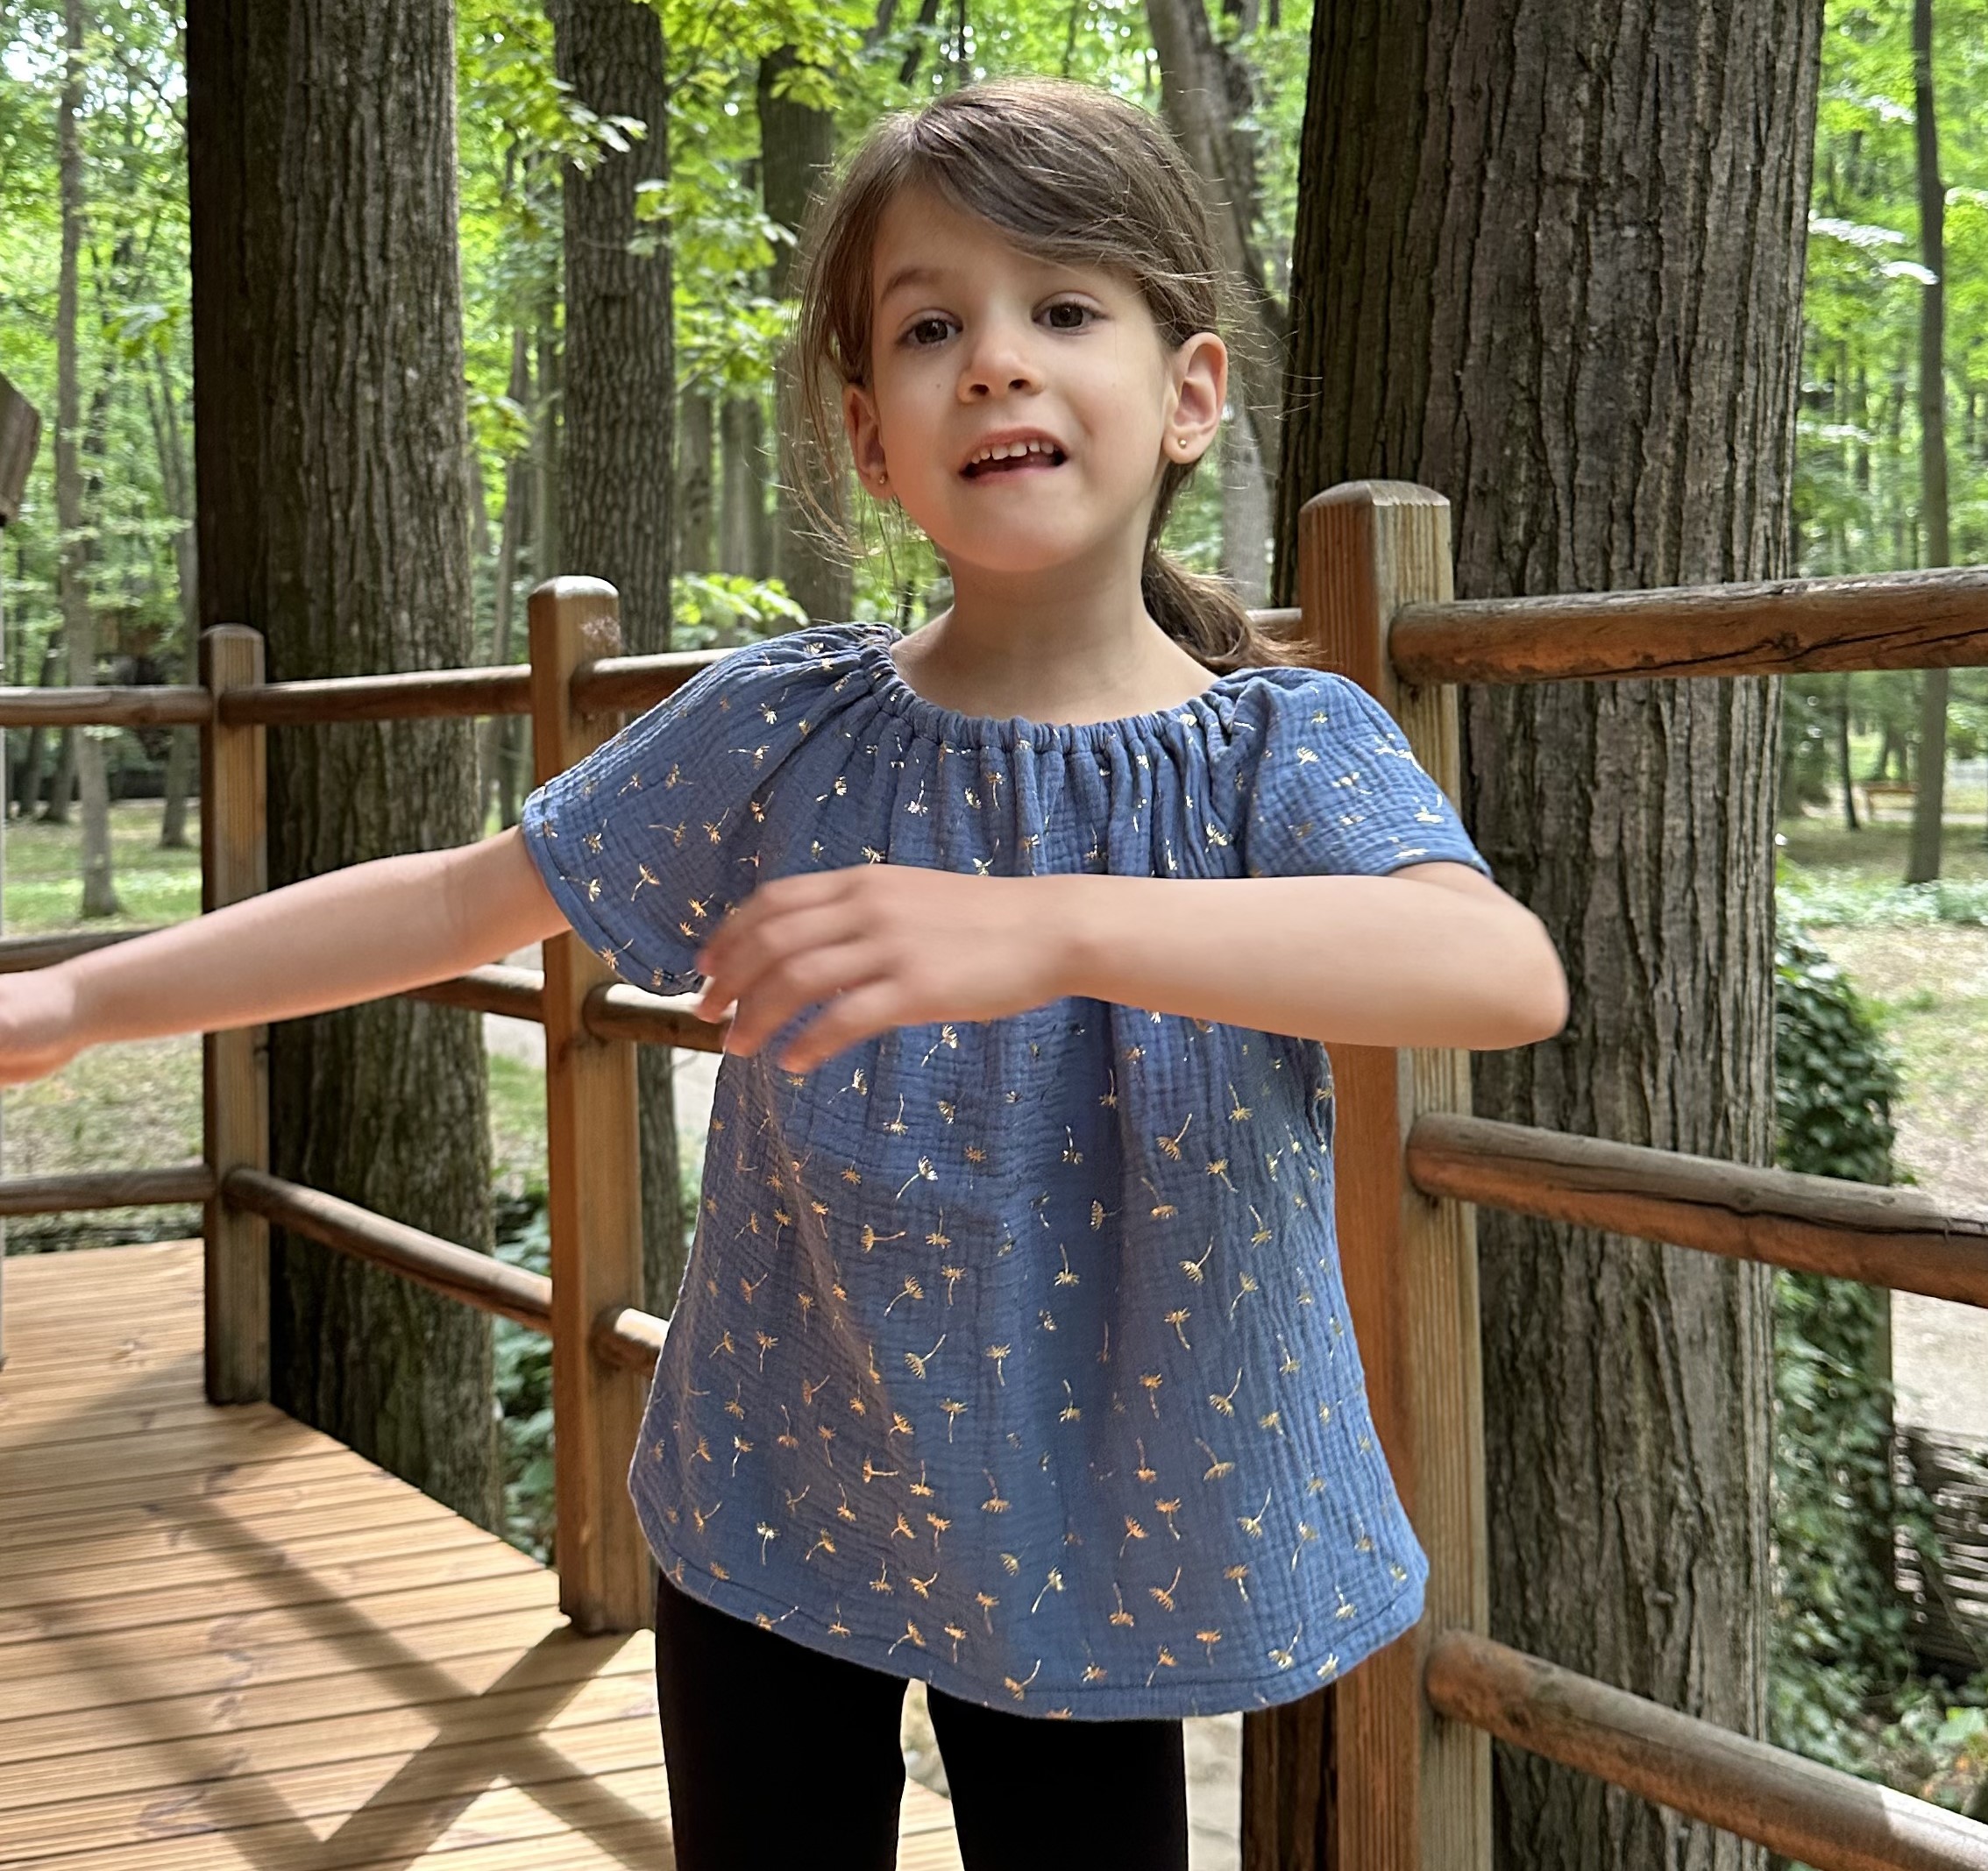
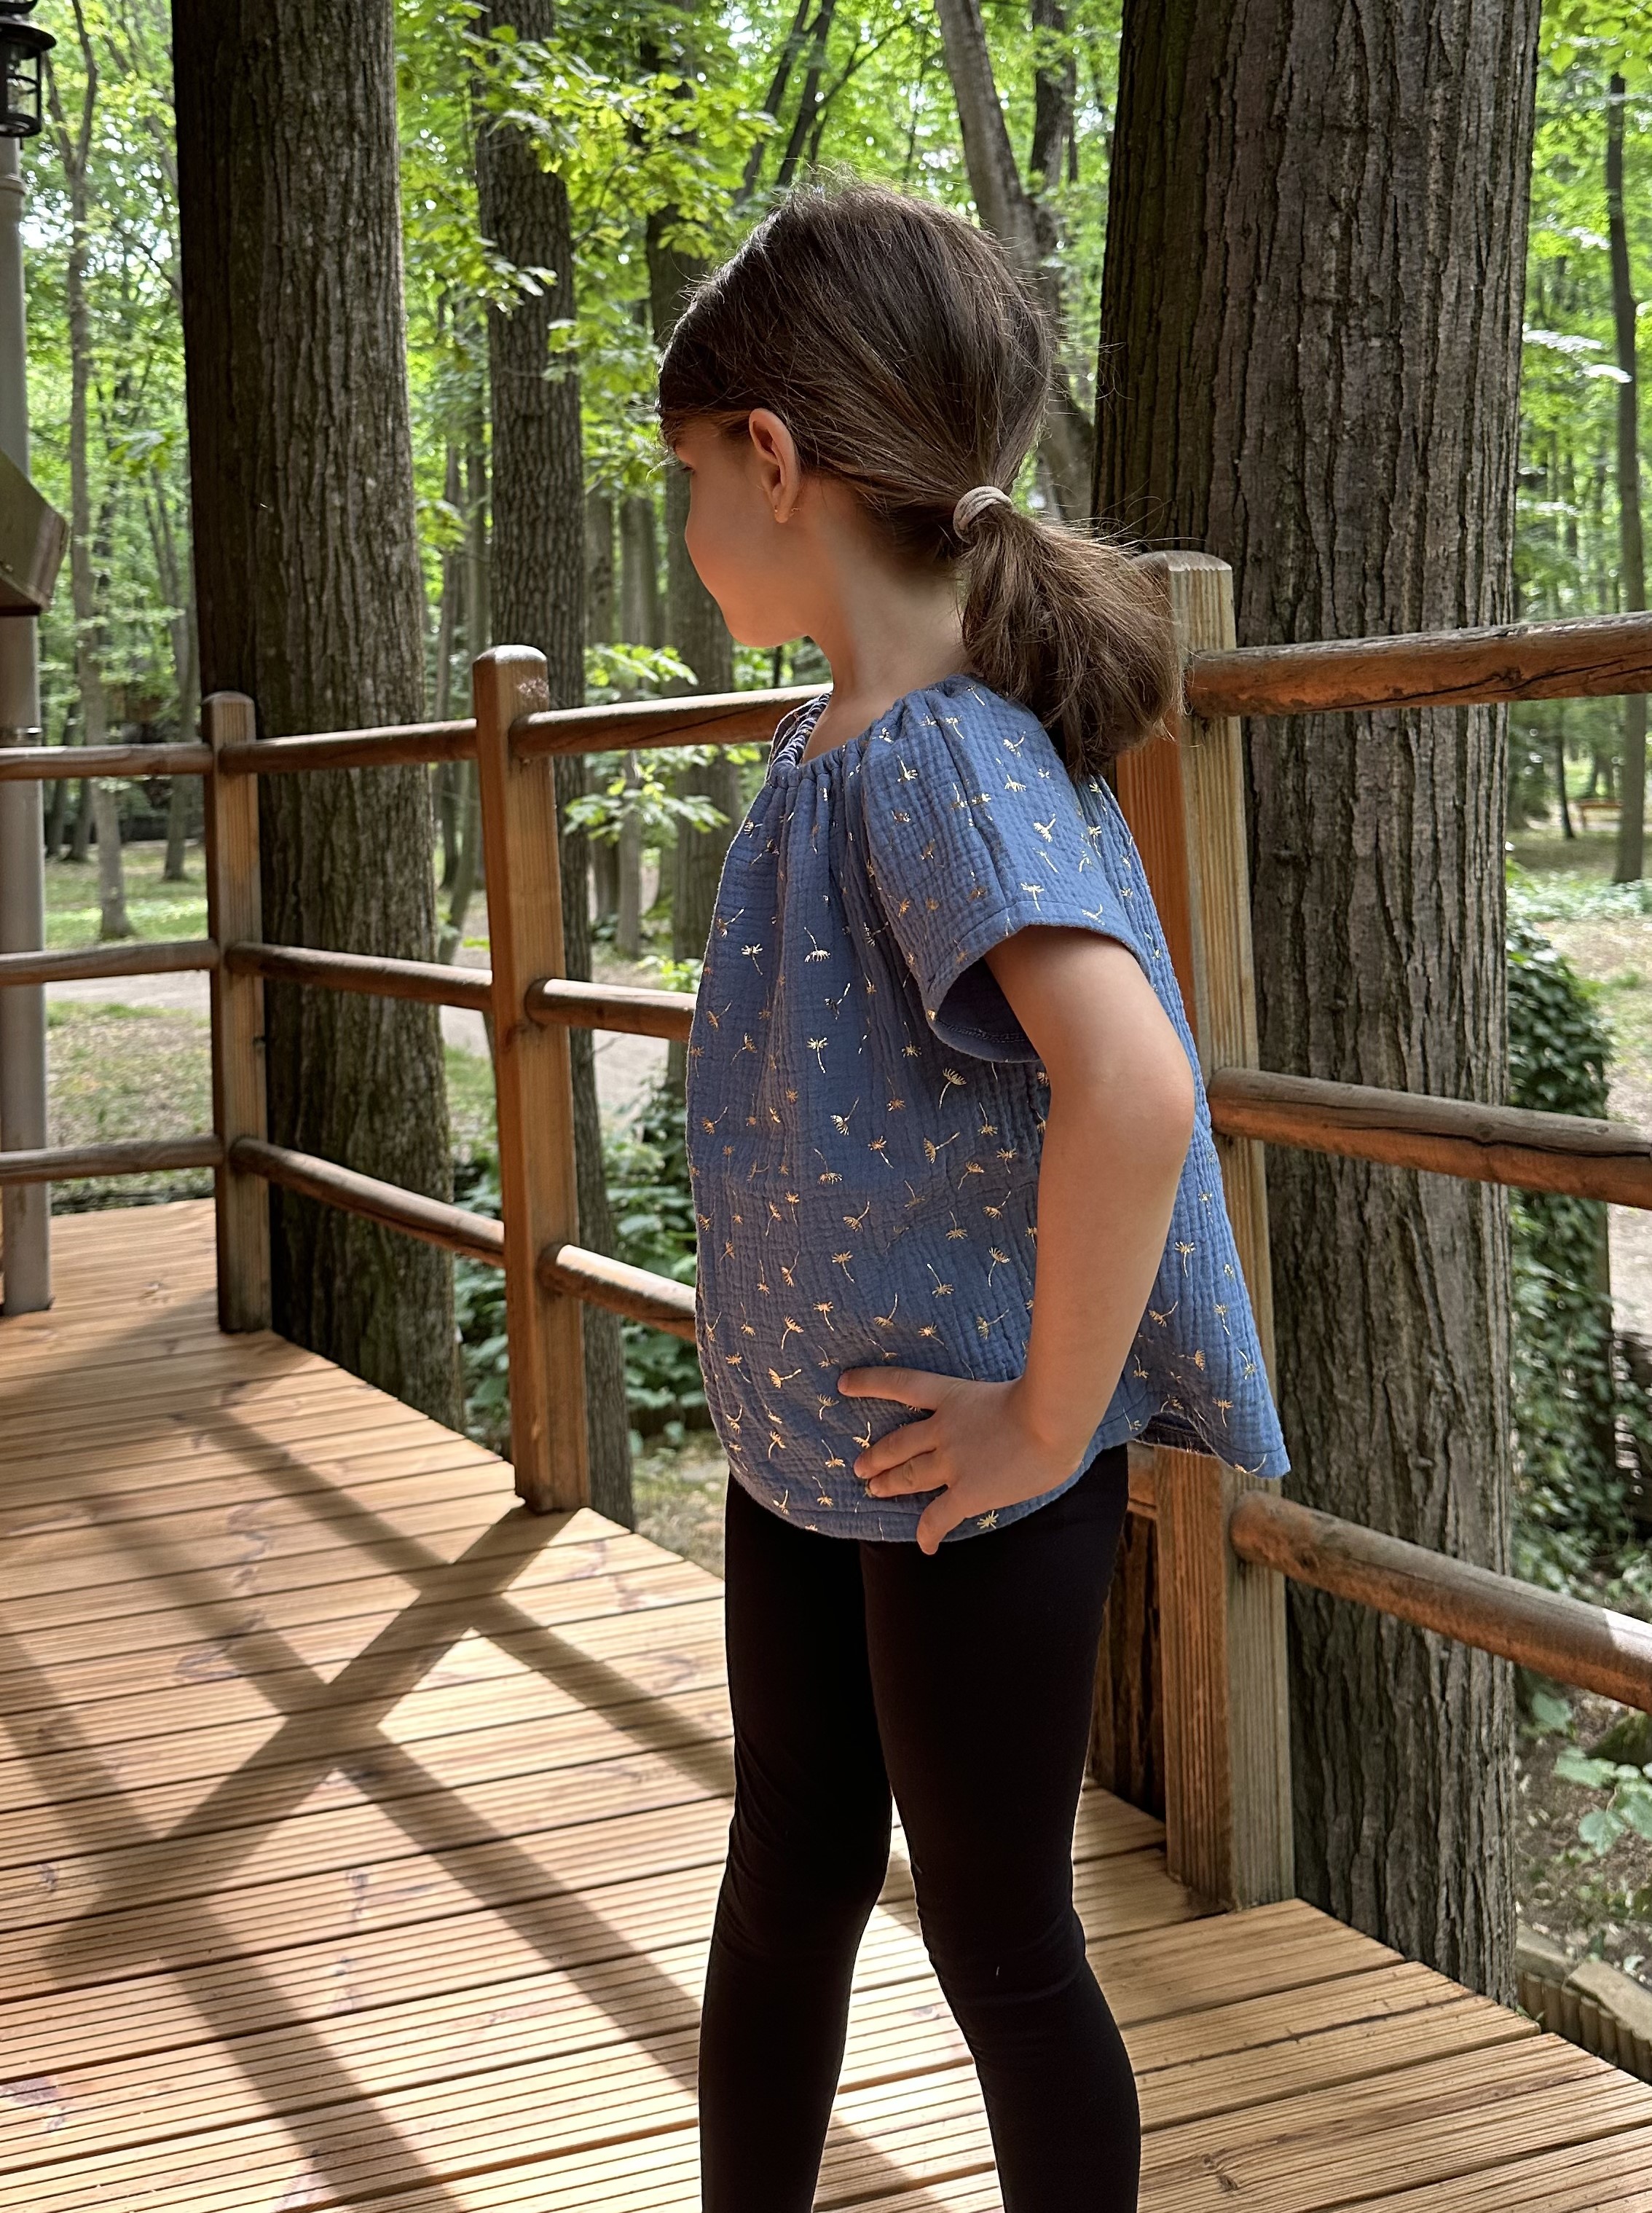
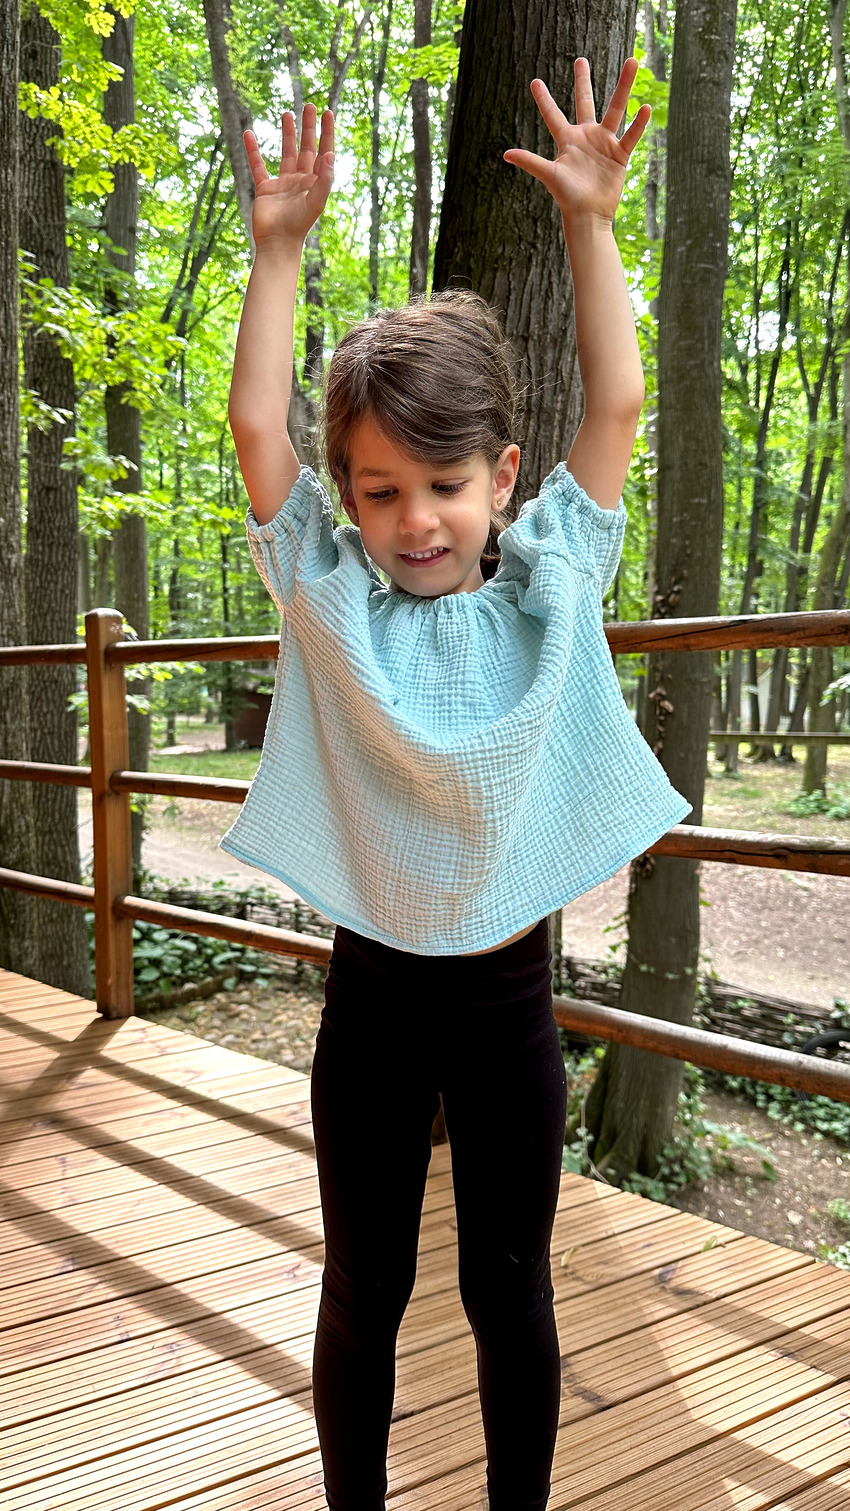
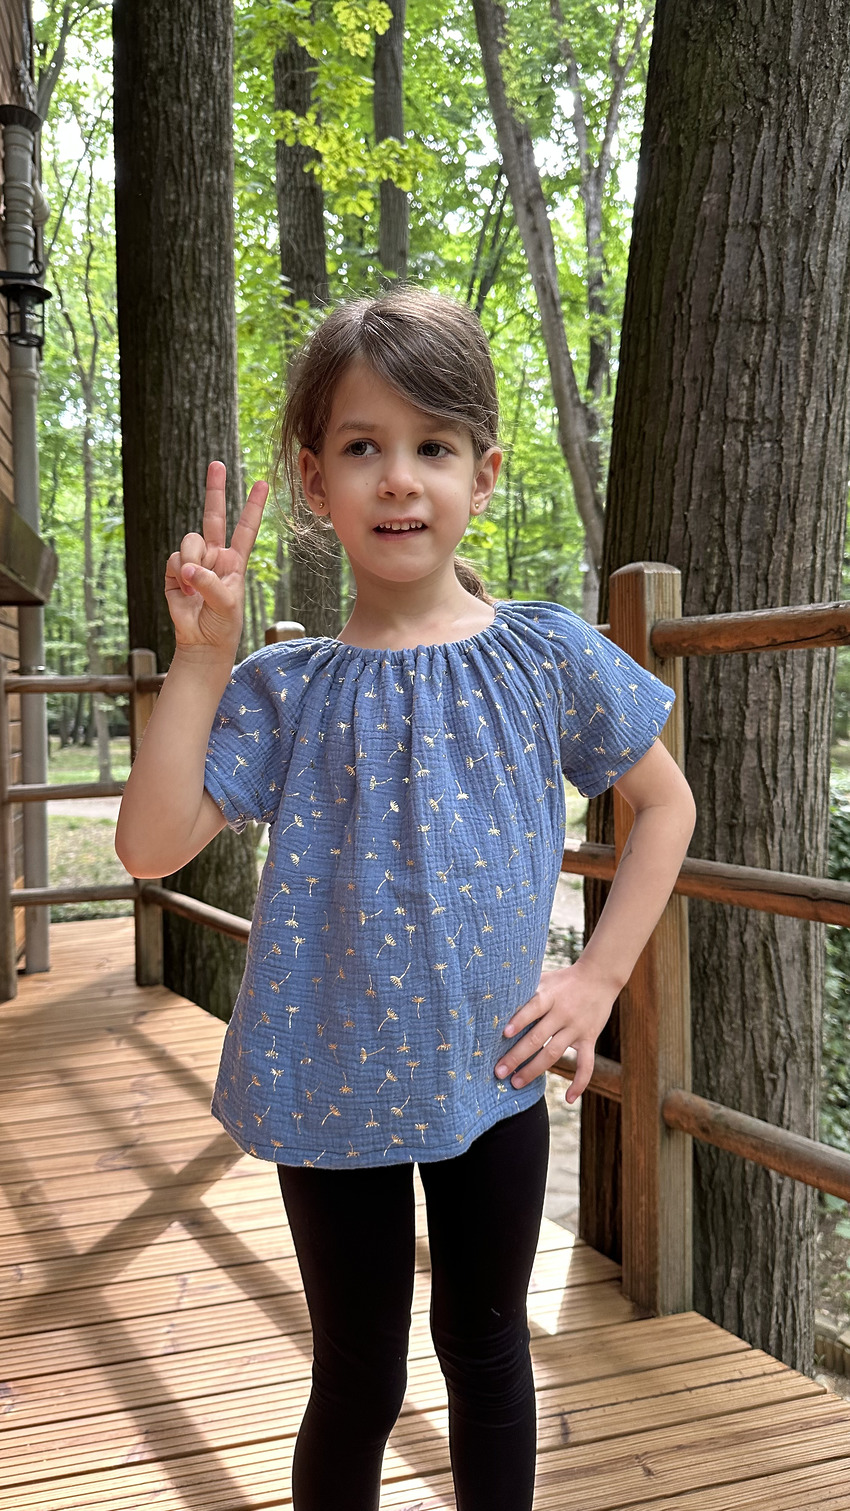
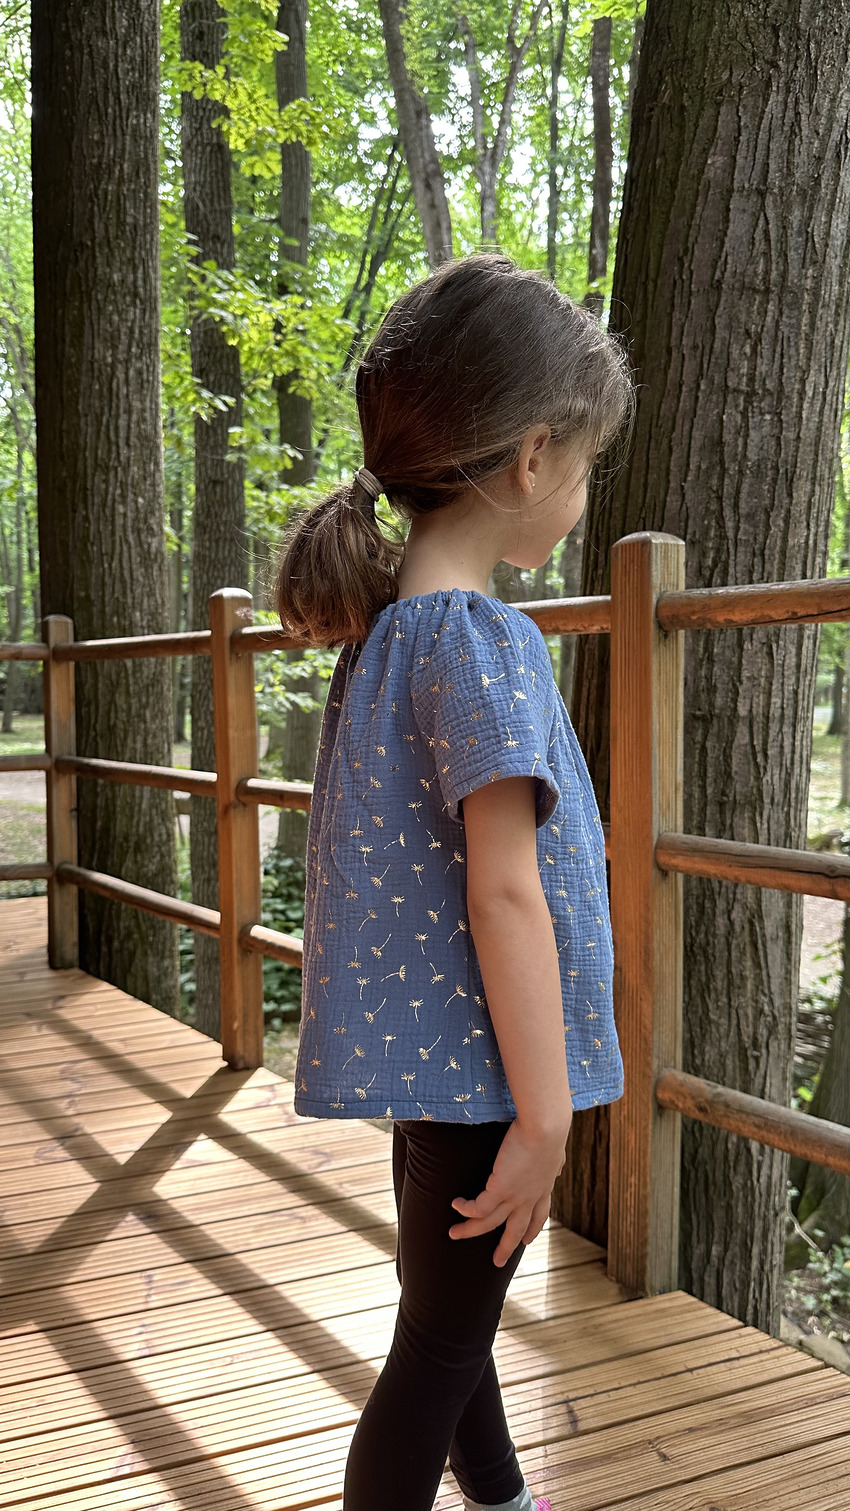
These DIY double gauze blouses with short sleeves and a ruffled neckline are perfect for summer. My daughter adores wearing them. They pair beautifully with skirts, shorts, leggings, or jeans. They’re a fantastic choice for everyday wear and active kids.
Sewing supplies for a DIY girls’ peasant top
- 1 yard of fabric (double gauze, cotton, linen, or viscose)
- 1/4” elastic
- Sewing machine and matching thread
- universal needle
- Fabric scissors and pins
- safety pins
How to draft your own DIY peasant top pattern
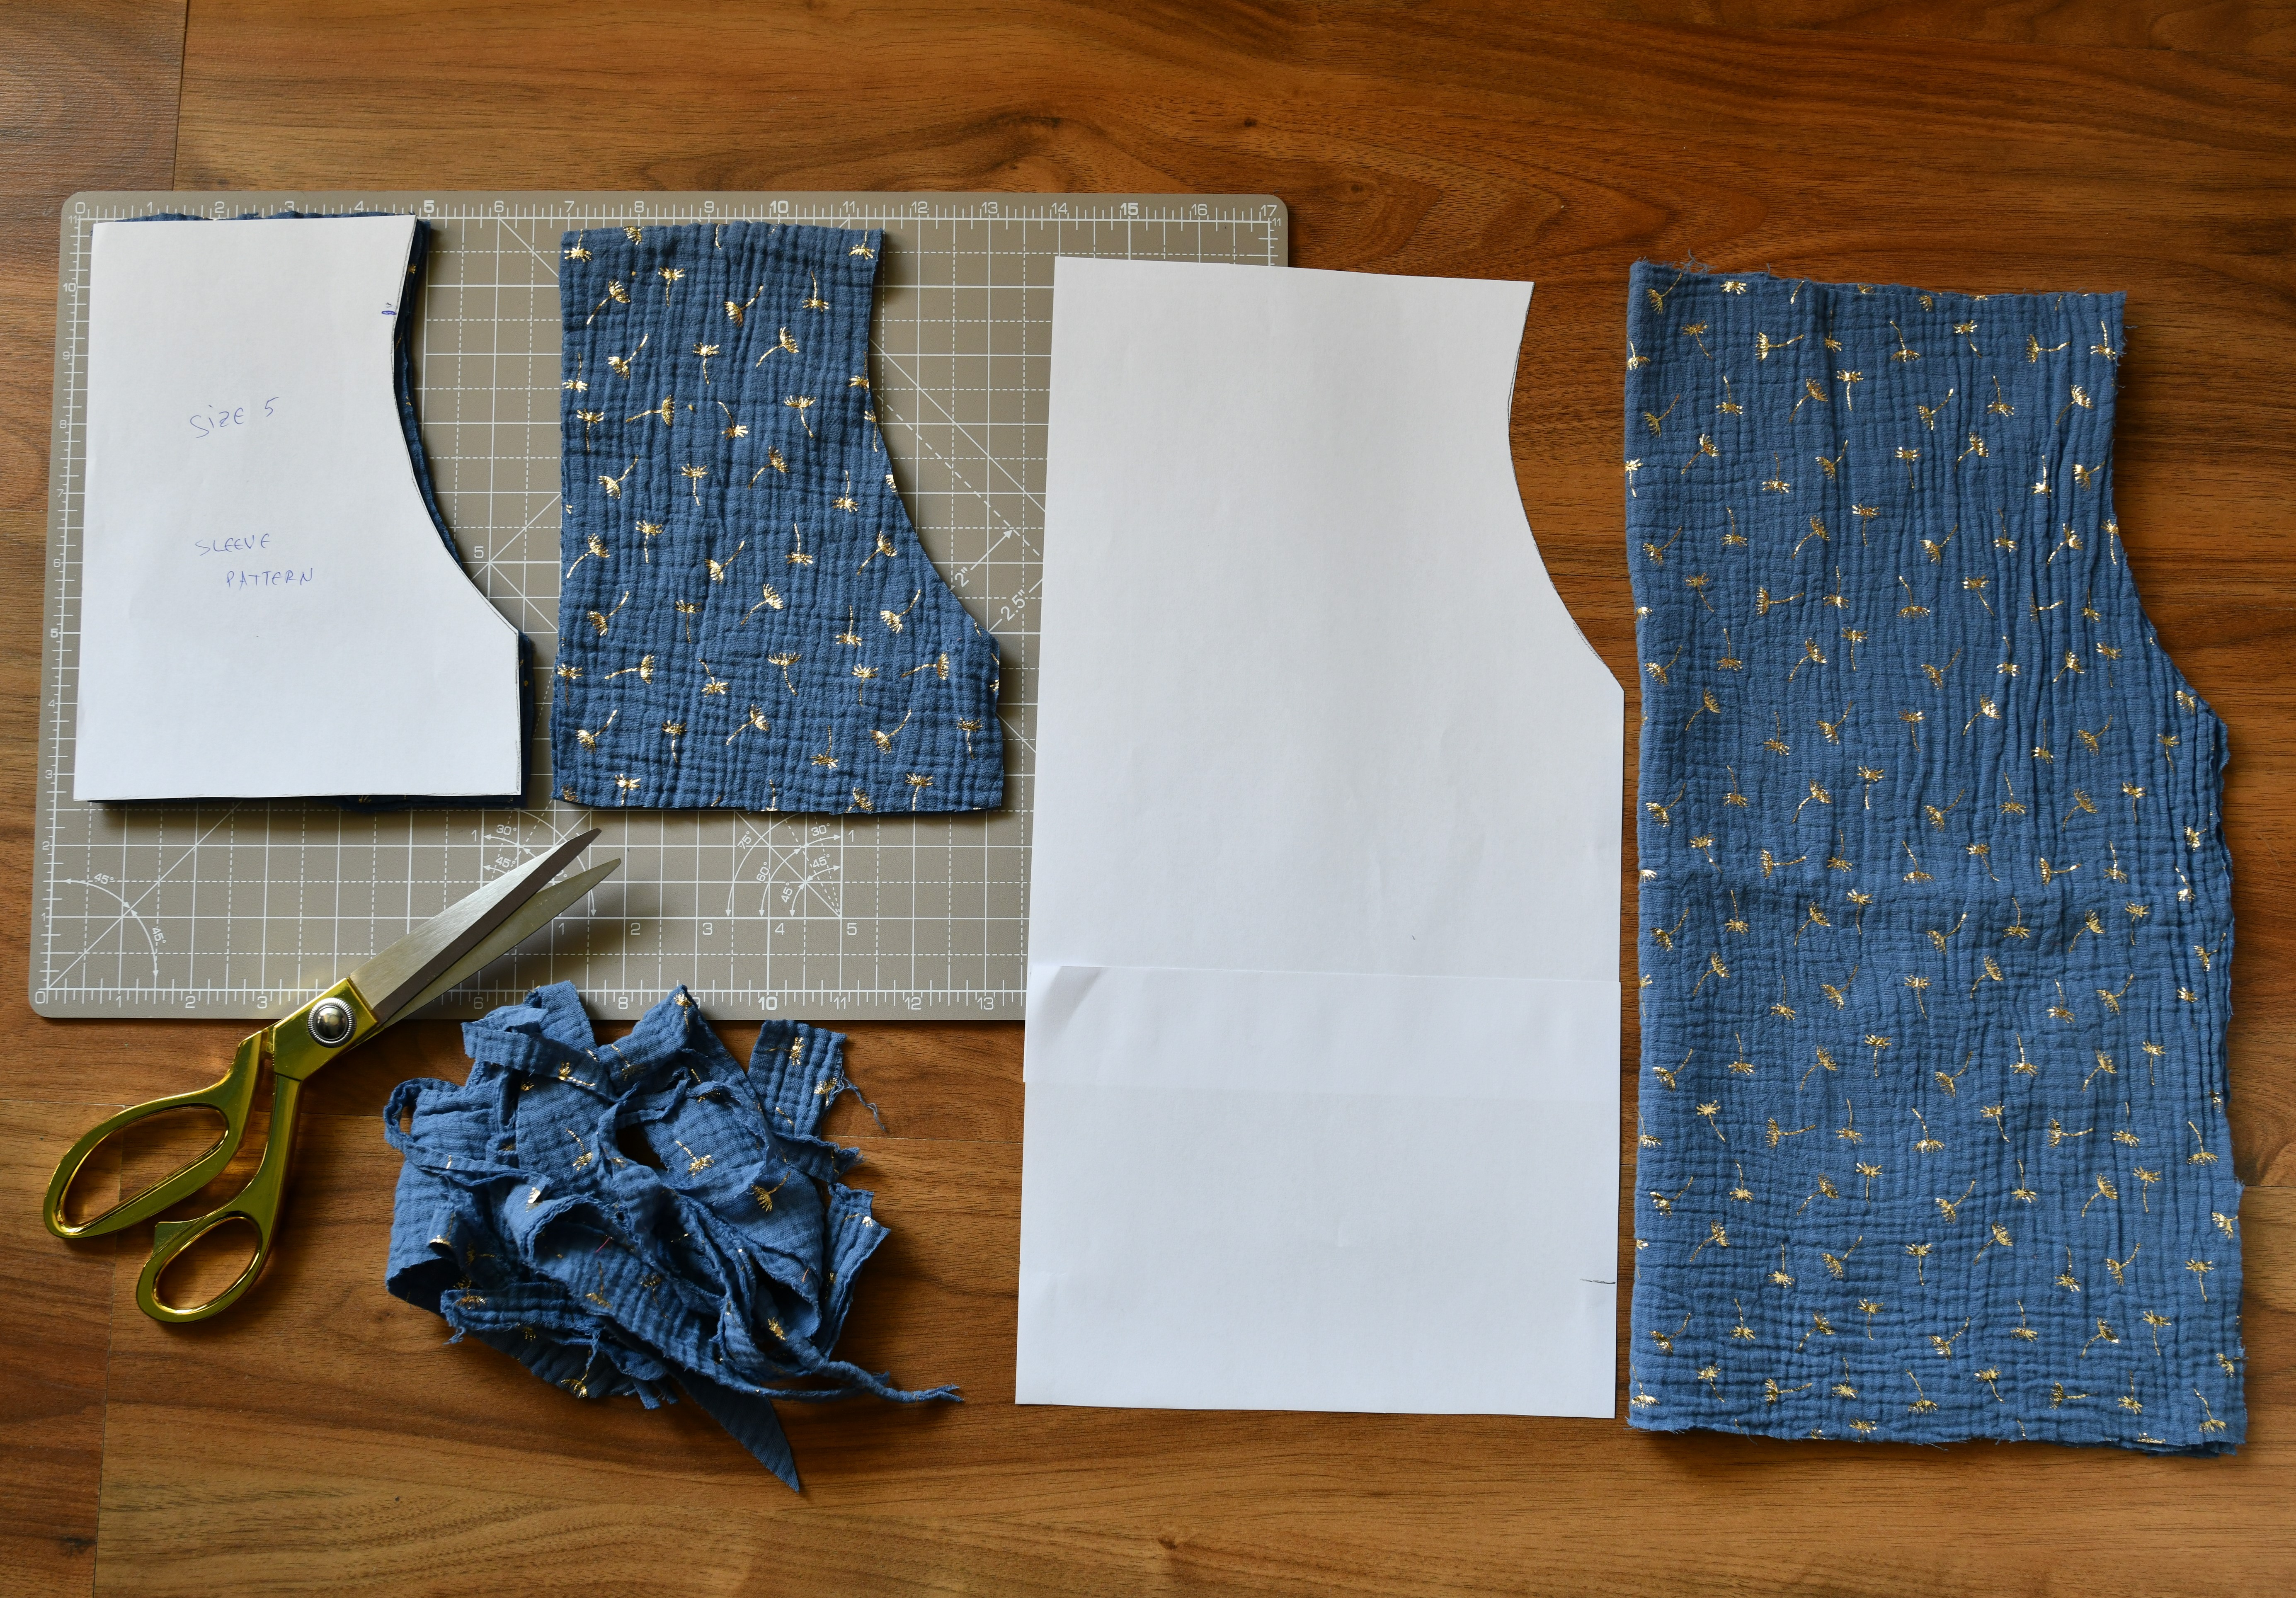
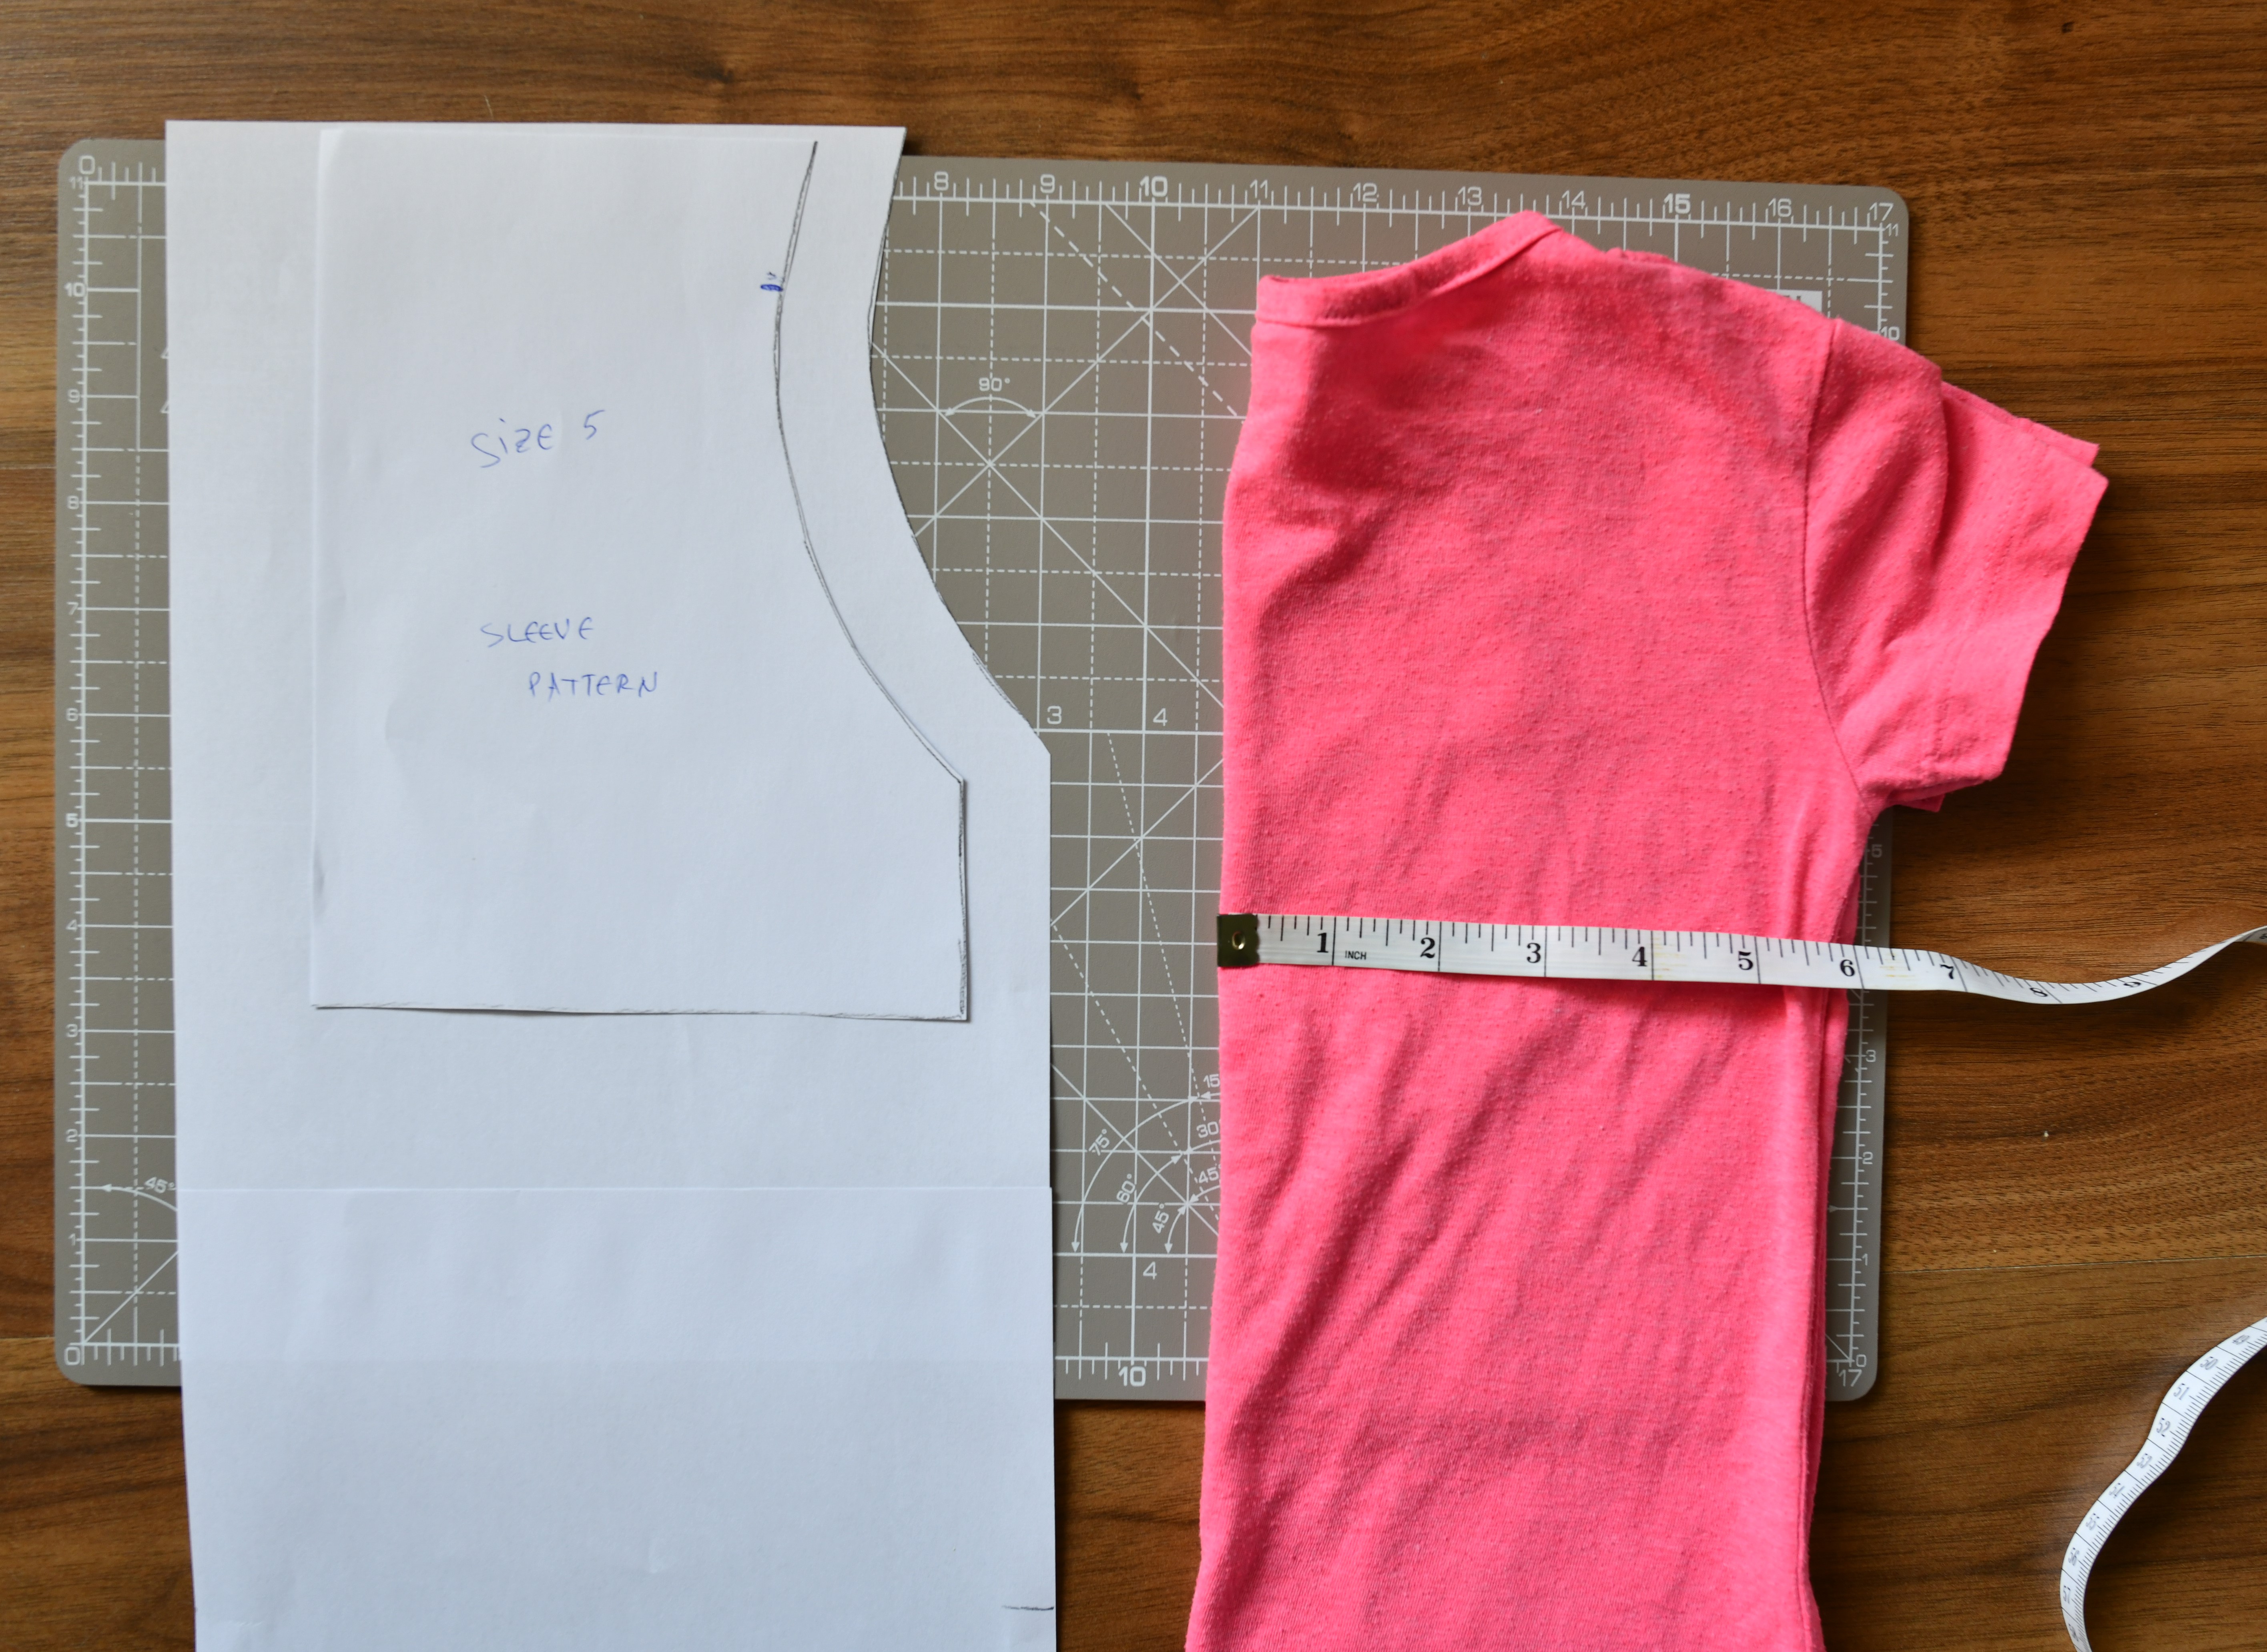
To create these tops, I used the same pattern. As you can see in the picture below, there are only two pattern pieces: a sleeve piece and a bodice piece.
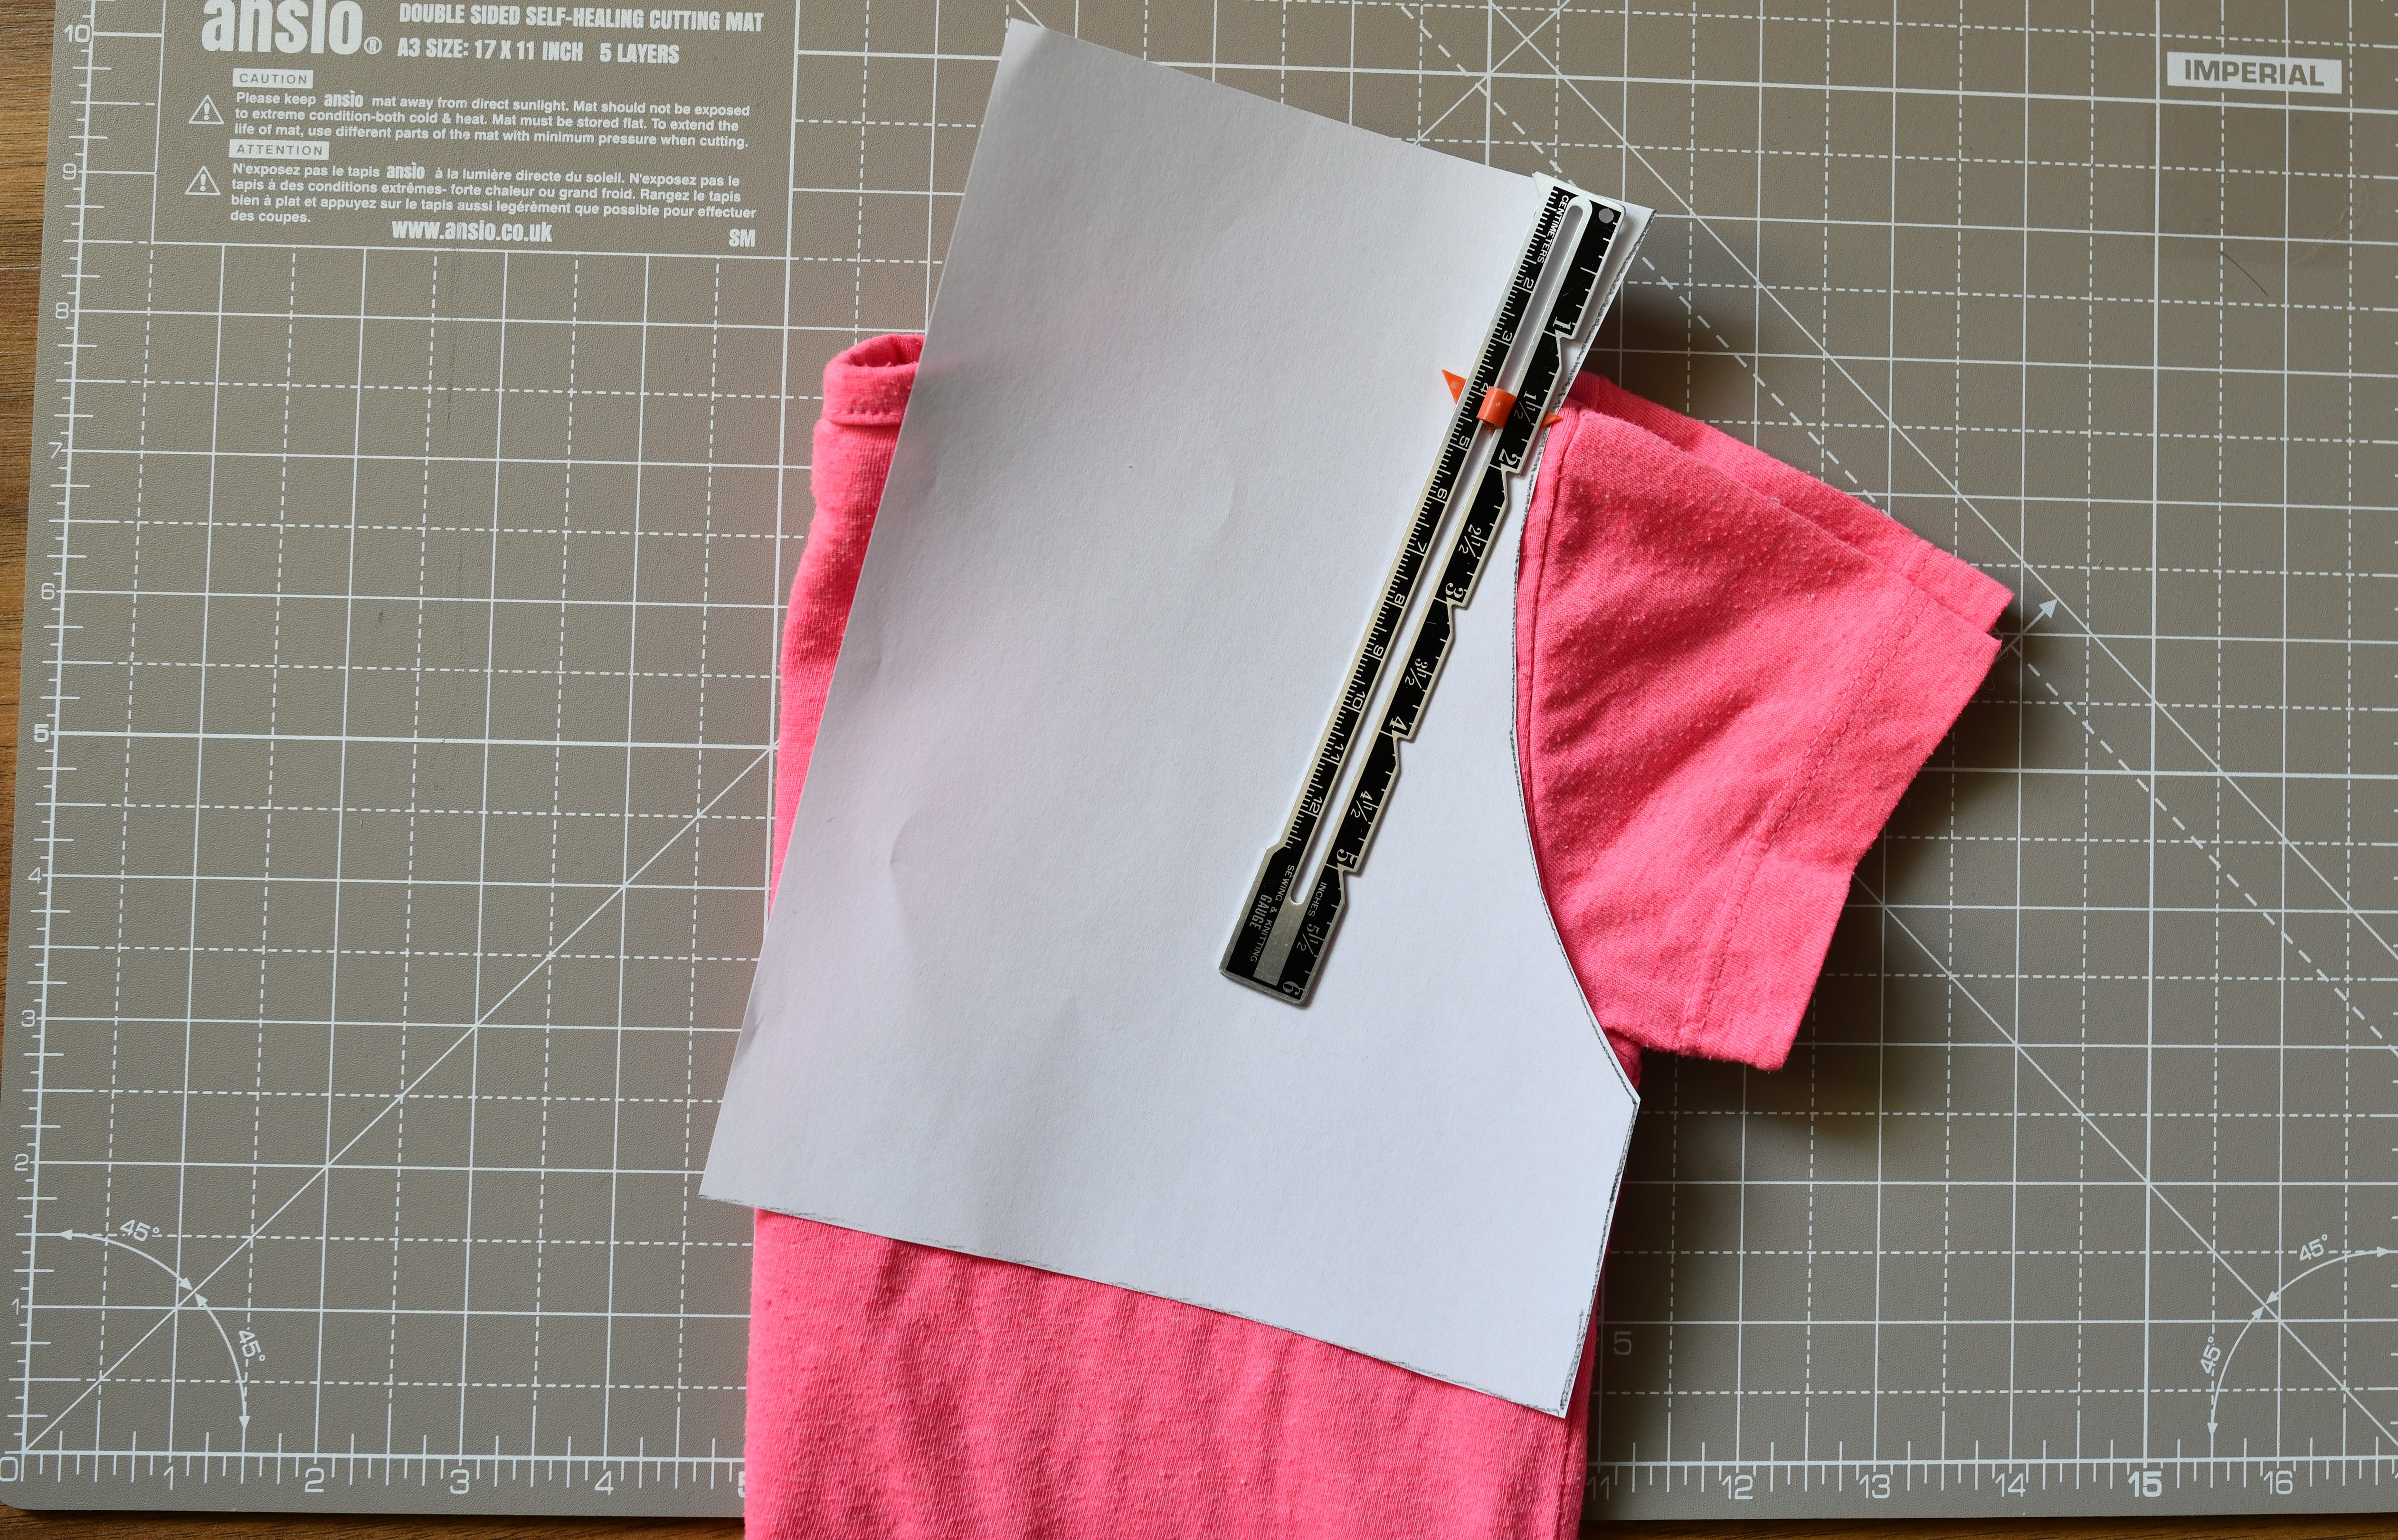
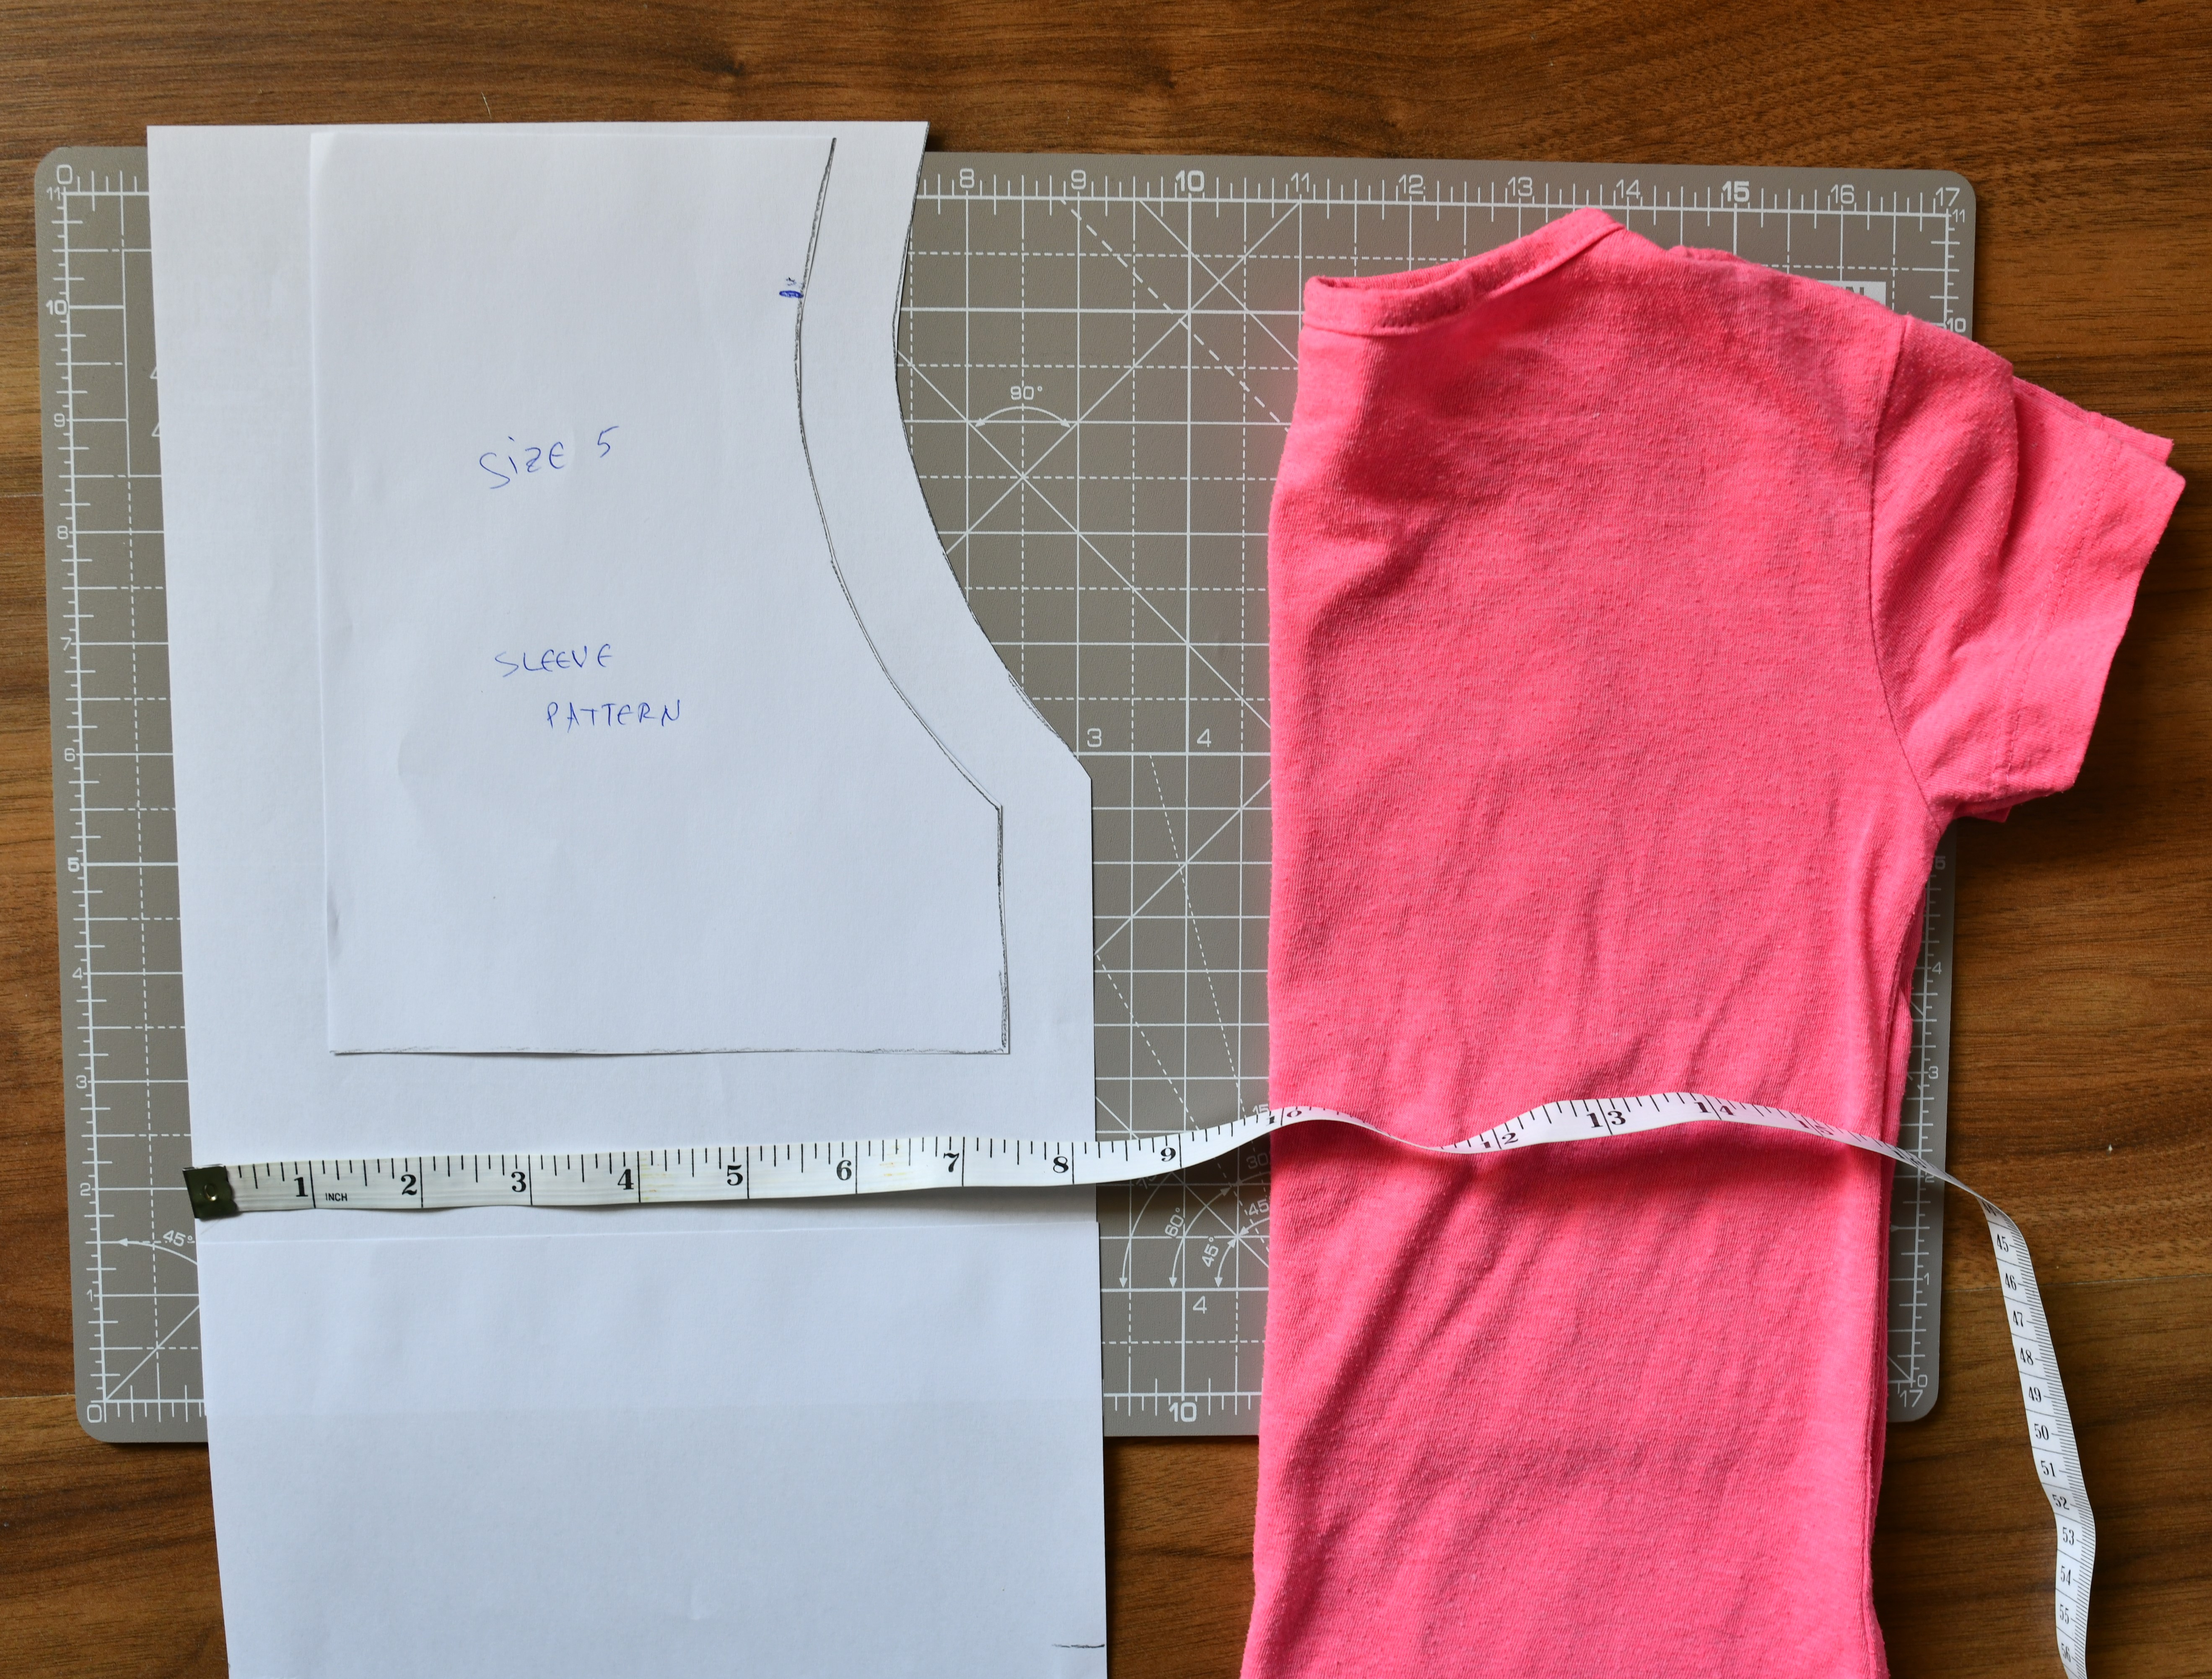
To draft the pattern, I used a regular-fit short sleeve t-shirt from my 5-year-old daughter. I folded the t-shirt in half and took two simple measurements:
- The bust measurement.
- The opening of the sleeve at the hem.
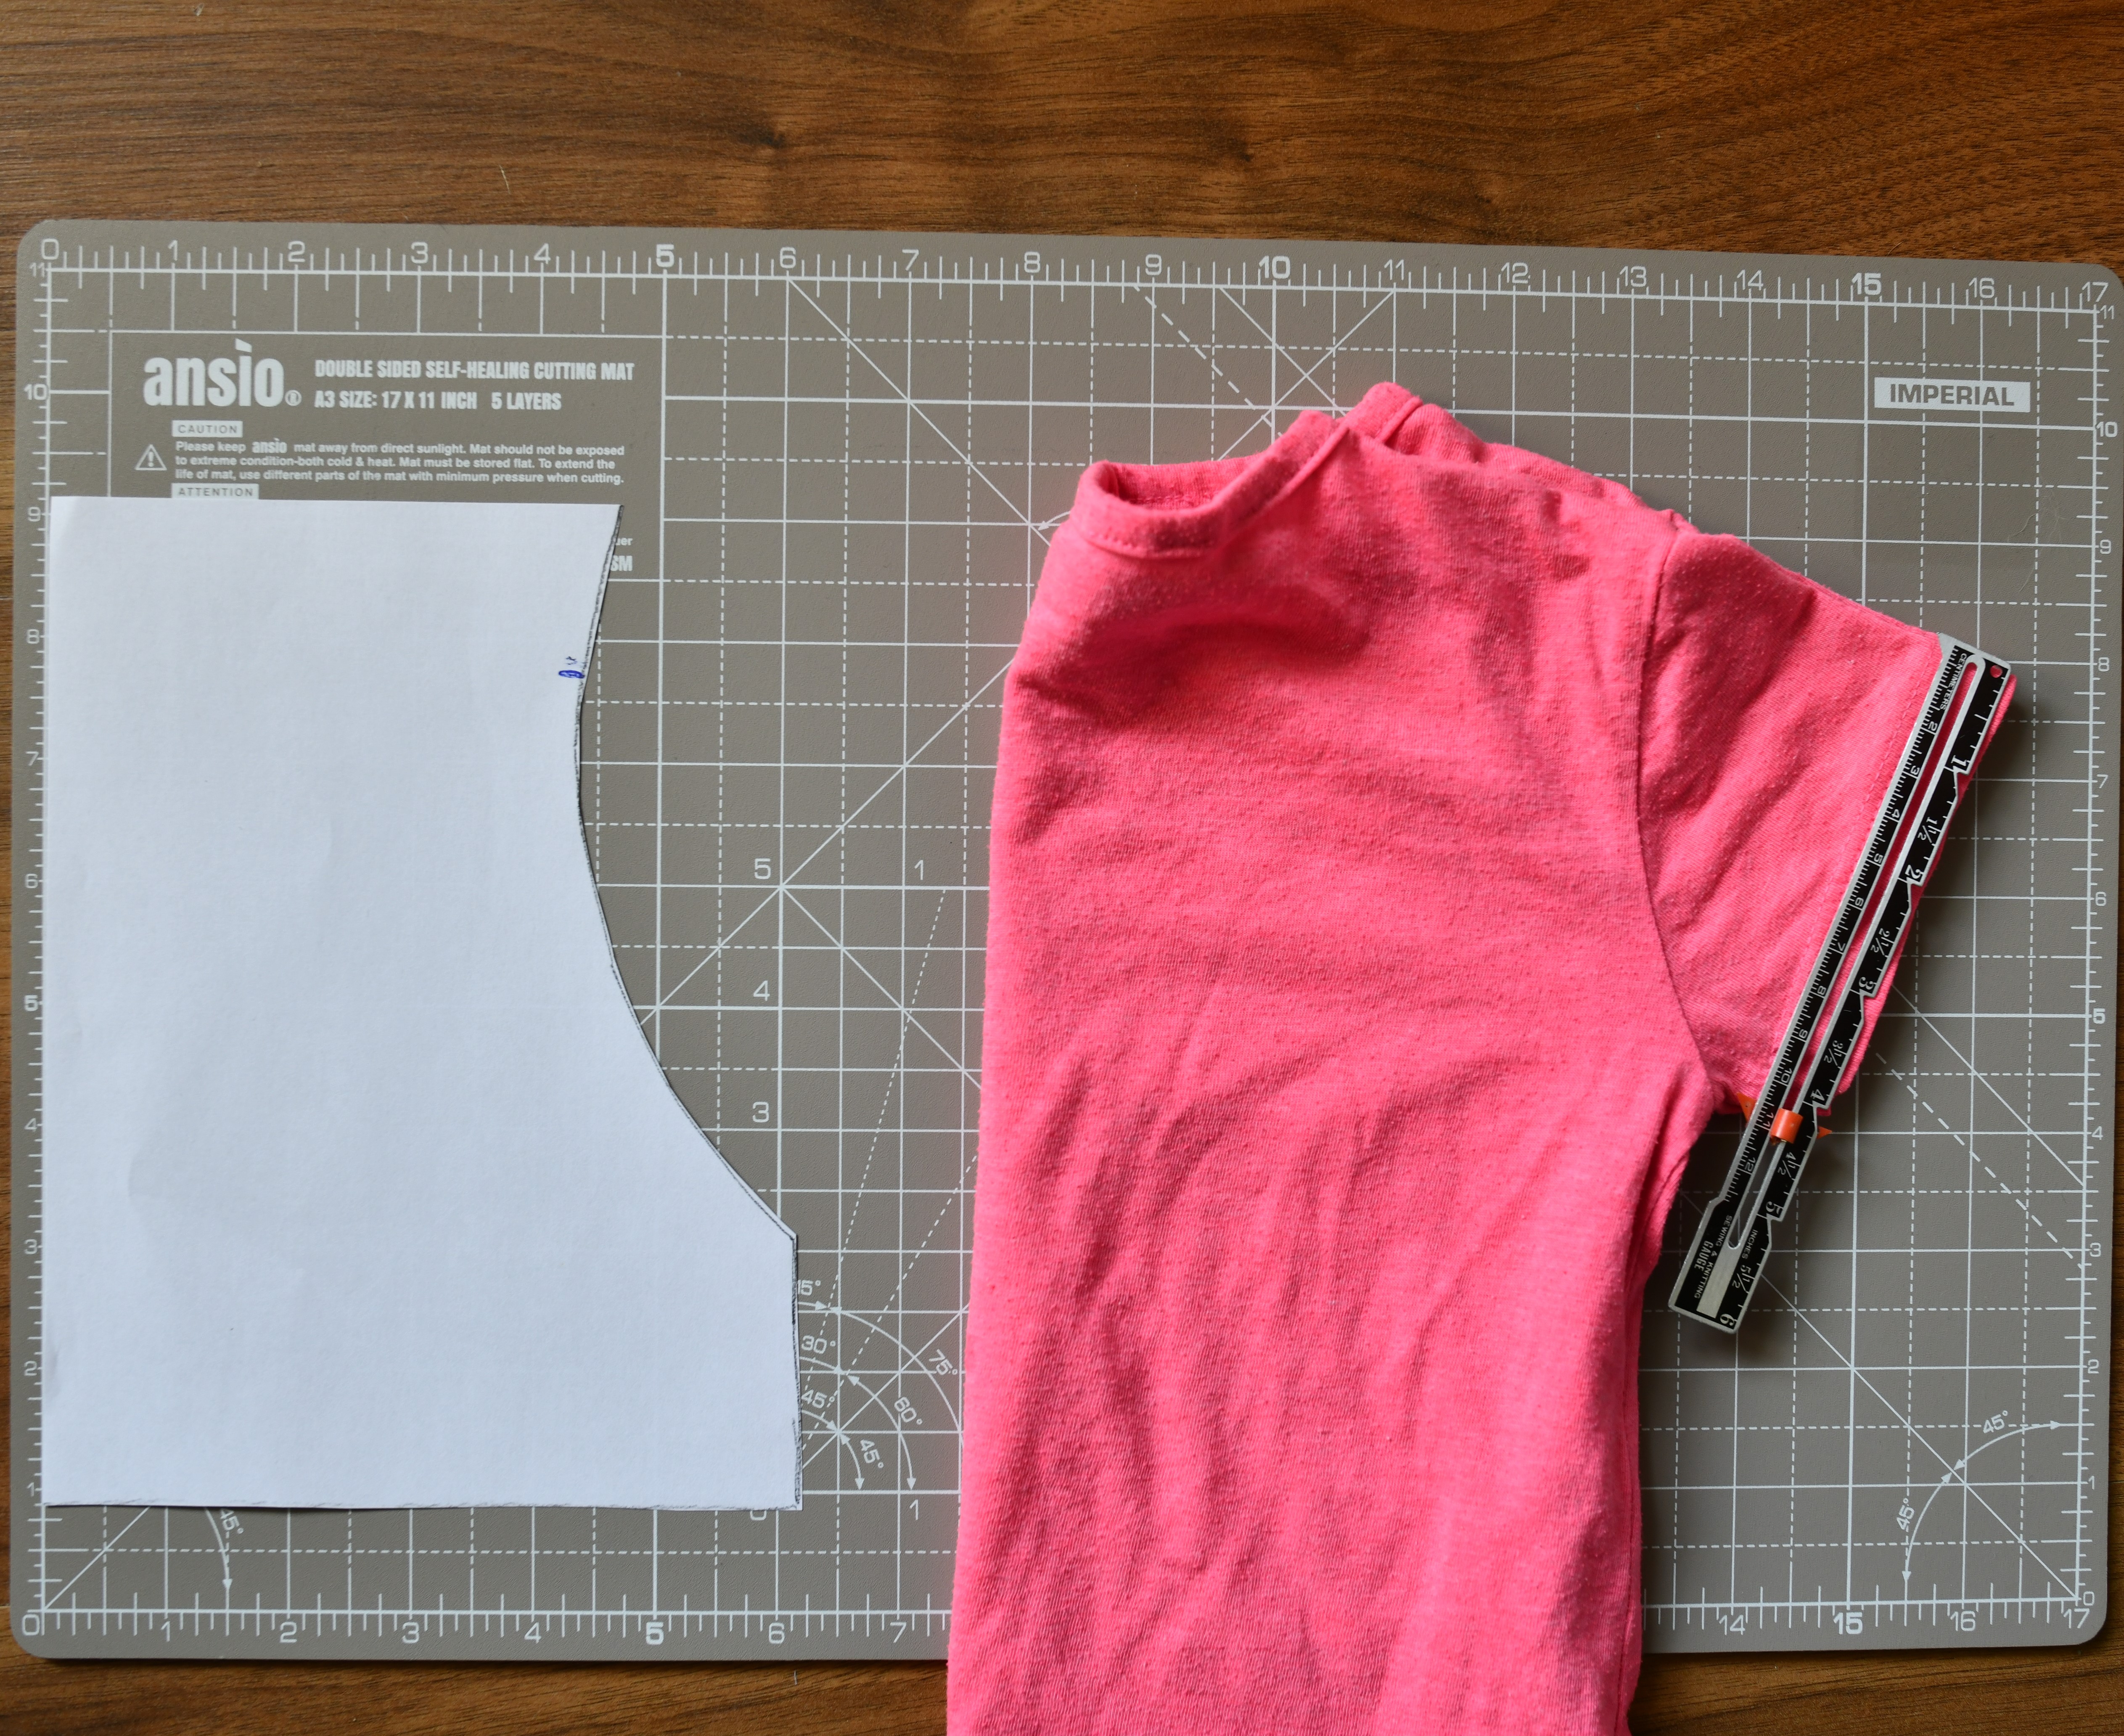
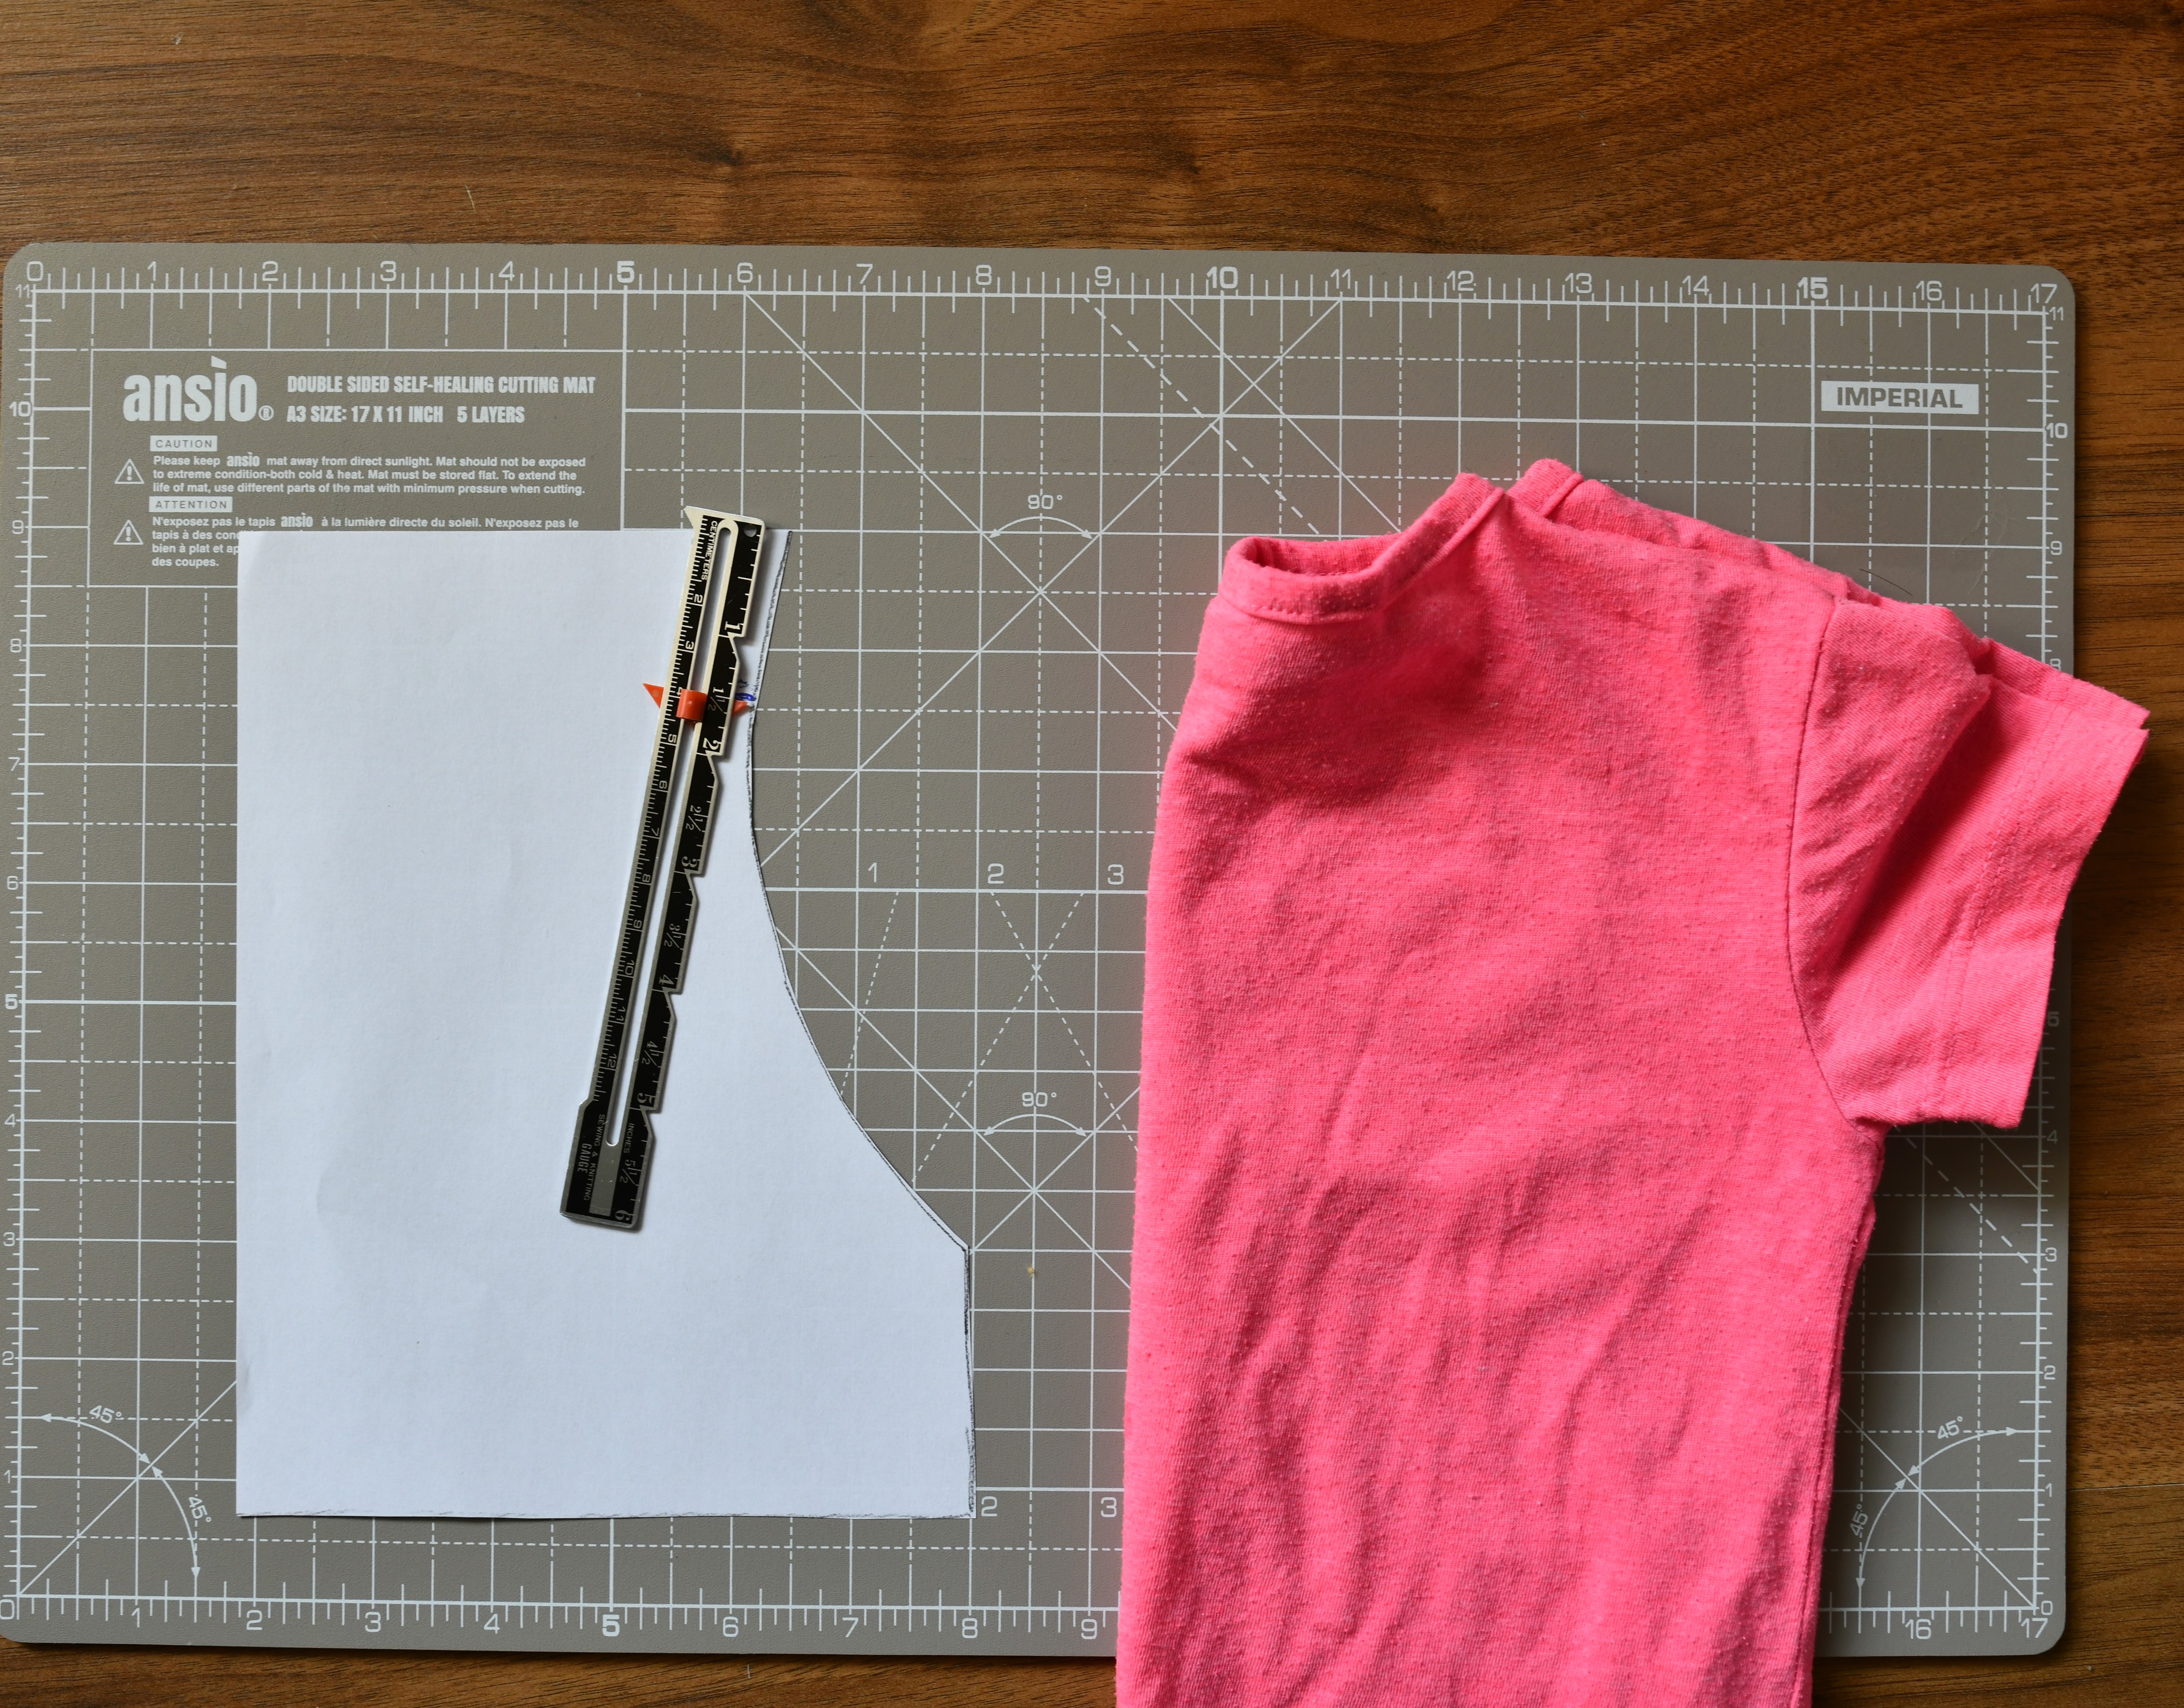
Drafting the sleeve: I extended the t-shirt’s armhole curve by 1.5 inches. I also added 2 inches to the sleeve opening at the hem for a nice puffy look.
Drafting the bodice: I added 2 inches to the bust measurement for a comfortable, flowy fit.
Remember, you can adjust the ease and gathers based on your preference and fabric. When it comes to length, it’s better to make the pieces slightly longer. You can always shorten them later.
Sew your own DIY muslin peasant top
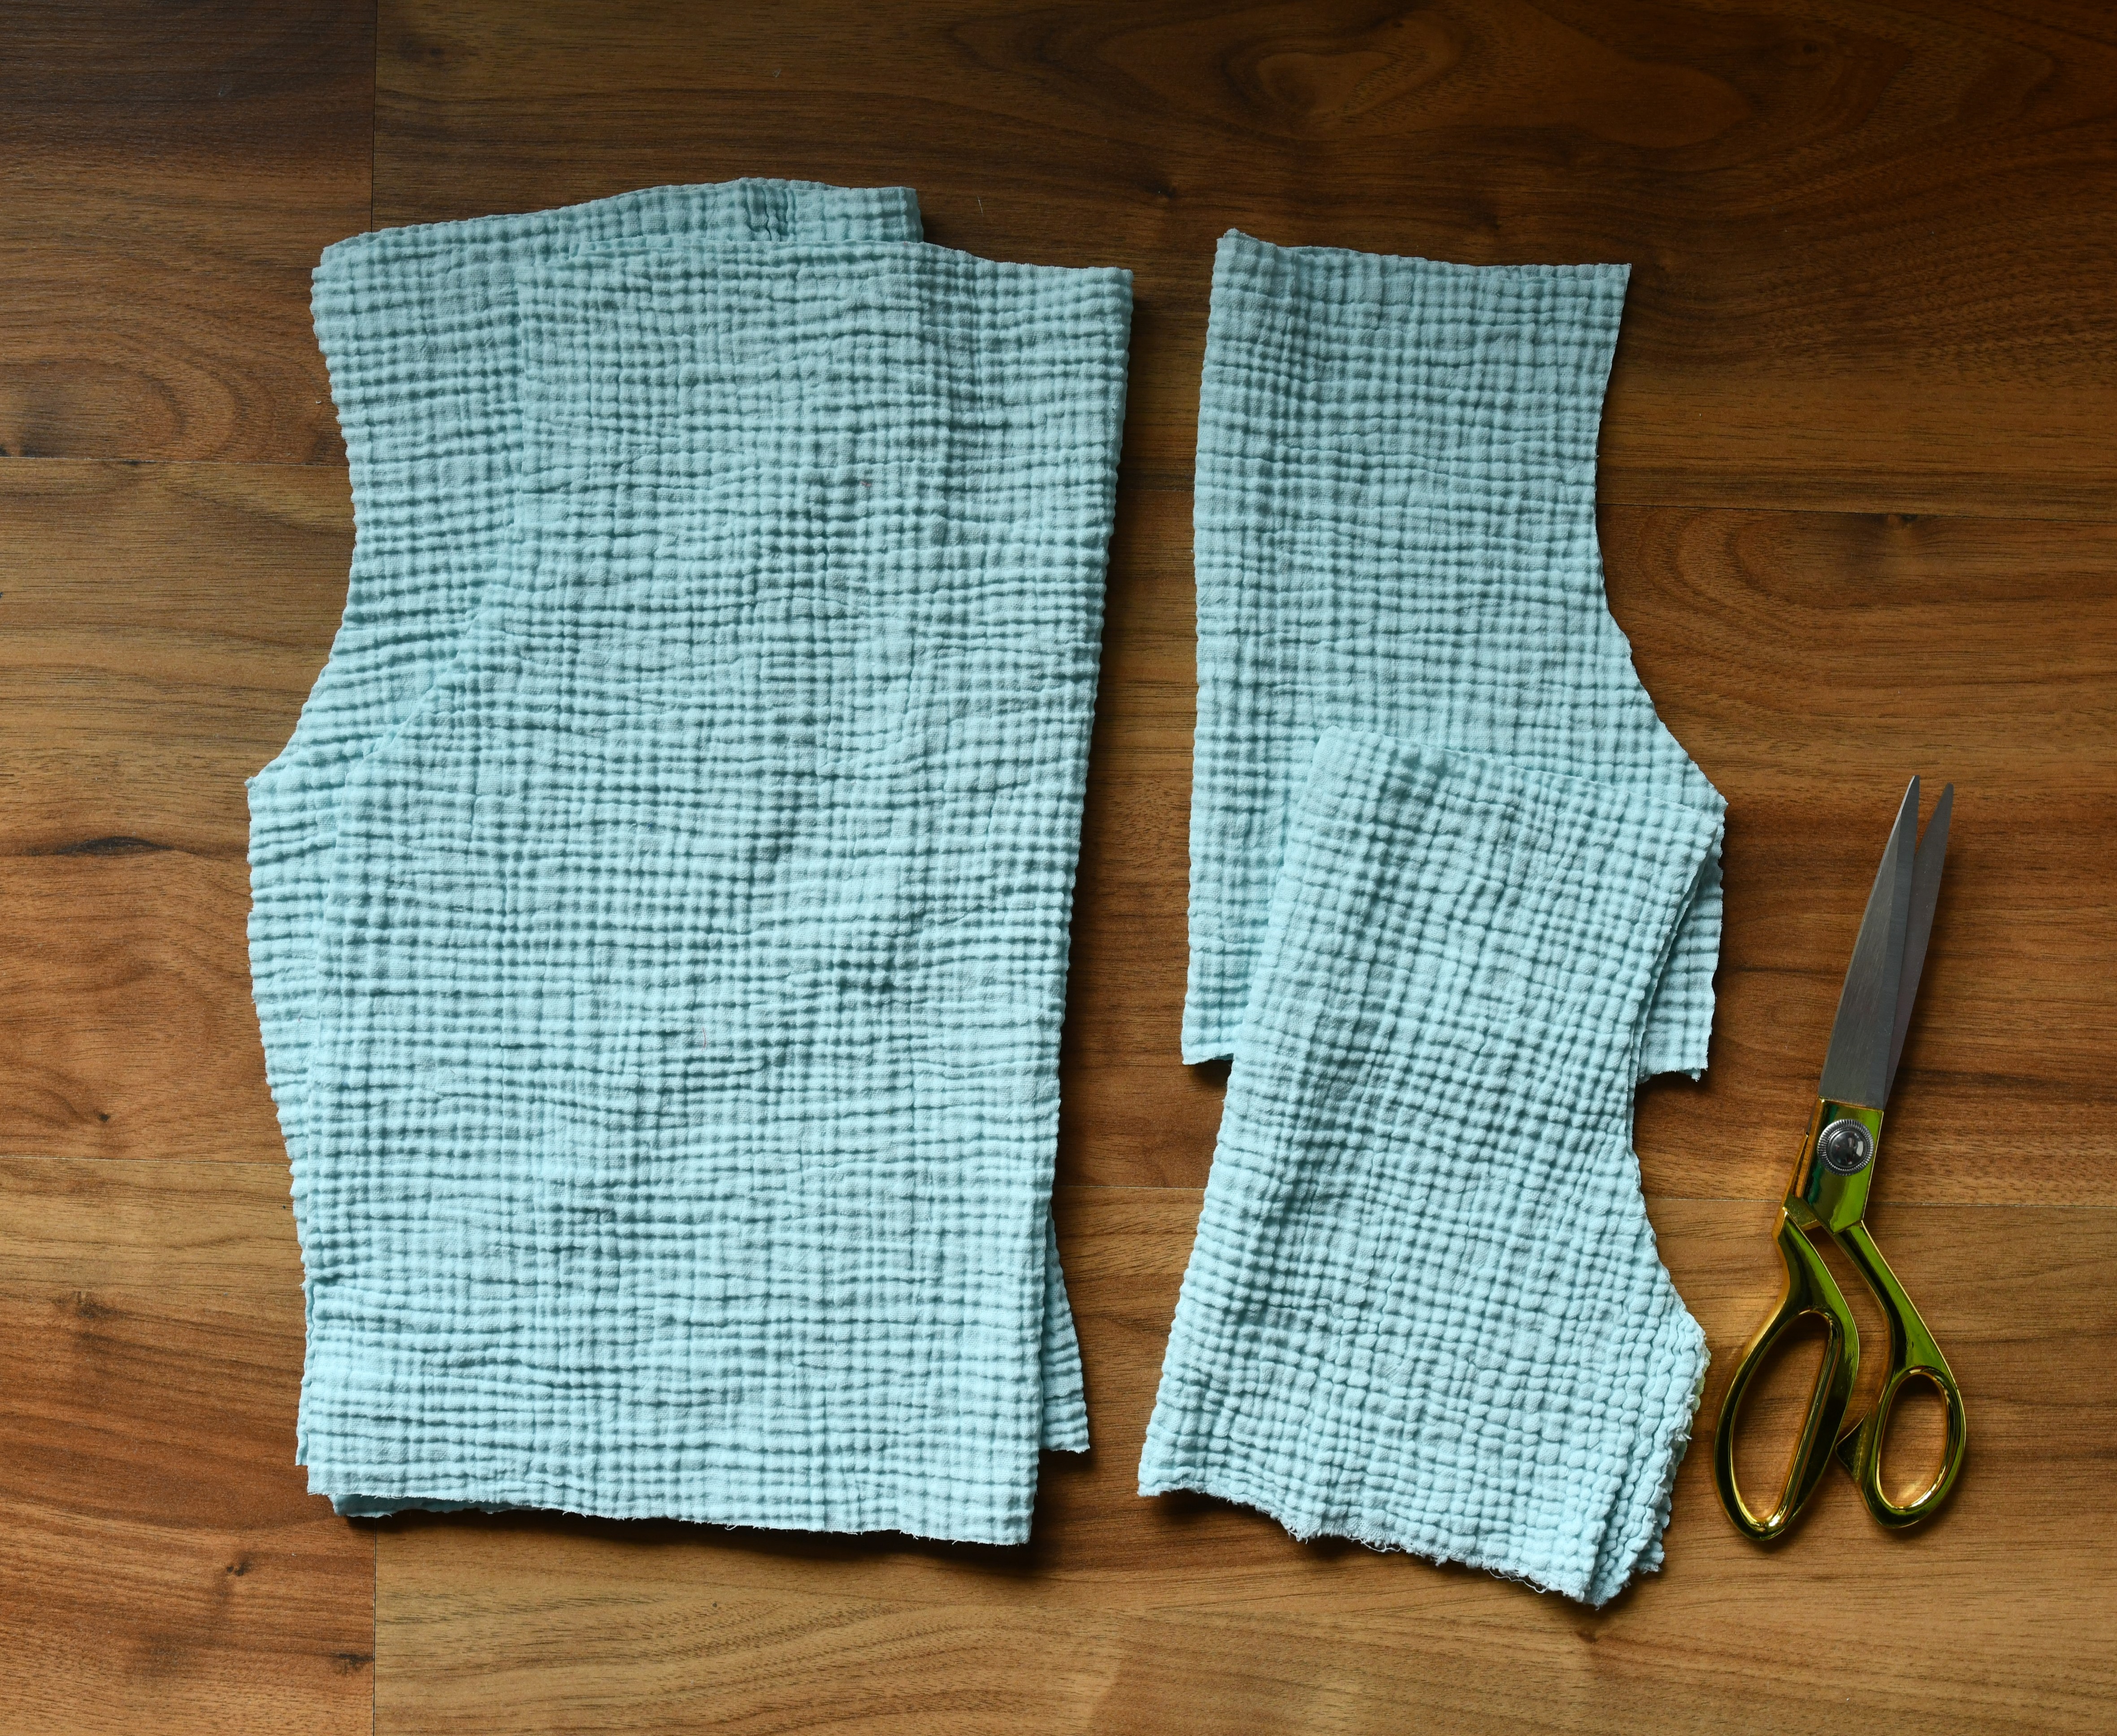
Now, cut out your DIY peasant top pattern pieces and use them to cut your fabric. You’ll need 2 identical fabric pieces on the fold for both the sleeve and bodice (4 pieces total).
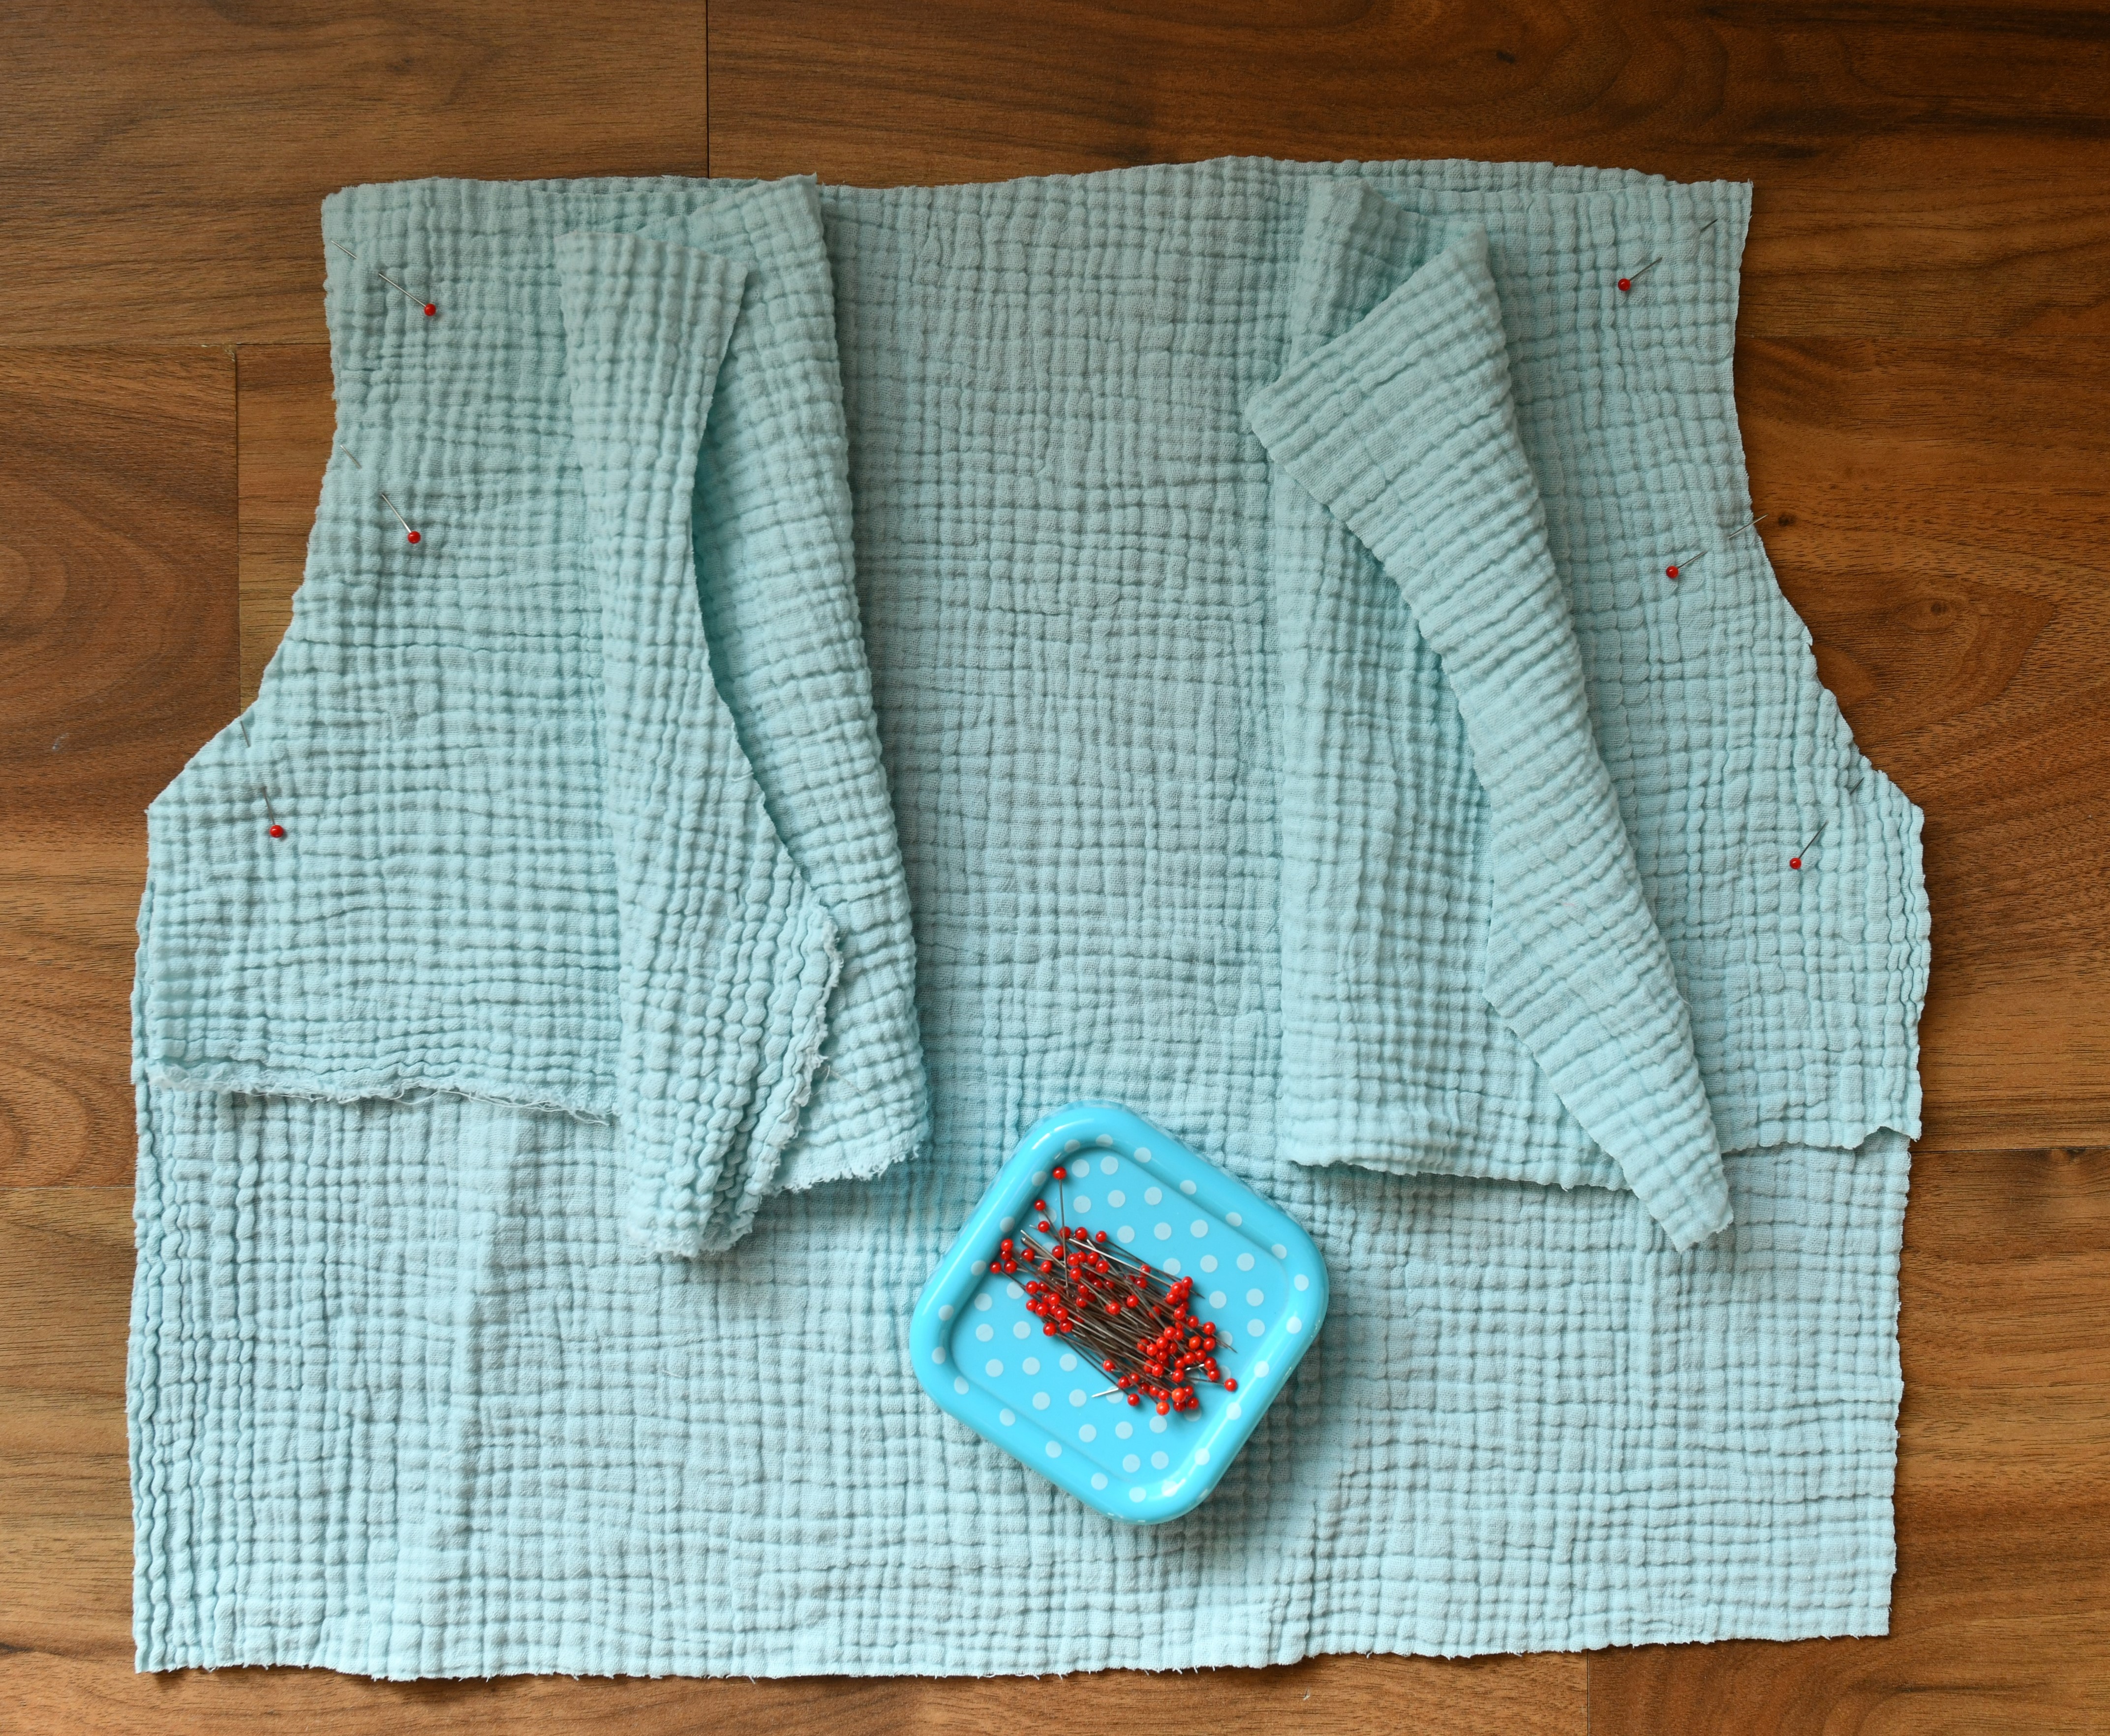
I stitched the pieces together following the instructions provided in this peasant top tutorial.
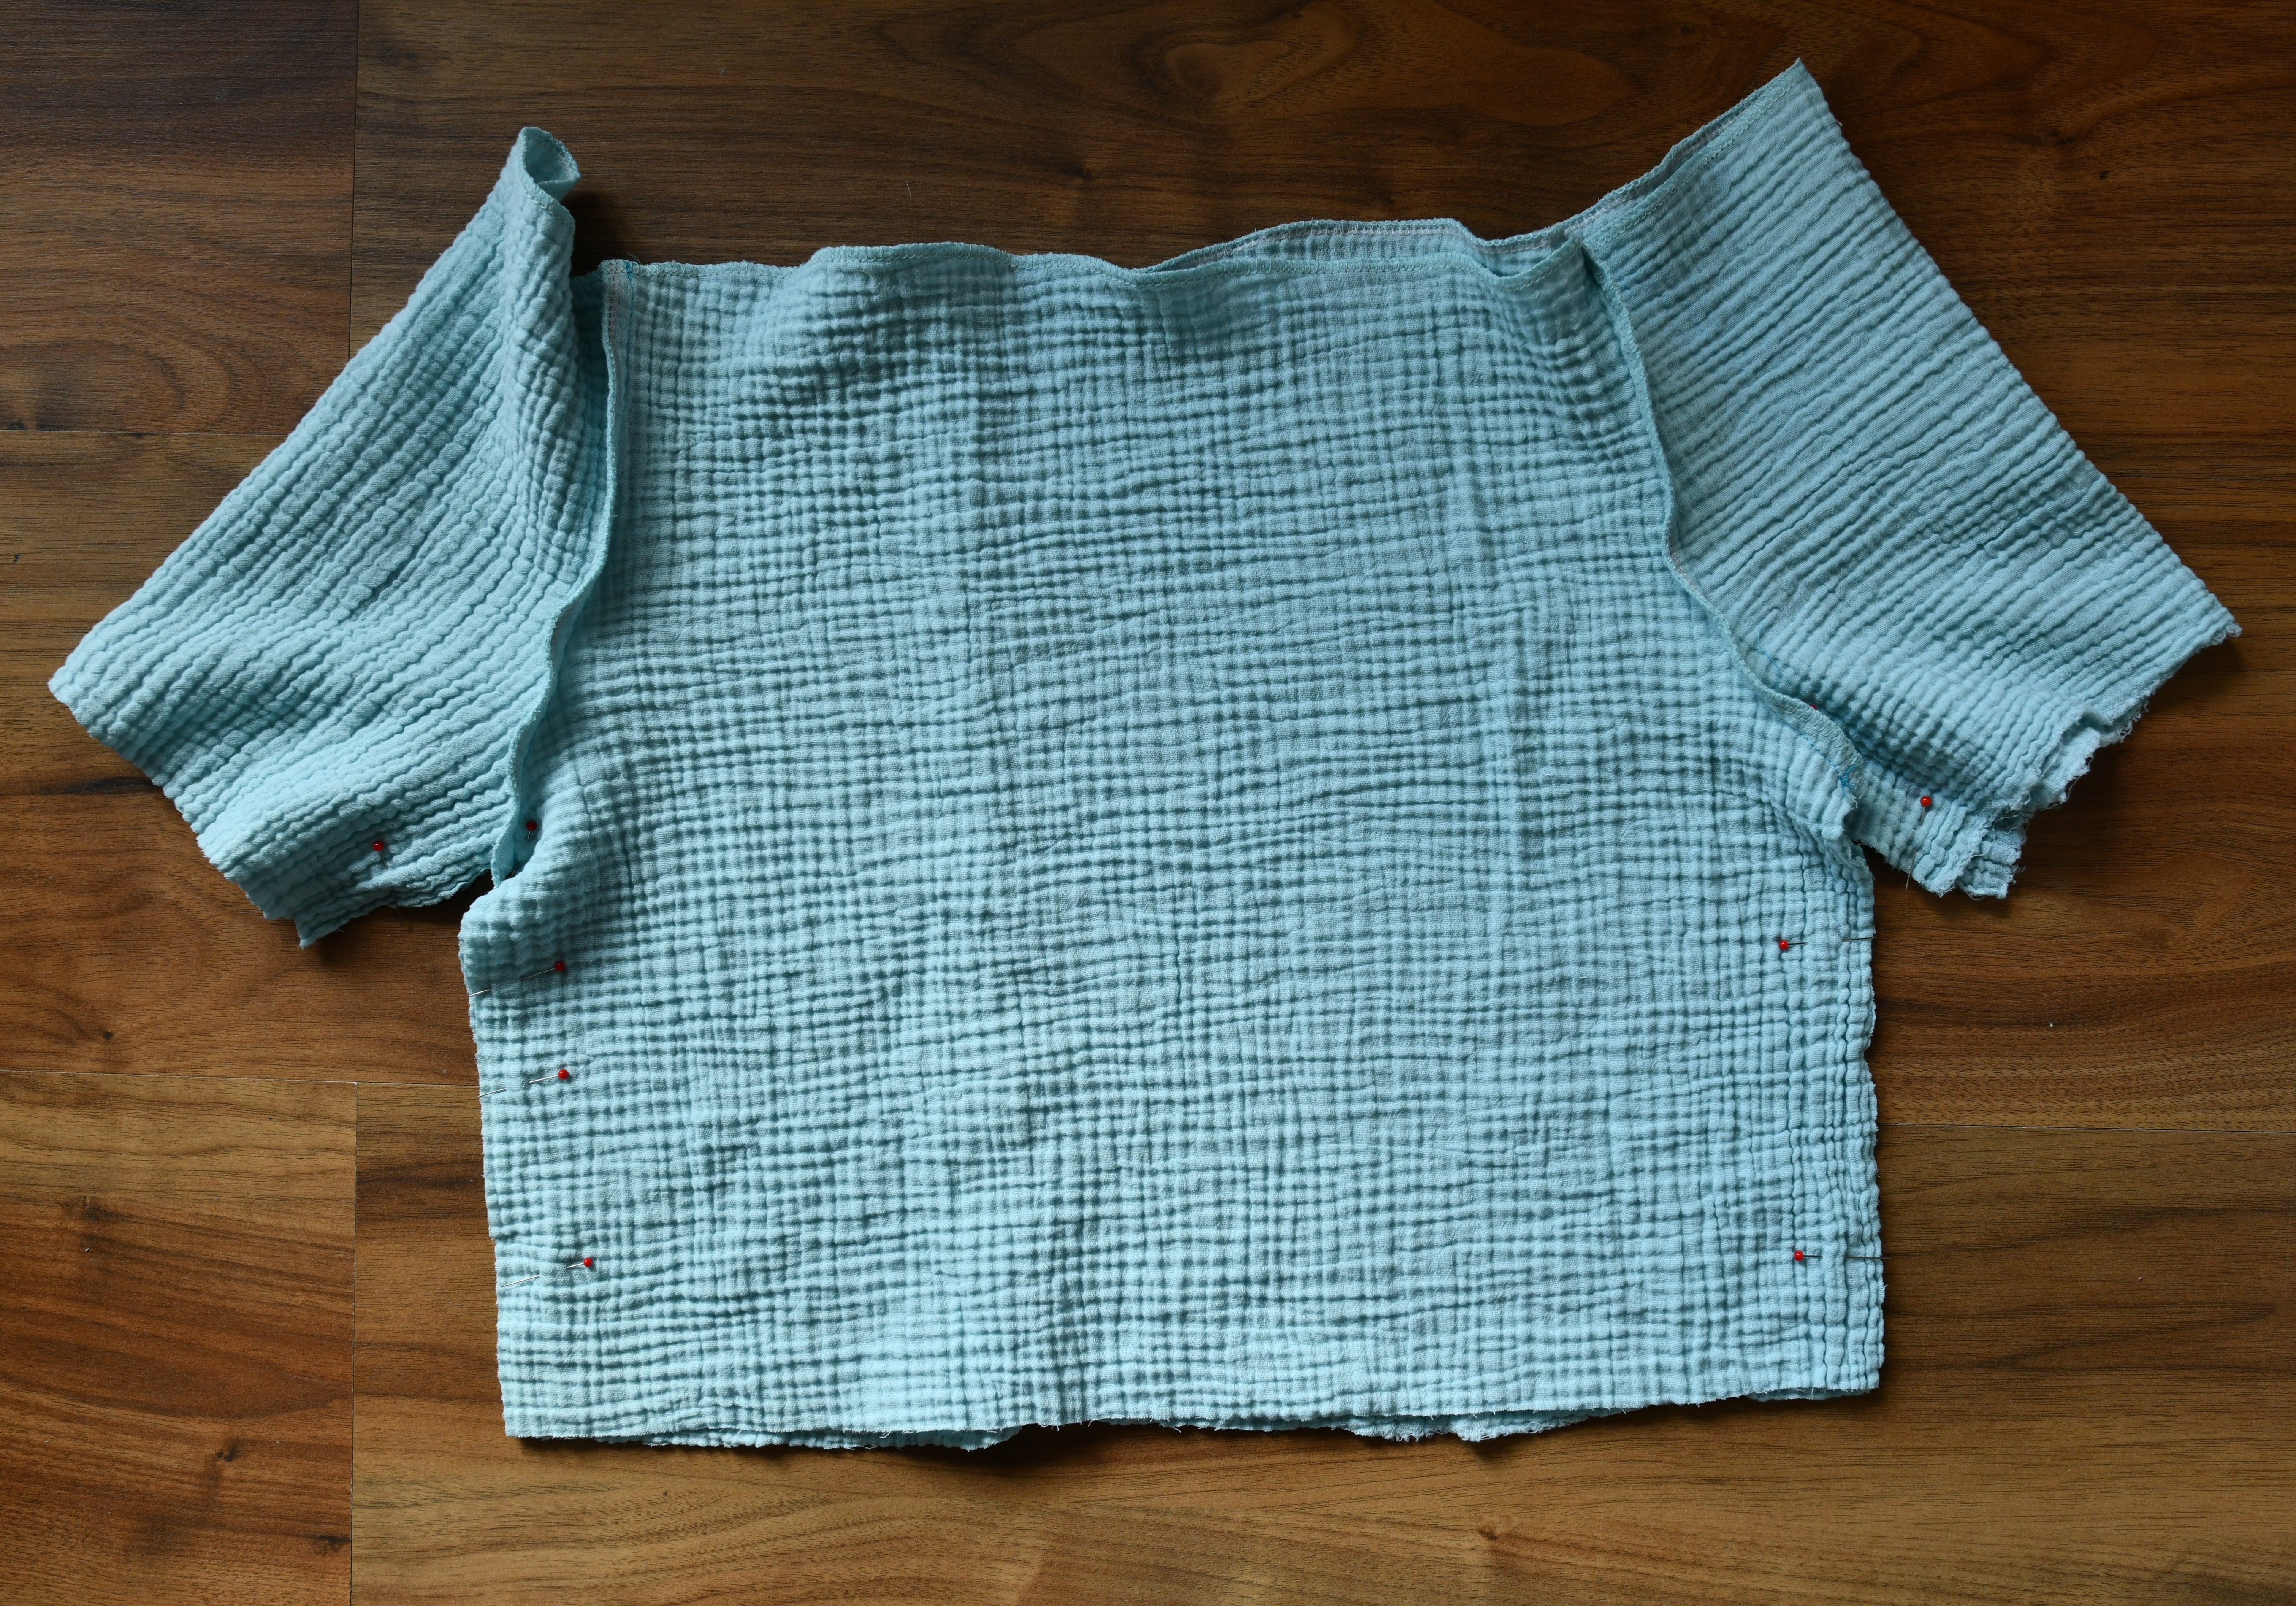
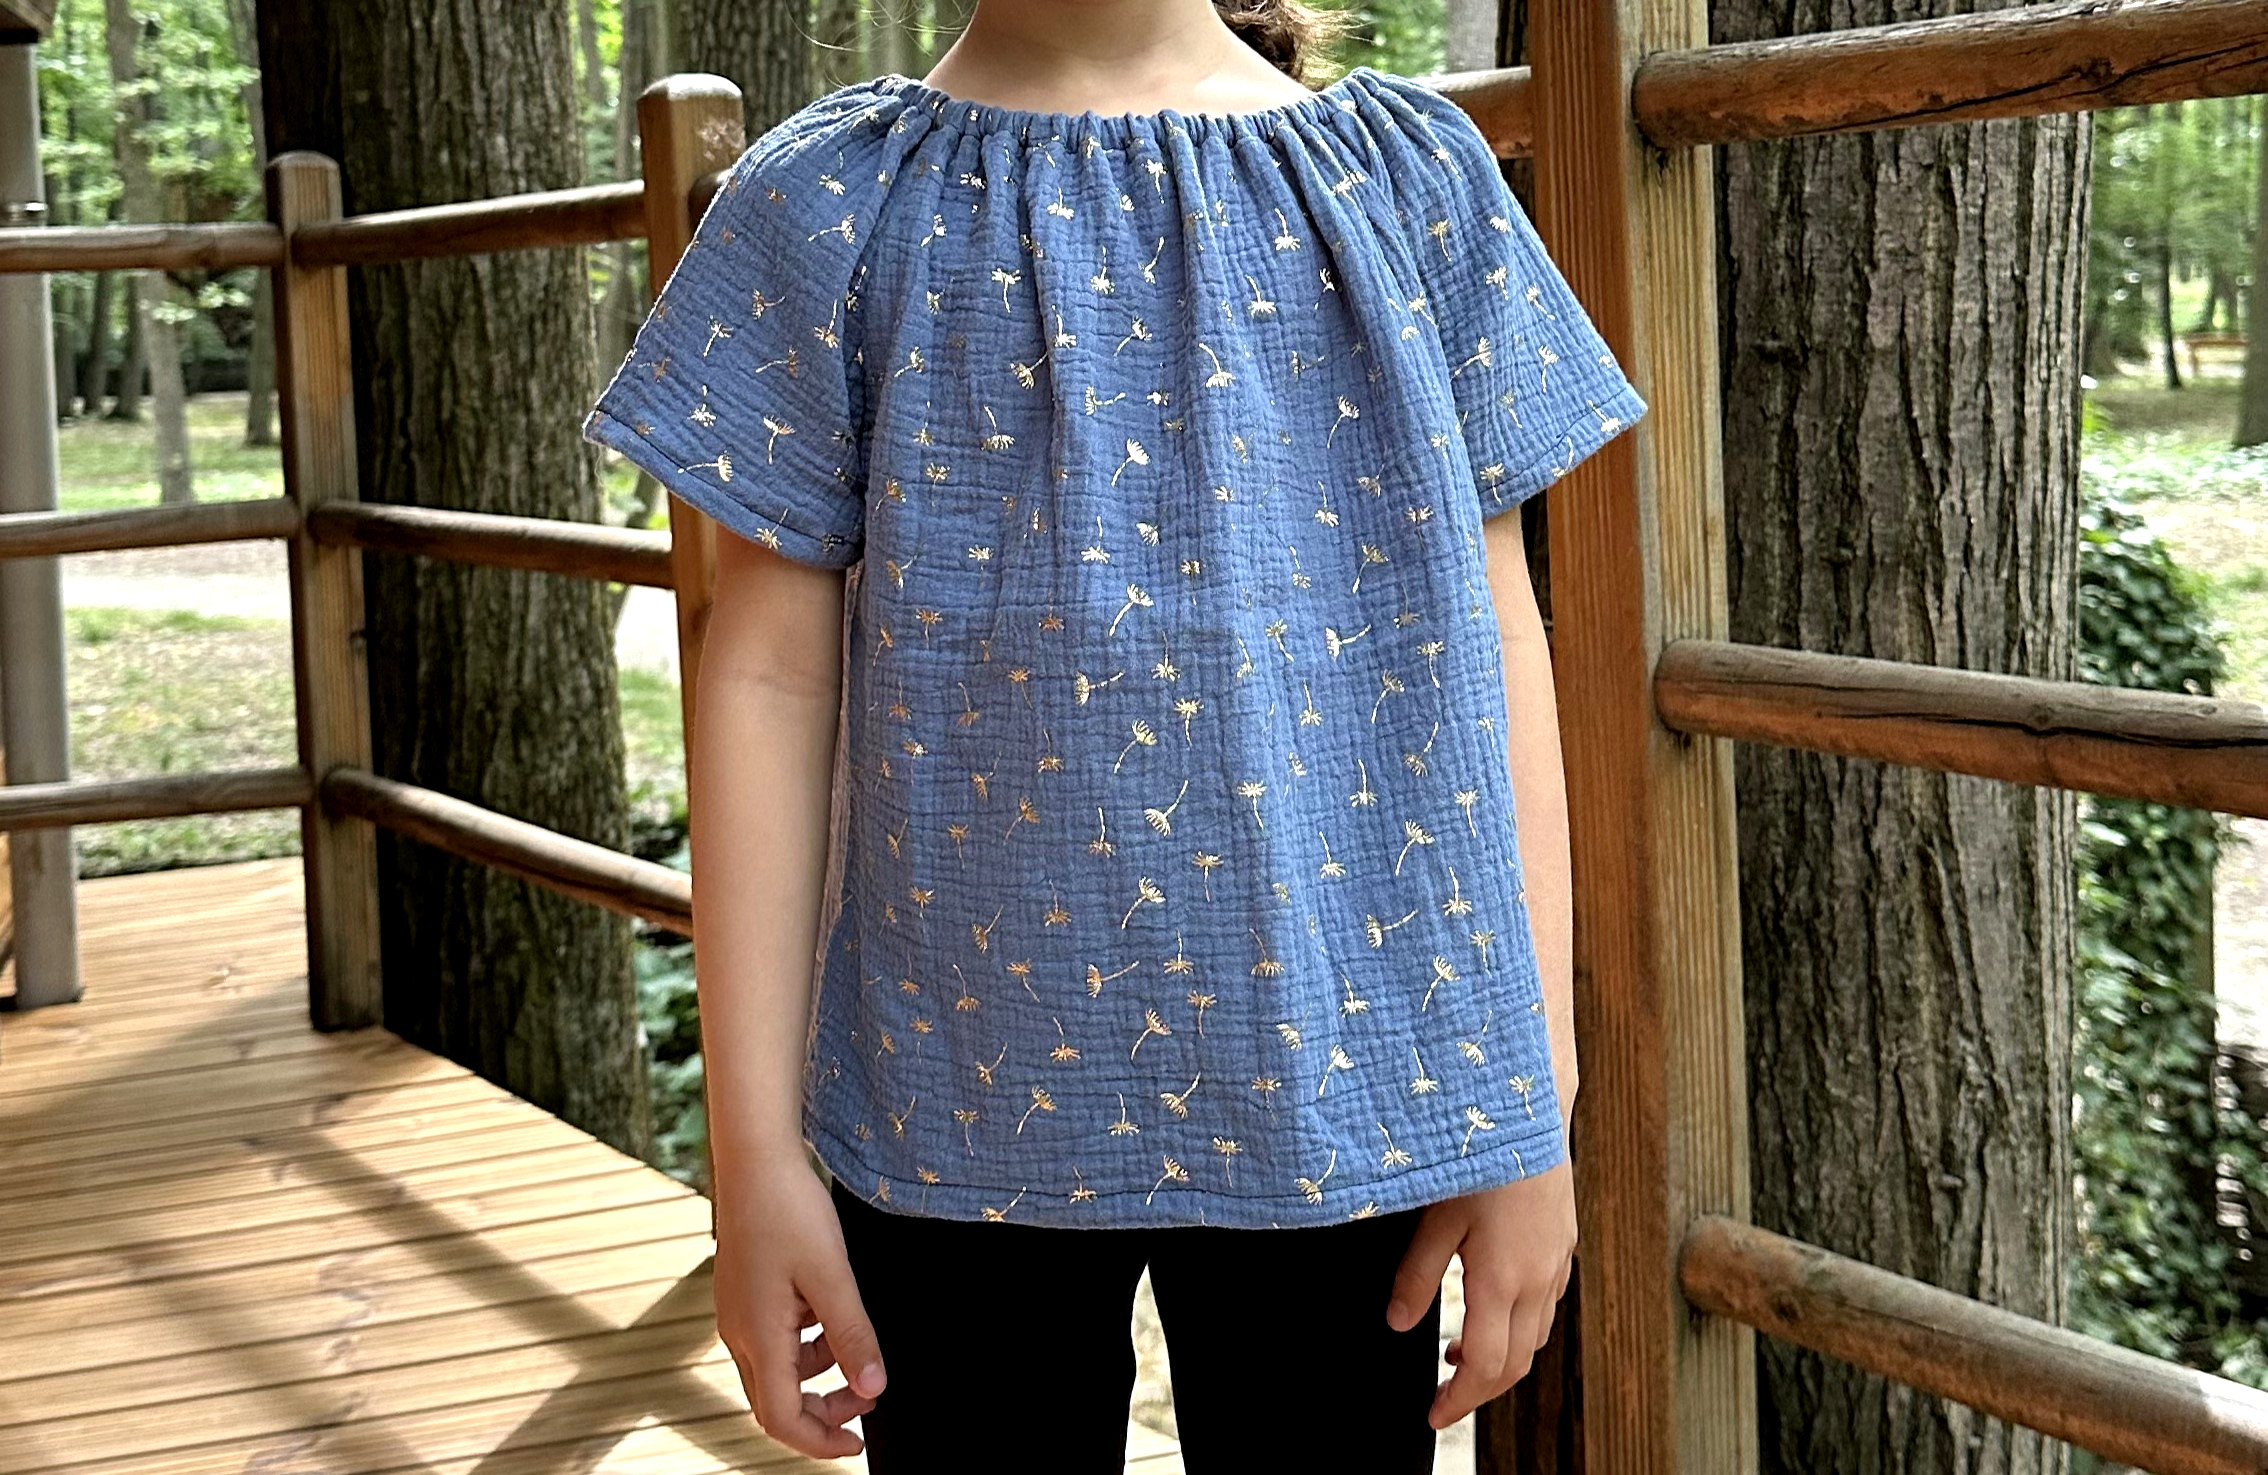
A quick tip on fabric: The mint green top has elasticated sleeves, while the navy blue one does not. I used a small scrap of fabric for the navy top and didn’t have enough to cut the sleeves on the fold, so I joined them in the middle instead.

Notes on pattern drafting
You might need to experiment a bit to get the exact look you want. While this takes a moment of trial and error, it’s a great way to boost your sewing skills and confidence.
For example, I realized later that extending the armhole curve by another 0.5 inches would have been even better. Even without that change, it’s still a very comfortable and loose top! I’m so proud of creating these from scratch.
Tips for DIY sewing beginners
- Choose the right fabric: Double gauze is beautiful but can be shifty. If this is your first DIY project, try a stable cotton poplin or light linen first.
- Don’t skip the press: Iron your seams after every step. It makes a huge difference in how professional the final peasant top looks.
- Test your elastic: Before sewing the casing shut, wrap the 1/4” elastic around your child’s arm or chest to ensure it’s snug but comfy.
- Practice the curve: When drafting the armhole, use a French curve or even a large dinner plate to get a smooth, clean line.
- Finish your seams: Since peasant tops get a lot of wear, use a zigzag stitch or a serger on the raw edges to prevent fraying in the wash.
I hope this tutorial inspires you to grab a favorite t-shirt and start drafting! There is something so rewarding about making a custom piece of clothing without the stress of complicated patterns.
Whether you choose a breezy double gauze or a colorful floral cotton, these tops are sure to become a staple in any summer wardrobe. I’m so happy with how these turned out, and I can’t wait to see the versions you create for your little ones. Happy sewing!
You might also like:
- Sew a cute flutter sleeve peasant top in 30 minutes: free pattern
- Easy quilted zipper pouch (free pattern)
- 17 adorable fabric goose sewing patterns
- 10 easy spring sewing projects for beginners
Let’s keep in touch! You can find me on Facebook, Instagram, and Pinterest.
Related posts