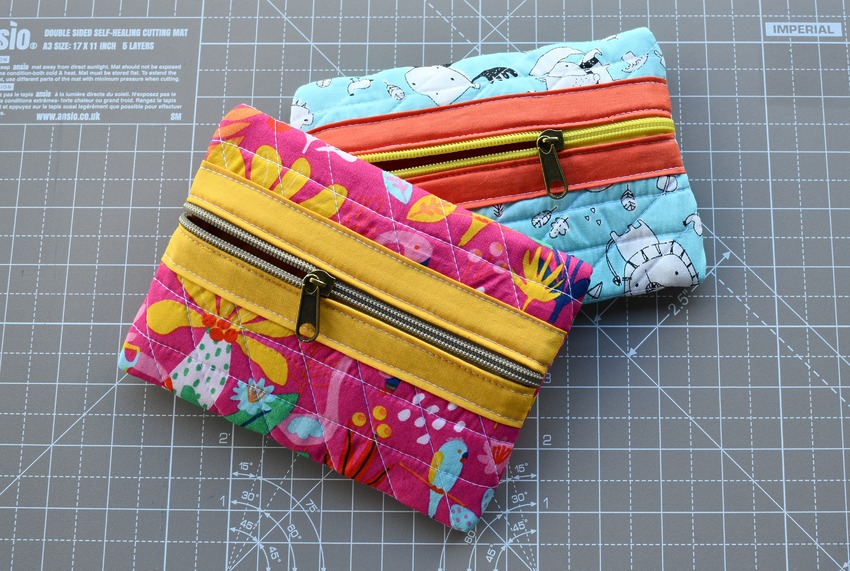
This quick and easy quilted pouch is just the perfect size for keeping your essentials organized. Learn how to make your own simple zipper pouch with this free pattern and step-by-step tutorial, packed with plenty of tips for beginners. This adorable zipper pouch also makes a wonderful gift for any occasion, and it feels sturdy thanks to the layer of batting in the middle.
You can easily customize the size by cutting smaller or larger fabric pieces.
Simple quilted zipper pouch tutorial
Honestly, I hadn’t attempted making a quilted zipper pouch before due to some preconceived notions. I used to believe that sewing so many layers of fabric together was too difficult.
Indeed, when you finish the raw edges of the pouch with binding, you’ll be sewing through 8 layers of cotton fabric plus 2 of batting. However, with the right needle, it’s surprisingly straightforward – no need to overthink it! Besides, the fabric layers aren’t as thick as I thought they would be.
On top of that, I’m no quilting expert. My only previous quilting project was making these easy oven mitts. I must admit, though, that I absolutely adore the fabric that quilting creates – it has such a nice feel to it!
Here, I opted for zippers by the yard, allowing a little extra room for error by cutting the zippers a bit larger than the required size. Attaching the zipper pulls was a breeze; if you’re new to this, there’s a fantastic tutorial on YouTube to guide you through the process.
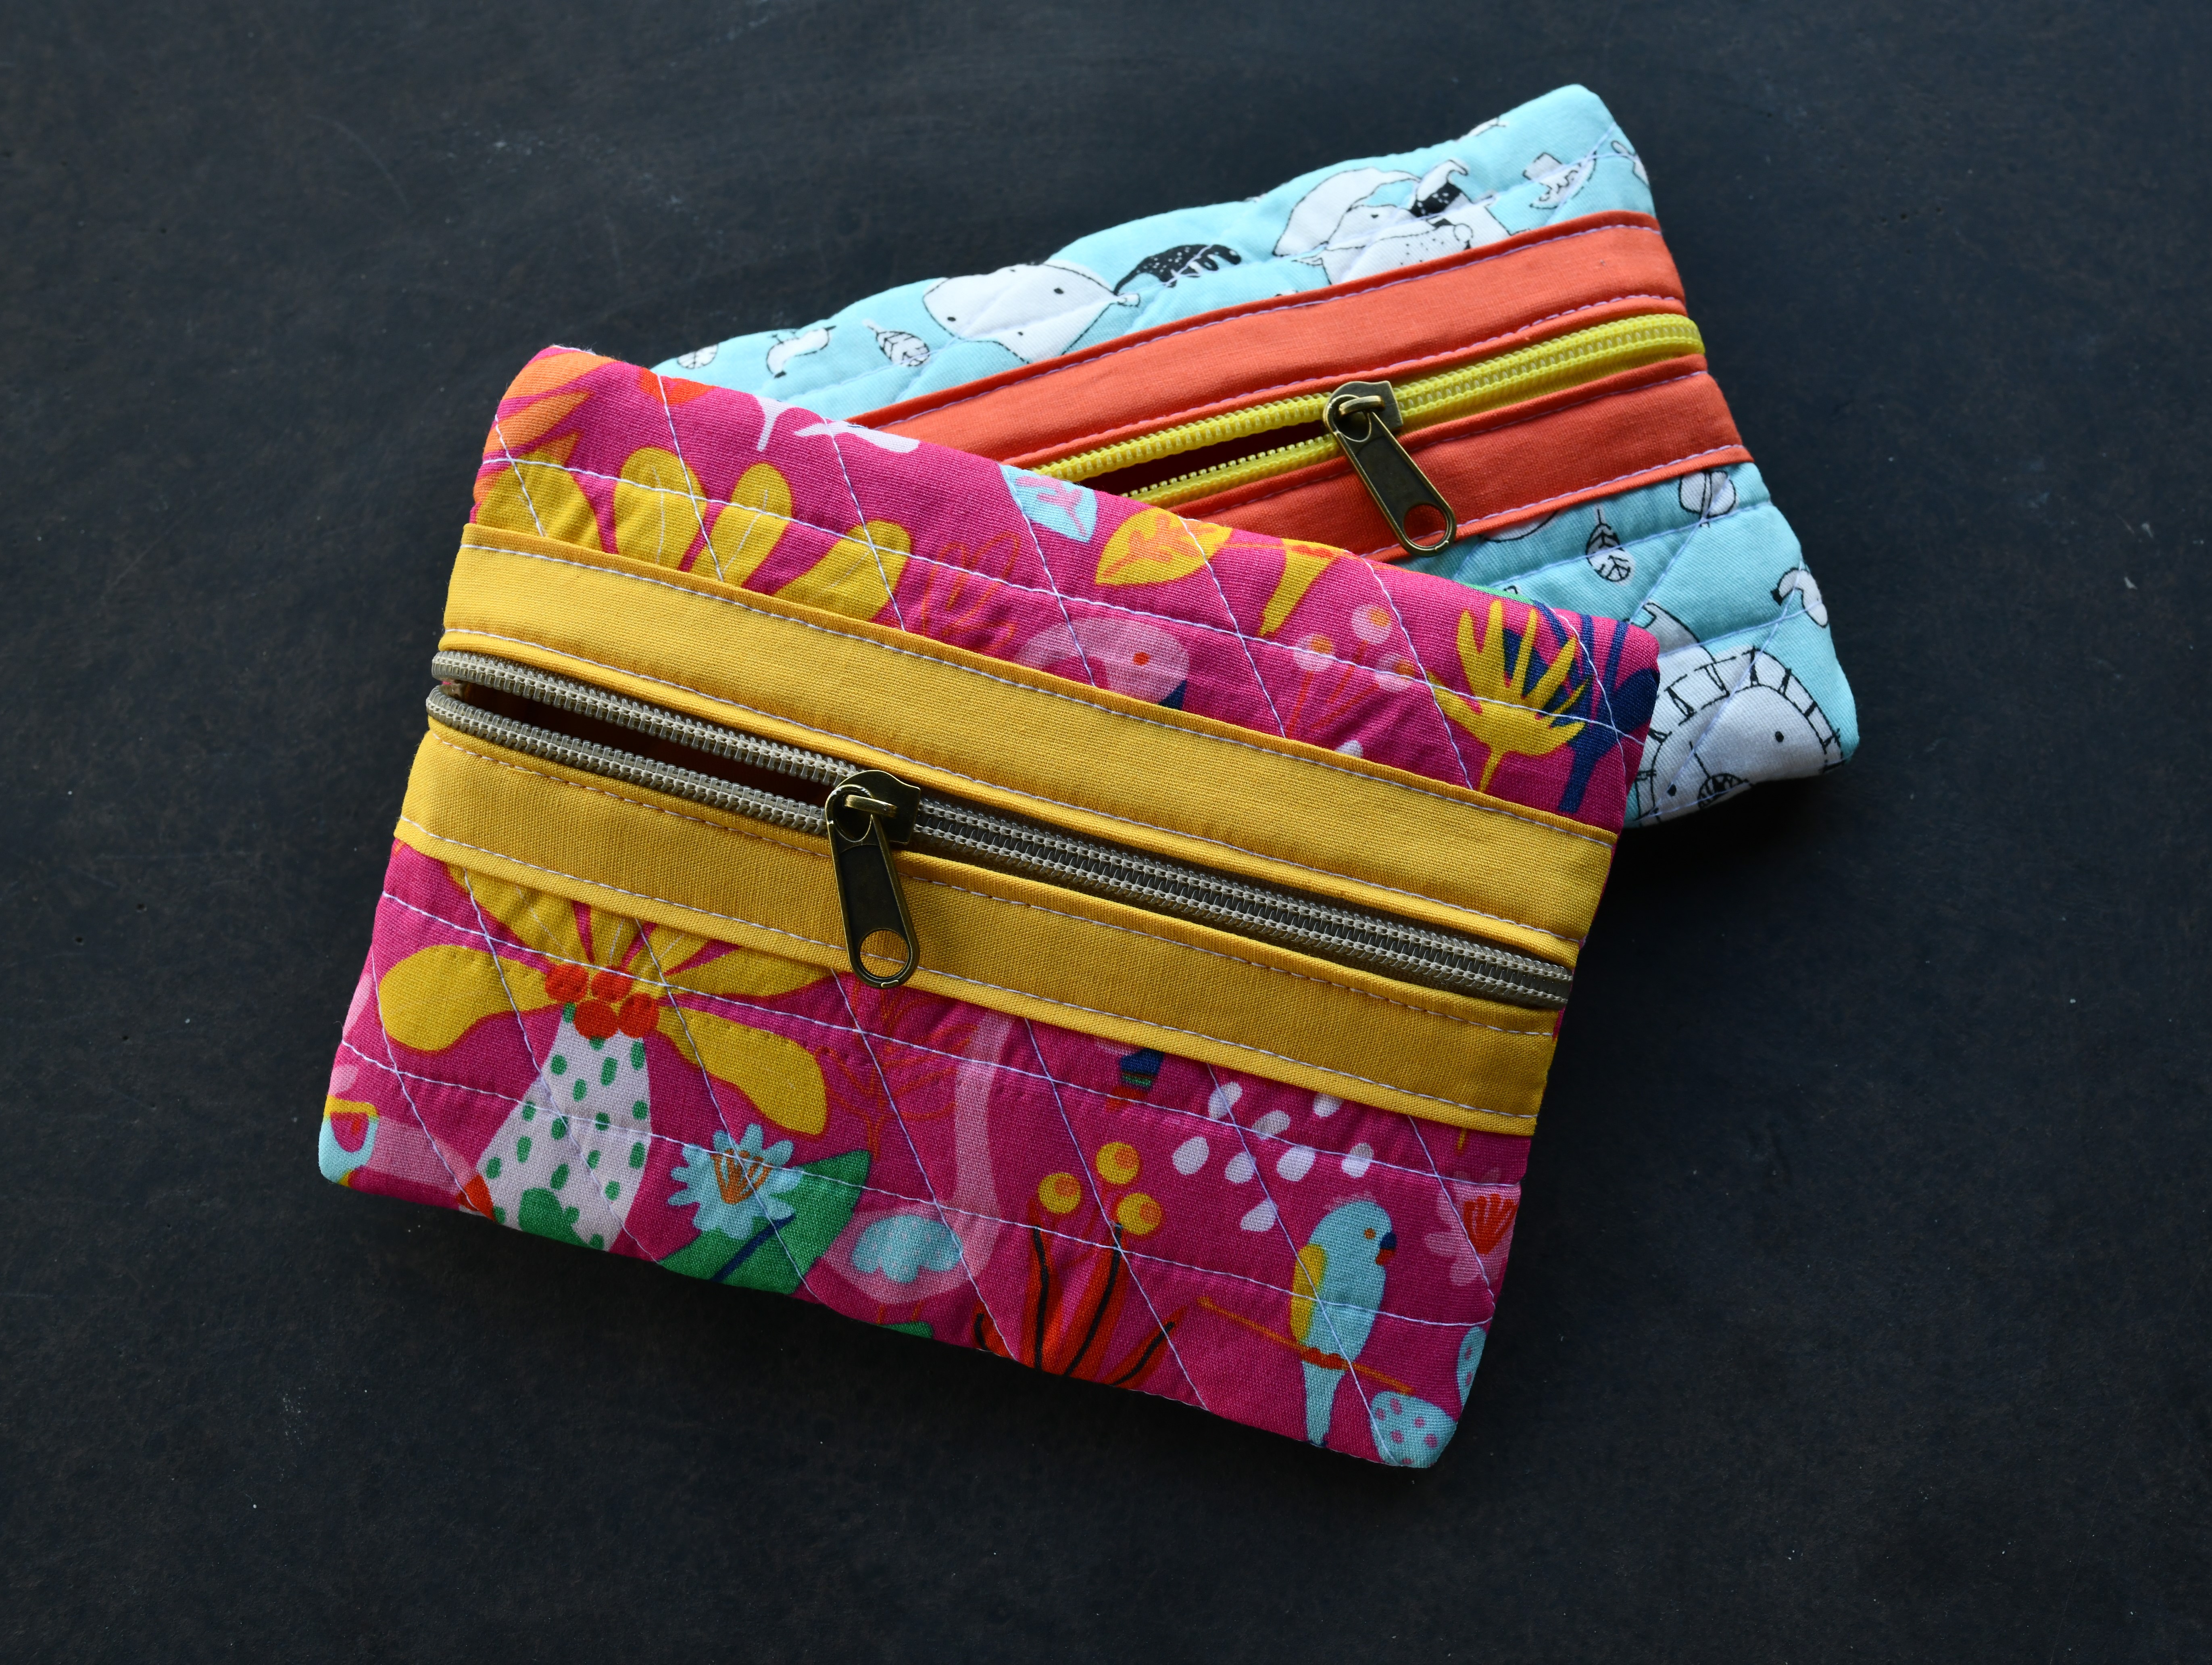
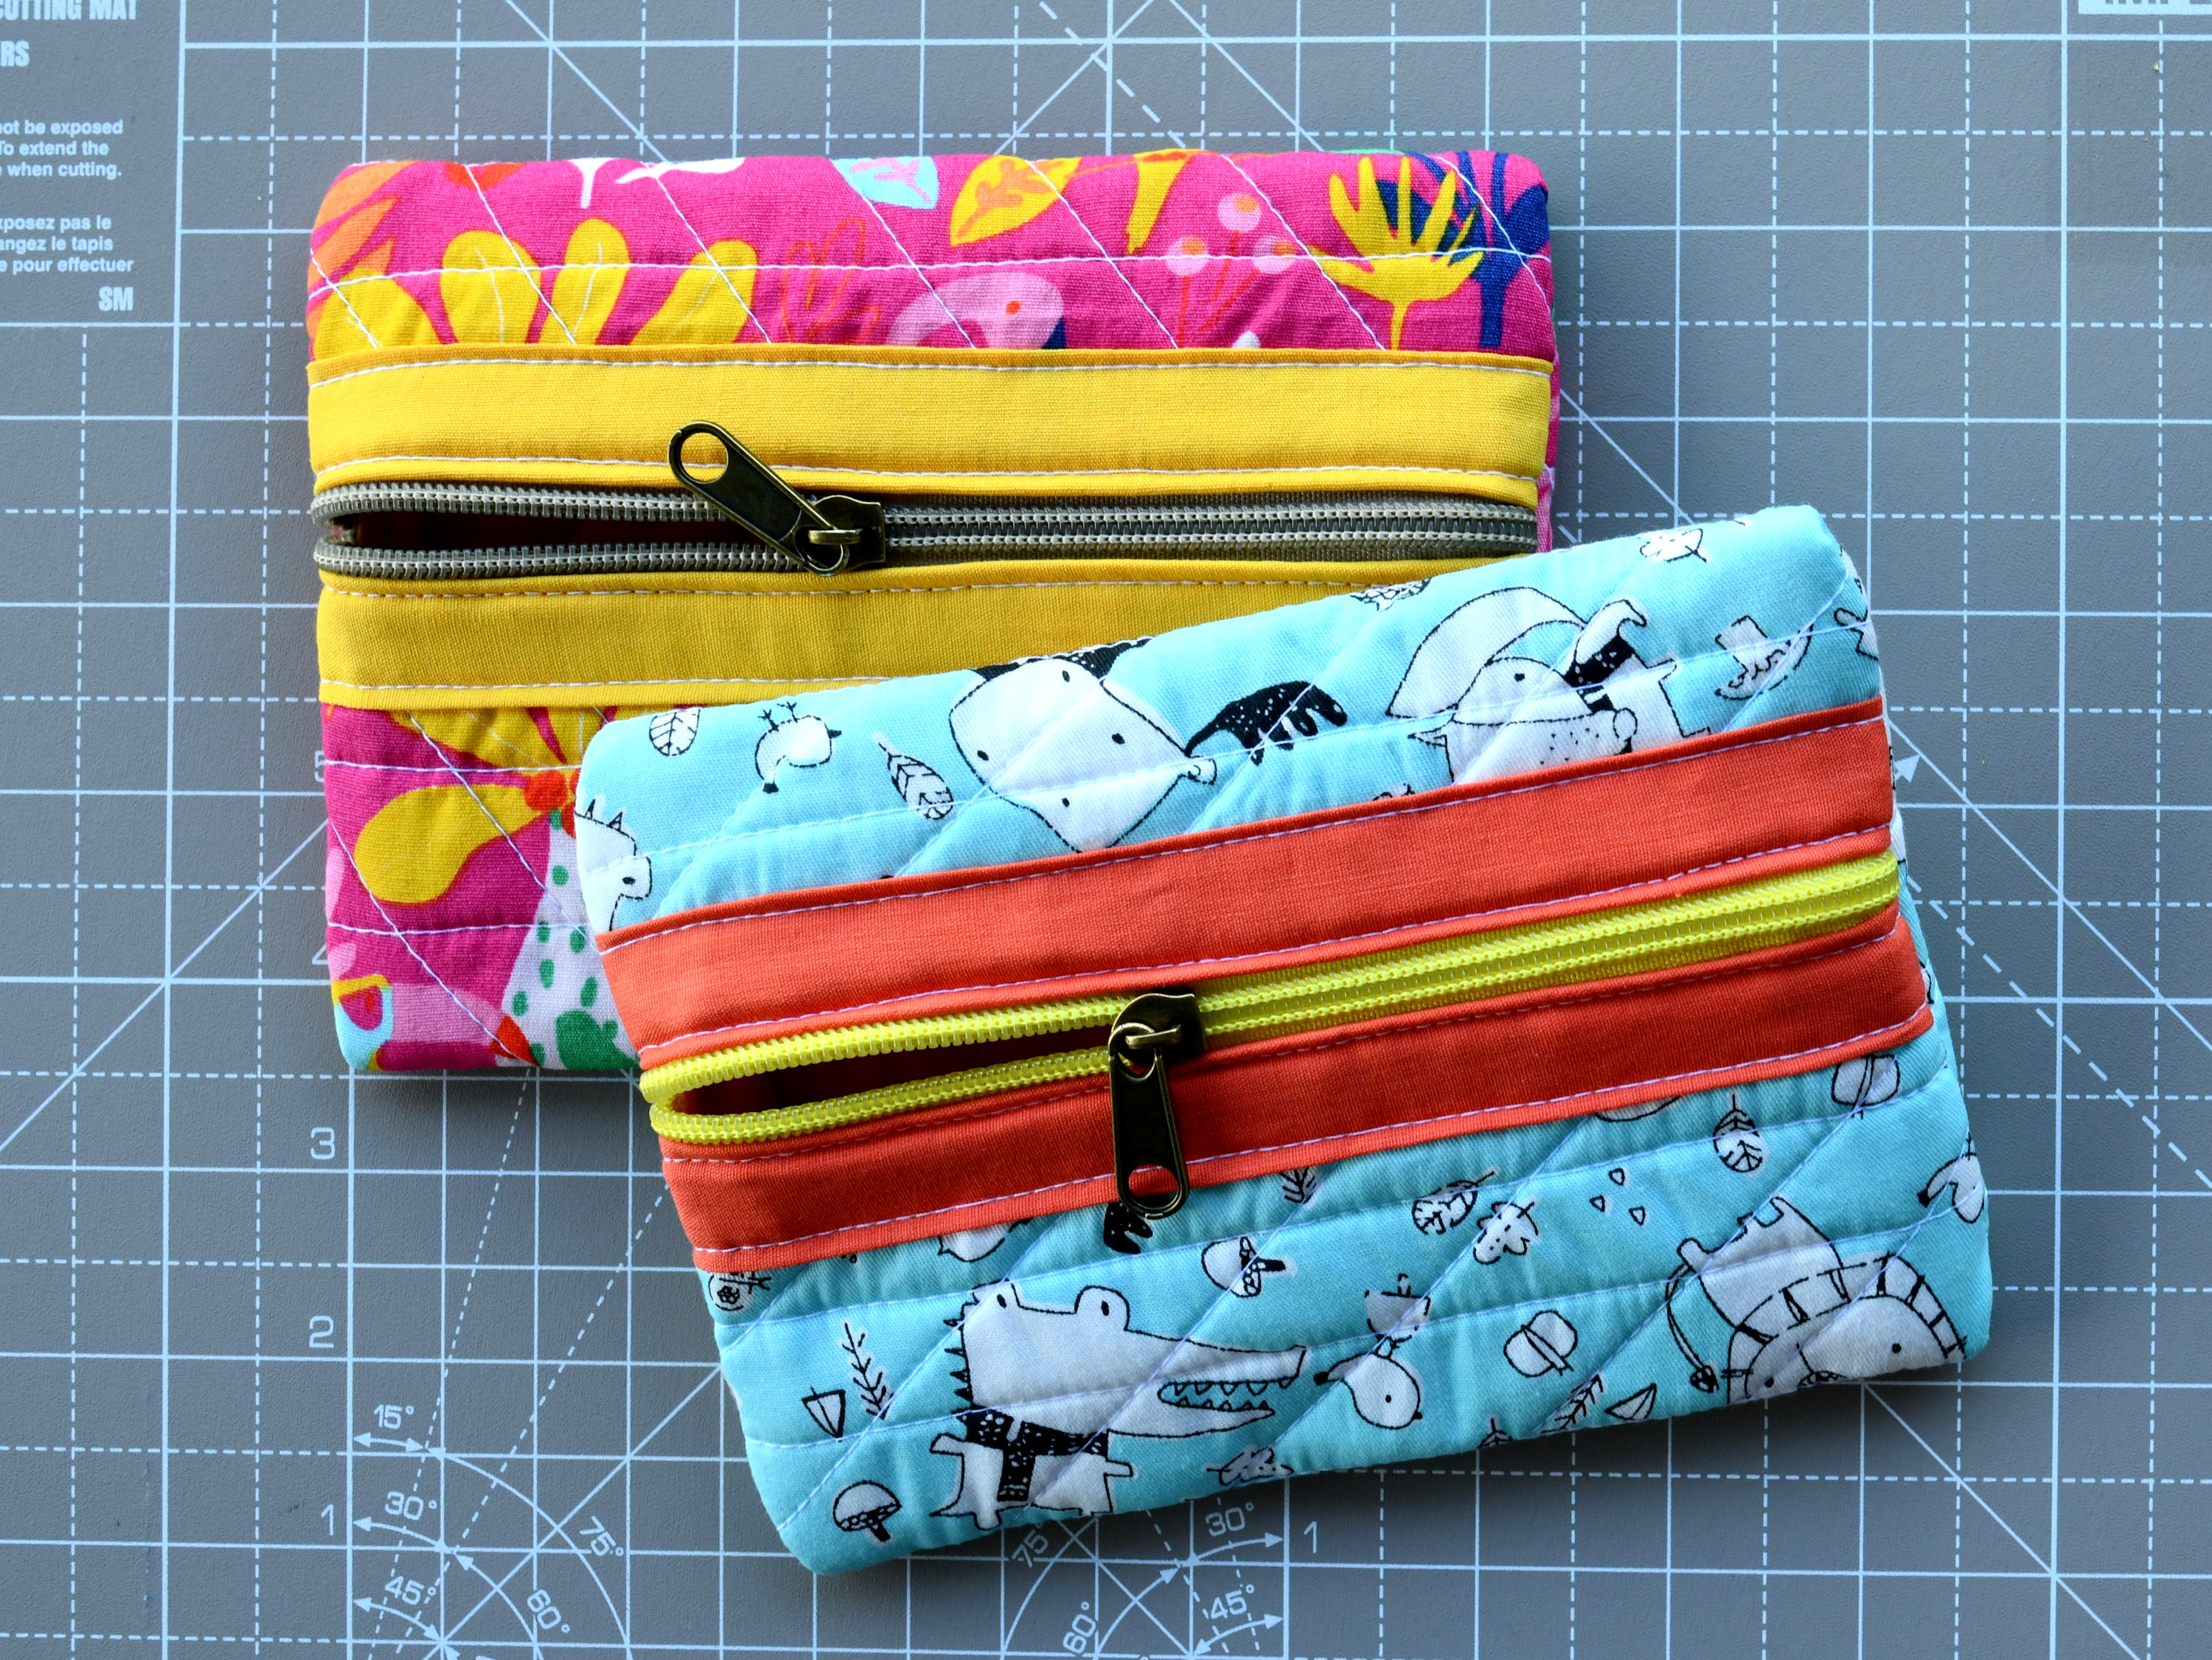
I think this simple quilted zipper pouch DIY is totally worth a try! You might find it hard to stop at just one!
It’s a fun project, plus it makes for such a nice gift. You won’t need a lot of fabric for this zipper pouch. You can even use fabric scraps! One of the pouches is made with leftover fabric from this cute flutter sleeve peasant top.
Also, there’s no need to switch out your sewing machine’s foot to a zipper foot – the regular straight stitch foot works just fine.
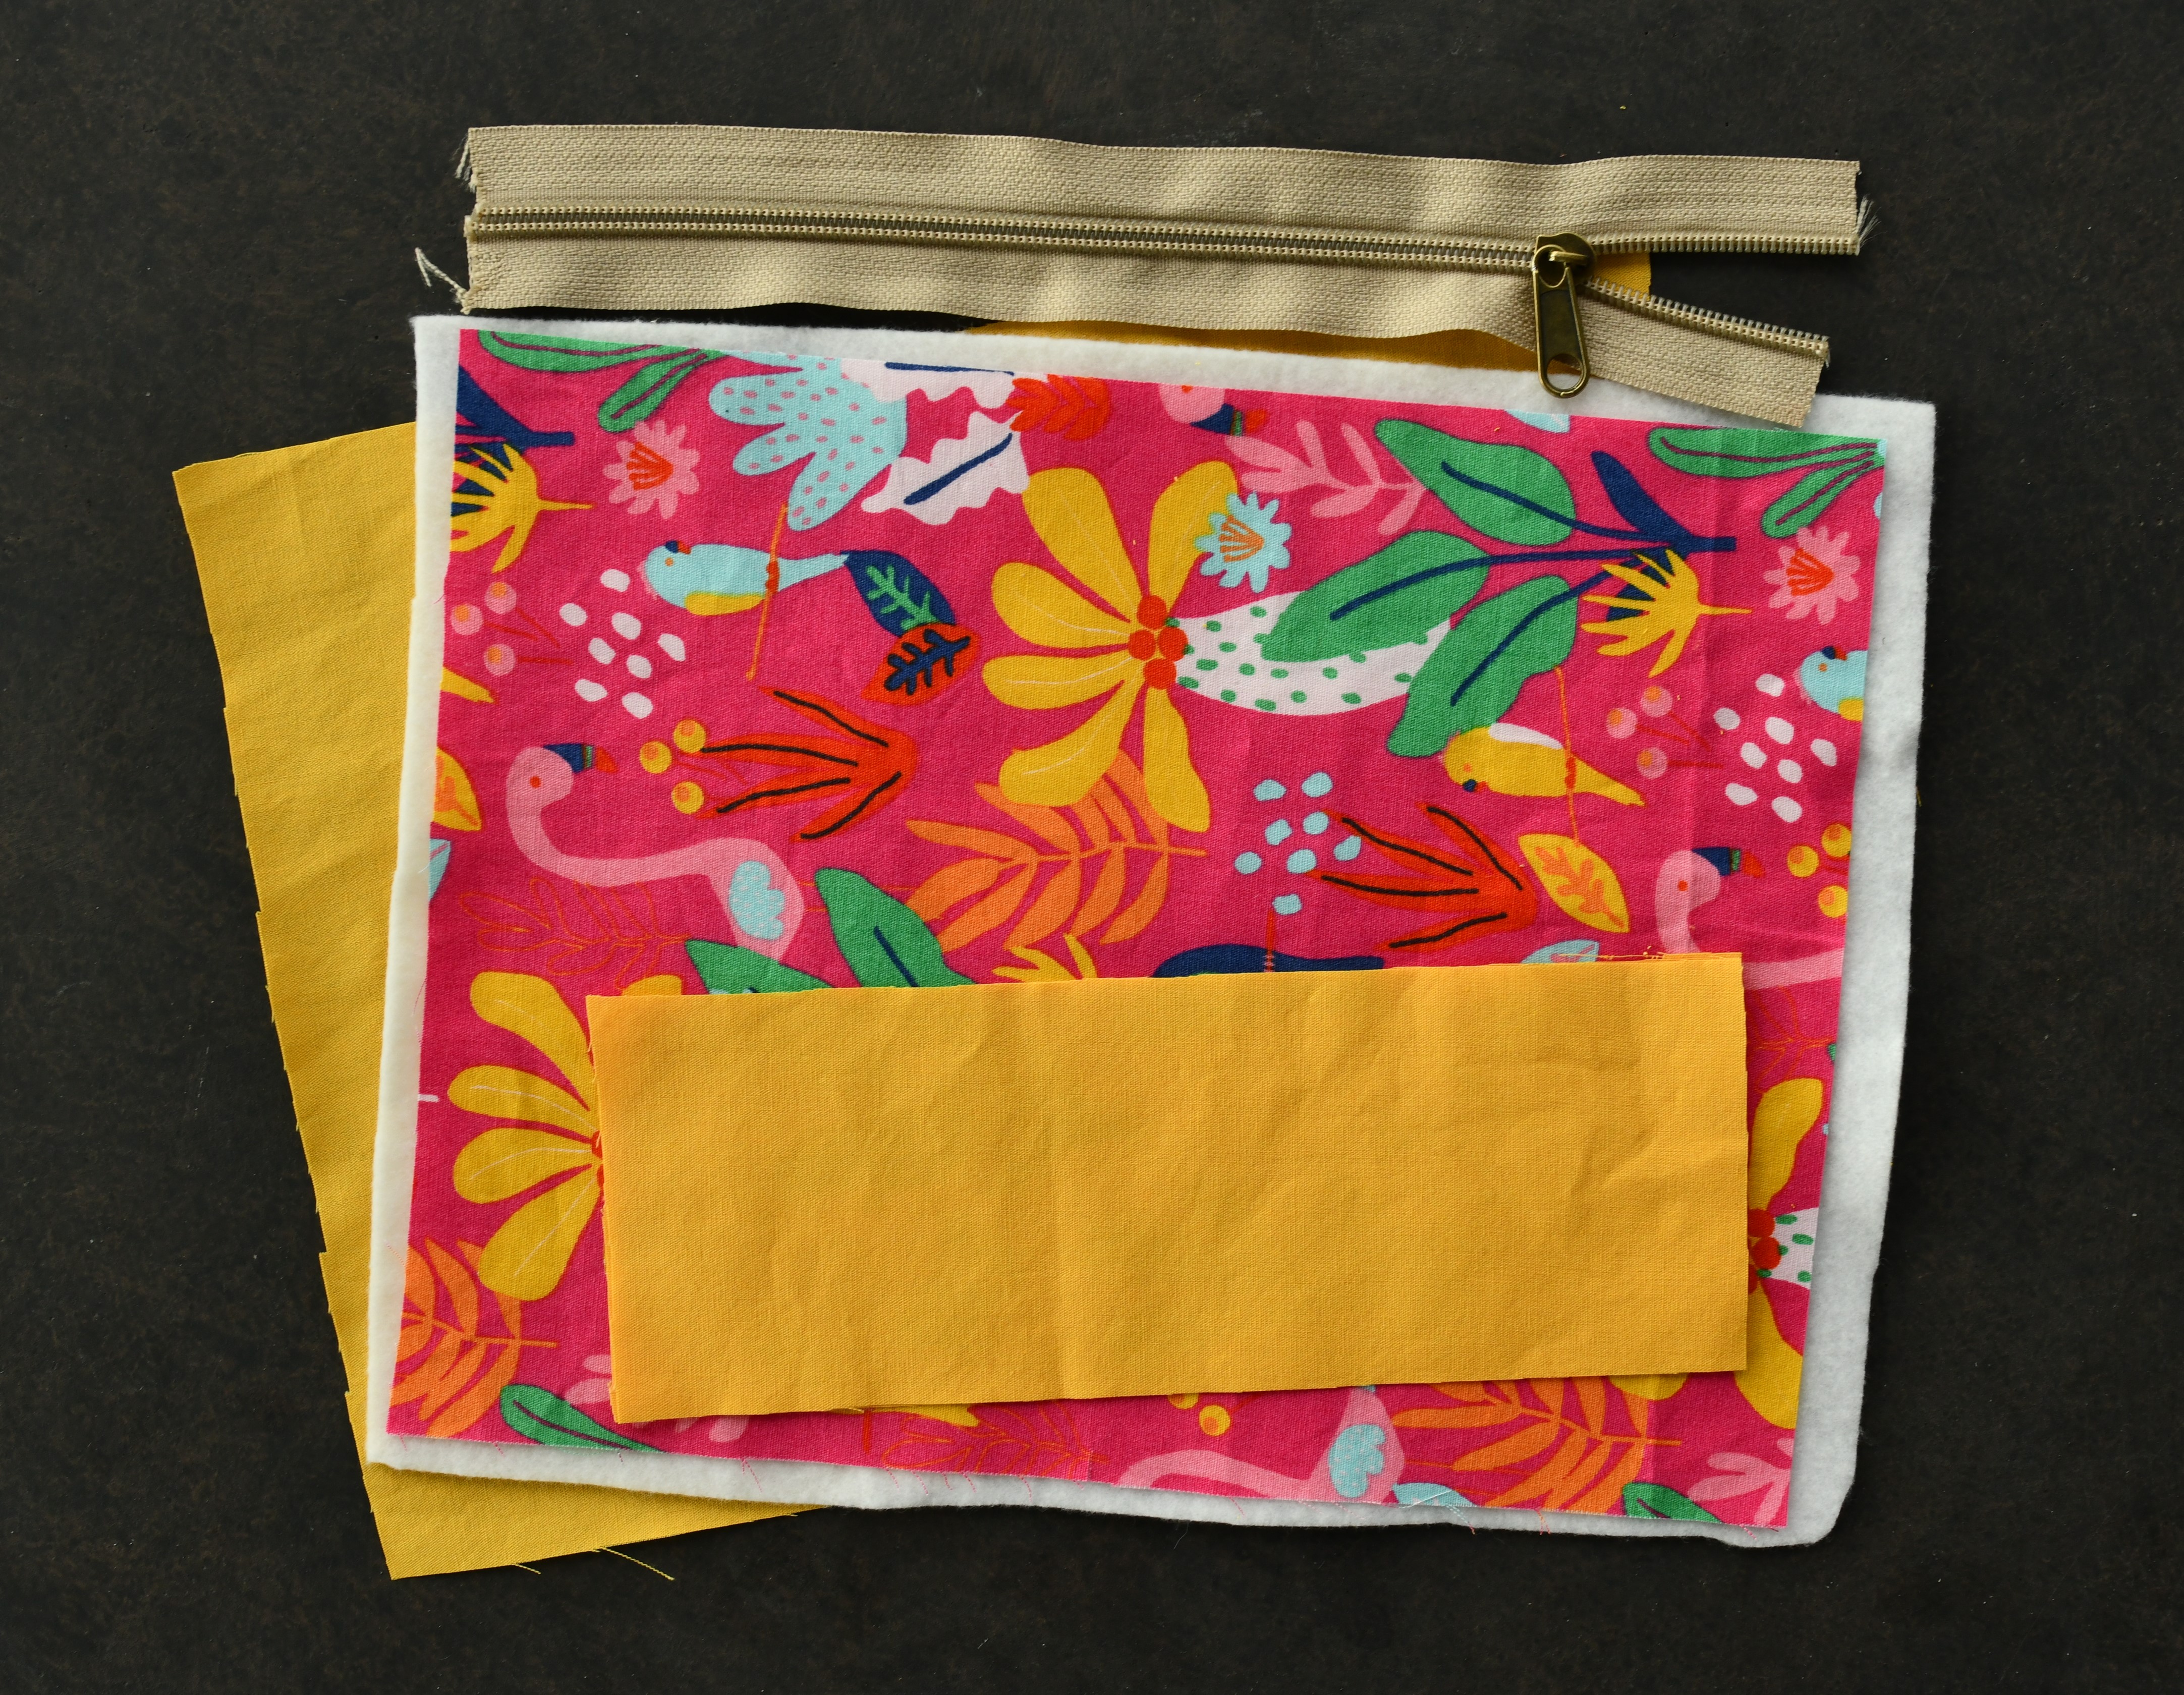
Easy quilted zipper pouch free pattern – sewing supplies
- Main fabric, batting, and lining fabric – all measuring 10 x 8 inches
- 2 strips of accent fabric, each measuring 7” x 3”
- A 9 – 9.5” long zipper – zippers by the yard are so convenient!
- Fabric strips measuring 5.5” x 2.5” for covering the raw edges inside the pouch
- A larger needle – size 100/16 is the best for this project
- Sewing machine
- Quilting ruler
- Fabric marking pencil
- Cutting mat and rotary cutter
- Sewing pins
- Seam gauge
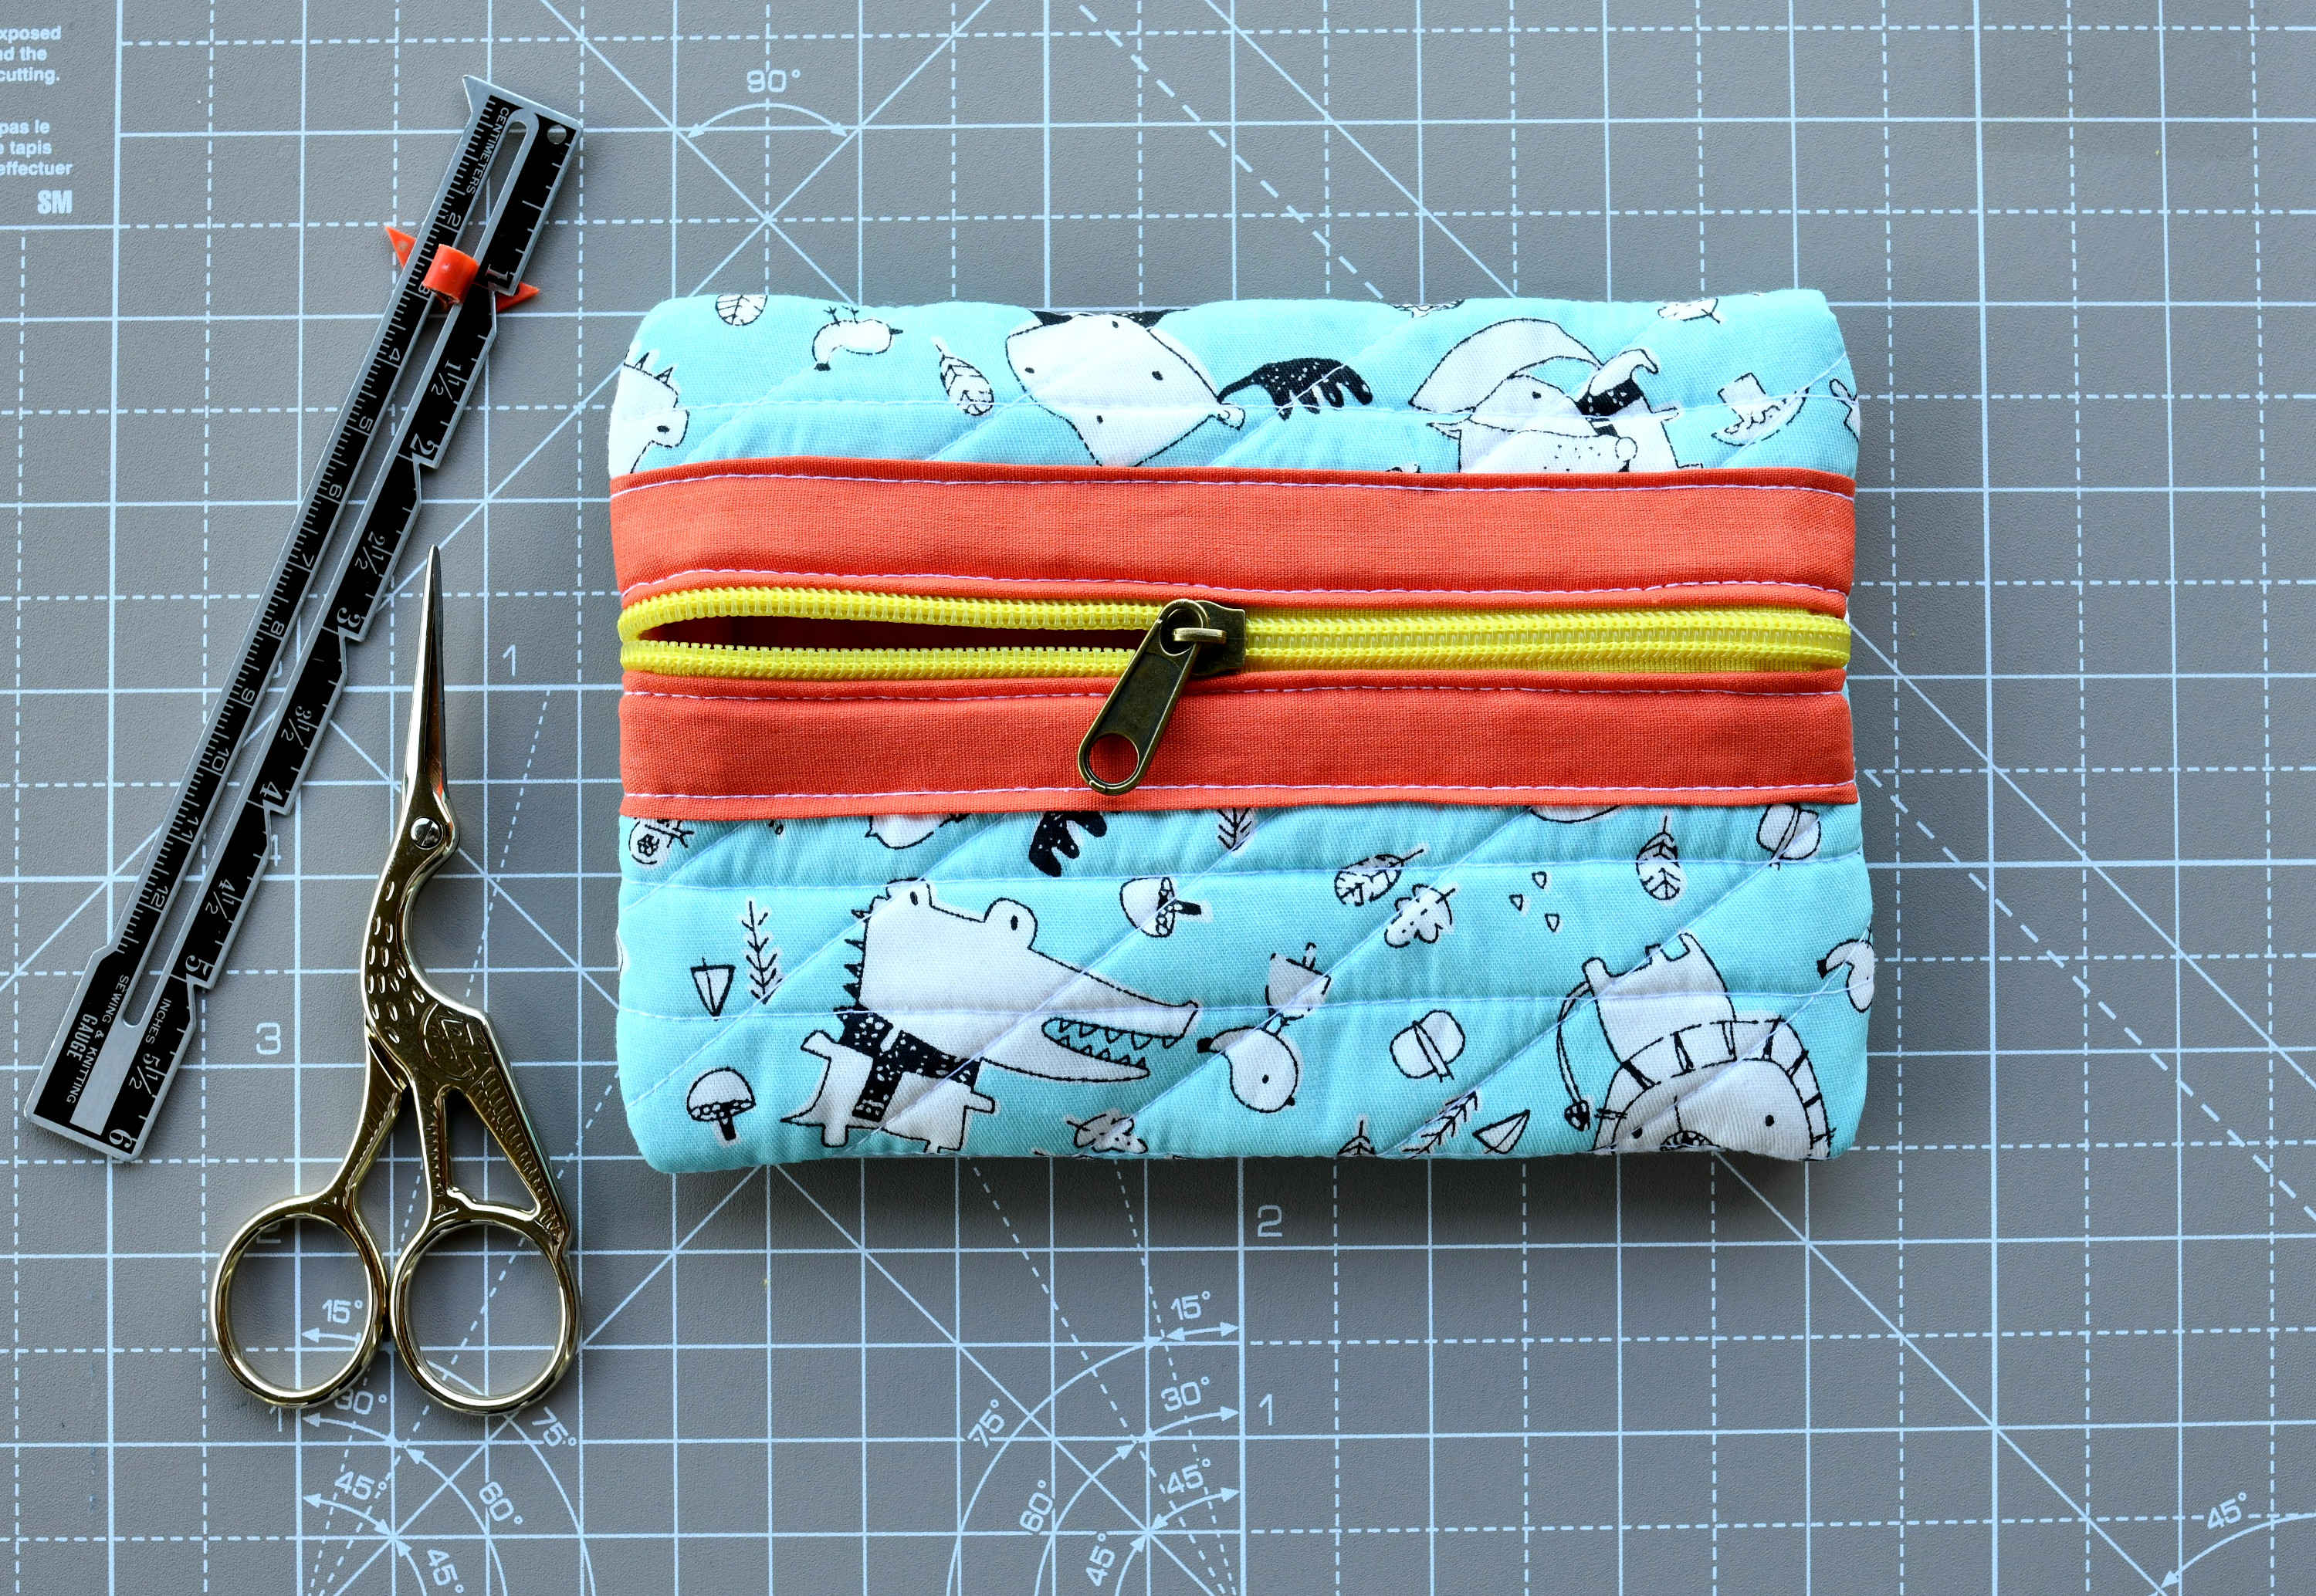
Finished size: Your final pouch will measure approximately 6.5 by 4.5 inches, the perfect size for stashing your essentials!
Step 1: prepare your fabric pieces
First off, you need to create a fabric sandwich that will form the basis of your quilted pouch. Begin by cutting your main fabric, batting, and lining fabric pieces slightly larger at 10 by 8 inches. This extra room allows for any shifting that may occur during the quilting process – better safe than sorry, right?
Tip: You can also cut your zipper a bit longer for easier sewing without fumbling with the zipper pull. You actually need a 7″ long zipper, but I wanted to make things easier for myself.
Step 2: layer and quilt
Now, it’s time to layer your fabric pieces. Start with the lining fabric, placing it right side down. Next, add the cotton batting, and finally, place the main fabric on top, right side up. Secure the layers with a few pins to prevent any shifting during quilting.
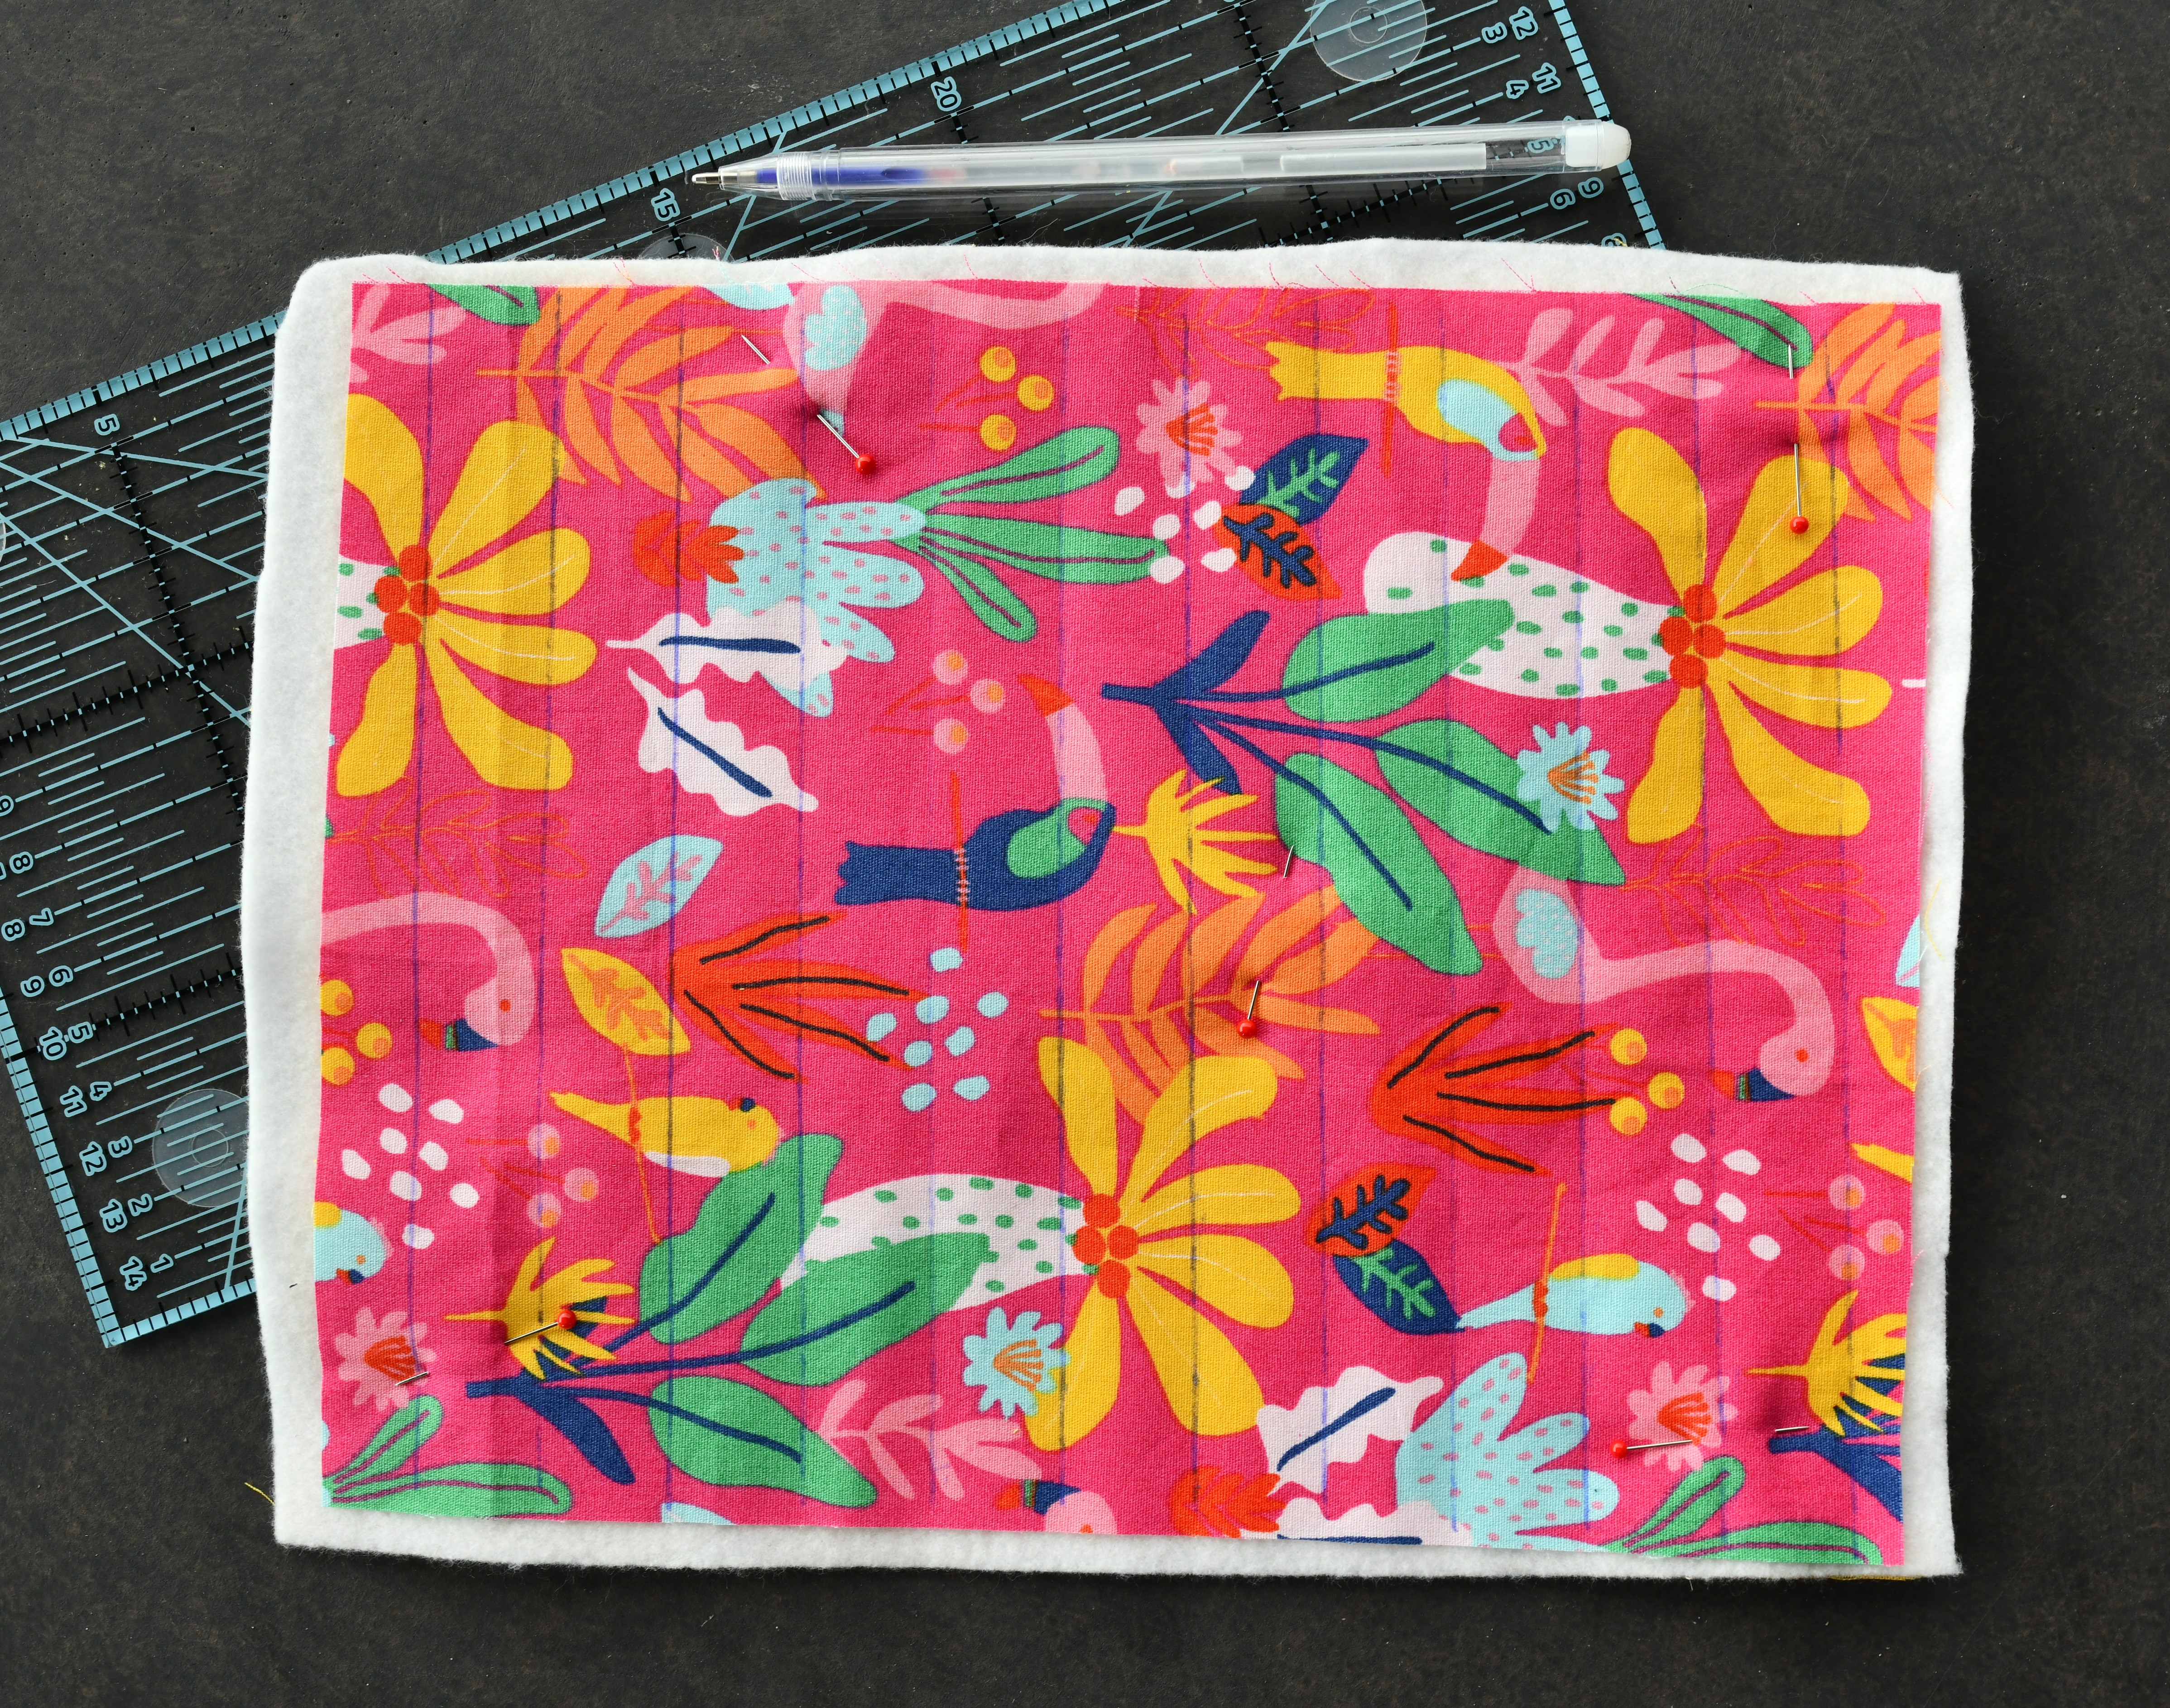
Using a quilting ruler and fabric marking pencil, draw parallel lines according to your preferred design. In my case, I’ve chosen lines spaced 5/8 inches apart.
Time to put your sewing machine to work! Set your stitch length to 3.0 mm and quilt along the marked lines.
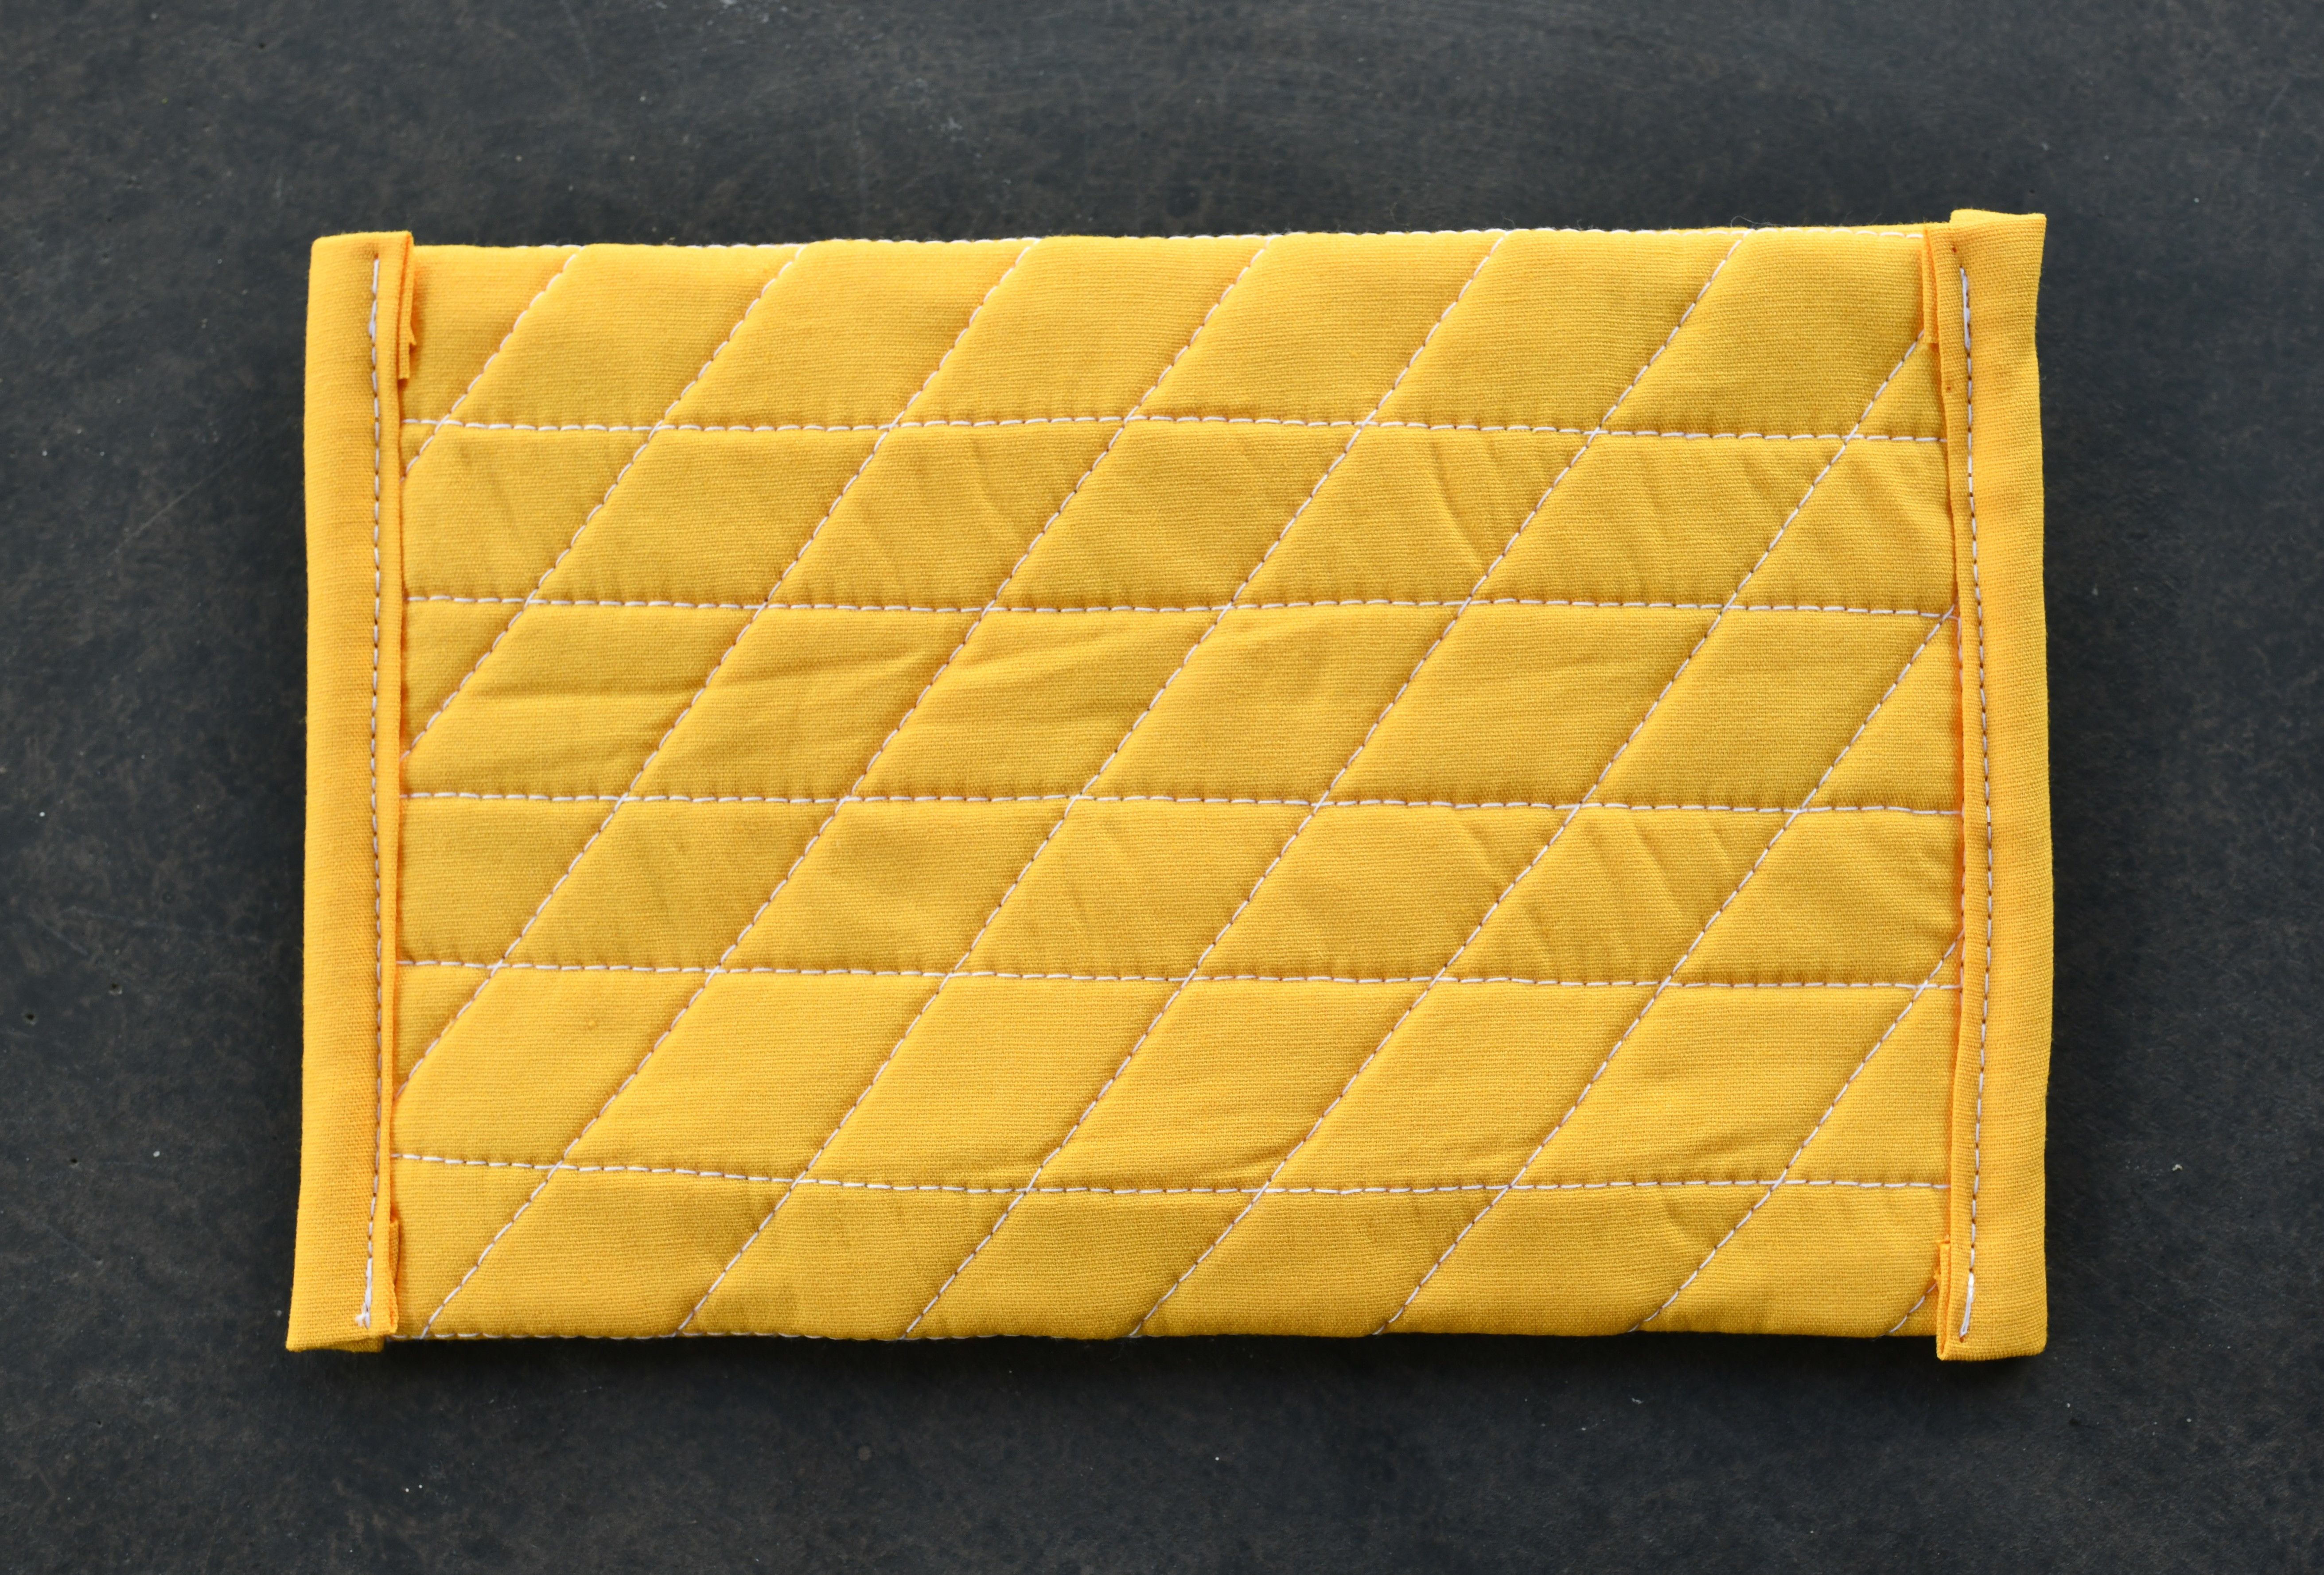
Step 3: add diagonal lines
Now, mark and stitch diagonal lines across your quilted fabric piece. I think this step really makes your pouch pop! Also, use the iron liberally!
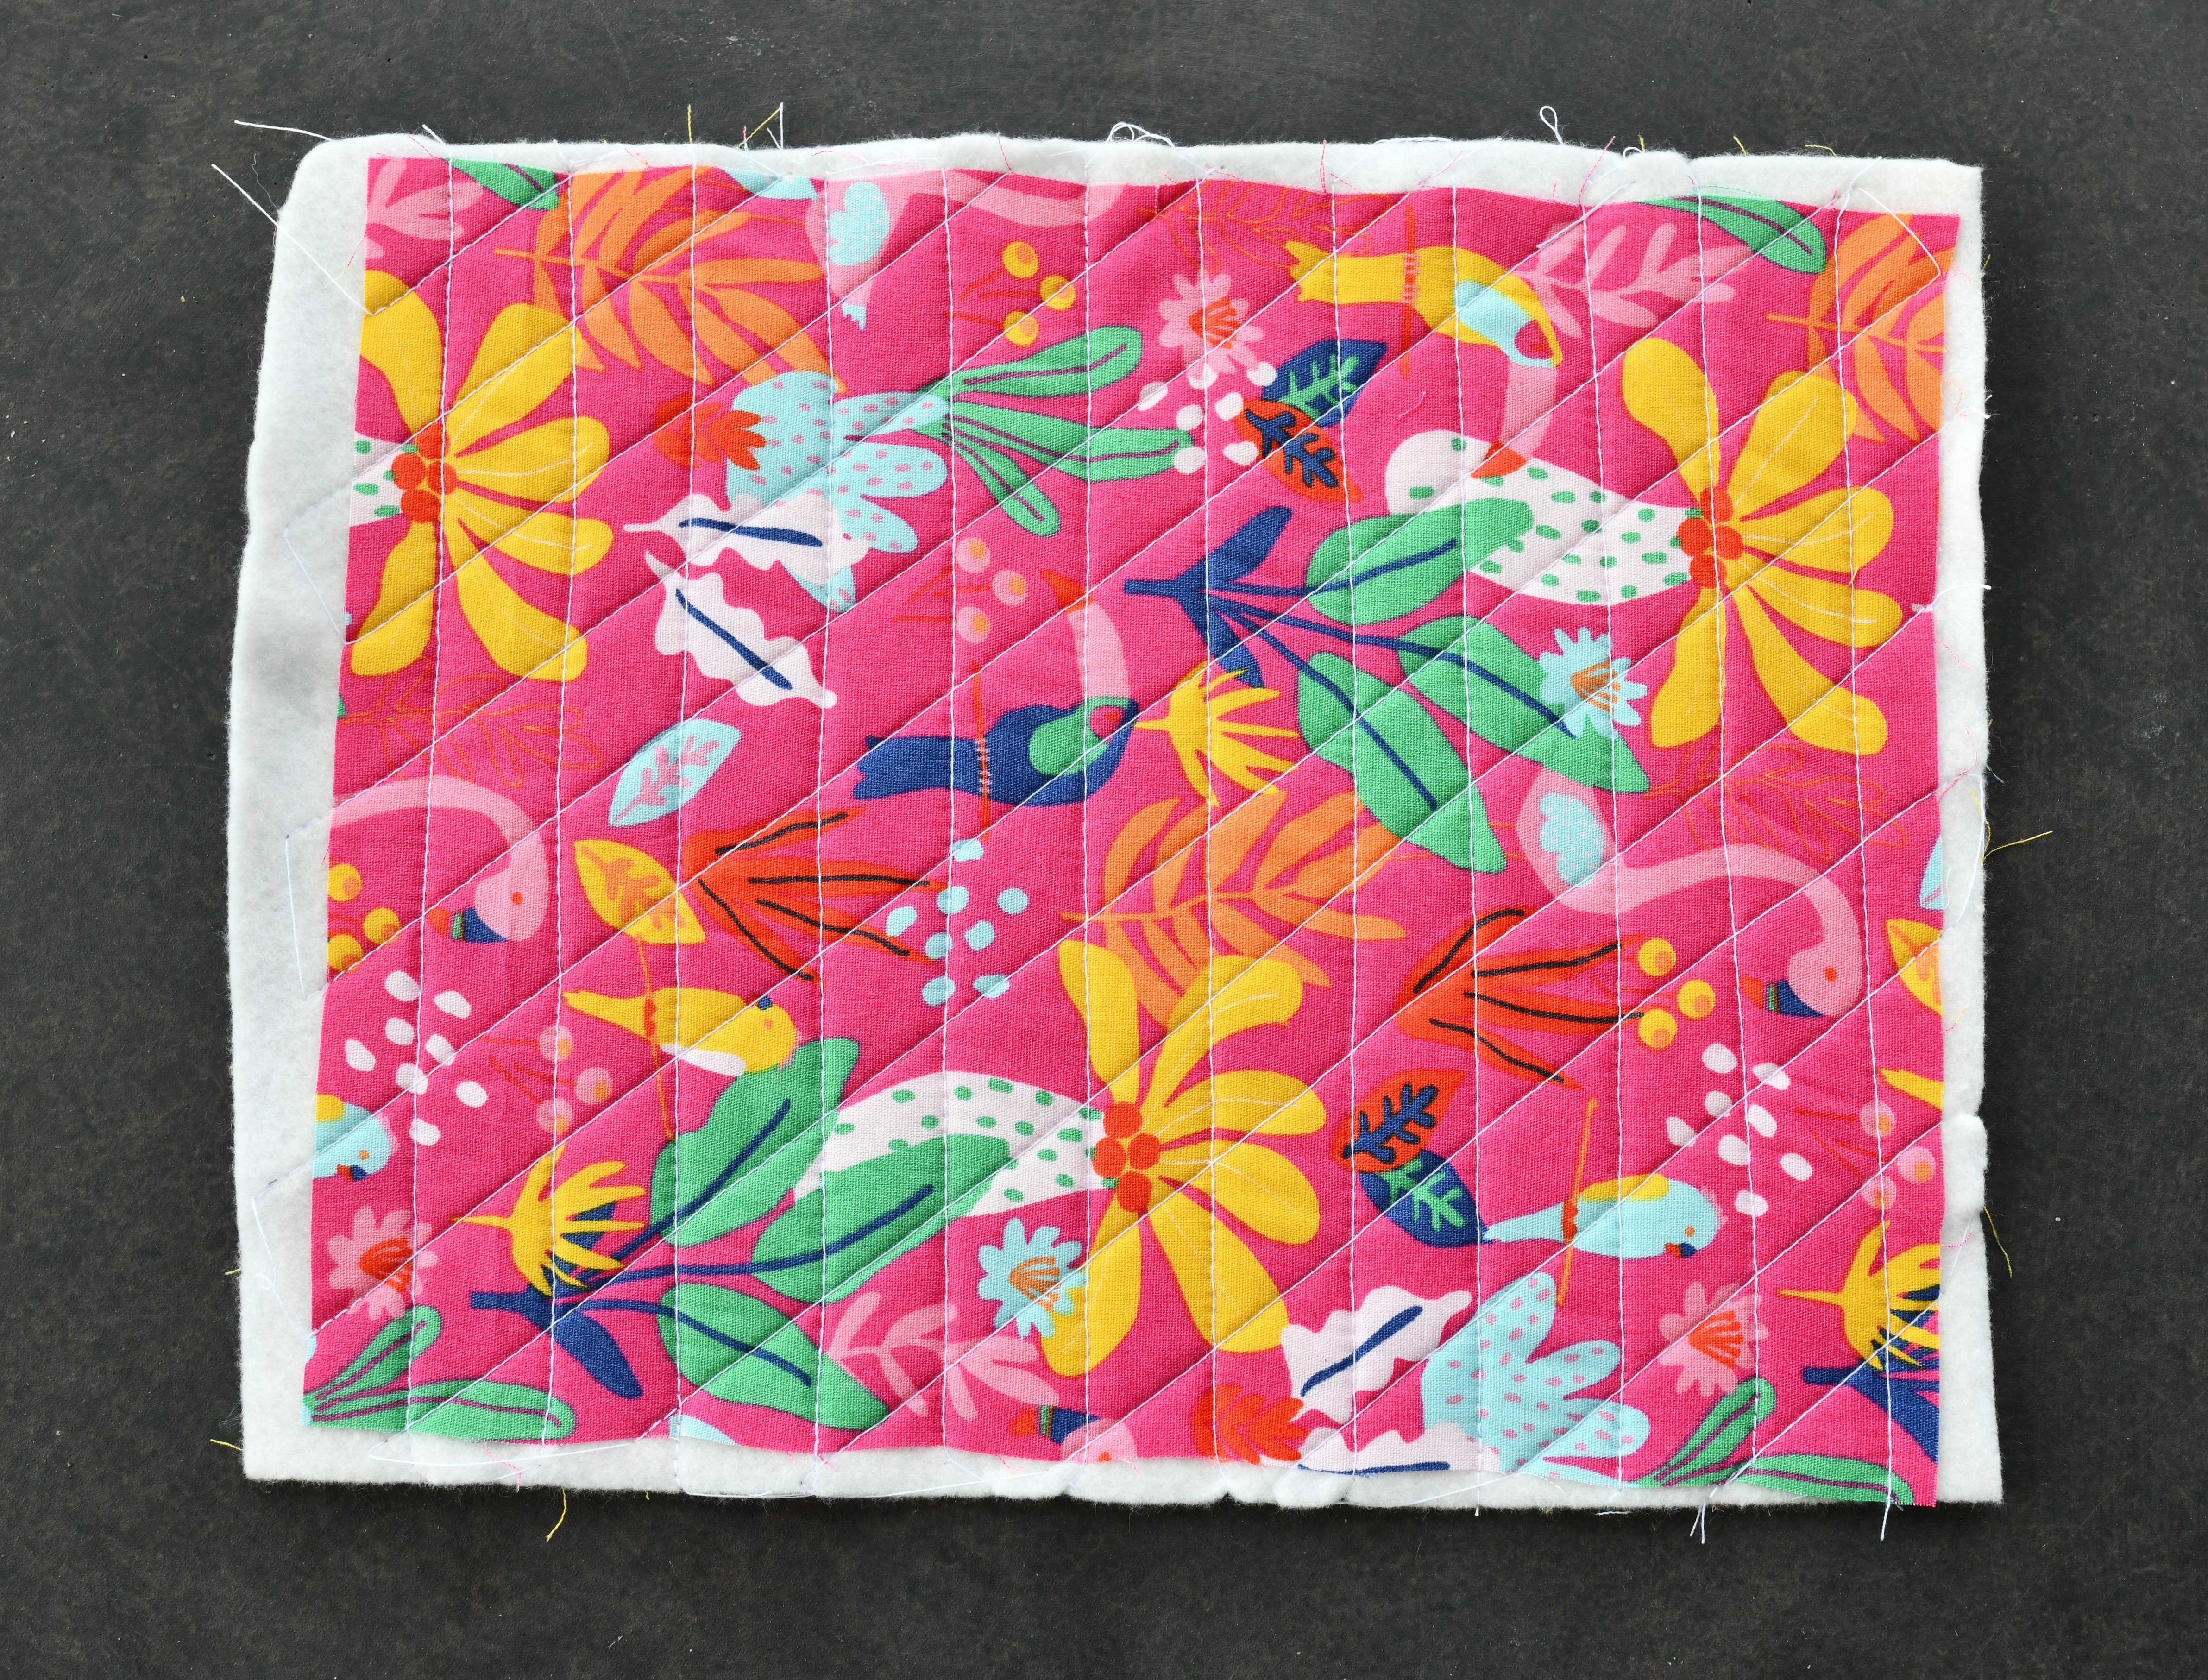
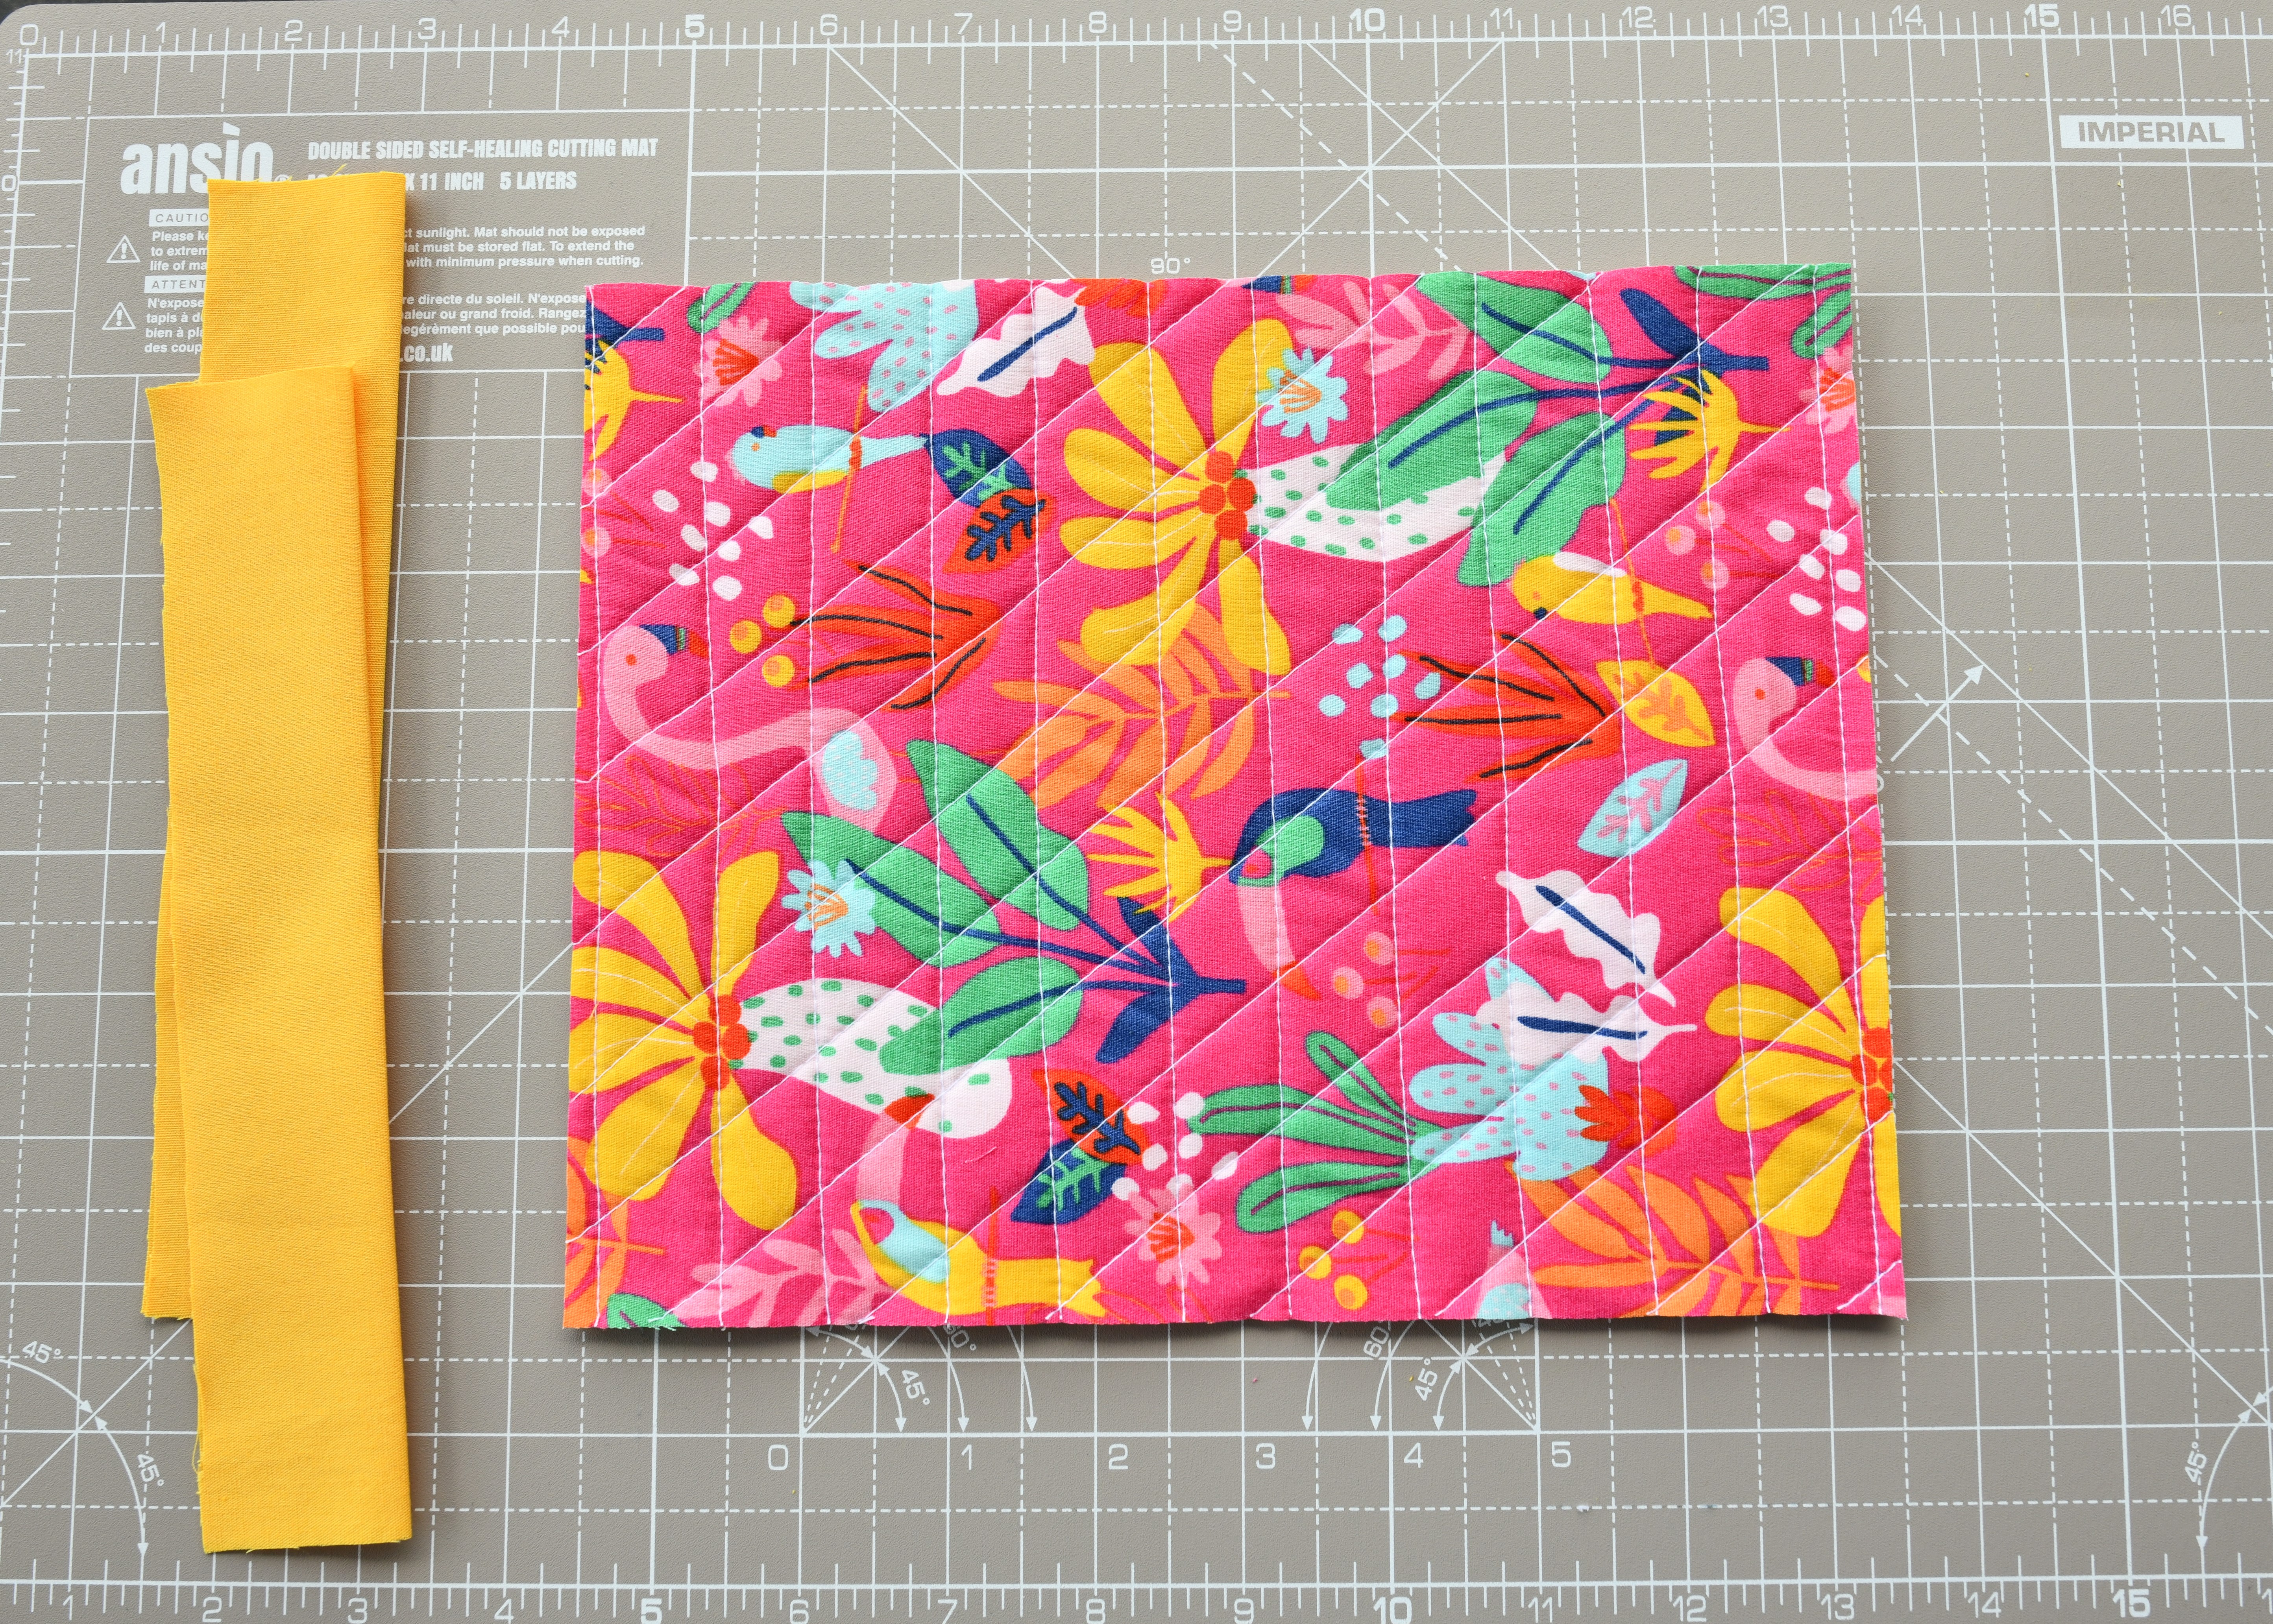
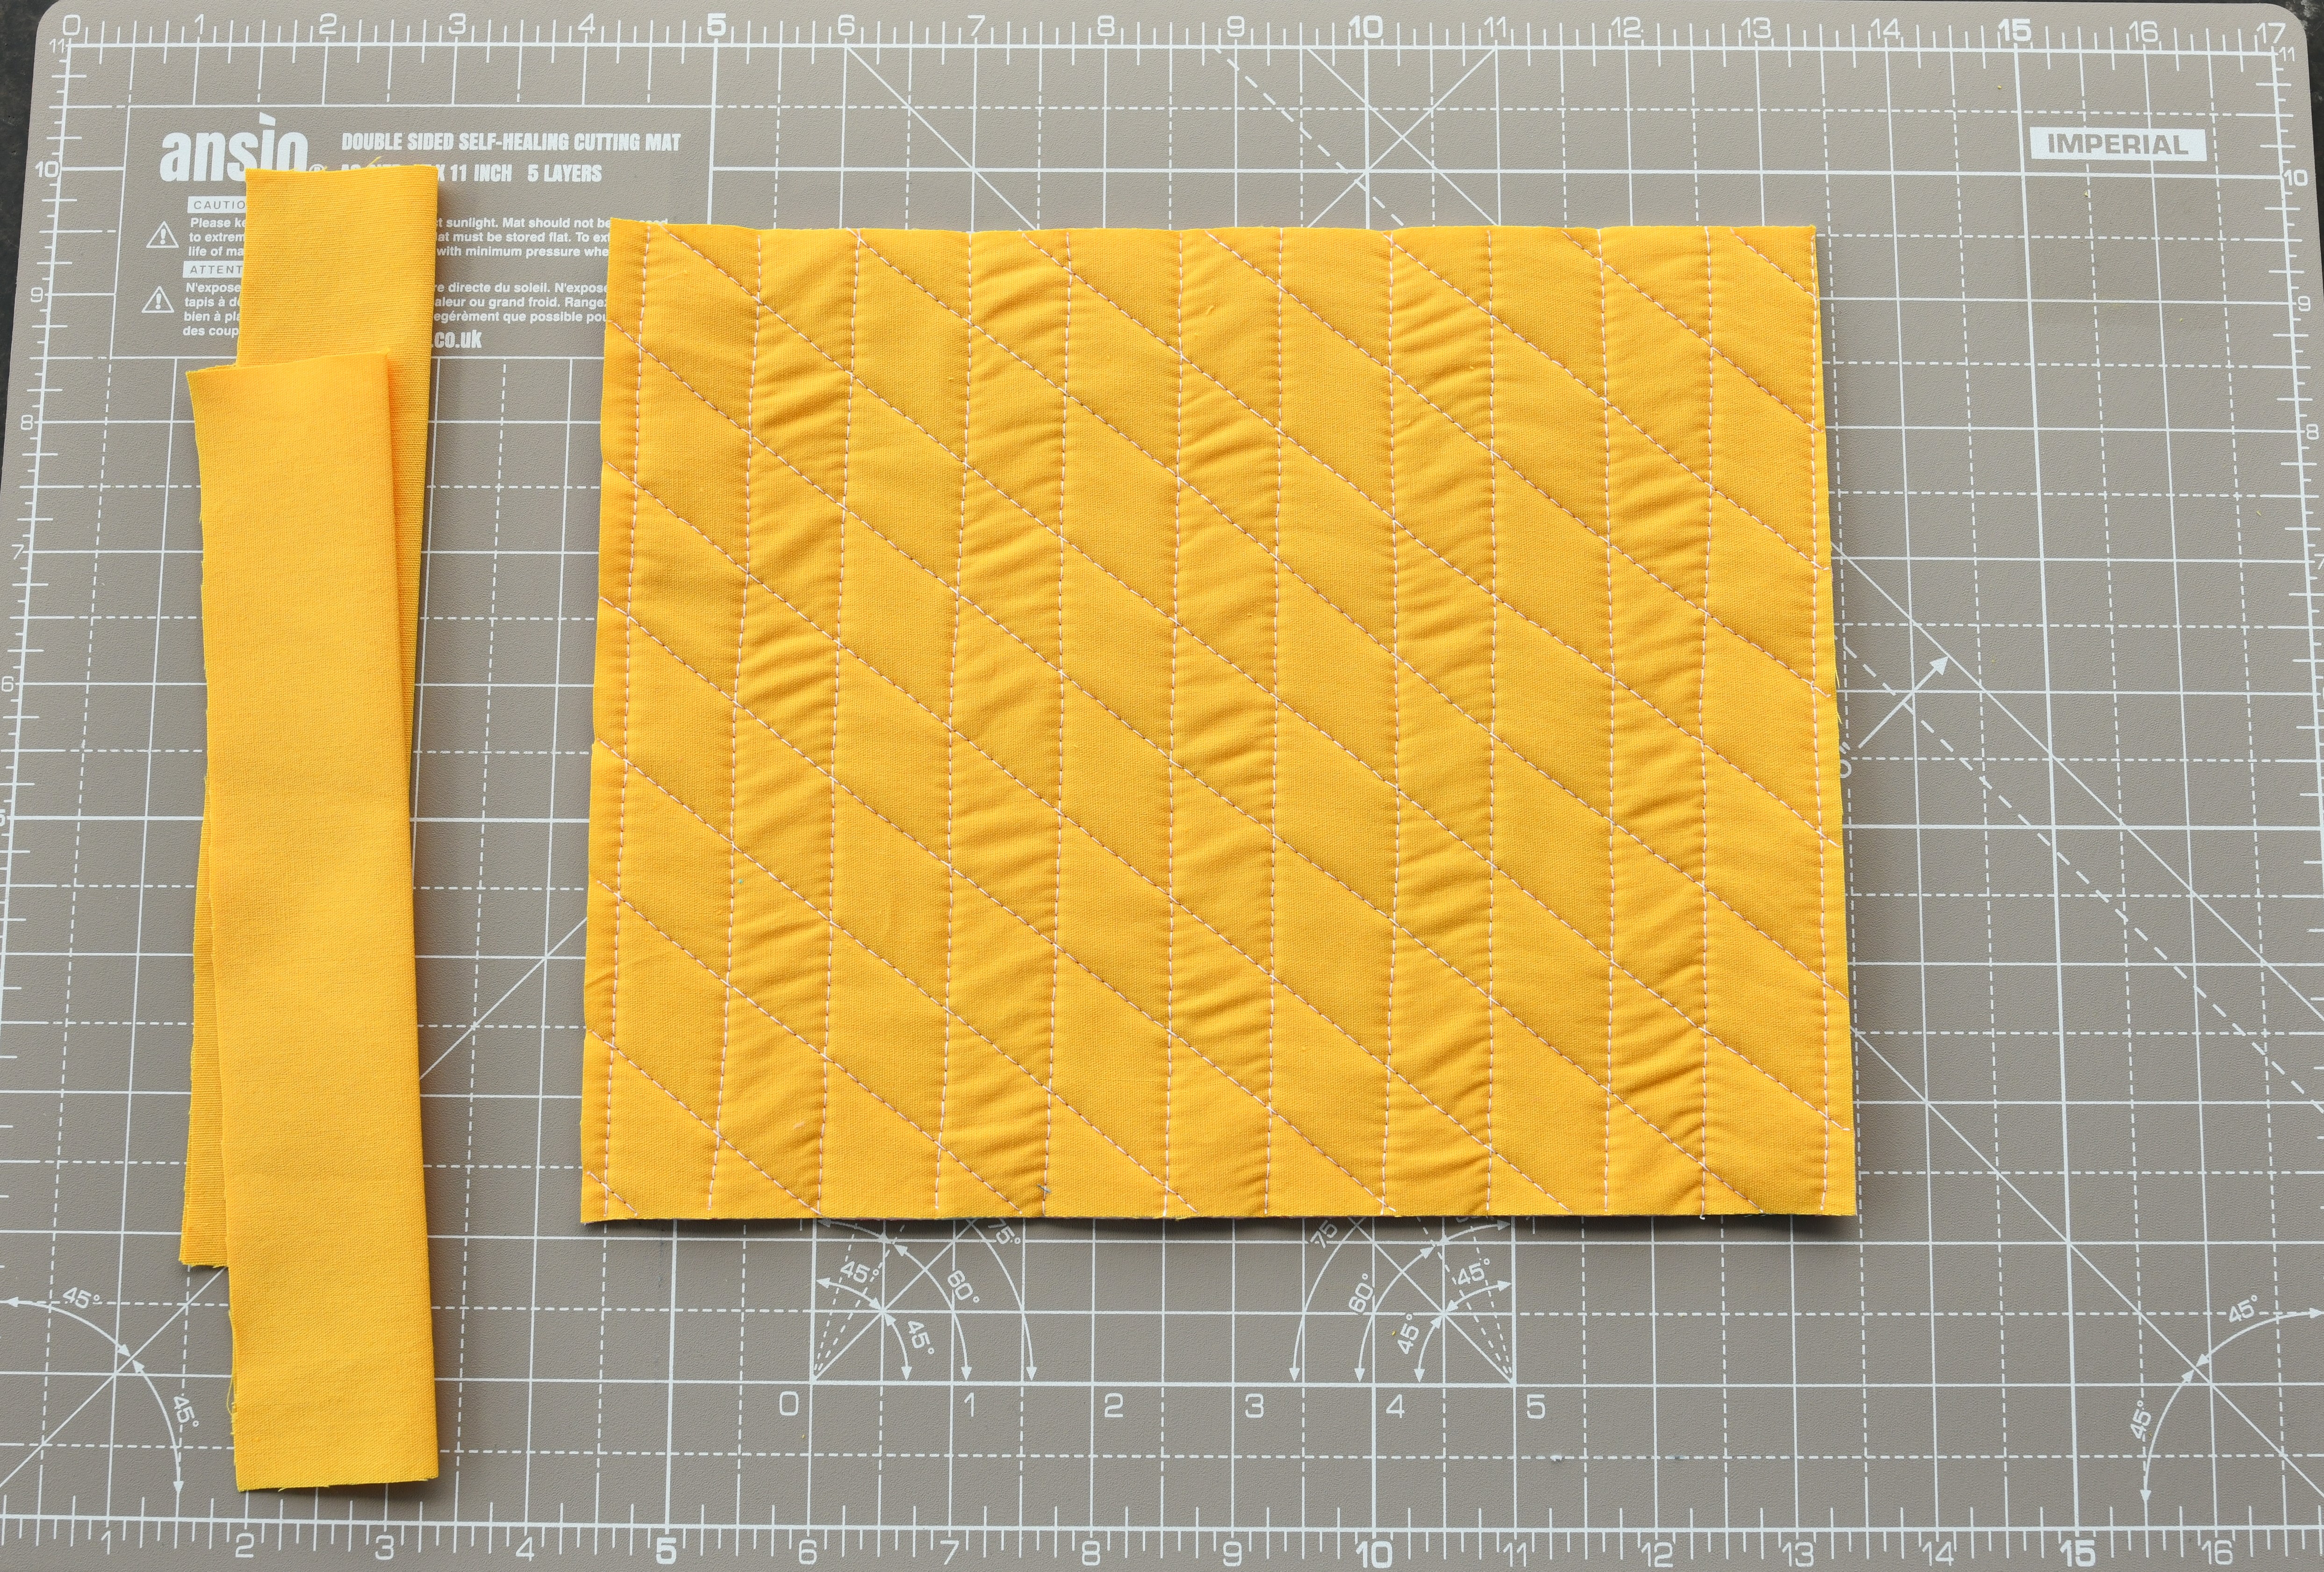
Step 4: trim the fabric piece
Trim any excess batting, and cut the quilted fabric piece to your desired dimensions. My final piece measures 7 by 9 inches.
Check out how pretty this project is shaping up! Even if your straight lines aren’t perfectly straight, remember that handmade is all about embracing imperfections. Your pouch will still look super cute!
Step 5: add the accent strips
Grab your two accent fabric strips and fold them lengthwise. Press them with an iron to keep them crisp and neat.
Now comes the fun part – giving your DIY quilted zipper pouch a touch of personality! Take those accent fabric pieces you prepared earlier and get ready to attach them to the short edges of your quilted fabric.
My accent fabric pieces were a bit longer than the length of that raw edge for no particular reason – sorry!
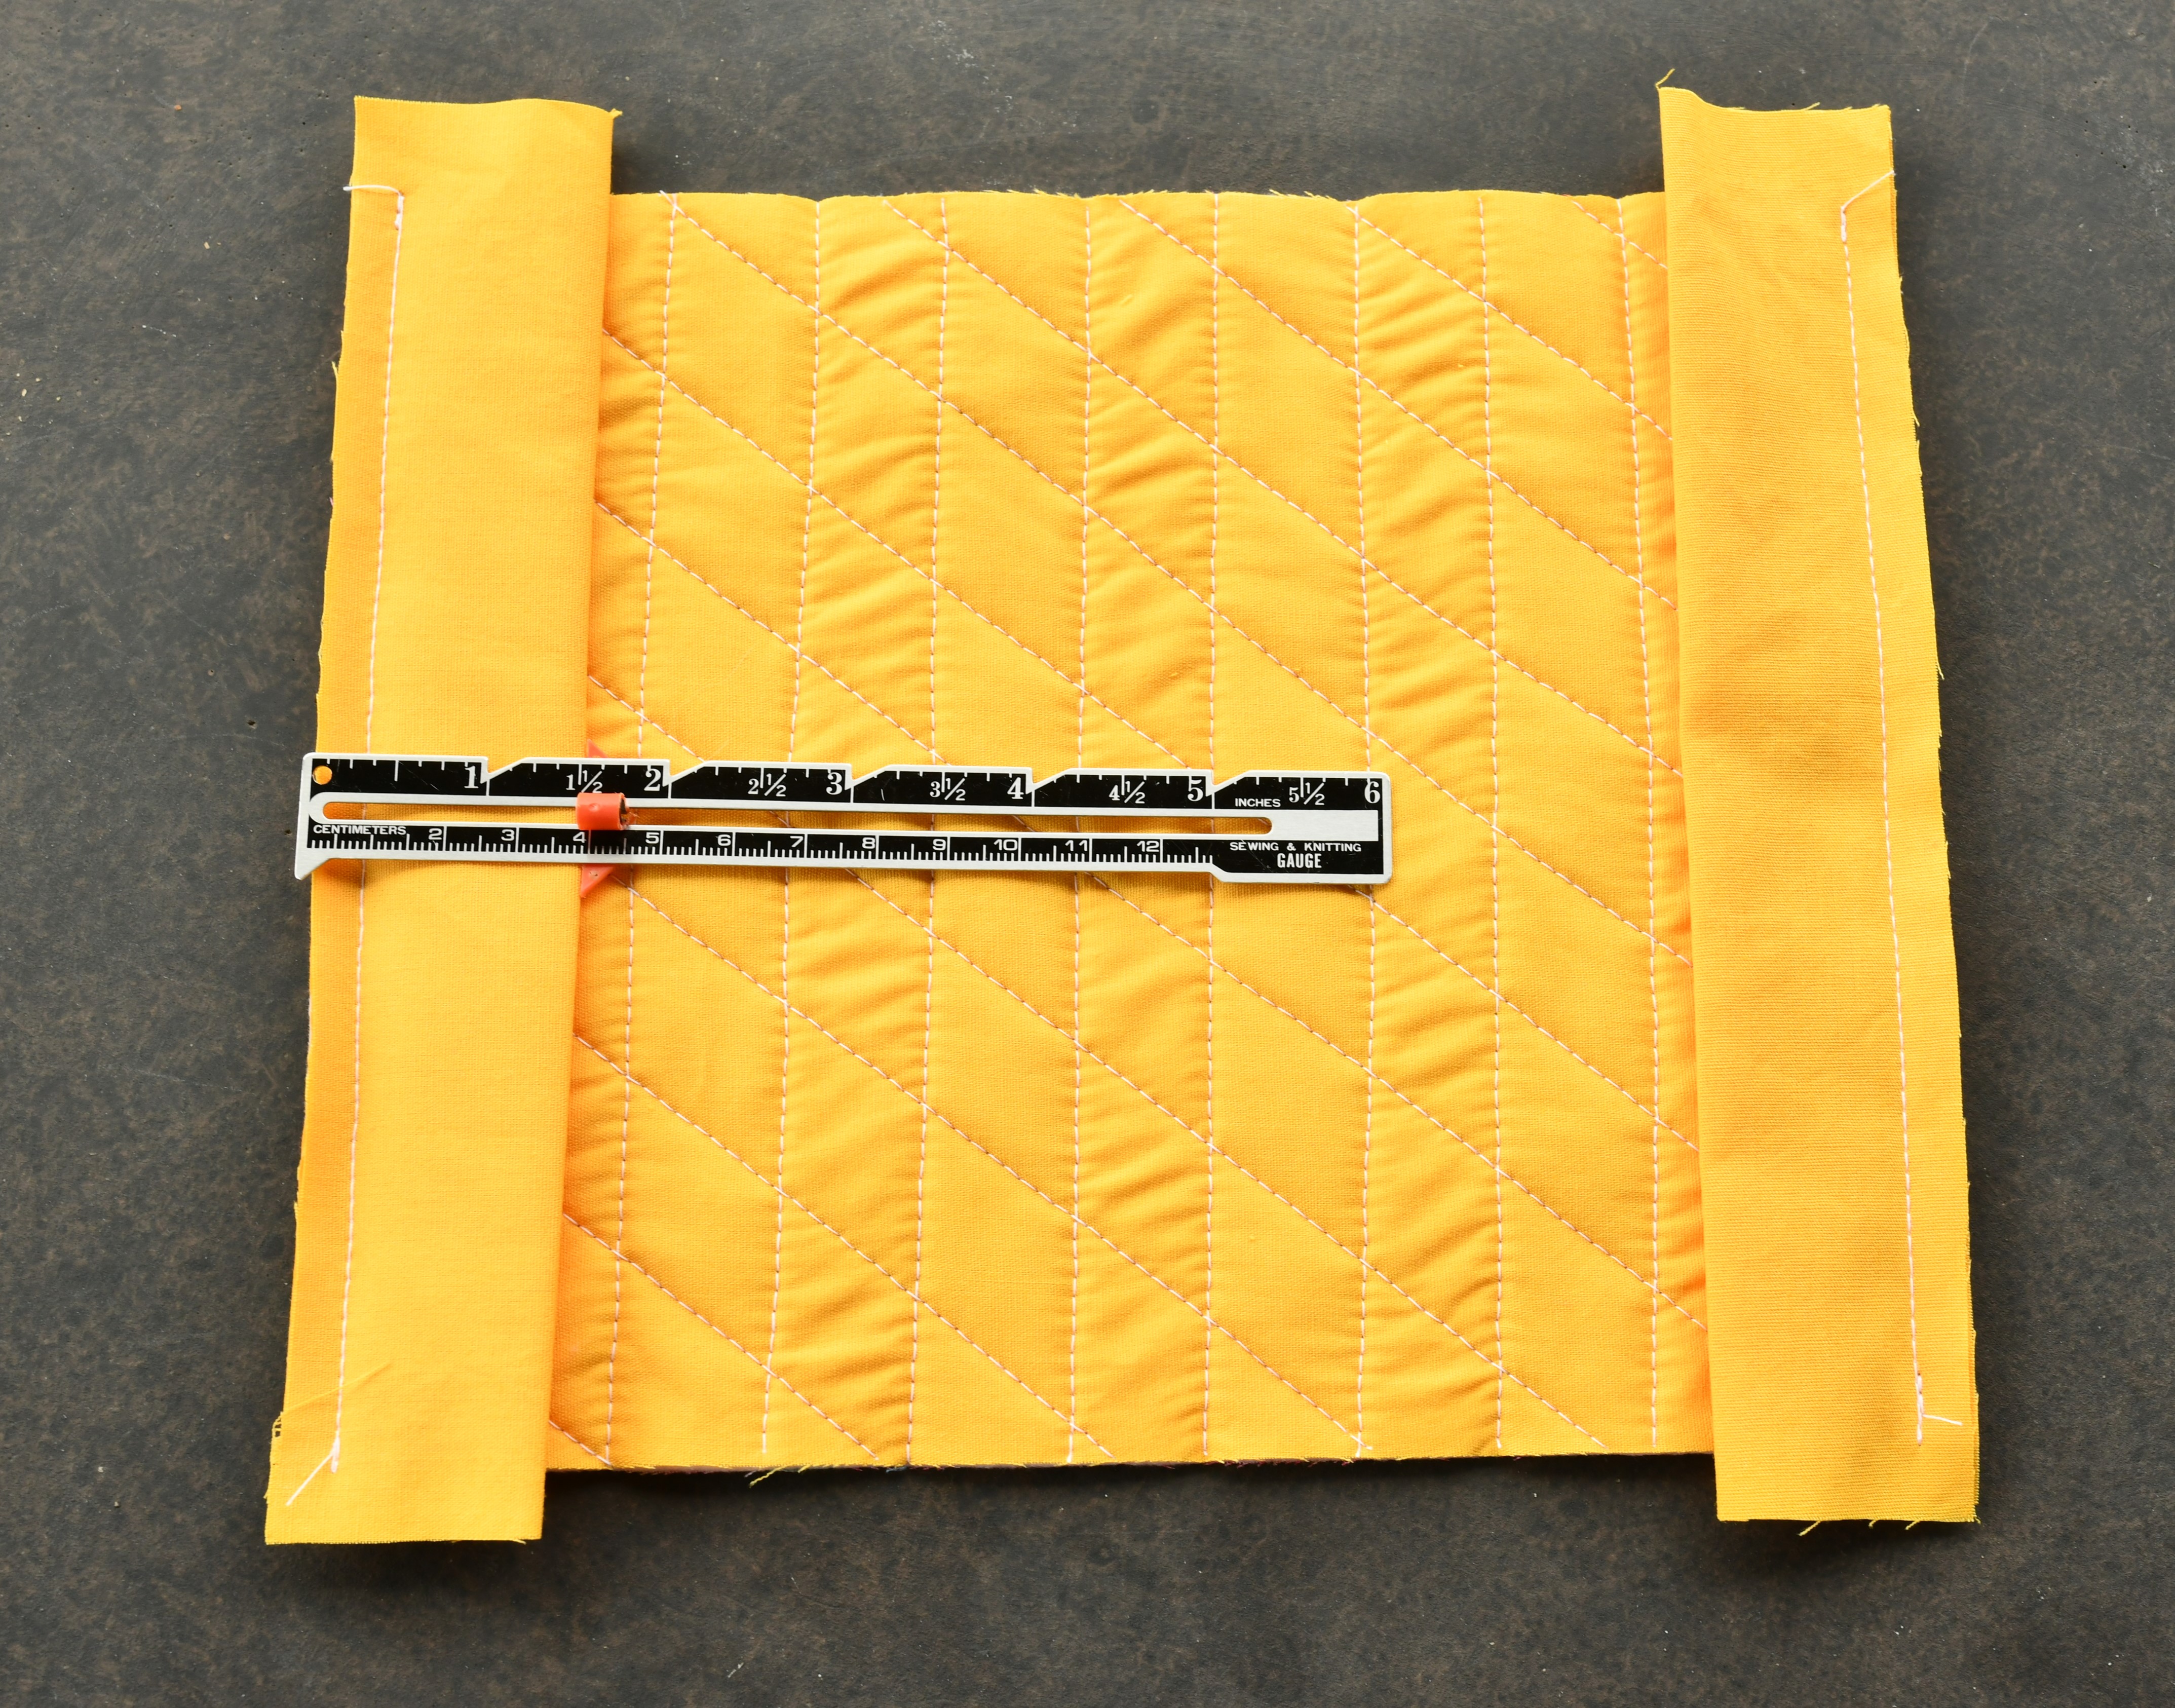
Align the raw edge of your folded accent fabric piece with the wrong side of the quilted sandwich. Stitch along the edge using a small 1/4″ seam allowance.
Then you’ll need to fold the strips over and completely encase the raw edge next. Pin them in place and sew a line close to the folded edge of the accent strips.
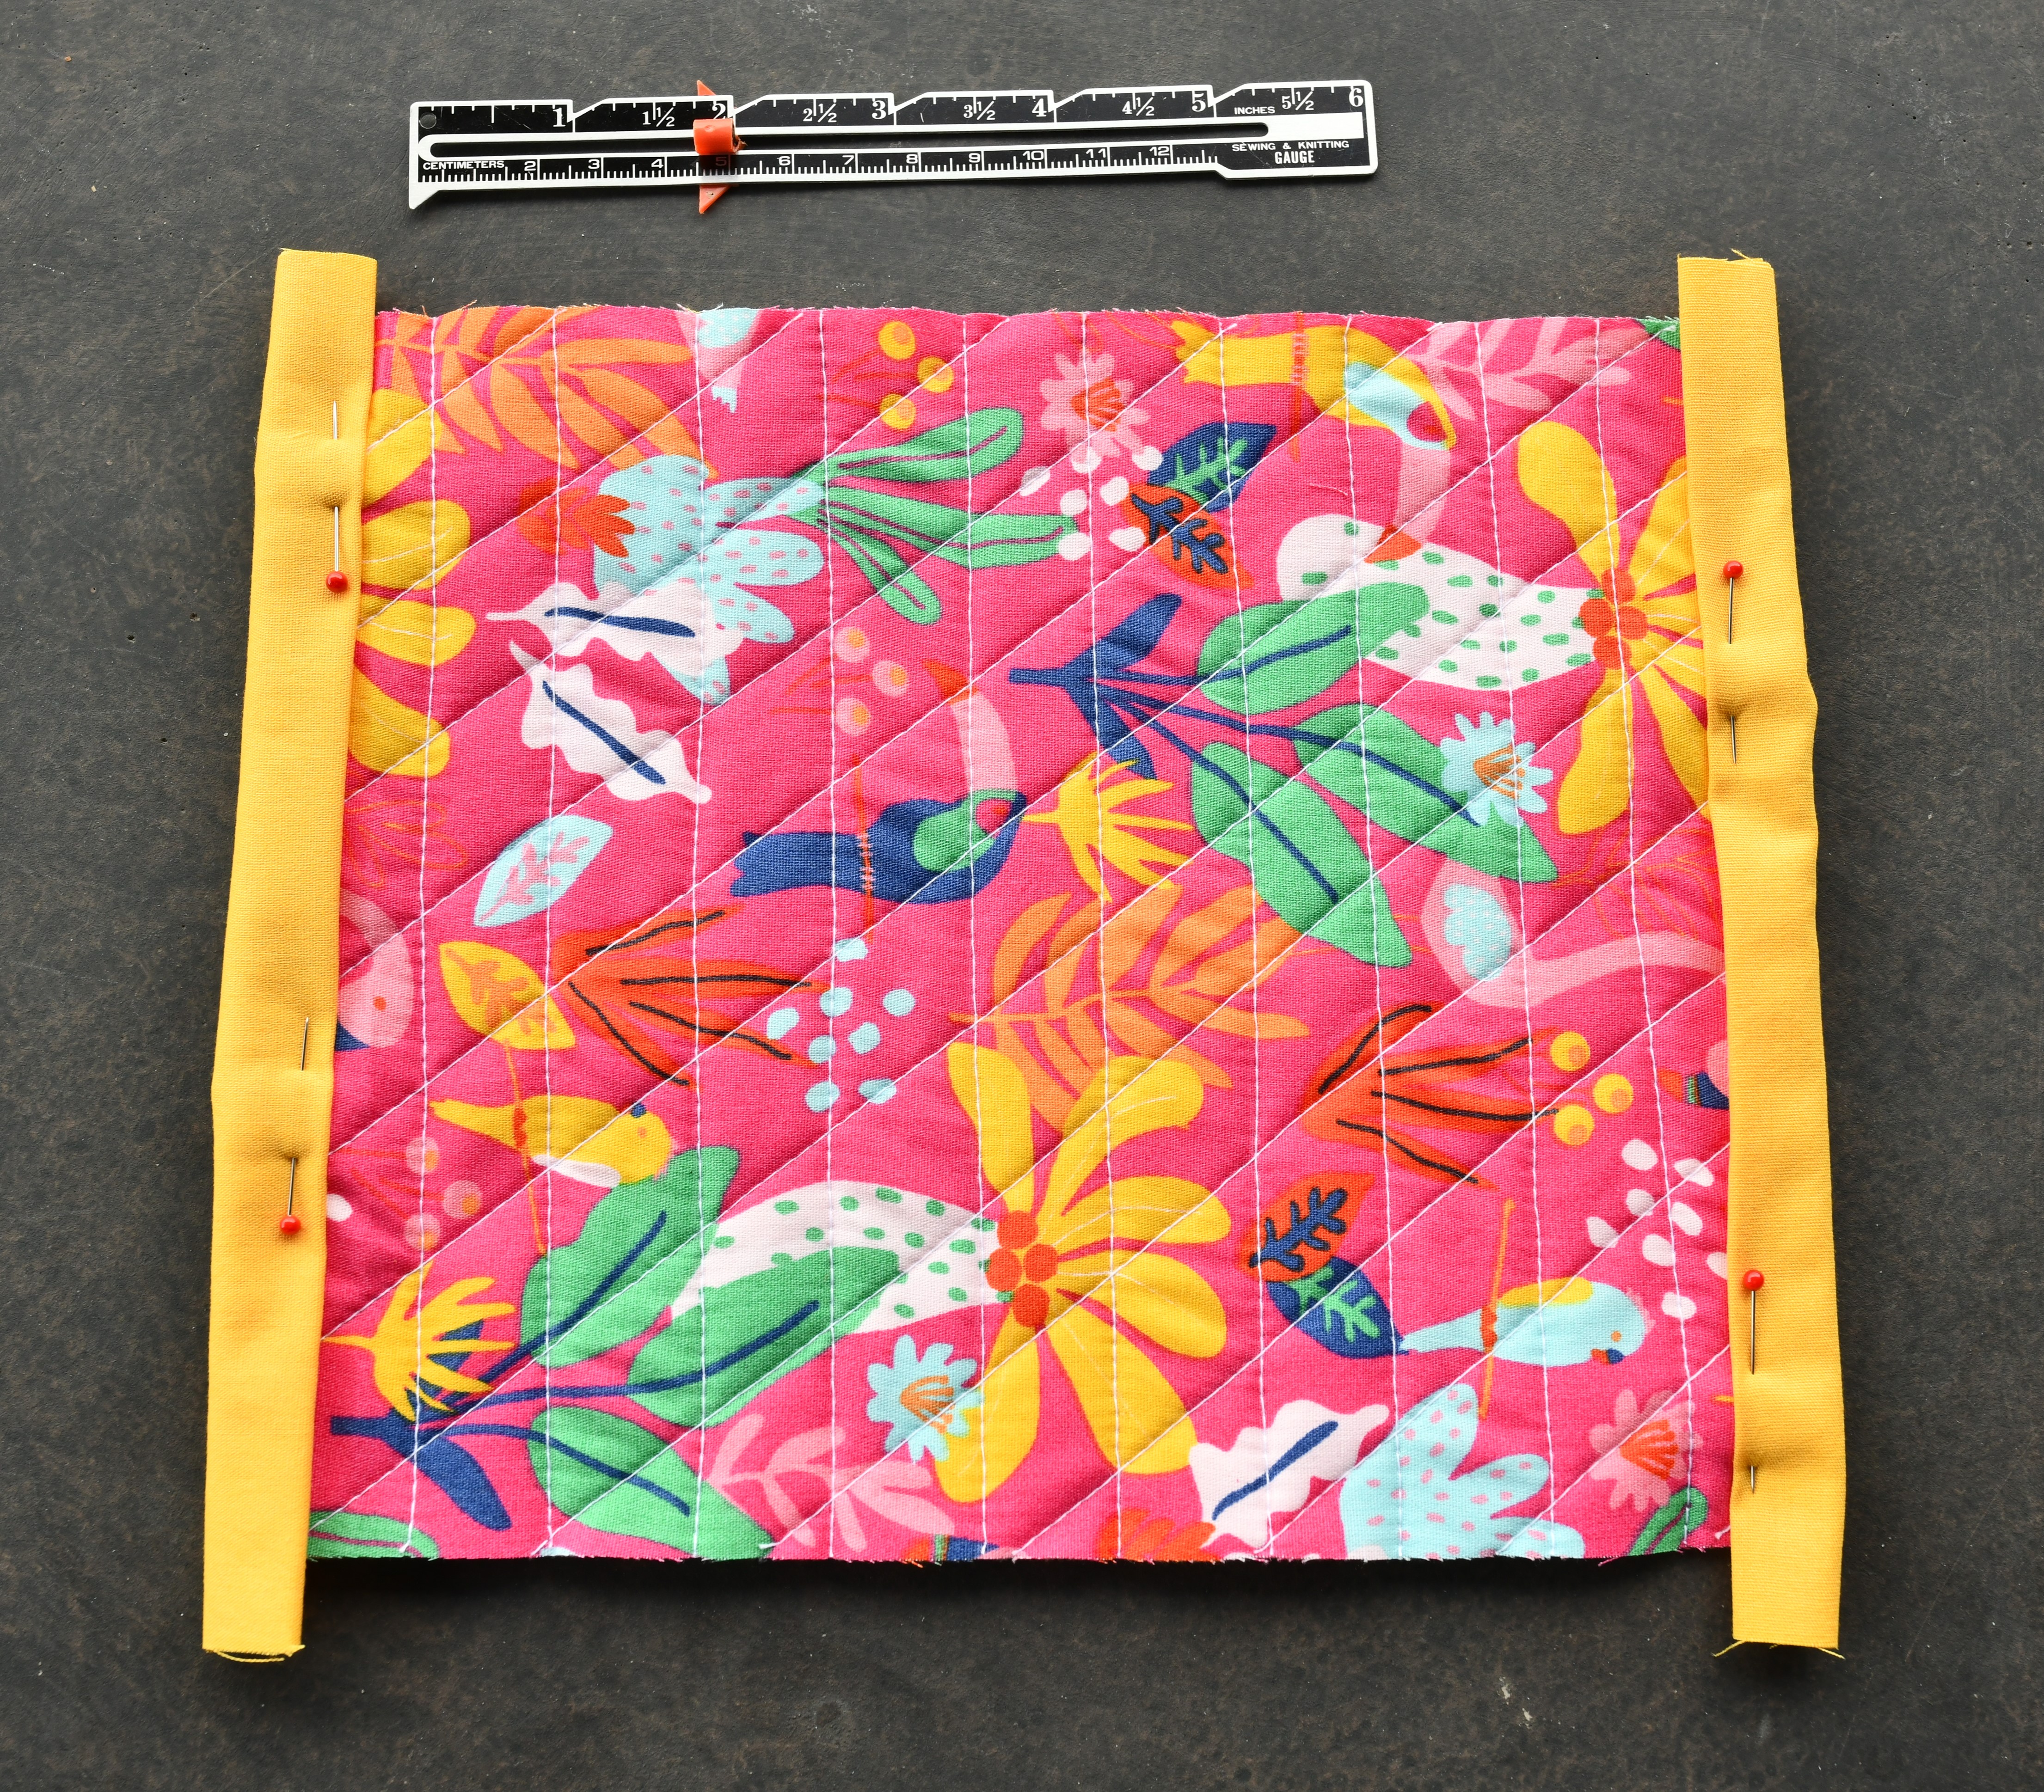
Pro Tip:
This is a crucial moment for your zipper pouch’s neatness! Grab your measuring tape, seam gauge, ruler, or any handy measuring tool and make sure your quilted fabric piece is a perfect rectangle.
At this point, no sides should be longer or wider than the others. Trust my, this attention to detail will make all the difference when your pouch is complete!
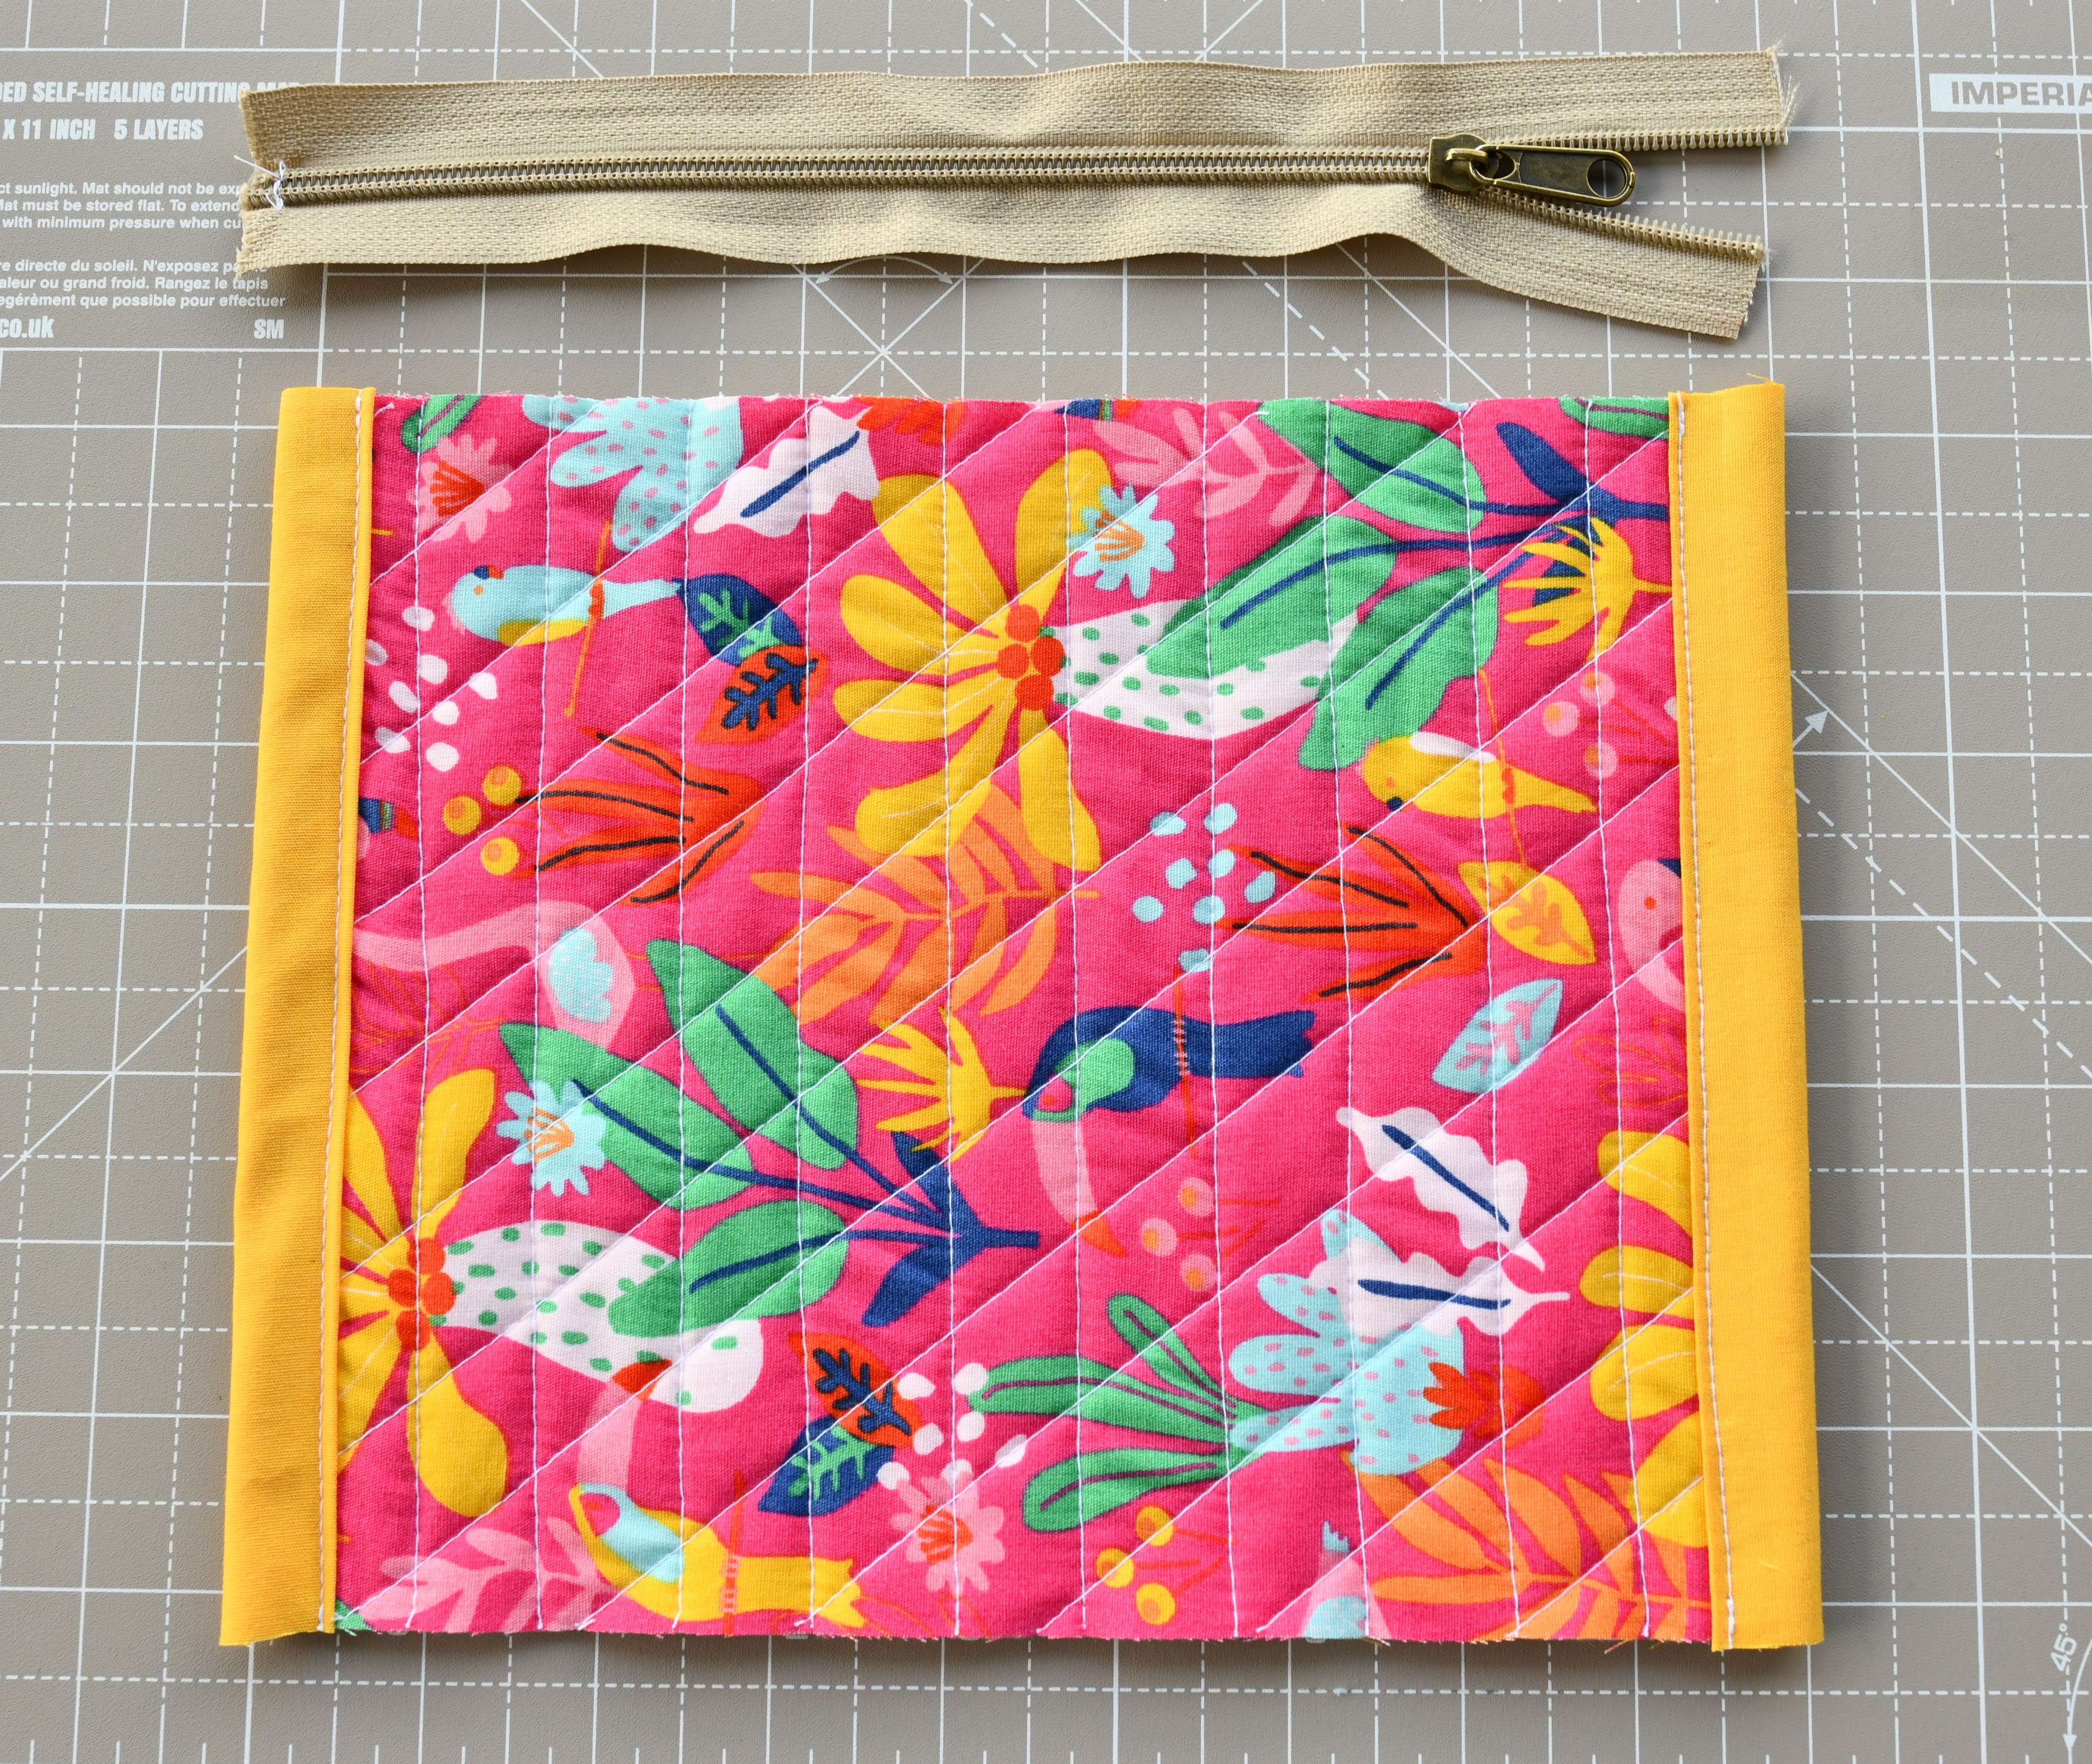
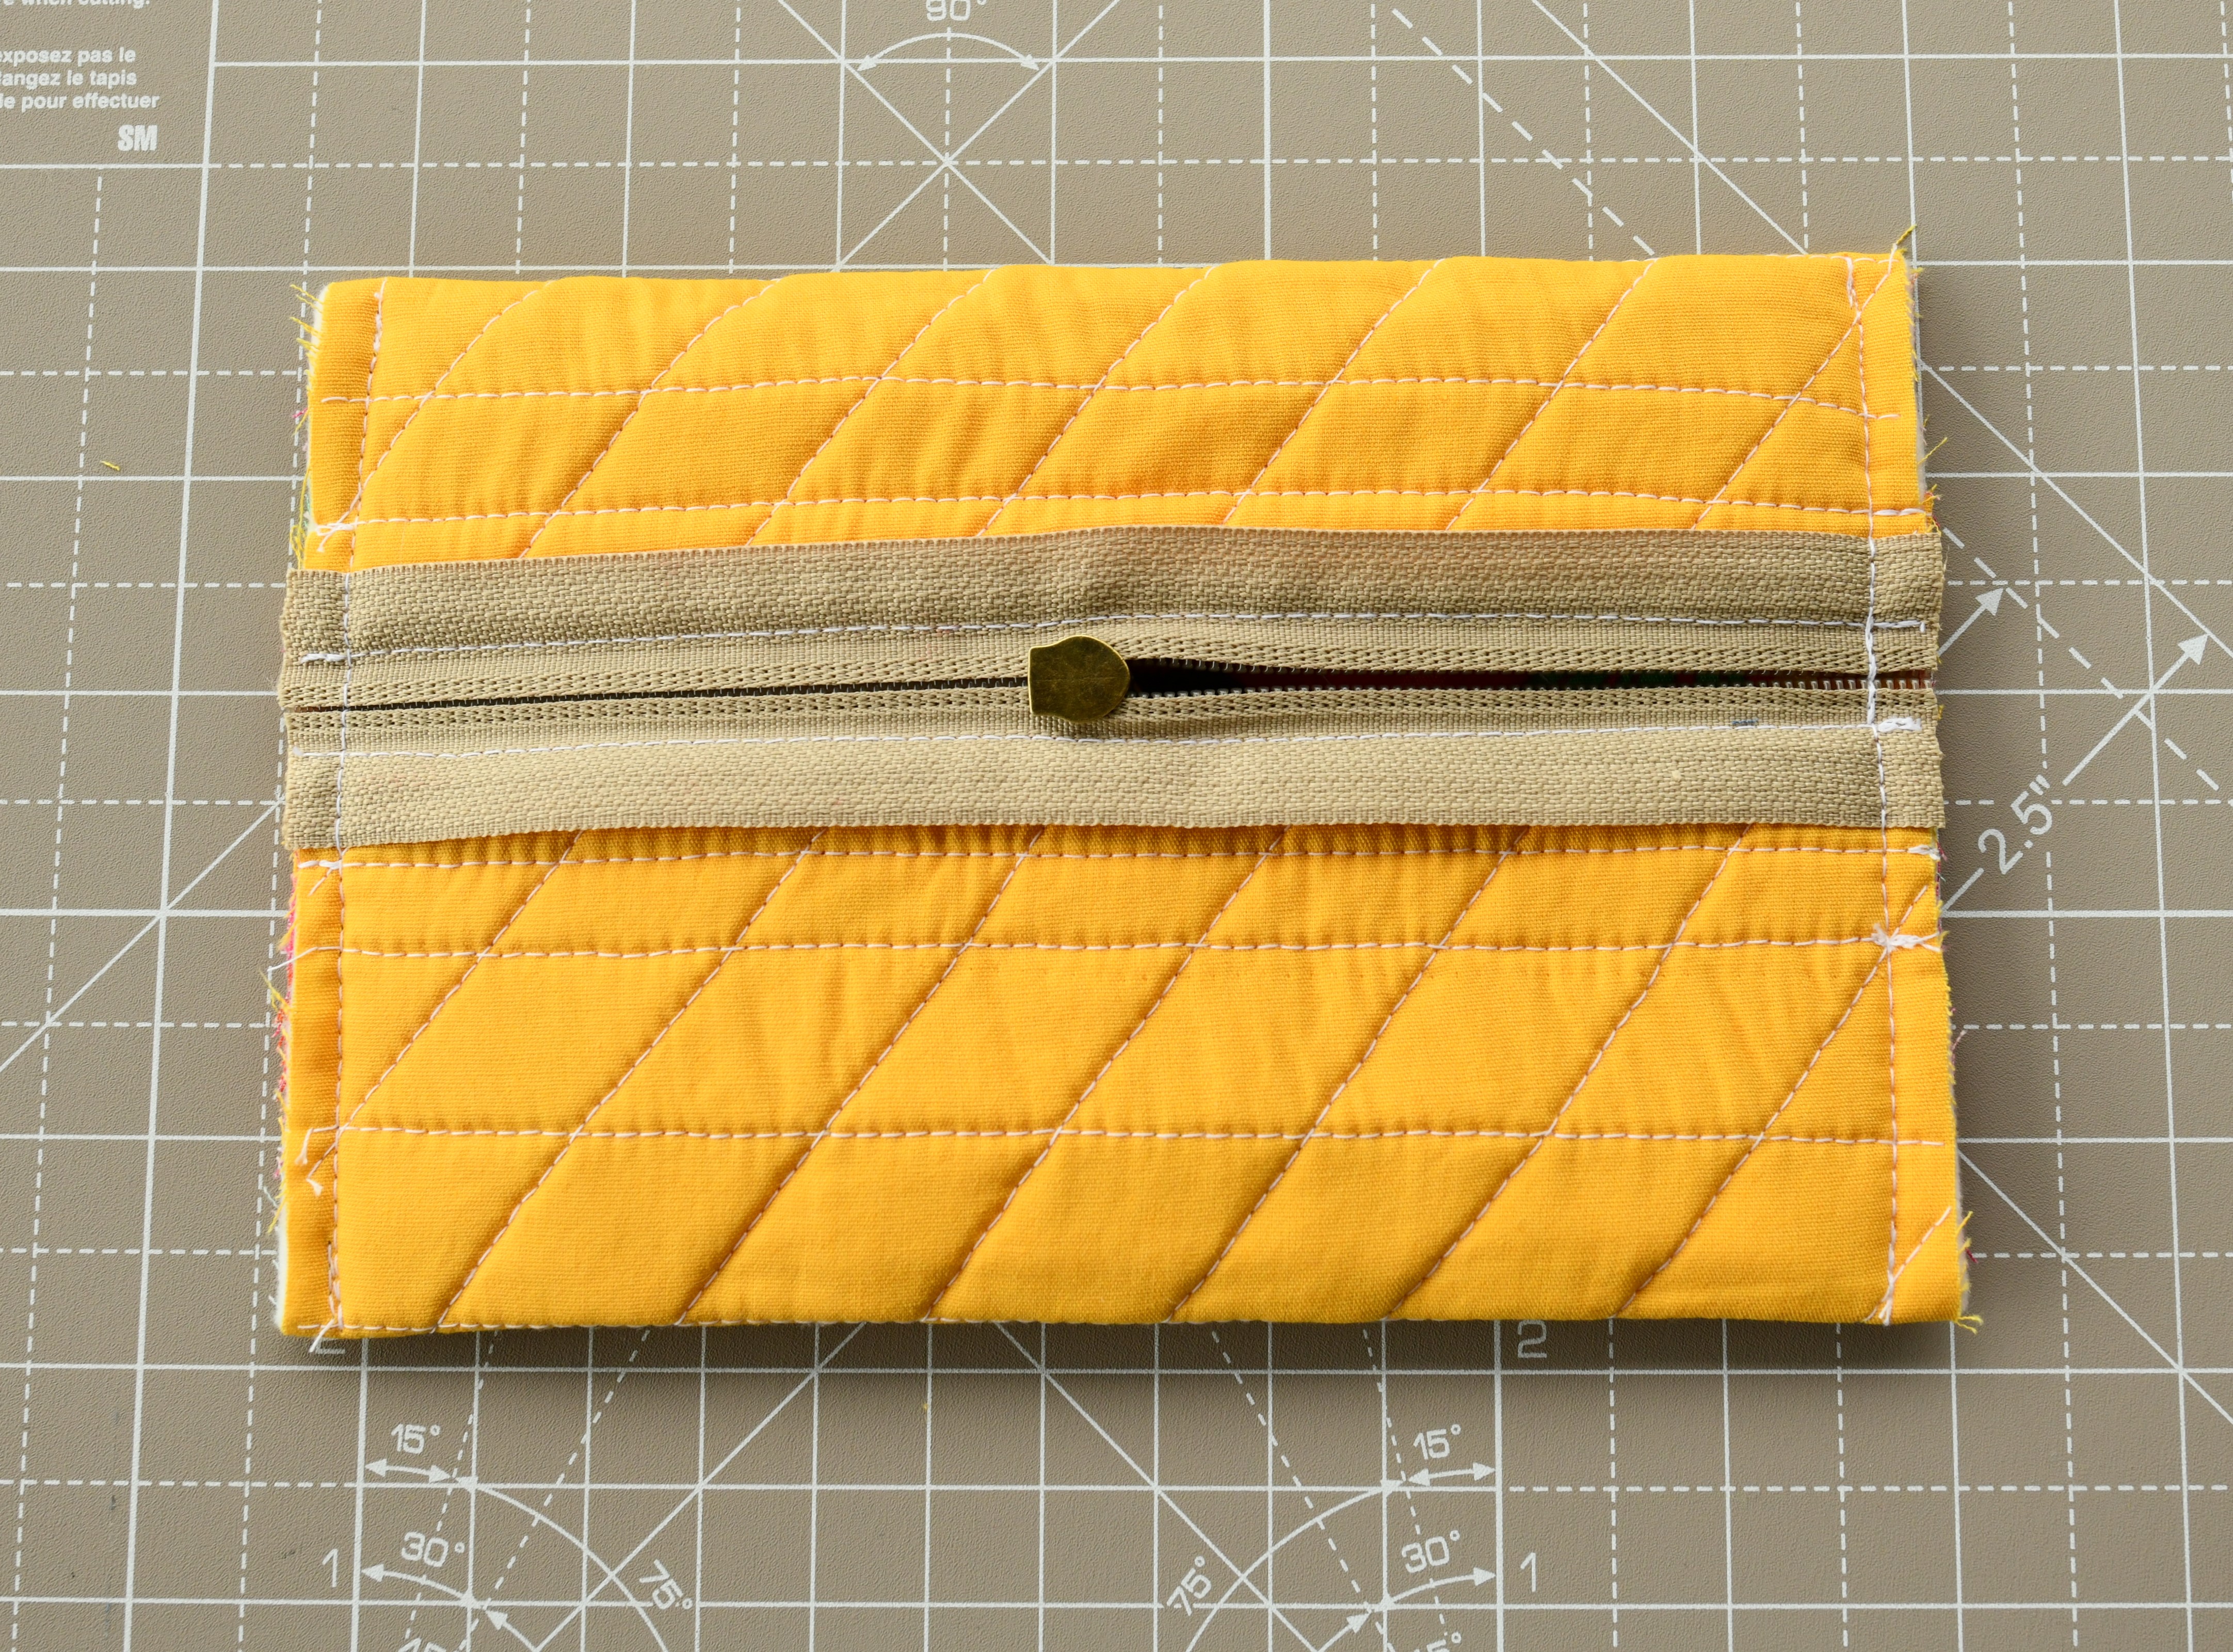
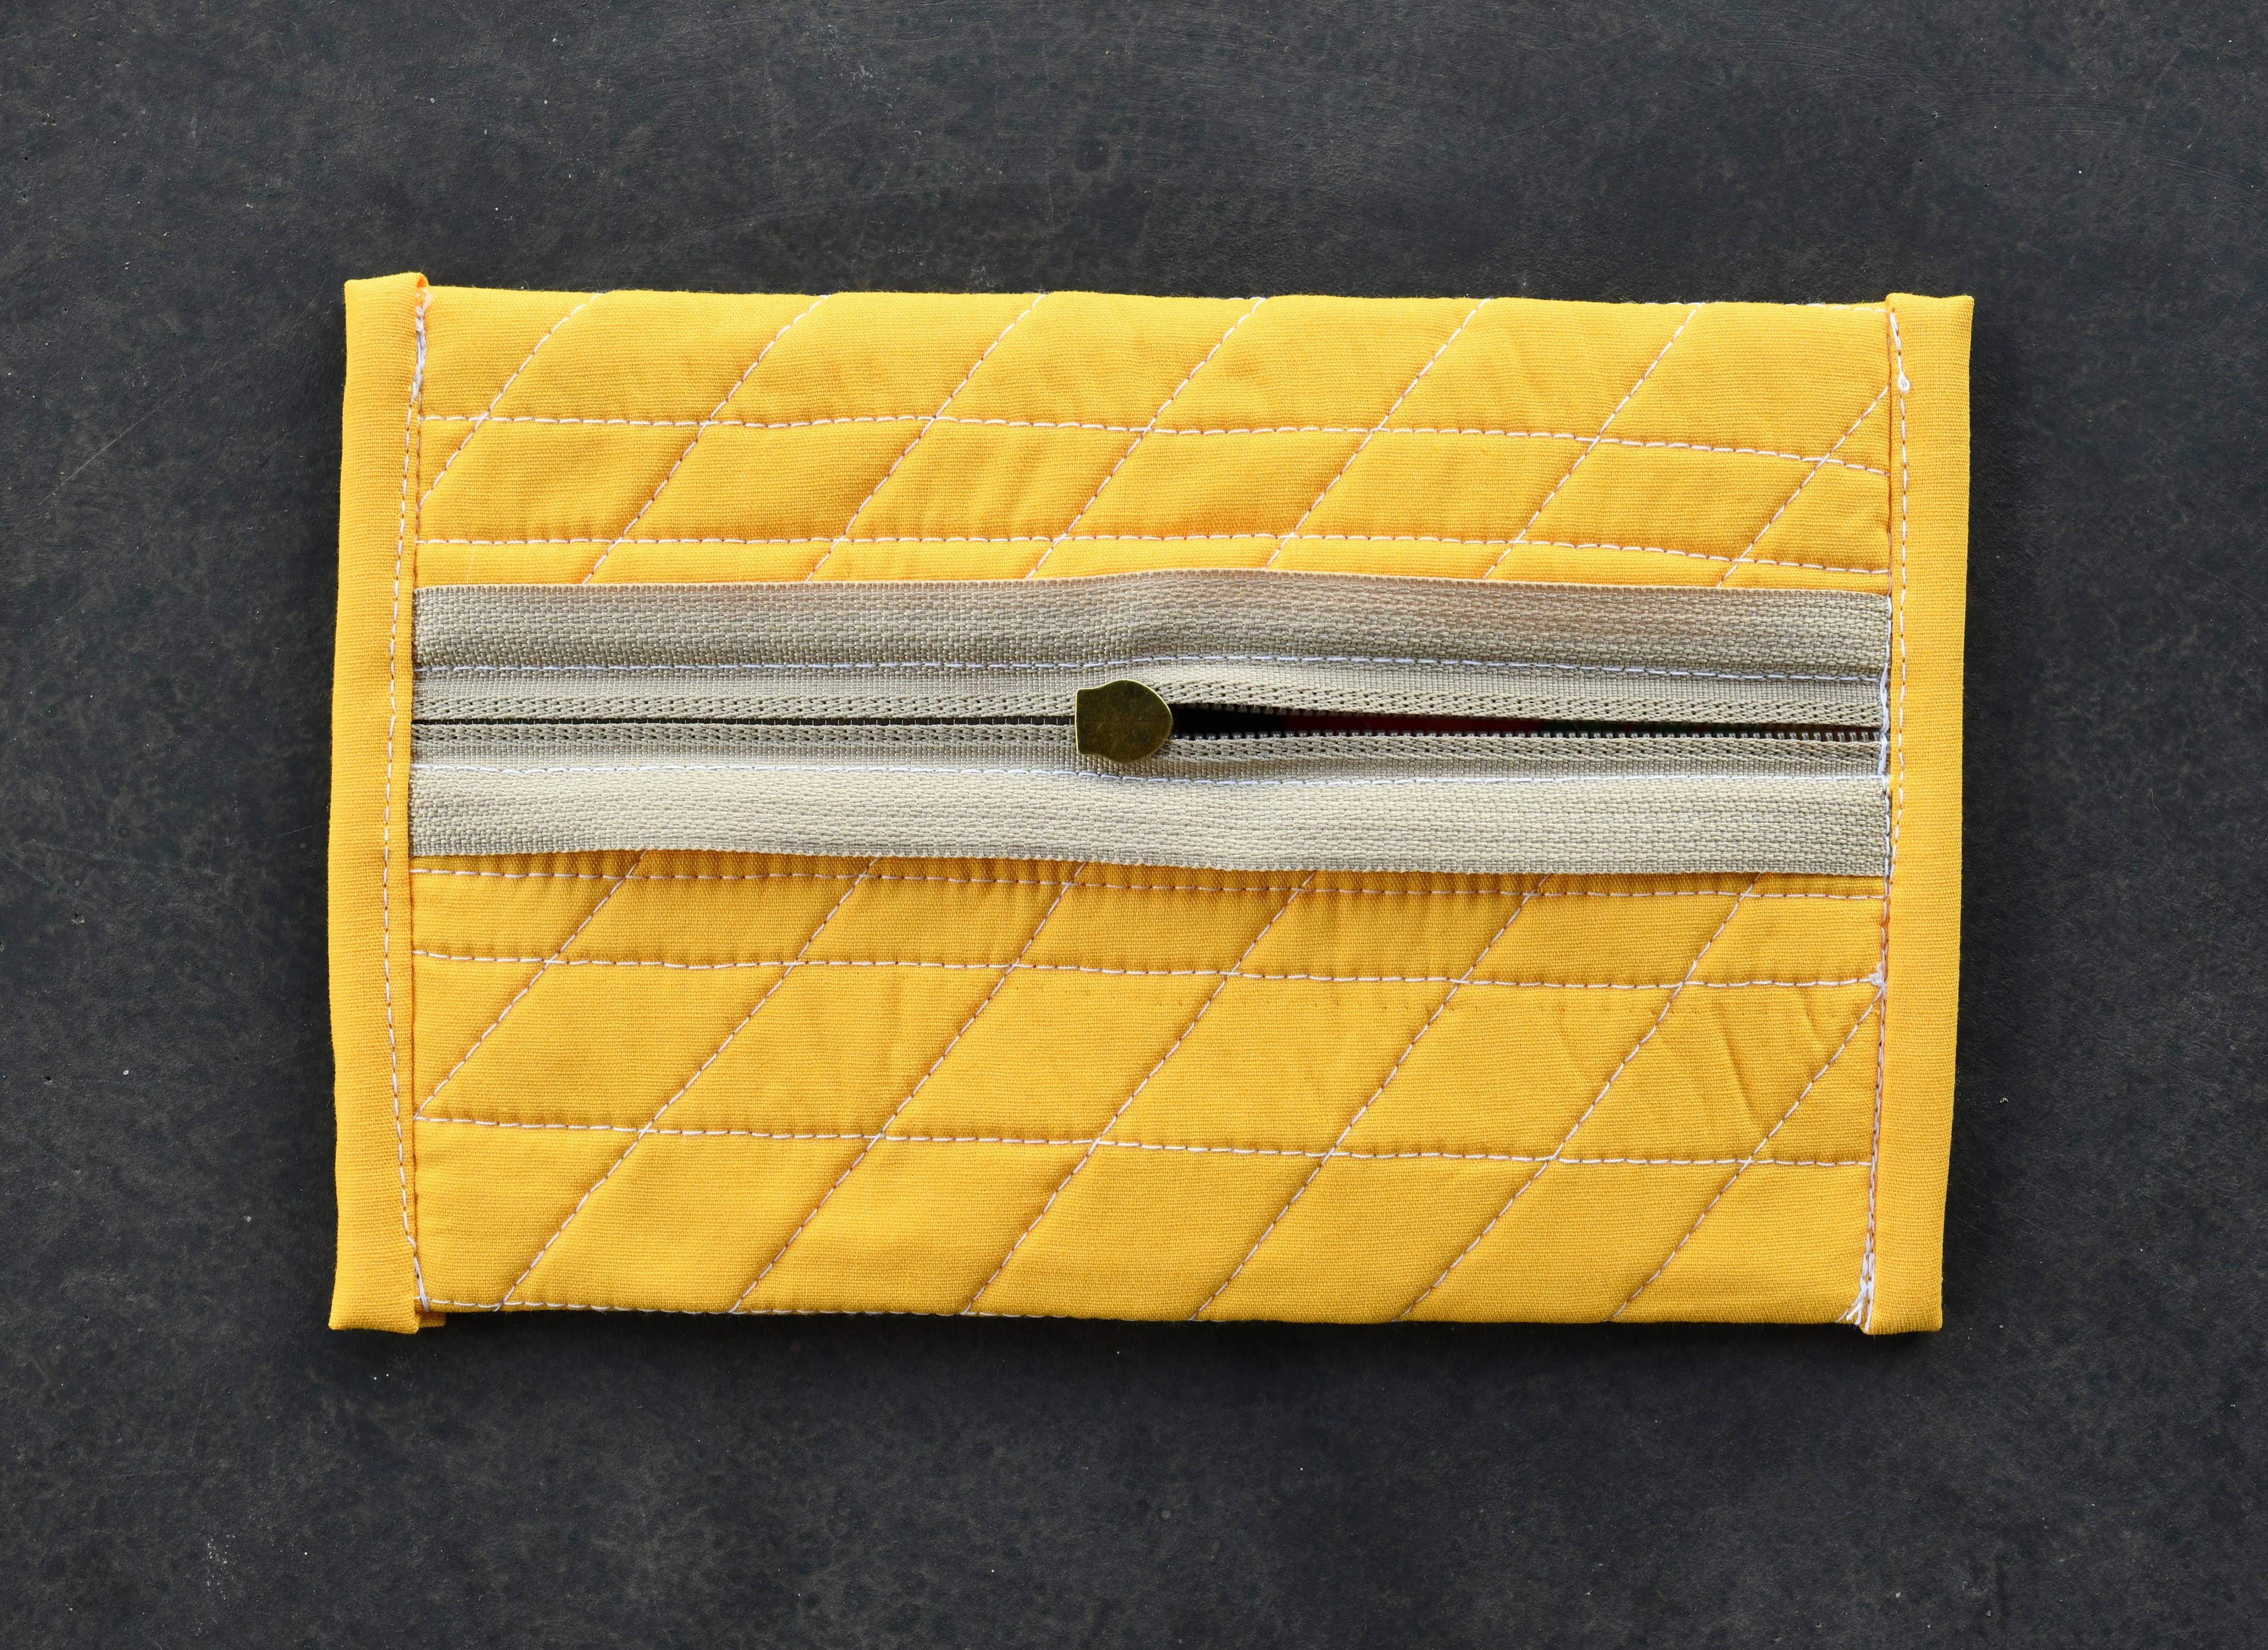
Step 6: zipper magic
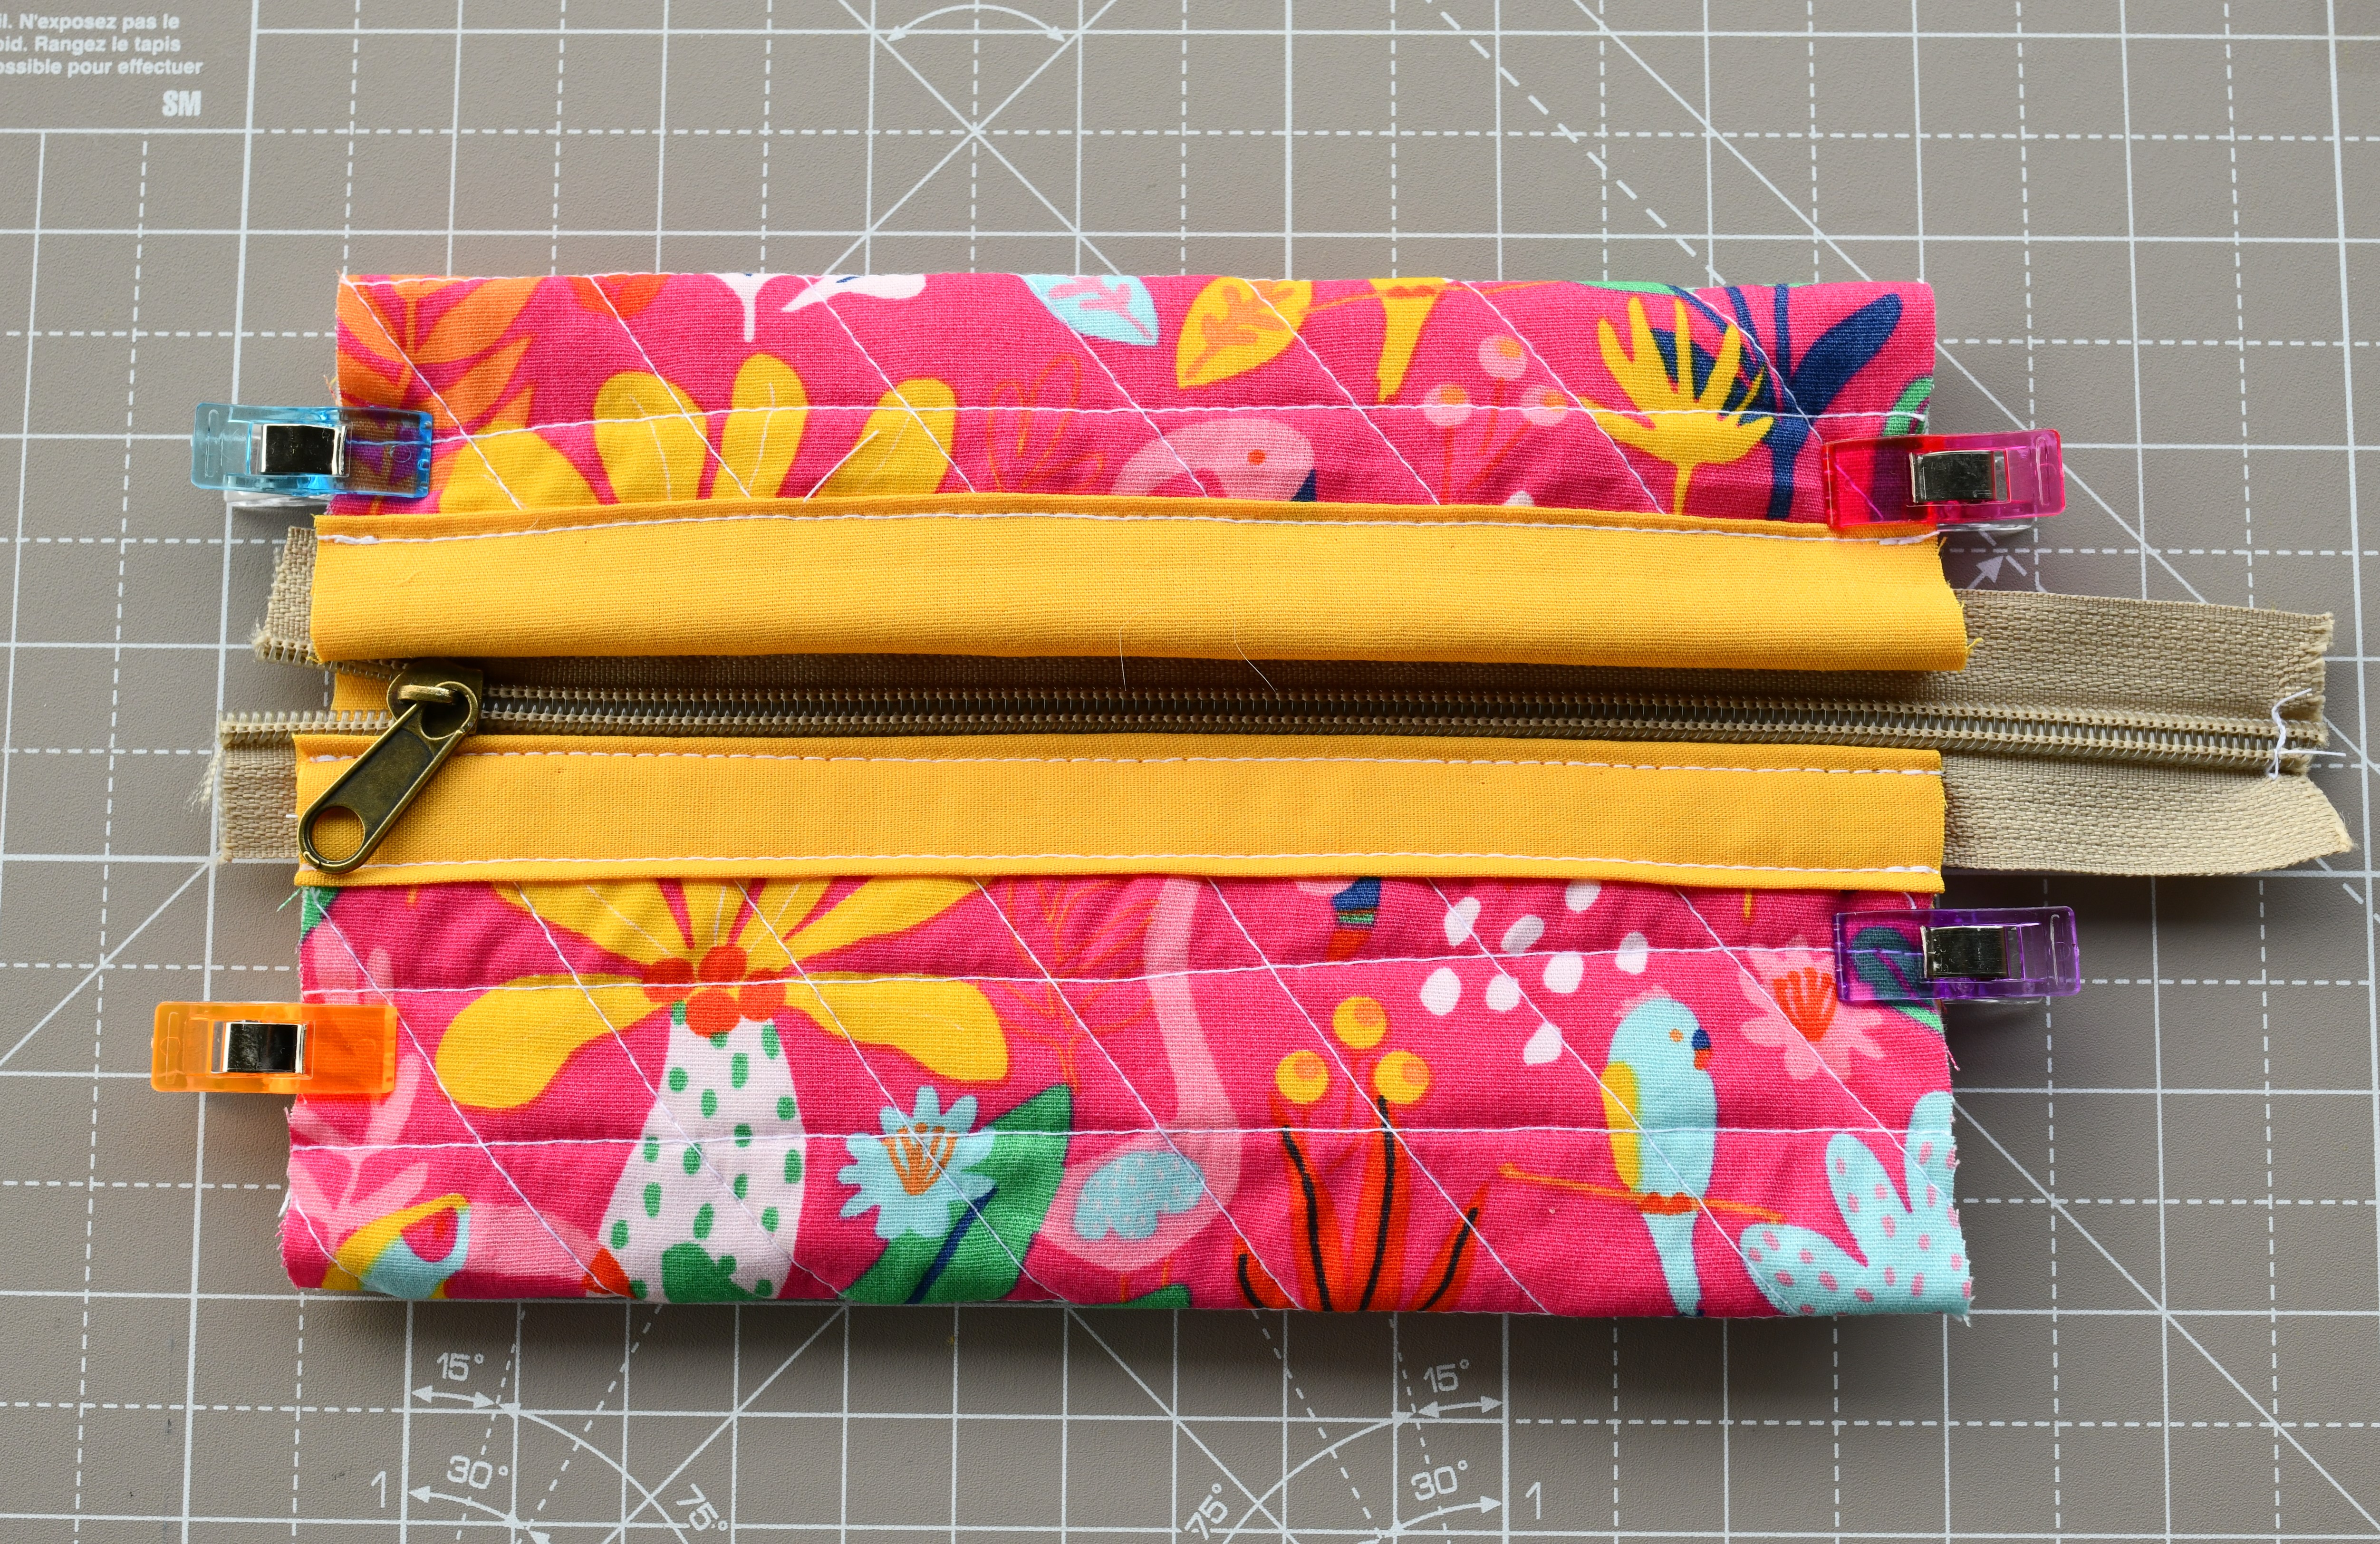
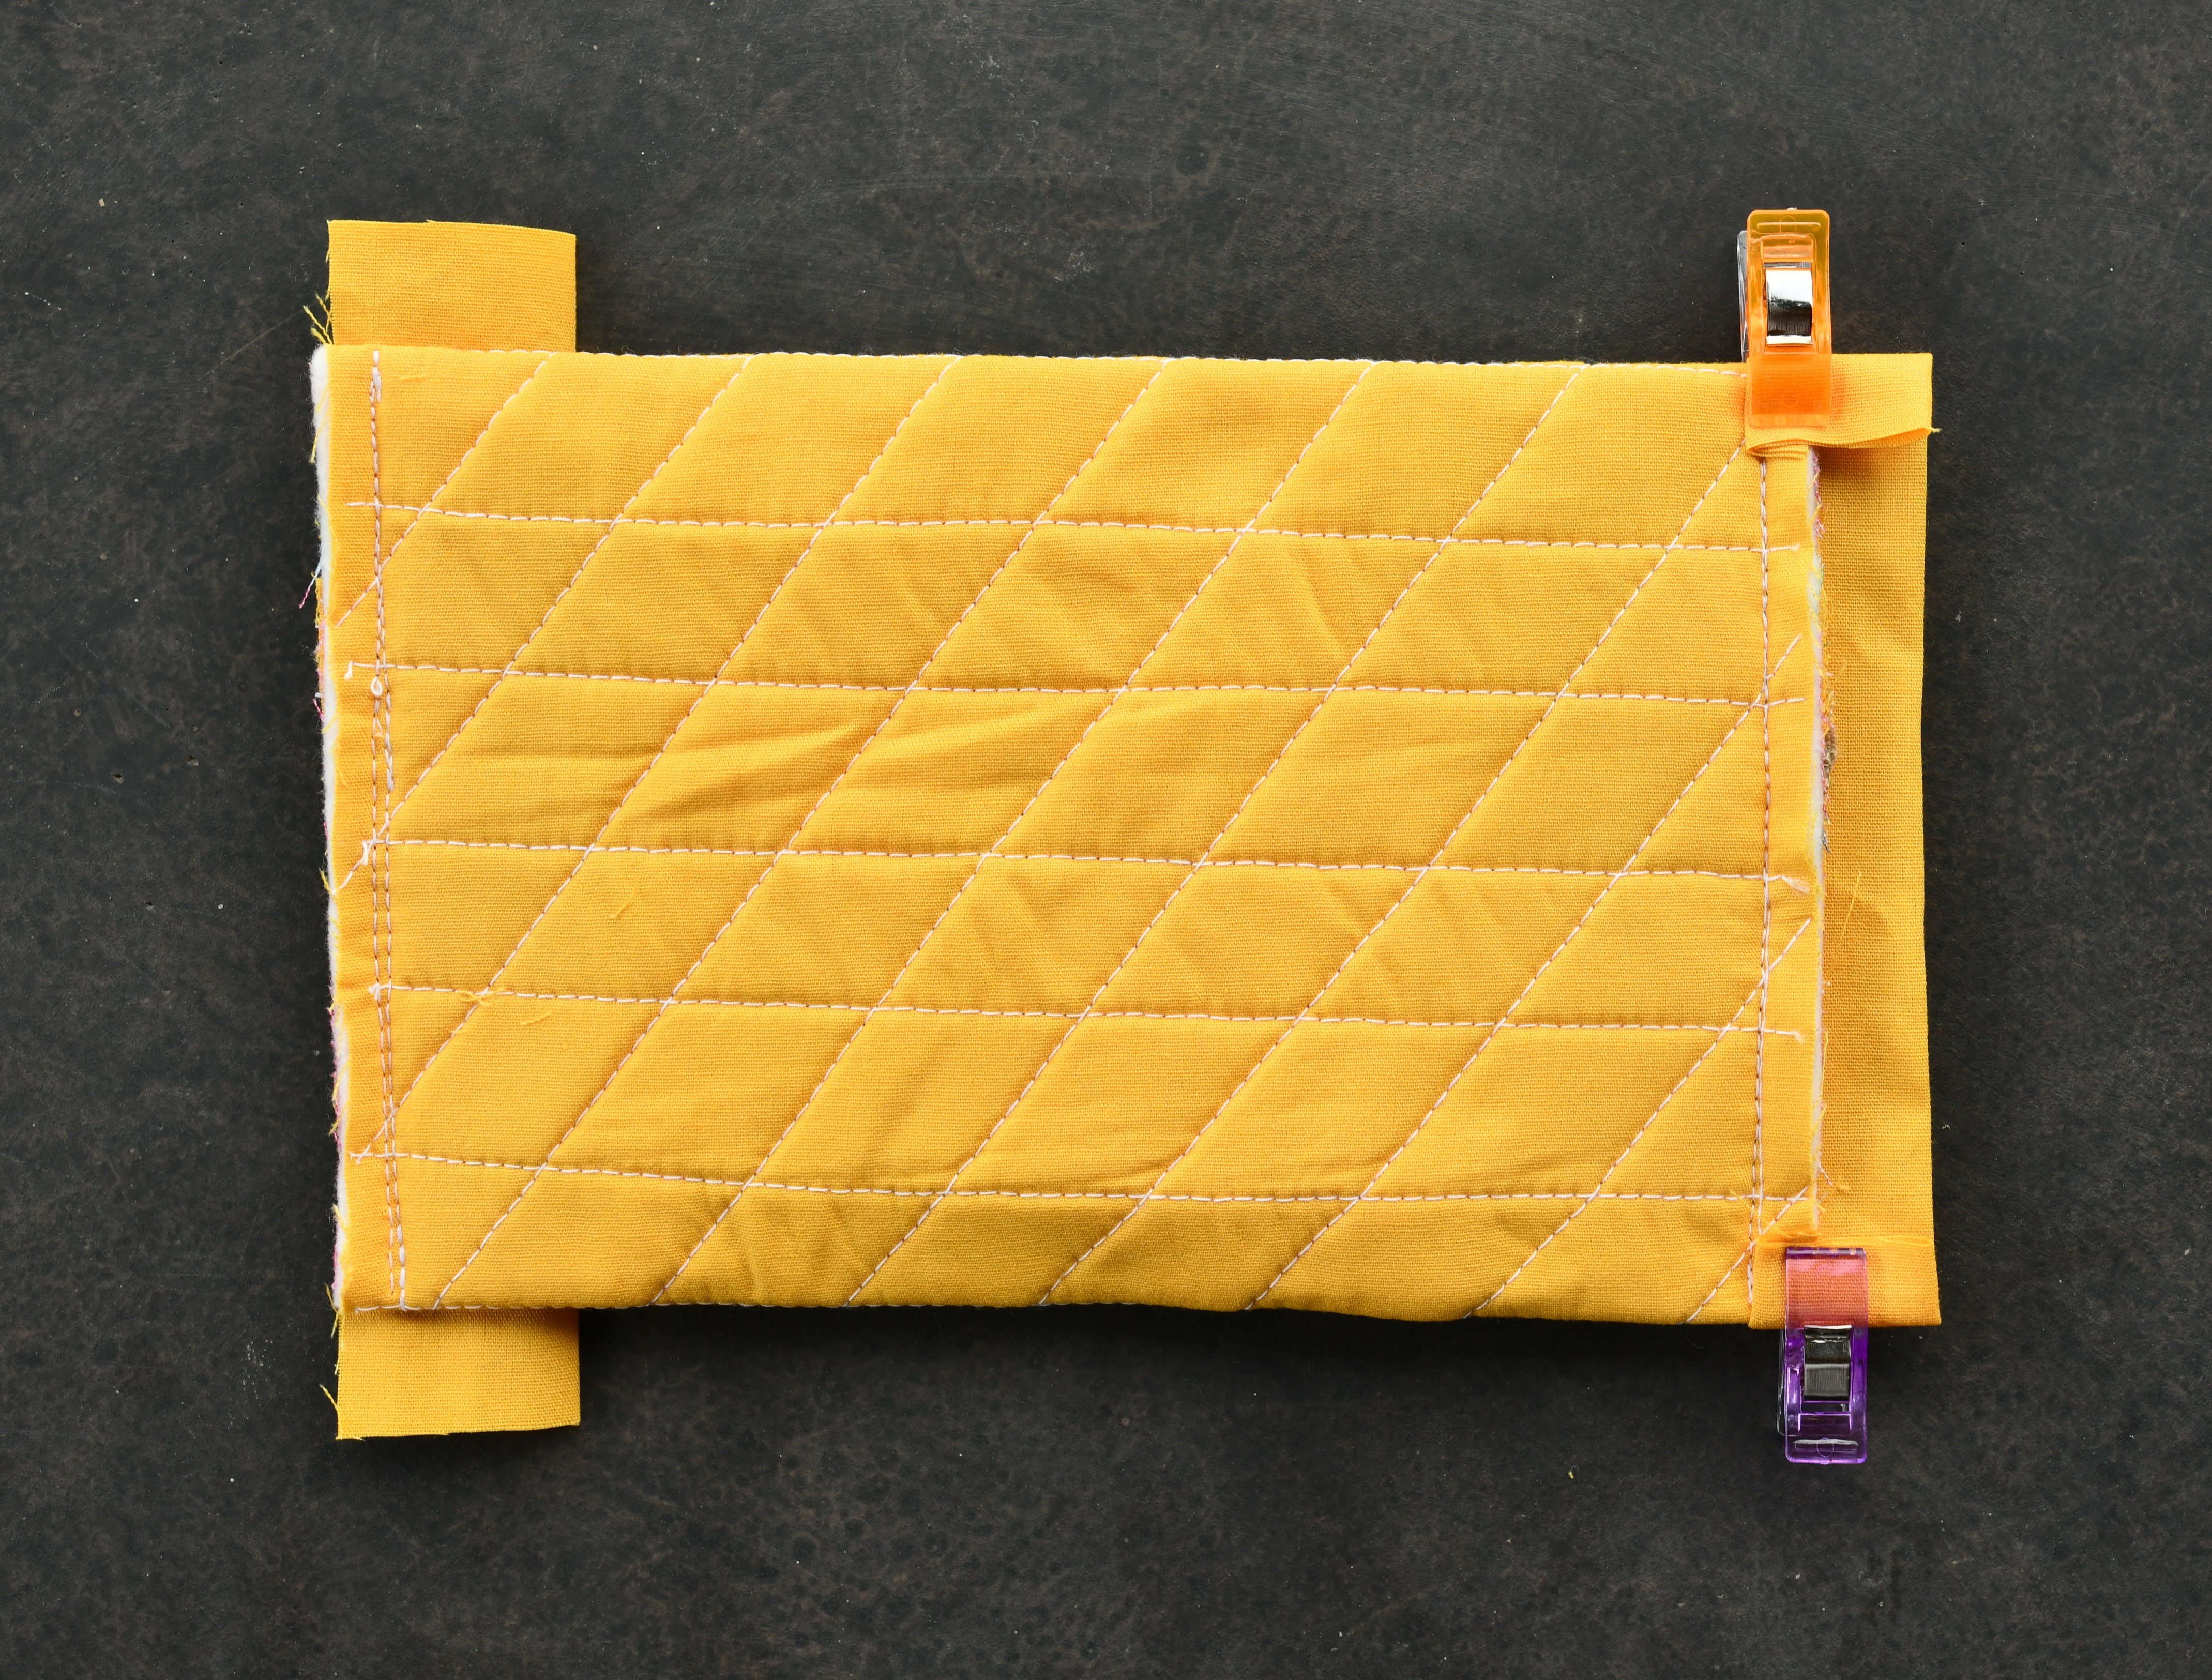
Position the shorter edge of your fabric piece along the zipper, making sure to move the zipper pull out of your way. For a picture-perfect pouch, use pins or sewing clips to hold the fabric securely in place as you sew along the zipper.
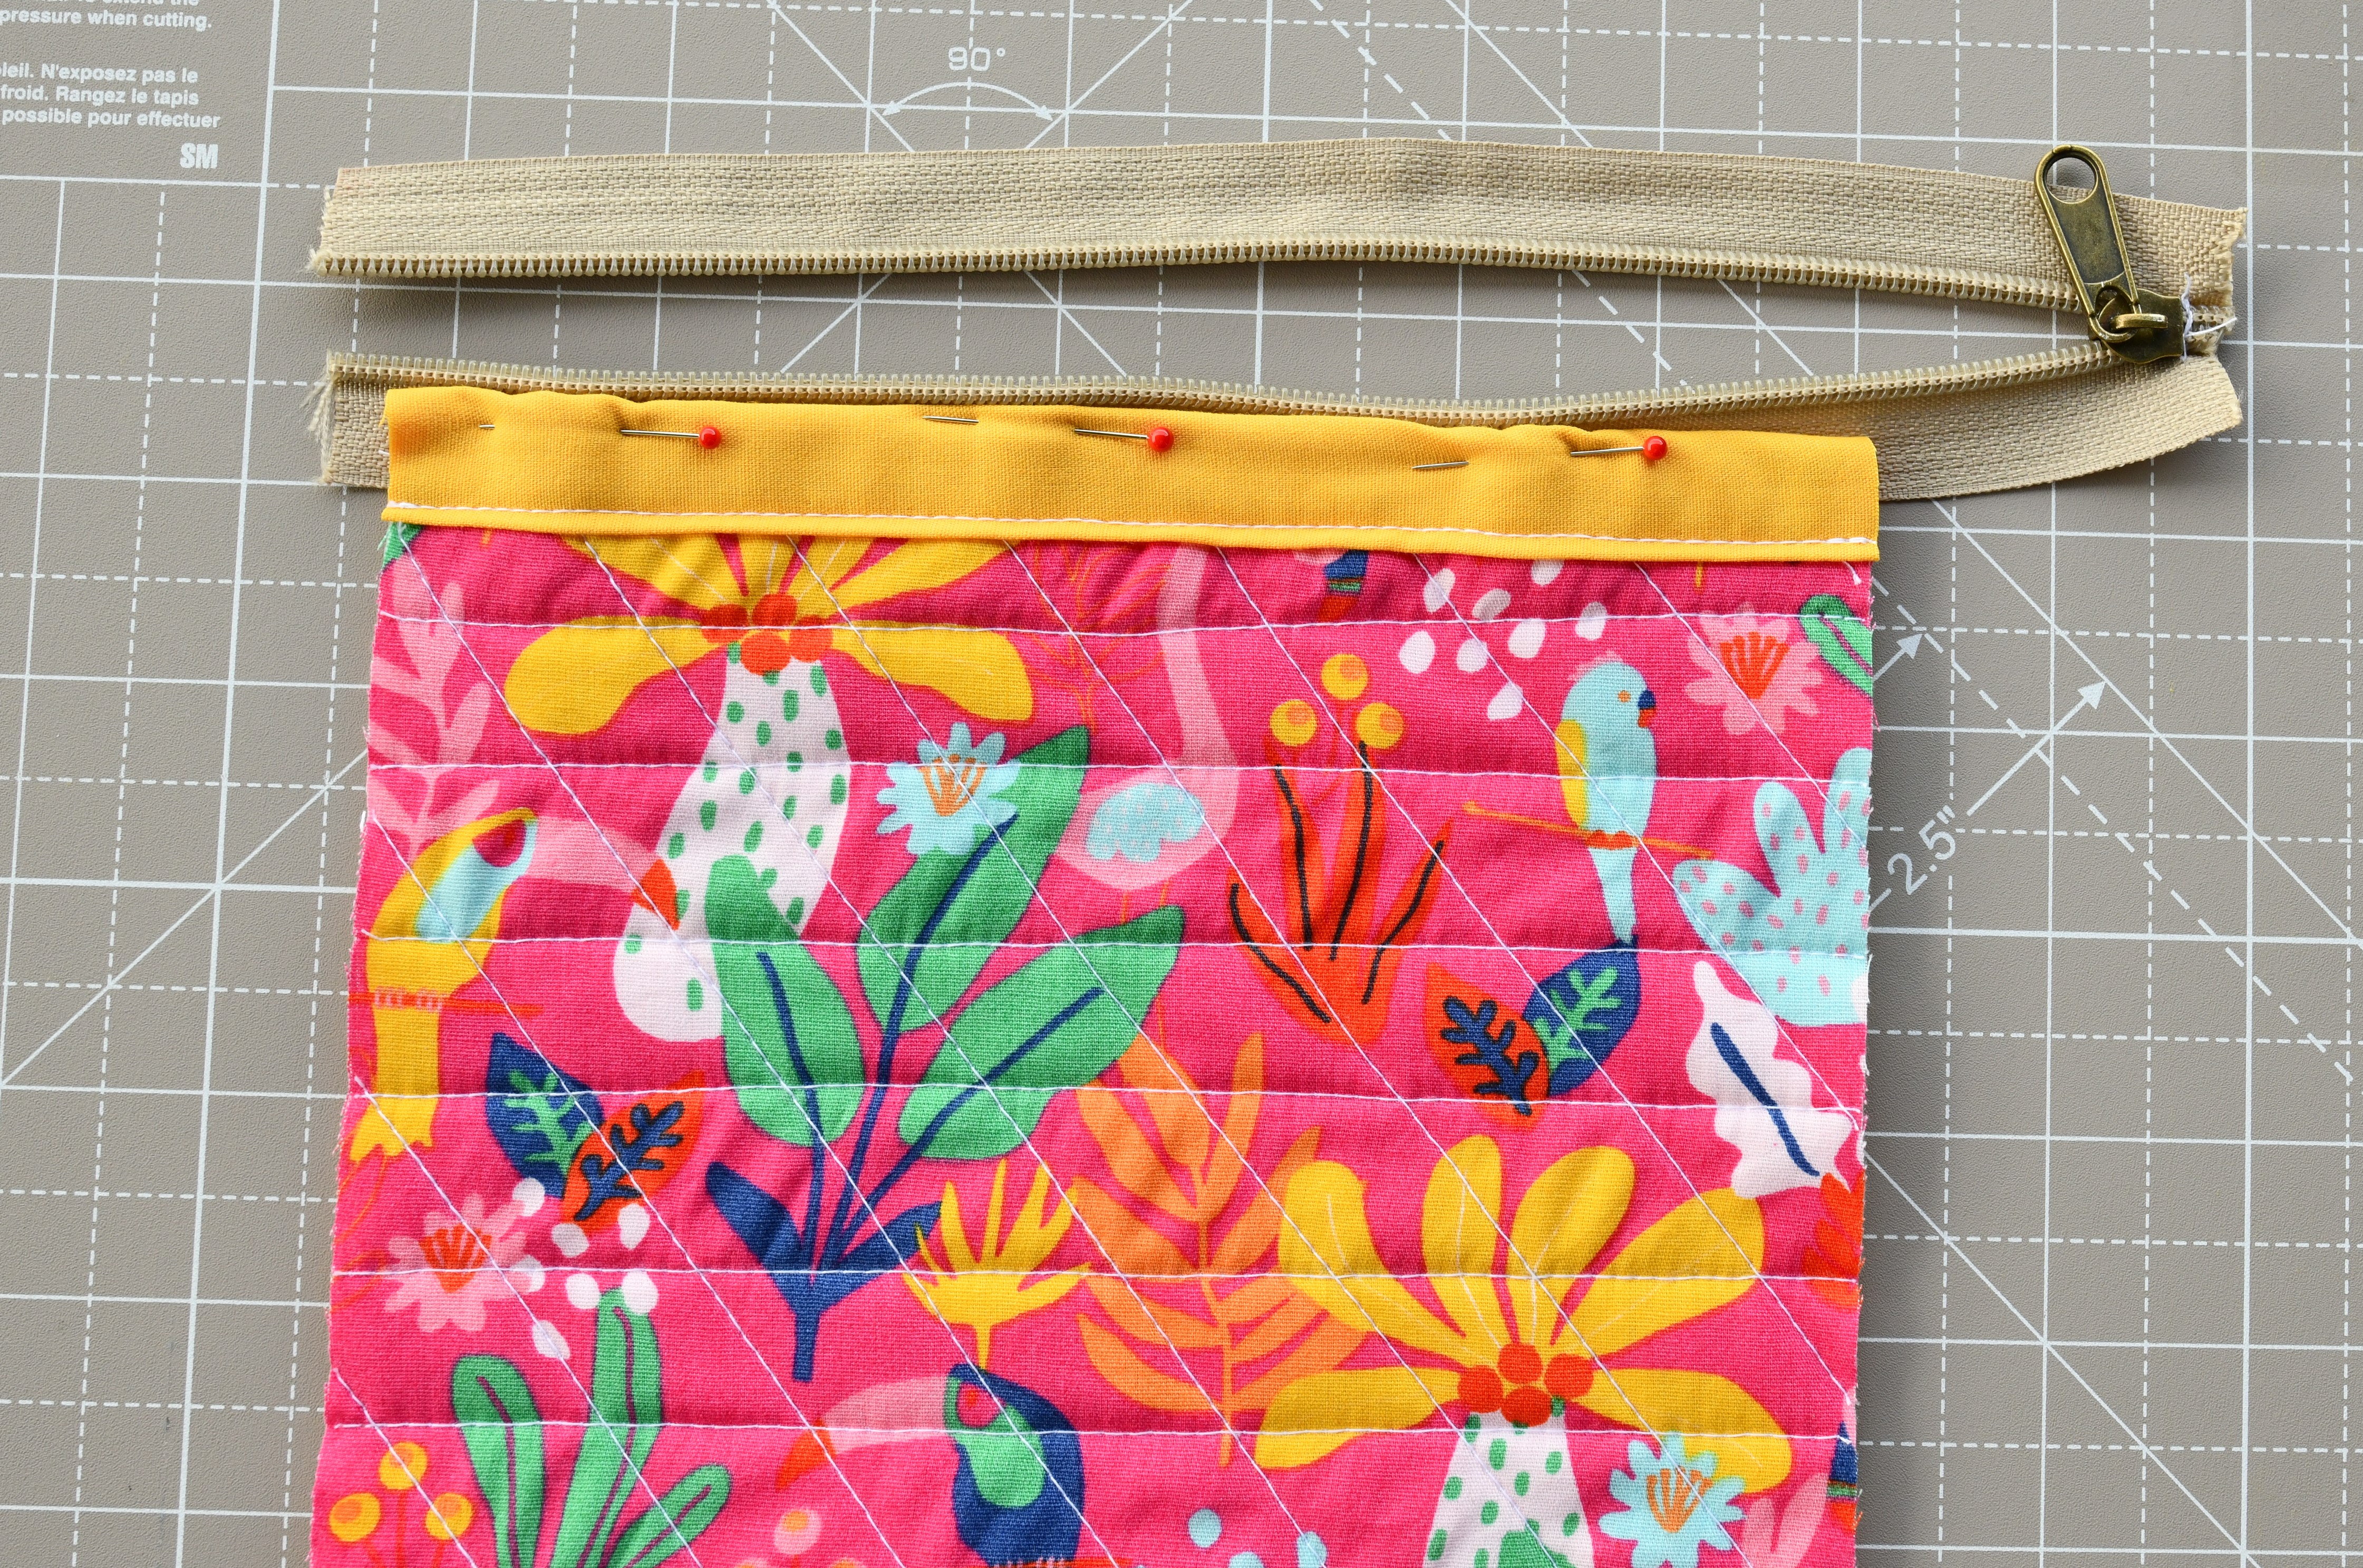
You can use either the zipper foot or the regular foot – both work just fine.
Ideally, your stitching line should run parallel to the previous stitching line. Don’t forget to backstitch at the beginning and end of your seams for extra durability.
If you notice any wonky quilted rows like I did (it happens to the best of us!), don’t hesitate to use a seam ripper and stitch more carefully. Trust me – it’s worth the effort!
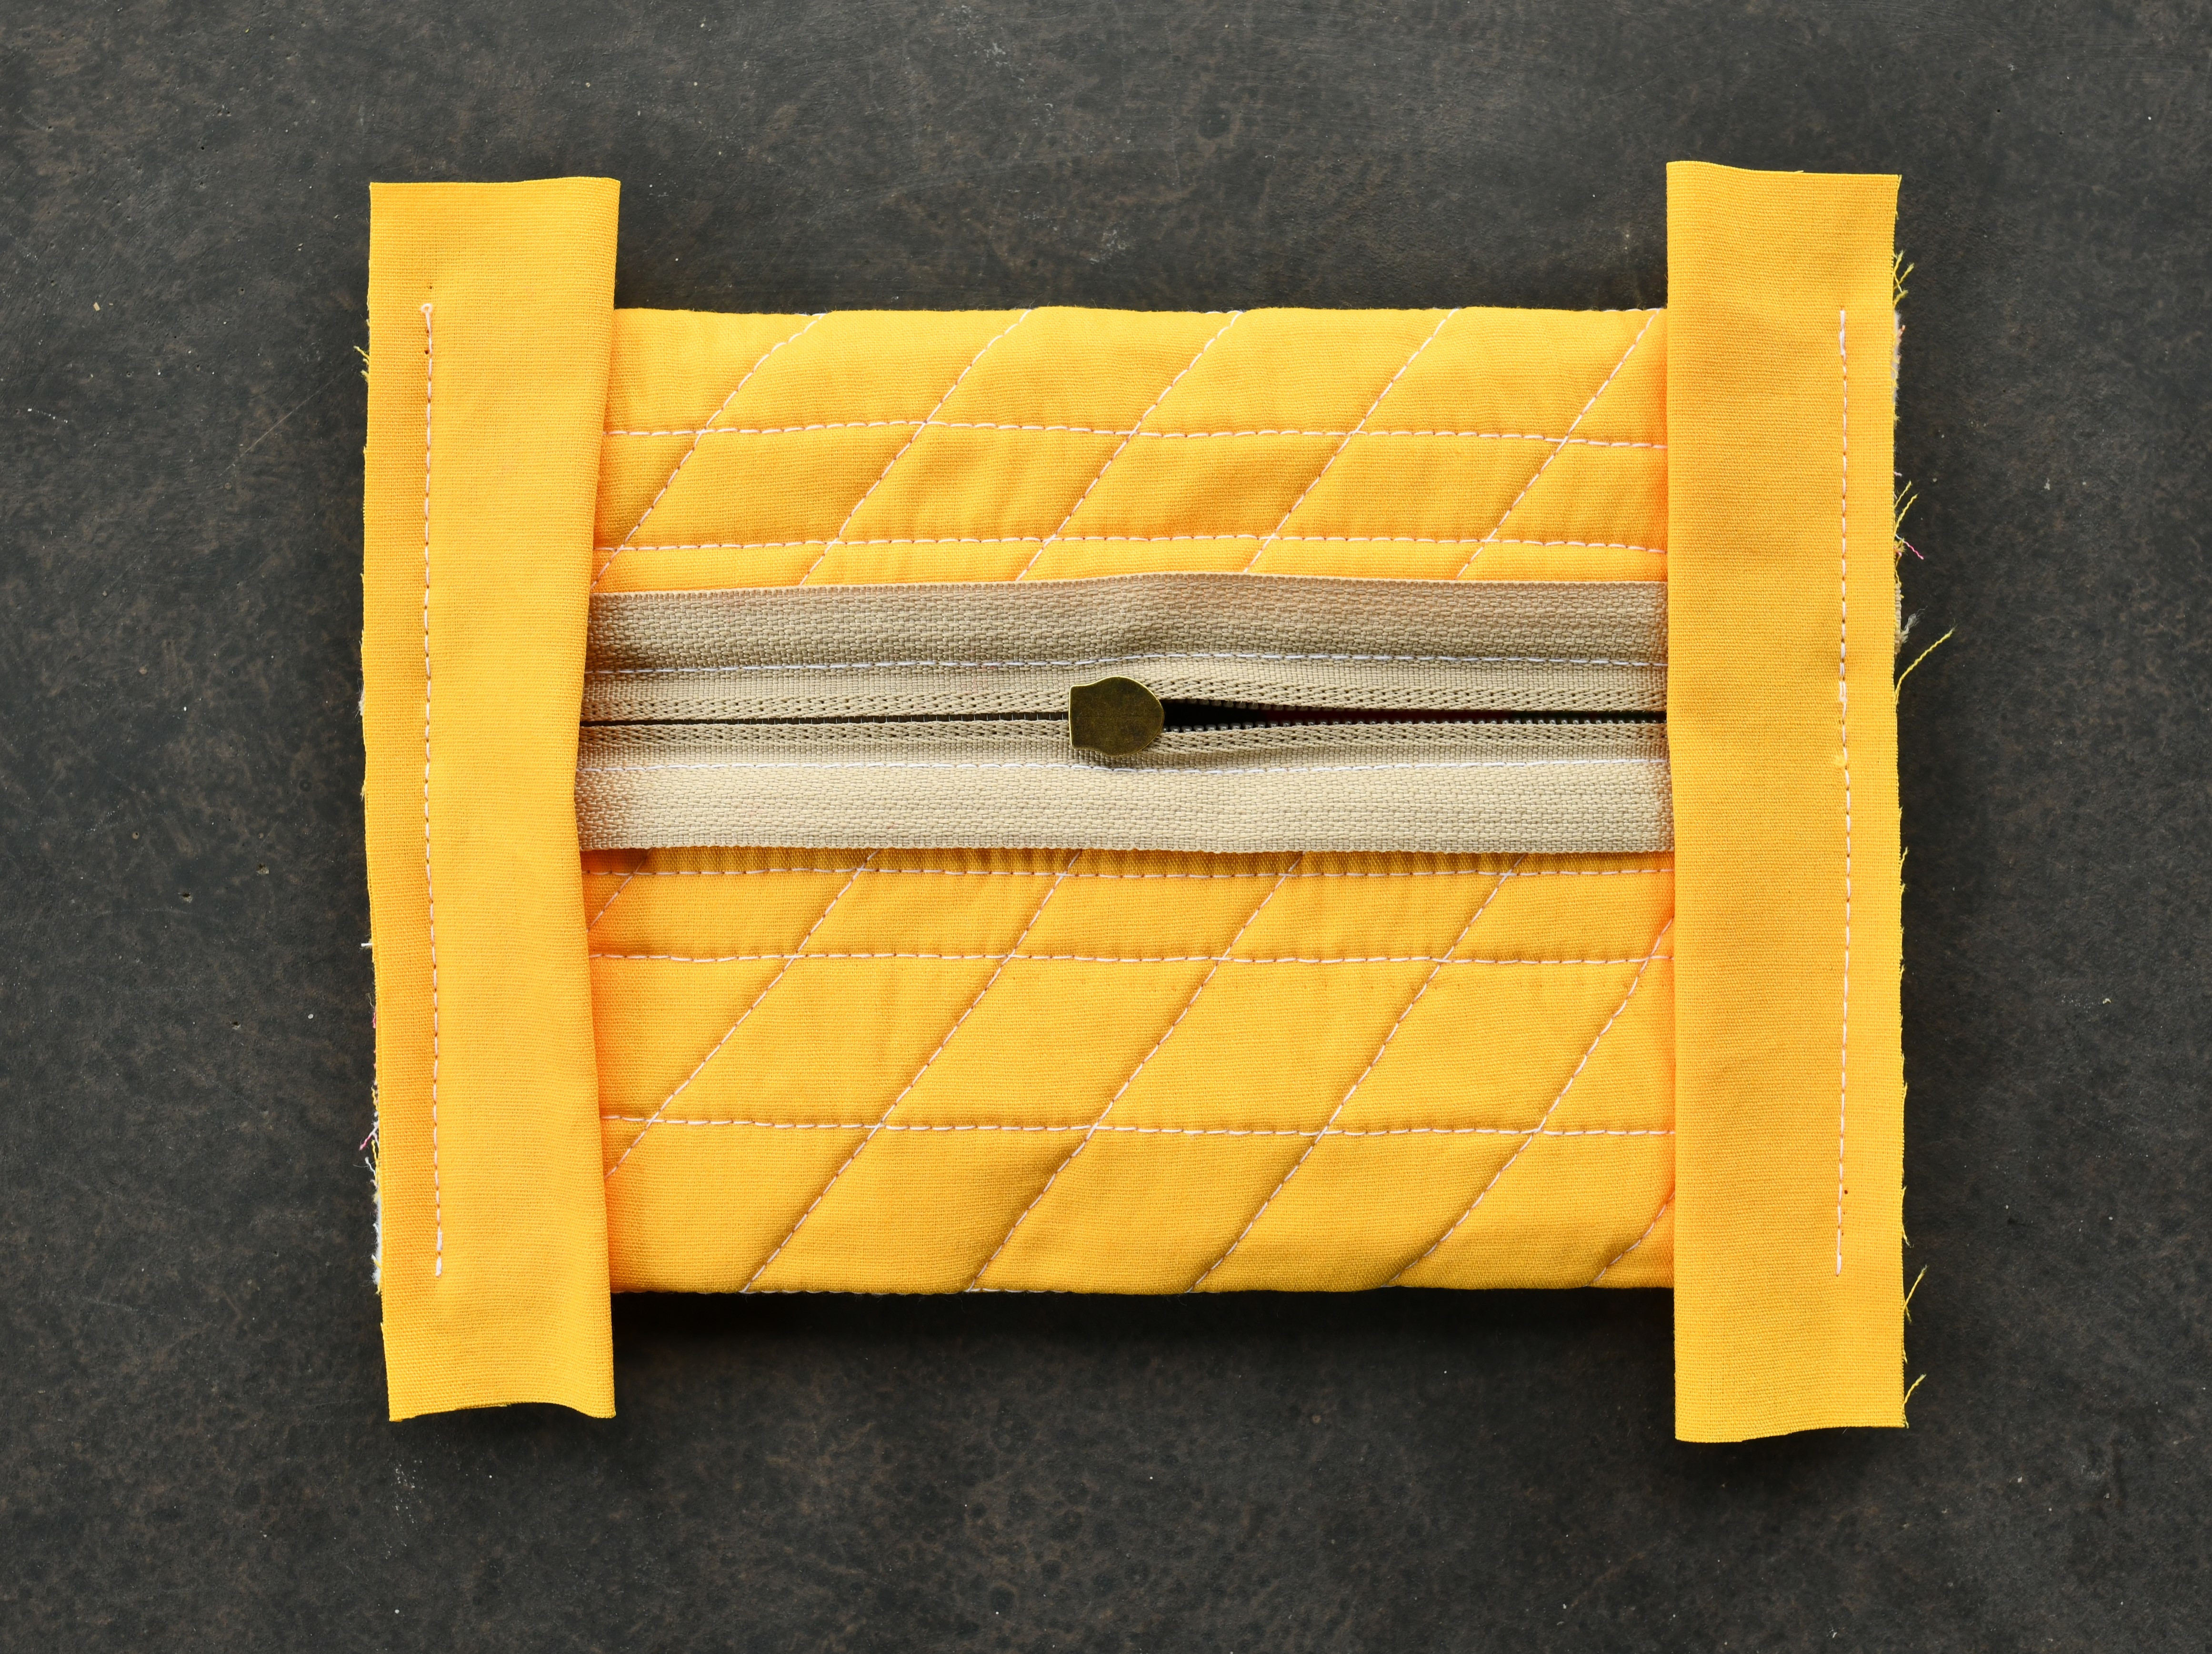
Before pinning and sewing the other side of the zipper, make sure the sides of the pouch align properly (see image below).
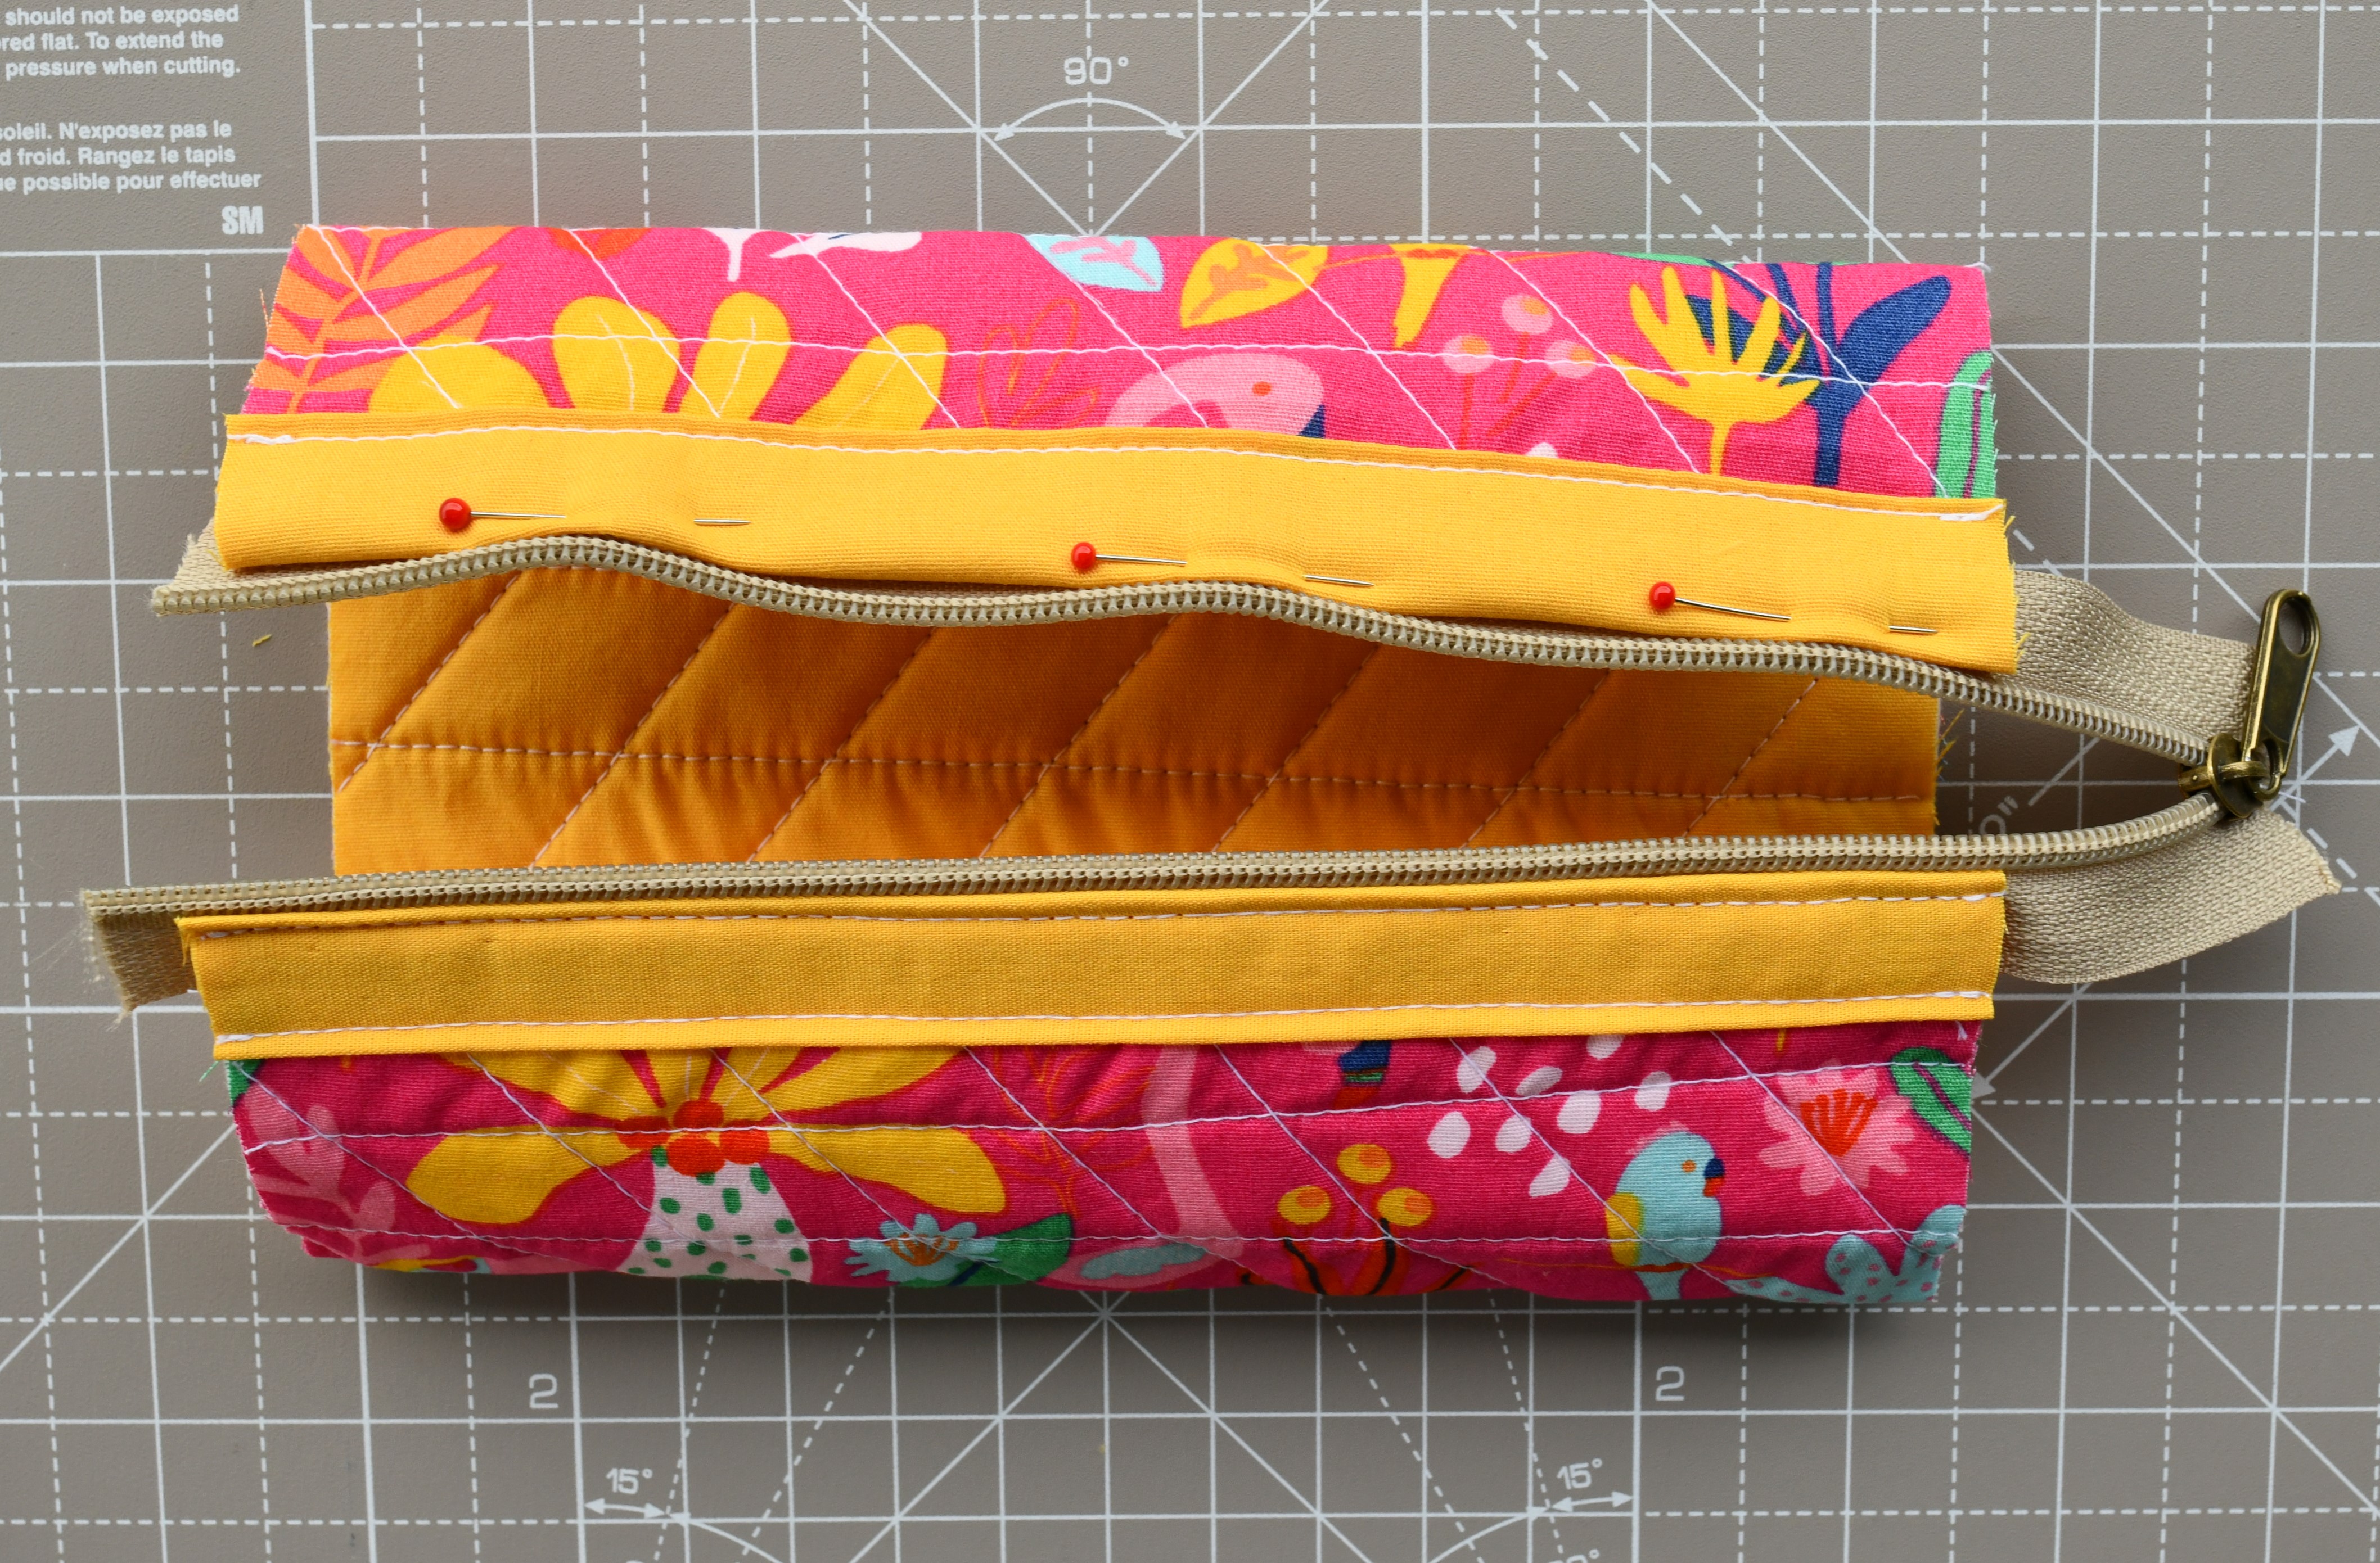
PS – notice how I fixed the wonky quilting line at the bottom of the pouch! Much better now.
Step 7: sew the side seams
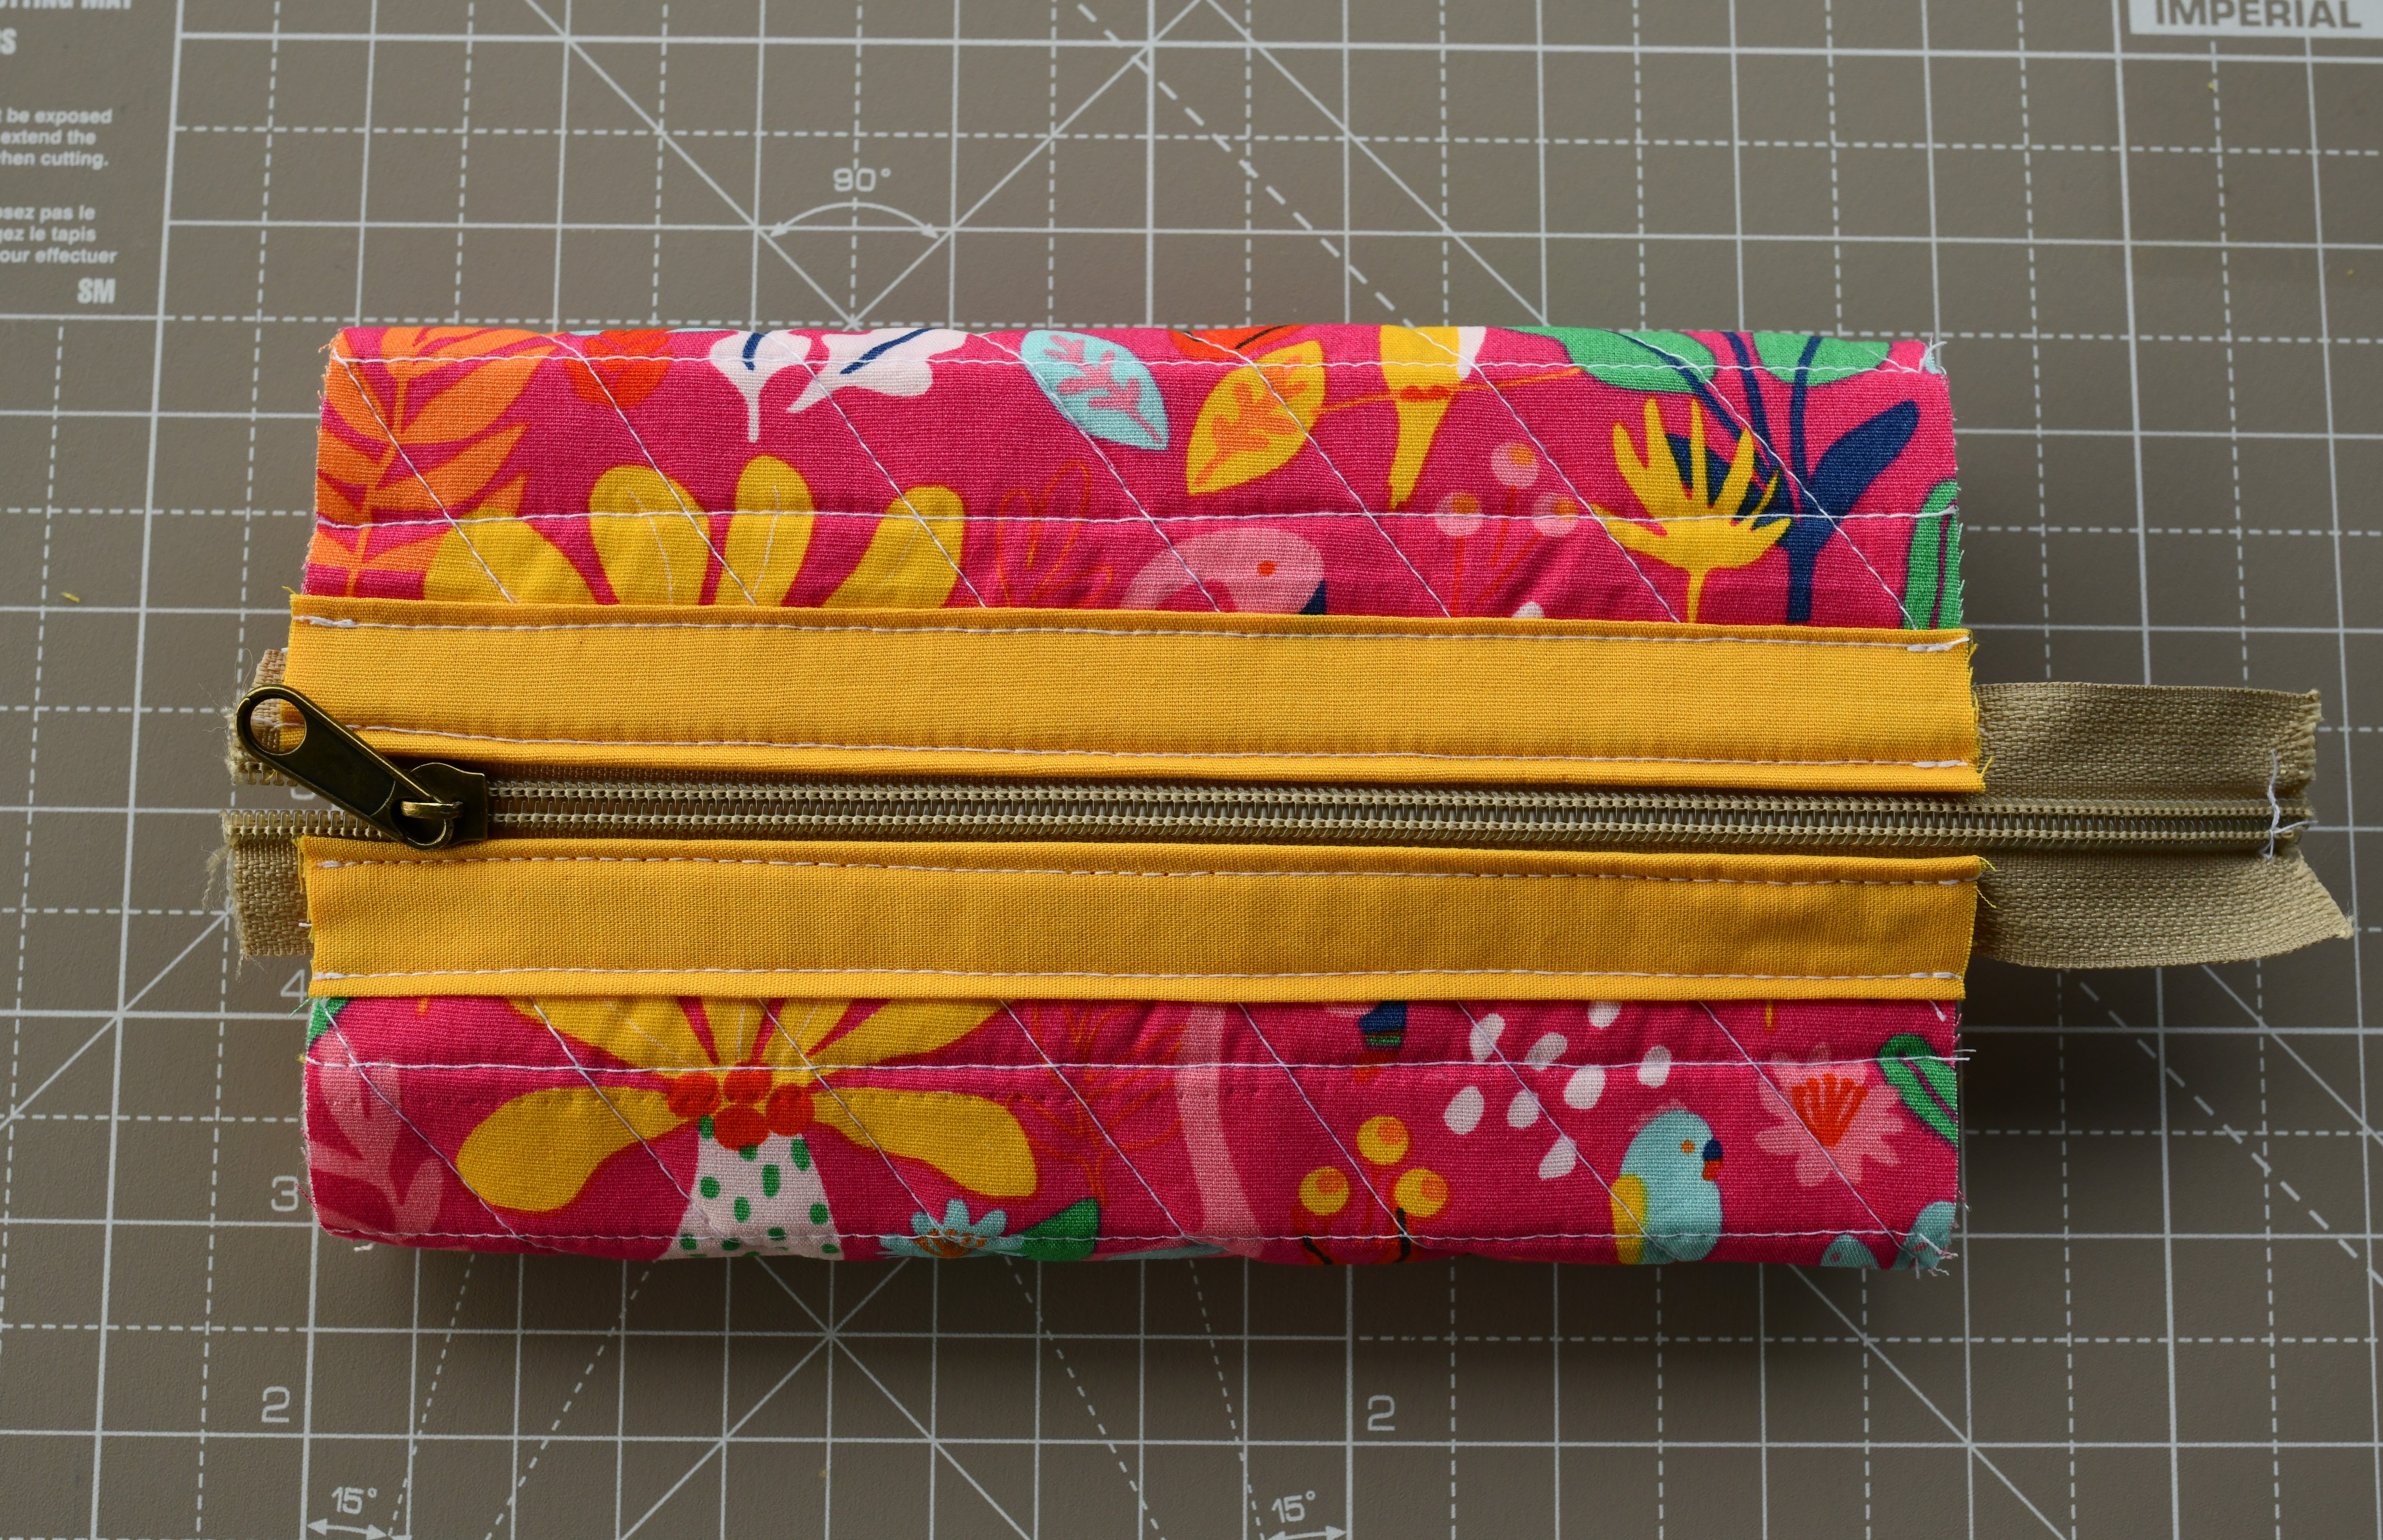
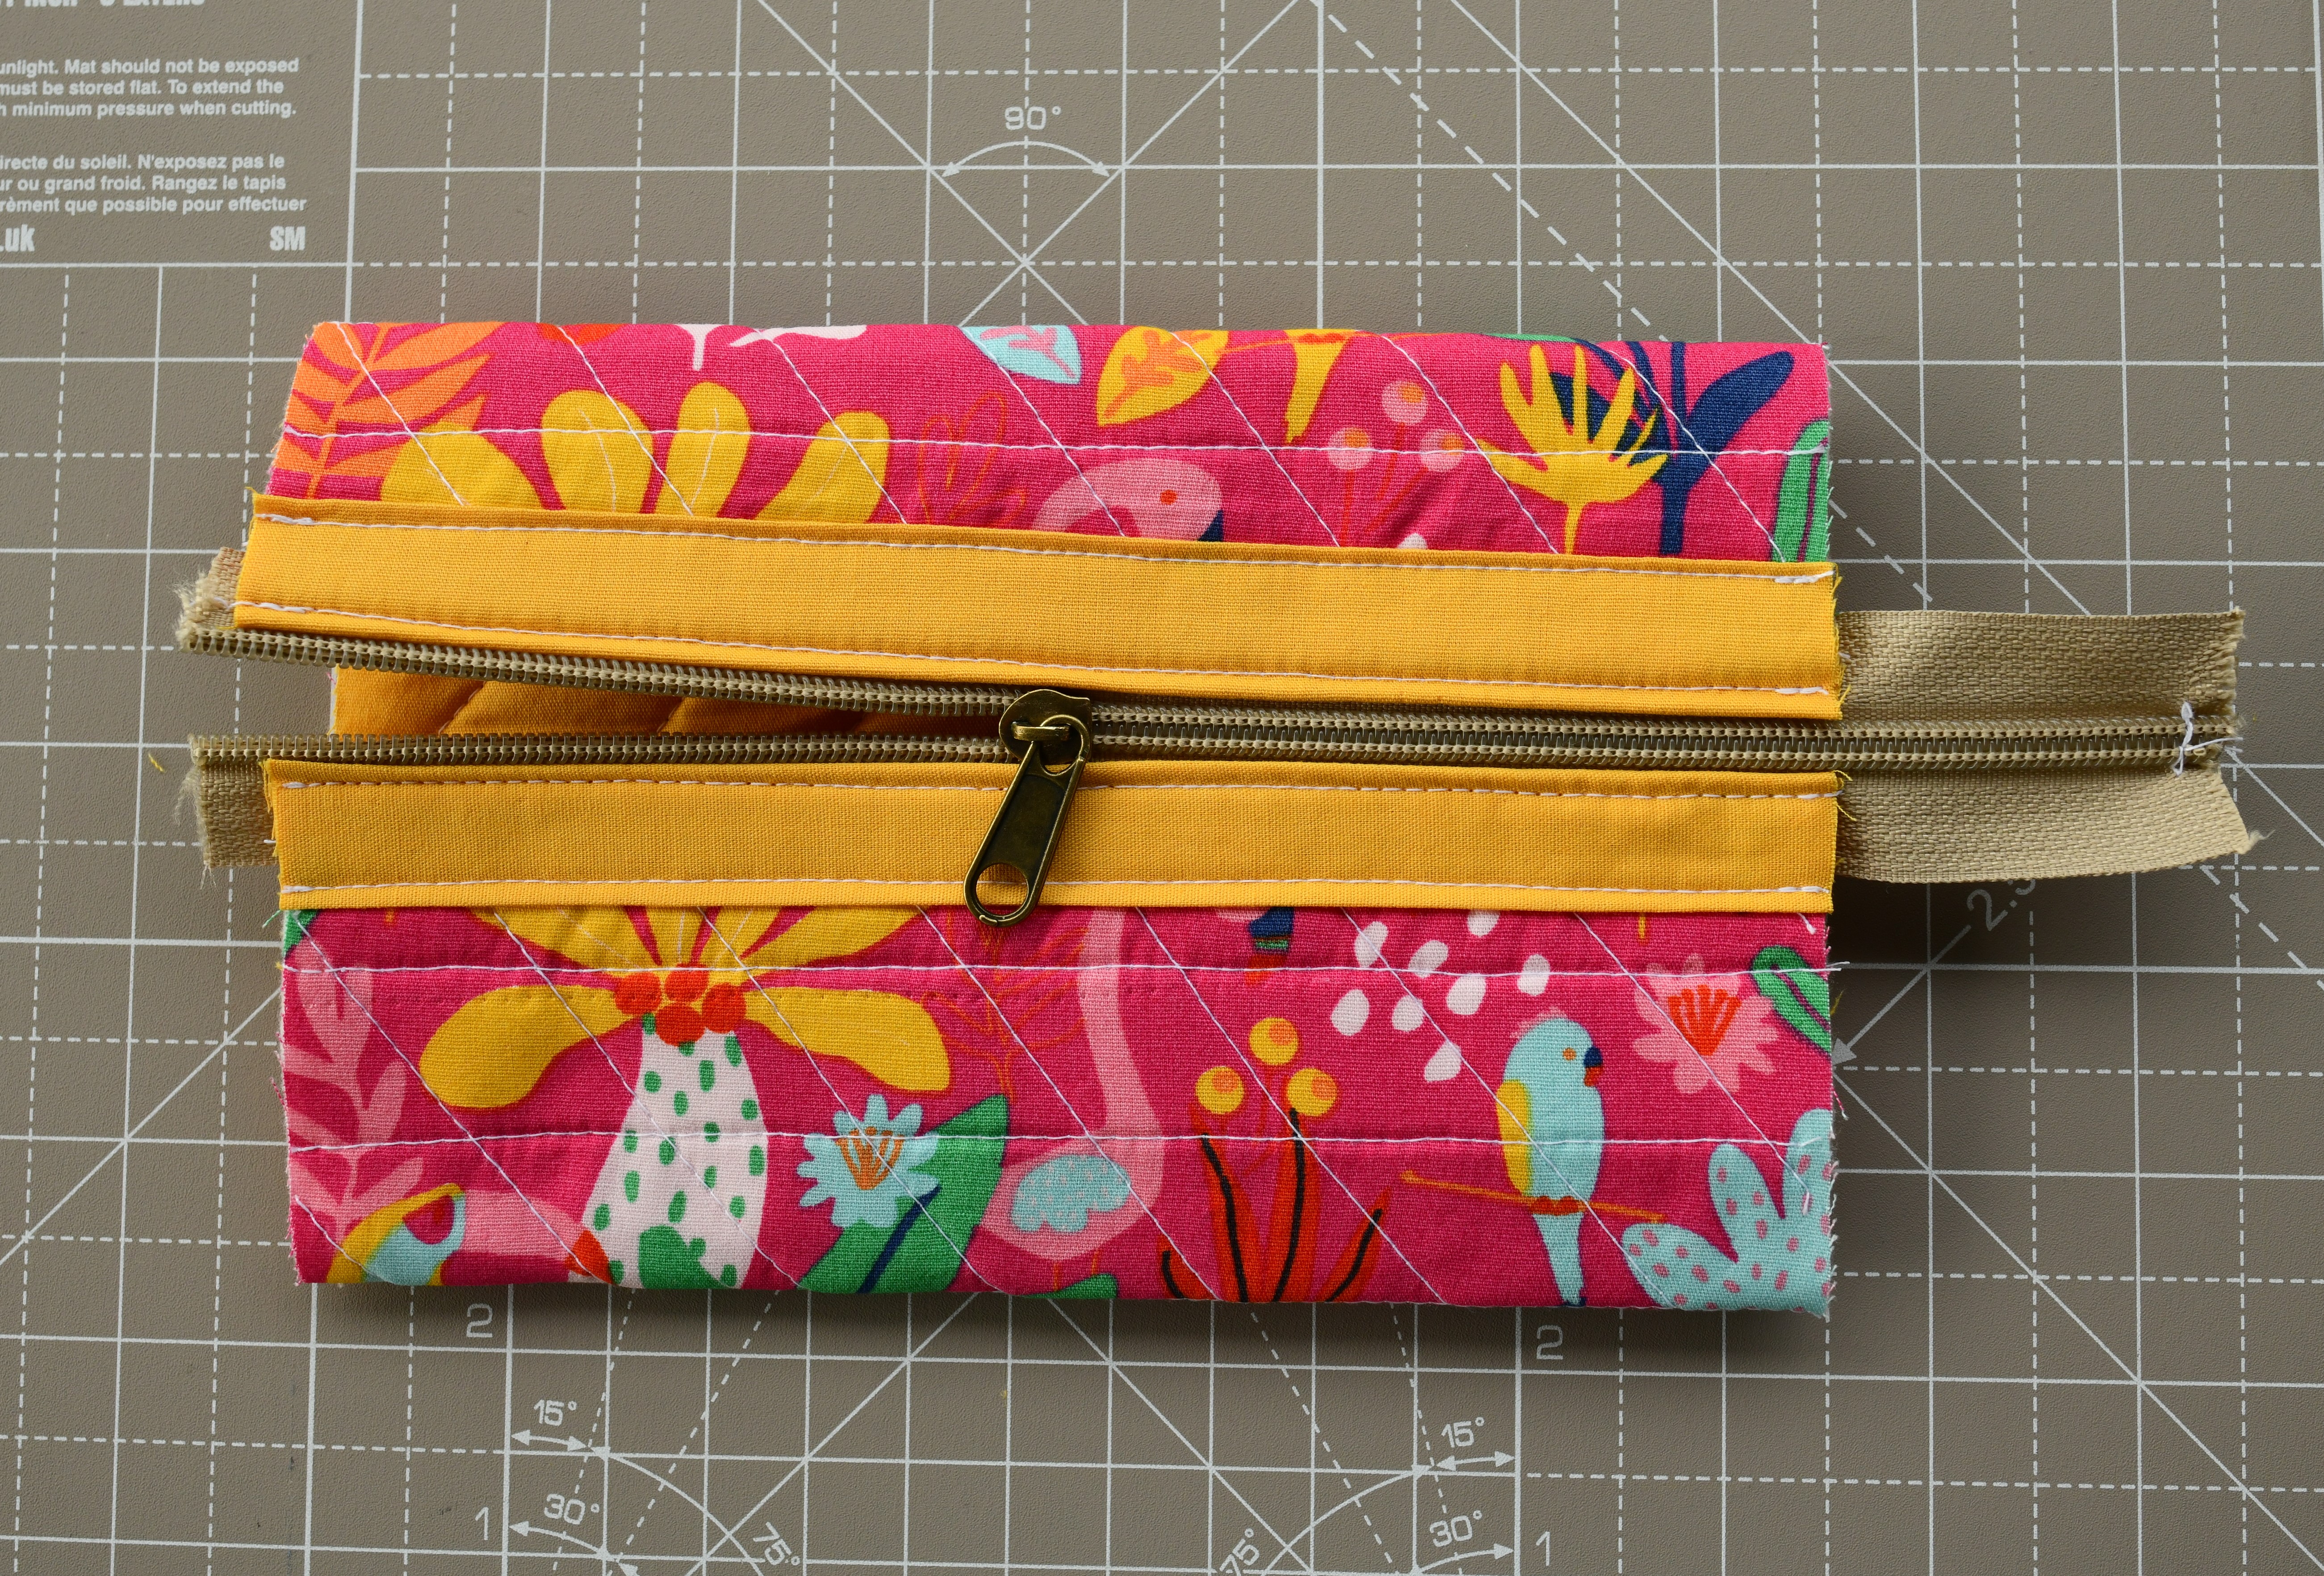
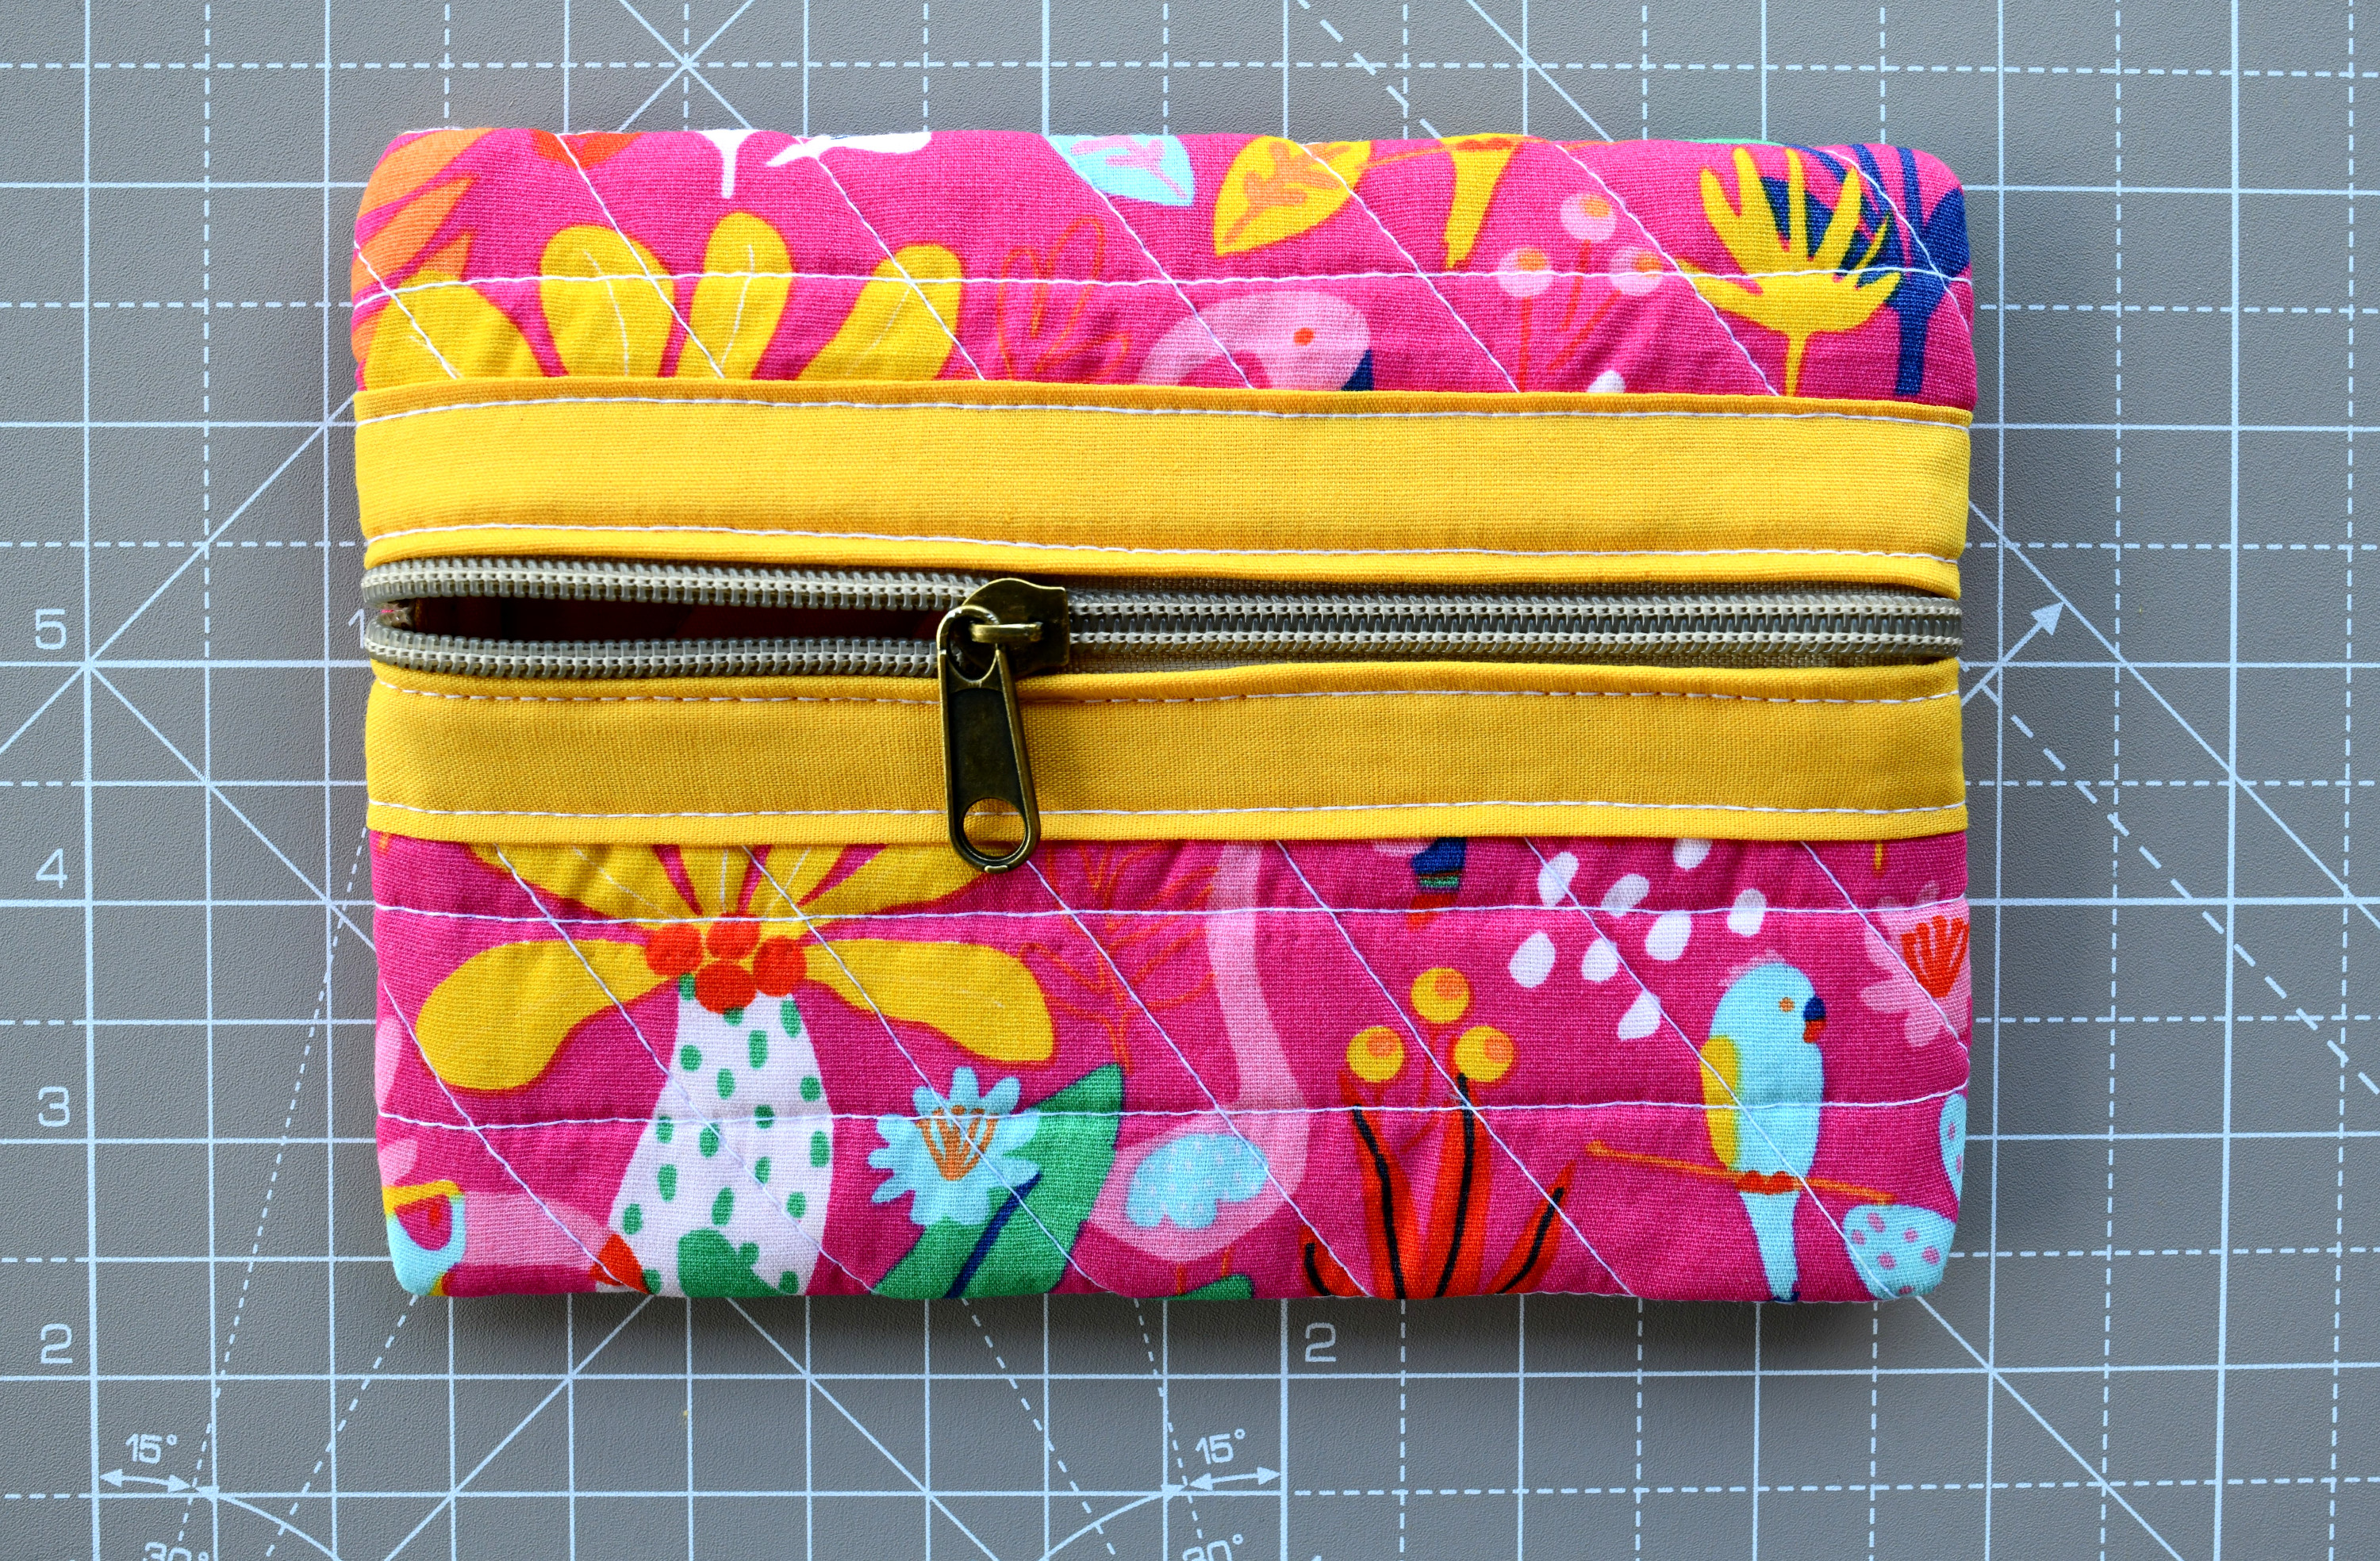
You can choose to place the zipper either in the center of the pouch or closer to the top (as I did). Just make sure the zipper is placed at an equal distance from both edges.
To keep your project looking sharp, use your iron to press the zipper pouch in place.
Remember, there’s no such thing as overusing the iron in this project – it’s your secret weapon for getting that polished, professional finish. So keep it hot and handy right next to your sewing machine!
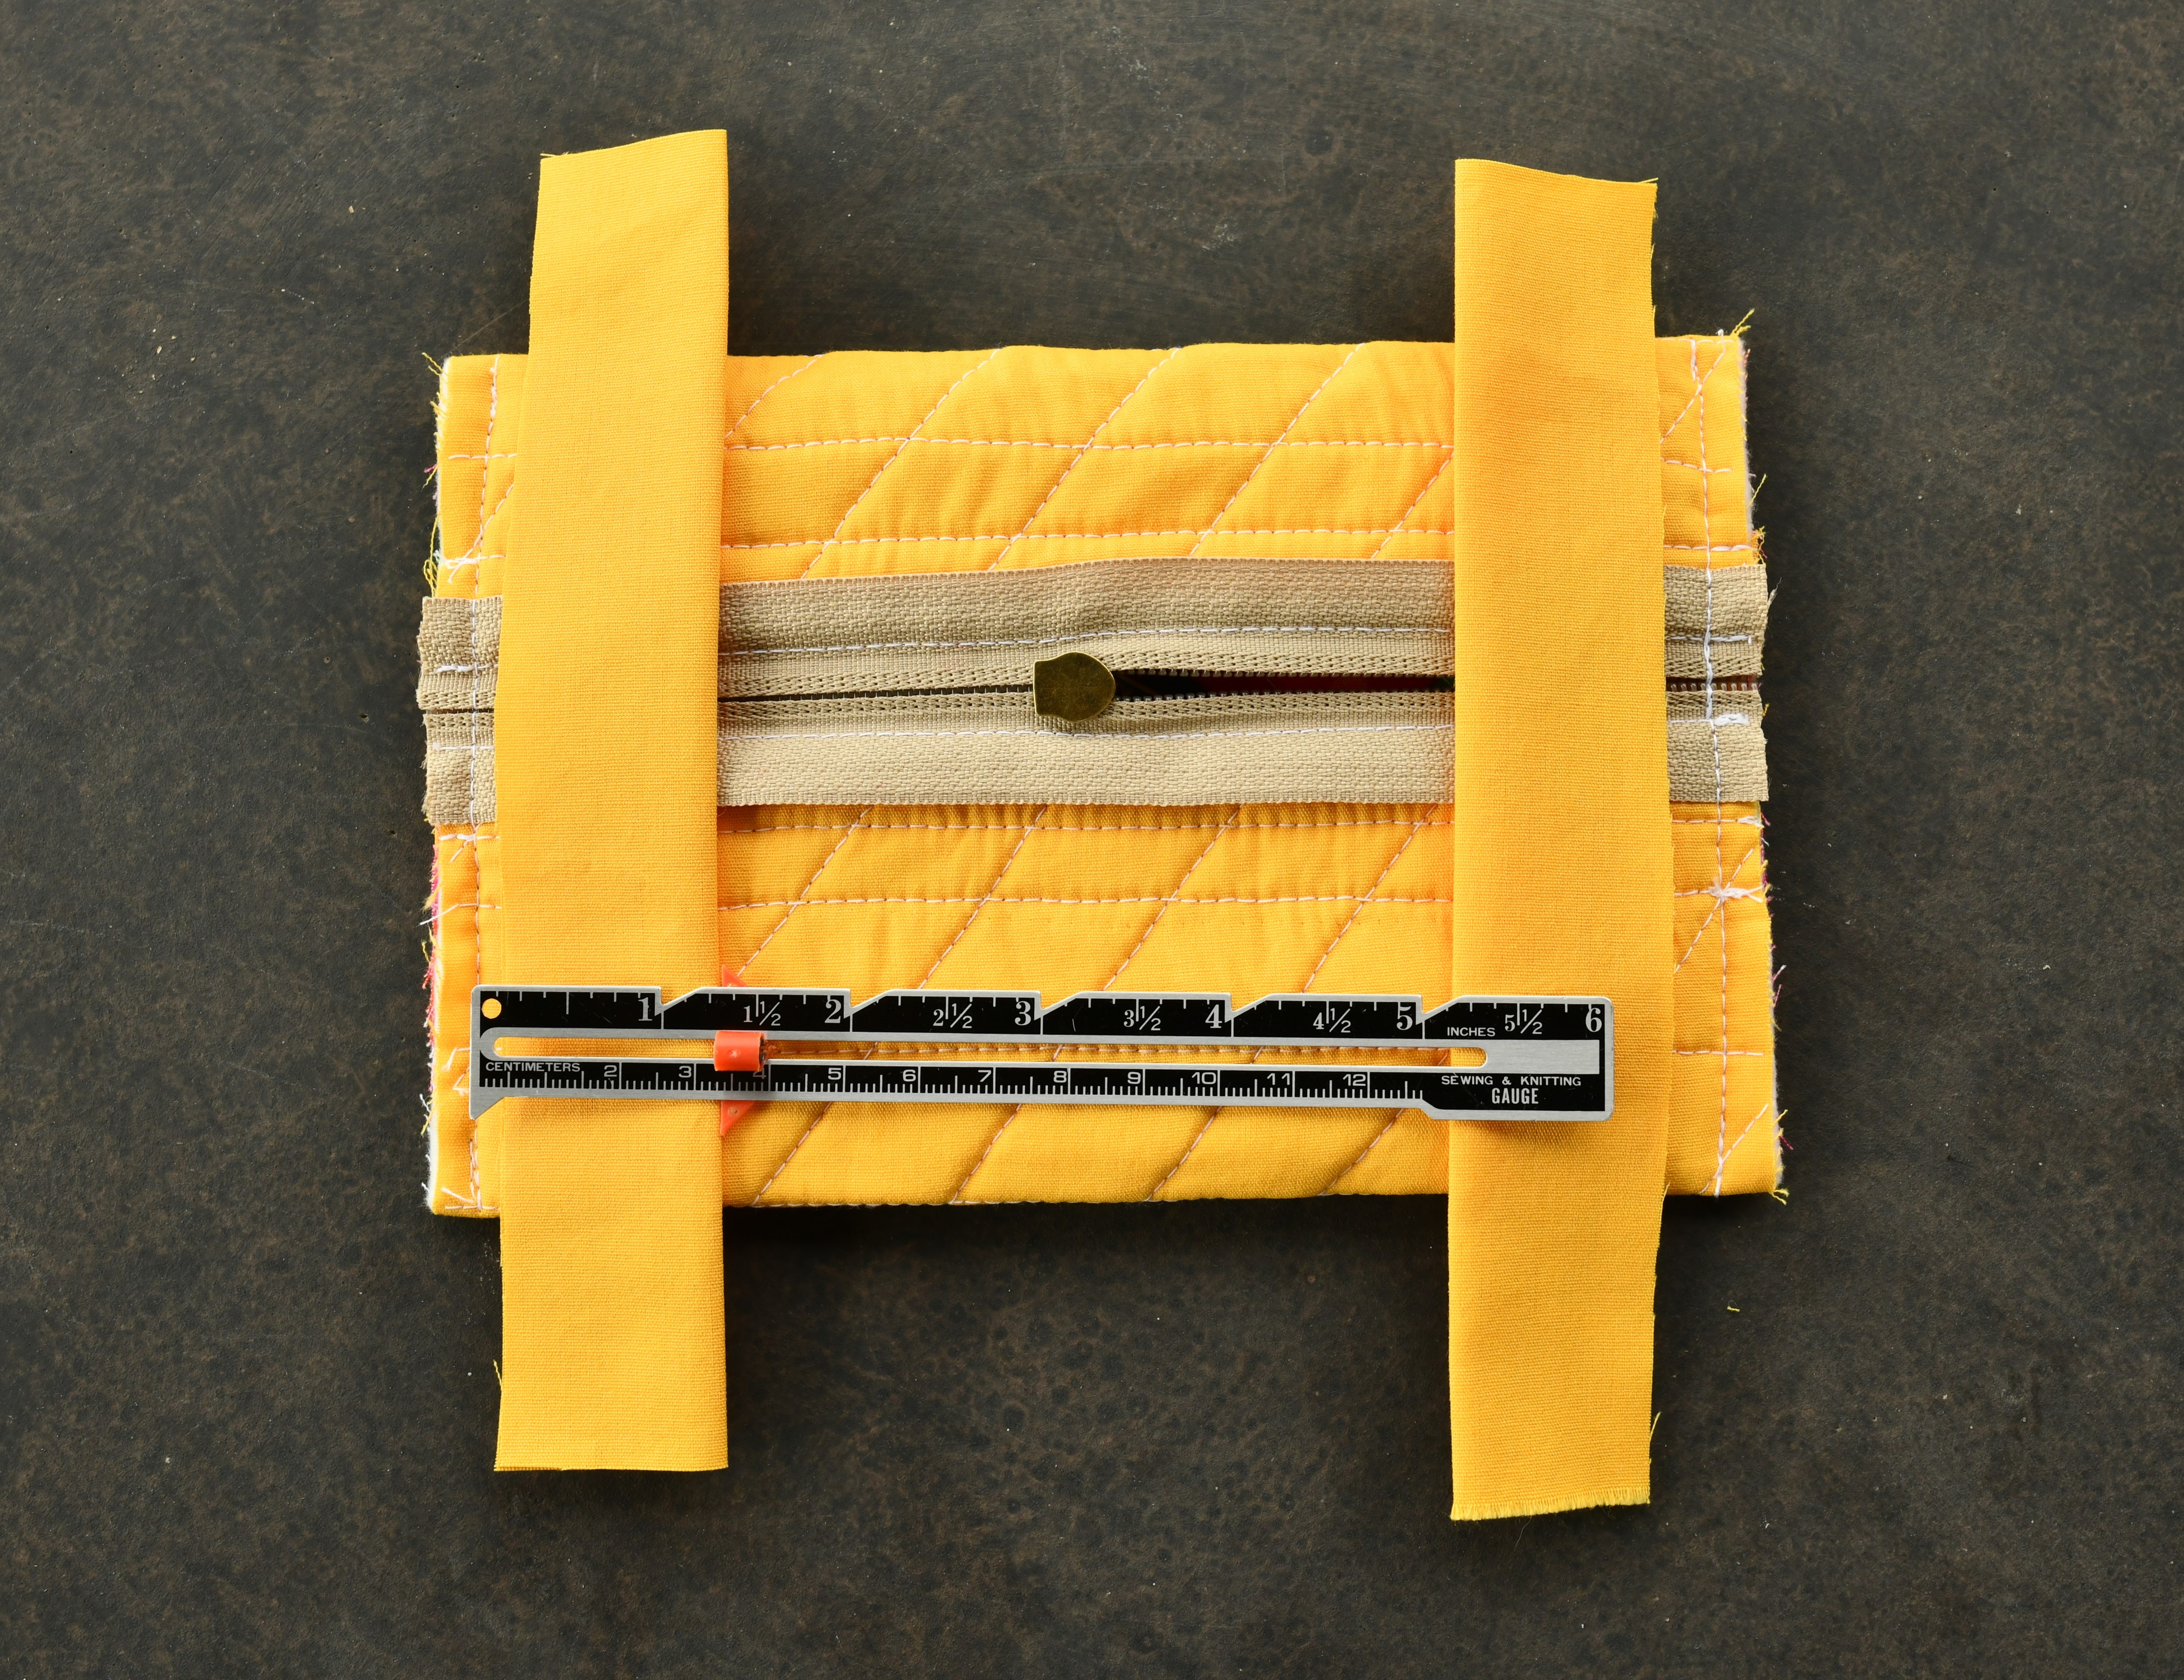
Time to give your quilted zipper pouch its final shape. Now turn your zipper pouch inside out. Using a small 1/4″ seam allowance, stitch the side seam.

Pay attention to this step – it’s crucial that the seams are parallel. Measure the distance between the side seams. You don’t want any surprises when you turn your pouch right side out! A simple measurement check can save you from any mishaps.
Step 8: attach the binding strips
You’re almost there! To make your small zipper pouch a true masterpiece, let’s cover those raw edges. Grab those small 5.5″ x 2.5″ fabric pieces (here’s where you can have some fun and use a different fabric for a pop of color or pattern).
Fold them lengthwise so that they measure 5.5″ by 1 1/4″. Align these folded pieces with the raw edges of your pouch. Using a small 1/4″ seam allowance, sew them in place.
Folding the ends of these fabric pieces creates a nice encasing, giving your pouch a polished look.
Simply fold the binding over to cover the raw edge and secure it by sewing along the folded edge.
Now poke out the corners and give your pouch a good press to flatten it out. It’s these small details that will make your DIY project shine!
And there you have it! You’ve successfully finished your very own quilted zipper pouch. What’s your next sewing adventure?
Let’s keep in touch! You can find me on Facebook, Instagram, and Pinterest.
Related posts