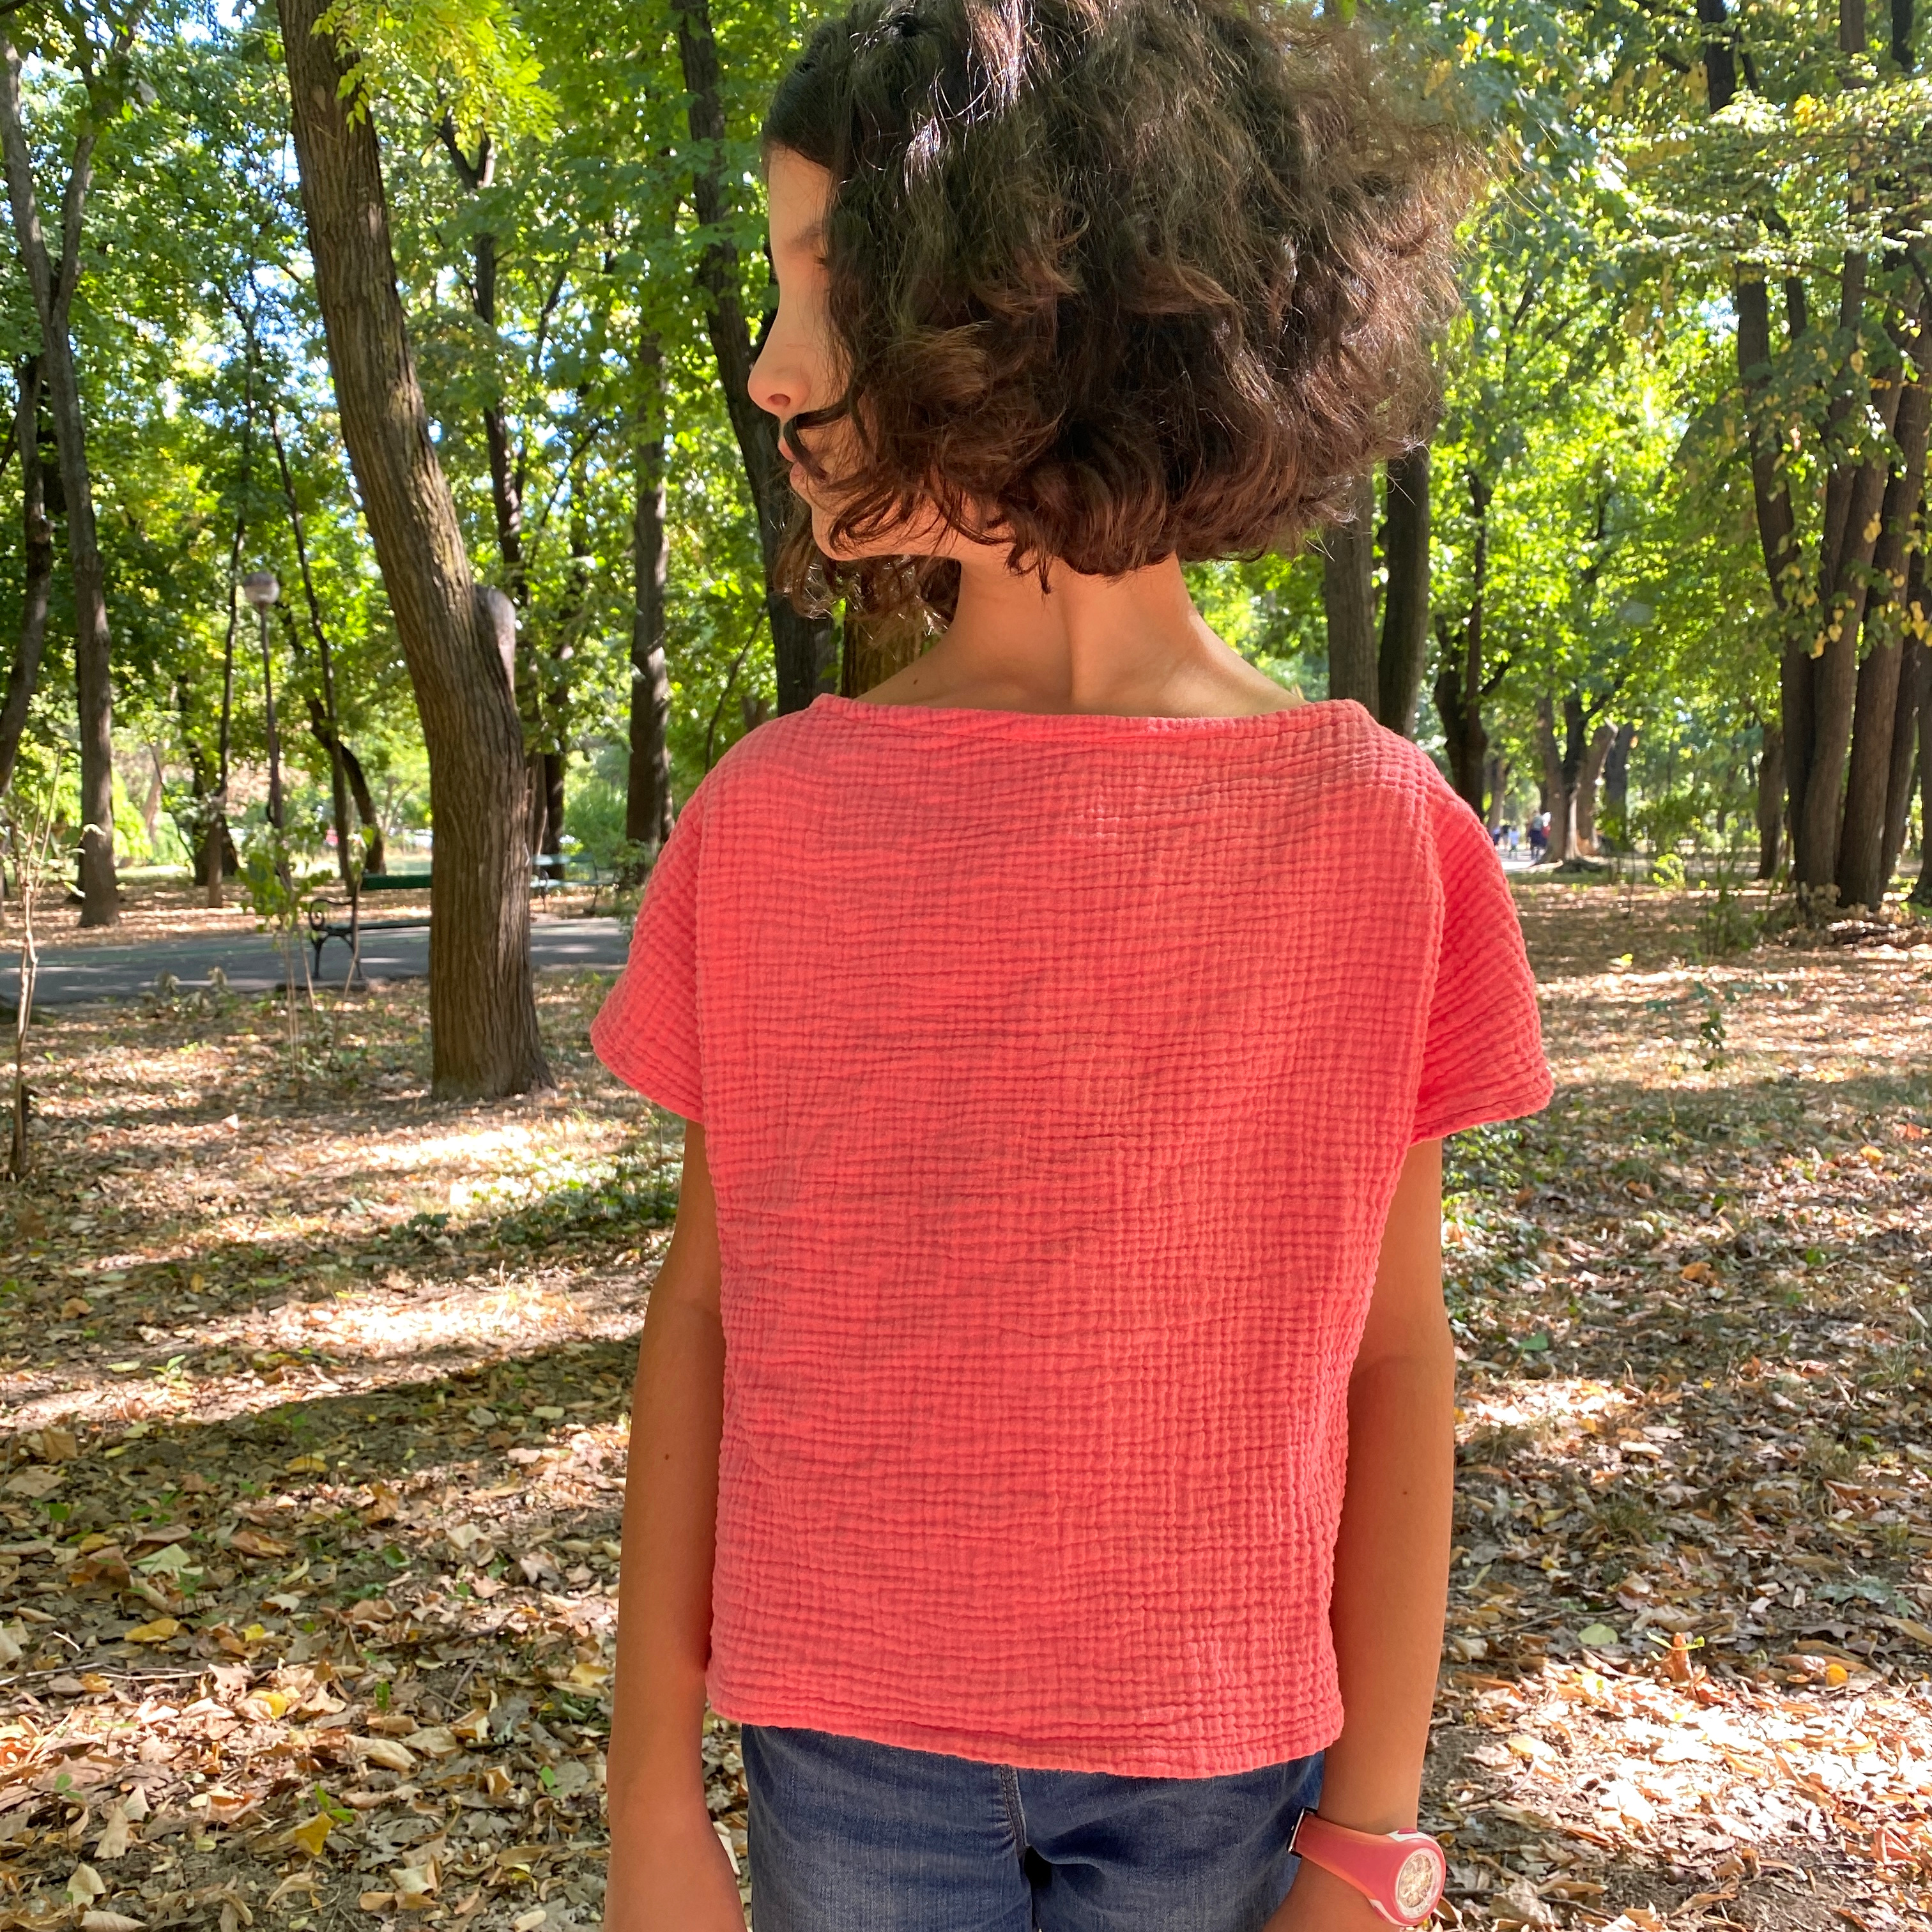
Learn how to make a super easy boxy top for kids, perfect for beginners. You won’t need any fancy pattern skills, just about 1 yard of fabric, an hour of your time, and some basic sewing stuff.
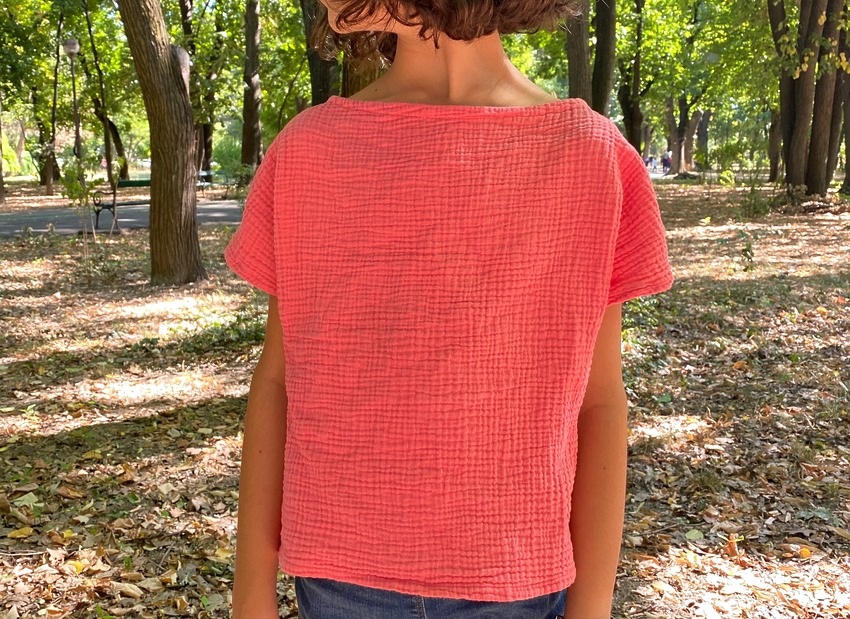
I love how this woven top fits and how nice the double gauze fabric feels against the skin. So comfy! You can also use materials like linen, poplin, chambray, or lightweight denim to make your own adorable top.
This woven top lets your kiddo move freely, and because it’s designed to be roomy, it’ll stay a great fit for your child for a good while.
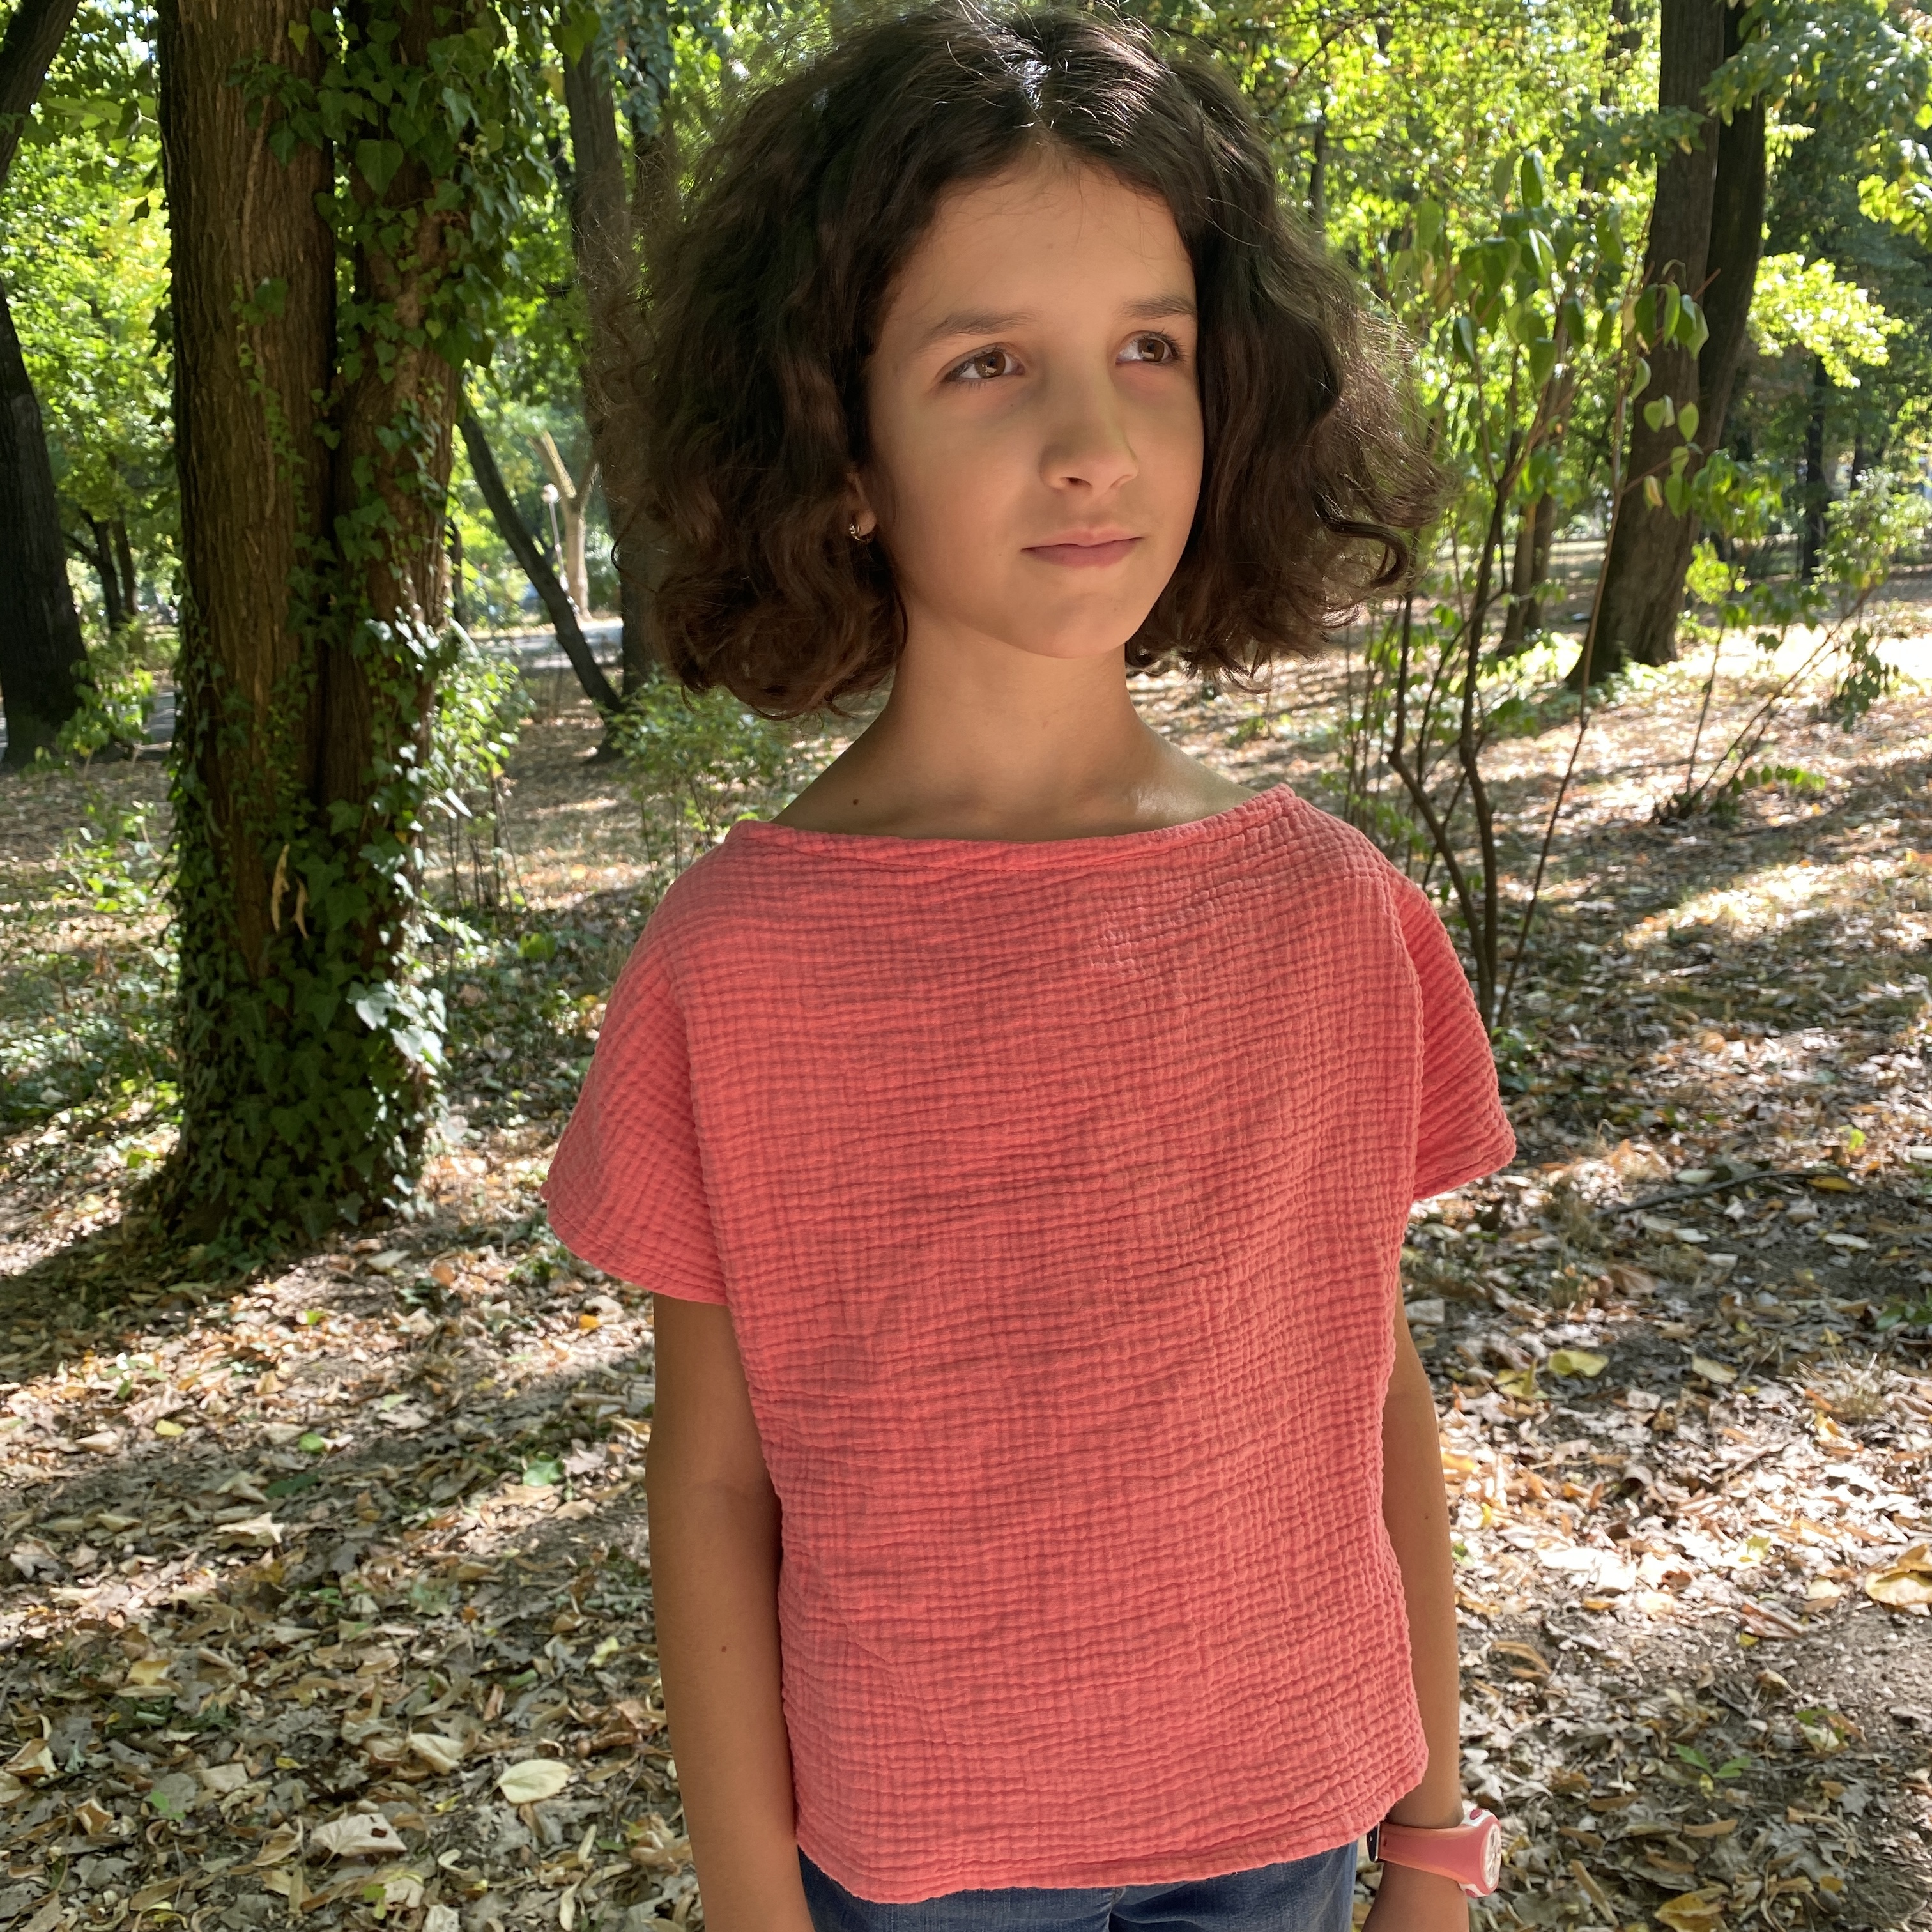
No need to stress about sleeves or zippers – this top is as simple as it gets. It’s also a quick sewing project – it shouldn’t take longer than 1 hour even if you’re a beginner. You can easily pull this woven top over your head. To make it, you’ll only need two straightforward pattern pieces and a bit of bias tape for the neckline.
Easy boxy top tutorial – sewing supplies
- double gauze/ linen/ cotton fabric
- an existing woven top or shirt that fits nicely to use as a template
- sewing machine
- universal needle
- matching thread
- bias tape
- scissors
- fabric marking pen
- sewing pins
Step 1 – prepare the pattern pieces
To get started, check out your kid’s closet and grab a woven top or shirt that fits them nicely. Fold it in half – we’re going to use it as a template.
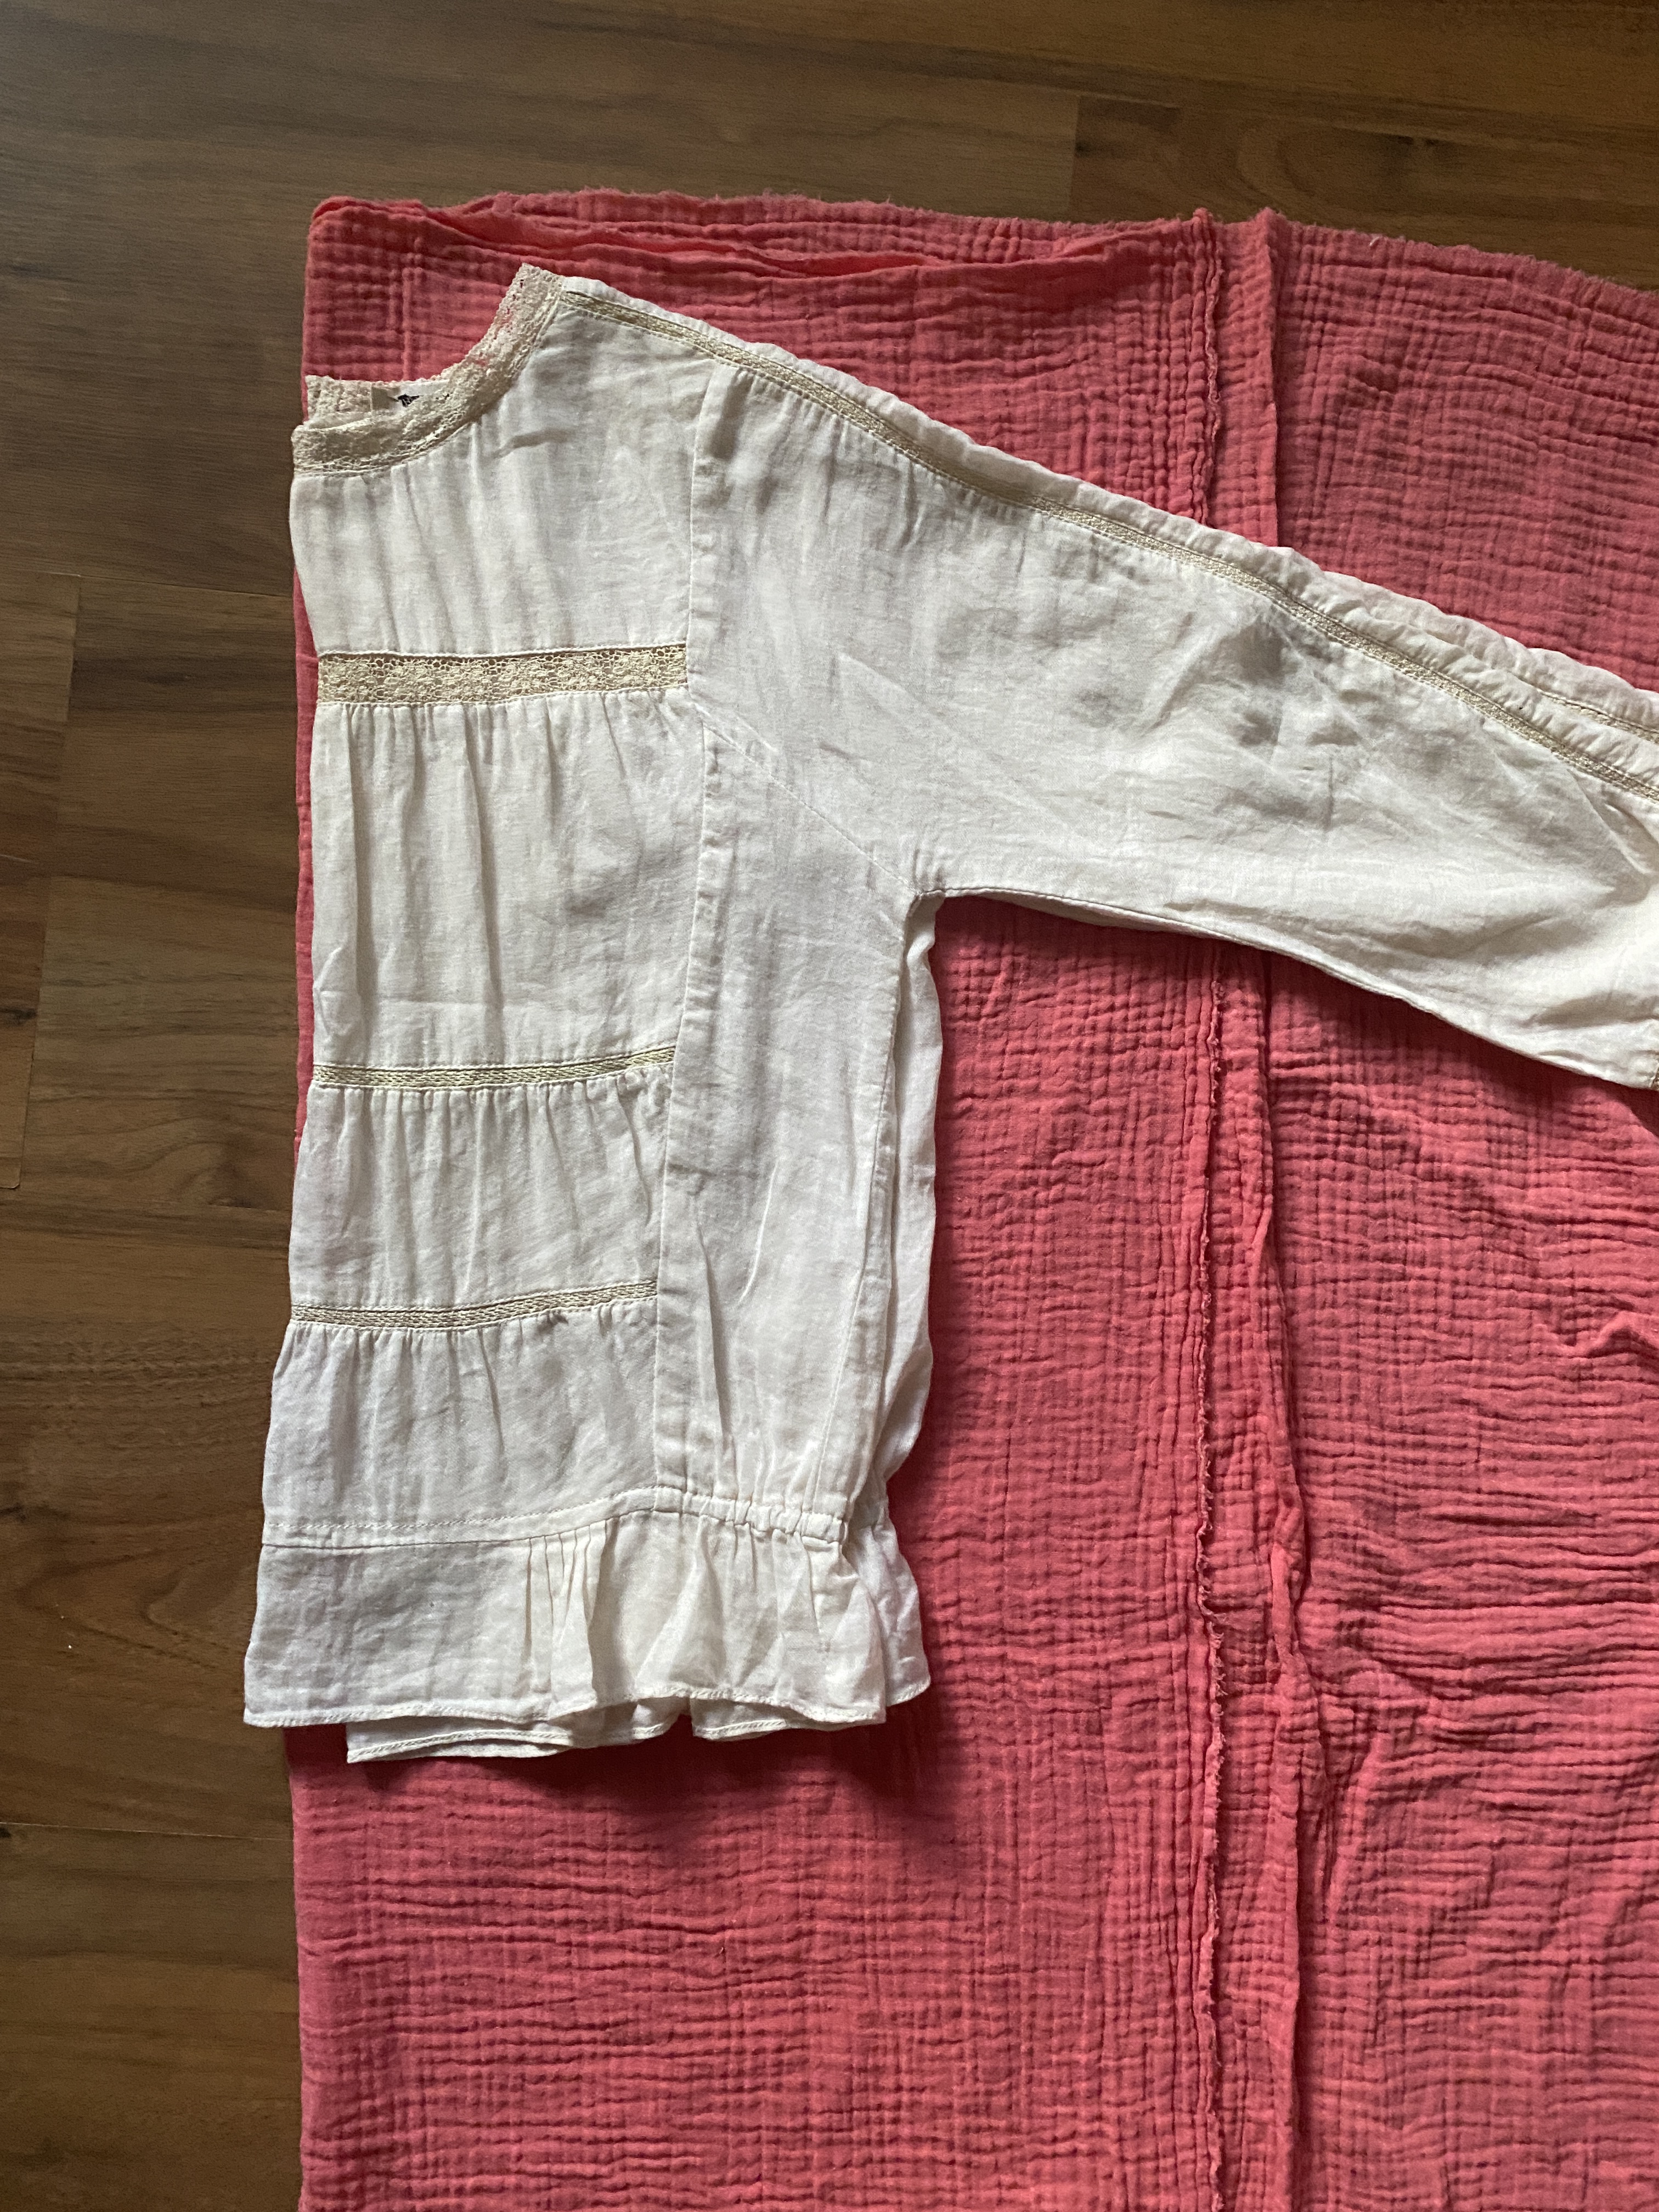
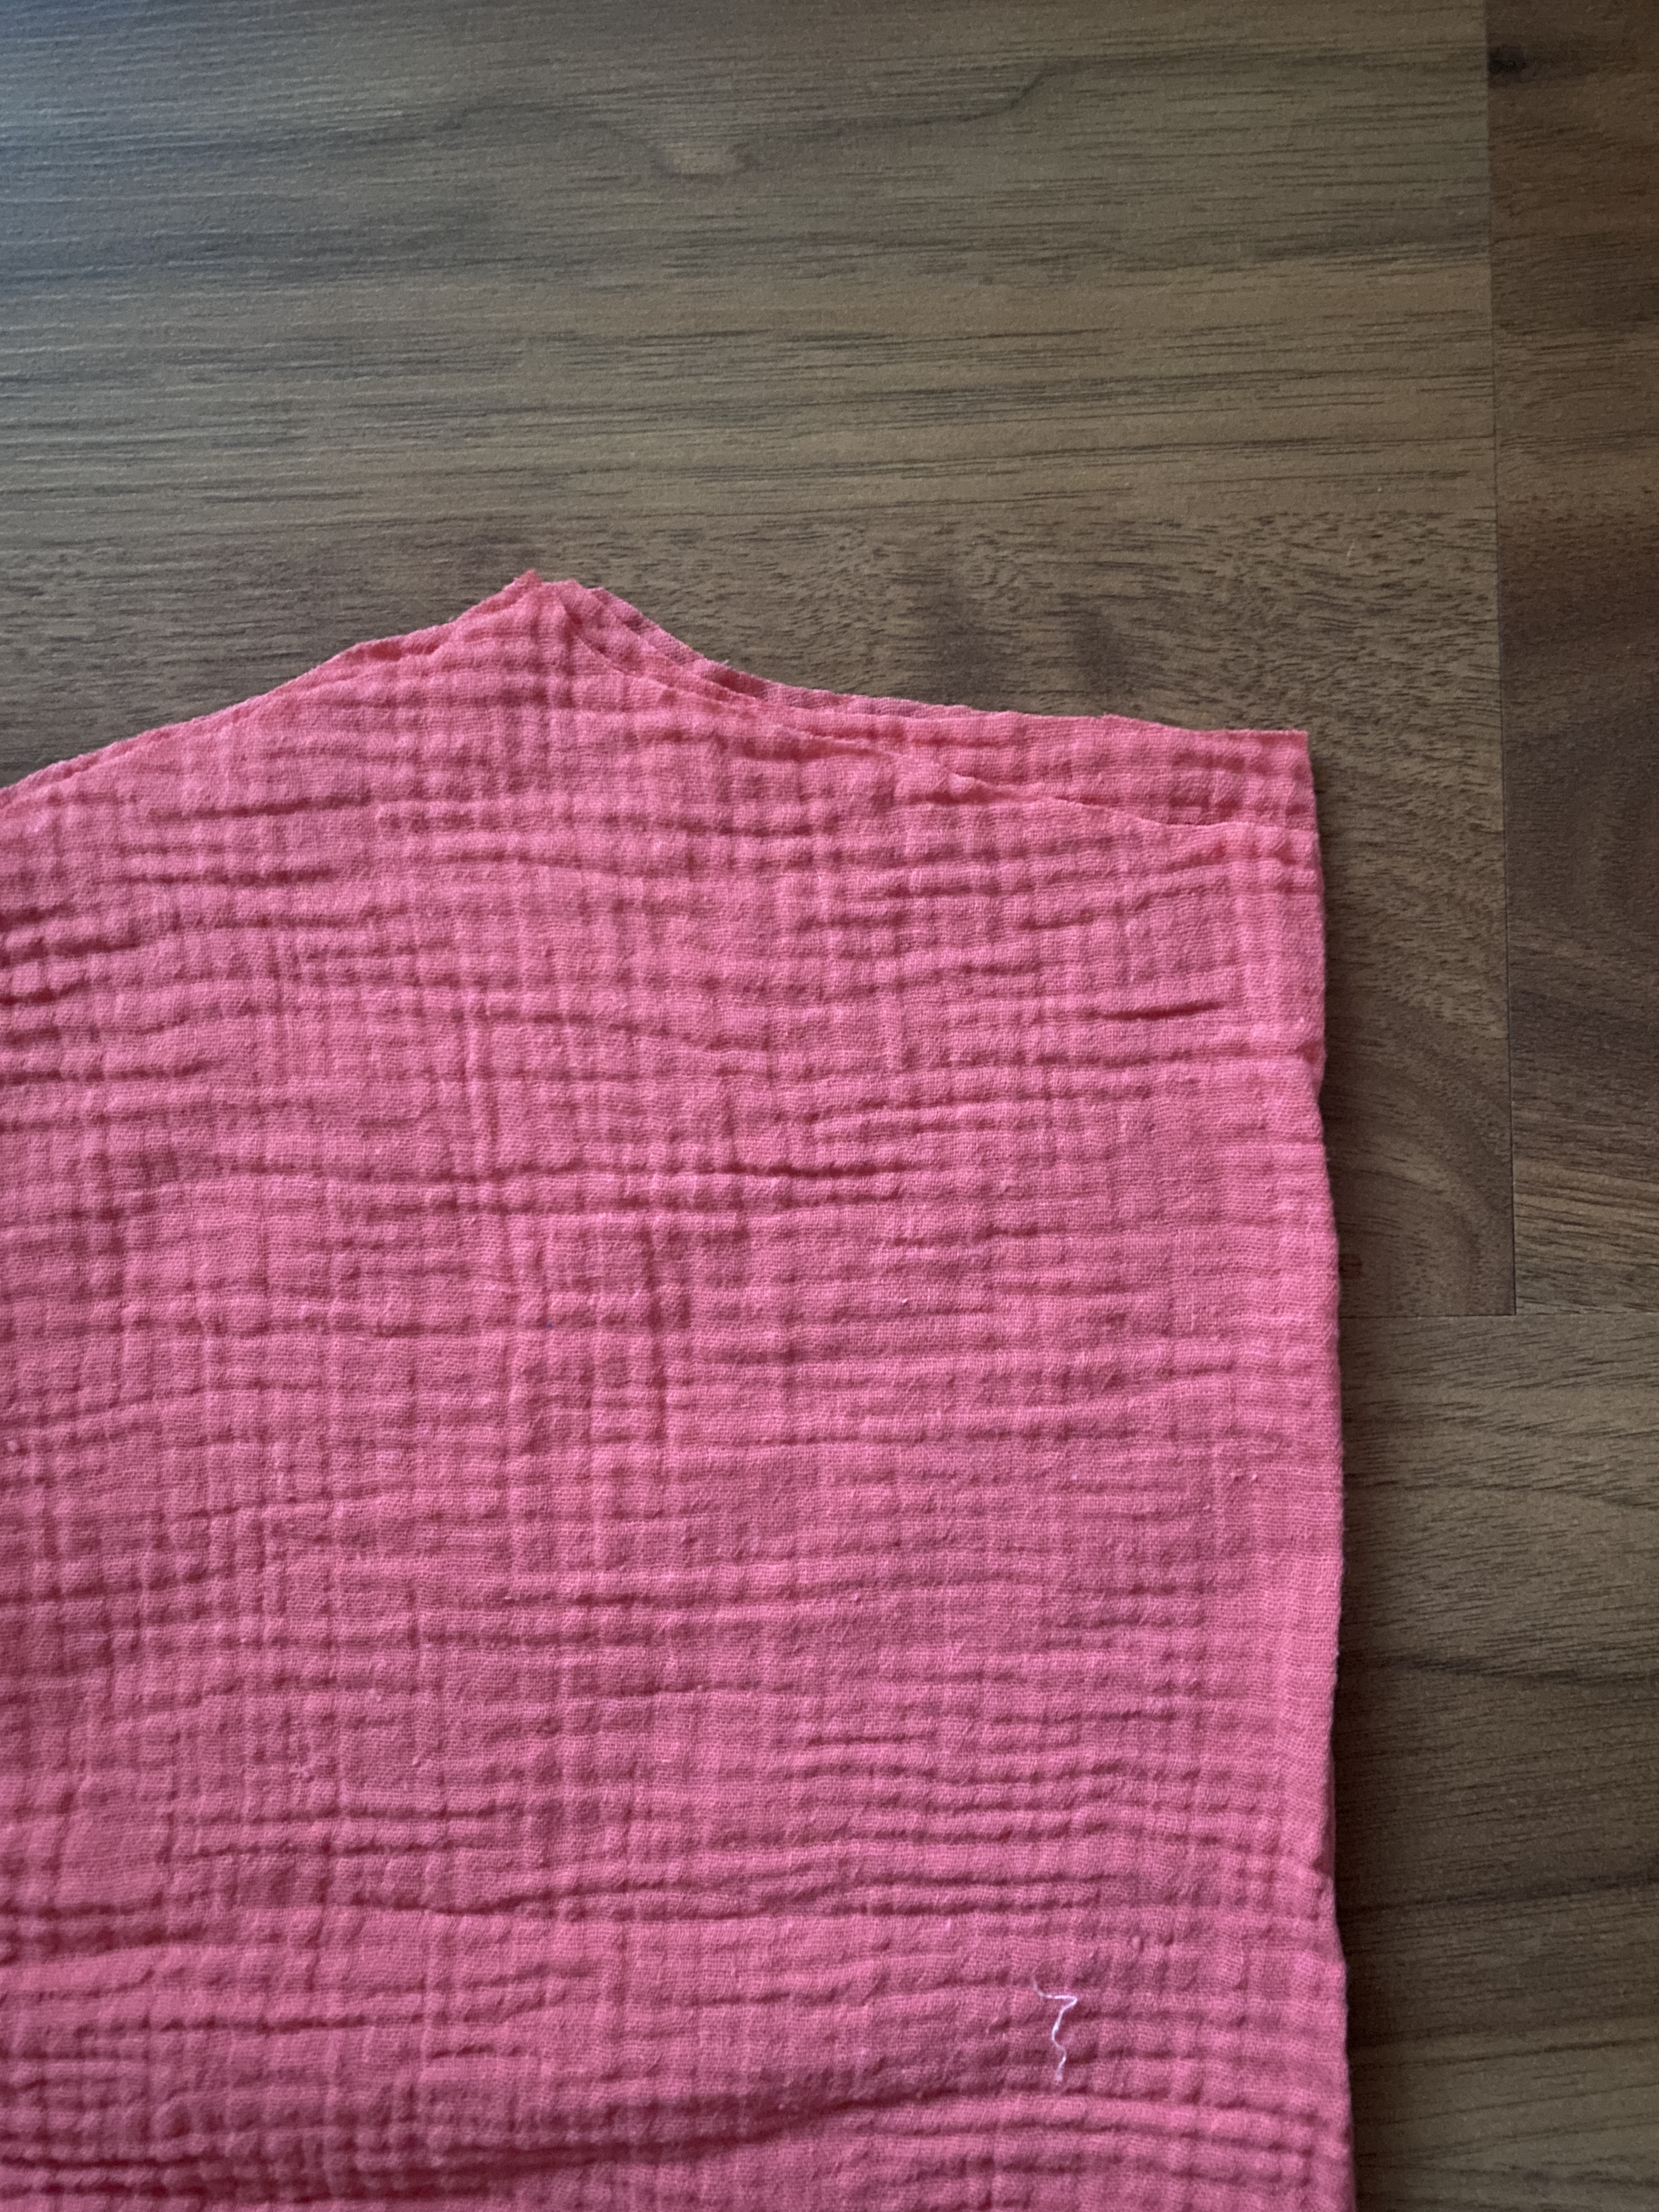
Lay your folded tee on your folded fabric and let’s get tracing. Extend the armhole slightly at the bottom and add some extra room on the sides. Cut out this pattern piece, and then use it to cut out another identical one.
Tip: If you’re aiming for an extra roomy, oversized top, just extend it further below the underarm and add some extra wiggle room to the sides.
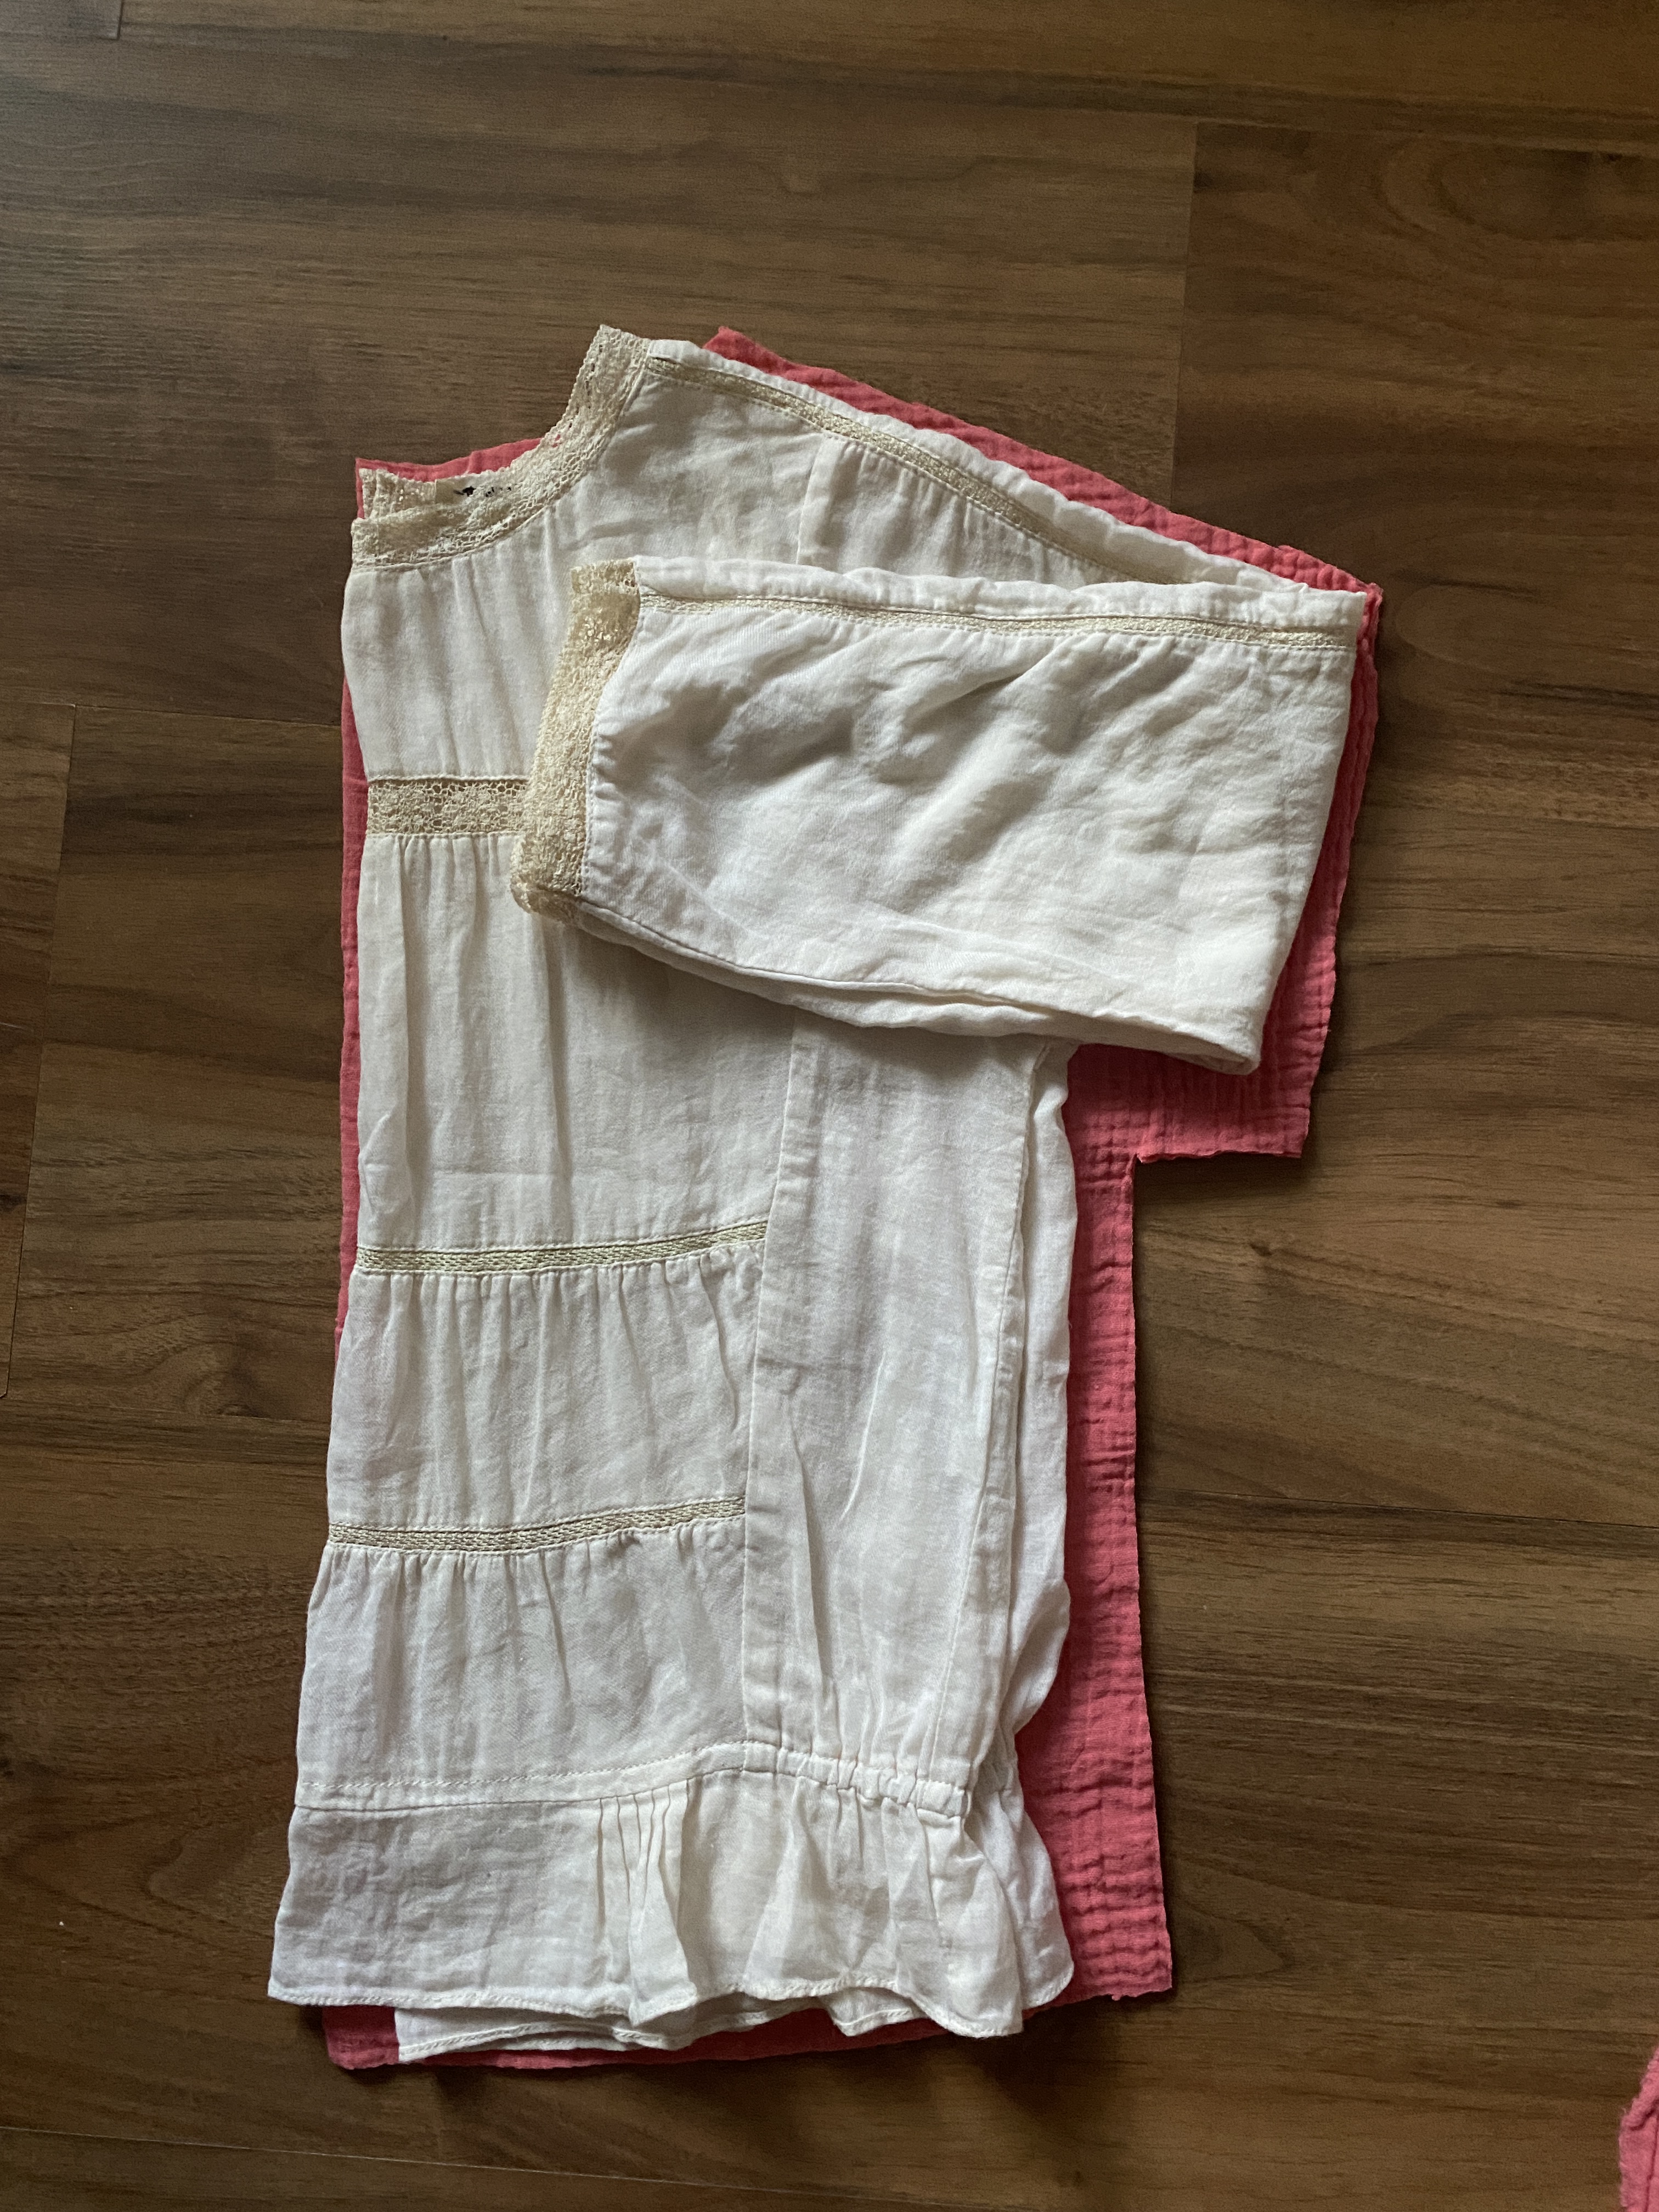
Now stack these two pattern pieces on top of each other. From one of them, cut a slightly deeper neckline for the front of the top.
You should now have two pieces, both folded: one with the front neckline and one for the back. The back piece will be exactly like the front, except for the neckline.
Step 2 – sew the shoulder and side seams
Next up on this easy boxy top tutorial, let’s put these pieces together! Lay them right sides facing each other and sew along both shoulder seams and then down the side seams. See the picture below for reference.
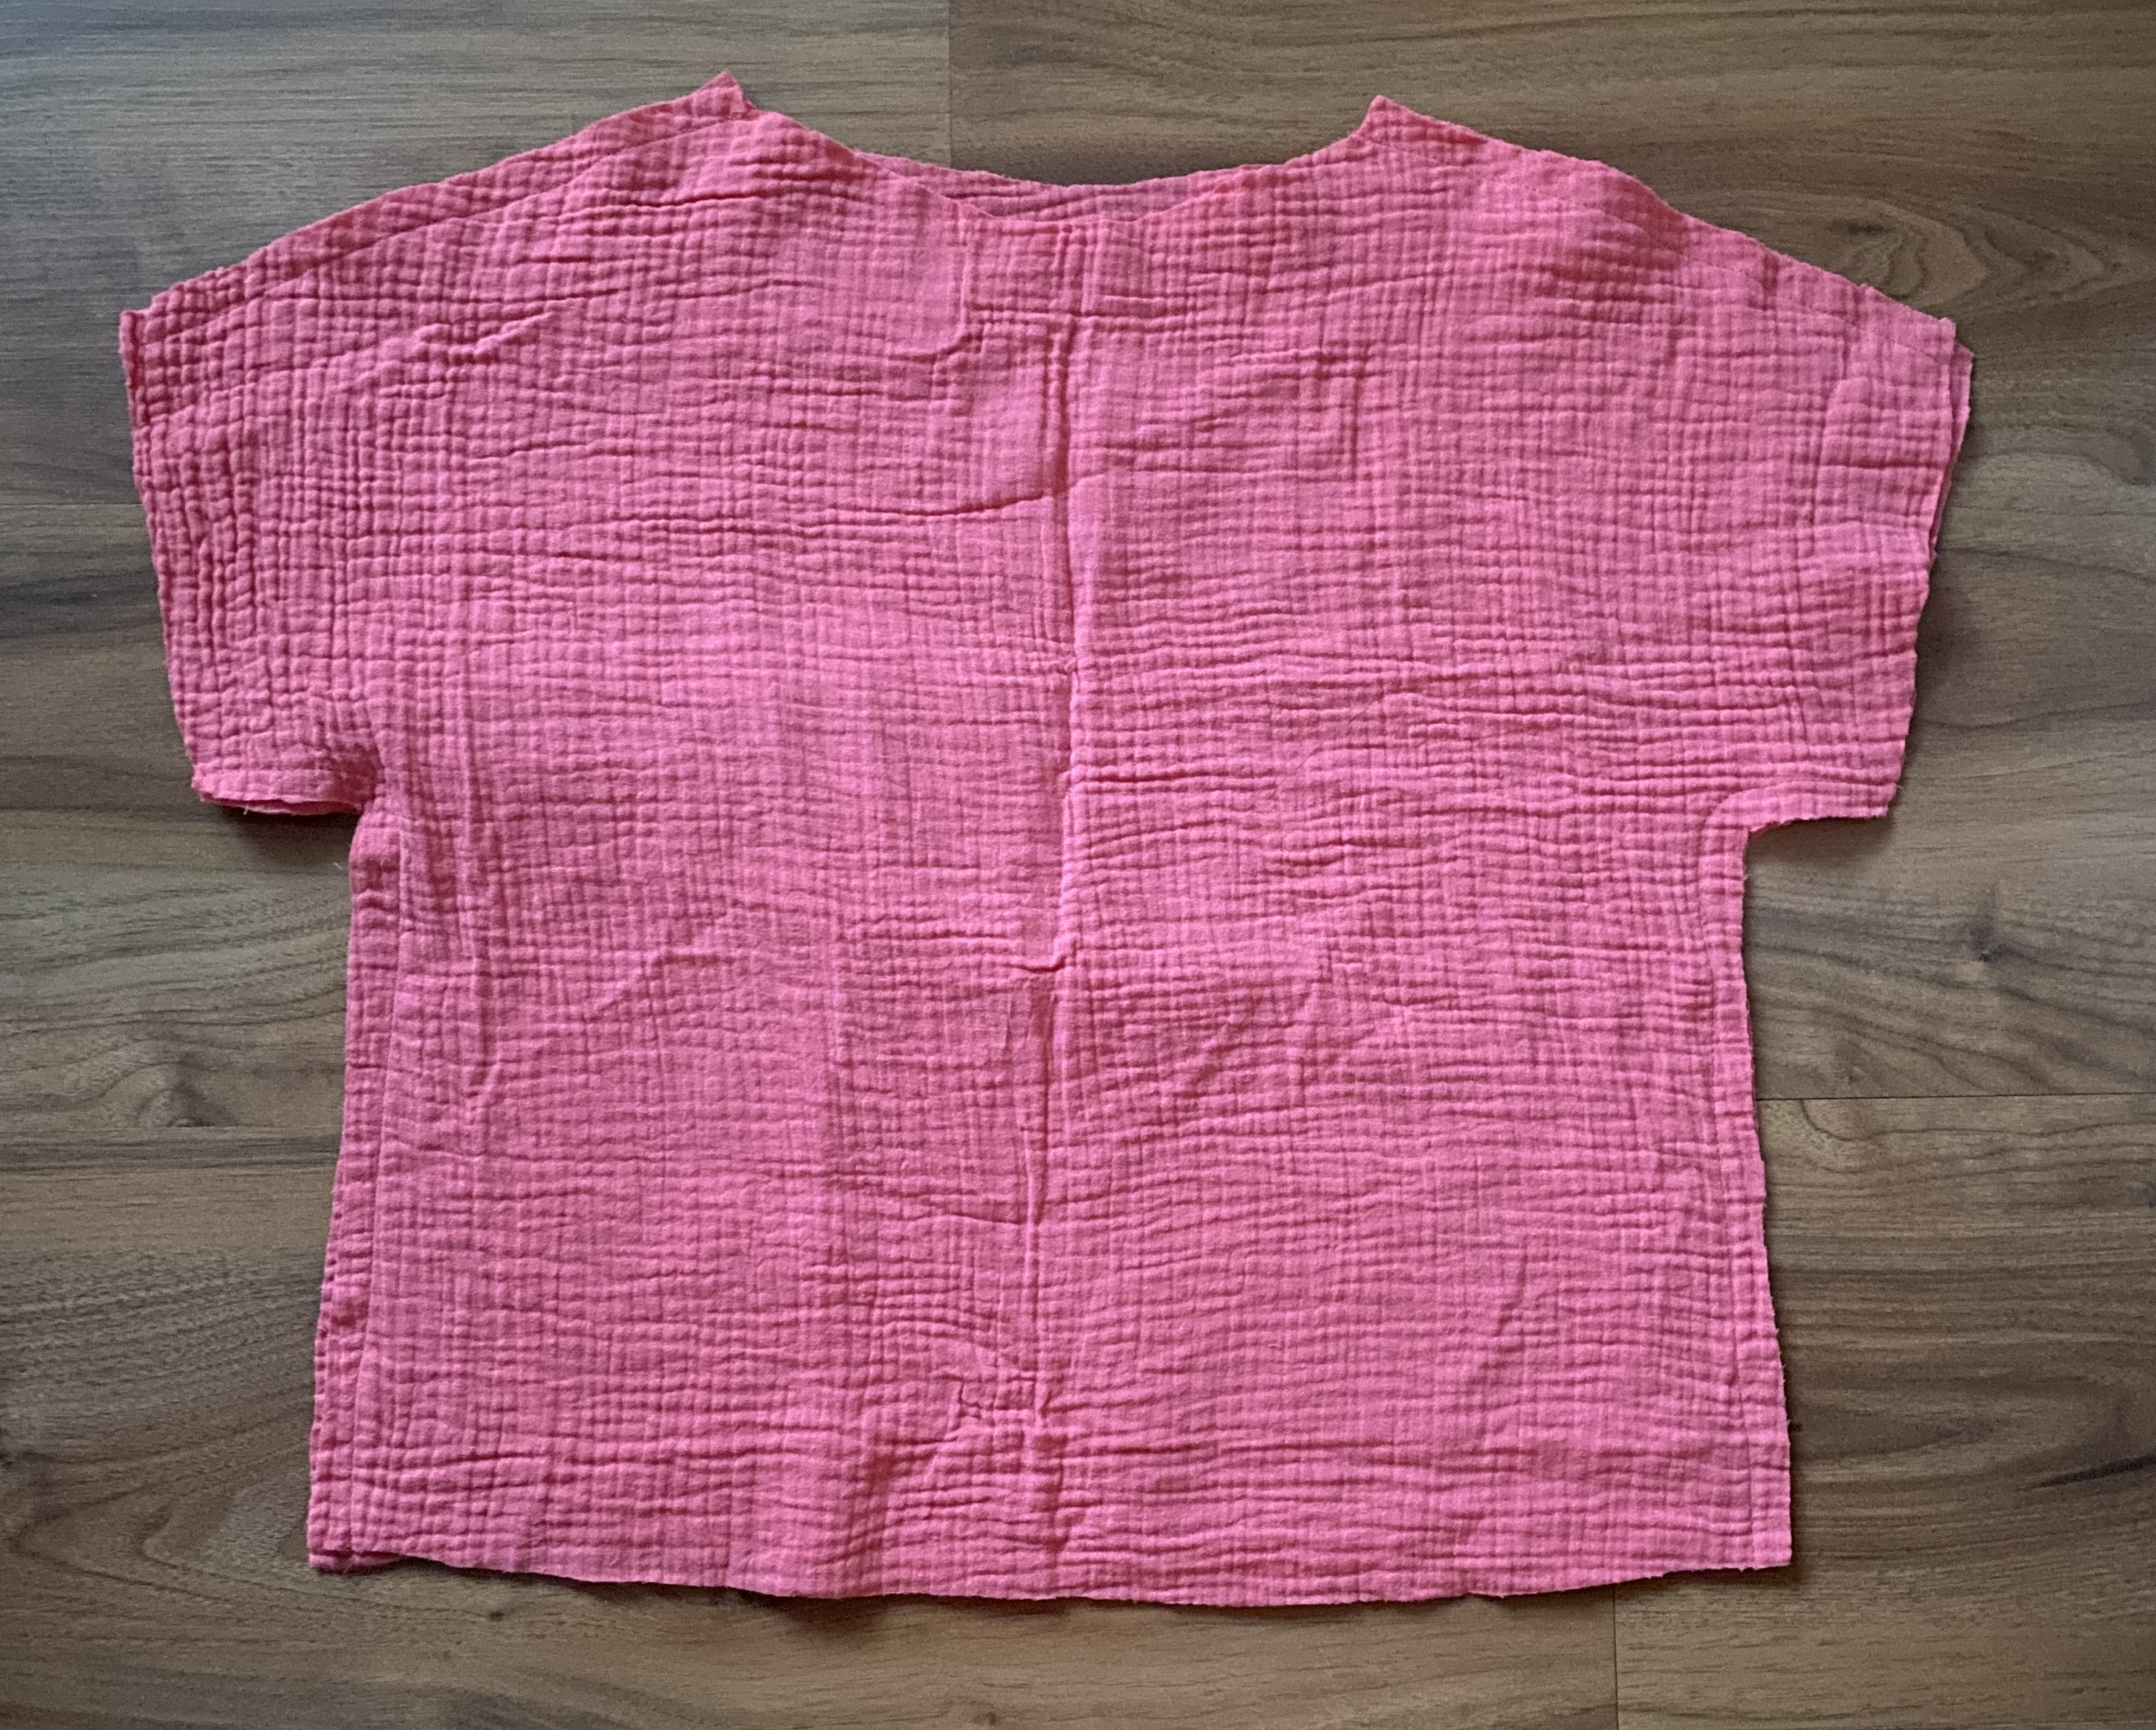
Now, here’s a crucial step – stay stitch around the neckline. This is important to prevent your fabric from stretching. It’ll make sure you can easily put on and take off your top without any fabric distortion.
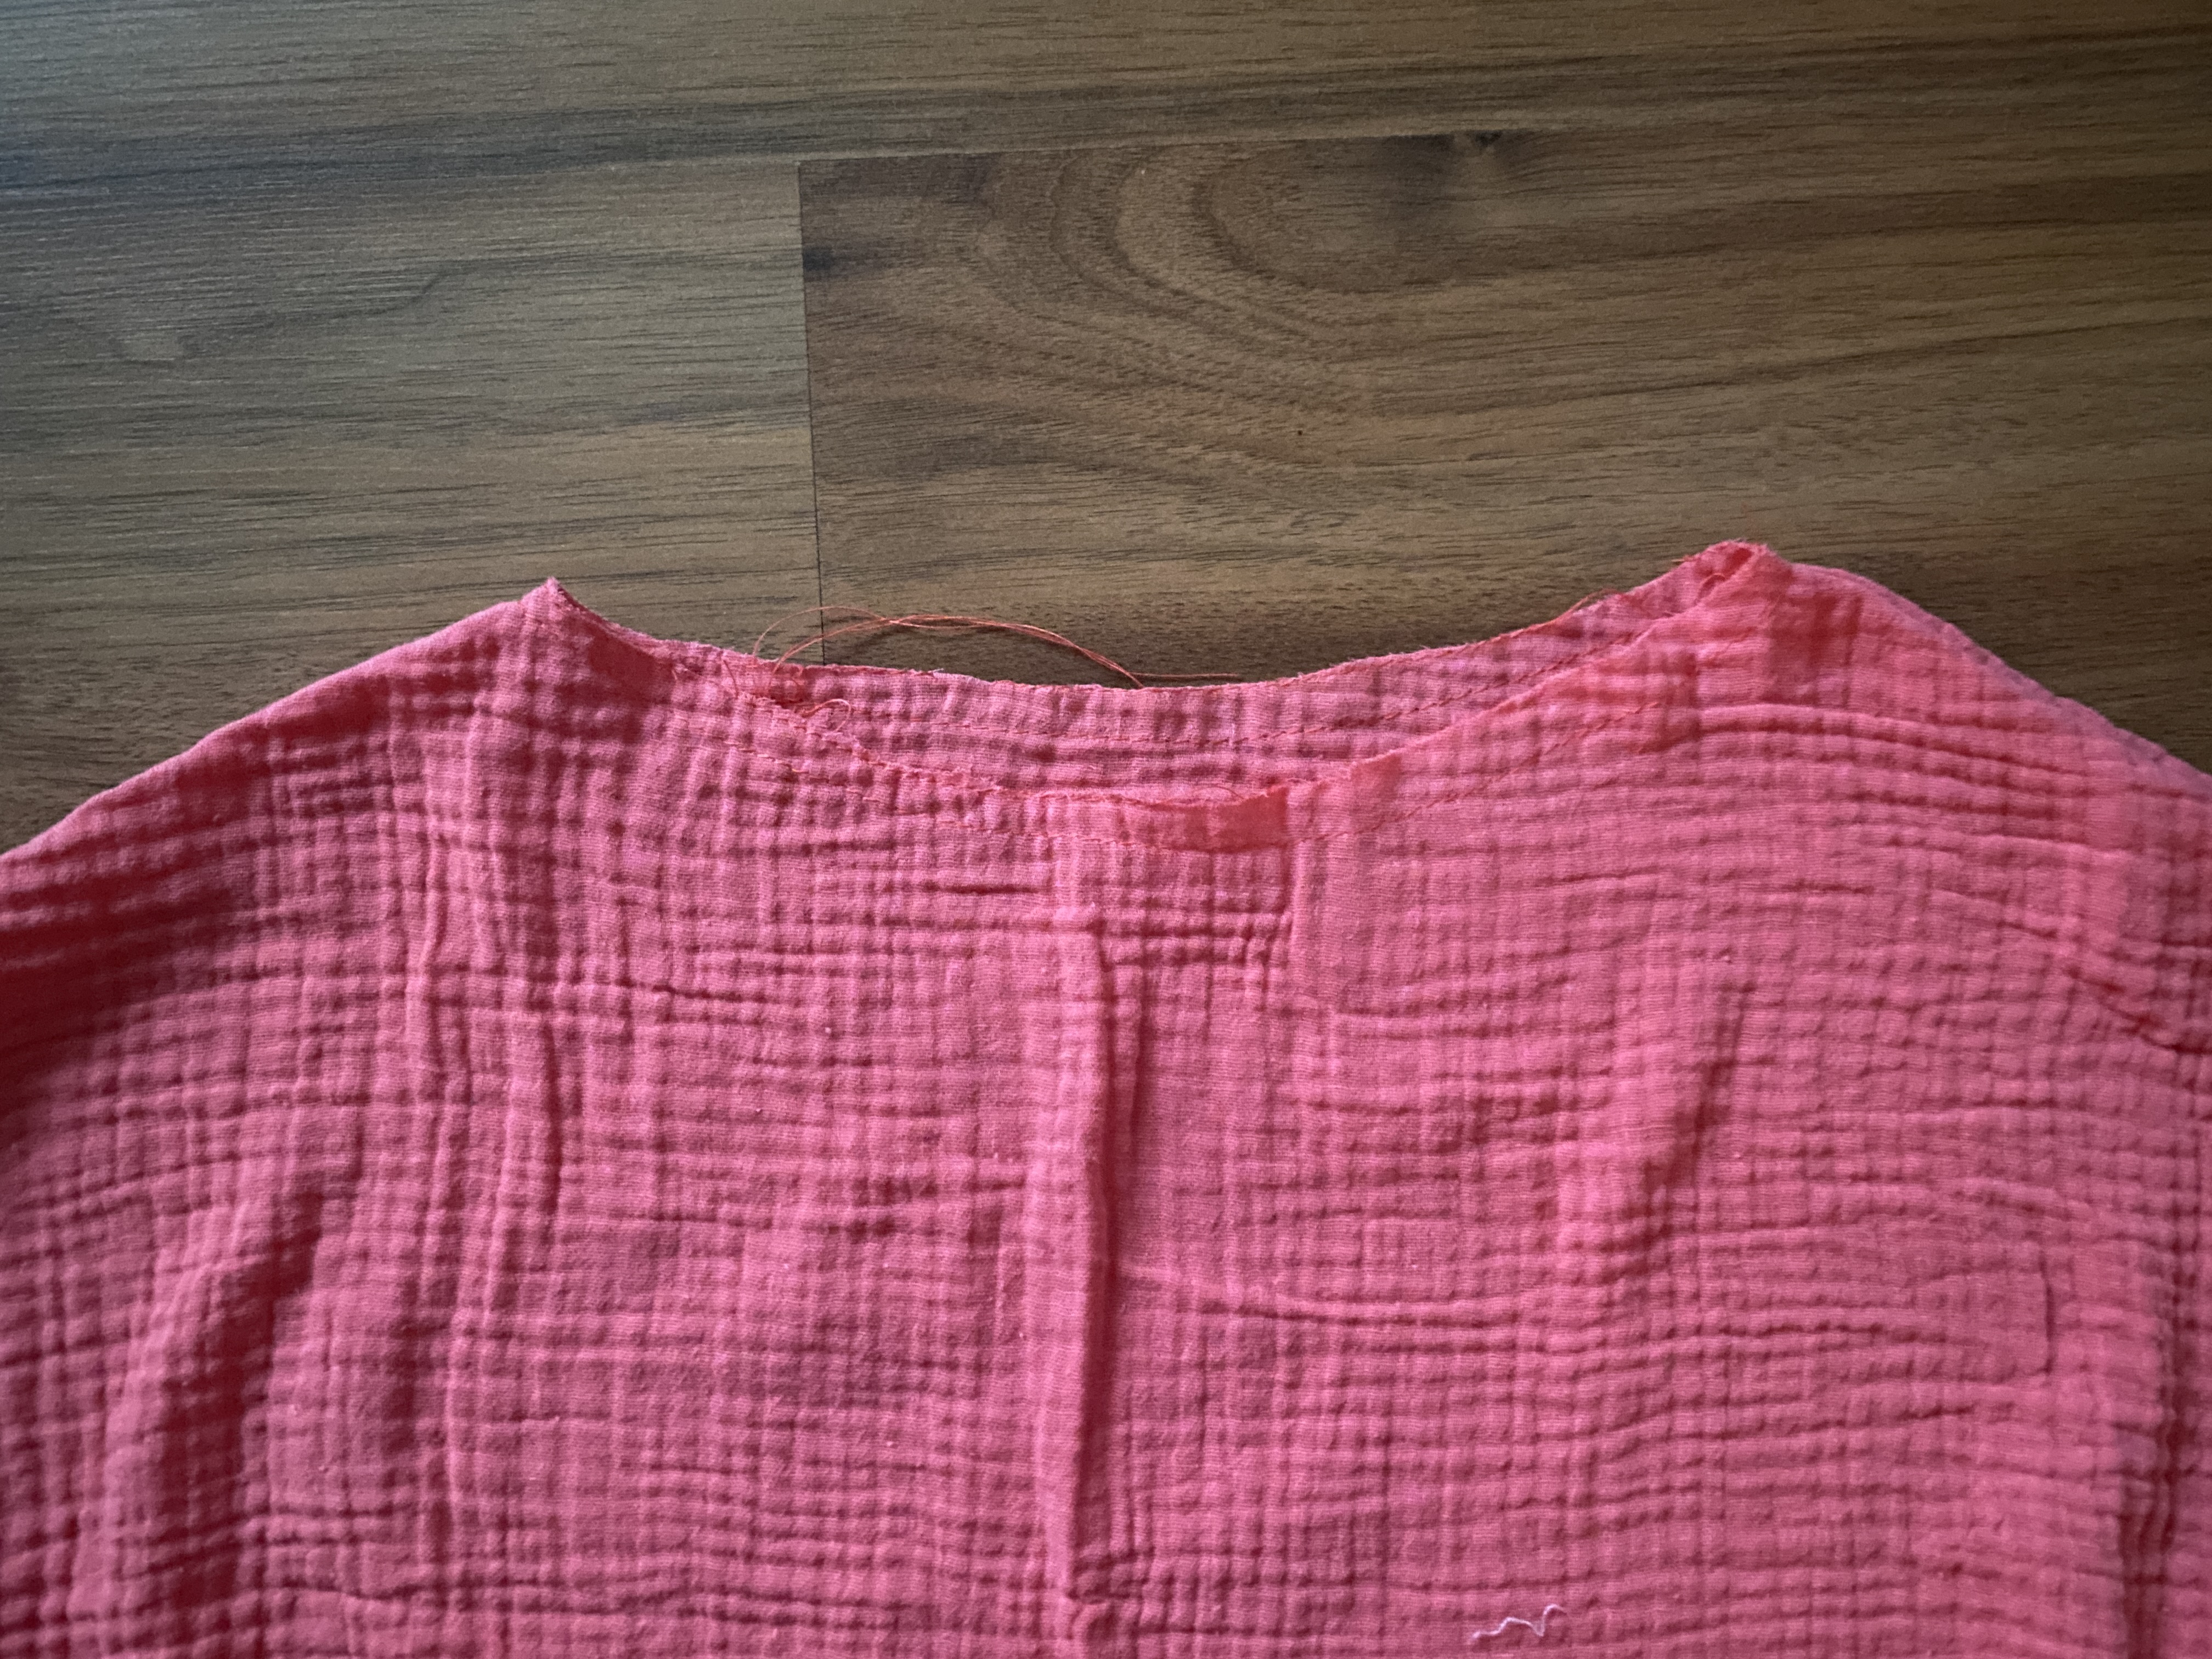
Step 3 – make sure the neckline’s just right
At this point, you might wonder, „Will this top fit over the head?”. To be honest, you’ll only find out once you try it on.
In the picture below, you’ll notice two rows of stitching. That’s because after trying it on I needed to make the neckline wider, so I added another row of stay stitching. As of now, I’m 100% confident that this double gauze top fits just right.
Step 4 – hem & finish the neckline
Now, there are just a few more steps to wrap things up. First, finish the raw edges of the seams (side seams and shoulder seams). You can use a serger or a zig-zag stitch for this.
For the hem of the top, use the serger on the bottom edge, fold it 1/2″ to the wrong side, and stitch it down. Follow the same process to hem the sleeves.
Lastly, let’s finish the neckline. Check out the steps in this dress tutorial on how to sew a bias tape neckline. You’ll be done in under 10 minutes!
I hope you enjoyed this tutorial for how to make an easy boxy top for kids. If you make a basic top using these instructions, I’d love to hear from you!
Let’s keep in touch! You can find me on Facebook, Instagram, and Pinterest.
Related posts