Learn how to make your own peasant top pattern with a simple and quick drafting shortcut, even if you are a beginner. Life-changing sewing skills you can learn in 15 minutes!
To draft your peasant top pattern, all you need is a t-shirt – the size is up to you! Whether you’re making a top for yourself, your child, or your grandparent, this pattern works for any age. Just make sure the t-shirt has a regular fit – not too tight, but not too loose either.
Easy and quick method to make your own peasant top pattern
I’ve recently shared a foolproof formula for making your own peasant top pattern. You can adjust the volume of the sleeves and bodice to your liking.
I used this method to make 3 peasant tops and 1 peasant dress, all in different sizes and styles. Now I share with you all the details on how I drafted each pattern.
For each of the following item, I used an age-appropriate t-shirt to make my pattern pieces.
Please read this tutorial first.
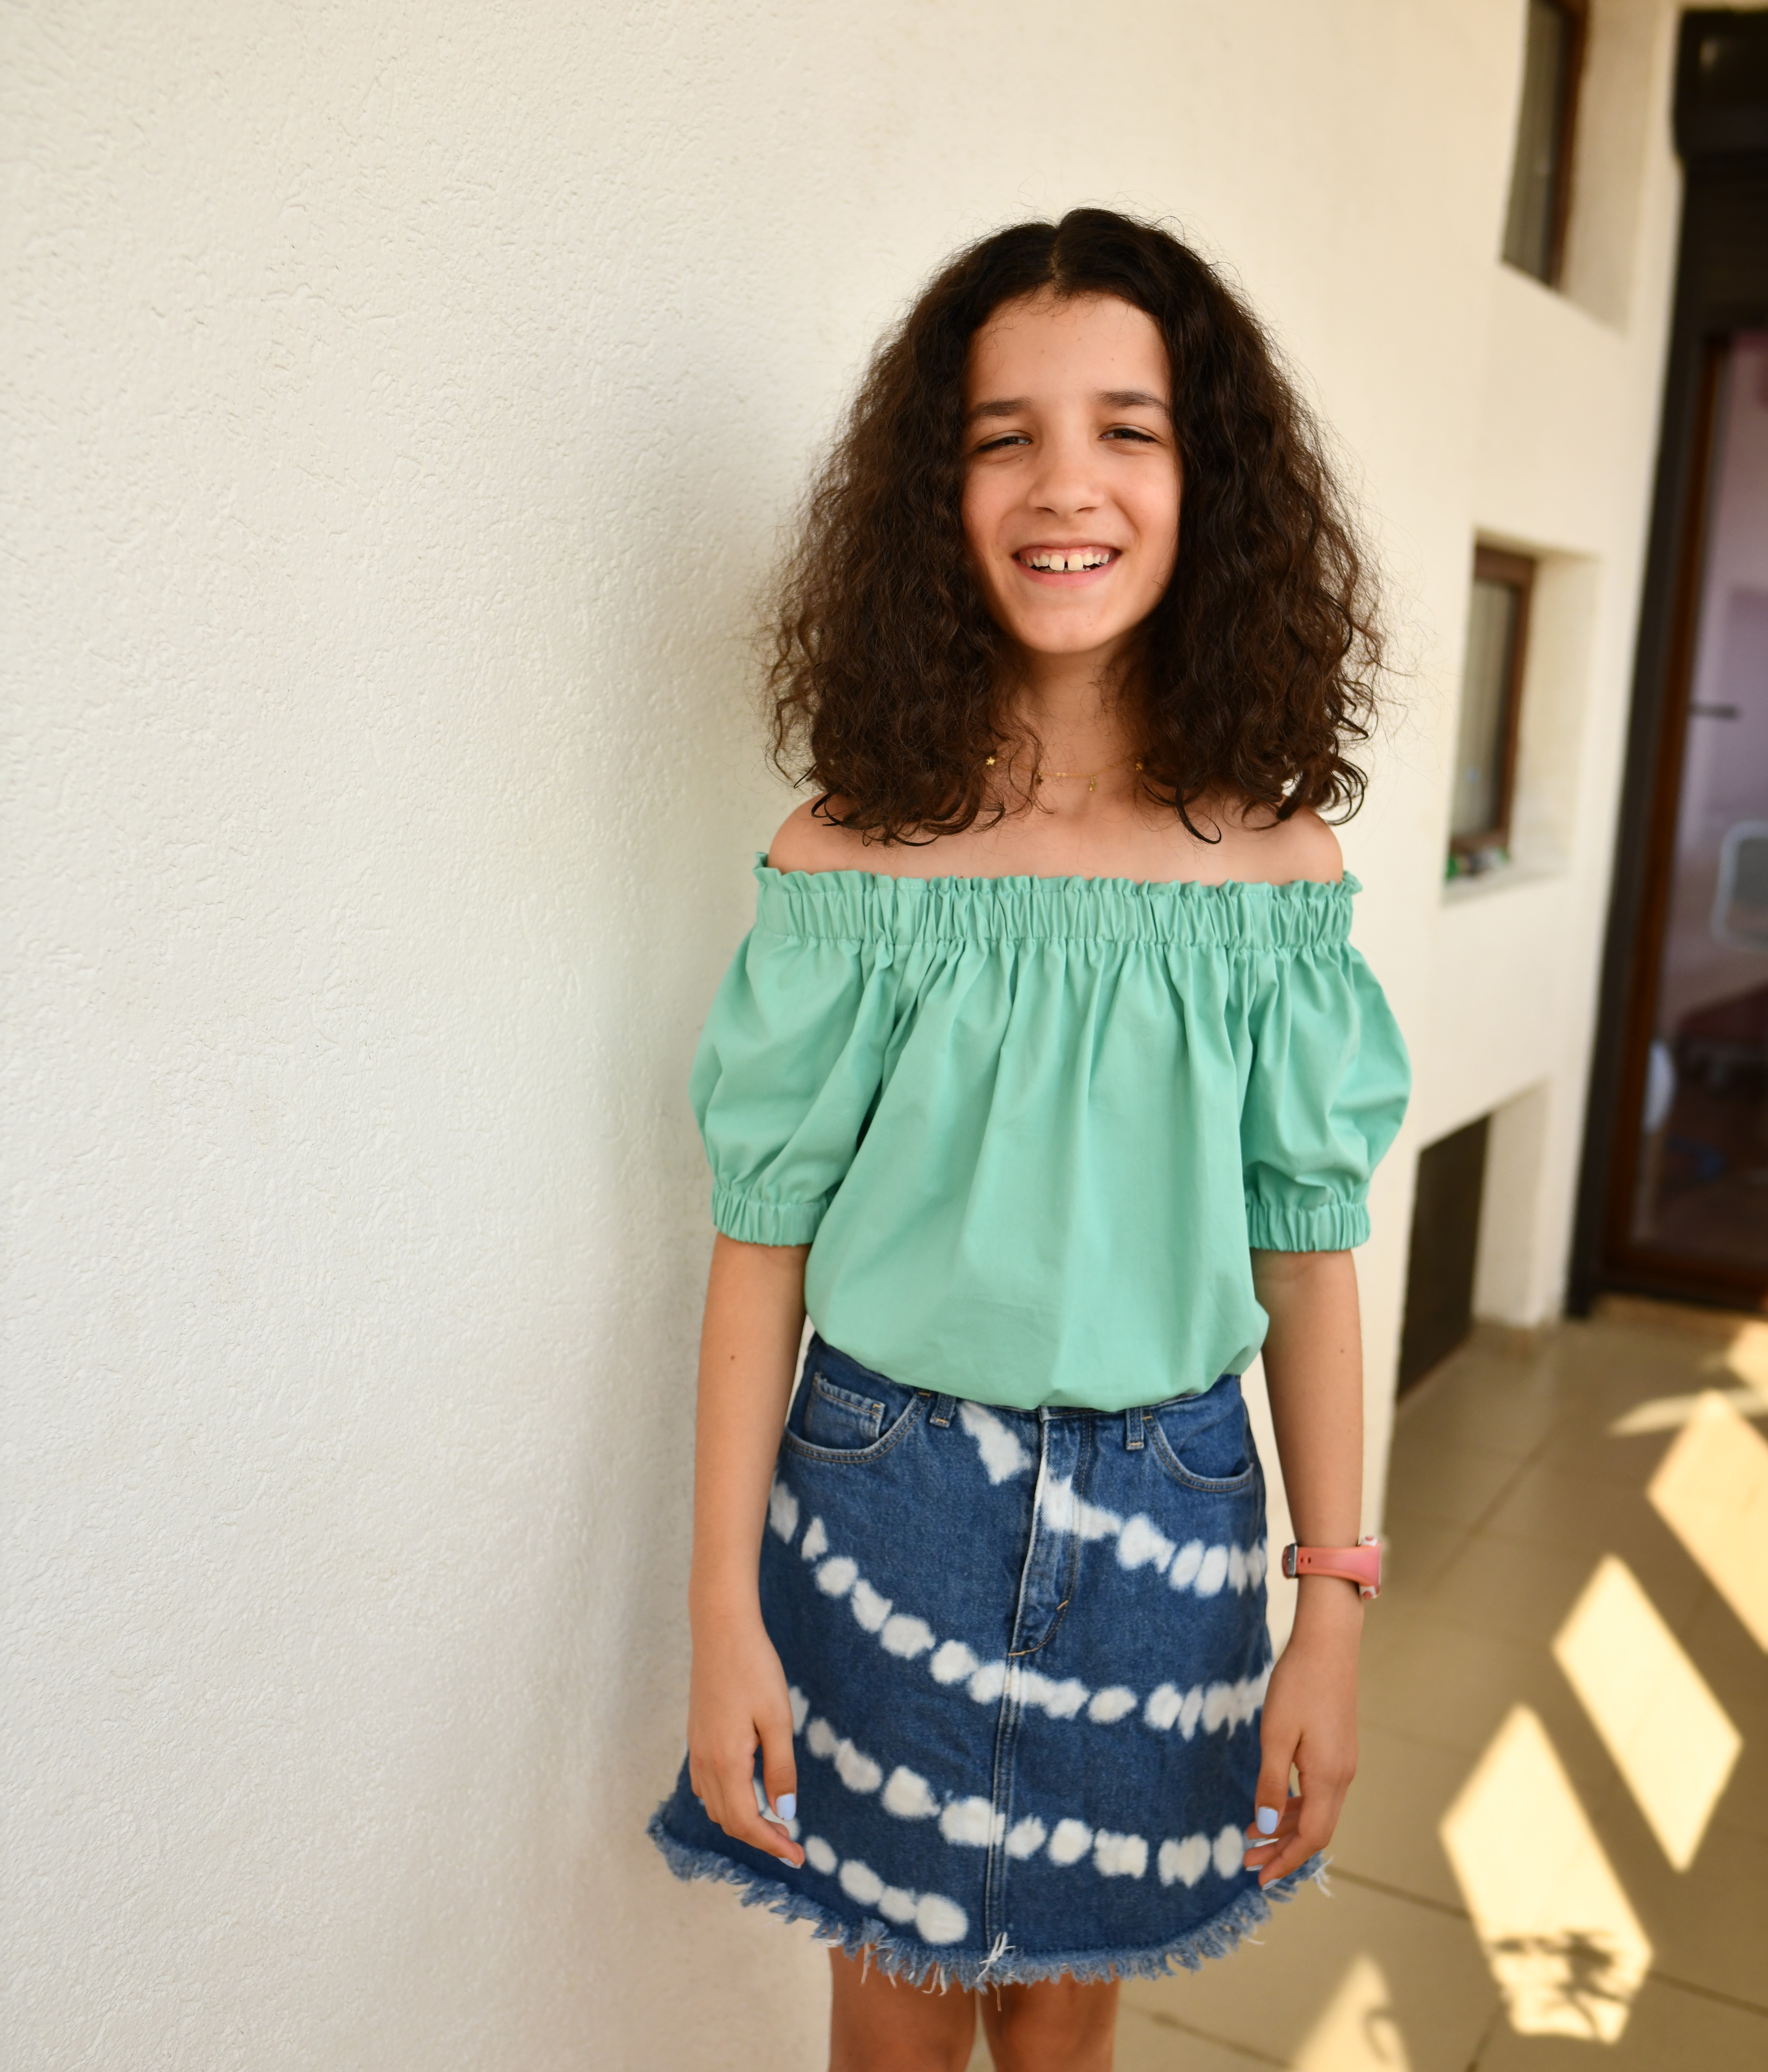
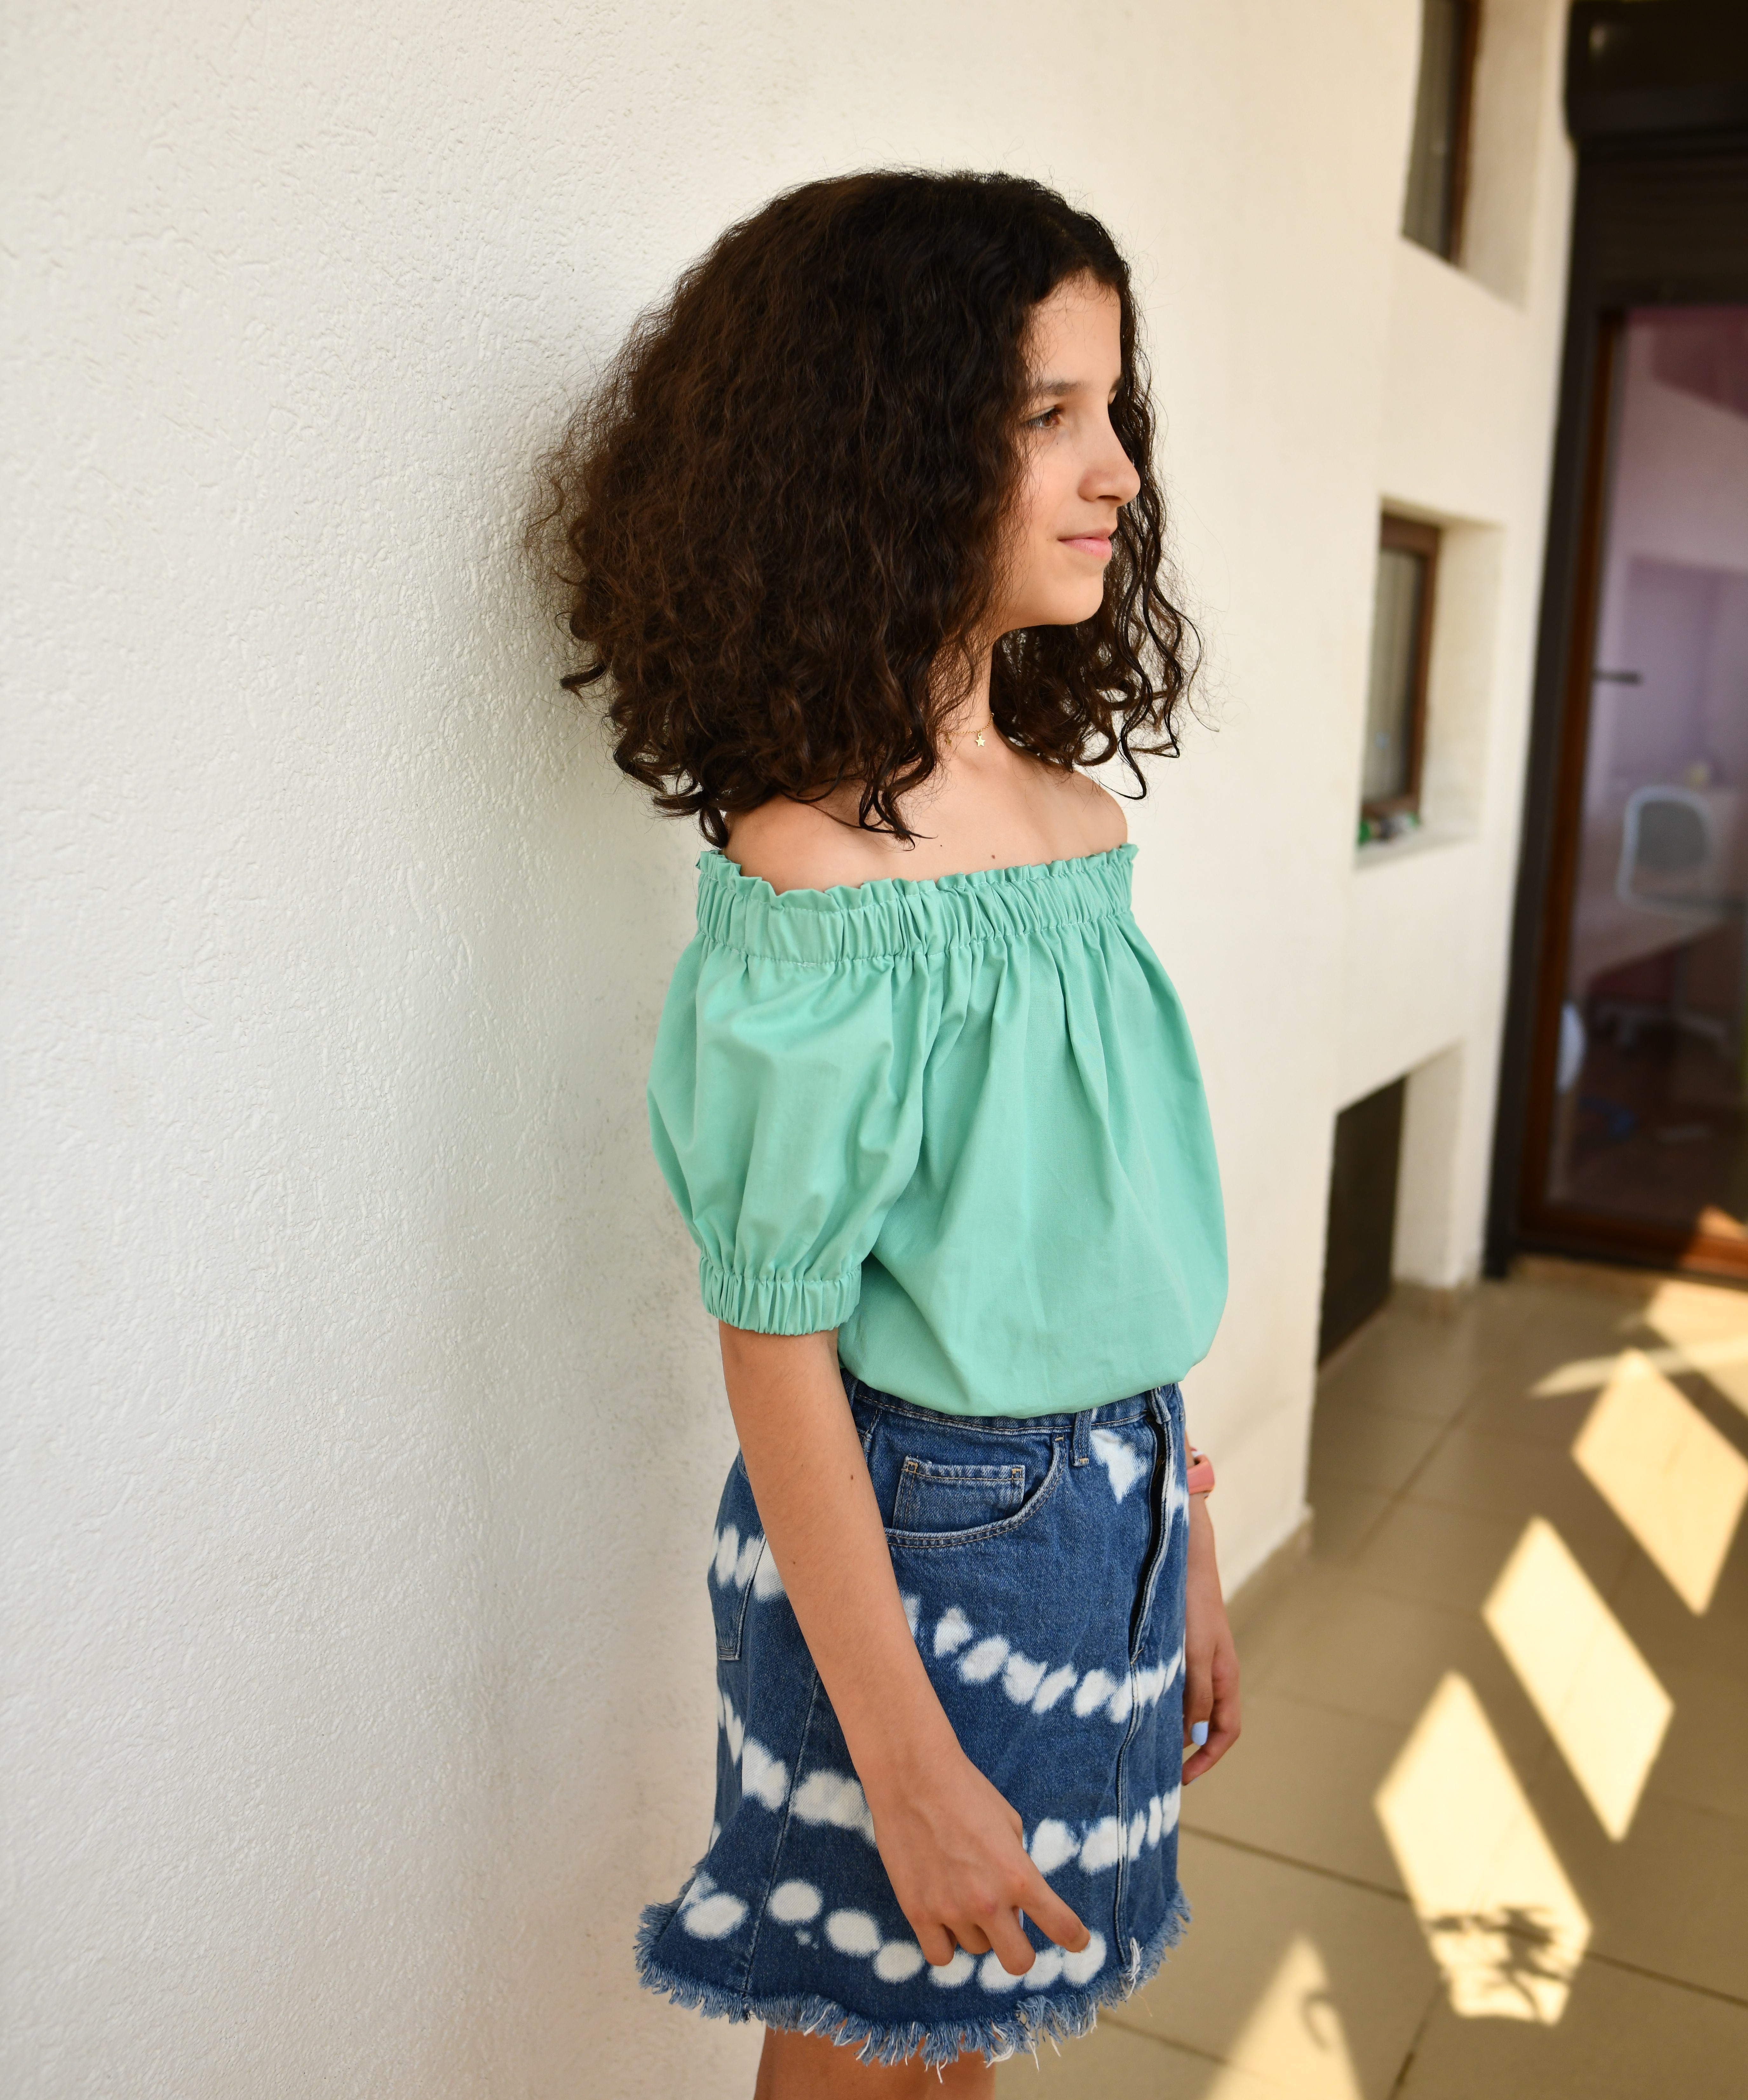
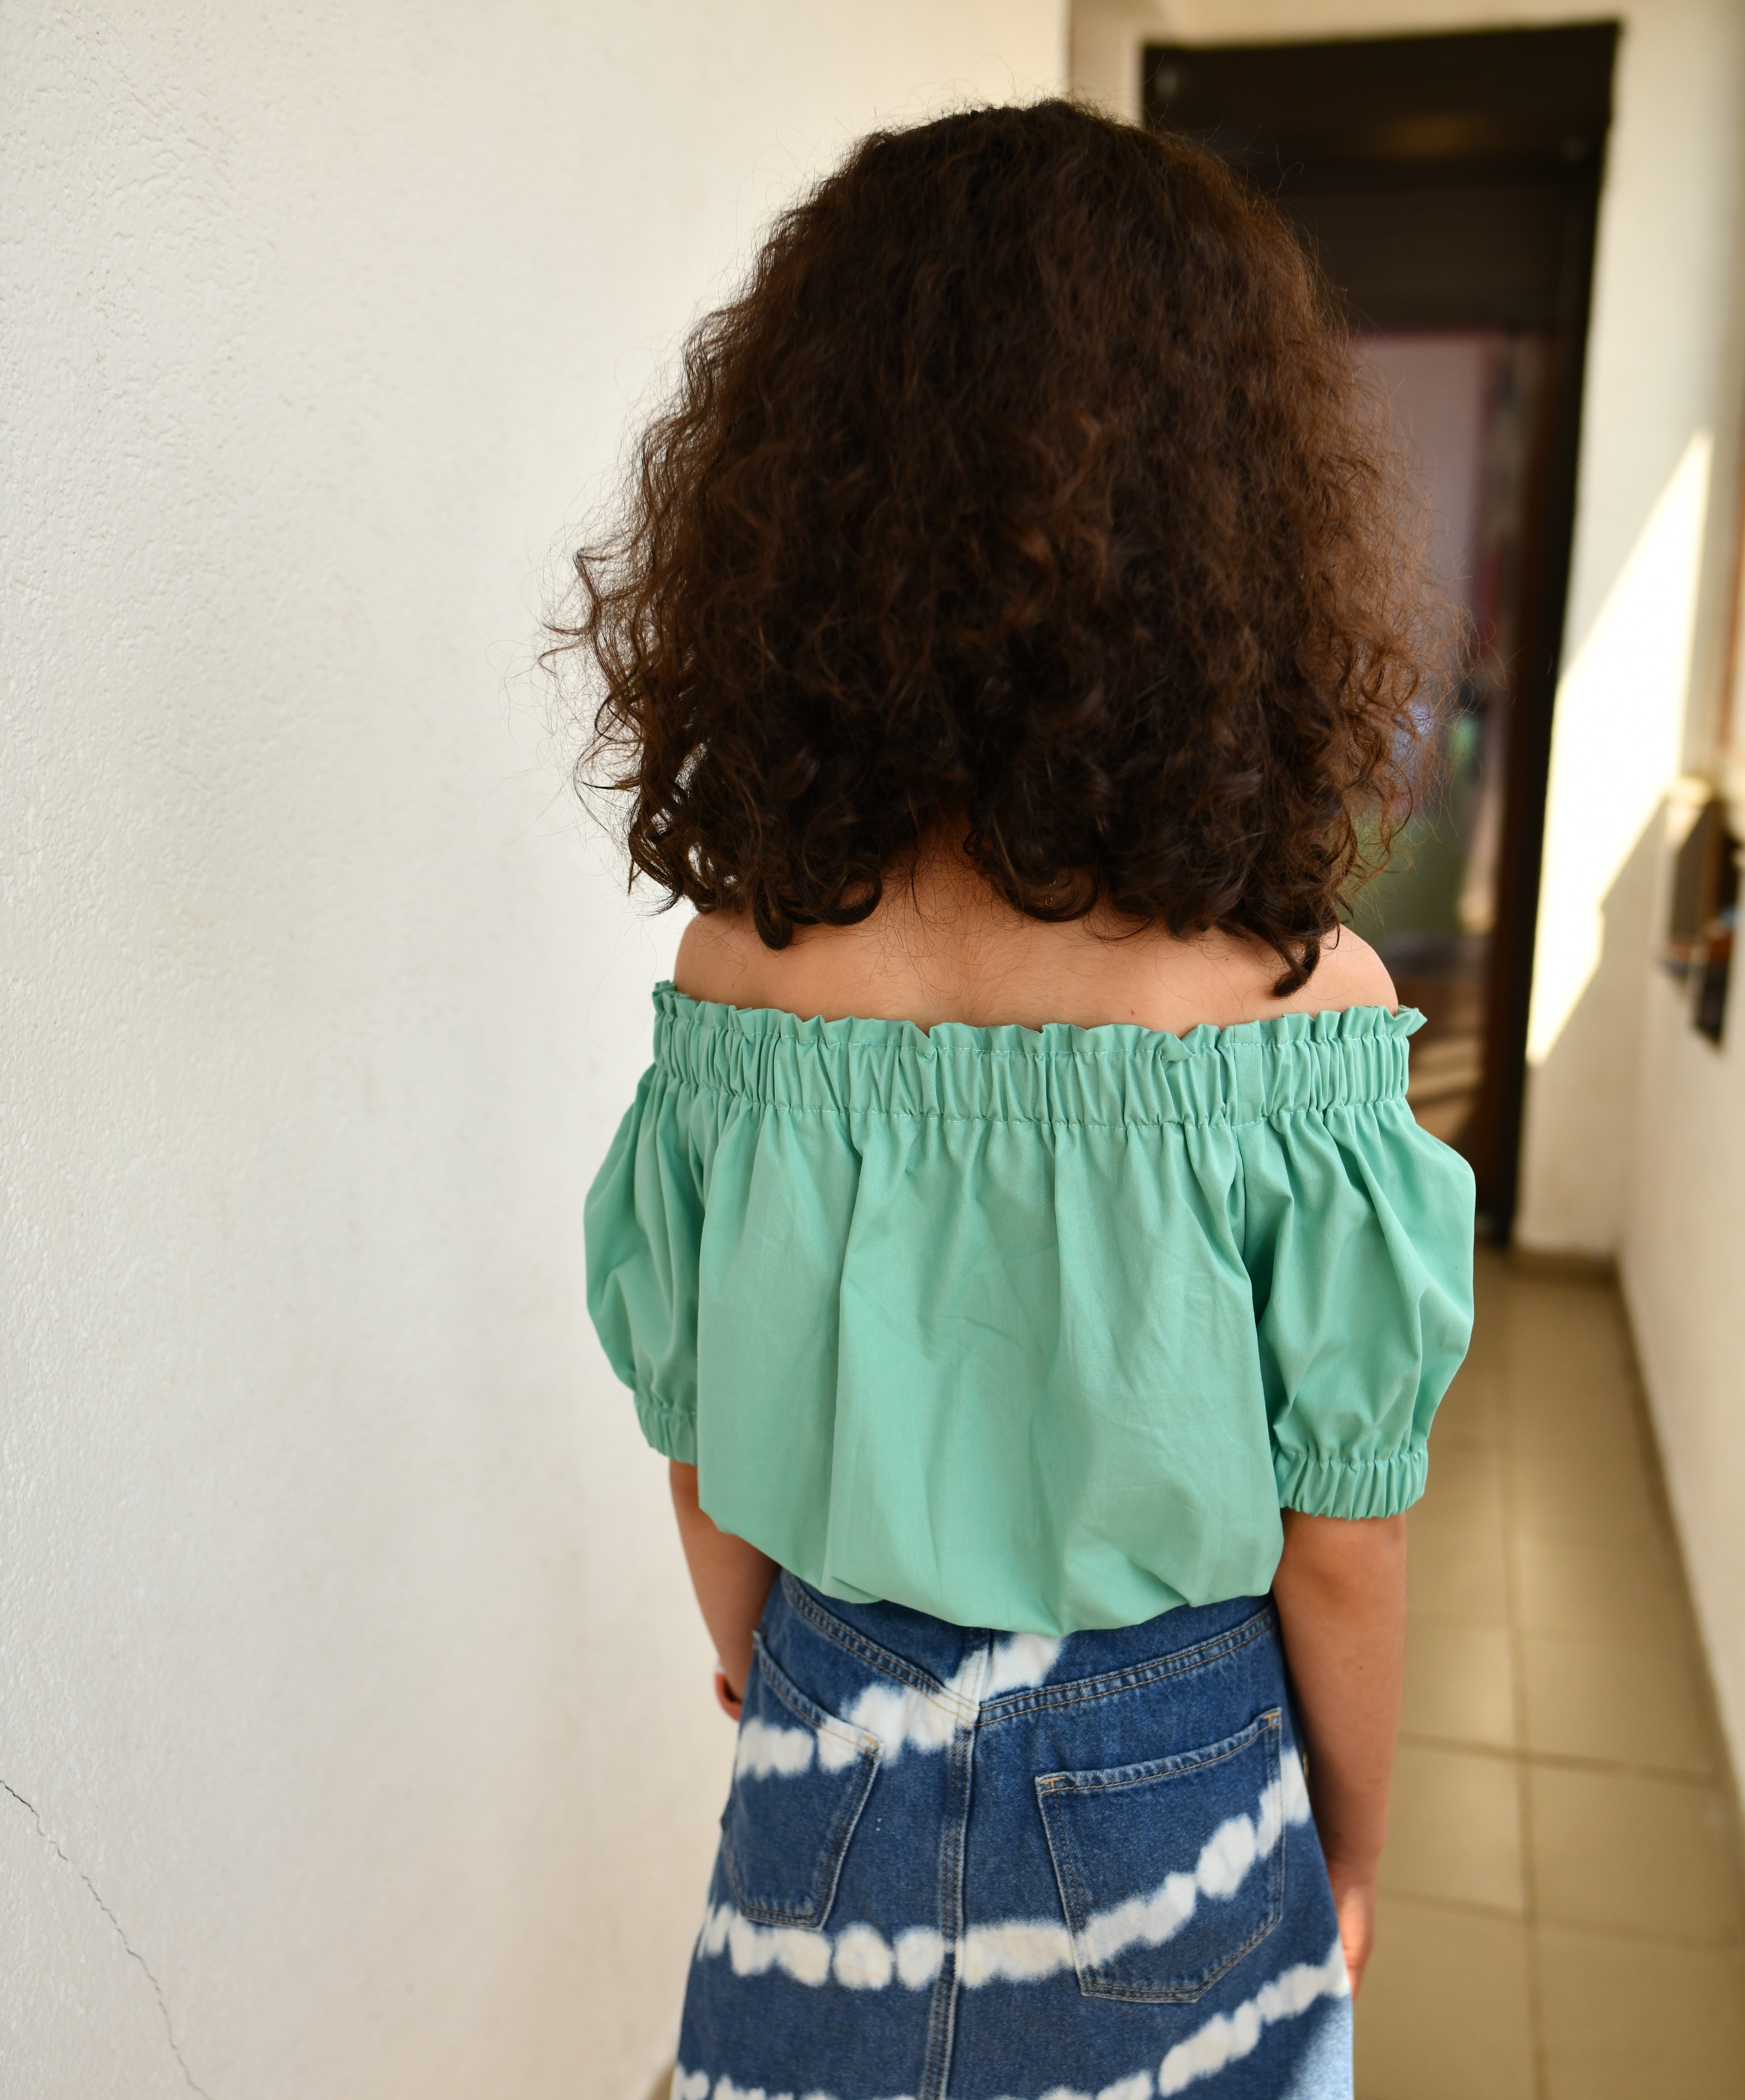
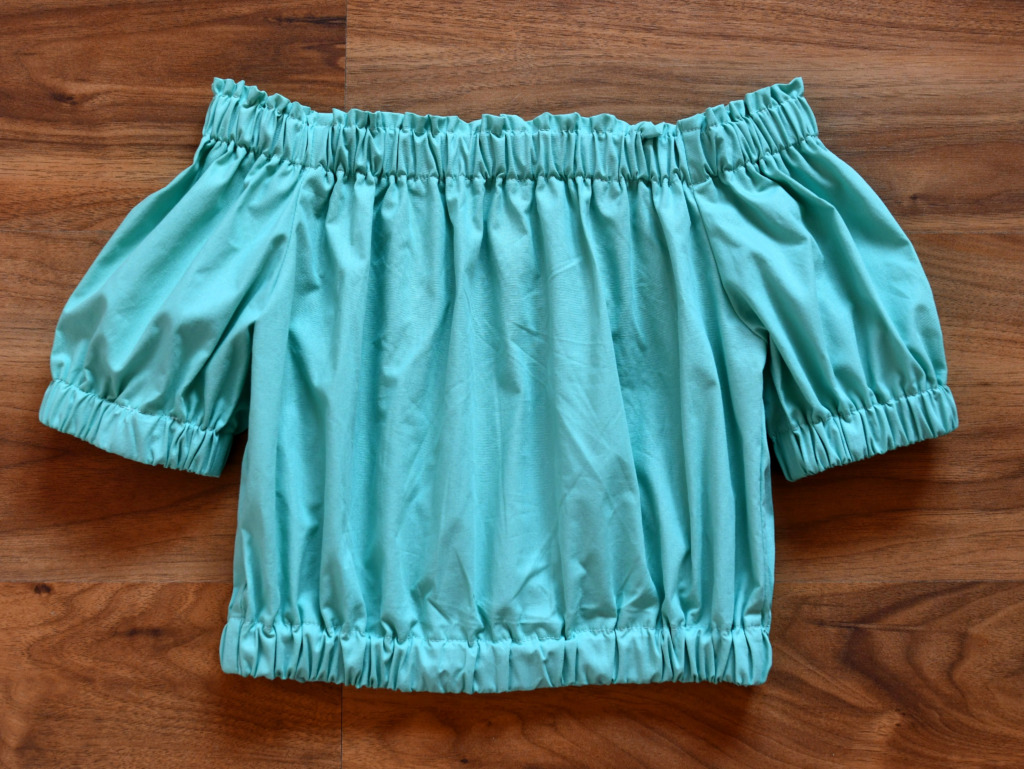
1. Girls’ off-shoulder top – aqua green cotton fabric (size 11-12 years)
I made this cute off-shoulder top for my eldest daughter, and it was love at first sight! She thinks it’s really cool and loves wearing it.
To make the pattern for this off-shoulder peasant blouse, I used these measurements:
- I extended the t-shirt armhole curve by 2”.
- To make the sleeve pattern, I added 4” to the t-shirt sleeve opening (S + 4″). In this case, the t-shirt sleeve opening is 5”, so the total circumference of my peasant sleeve is 18” in total. I wanted to make a puffier sleeve with lots of gathers.
- For the bodice pattern, I added 3” of ease to the bust measurement (B + 3).
I used 1” wide elastic everywhere.
I didn’t measure the length of the pattern pieces, I just eyeballed everything. The blouse ended up a bit too long though. For the time being, my daughter wears it with the elastic band folded on the inside.
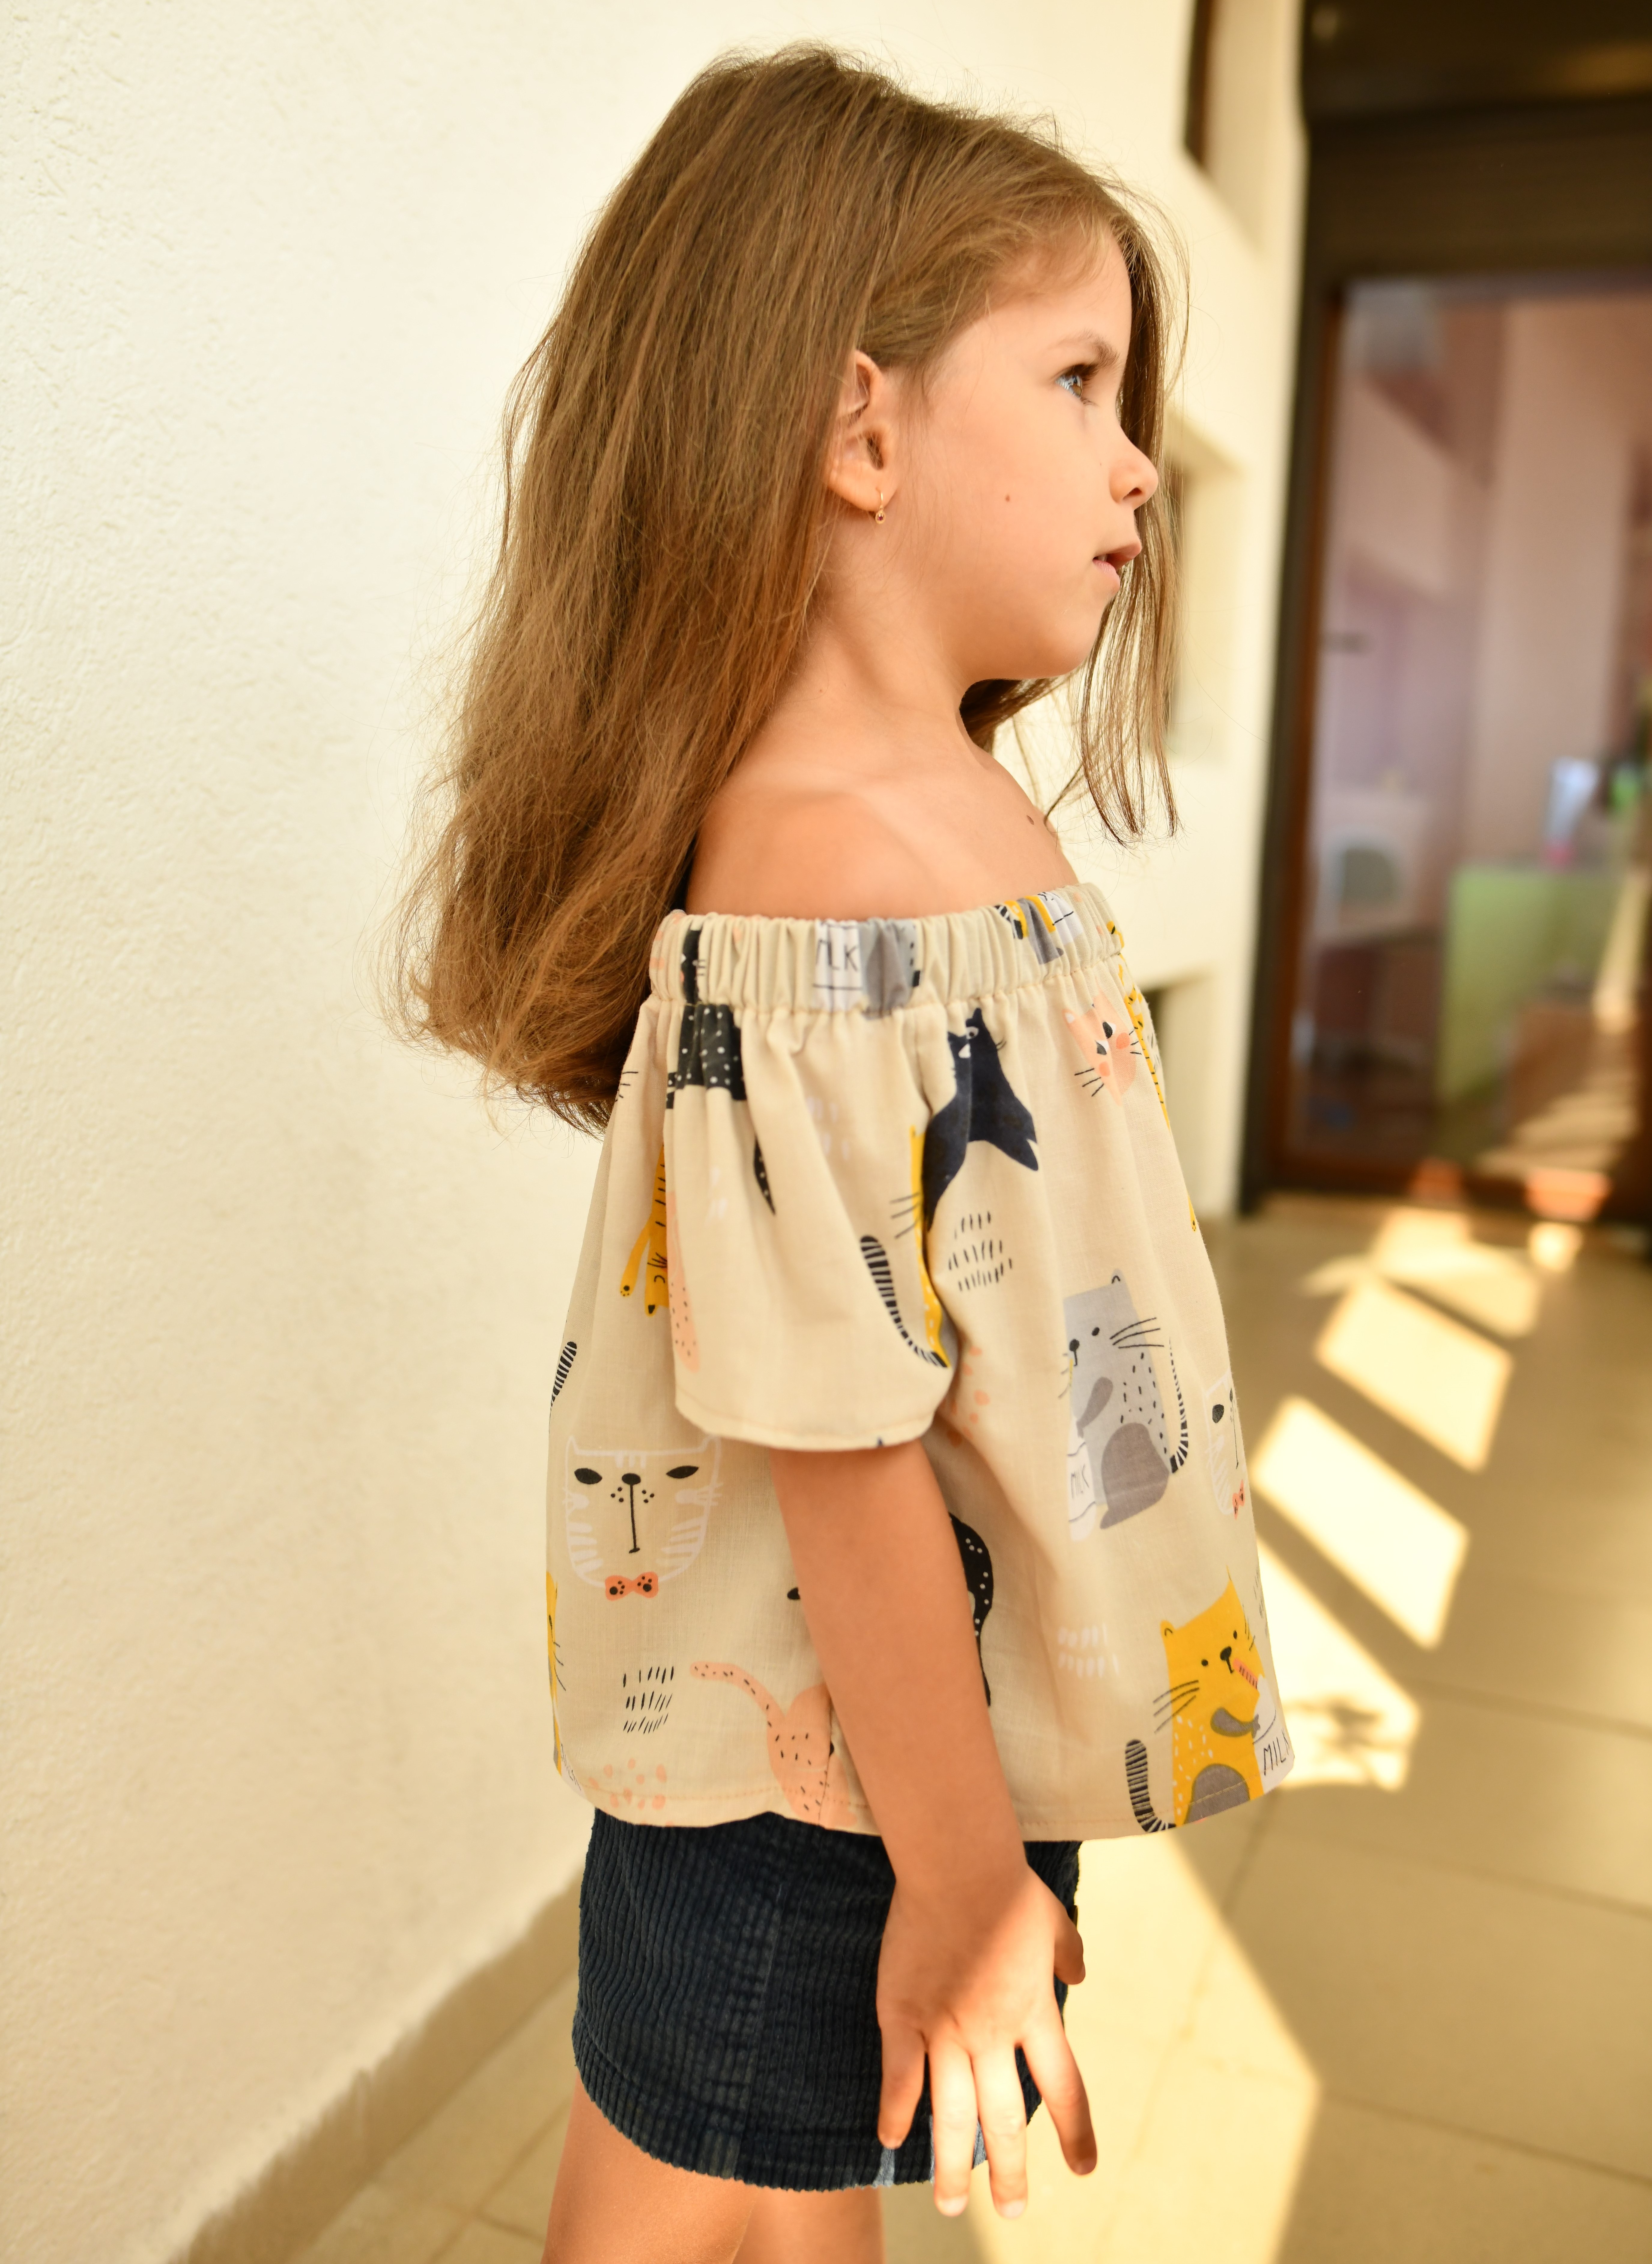
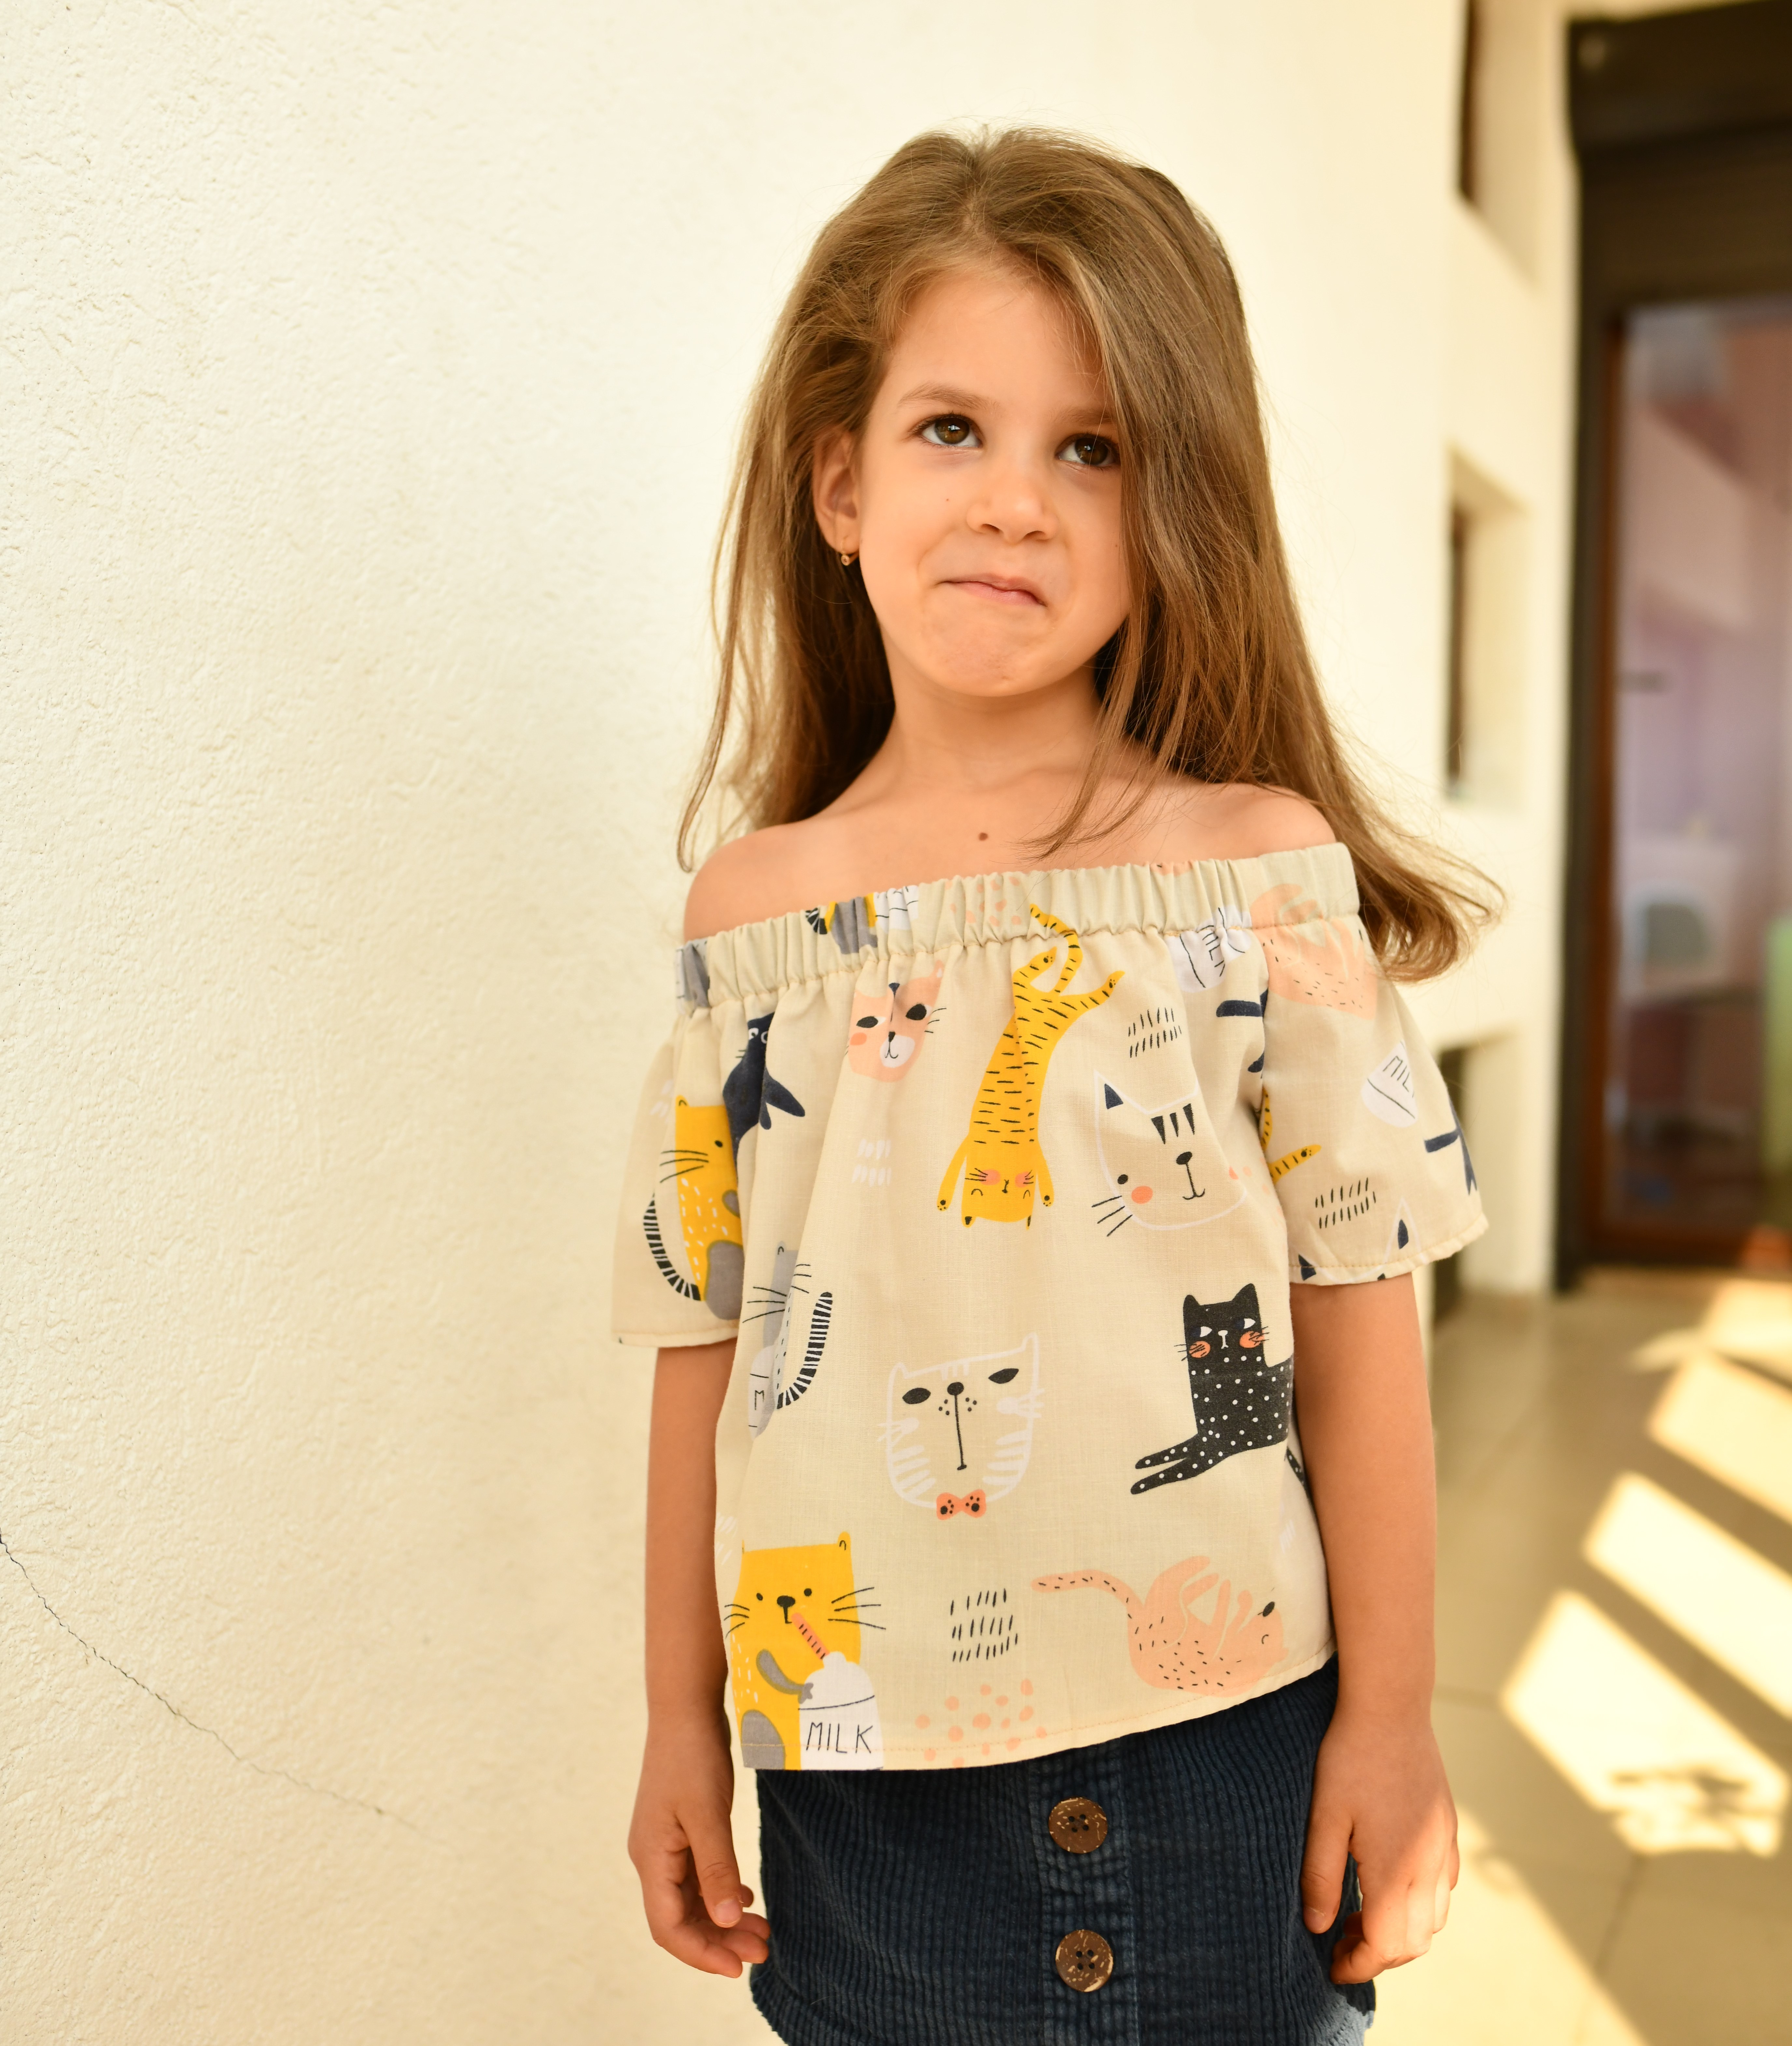
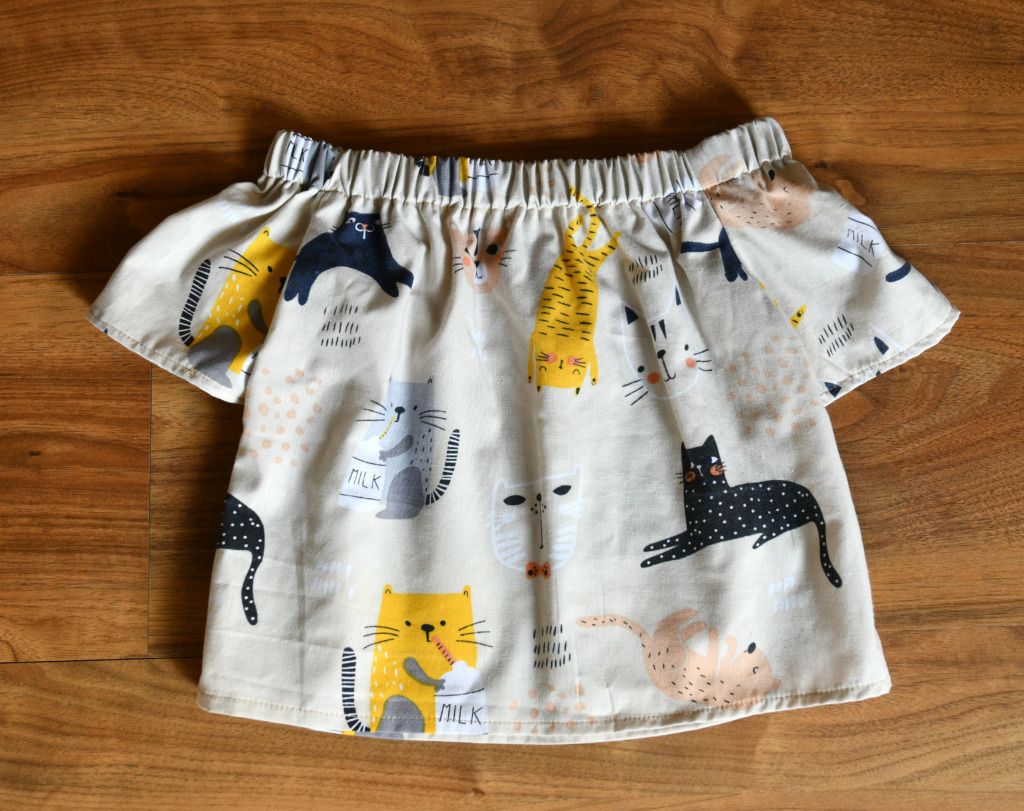
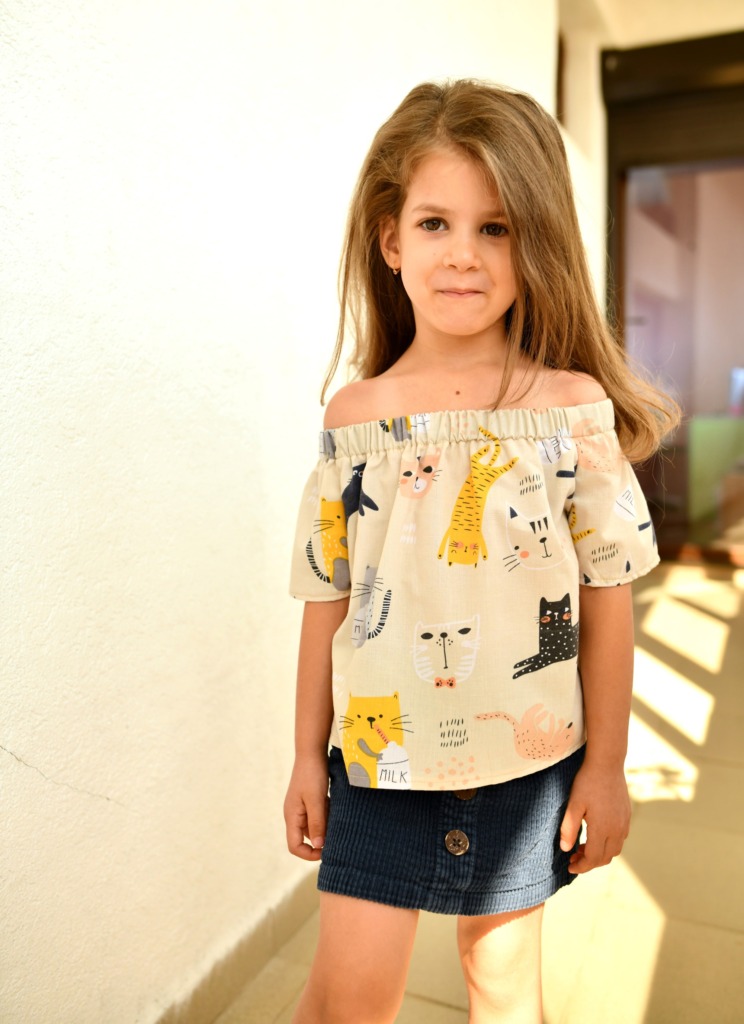
2. Girls’ off-shoulder top – cat cotton fabric (size 5 years)
To make the pattern for this off-shoulder top, I used these measurements:
- I extended the t-shirt armhole curve by 2”.
- To make the sleeve pattern, I added 1.5” to the t-shirt sleeve opening (S+ 1.5). This time, I didn’t want the sleeves to be too puffy. More like a regular size.
- For the bodice pattern, I added 2.5” of ease to the bust measurement (B + 2.5).
My youngest daughter wanted an off-shoulder top too, so she could be just as cool and stylish as her teenage sister!
I used 1” wide elastic for the top casing, and simple turned hems for the sleeves and the bottom.
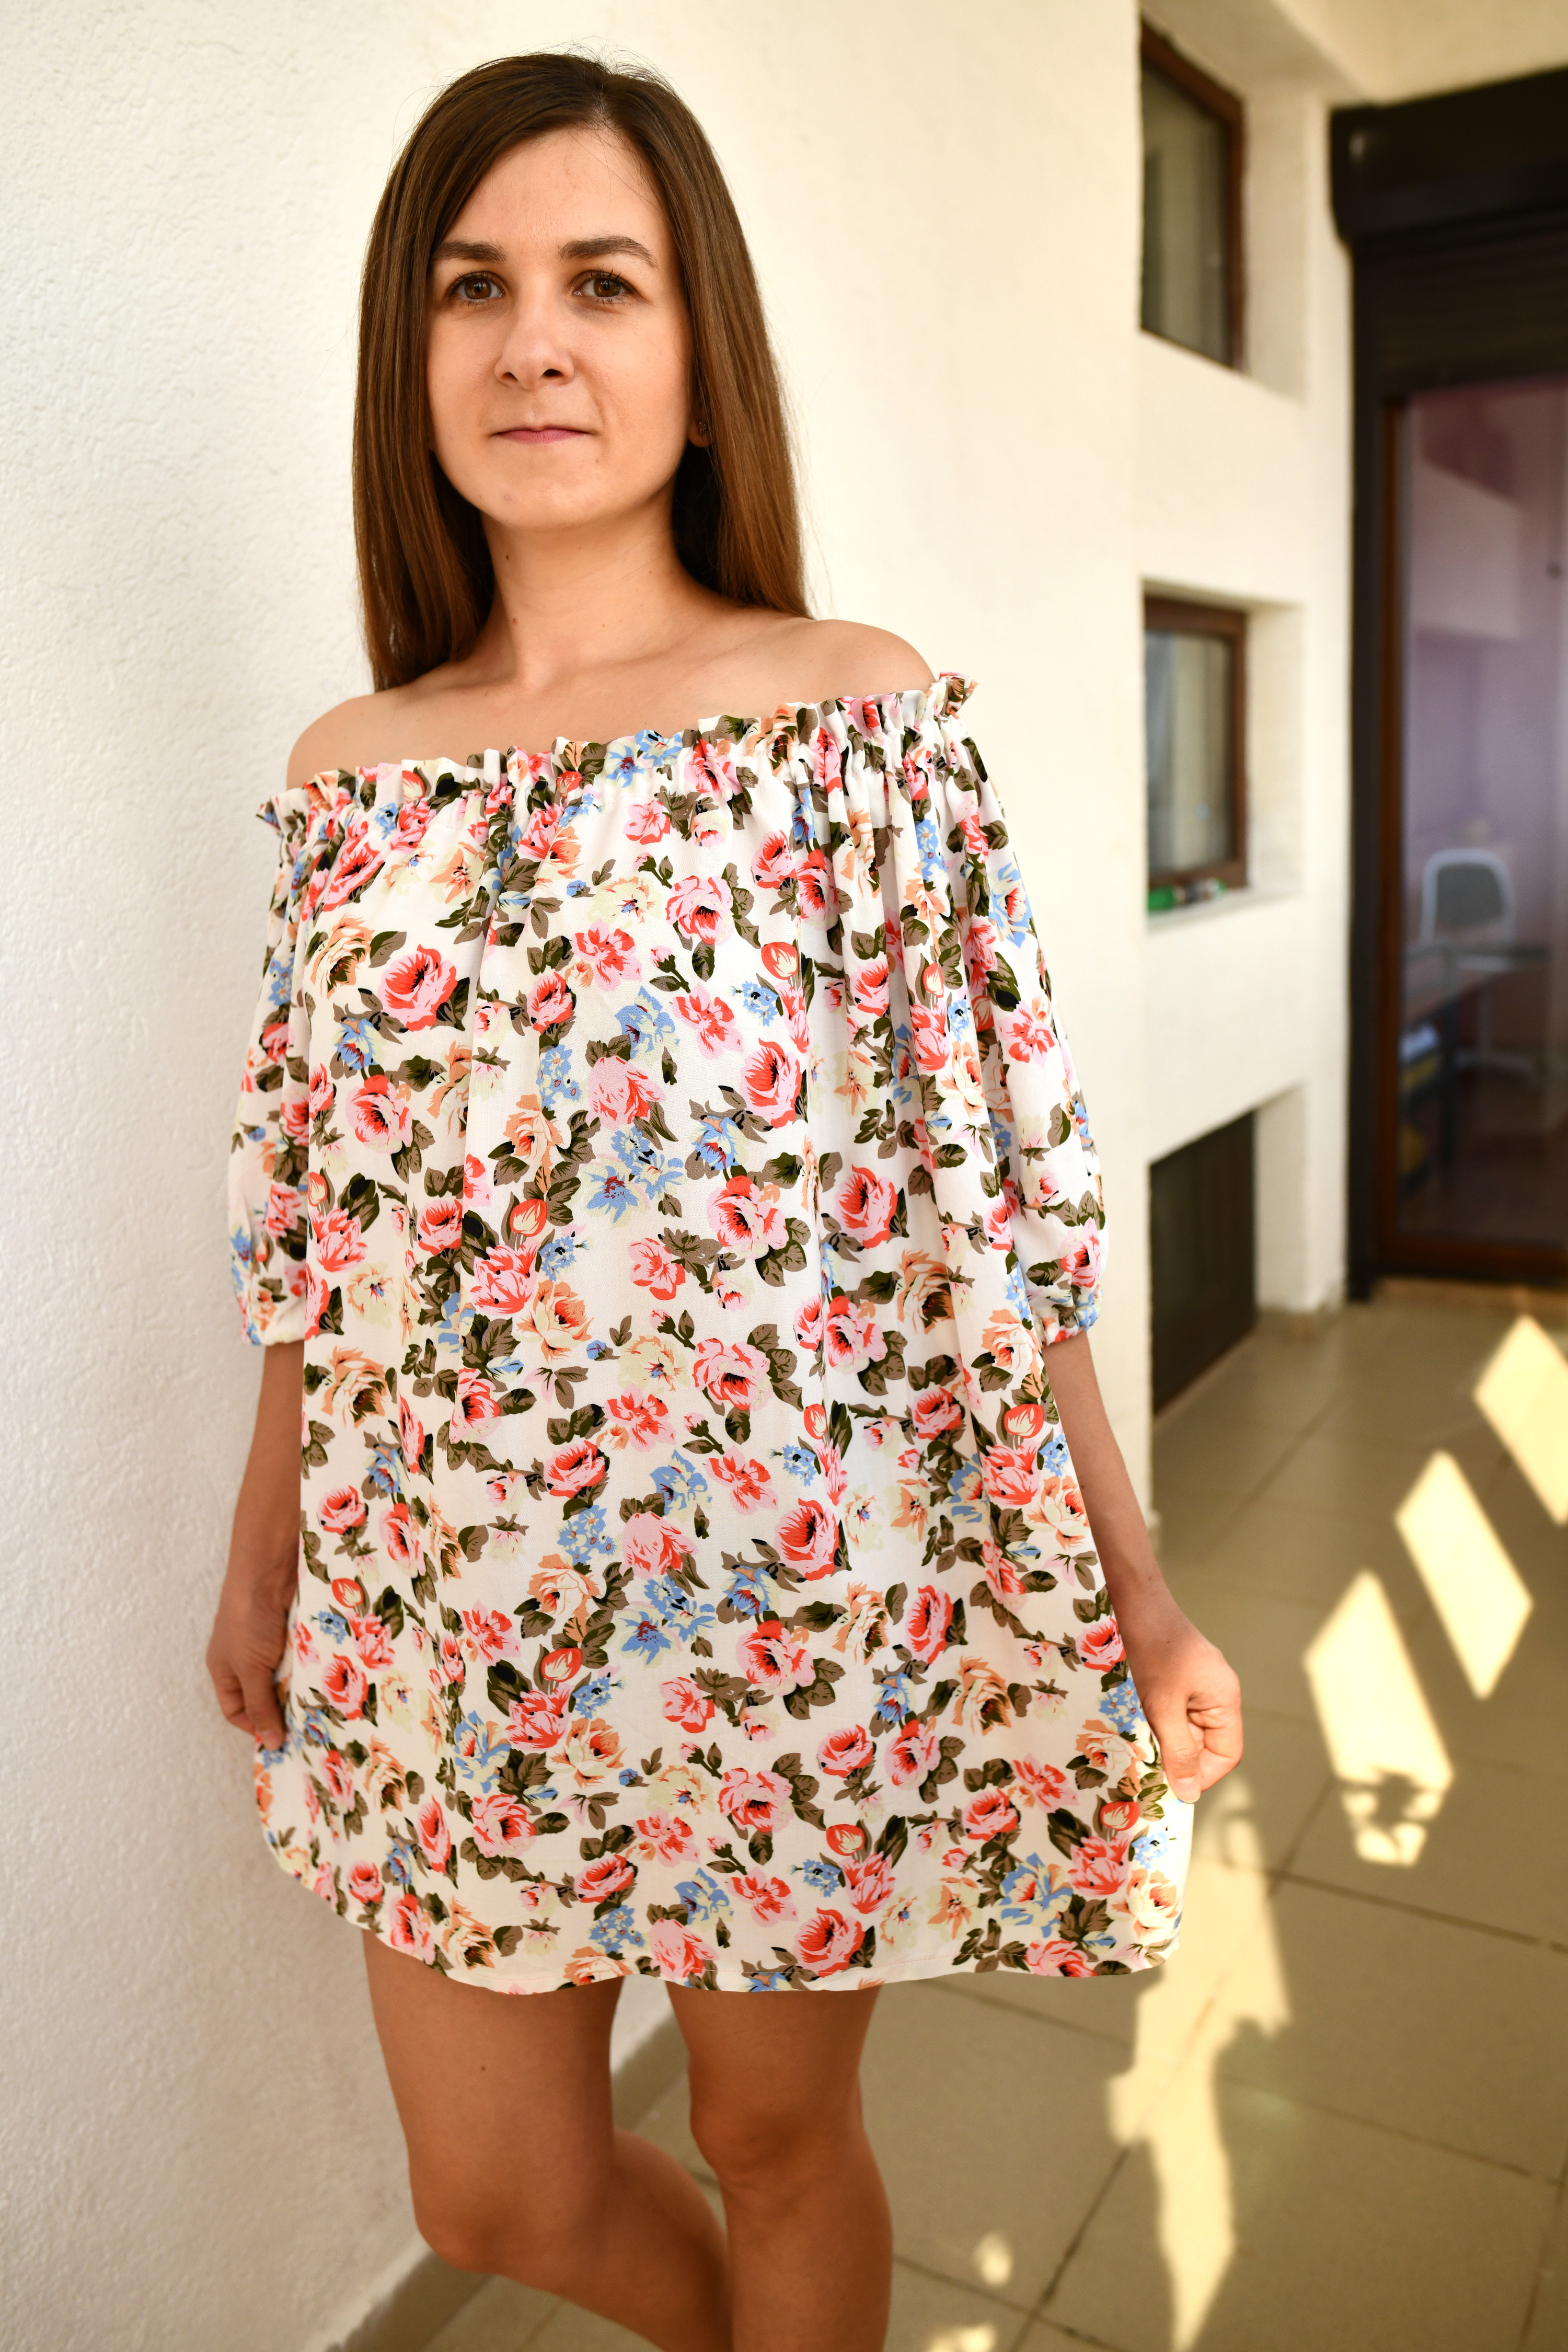
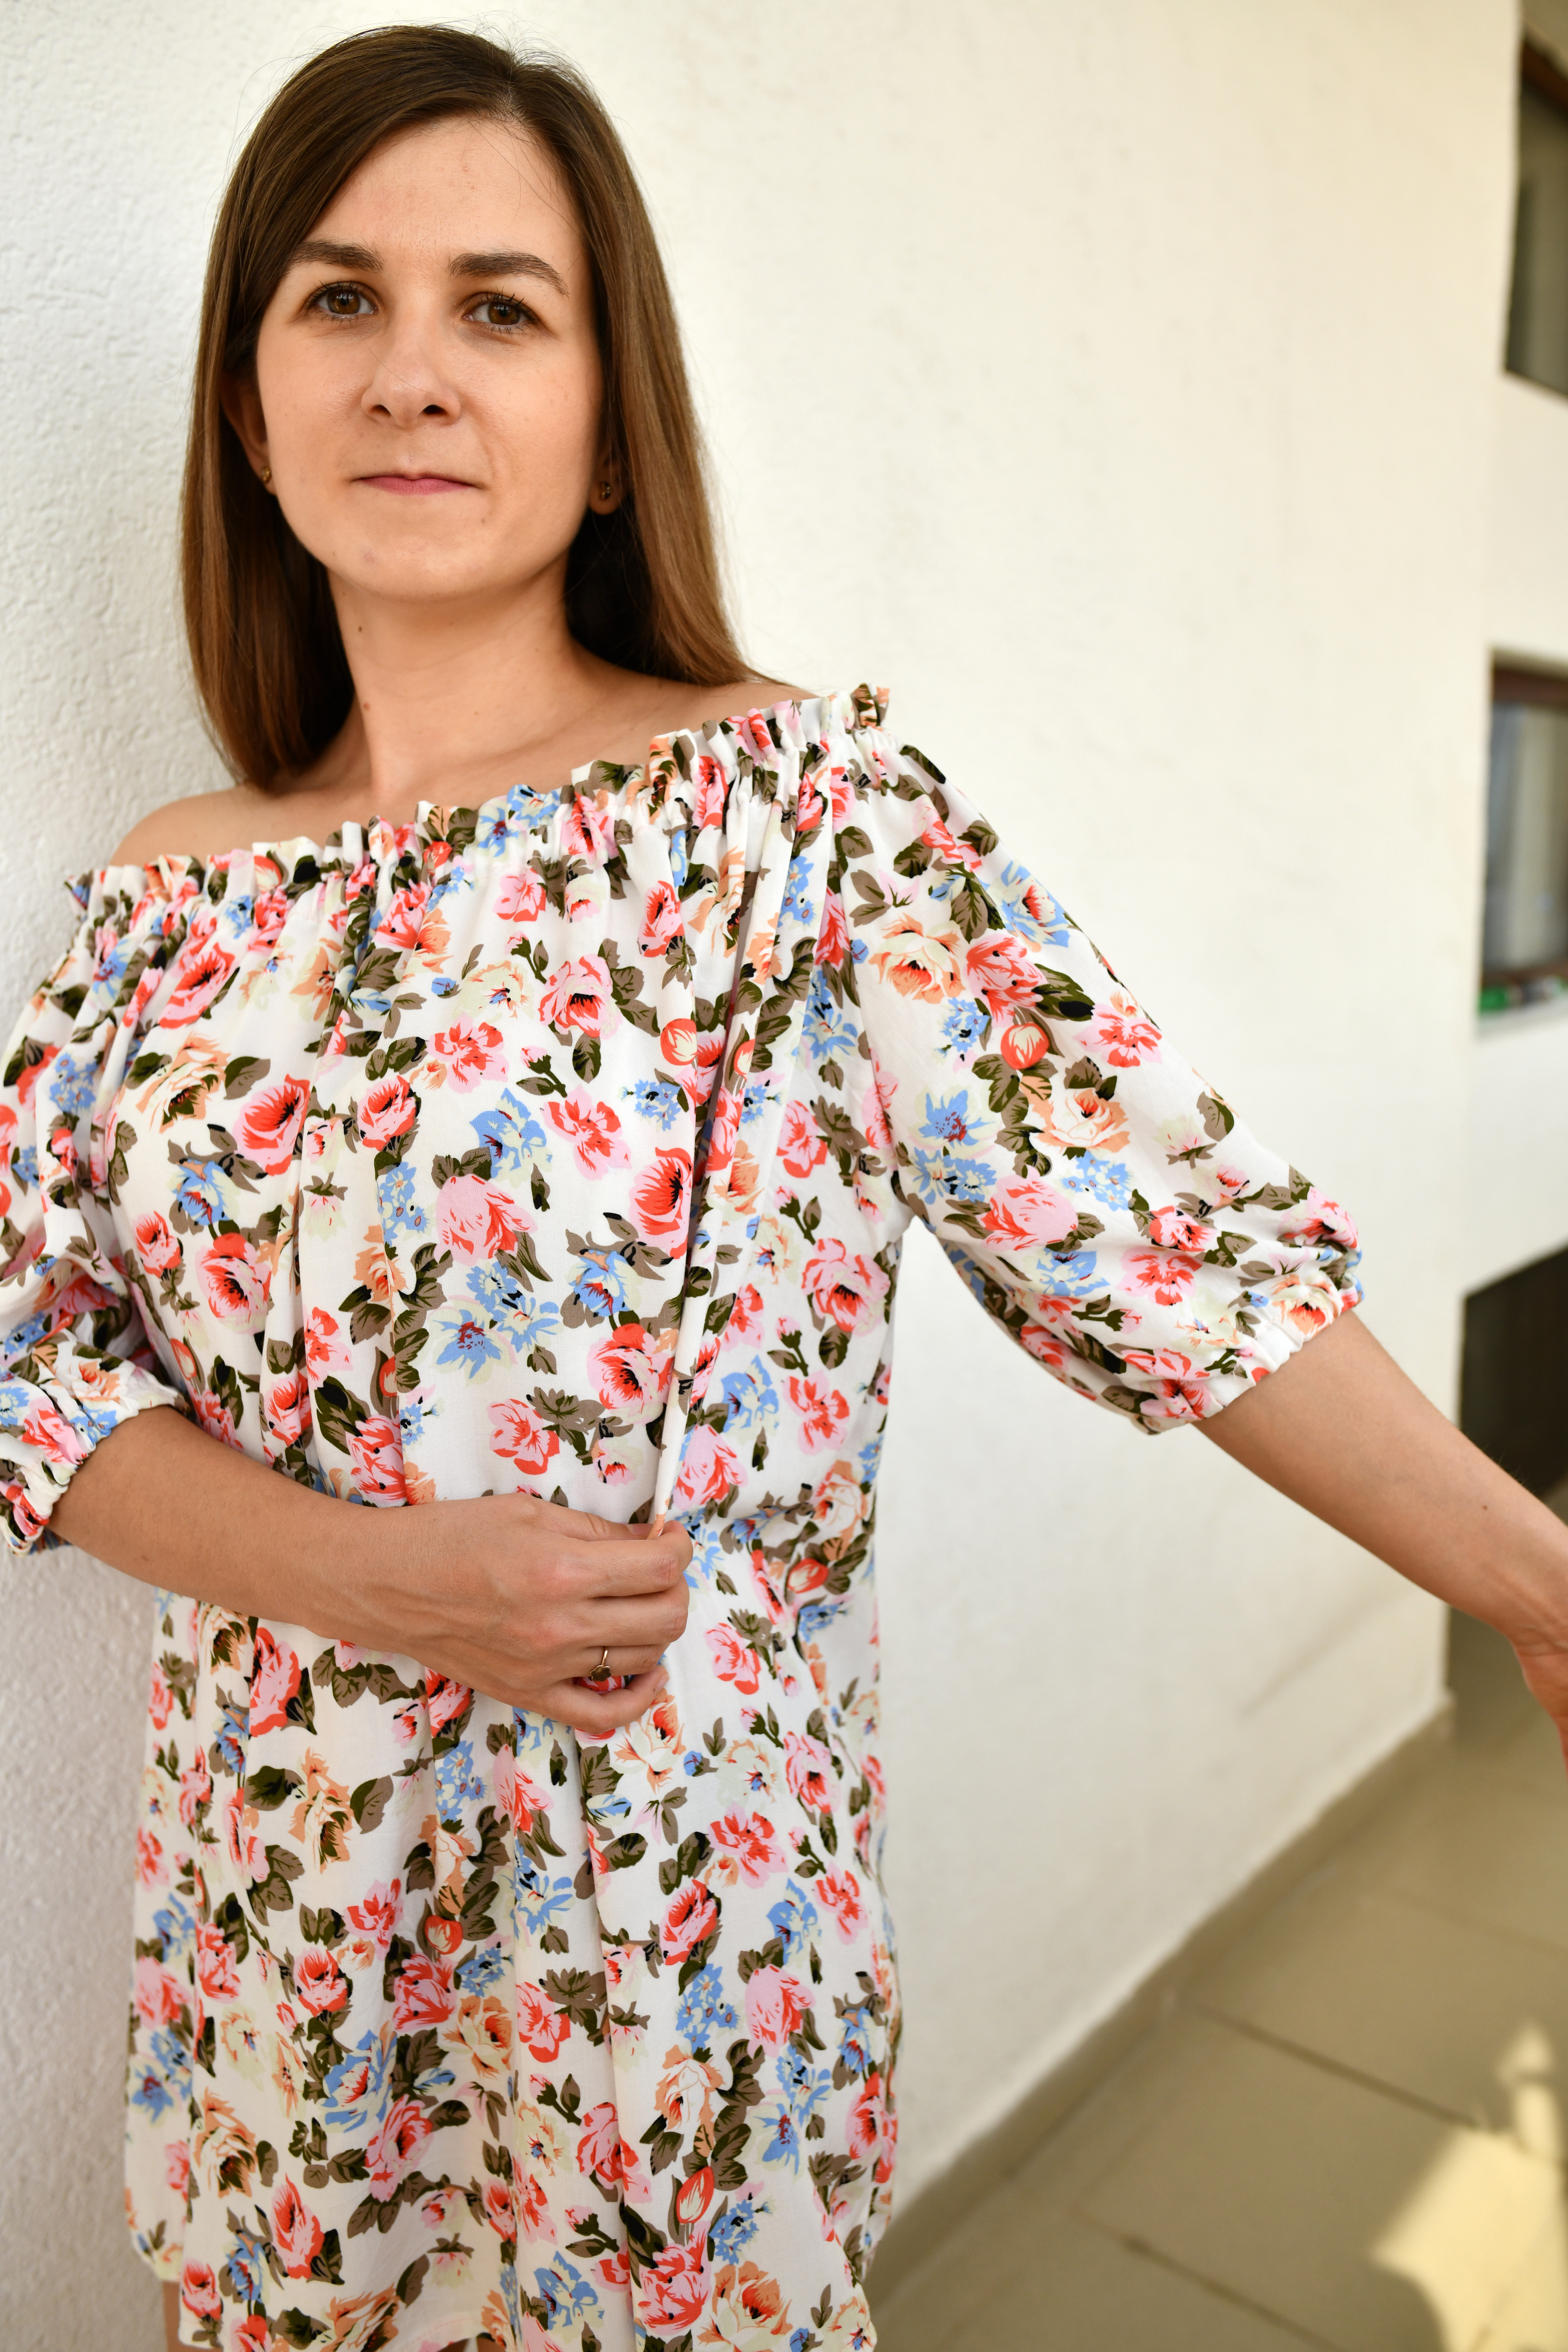
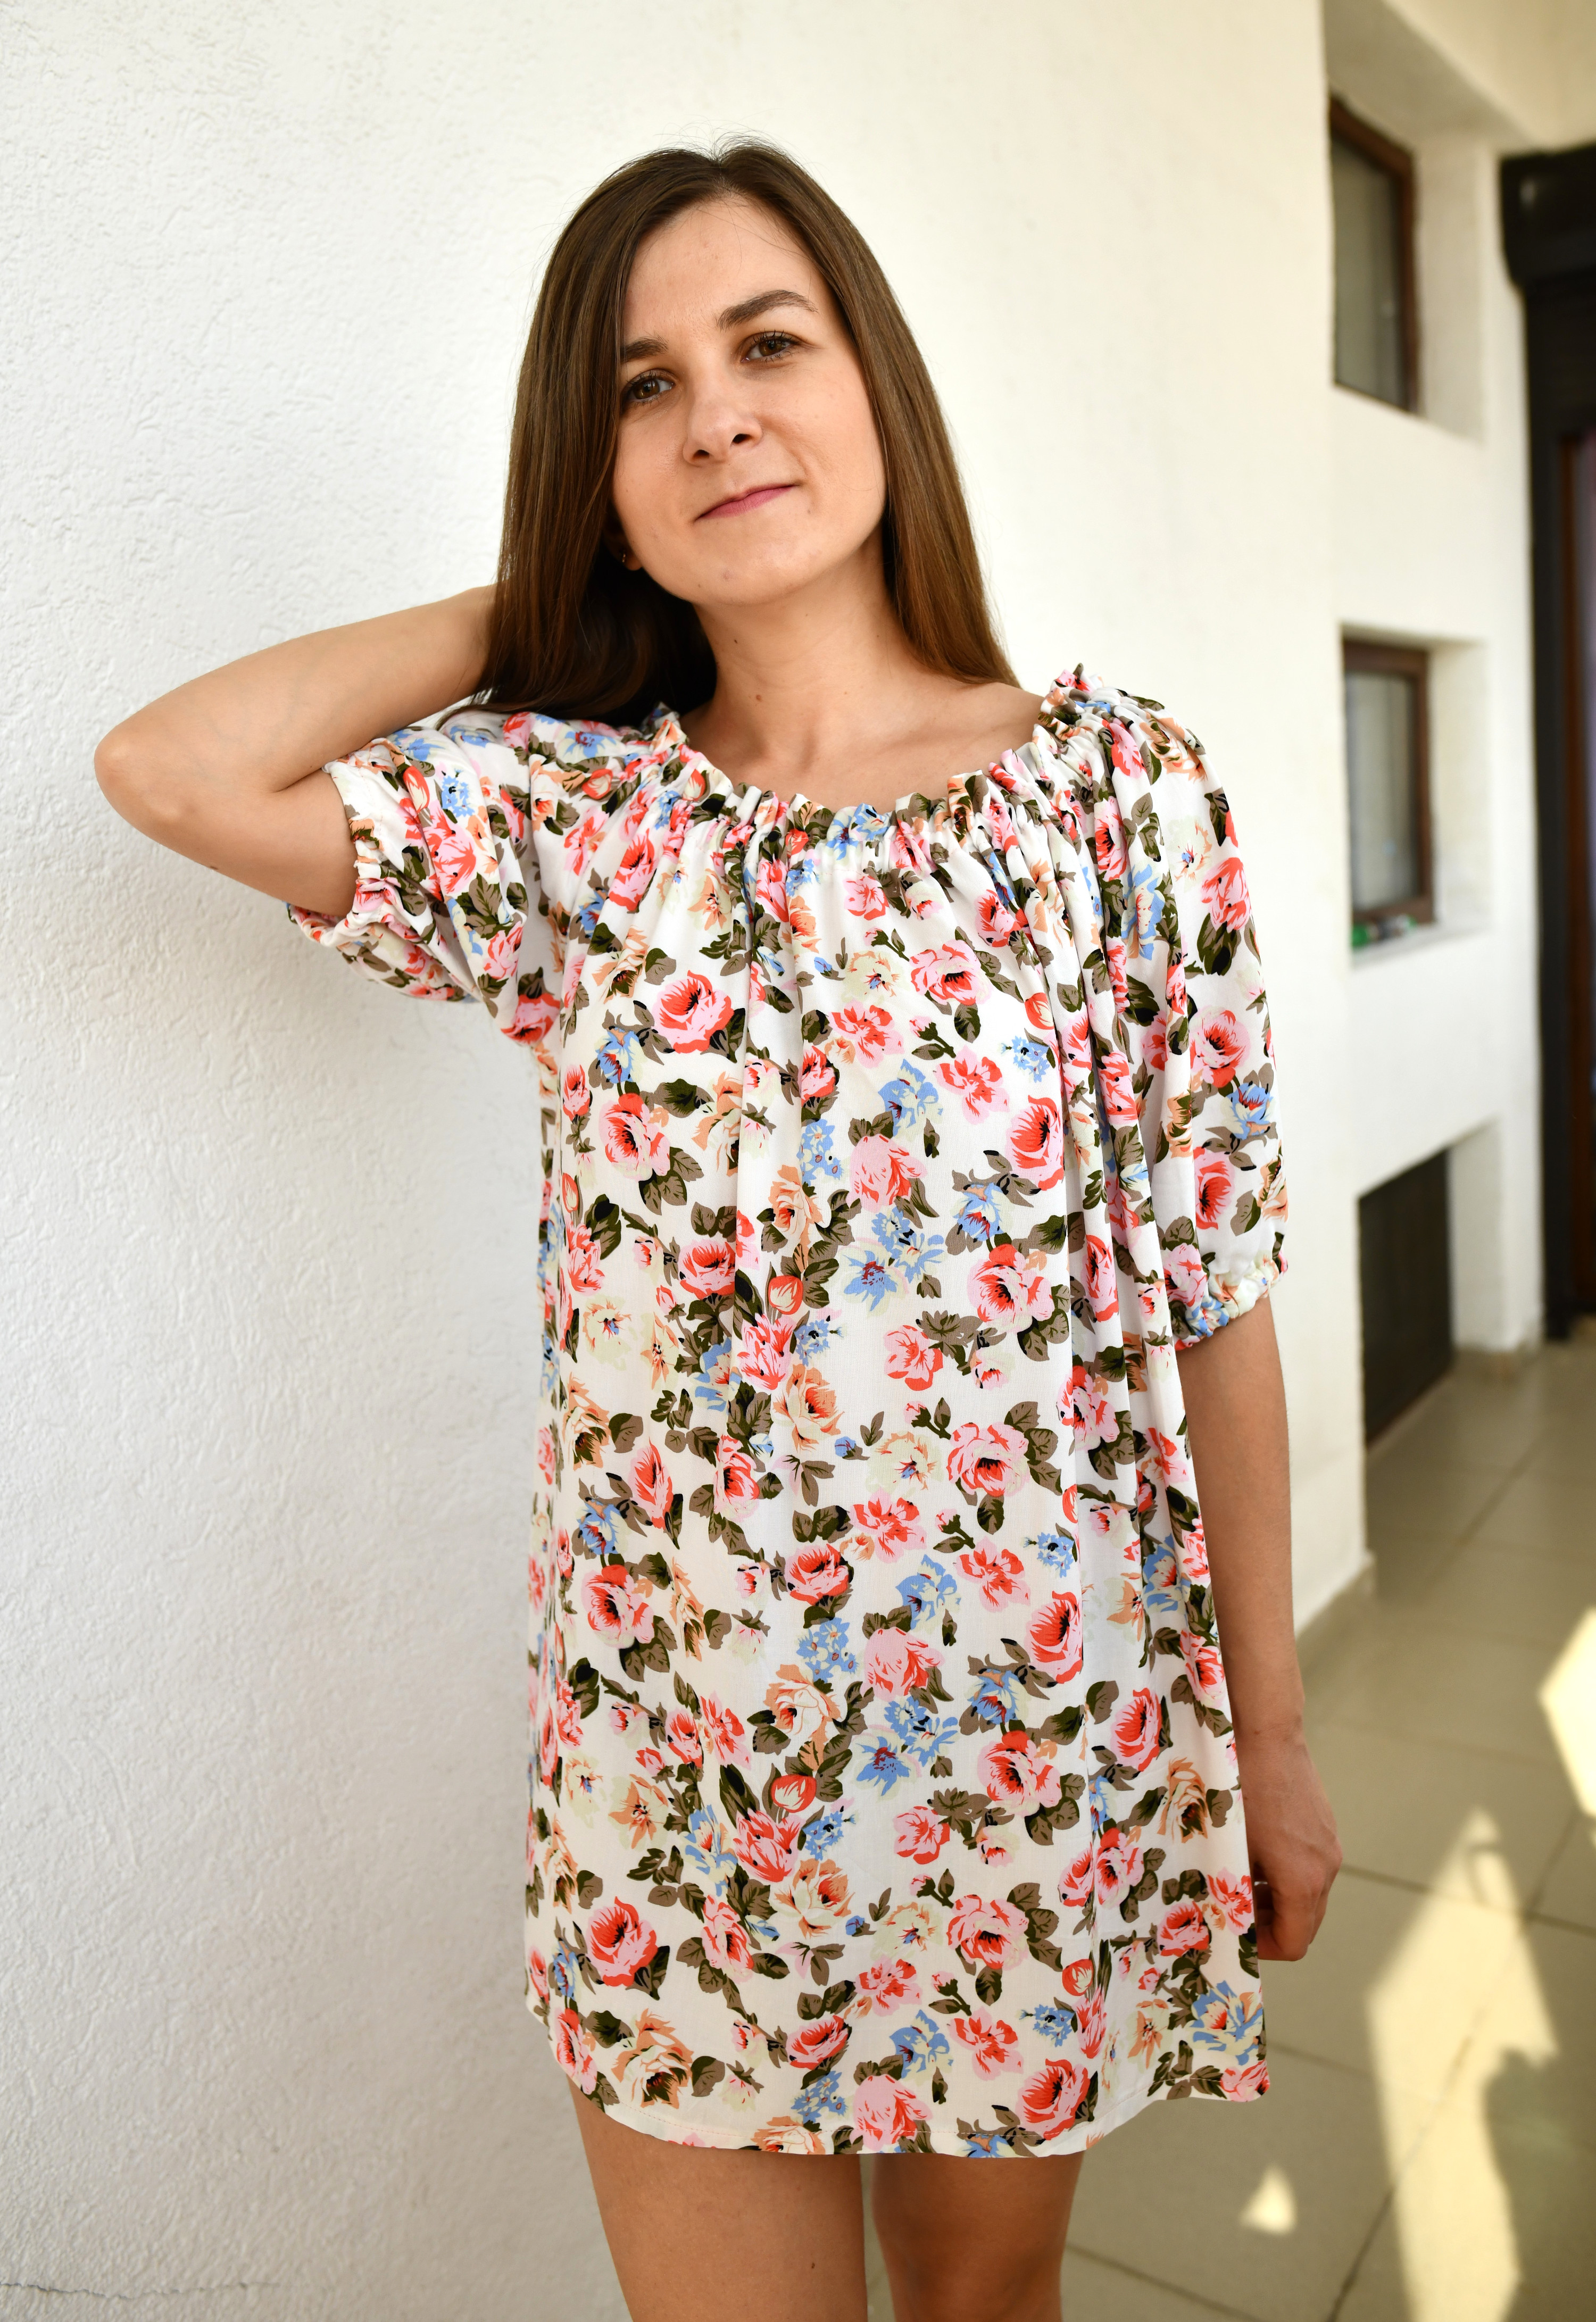
3. Off-shoulder dress – floral viscose fabric (size XS/S)
To make the pattern for this cute summer dress, I used these measurements:
- I extended the t-shirt armhole curve by 2”.
- To make the sleeve pattern, I added 4.5” to the t-shirt sleeve opening (S + 4.5). I wanted elasticated puffy sleeves, so the width of my sleeve pattern is 5.5+4.5=10” (on the fold, of course).
- For the bodice pattern, I added 5” of ease to the bust measurement (B + 5).
- I used 1/2″ wide elastic for the top casing and the sleeves.
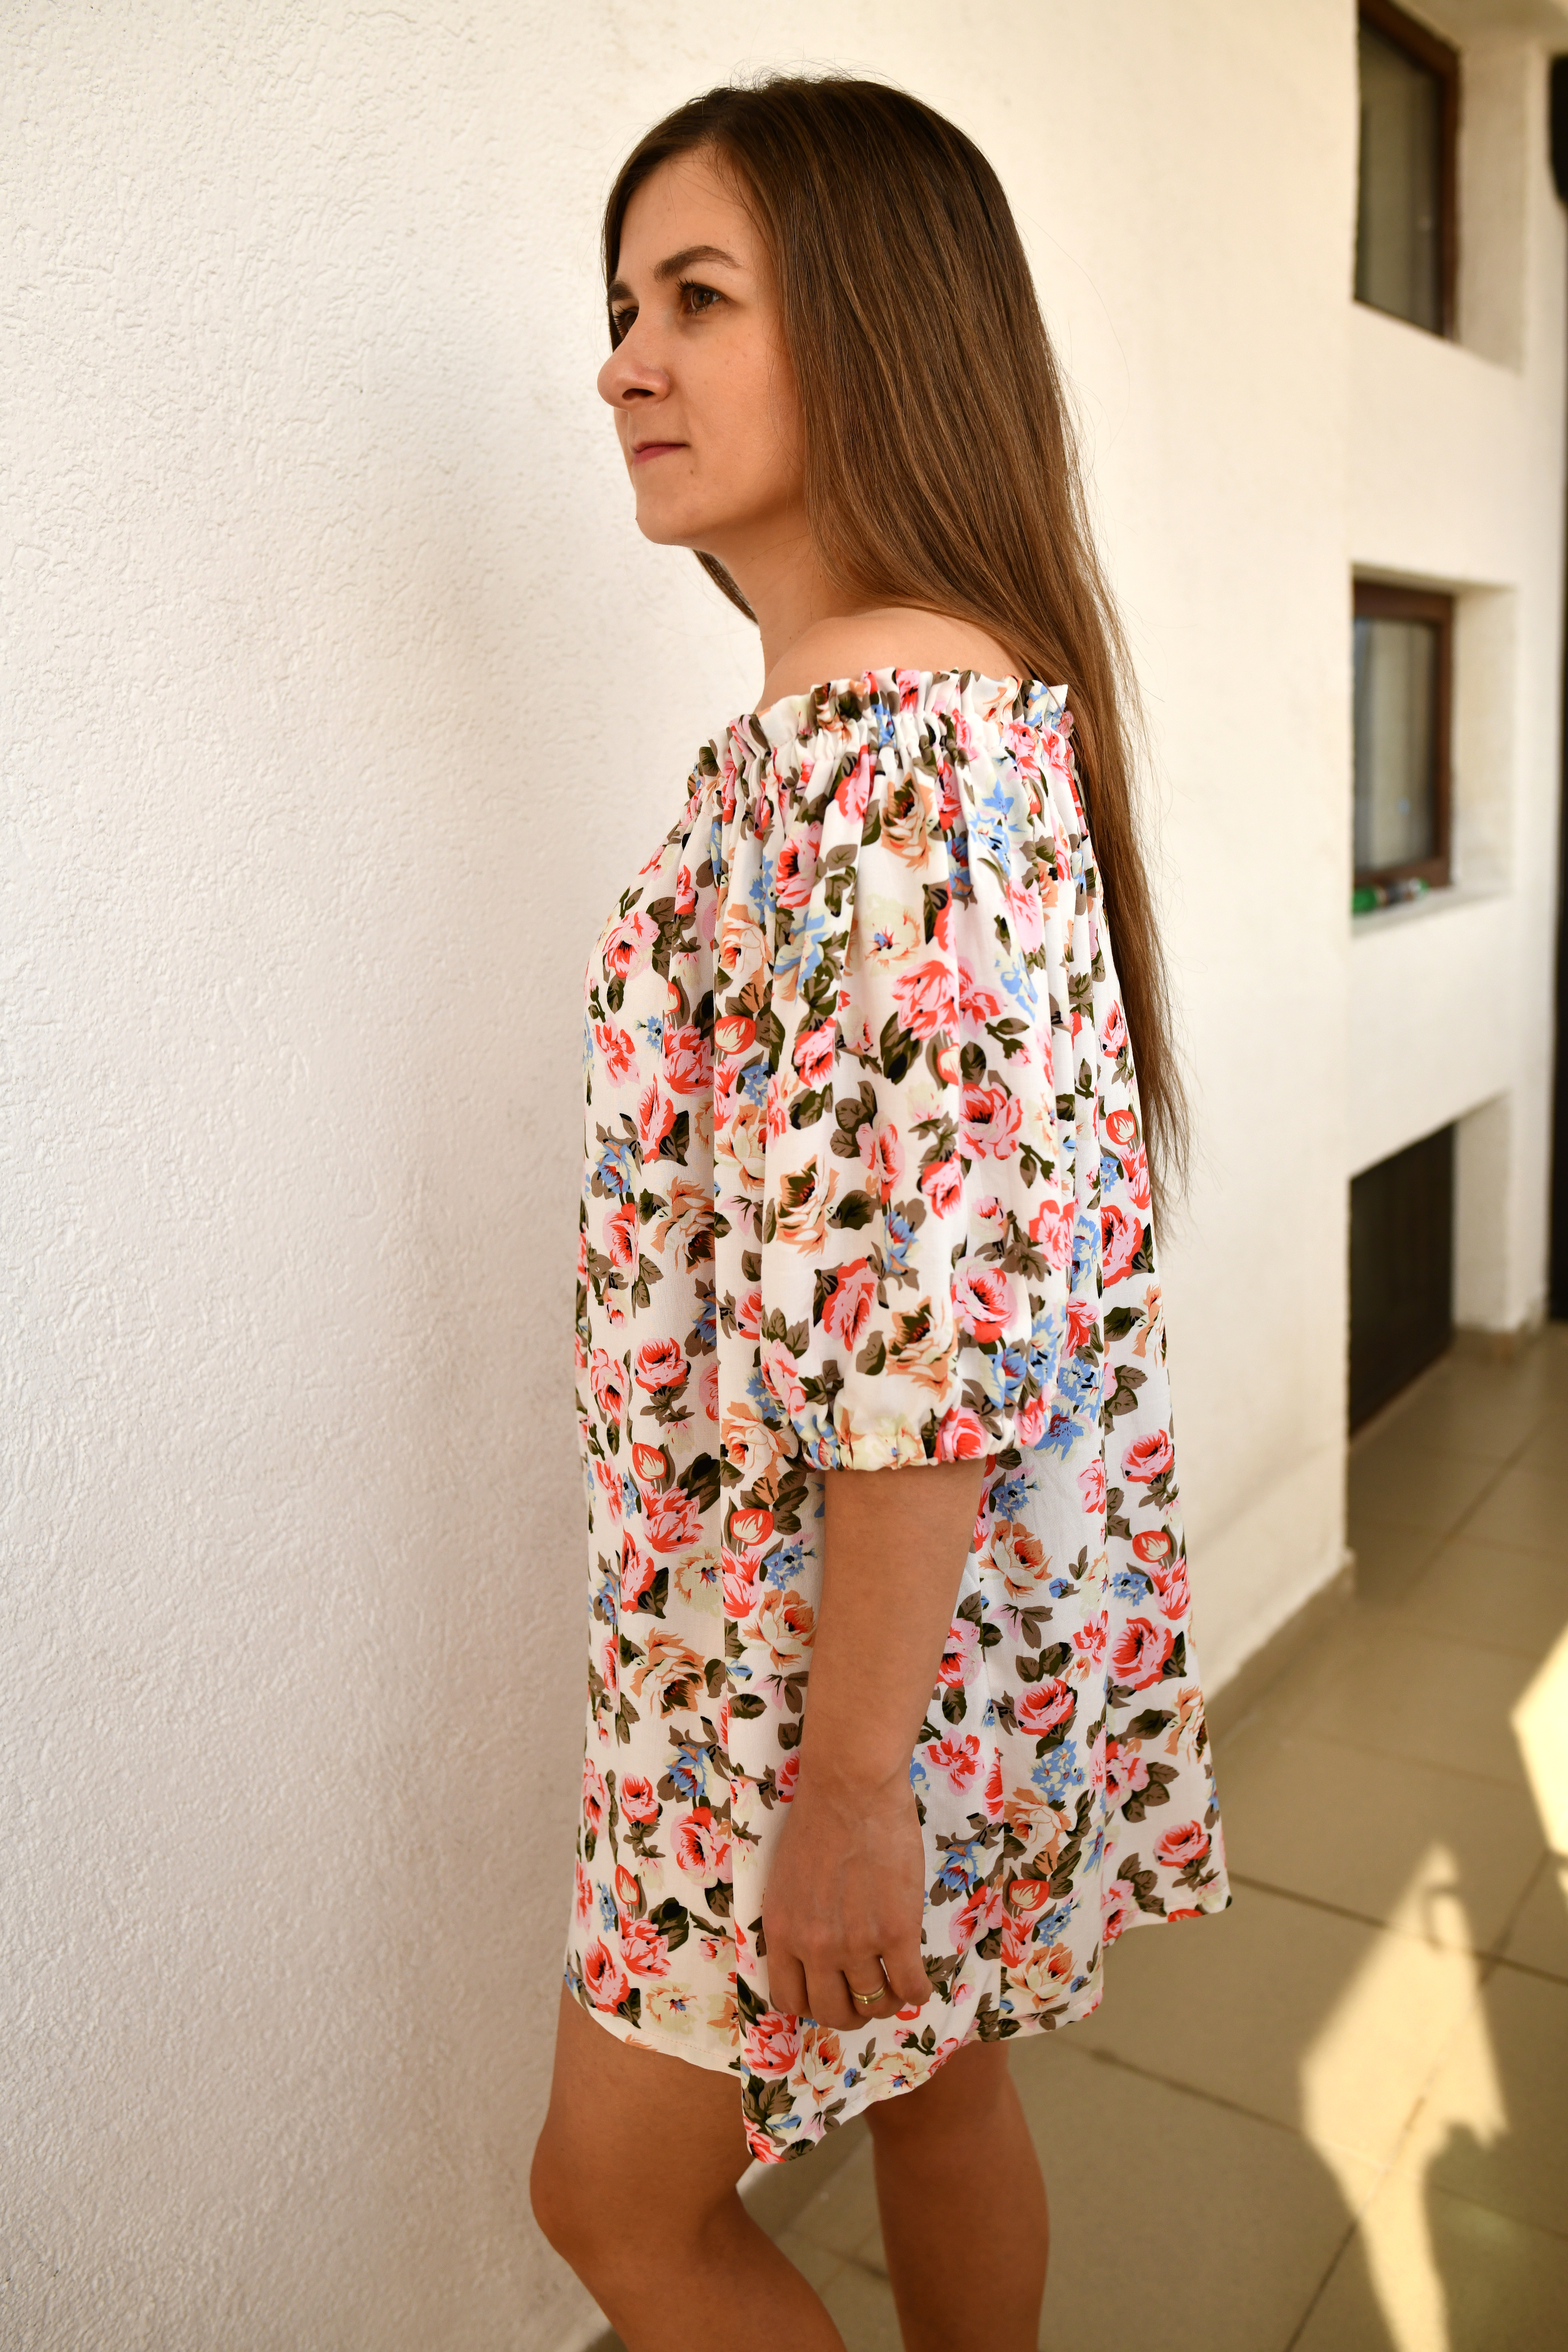
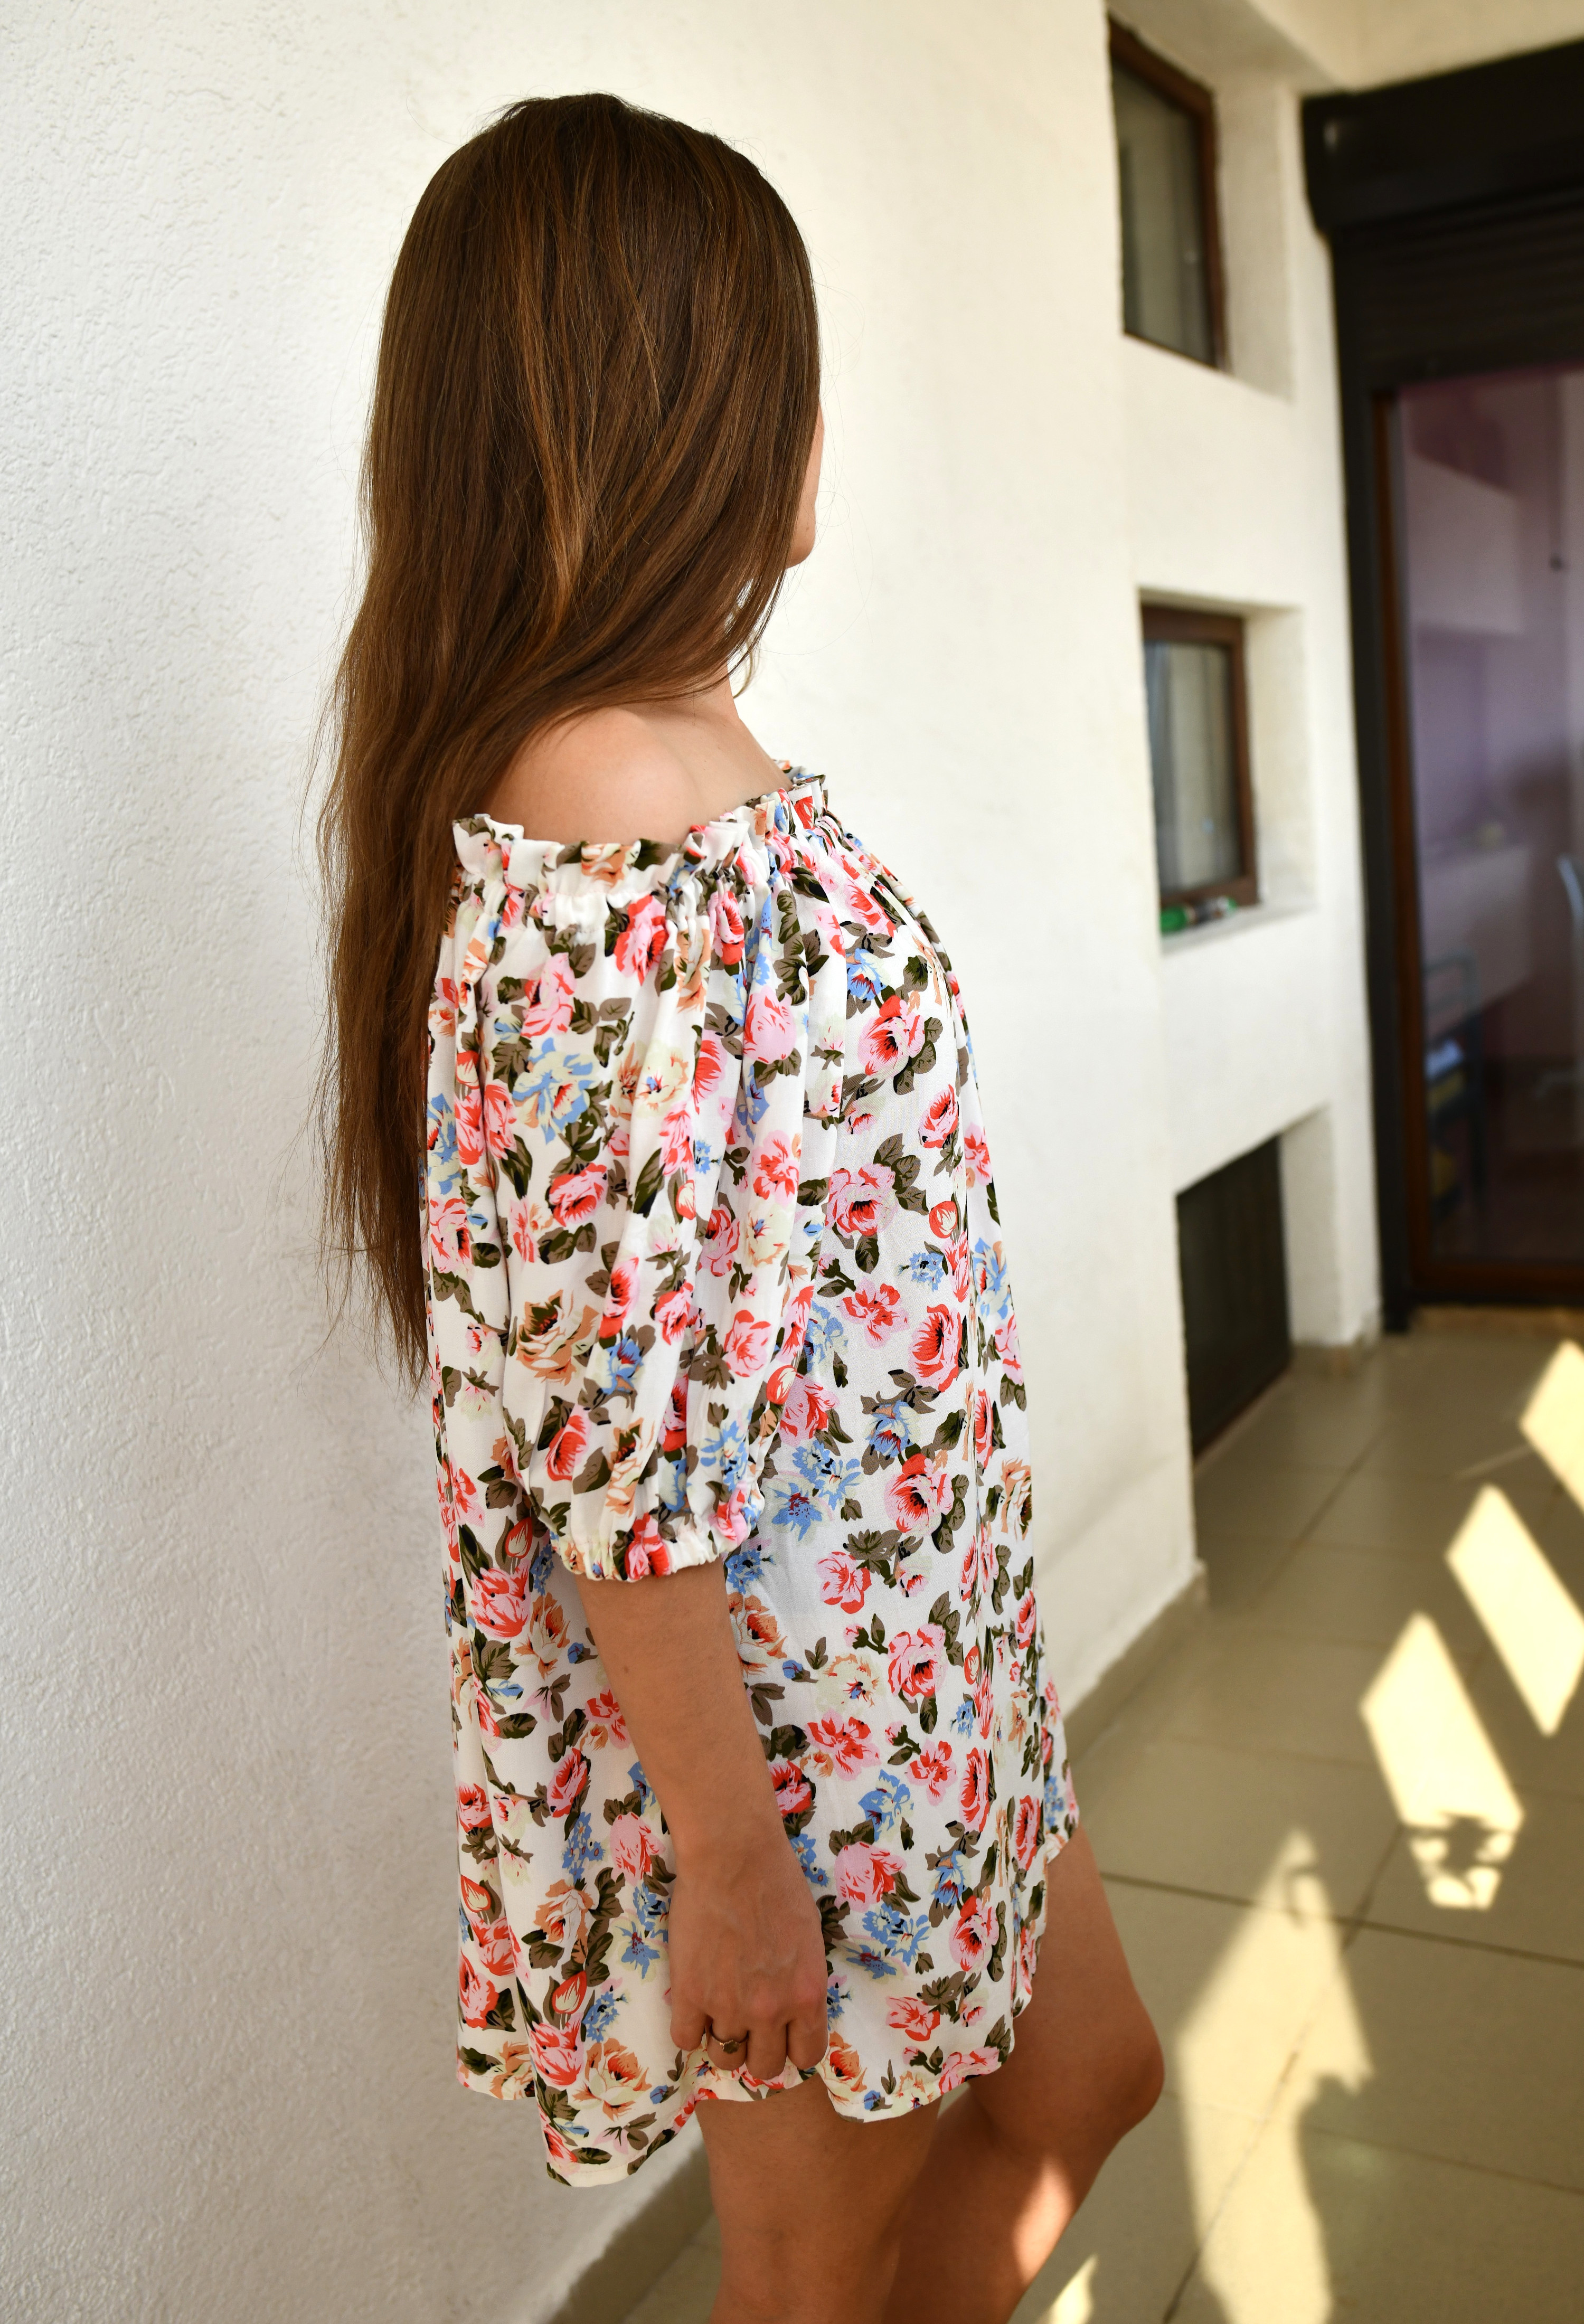
Here’s a pic so you can see the ease of my sleeve. The underarm point falls well below my armpit.
Technically, I could wear it as a normal dress. However, I think those neckline ruffles are a bit too much in this version! Also, this way the dress gets to be a bit too short for my taste.
Anyway, this is a really comfy summer dress. It will look super cute at the beach.
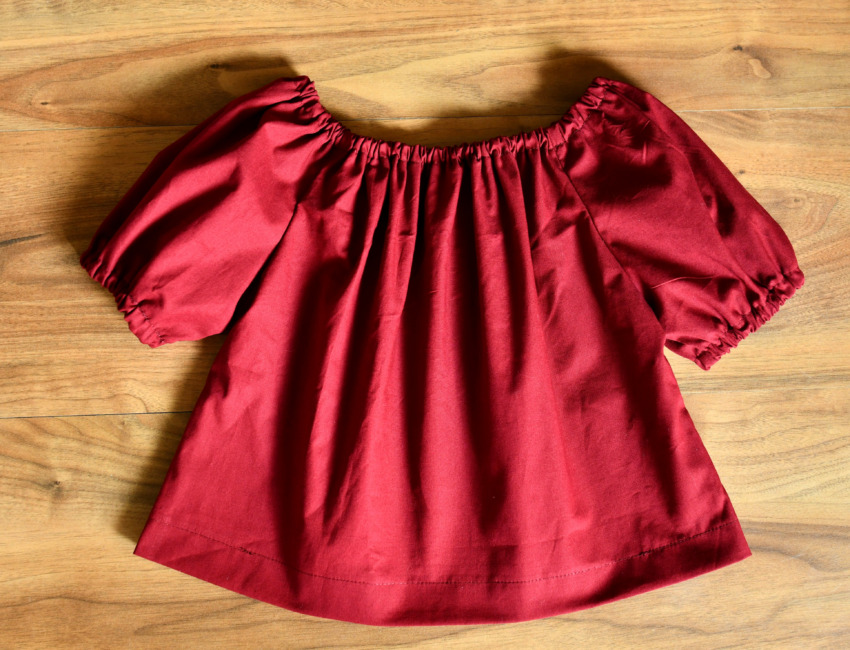
4. Girls’ peasant top – burgundy red cotton fabric (size 5 years)
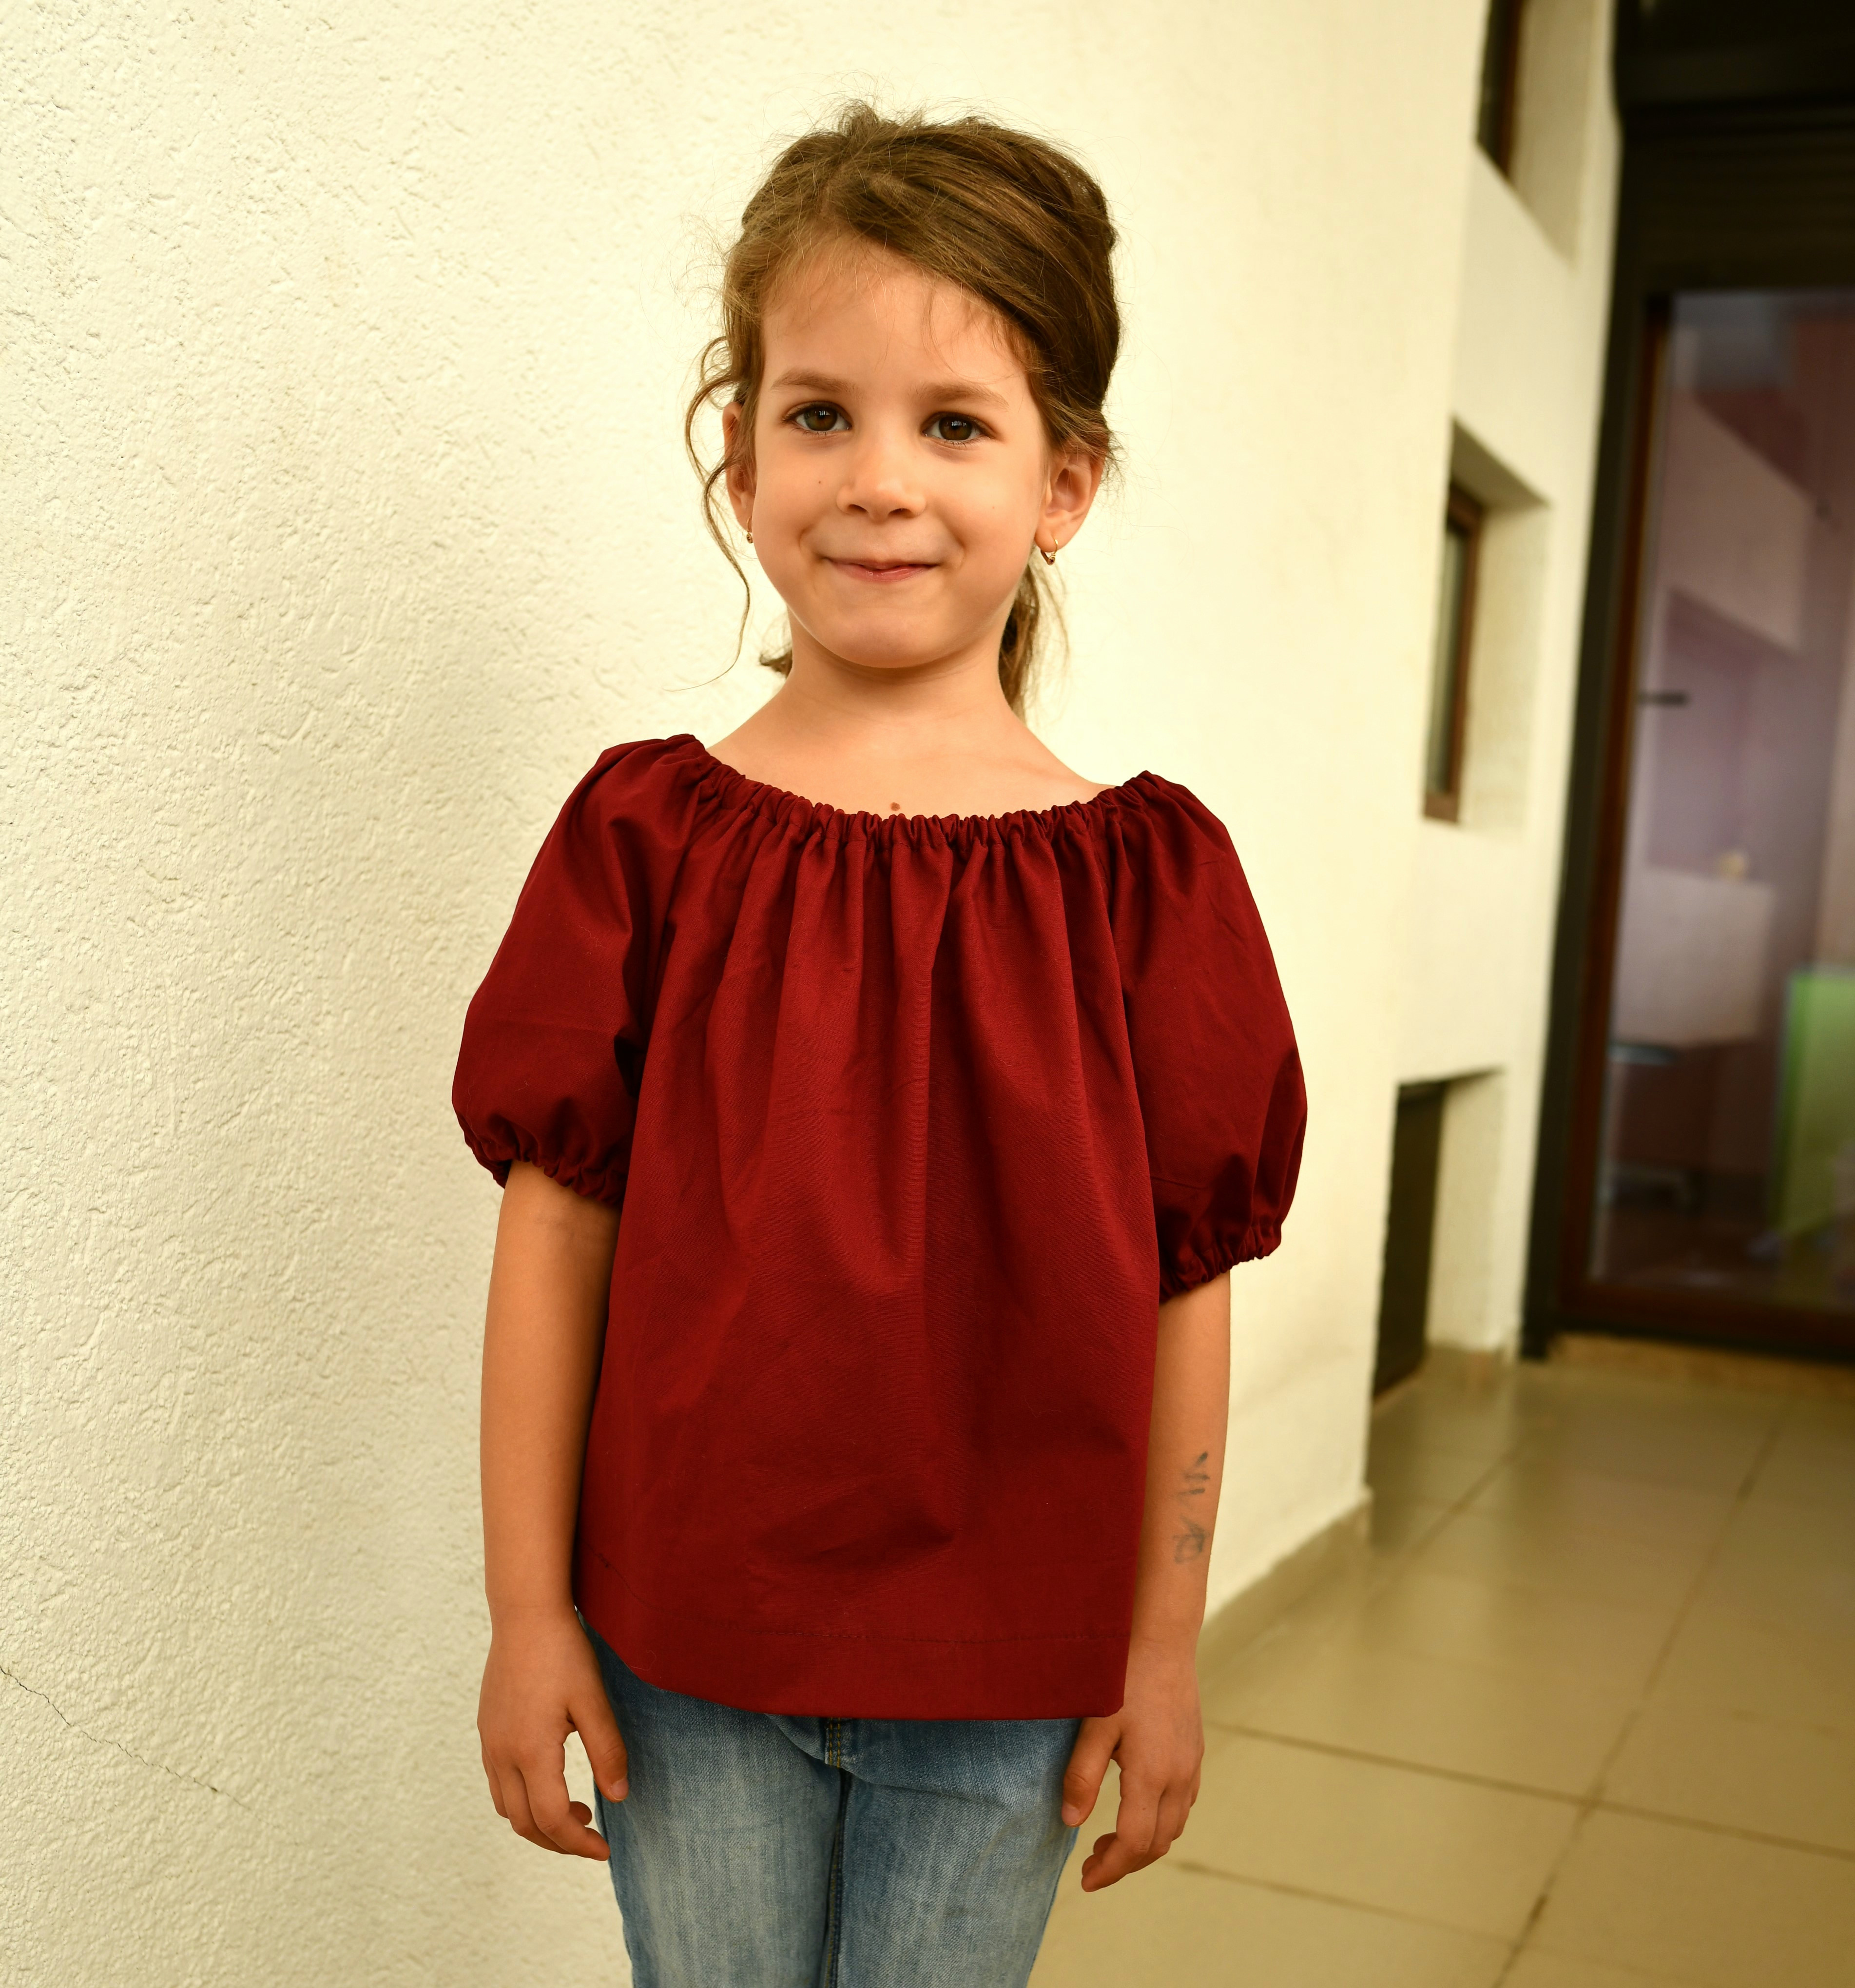
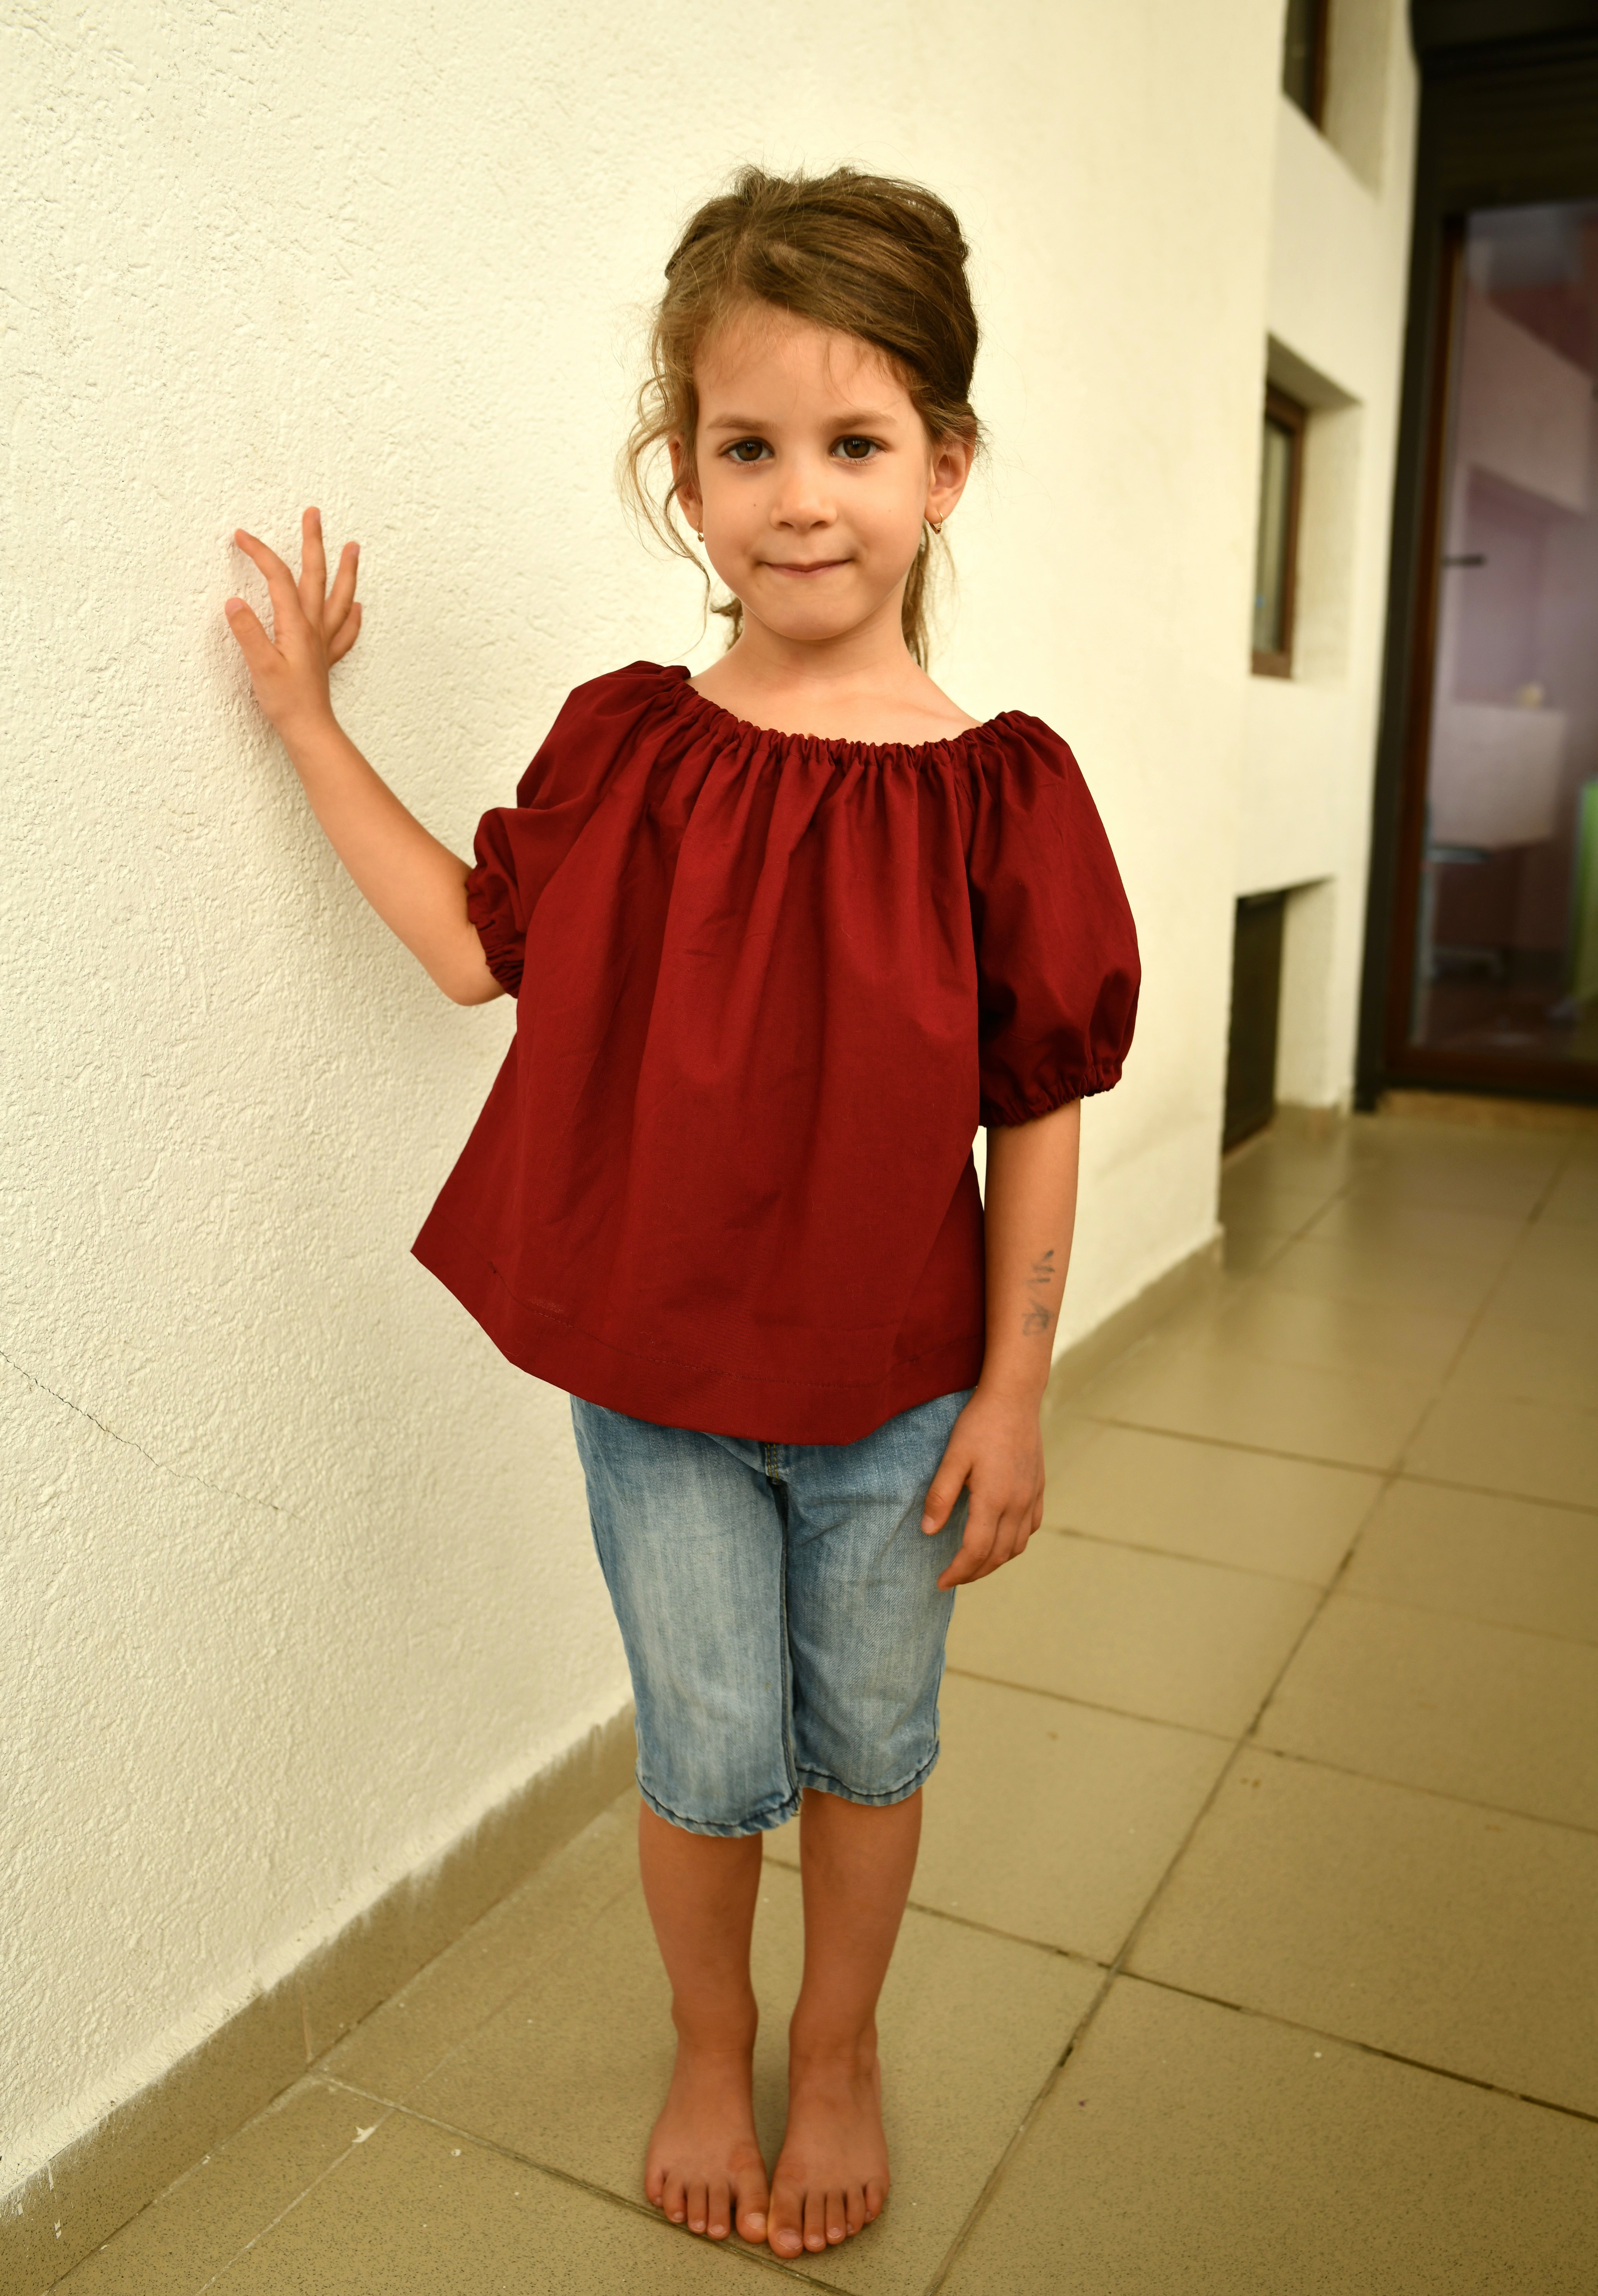
To make the pattern for this classic girls’ peasant top, I used these measurements:
- I extended the t-shirt armhole curve by 2.5”.
- To make the sleeve pattern, I added 3.5” to the t-shirt sleeve opening (S + 3.5).
- For the bodice pattern, I added 3.5” of ease to the bust measurement (B + 3.5).
- I used 1/4” wide elastic for the top casing and the sleeves.
So, what do you think? Will you give this peasant top pattern drafting shortcut a try?
If you have questions or observations regarding this peasant top pattern drafting shortcut, please share them in the comment section below so others can see and benefit from this exchange of ideas. Thank you!
Let’s keep in touch! You can find me on Facebook, Instagram, and Pinterest.



I love the dress !! I’m quite new and find when I cut my armholes they are always a bit tight. When I read that tutorials that you say first you say when making peasant top (not off shoulder) you add to the curve. When making regular top add to that top of the curve. So I want to make the dress but not off shoulder so should I add to curve or top? Thank you so much for this
Hi Kimberly!
So, to make your own peasant dress pattern, first grab one of your T-shirts and trace its armhole curve. Next, add a few extra inches on top of that curve to make it longer. I’d suggest adding about 2-3-4 inches depending on the size you’re making. For my off-shoulder dress, I extended the armholes by 2 inches, and even with the added neckline ruffles, I still found it quite comfortable to wear as a regular dress. I hope that helps!
Of course, it probably goes without saying that I don’t recommend adding neckline ruffles to an adult dress 😛 However, if you’re making a baby or toddler dress, the ruffles can look absolutely adorable on them!
Hi. Looking at your peasant pattern. Printed it out 3T /4T. If I want to revise the pattern bigger do I add to the folded edge, the bodice length and the sleeve length? What am if forgetting? Arm hole allowance for bigger size?
I want a dual sided sleeve ruffle so will add a few inches to the sleeve.
Thx so much. What a resource!
Hi Chaney,
Sorry for the late reply! Thank your for the kind words!
Do not add to the folded edge, that will always remain the same. Just make the armhole larger for a bigger size (extend the curve), and make the sleeves longer if that’s what you want.
You can manipulate the bust measurement (BM in the article) – by adding fewer inches you’ll get a tighter-fitting top, while by adding more inches your peasant top becomes more flowy and roomy. It’s the same with sleeve opening (SOW) – that’s where you get to decide how puffy your sleeves will be.