Hey there, sewing friends! I just had a total lightbulb moment and I have to tell you about it – I finally made my very first button-down shirt, and it turned out way better than I expected. Seriously, I’ve been avoiding shirt sewing for years because I thought it would be this big, complicated, scary thing… but turns out? Sewing a shirt is not that hard. Actually, it’s kind of addictive!
I used the Cool shirt pattern by Frocks and Frolics, and it was the perfect choice for a beginner-friendly button-up shirt project. It looks super sharp, and bonus – my son loves it! He’s been calling me out lately, saying I always sew things for his sisters and never for him. And, yeah… guilty as charged. It’s just so much faster to whip up a gathered skirt or a scrunchie or something quick and cute. But making a shirt for my boy? That felt special.
Not gonna lie, I was lowkey panicking about all the details. You know – sewing buttonholes, matching up the collar, setting in sleeves, working with all those little pattern pieces… it felt like a lot. I kept thinking, “What if I mess it up?” But I decided to just go for it because, come on – we’ve tackled worse in sewing, right?
Here’s what helped me get through it without losing my mind:
- I followed the pattern instructions to the letter.
- I watched the step-by-step shirt sewing tutorial on YouTube.
- And I kept one of my son’s ready-to-wear shirts on hand so I could check how things should look as I went.
And guess what? IT WORKED. I made a legit button-down shirt for my son and it actually fits him – and he’s wearing it proudly! I’m so happy I pushed past the fear and finally gave shirt sewing a try.
Honestly, this project felt like a mini sewing victory. Learning how to sew a shirt for boys, how to do proper shirt collar construction, and figuring out how to sew buttonholes without a drama – it all gave me such a confidence boost.
So if you’ve ever looked at a shirt pattern and thought, “Nope, too hard,” I’m here to tell you: you’ve got this. Whether you’re trying to sew a boy’s dress shirt, a casual button-up for kids, or even just want to practice your buttonhole game, this is the perfect project to try. And trust me, it’s way more satisfying than another headband or skirt.
New sewing skill officially unlocked! Now I just want to make a whole stack of shirts in fun fabrics. Who knew?
The pattern I used – along with an amazing step-by-step video tutorial – was super beginner-friendly. I’d never sewn a shirt before, but I followed along, took it slow, and somehow ended up with this polished, professional-looking button-down. Honestly, I’m still staring at it like… Did I really make that?!
And get this – I’ve already finished my second handmade shirt, and I’m seriously obsessed with how it turned out!
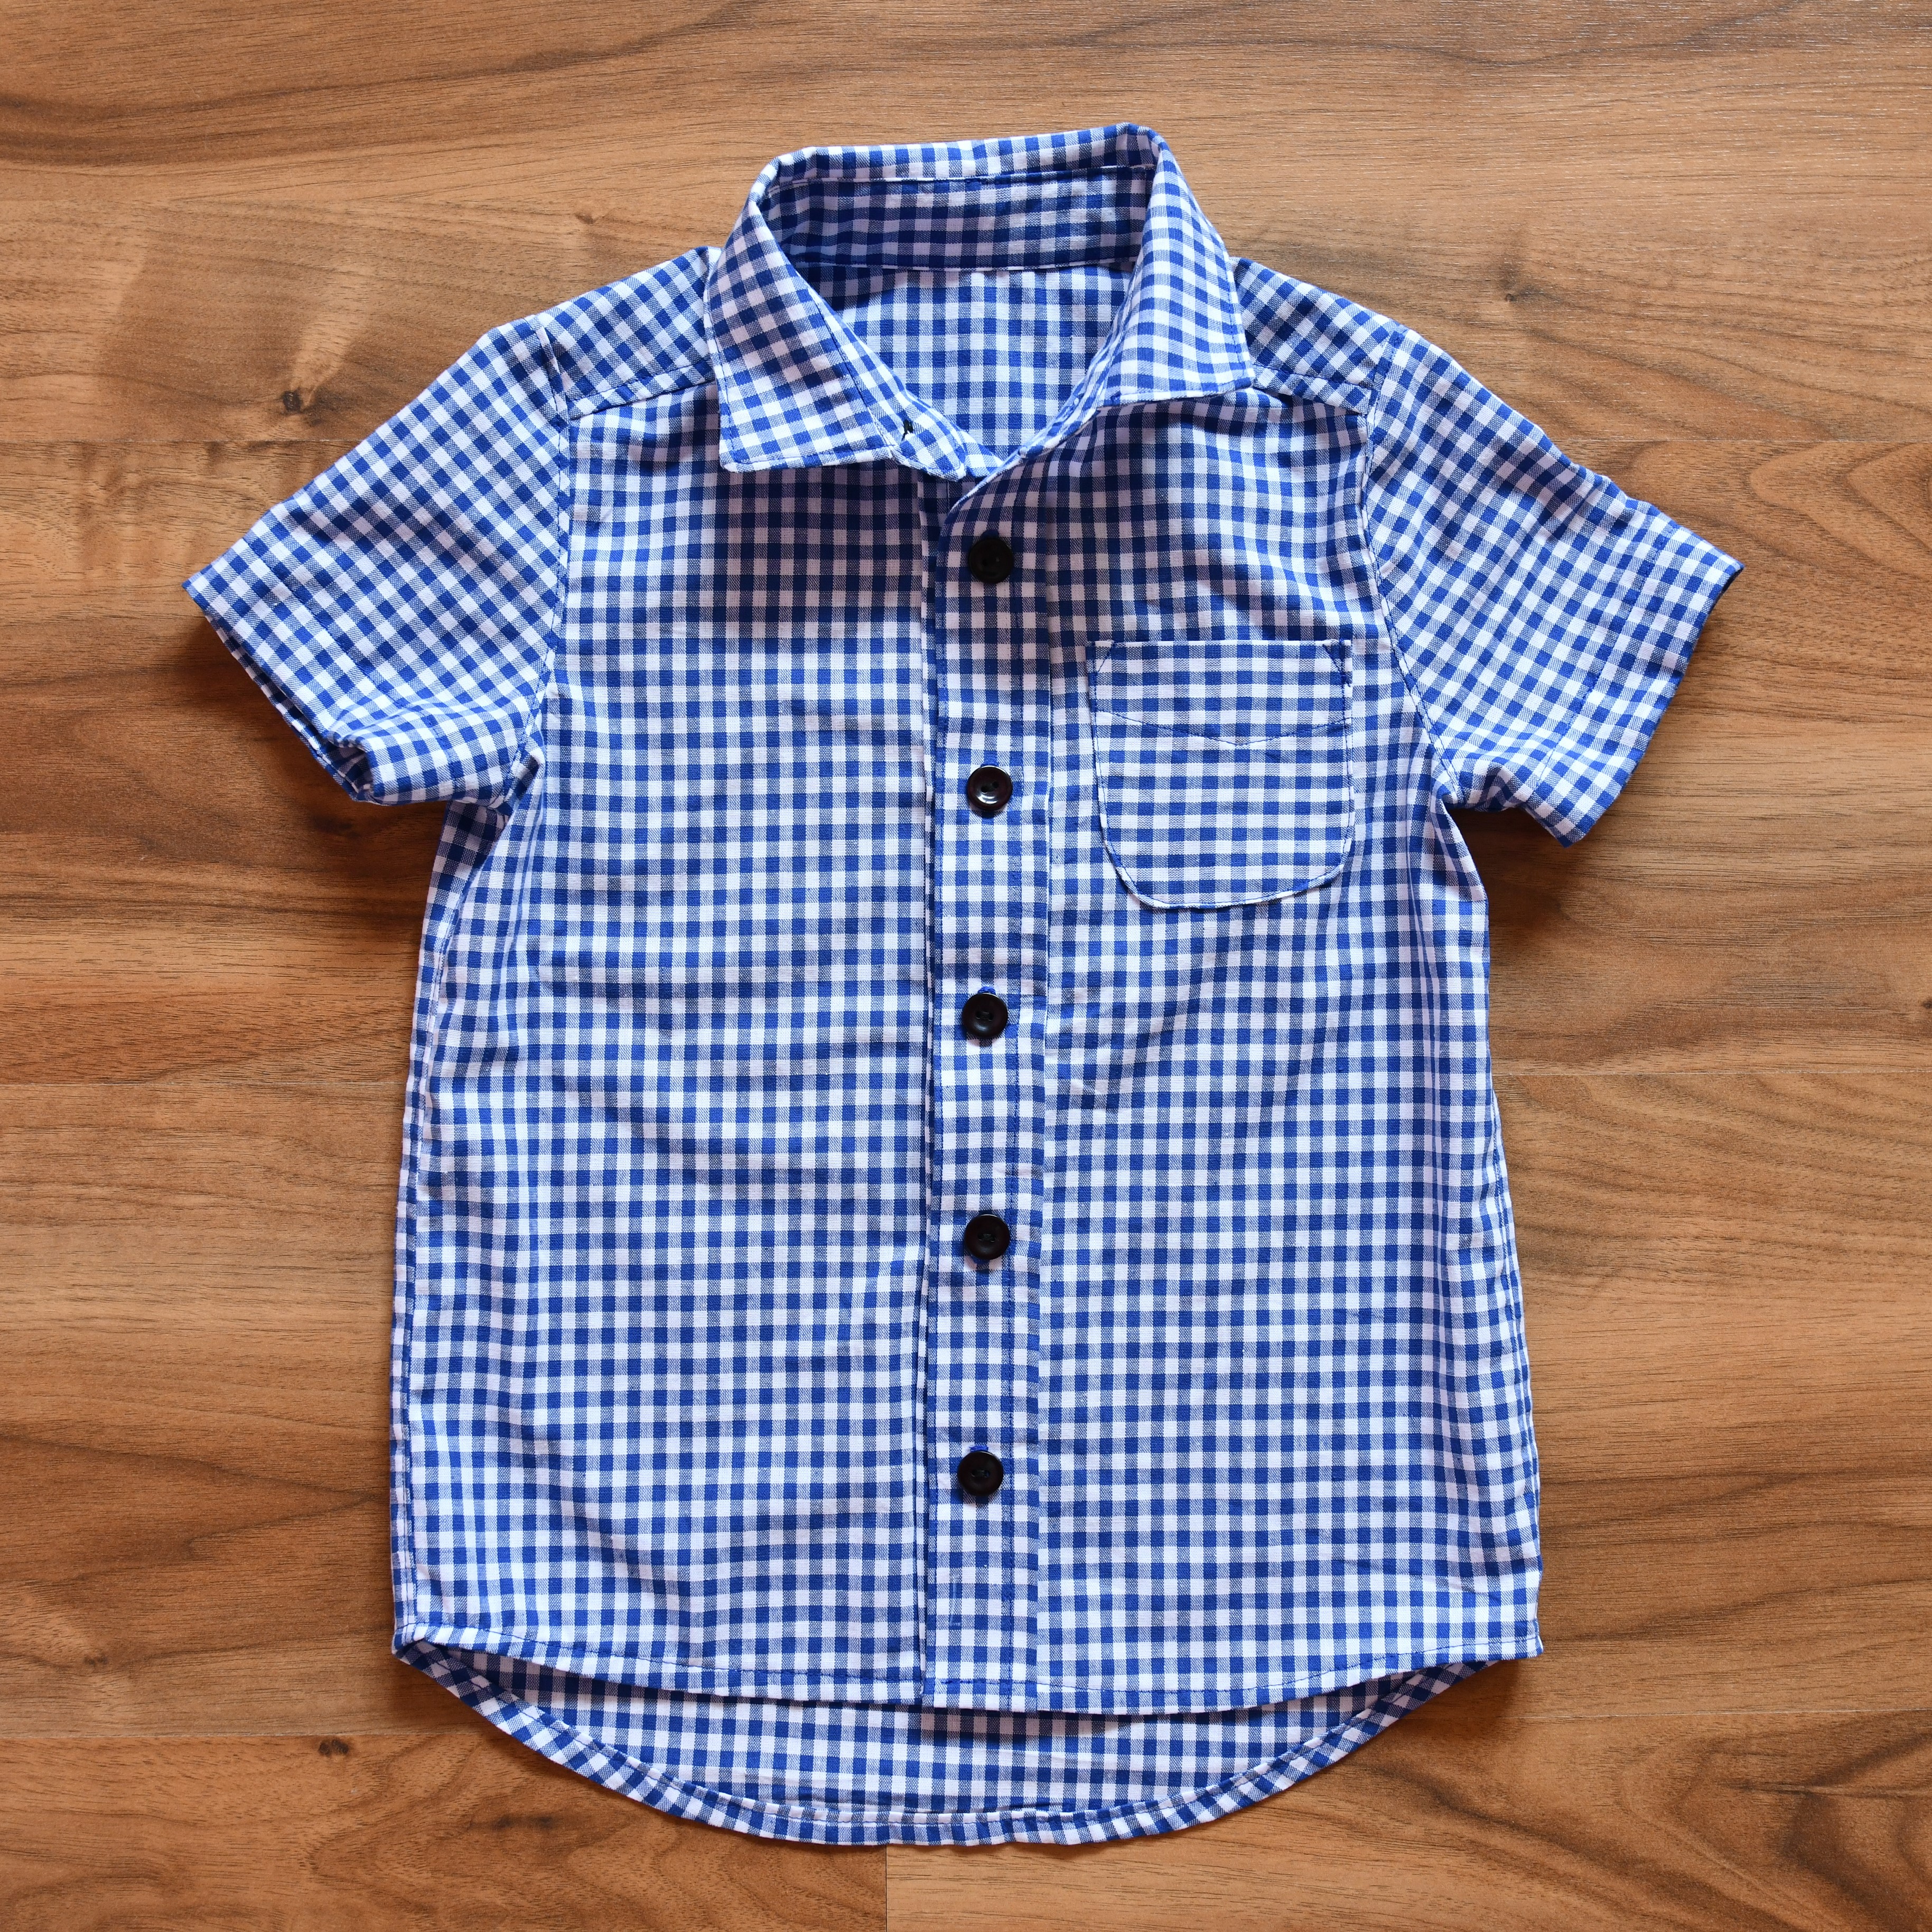
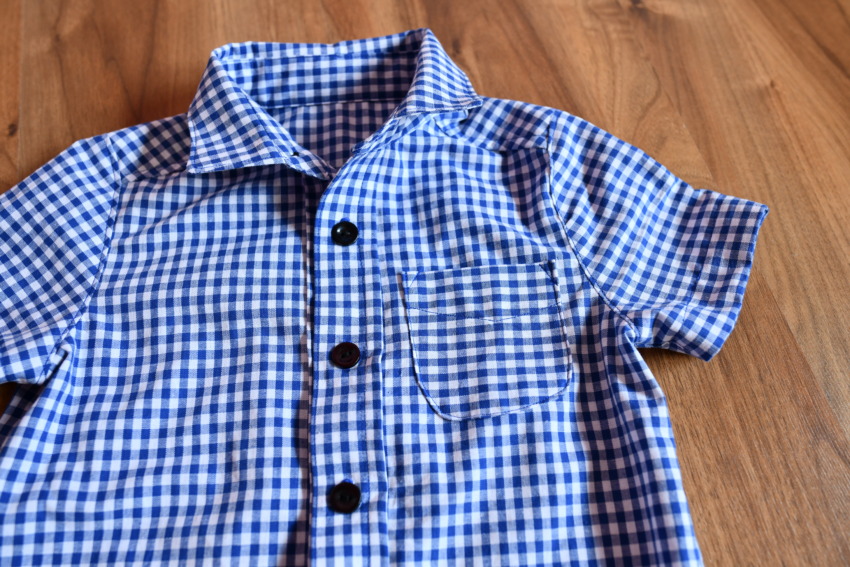
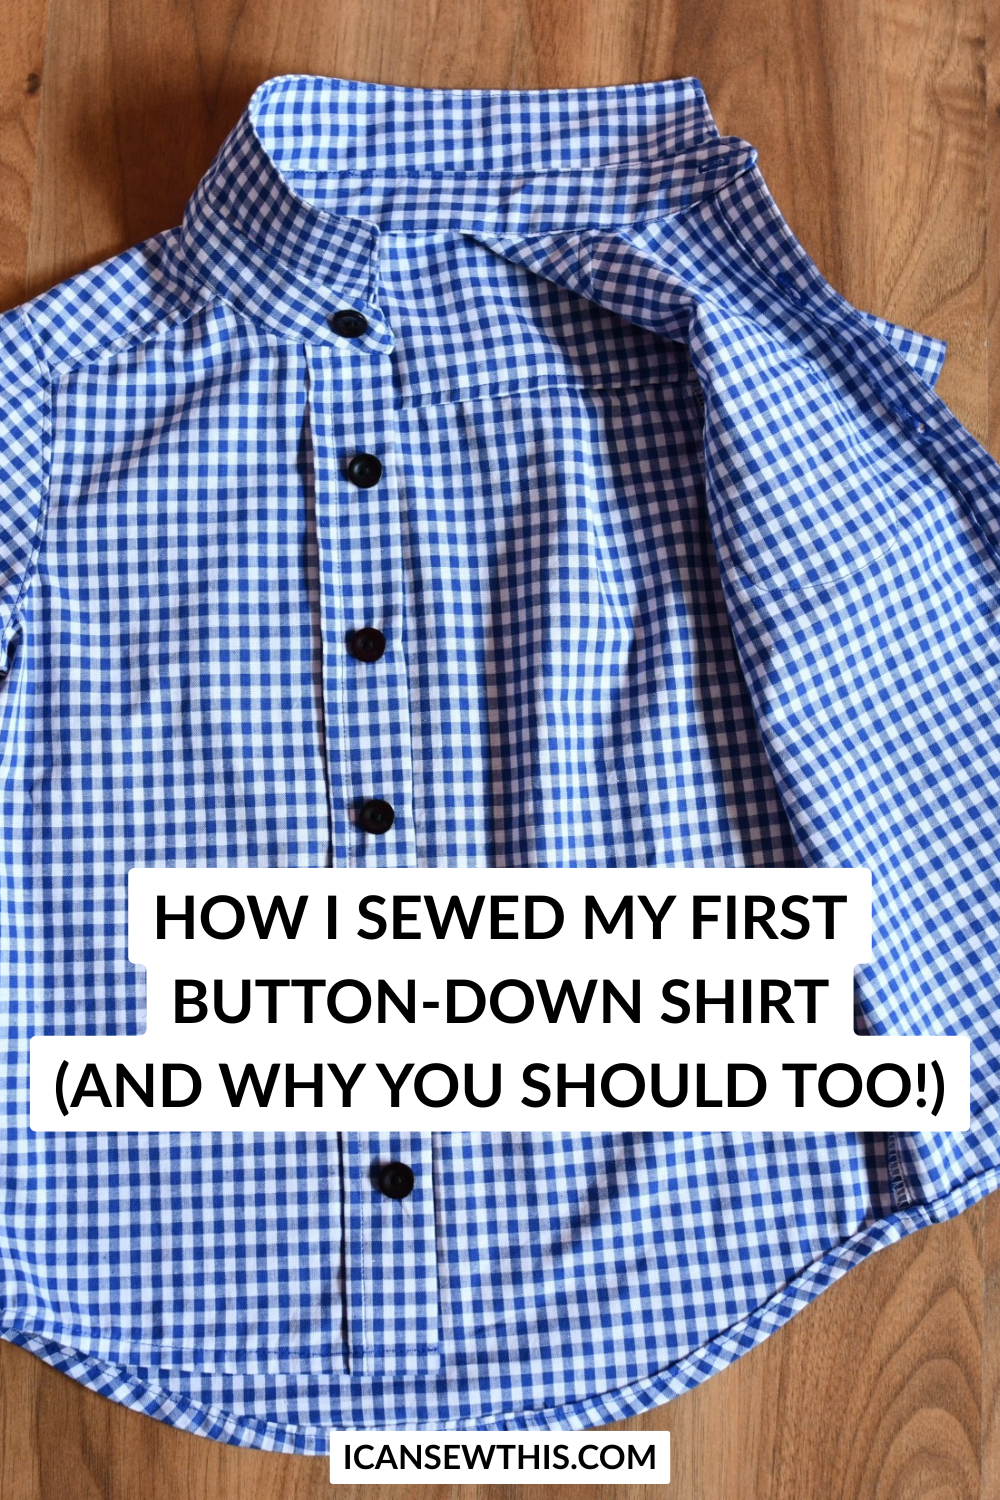
This one’s a DIY short sleeve shirt made from soft gingham cotton. It’s got a relaxed fit, a proper collar, a back yoke, a few neat little pleats, and a rounded hem. Basically, it looks like something you’d find in a store – but better, because I made it!
Is sewing shirts hard?
Not at all! I’m living proof. I’ve now made two shirts from scratch, and I can confidently say that sewing a shirt for the first time isn’t nearly as intimidating as it seems.
The secret? Pick an easy shirt sewing pattern for beginners, make sure your sewing machine is in good working order, and take your time. That’s it. You don’t need fancy tools or advanced skills to sew a shirt that looks store-bought.
Here’s the real truth about sewing shirts:
The hardest part is just convincing yourself to start. I was full of doubts with the first one – worried about the collar, the buttonholes, the curved hems… all the usual suspects. But once you’ve made your first shirt, the second one flies by. It’s honestly kind of fun!
Sewing a short sleeve button-down shirt with a collar can feel like a big leap, but it’s totally doable. You’re just sewing one step at a time, and before you know it, you’ve got a crisp little shirt hanging in front of you.
Oh – and one more thing I love? Most shirt patterns use woven cotton fabric, which is super forgiving and perfect for beginner sewists. No stretch, no stress. Just pin, sew, press, and admire.
So if you’ve been asking yourself whether you’re ready to try sewing a shirt – you totally are. Just grab a good pattern, queue up a tutorial, and give it a shot. Your future self (and maybe your kid!) will thank you.

Thinking about sewing your first shirt? Let’s talk basics.
If you’re getting ready to dive into your first shirt sewing project, here are a few simple skills you’ll want to have in your back pocket before you start. Don’t worry – you don’t need to be a sewing pro. If you’ve made a few basic projects already, you’re probably more ready than you think!
Here’s what to brush up on:
- Sewing straight lines – If you’ve sewn anything before, you’ve got this. Straight seams are the foundation of pretty much every shirt.
- Using fusible interfacing – You’ll need this for structure in spots like the collar, button placket, and maybe the cuffs. It’s super easy once you’ve done it once!
- Sewing curves – Think necklines and armholes. Curved seams come up a lot when you’re sewing shirts, but take it slow and you’ll be fine.
- Topstitching – This step gives your shirt that polished, store-bought look. It’s not hard, just requires a bit of patience.
- Basting stitches – These are temporary stitches used for gathering or holding things in place. Super handy when you’re figuring out fit.
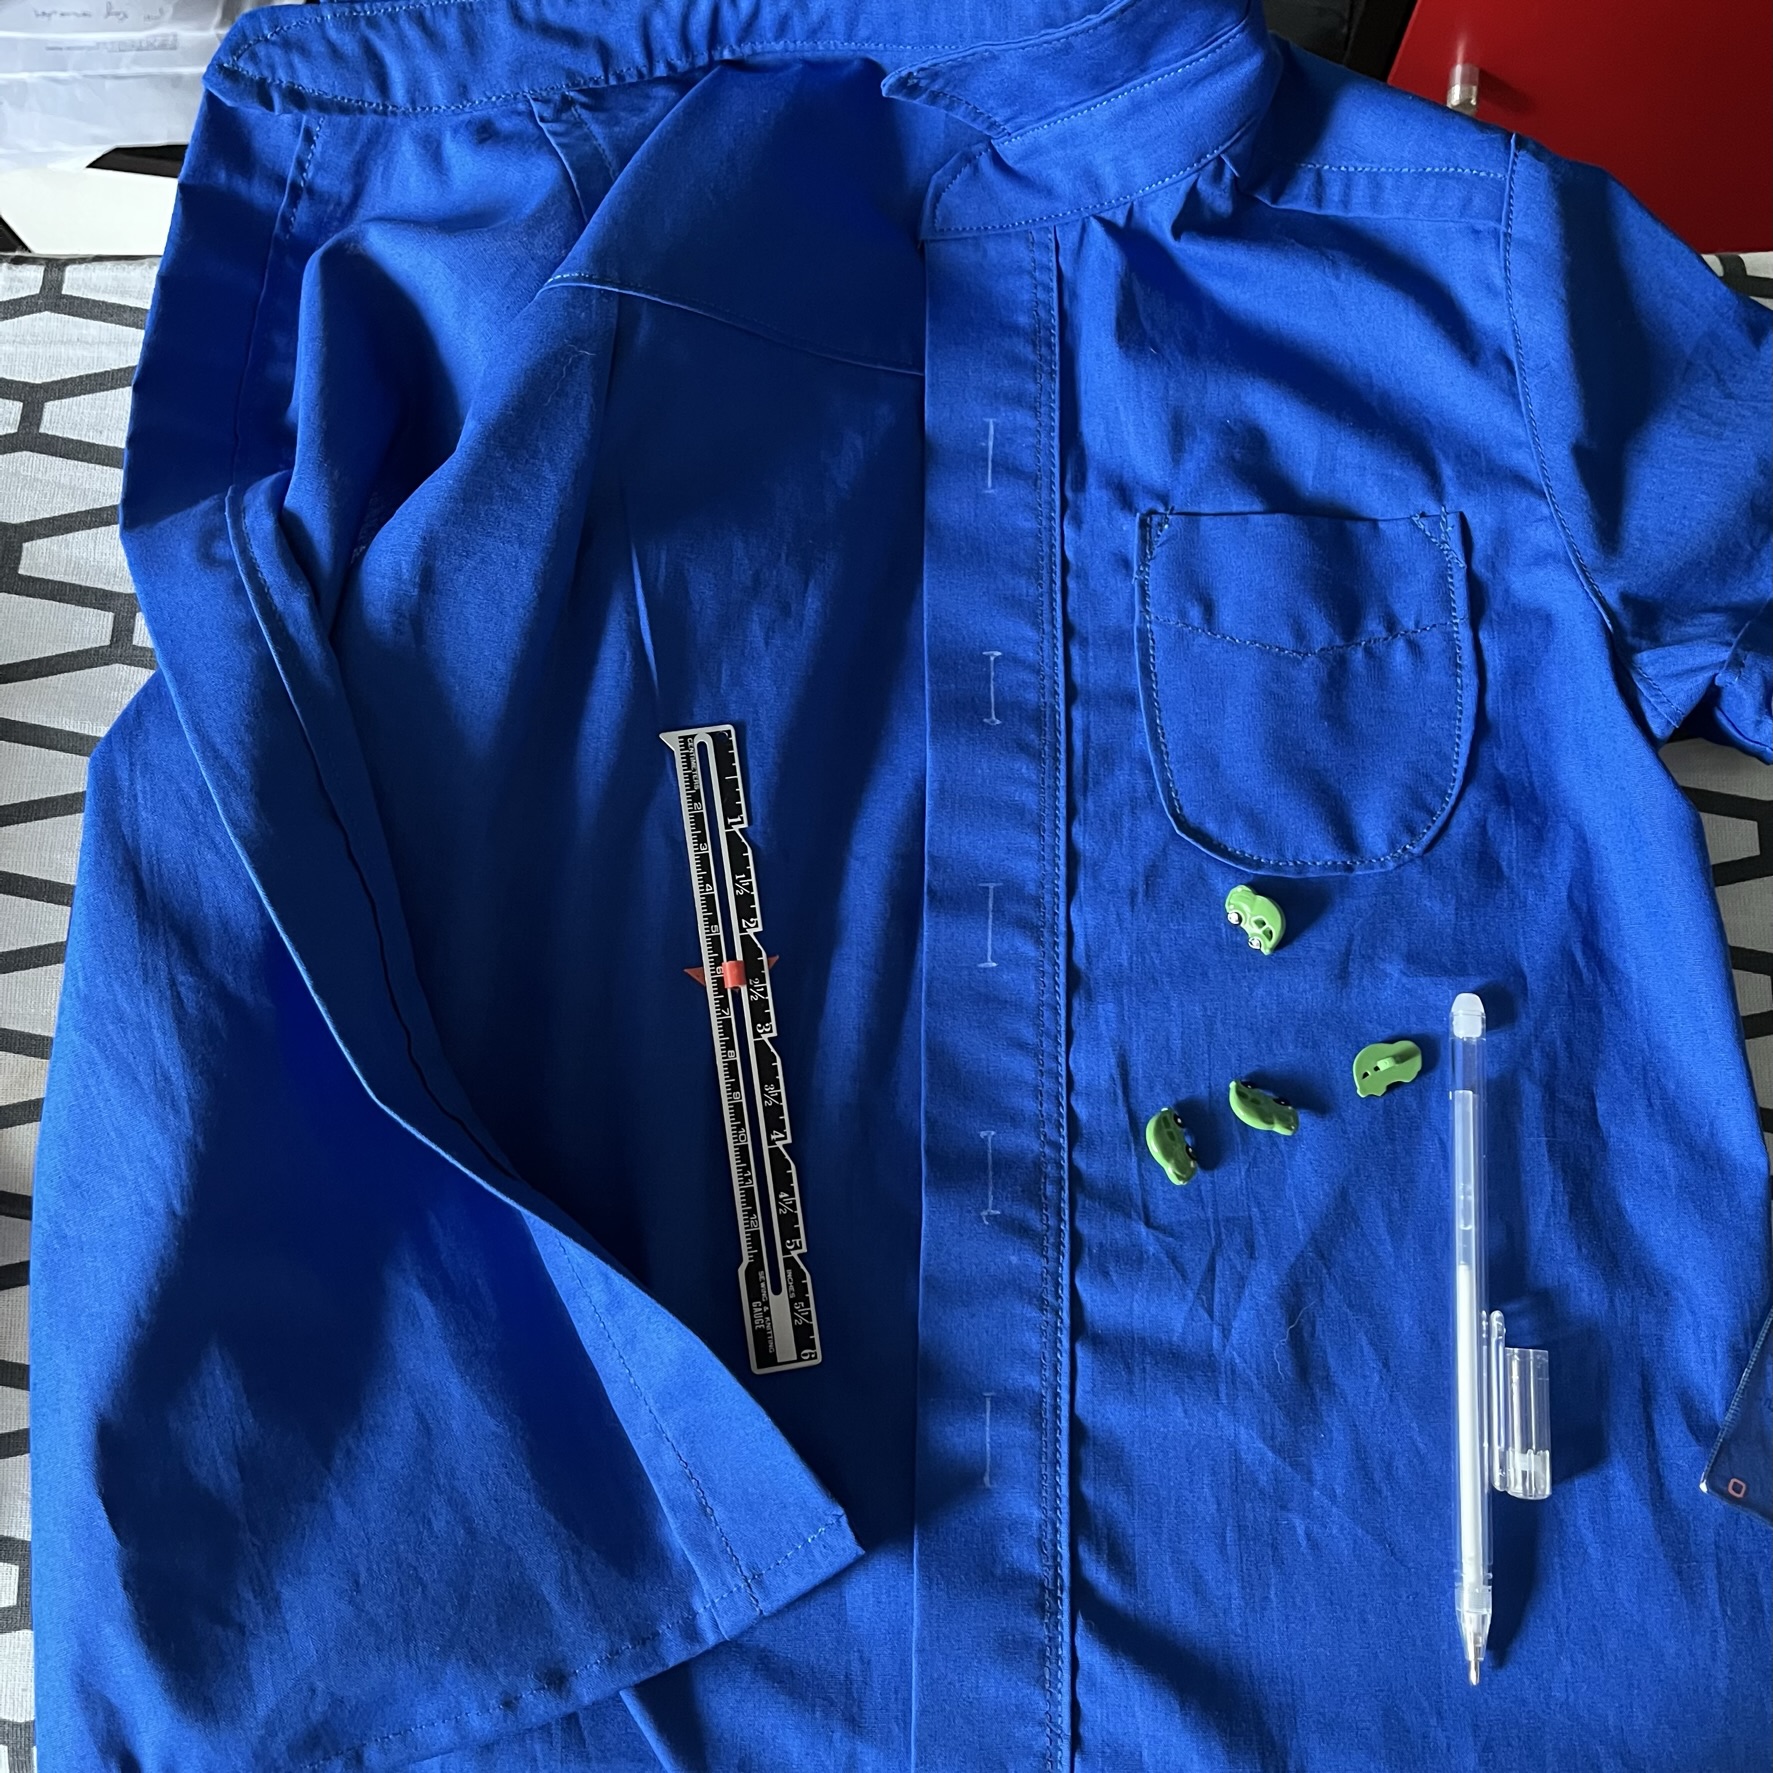
- Sewing buttons and buttonholes – Yes, this part can seem a little scary at first, but with the right settings on your machine and a little practice, you’ll be buttoning up like a boss.
If all of that sounds manageable, then guess what? You’re totally ready to start sewing a shirt. Just take it one step at a time, and don’t be afraid to hit pause and double-check things as you go.
More fun sewing projects to try next:
If you’re feeling inspired after tackling a shirt, here are a few other beginner-friendly makes you might love:
- Want to sew something comfy and stylish? This quick tunic linen dress tutorial shows you how to make a breezy dress that looks effortlessly chic.
- In the mood for something floaty and fun? Try sewing a dreamy tiered tulle skirt – it’s surprisingly easy and turns out so pretty.
- Looking for a fast, practical make? Learn how to sew reusable cotton rounds – they’re eco-friendly, super simple, and great scrap busters.
- And if you’re just getting started with sewing, don’t miss this list of 15 things I wish I knew when I was a beginner – trust me, it’ll save you time and headaches!
How much fabric do you need to sew a shirt?
Good question! The amount of fabric depends on a few things, so there’s no one-size-fits-all answer. Here’s what to keep in mind when figuring out how much fabric to buy for a shirt:
- Sleeve style – Long sleeves eat up more fabric than short sleeves, naturally.
- Shirt size – Bigger sizes will need more fabric.
- Design choices – Are you using a contrast fabric for the yoke or collar? That can change how much of your main fabric you need.
- Fabric width – If your fabric is extra wide (like 60”), you might get away with less than if you’re using a standard 44” width.
As a rough guide:
- For adult shirts (men’s or women’s), plan on using about 1.5 to 2.5 yards/meters of fabric.
- For kids’ shirts, you can usually get by with 1 to 1.5 yards – sometimes even less if it’s a small size and short sleeves.
Pro tip: Always check the fabric requirements listed on your pattern first. And if you’re not sure, buy a little extra – shirt sewing is way more fun when you’re not playing fabric Tetris at the cutting table!
So, how long does it actually take to sew a shirt?
Honestly? Not as long as I thought! I recently made two boys’ button-up shirts in size 6/7, and they came together quicker than I expected. Each shirt had 14 separate pieces to cut and sew:
- 2 front shirt panels
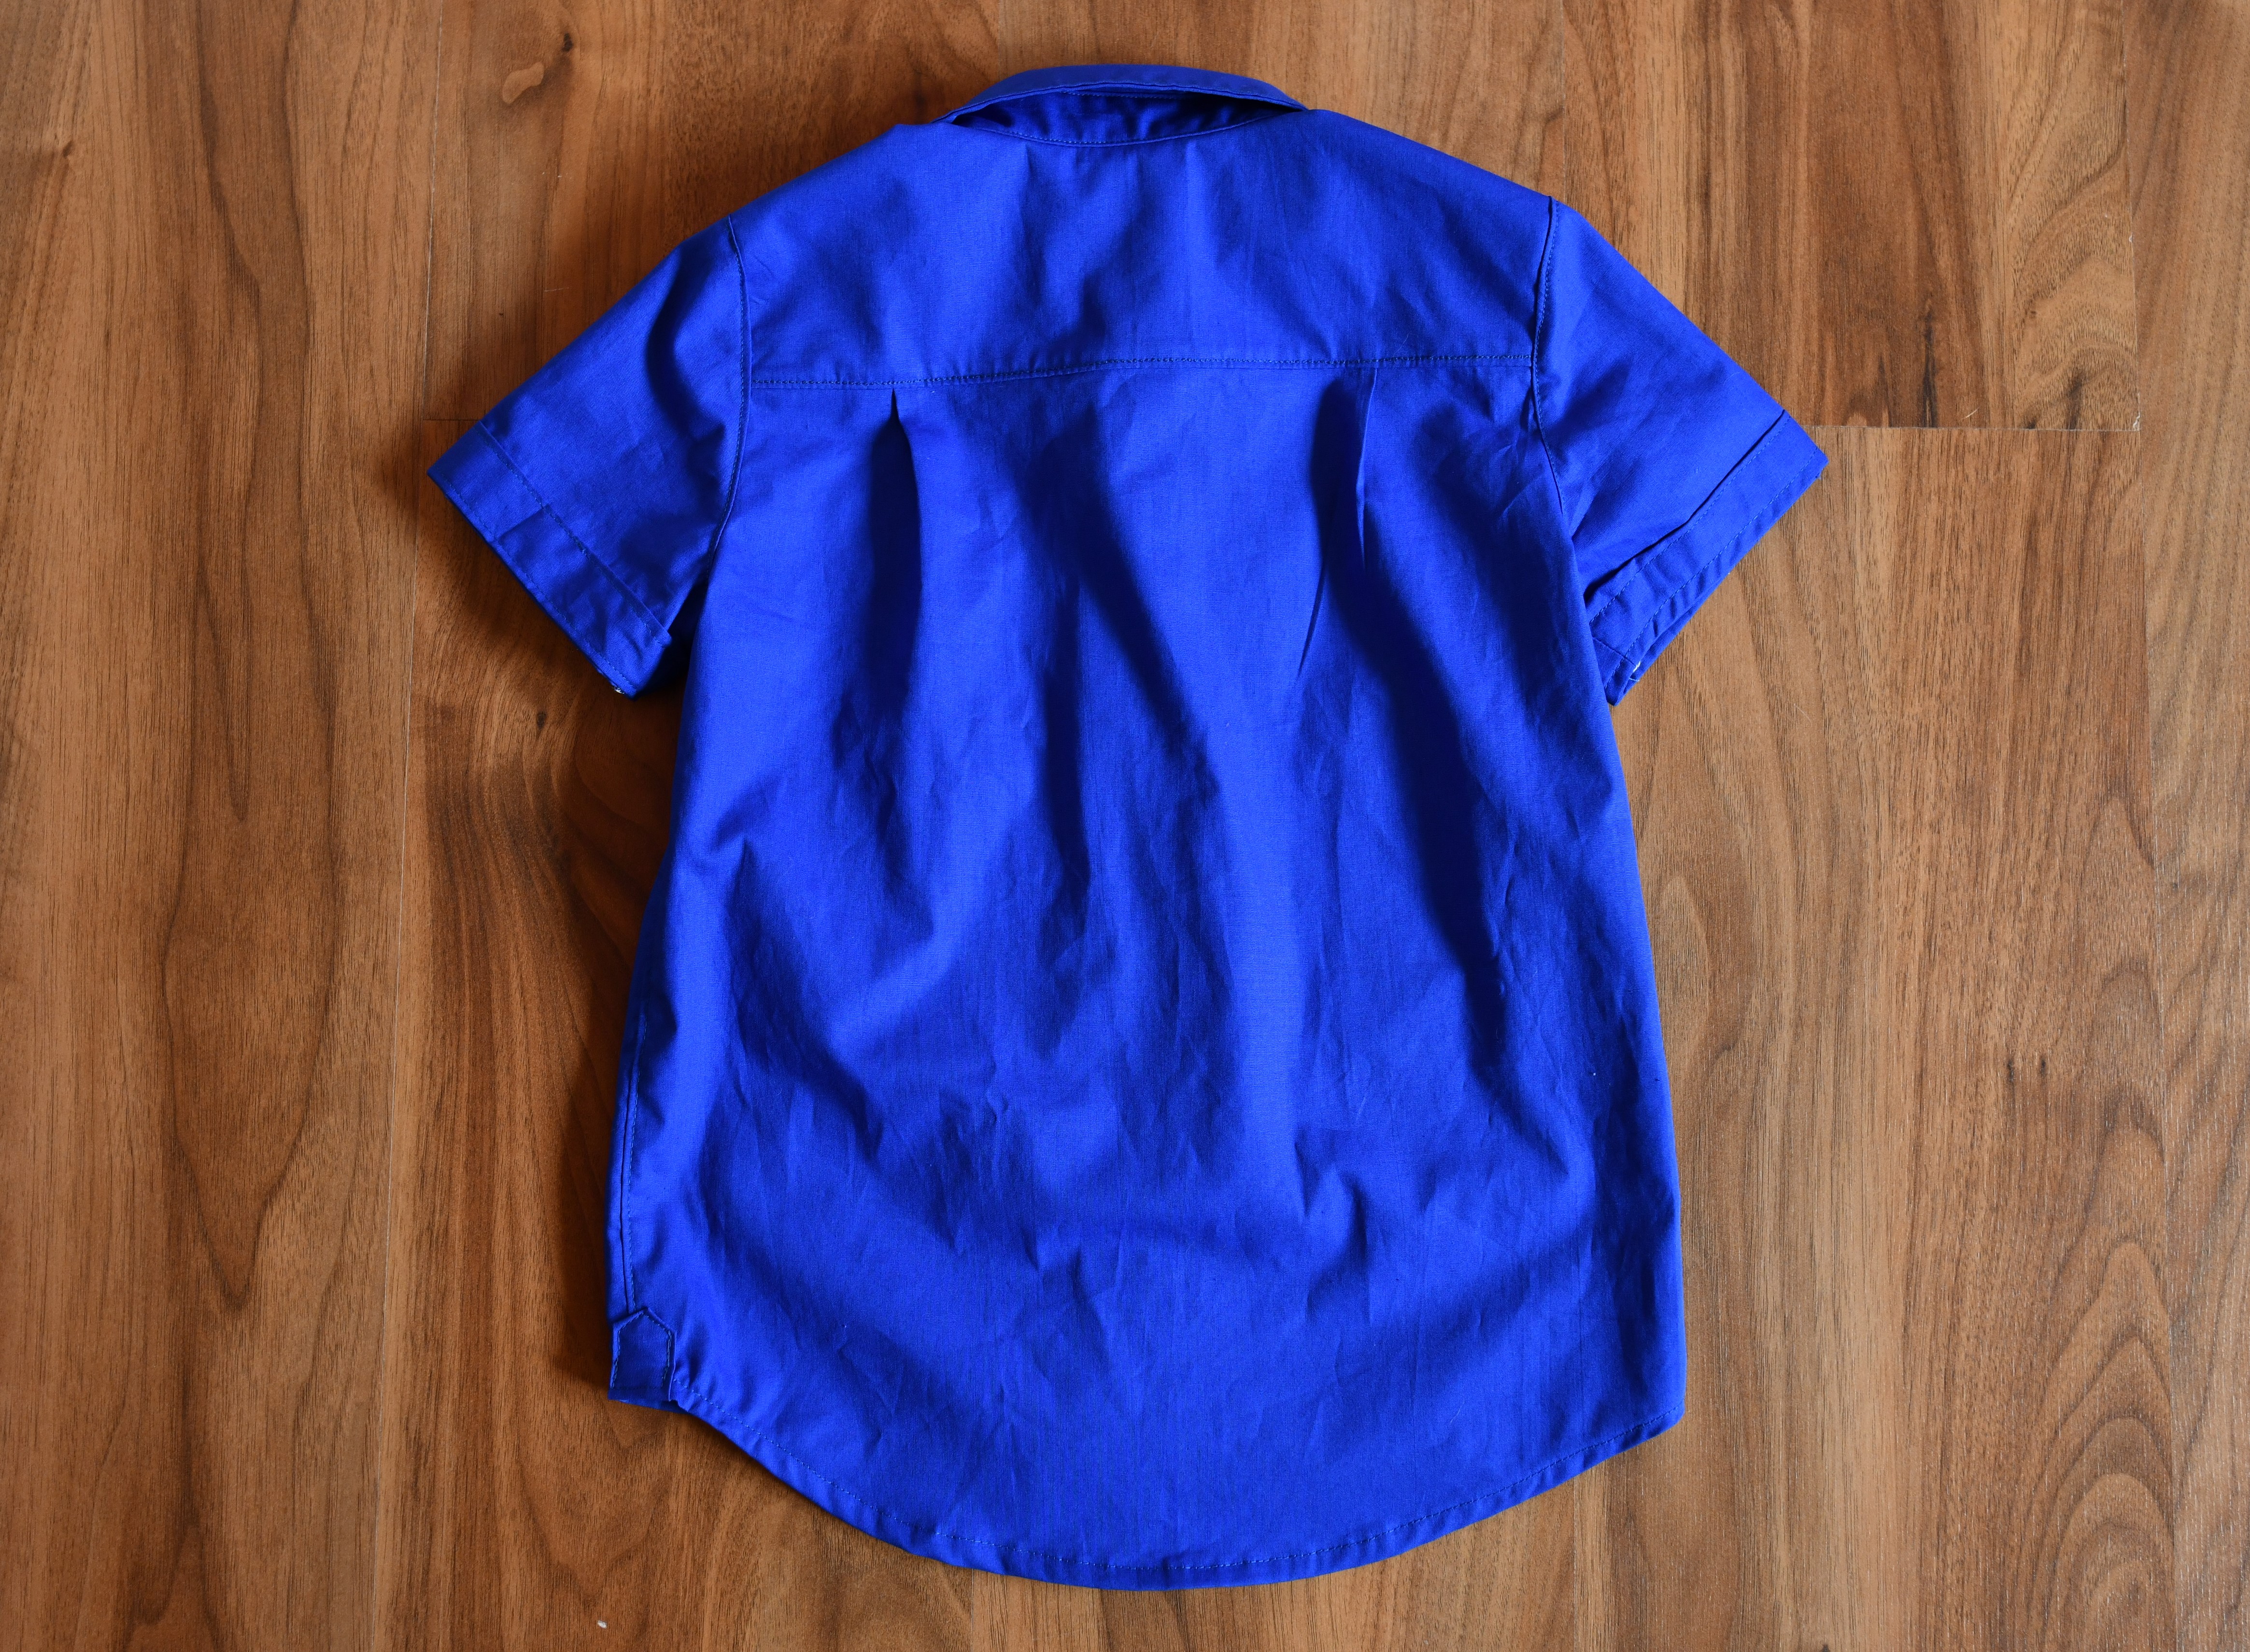
- 1 back piece (cut on the fold)
- 2 yokes (also on the fold)
- 2 collar pieces
- 2 collar stands
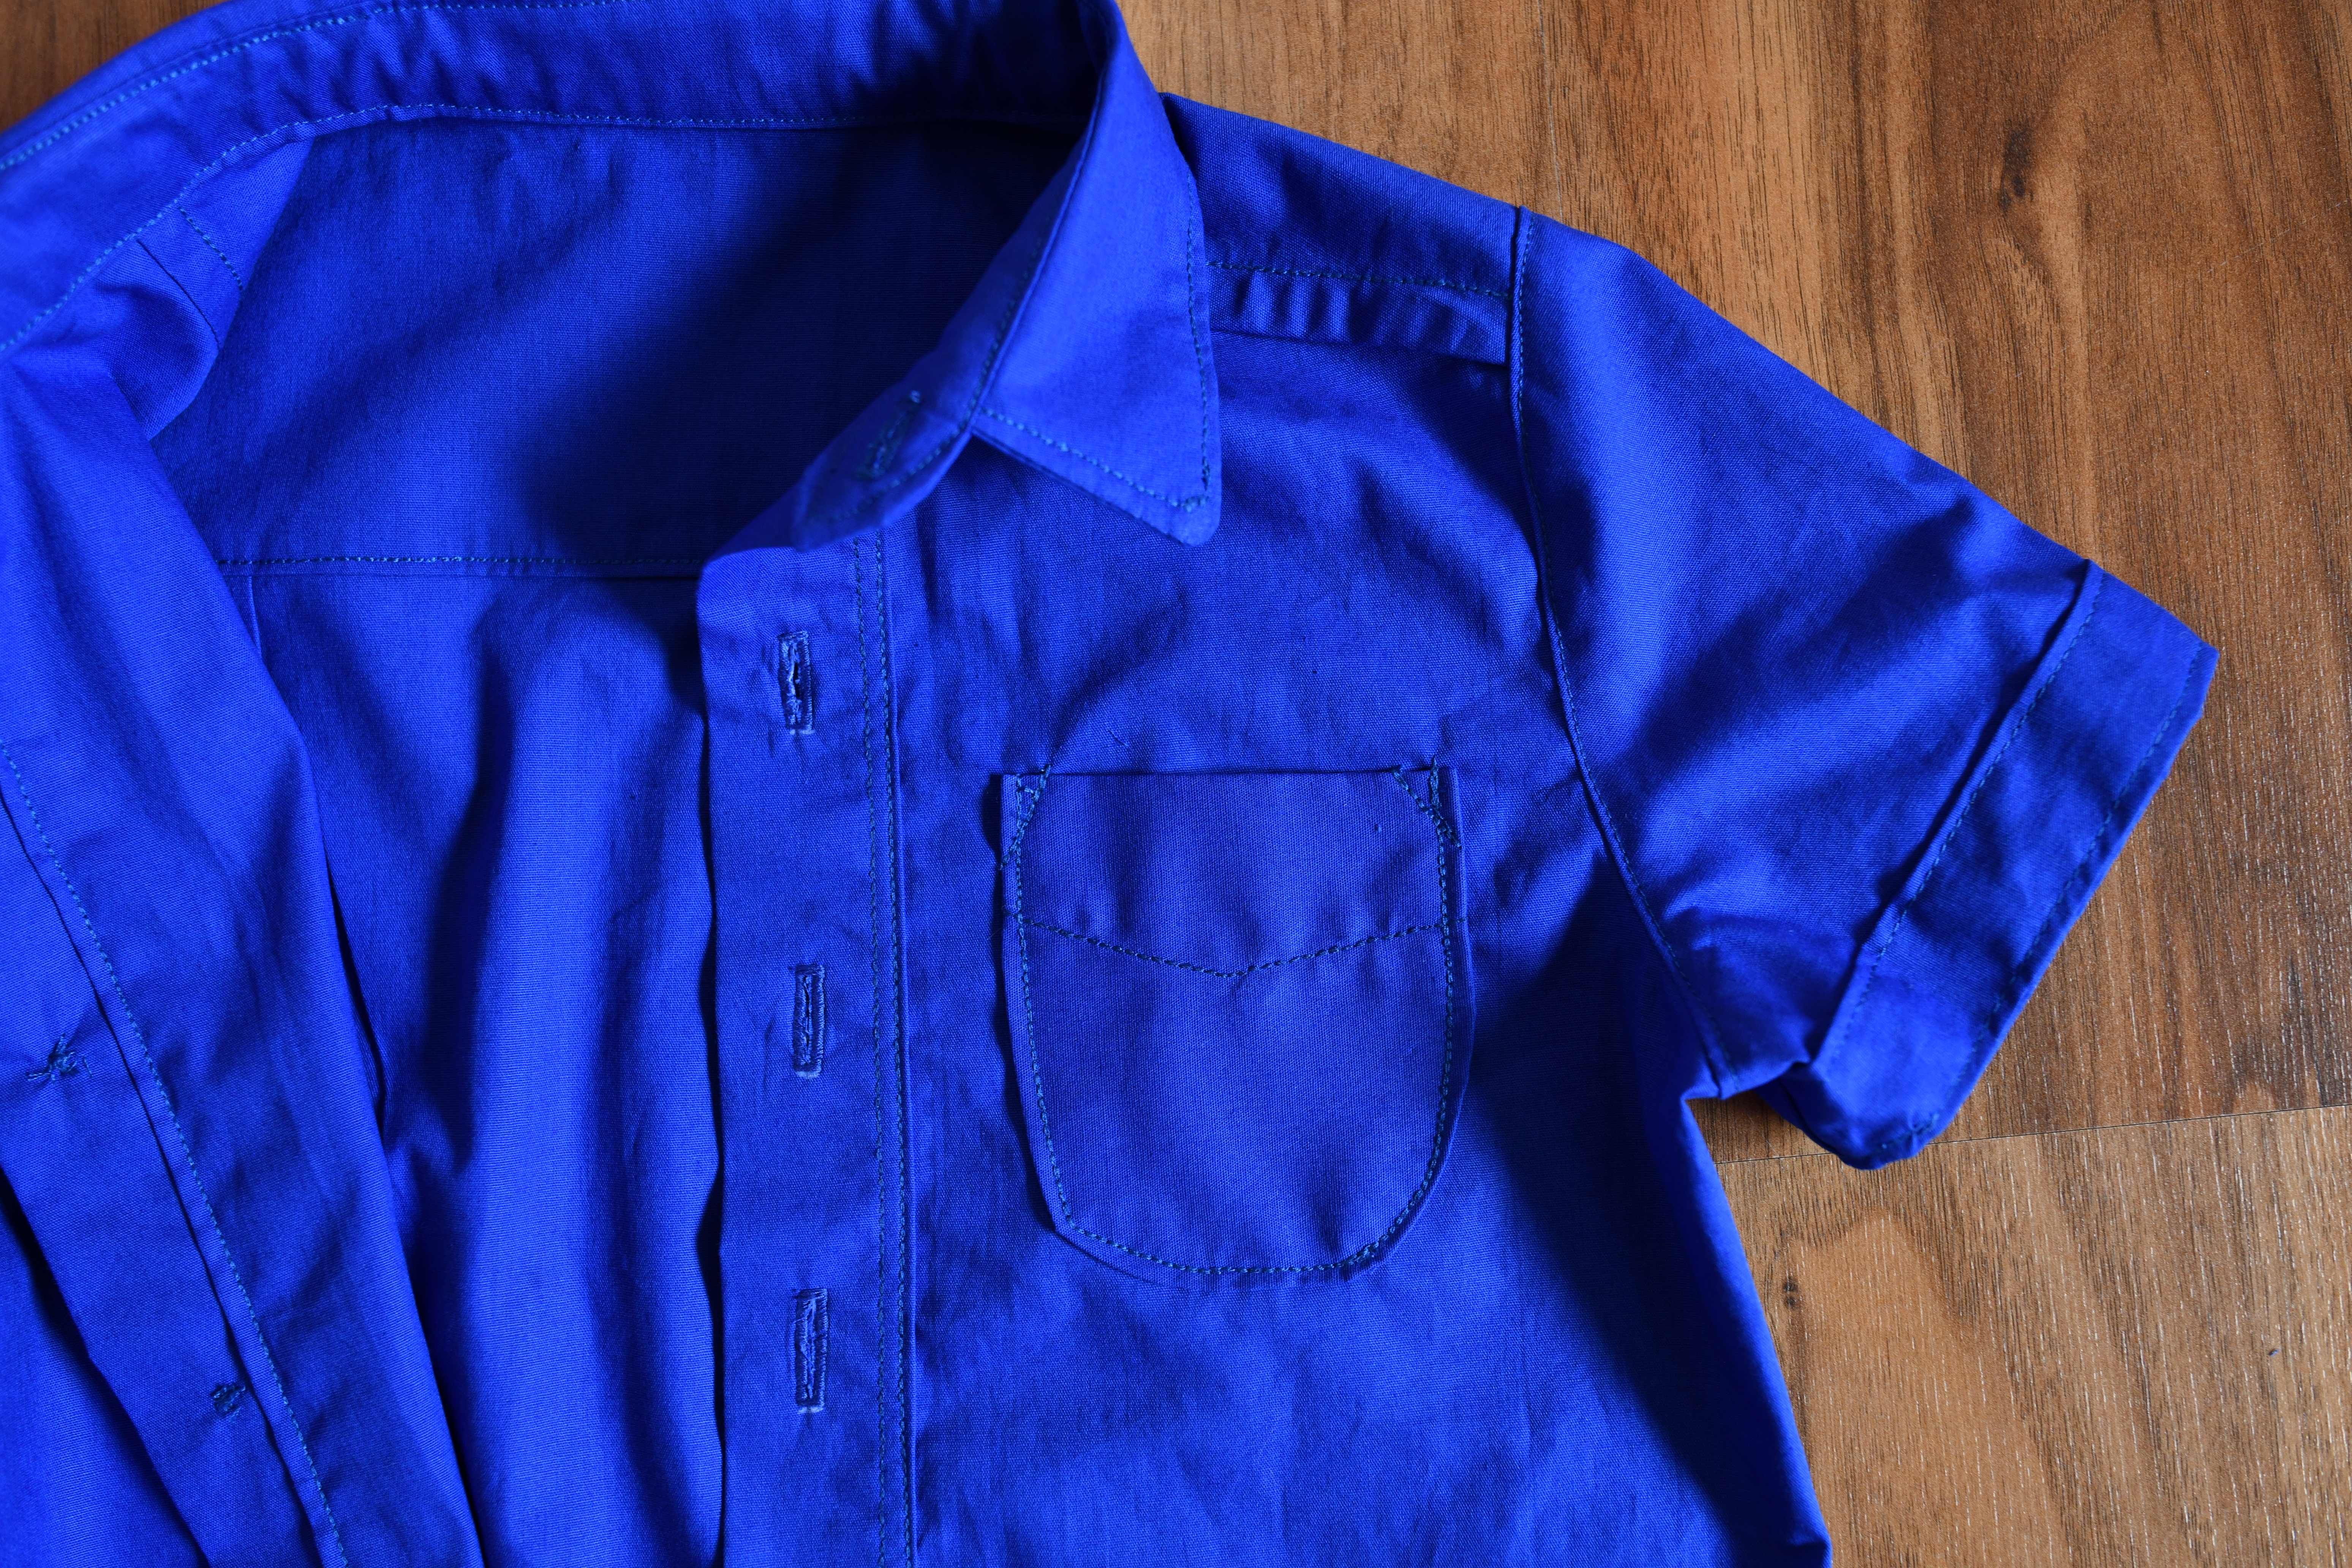
- 1 little pocket
- 2 sleeves
- 2 short sleeve facings
Yep – that’s how many pieces are in a typical shirt pattern, even for adults. When I compared my son’s shirt to my husband’s dress shirts, I realized they’re made up of the exact same pieces. So if you’re thinking about sewing a men’s shirt, don’t stress – it’s basically the same process, just with longer seams and maybe a few extra buttons.
For my first go, it took me about 3–4 hours of sewing time (not counting the time I spent cutting fabric and prepping the pattern). I went slow, took a bunch of tea breaks, and re-watched a few tutorial steps along the way. If you’re working at a relaxed pace and still figuring things out, plan for about 6–8 hours total – basically a solid day of fun sewing time.
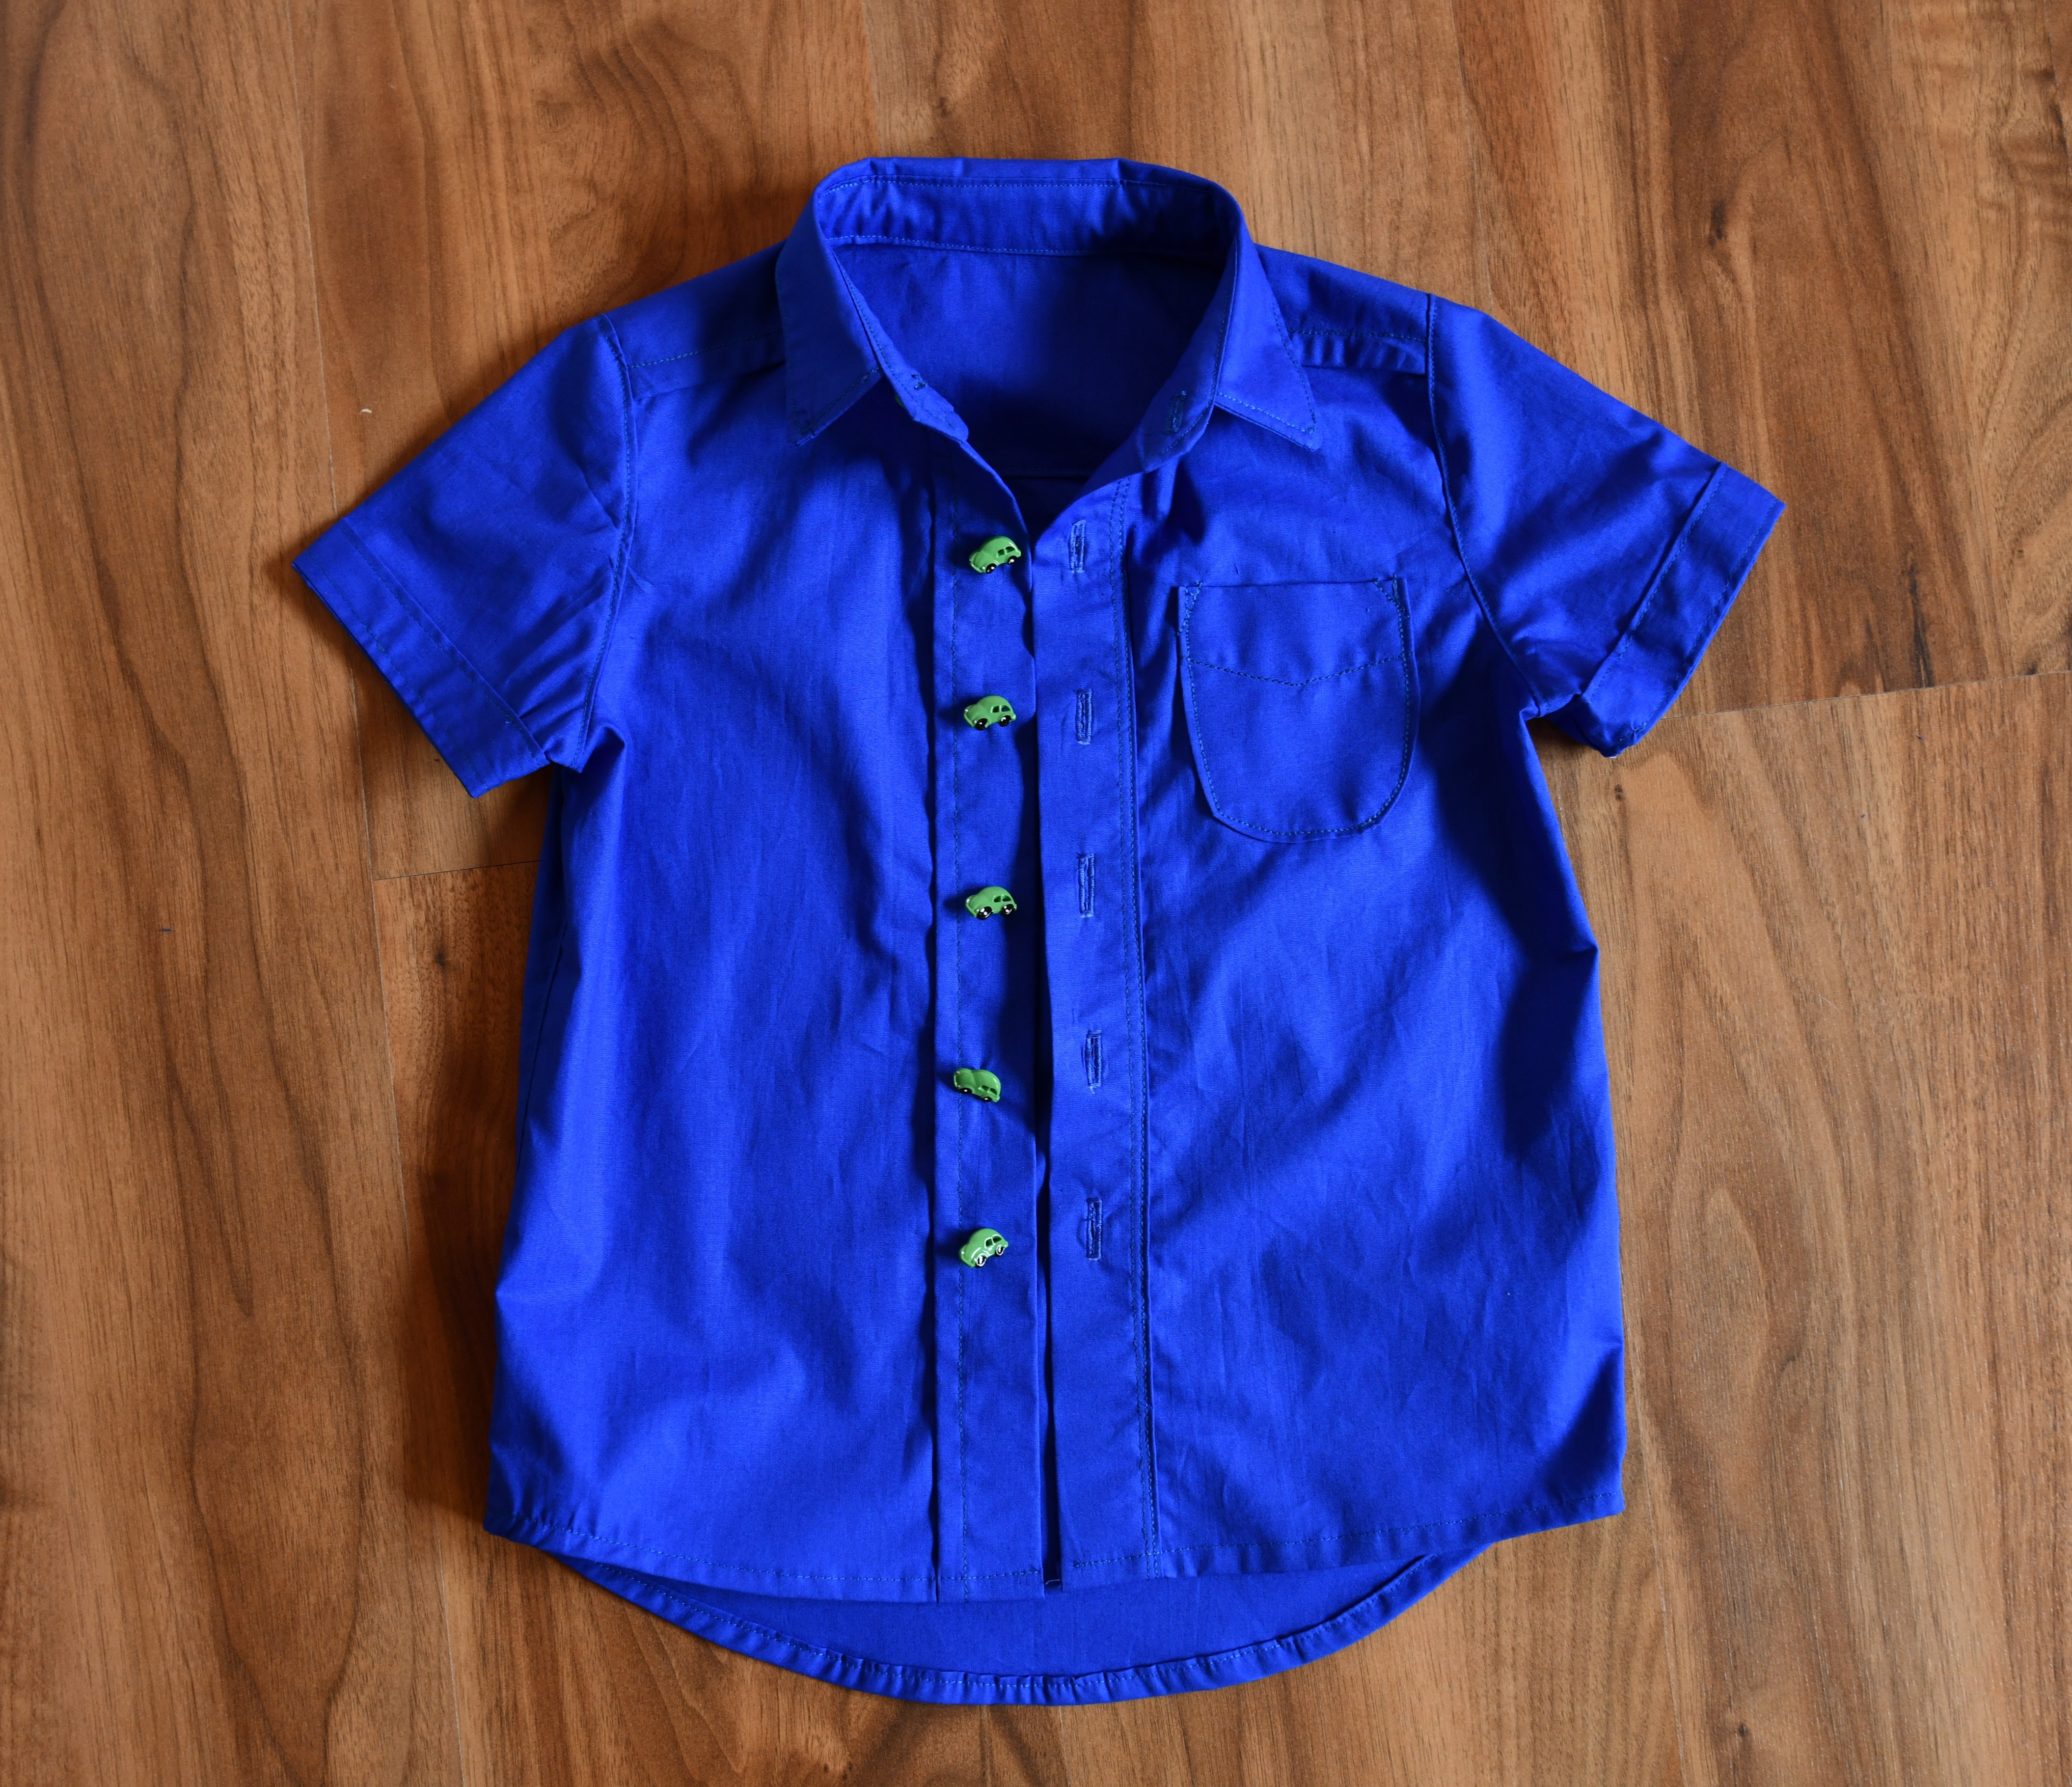
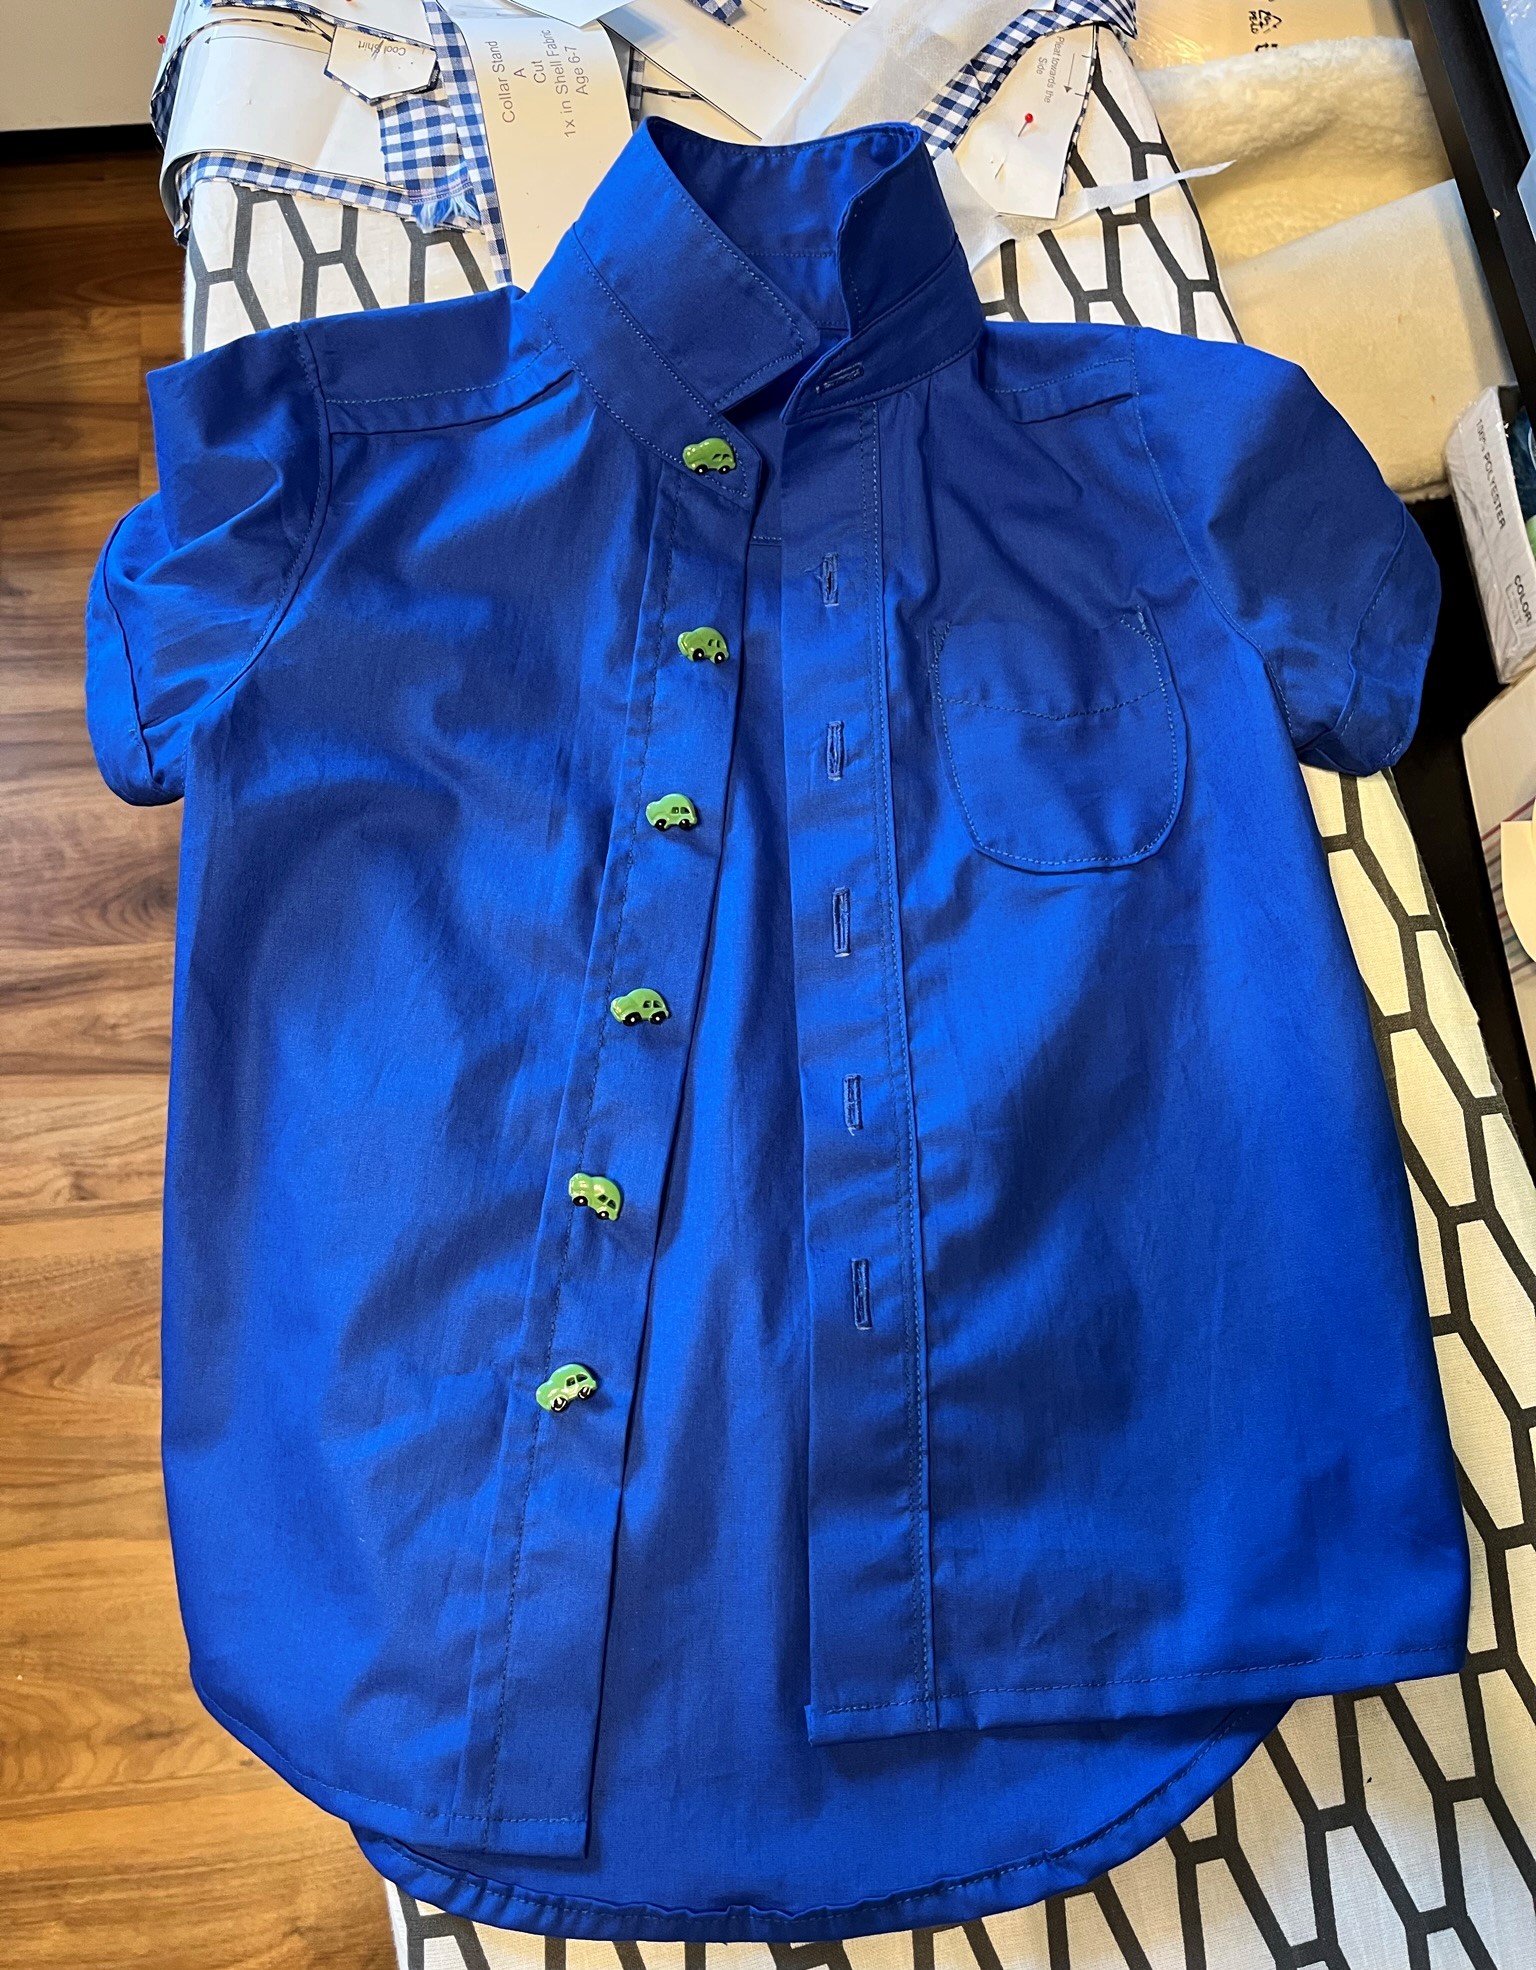
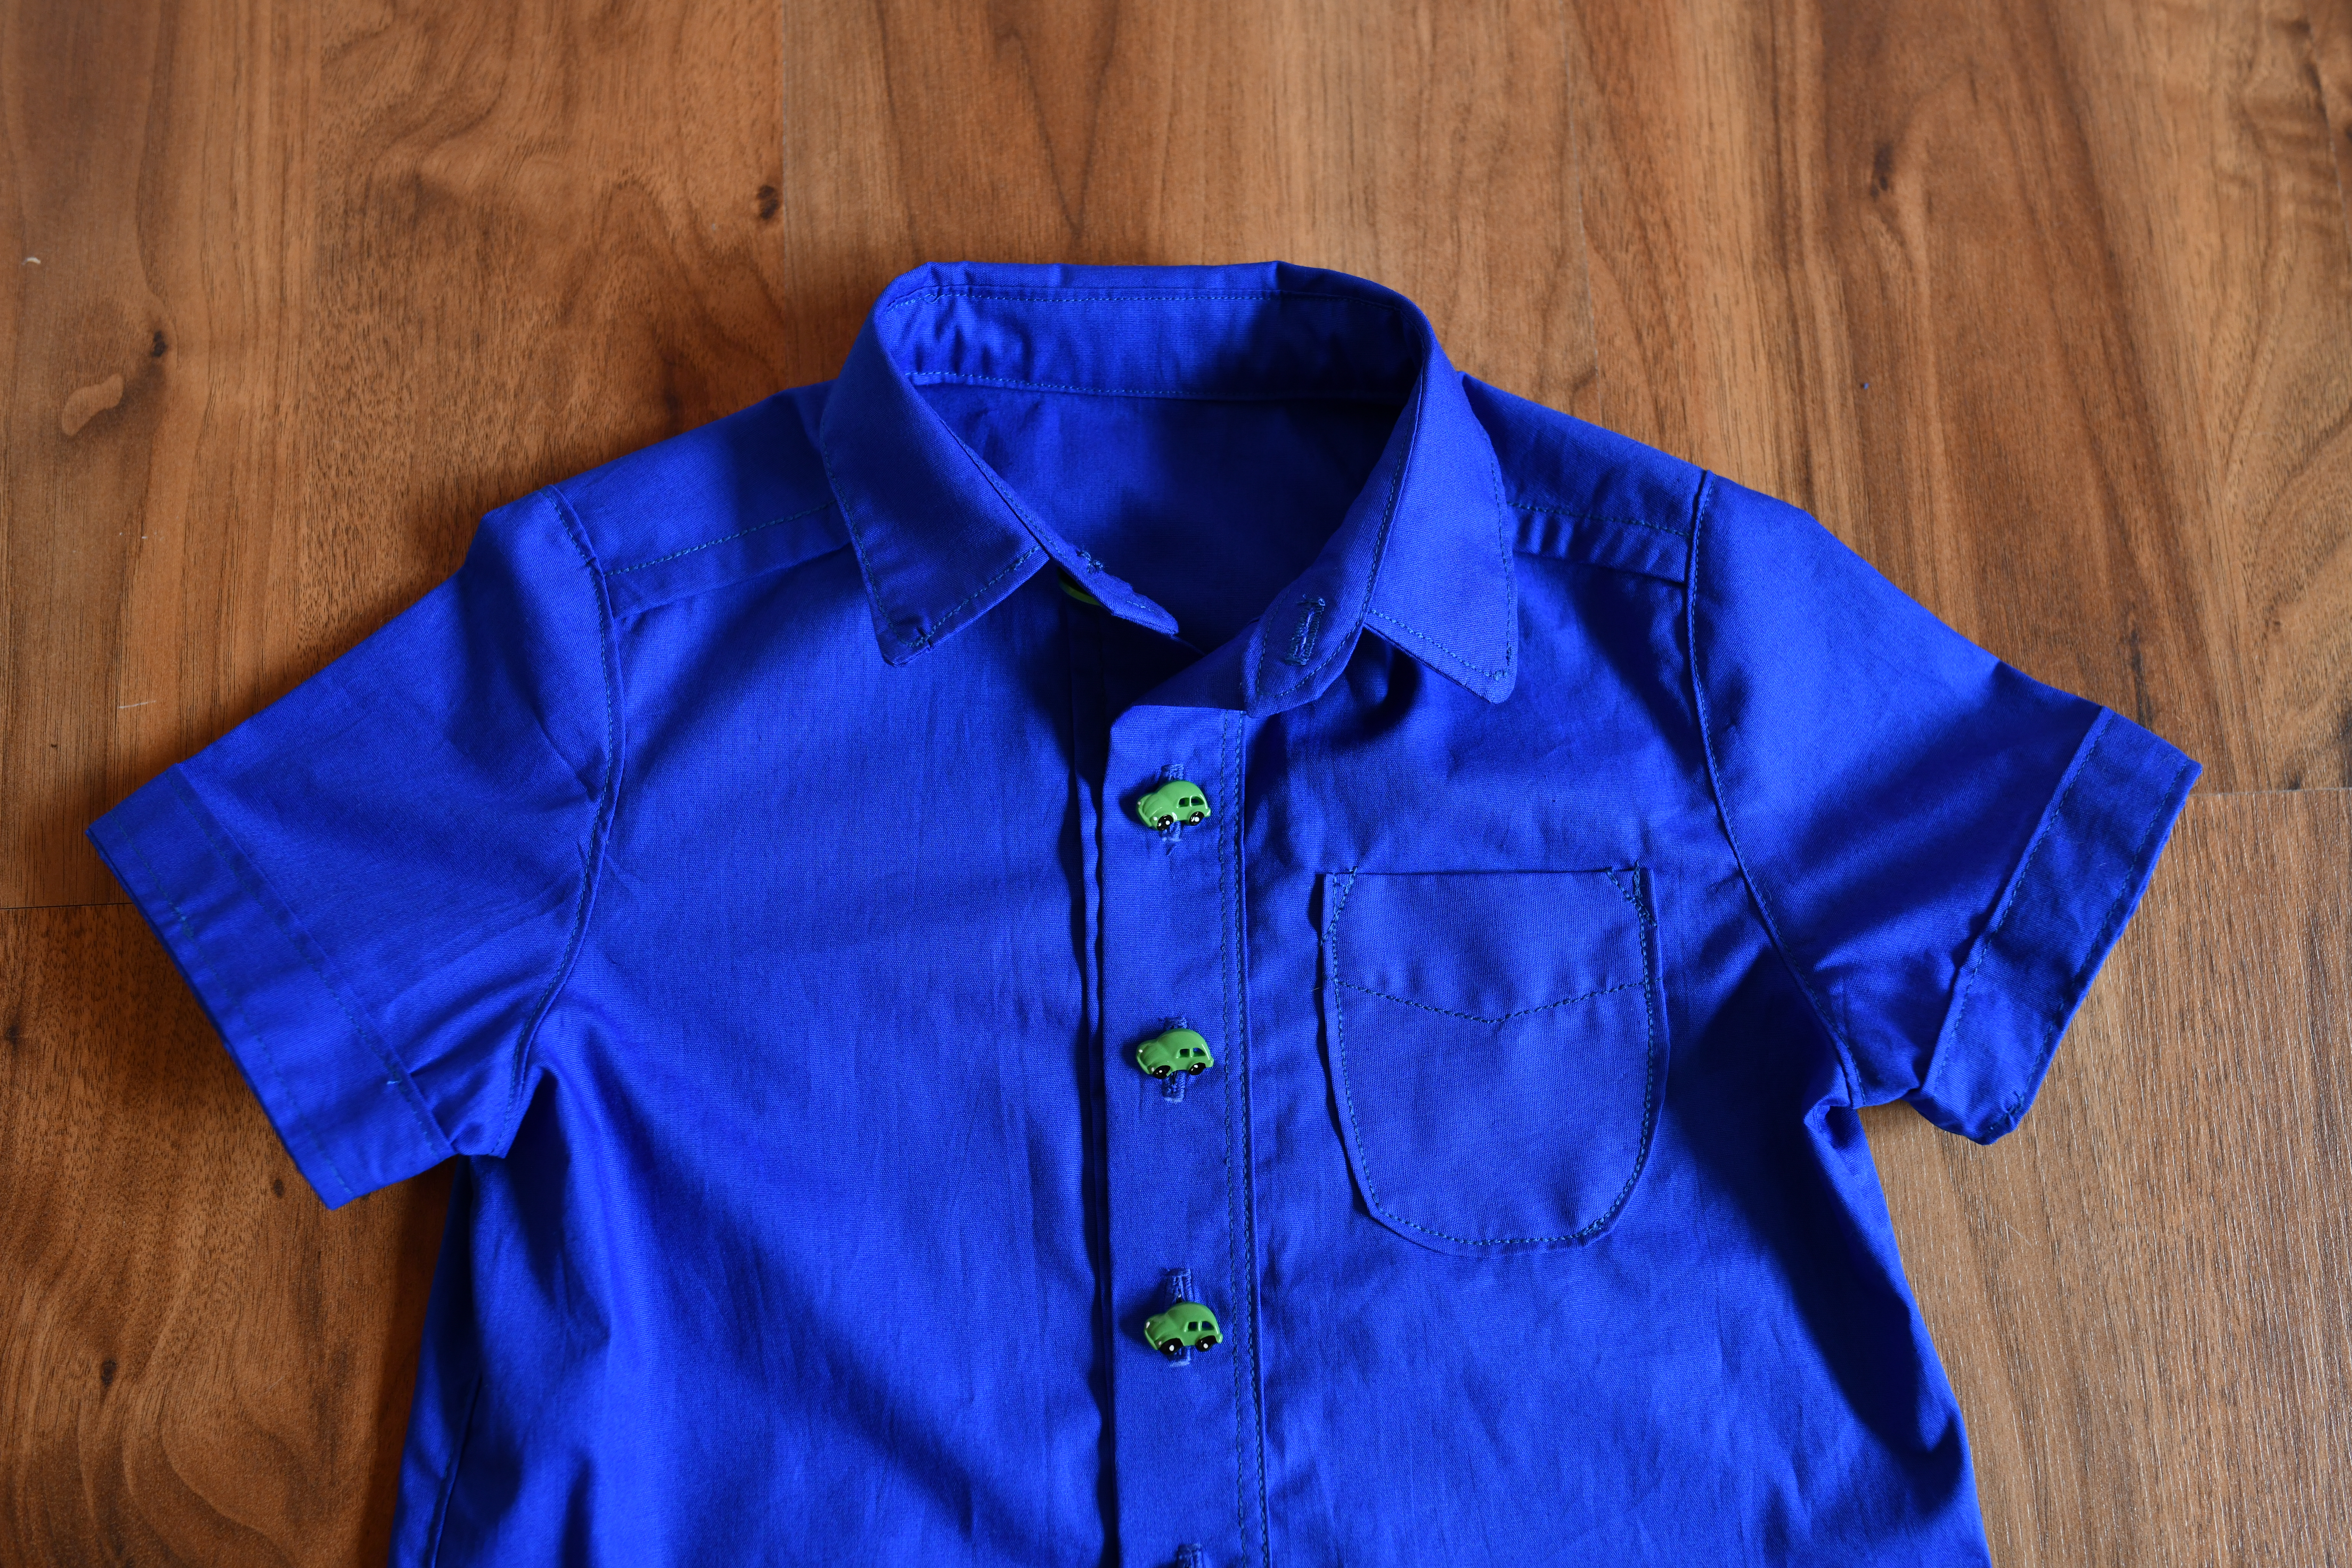
And just so you know, that first solid-colored shirt came with a few “oops” moments. I didn’t fix them. Why? Because I’m too proud of how it turned out – especially those adorable car-shaped buttons! Mistakes and all, I love it.
Now, the second shirt? A totally different story. I used gingham fabric, felt way more confident, and managed to finish the whole thing in under 2 hours. It’s amazing how much quicker and smoother it goes once you’ve made one and know what to expect!
So if you’re wondering how long does it take to sew your first shirt – it really depends on your pace, but you’ll get faster with each one. Trust me, it’s a great project to build your skills and your sewing confidence.
Want to sew a shirt without spending all day on it? Here are my best time-saving tips!
If you’re ready to make a shirt but want to keep things efficient (without cutting corners), I’ve got you covered. After sewing a couple of shirts myself, I figured out a few tricks that help speed things up and make the final result look polished and professional
Here are my go-to tips for sewing a shirt faster without sacrificing quality:
- Start with a well-made shirt pattern – Honestly, this is everything. A good pattern does half the work for you. Look for one that’s beginner-friendly and clearly written, especially if it includes video tutorials.
- Actually read the instructions – I know, I know. It’s tempting to dive right in, but taking a few minutes to read through the steps first will save you SO much time and frustration later.
- Keep a similar store-bought shirt nearby – This is my favorite trick. Having a ready-made shirt on hand makes it easier to visualize what goes where, especially for parts like the collar, yoke, or sleeve placket.
- Follow the pattern exactly – Don’t try to freelance your way through it! Stick to the seam allowances, do the pressing, pin those tricky curves, and use the interfacing where it’s called for. Those little details make a big difference.
- Pin generously and sew slowly around curves – Necklines, armholes, sleeve caps – don’t rush these parts. A little extra care here will make your shirt look crisp and clean.
- Set up your iron and board ahead of time – You’ll be pressing seams constantly, so keep your iron plugged in and ready. It saves time and keeps everything looking sharp.
Is sewing your own shirts worth it?
Absolutely YES. Learning how to sew a button-down shirt from scratch is such a game-changer. There’s something so satisfying about watching flat pieces of fabric turn into a wearable shirt – especially when it fits perfectly and you know you made it with your own two hands.
It might not be cheaper than grabbing a basic shirt off a clearance rack, but it’s definitely more cost-effective than designer or tailored shirts. And the quality? Way better than fast fashion. You’re making something that will last – and you can customize it however you like. Fancy buttons, fun fabrics, contrast cuffs – it’s all up to you!
Plus, if you’re sewing shirts for your kids (like I am), it’s even more rewarding. They get custom-made shirts that fit them just right – and you get all the proud-parent feels when they actually wear what you made.
The shirt pattern I used (and loved)
Okay, let me gush for a sec – because the shirt pattern by Frocks and Frolics is honestly amazing. It’s a unisex shirt sewing pattern for kids ages 1 to 14, which works out perfectly for me since I’ve got three kids – two girls and one boy, ages 5 to 13. I can already tell I’ll be making a whole stack of shirts from this one pattern.
One of my favorite features? Each size comes as a separate PDF file, so you only print what you need. No layered files or trimming pages endlessly. The instructions are super clear, and there’s a full video shirt sewing tutorial that walks you through everything. Every single pattern piece lines up just right, which makes construction feel like snapping together puzzle pieces. So satisfying!
Let’s keep in touch! You can find me on Facebook, Instagram, and Pinterest.

Thank you for taking the time and effort in documenting this. I have never sewn but love wearing unique men’s shirts. I am excited to try!