Did you know that you can make your own travel toothbrush holder in less than 5 minutes? This is a super simple and practical DIY project.
I used a small towel I already had. My towel measured 20 inches by 12 inches, and I managed to whip up a DIY toothbrush holder for our family of five.
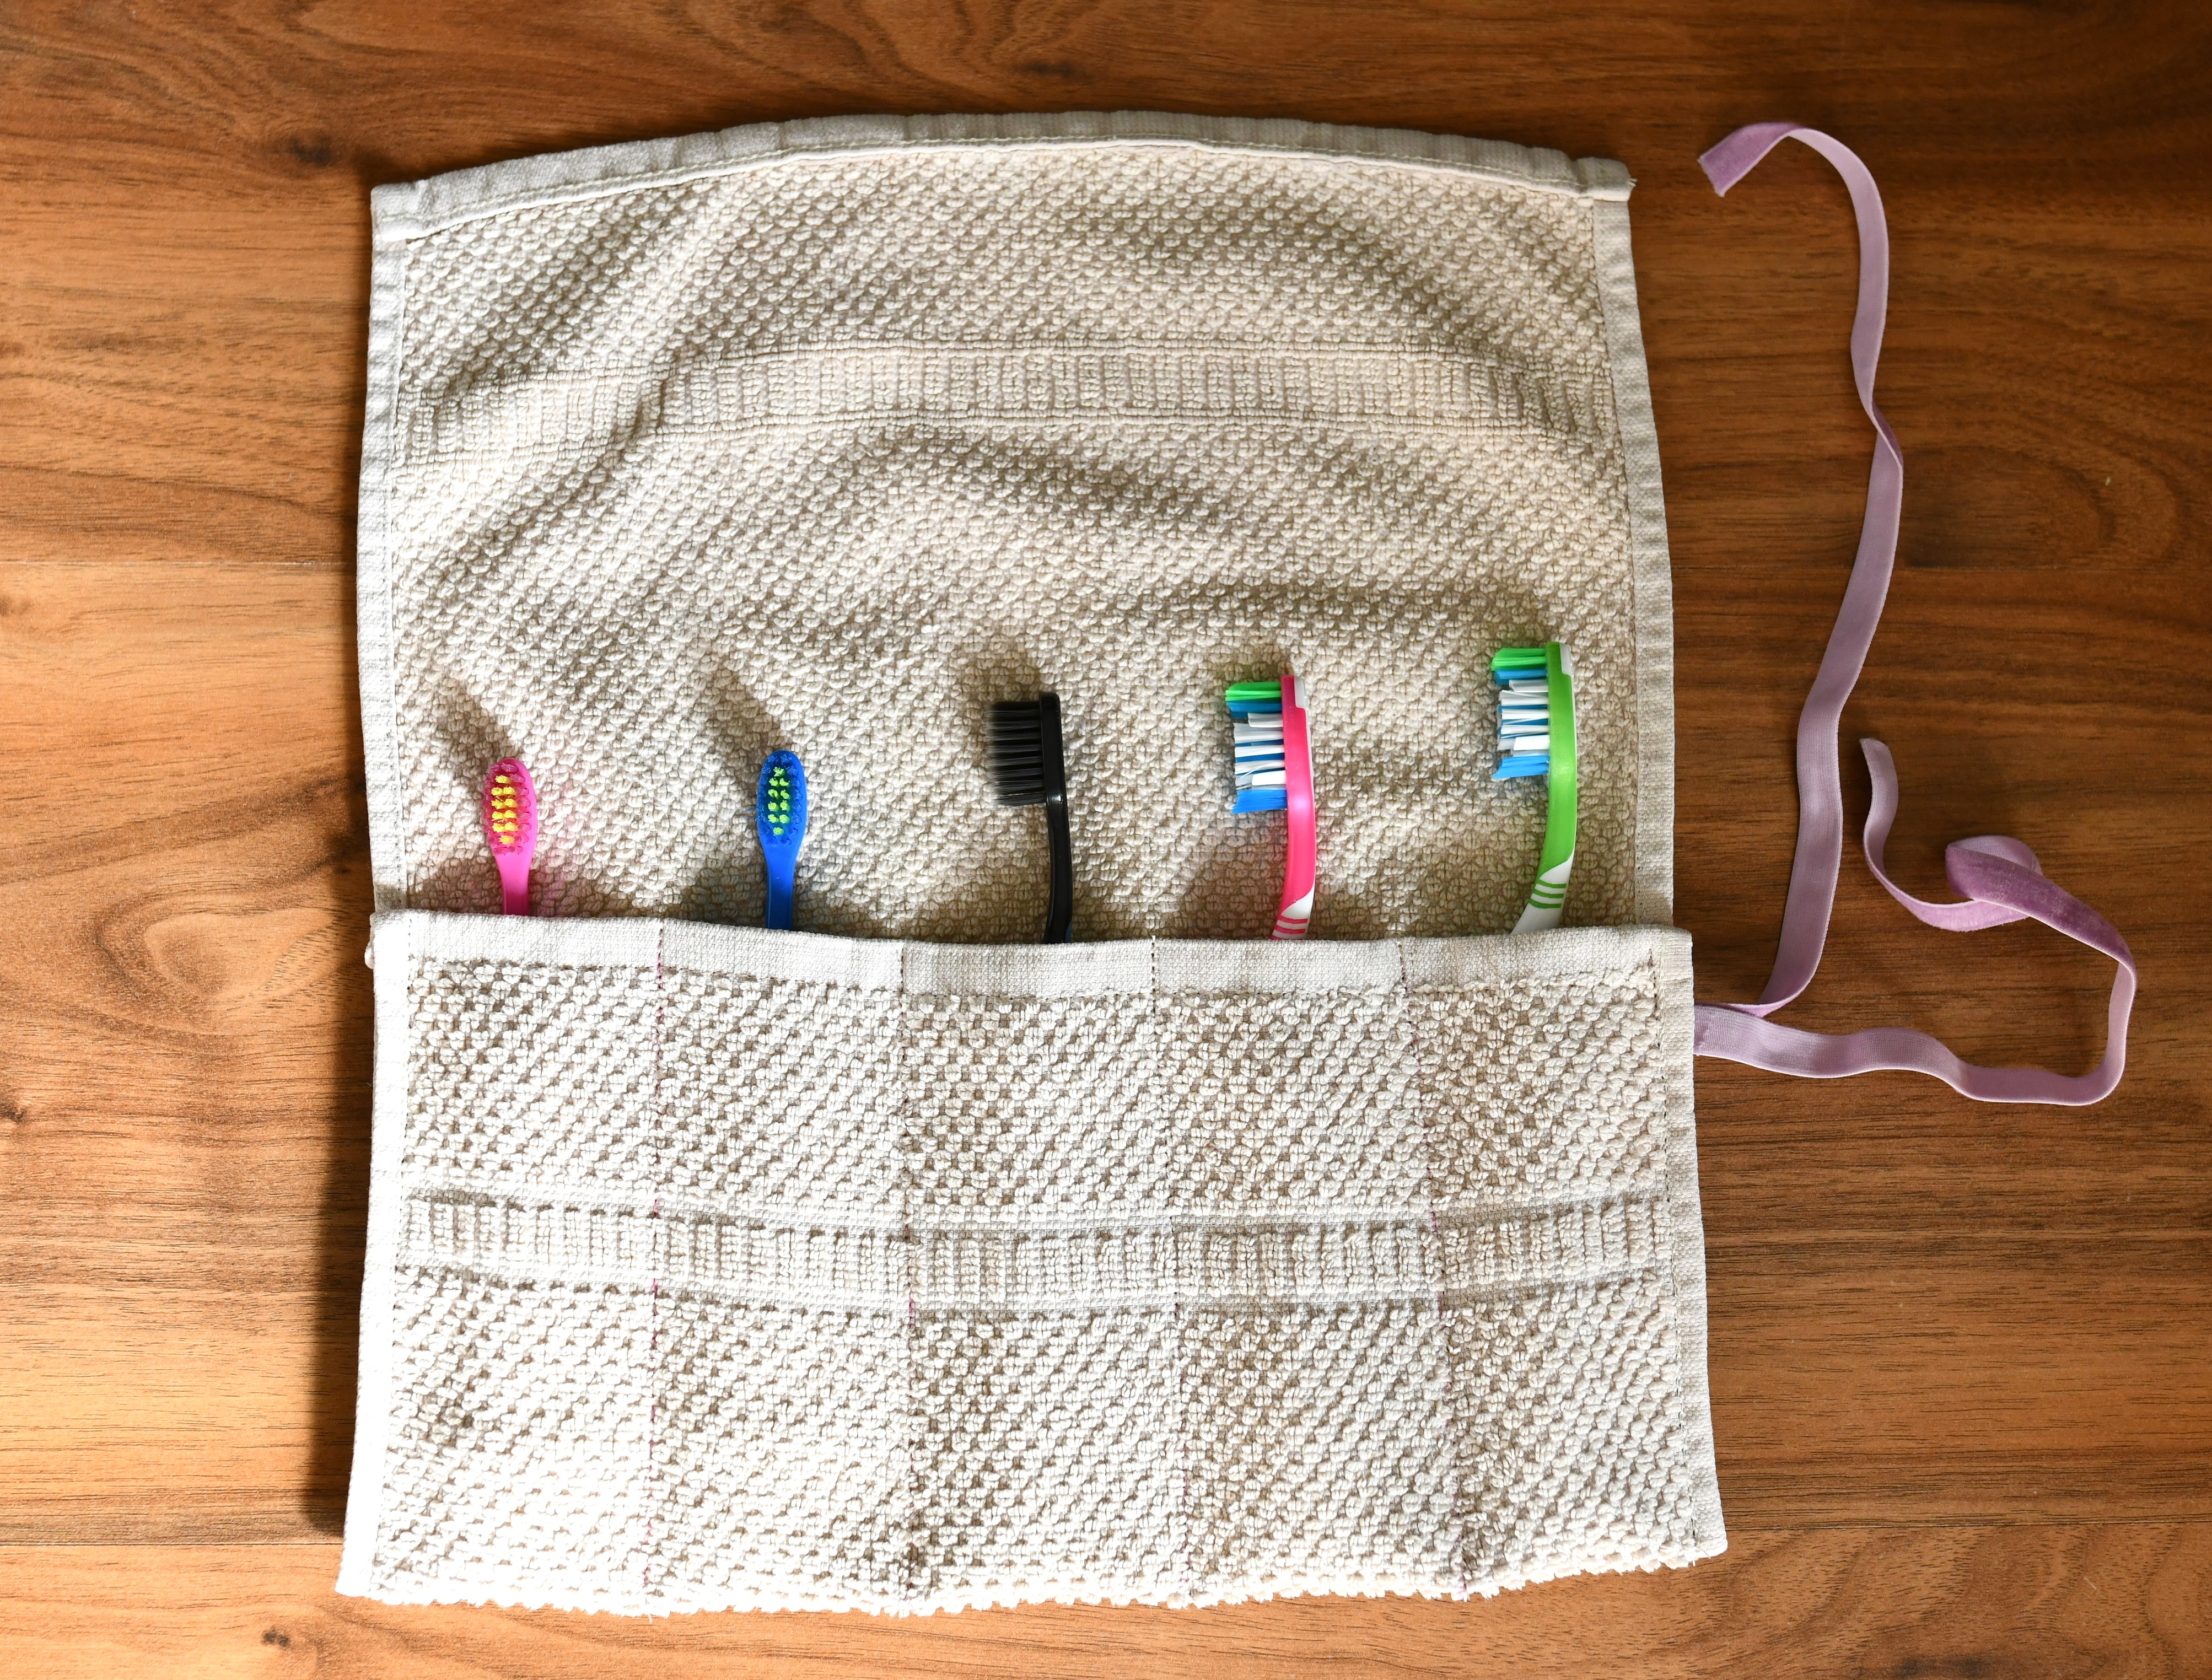
There are 5 compartments for 5 toothbrushes only, no room for toothpaste.
If you want a DIY toothbrush holder only for yourself, you can make one or two bigger pockets to hold the toothpaste as well, the dental floss, or other toiletries.
Anyway, this is exactly what I wanted and needed.
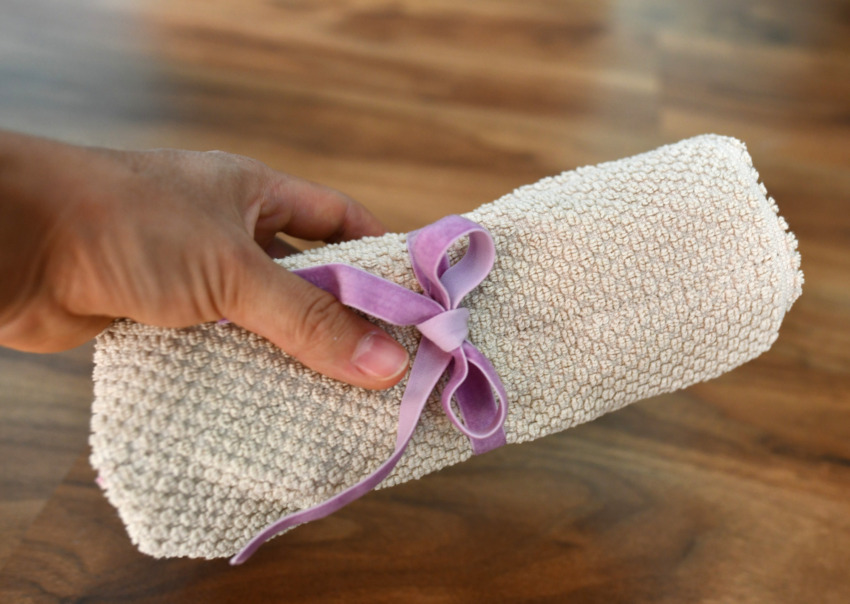
A cute and practical roll up pouch that keeps our toothbrushes clean and dry. The towel fabric is highly absorbent and a great choice for this DIY project. When we get back from vacation, I’ll simply toss it in the washing machine.
I can’t believe that, up to this point, I used to put our wet toothbrushes in a plastic bag… Well, no more cooties on toothbrush from now on!
Related: How to make reusable produce bags / Mini zipper pouch (free pattern)
This is a much, much better solution, and it all comes together so quickly and easily.
It’s also a great way to upcycle an old towel. No need to buy new fabrics for this DIY sewing project! Most likely you already have everything you need at hand.
To tie your toothbrush holder, you can use elastic, ribbon, bias tape, yarn, twisted cords – anything, really.
This is not so much a tutorial as an inspirational idea. I hope you like it!
Sewing supplies – DIY toothbrush holder
- An old towel
- Elastic, cords, ribbon, etc.
- Sewing machine
- Matching thread
- Pins
- Fabric marking pencil
- Ruler
How to make a toothbrush holder
Step 1 – fold the towel
The towel I used is lightweight and super small, 20 inches by 12 inches. I didn’t want a bulky toothbrush holder. In my opinion, it should take up as little space as possible since it’s a travel accessory.
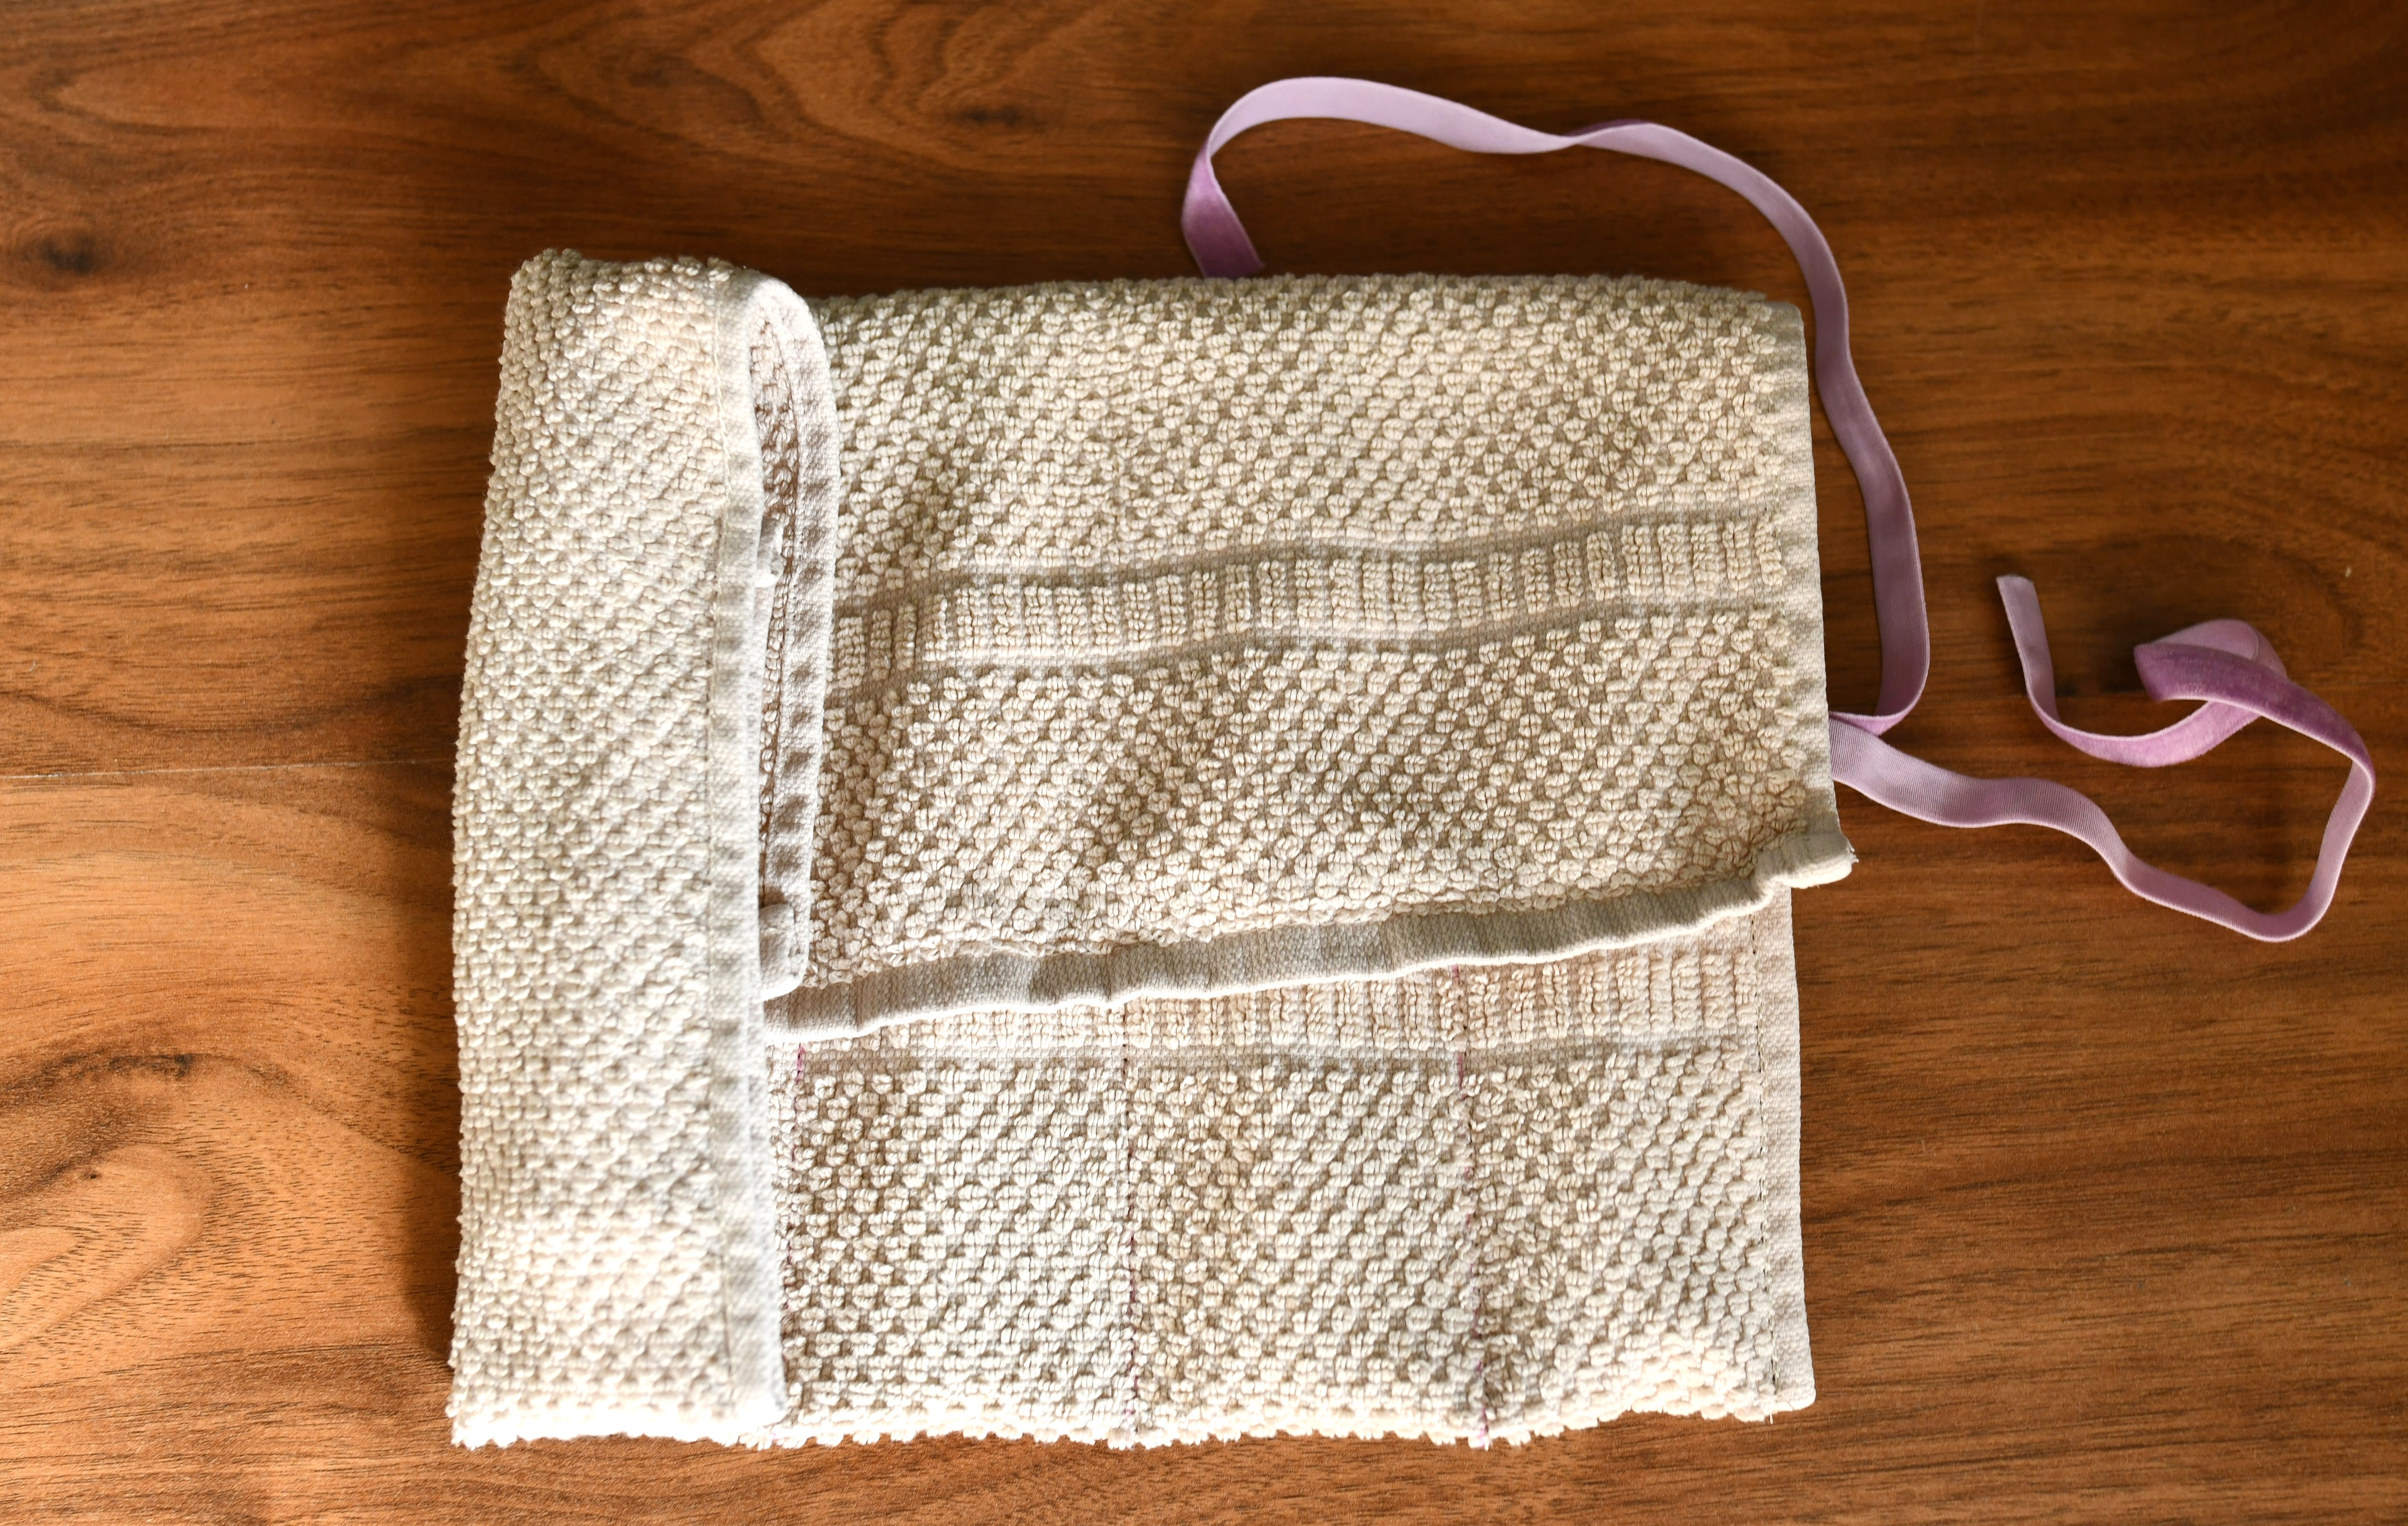
Fold your towel down so that it will cover about half of your toothbrush.
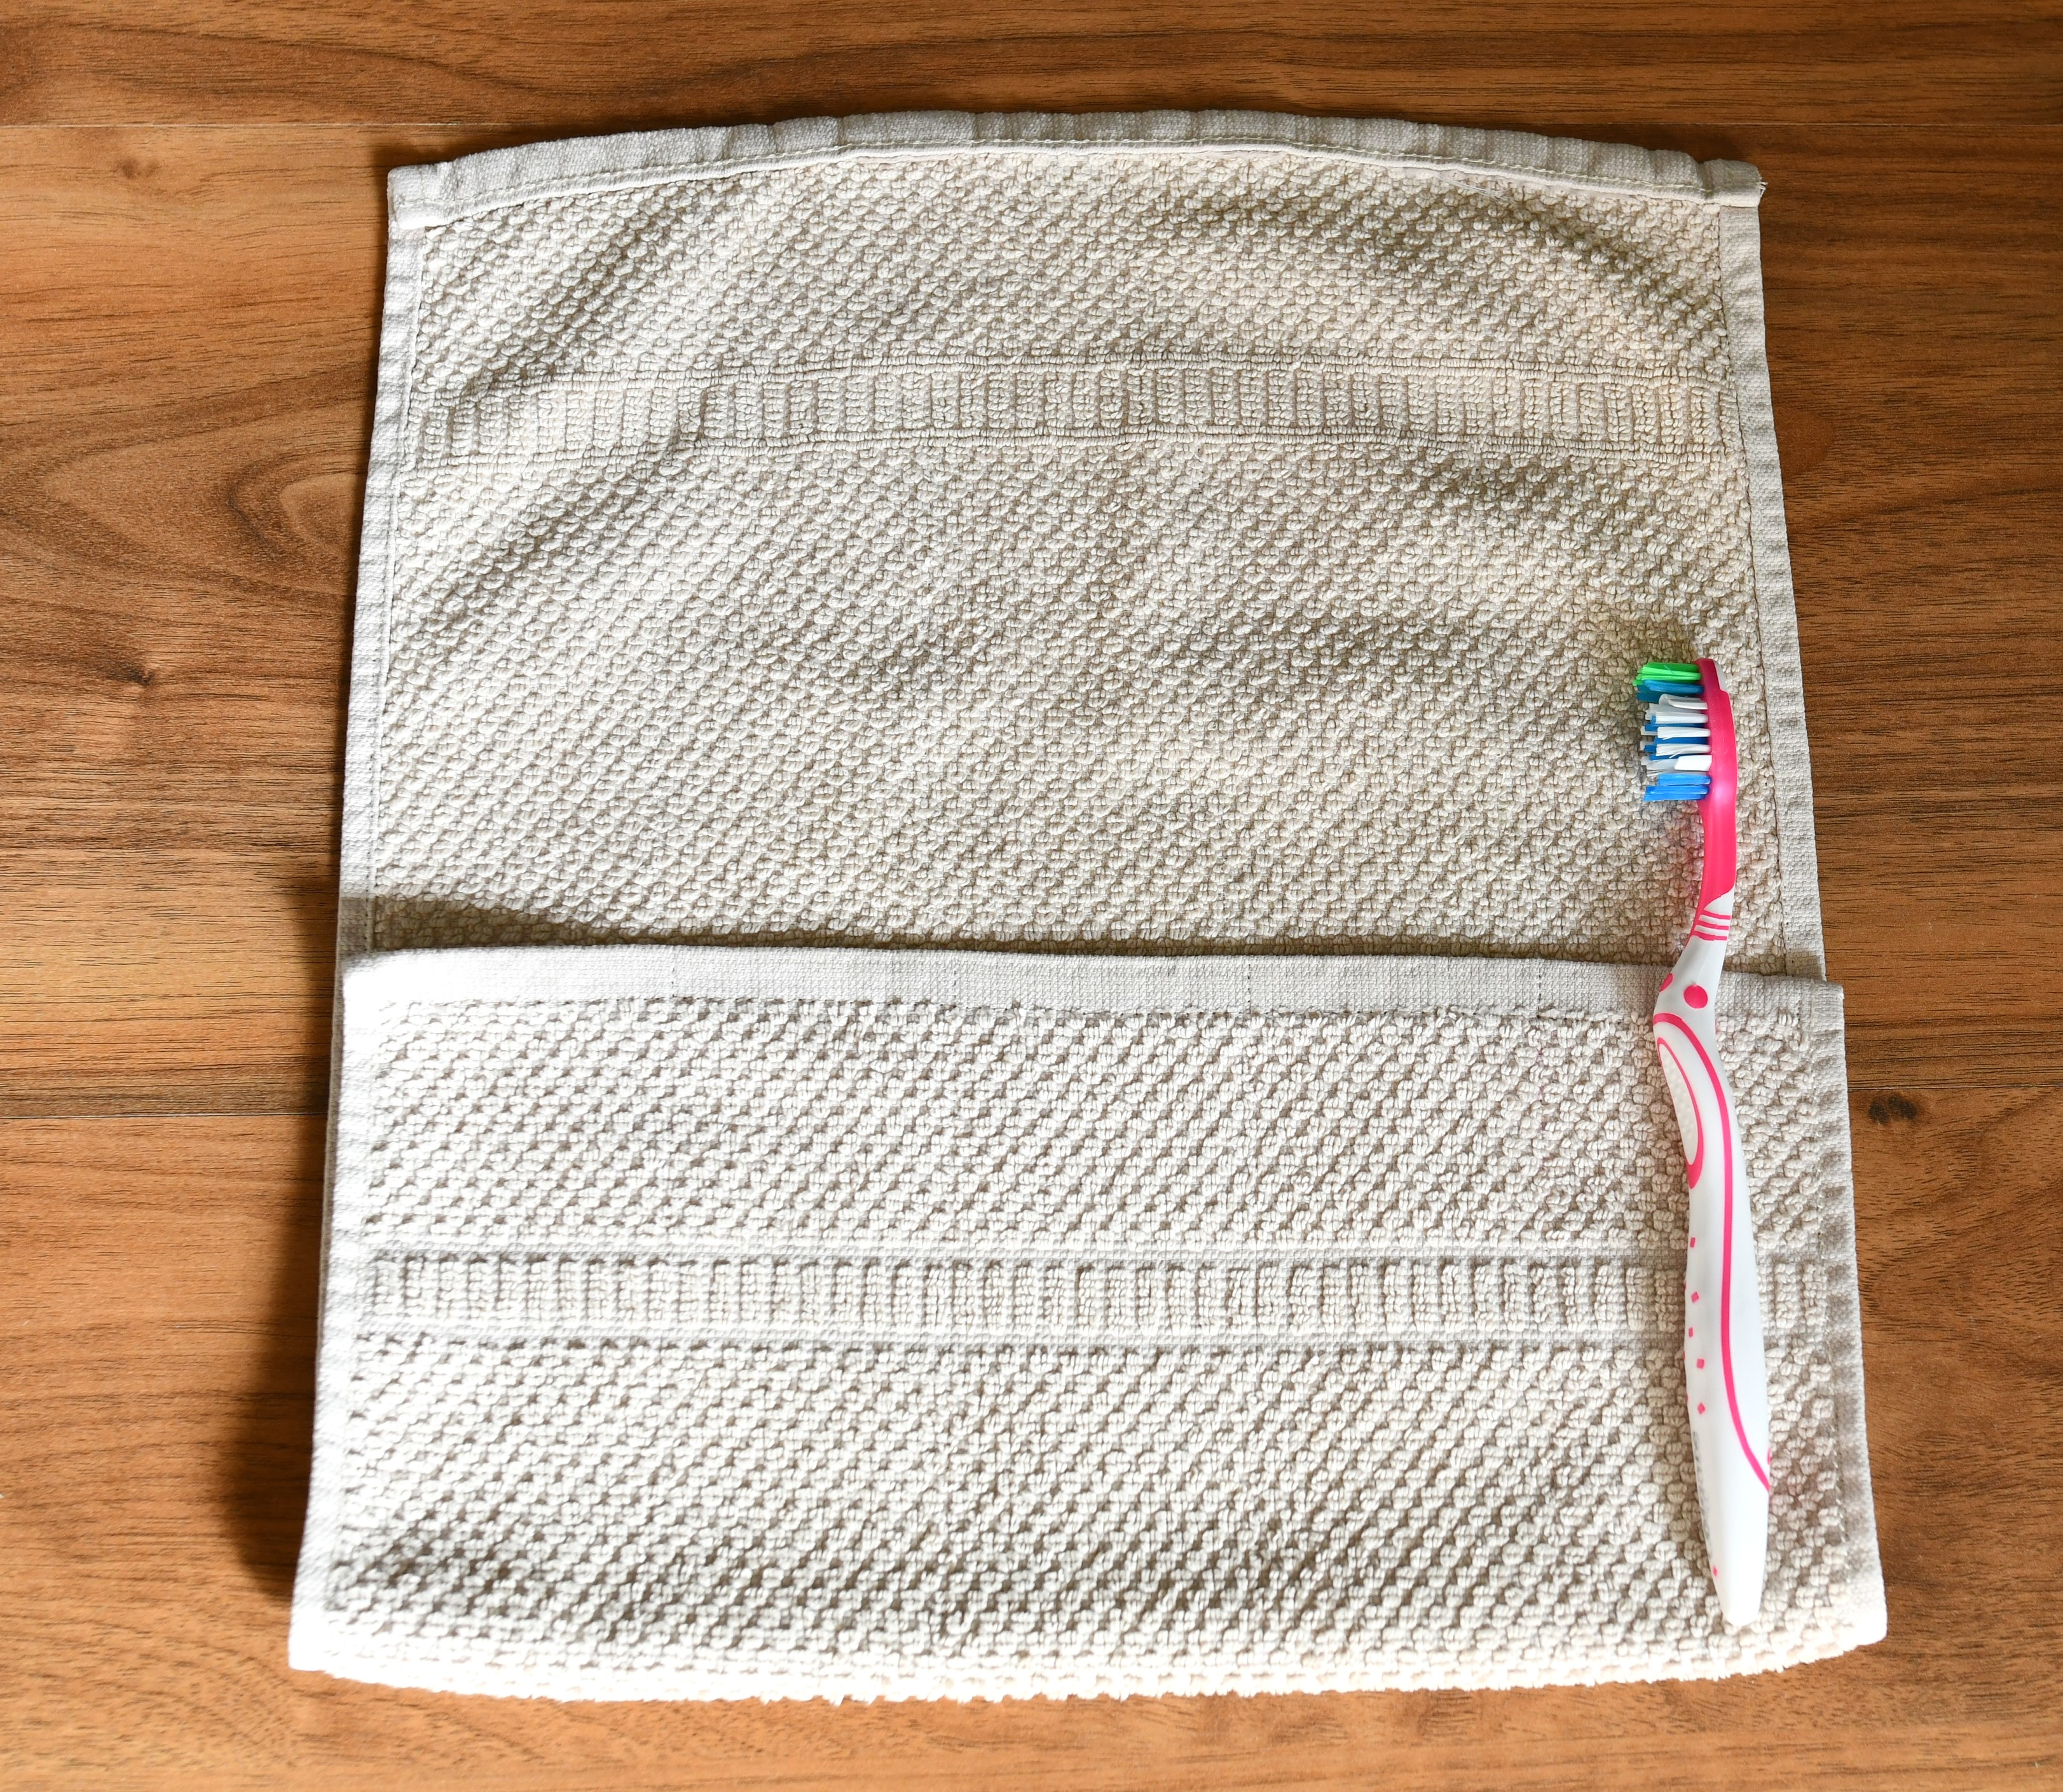
I intend to place my toothbrushes with the bristle end inside (the complete opposite of what you see in the photos, I know). This way makes more sense to me because I can grab them by the handle. Also, the brush heads will not touch each other, ever.
Now take two ribbons/elastic ties that measure about 10 inches each (if they are too long you can trim them later). Place them inside the towel at the side seam.
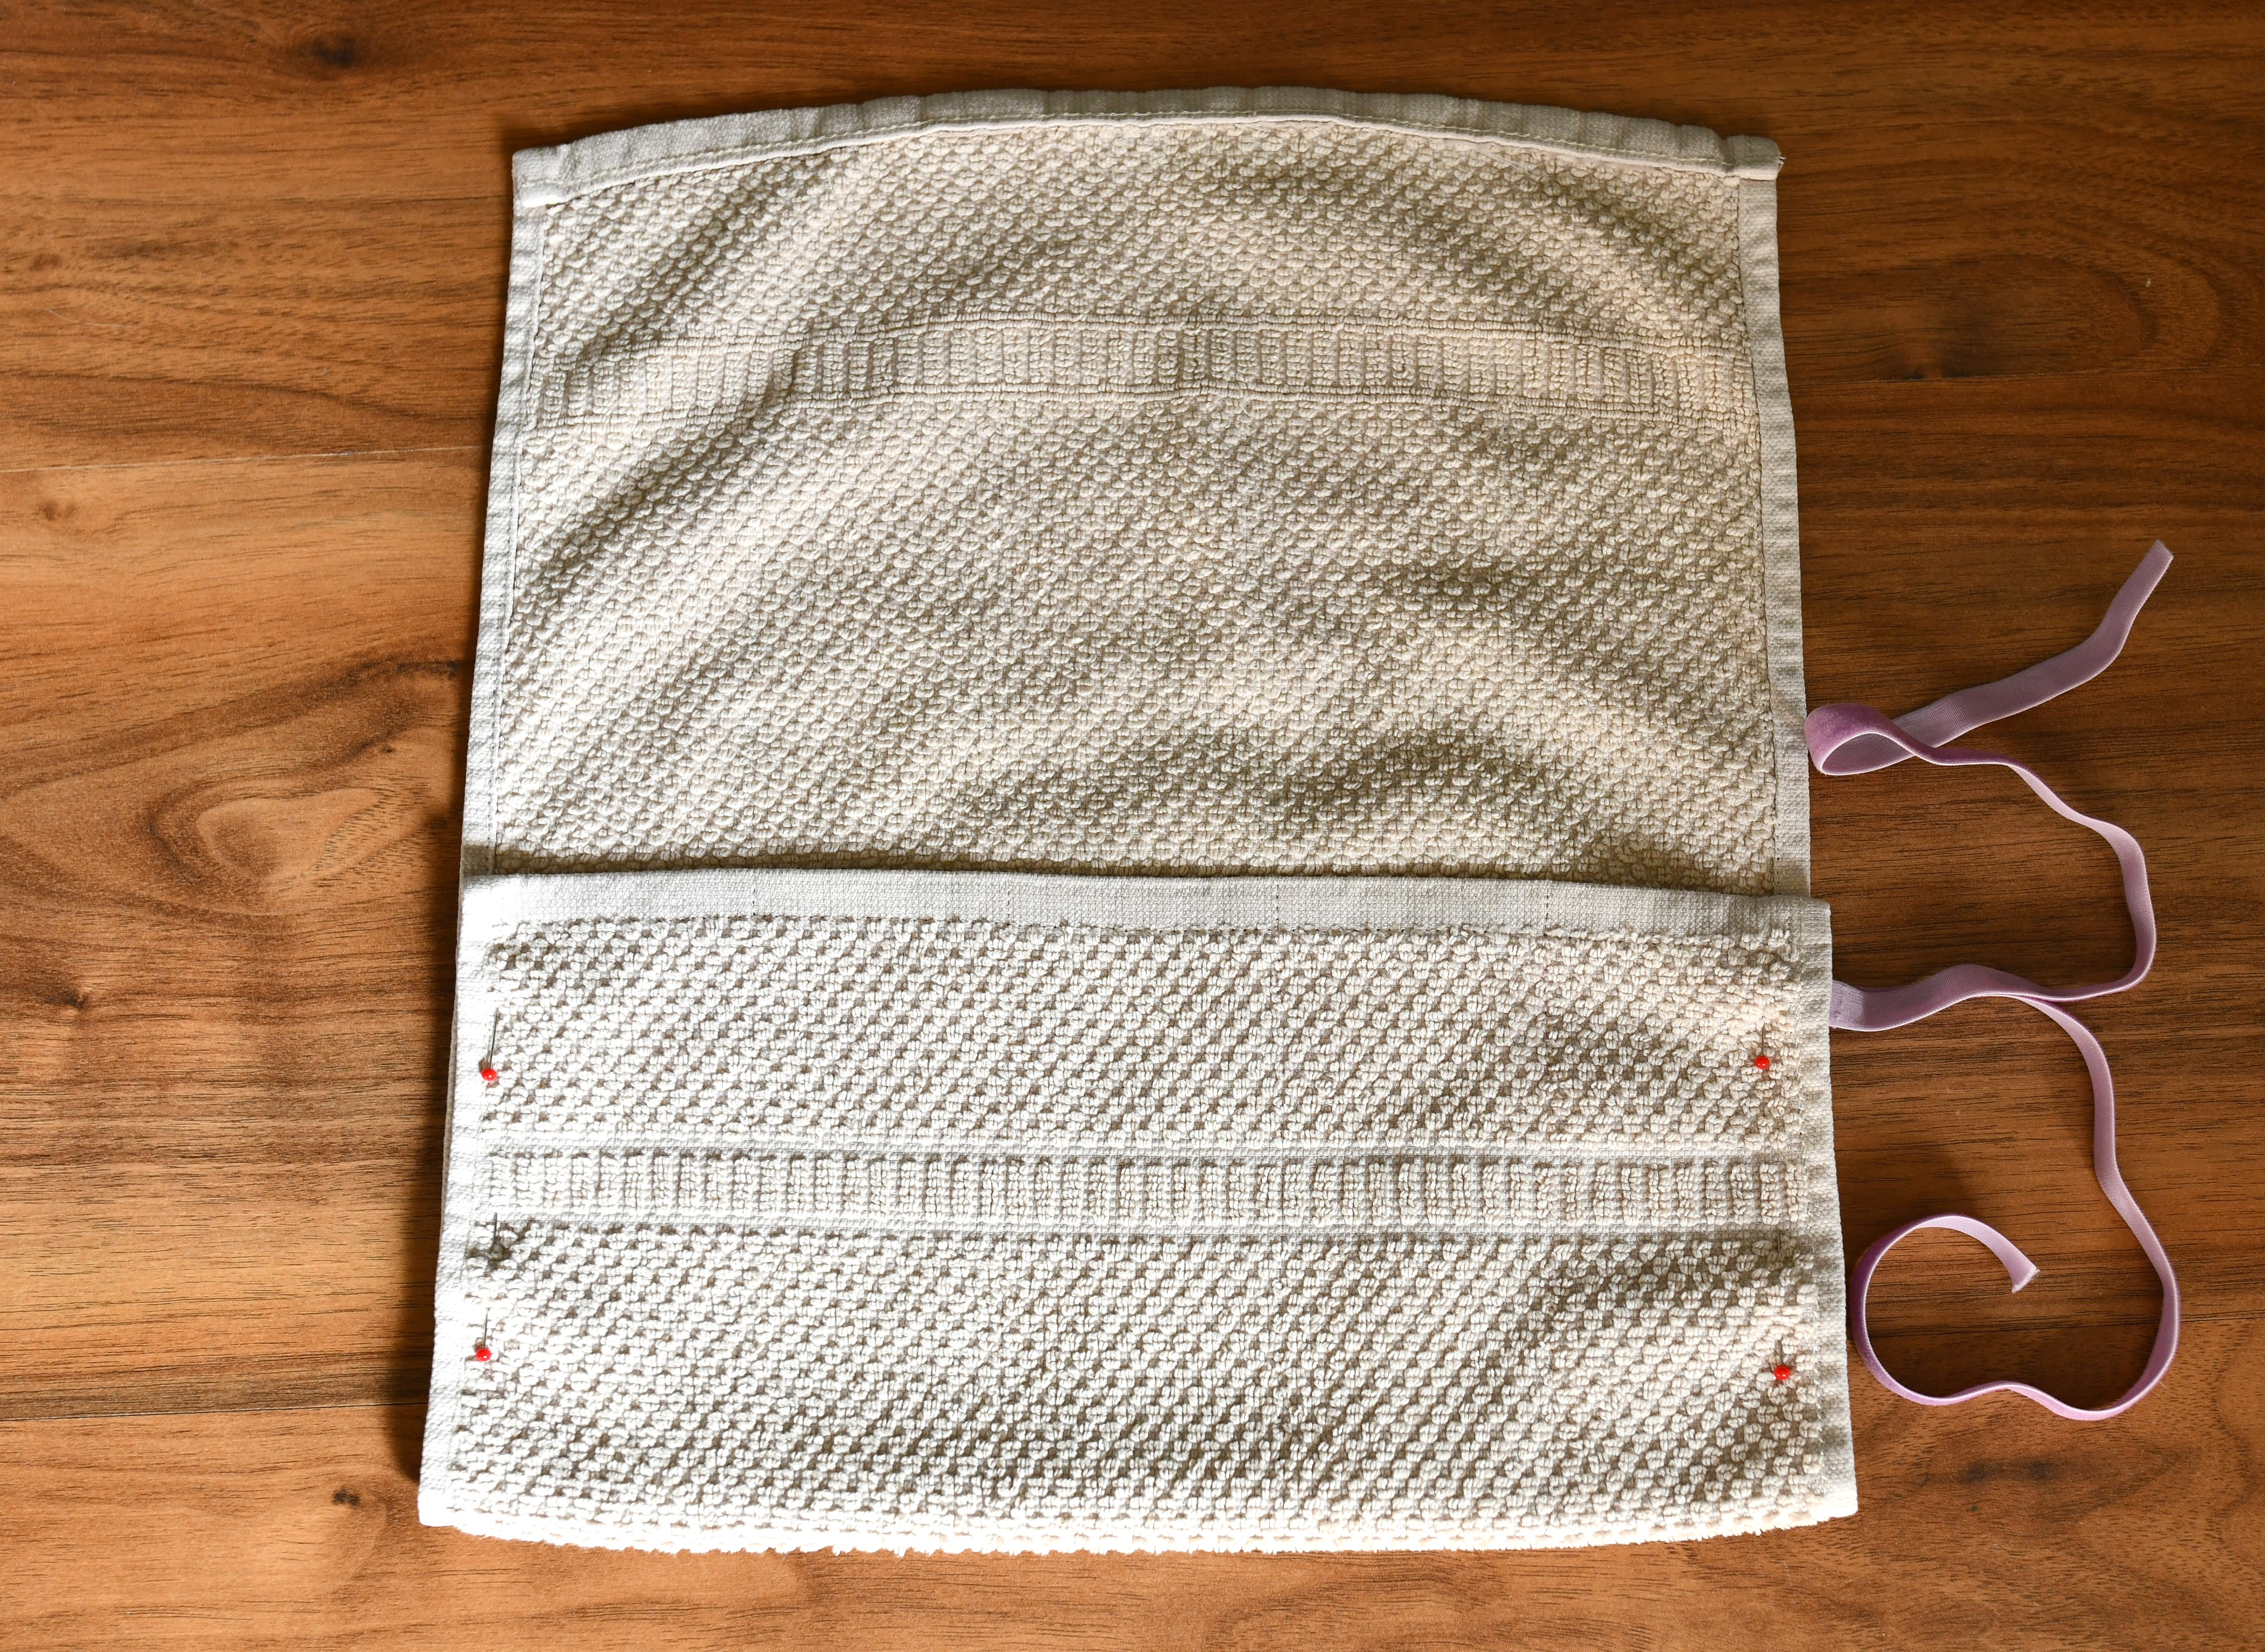
Now pin and stitch along the side seams of the towel. Your ties will be secured in place.
Step 2 – make the compartments
Use a ruler and a fabric marking pencil to draw parallel lines on your towel, as shown below.
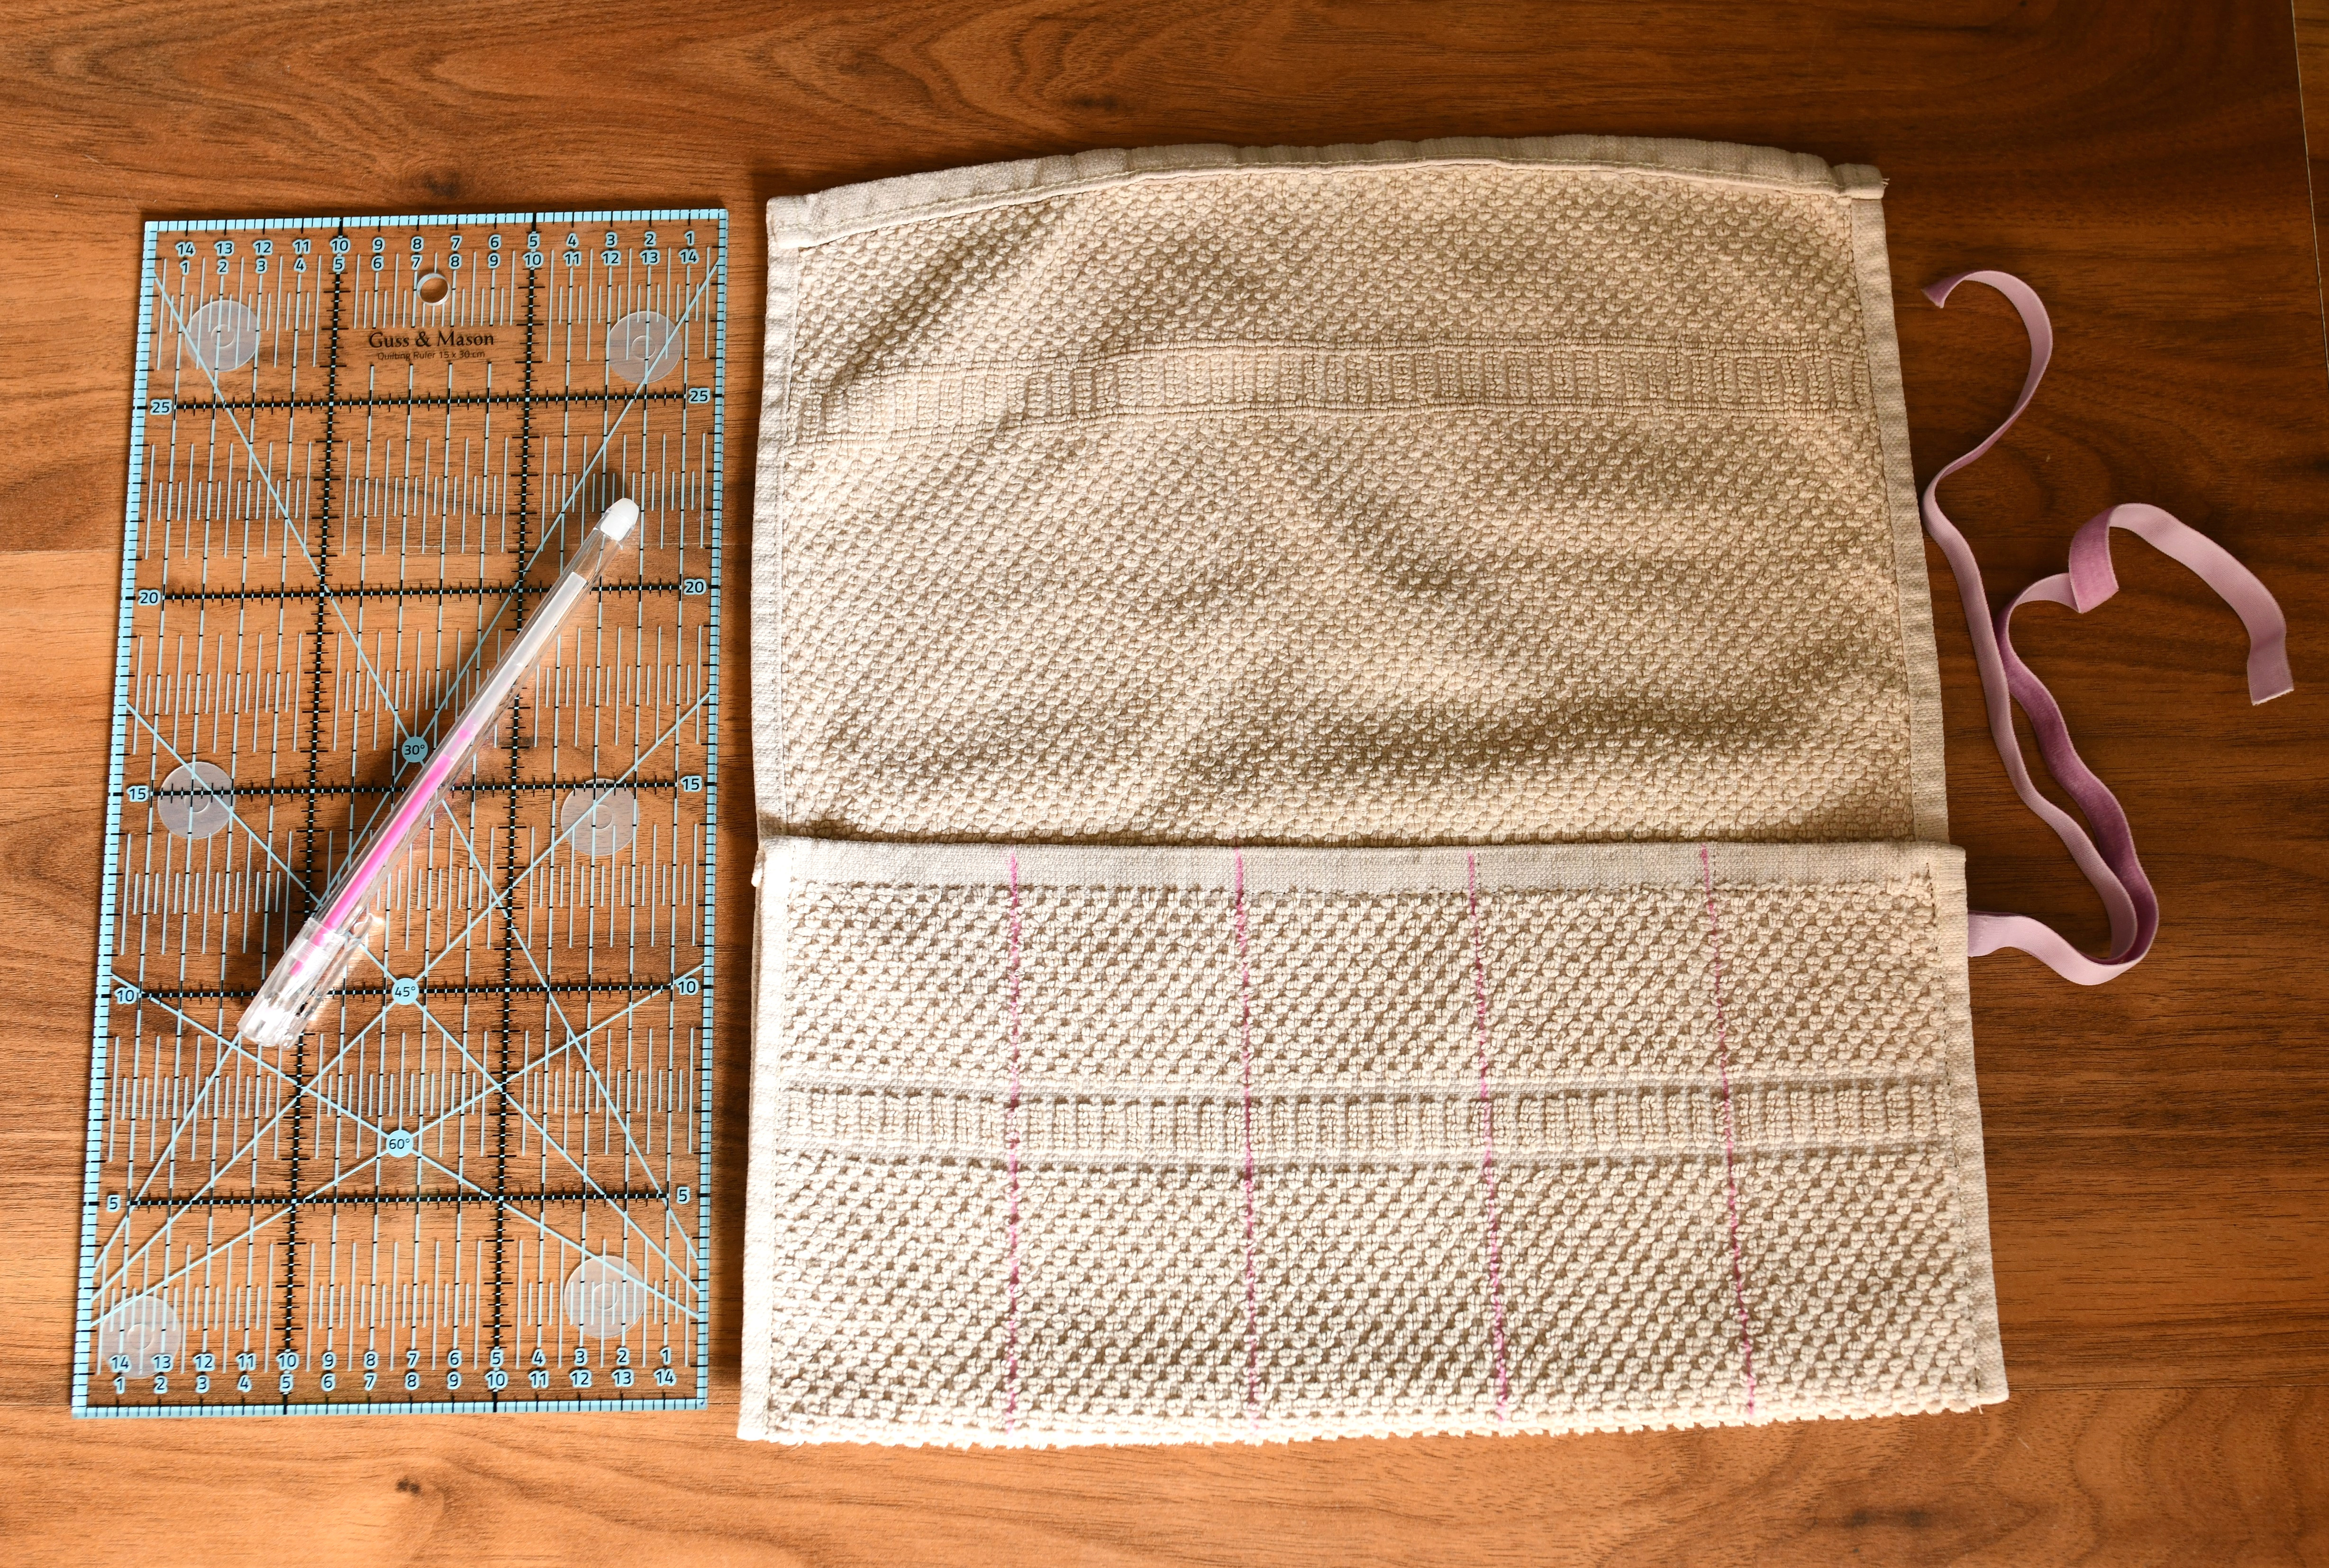
I marked 4 lines to make 5 slots, each being 2 1/4” wide. That’s more than enough room for a toothbrush. Backstitch at the beginning and end of your stitches.
Step 3 – and done
Insert your toothbrushes, fold the top of your towel, roll it up and tie the ribbons. That’s all!
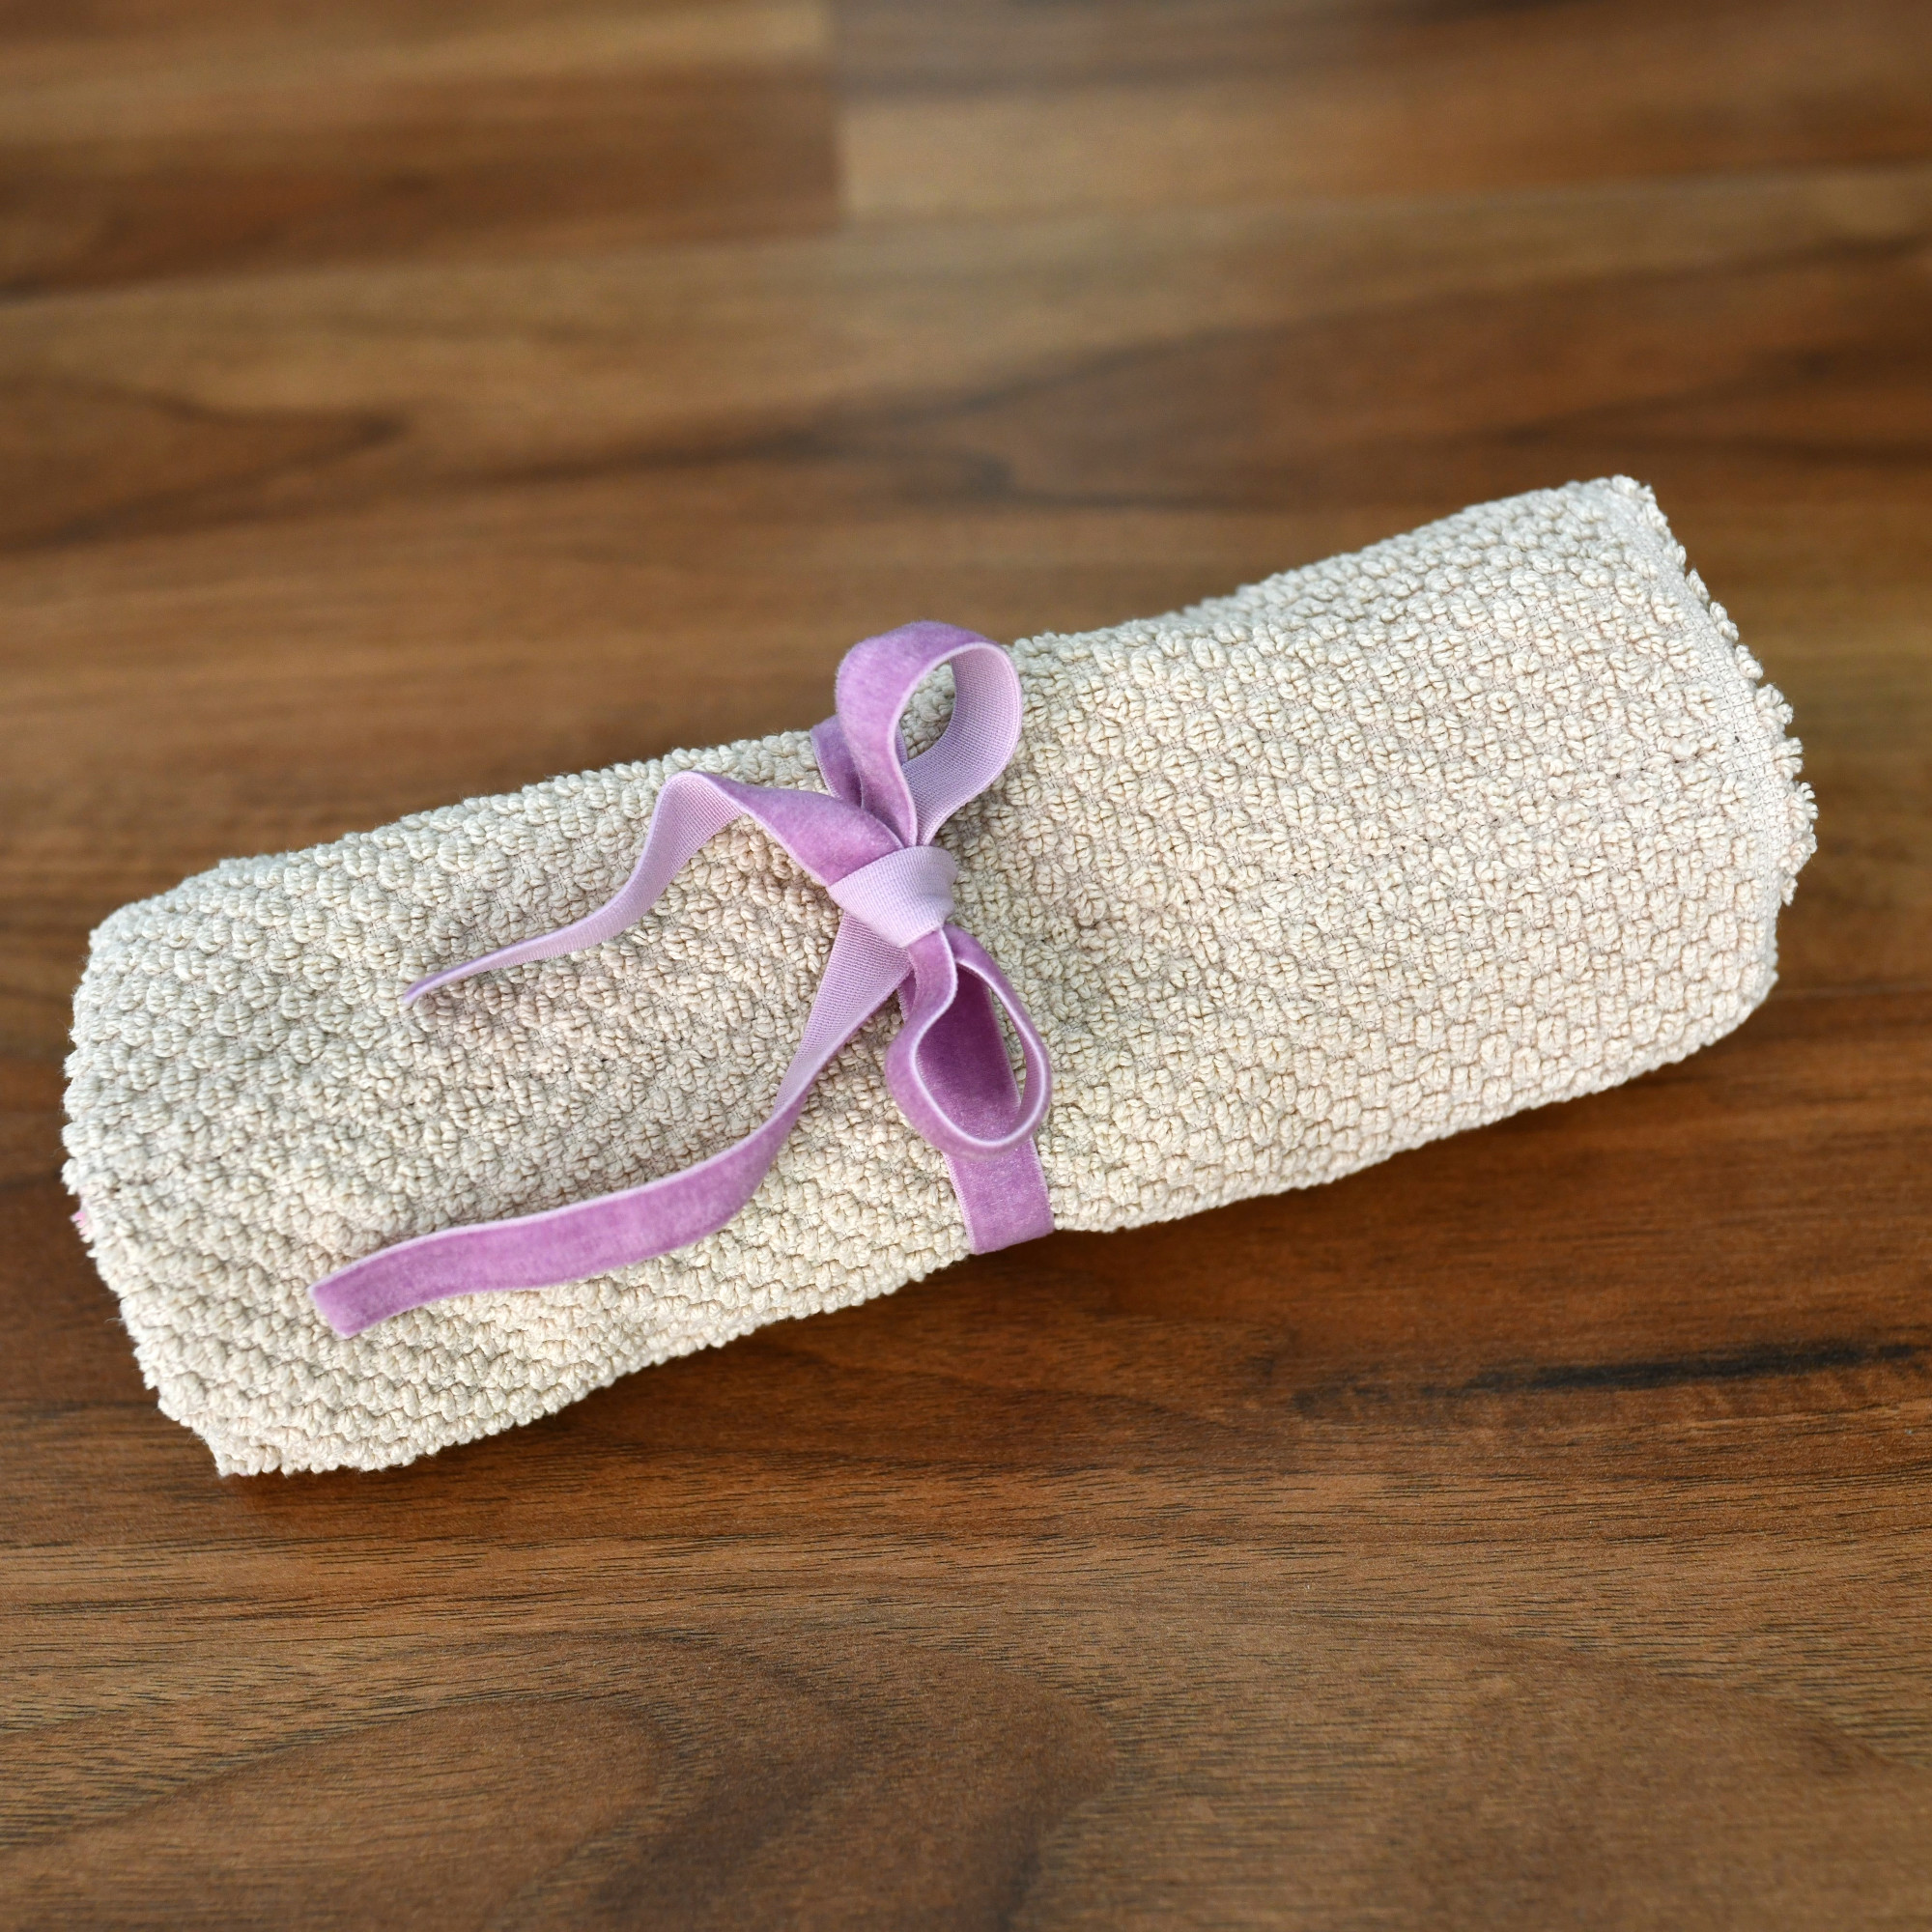
It was a super simple make, but hugely practical. I think this is a cool and hygienic way to take your toothbrush while traveling.
I hope you enjoyed this DIY toothbrush holder tutorial, see you next time!
Let’s keep in touch! You can find me on Facebook, Instagram, and Pinterest.
Related posts