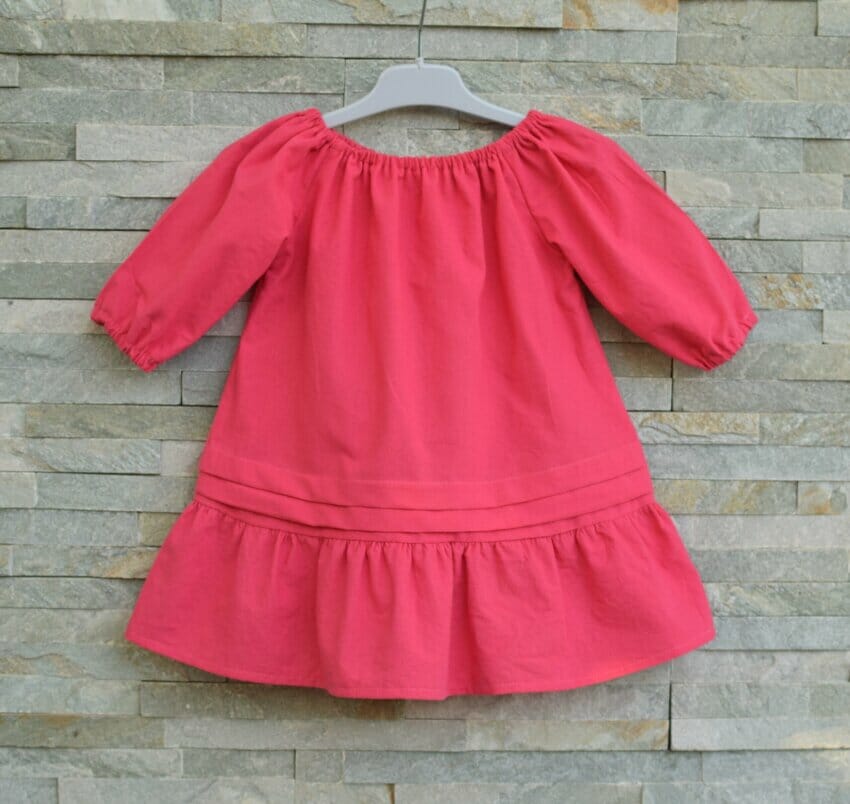
Free peasant dress pattern for little girls. Long sleeve dress that your toddler can wear all year round. This easy peasant dress pattern features fabric tucks and ruffles and requires only basic sewing skills.
I just love how simple the peasant dress pattern is!
A cute toddler dress, perfect for casual wear, birthdays, or parties.
The tucks and ruffles add a nice fulness to it. Not too little, not too much, just the right amount.
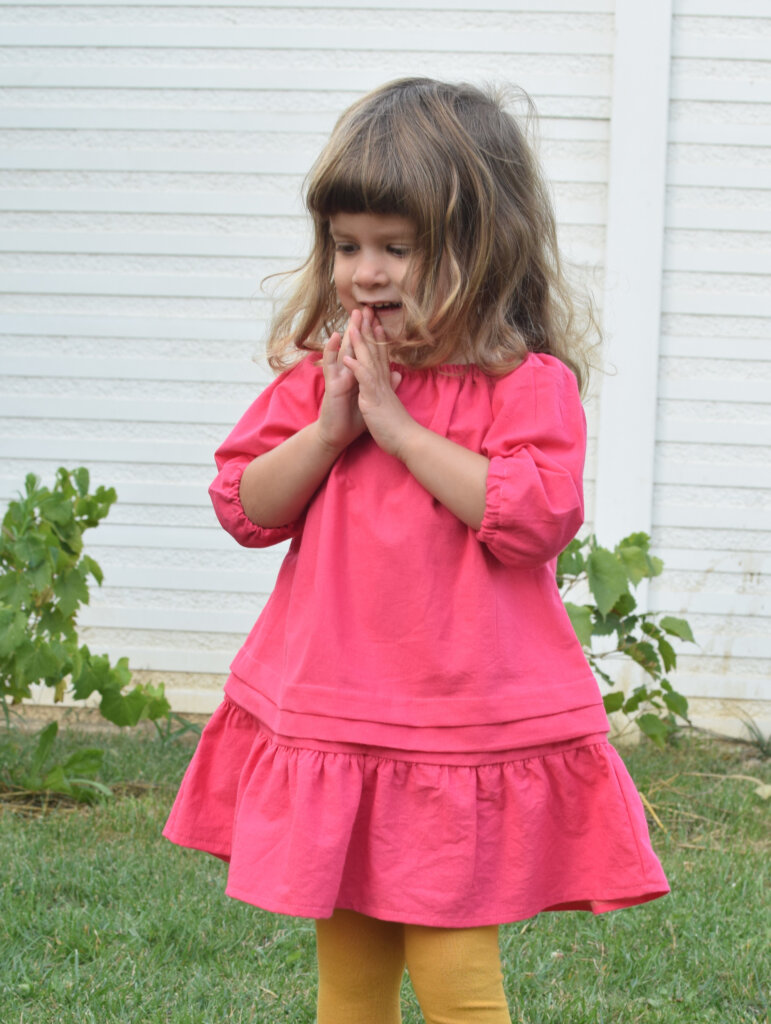
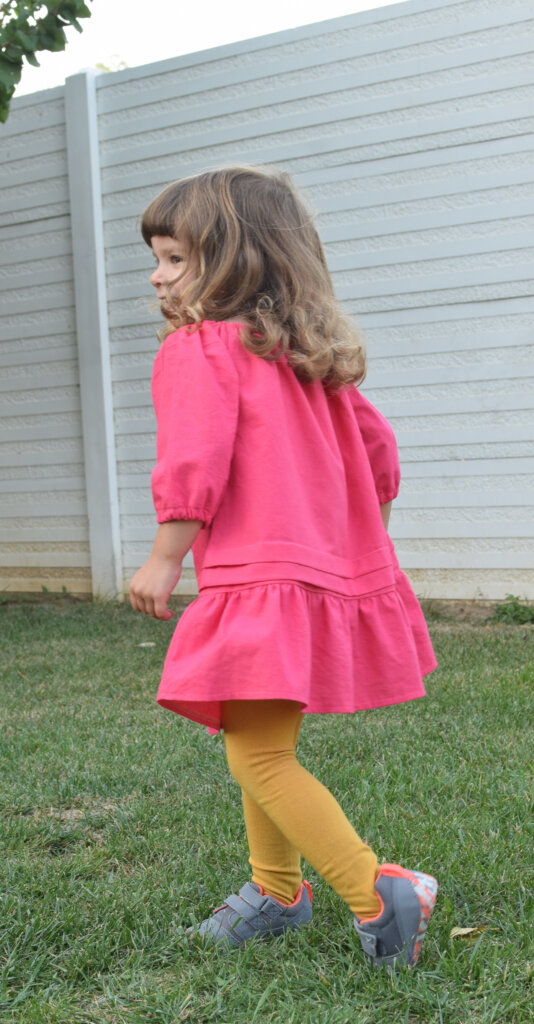
I made this dress for my 3-year-old daughter to wear as a back-to-school outfit.
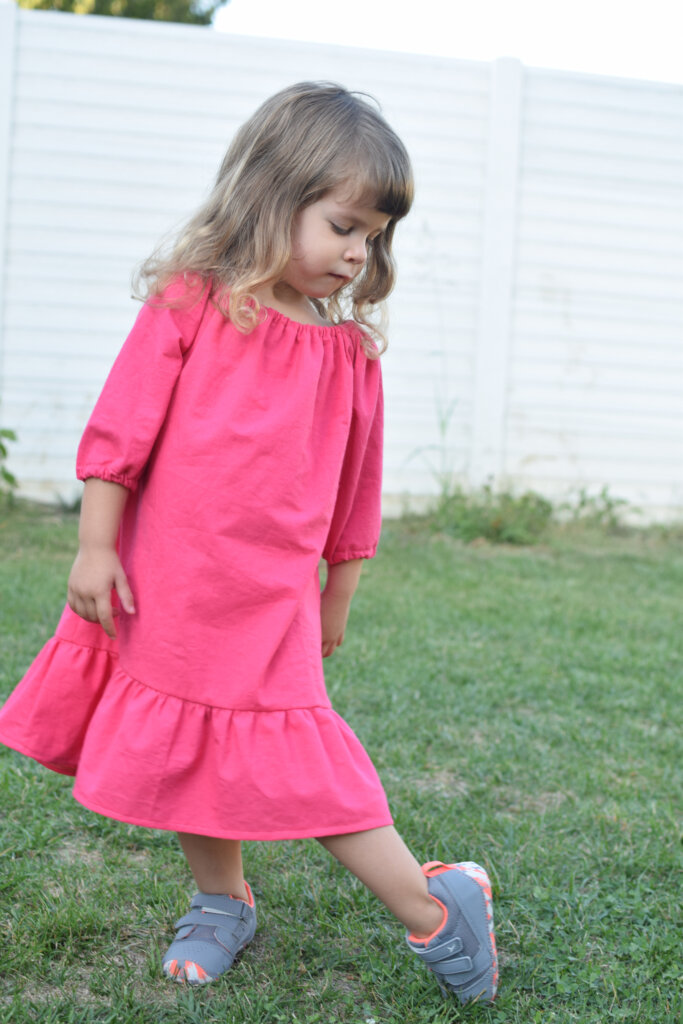
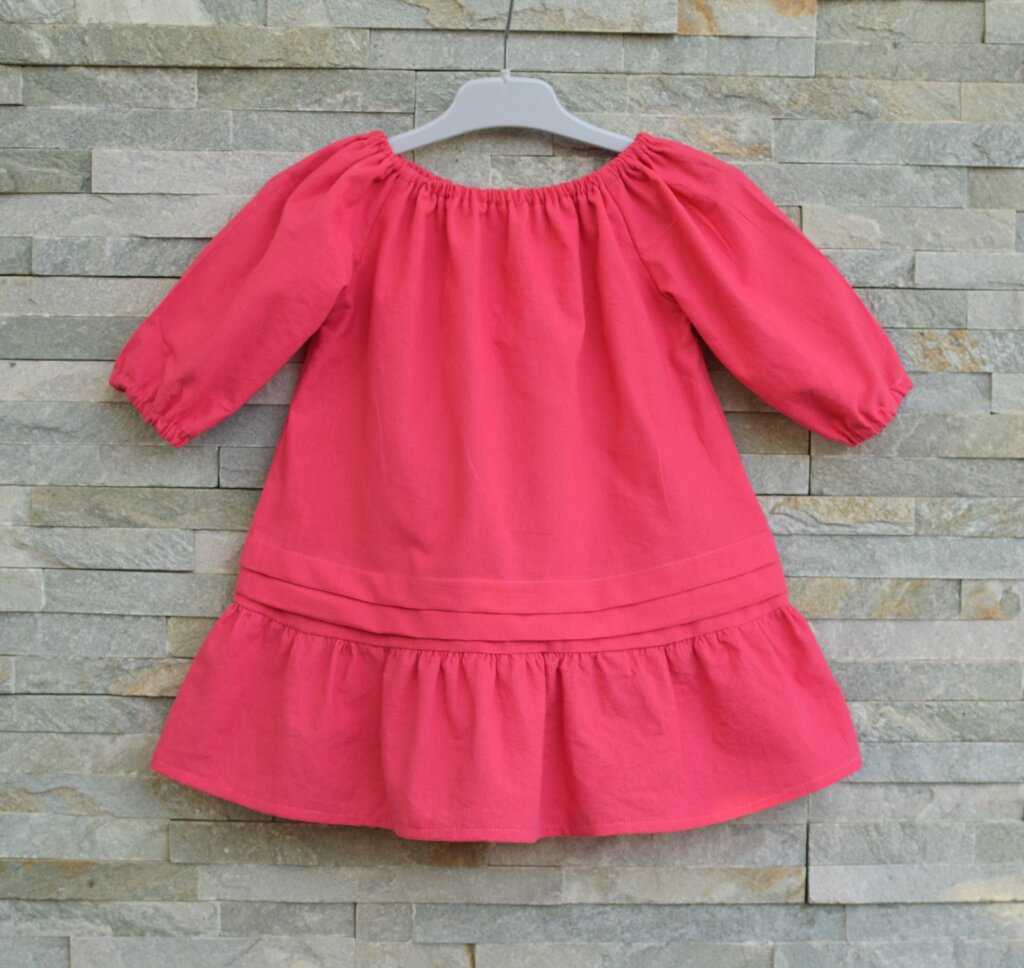
This pink peasant dress is made out of 100% cotton with an elastic neckline to make it easy to put on and take off.
It’s a simple dress, but super cute and comfortable too. Great for wearing all year round, actually. For cooler weather, you can easily pair it with leggings or a cardigan as the temperatures drop.
Related: How to make your own peasant dress in any size you want – a sneaky shortcut everyone should know
In fact, these are not long sleeves, but medium 3/4 sleeves, as I wanted to reduce the chances of the dress getting soiled in the very first days of kindergarten. She tends to be overenthusiastic with paint and glue and all that.
Anyway, sleeve length is totally up to you, just choose from short sleeve, 3/4 length or full length.
This is an easy-to-sew free peasant dress pattern, even if you’ve never attempted to make a garment before. I really think that anyone could make this.
In earlier times, the fabric tucks were used so the dresses and skirts could be lengthened and made to last longer.
“Grow with me” free peasant dress pattern
The peasant dress pattern size is very forgiving, so I’m definitely keeping my options open.
With this in mind, I hope we’ll take good care of this cute pink peasant dress, and maybe I’ll update this post in 3 years, who knows?!
Related: DIY kids face masks. 10+ free sewing patterns
Sewing supplies – free long sleeve peasant dress pattern
- Free PDF pattern in size 3 – I turned this free peasant top pattern into a peasant dress pattern, please read on for instructions
- 1.5 yard of fabric – cotton, linen, chambray
- 1/4” elastic
- sewing machine
- needle
- matching thread
- sewing pins
- fabric scissors
- safety pin
How to make a girls peasant dress with ruffles and tucks
I used the exact same pattern as for the long sleeve peasant top – here’s the link.
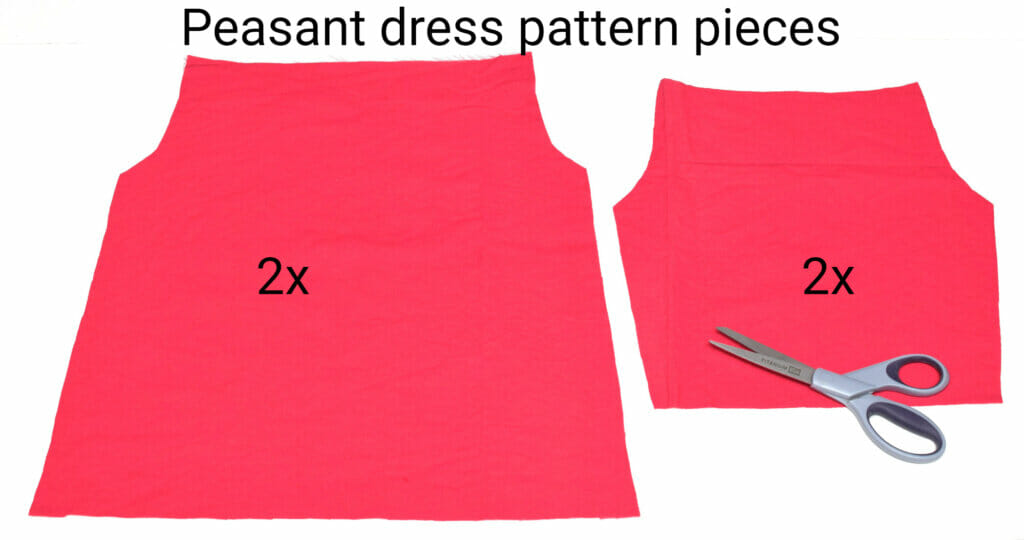
We have to cut the fabric pieces on fold – two sleeves and two bodices.
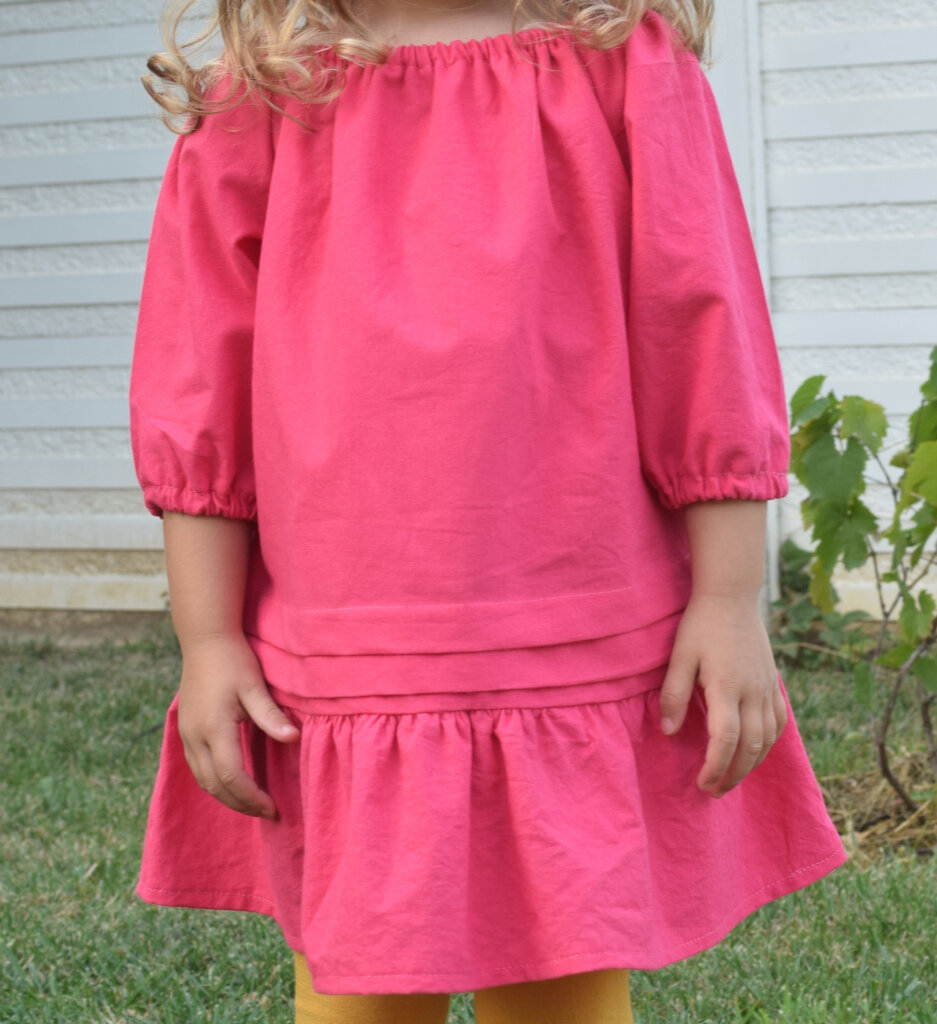
The following instructions are for a size 3 peasant dress with ruffles and two rows of tucks, as seen in the above photos.
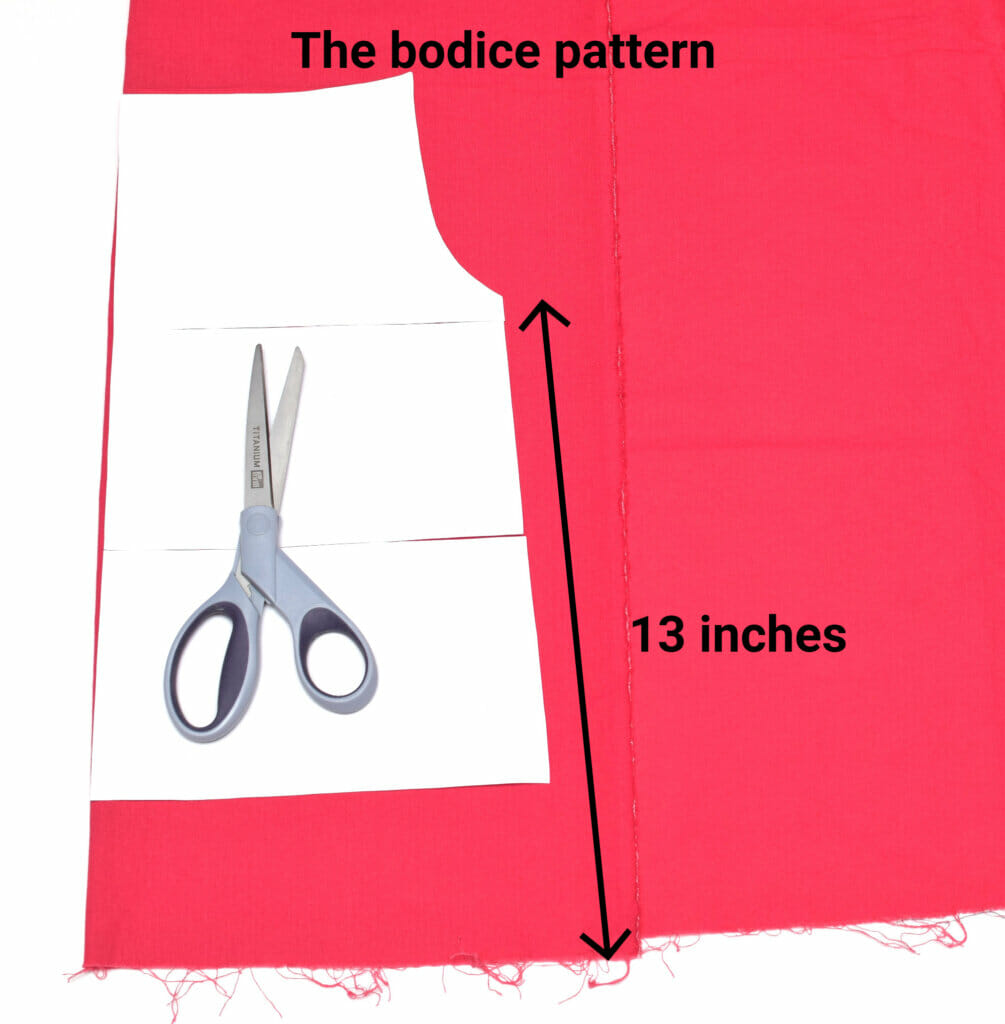
To turn the top pattern into a dress I lengthened the bodice – measure 13 inches from the underarm to the bottom.
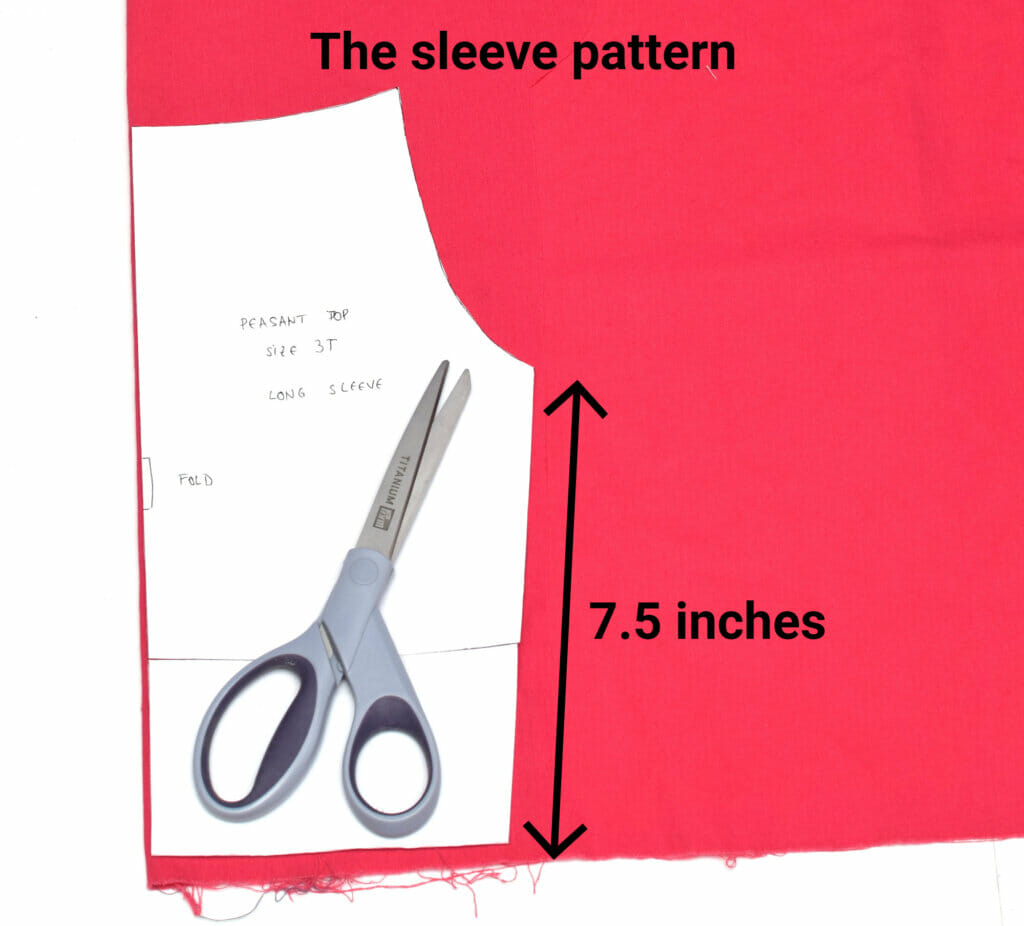
To make the sleeve ¾, I shortened the sleeve pattern – measure 7.5 inches from the underarm to the bottom.
Now, to sew the peasant dress, follow steps 2 – 6 from this tutorial. These are the pattern pieces you’re going to work with.
After completing those steps, it already looks like a peasant dress – you are almost done! Now, you need to add the ruffle to the bottom of the dress.
How to sew and attach a ruffle to a dress
First, decide how gathered you want your ruffle to be and how tall.
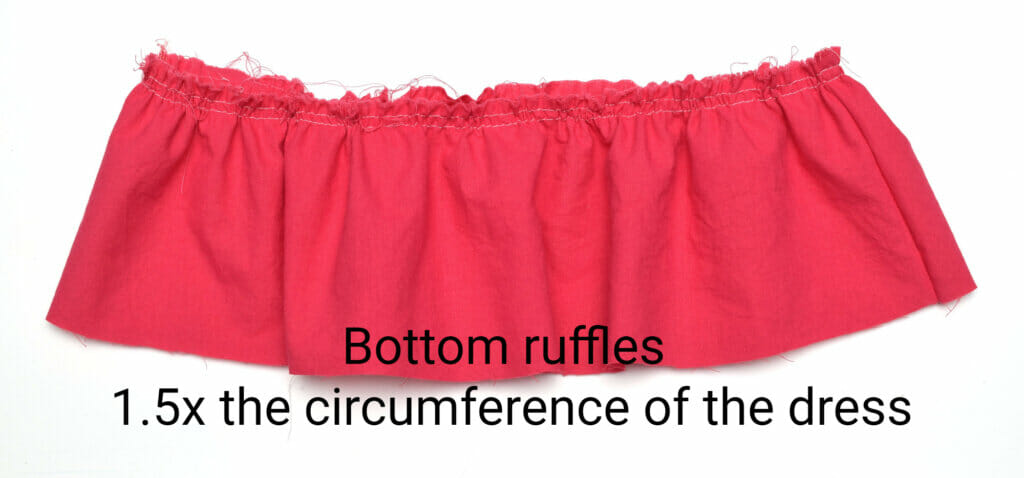
I cut a fabric piece that measures 1.5x the circumference of the bottom hem of the dress, in my case 27 inches by 6 inches (this is how tall I wanted my ruffle to be).
It’s easier to hem your ruffle piece before gathering it – I’d recommend you to do it, however I didn’t with this dress, I simply forgot, but that’s no biggie. Later on, I made a simple hem – I serged the raw edge, folded the fabric to the wrong side 1/2″, then stitched in place.
Next step, I joined the short ends of the ruffle, right sides together, to form a loop, and finished the raw edge of the side seam.
Then, I basted two lines around the top edge to gather the ruffle. Make sure you don’t cross the stitching lines. Grab either all top threads or all bottom threads and gather your fabric to fit the bottom part of the dress.
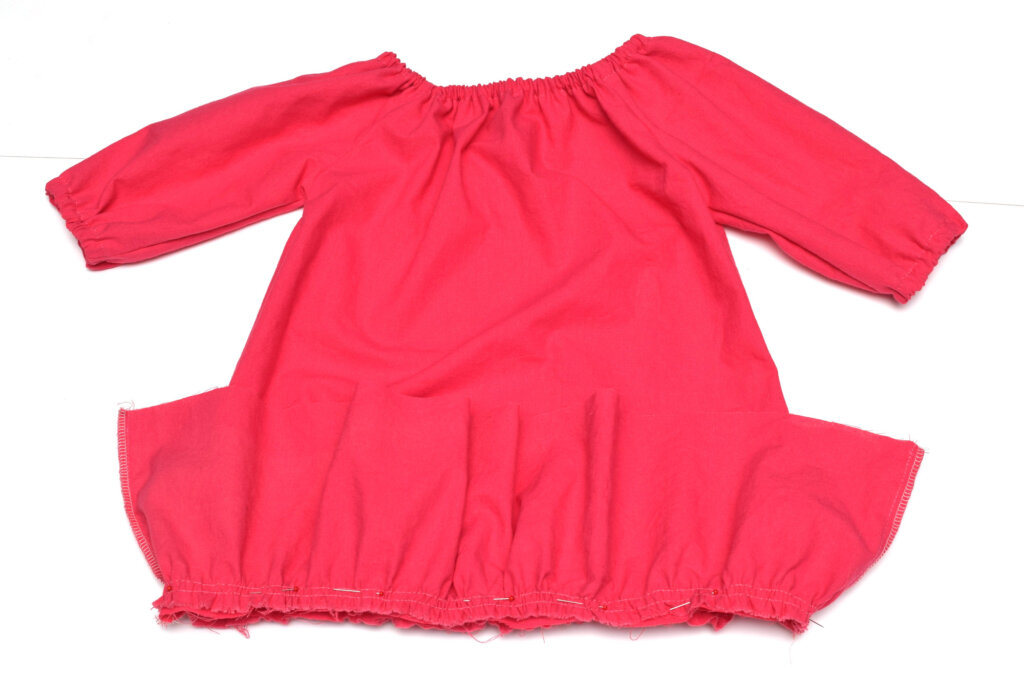
Finally, let’s attach the ruffle. Therefore, match the ruffle piece to the raw edge of the dress, right sides together, and sew, then finish the seam.
The dress can be left as is, of course. It would make a nice summer peasant dress, I think it would be great as a beach outfit or maybe a nightgown.
Related: 40 easy sewing projects for beginners to try
Ruffle peasant dress in action
My daughter tried it on and loved it just the same, so I seized the opportunity to take some pictures.
However, I had other plans for this dress (back-to-school outfit), so I needed to shorten it.
This is how I came up with the tucks idea.
So, yeah. Basically, I miscalculated how long I actually want the dress to be, and I had to sort it out.
By sewing 2 rows of 0.79” (2 cm) tucks, I shortened my long sleeve pink peasant dress by 4x 0.79”, so approximately 3.15” in total.
What are fabric tucks and how to sew them?
Tucks are a great way to personalize a garment. To make a tuck, simply fold your fabric in half and sew a straight stitch through the two layers.
For this decorative effect, the sewing gauge and the sewing pins will be your best friends.
I made the tucks after I added the bottom ruffle piece.
The first tuck to sew is the one that’s closest to the ruffles/hem.
Decide the height of your tuck – I wanted it to be 0.79” (2 cm). That’s completely arbitrary, you know. A 1-inch tuck is more common, however, I didn’t want to risk and shorten the dress too much.
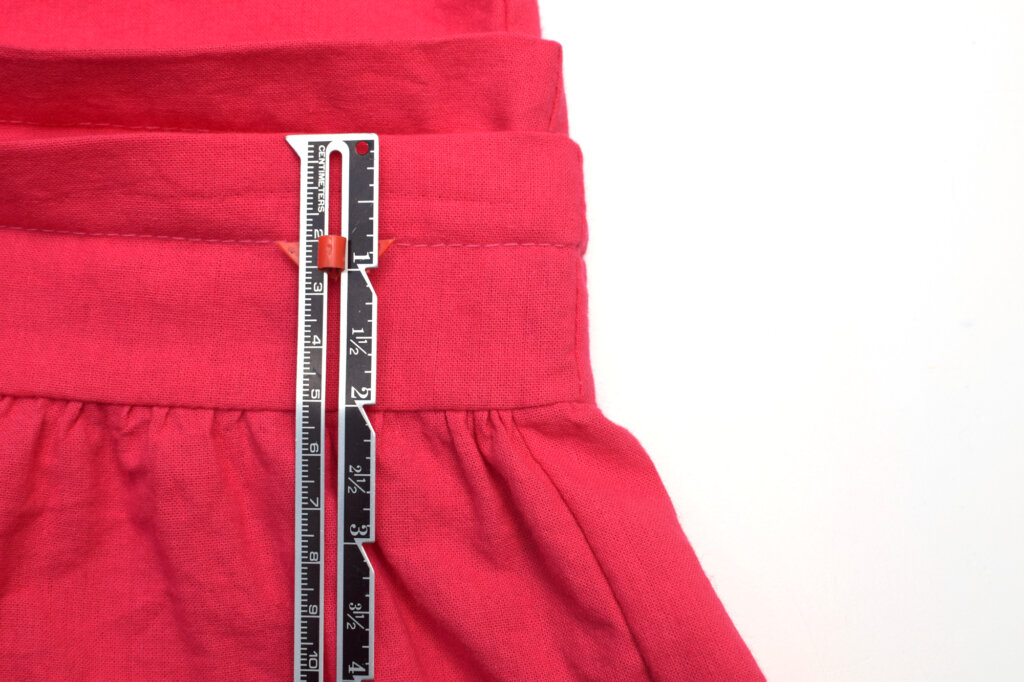
So, the distance between the folded edge of the fabric and the ruffle seam is 2x the desired height of my tuck plus a little bit more – 2 inches in my case.
That’s because I will press the tuck down and I still want some difference between tucks and ruffles.
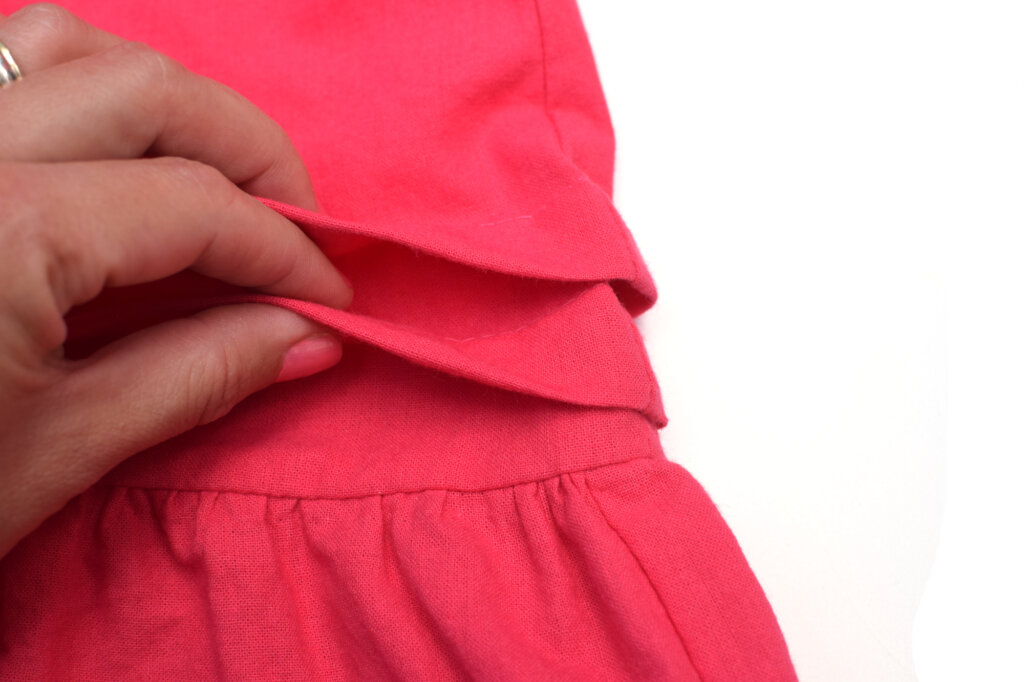
To make sure your tucks are perfectly straight, use a fabric pencil to mark about 8-10 points on the circumference of the dress, each at 2 inches from the ruffle seam. (I did not do this from the start, and I had to use the seam ripper, as you can surely notice if you zoom in on the photo below).
Then fold the hem up with wrong sides of the fabric together, and press really well with your fingers, and use lots of pins.
I sewed along 0.79” (2 cm) from the folded edge of the fabric (that is the desired height of the tuck).
Use the guidelines of your needle plate to make sure you sew a straight line. Then just press the tuck down towards the hem of the dress, and iron it.
Related: 15+ Sewing YouTube Channels to Watch
The next fold starts where the last fold ended.
However, that’s not an obligation, but merely a personal preference. You may want the tucks to overlap each other or to have some space between them, that’s up to you.
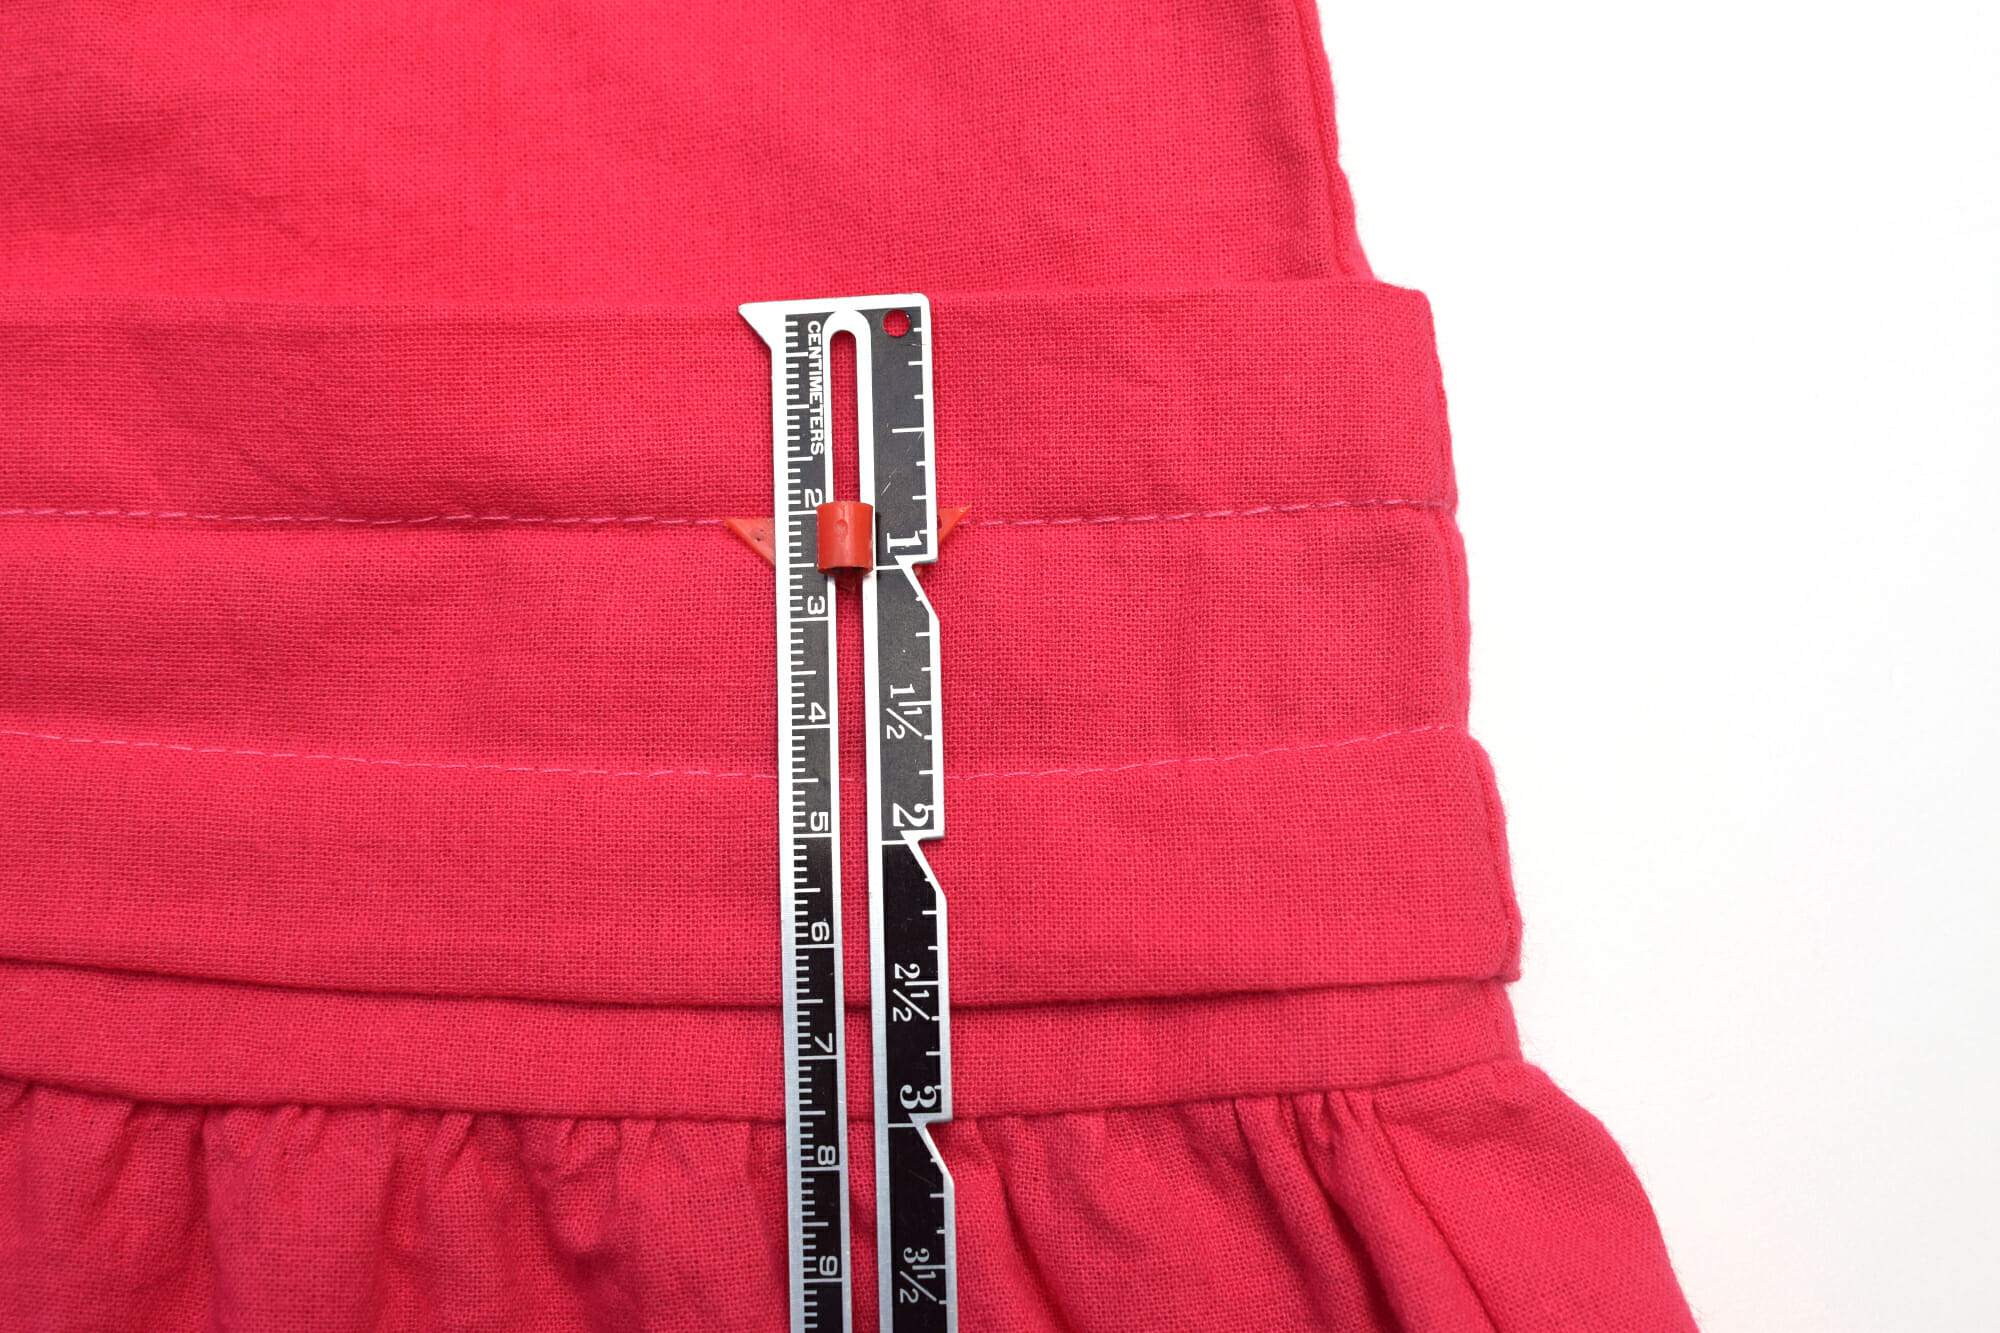
To make the second 0.79” (2 cm) tuck happen, this time you should mark points on the circumference of the dress, each at 2x 0.79″ from the first tuck seam – that means 1 1/2” in total.
Next, you’ll do the same steps as before – fold the fabric up with the wrong sides of the fabric together, press well with your fingers, and use lots of pins. Again, sew along 0.79” from the folded edge of your fabric.
Full disclosure
What I just said is the theory, you can see the practice in the photo above. The real distance from the folded edge to the seam varies from 1 1/2″ to 1 3/4″ and that’s fine. Those stitching lines show here and there, but I guess am not a perfectionist.
The truth is that if you want to make those tucks perfectly parallel, you’d better not be in a hurry like I was (and I always am!). Just take your time, go slowly and use the sewing gauge again and again.
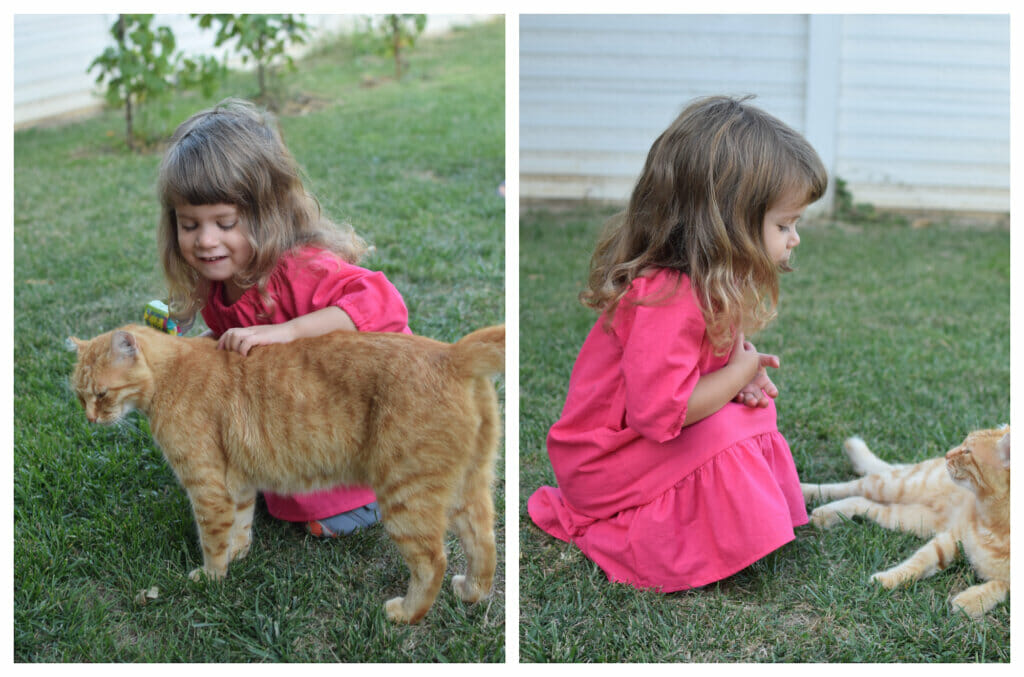
That’s enough talking, the tucks are done. I really like how this little girls’ dress turned out.
So easy to wear and comfortable, this sweet peasant dress is ideal for playing and exploring the world. Will you give it a try? I’d love to hear from you!
Let’s keep in touch! You can find me on Facebook, Instagram, and Pinterest.


If I want to make the size 3 dress would making it 13” long from under arm plus adding the ruffle but not the tucks be to long?
Hello
Just what I am looking for. To bad its not in size 6 or 8 yrs. It’s a beautiful dress.
Hi Brenda,
Thank you! But you can make it, in any size you want! And it’s super easy. Please take a look at this post https://icansewthis.com/peasant-top-pattern/ I don’t know how to draft and digitize patterns in different sizes, like real patternmakers do, but I figured out a sneaky shortcut on how to make peasant dresses & tops that I’m really proud of 🙂 Hope this helps!
I love this dress I was hoping to make it in size 5.