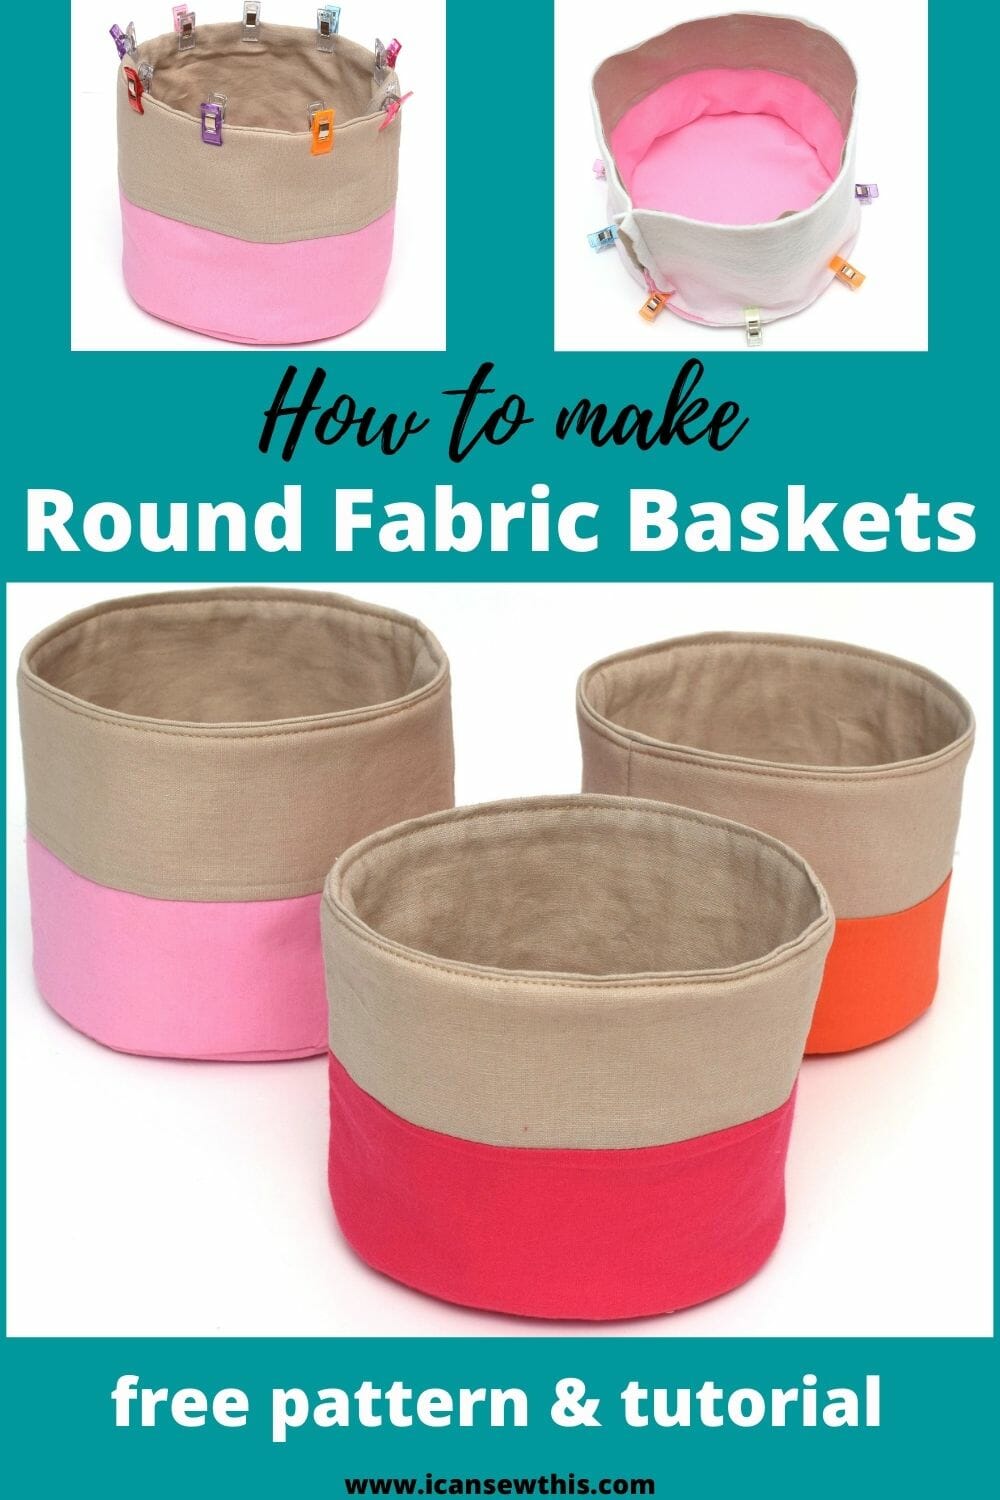
Create your own adorable fabric baskets using this free pattern and tutorial. These fabric storage bins are easy and fun to sew and have a multitude of uses.
I love making things that are equally cute and functional.
You can sew your own fabric baskets in any color and size you want following the simple instructions below.
Related: How to make round bottom drawstring bags – LINED and NOT LINED
Free Round Fabric Basket Sewing Pattern
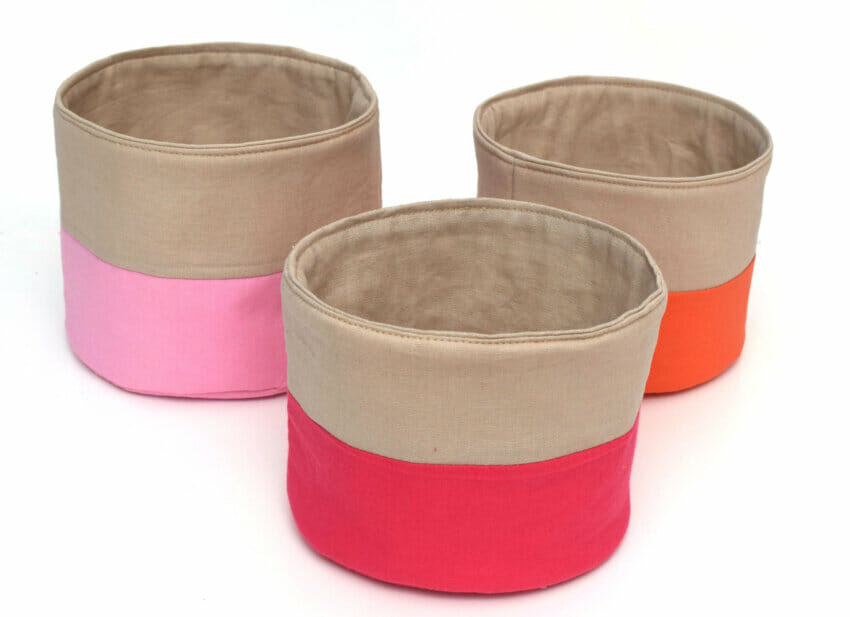
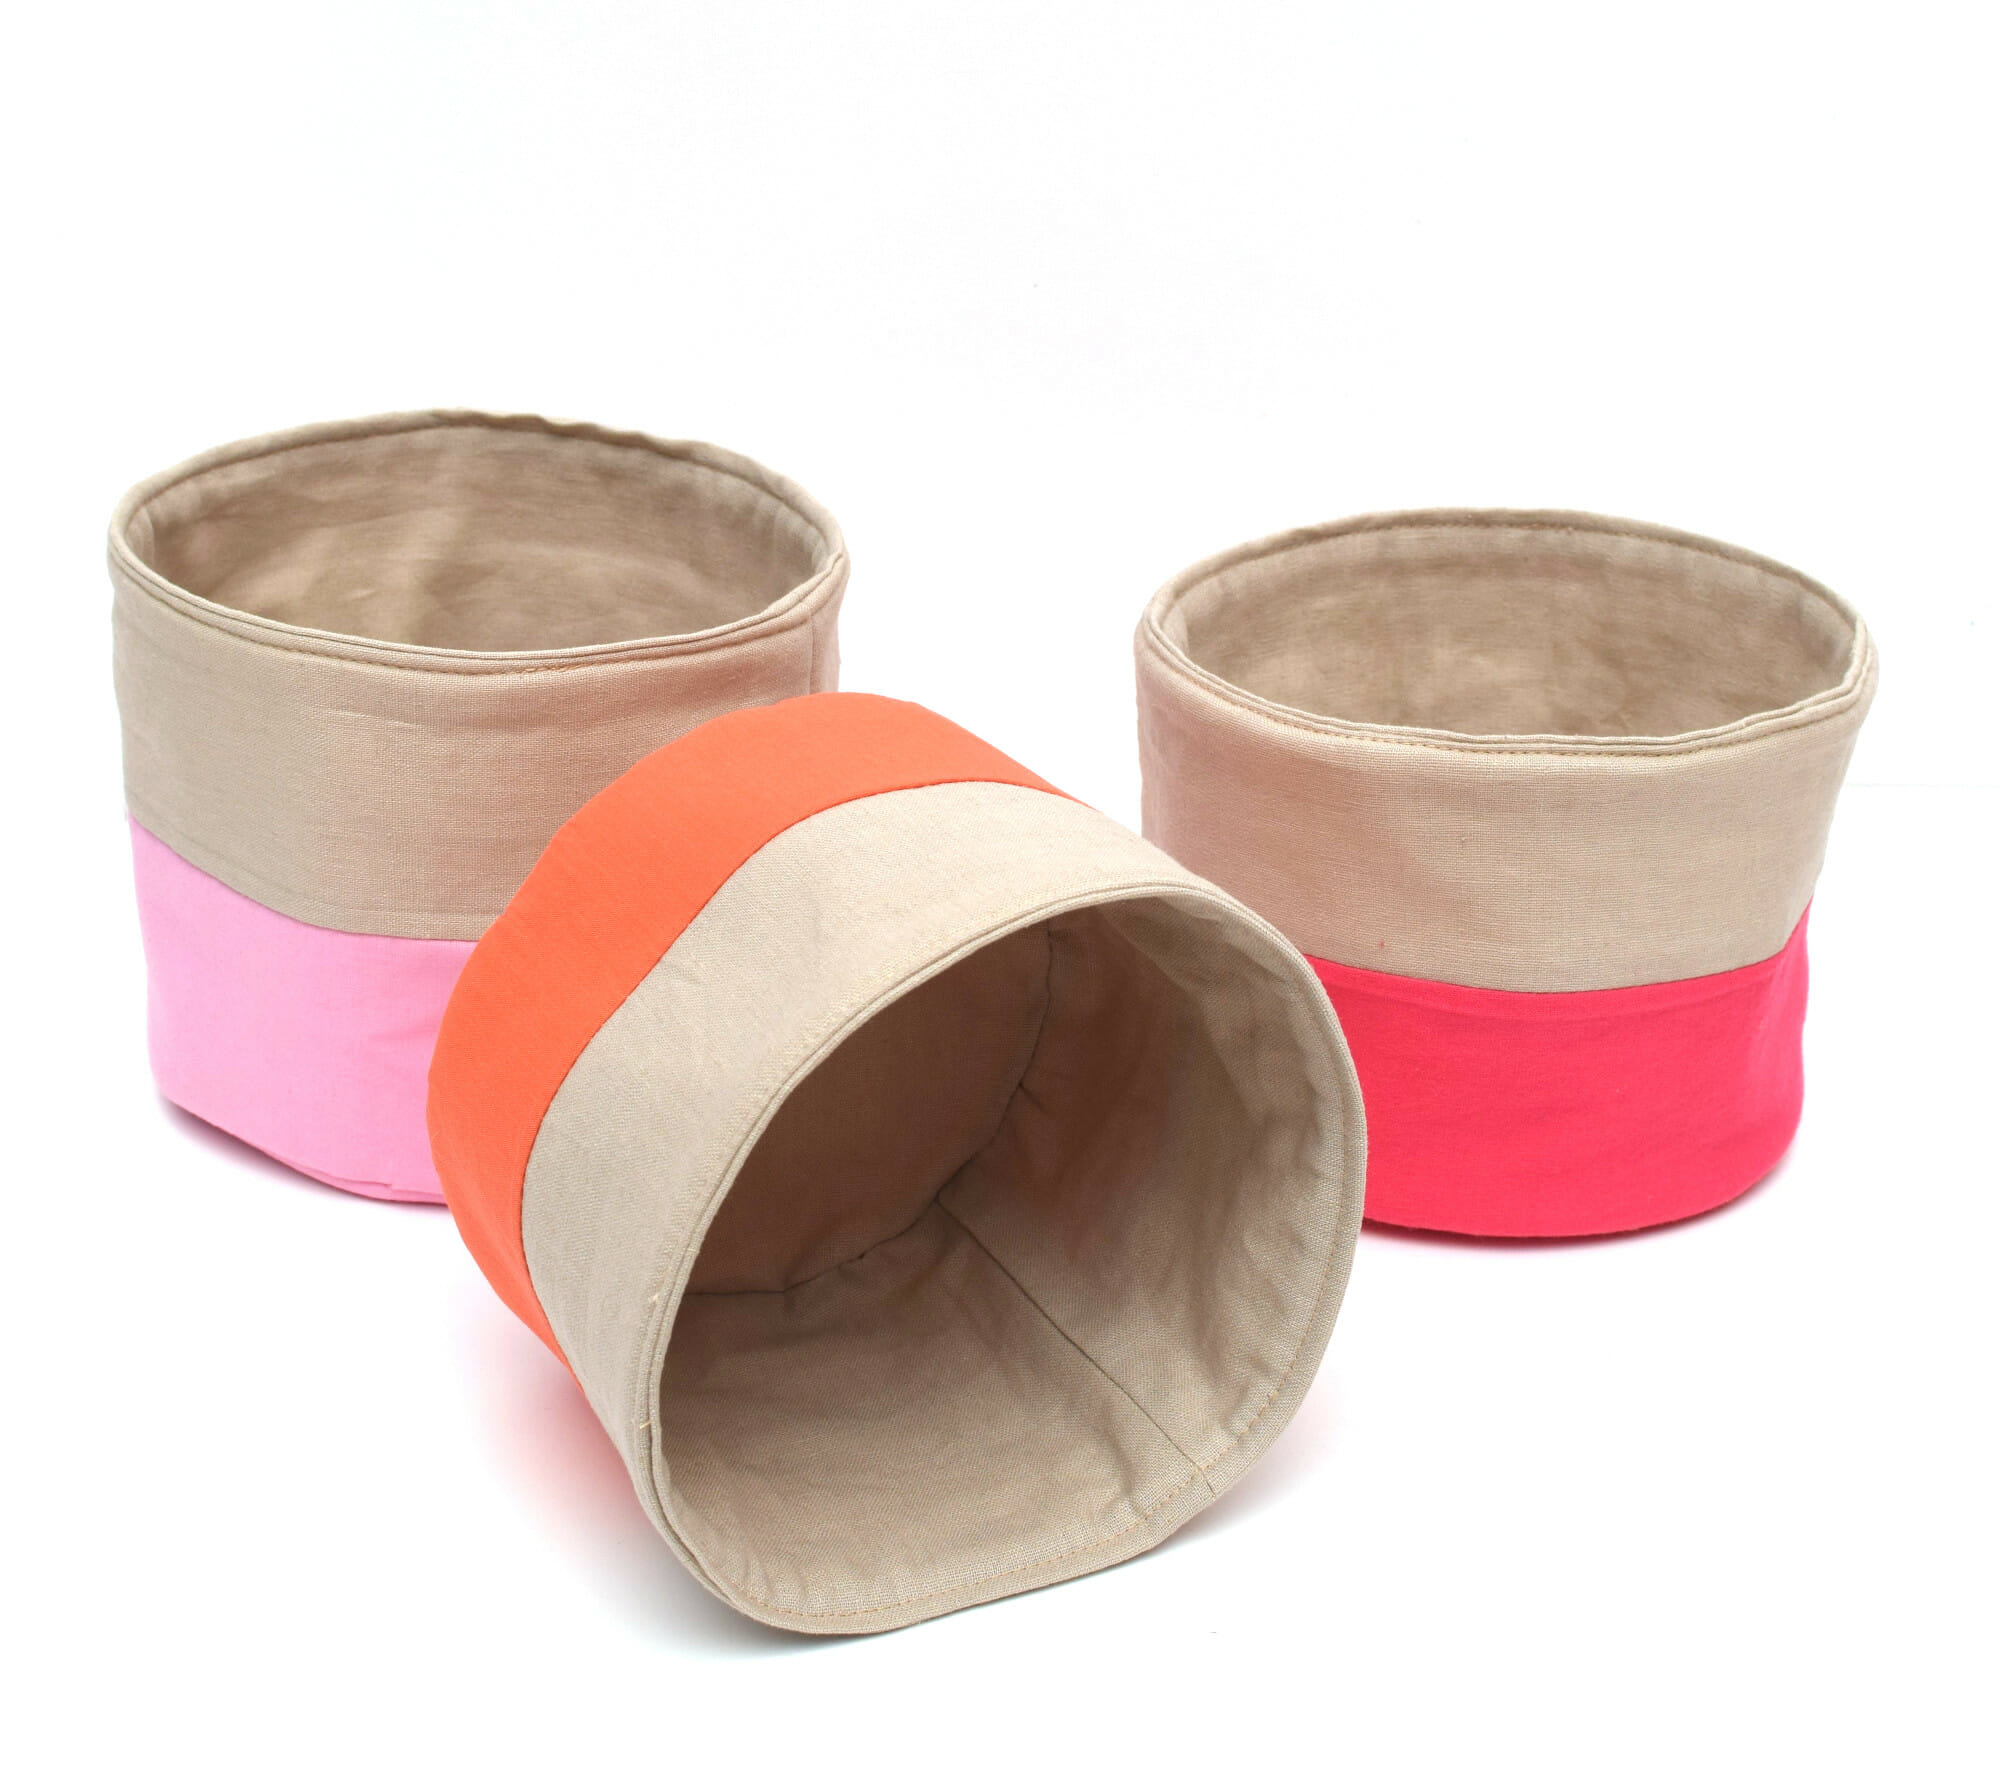
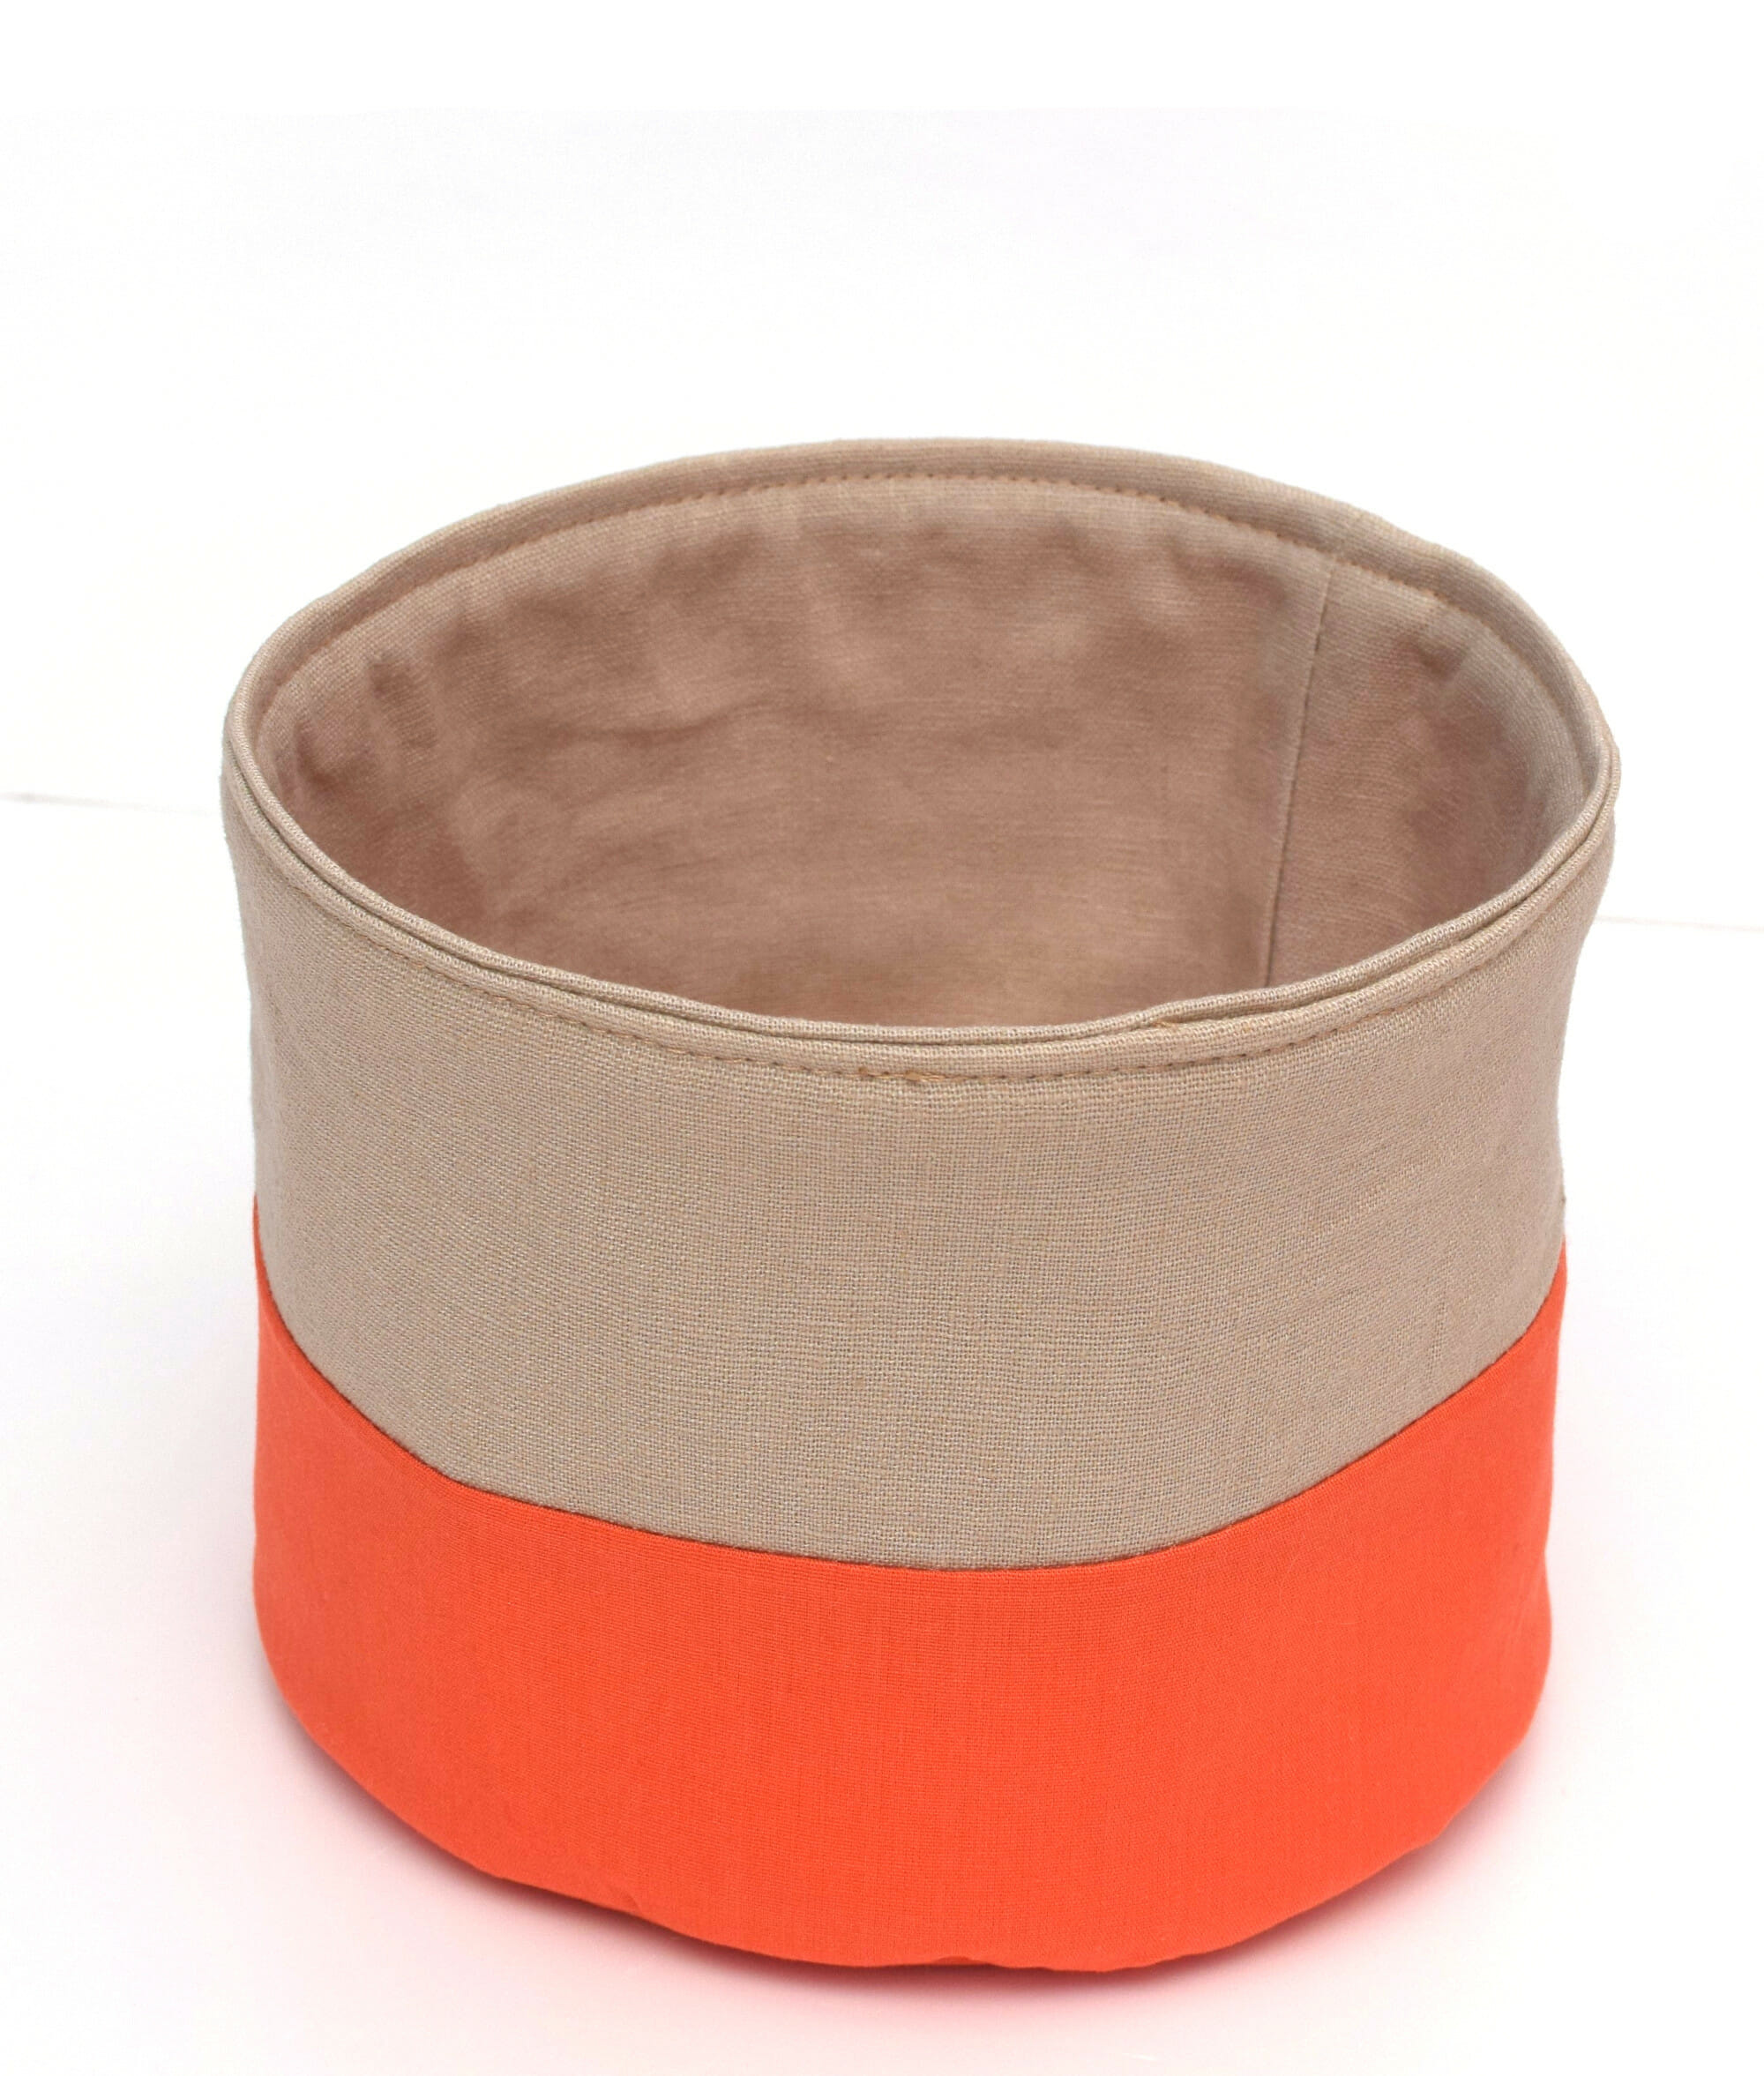
These 2-color baskets bring style and organization to any space. I think these are great for storing mobile phones, pens, jewelry, cosmetics, sewing/craft supplies, chargers, socks, and toys.
Besides, you can use them to make a regular plant pot more attractive – as I did! I recommend you put a drainage tray inside when the fabric basket is used to hold a potted plant.

That’s an easy and creative way to add a pop of color and freshen up your home. It would also make a charming gift for your friends or colleagues too.
Make your fabric baskets with a combination of colors you love. I’d recommend pairing neutrals (black, white, gray, brown, or beige) with a bold color. A surefire way to brighten any room in the house!
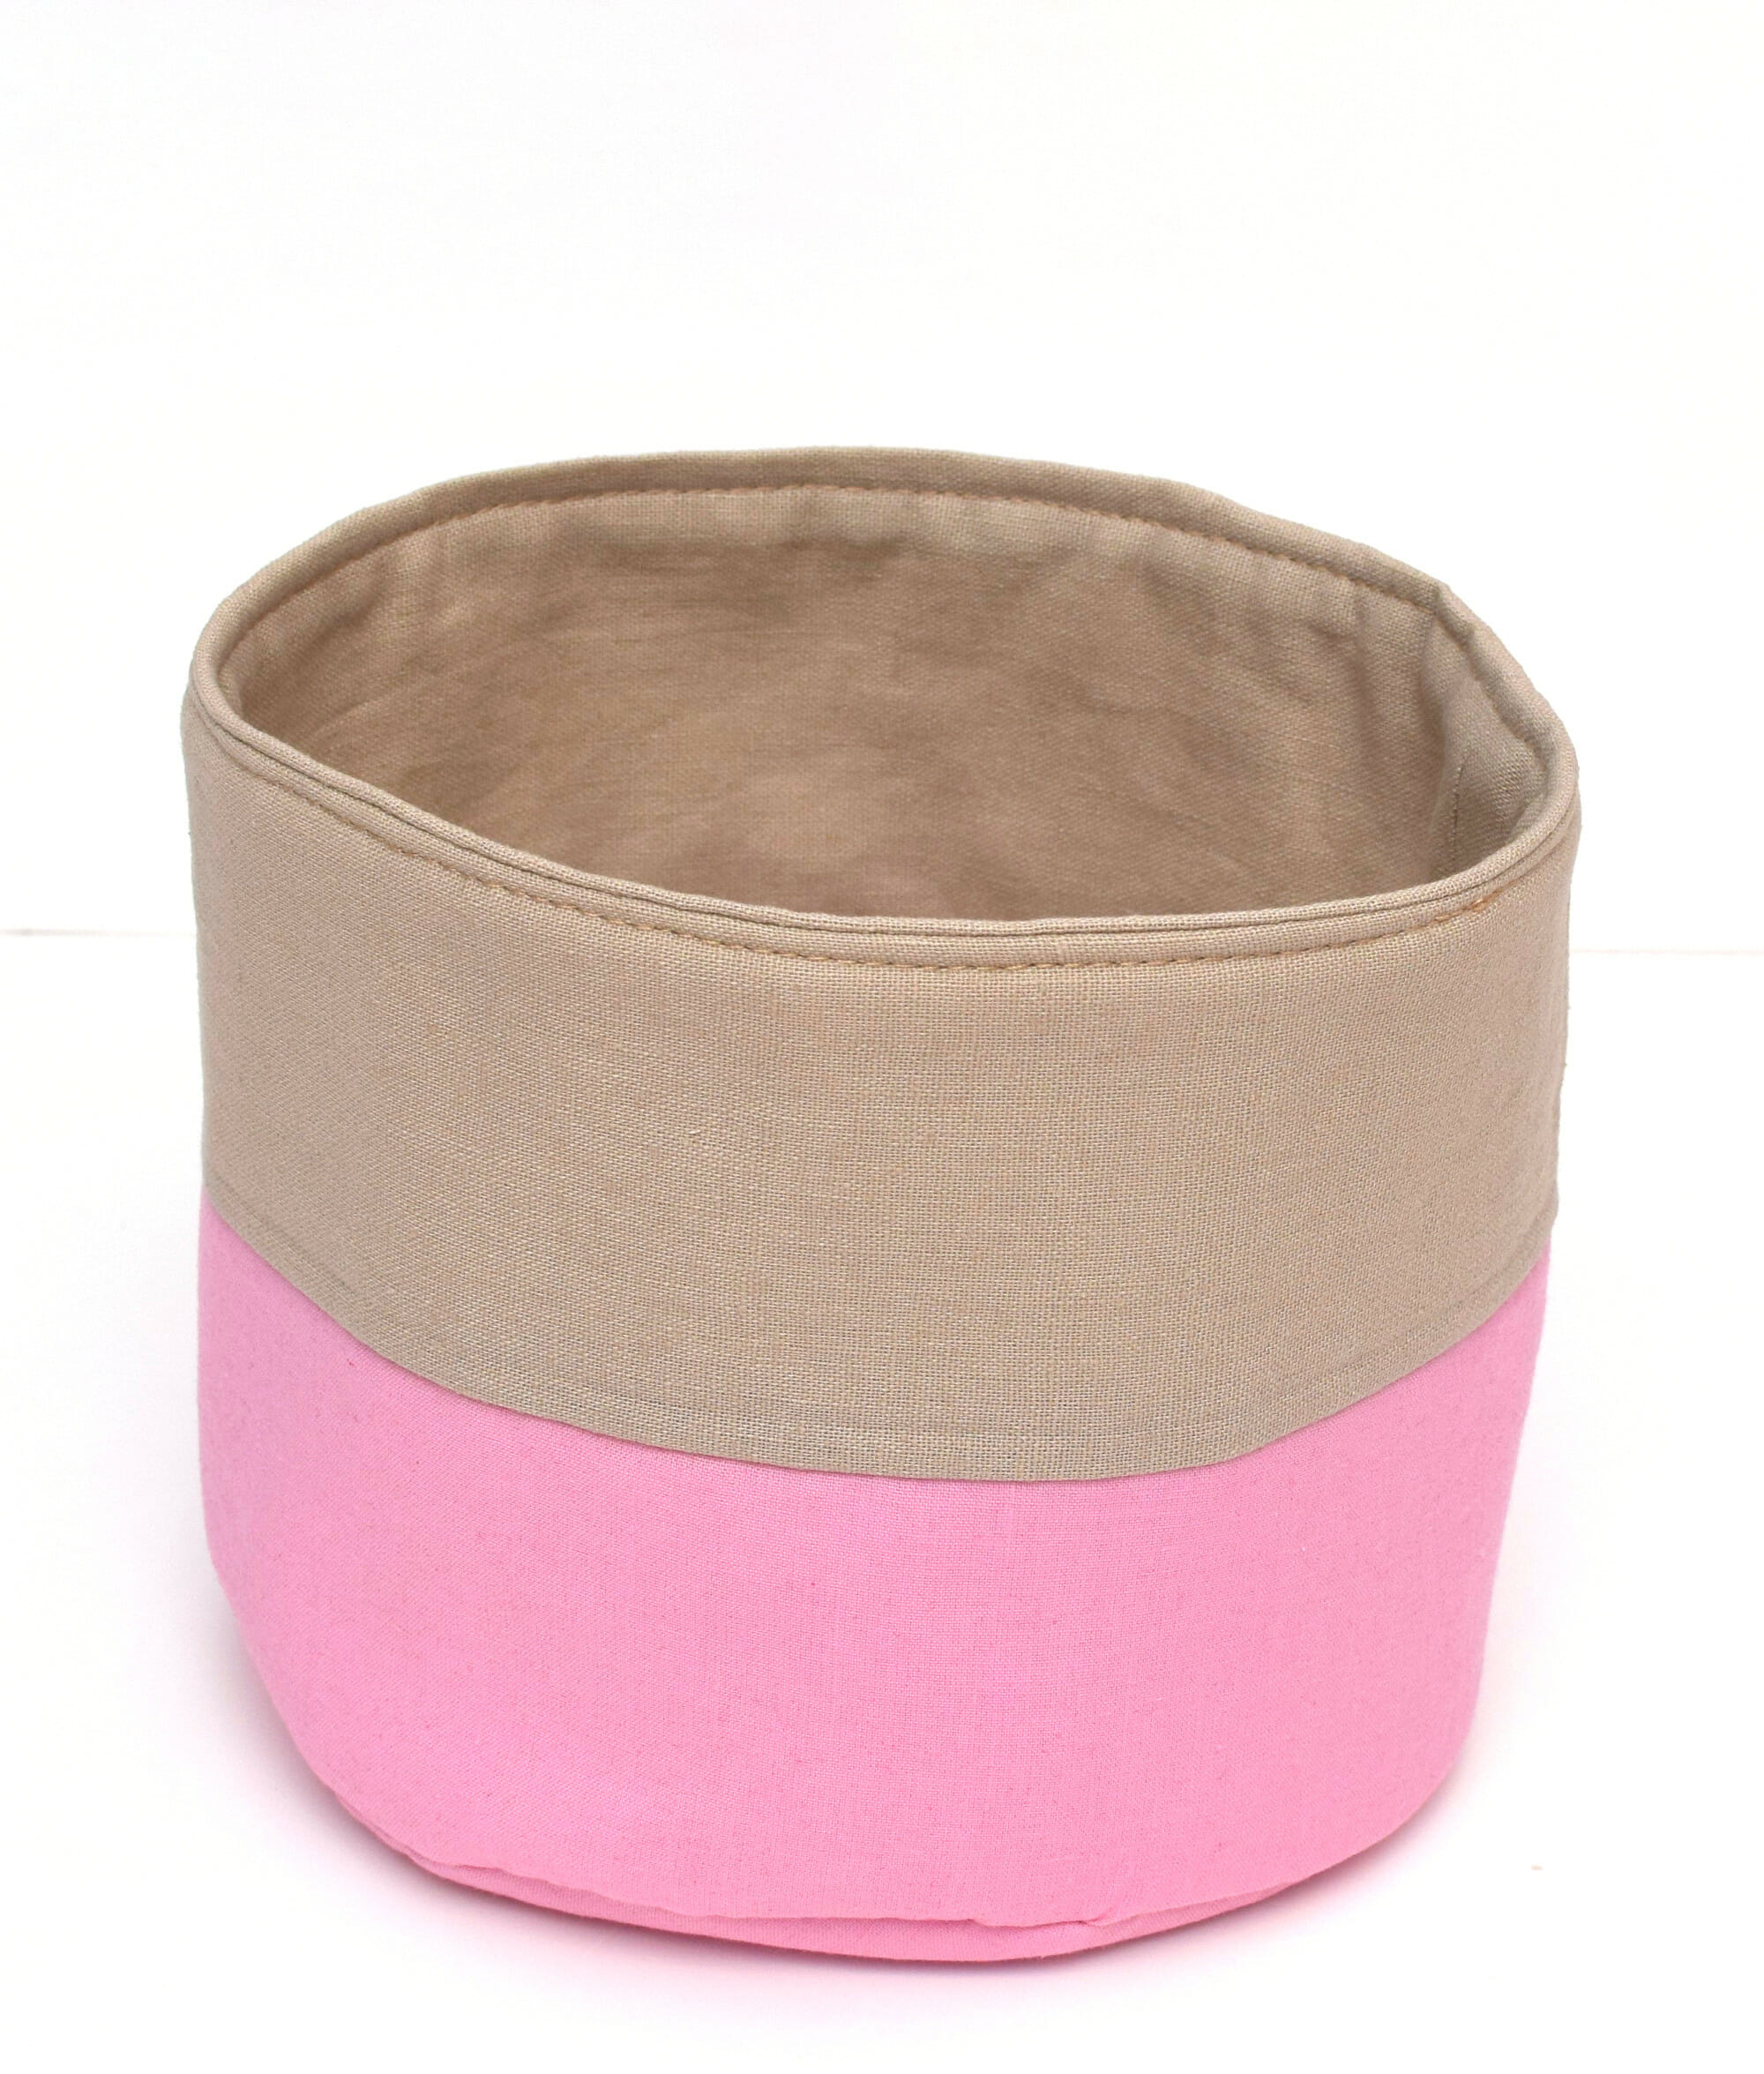
For my round baskets, I chose beige with pink and orange.
Don’t these look beautiful together?
DIY Fabric Basket Tutorial
These baskets are made of cotton and batting and hold their shape well. I haven’t used interfacing, though it would surely make the basket organizers more stable. I skipped this step because I like these fabric bins as they are – they stand alone and are sturdy enough.
However, interfacing is great and will provide more structure to this project. If you plan to use interfacing as well, apply it to the rectangular and circle outside pieces before sewing.
This simple sewing project can also be made with 3-color combinations – just divide the desired height of your basket by 3, and add seam allowances to all three fabric strips.
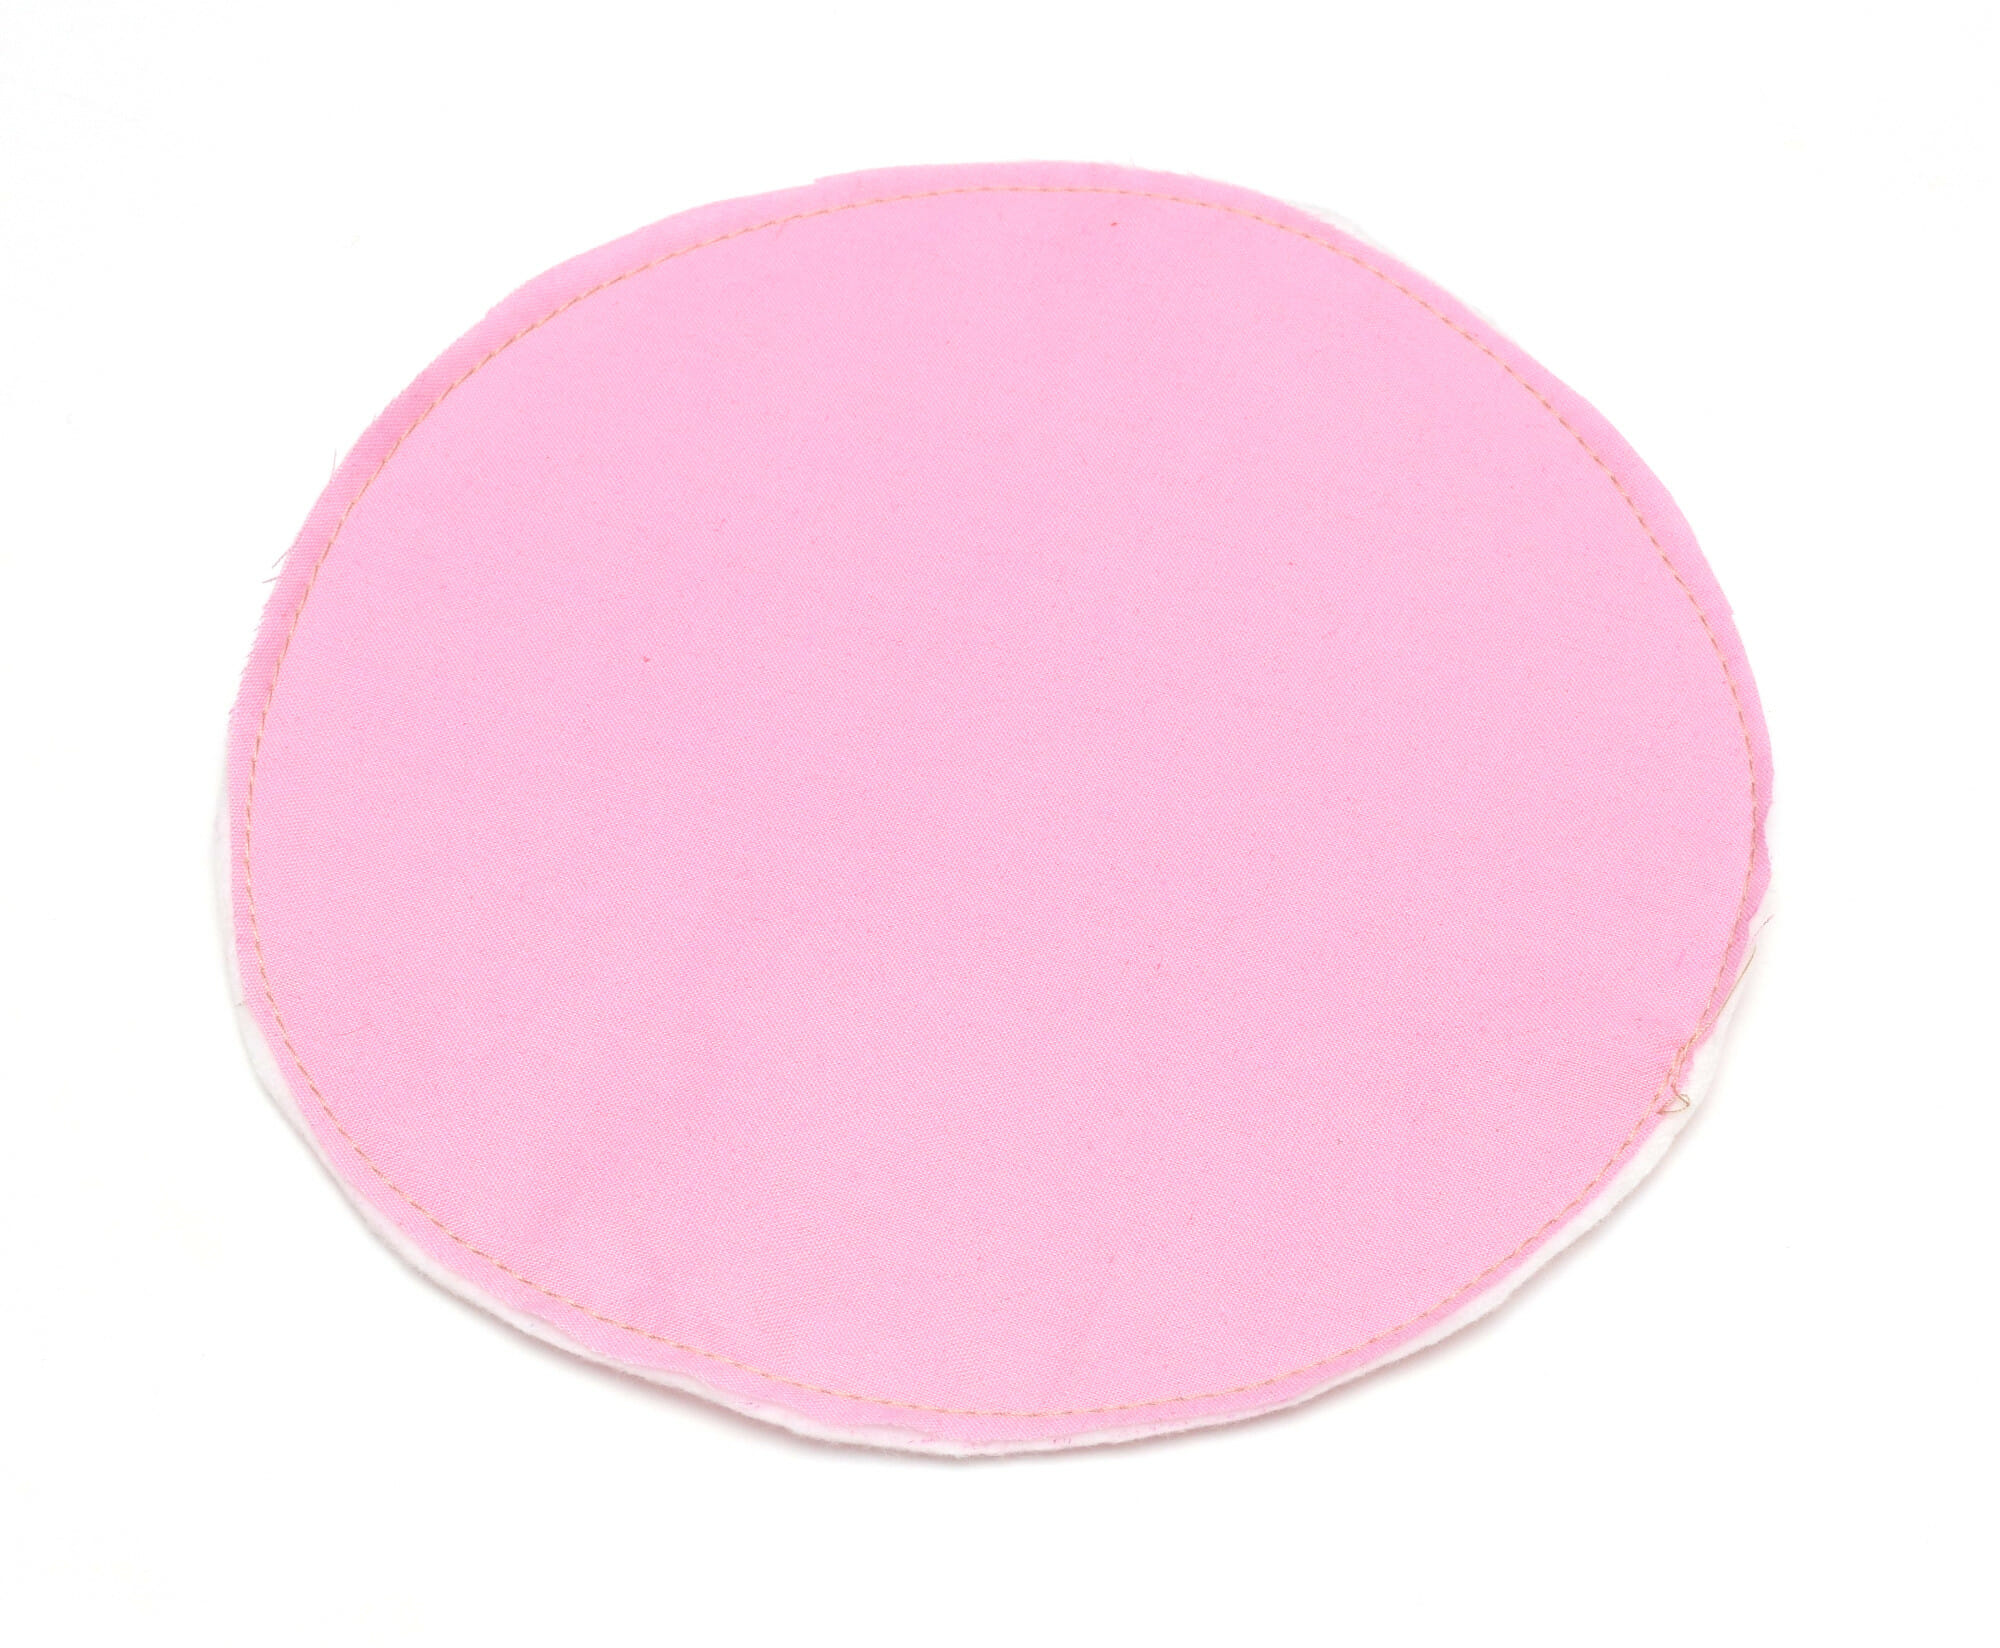
My finished basket size (the beige & light pink combination) is Medium – it stands approximately 5.5″ tall with a circular base of diameter 6″.
Use these instructions to make a round fabric basket in different sizes
SMALL BASKET
OUTSIDE fabric:
- 1 circle – 6” diameter
- 2 fabric rectangles – each measuring 19.9” width x 2.5” height
BATTING
- 1 circle – 6” diameter
- 1 fabric rectangles –19.9” width x 4.4” height
LINING fabric:
- 1 circle – 5” diameter
- 1 fabric rectangles –16.7” width x 4.4” height
MEDIUM BASKET
You’ll find below the measurements that I used to make my beige & light pink basket – MEDIUM size.
LARGE BASKET
OUTSIDE fabric:
- 1 circle – 11” diameter
- 2 fabric rectangles – each measuring 35.5” width x 6” height
BATTING
- 1 circle – 11” diameter
- 1 fabric rectangles –35.5” width x 11.4” height
LINING fabric:
- 1 circle – 10” diameter
- 1 fabric rectangles –32.4” width x 11.4” height
Quick note: why the lining pieces are smaller than the main fabric pieces
The instructions above are accurate, as odd as it may seem at first sight. As you might expect, the first time I cut the outside fabric and the lining pieces in the same size, but it didn’t work out, because of the batting.
I used batting on the bottom and inside the walls of each round fabric basket, and its thickness acts as a filler for the basket. Therefore, the inner circle has to be smaller.
If you only use interfacing (and no batting), then you can cut the outside & inside pieces in the same size.
You can modify the height of your own baskets as you wish. Make them tall or short, it doesn’t matter as long as they meet your needs. My baskets are almost as wide as they are tall.
Sewing supplies – round fabric basket pattern
- free PDF pattern for the 6” and 7″ diameter circles (This free pattern includes only the circle templates, since all the other pattern pieces necessary are mere rectangles. Use the instructions below to make your own fabric baskets)
- fabric – cotton, canvas, denim
- batting
- interfacing – optional
- sewing machine
- needle
- matching thread
- sewing pins / sewing clips
- sewing gauge
- fabric scissors or rotary cutter
- iron
Free Round Bottom Fabric Basket Pattern – Let’s Sew!
All seam allowances are 3/8″ unless otherwise noted.
Step 1 – Cut the fabric pieces
Finished basket size Medium – approx. 5.5″ tall with a circle bottom of diameter 6″.
Cut the following fabric pieces:
OUTSIDE fabric:
- 1 circle – 7” diameter
- 2 fabric rectangles – each measuring 23” WIDTH x 3.3” HEIGHT
BATTING
- 1 circle – 7” diameter
- 1 fabric rectangles –23” WIDTH x 6” HEIGHT
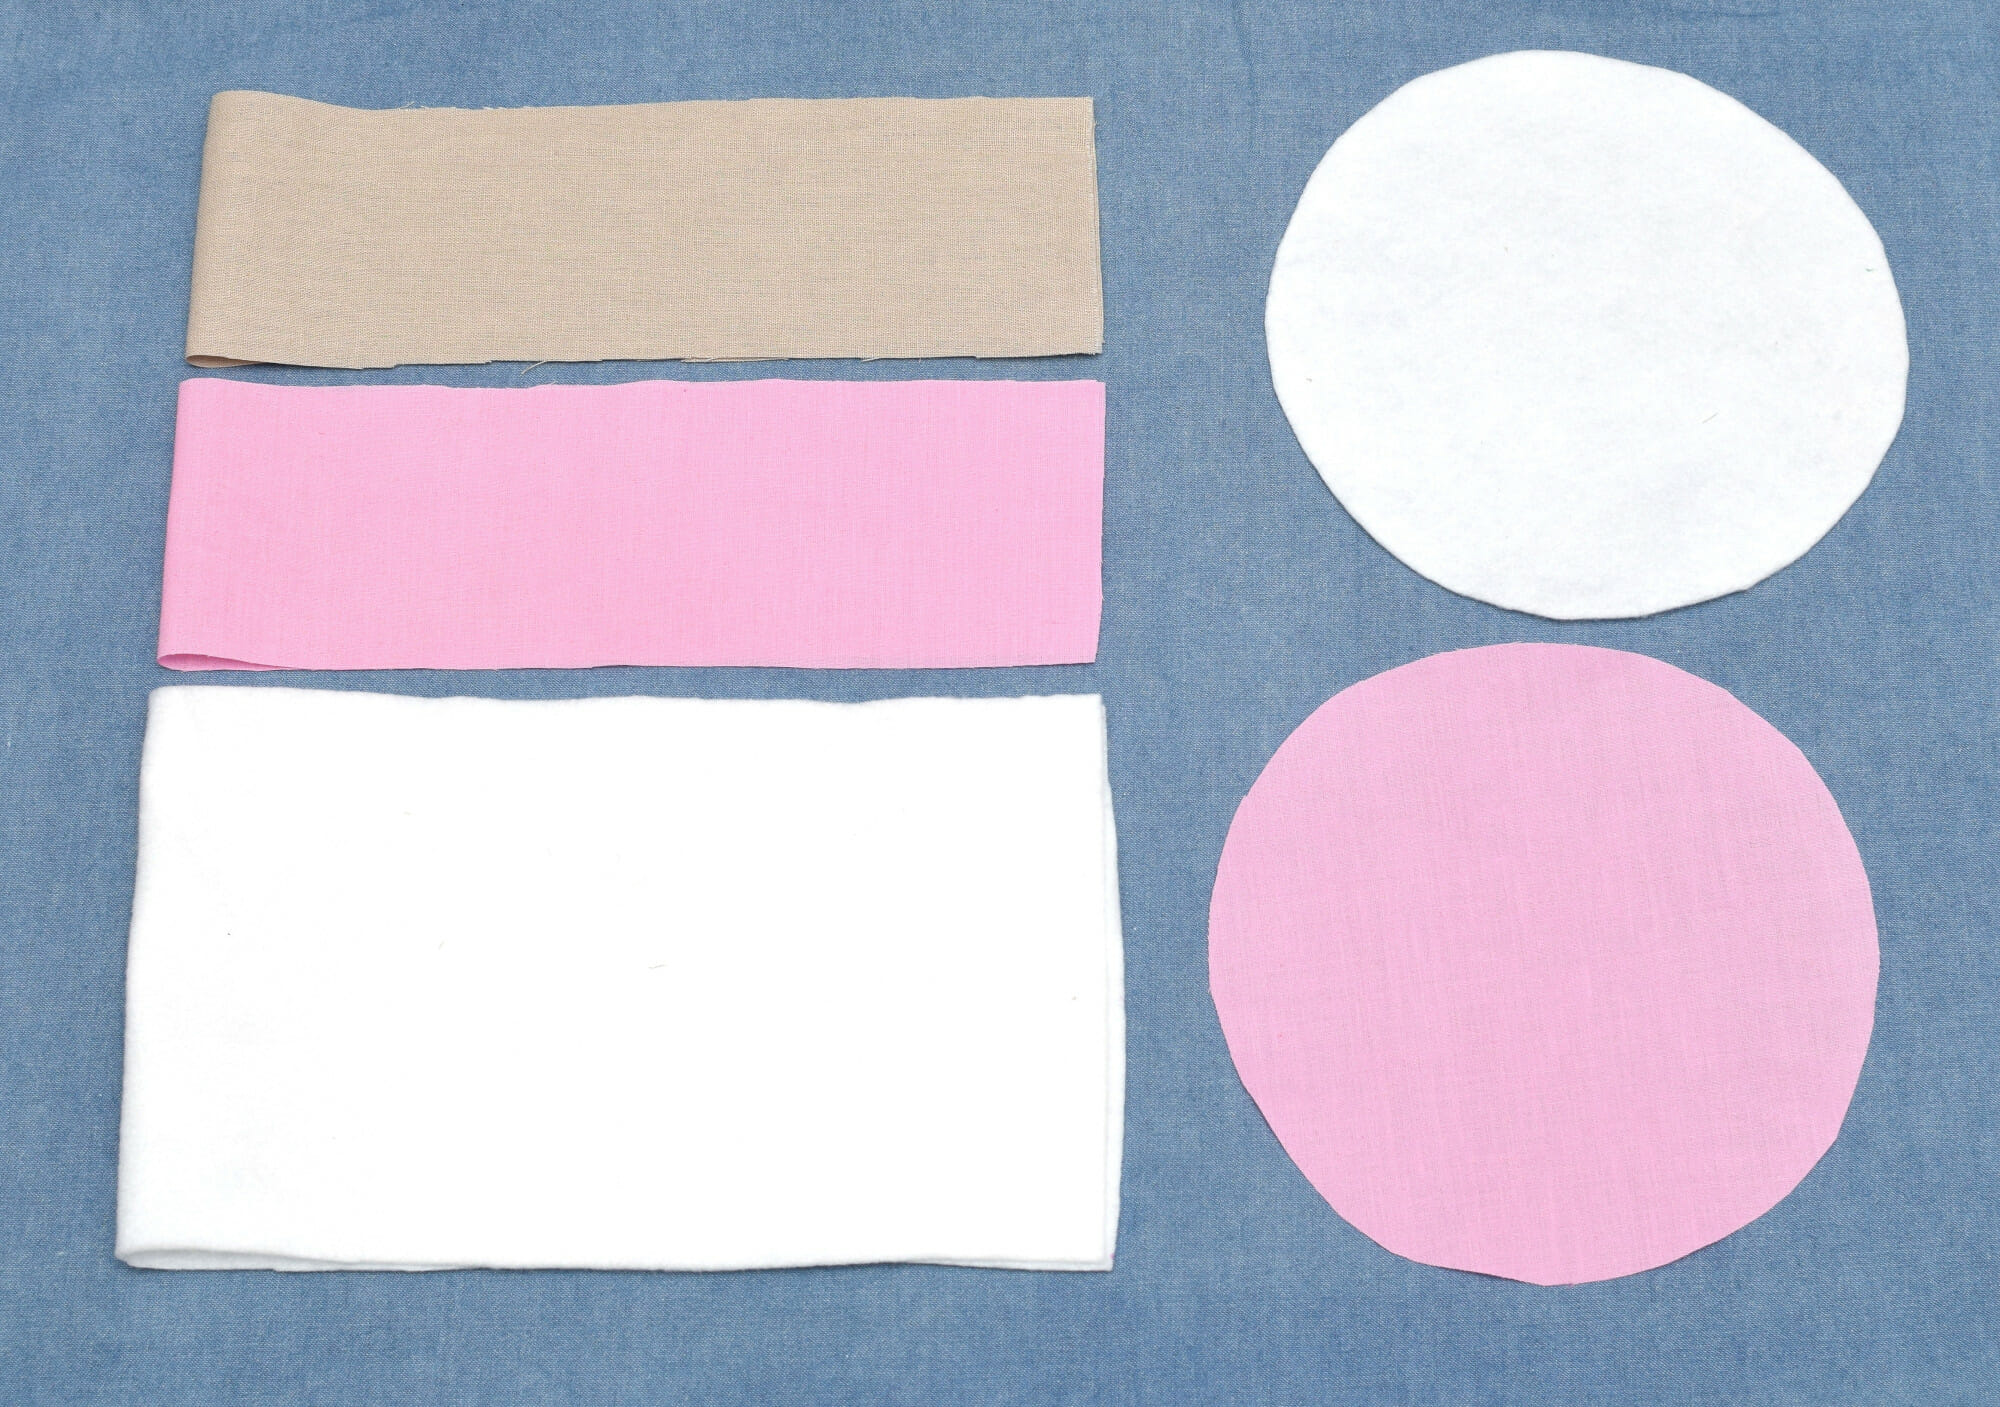
LINING fabric:
- 1 circle – 6” diameter
- 1 fabric rectangles –21.7” WIDTH x 6” HEIGHT
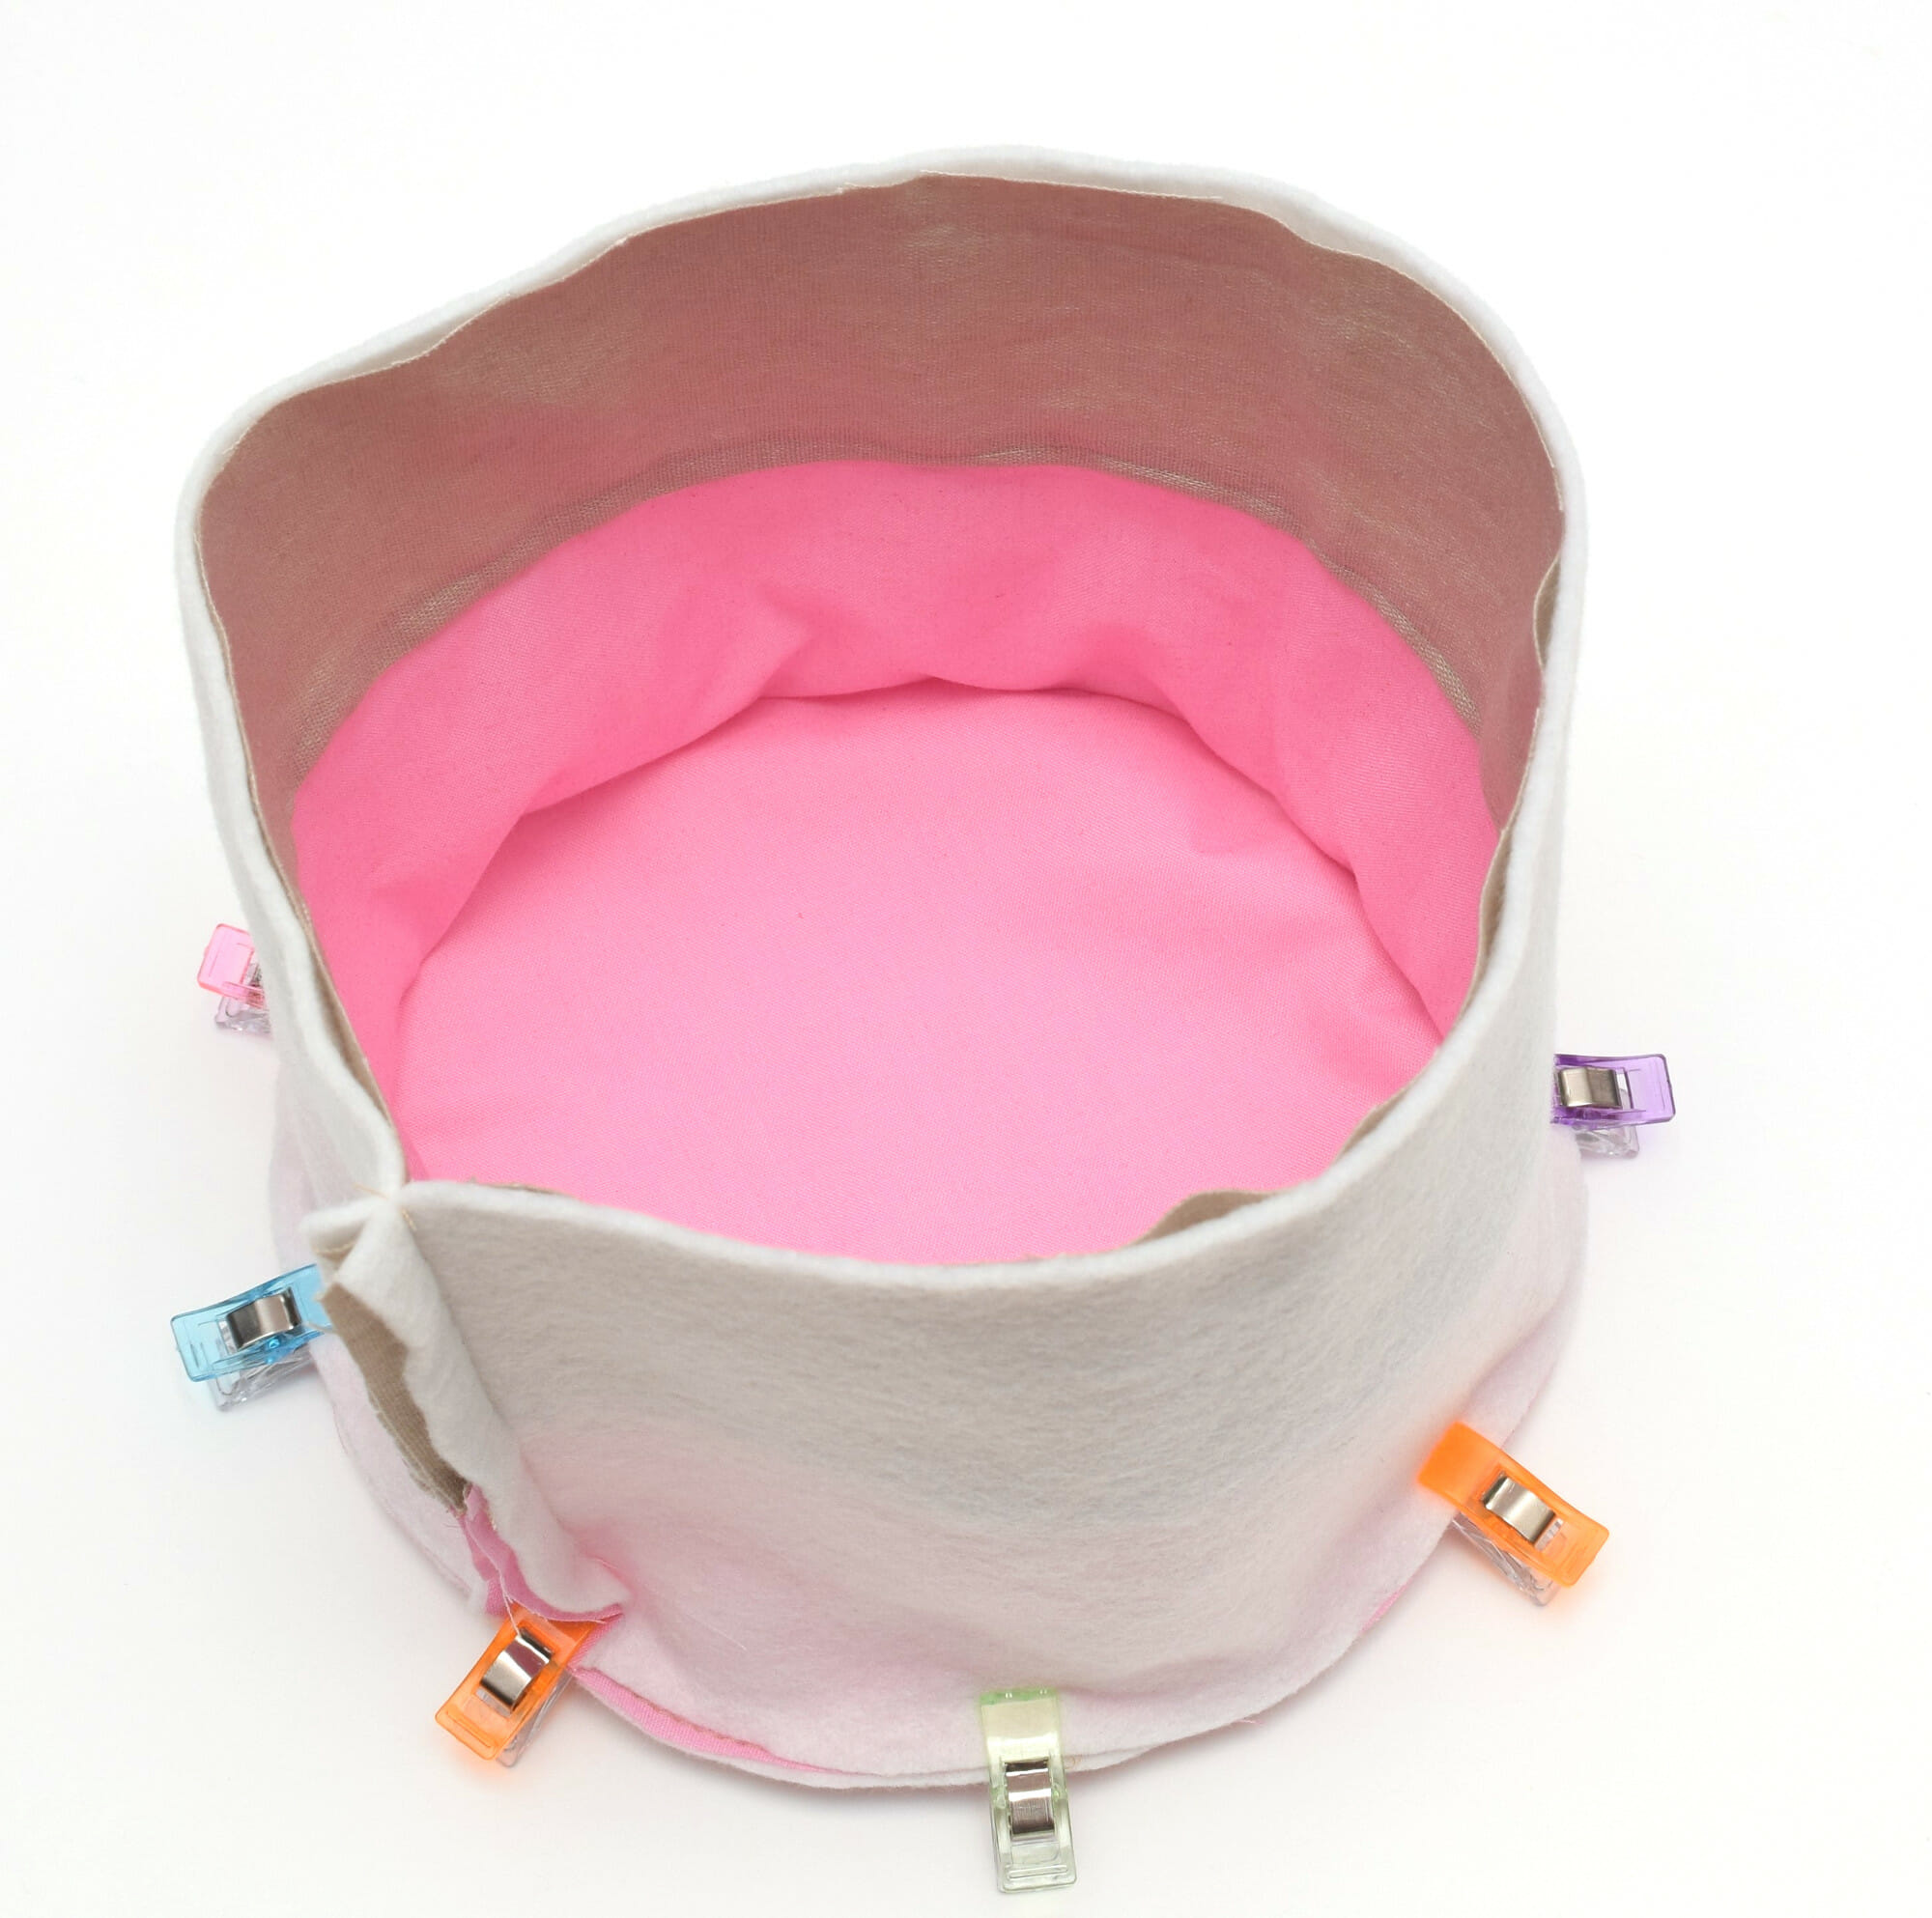
Step 2 – Construct the Basket Outside Part
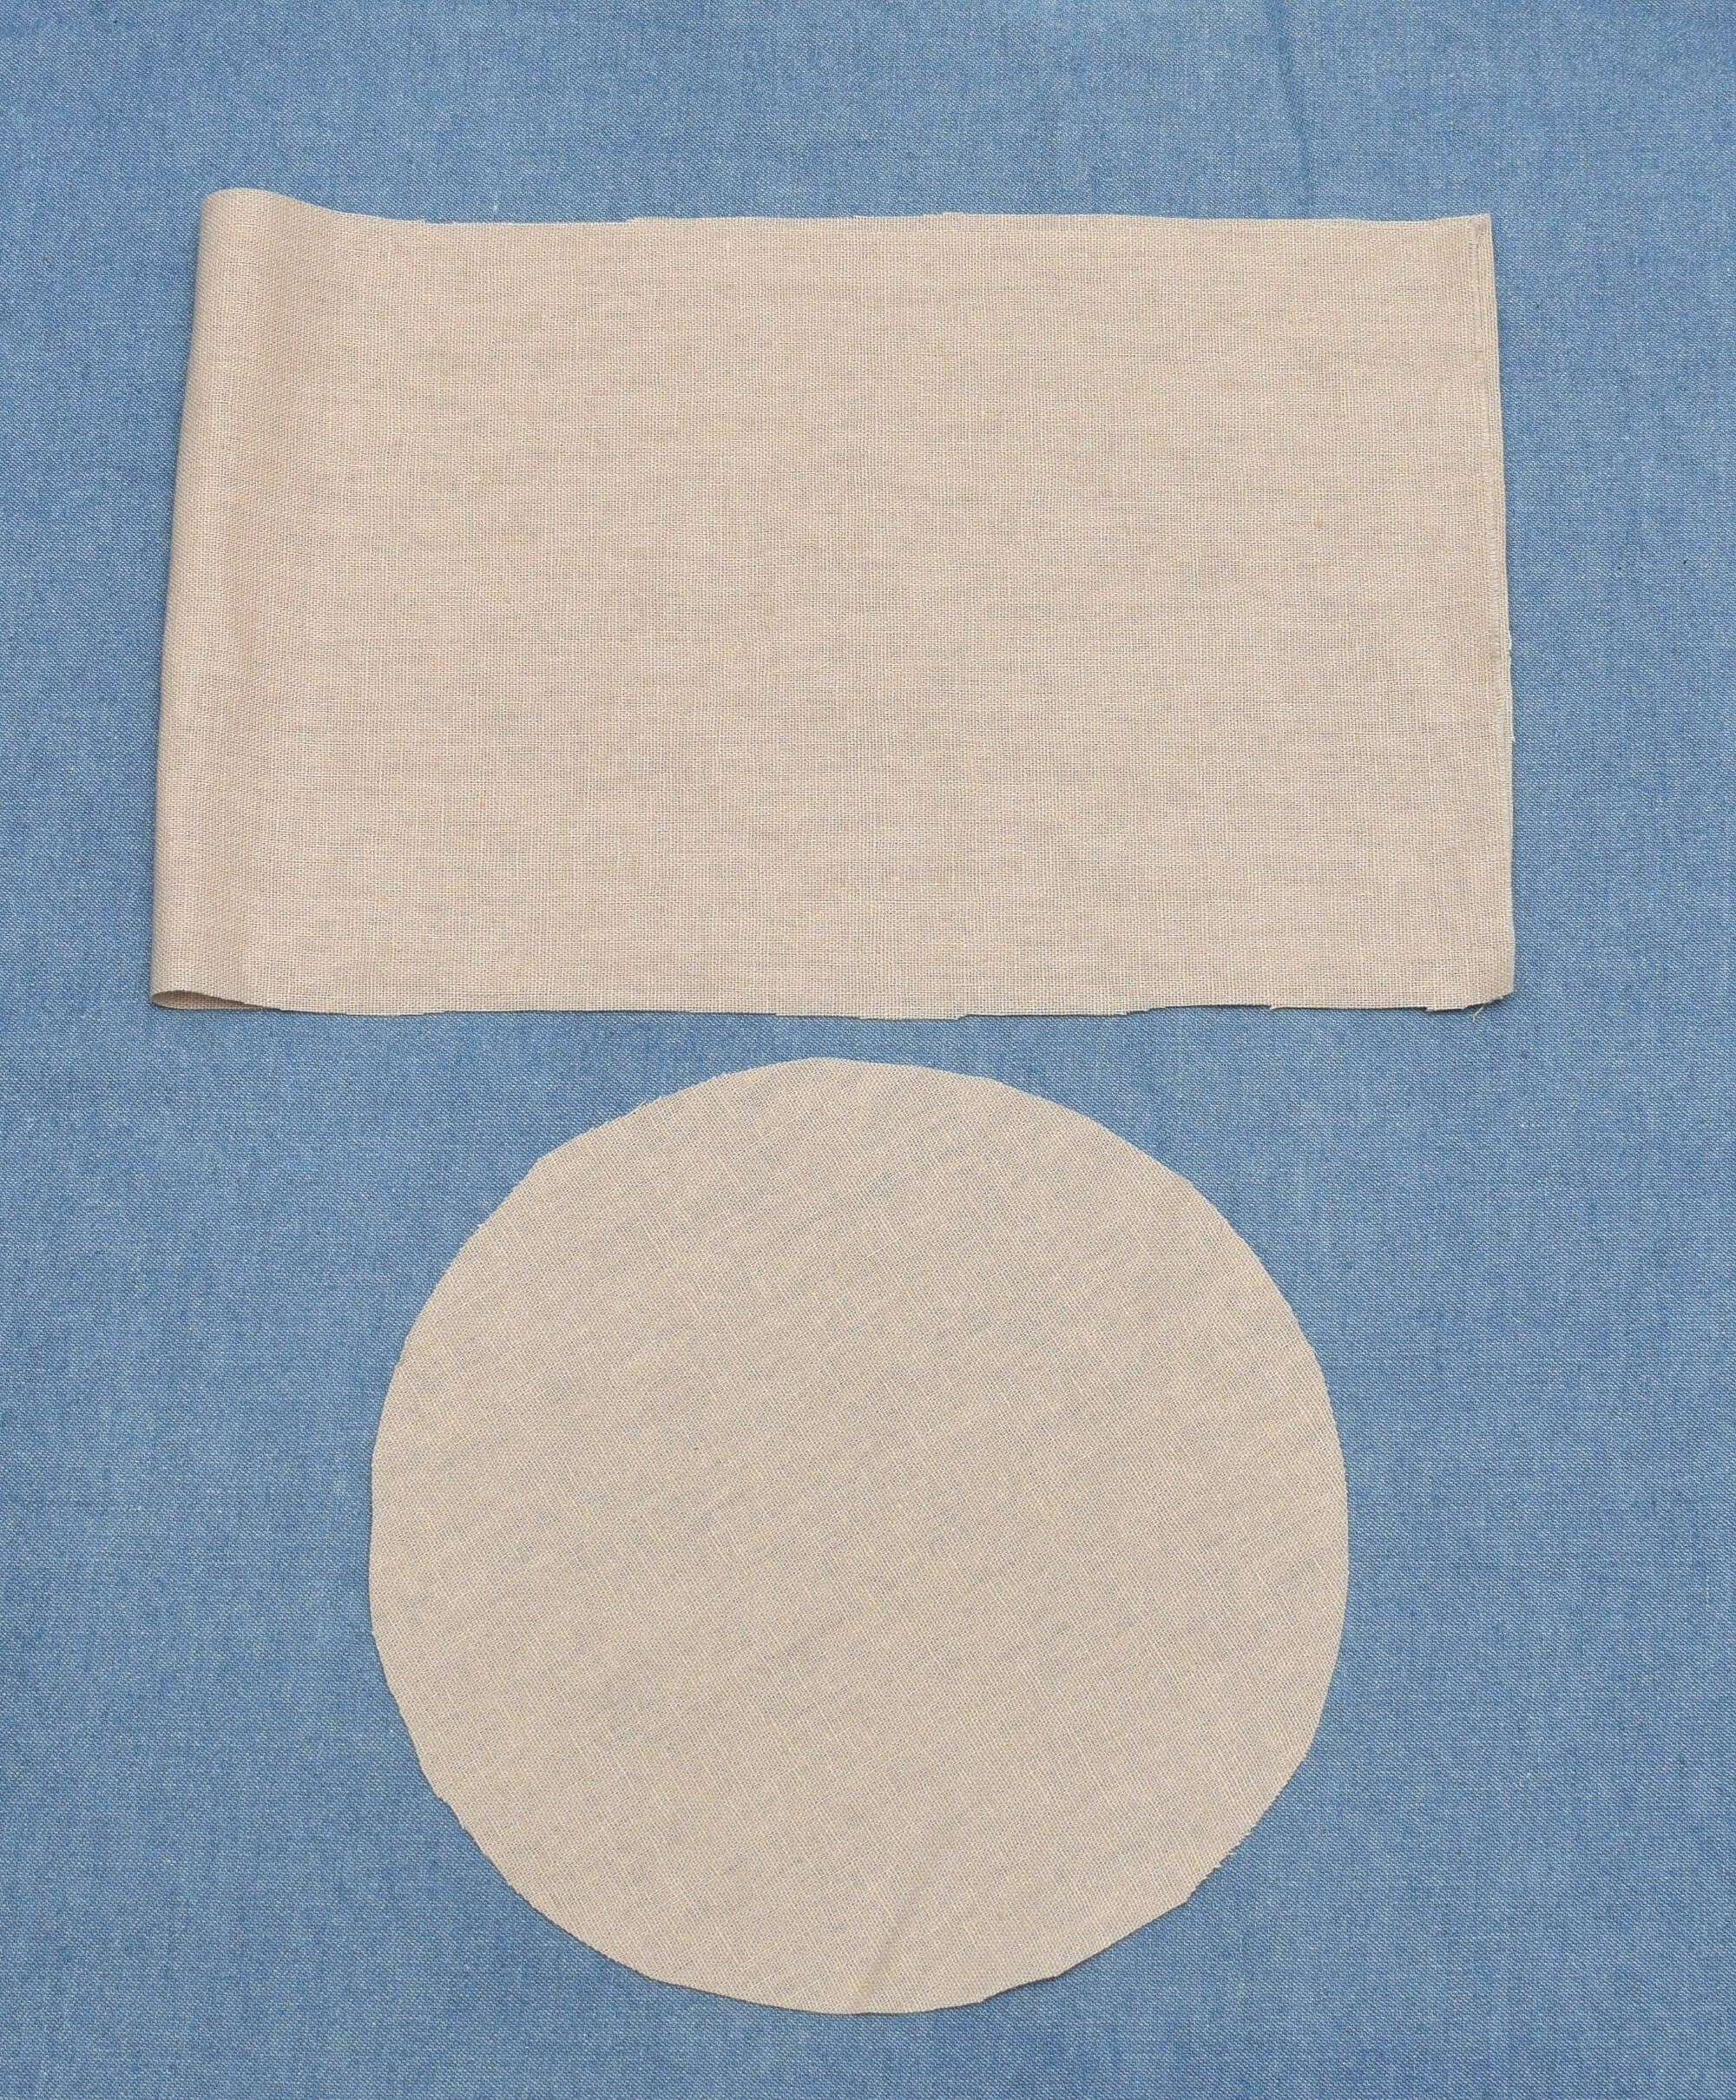
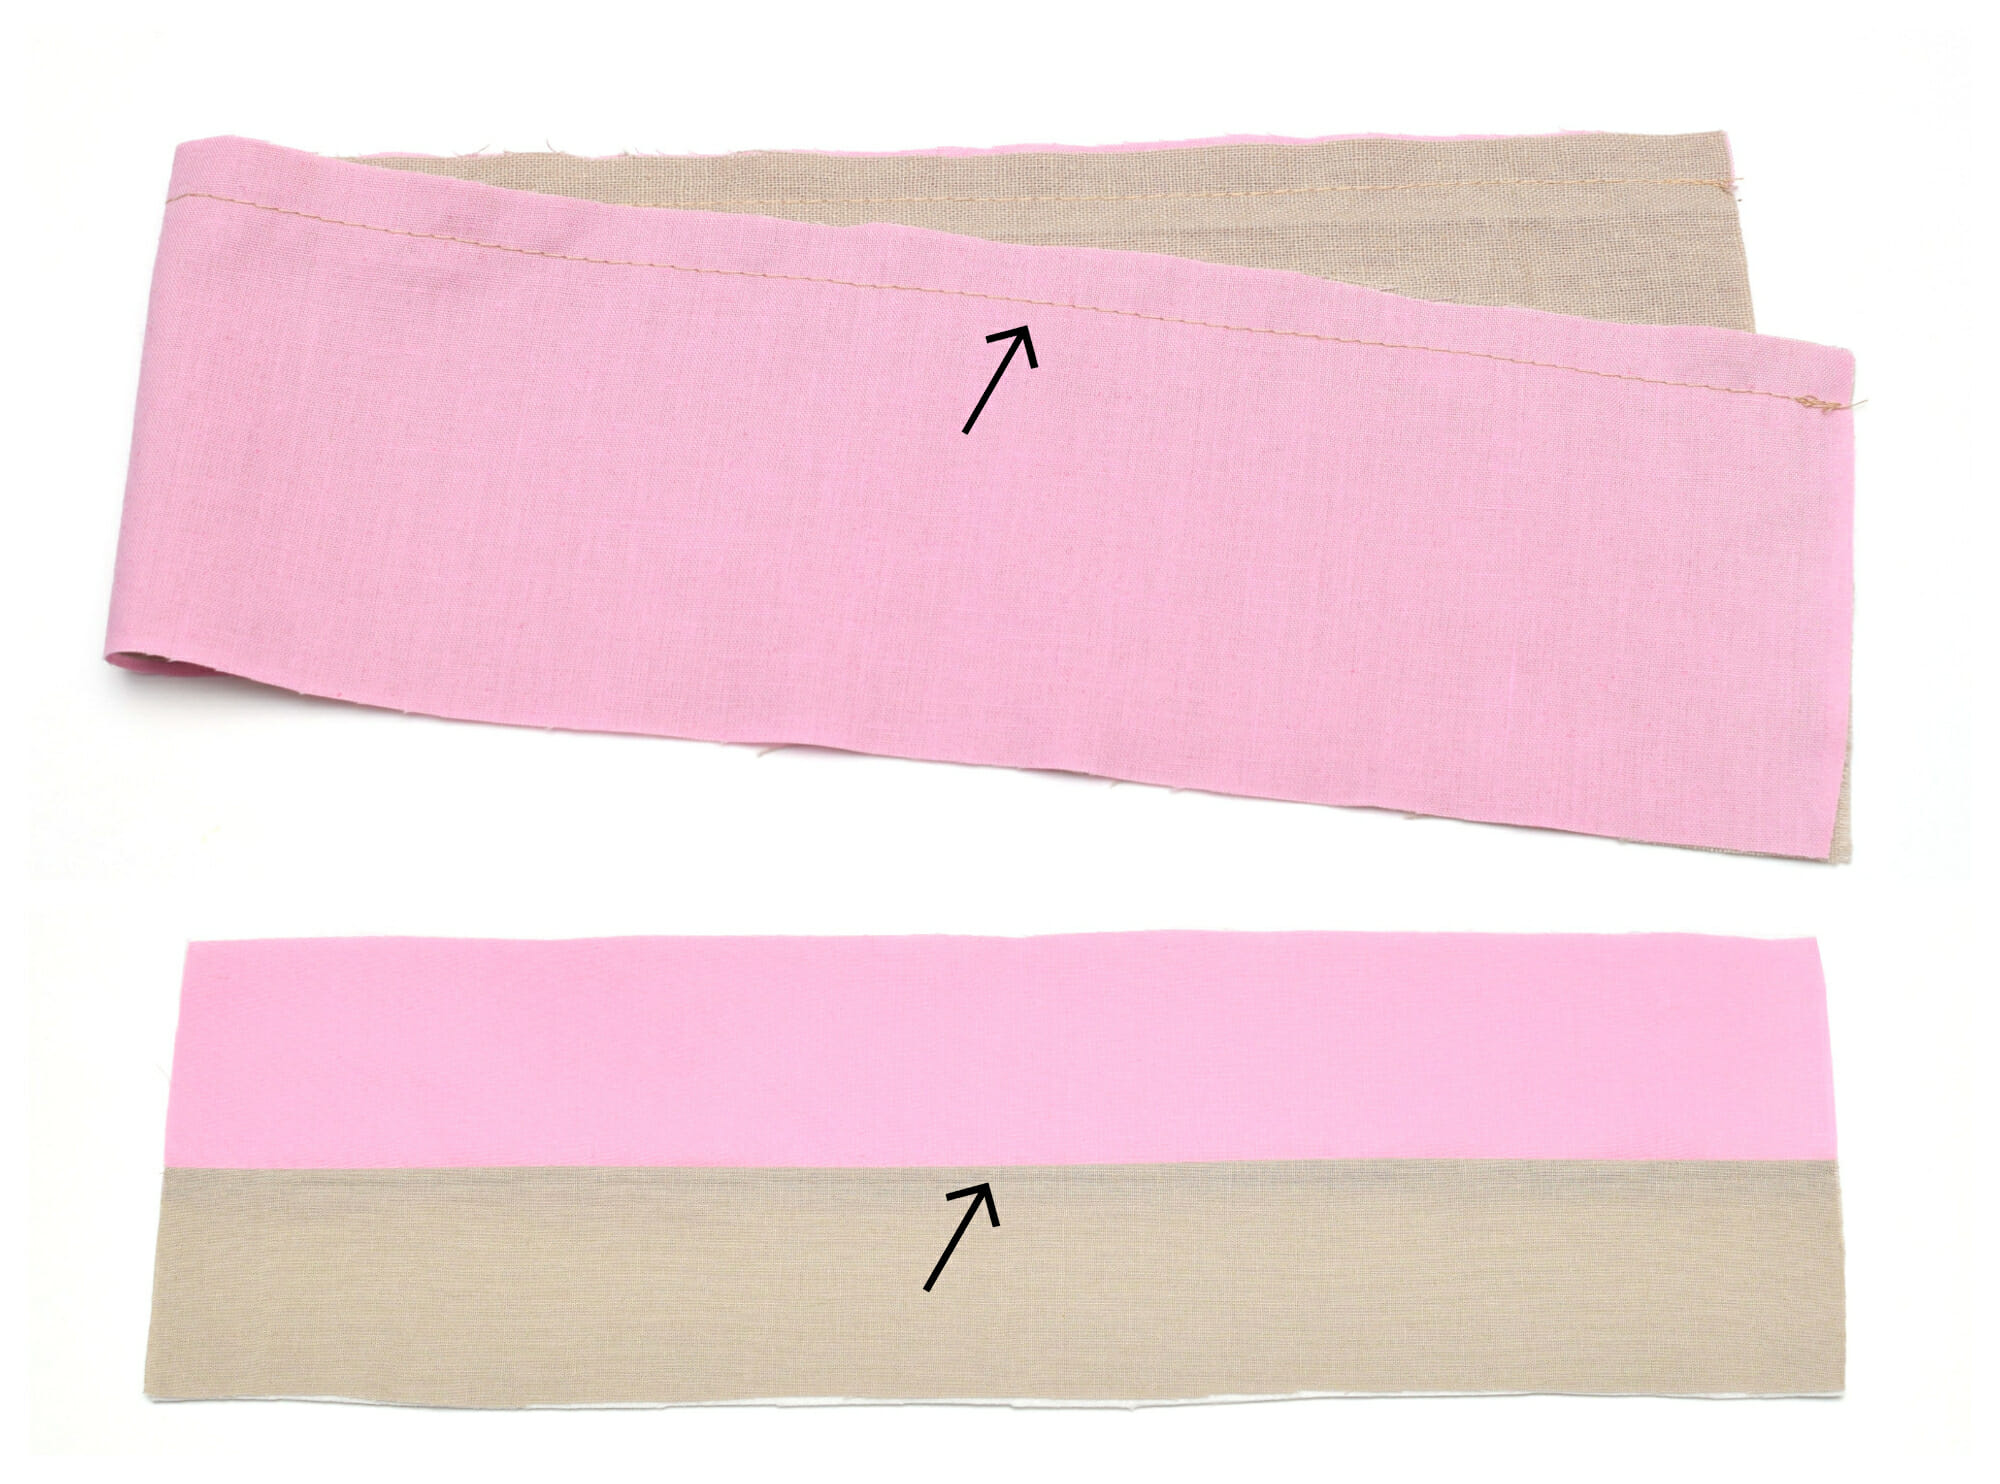
A) Place the two main exterior fabric pieces right sides together and sew along the long edge. Press the seam open with an iron.
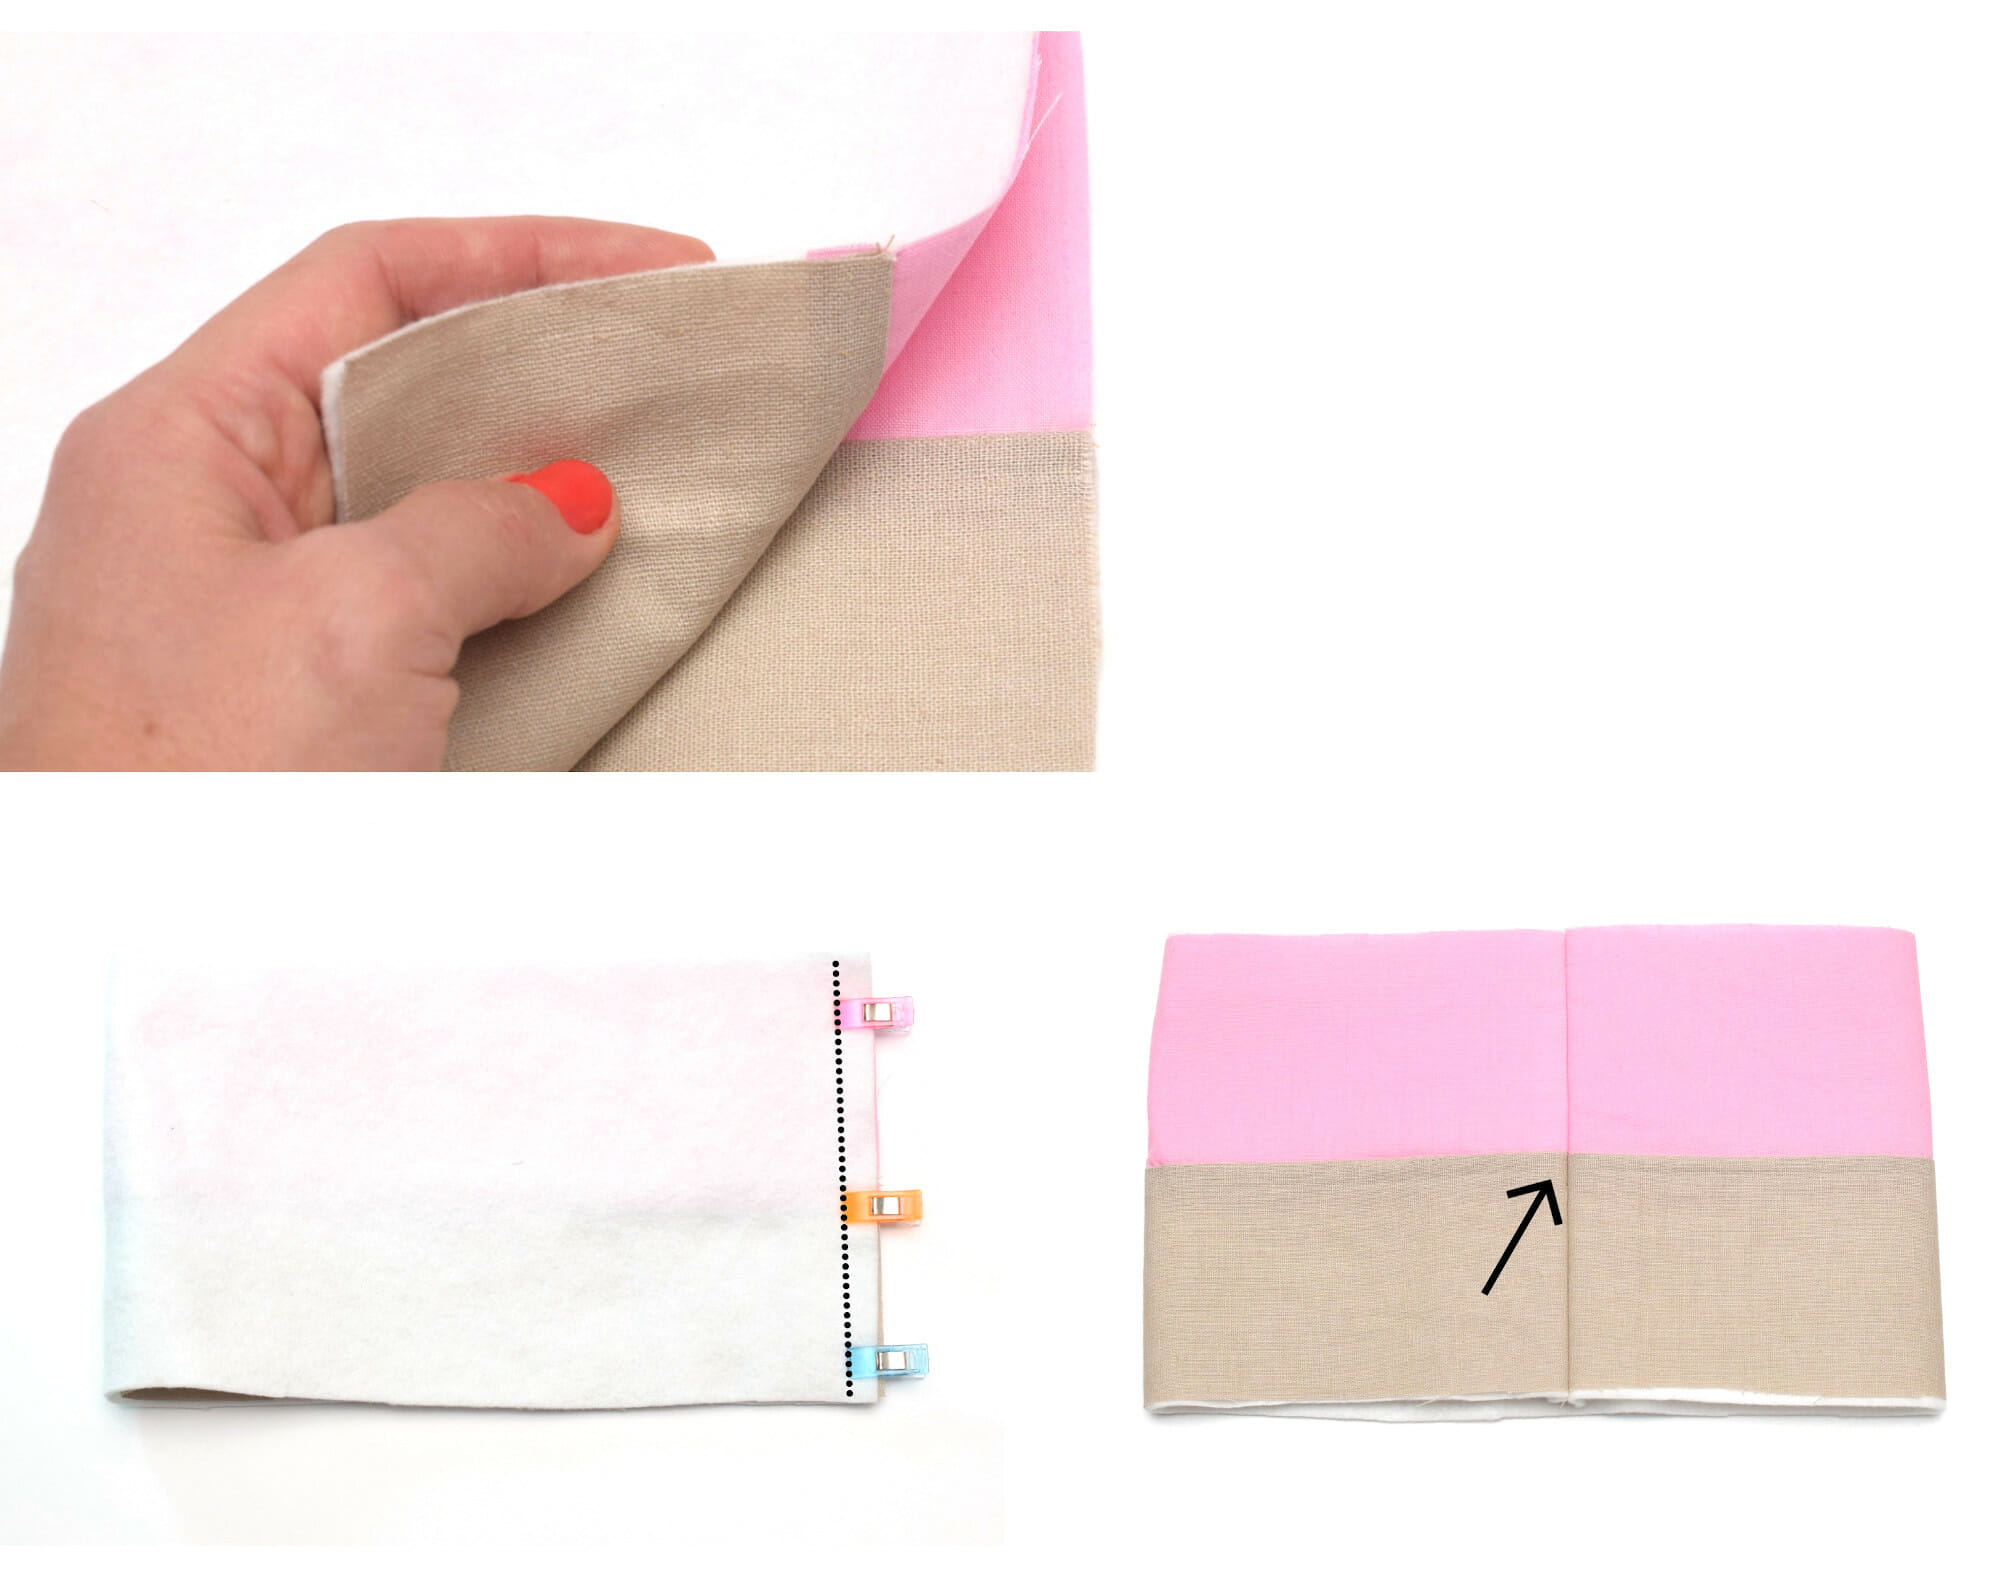
B) Now place the same piece over the batting piece and fold it in half, right sides together, to create a tube. Make sure the seams are aligned.
C) Sew the main exterior circle and the batting circle together with a basting stitch and a 1/4” seam allowance. This is an optional step but recommended if you are a sewing beginner. You don’t want any fabric shifting while sewing this cute basket.
D) Pin the fabric circle to the bottom of the bag and sew it with a 3/8” seam allowance.
Sewing a curve is quite easy if you think of the curve as a number of small straight stitches. Just sew more slowly. Every third or fourth stitch or so, lift the presser foot and pivot the fabric slightly before putting the foot back down as you sew. This helps you guide the needle around the curve.
Then trim the seam allowances down to 1/4” to remove bulk and give a smoother finish to your basket bottom. This way there will be no wrinkles or tucks when you turn the basket right side out.
Step 5 – Prepare the Basket Lining
First, place the rectangular piece of lining right sides together and sew along the short edge to form a tube.

Then pin the lining circle to the lining tube and sew them together with a 3/8” seam allowance. Again, trim the seam allowance down to 1/4”.
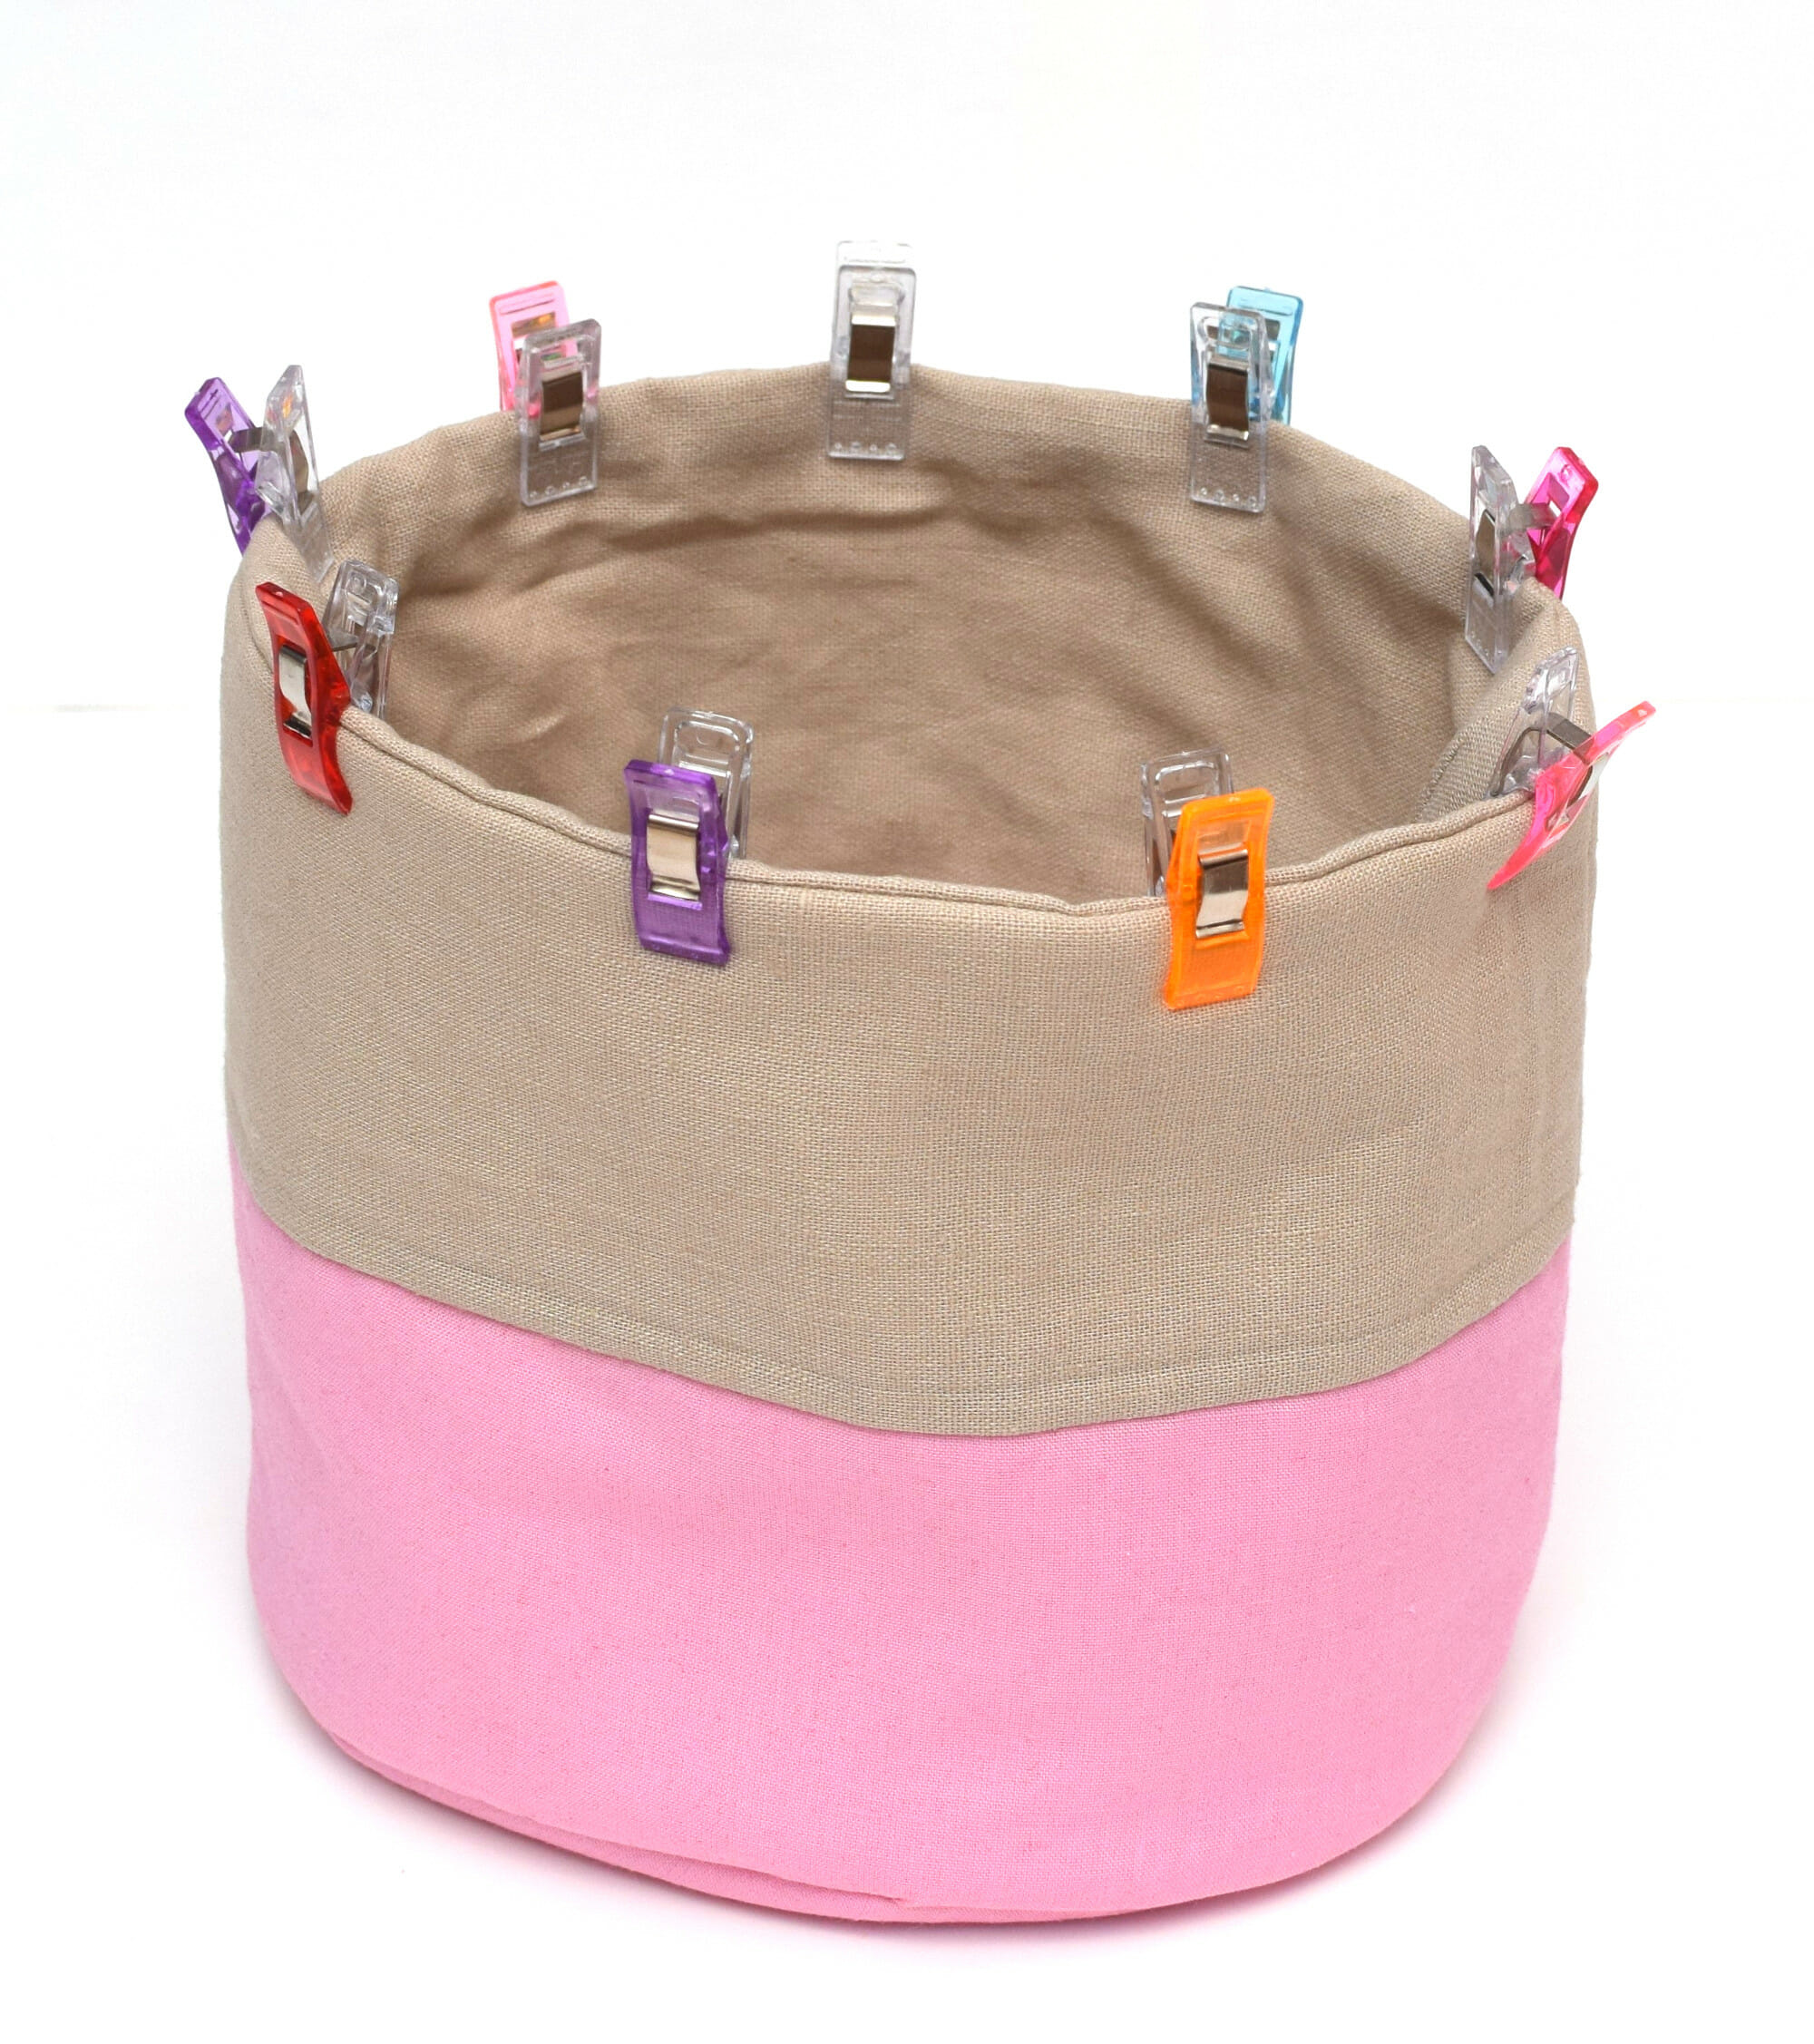
Step 6 – Assemble the Basket
Slip the lining into the bag, right sides together, and make sure to align the lining seams with the outer fabric seams.

Now stitch along the top edge with a 3/8″ seam allowance, and leave a 3” opening – you’ll use this to turn the bag right side out.
Step 7 – Finish the Round Fabric Basket
Tuck in carefully the raw edges of the opening and topstitch 1/4″ away from the top edge.
And that’s it! That was fun, right?
I would love to hear what you think of this tutorial and if you make these fabric baskets, let me know in the comments below!
Let’s keep in touch! You can find me on Facebook, Instagram, and Pinterest.
I believe the measurement for the batting circle for the large size is incorrect. It looks like it should be the same size as the exterior circle?
Hi Erin,
Yes, you’re right! I can’t believe this mistake went unnoticed until now! Thank you so much for pointing it out – I’ve made the necessary changes.
All the best,
Violet
These baskets turn out beautiful! I used Black or orange canvas for the bottoms & different Halloween prints for the top. I added a handle (woven strip or make your own). & Wa lah……the cutest Halloween candy bucket ever. Thank you Violet!! You can check them out at my Etsy shop: nanasstitchingstudio.
UPDATE: they are all sold, but I definitely will be making more!!
What kind of batting is this? I can’t find the right stuff.
Hi Jennifer,
This is exactly what I used for this project – Vlieseline 272 Thermolam batting. It’s a soft, dense, medium volume batting – just what I was looking for. It’s also the first batting that I ever purchased, so I guess I was lucky.
– You can use interfacing instead of batting, for the same purpose – to make the baskets be sturdy enough to stand alone.
– If your batting is too thin, you can stack two layers of batting together. I hope that helps.
Best wishes,
Violet
Thanks!
I’ve learned that the inside lining slightly smaller so it will fit inside snug.
Thank you for your pattern instructions and dimensions. Just wondering why the lining is smaller? We are to use the same width in stitching 3/8 ths inch. Will the outsides line up?
Appreciate any other tips you may have.
Thanks,
Vickie
Hi Vickie,
I can’t believe I forgot to include the explanation… I will update the post asap.
So, as you might expect, I sewed the first basket with the outside fabric & the lining in the same size, but it didn’t work out, because of the batting… Its thickness acts as a filler, and the inner circle has to be smaller. If you only use interfacing, then you can cut the outside & inside pieces in the same size.
Thank you for drawing my attention to this omission.