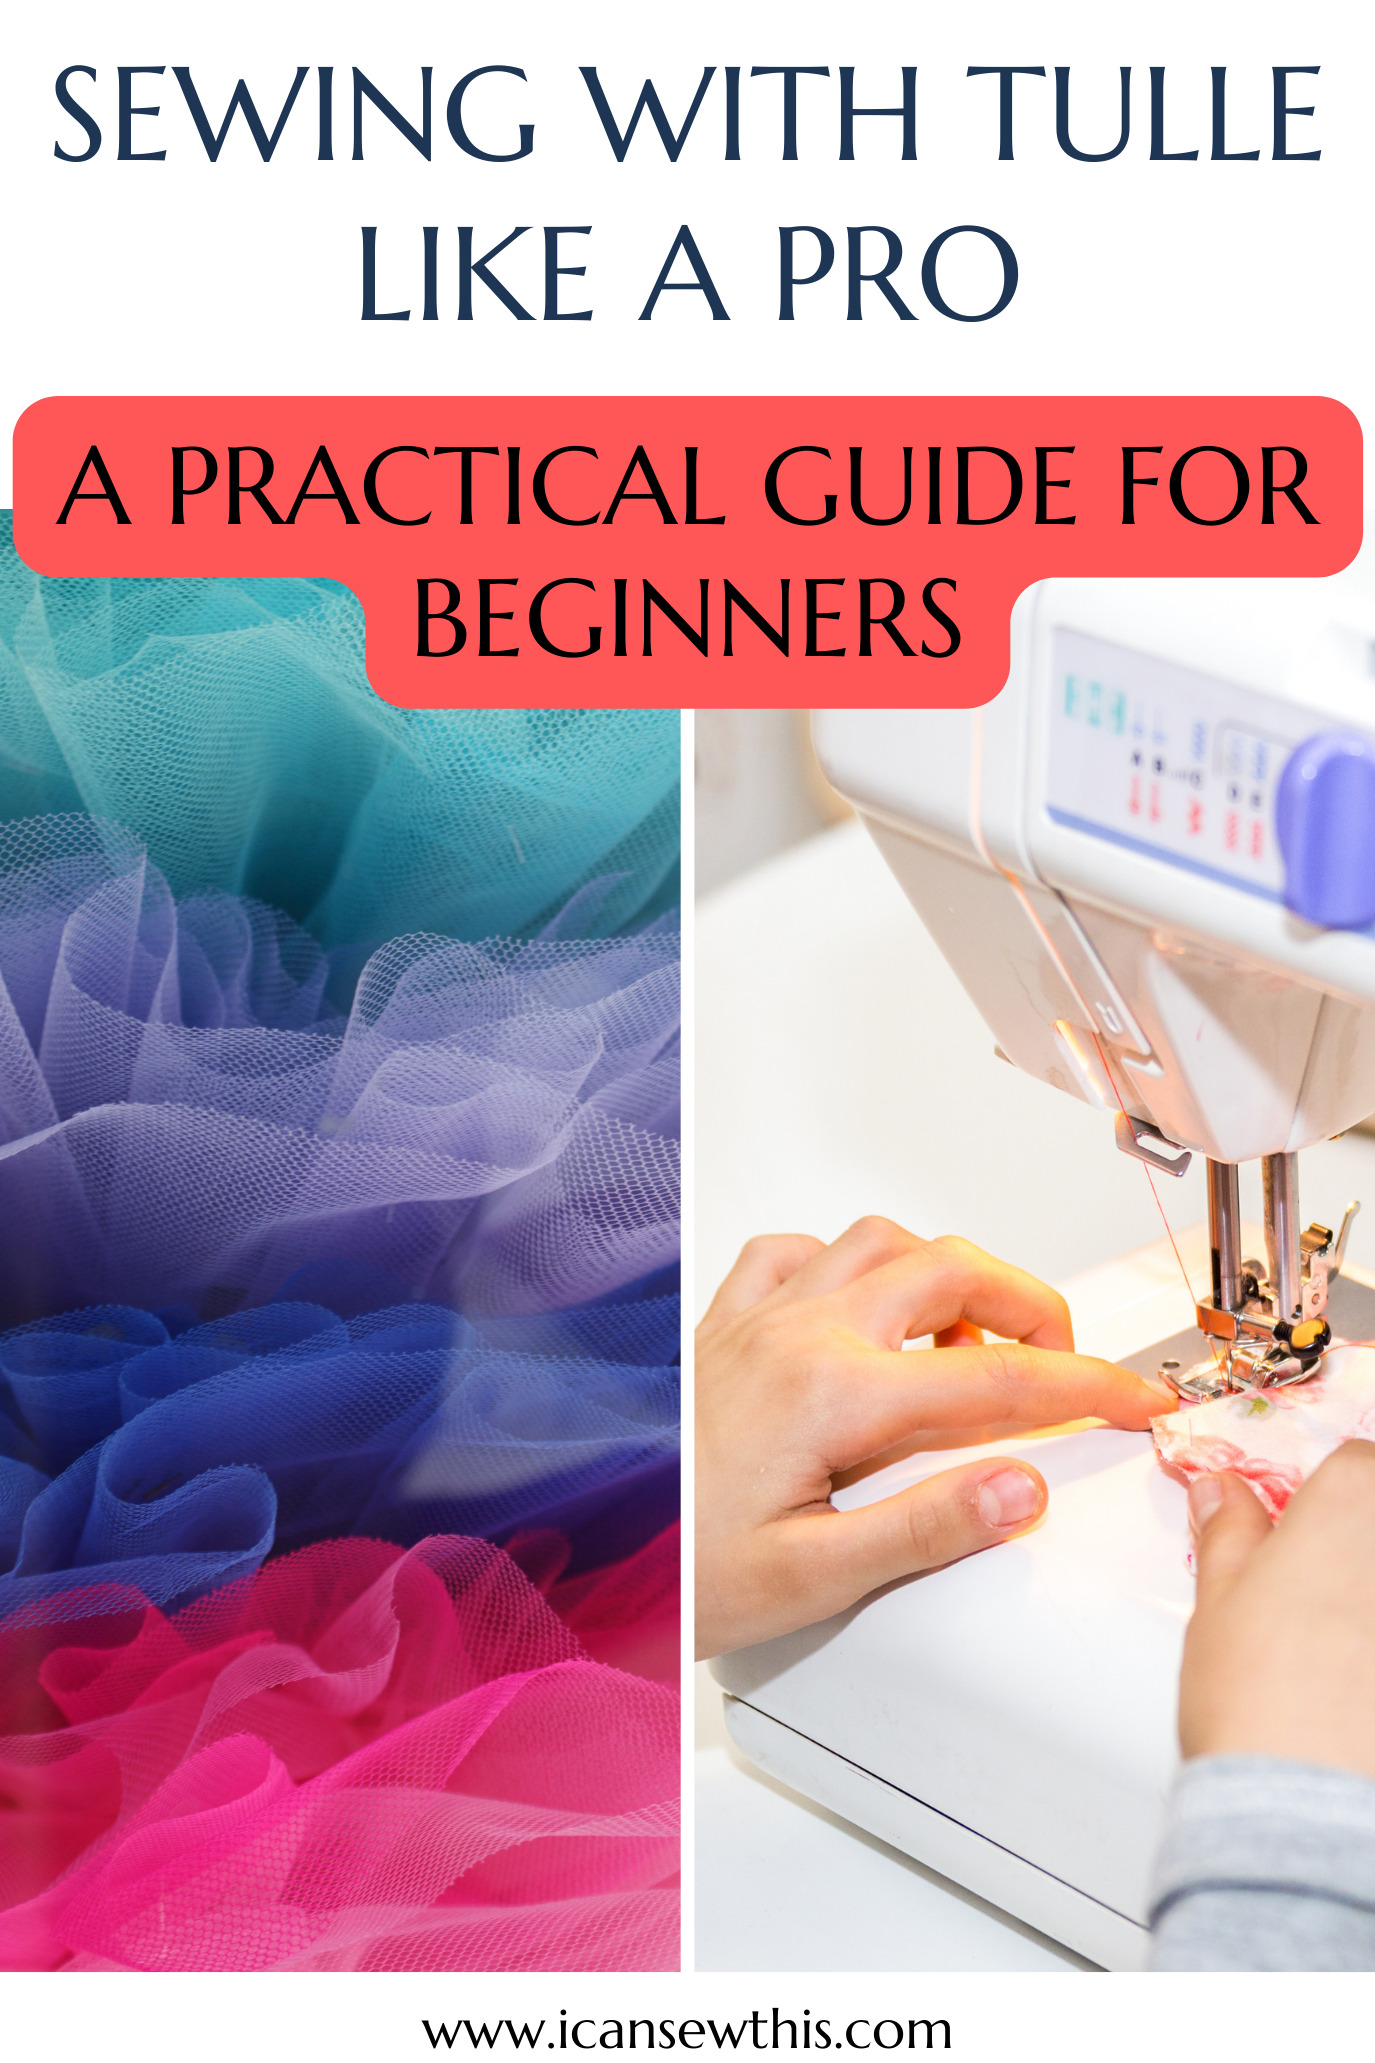
Thinking about taking on your first tulle project? With the right tips and a few easy tricks, sewing tulle on a regular machine is easier than you might think – even for beginners! In this guide, you’ll learn everything you need to work with this delicate, dreamy fabric, from gathering and sewing techniques to finishing edges without fraying. Get ready to master tulle as we cover simple methods for cutting, ruffling, and even de-wrinkling, so you can create beautiful tulle projects with confidence!
What is tulle?
Tulle is a lightweight, soft netting fabric, usually made from polyester but sometimes from silk, nylon, or rayon. It has an airy, dreamy look, making it popular for wedding dresses, party outfits, and ballet costumes.
- Soft tulle: Comes in widths like 54″ or 108″, perfect for flowing skirts and dresses.
- Netting: Stiffer than tulle, netting is often used for petticoats to give extra body.
- Mesh tulle: Made from stretch fabric, it’s soft on the skin and great for panels in dresses, tops, and leggings.
Having made plenty of tulle skirts (I used to sell them in my small business!), I can promise that sewing with tulle is easier than it looks. Almost any sewing machine can handle it!
What can you make with tulle?
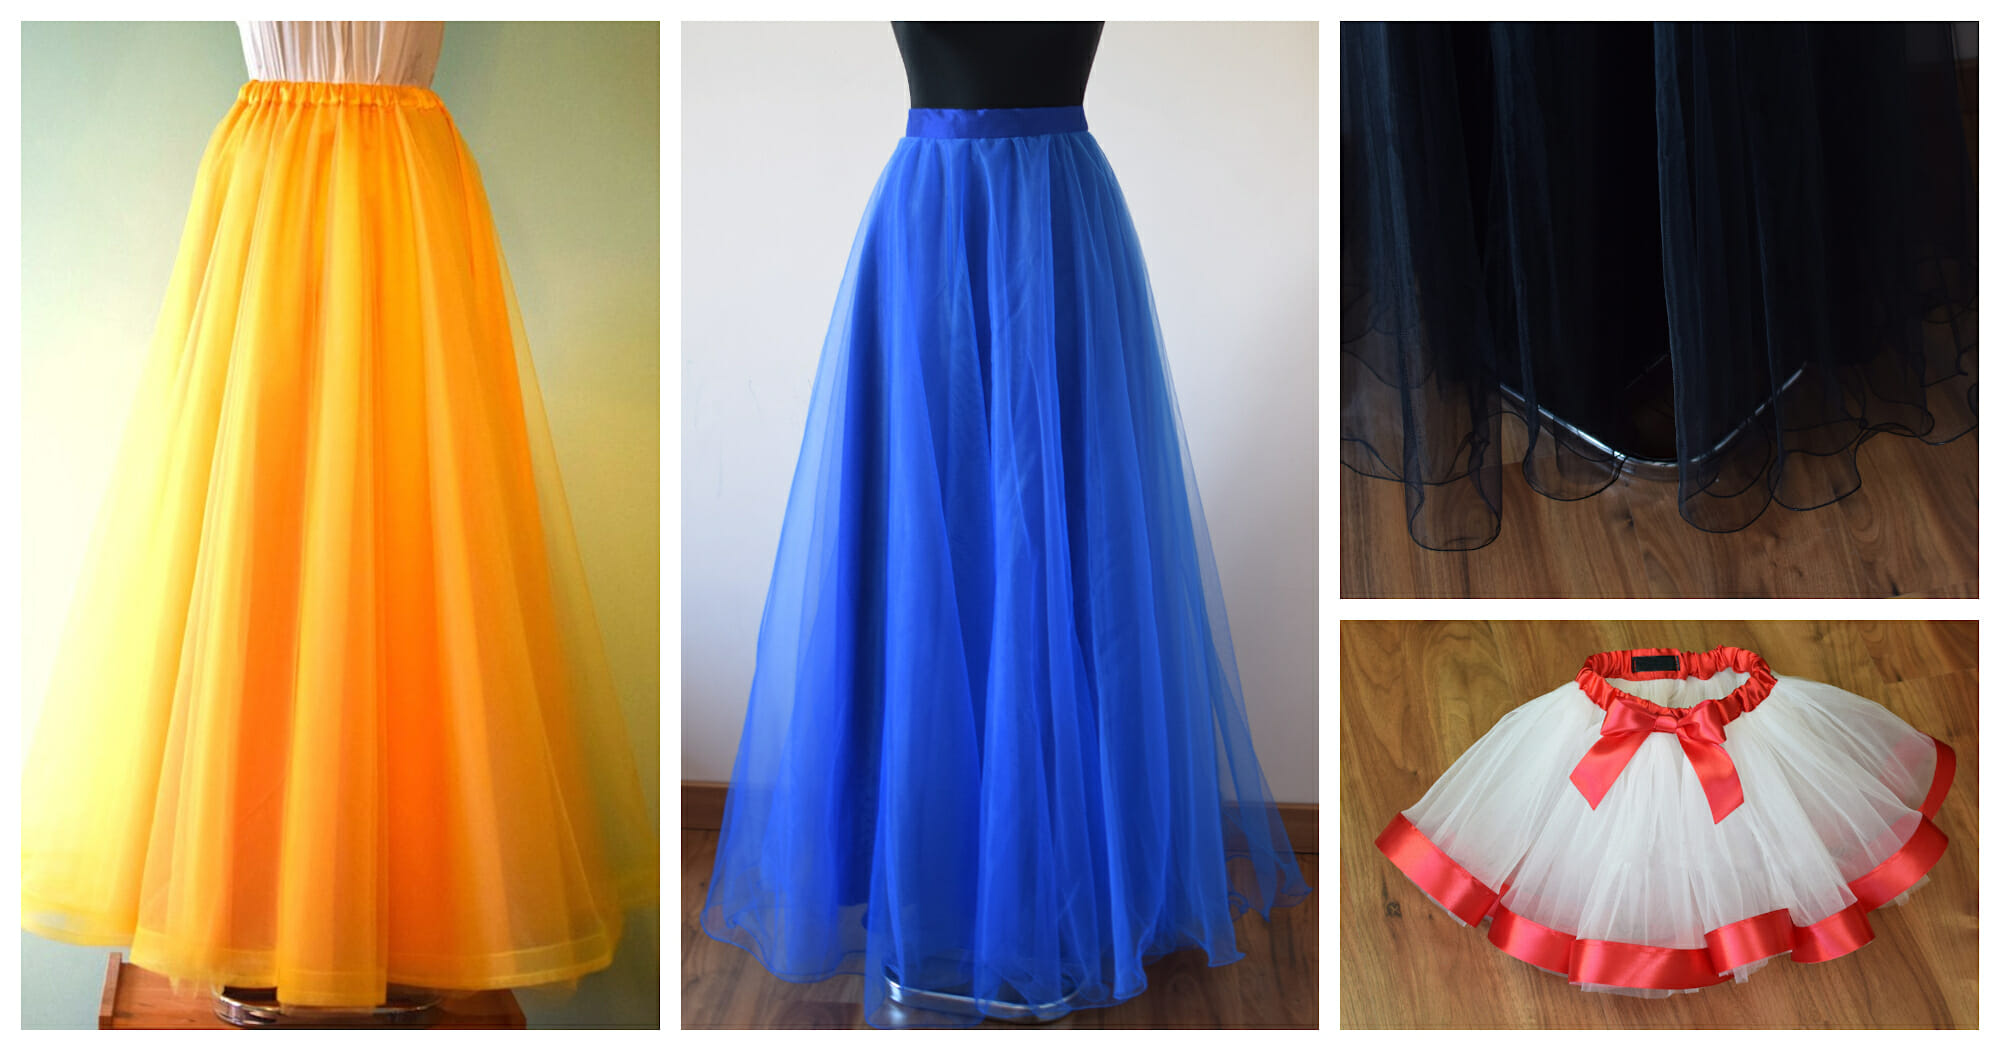
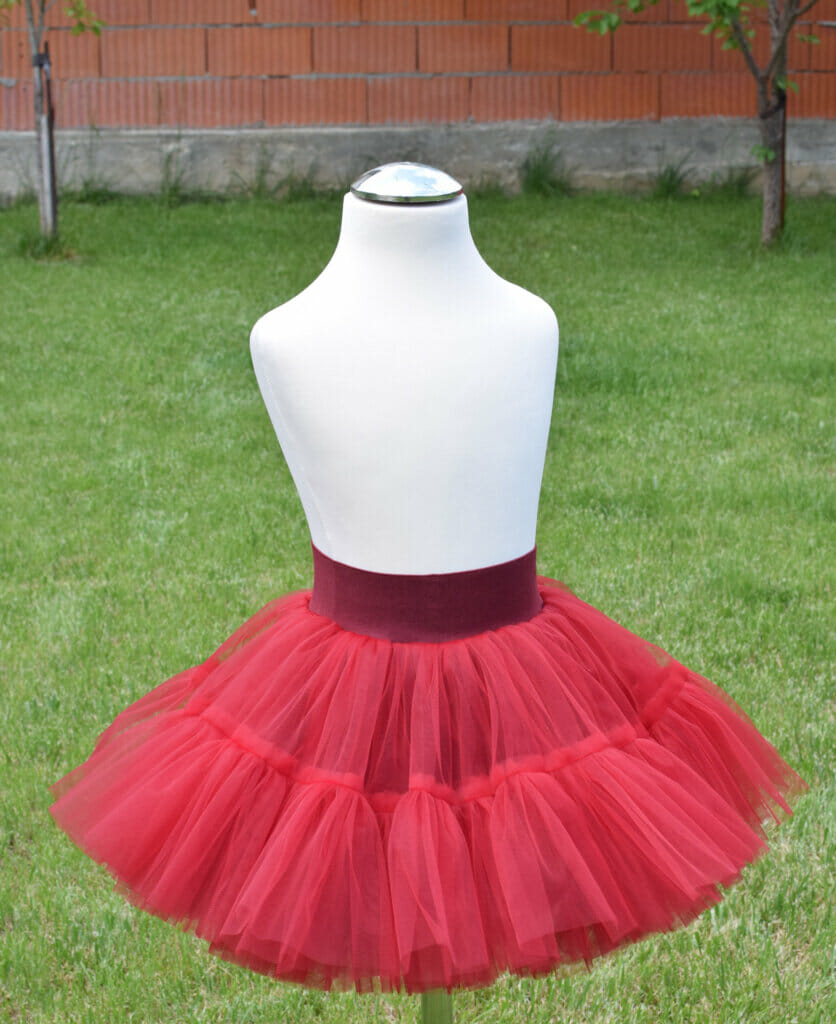
Tulle isn’t just for skirts! While it’s perfect for making dreamy tulle skirts (check out my tutorials on the Simple tulle skirt, Tiered tulle skirt, Circle tulle skirt and Girls tutu skirts), you can also use tulle to make reusable produce bags and cute scrunchies!
How do you finish tulle edges?
Good news – tulle fabric doesn’t fray, so it doesn’t need to be hemmed! Leaving the edges unfinished gives tulle a light, airy look that’s perfect for skirts and dresses.
But if you want to add some weight or structure to your tulle, try sewing ribbon along the edge. Here are some great options:
- Satin or velvet ribbon for a soft, elegant finish
- Satin bias tape for a polished hem
- Horsehair braid to add shape and volume
- Fishing line for a curly, “lettuce” edge that’s playful and eye-catching
How do you get wrinkles out of tulle?
Wrinkles in tulle can be tricky, but you have a few options to make it smooth again.
First, let’s clear up a common myth: you can iron tulle, but only if you use a low heat setting. Never use a hot iron, as tulle can melt. Here’s how to do it safely:
- Set your iron to low heat.
- Place a thin towel over the tulle.
- Press gently – this should get rid of wrinkles without damaging the fabric.
Or, if you’re worried about using an iron, a garment steamer works wonderfully for tulle!
How to cut tulle fabric
Cutting tulle can feel a little tricky since it’s so lightweight. Here are a few tips to make it easier:
- Keep it folded: Cut tulle while it’s still folded from the bolt for quicker, cleaner cuts.
- Use a rotary cutter: A rotary cutter, ruler, and cutting mat make it much easier to get straight, even edges.
Scissors work too, but it’s harder to get a perfect cut. And if you’re making a gathered skirt, don’t worry about a perfectly neat hem – it won’t show much once it’s gathered!
What needle do you use for tulle?
For tulle fabric, a fine jersey needle, size 70/10 usually works best. However, if you’re having trouble, try a stretch needle instead. This is especially useful if your machine is skipping stitches.
For example, when making tulle scrunchies, my jersey needle worked well with soft tulle but struggled with mesh tulle on my Heavy Duty Singer machine. Switching to a stretch needle made all the difference!
Top tips for sewing with tulle
Tulle is lightweight and can be a bit slippery, so here are a few top tips for working with it:
- Pin layers securely: Use long pins or safety pins to hold layers together, and remove them as you sew.
- Test on scraps: Before diving in, test your stitches on scrap tulle to make sure everything runs smoothly.
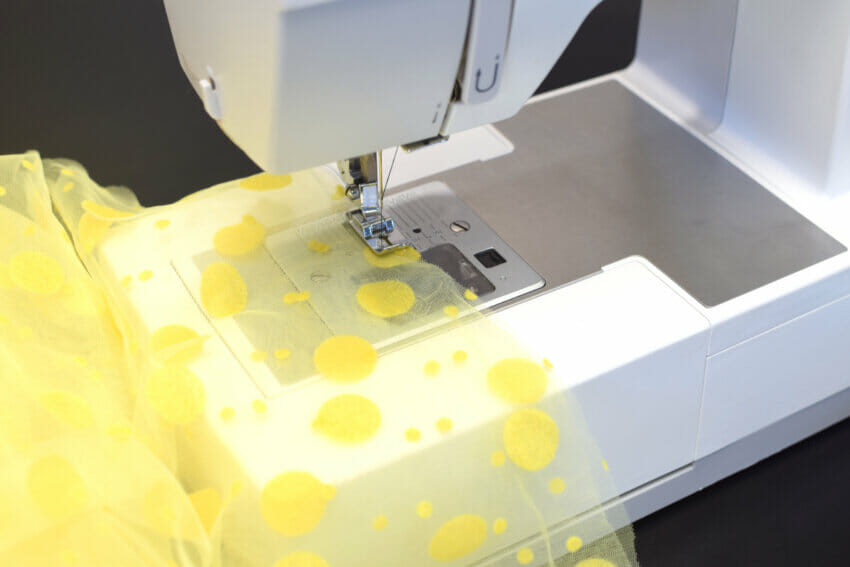
How to sew a perfect seam with tulle
Sewing tulle seams without puckering or skipped stitches can be challenging, but these tricks will help:
- Avoid starting at the edge: Starting stitches right at the edge can make the fabric bunch up in the feed dogs. Instead, start a little in from the edge for smoother sewing.
- Use a fresh ballpoint or stretch needle: A size 70/10 ballpoint/jersey needle works well, but if it’s not smooth, a stretch needle can help prevent skipped stitches.
- Adjust your stitch length and speed: Use a short straight stitch and slow down the machine to avoid puckering.
Related: Sewing with stretch fabric – everything you need to know
If you’re still facing issues:
- Add tissue paper or tear-away stabilizer: Place a small strip under the tulle when sewing seams, then tear it away after stitching.
- Try a narrow zig-zag stitch: Set the stitch length to 2.0 and the width to 1.5 for a more flexible seam.
Bonus tip: If you have a serger, it’s fantastic for tulle! It creates a neat edge in one go, but keep in mind the seam will be a bit more visible since tulle is sheer.
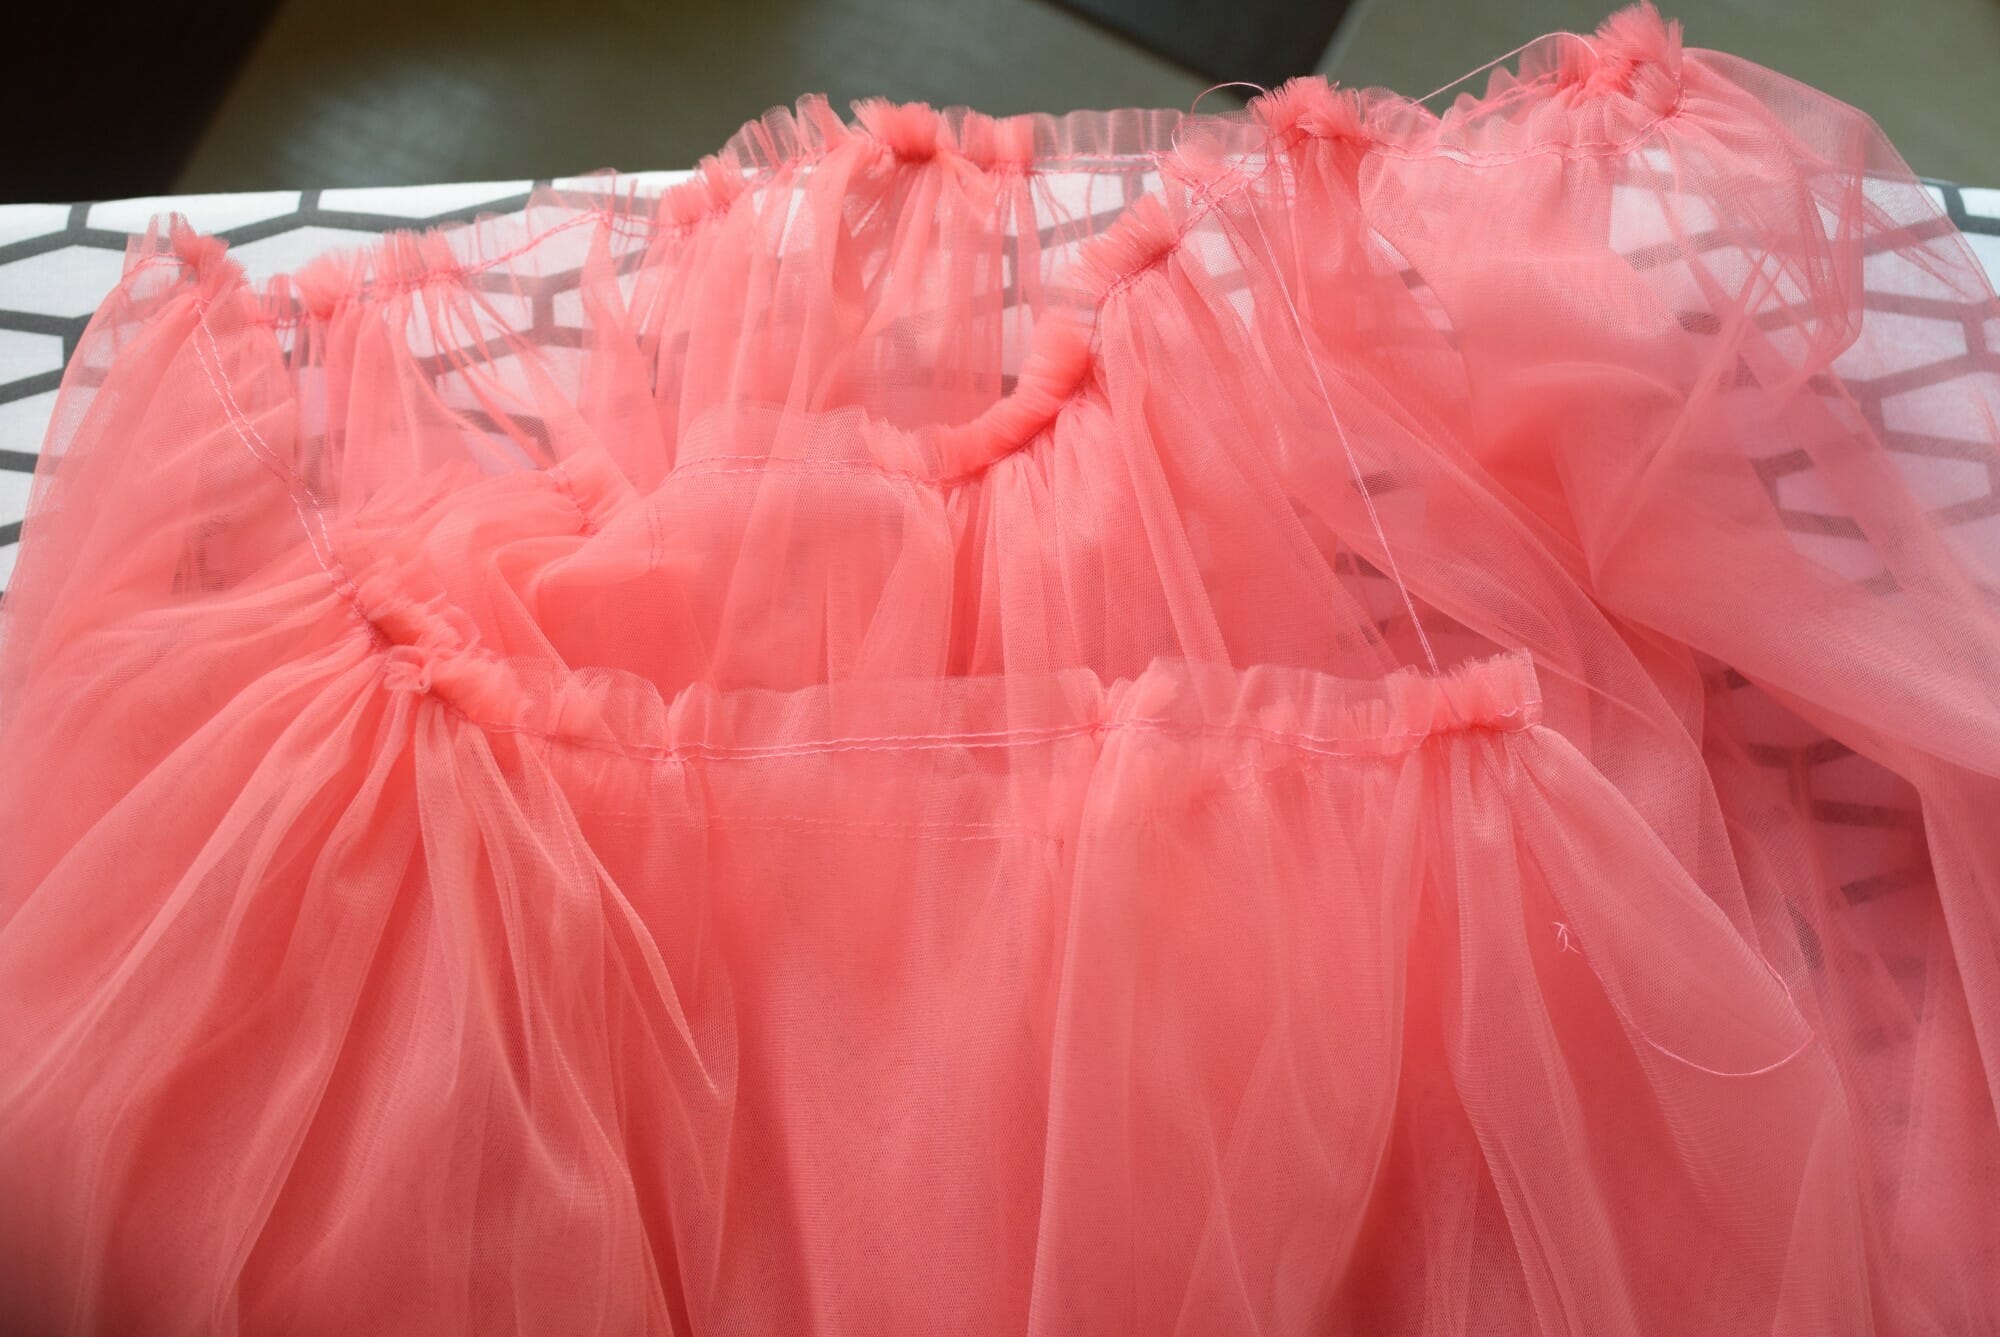
How to gather tulle fabric
Gathering tulle is surprisingly simple—even easier than gathering woven fabric! All you need is one row of long basting stitches. Here’s how:
- Sew a single line of basting stitches with a long stitch length.
- Pull the bobbin thread to gather the fabric.
For extra security, you can sew two parallel lines of basting stitches, as shown in the photo below. This double-line method is popular, but if I’m working on a big tulle project and need to gather a lot, I often stick with a single line to save time. Just make sure to use a high-quality thread that won’t break!
And while there’s also the “zigzag over cord” method, it requires careful stitching so you don’t accidentally catch the cord. I find the simple basting stitch works best and is usually quicker for gathering tulle.
How do you get static out of tulle?
Tulle can get static-prone, especially in dry, cold weather. Here are a few tricks to keep the static away:
- Mist with water and fabric softener: Lightly spray a mix of water and a little fabric softener over the tulle. It works well, though it can cause some wrinkling.
- Add humidity to your sewing space: Static often comes from dry air. To prevent it, try using a humidifier in your sewing room. If you don’t have one, place a bowl of water near a heater, or even bring a pot of boiling water into the room to add some moisture.
Sewing with tulle might seem a bit intimidating at first, but with a few tips and some practice, you’ll be amazed at what you can create!
Whether you’re making a fluffy tutu for a little one, a dreamy skirt, or even a few fun accessories, working with tulle can add a touch of magic to any project. So, grab your fabric, set up your sewing machine, and dive in – who knows, tulle might just become your new favorite fabric! Happy sewing, and don’t forget to have fun along the way!
Let’s keep in touch! You can find me on Facebook, Instagram, and Pinterest.


Need help to make gathered flower for skirt
I am making a costume with about 8 layers of different color tulle. They need to be gathered. Do you gather all layers at once. Do I only need one row of stitching? Should I be concerned about the thread breaking? Any suggestions.
Hi Julie,
What is the ratio of your gathered skirt? (the tulle skirt width compared to the waist measurement). I think gathering all layers at once is a good idea with a 8-layers skirt. Also, I personally would be somewhat concerned about the thread breaking, however you can minimize the risk by using quality thread and running 2 rows of basting stitches. Best of luck!
When I’m sewing a bodice and skirt section together using fine bridal tulle, should I use something to stabilize that particular seam? I’d hate for it to tear apart should someone step on the gown. It isn’t lined but has a separate underdress (spaghetti strap slip). I’m worried about this section.
I am short about 10” of tulle for a project. Is it wise to add the amount I am short to the larger piece? If so, what is best way to attach the two pieces. The project I am doing will be folded in a way where the pieced side won’t be seen. Many thanks for your time and assistance.
Hi Pat,
If you need to add the smaller piece to the larger one, then use a straight stitch and matching thread – that’s the best you can do. Press the seam after you sew it to make it nice and flat. In case you’re working with gathered tulle, don’t sweat about it, nobody will be able to tell the difference.
This was extremely helpful Violet, Thank you so much for sharing your knowledge.