
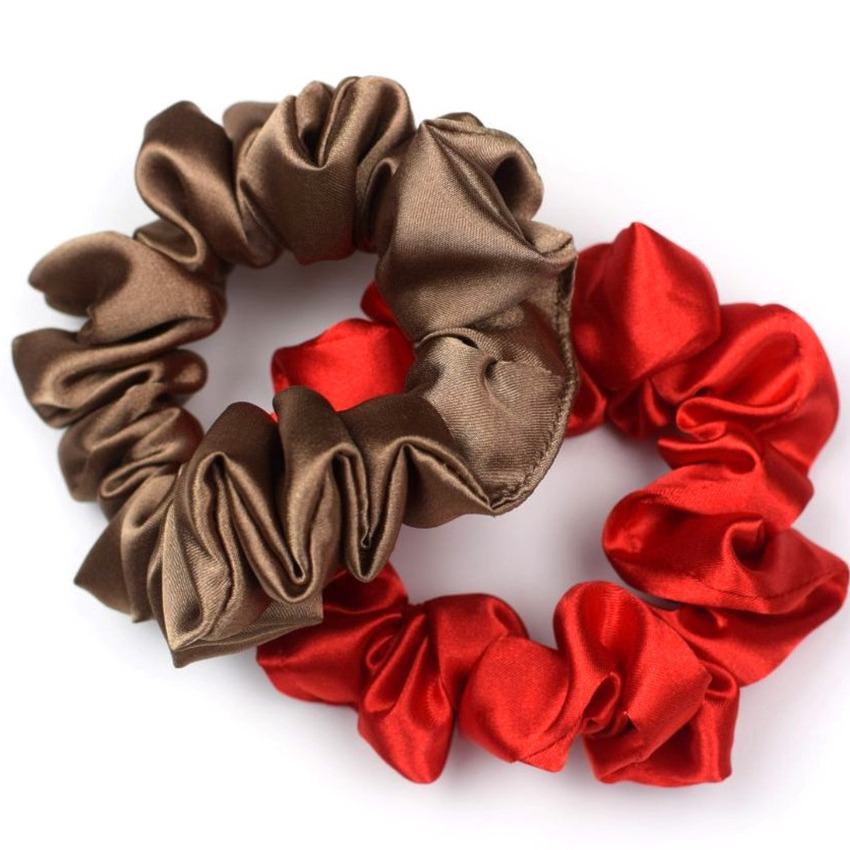
Looking for a fast, beginner-friendly sewing project? Learning how to make DIY satin scrunchies is a great way to use up fabric scraps, save money, and create gentle hair accessories.
Satin scrunchies protect your hair by preventing breakage, minimizing denting, and eliminating static compared to standard hair ties. They offer a comfortable hold that lasts all day without causing headaches.
In this quick DIY tutorial, you will learn how to sew a cute satin scrunchie from start to finish in five simple steps.
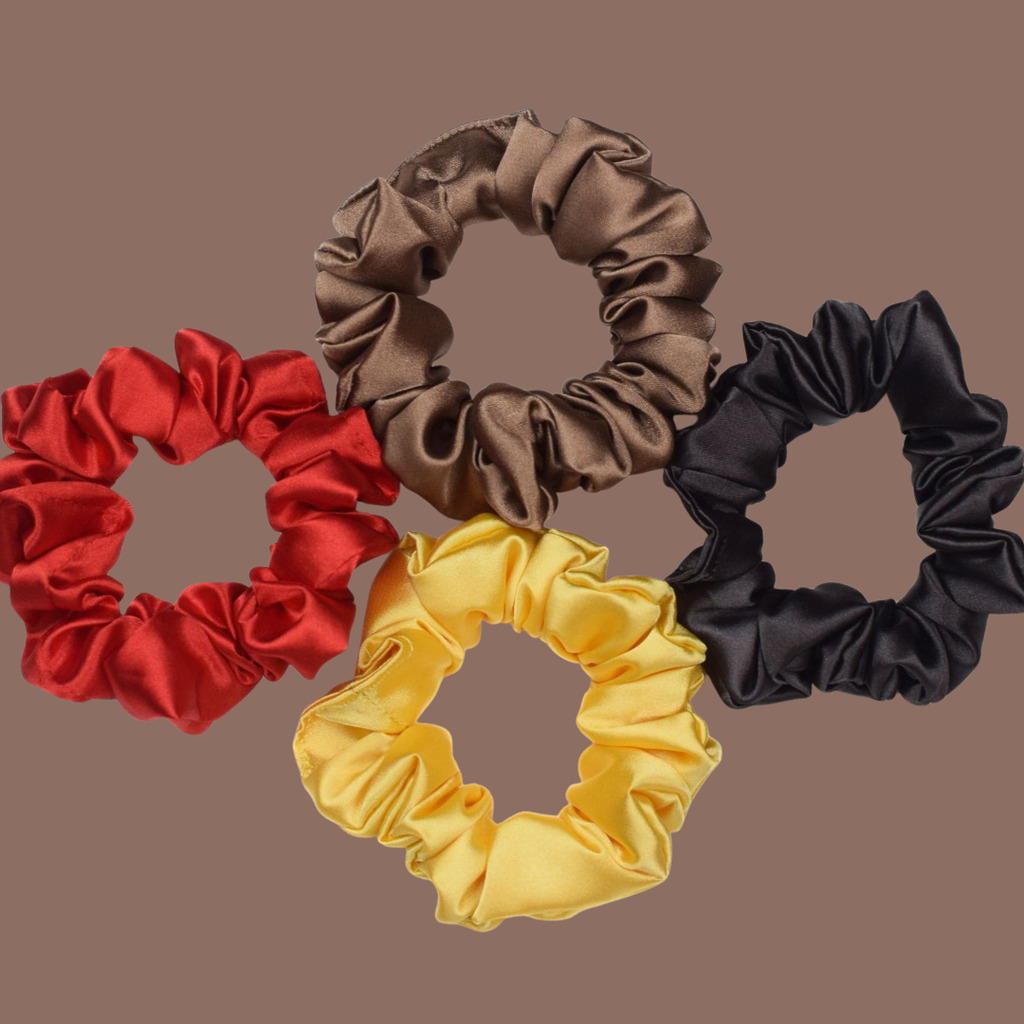
DIY satin scrunchies sewing supplies
Before starting, gather these simple sewing materials:
- Fabric strip (satin, silk, cotton, or crushed velvet)
- 1/4-inch elastic
- sewing machine and needles
- scissors
- sewing pins
- safety pin
- matching thread
What is the best fabric for making scrunchies?
While cotton, jersey knit, linen, and crushed velvet all work well, satin and silk are top choices. A DIY satin scrunchie looks high-end, minimizes friction on hair strands, and keeps your hair smooth throughout the day.
How much fabric do you need for a scrunchie?
The size of your fabric rectangle determines the fullness and width of the finished accessory:
- Length: 15 to 25 inches for cotton; 15 to 40 inches for extra gathered satin
- Width: 3 to 6 inches depending on desired puffiness
- Elastic: 8 inches of 1/4-inch elastic
For a narrow scrunchie with full gathers, cut a fabric strip measuring 33 inches by 3 inches and use an 8-inch length of elastic. Use a 1/4-inch seam allowance.
How to make a satin scrunchie step-by-step
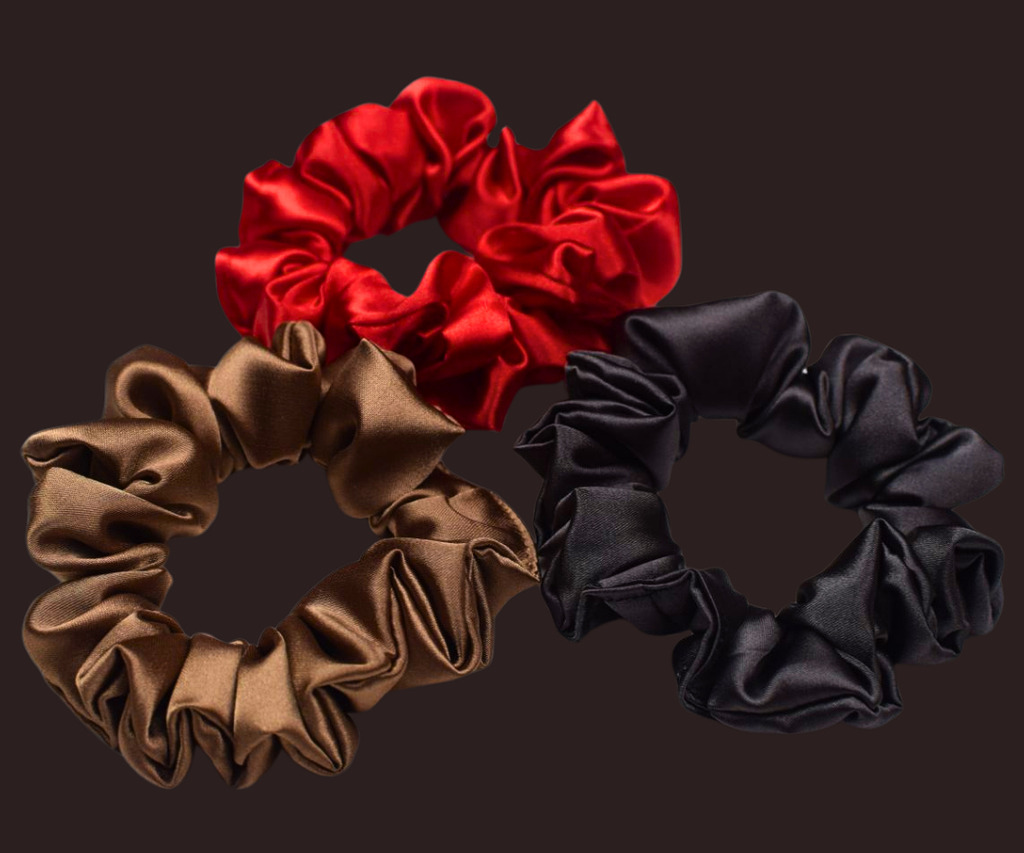
Step 1: Cut and pin the fabric
Cut your fabric strip to size. Fold the strip lengthwise with right sides facing together, then pin along the raw edge.
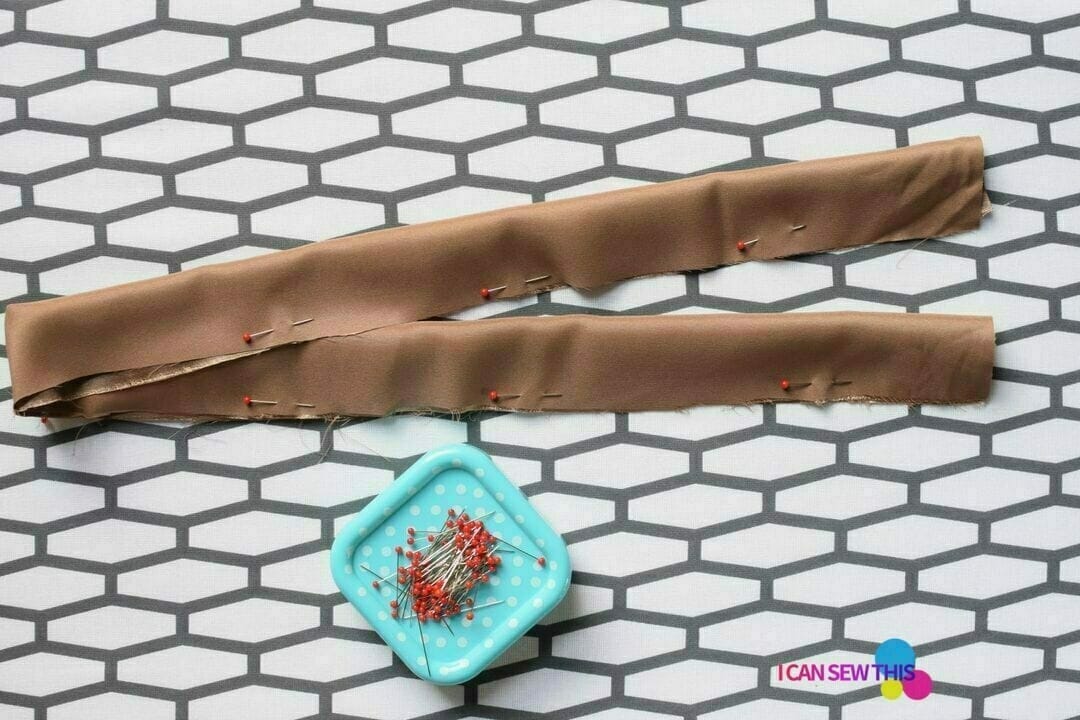
Step 2: Sew the long edge
Sew along the long raw edge to create a tube, leaving a 2-inch opening near both ends. Backstitch at the start and finish to secure the thread.
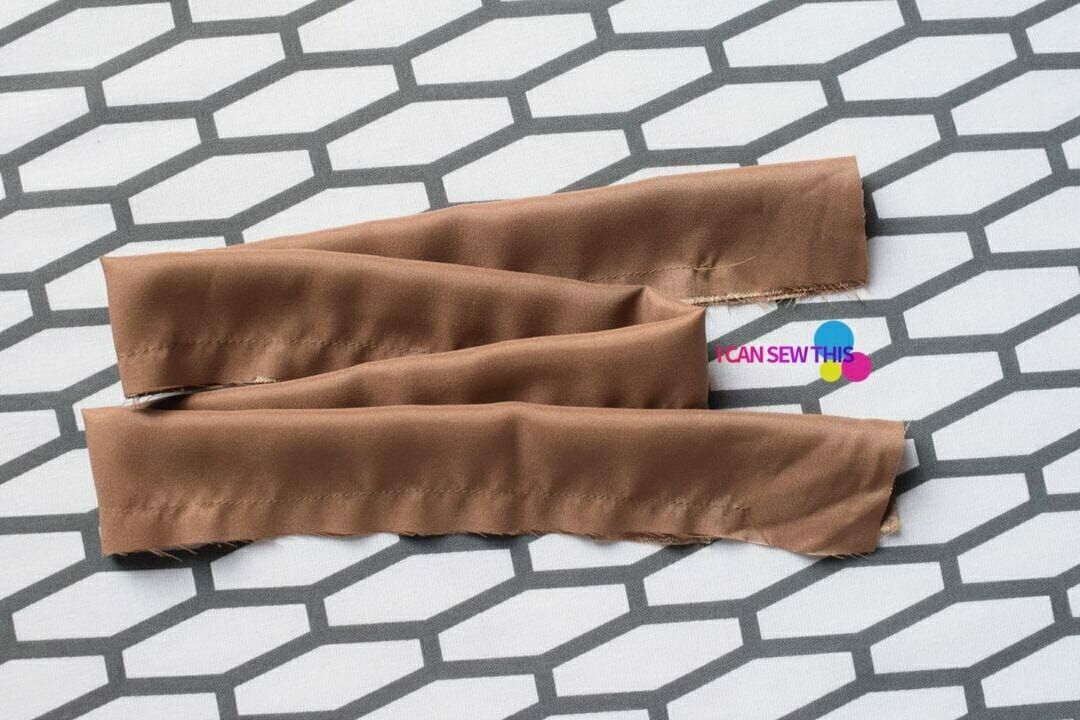
Step 3: Join the short ends
Turn the fabric tube right side out using a safety pin. Match the short raw edges with right sides together, pin, and sew them closed.
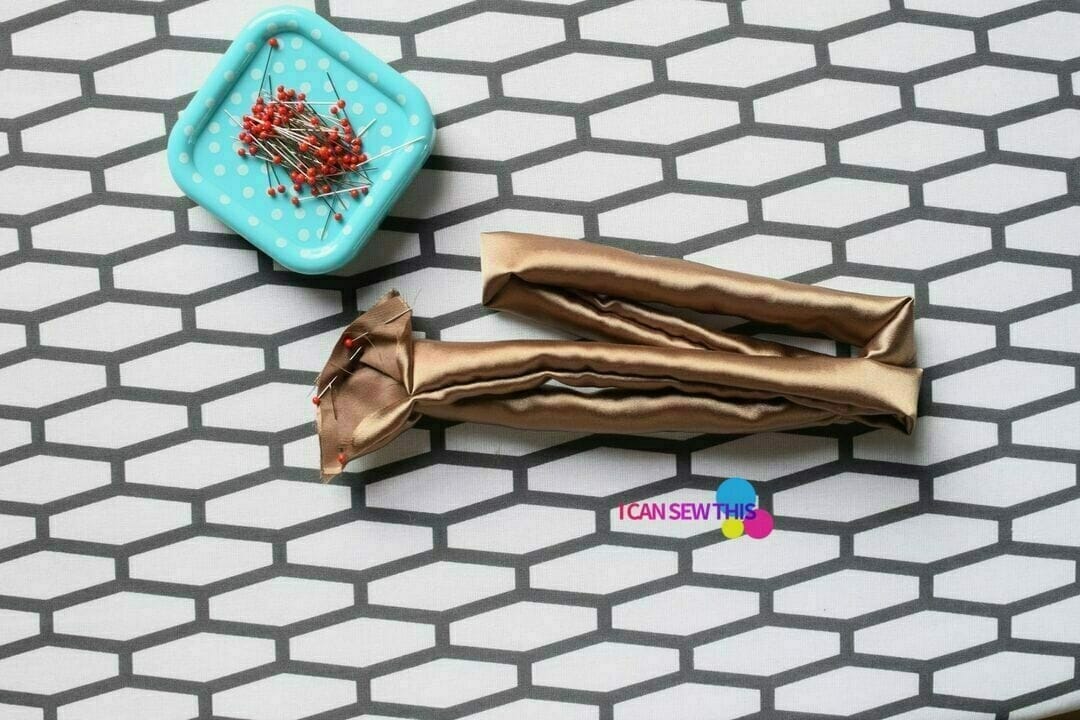
Step 4: Insert the elastic
Attach a safety pin to one end of your 8-inch elastic. Thread it through the tube, keeping hold of the opposite end. Tie the ends securely in a knot, or sew them together by hand.
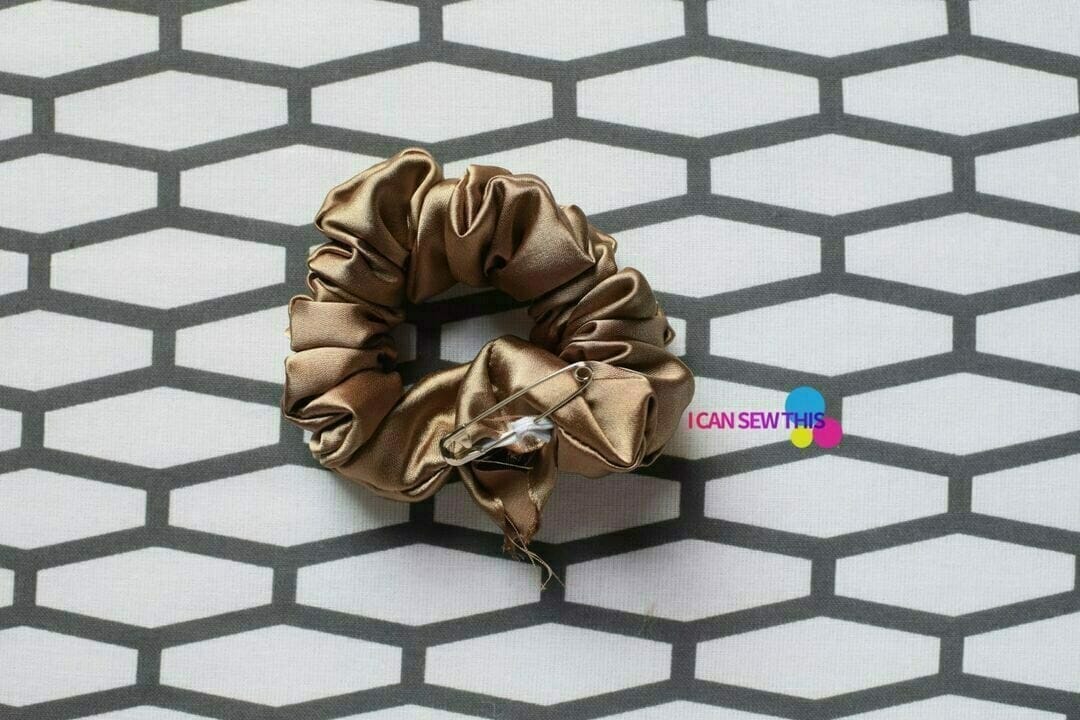
Step 5: Close the opening
Fold the raw edges of the opening inward by 1/4 inch. Edge-stitch the opening closed using your machine or a quick hand stitch.
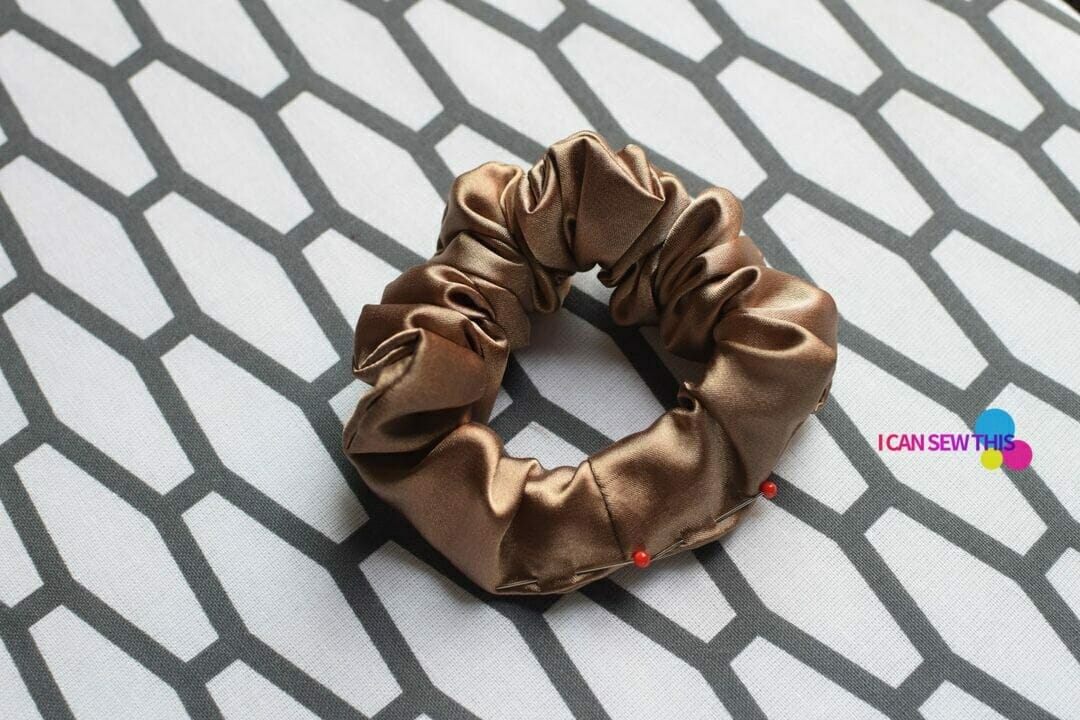
Fluff up your finished DIY satin scrunchie, and it is ready to wear!
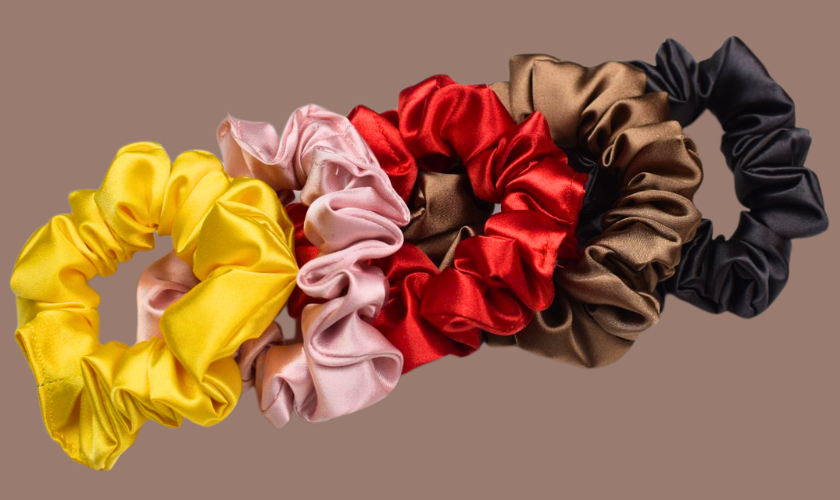
So easy and fun! Enjoy your fab satin scrunchies!
Let’s keep in touch! You can find me on Facebook, Instagram, and Pinterest.


Great tutorial. What is the approximate length of the elastic? Thank you.