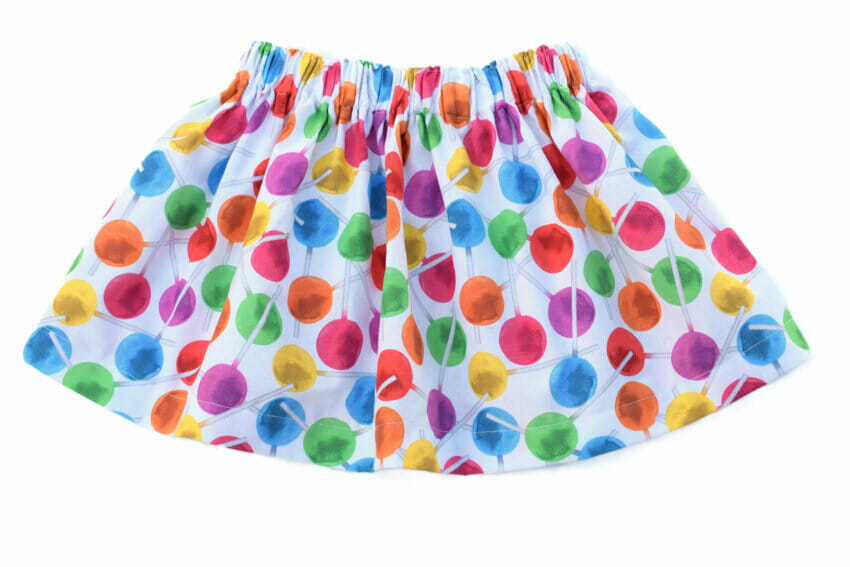
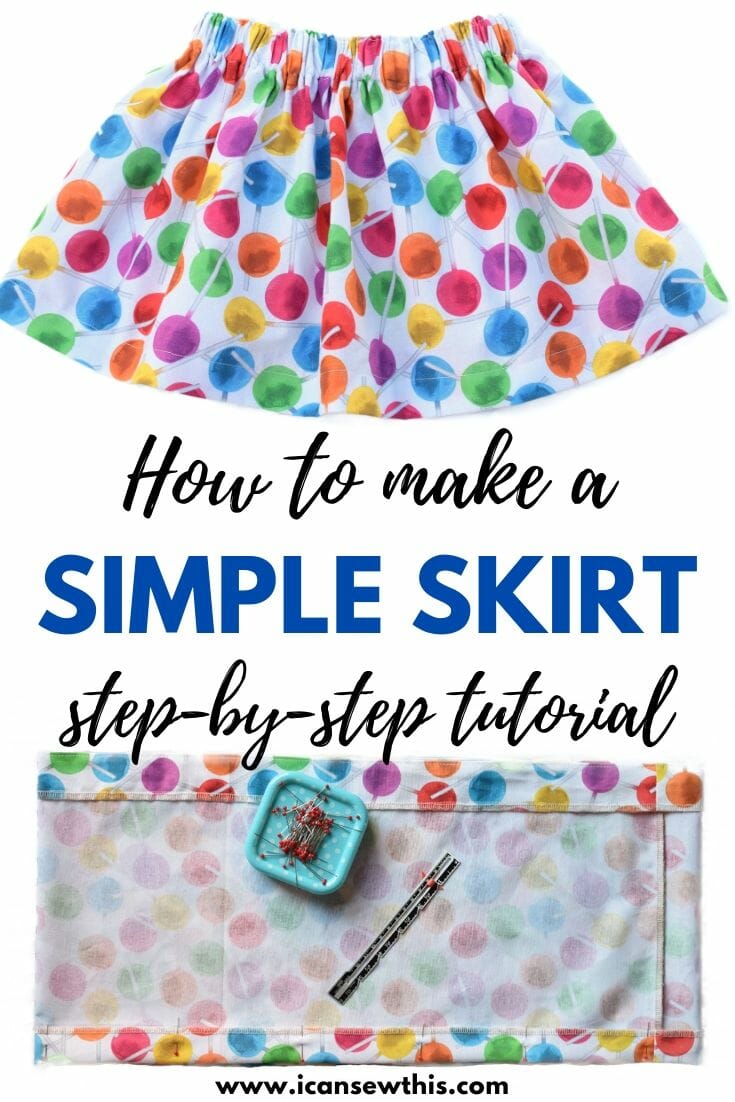
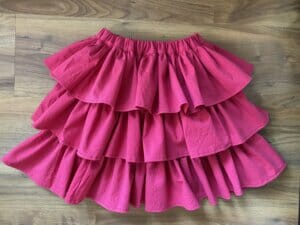
Ready to make a simple skirt that’s perfect for beginners? Follow these easy steps, and you’ll soon have a fabulous, professional-looking skirt that’s perfect for any occasion!
Why this skirt is a great first sewing project
This is an ideal project for new sewists. You’ll only need a single piece of fabric, a bit of elastic, and a few straight stitches to make a cute, comfy skirt.
Here’s all you’ll do: cut a rectangle, sew a few lines, create a waistband casing, slip in your elastic, and – voila! You’re done!
Perfect for any occasion
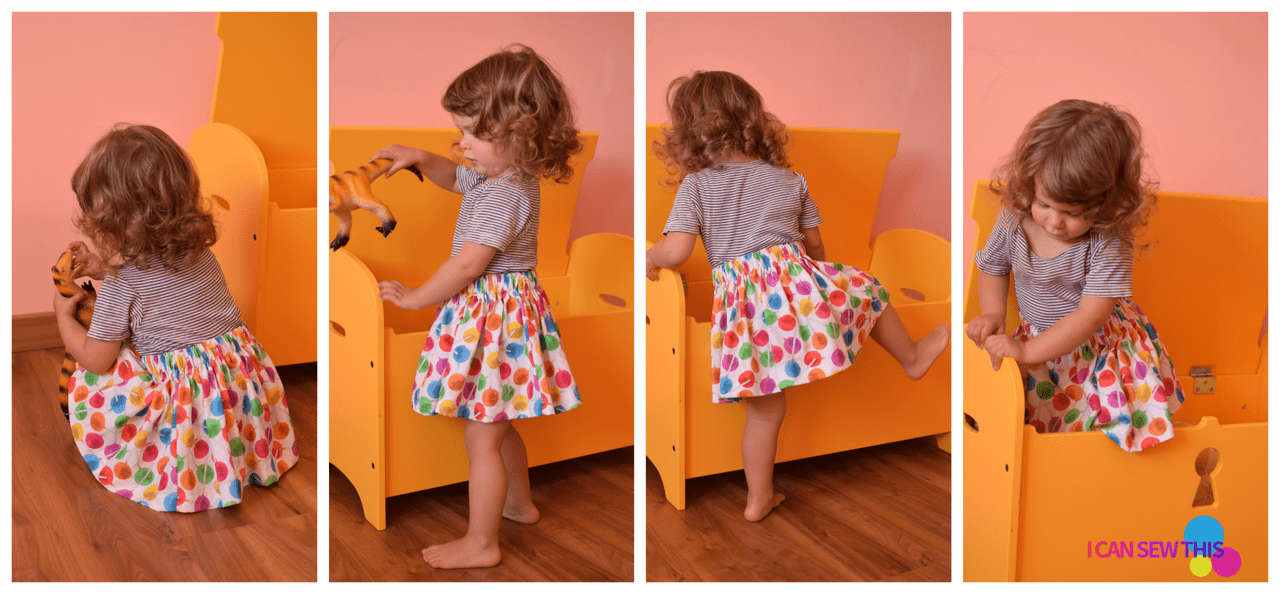
This easy skirt is versatile and fun to make. Your little one can wear it at the playground, to school, or even for a stroll in the park. Want to add a bit of flair? Decorate it with ribbon, lace, pompoms, ruffles – whatever makes you smile!
How fast can you sew this?
Once you’ve made this skirt a couple of times, you’ll be able to finish one in about 30 minutes or less. It’s the simplest skirt ever – a basic tube shape with an elastic waist. You can make it simple or let your creativity run wild with decorations!
Tips for success
While it’s a beginner-friendly project, little mistakes happen! I’ll share plenty of tips and tricks along the way to help you avoid common pitfalls and make your skirt look fantastic.
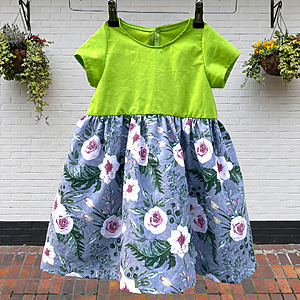
Be sure to explore my other tutorials on easy projects like a simple summer skirt with pockets, a fitted crib sheet for baby, or a sweet gathered dress for little girls. You’ll find loads of beginner sewing inspiration!
Simple skirt tutorial – sewing supplies
- Sewing machine
- Universal regular point needle
- Fabric – see suggested types
- Fabric scissors
- Iron
- Chalk pencil
- Measuring tape
- Sewing gauge
- Sewing pins
- 1-inch wide elastic
- Safety pins
Choosing the best fabric for a simple skirt
When making this easy skirt, stick to lightweight fabrics like cotton (broadcloth, chambray, batiste, seersucker, voile), linen, or viscose. These fabrics are easy to work with and comfortable for kids to wear. You’ll only need about half a yard for this simple skirt!
Simple skirt tutorial: finding the right width
To make the skirt’s width, measure your child’s waist and double that number. This will give you the perfect gathered look! For example, if your child’s waist is 20 inches, aim for around 40 inches in width.
Most cotton fabrics are 40-44 inches wide, so using the fabric width itself works great! This width suits kids from around size 2 (waist size 20 inches) up to size 10 (waist size 24 inches). No extra cutting needed – how easy is that?
Simple skirt tutorial: skirt length
For the skirt’s length, add about 3 inches to your desired length to allow for the waistband and hem. Here’s the formula:
- Desired skirt length + 3 inches for the waistband and hem
For example, when I made this skirt for my 2-year-old daughter (21-inch waist), I used:
- Skirt width: 44 inches (fabric width)
- Skirt length: 13 inches (10 inches desired length + 2 inches for the waistband + 1 inch for the hem)
Choosing the elastic
For this skirt, I used a 1-inch wide elastic. As for the length, I recommend trying the elastic around your child’s waist before cutting. Elastic stretchiness can vary, so it’s best to make sure it’s comfy!
Related: How to make a circle tulle skirt with elastic waistband / Pleated tulle skirt tutorial
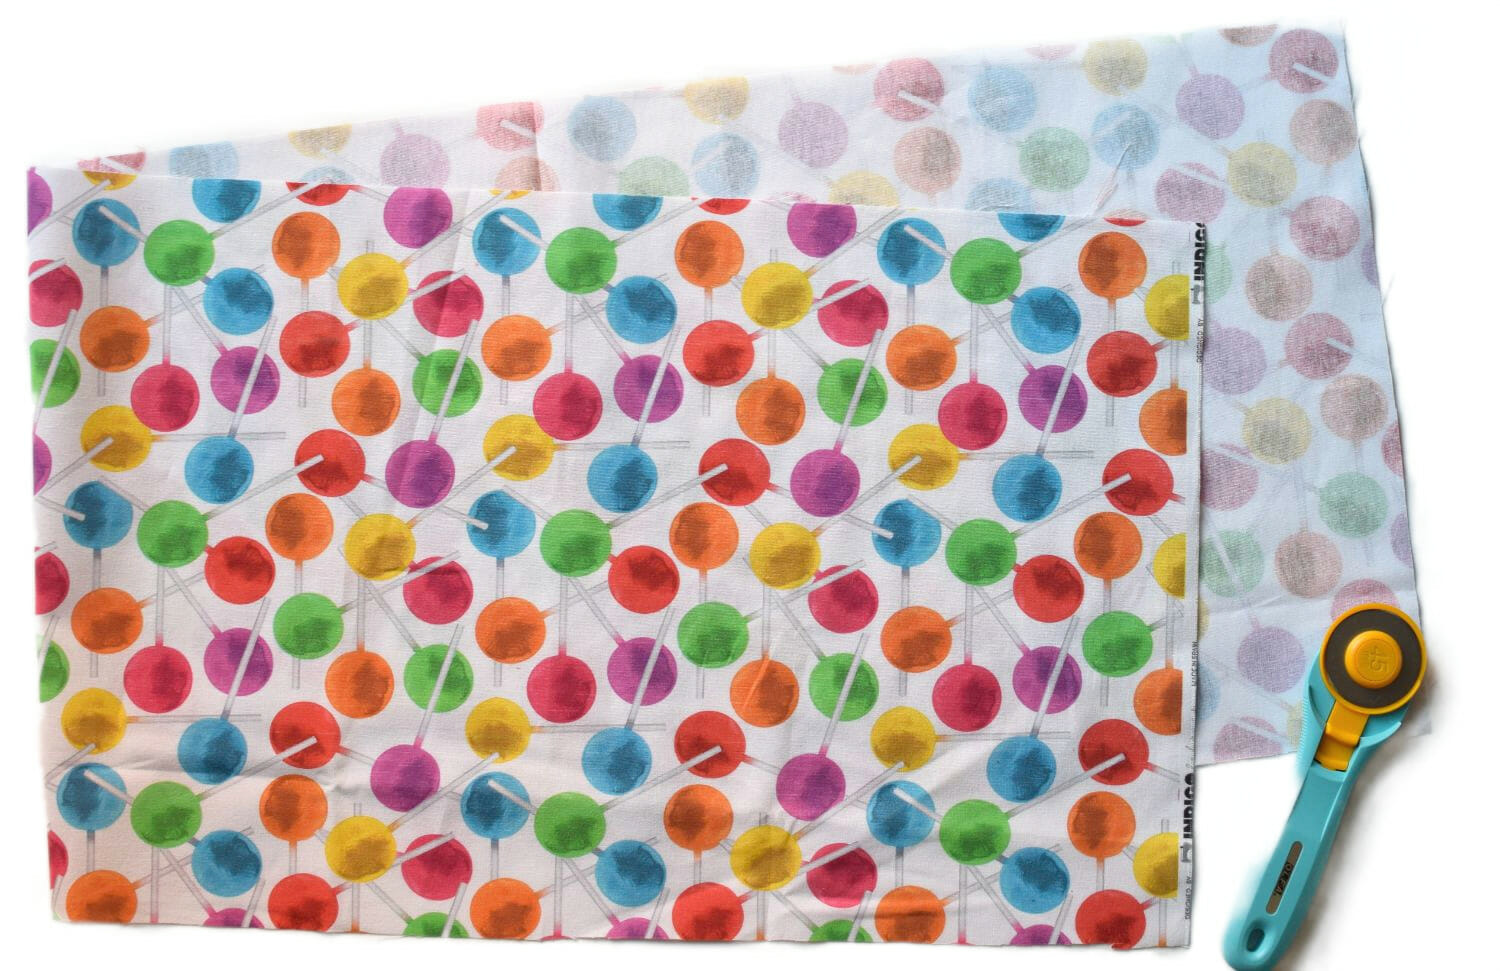
Step 1 – cut the fabric
Start by cutting your fabric nice and straight! Use a ruler, measuring tape, and tailor’s chalk for accuracy.
If you have a cutting mat, it’ll make things even easier. Don’t rush – taking your time here helps you get a clean, even hem later on.
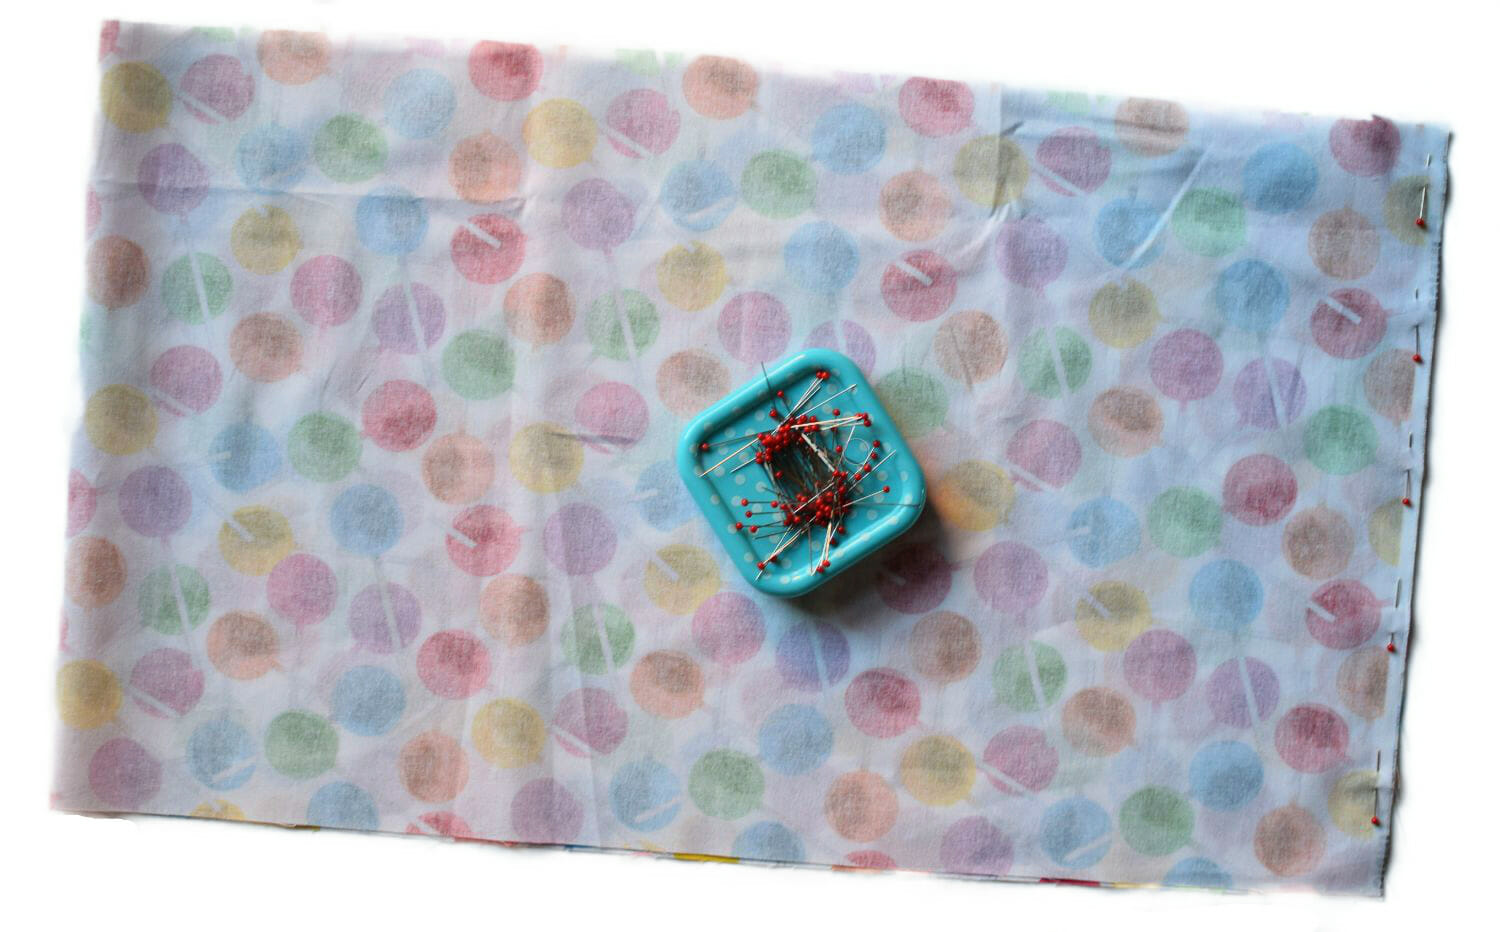
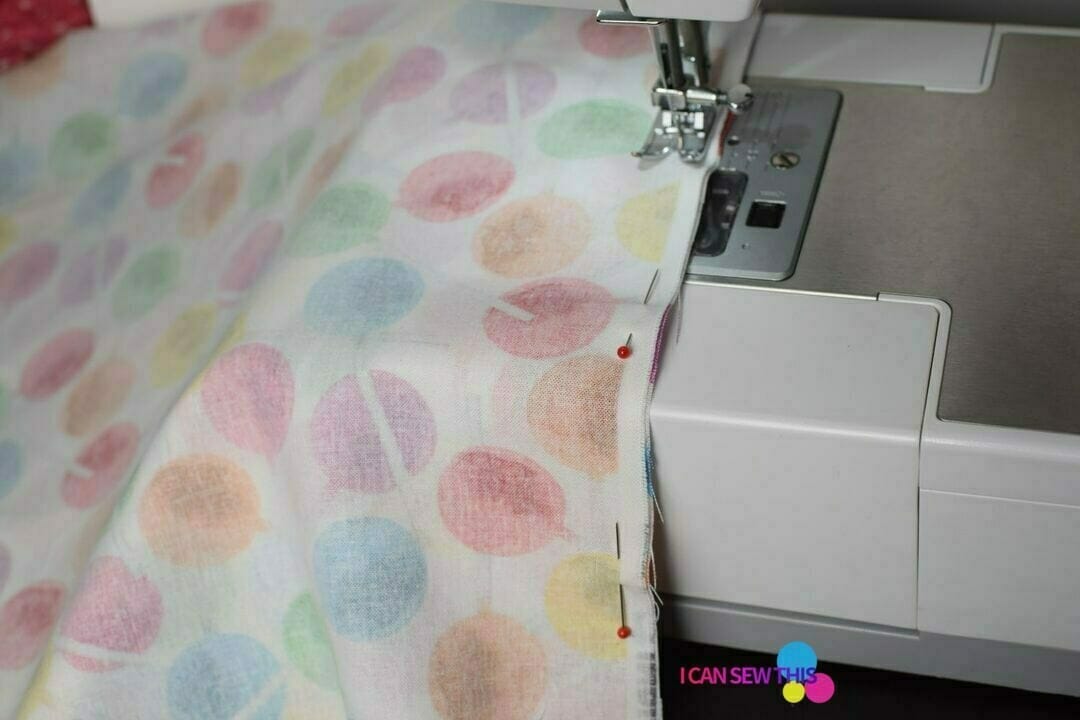
Step 2 – fold and sew the side seam
I’m using a fabric rectangle that’s 44 x 14 inches. First, fold it in half with the right sides together. Pin down the side to create a seam, and sew with a 1/2-inch seam allowance.
Tip: Use a 3 mm stitch length. If you make a mistake, it’s easier to unpick these stitches and fix it quickly. I learned this the hard way when I first tried a shorter 2 mm stitch – it made fixing mistakes frustrating, and I even tore my fabric while unpicking!
Bonus tip for beginners: If you’re new to sewing straight lines, take it slow and use the edge of the presser foot as a guide. A little practice goes a long way!
Here are my top tips for beginners – how to sew straight lines on your sewing machine!
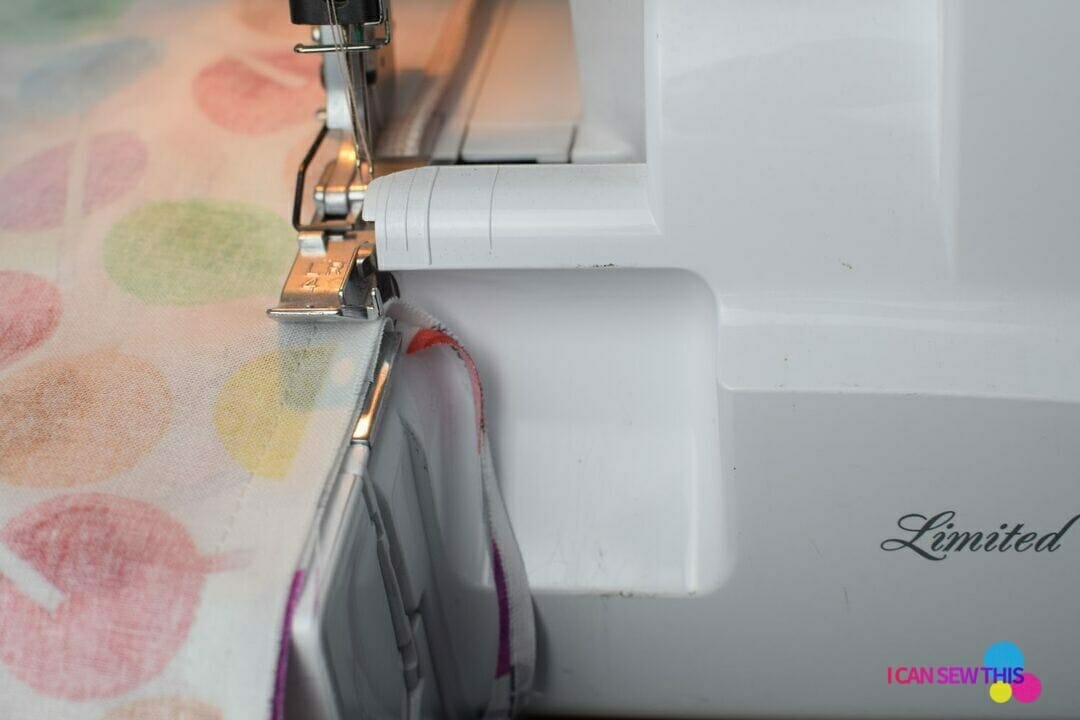
Step 3 – finish the raw edges
To prevent fraying, finish the raw edges of your side seam. A serger works best if you have one, but a zig-zag stitch does the job just fine.
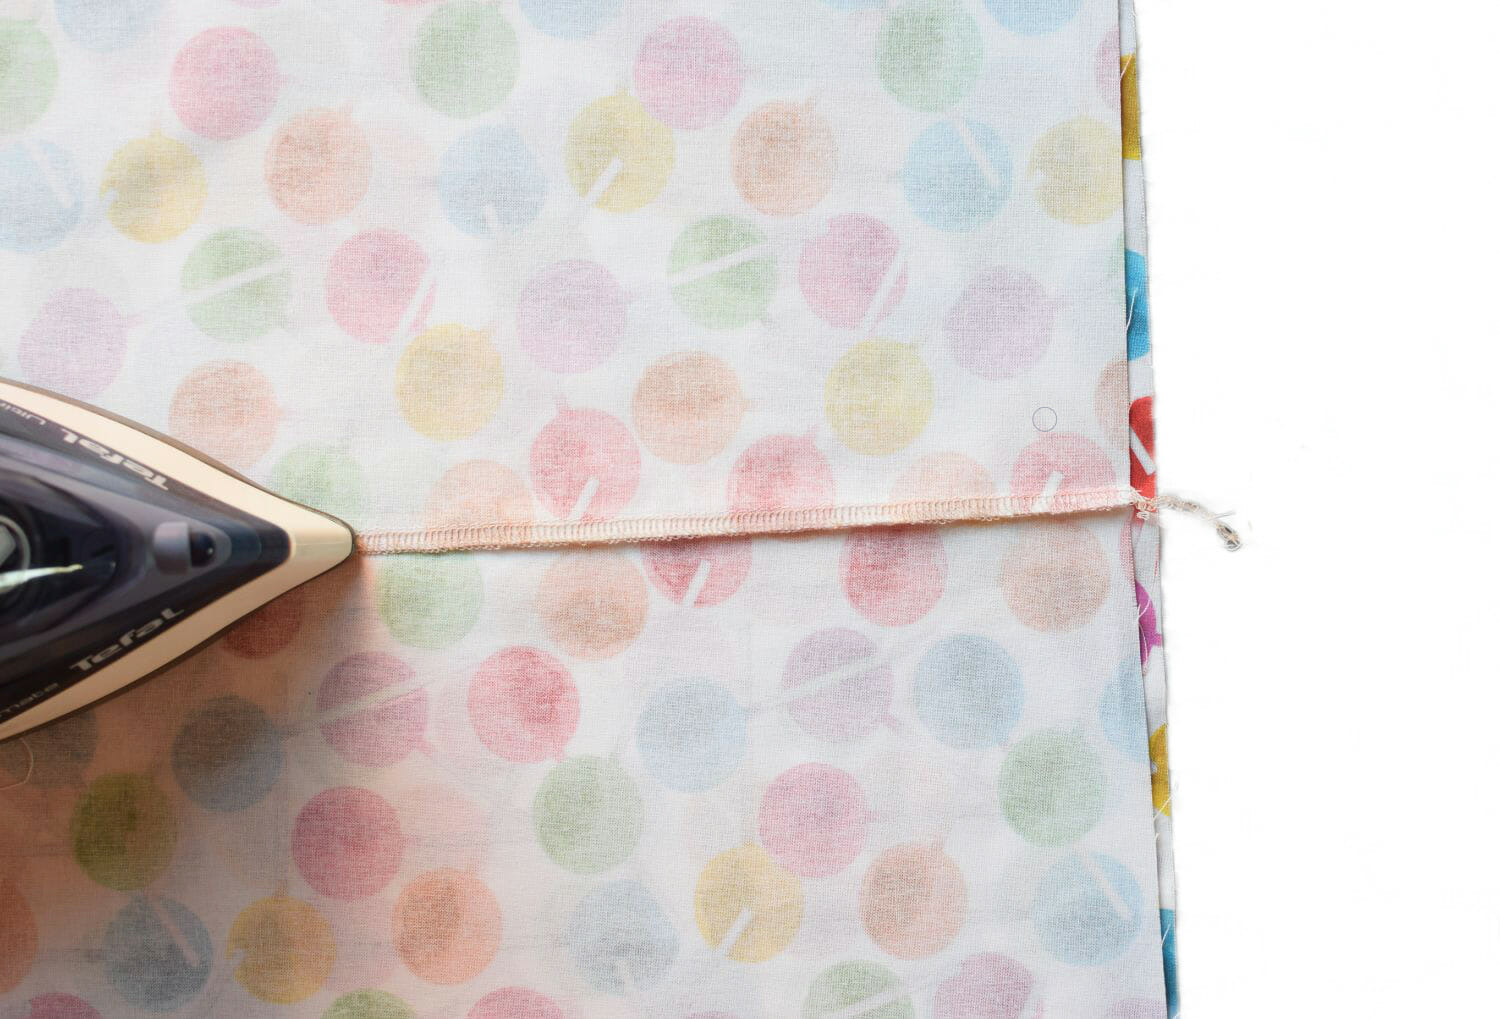
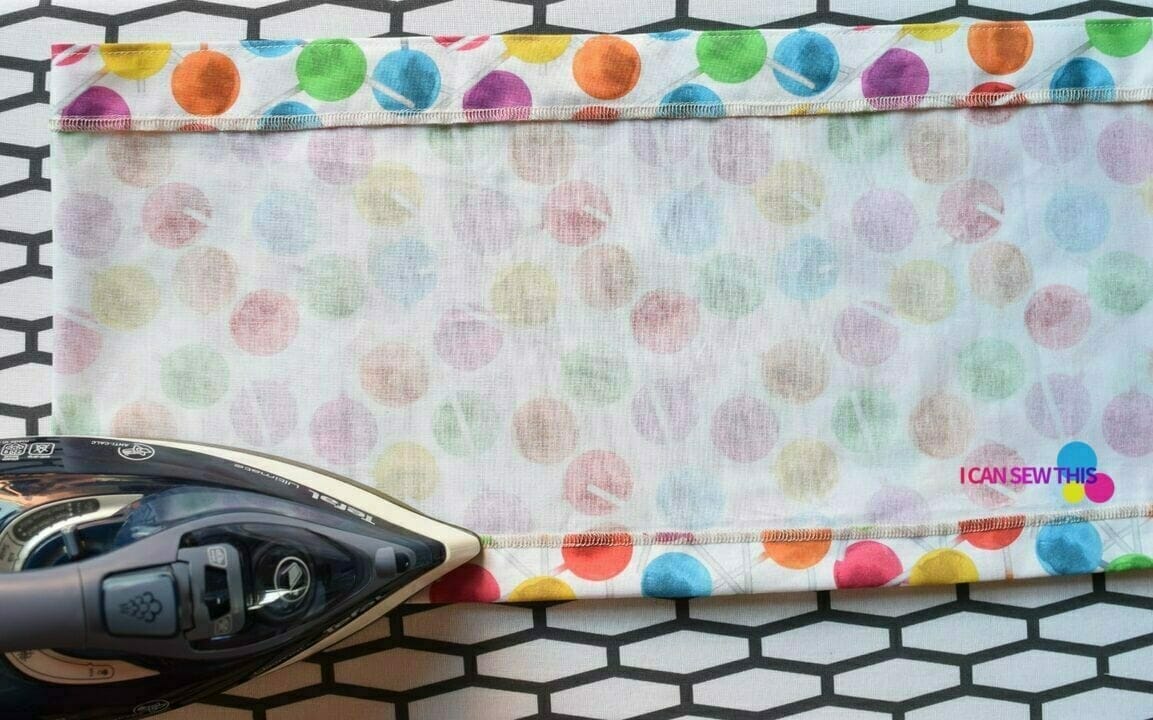
Step 4 – press your seams for a professional look
If you want your skirt to look polished and not a bit frumpy, take a moment to iron your seams. I get it – you might be tempted to skip this part. I definitely did when I first started! But trust me, you’ll thank yourself later.
Once the skirt is fully sewn, you can’t easily flatten those seams, so a quick press now makes all the difference.
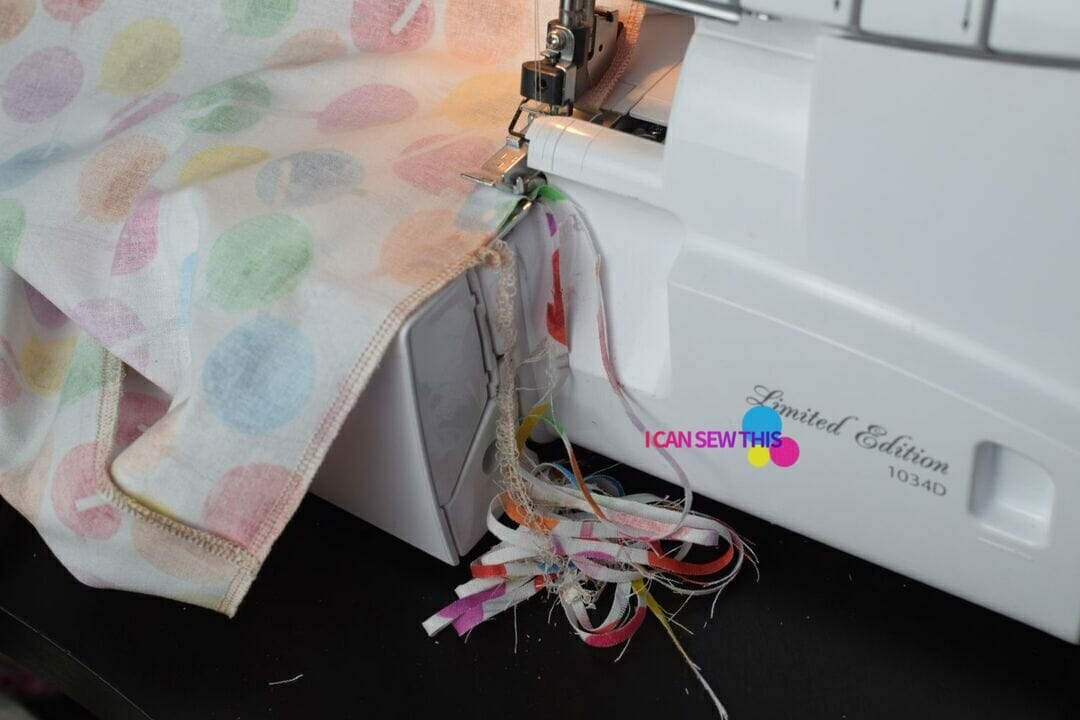
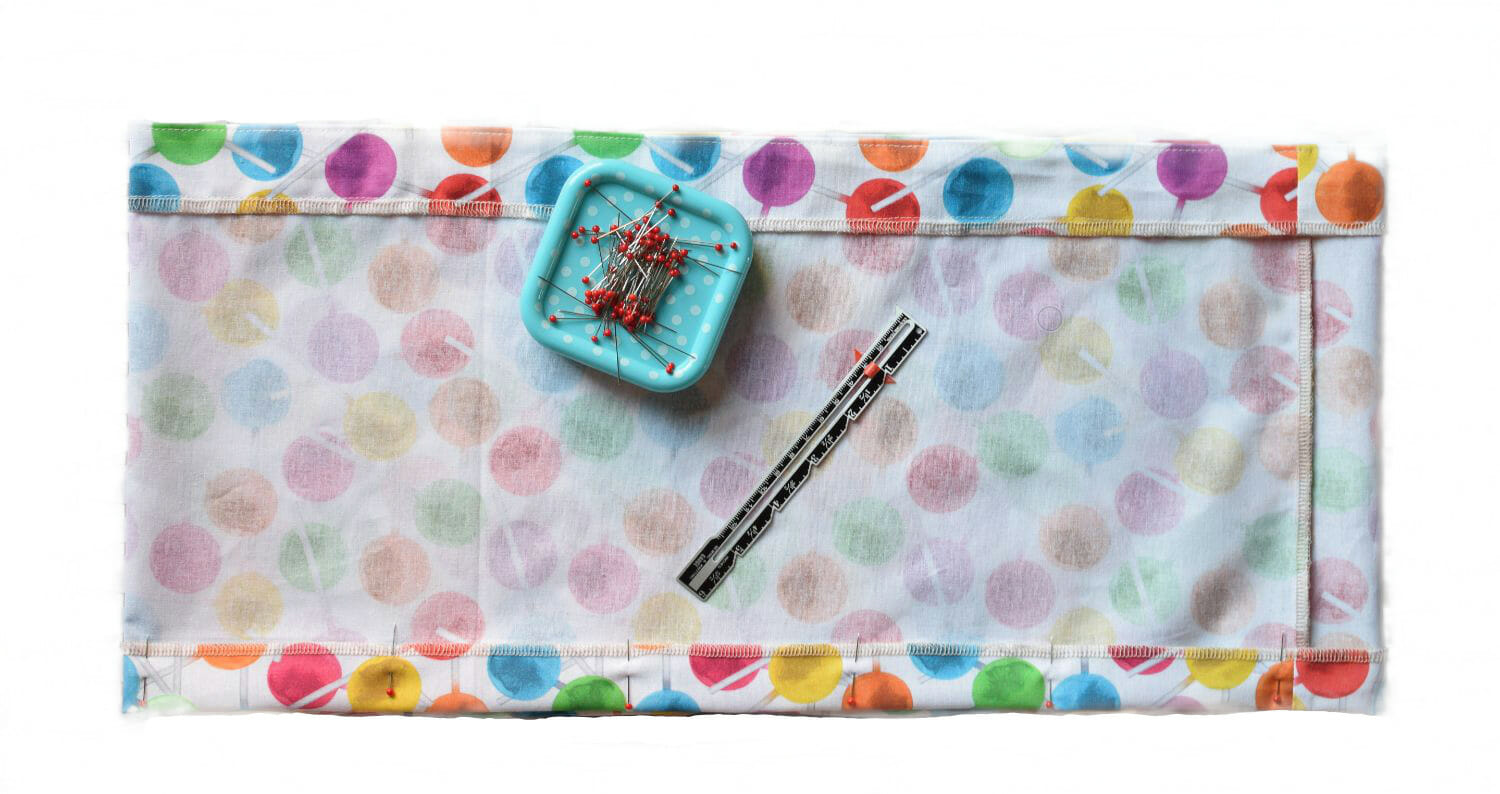
Step 5 – finish the raw edges
Next, serge the raw edges at both the top and bottom of the skirt. This step prevents fraying and keeps your skirt looking clean and durable.
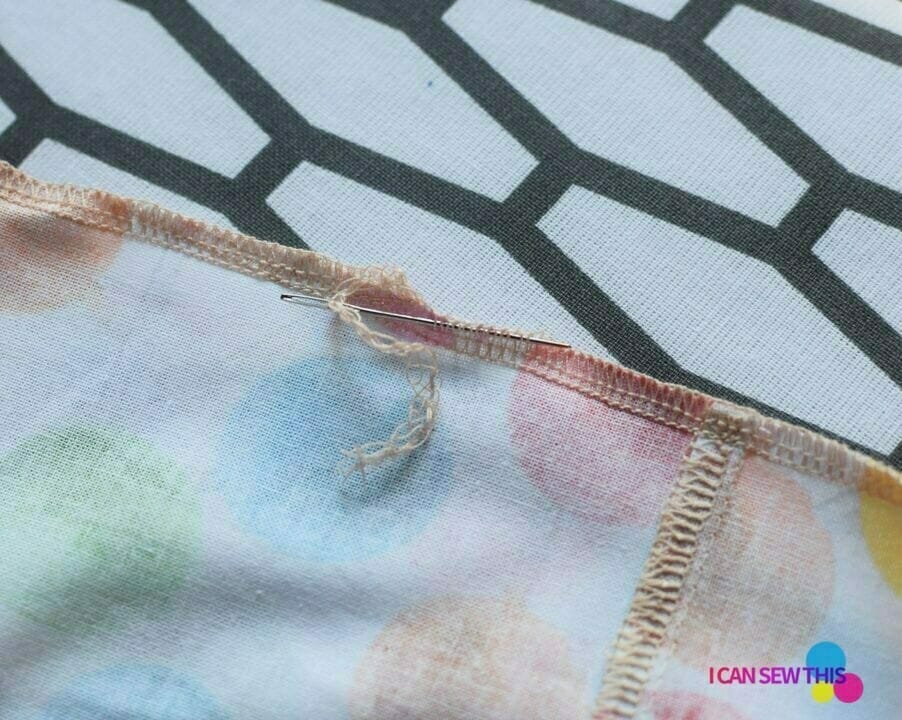
Tip: For a neat finish on serger thread tails, use a large-eye needle to feed the thread chain back into the stitching. This keeps everything looking tidy!
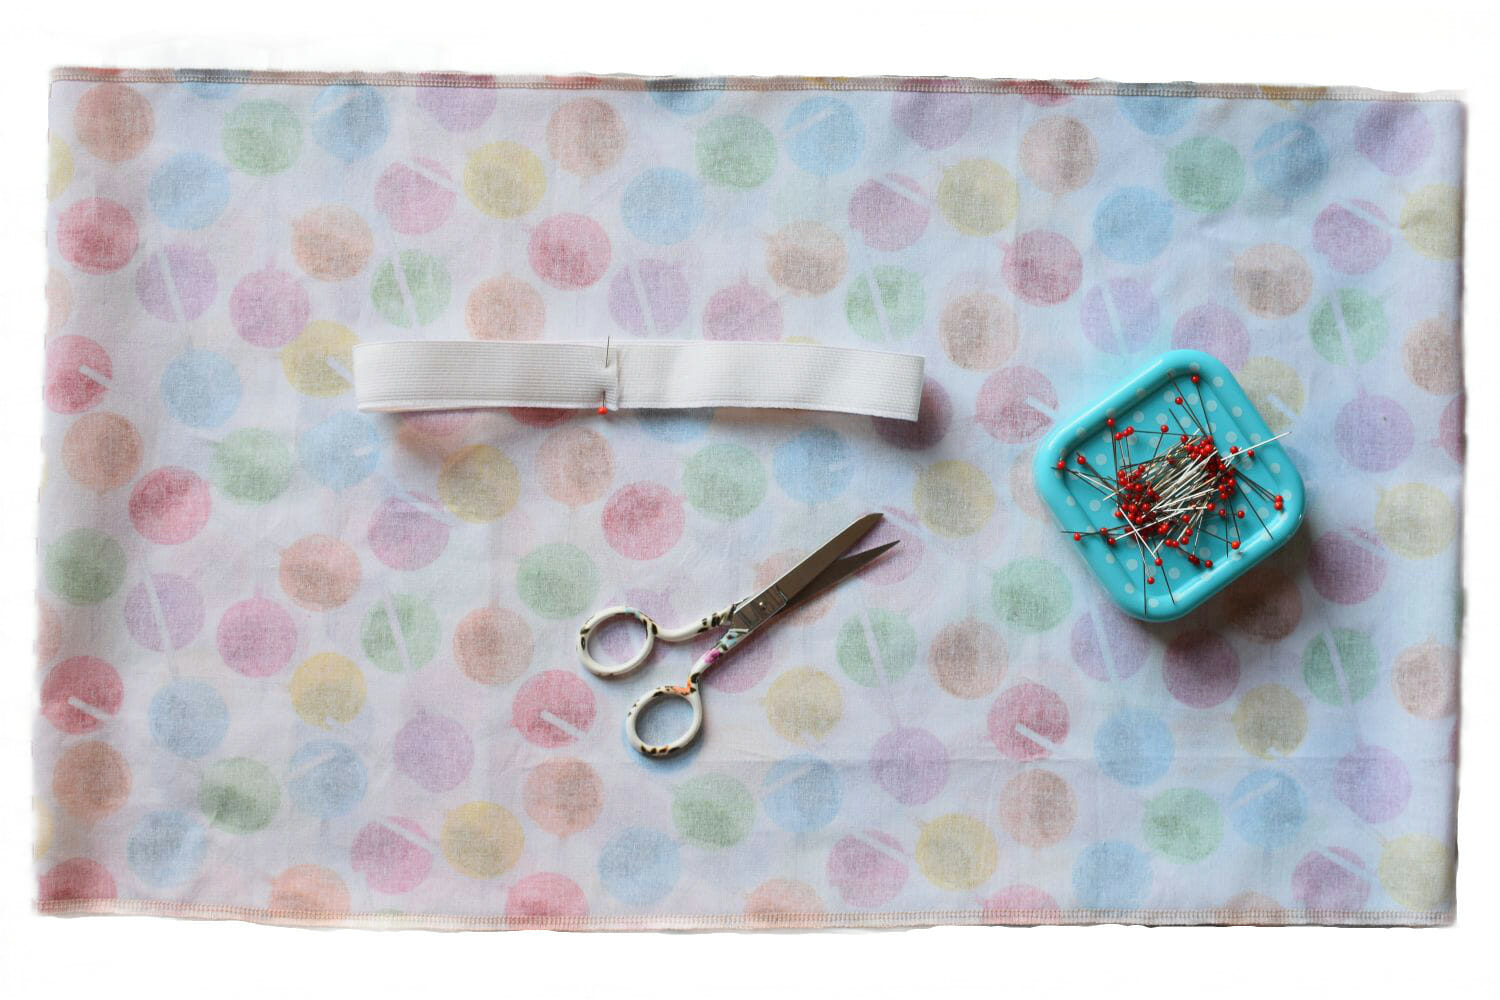
Step 6 – cut the elastic for a comfortable fit
Now it’s time to cut your elastic. Here’s a pro tip – try the elastic around your child’s waist before cutting.
You’re aiming for a snug but comfy fit, so make sure it’s not too loose or too tight. Comfort is key!
Step 7 – make the waistband casing
To create the waistband casing, fold the fabric at the top of your skirt. Use the elastic as a guide for width – then add an extra 1/2 inch so the elastic fits comfortably inside.
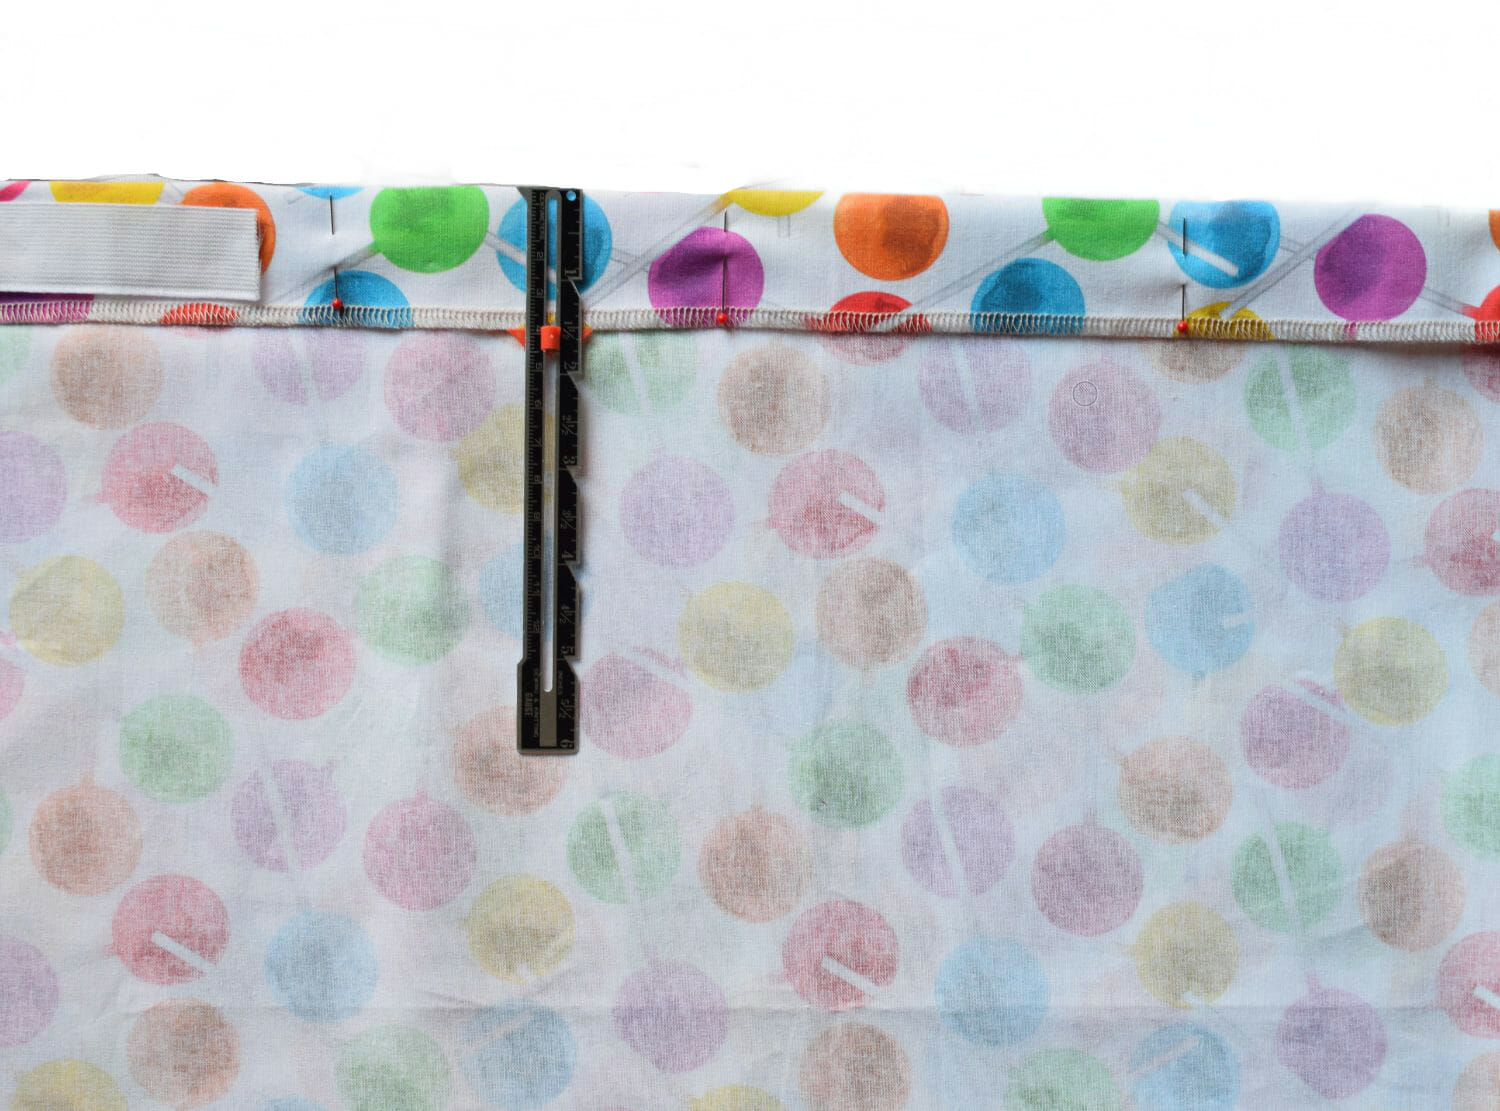
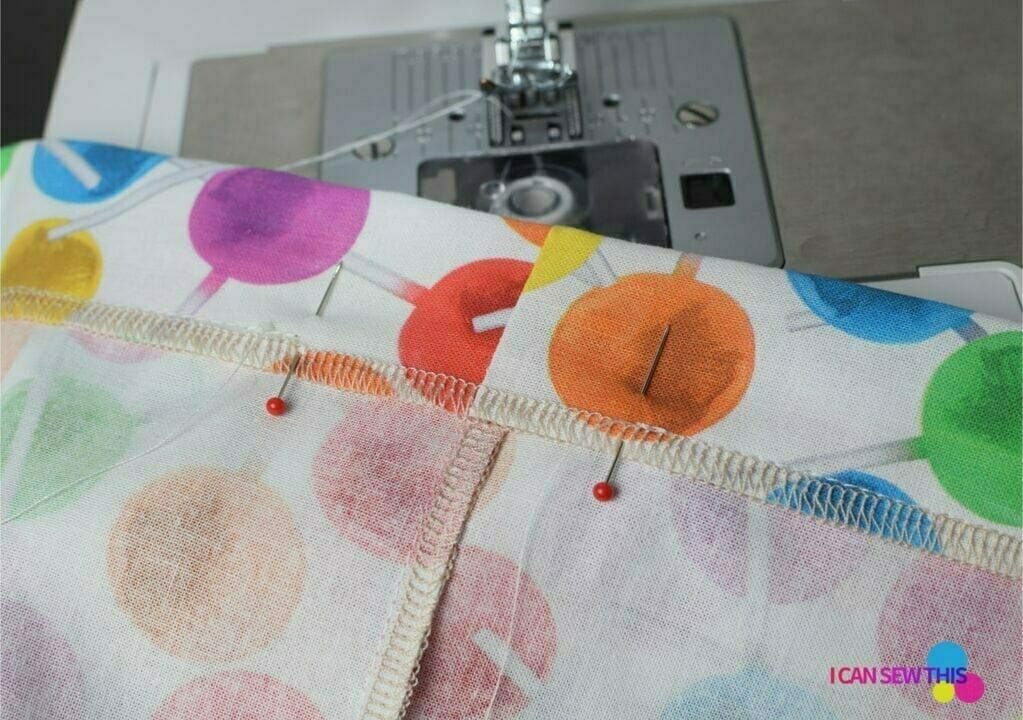
Step 8 – pin the waistband
Pin the waistband down every 2-3 inches to keep it steady. Make sure to mark a 2-inch opening with pins; you’ll need this gap later to insert the elastic
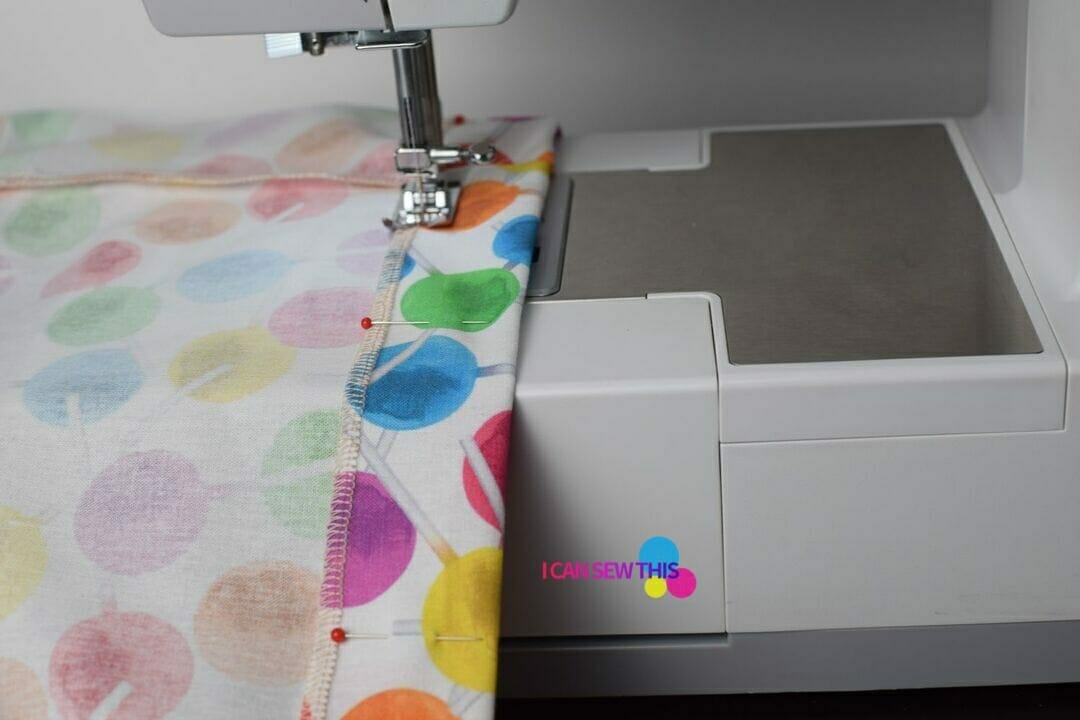
Step 9 – sew the waistband
Now it’s time to sew the waistband. Take it slow and keep an eye on the seam allowance markings on your machine’s throat plate. This will help you sew a straight line.
Important: Don’t forget to backstitch at the beginning and end, and leave that 2-inch opening unsewn – it’s where the elastic will go!
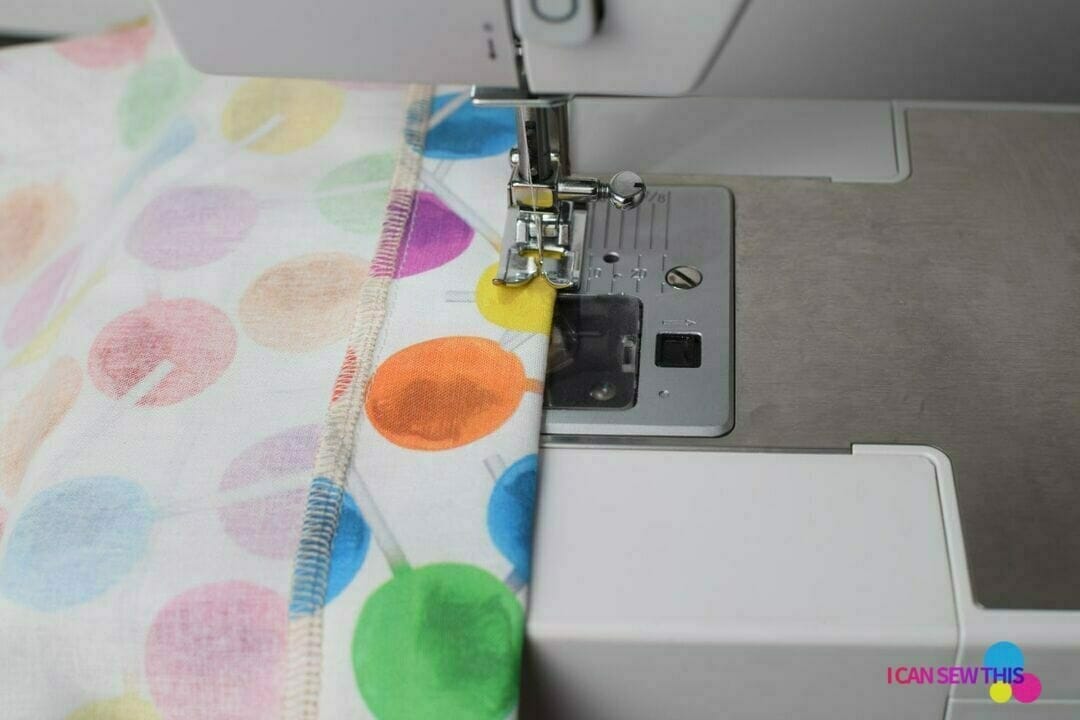
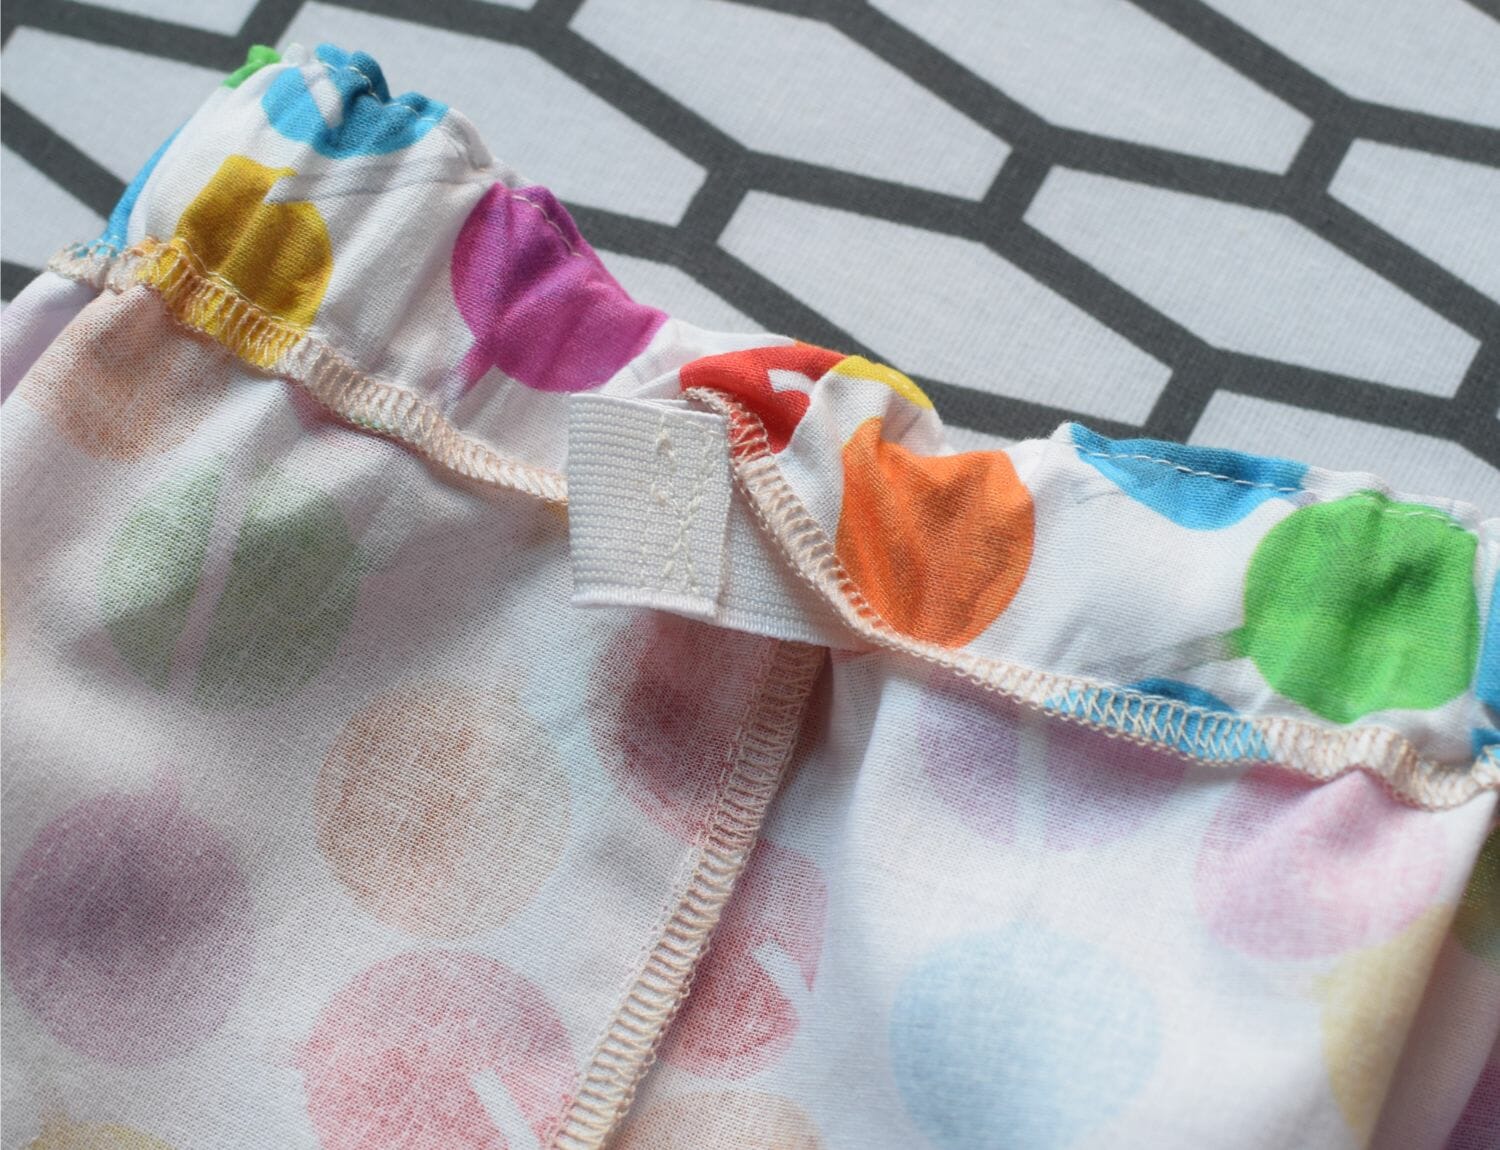
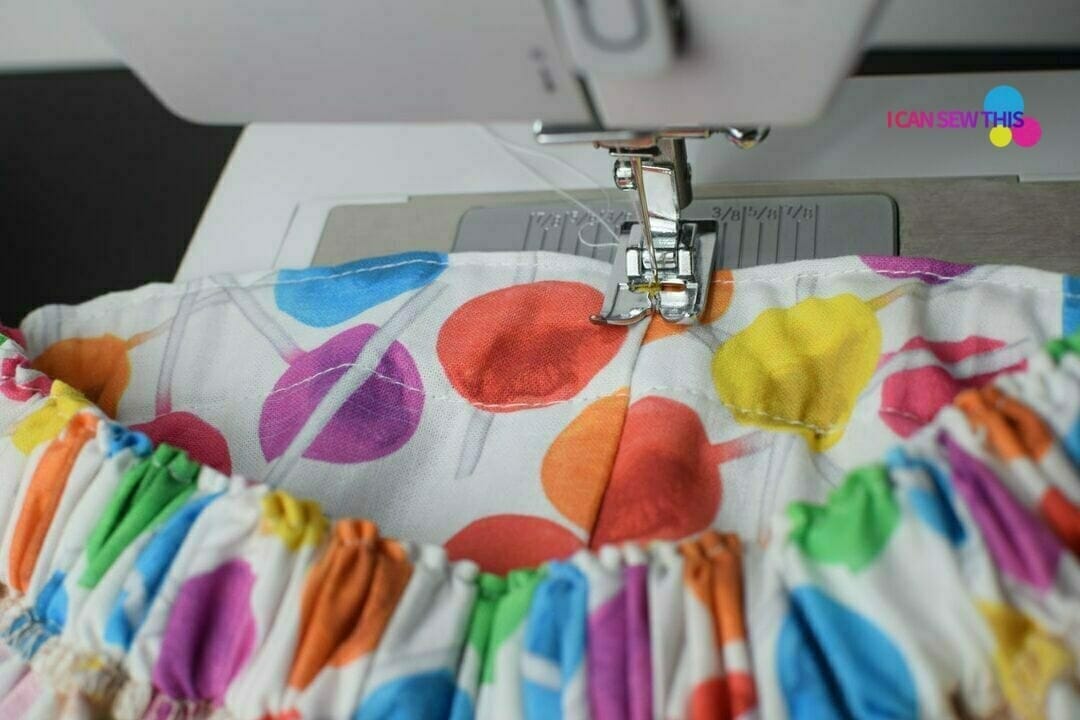
Step 10 – add an edgestitch to prevent elastic from twisting
Here’s a handy trick to keep your elastic from twisting inside the waistband! Before adding the elastic, edgestitch along the top of the waistband. Stitch about 1/8 inch from the edge, all the way around. You won’t need an opening for this step.
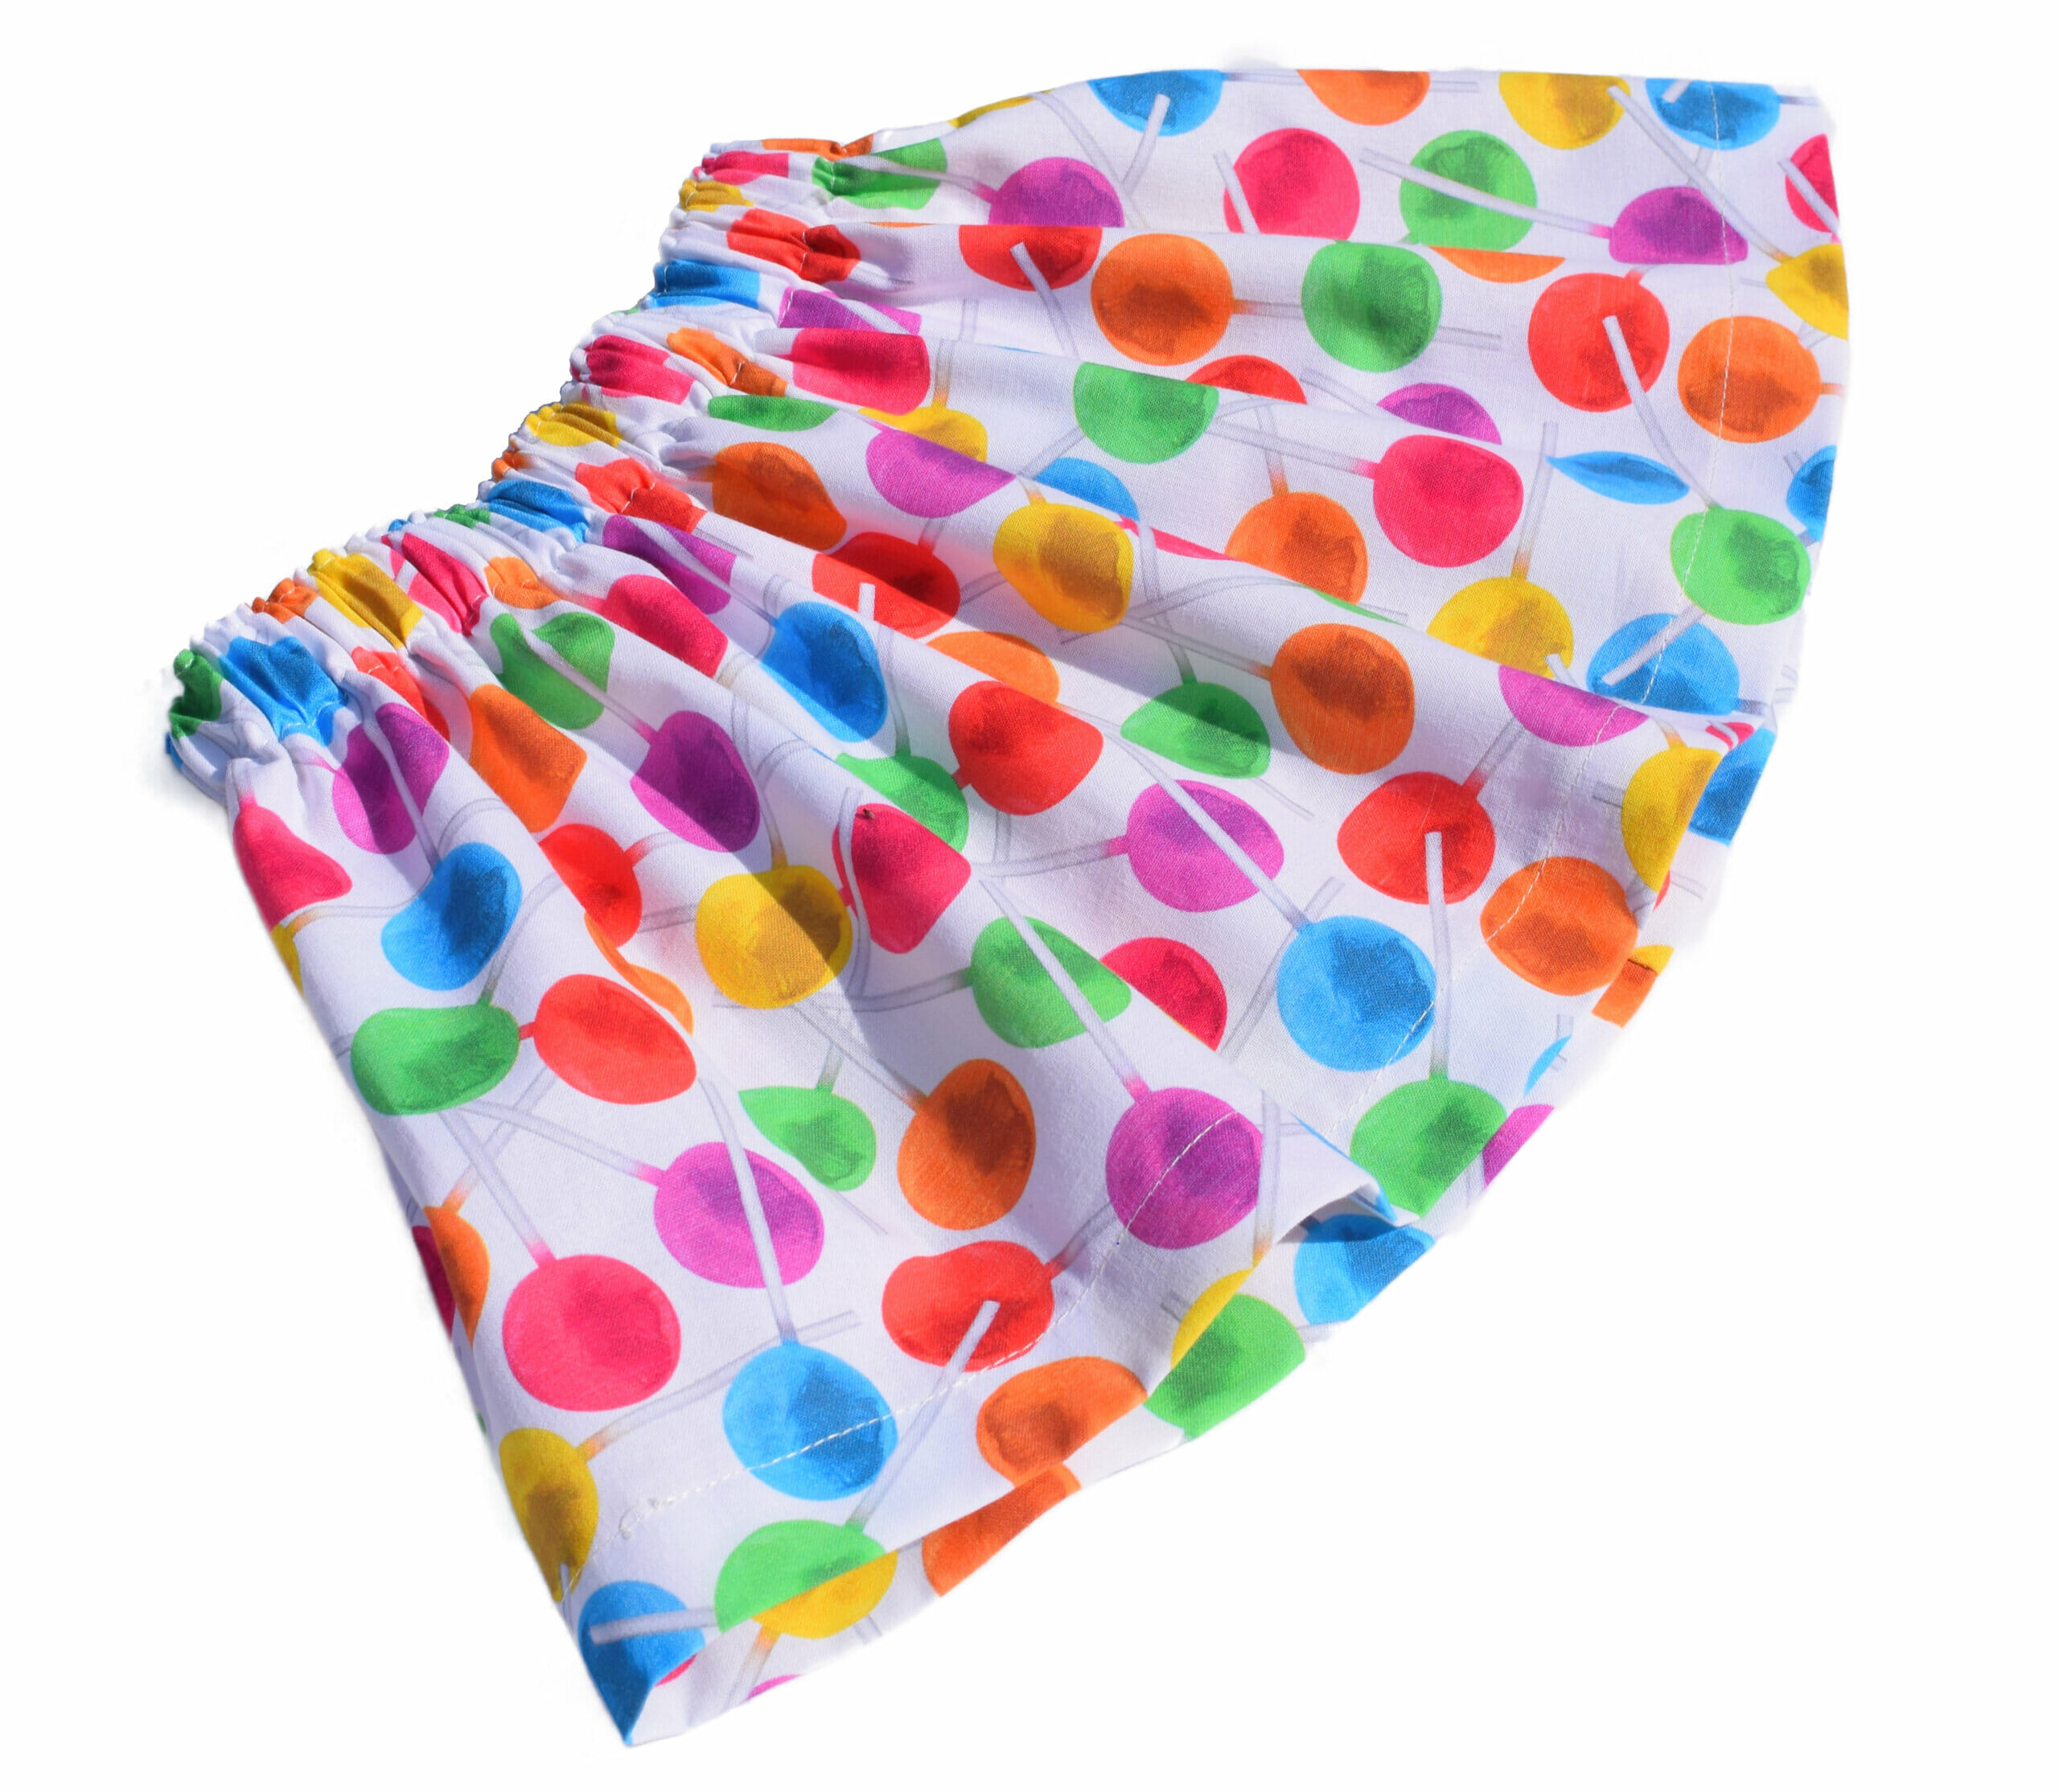
This creates a small ruffle, like a paper-bag waist, which not only looks cute but also helps keep the elastic secure!
Step 11 – hem the skirt
For the final step, hem your skirt using a straight stitch. I went with a 1-inch hem for this skirt, but a narrow hem works well too – it’s all up to your style!
After sewing, give the hem a quick press with an iron so it lies flat and neat.
Step 12 – feed the elastic through the waistband
Use a safety pin to help you string the elastic through the waistband.
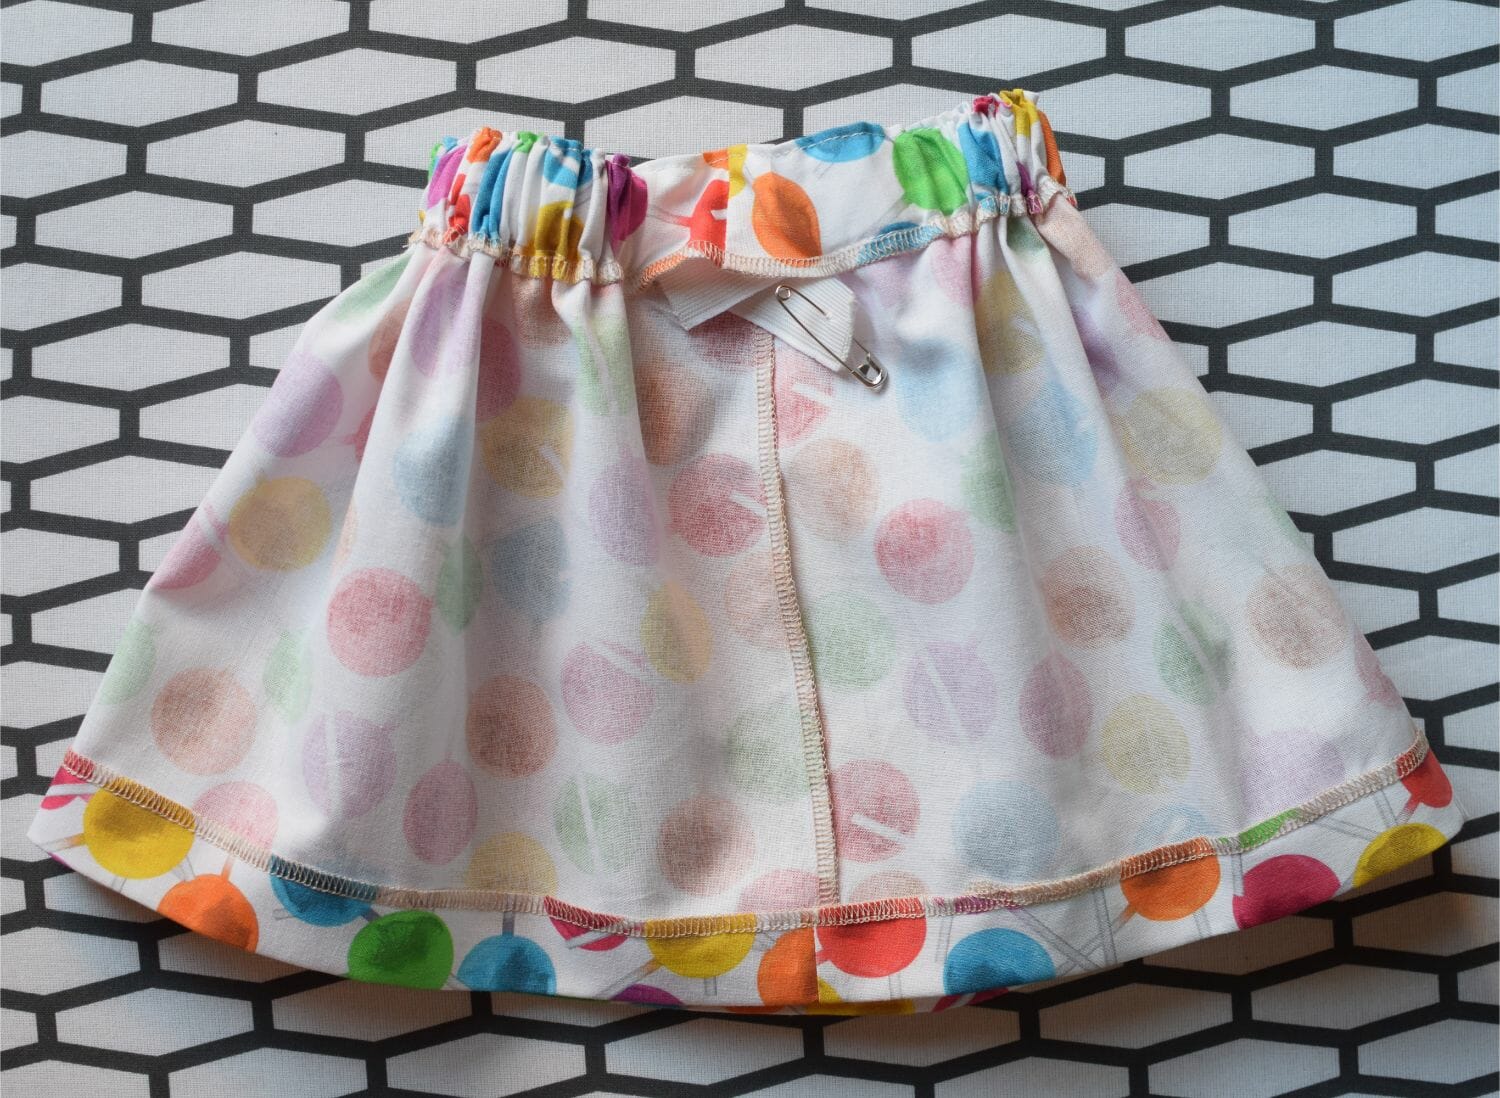
Take a moment to admire your work – your skirt is almost done and already looks adorable!
Step 13 – sew the elastic ends together
Join the elastic ends and stitch them securely, making sure the elastic isn’t twisted inside the waistband.
Step 14 – close the waistband
To close the waistband, sew over the opening with a straight stitch. Turn the handwheel to put the needle down in the fabric, then gently pull the fabric with your left hand to avoid stitching the elastic itself.
If you don’t have non-roll elastic, here’s a great hack to keep it from twisting:
- Distribute the gathers evenly around the waistband.
- Stitch vertically across the elastic at the back seam and at the side seams (three stitches total). Use a backstitch to hold everything in place. These little stitches are invisible but keep the waistband secure!
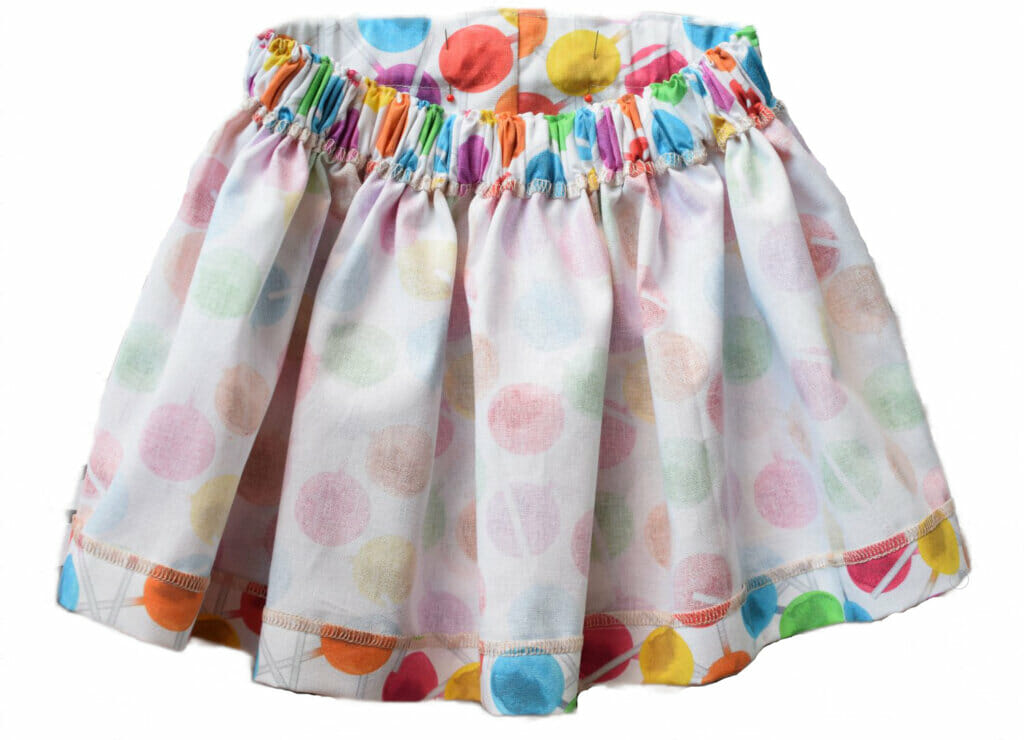
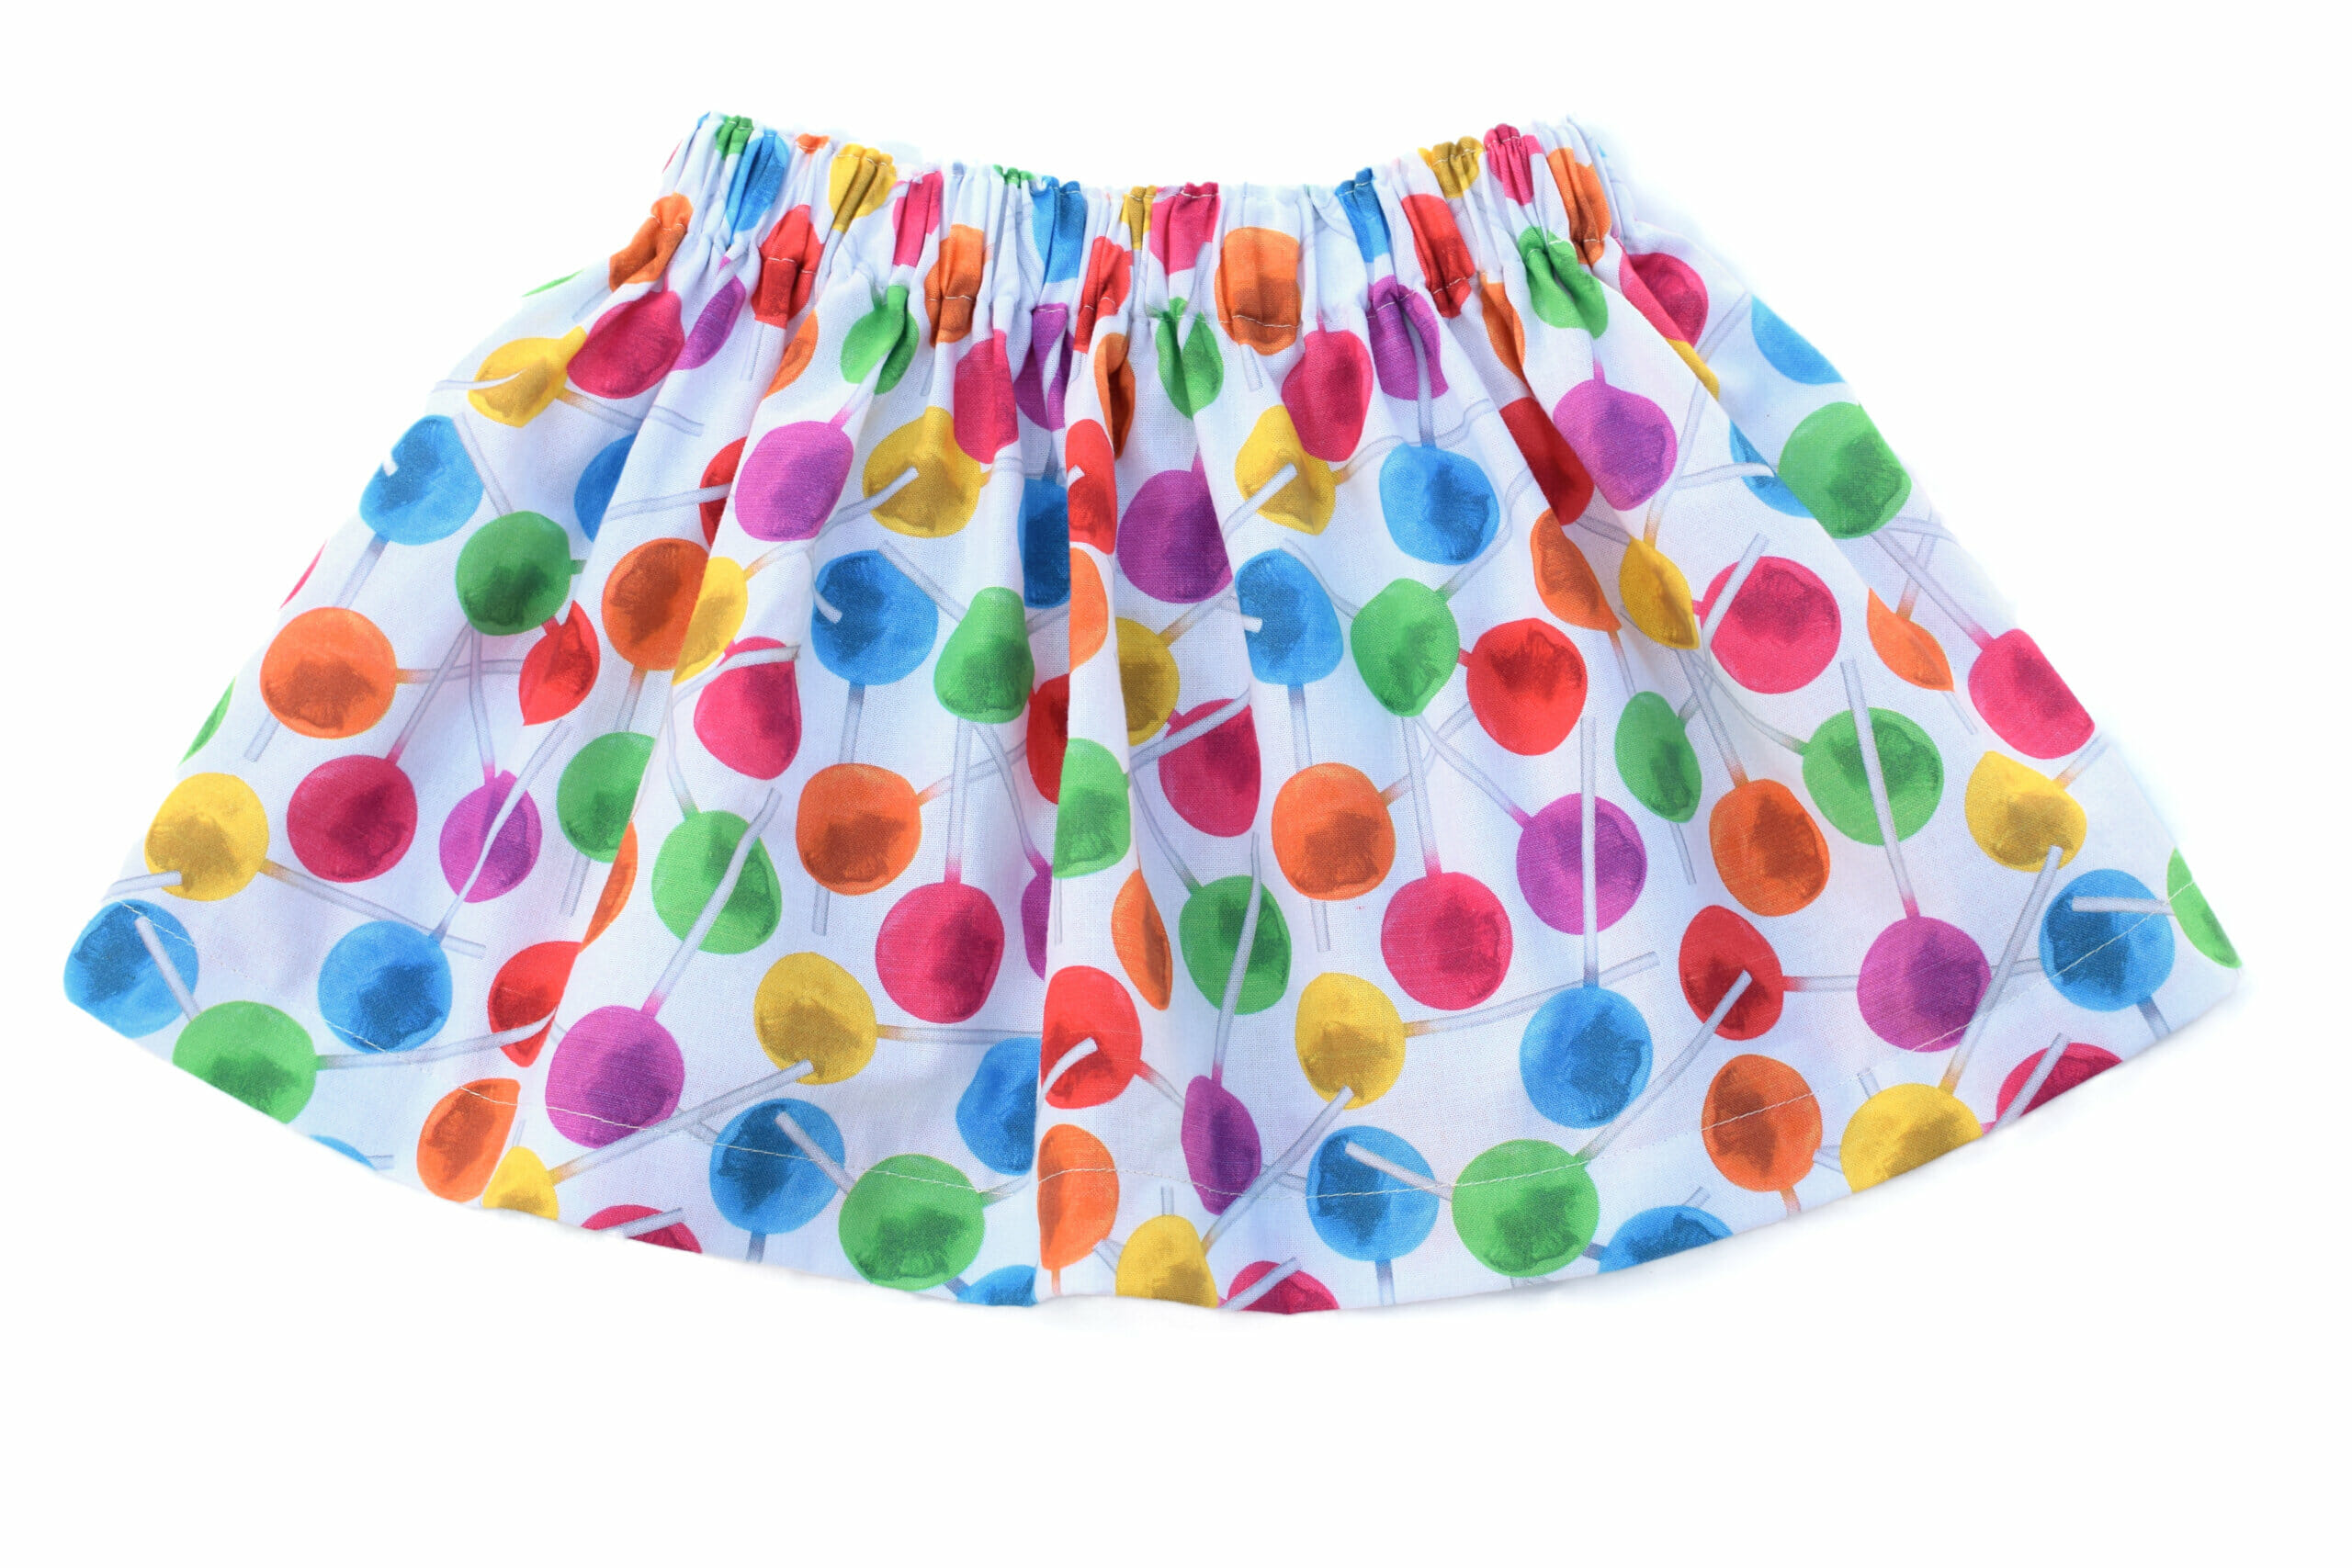
And… you’re done!
Congratulations! You’ve just created a beautiful, comfy, handmade skirt from scratch. This simple skirt is a fantastic way to practice your sewing skills and bring out your creative side.
Remember, the best part about sewing is that there’s always room for tweaks and personal touches – so don’t be afraid to experiment with colors, trims, and fabrics!
Good to know: tips and tricks
- Adjusting the elastic: If the elastic feels too loose, don’t worry! Just open the casing, trim a bit of elastic, and sew it back together. Easy fix!
- Lengthening the skirt: Need a longer skirt? No problem – cut a strip the same width as the main rectangle and sew it to the hem. Instant length!
- Making the waist bigger: If your child outgrows the elastic, you can unpick about 2 inches of the casing, add some elastic, and re-sew it to keep up with growth spurts.
- Upcycling fabric: This simple skirt is perfect for upcycling! Try using fabric from an old t-shirt, dress, or even a pair of wide-leg pants you don’t wear anymore. As long as it’s lightweight and can be cut into a big rectangle, it’ll work great!
Simple skirt tutorial: Making an adult version
Want to make a simple skirt for yourself? Here’s how:
- Measure around your hips and multiply by 1.5. This keeps the skirt nicely gathered but not too bulky.
- If you want a fuller look, go ahead and double the hip measurement for extra gathers – but keep in mind the waistband might get a bit bulky. This won’t be as noticeable if you’re using lightweight fabrics.
With these tips, you can easily customize this skirt for any size and style!
Let’s keep in touch! You can find me on Facebook, Instagram, and Pinterest.
Hi
Brilliant!! Made a skirt for my 2 year old grandaughter, misread the instructions so now her dolly has a new skirt!!
Just have to make another one for her, but I think she will be very happy that dolly has a skirt the same.
Thank you
Linda
Great idea! You explain it so well. I have 1 question: can you make a little longer and bigger to stitch tulle “skirt” under it? My doin to be 4 y/o granddaughter LOVES dresses and loves to twirl in them. So I’m making her in for her birthday in 2 weeks.
Hi Pamala! Thank you for the kind words! You can absolutely make the skirt any length you want, and adding a tulle ruffle underneath is a great idea. Just keep two things in mind: 1) choose a non-scratchy tulle fabric, and 2) be careful when ironing the skirt. Cotton can handle high temps, but tulle should only be ironed on low. Happy sewing!
Great tutorial just wandering can you use knit fabric
do you have a chart of sizes for ages. I want to make some for O.C.C Shoeboxes girls 2 to 14 they are sent in groups of 2 to 4, 5 to 9 and 10 to 14 so I would probably do sizes 4, 8 and 12.
Do you find that it gets wrinkled after washing? I made a little cotton skirt like this for my daughter and after washing the hem has a crease in it just above where I sewed. Does that make sense?
Hi Robin,
Totally! Cotton’s great for sewing, but those creases can be a pain. Still, when it comes to making skirts for little ones, the cute prints usually win out over any wrinkle worries. Kids care more about playing than fussing over clothes anyway!
just double checking – for adult size you measure the hips instead of the waist?
yes. that’s because our hips are the wider part, so that’s our reference point for the gathers.
your pictures and explanation was so GREAT!! Going to try it thank you!
Love this! You did a great job of explaining. Here’s my question…do you have any idea why edgestitching the top of the waist helps the elastic not roll? I’ve always done the stitching at the back and sides part, but am curious about edgestitching the top.
Most beginners don’t have sergers
It’s true, Mary. In this case, using a zigzag stitch is the best way to finish the seams.
This is great! Thank you for posting. I needed a quick good idea for a gift & this will work perfectly.
How can I add a ruffle to the skirt and a tie bow in back.thank you
Hi Gloria,
I feel it would take me a very long time to give good instructions on how to make a ruffle and a tie bow in the Comments section. And it’s not ideal anyway, because without photos most people have a hard time visualizing the steps. I’m sorry I can’t be of more help to you. That’s a great idea for another tutorial, though, so thank you!