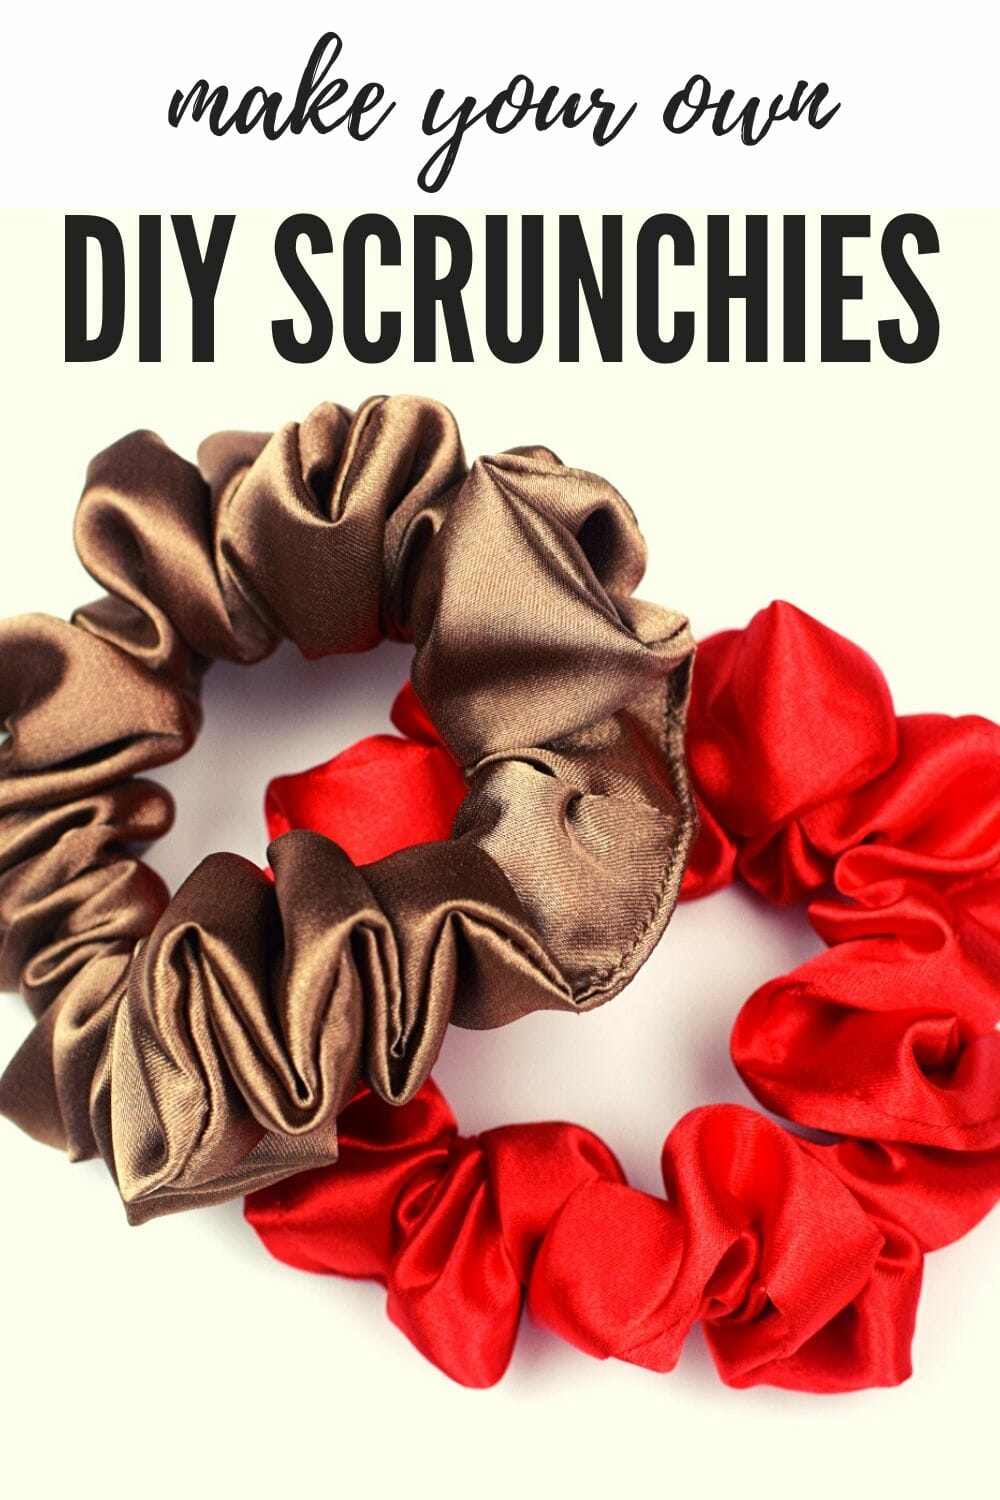
Scrunchies are a perfect beginner sewing project, a great way to use scraps, and a delightful DIY gift for friends. Learn to make your own satin scrunchies in five super simple steps.
It takes about 5 minutes to make a scrunchie, from start to finish, and the result is adorable.
I can tell you, there’s something very satisfying about this quick sew!
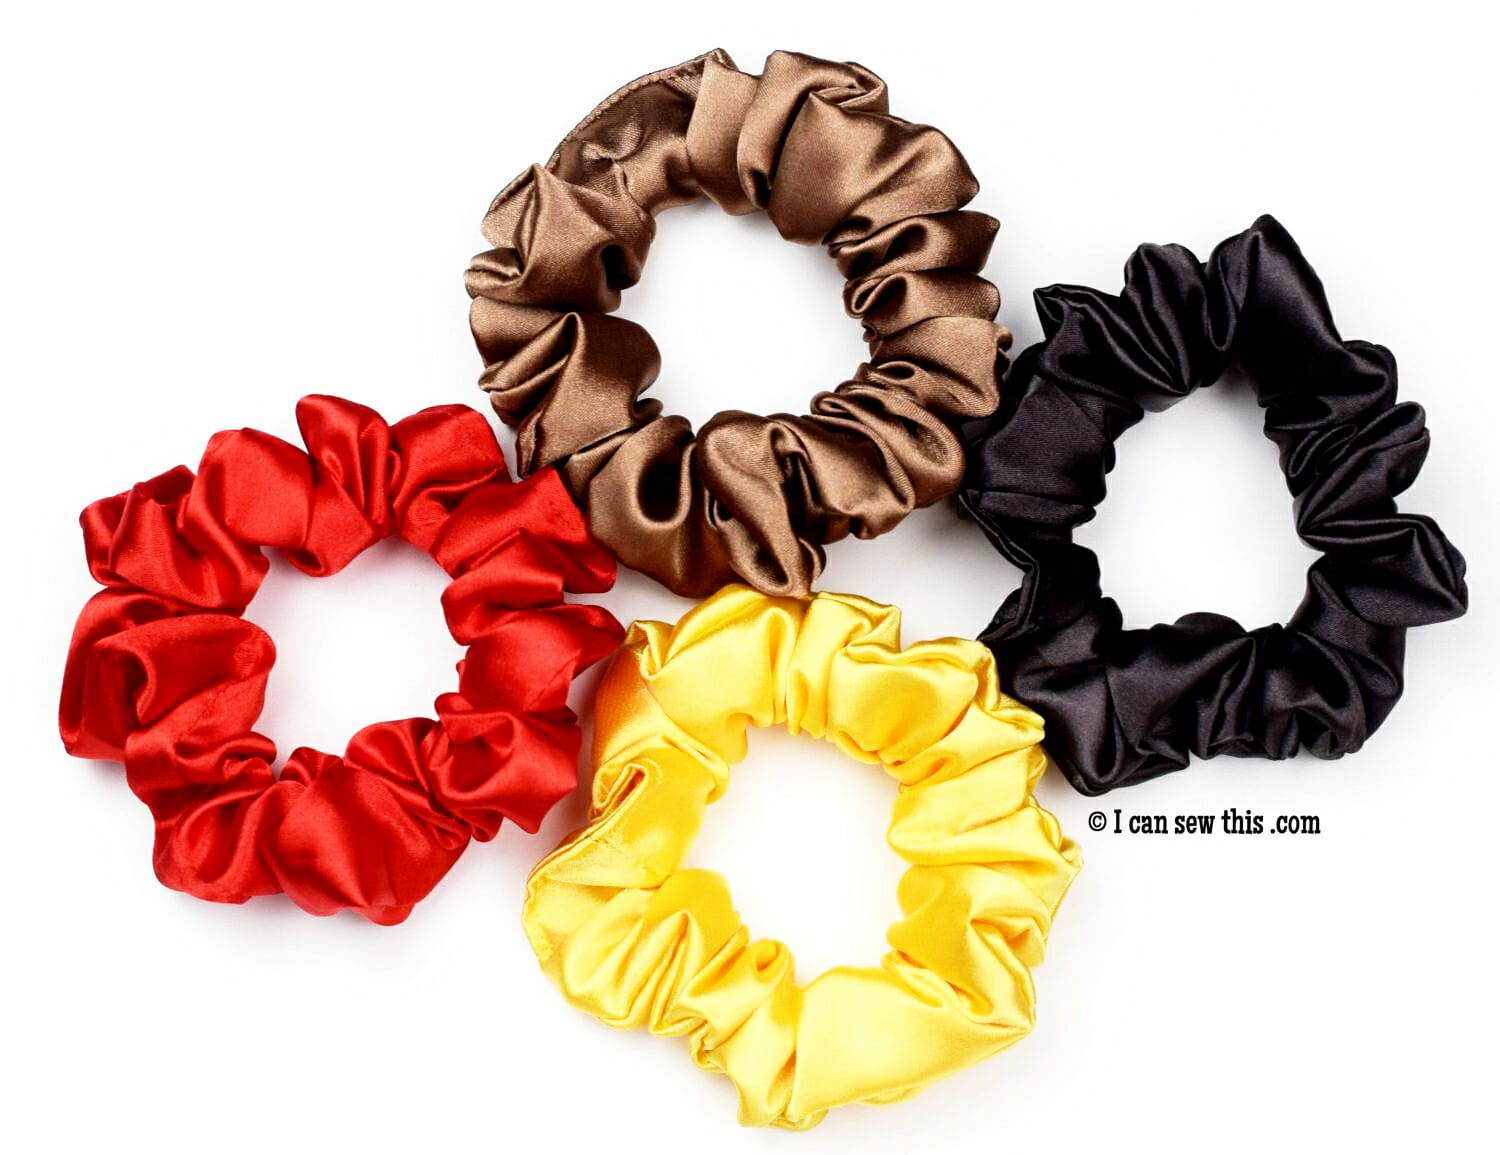
Scrunchies are so comfortable, versatile, and pretty, and you can have them at a tiny fraction of the cost of store-bought ones.
Related: Cool things to sew for kids. 30 DIY sewing gift ideas
They are very gentle to your hair – scrunchies are less likely to cause breakage and give headaches than other hair ties, and they can take a bad hair day and turn it right away into a cute hair day.
Let me show you how easy it is to make your own adorable hair scrunchies.
DIY satin scrunchies – sewing supplies
Best fabric to make scrunchies
- cotton, crushed velvet, jersey knit, linen, muslin, batiste, satin, silk
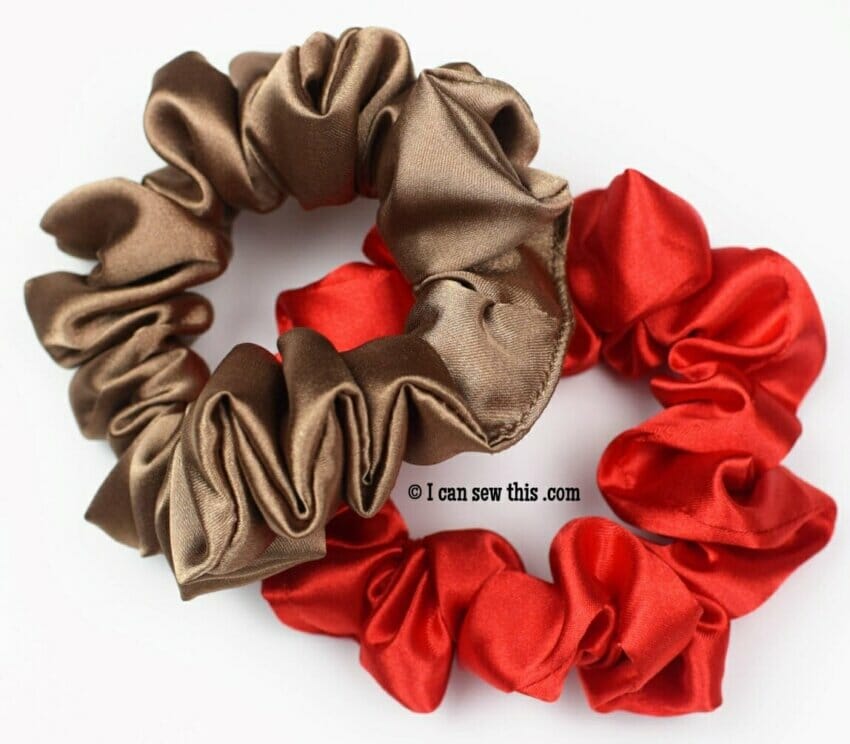
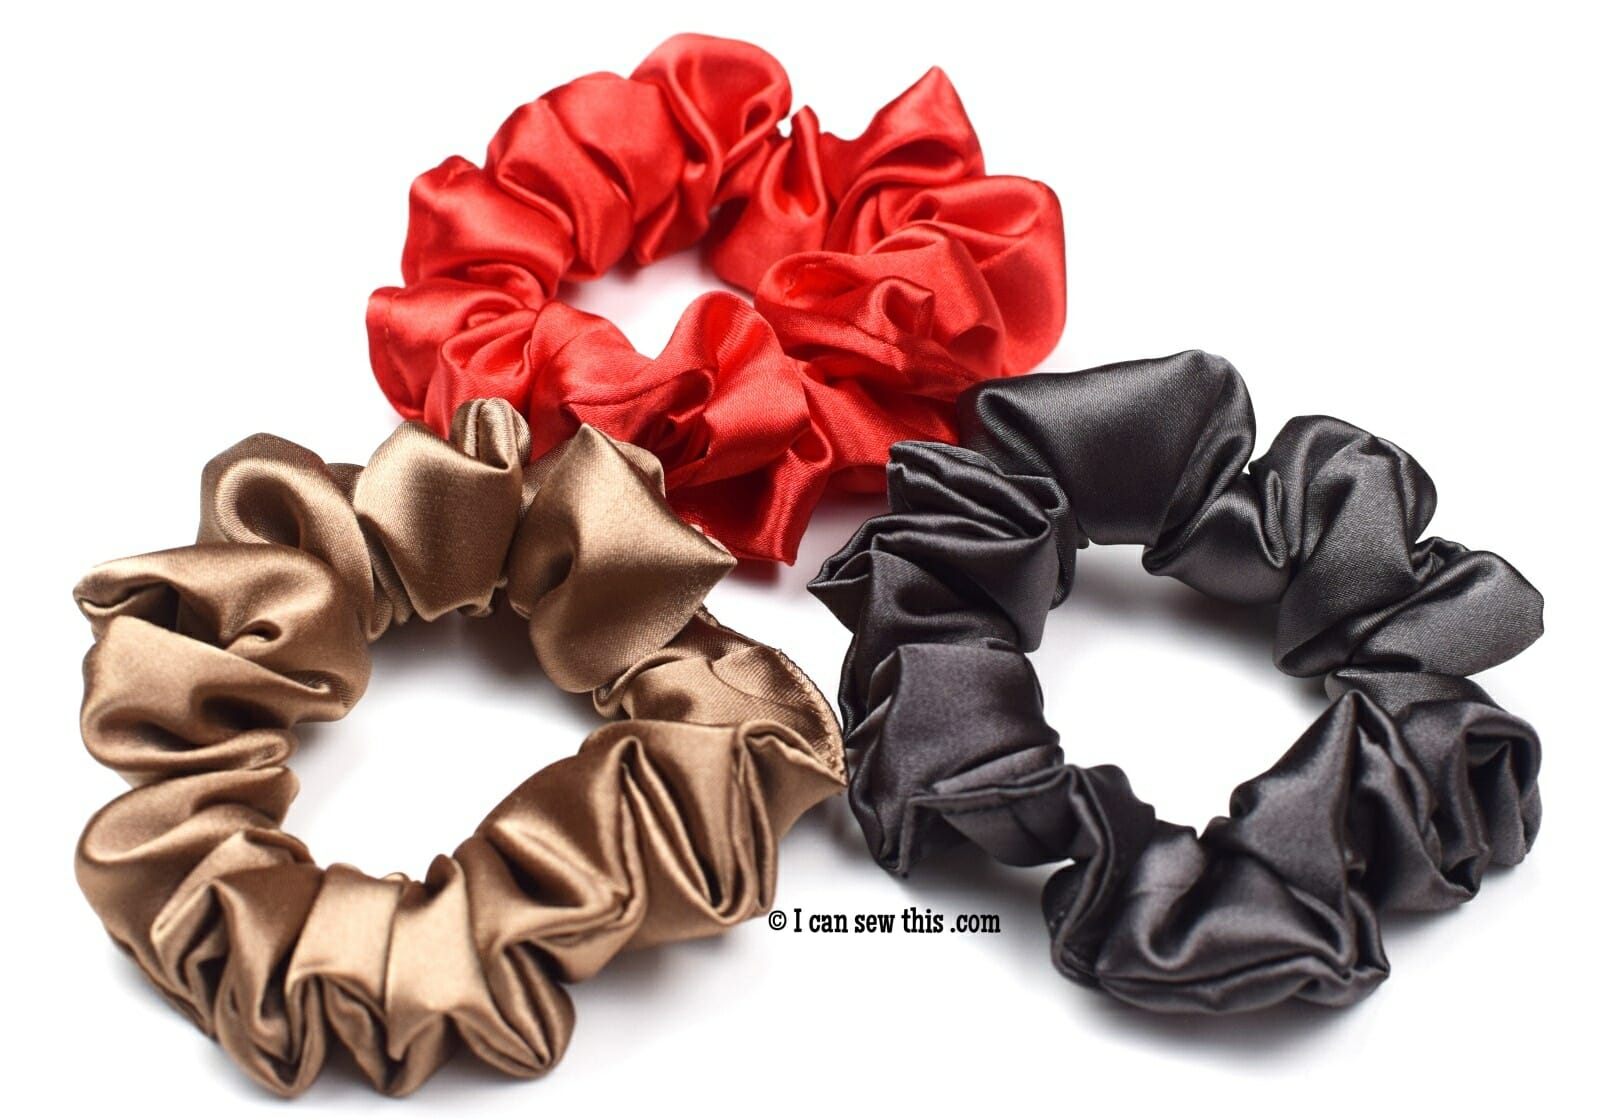
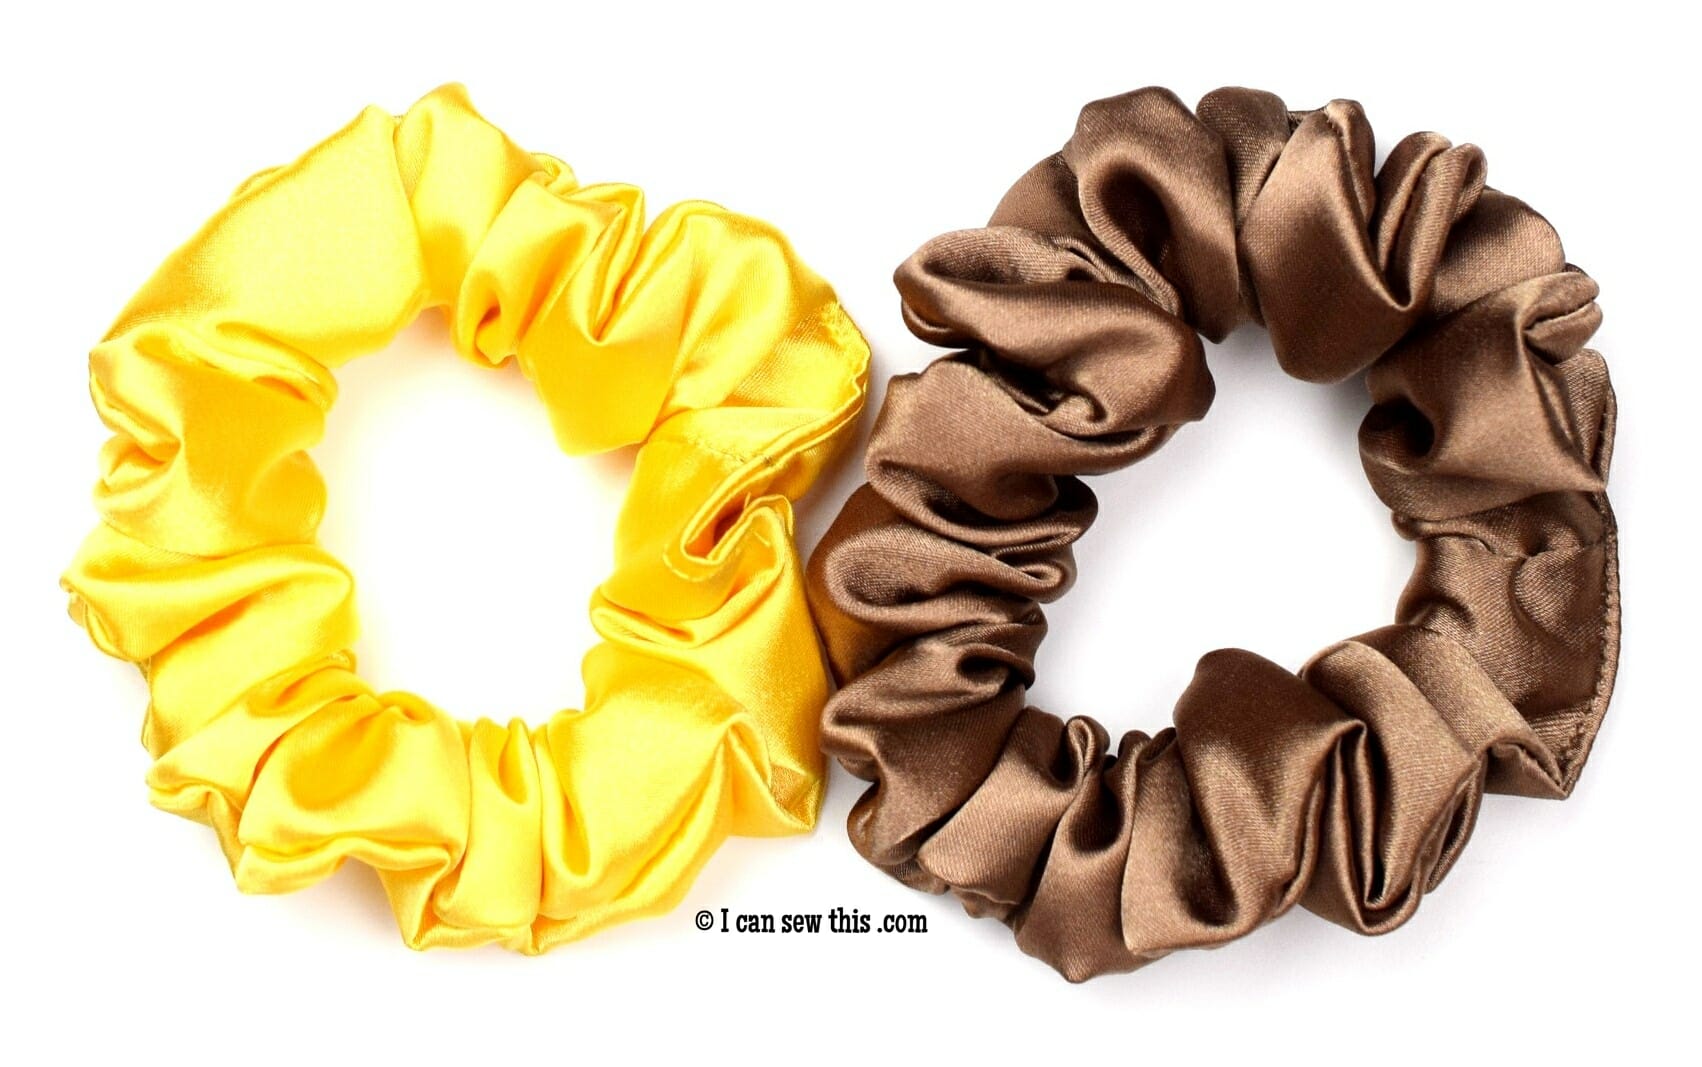
Yes, you can also use fabrics like satin or silk – these scrunchies are very smooth and stylish, have a rich feel, and make you look fabulous!
That’s not all – satin scrunchies cause zero static and minimize dents in the hair compared to cotton scrunchies and other hair ties.
I too thought at first the slippery fabric makes it slide out of hair more easily, but I was pleasantly surprised to find the satin scrunchie stays in all day long!
Related: How to make ruffled scrunchies / cotton scrunchies / tulle scrunchies
How much fabric is needed for a scrunchie?
There’s no right or wrong answer here. To make a scrunchie you need a long strip of fabric – if you want a fuller scrunchie (more gathered), make the rectangle longer. For a wider scrunchie, just make the rectangle wider.
Length – anything from 15 to 25 inches for cotton fabrics. For satin fabric, you can use anything from 15 to 40 inches.
Width – anything from 3 to 6 inches
I wanted to make narrow scrunchies with lots of gathers. So, I made these satin scrunchies with fabric strips measuring 33 inches by 3 inches and one 1/4″ elastic piece measuring approx. 8 inches. I stitched each scrunchie with a 1/4″ seam allowance.
How to make satin scrunchies in 5 easy steps
Step 1
Cut a long strip of fabric, fold it lenghtwise, right sides together, and pin.
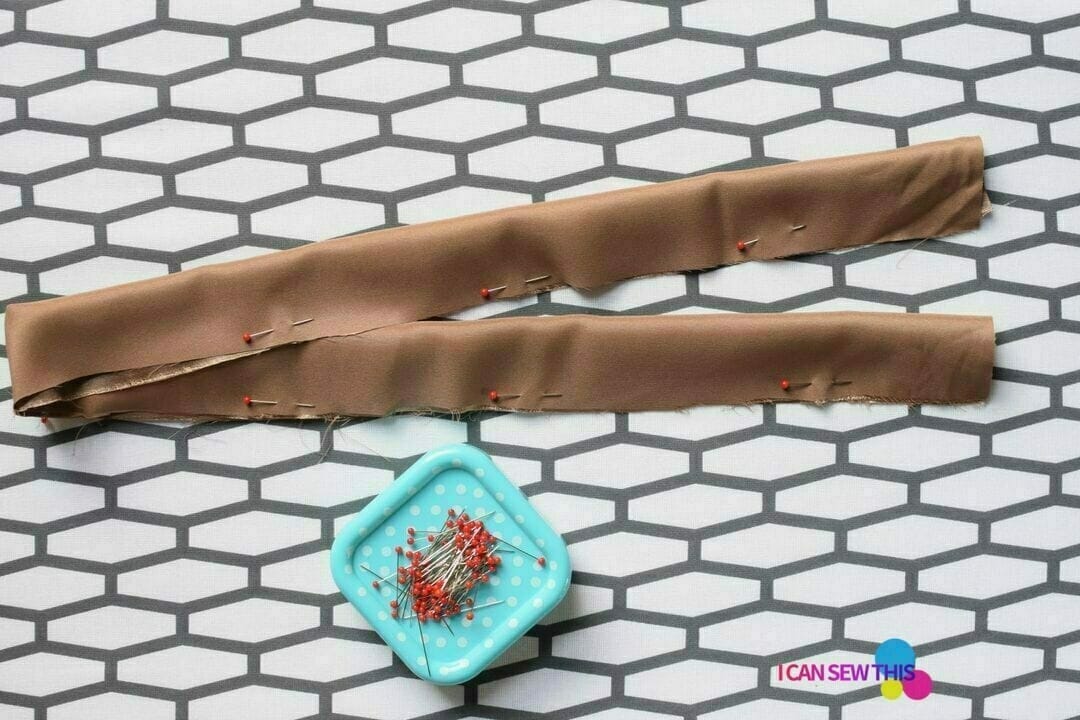
Step 2
Sew the long edge so that you create a tube, and leave a 2″ gap near both ends. Backstitch at the beginning and end.

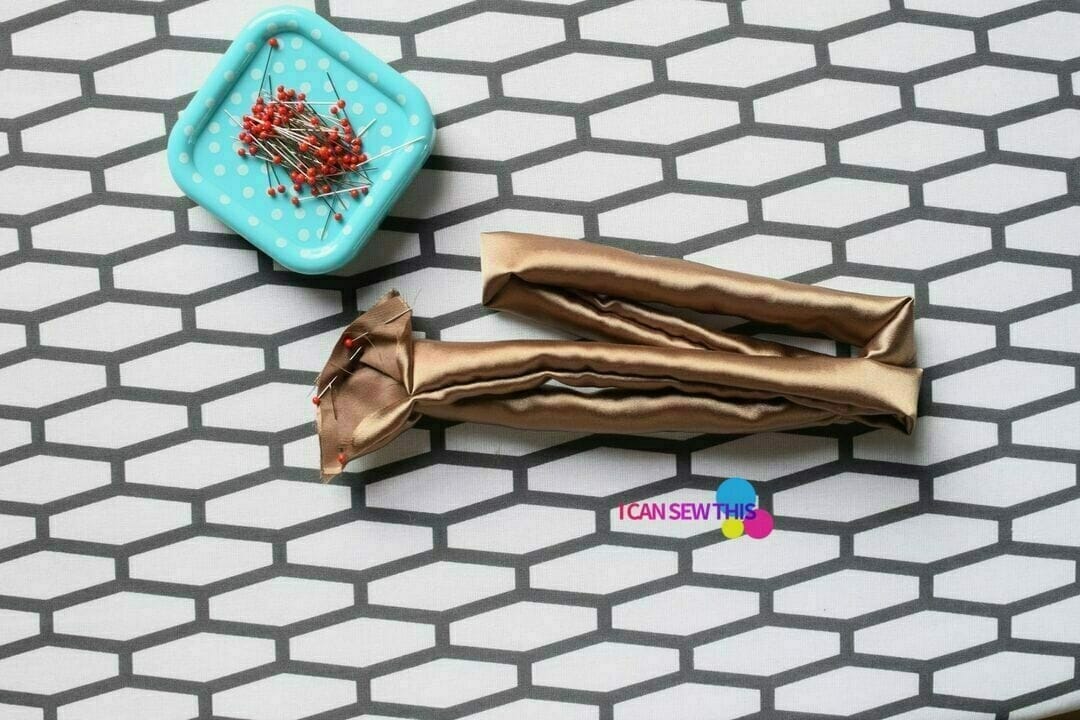
Step 3
Turn the tube right side out using a safety pin. Match the short raw edges, right sides together, pin and sew them.
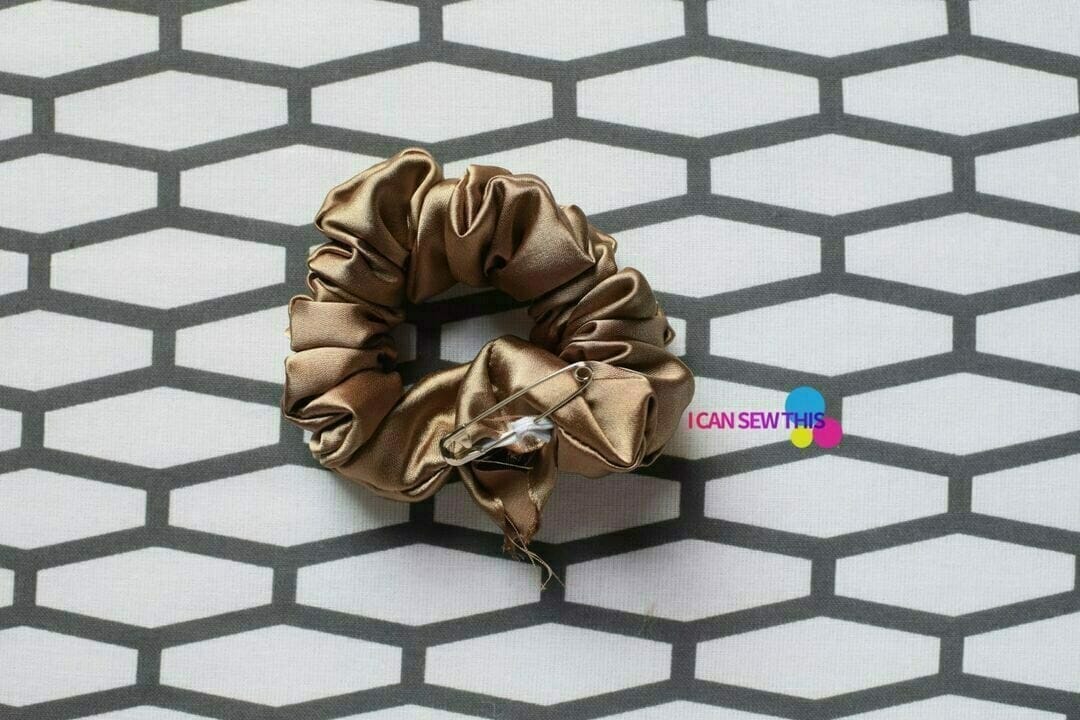
Step 4
Use a safety pin to feed the elastic through the tube, then tie the ends in a knot (recommended).
You can also use a zig-zag stitch, but I warn you this is quite tricky, given the elastic is so narrow – you could easily release it and have to do it again. Or, you can sew the elastic ends by hand – nice and easy!
Step 5
Fold the unfinished edges under and stitch the opening to close up your tube.
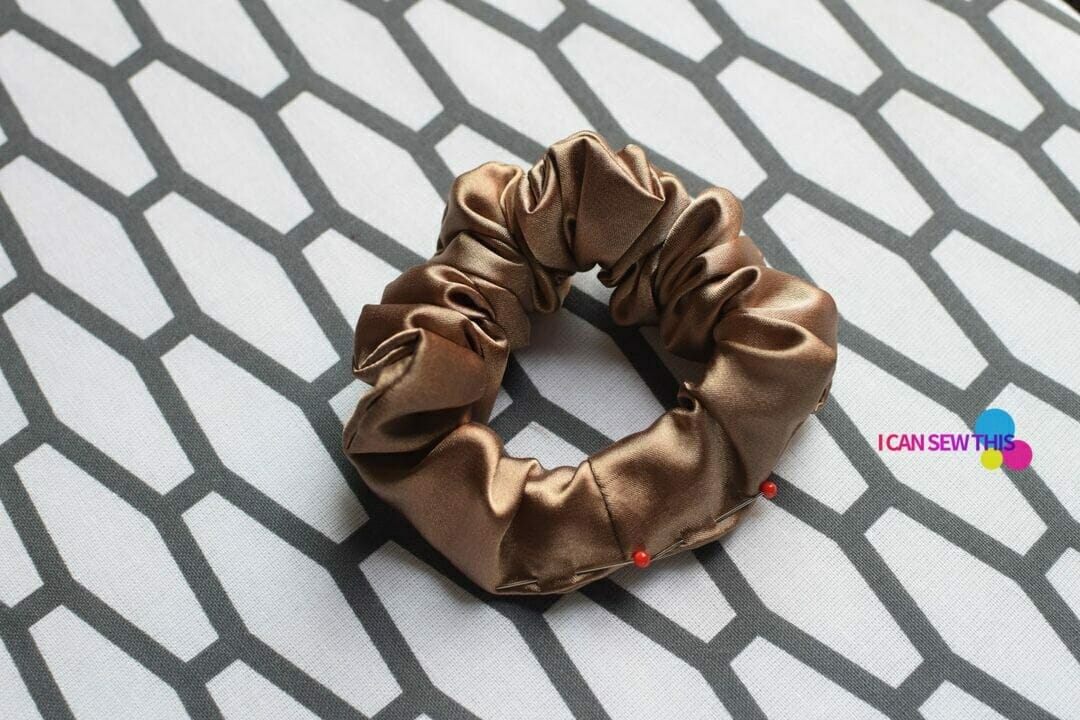
Puff and fluff your cute scrunchie – and you’re done!
So easy and fun! Enjoy your fab satin scrunchies!
Let’s keep in touch! You can find me on Facebook, Instagram, and Pinterest.

Great tutorial. What is the approximate length of the elastic? Thank you.