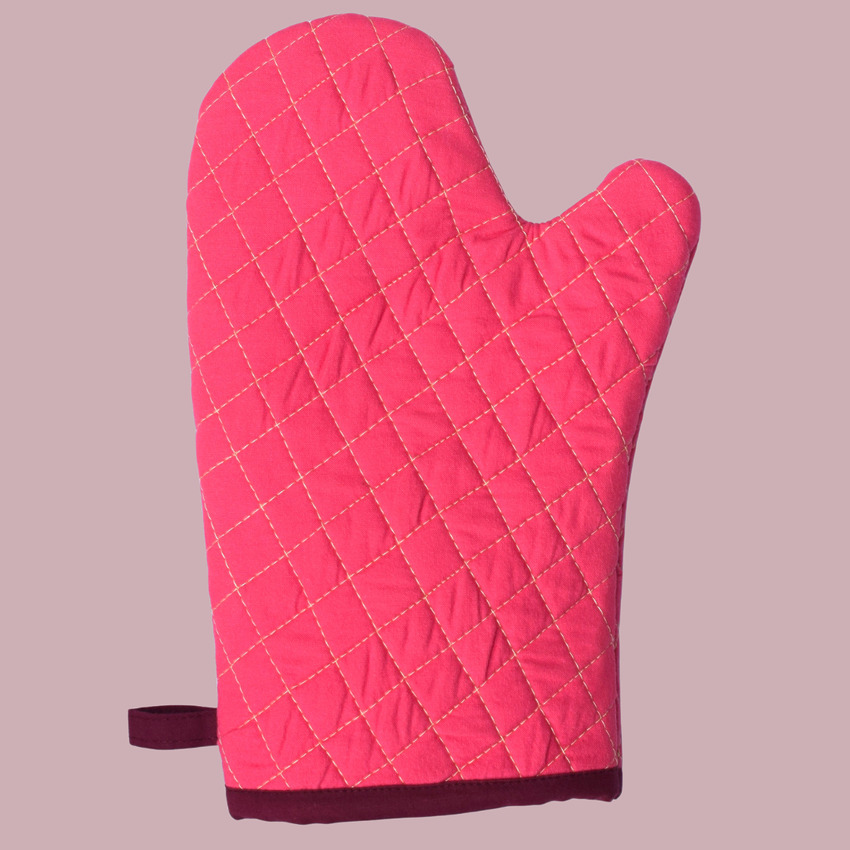
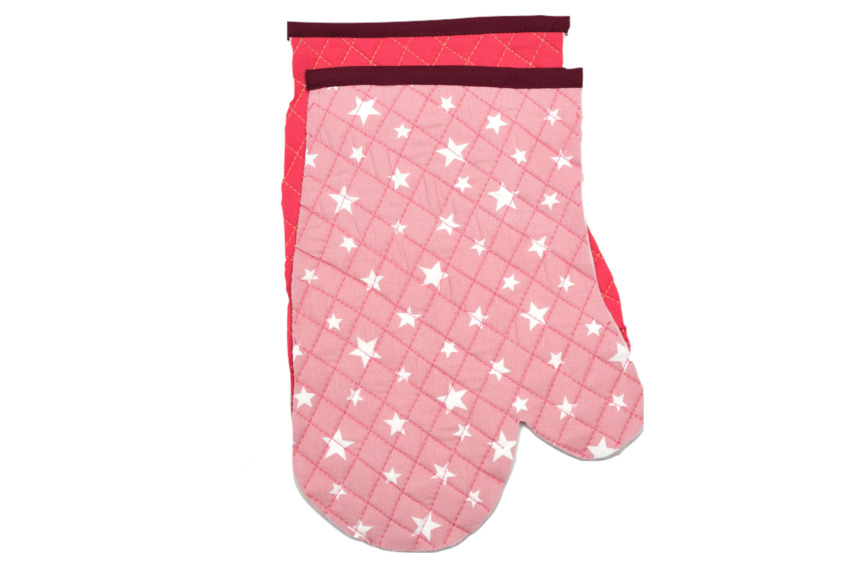
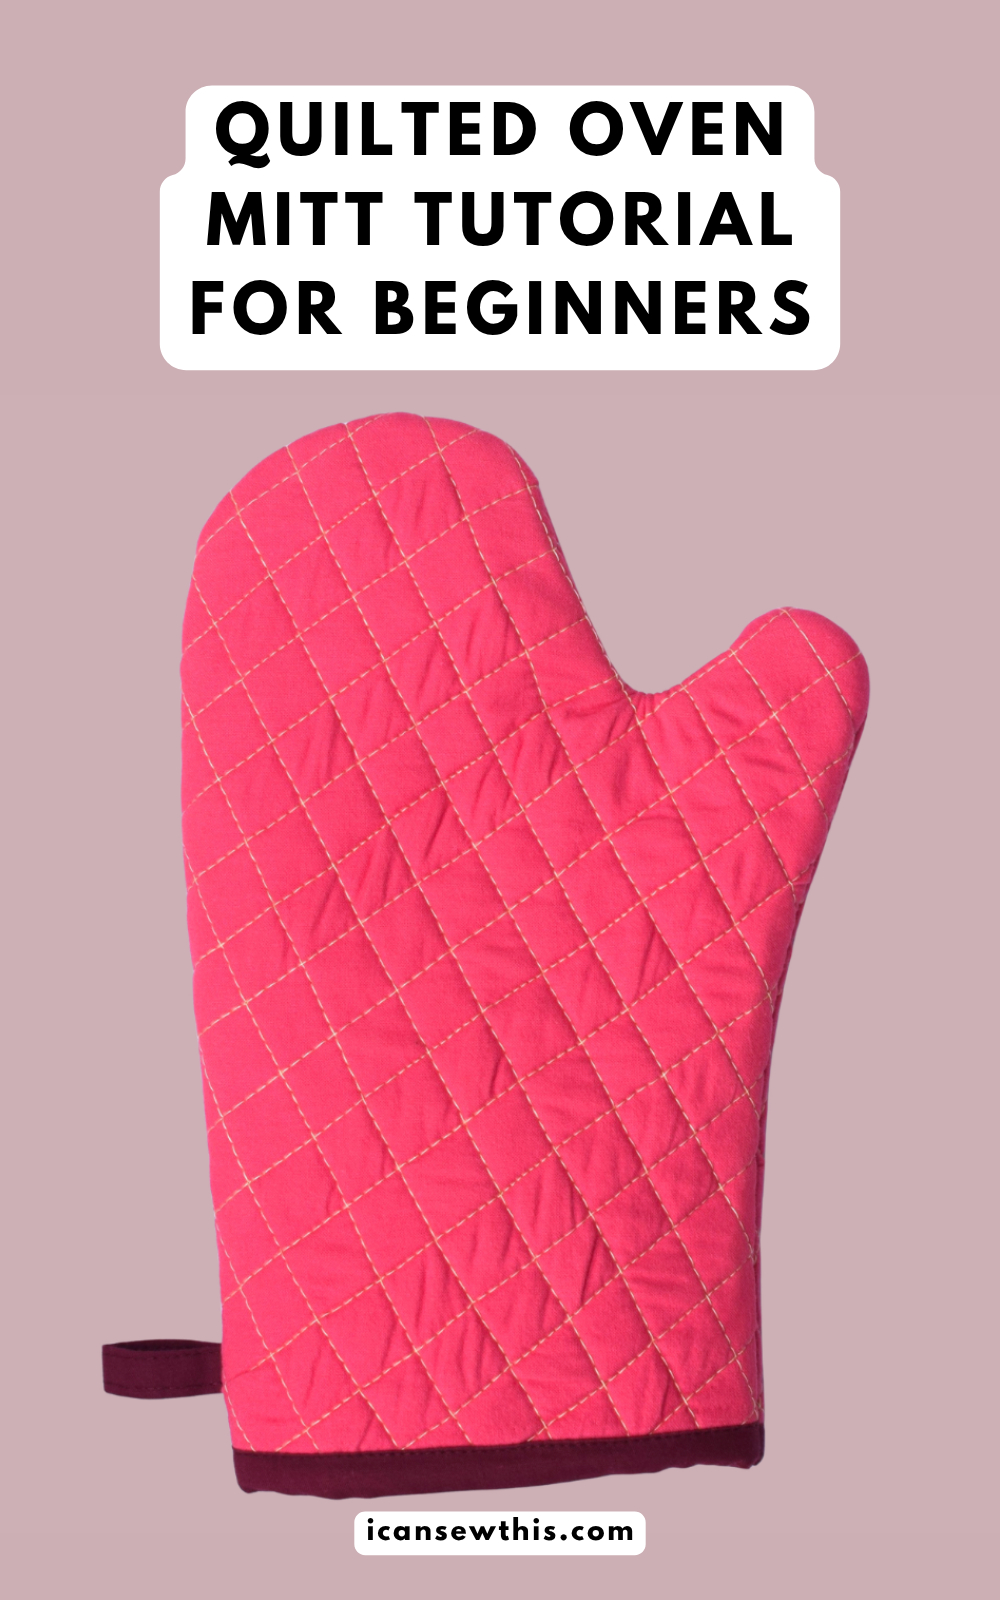
Looking to add a pop of color to your kitchen? This free quilted oven mitt pattern is a perfect project. It’s beginner-friendly, and you can finish it in about an hour. These handmade mitts offer solid protection without being too bulky, making them an ideal DIY gift for housewarmings or holidays.
Project overview
- Skill level: Beginner
- Time to complete: 1 hour
- Finished size: Approx. 11″ long x 6.5″ wide
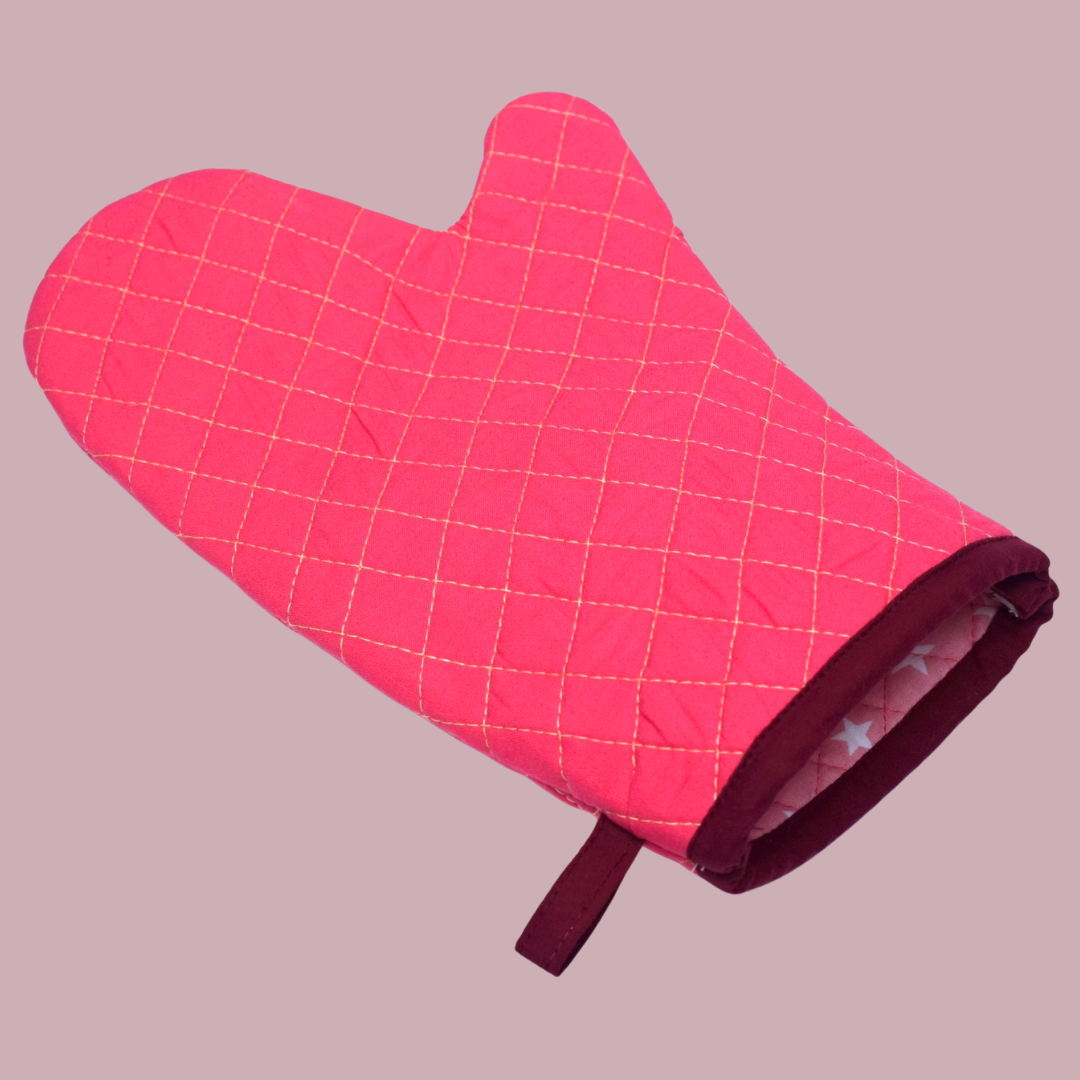
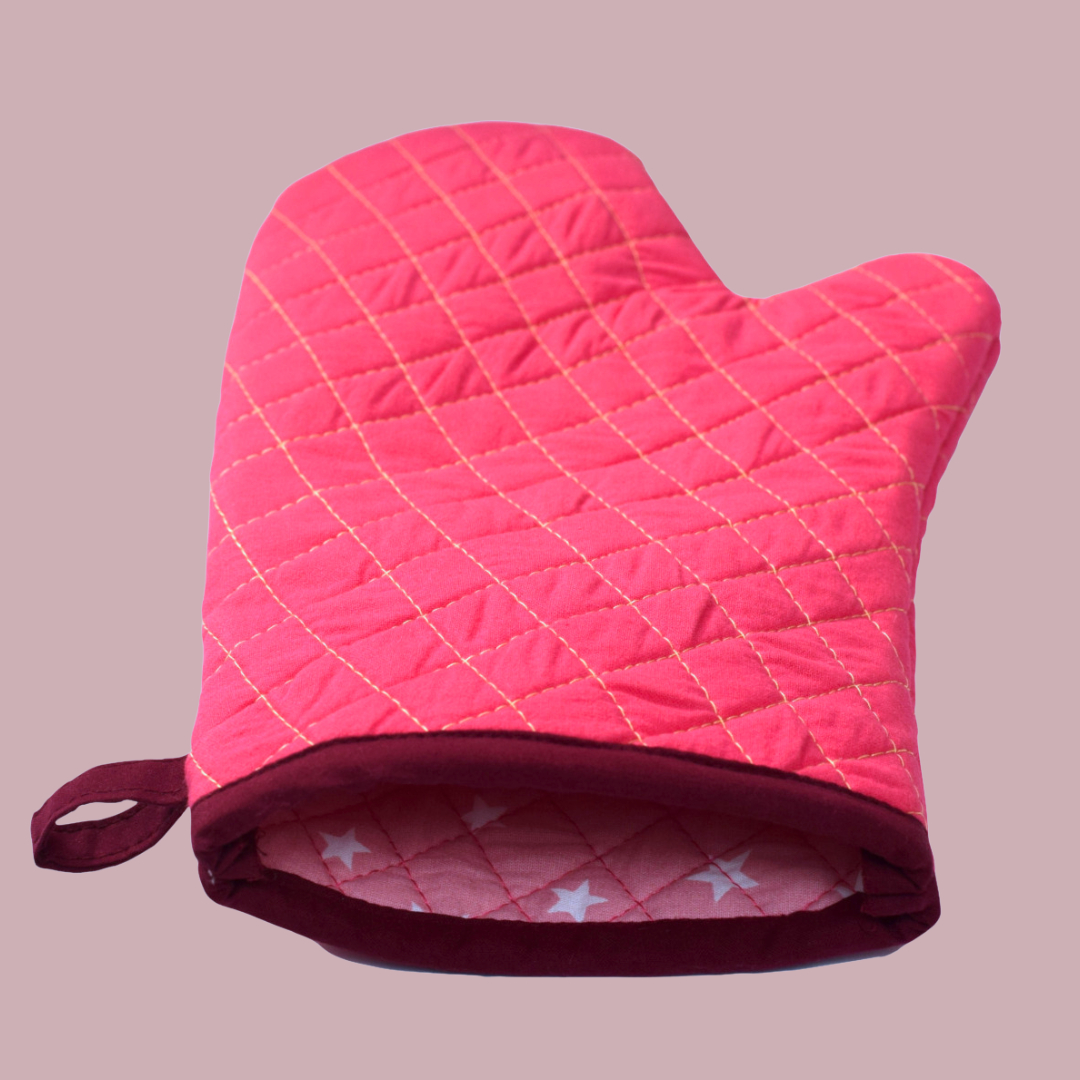
- Key features: Fully lined, heat-resistant, and includes a handy hanging loop.
Choosing the best fabric for kitchen mitts
To ensure your DIY oven mitt is safe, the materials matter more than the print:
- Lining: Soft 100% cotton feels best against your hand.
- Outer layer: Stick to 100% cotton like canvas or quilting cotton. Avoid synthetic blends (polyester) as they can melt when they touch a hot pan.
- Insulation: The “magic” is inside. Use heat-resistant batting like Insul-Bright or two layers of dense cotton batting (like Vlieseline 272 Thermolam).
Supplies needed
- Free oven mitt pattern template (Download link below).
- 100% cotton fabric (Main & Lining).
- Heat-resistant cotton batting / Insul-Bright batting (4 pieces, approx. 9” x 12”).
- 19” double fold bias tape (or 1″ fabric strips – make your own with a bias tape maker).
- Fabric scissors & sewing machine.
- 90/14 or 100/16 needle (Essential for thick layers!).
- Pins or sewing clips.
- Walking foot.
Step-by-step instructions
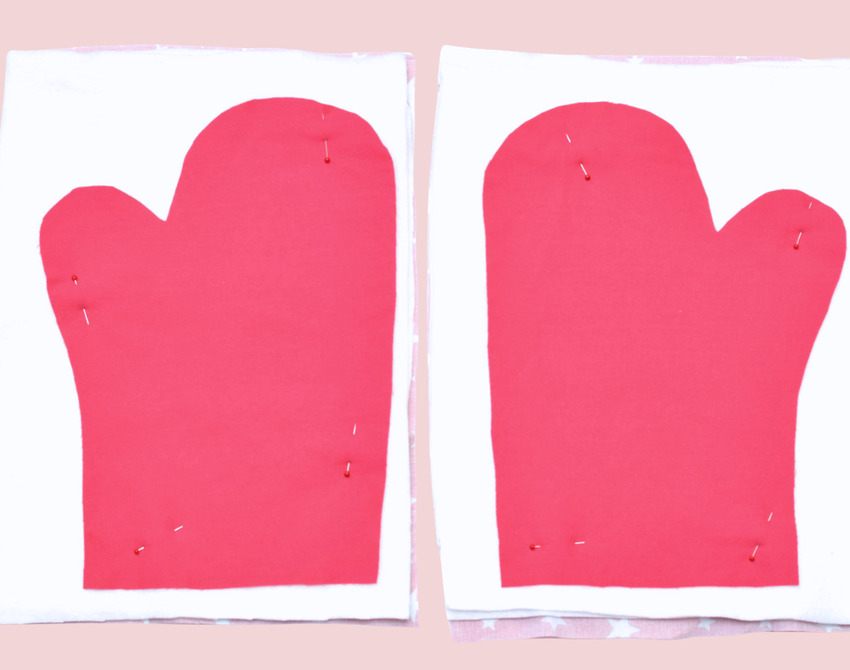
1. Prepare your pattern and fabric
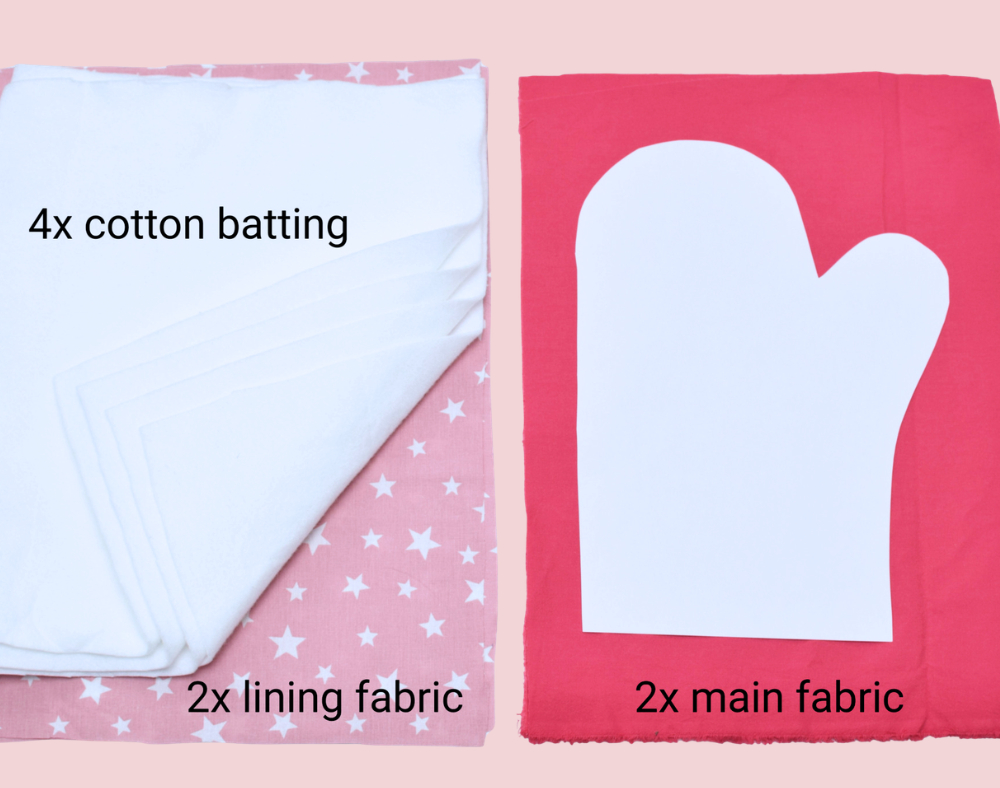
Print the pattern at 100% scale. For one mitt, cut:
- Main fabric – 2 pieces
- Cotton batting – 4 pieces (two layers per side)
- Lining fabric – 2 pieces
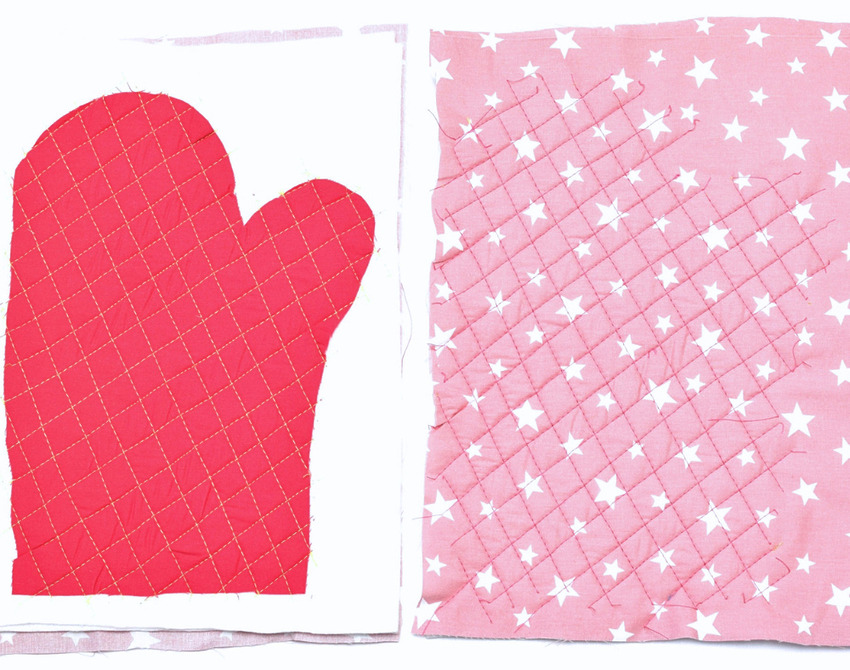
2. Create the fabric “sandwiches”
Stack your layers in this order:
- Lining fabric (right side down)
- Two layers of batting
- Main fabric (right side up)
Repeat for the second side, ensuring they are mirror images (so you have a front and a back).

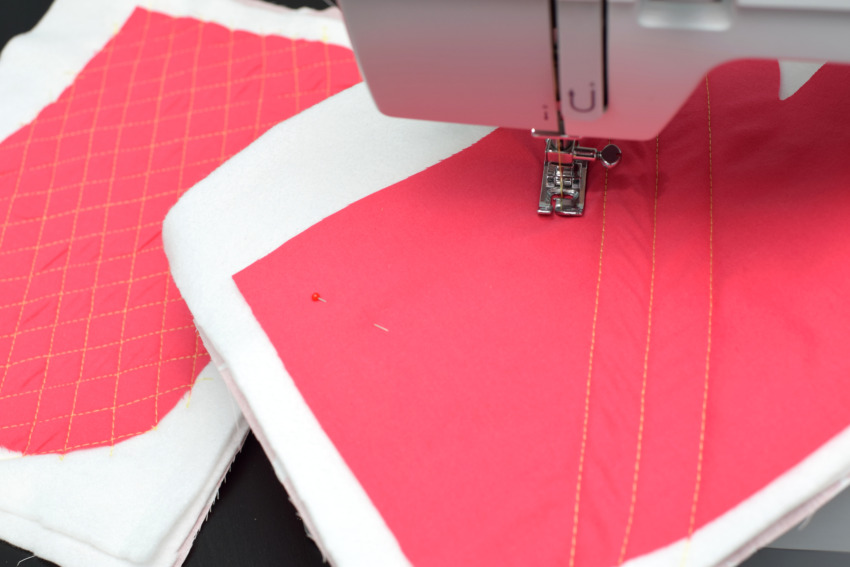
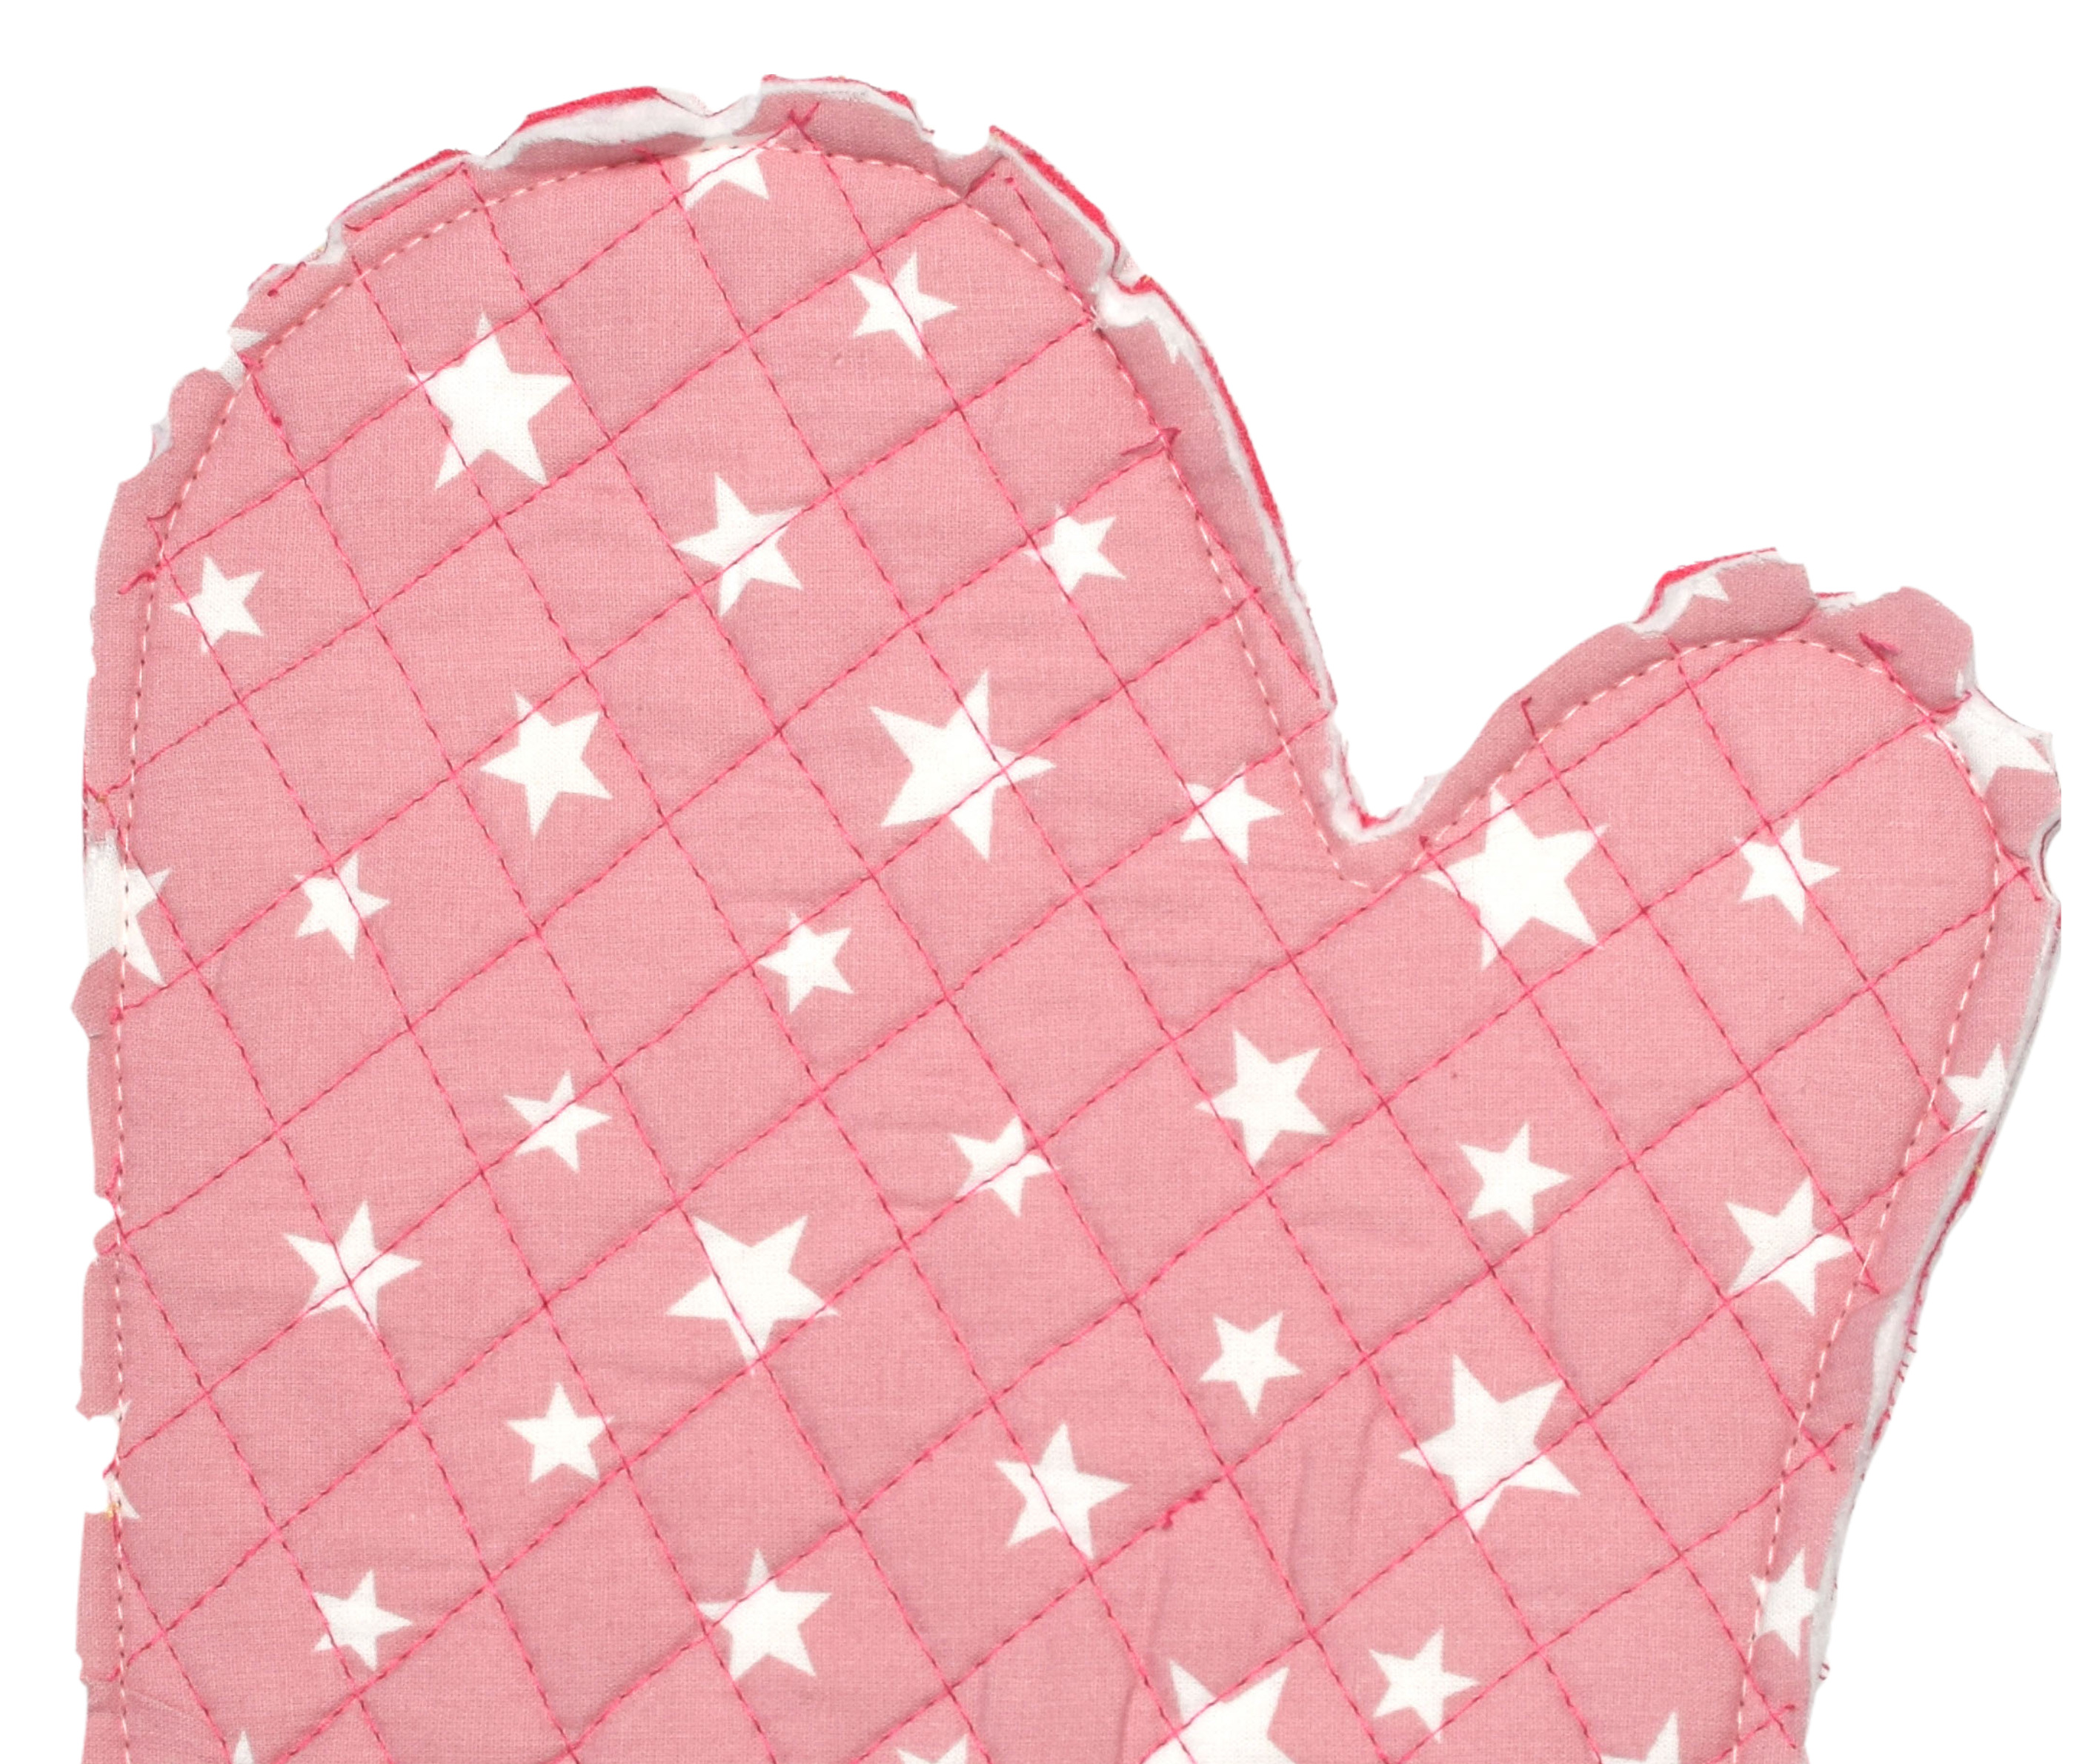
3. Quilt the pieces
Set your machine to a 3.0 mm or 3.5 mm stitch length. Quilt diagonal lines across both sandwiches. Starting from the center and working toward the edges helps prevent the fabric from bunching up.
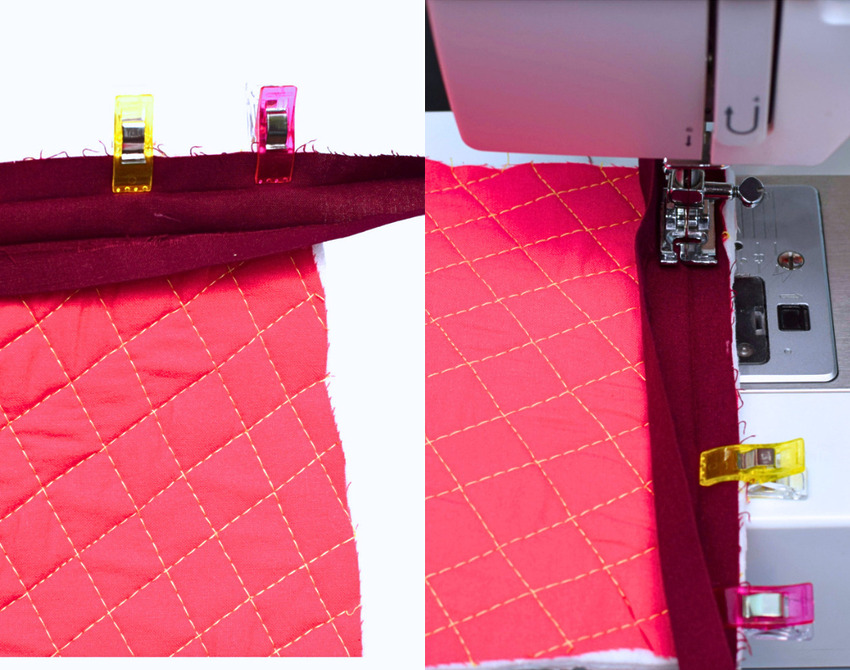
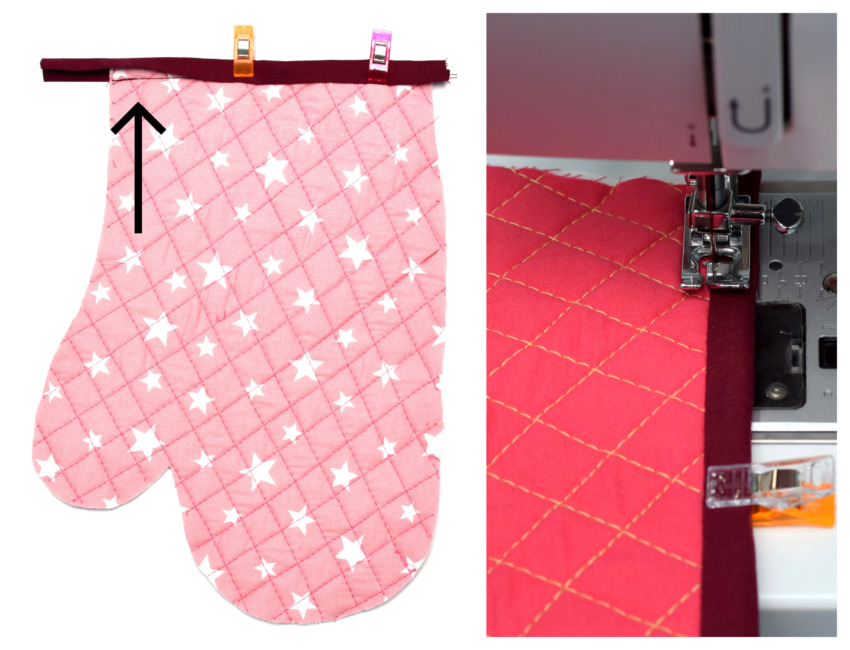
4. Attach the binding
Sew your bias tape to the bottom (wrist) edge of each piece.
- Stitch the tape to the raw edge, right sides together.
- Fold the tape over the edge to the back and topstitch from the front.
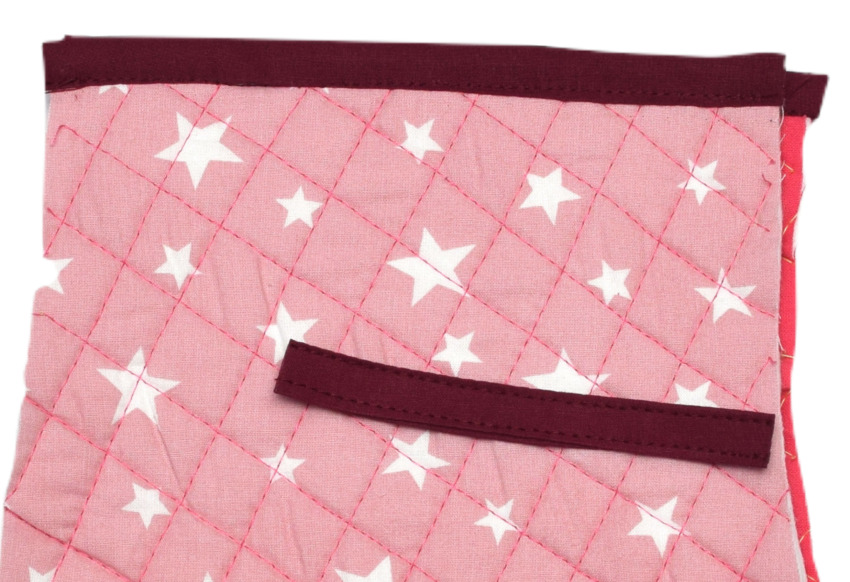
5. Add the hanging loop
Cut a 4-inch strip of fabric, fold it in half, and stitch the edges. Fold it into a loop and pin it to the right side of one mitt piece, about 1 inch from the bottom.
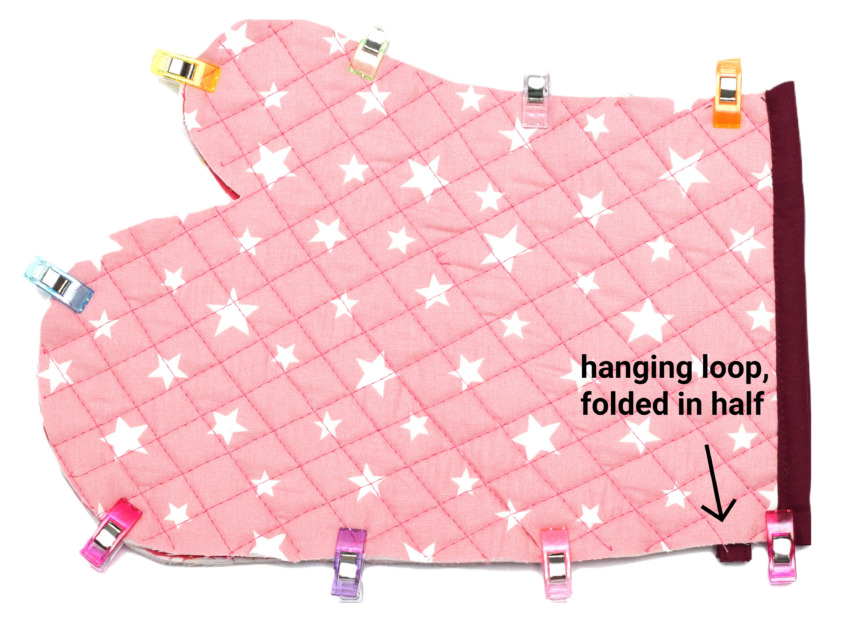
6. Assemble the oven mitt
Place the two quilted pieces right sides together. Sew around the perimeter, leaving the wrist open. Use a small seam allowance and backstitch at the start and end.
7. Trim and turn
Now trim the excess seam allowance. Crucial step: Clip small “V” notches into the curves and the thumb dip. This lets the fabric expand so the mitt lies flat. Turn it right side out and give it a final press.
Your oven mitt is now finished! Because the lining is already sewn into the side seams, there is no technical need to finish the internal raw edges.
However, if you want a cleaner look on the inside or plan to wash the mitt frequently, you can finish those raw edges with bias tape, a zigzag stitch, or by using a serger before turning it right side out.
Pro tips for sewing beginners
- The “Walking Foot” secret: If your machine has one, use it! It feeds the top and bottom layers at the same time. What if you don’t have one? Just go slow and use plenty of pins to stop the layers from shifting.
- Test your heat resistance: Before you trust your hand to a 400°F tray, test your “sandwich” by touching a warm (not boiling) pot. If it feels too hot, add another layer of batting.
- Mark your lines: Use a Hera marker or a disappearing ink pen to draw your quilting lines first. It makes the final result look much more professional.
Frequently asked questions
Can I make the oven mitt longer?
Absolutely. If you have a deep oven or want more arm protection, simply extend the wrist portion of the pattern by 3–4 inches before cutting your fabric.
Do I really need a special needle?
Yes. A standard 80/12 needle might snap or skip stitches when trying to punch through 6+ layers of fabric and batting. Use a 90/14 or 100/16 needle – it’s much stronger.
Can I use polyester batting?
I don’t recommend it. Polyester can melt under high heat. Stick to 100% cotton or specialized heat-reflective batting like Insul-Bright.
My thumb area looks bunchy – what happened?
That’s because you likely skipped the “clipping” step! You must cut small slits (without hitting the thread) into the curves before turning the mitt right side out.
You might also like:
- Sew a simple pillowcase with this free pattern.
- Make your own round fabric baskets.
- Need something fast? Try this DIY travel toothbrush holder.
- 10 easy spring sewing projects for beginners
Let’s keep in touch! You can find me on Facebook, Instagram, and Pinterest.

I tried to download your pattern but it doesn’t work with the link provided. So now you have my email address and I have nothing. ?
Hi,
Sorry for the late reply! I double-checked, and it seems that the address you used to comment here is not on the email list. Did you perhaps use a different address to download the pattern? Everything seems to be working fine for us and other users.
Where is the free pattern?