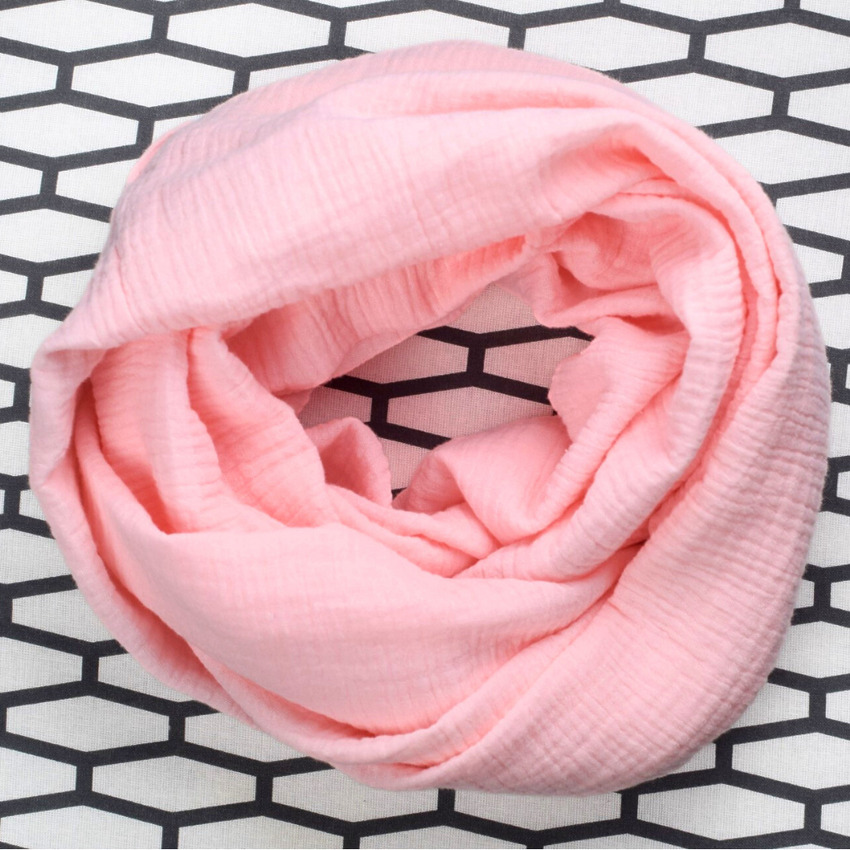
This DIY cotton infinity scarf is a perfect project if you’re just starting to sew. It’s quick, fun, and you can finish it in about 10 to 20 minutes. Whether you call it an infinity scarf or a circle scarf, it’s basically one giant loop of fabric that looks great with any outfit.
Choosing the right fabric
The best thing about a handmade scarf is picking the texture. For a breezy, lightweight feel, go with double gauze (muslin), cotton voile, or silk. These have a beautiful crinkle and drape. If you want something for colder weather, try flannel, jersey, or lightweight wool.
Avoid heavy fabrics like canvas or thick corduroy. They’re too stiff and won’t sit right around your neck.

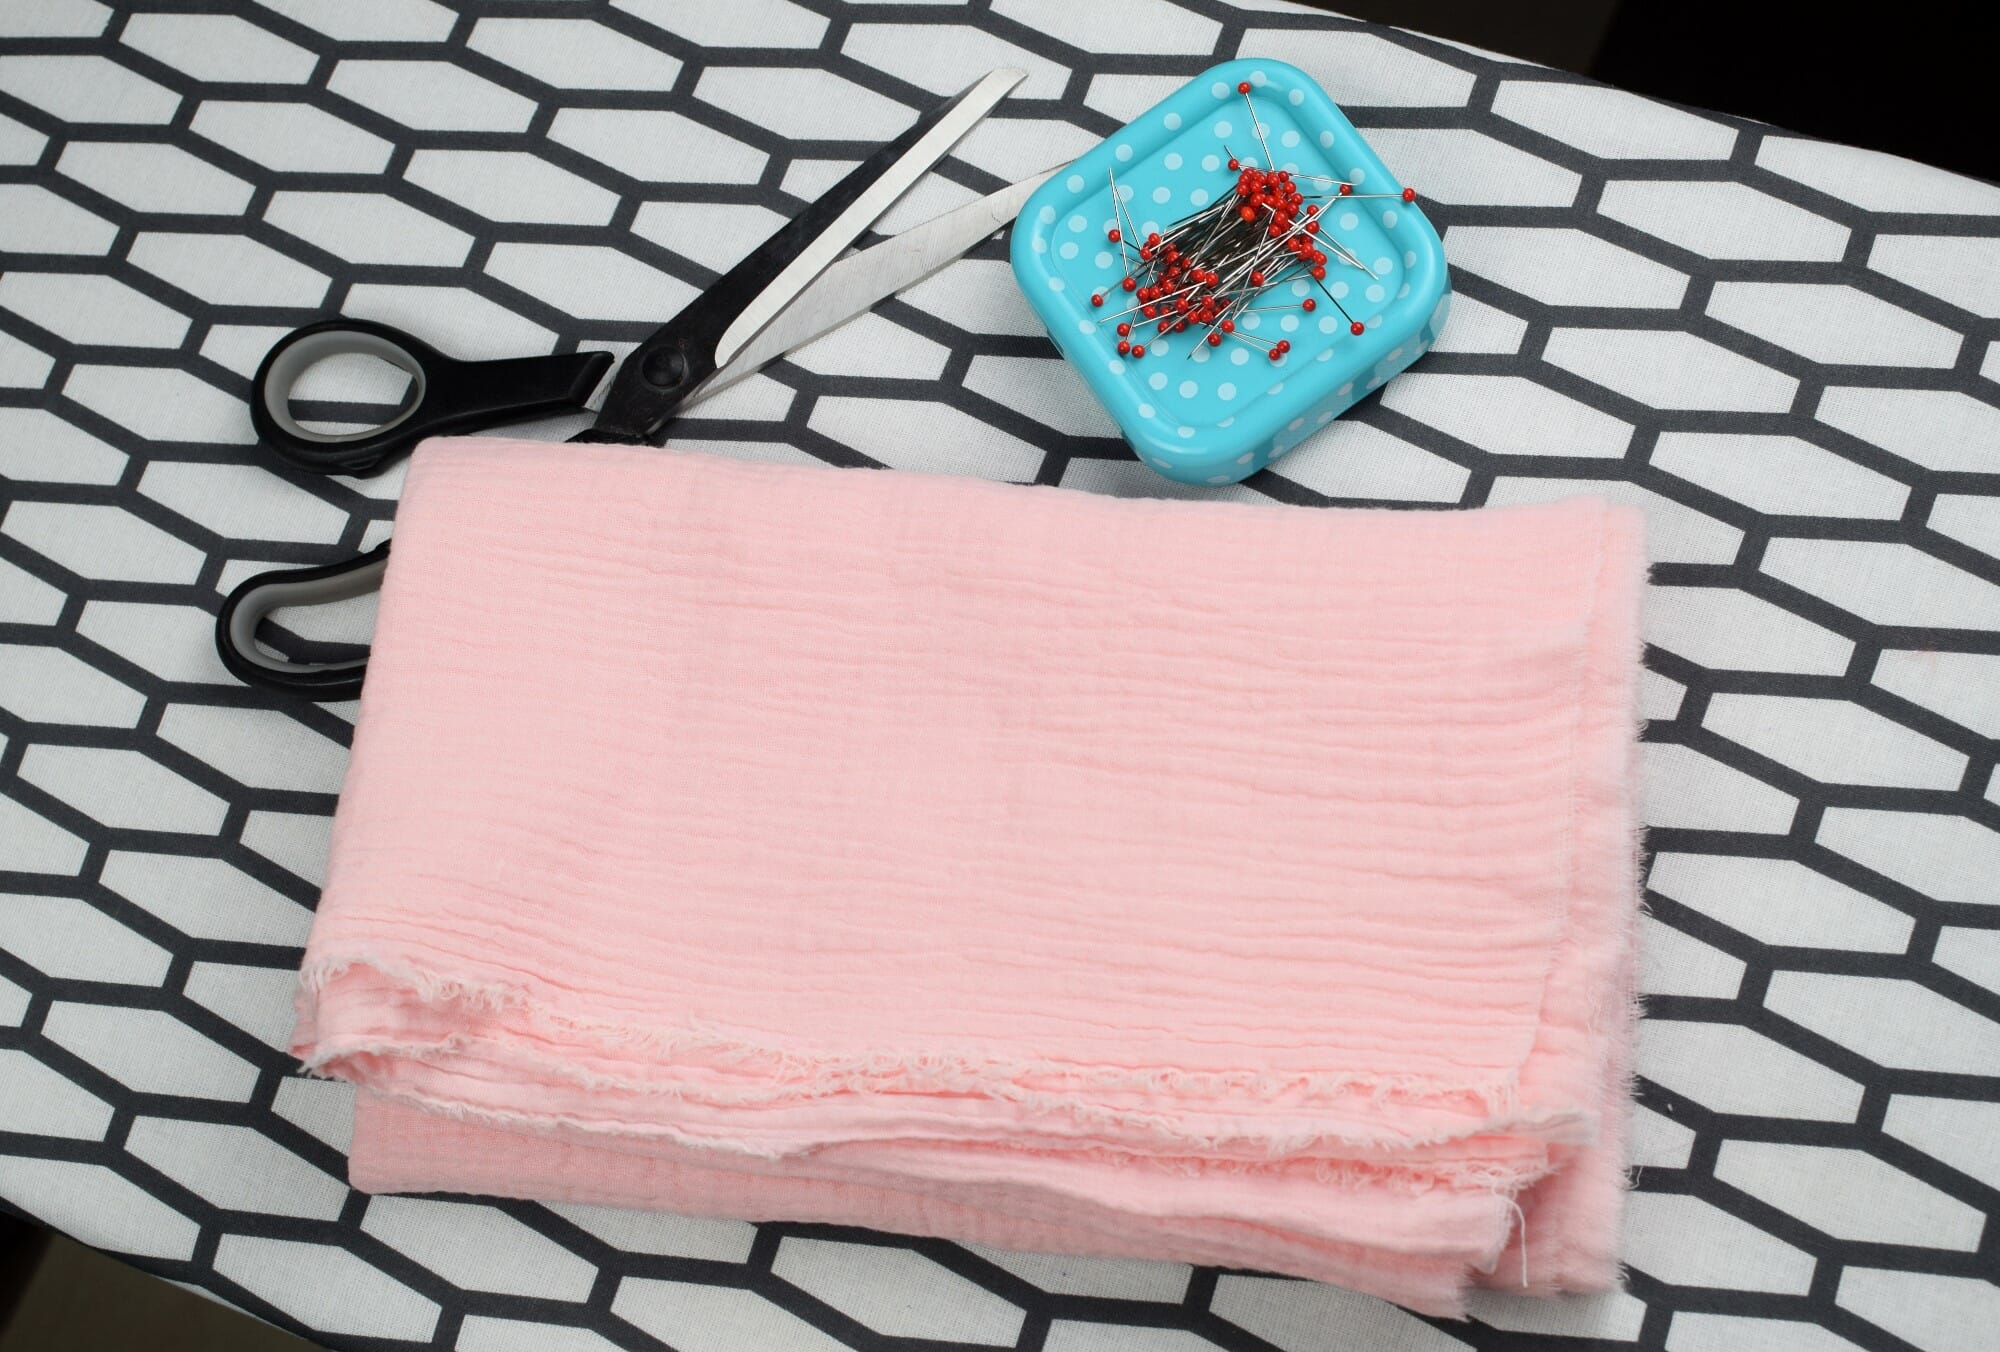
Supplies you’ll need
- 2 yards of fabric (cotton or your choice)
- sewing machine
- universal sewing machine needle
- hand sewing needle for the final touch
- fabric scissors
- matching thread
- sewing pins
Sizing and dimensions
How big should an infinity scarf be? It’s really up to you. A standard size is usually 60 to 80 inches long and 8 to 15 inches wide.
For this specific tutorial, we’re using a piece that is 20 inches wide by 50 inches long. Once finished, the scarf will be about 10 inches wide and 49 inches around. If you want to wrap it twice, aim for at least 60 inches in length.
Easy DIY infinity scarf sewing project
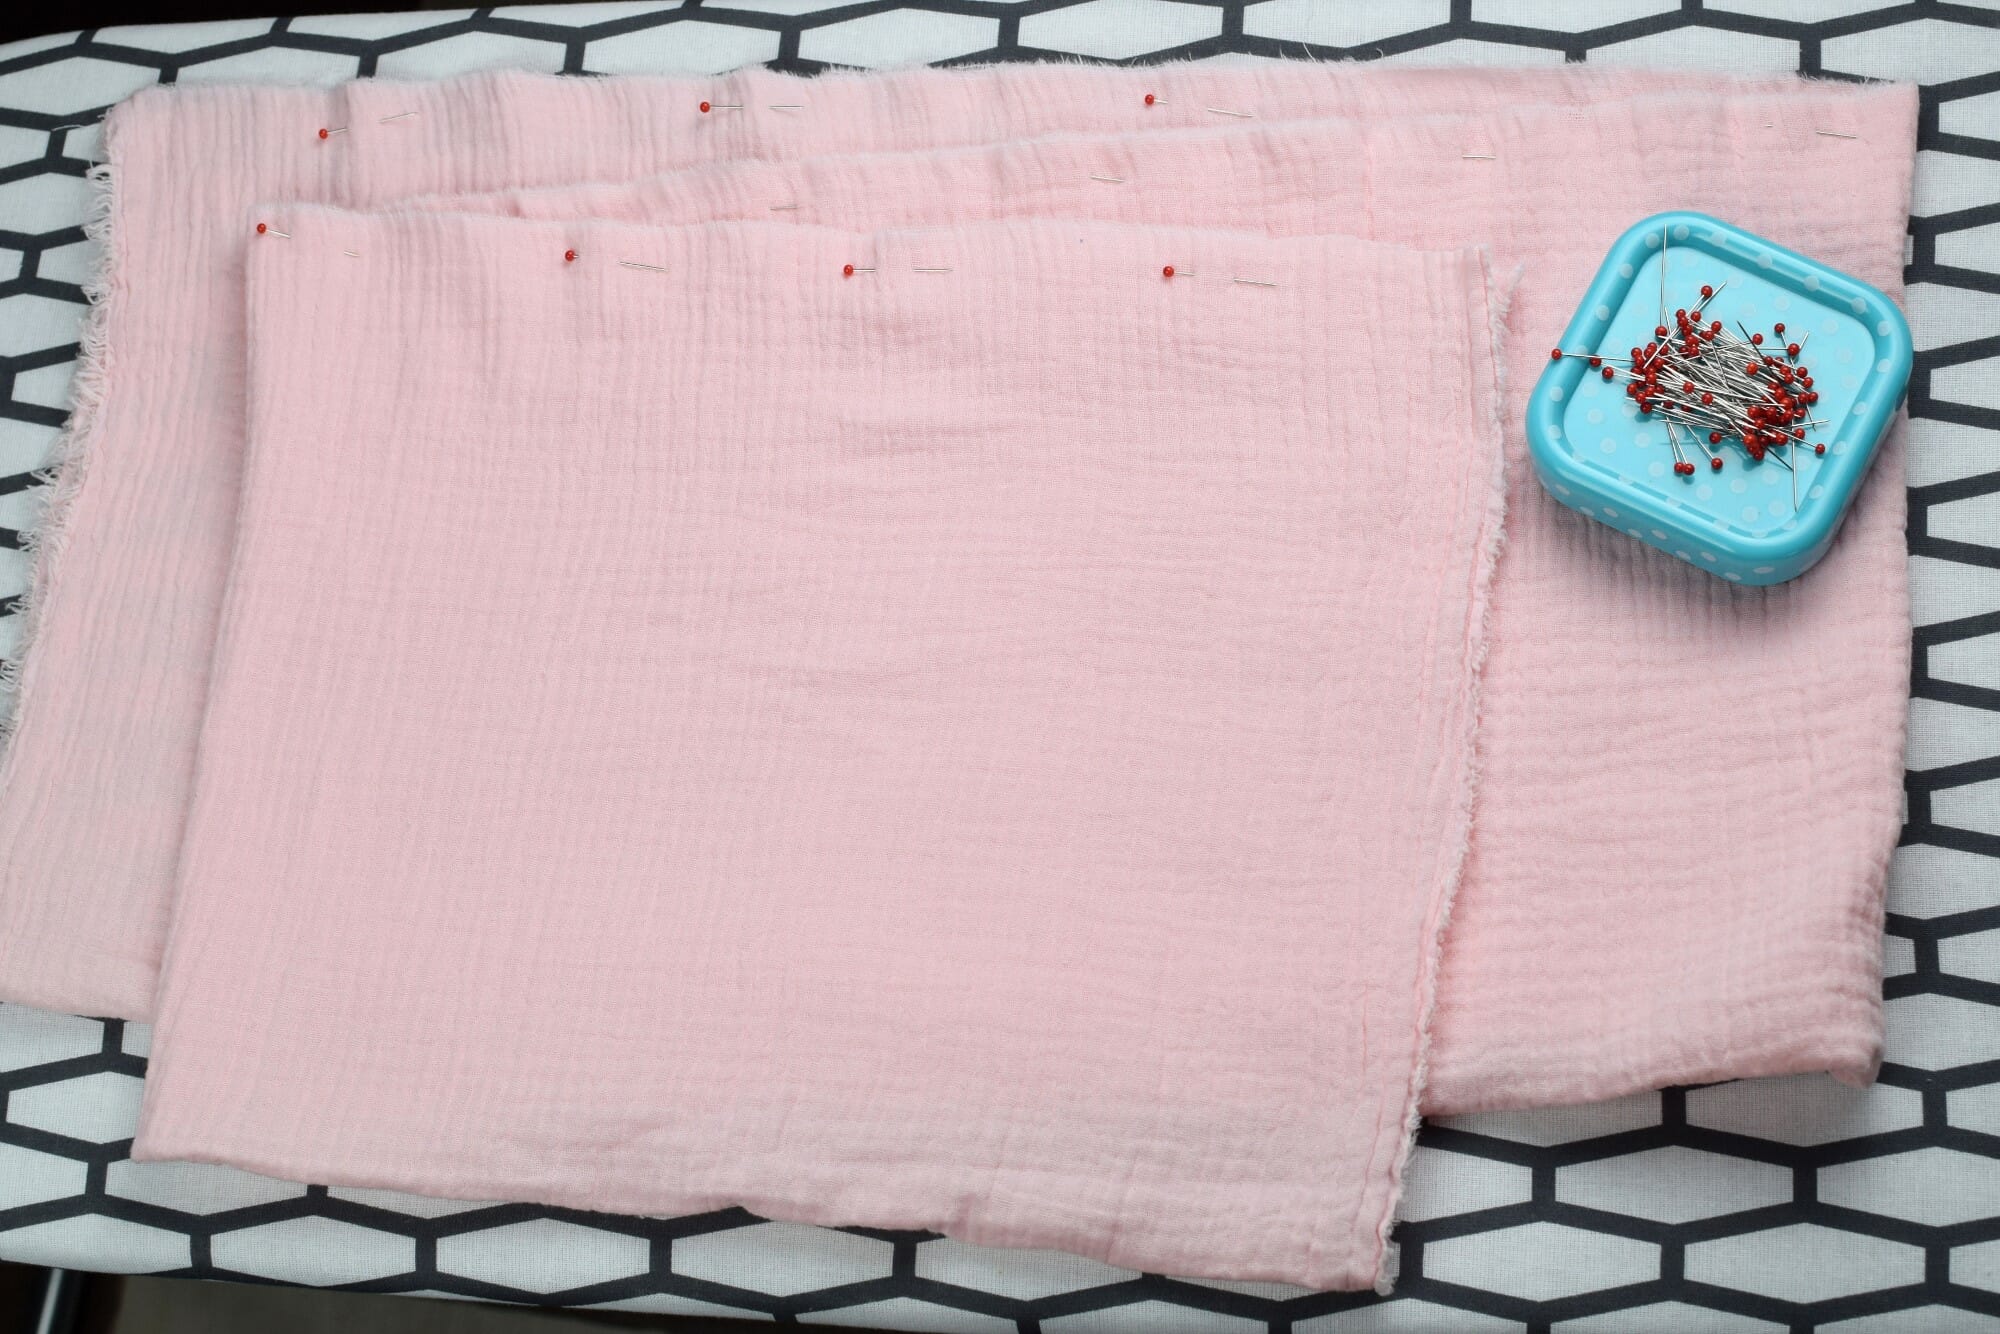
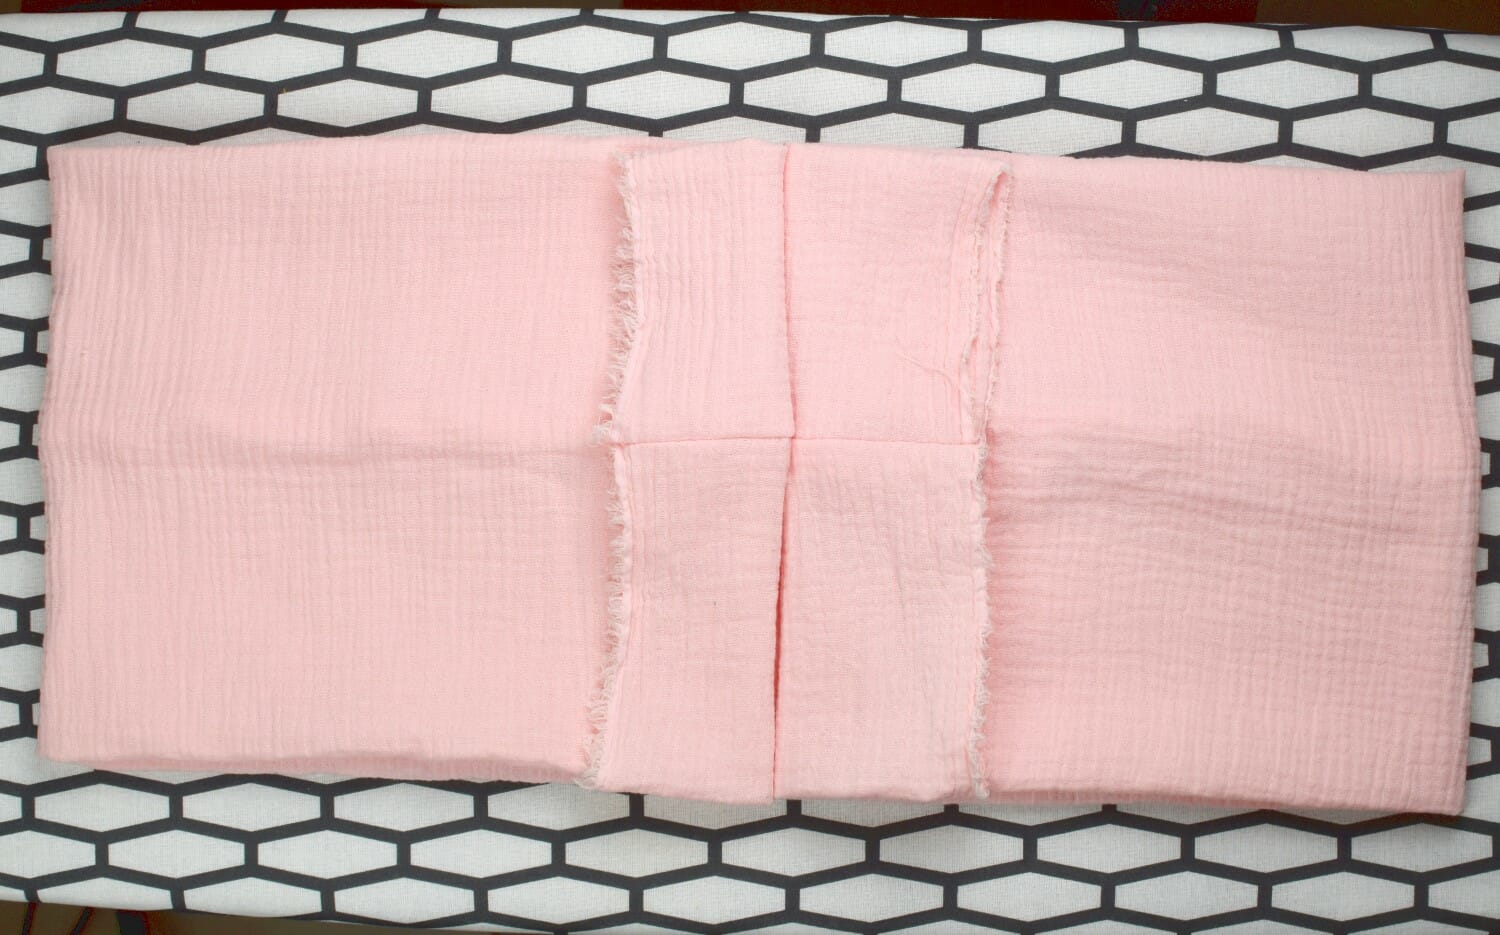
Step 1: create the tube
Lay your fabric flat. Fold it in half lengthwise with the “right sides” (the pretty sides) facing each other. Pin or clip along the long raw edge. Sew a straight stitch down the entire length, leaving the two short ends open. You now have a long fabric tube.
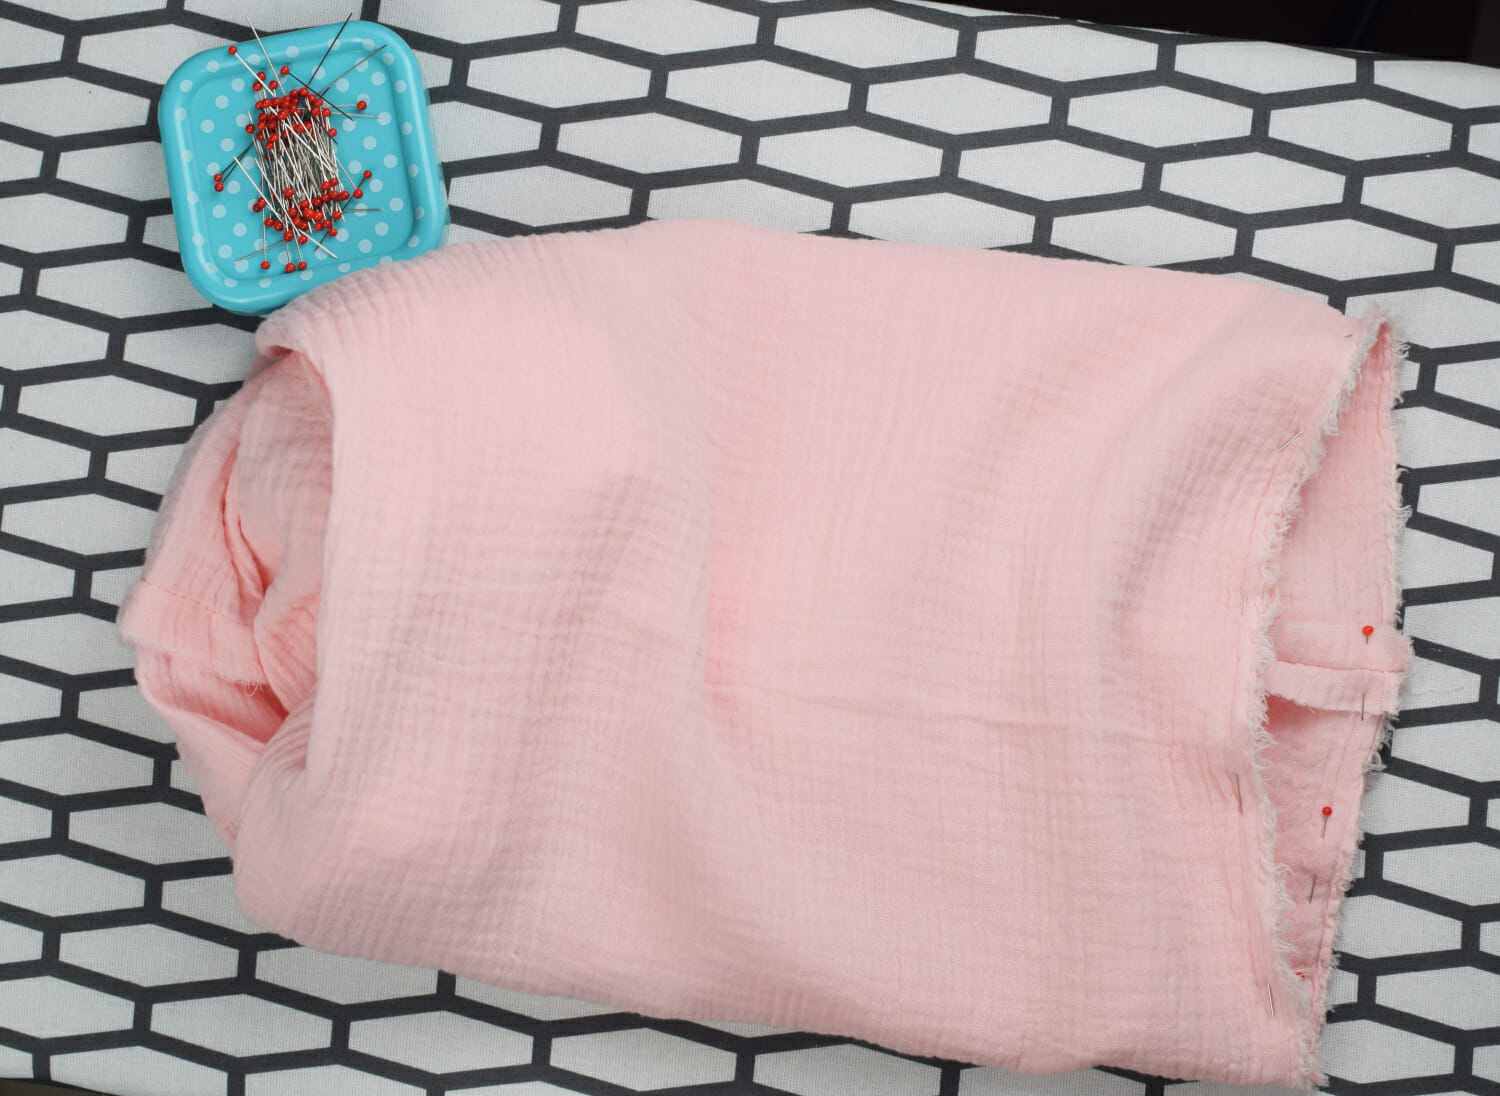
Step 2: prep the loop
Reach through the tube and grab the far end, pulling it through until the two short raw edges meet. Make sure the right sides of the fabric are touching at the ends. Match up your long seams so everything stays aligned.
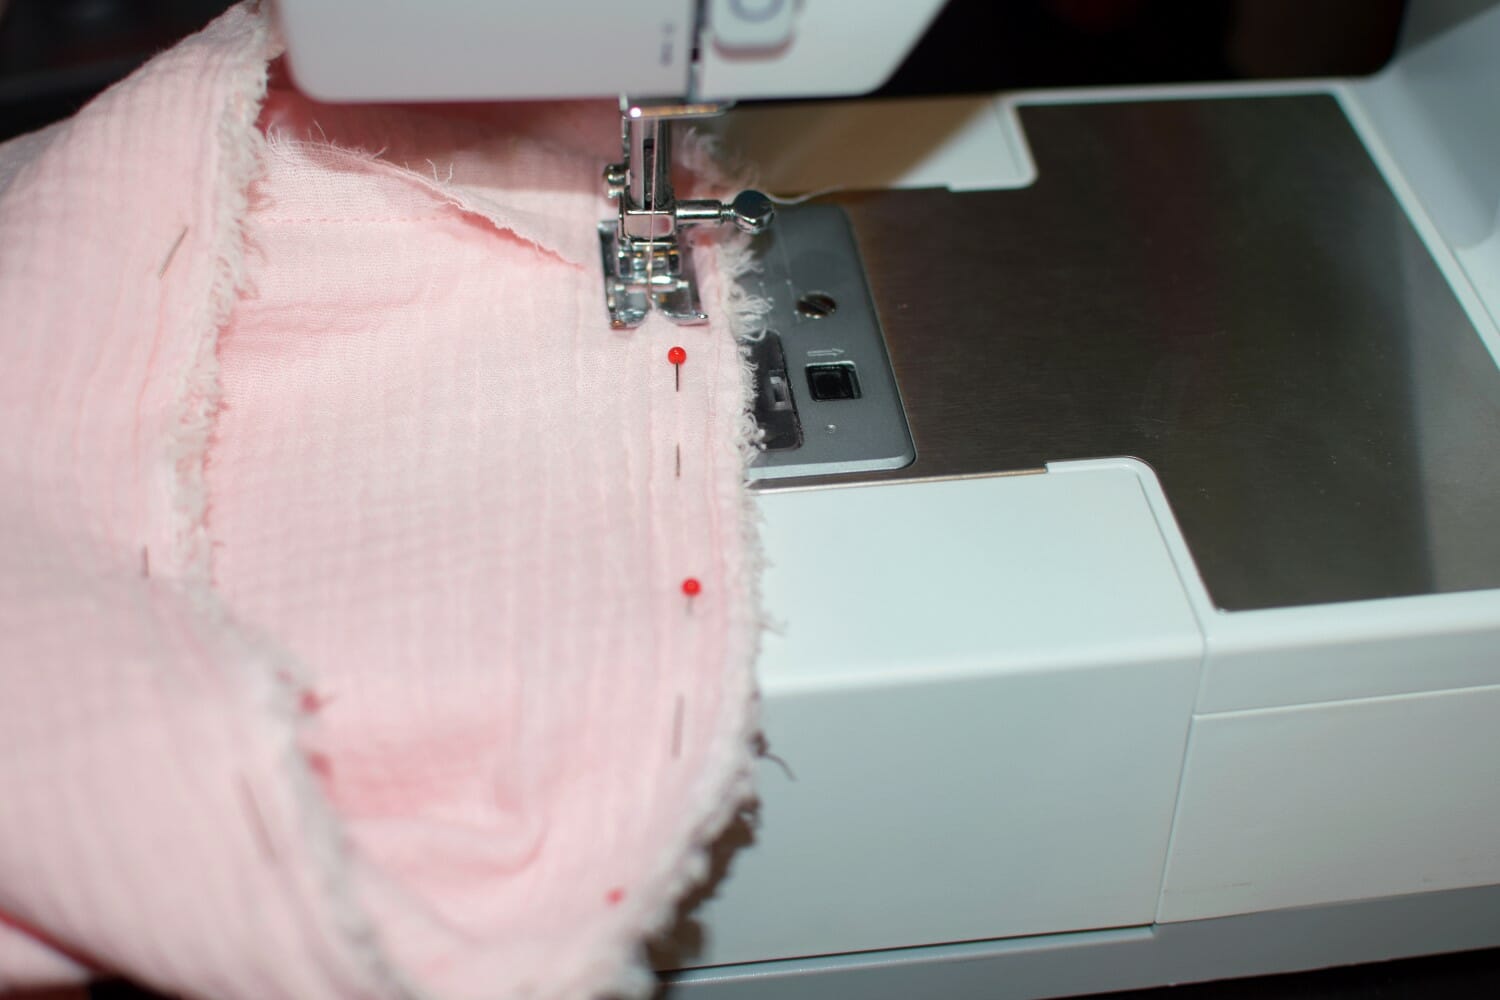
Step 3: sew the ends
Pin the two short ends together to form a circle. Sew around this circle, but stop when you have about a 3-inch gap left. Make sure to backstitch at the start and finish so the thread doesn’t pull out.
Step 4 : turn it right side out
Reach into that 3-inch gap you left and pull the rest of the scarf through. Your scarf should now be right side out with all the raw edges hidden inside, except for that small opening.
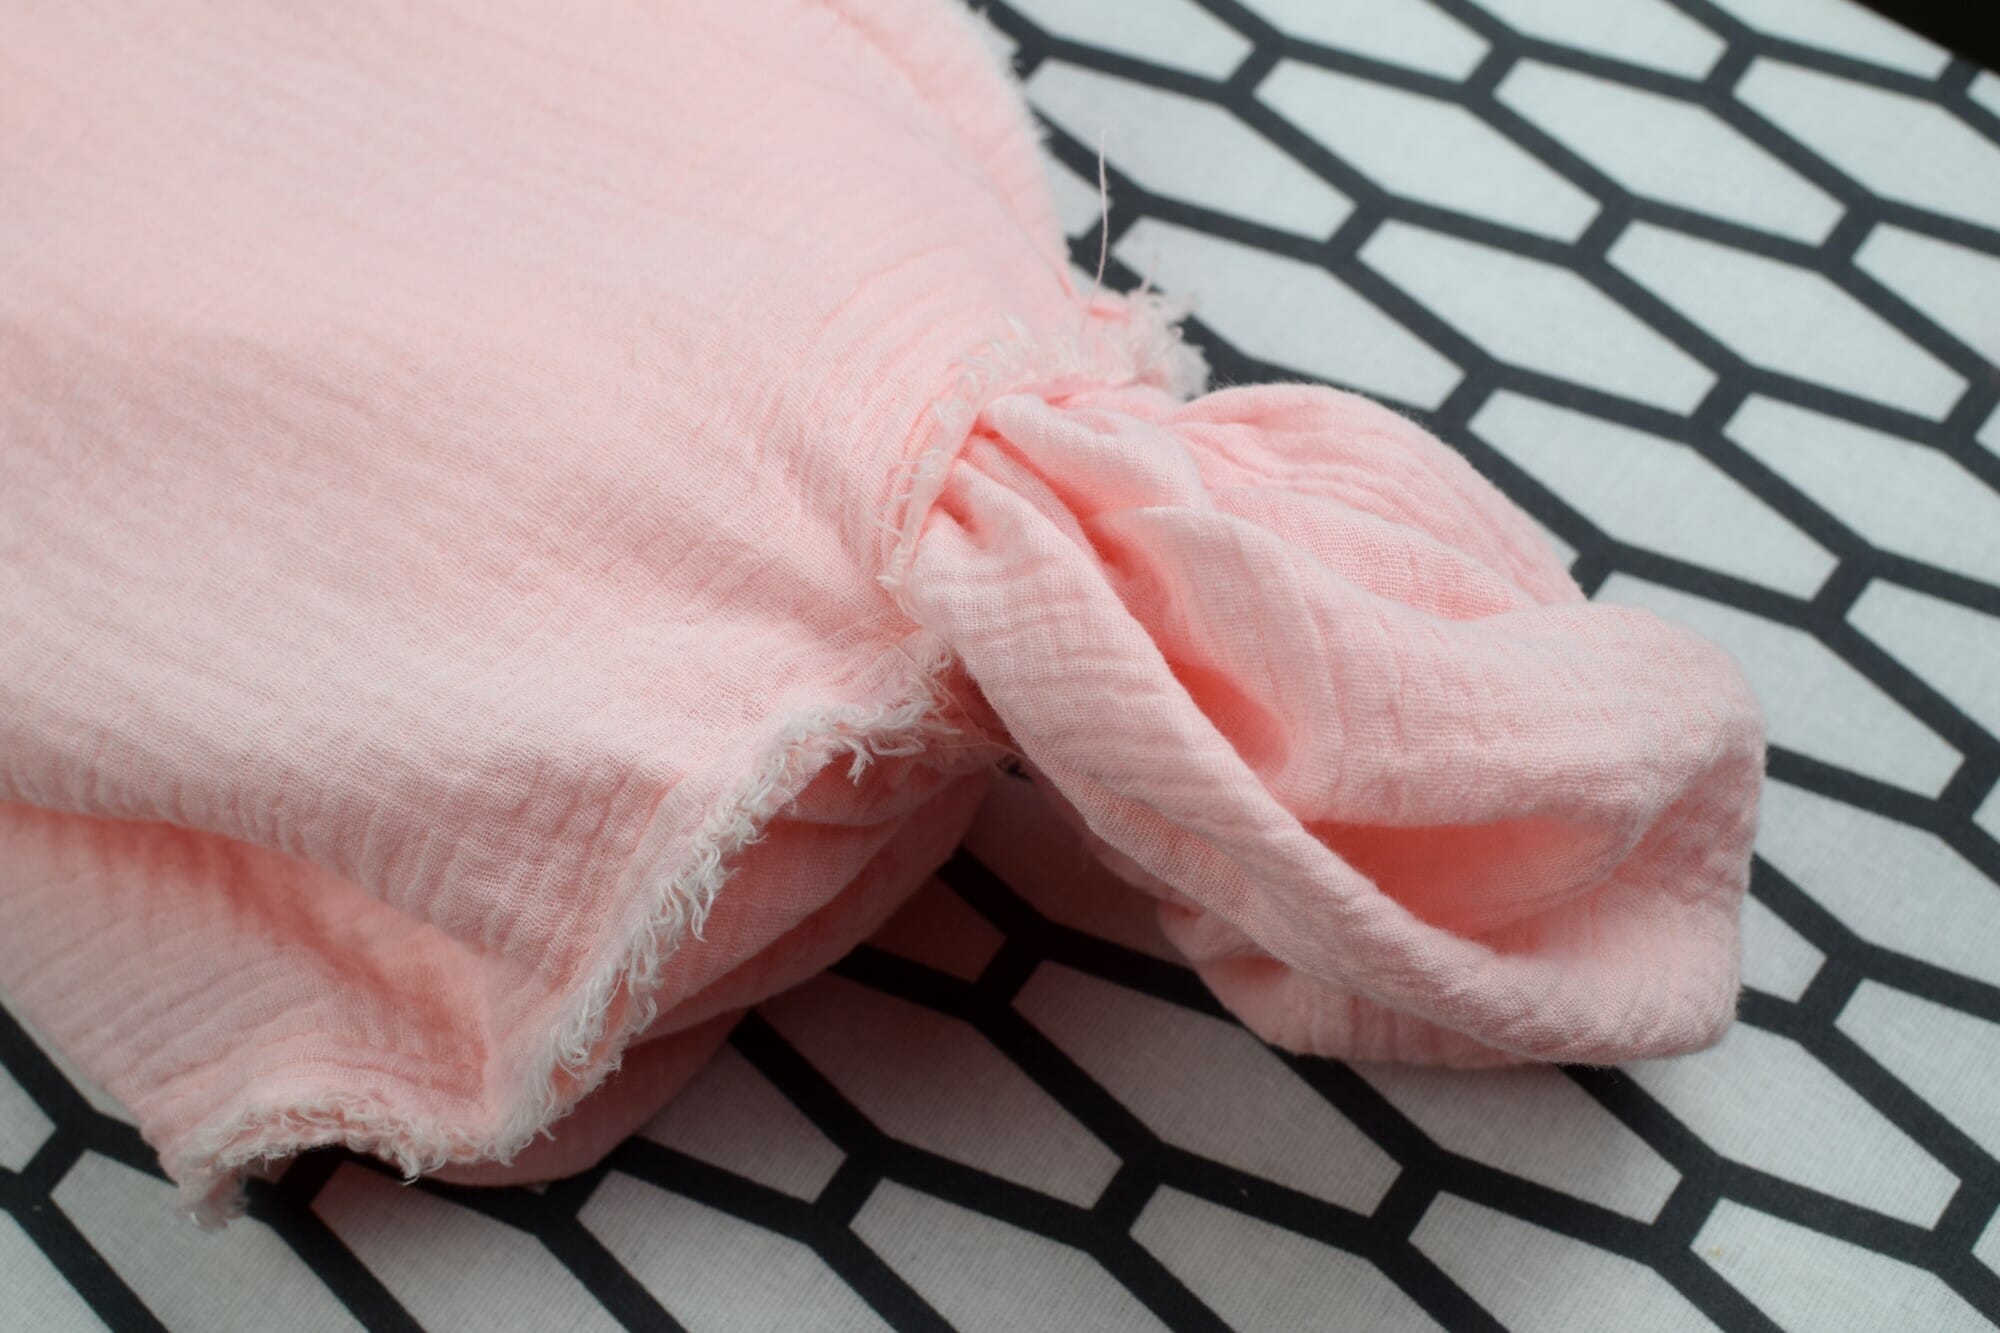
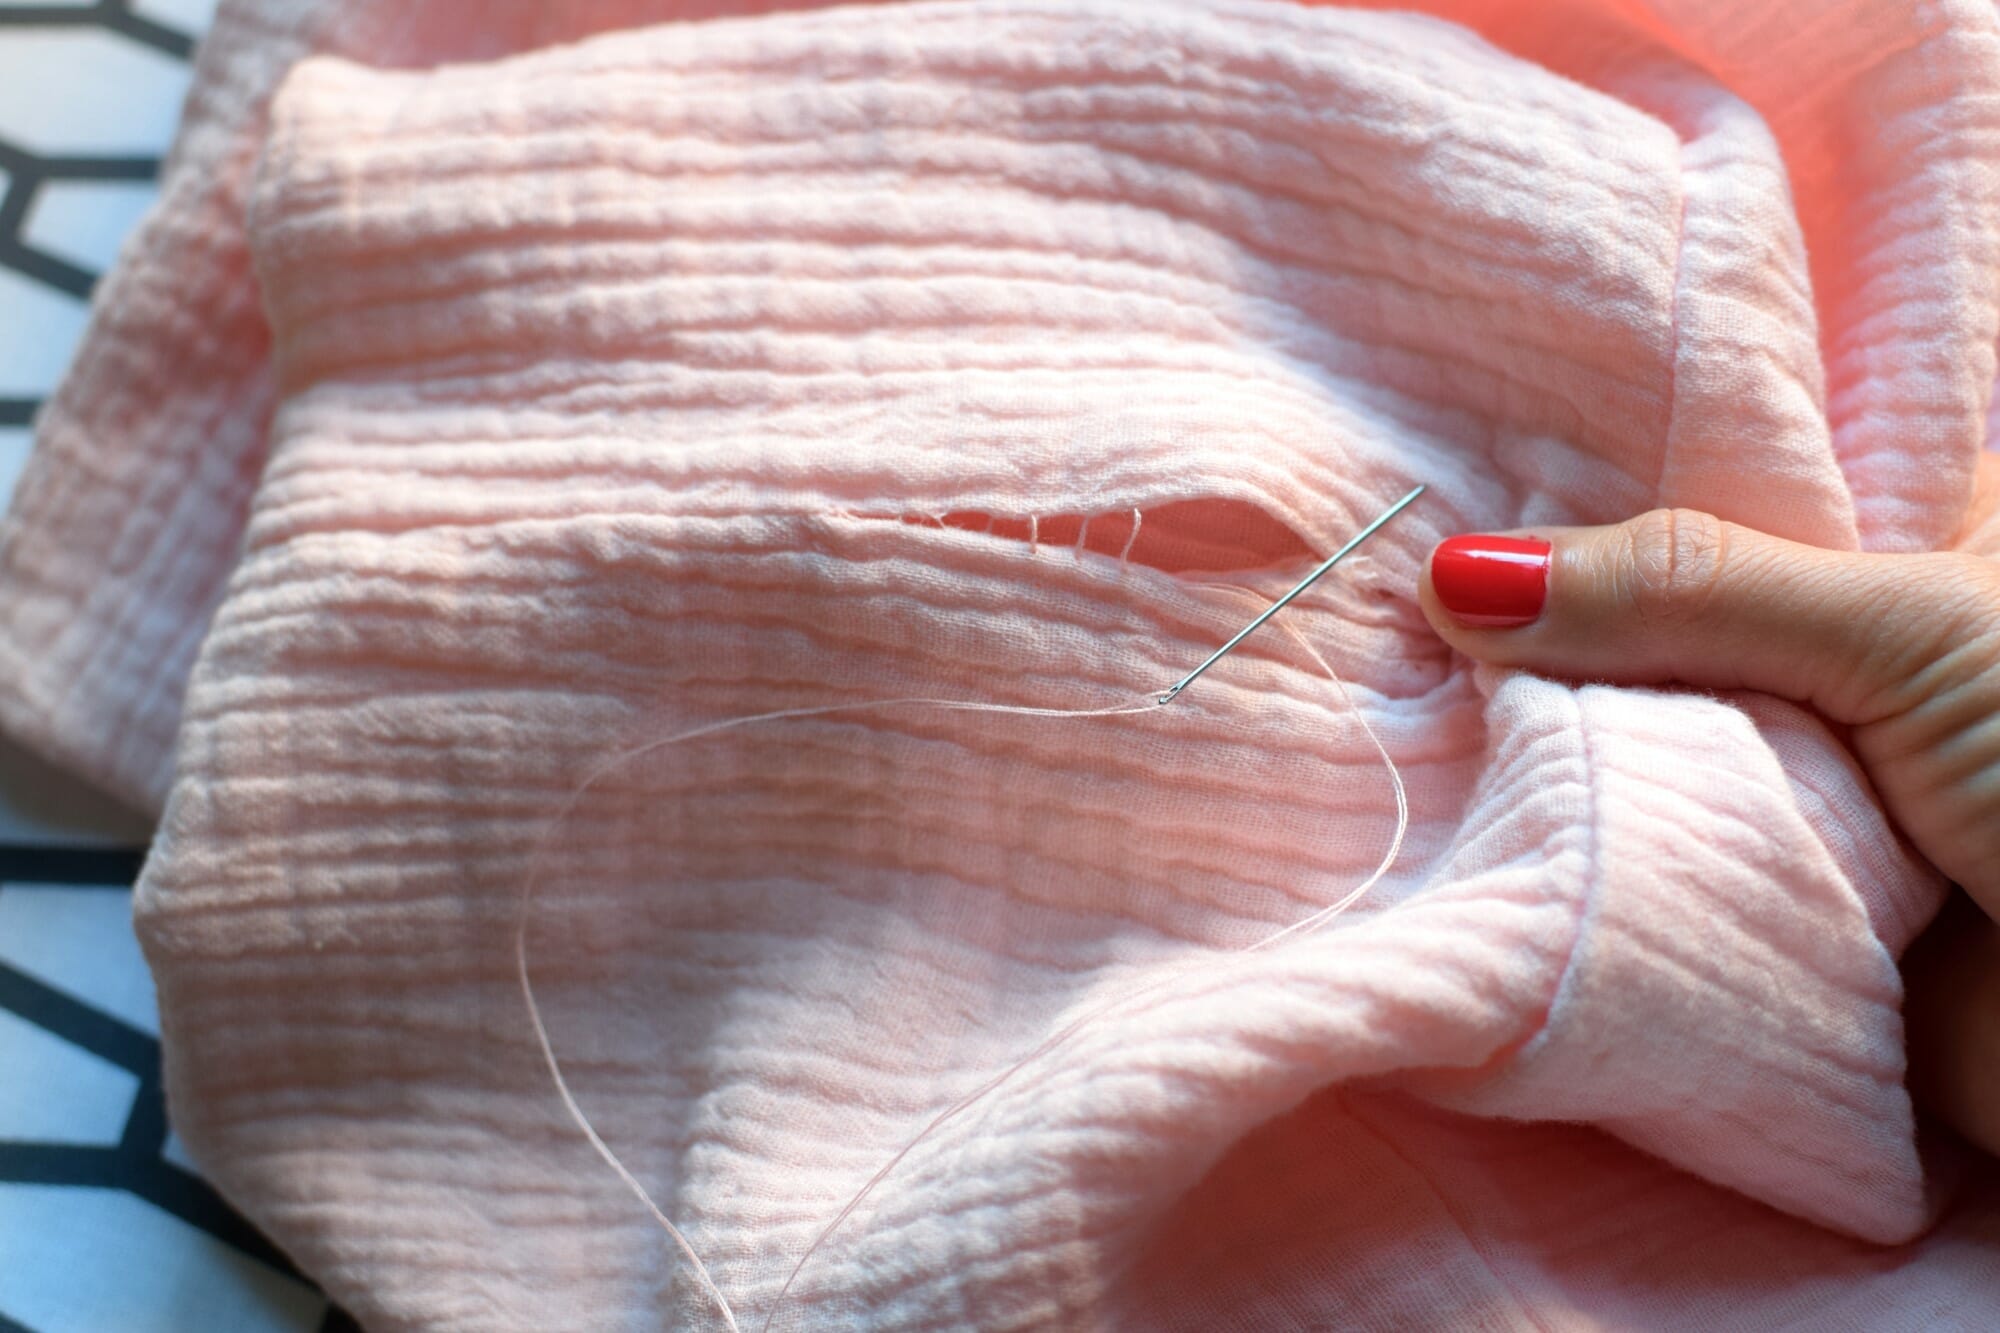
Step 5: close the gap
To finish, tuck the raw edges of the opening inward. You can use a ladder stitch (hidden stitch) by hand for a professional look. If you’re in a hurry, just run a quick straight stitch over the gap with your machine.
That’s it! Your new scarf is ready to wear. You can loop it once for a long look or twice for extra warmth.

Happy sewing!
You might also love:
- DIY satin sleep mask (free pattern)
- Easy linen napkins
- Lined drawstring bag
- 10 easy spring sewing projects for beginners
Let’s keep in touch! You can find me on Facebook, Instagram, and Pinterest.
Related posts
1 thought on “How to sew a simple cotton infinity scarf”